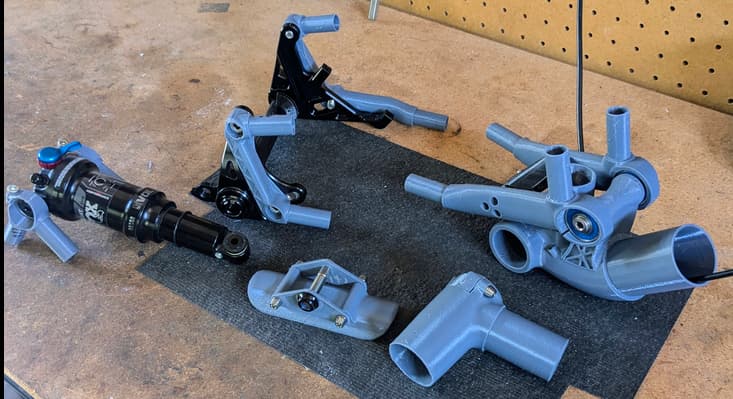
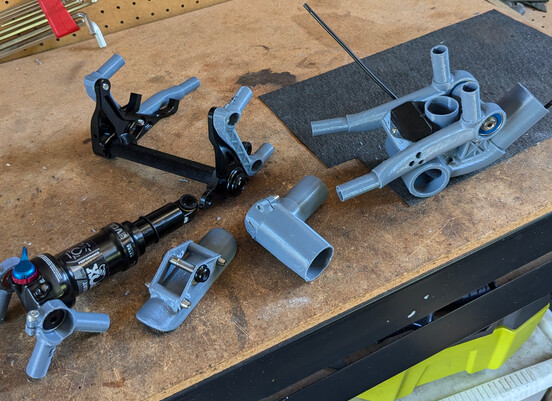
I printed most of the frame (less the tubing) in plastic to get a fit-and-feel prototype going.
My main takeaway - my cable routing to the rear of the bike is horrific. Lots of cable pull with suspension movement. Back to the drawing board on that…
I printed most of the frame (less the tubing) in plastic to get a fit-and-feel prototype going.
My main takeaway - my cable routing to the rear of the bike is horrific. Lots of cable pull with suspension movement. Back to the drawing board on that…
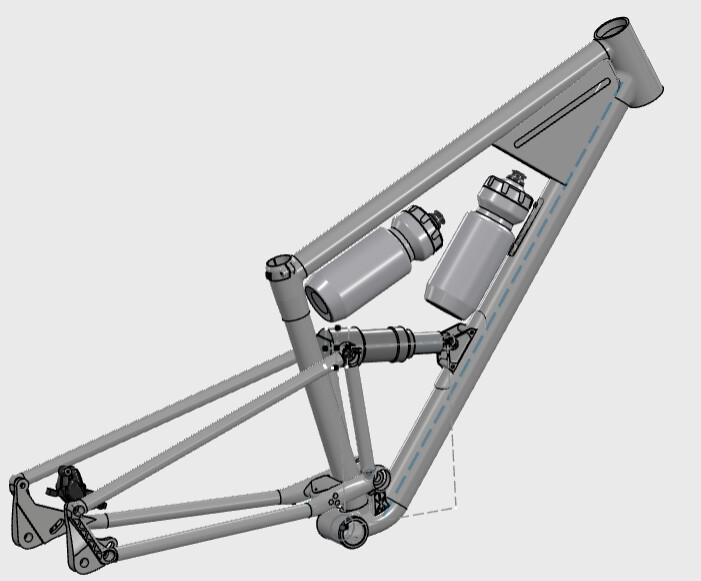
A few updates.
I started ordering various bit-and-bobs like hardware, but more exciting- tubing! Order’s are in at Dragonplate.com for carbon tubes, and racetechtitanium.com for ti tubes. I decided to go with all carbon except the chainstays. The carbon tubes are roll wrapped uni, with a twill outer layer. Here’s a rundown of the tubes:
| ID | OD | wall thickness | ||
|---|---|---|---|---|
| chainstay | 15.7 | 19.1 | 1.7 | |
| downtube | 41.3 | 46.0 | 2.4 | |
| seat tube | 31.8 | 34.9 | 1.6 | |
| upright | 15.9 | 19.1 | 1.6 | |
| top tube | 31.8 | 34.9 | 1.6 | |
| seastay | 15.9 | 19.1 | 1.6 |
I am also designing tube cut guides and holding fixtures for bonding this thing together. I’ll show those off when I have 3D prints put together.
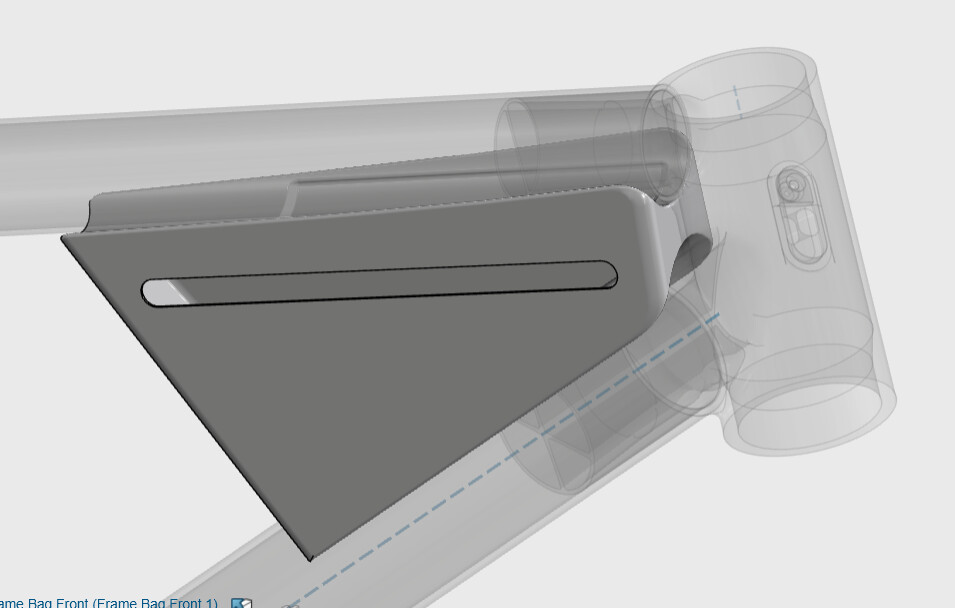
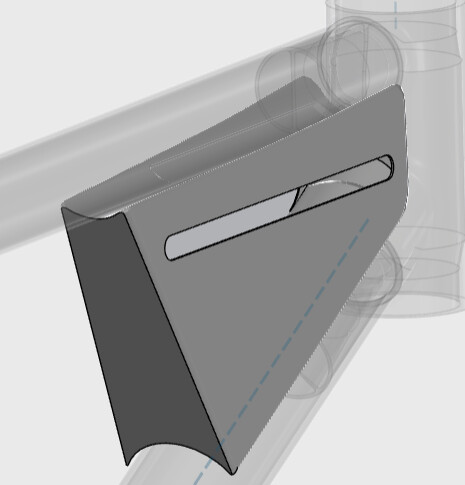
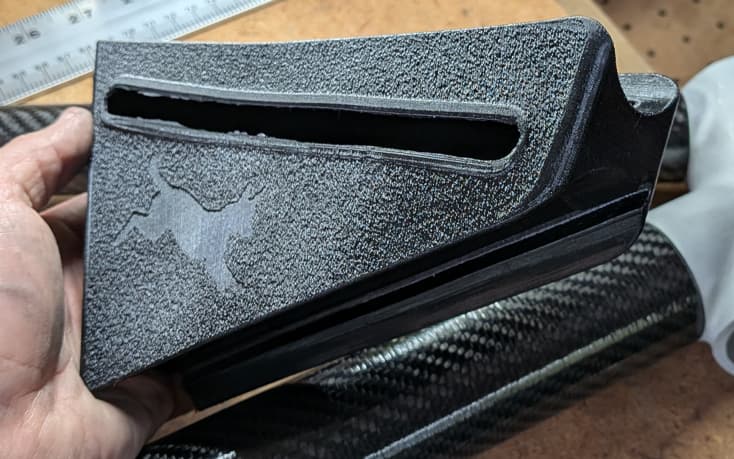
Less important (but maybe more interesting) is the frame bag I am putting together. The bag is to be printed using TPU, which is super flexible and near indestructible. I’ve been riding my printed saddle for around 3 years and it’s no worse for wear. To be clear- only the pad is TPU, the shell is nylon and the rails are Ti. For the bag closure, I am planning to bond a zipper to it using a flexible 2-part adhesive. This may take some trial and error to get right, but I think It’ll work. To hold the bag in the frame I was originally planning to add threaded bosses to the frame, but I am considering using some ‘extra heavy duty’ outdoor velco. Mostly this is easy, adjustable, and removable. Janky? Maybe, but I think it will work. Note the recesses in the bag are to make the velcro sit ‘flush’ and allow the bag to be tight with the frame. I’ll prototype it next week for a fit and feel.
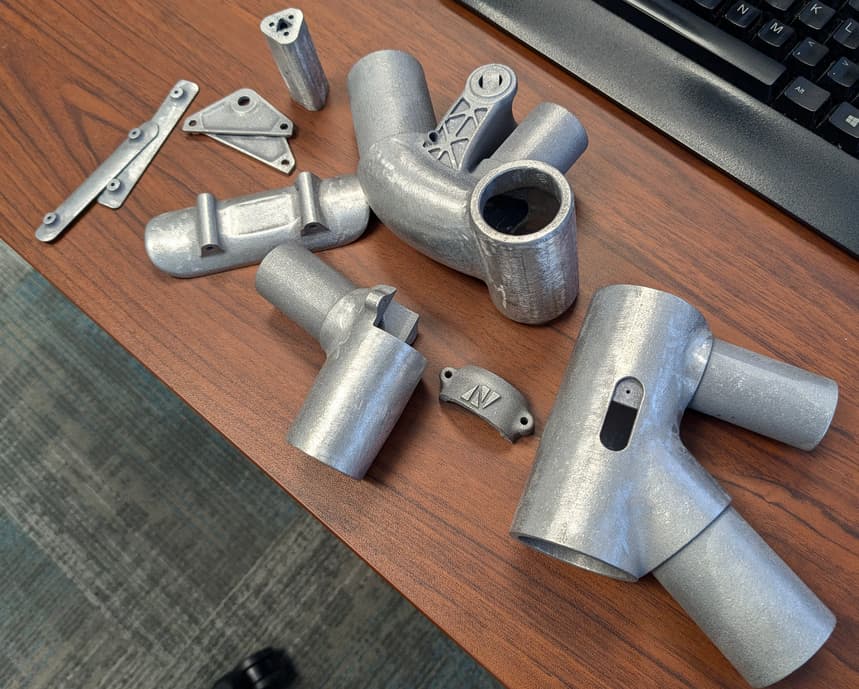
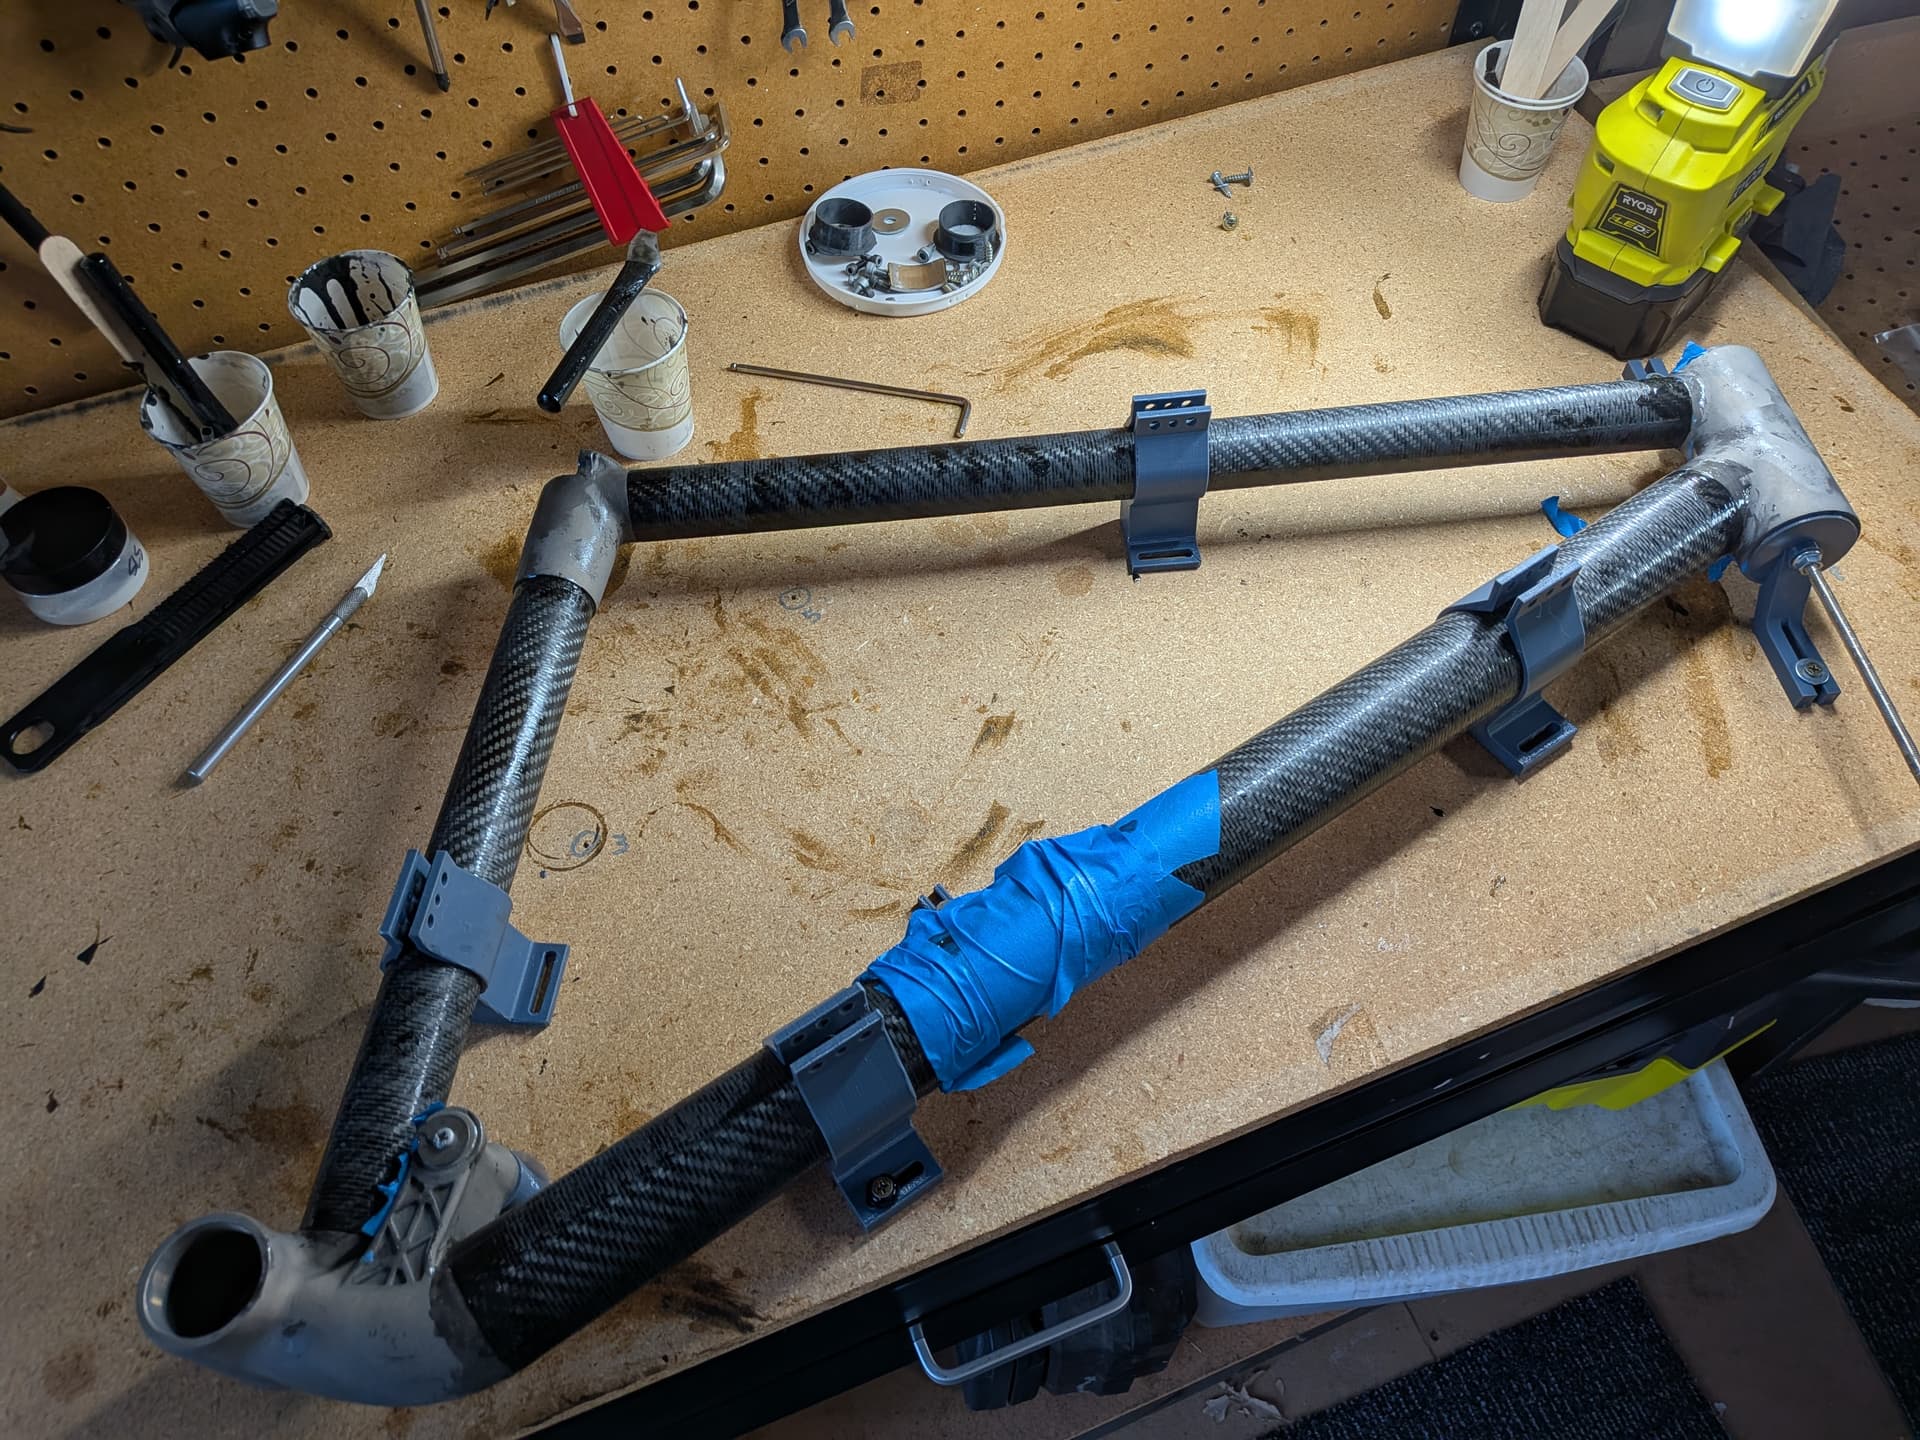
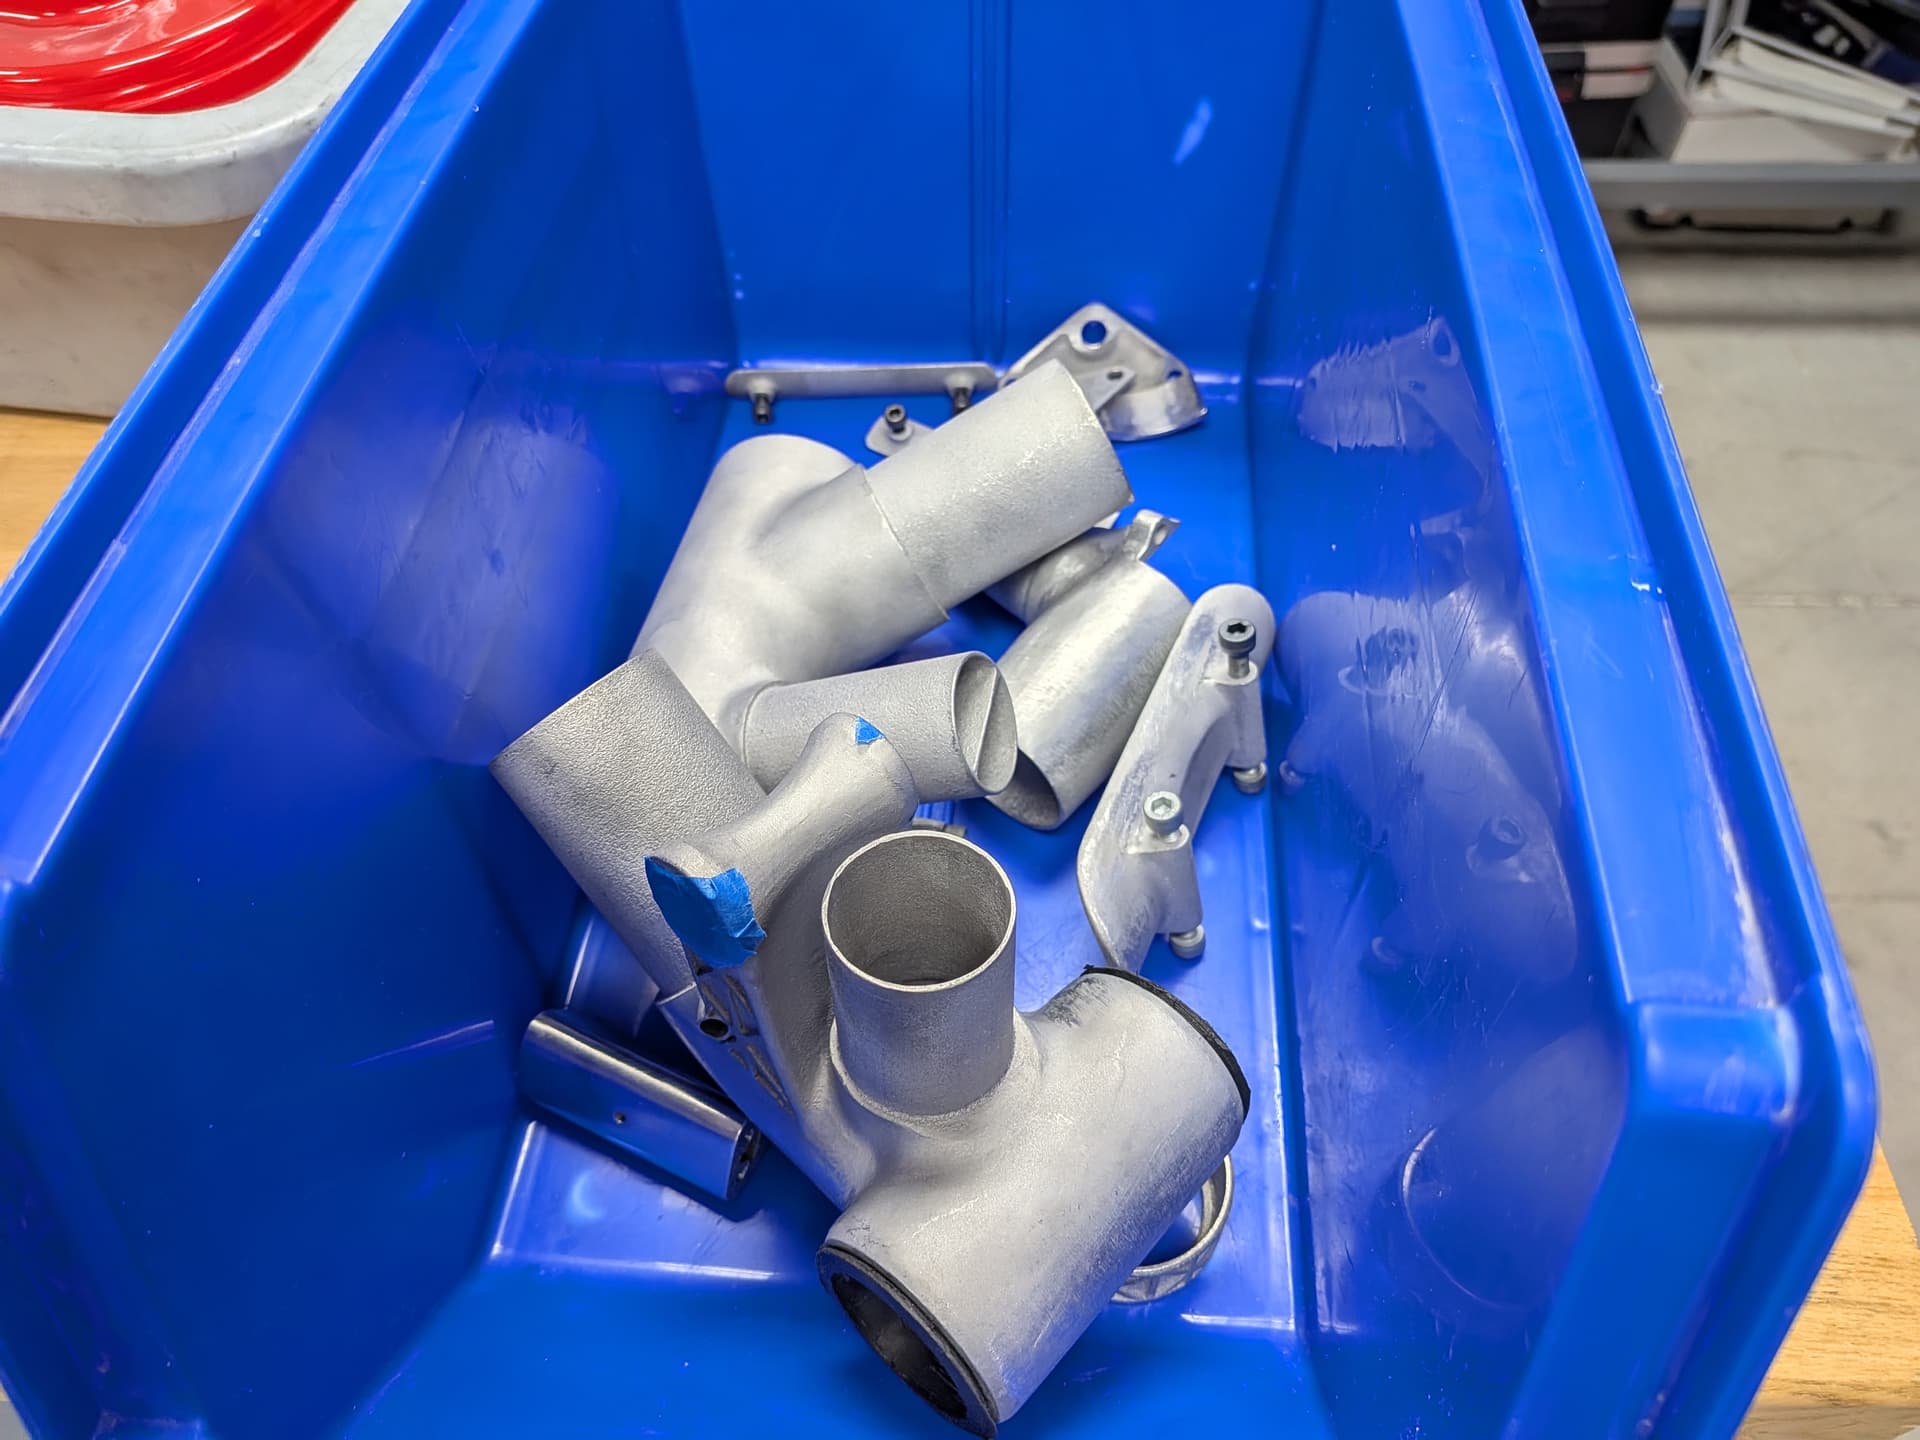
I went ahead and printed all of the front triangle parts, which are aluminum. The rear lugs will be Ti, and it’ll take some time for me to get a build slot to make those without interrupting ‘production’. Part cleanup isn’t done, but here’s what they look like as of today!
I’ve been looking for a local builder (Austin Texas) to help with cutting threads in BB (BSA) and reaming the 44mm headtube. No luck so far… I think I may bite the bullet and just buy a BB threading tool. I THINK most of these BB thread tools are meant just to chase existing threads…. but with some patience and cutting fluid I suspect I can make it work. It’ll also help that my BB is aluminum.
Something like this:
I’ve had those Cyclus BB tools in the past and they’re not great in my experience. Well, they dulled pretty quickly. I guess with an aluminium shell and new cutters it’ll probably work fine.
I’ve done a few shells similar to you but in my case with stainless parts. With the first couple, I left the threads out of the model and cut everything on the lathe. It was pretty painful and not my favourite job! The following few I actually modelled and printed the threads. They came out better than I thought they would. I tapped them before welding the frame and then again afterwards and they were as close to perfect as you could get I think.
If I had no threads in the 3d part and was cutting with handtools, I’d be concerned with how to keep everything square. I guess if your ID is pretty accurate then maybe machining a guide for the cutters to get them started would be a good plan. Not sure if you have access to machine tools?
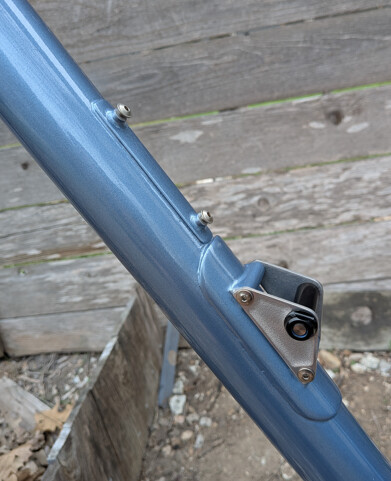
Maybe a bit late, but you should think about giving the bonding overlaps some taper. From the pics it looks like you’ll get a lot of stress concentration on the beginning of the bonding area as you go from tube only directly to tube/adhesive/lug with huge wall thickness. Better would be if the lug is starting as thin as possible. Basically the same as with brazed lugs only on the inside of the tube.
Apart from weight saving the fatigue properties should be much better then.
Thanks ALPA. I’ll hand-finish a little taper on the lugs based on your suggestion. Note the lugs are internally tapered pretty heavily, and then also internally reinforced at the junction where the carbon tube ends. So they are thinner toward the ‘end’. This should help with fatigue on the lugs themselves, but maybe doesnt help with stress concentration where the overlap ends.
Did you print the threads in at nominal size? Or leave some material for the taps to cut away?
I modelled the threads as nominal size. The vendor actually contacted me to ask if that’s what I wanted and I think they tweaked my model so the output was closer to nominal size. I guess they know what to do to make that work.
The finishing pass I did with my cutters seemed to take off very little and what I ended up with was perfect for me.
I don’t think I’d try to second guess what needs to be done to get the size required. I’d ask the vendor.
Update time!
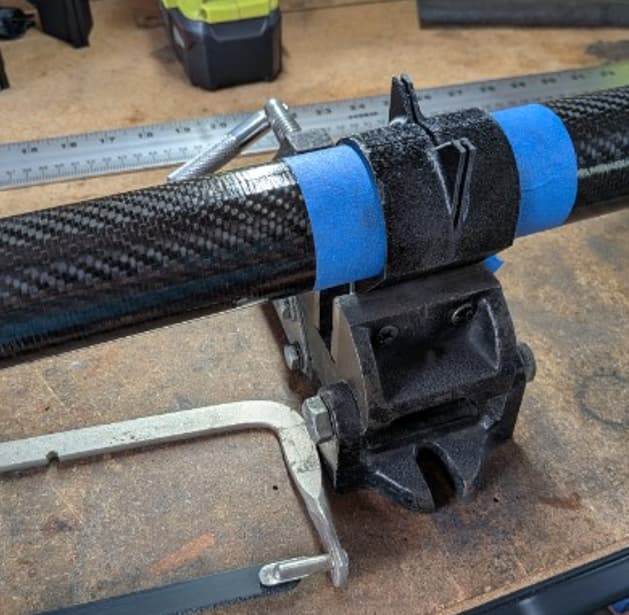
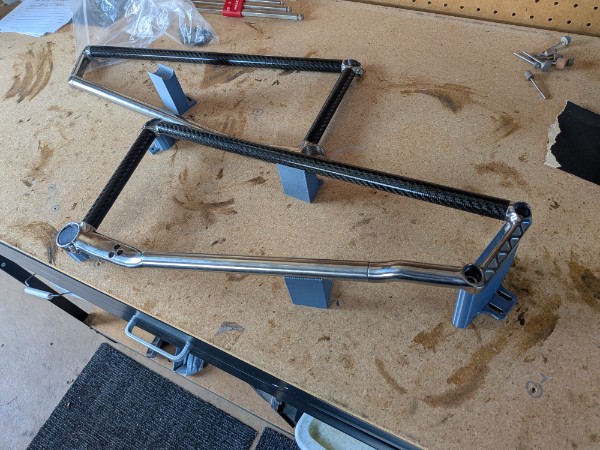
Cut guide setup for hacksaw:
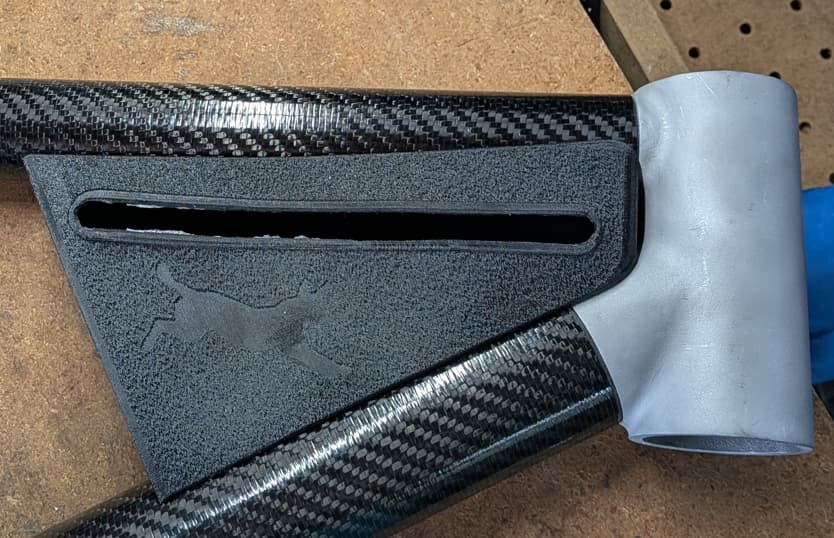
dry mockup:
Bag proto, sans zipper:
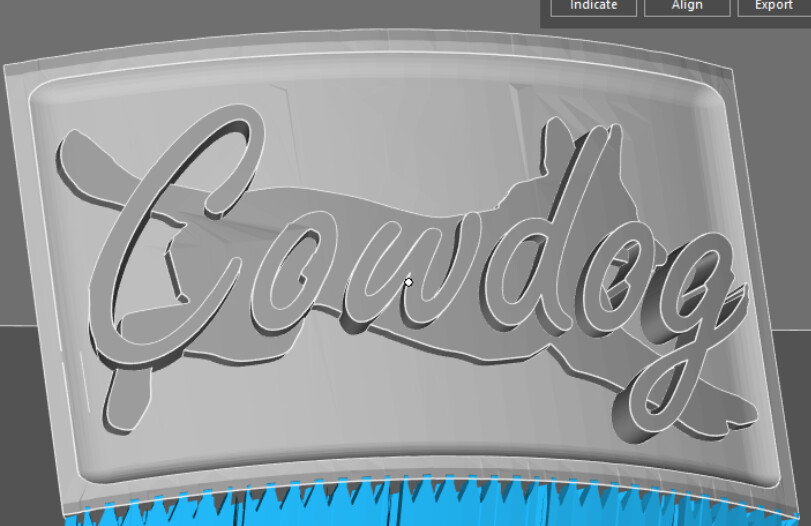
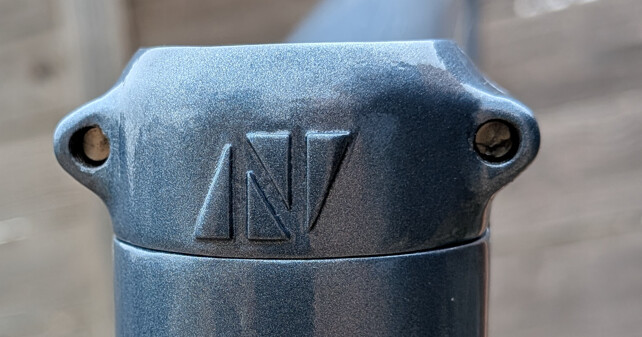
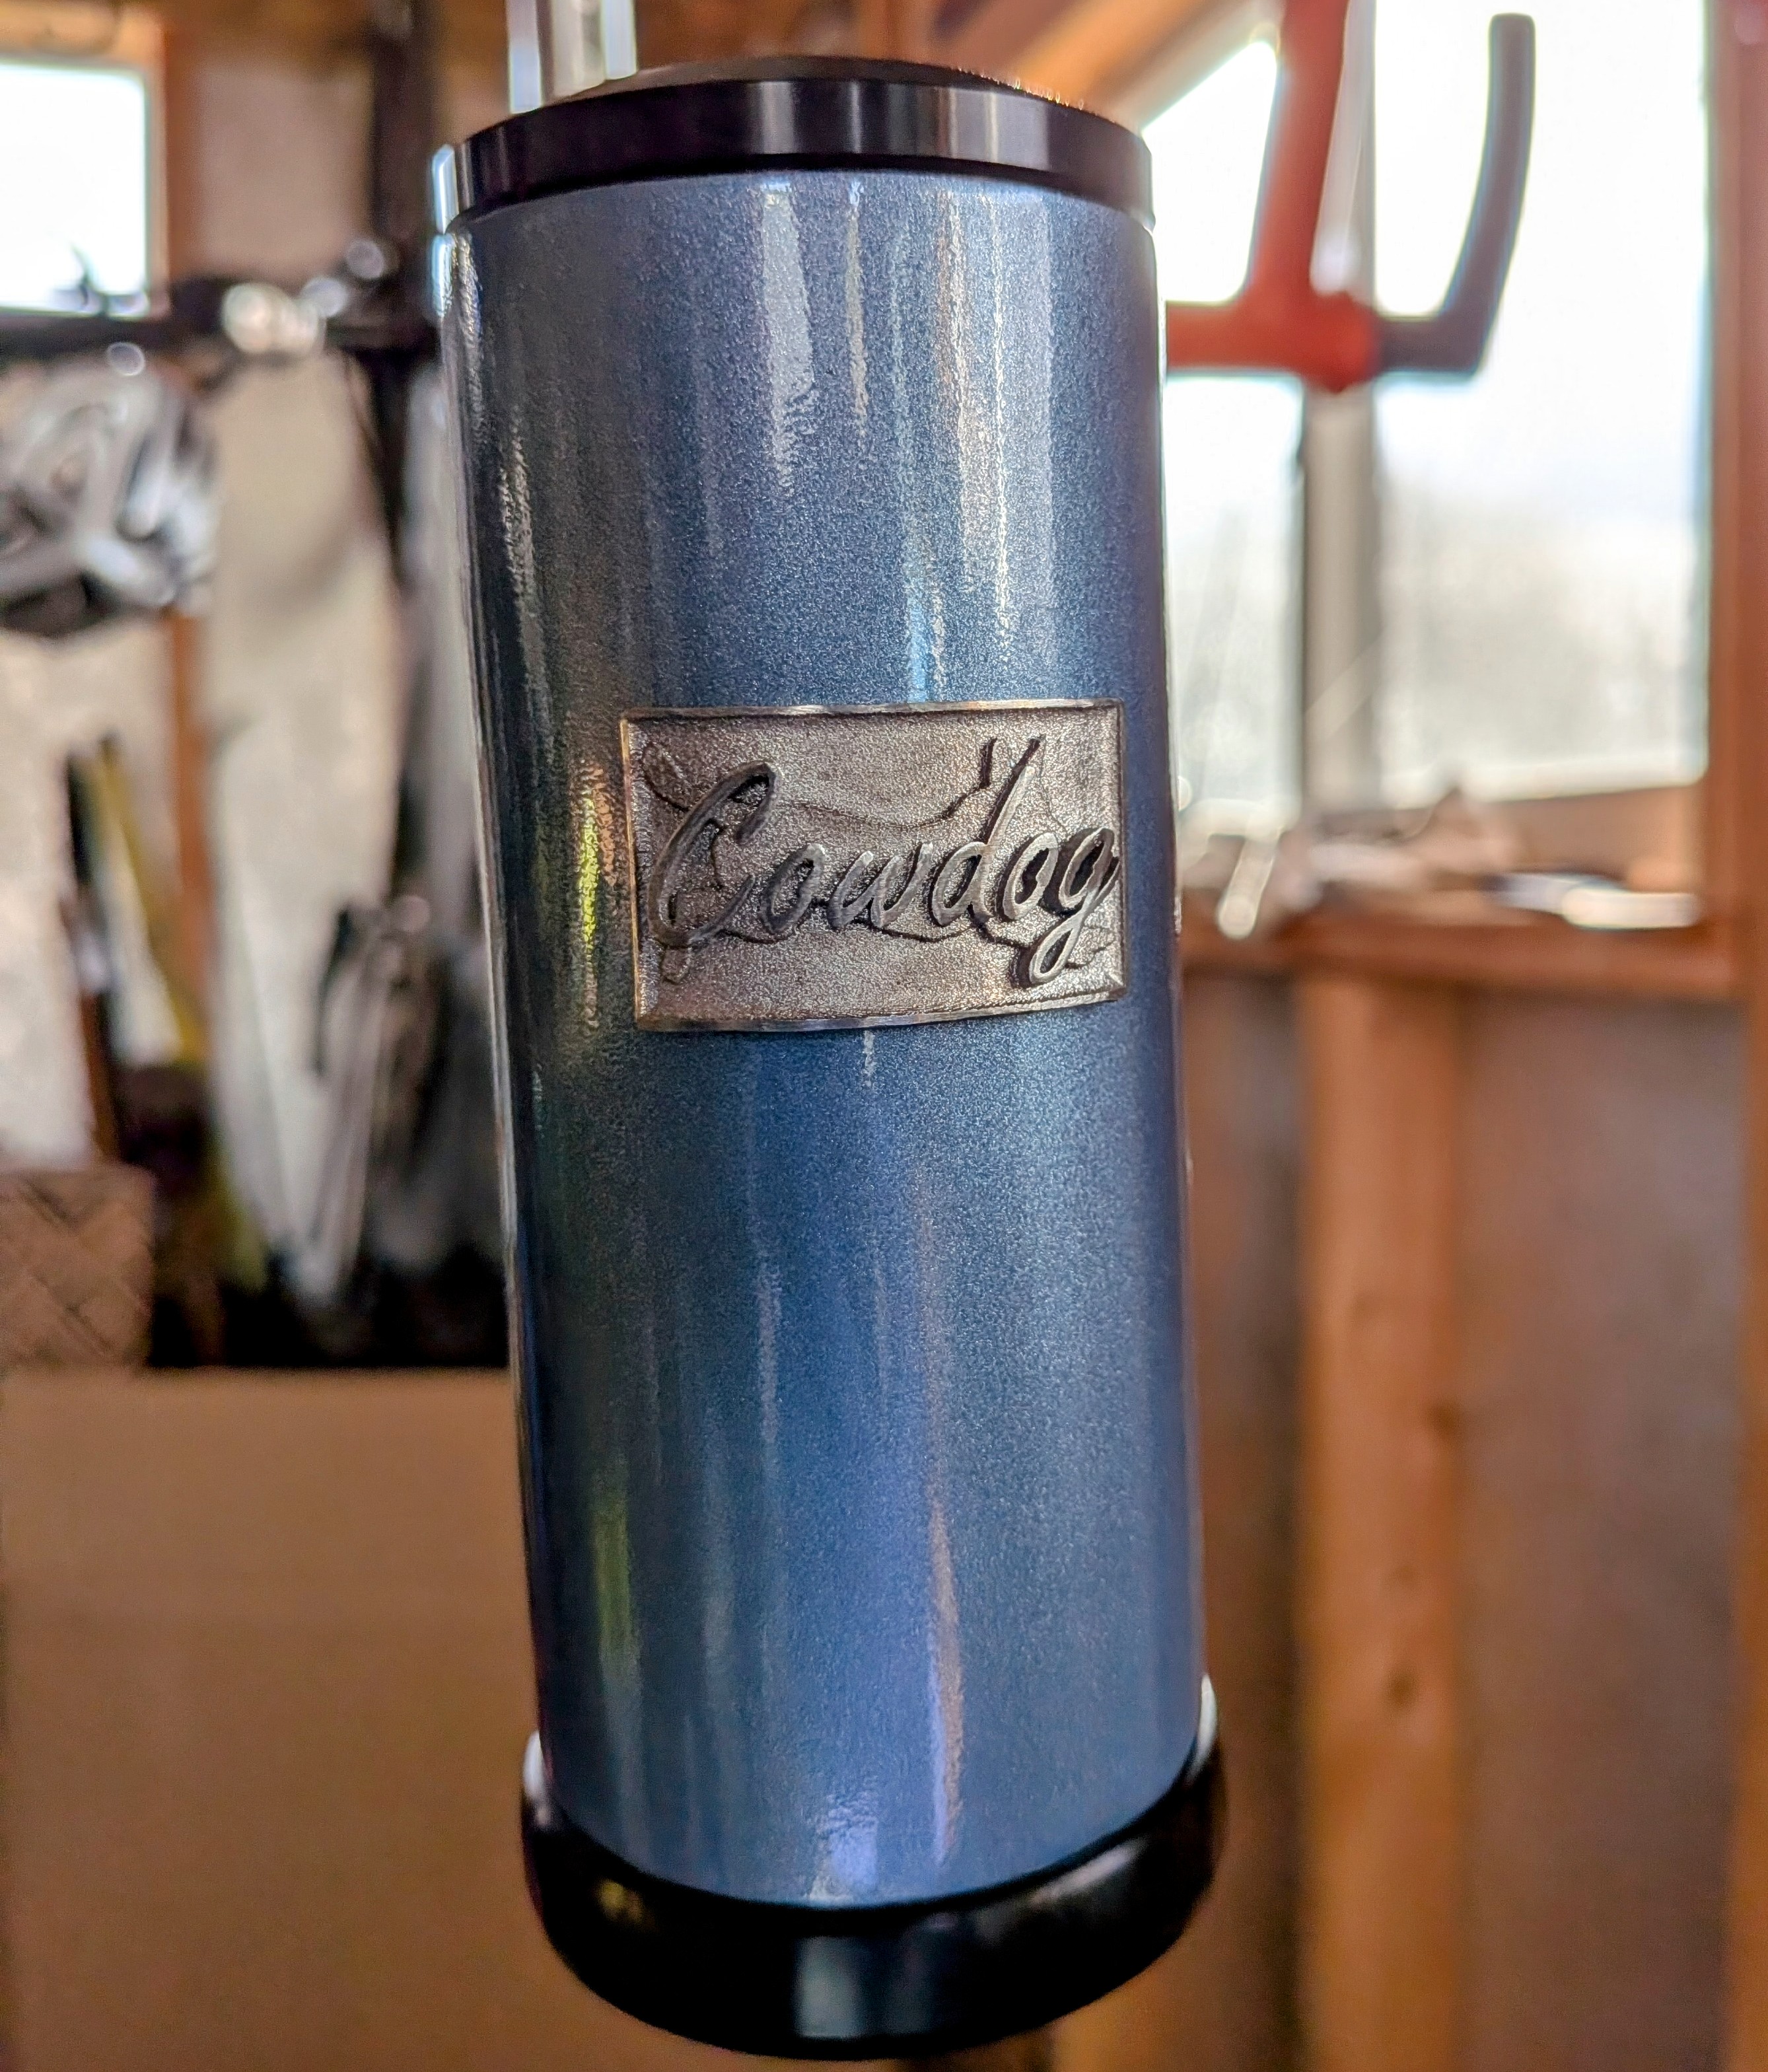
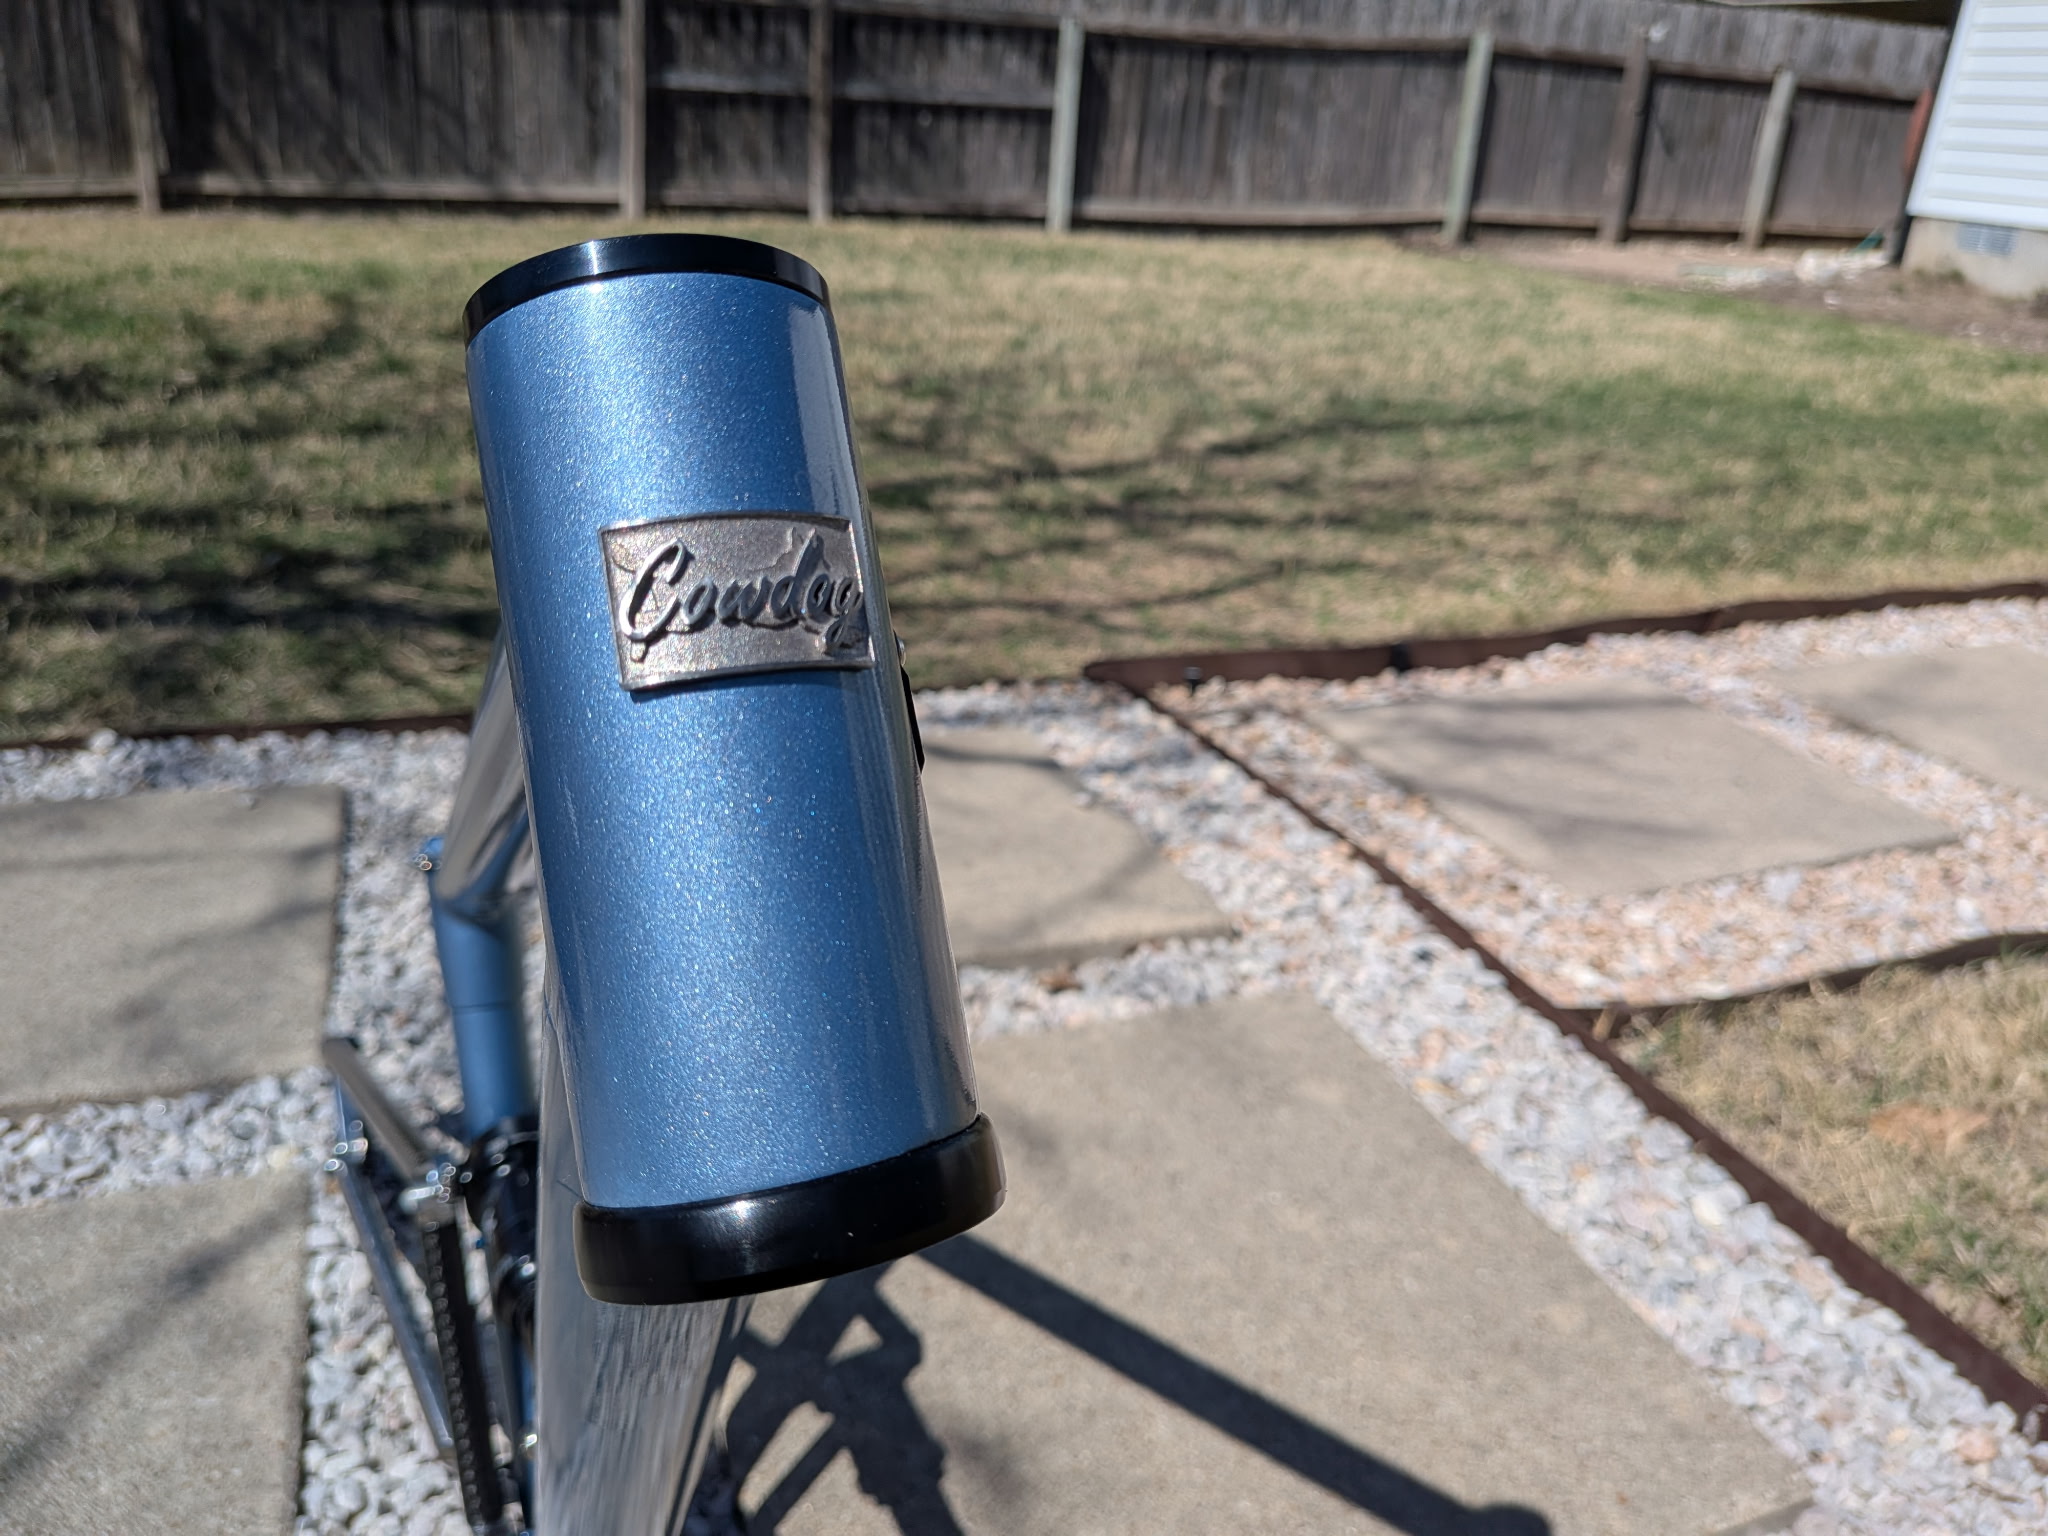
headbadge preview:
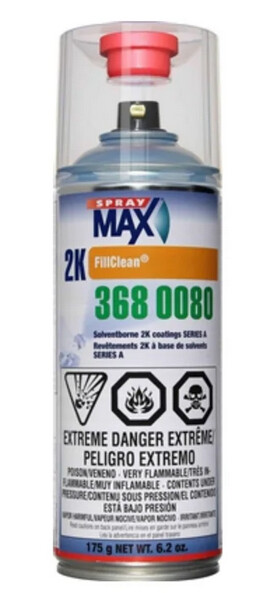
Paint:
The bike is looking great!
I love the bag - is it pliable? Is that made with a standard printer using nylon?
Thanks! The bag is printed in TPU using a cheap FFF printer (a Prusa MK3S). The TPU im using is super flexible and slightly stretchy. This makes it damn near indestructible.
For reference, I’ve been riding a saddle with the pad made of this stuff for ~3 years, and it looks good as new still. The saddle has ti rails, a nylon shell, and a hollow TPU pad (0.8mm wall with very spare infill I think it was 8%).
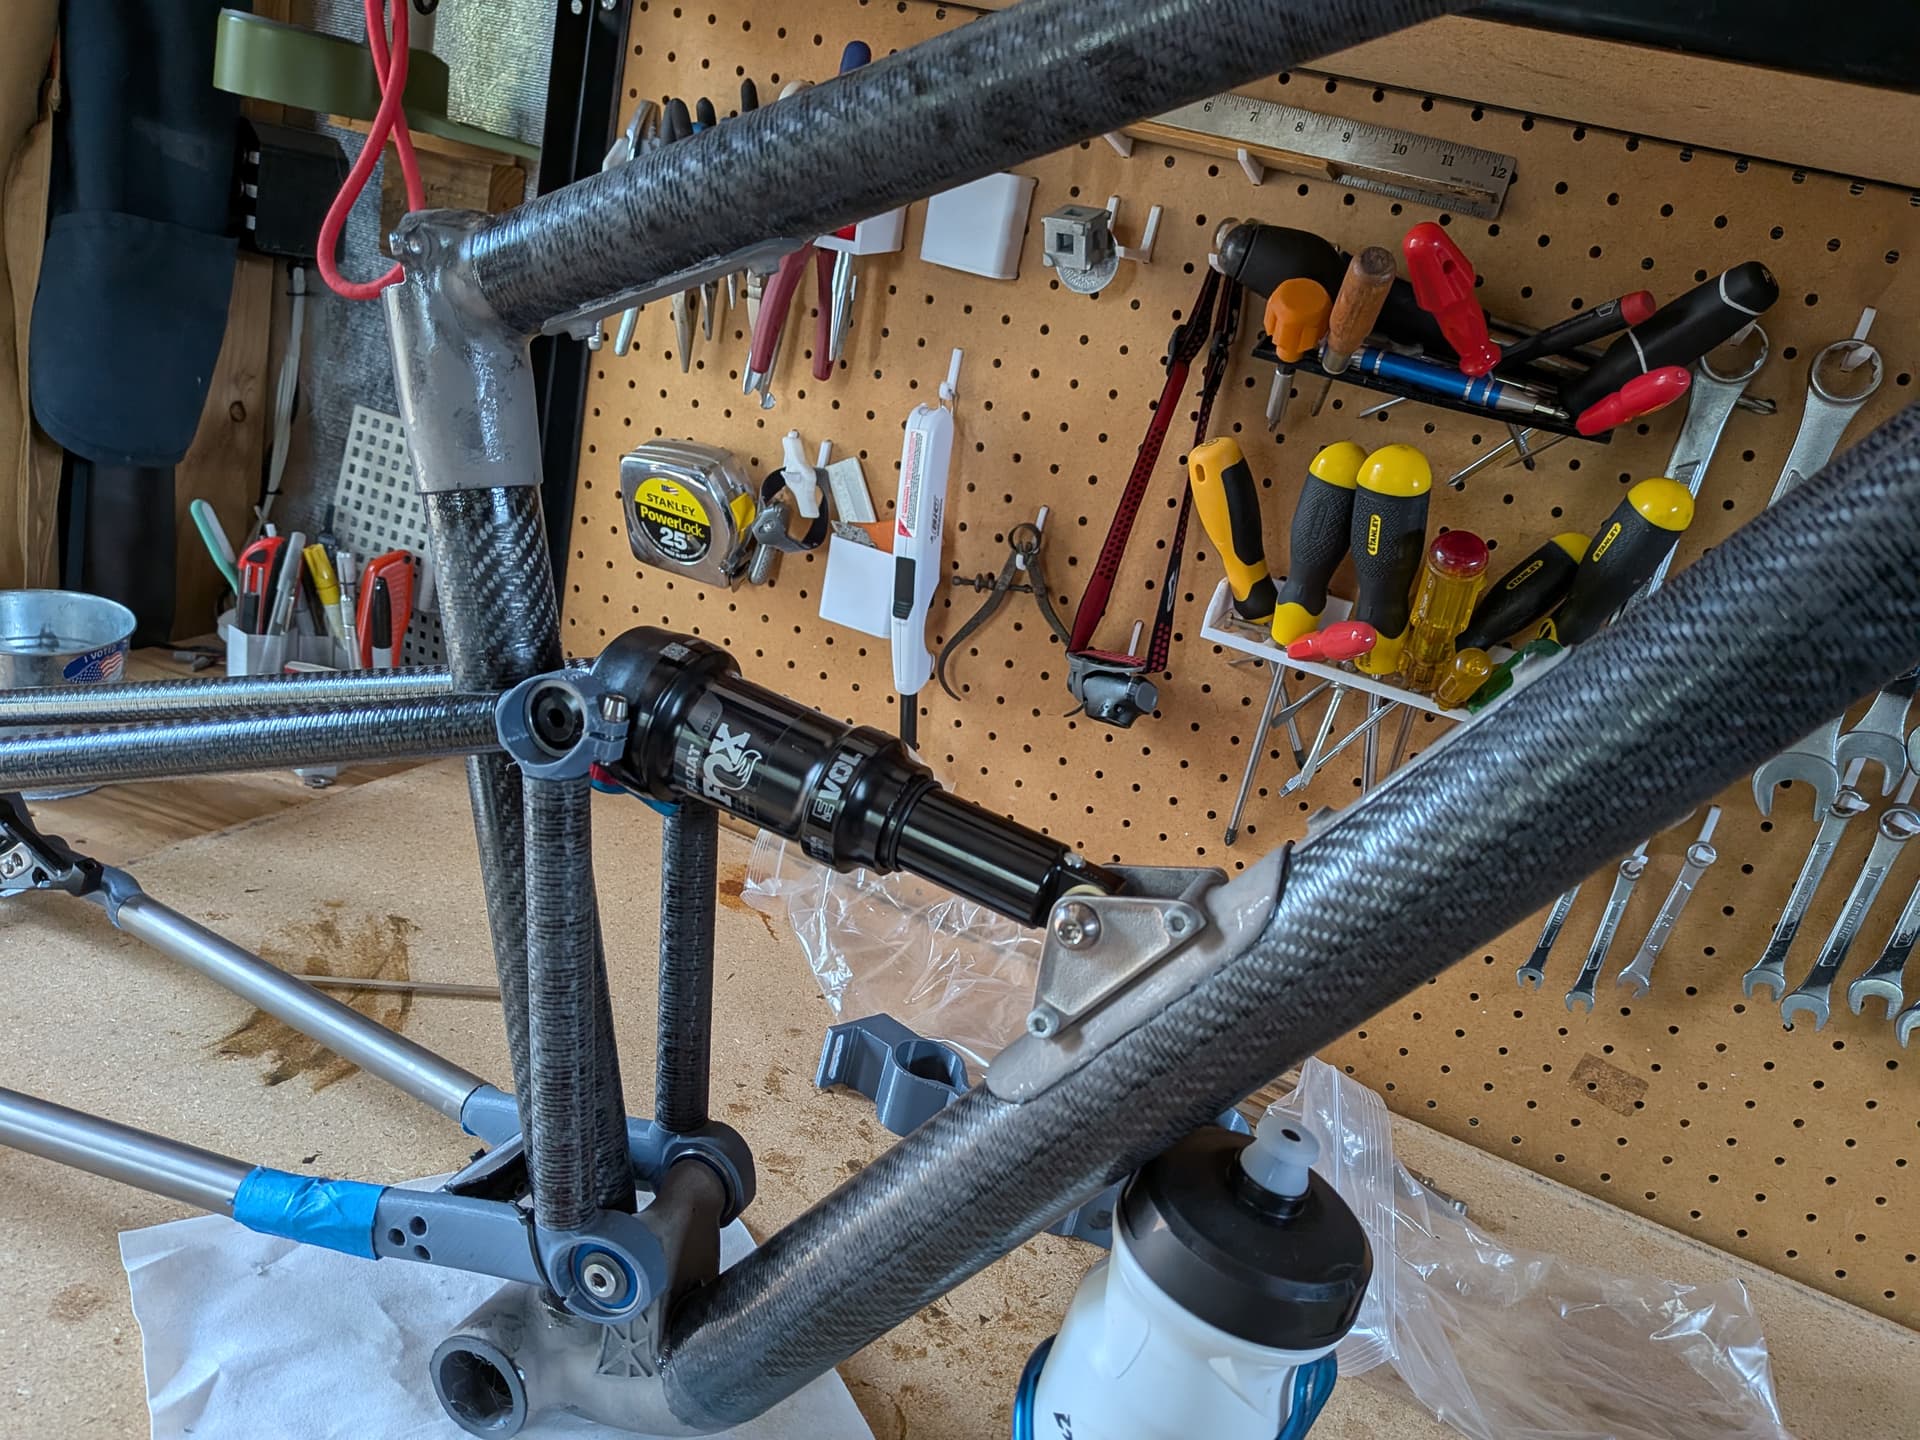
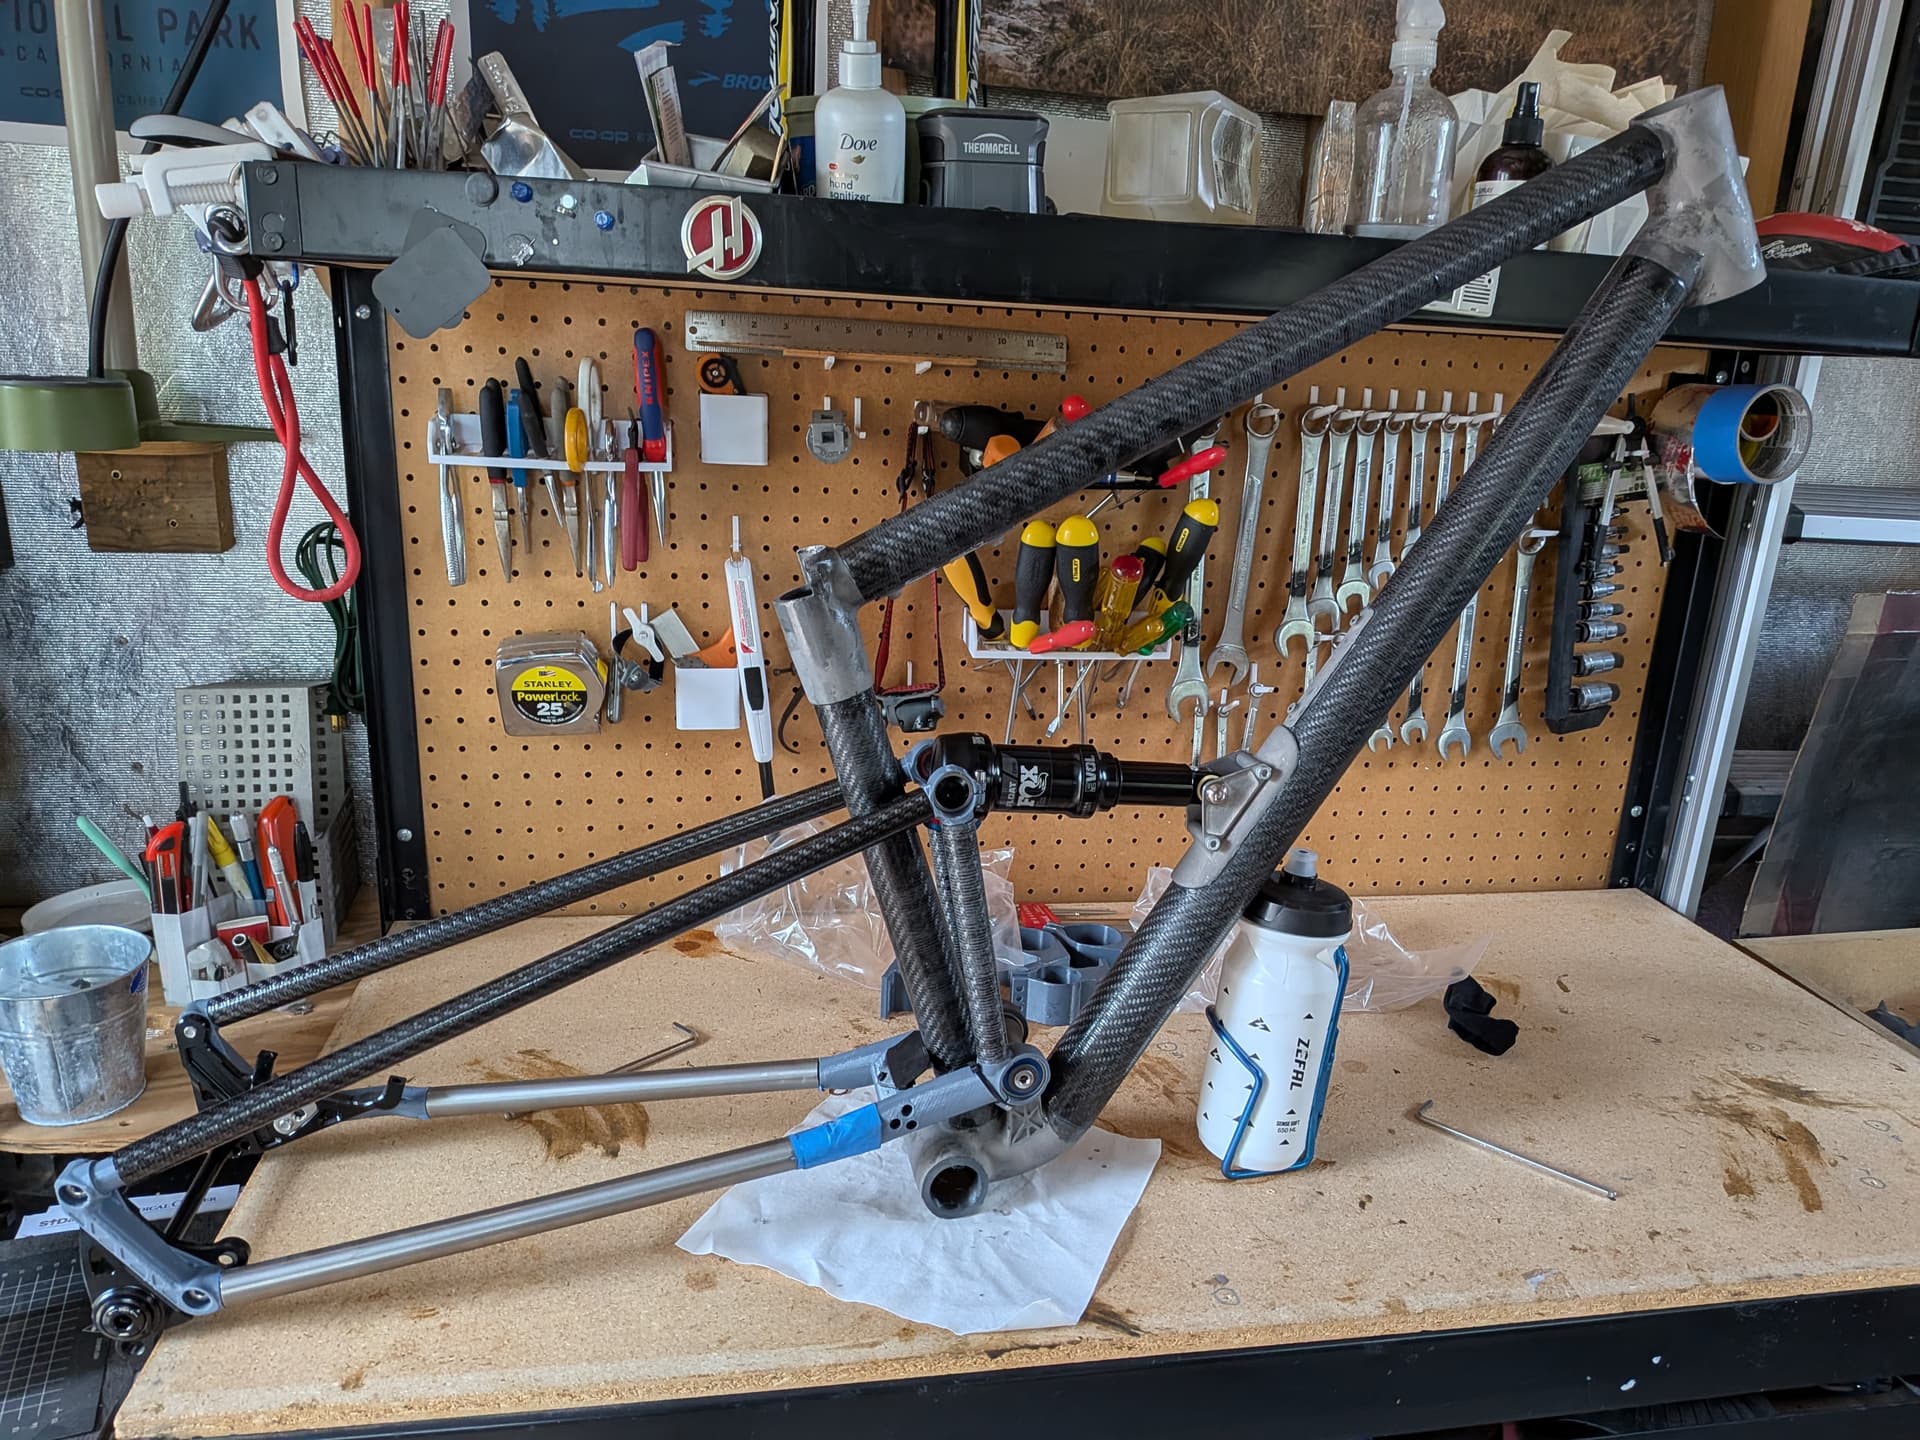
Bonding of the front end is done. It was/is a mess.
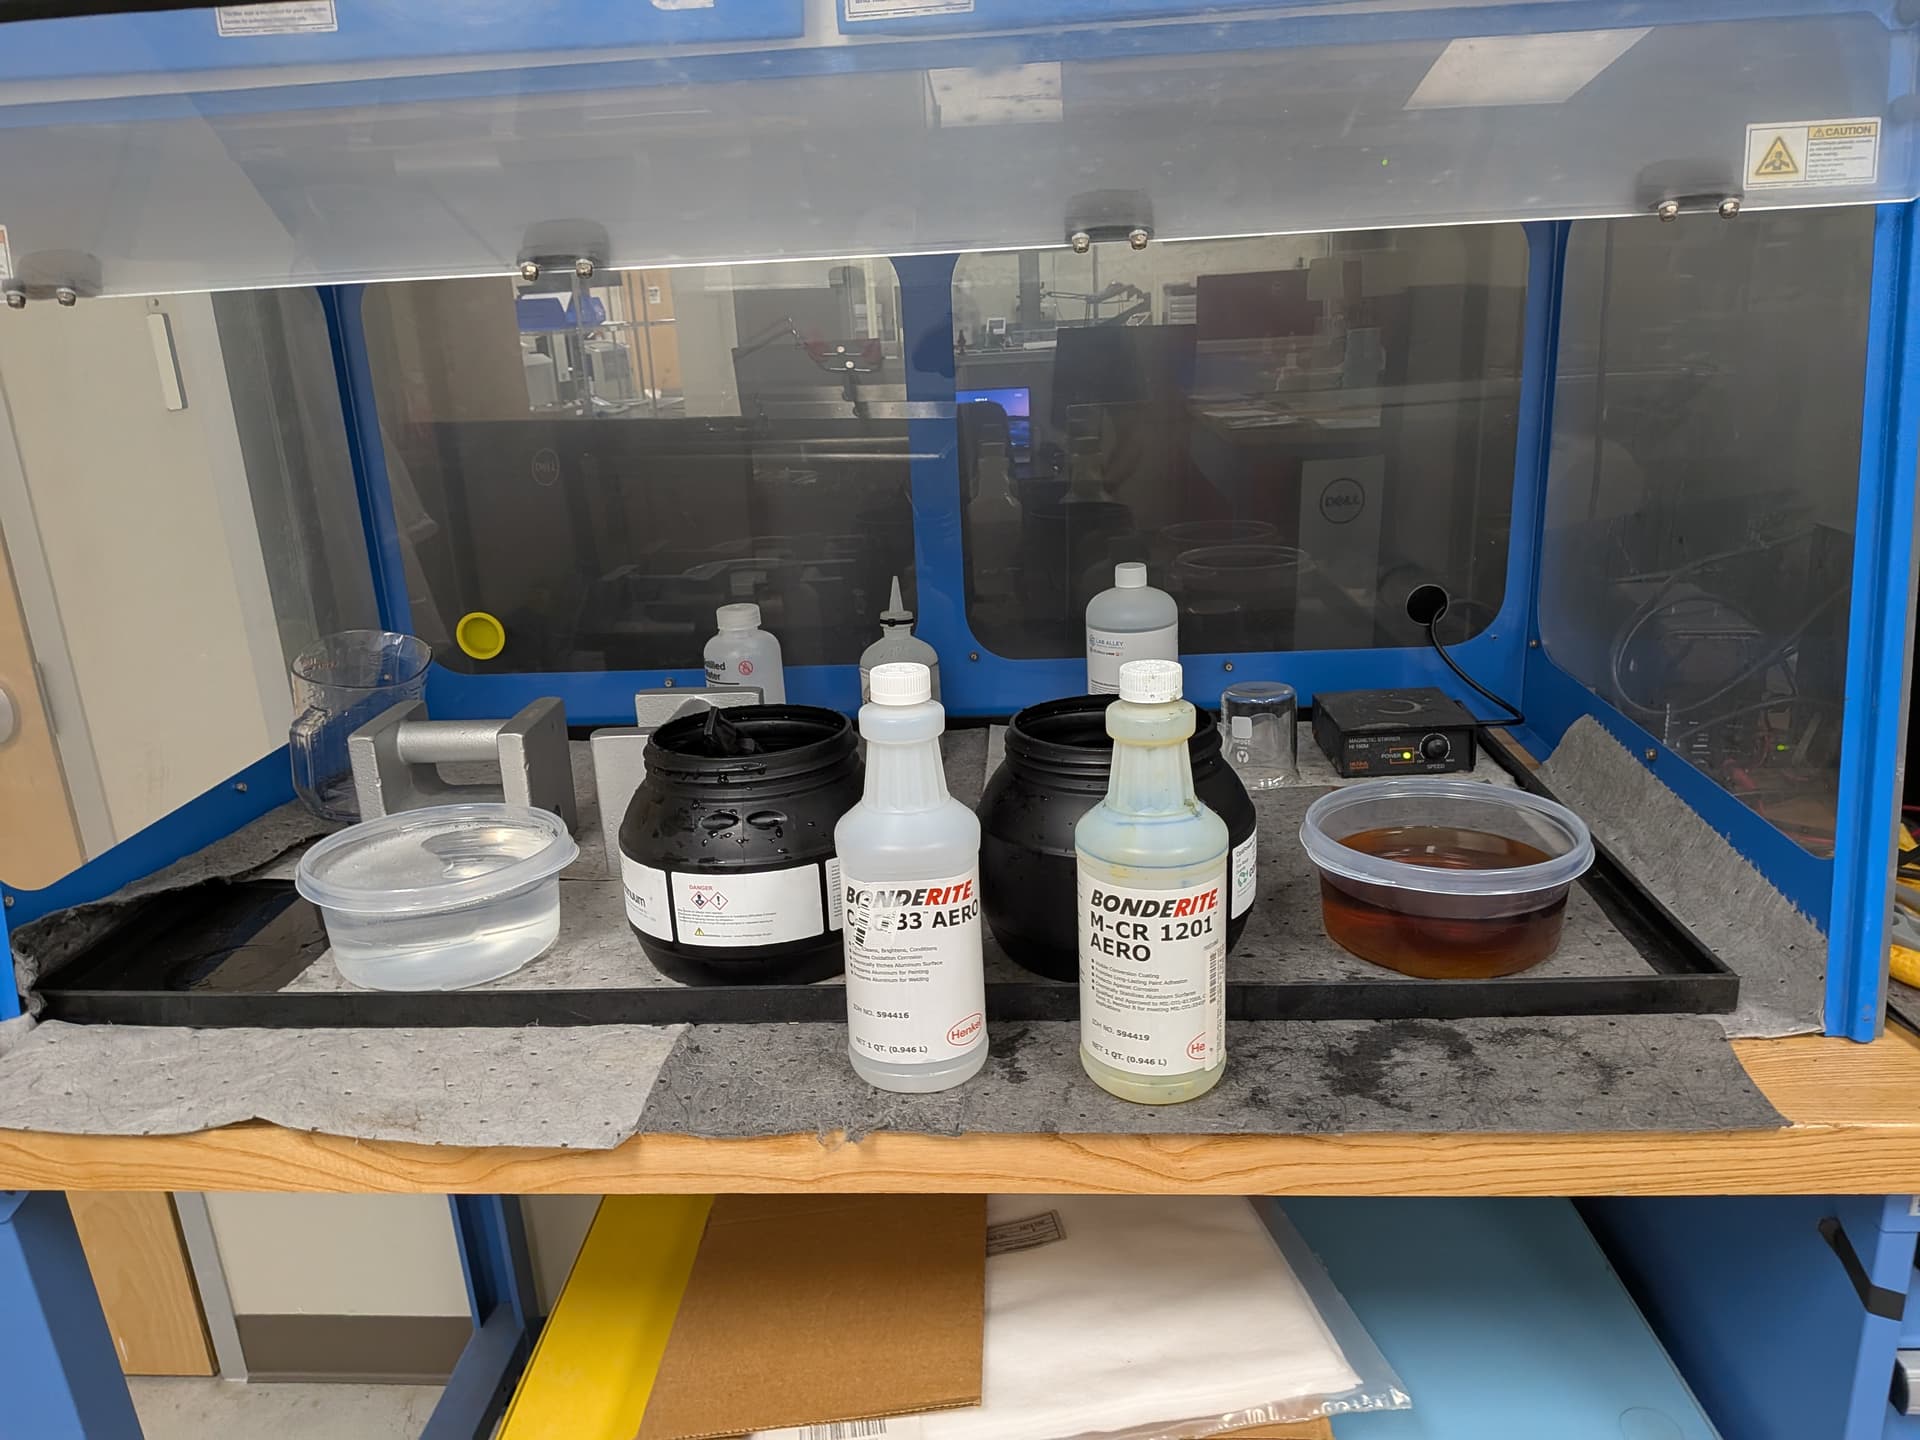
The front end lugs are aluminum, so etched them and then applied a bond promoter and corosion inhibitor. I used alumiprep 33 and alodine 1201.
For adhesive I used DP420 with some glass bead blast media mixed in as a bondline thickness control. I had to switch to a different adhesive, 3m 2216 for glueing on just the bottle cage bosses.
To fixture this all together used 3D printed plastic tube holders and lug fixtures. I did this on top of an MDF work surface which I shimmed to make approximately ‘flat’. Good enough for me.
Here are the problems I ran into:
Having gone through the same process working out the bonding sequence etc, I know how messy it gets.
Hot tip for cleanup once everything is in place is to use baby wipes - the kind that are not too wet. It’s surprisingly efficient as long as the epoxy is still not cured. Once cured it’s an absolute pain to get it off (as it should be!).
I find the pot life pf the DP420 to be too short for such a glue up. DP460 (i believe) will give you more time and you can make sure you don’t have to rush anything, and even if things go badly you can pull everything back apart and clean off the uncured epoxy.
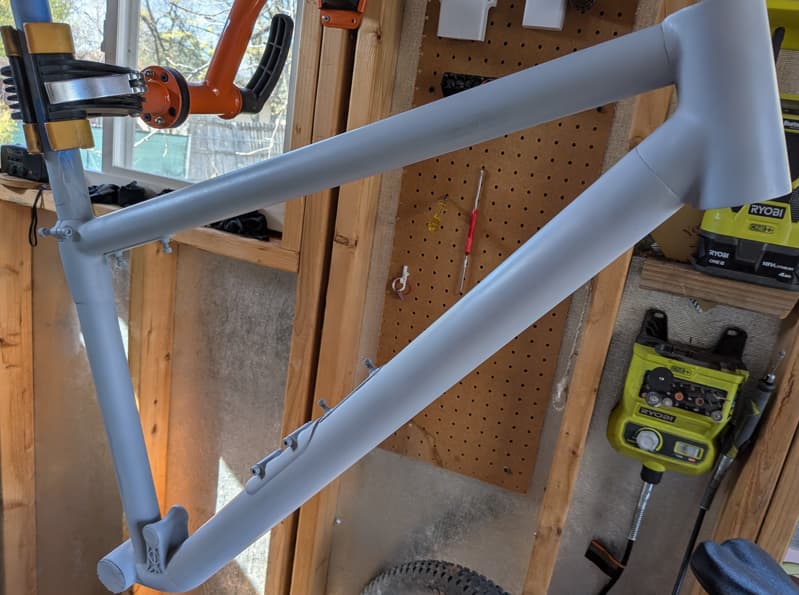
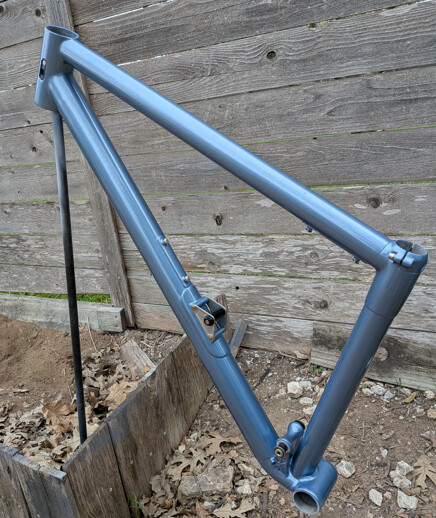
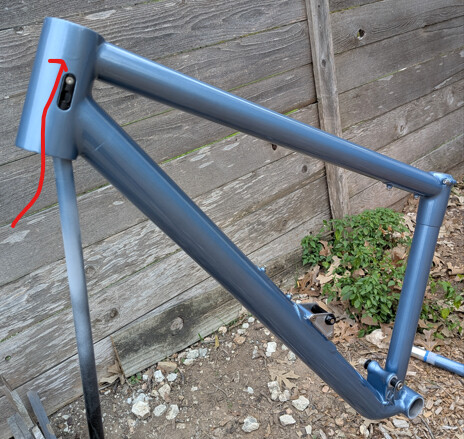
Paint on the front triangle is DONE.
For paint, here is the process I ended up following. I am bad at this, so it took alot more coats and sanding than it should have.
The results are not perfect, but MUCH better than I expected TBH.
Now I just have to make a rear triangle. I’ll hopefully print the Ti lugs for the rear end in the next few weeks, and have thing thing all bolted together in a couple of months.
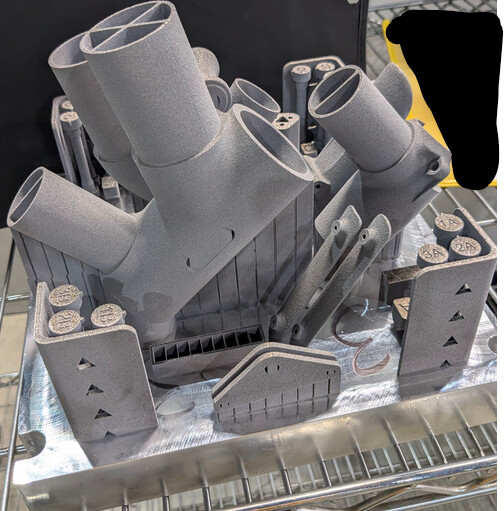
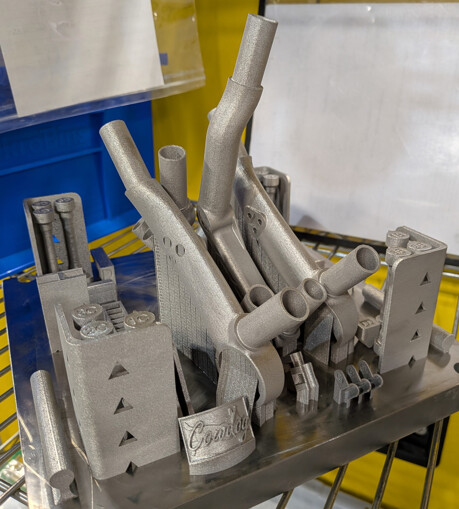
Small update. The last printed pieces I need are through print and heat treat, and off the build platform. This is Ti64, and the heat treatment was just a simple stress relief in a vacuum furnace. I plan to do a full surface grind to make the surfaces smooth and shiny, and leave uncoated.
Only ~1/3 of the stuff on this plate is for this frame. Everything else is stuff needed for the R&D test I was piggybacking on.
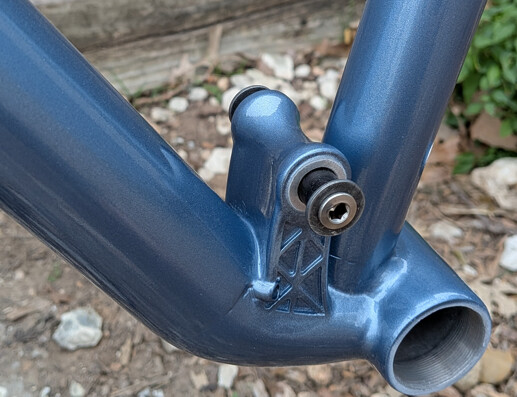
The plate has the chainstay yoke, dropouts, rear shock mount lugs, cable clips, and most importantly, a head badge.
After getting the parts off the plate, I started by cutting threads in a couple of spots for bearing retention. Adding threads to Ti64is painful to do by hand. Predictably….. I broke a hand tap. However, one of titanium’s super powers is corrosion resistance! So I corroded the broken tap out! This was done with hydrogen peroxide, vinegar, and salt. 4 days in this bath and the M5 tap was pretty much gone. I’ve had success ‘removing’ a broken tap in printed 316L in a similar way in the past.
Reading your previous posts it might be interesting to look at Variobond to thicken your epoxy for bonding.
Variobond is a thixotrope epoxy used in composite boatbuilding and is an awesome very thick paste that can strongly bond to carbon and other materials if the surface is sufficiently rough. At my previous job we used it by the bucketload to glue anything and everything that was carbon!
It’s probably too thick on its own but you can add variobond to epoxy to thicken the epoxy without having a certain grain size getting in the way or weakening the bond.
Update time!
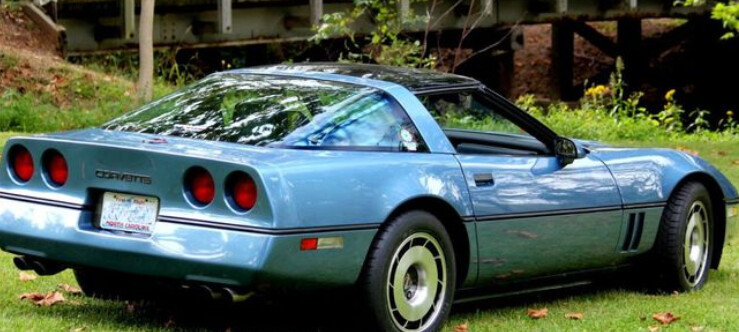
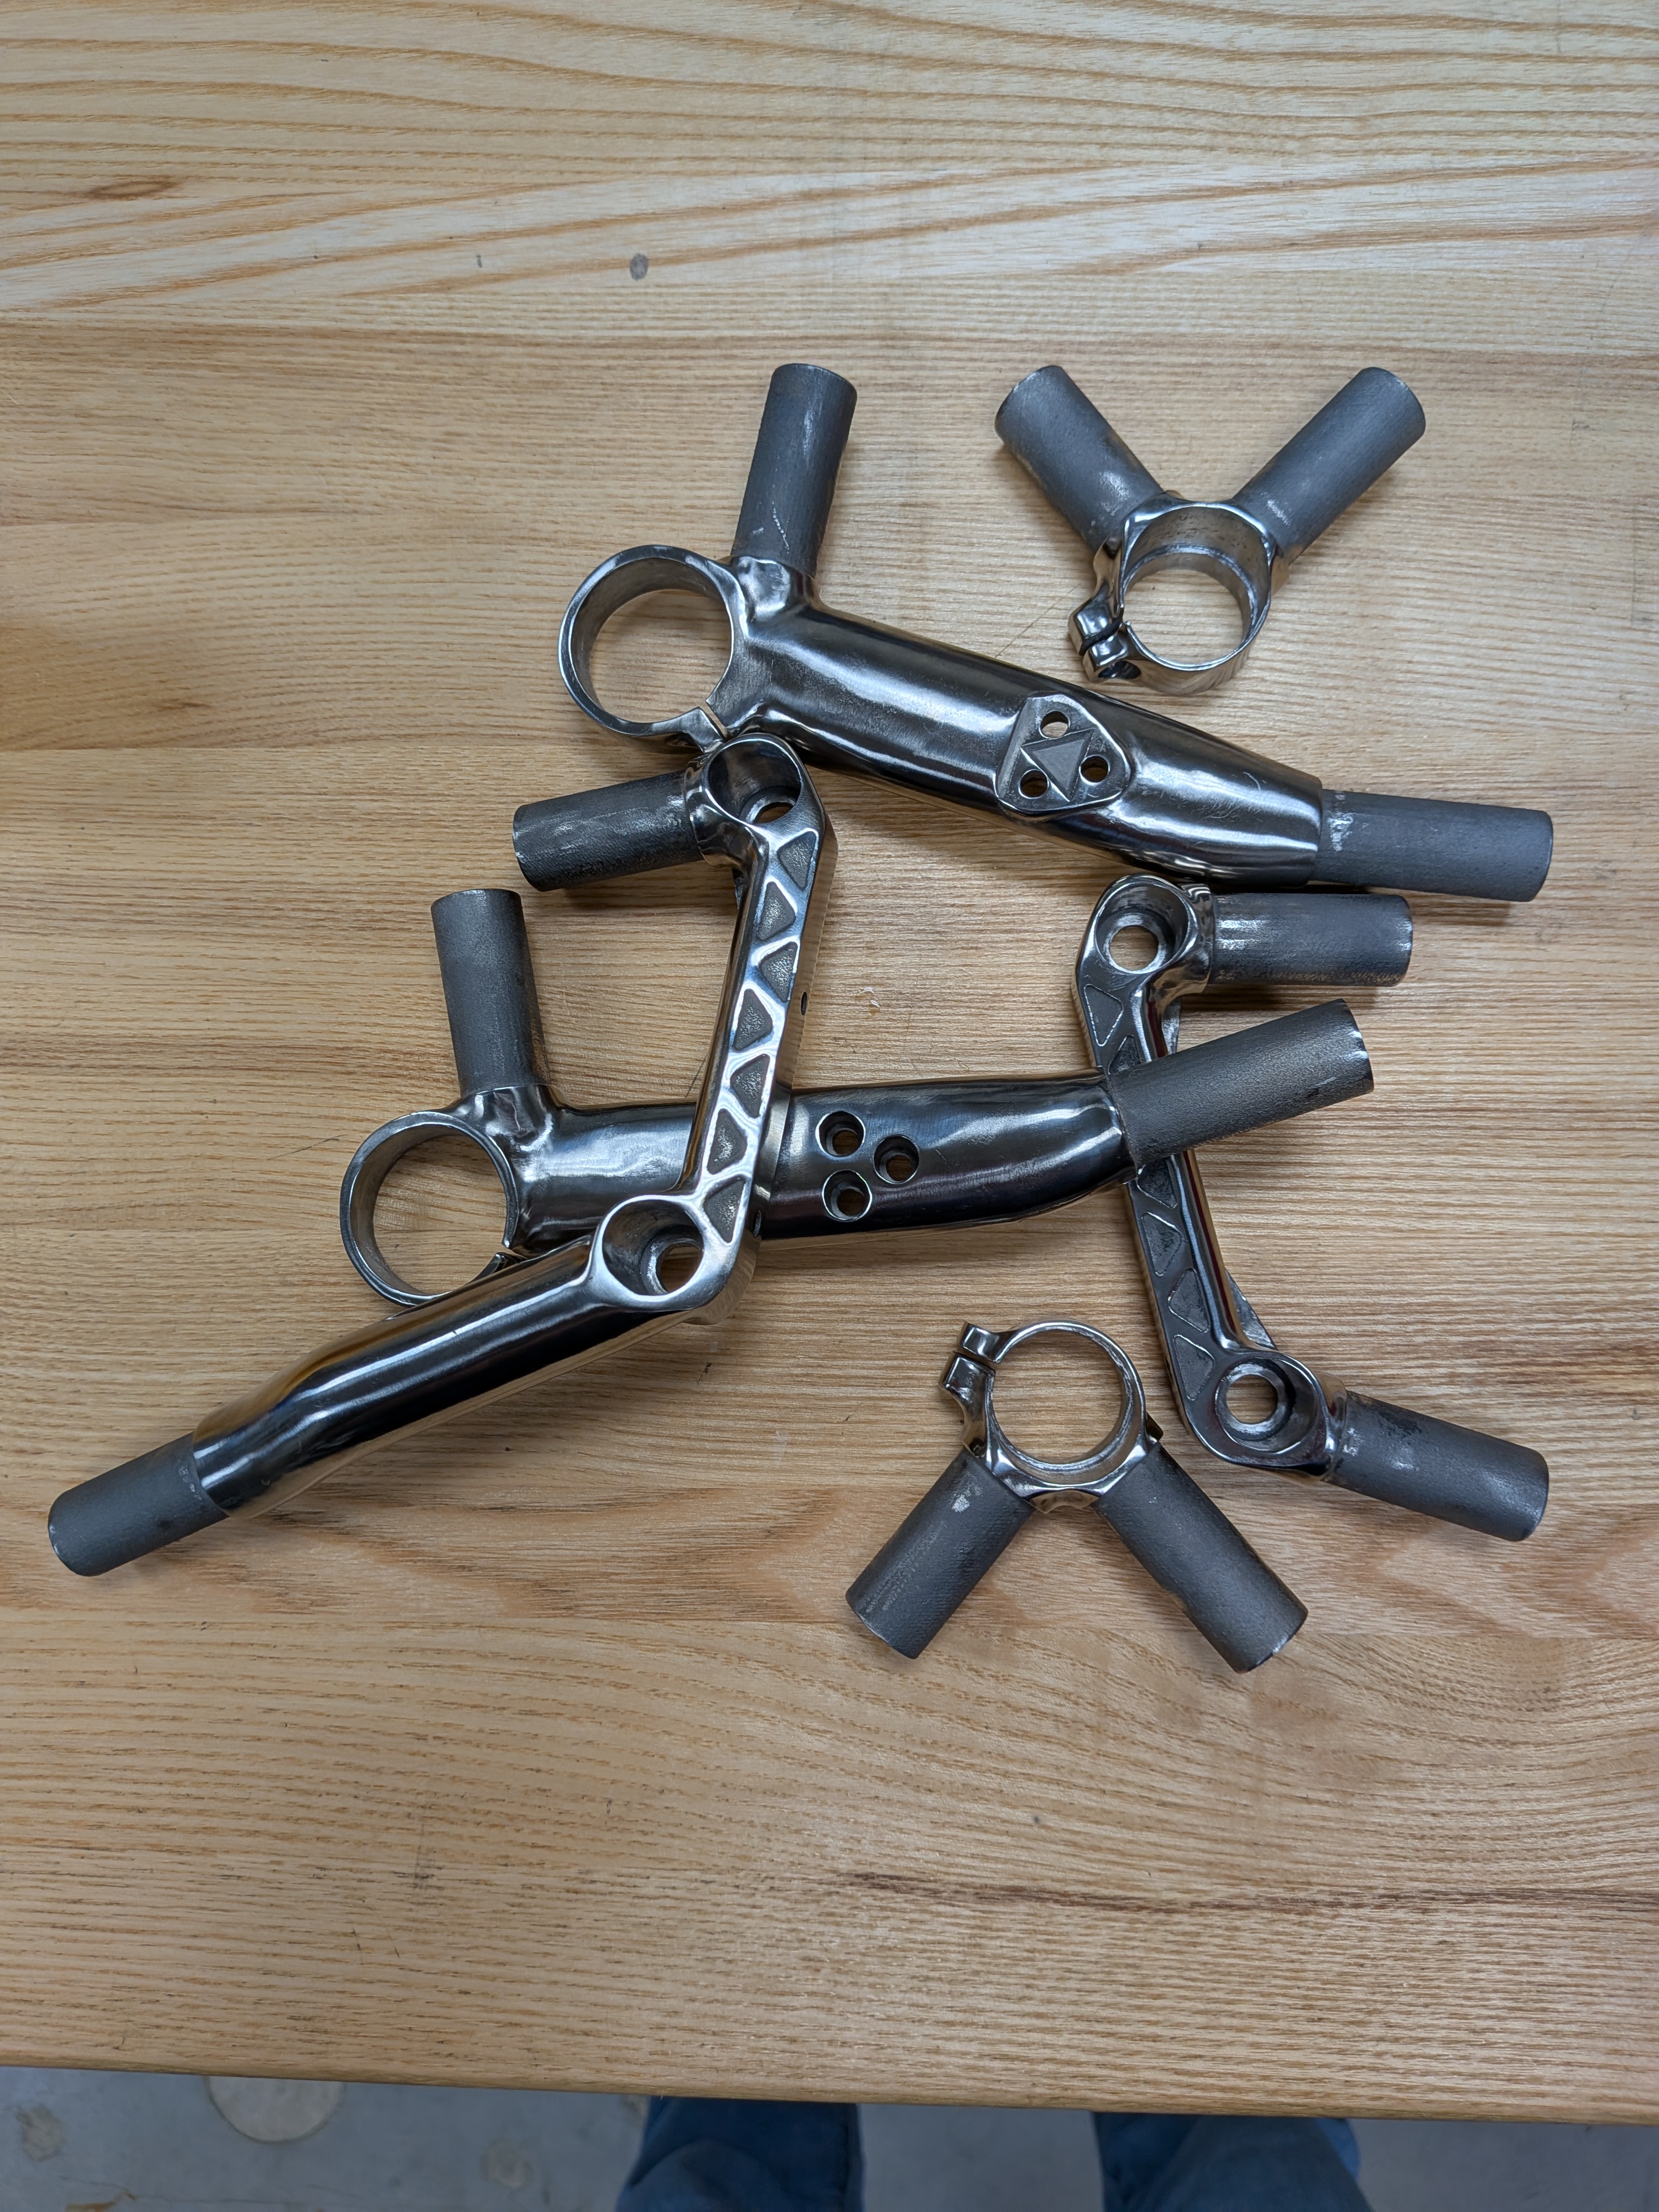
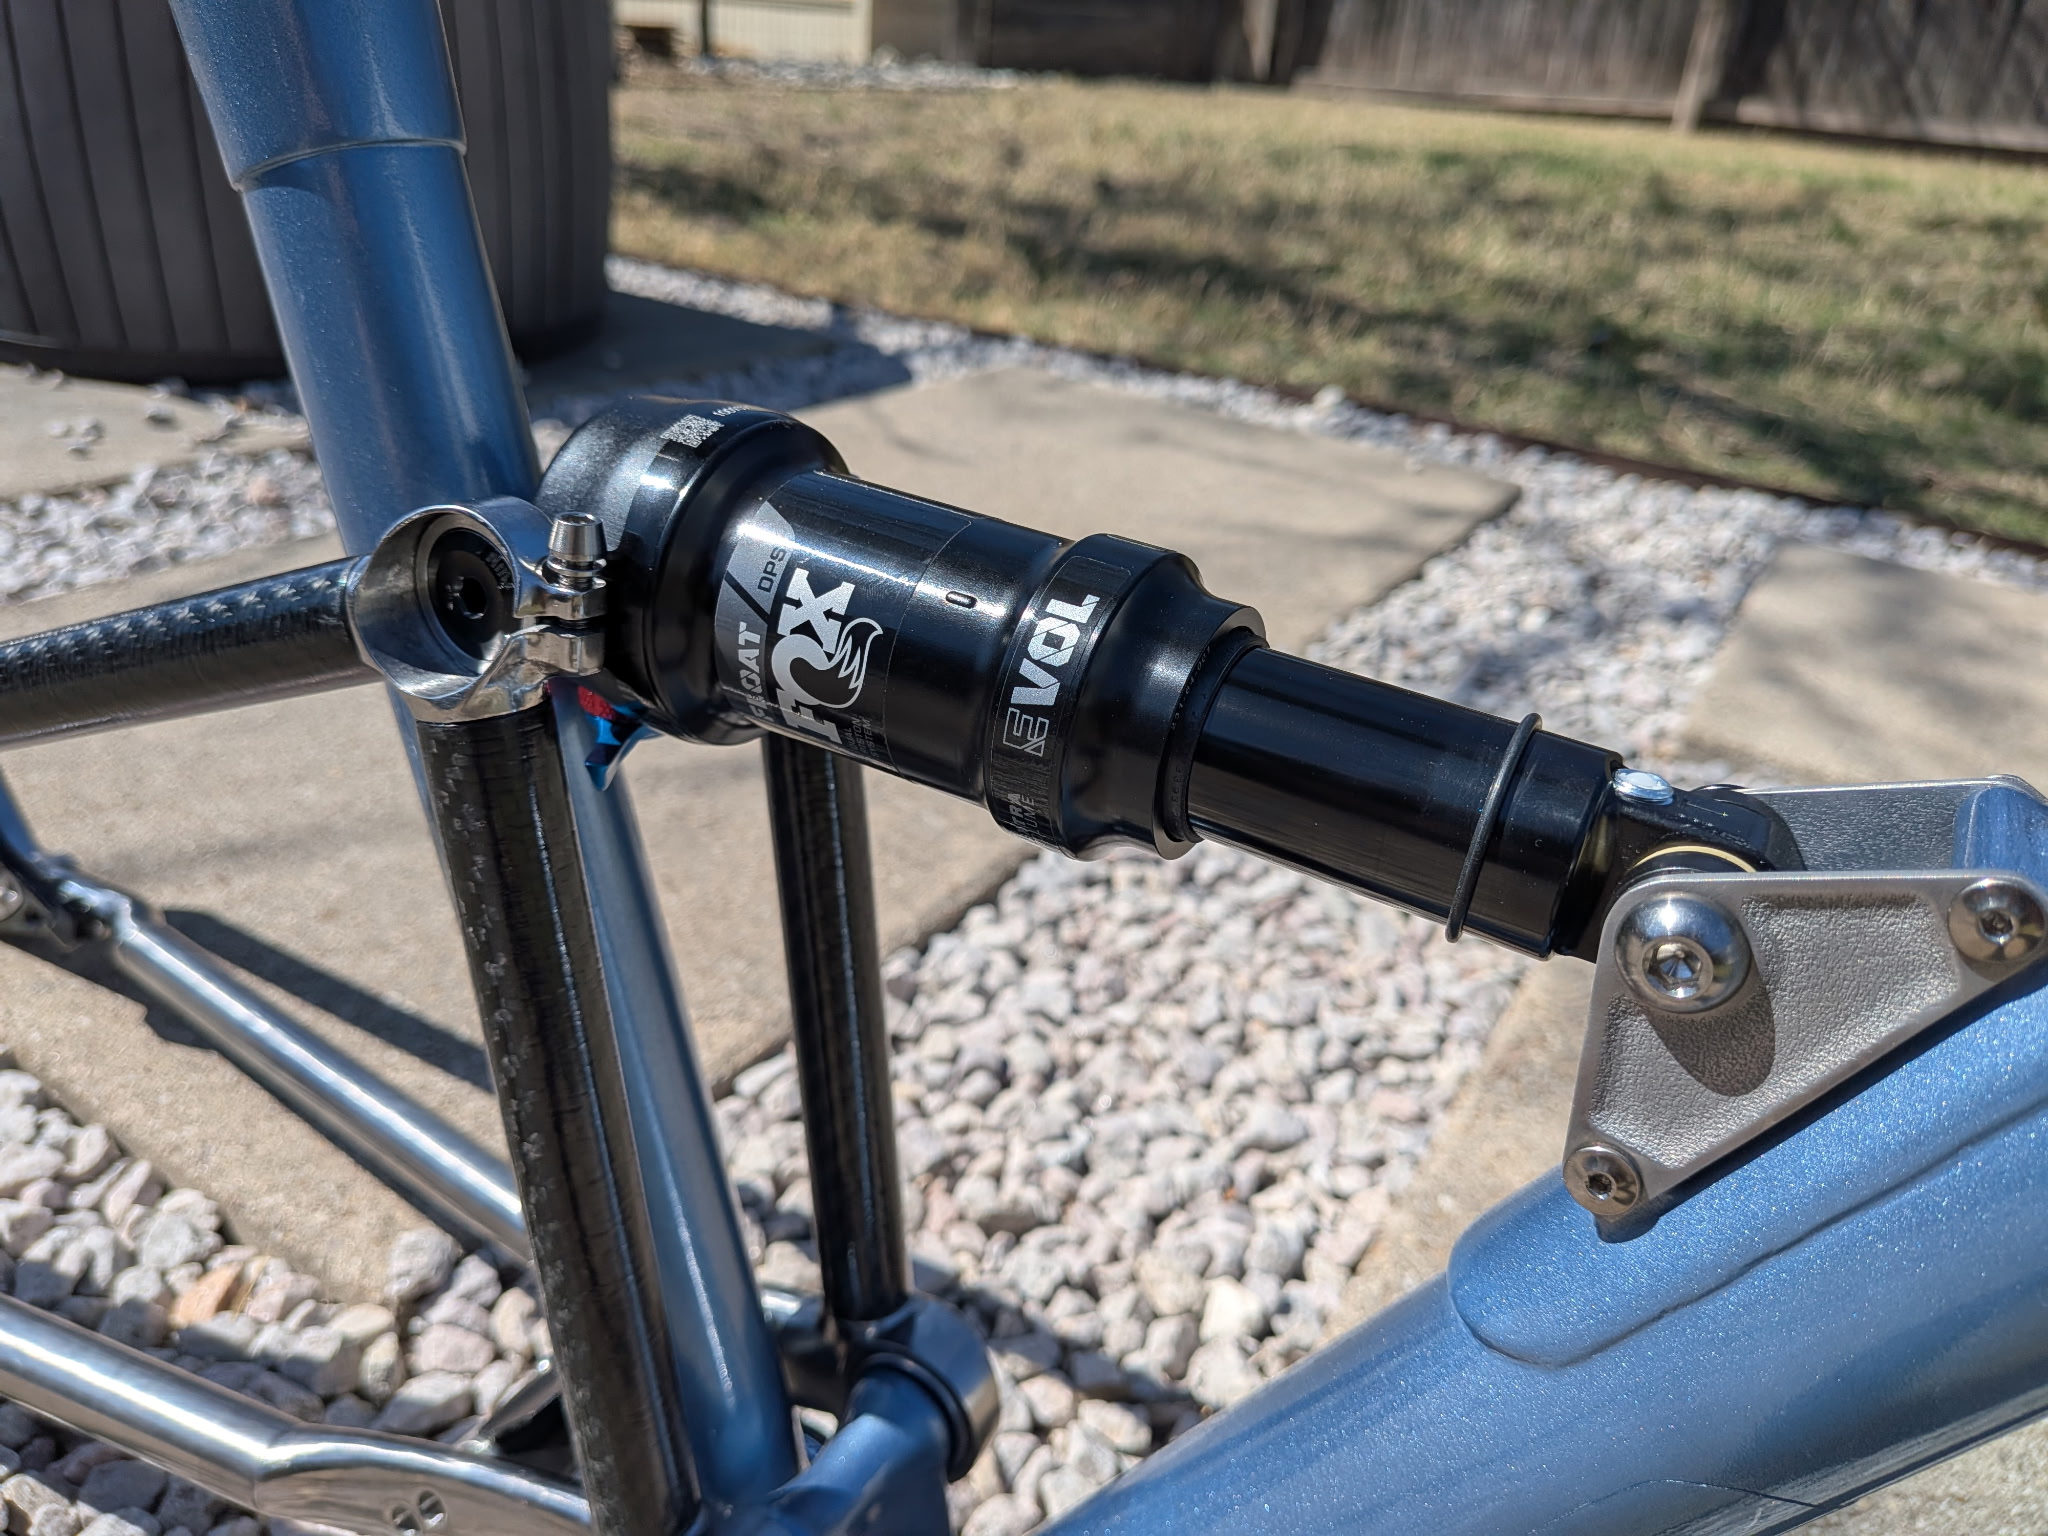
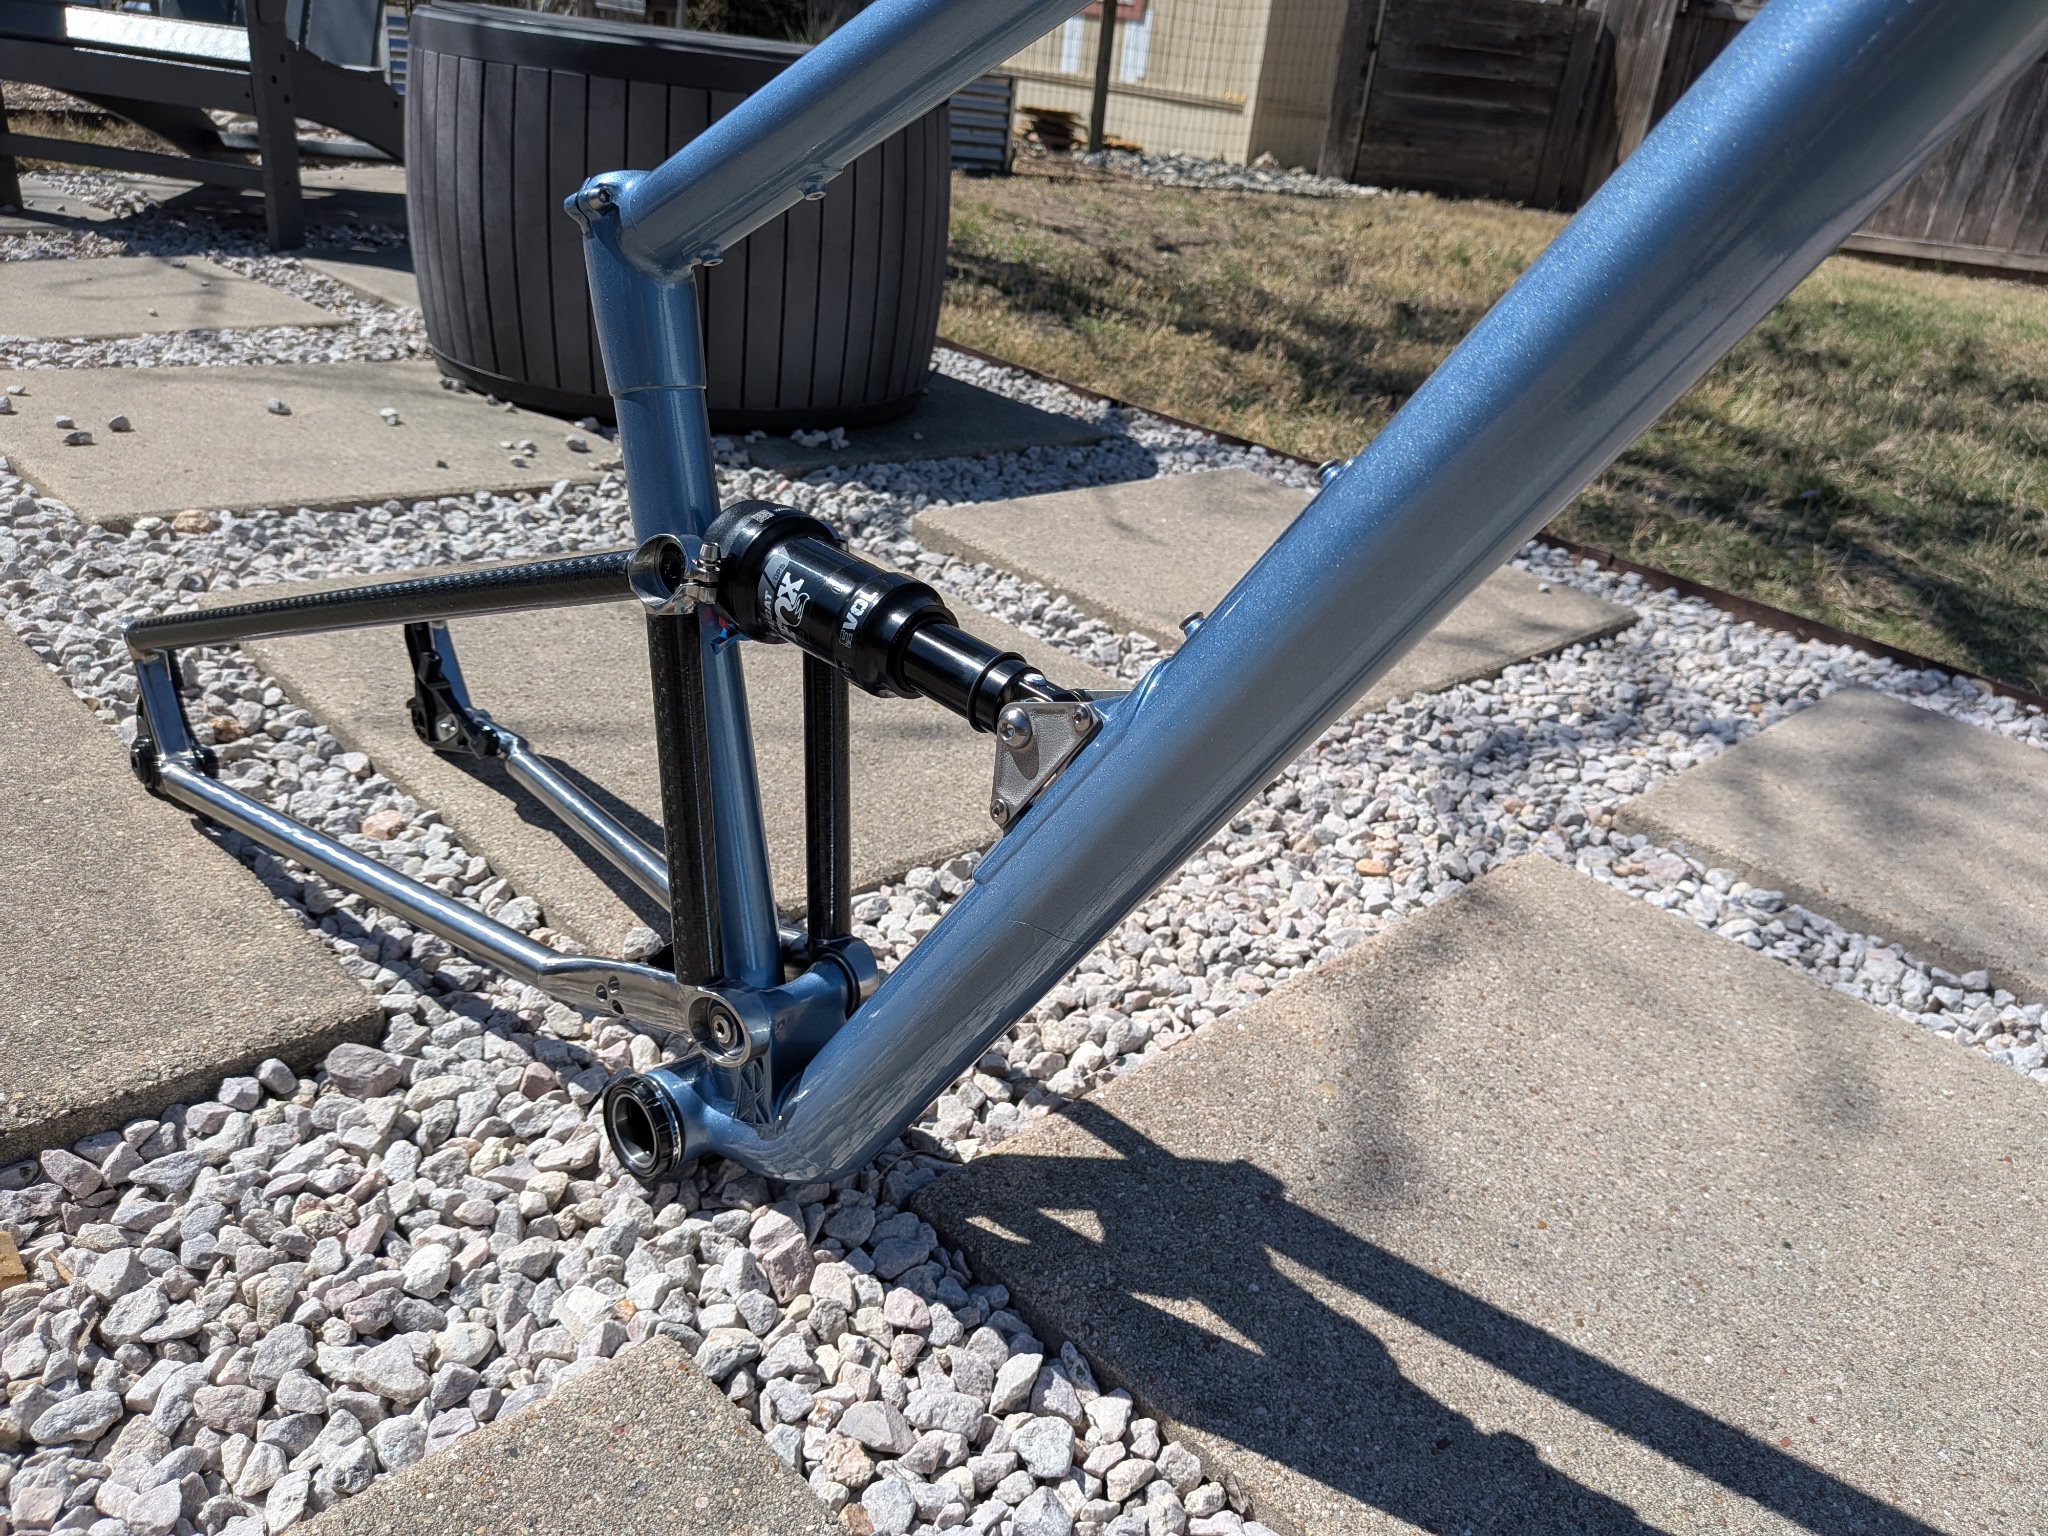
I finished all of the lugs for the rear triangle, and bonded them to tubing today! Just as planned, all the rear lugs are printed Ti64, and tubing is a mix of carbon from DragonPlate and Ti tubing from Racetechtitanium.
I polished all of the rear lugs and am leaving them bare Ti. I am also leaving the rear carbon tubing bare+clearcoat. I.e. only the front triangle will be painted.
It’s all bonded together with Permabond ET5429. I abraided surfaces and cleaned with alcohol prior to bonding. I made some very simple plastic printed fixtures to hold everything while bonding. Shoutout to JMY - GREAT idea to cleanup excess epoxy using baby wipes! This worked fantastic and left everything looking squeaky clean and reduced cleanup dramatically.
I also progressed on several little accessories that go along with the frame. I dont have photos of all of this right now. Will add when I have it all put together. Here’s a rundown of ‘accessories’ progress:
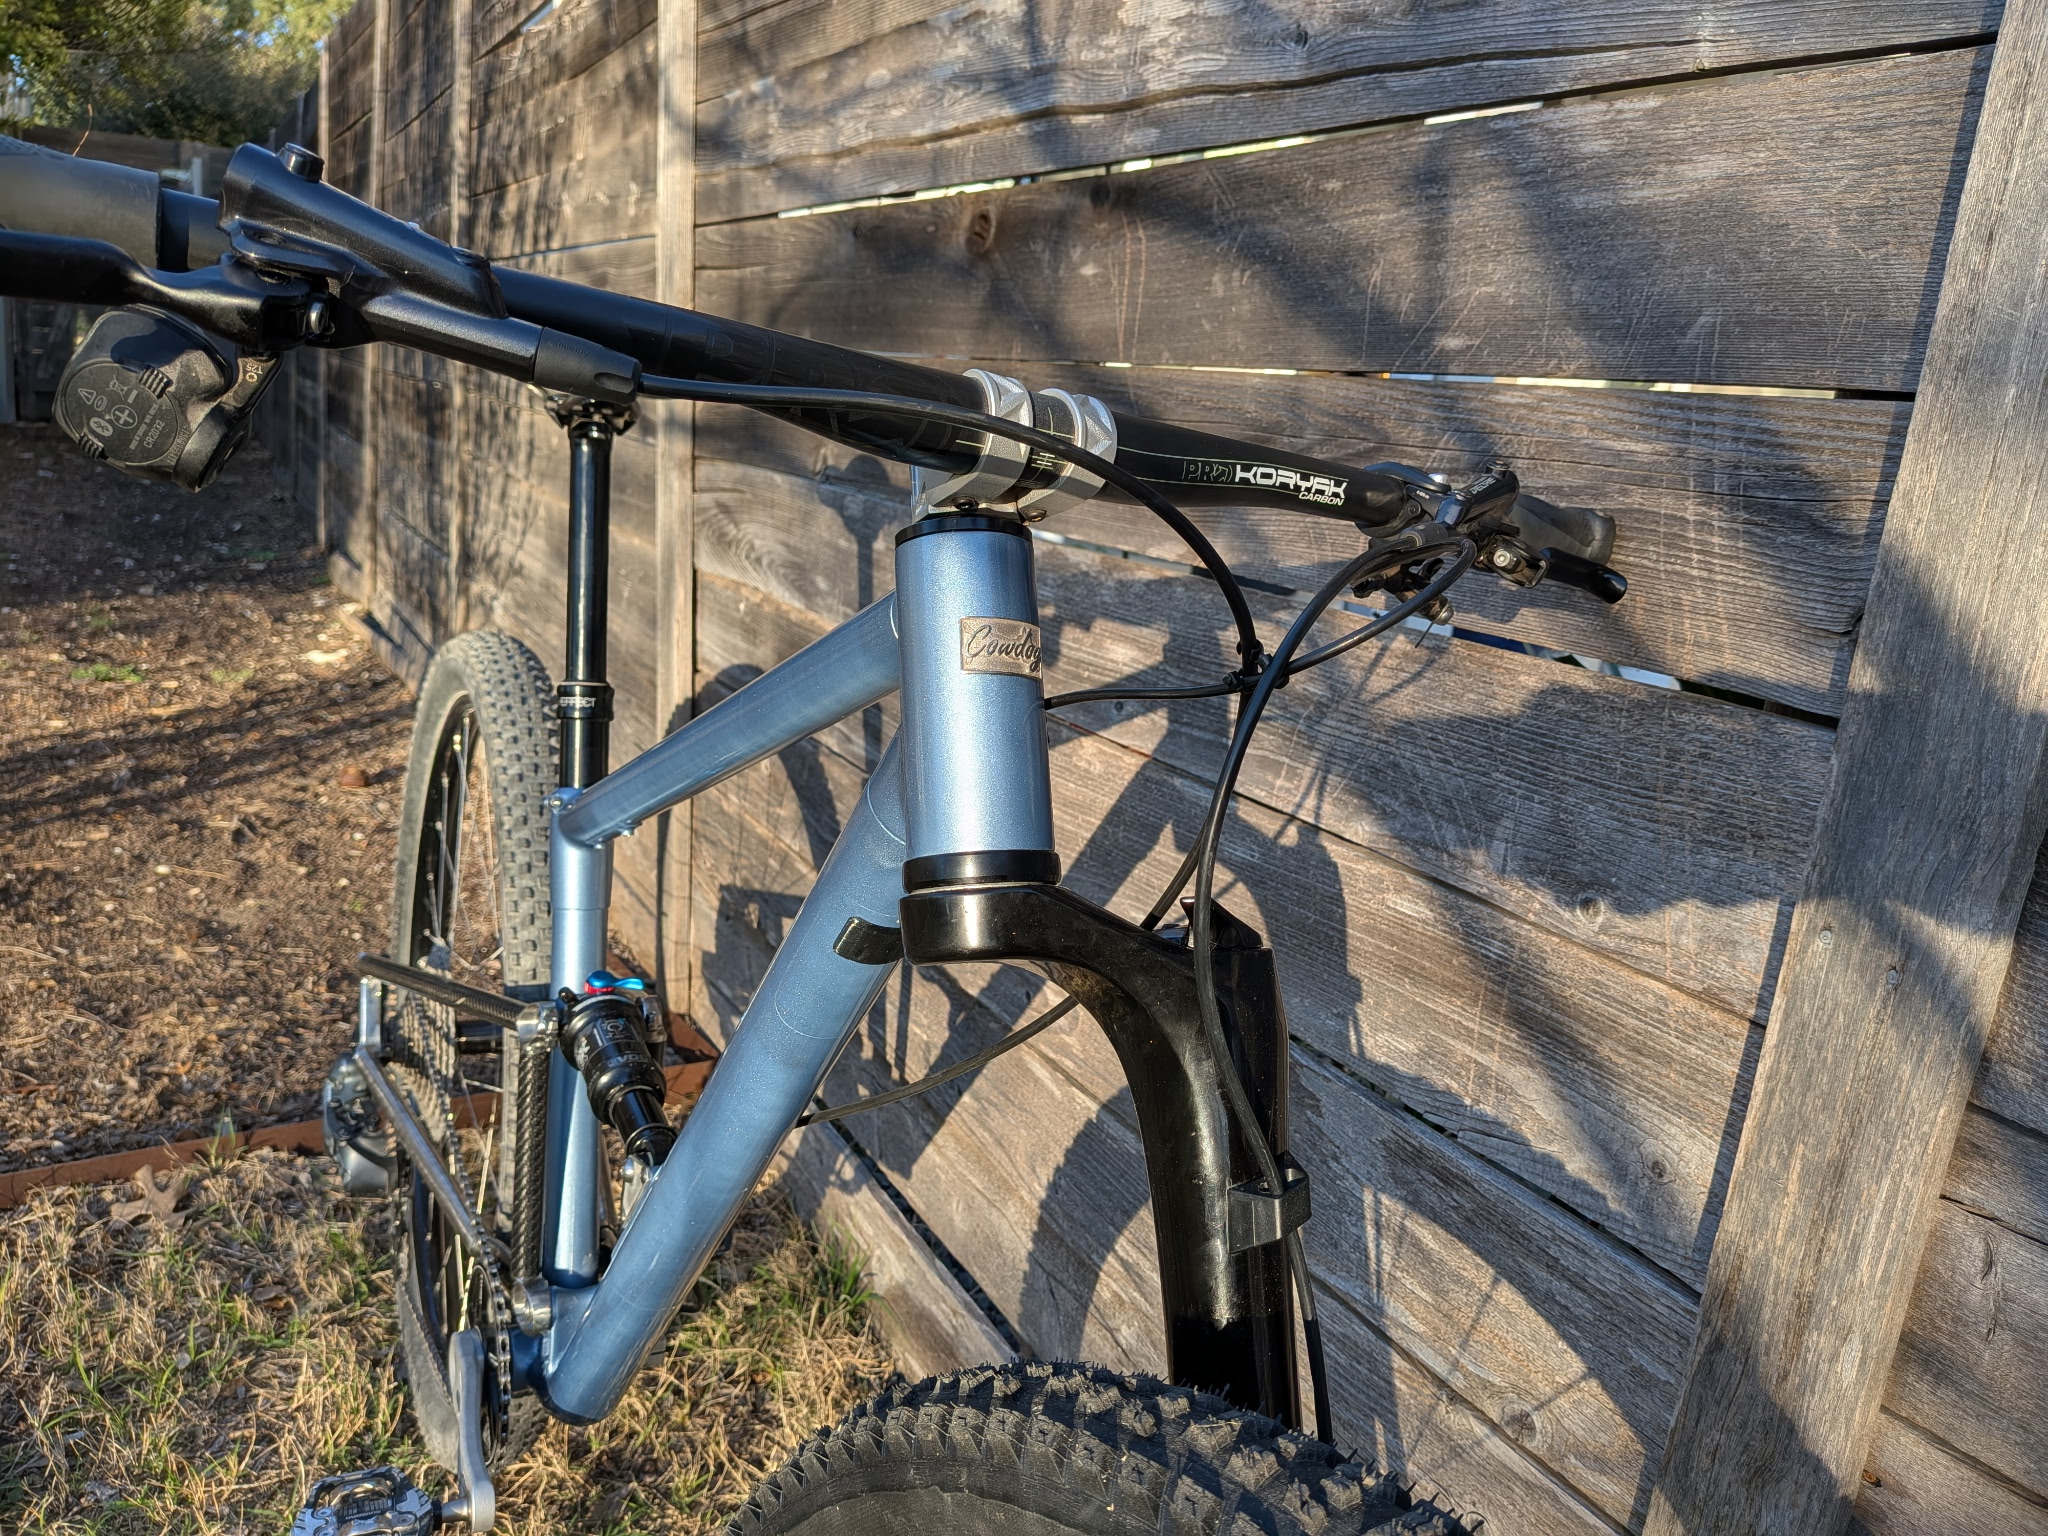
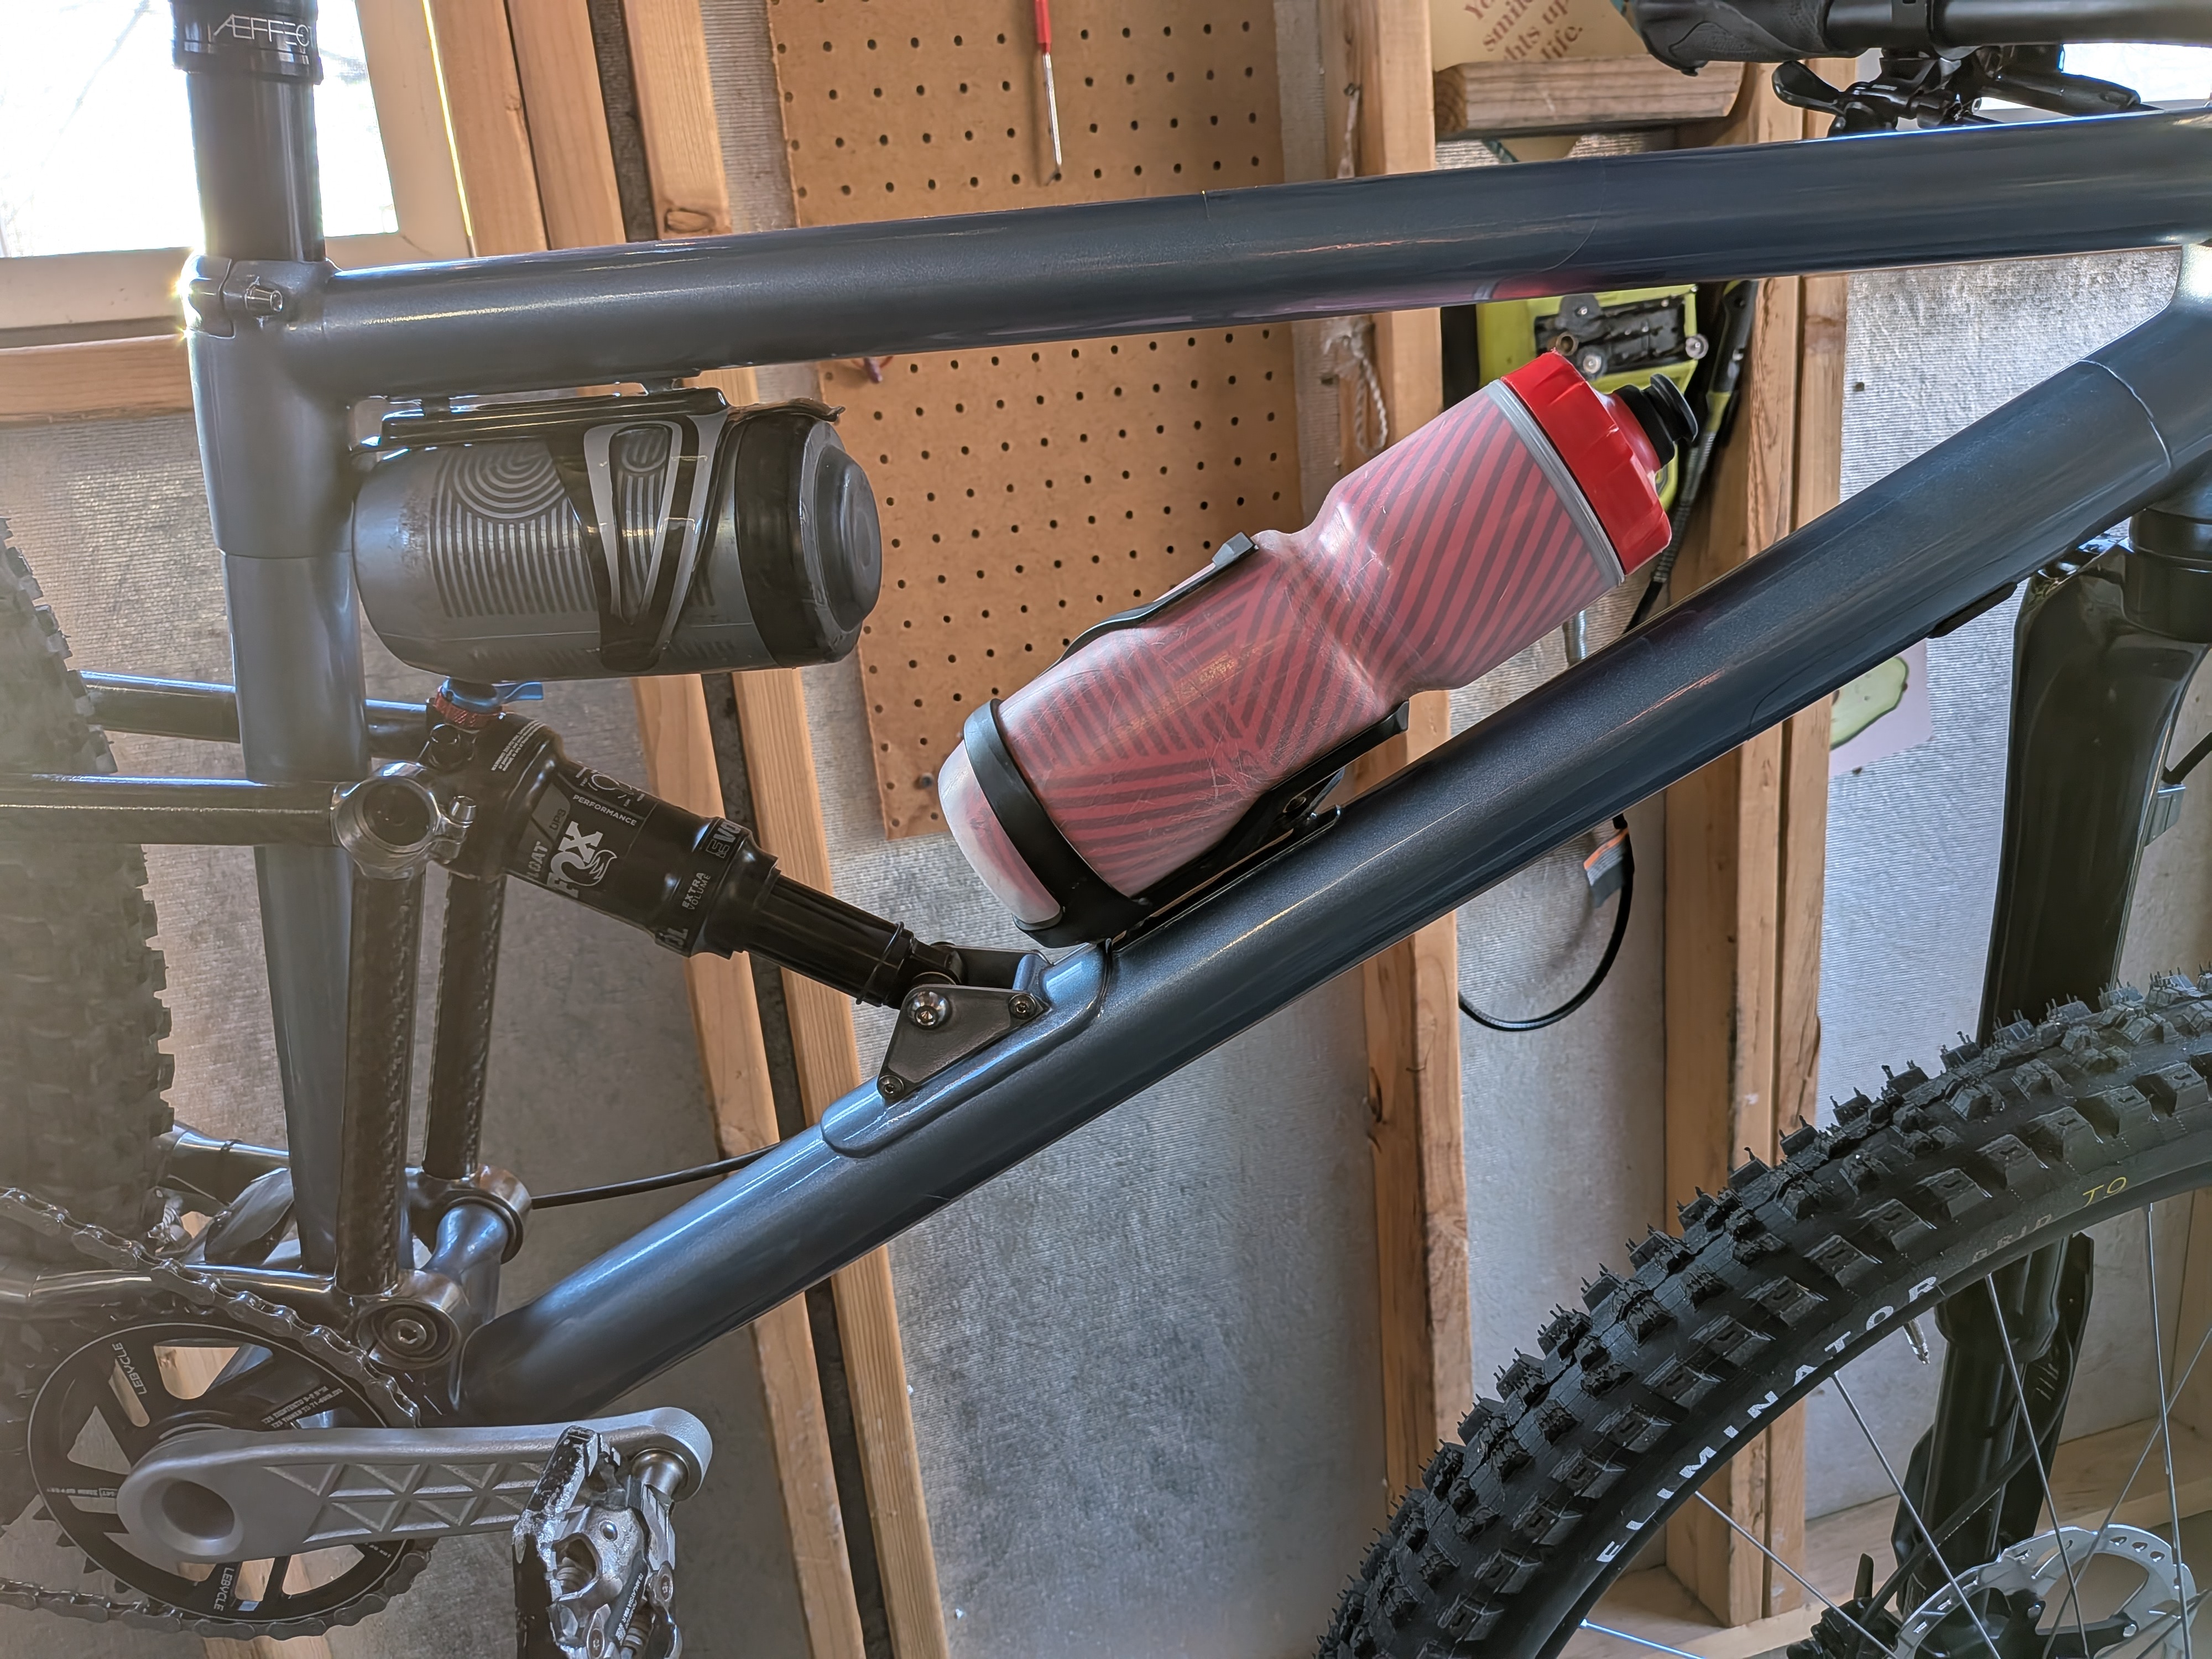
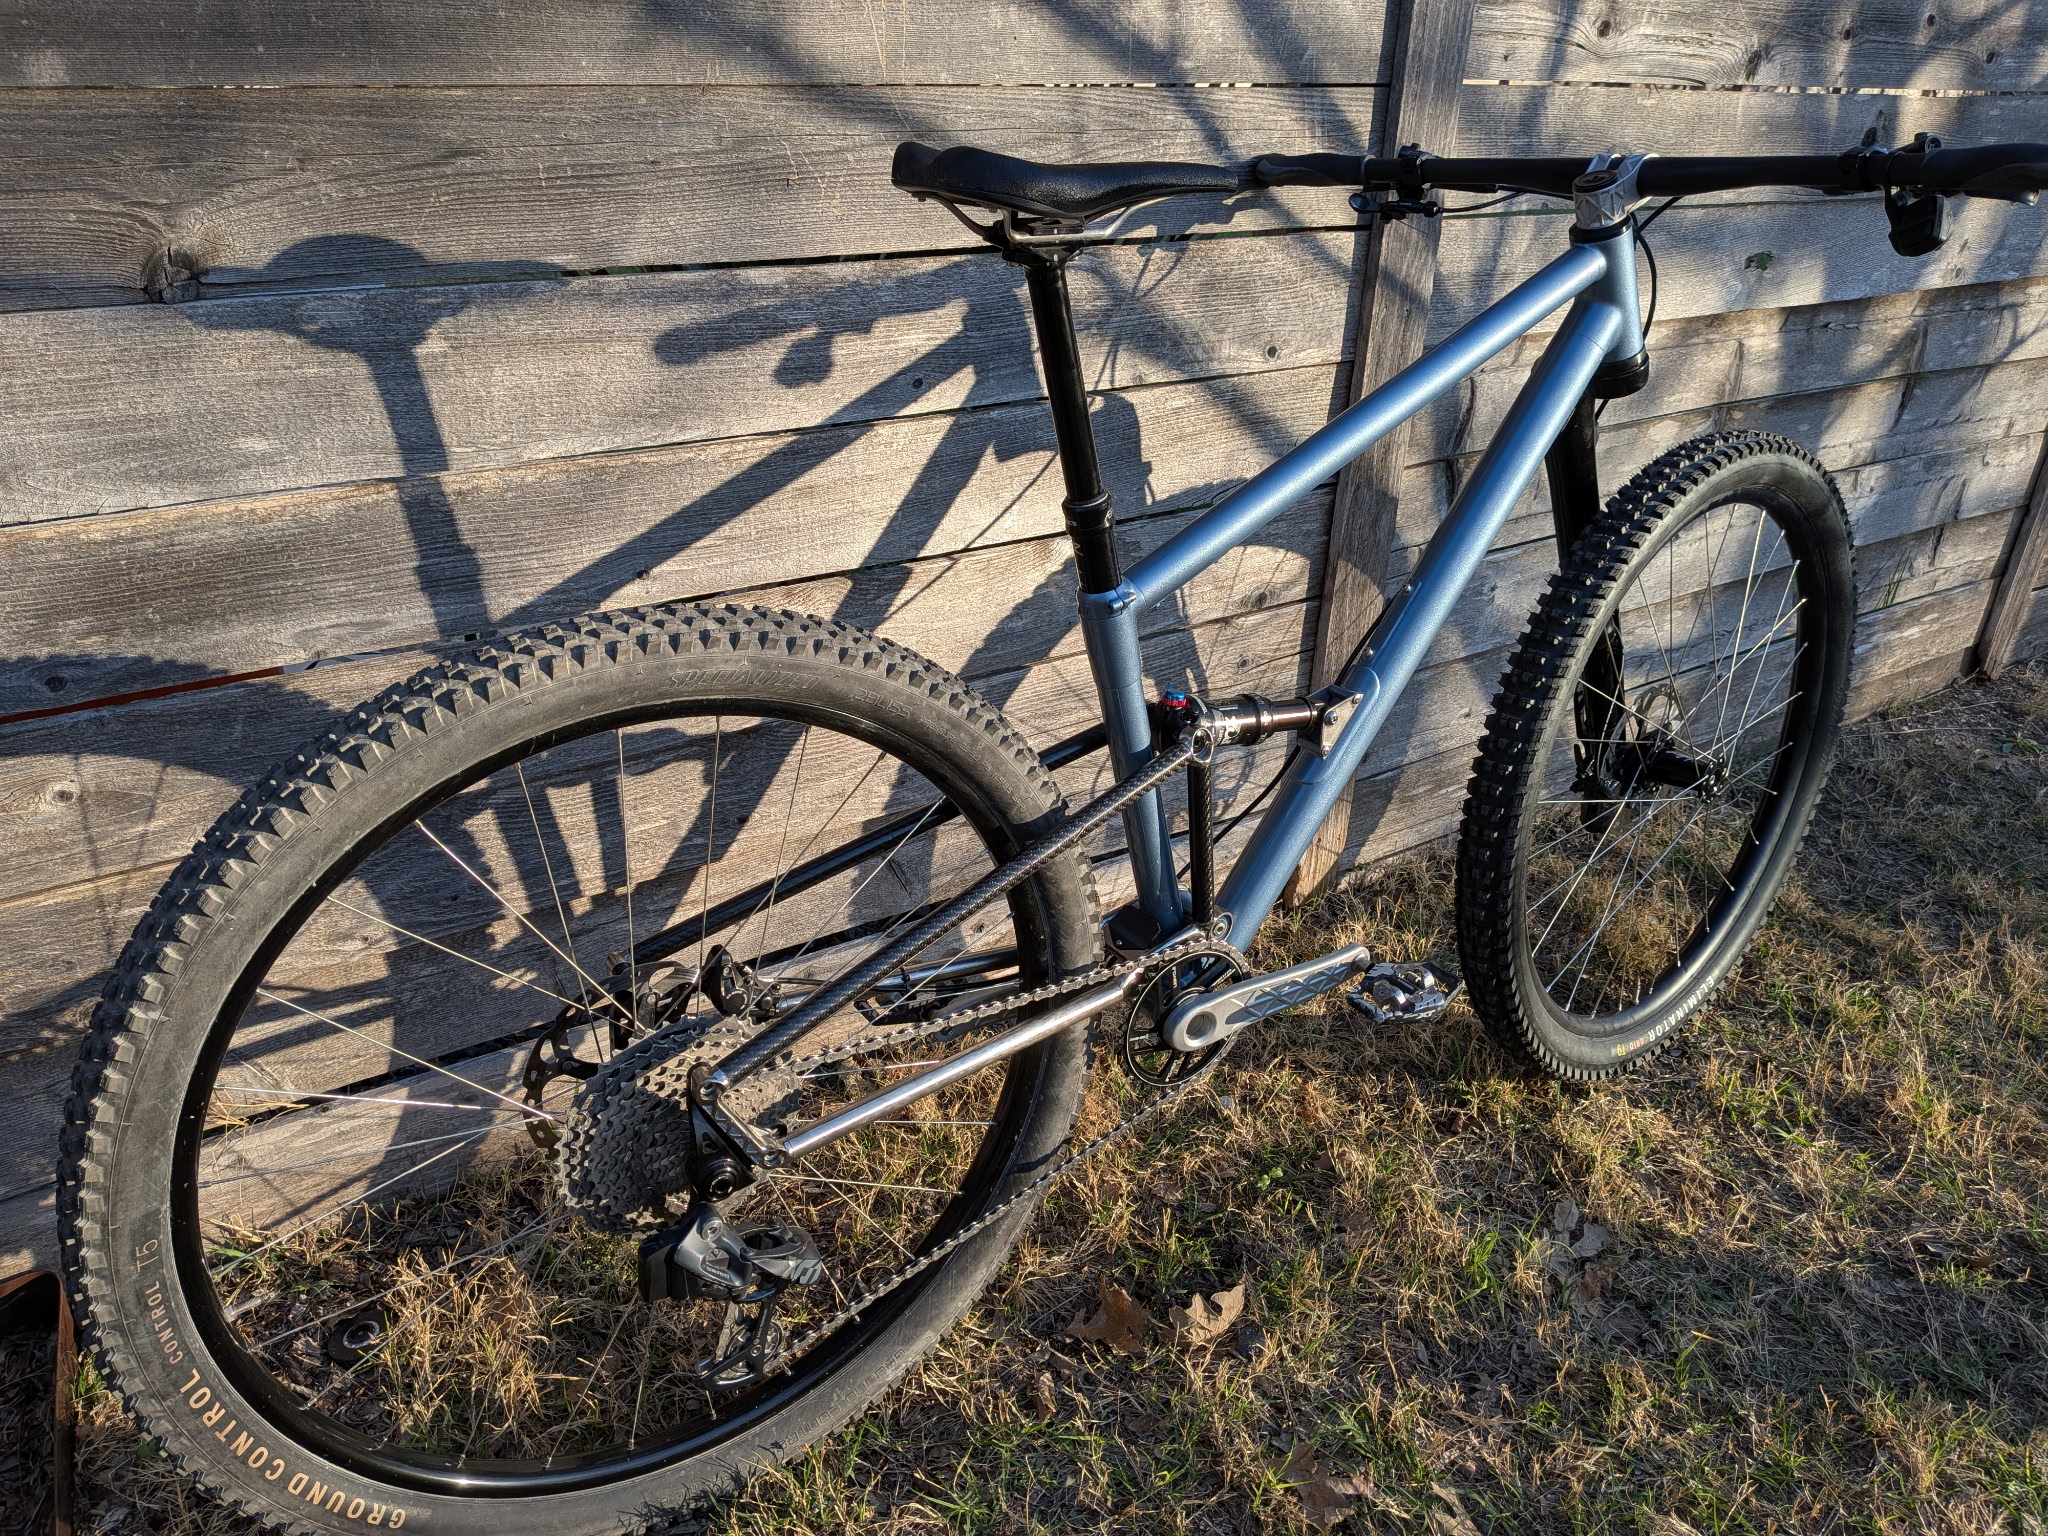
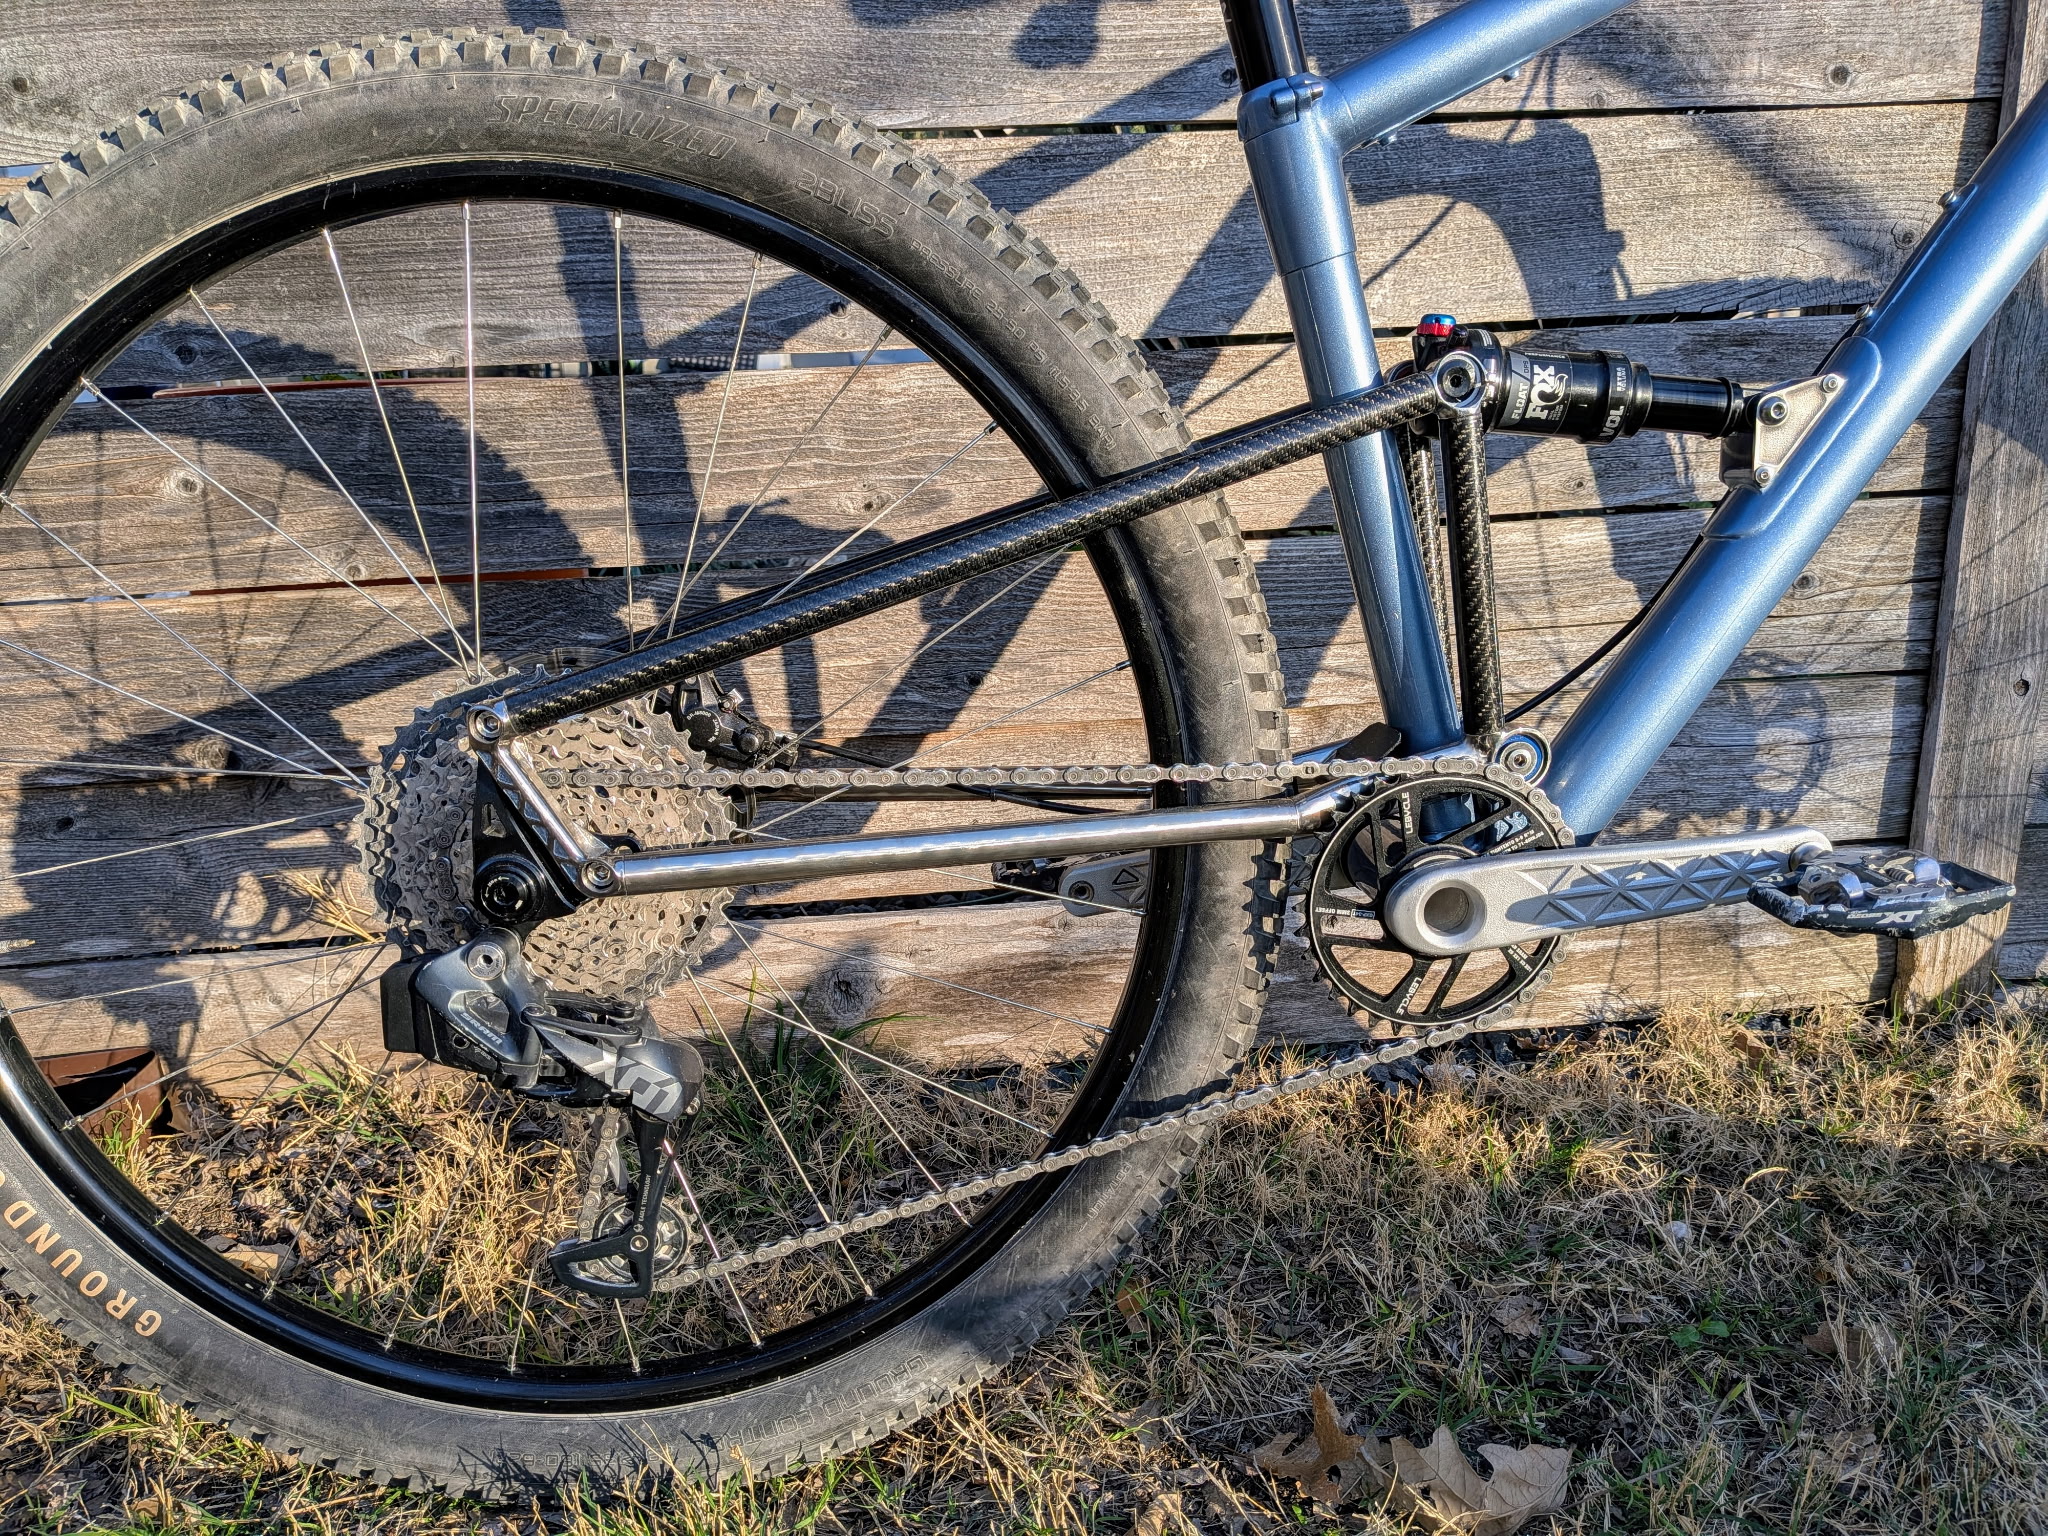
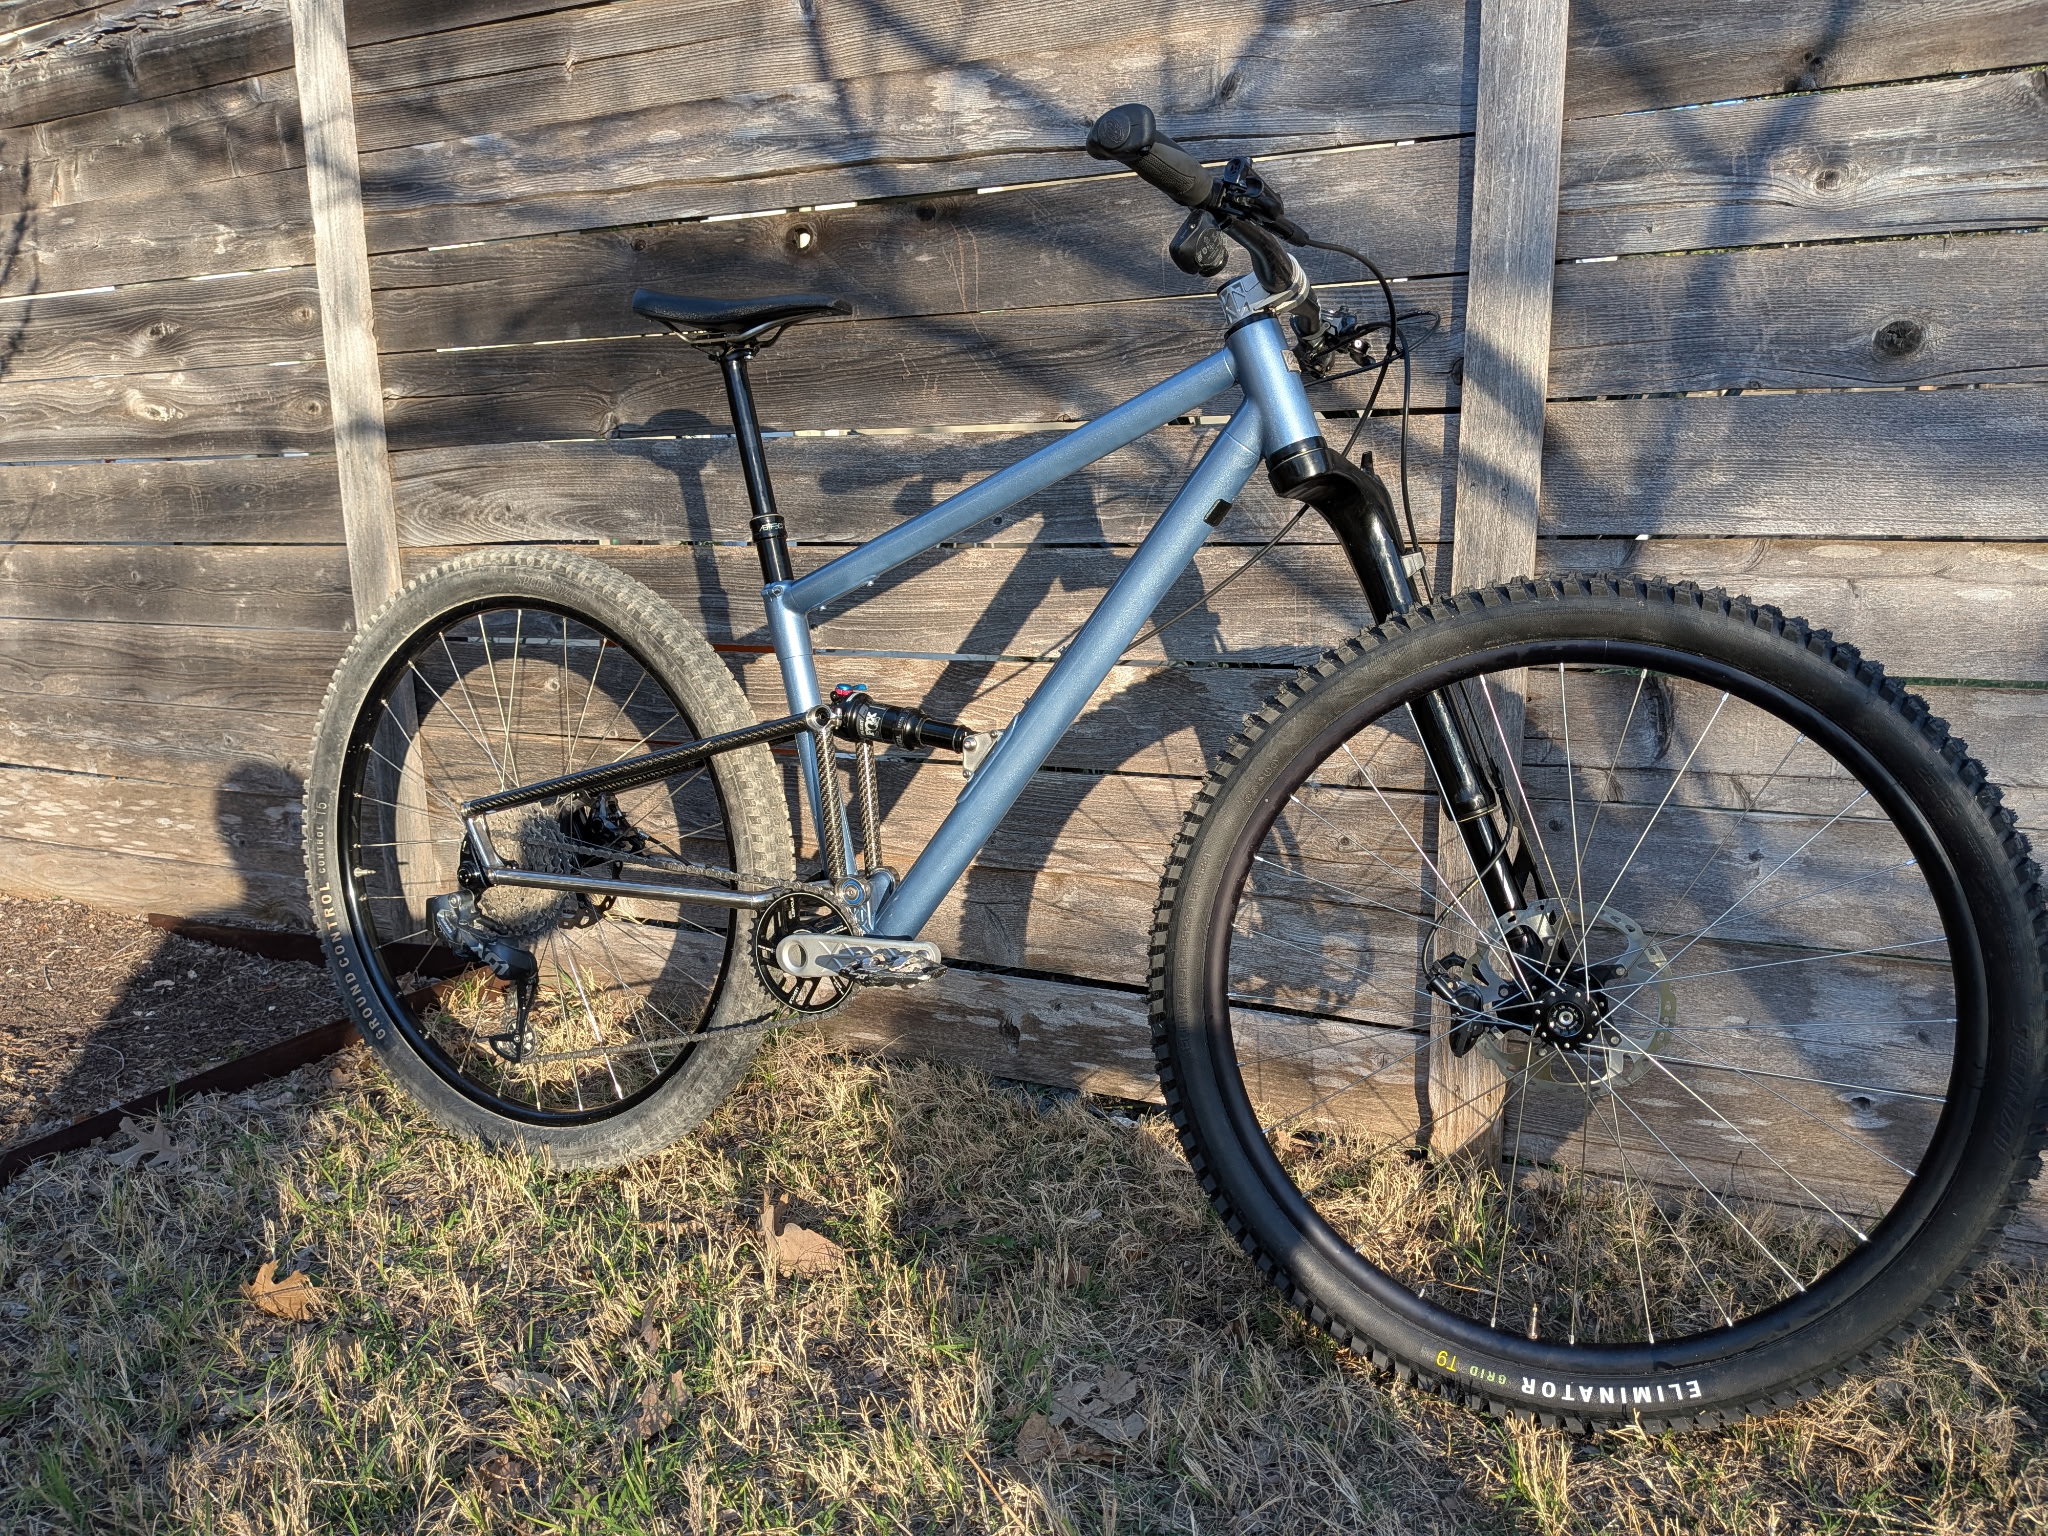
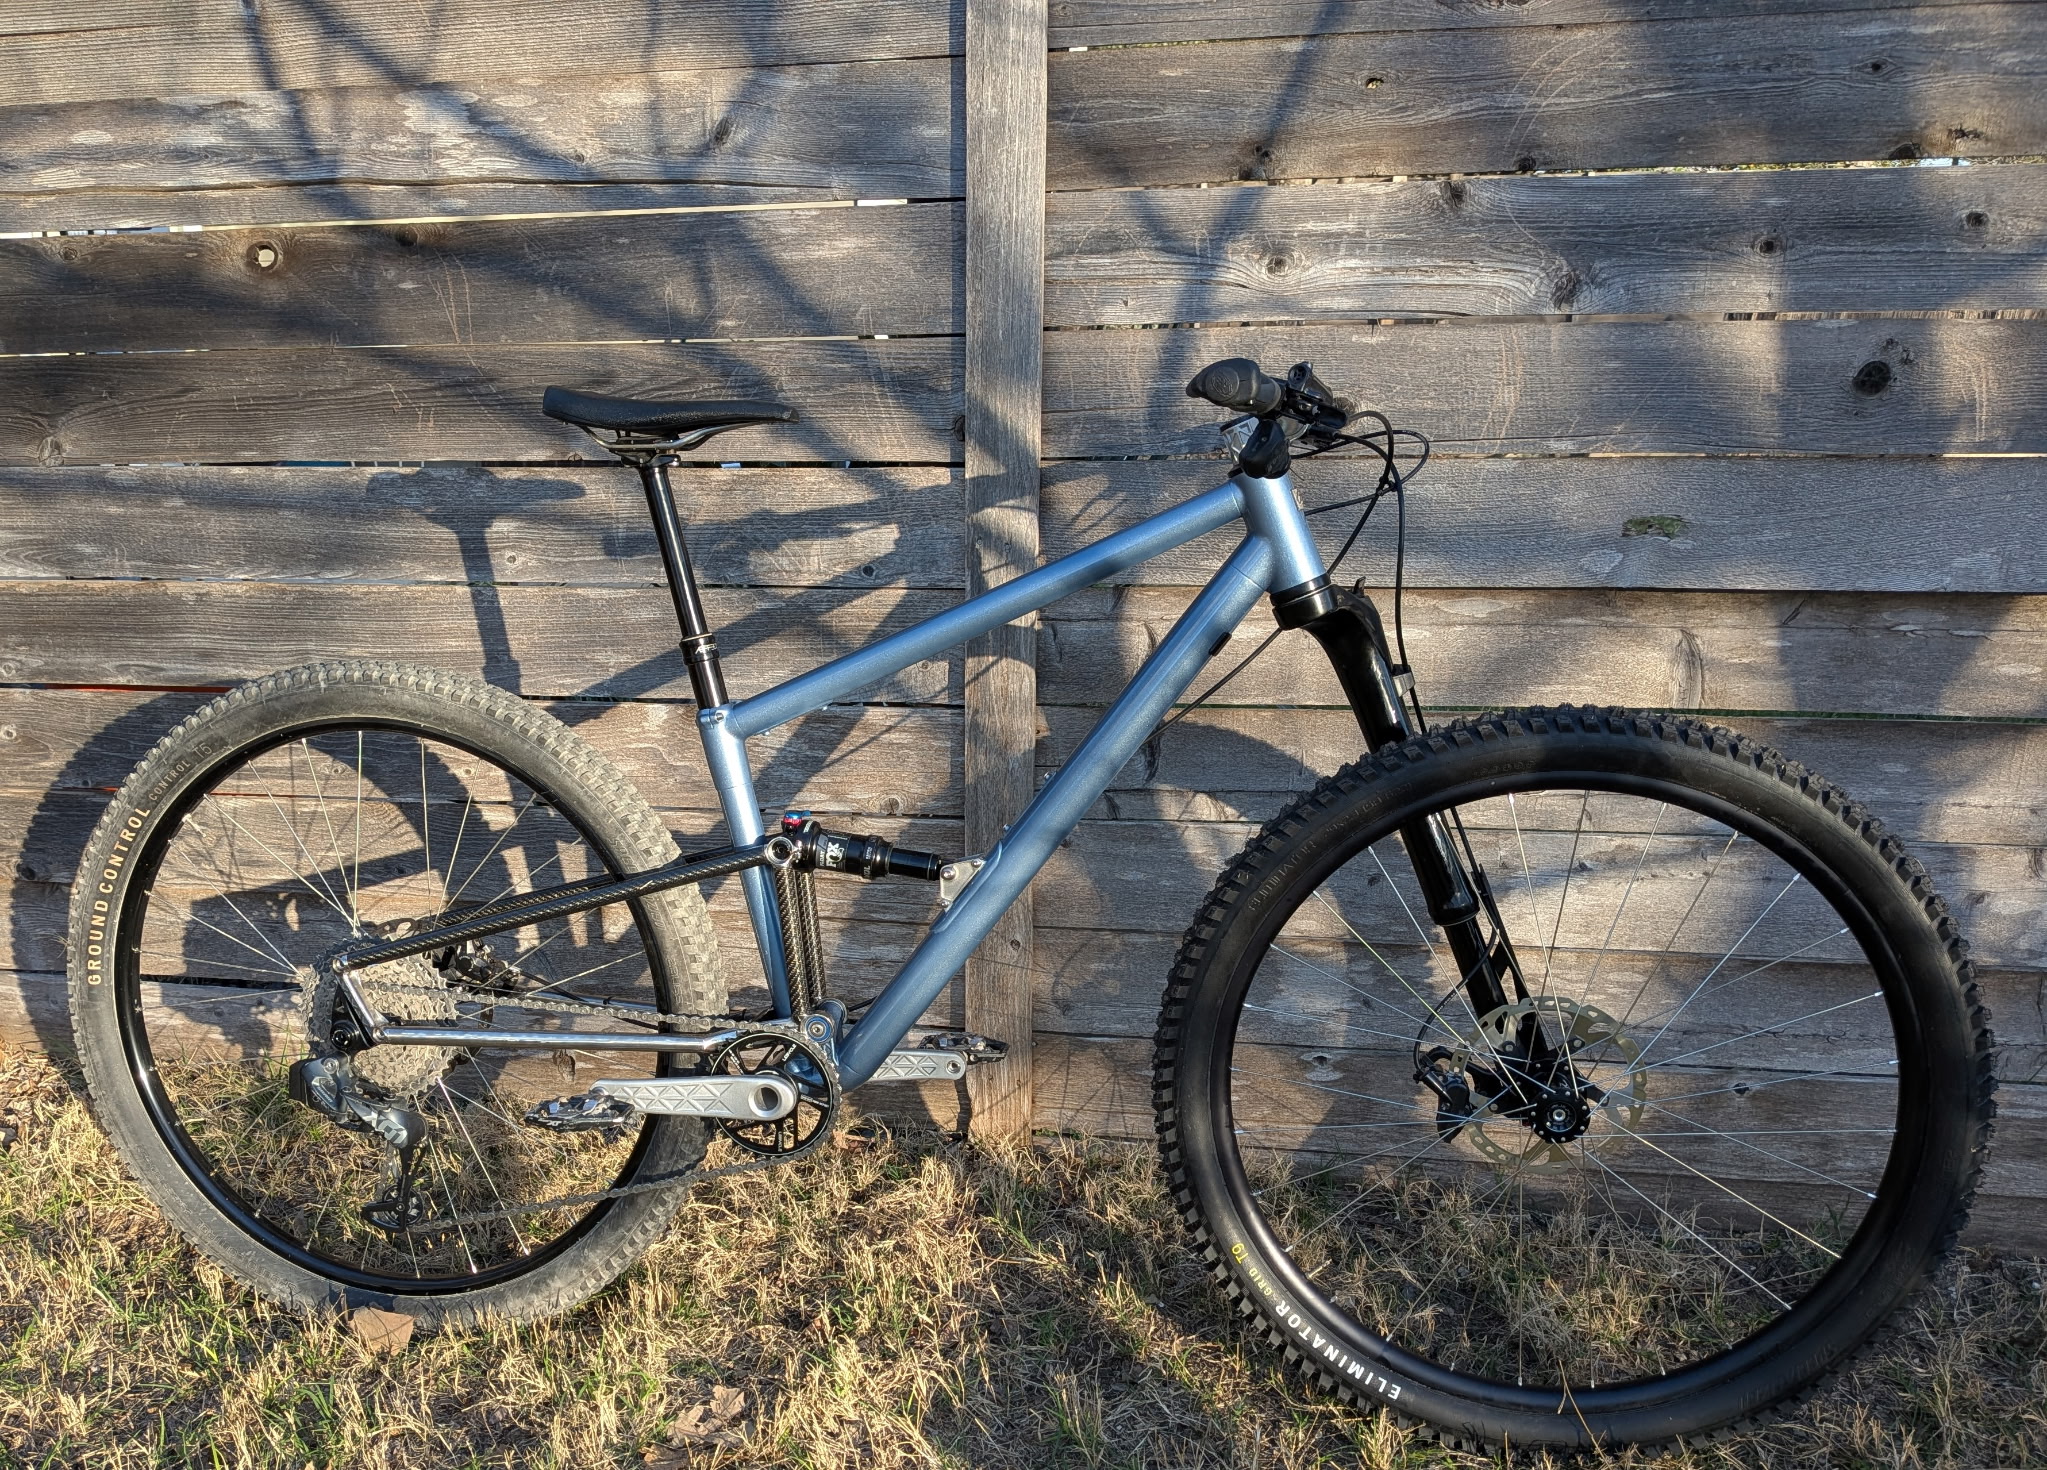
I assembled the darn thing today. Here’s how it went. I’ll feature the negatives!
Here’s some photos! I have a number of little things to fix, but its ridable. Will get it on dirt this weekend. I’ll certainly update if anything breaks.