Hi folks: The few frames I have built for myself so far have been finished with rattlecan Rustoleum or professional powder coat. I have some interest in exploring cerakote application in my home shop. I would love to hear any insights regarding setup and application from folks that have experience with Cerakote. Include any experiences with it as a coating or challenges/pitfalls with application. I am particularly interested in figuring out what kind of precautions are merited with application, for instance are isocyanates present, what is risk for explosion/fire, etc. I would also enjoy any comments with folks that currently do their own powder coating. Loving this forum platform and all of the great sharing. Best, Daniel
Powdercoating is pretty easy for the home shop. When Bombus cycles moved in next to my shop they brought their homebrew set up. We have rebuilt it twice now and it’s really amazing. The executive summary is:
- buy a gun from powderbuythepound.com
- Dry air is critical!
- Build an oven as big a you need. We used standard oven elements with a simple controller. Something like this
https://www.amazon.com/Inkbird-Temperature-Controller-ITC-100RH-Thermocouple/dp/B014F5B2WA - we scavenged a heat resistant fan from a convection oven to circulate the air inside the oven.
3 Likes
Hahn: Thanks for this input! Just what I am looking for. There is typically more about building ovens than about applying powder coat. Specifically, I am interested in what serves as a bicycle sized area/hood/booth for spraying powder coat. In addition, what kind of precautions are warranted for health and fire/explosion hazard, if any! Is there overspray/does the powder tend to float around and stick to other stuff? If you have any pictures or description of your application area, that would be great. Many thanks for weighing in, Daniel
I believe metal prep is also a big factor to consider. My priority is to set up sandblasting first, then coating.
1 Like
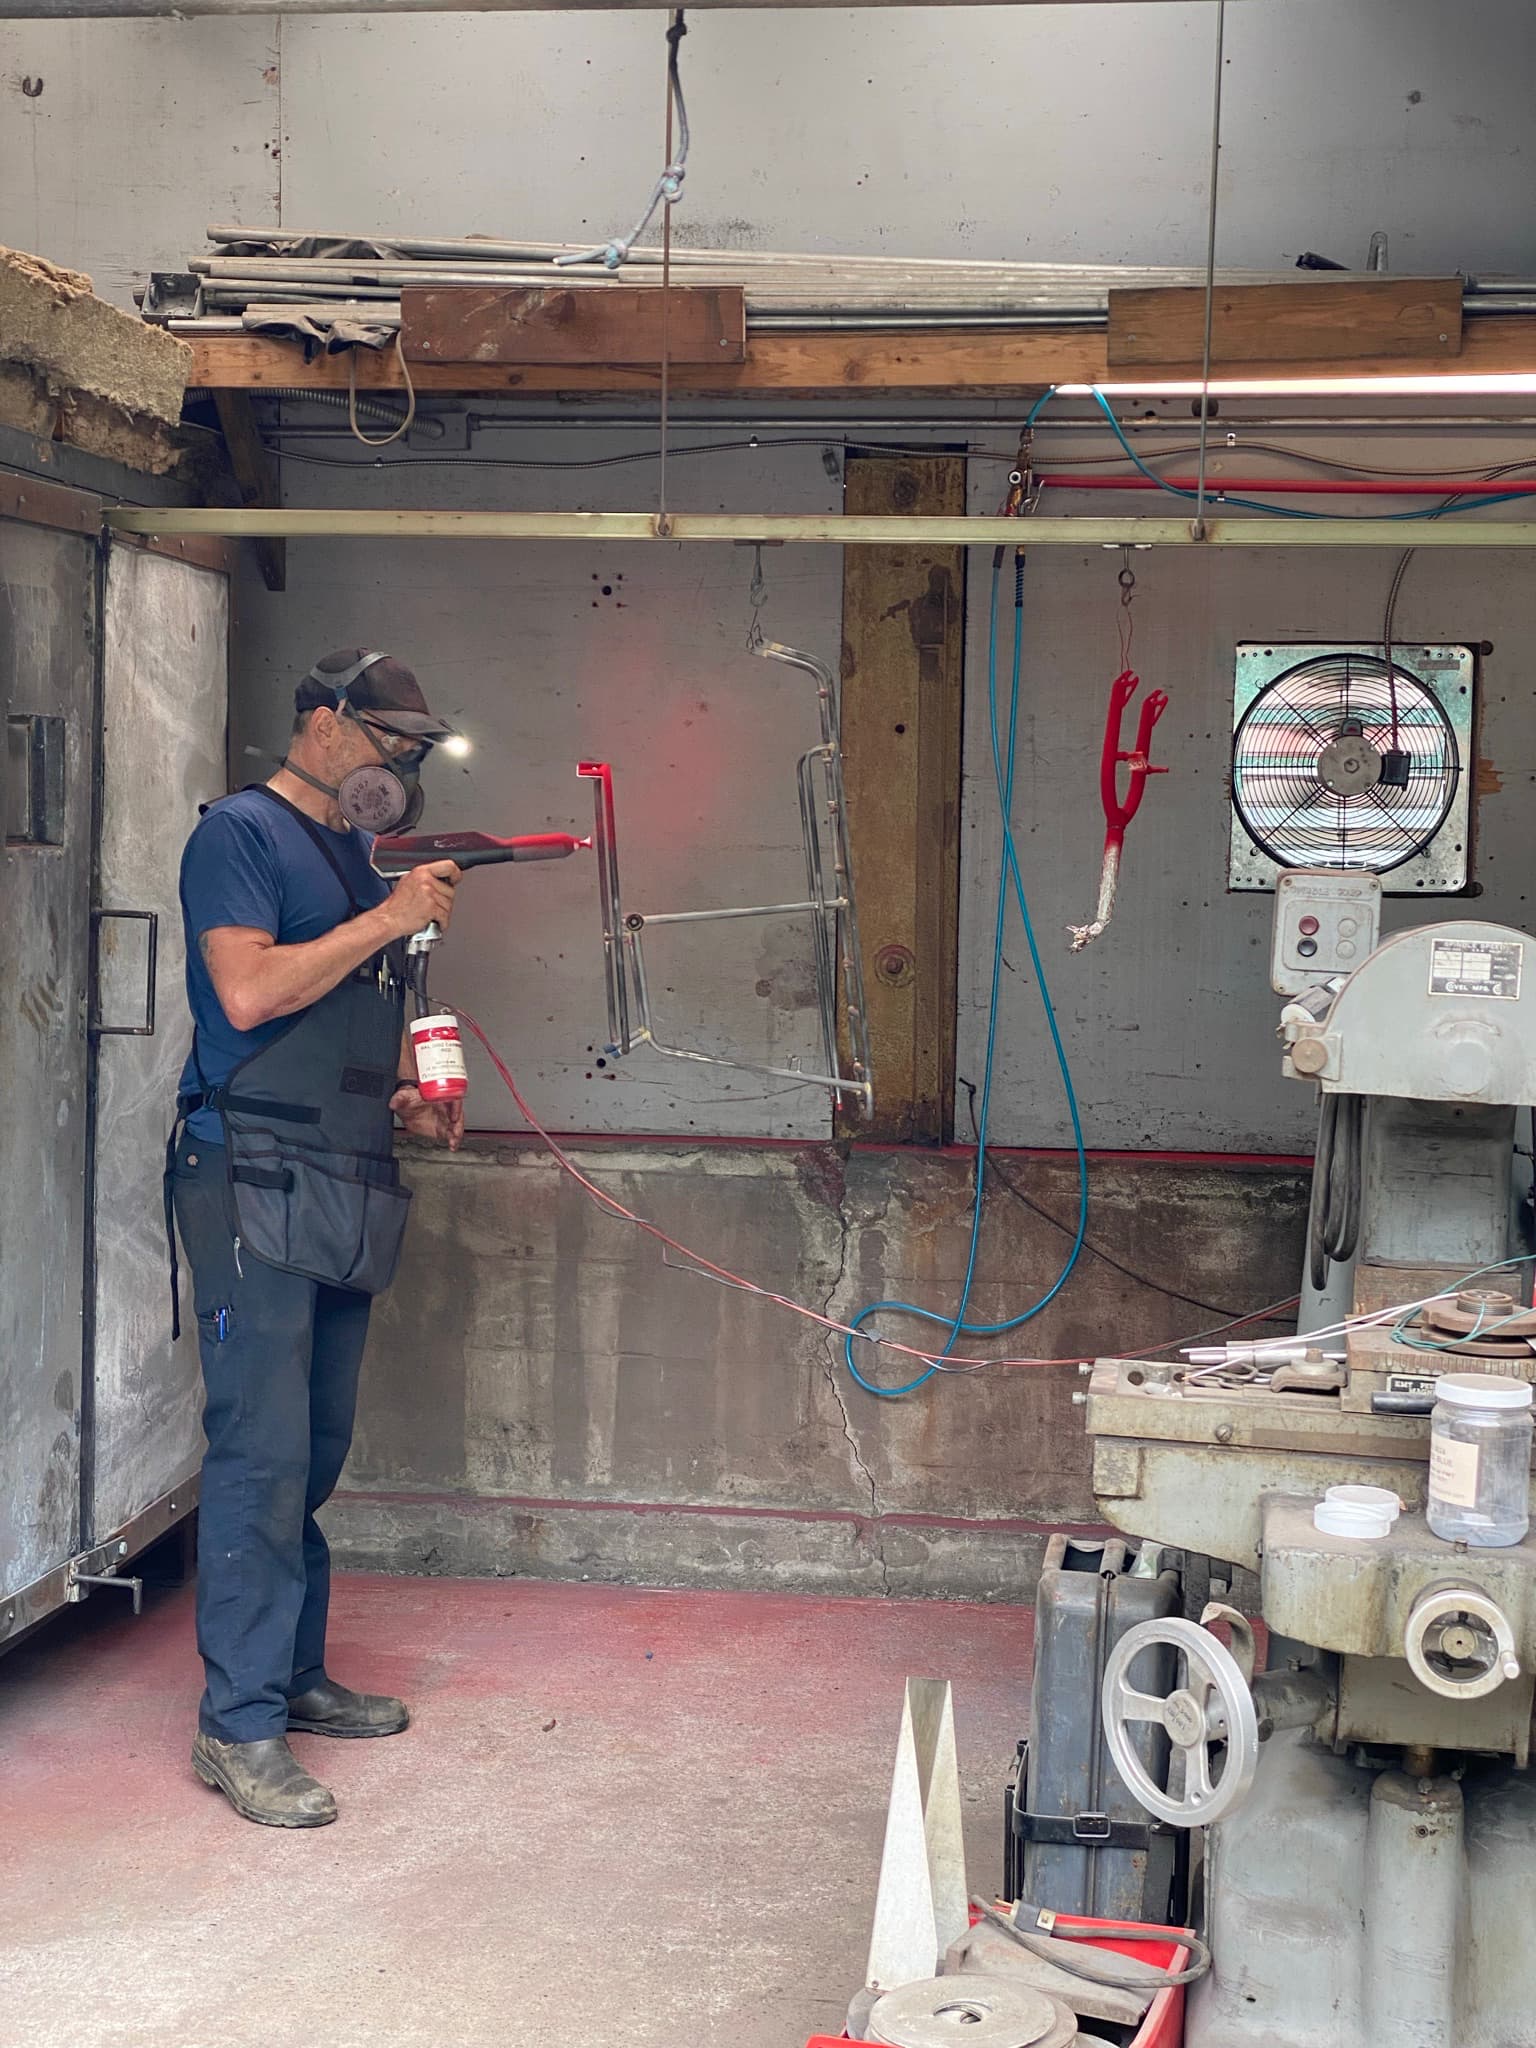
This is Hahn’s setup. The oven is on the left. Overspray is swept up, it doesn’t stick to anything and isn’t particulate size either (though I don’t really want to breath lots of it either). The items slide into the oven after being sprayed.
I did use his sandblast booth to prep these. The rack had a lot of flux on it because it’s too big for my soak tank at home.
With smart planning and layout I bet you could fit a full prep, spray area, and oven into a single car garage.
I helped to clean up after he sprayed these items and it was much easier to clean up than any painting process that I’ve dealt with.
4 Likes
Thanks @alex and @hahn_rossman for sharing your knowledge! It would be great to be able to bring powder coat in house. Right now it takes us 6hrs to build a frame, but 2-3weeks to get it back from the powder coater!
Do you have a guesstimate on how much the setup would cost?
3 Likes
I was lucky to get to work out of the Stunt Doubles powder coating room while we shared shop space. I’m not going to share any of their proprietary stuffs but some of my takeaways from working there are:
- Building your own oven is really hard unless you have lots of high-temp and high-current experience
- Powder coating is really easy until it’s not - doing simple stuff can be a piece of cake, but there are still some challenges with coverage, decals, etc
- Prep is everything! Getting an even, clean surface is absolutely paramount to success
Since then I’ve been wanting to set up my own powder coating studio, but will realistically be working out of the shared one at a local makerspace for now. If I were to do it myself, I’d pick up:
I imagine freight would add up to be quite a bit. It seems like most US distributors are just slapping their brand on this stuff so I don’t feel awful going direct to the source. If you were inclined to DIY, the spray booth would be low-hanging fruit imo. You’d also have to pick up a media blaster, tank, etc, but those are more cheap locally.
4 Likes
The DIY spray booth set up is probably what I am most interested in. If anybody has pics/details of their setup, that would be great. A basic open front box with rear panel/wall of filters to trap paint particles and explosion proof axial fan? Thanks, Daniel
I have been doing this for about 2 years now but for motorcycle stuff we make these days or refurbish , you can make decent money with a new setup and offering it as a service
my experience is
Prep is absolutely everything
Your work has to be clinically clean even parts from a machining centre literally have to be soaked in degreaser and boil washed
Your space has to be void of any form a of contamination by aerosol lubricants and the like you will get really narked when someone has sprayed some form of lubricant somewhere , the shop next to mine services atv quads and he can contaminate stuff and he’s a good 200 ft away
It hides nothing especially bad workmanship
Two types are available oven cure and non oven cure the oven cure is harder wearing
You have to be good with your gun work and have consistent
you can kind of raw clear a frame without it showing later signs of oxidisation under the clearcoat , unless you scratch it but then the scratch doesn’t propagate corrosion , we have been using it as a kind of clear ano too
You buy it as a kit to start out and you will need a respirator ideally air fed but a carbon one will suffice if you are doing small amounts
It’s expensive
I will add more as I remember / have time and possibly post pictures of our spray setup
One other thing they will sell you the training course or at least try to get you certified , if you have never sprayed a high quality system before it may be worth it but it’s not cheap
4 Likes
Daniel-
I had the same experience with waiting for the powdercoater…it really sucks!
The set up is quite cheap to make. The gun was about $800. We built our own oven which was probably another $1000. We have a really nice compressor/dryer which helps everything.
I think that we can sandblast with clean dry oil free air and then shoot it is the secret sauce.
The decals from SSSink go on under the clear and are great.
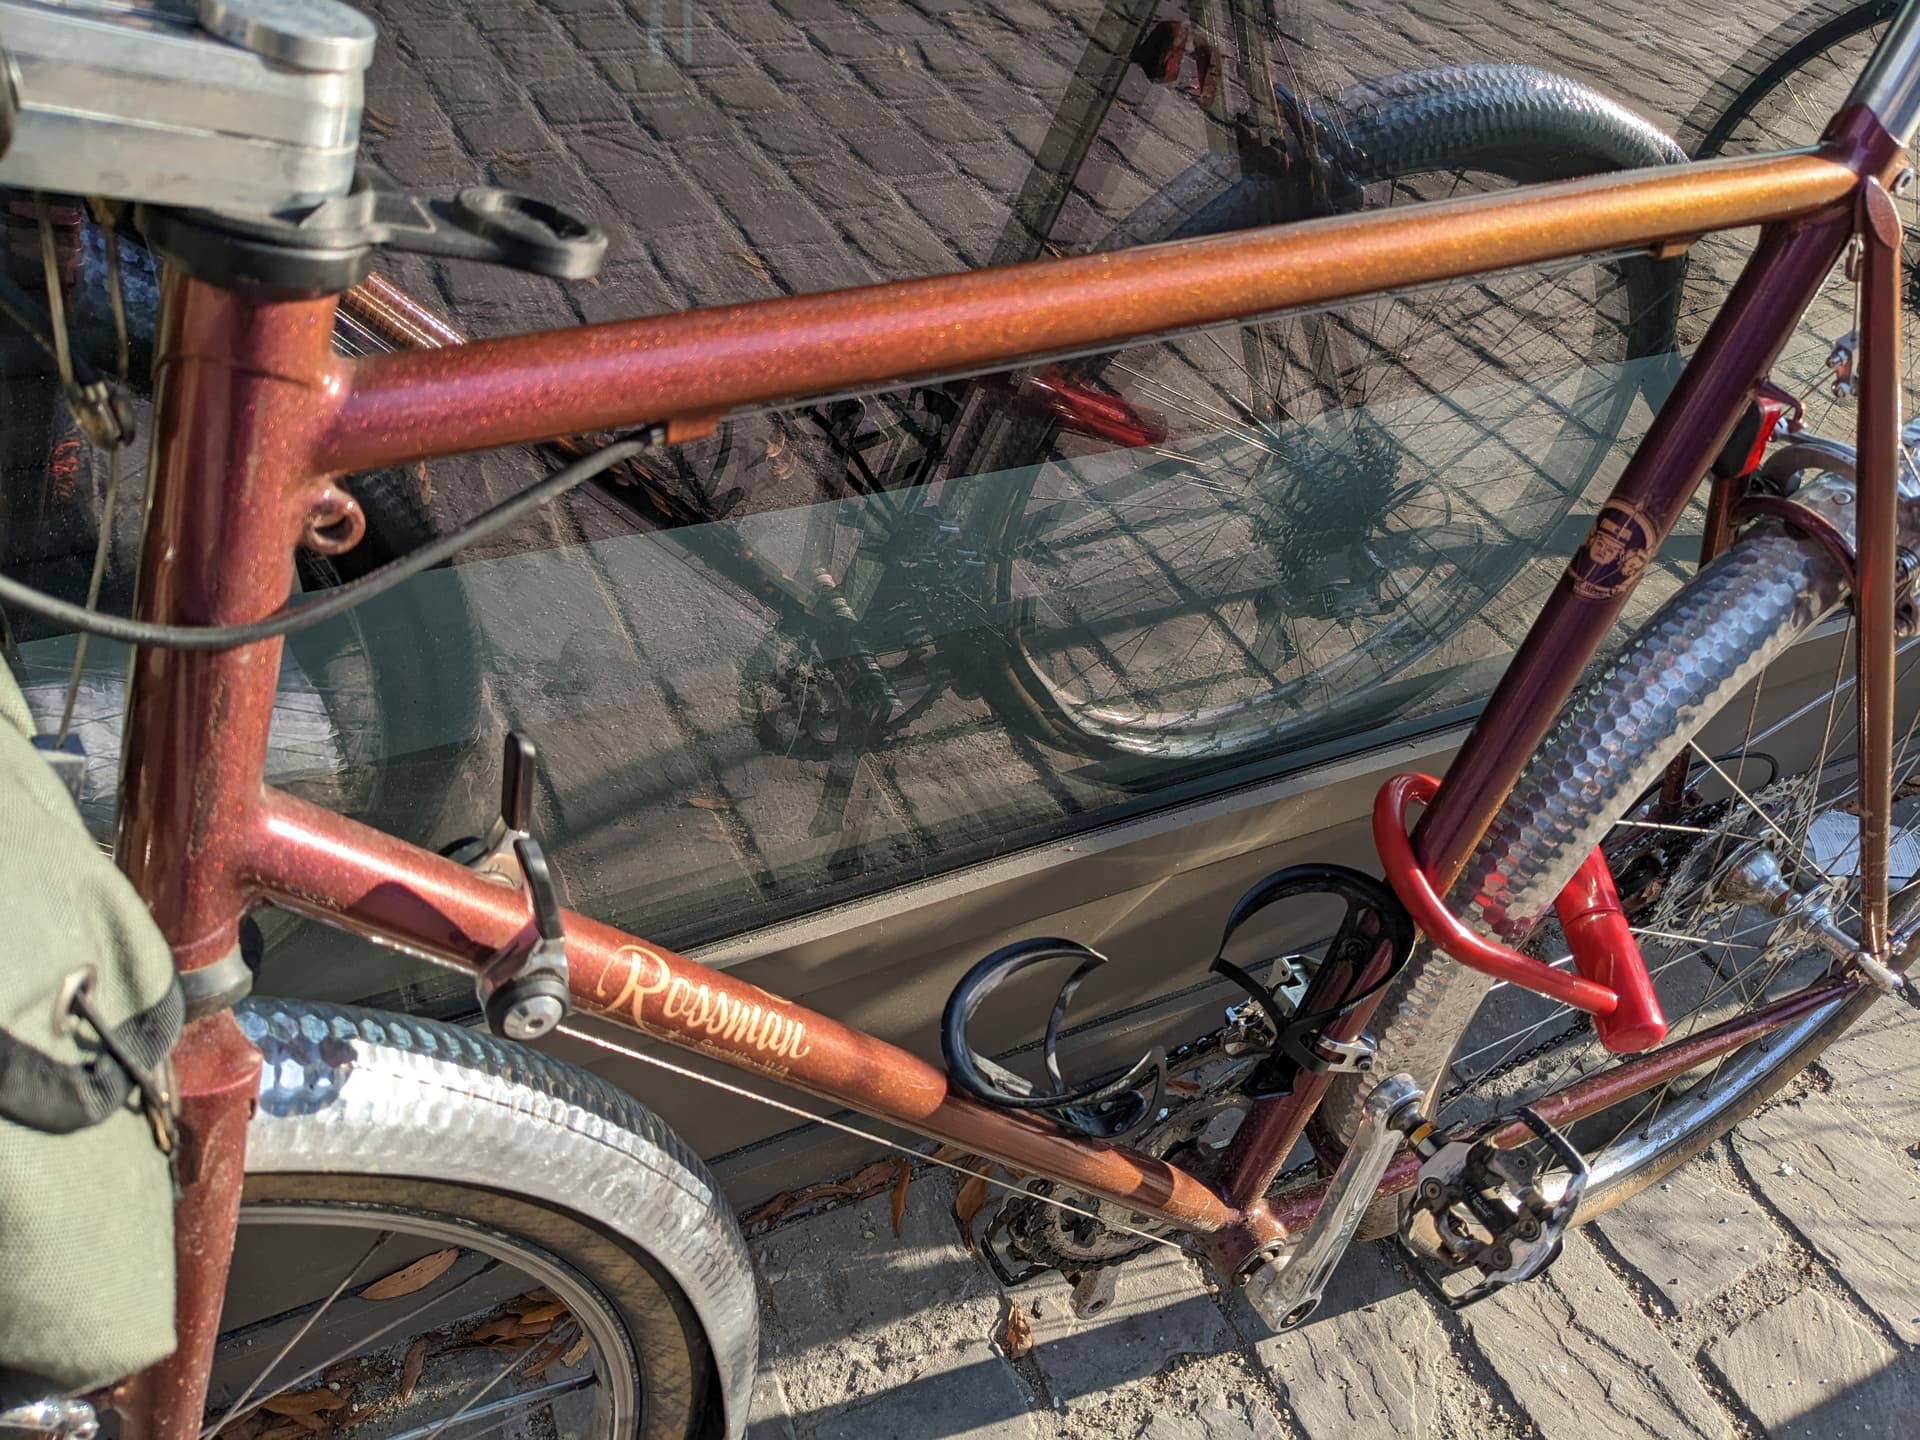
Here is a typical shot of one of my personal bikes. There are some really fun powders available.
Clean up is the best part. No solvents, and super quick. The exhaust fan should be explosion proof, and we use a floor sweeping compound that has a little oil in it which gets all the super fine dust. The respirator is absolutely mandatory, the powder is amazingly fine!
Hahn
5 Likes
I’ve cerakoted a few frames and components in my garage with a simple poly sheet booth. A proper respirator is a must with this stuff. I’ve only used the air cure line and have found it to be durable enough for the application, though the oven cure line does offer a wider range of colors.
I prefer spraying this with a cheap detail HVLP gun from harbor freight as the ceramic can eventually build up and clog. Beyond that, cleanliness is HUGE. Blasting to complete bare metal, and a solvent clean. You can use acetone but they recommend a specific one in their TDS for the product. No touching of bare metal with your hands or anything that may leave a residue. If oven curing I would do a prebake to make sure any impurities/oils are removed (I would do this when powder coating as well). Finally, cerakote is meant to be sprayed THIN and in a single wet coat. This can be tricky to work with sometimes. Always start with your difficult to reach areas to insure even coverage and prevent runs.
4 Likes
Aha! I didn’t know there was an air cure option for Cerakote. That removes the obstacle of finding an oven big enough. Because of powder coat issues (of all kinds) in town, I have seriously thought about learning to Cerakote. I build dirt-oriented bikes, do you think air cure would hold up to rock strikes - like kicked up by the tires, not a crash LOL - for example?
Thanks for sharing your experience!
2 Likes
A post of DIY frame cerakote over on MTBR.
Overall I am happy with the results. I have my frame all built up and have a few solid rides on it. The Cerakote is definitely nicer and more durable that any spray paint coatings I have seen but will have to see how it holds up long term. As for cost, these 3 frame cost $550 (Canadian dollars) to finish. With the Cerakote kit being most of that cost so additional frames would be less. While less than the quoted powder coating price with my free labour…I’d probably just go powder coating next time. Good to learn to the process and glad I did it but ended up being more involved than I anticipated.
Sandblasting, degrease soak, and an oven are no small hurdles for the home DIY’er.
3 Likes
That was my post over on MTBR. Thanks to Earle.B for introducing me to this forum, signed up for an account and seems to be a really great building resource. Happy to elaborate more on my Cerakote process if anyone has any questions.
4 Likes
An oldi(ish) thread, but the money when it comes to the discussion and information shared. I’ve got a few questions about Cerakote.
- The manufacturer lays down a pretty good list of the needed equipment, including a sandblast cabinet, spray booth, an oven, protective gear and a proper airbrush. Anything else I am missing?
- Is the Cerakote more durable and wear-resistant than a powder coat? If yes, is the difference significant?
- Apparently, the stuff is free to order even if one is not certified?
- How much does one frame require of actual Cerakote powder? Or how long does one get with a 4oz or a 16oz package?
- Things to consider and pitfalls to avoid.
Thanks! Every bit of information is appreciated.
I don’t have much direct experience but I recently asked my powder coater who has just started working with Ceracote (mostly for guns). There is a series of Ceracote that requires baking and another that doesn’t. He said it seems to chip easier than powder coat.
I like it because it’s thin and can show off the framebuilding details (for better or worse!). He is charging 2-3x his powder coat prices so it’s still cheaper than wet paint. I’m not sure how much people want flat colors on a bike. I’m considering having him do one and see what it looks like with a 2K clear coat.
2 Likes
From my limited Cerakote experience, I’ll do my best to answer your questions. I also posted a write up of the 3 frames I did over on MTBR that is linked in a post earlier in this thread.
- They also recommend a degreaser soak. I have read about people just spraying down the frame and then burning off any residue with a torch but I opted for the degreaser soak.
- I don’t have any experience myself with powder coating so I can’t compare the 2, but I will say that I am happy with the Cerakote finish. I have 2 summers of riding on my frame now, with a couple of bike packing trips and the finish has no noticeable chips or wear.
- Yes, no issues ordering a starter kit without any prior experience. They were happy to take my money.
- From what I recall different colours have different coverage amounts. I don’t think it would vary that much from colour to colour but worth noting. I think for someone with some painting experience the 4 oz tester would be fine. I did one frame with just the tester and ended up with some light coverage spots. Likely user error, but on the next frames I had better results applying additional coats. That would have been slightly over the tester amounts per frame.
- In the end all the prep steps added up to a lot of work, especially the sandblast step. A hardtail bike frame requires a large sized cabinet! I personally wouldn’t bother with another DIY Cerakote frame unless I had access to a proper blasting cabinet.
Cheers,
Ben
3 Likes