Colin's Trials and Tribulations with Bikes

Hey all! I recently discovered the forum and have enjoyed reading through the active discussions and build logs; it’s awesome to see people sharing their frame building experiences and great ideas/techniques.

I’m a university student in California and am fortunate enough to have access to some amazing machine shop equipment. I discovered frame building during my freshman year through an on-campus club and quickly fell down the rabbit hole. Below are some of the things I’ve made over the past 2 years.

Cargo bike (Spring 2021)

This was my first framebuilding project. School had transitioned to all-virtual, so my apartment garage became my workshop. I wanted something that would mostly obviate the need for a car (my town is pretty bike friendly), so a cargo bike was a natural choice. I salvaged the rear end from a Specialized Stumjumper and welded a rectangular box-section longjohn frame. I found Phil Vandelay’s video on DIY cargo bikes incredibly helpful and referred to it many times throughout the build process.

I did all of the tube mitering/prep using an angle grinder and benchtop drill press, and created a basic frame jig out of aluminum extrusion and 3D printed pieces. I can’t overemphasize how game-changing 3D printing was for creating fixture pieces and miter templates. Some photos are posted below:


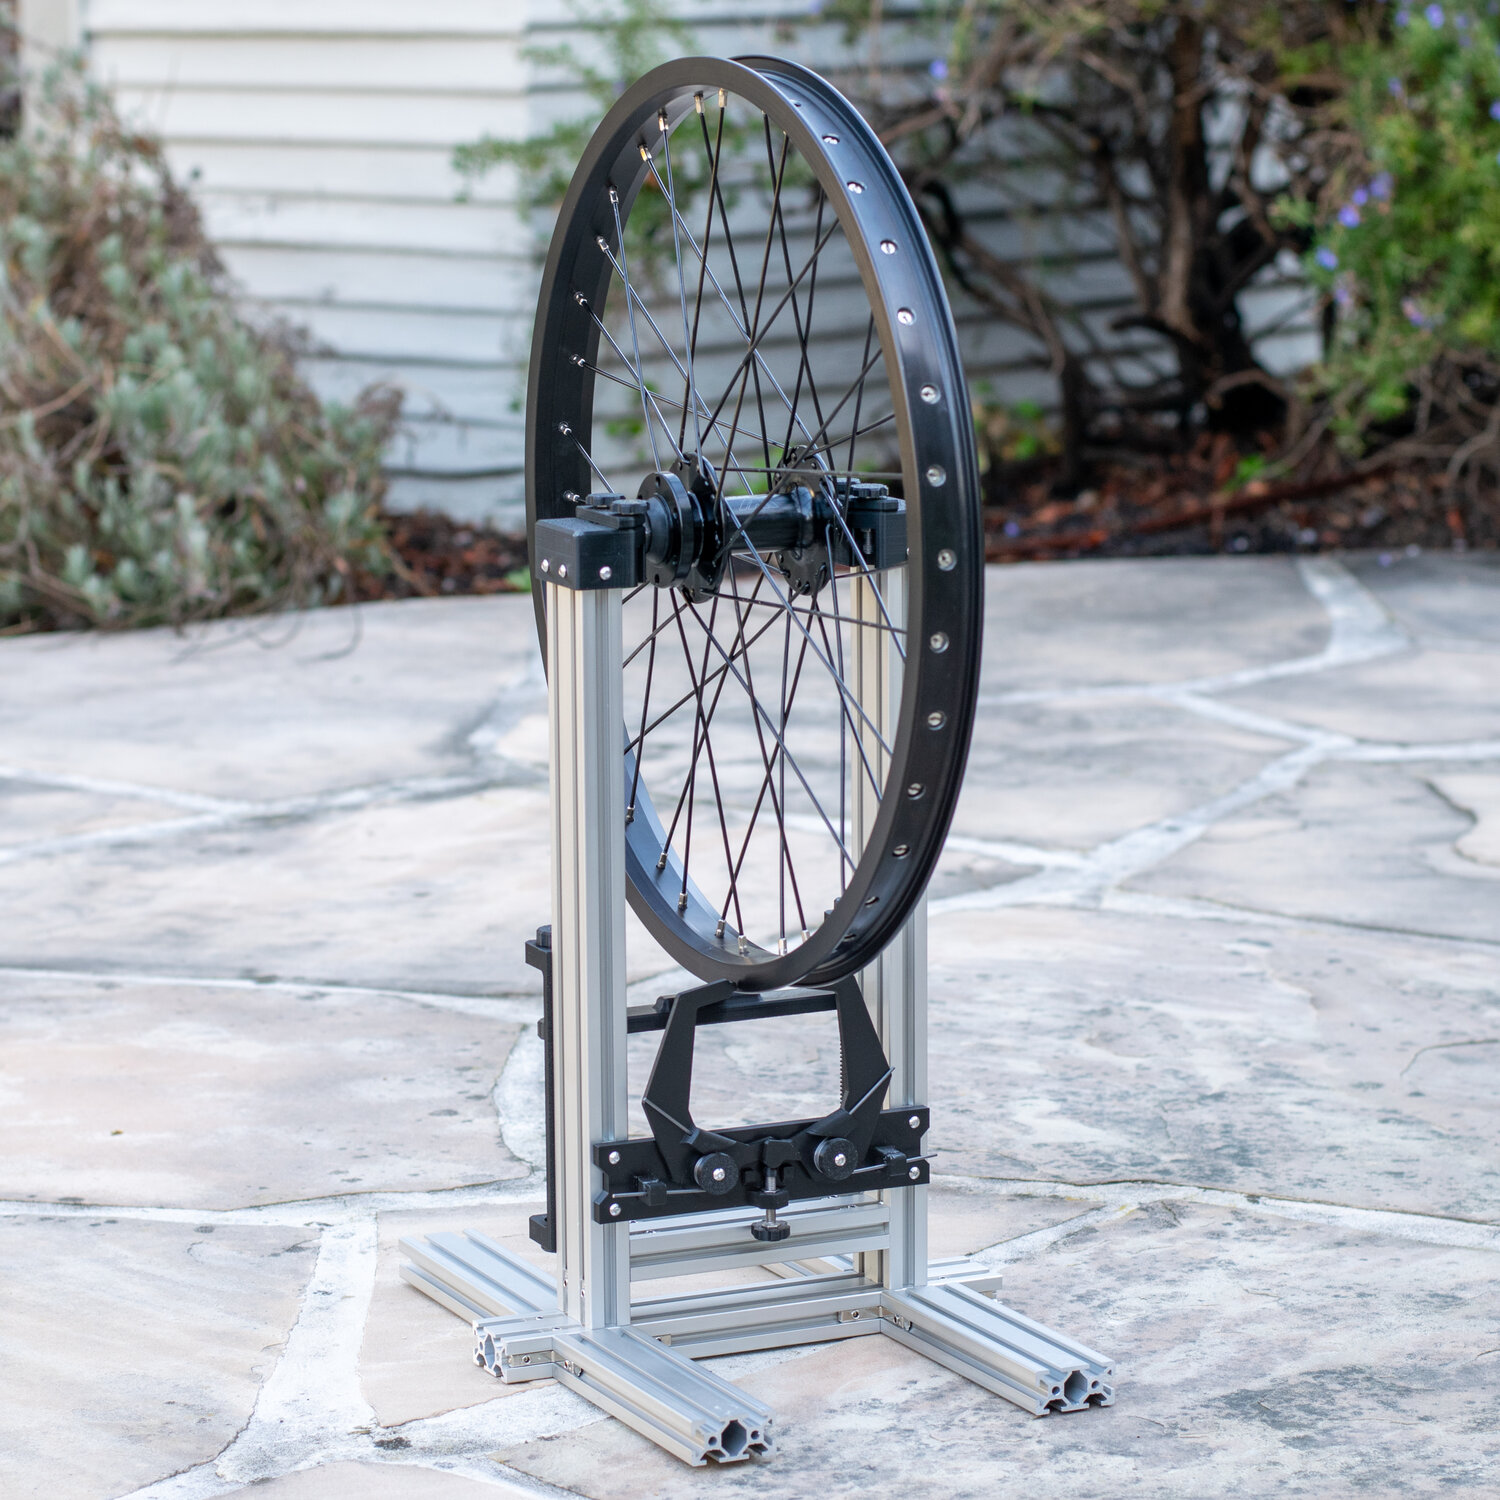
Simple wheelbuilding stand I made from 3D printed parts + aluminum extrusion


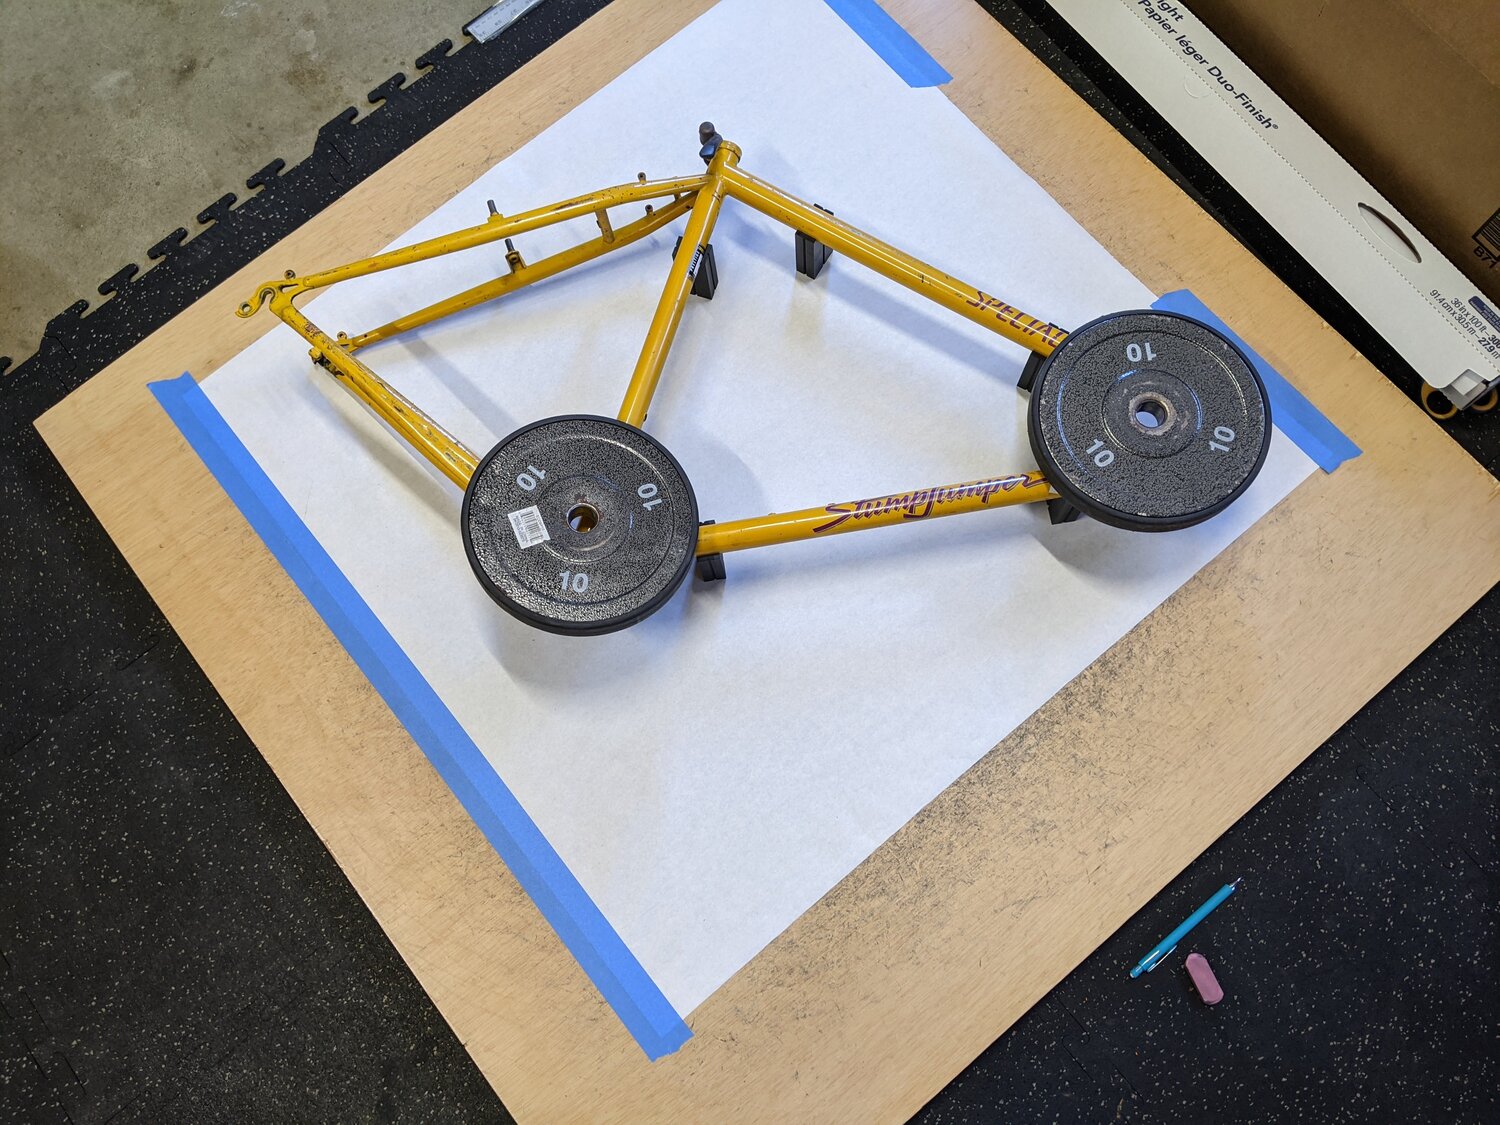
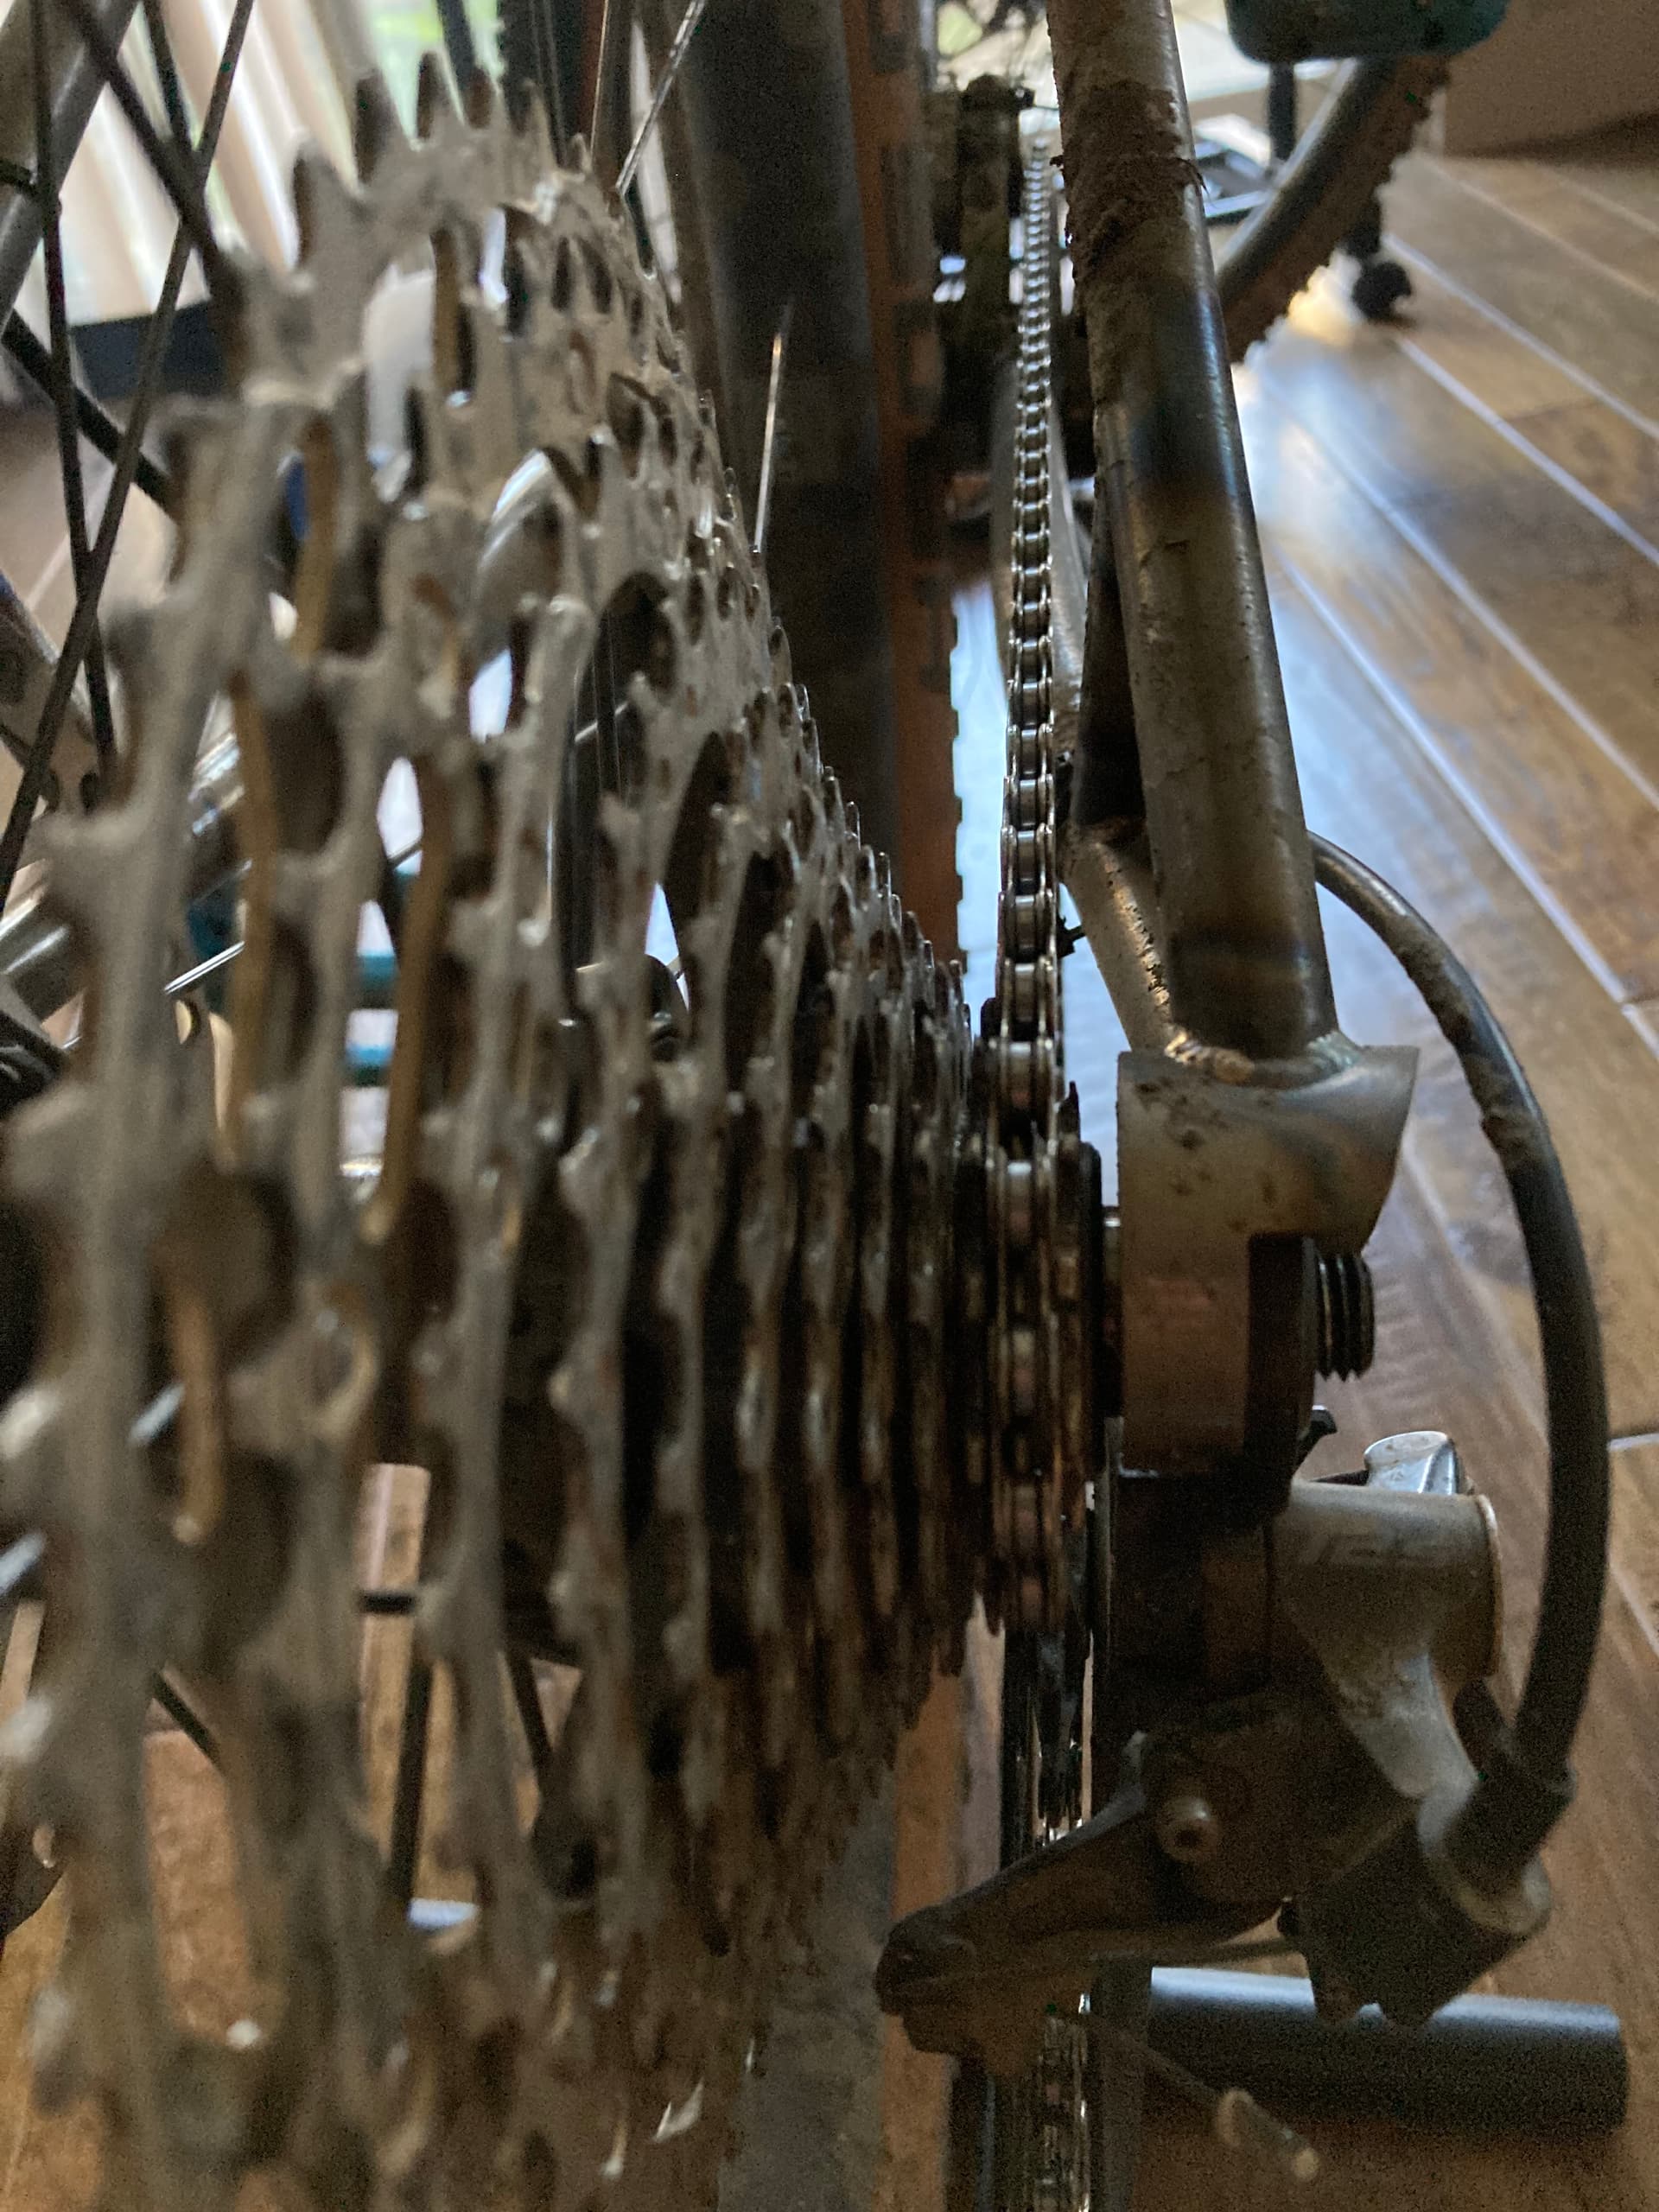
Measuring the Stumpjumper frame
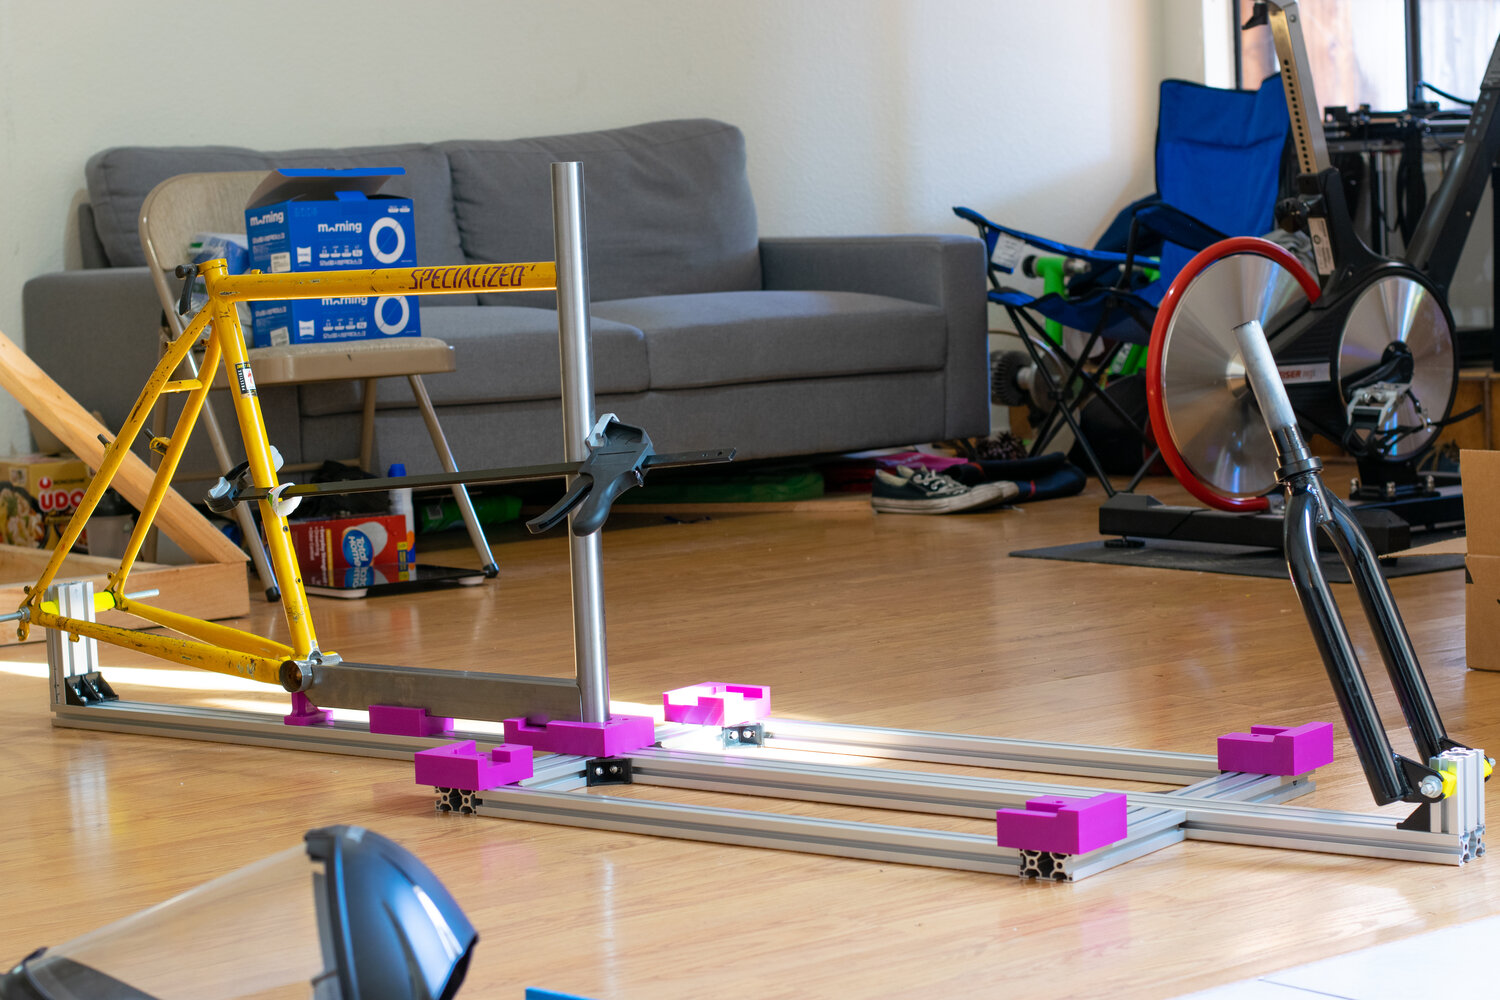

Cargo Bike Jig


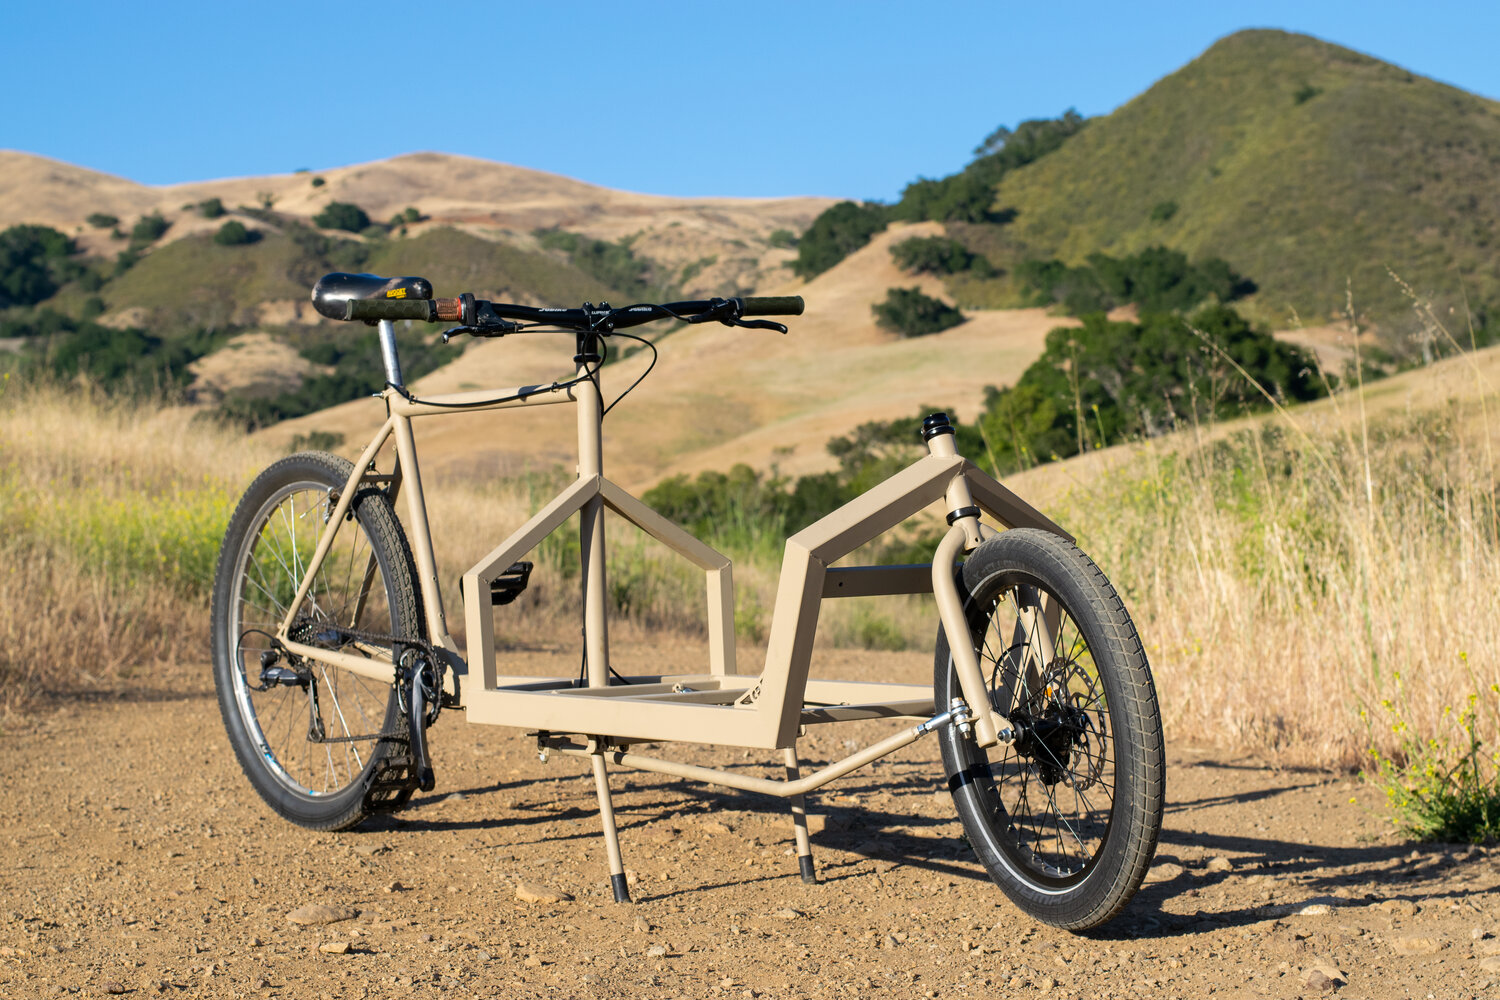
Finished frame. Powdercoated in desert tan.

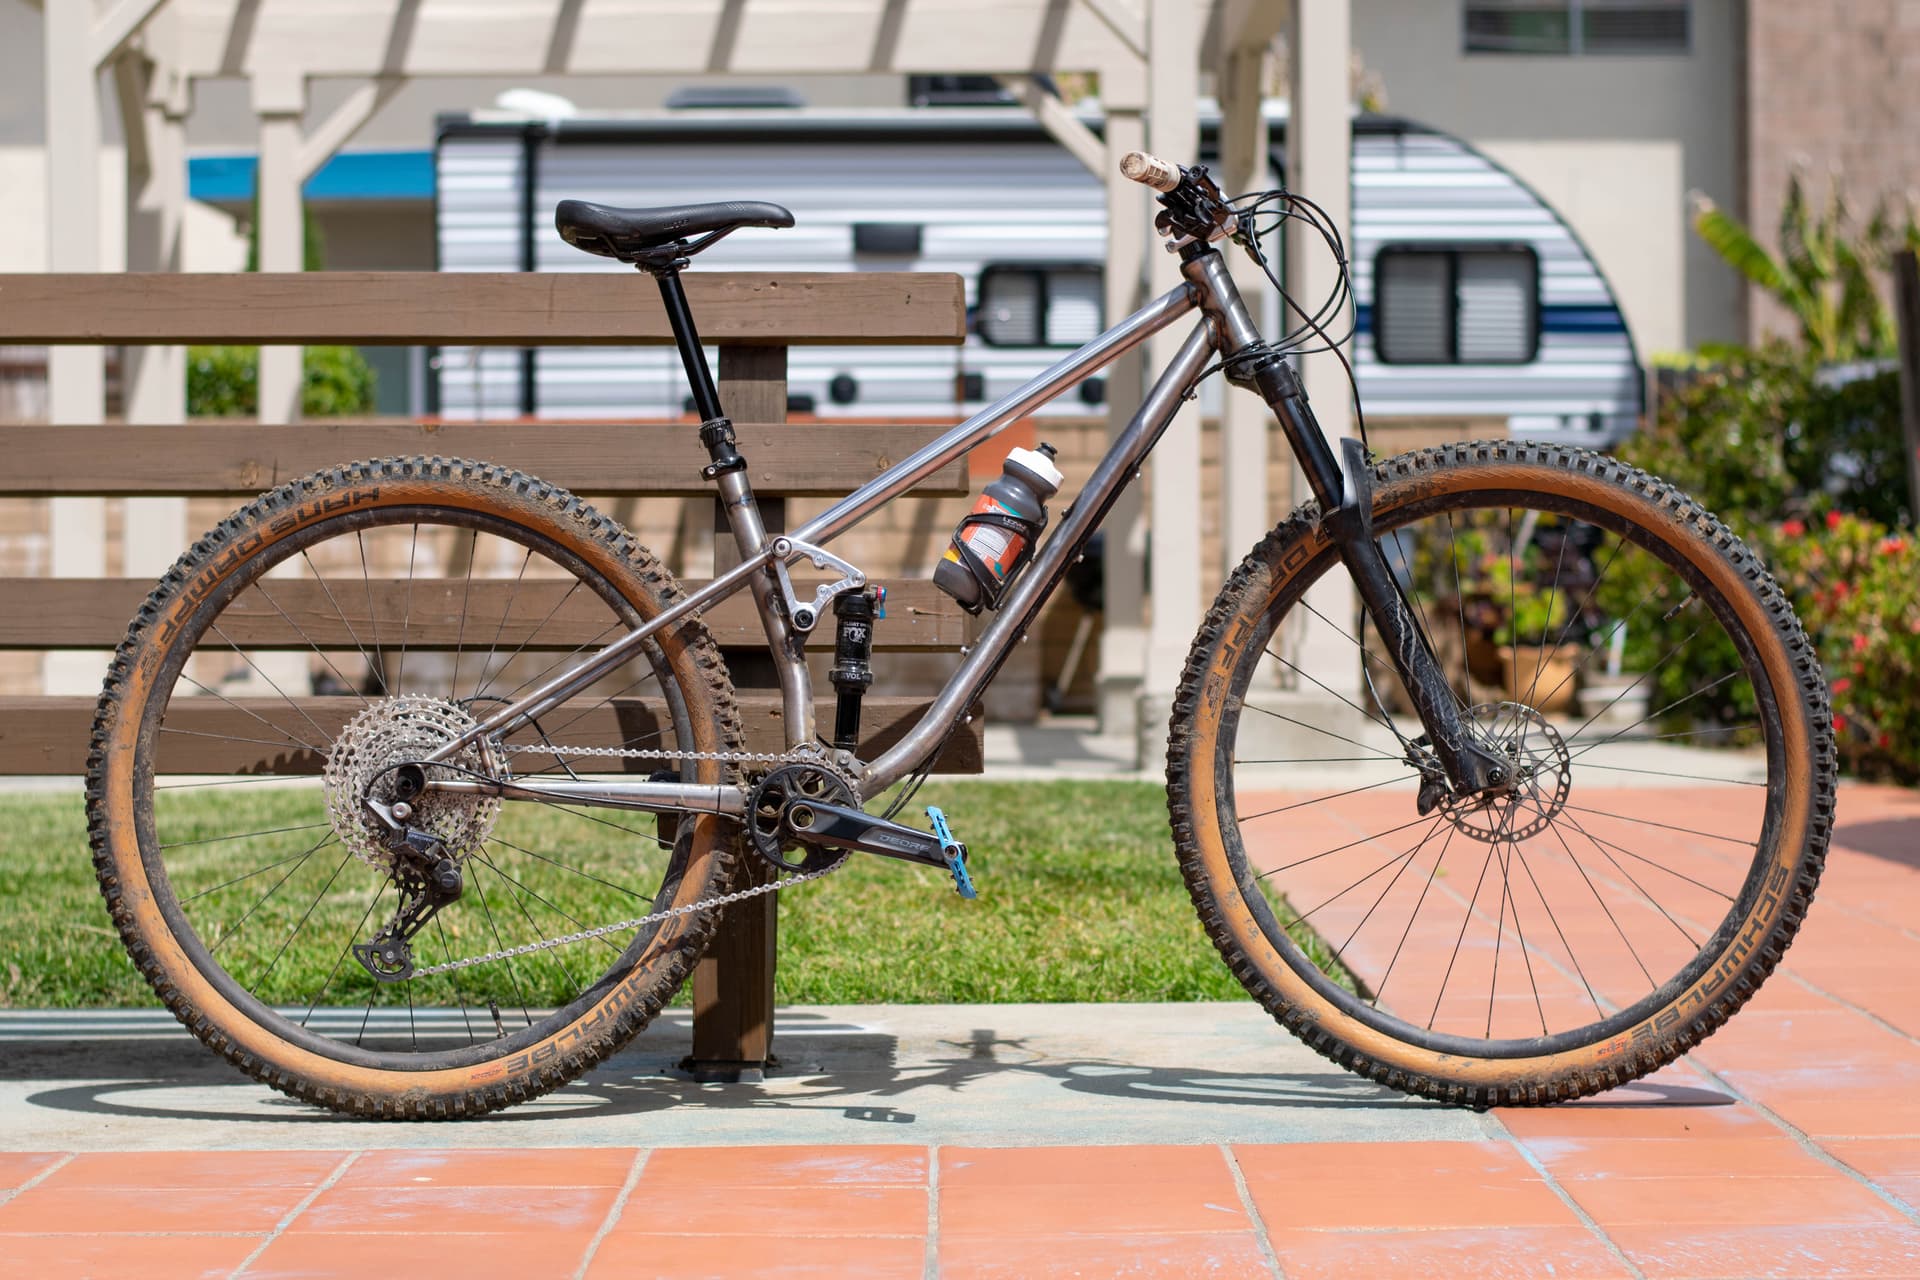
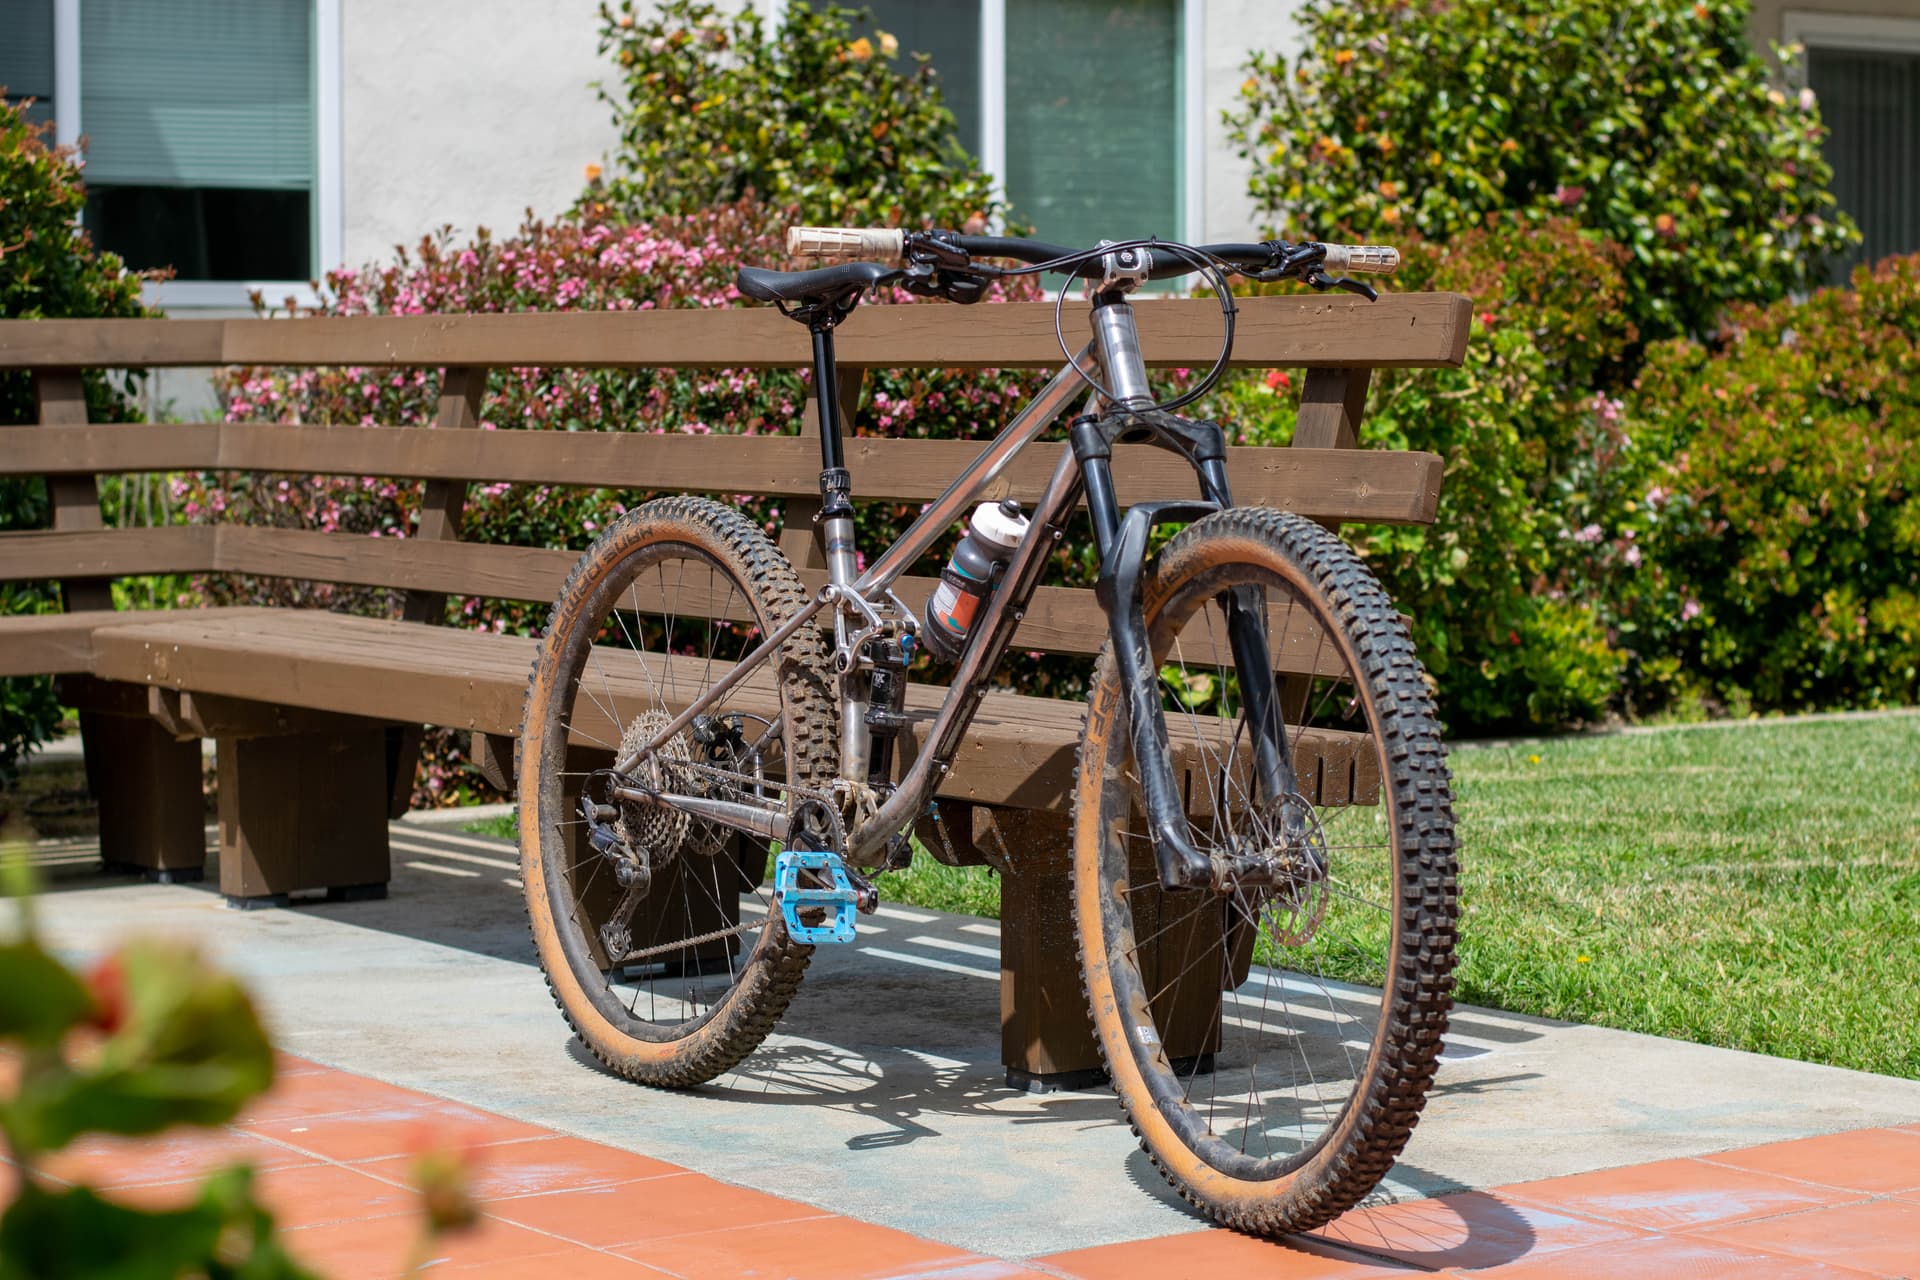
Full Suspension Bike (Summer 2021)
The on-campus machine shop reopened during the summer of 2021. I dove into a full-suspension bike build and learned how to use a manual lathe and mill to create frame components and welding fixtures.

I created a MatLab program that graphically calculates the various kinematic responses of a single-pivot/4-bar bike - essentially a rudimentary version of linkage. I used the optimization function within Matlab to generate a pivot point location based on desired anti-rise and anti-squat characteristics for a given COG height, gear ratio, and bike geometry. You can find more details (plus some interesting animations) here if interested.
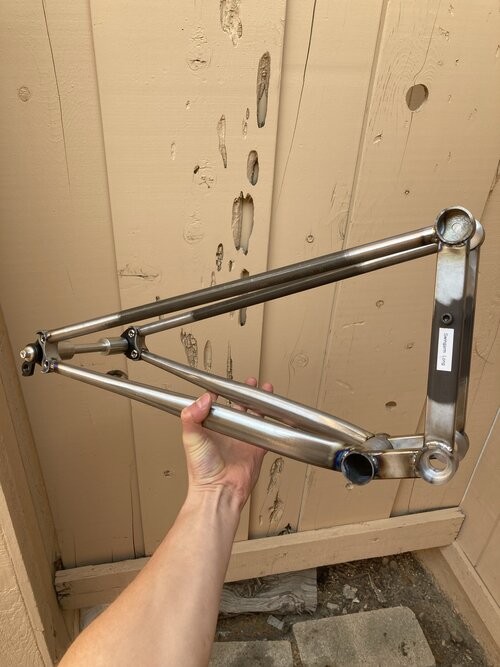

Rear triangle


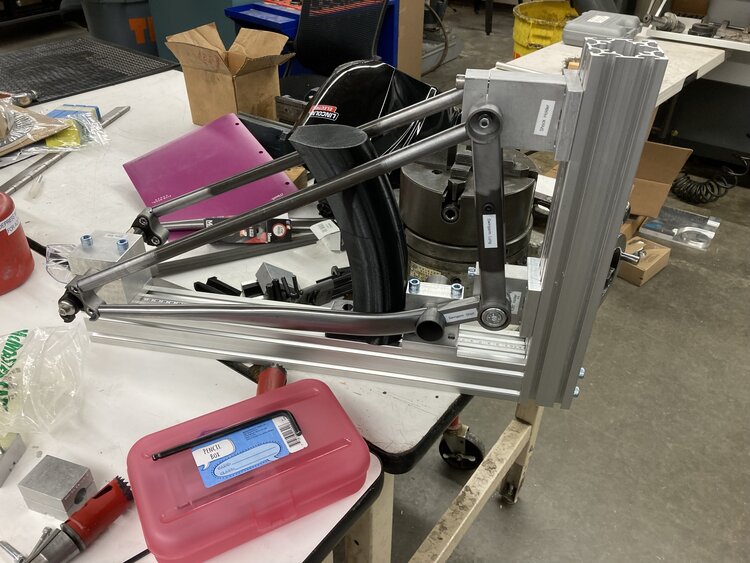
Rear triangle jig. 3D printed dummy tire included.
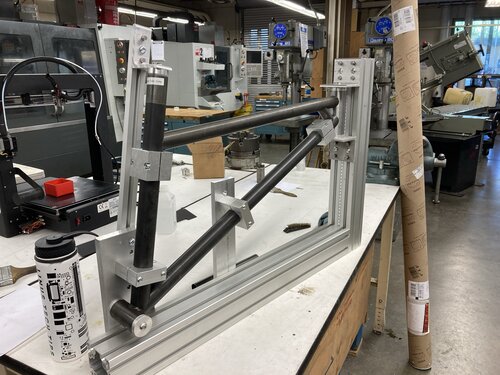
IMG_0096
Front triangle jig


Fully assembled bike


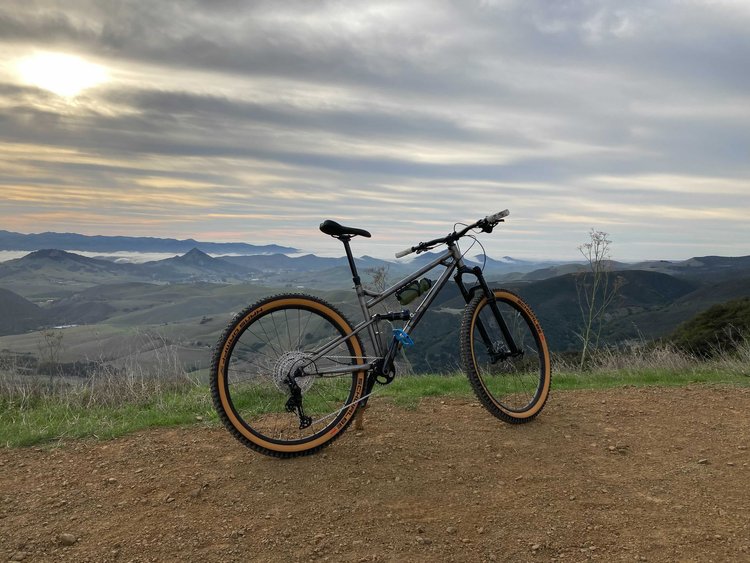
First ride. Rode/rides great!

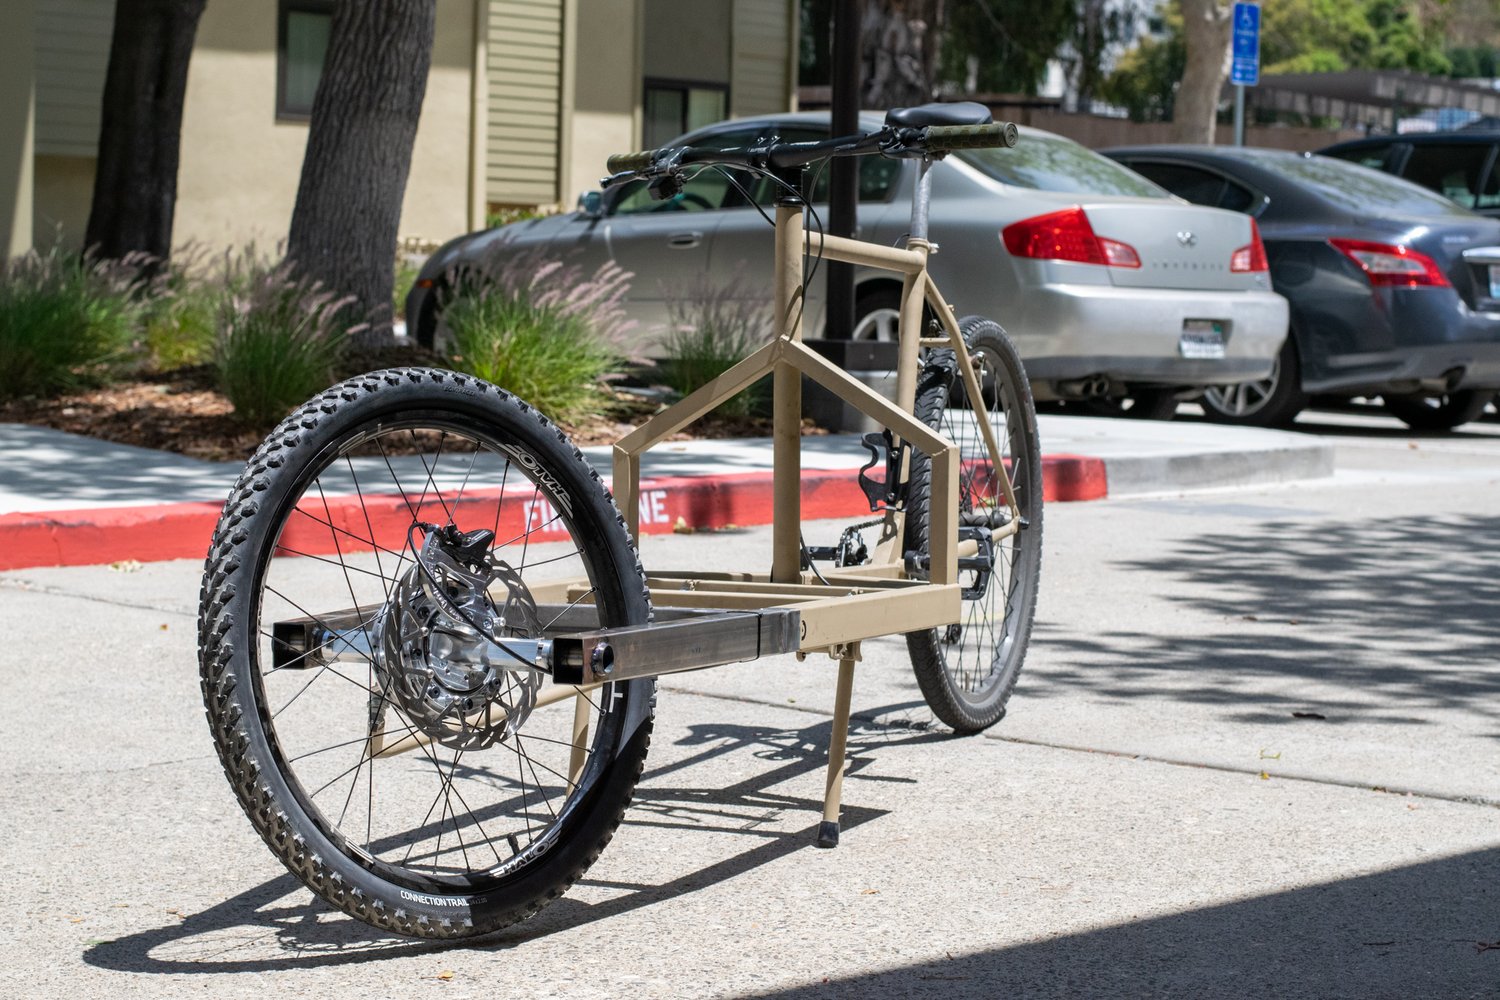
Center Steer Hub (Spring 2022)
I took some time off school to intern at an automotive company and had a very negative experience. Building bikes was far more fun. I returned to school for the spring quarter and learned how to use the CNC mills in the shop. I took a singletrack vehicle design course and decided to make a center-steer hub for my course project. To save time, I retrofitted my old cargo bike to acccomodate the new center steer hub. The finished product is laced to a 24" wheel and allows for 35 degrees of steer from center. Additionally, the hub axle connects to the frame via clock-able chips, allowing you to quickly change your headangle to any desired value.

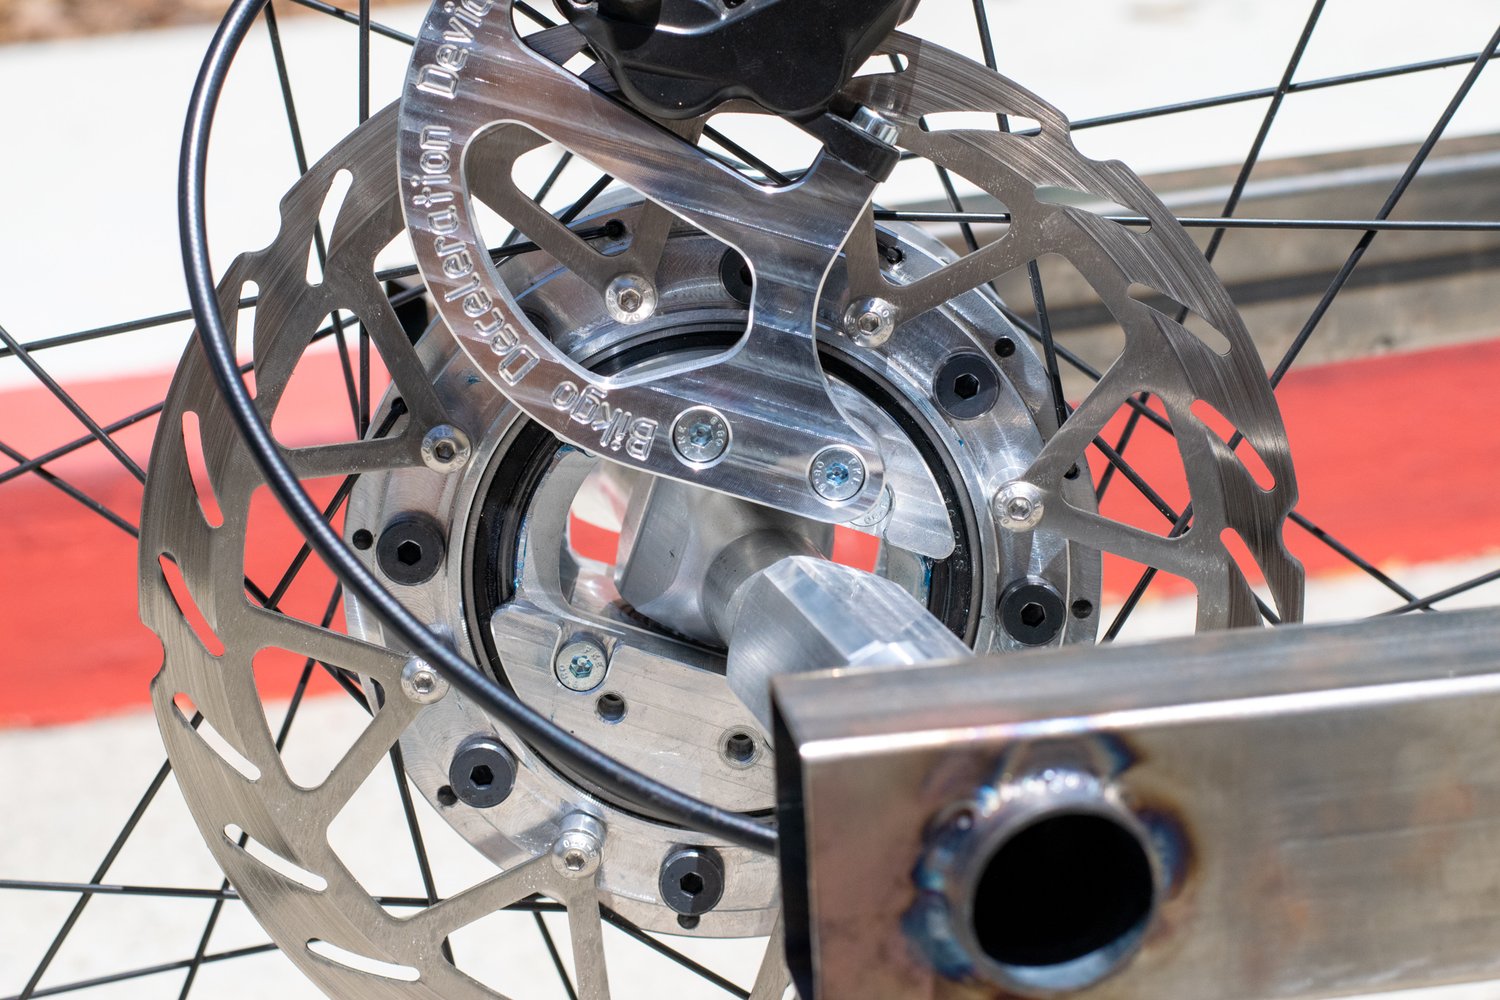
I first validated the performance of the hub using the handling models presented in my class. After, I machined the hub from several plate sections, bolted it together, and laced the wheel. I ordered a large stainless steel brake rotor from Sendcutsend and welded a new front section to my cargo bike. I ran into several challenges during the build:

  • Caliper-spoke interference: I hadn’t considered the brake caliper hitting the spokes. It did. I had to shift the brake+caliper assembly out by 1/2" to make everything play nicely together.
  • Eccentric bearing bores: I didn’t understand that clamping a large, thin plate during machining may cause deflection. My bearing bores, which were great while clamped, deformed immediately after the clamping force was relieved. However, I wasn’t able to detect any effects of this distortion on the 100’s of miles I put on the hub.


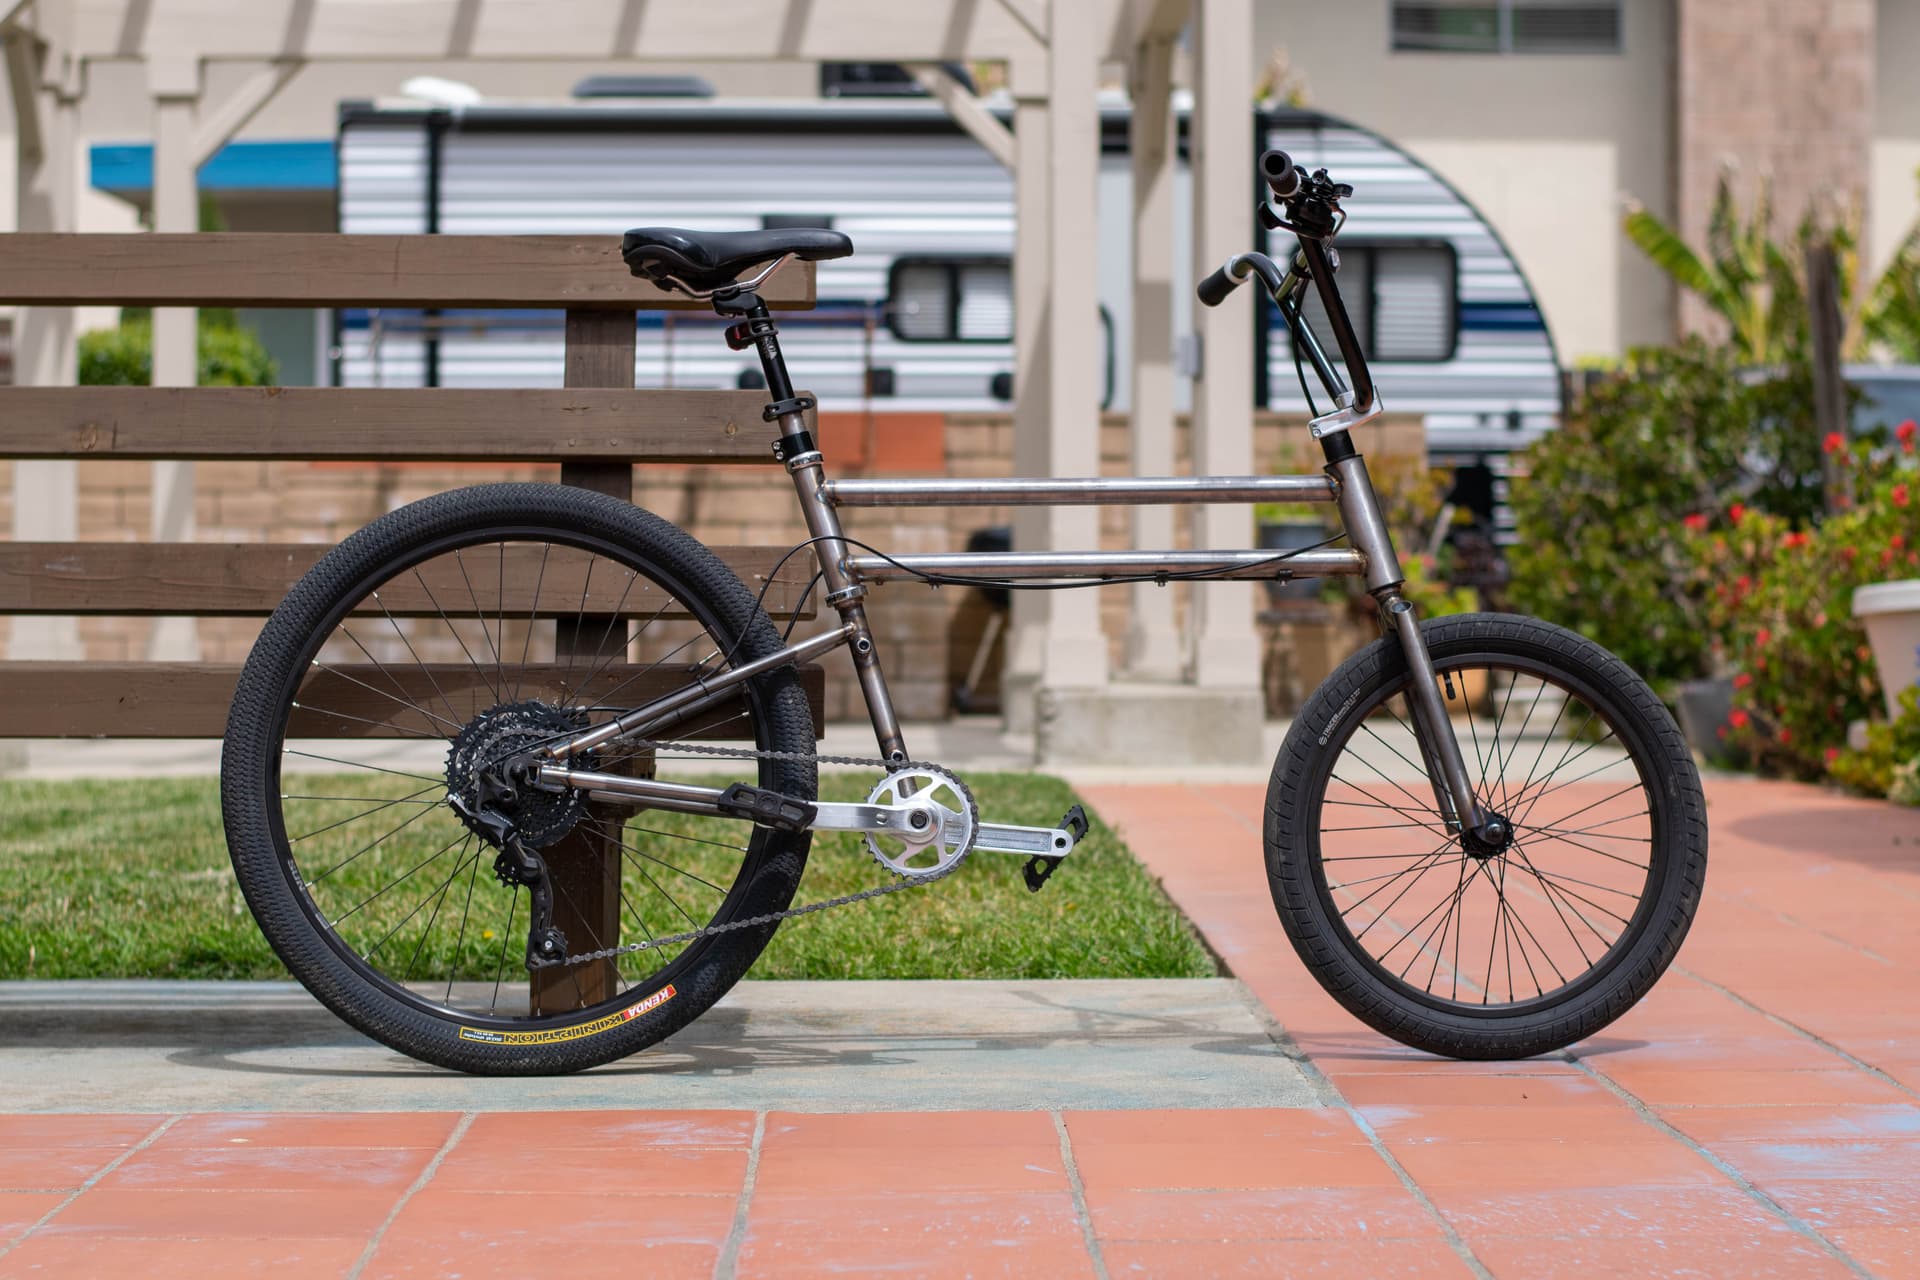
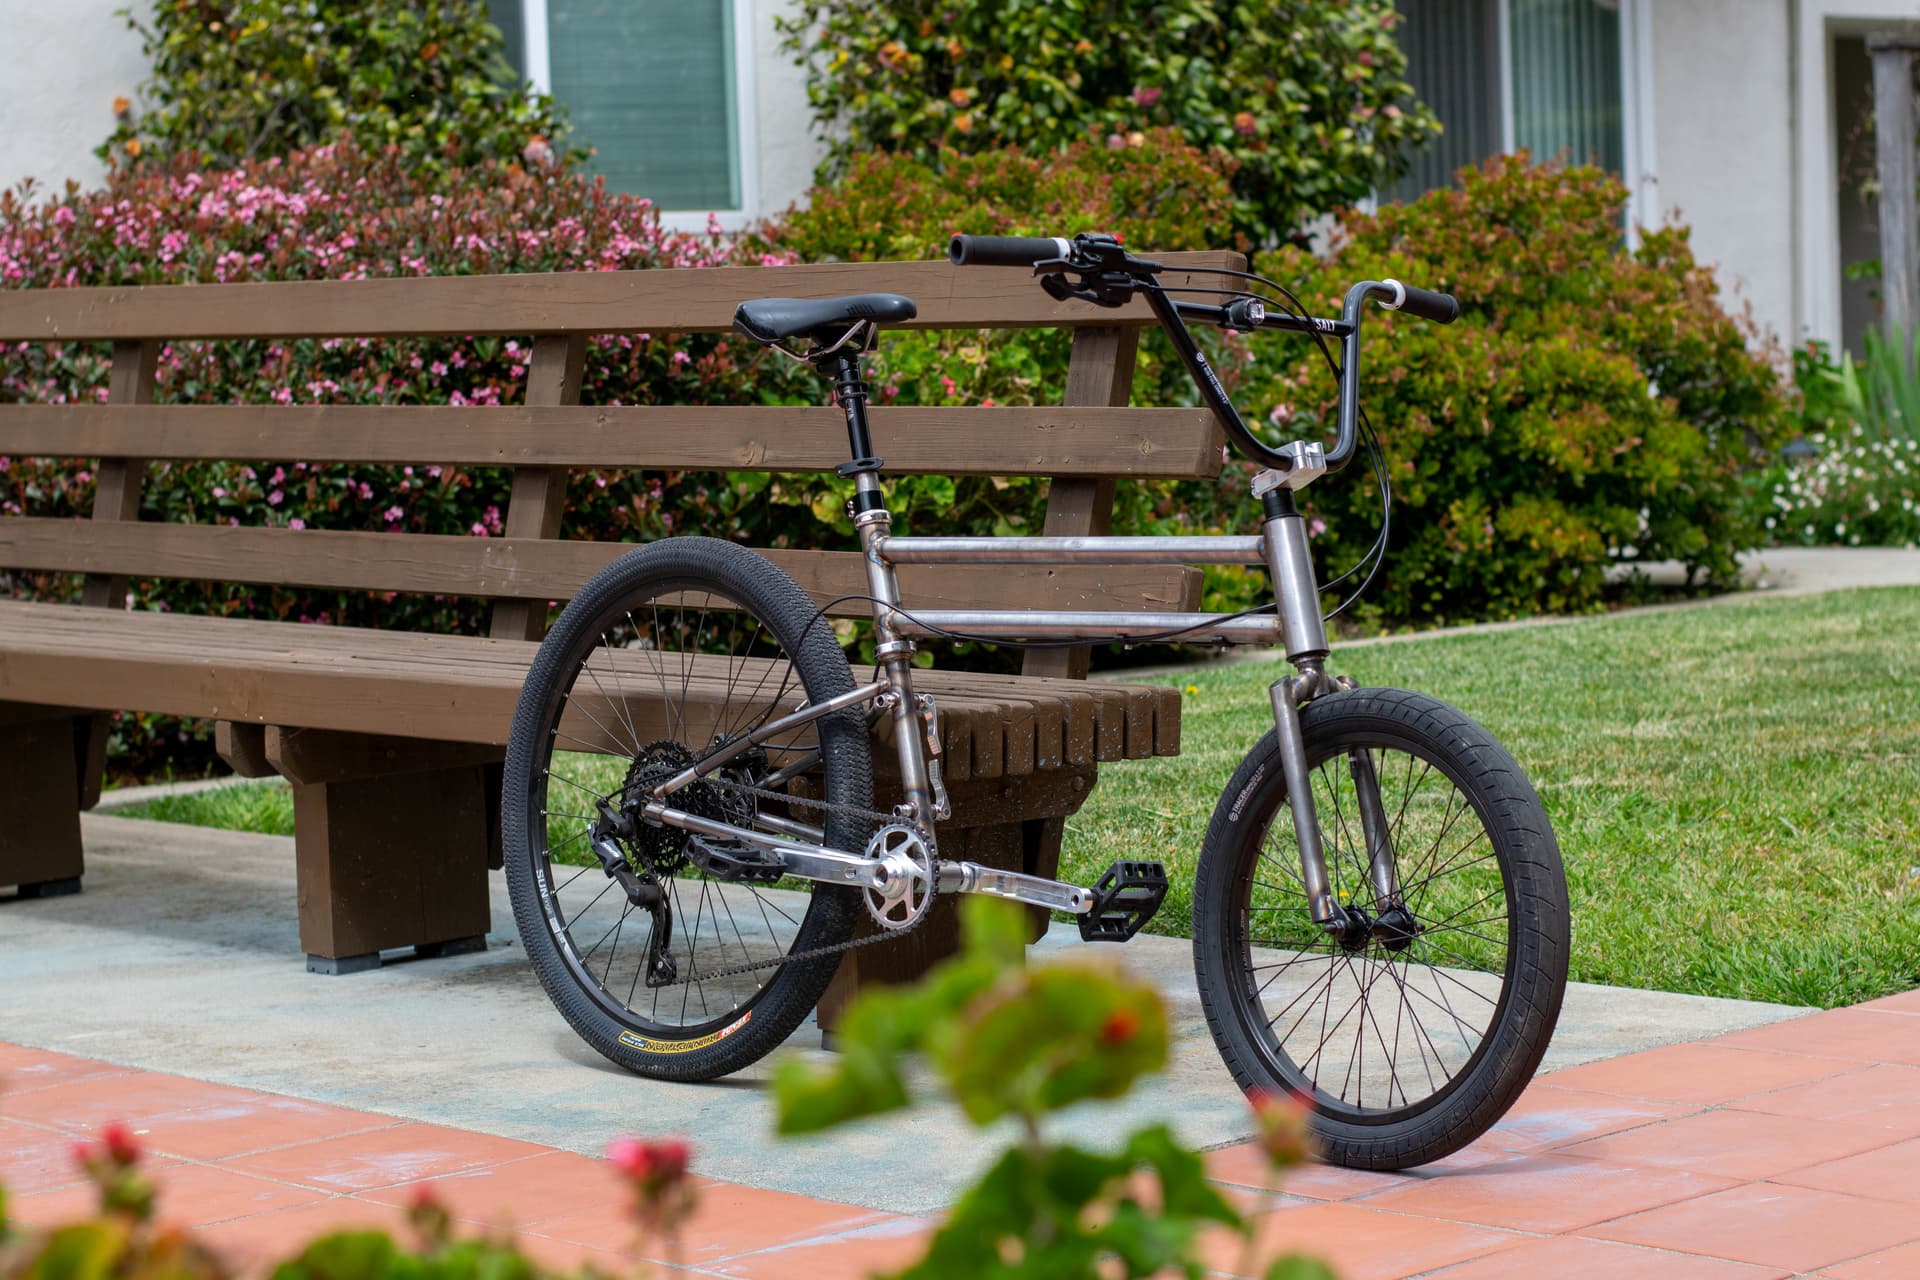
Sporty? Cargo Bike + Frame Fixture (Spring/Summer 2022)
I wanted a new, better-handling cargo bike and an improved frame fixture. I designed the frame fixture around a long rotisserie-style aluminum extrusion that could swivel+lock into place for easy weld access. I machined ball bearing sliders that attached to the extrusion and provided mounting points for different fixture pieces (e.g. head tube rail, seat tube/bottom bracket mount, etc.)

To validate the frame fixture, I made an omnium-inspired frame. The final product handles great and continues to be my daily driver (rider?)


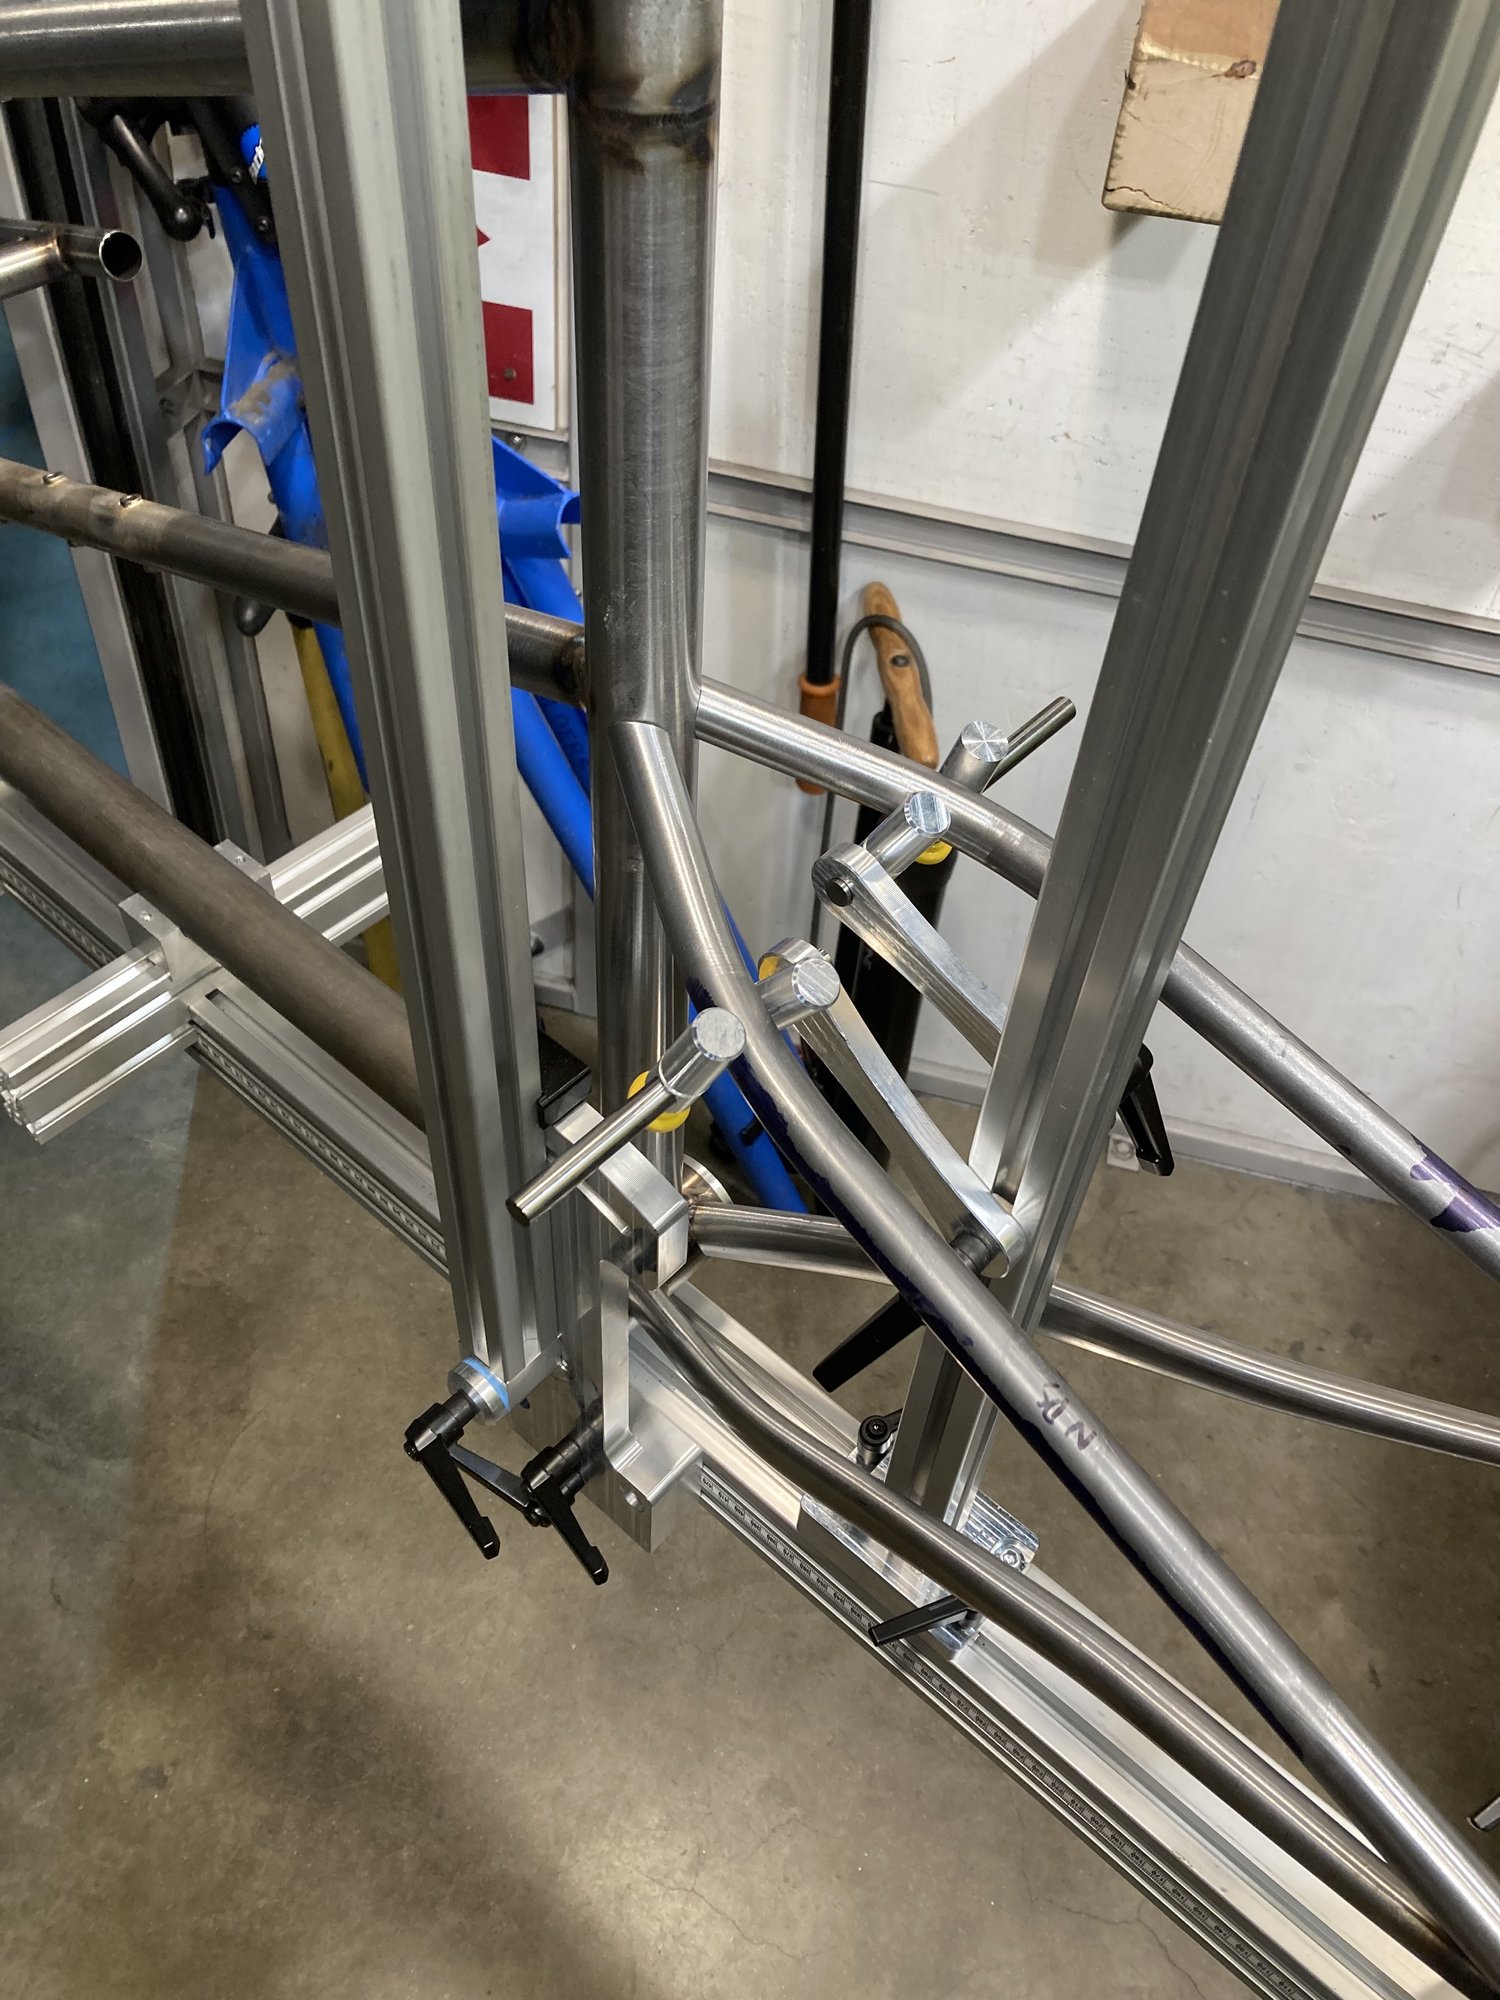
Fixture locating seatstays


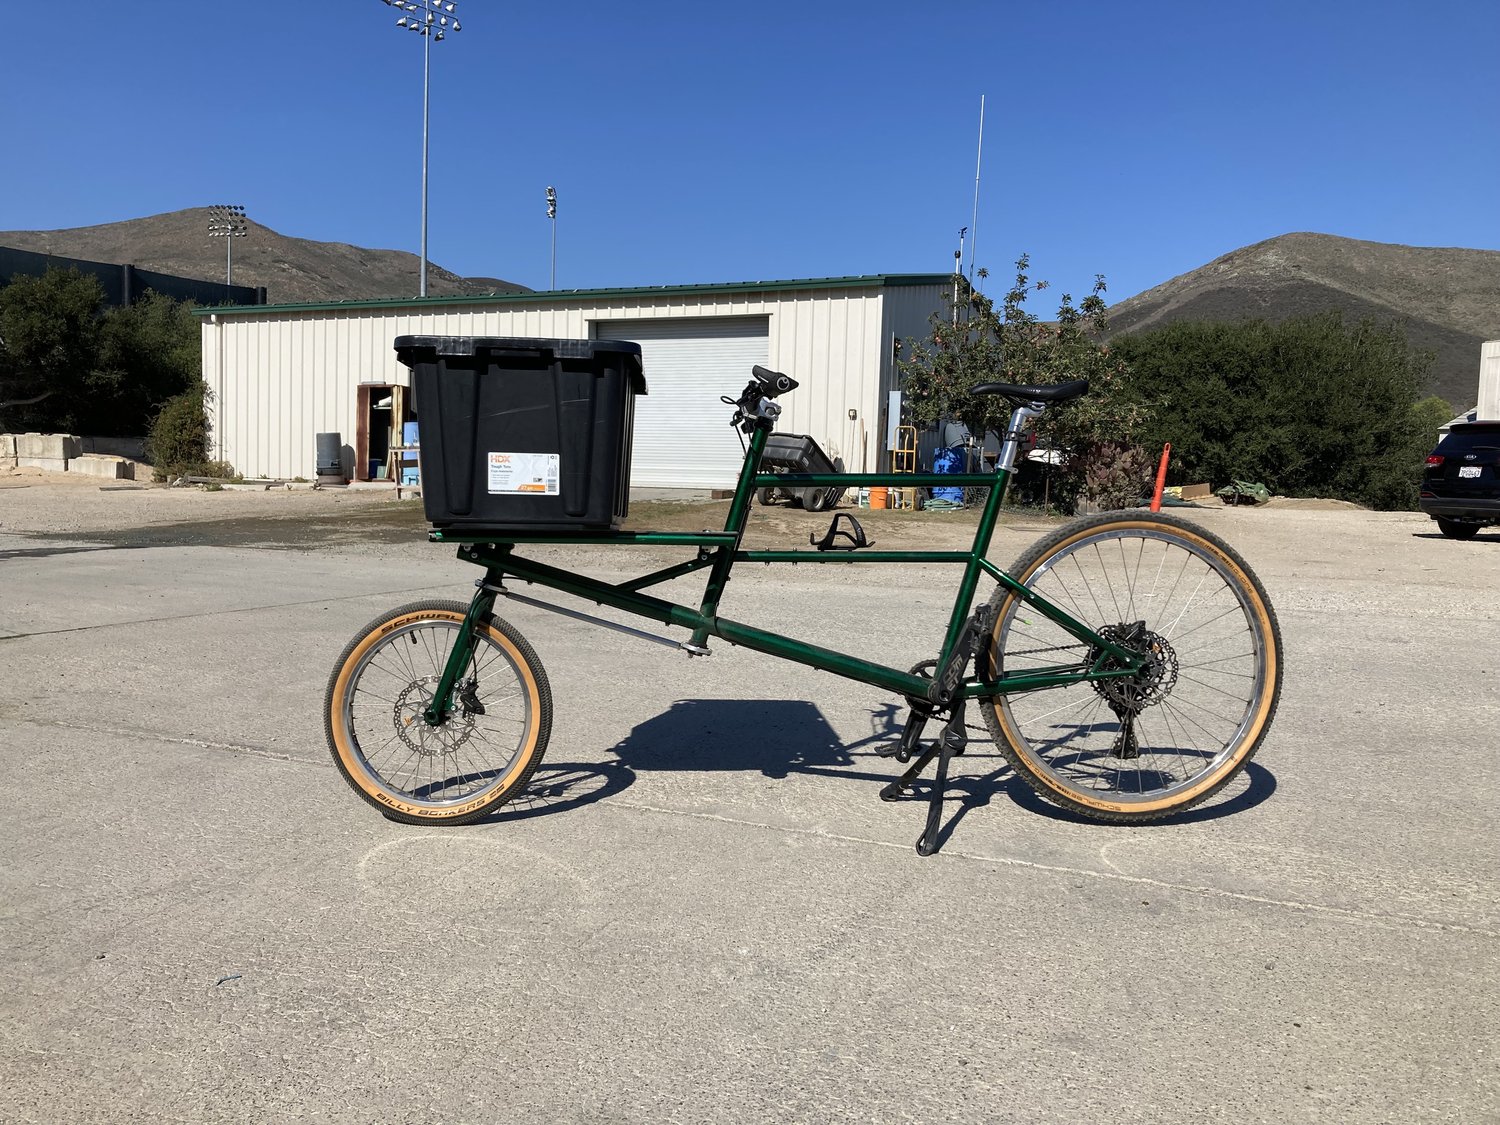
Finished bike. The tote isn’t very elegant but certainly holds a lot of stuff!


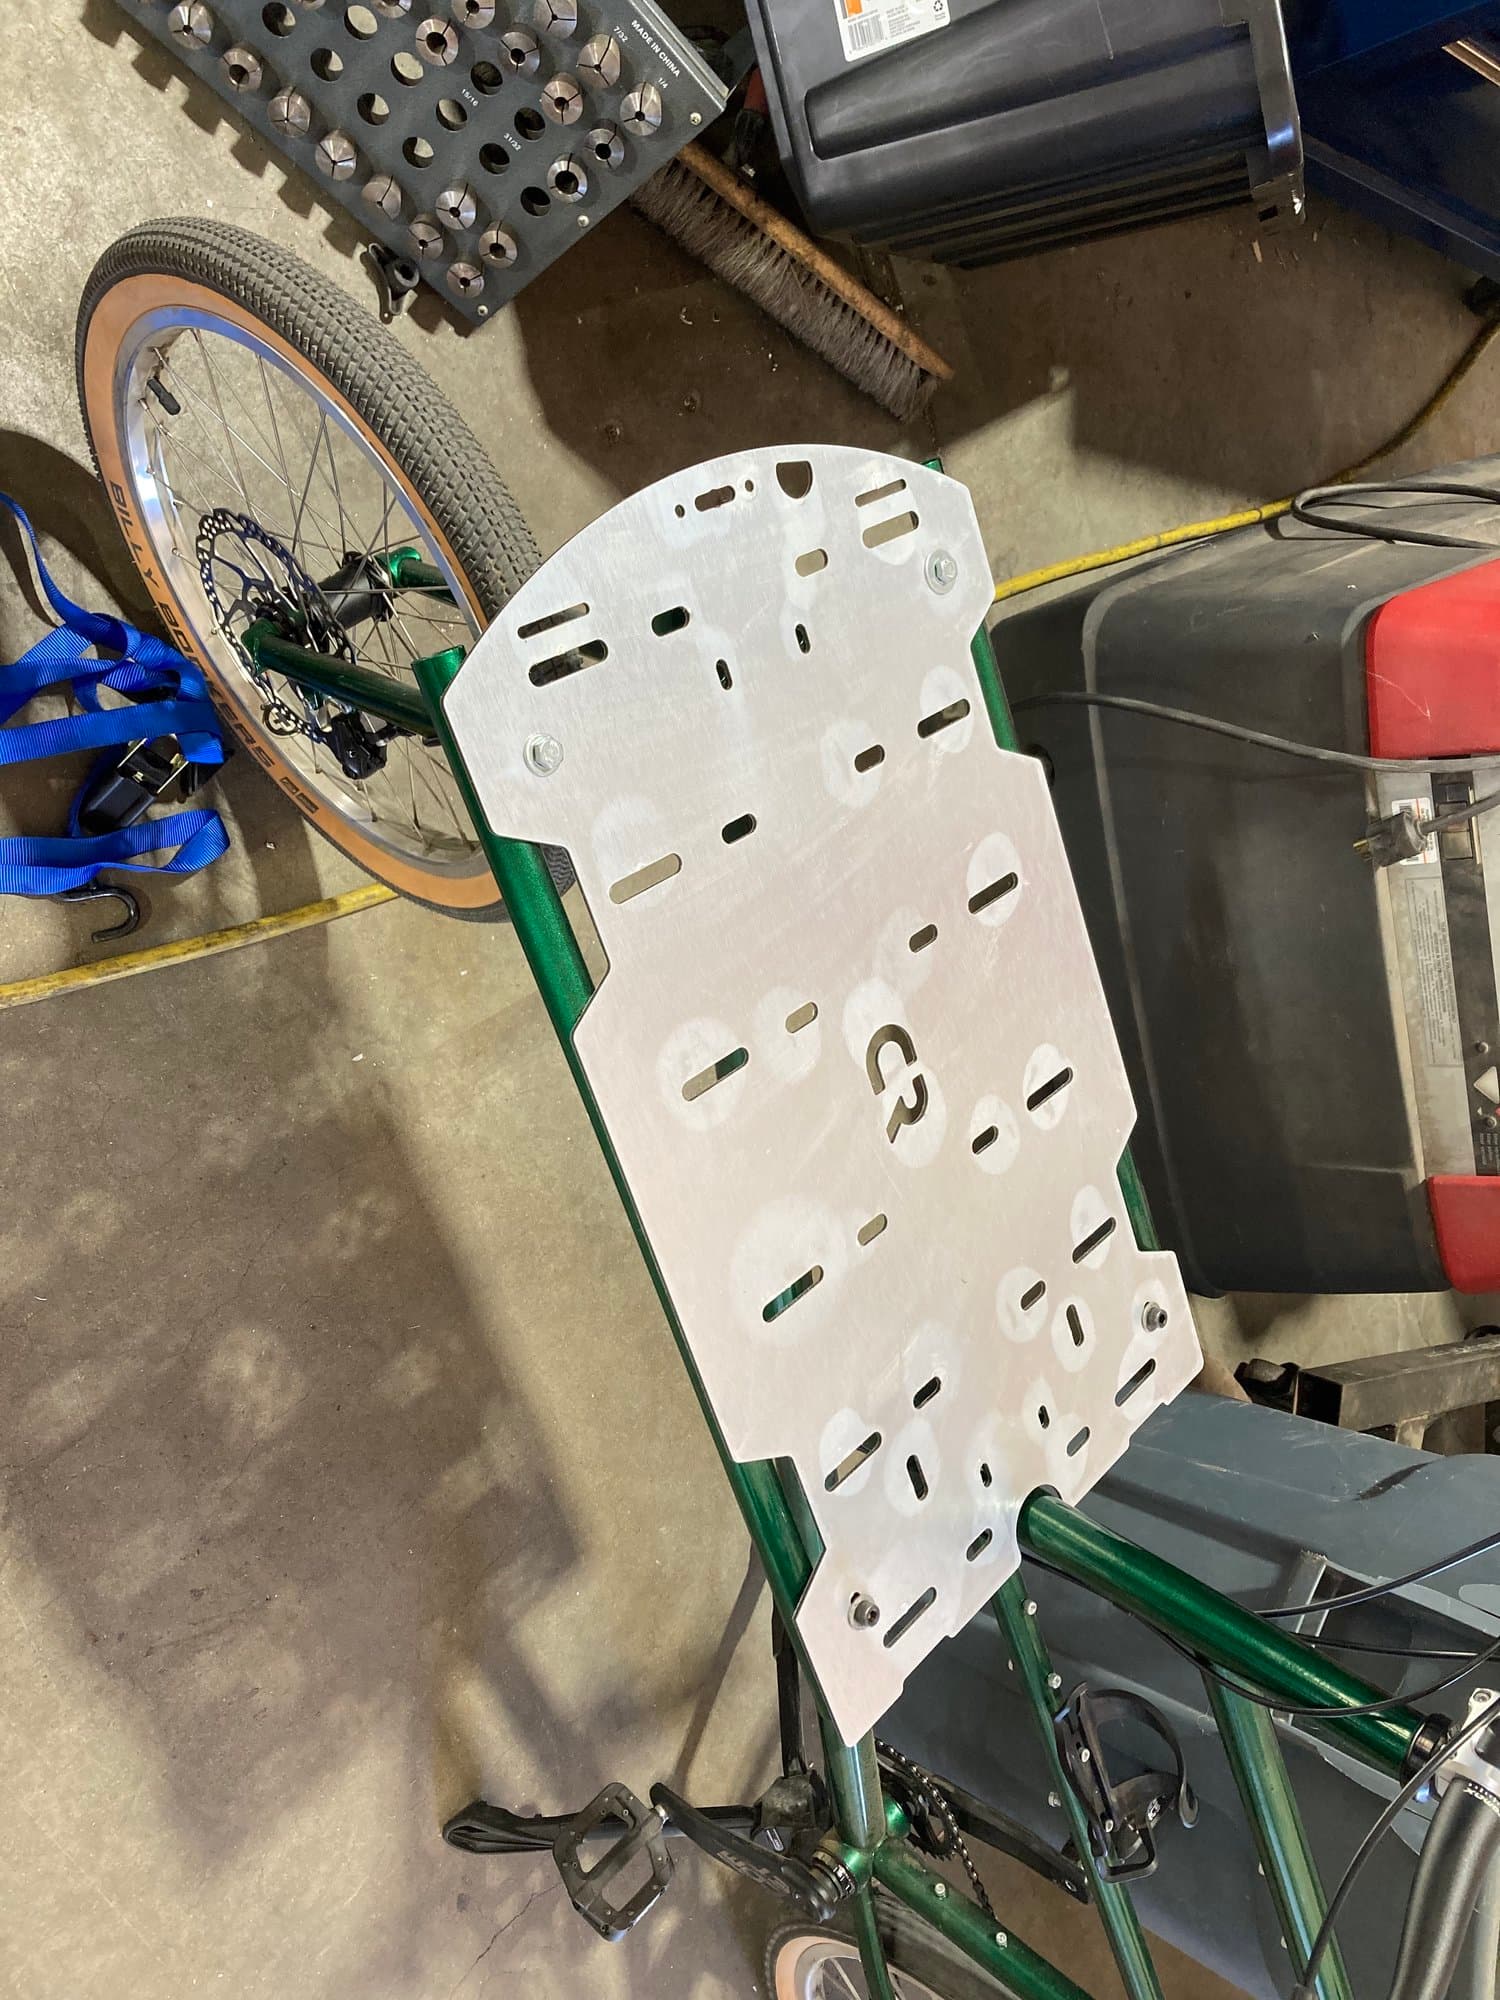
ACM cargo bed. Key features include a built-in bottle opener and logo.


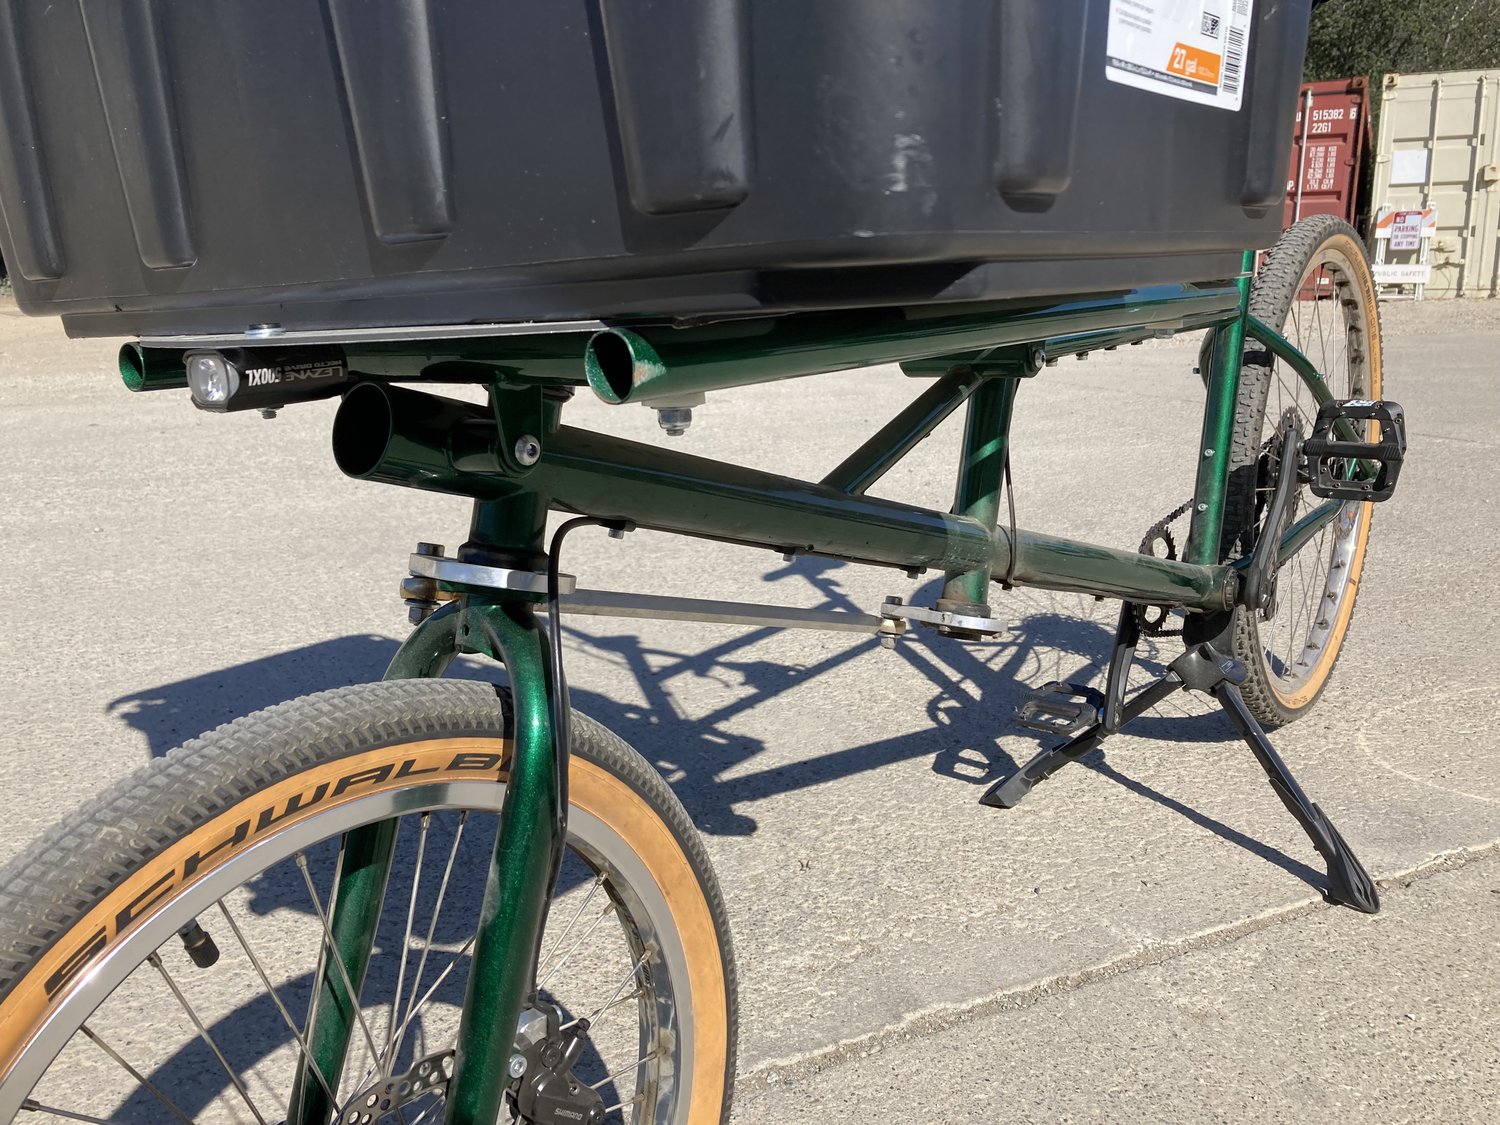
Steering system. 4-bolt spider on the fork + steerer tube allow me to change the steering system to chain or cable in the future.

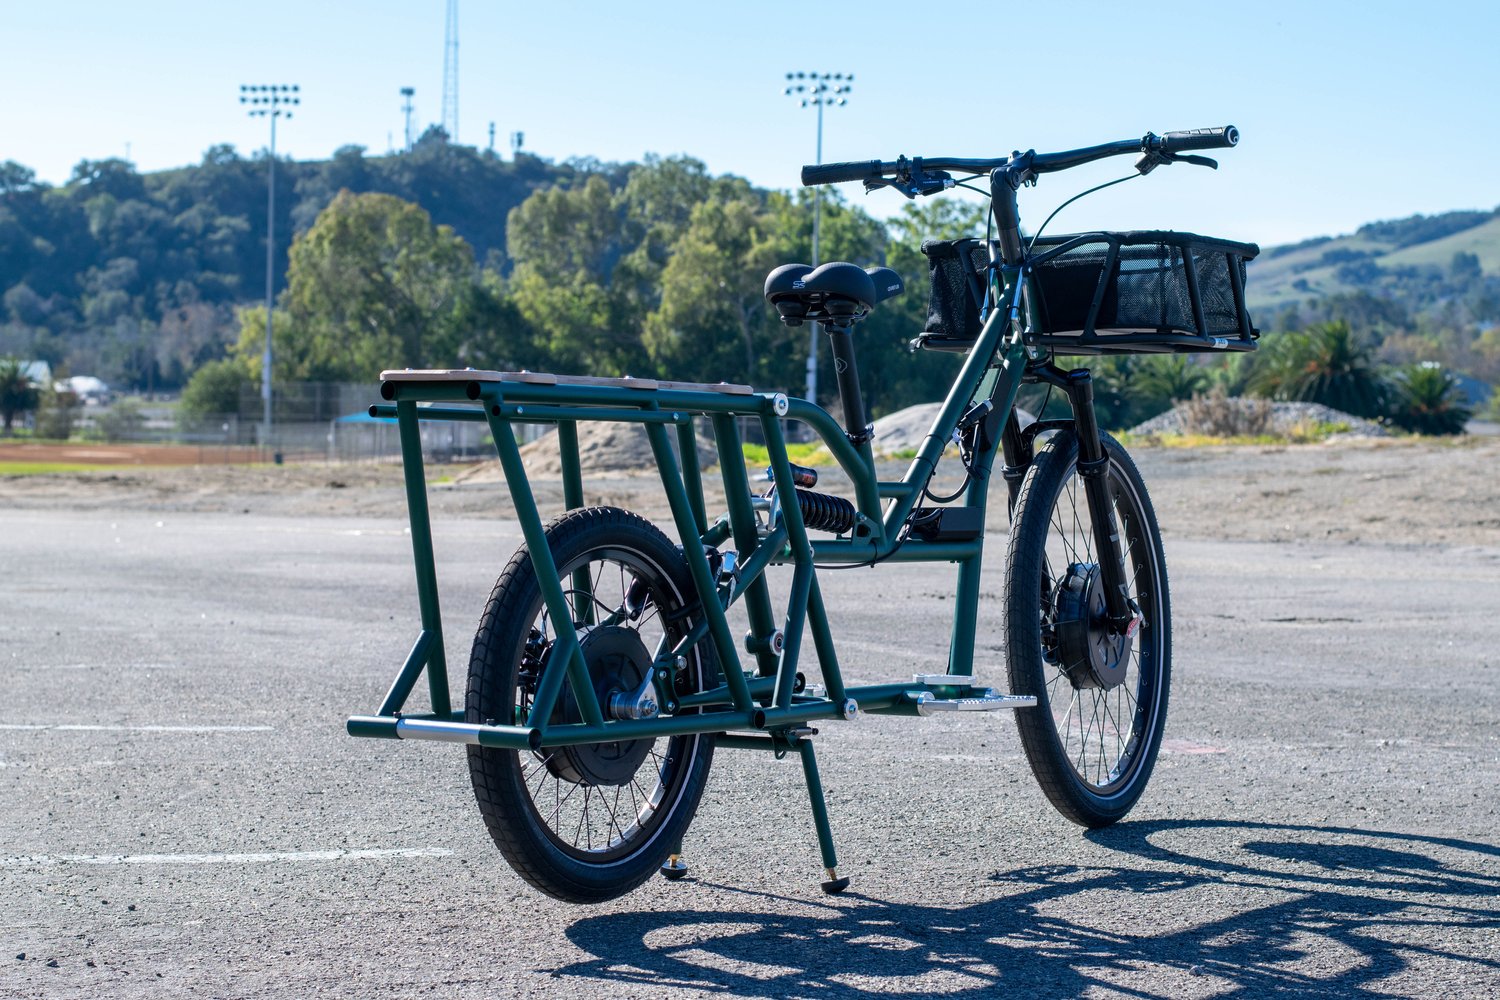
Full-Suspension Electric Cargo Scooter (Fall 2022)
This was an interesting project that I took on as a contract job for a guy in the Bay Area. He wanted something that could carry his kids and handle the rough roads around the SF/Oakland area. There was lots of scope creep throughout the project and I felt pretty relieved to deliver the final product.

My job was to design and fabricate an initial handling concept. I created a swappable linkage-driven single pivot suspension system that allows the rider to compare the two swingarm pivot points without changing the shock tune / motion response. The lower pivot point is designed to isolate the suspension from drive forces for a lower COG (just rider) and the upper pivot is for a higher COG (i.e. large cargo load). Having pedals + chain was dropped partway through the project and the bike became a 2WD electric scooter. Notable design elements include a remotely deploable kickstand via handelbar lever, custom battery compartment + brackets, removable cargo rack, and support for most Yuba accessories.


Various CNC Components (2022)

In addition to bikes, I’ve created various smaller bike-adjacent tools and components. These include:


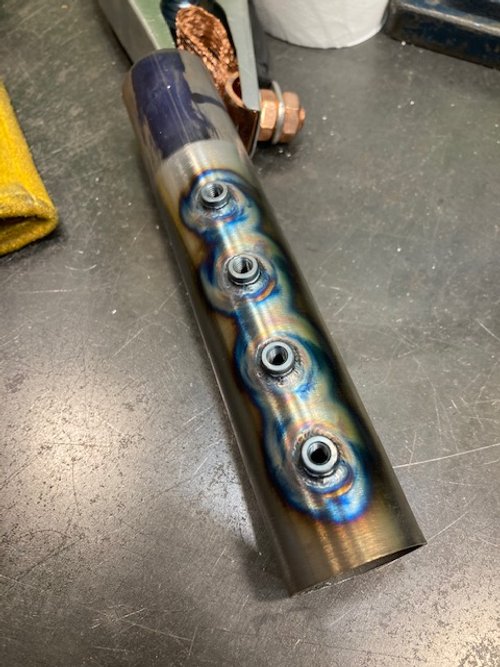
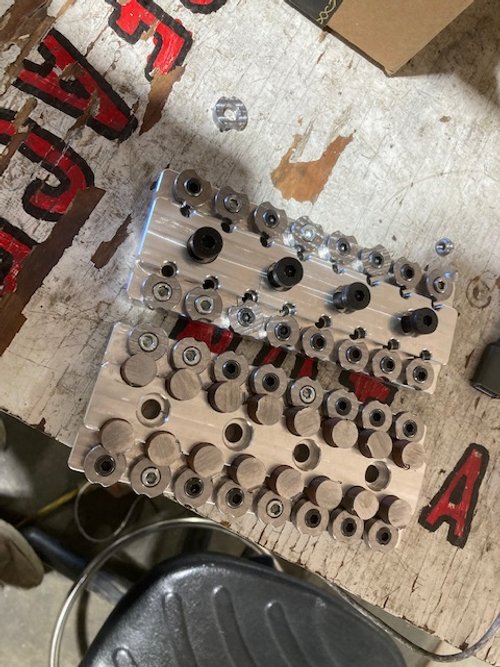
Custom fusion weld bottle boss machining fixture. Can make for a few cents of material per boss and around 80-100 per hour


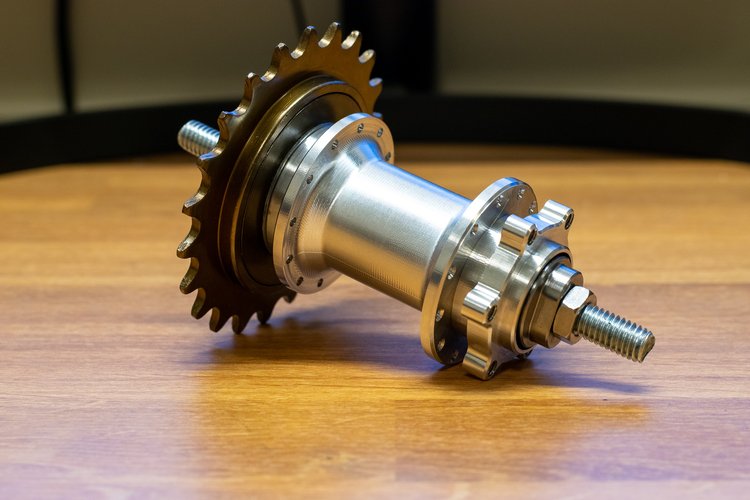
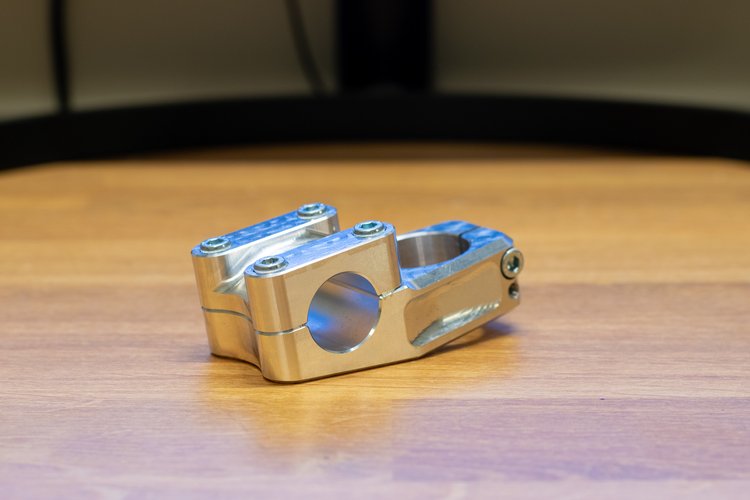
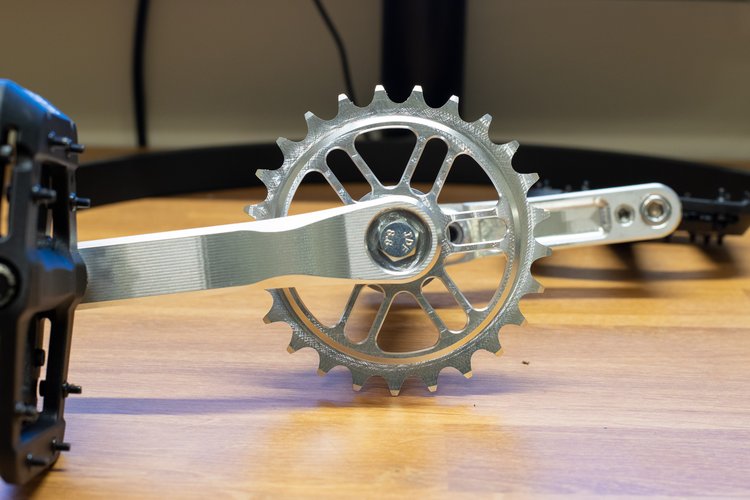
Square-taper crankset, stem, and loose-ball hub for small bikes
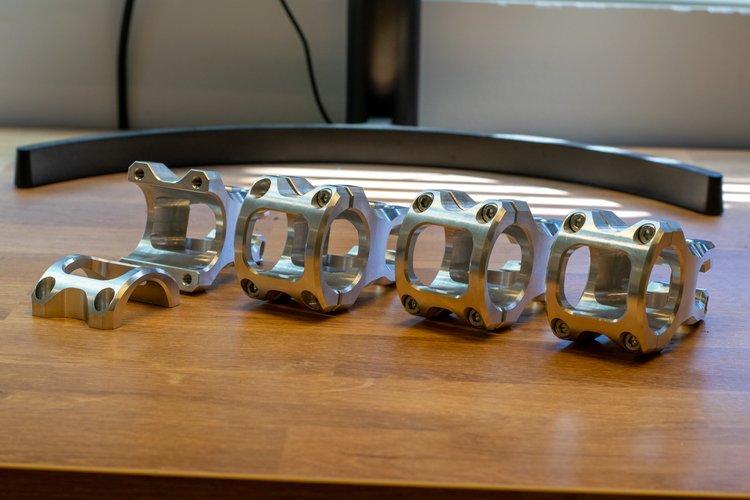
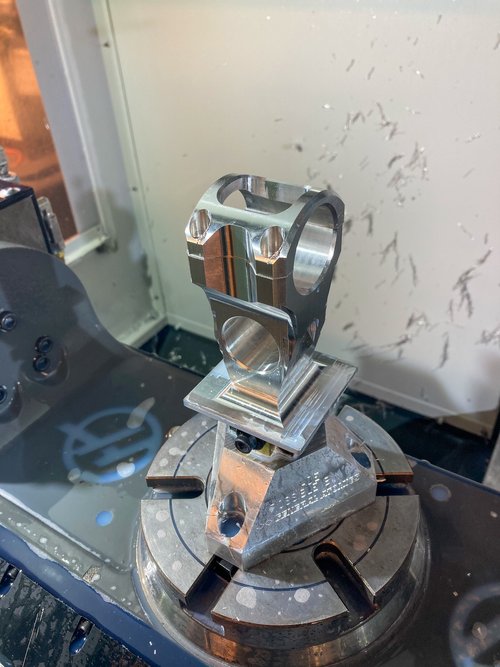


5-Axis MTB stems


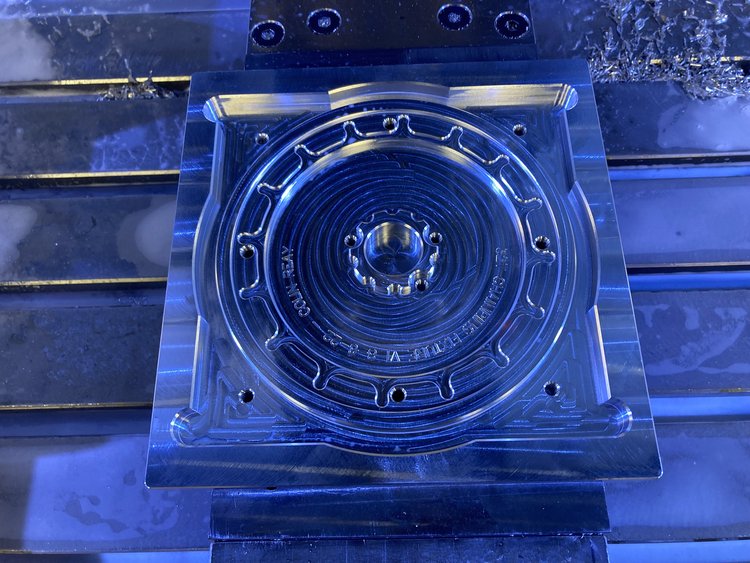
Parametric narrow-wide chainring

Thanks for reading!

27 Likes

Amazing work Colin , in such a short time

1 Like

Wow Colin, this is some of the best work I have seen in a long time! Welcome to the forum!

I am very interested in your cargo bike hub design. I think urban mobility is going to be the next big segment. Cargo bikes are all sold out in europe! I have been toying around with cargo designs, but the existing steering solutions are so janky.

Can you share some CAD or diagrams on how the steering works? Is this sort of design architecture borrowed from the automotive world? I have a hard time visualizing steering kinematics and how it affects bicycle dynamics.

The bigger question is how does it ride/steer?

3 Likes

That full suspension cargo scooter is rad. Cargo bikes are awesome, everyone needs an electric cargo bike in their life.

Did you share some posts about your matlab suspension program on Ridemonkey? I recall someone posting about a program they developed where you can input the kinematic curves you want and it will output the pivot locations (I think there was more to it, but that was the general idea). I have spend uncountable hours in Linkage moving pivot points around mm by mm to try and optimize for the LR curve shape/slope I want, being able to give it a curve and some location limitations would be amazing.

3 Likes

Holy moly, so much really cool stuff in here. But most importantly - how can I get my hands on a (presumably) 31.8 top loader??

3 Likes

Bravo Colin! This is some cool stuff.

@earle.b That might have been Hugh from iTrack?

1 Like

Absolutely marvelous stuff mate…

We’ve got The Hangar, Bonderson, and Poly Canyon all in one post!

Feels like home again. Good to see these builds coming along. Any plans to take the Singletrack Course? I would highly recommend it if you can fit it in.

1 Like

Thank you, Daniel! I’m a huge fan of your work and the community you’ve created here.

I feel the same way about urban mobility - cargo bikes fascinate me and seem like a relatively underexplored area in frame design. I’ve uploaded and attached the .STEP file of the hub for reference. I took design inspiration predominantly from the Bimota Tesi and Elian center steer hub. The hub pivots around a central kingpin axle, so the steering kinematics are similar to a 0-offset fork. I briefly considered a 4-bar steering linkage (I’ve seen this on a few prototype motorcycles and one-off cargo bikes) but was concerned about how handling would be affected by changes in the virtual steering axis (definitely an area I’d like to explore though!)

I’ve currently configured the hub to have around 125mm of road trail which results in a very stable, albeit boat-like steering response. Thanks in part to the bike’s weight and size, I haven’t been able to feel any additional drag from the large bearings or slop in the overall hub assembly. I’m very interested in testing the hub with more conventional geometry for an apple-apple comparison with traditional front end designs.

Have you considered a cable steering system? I’ve seen a few designs that utilize this and the idea is very appealing for navigating tight spaces at low speeds.

Center Steering Hub - Rev1.step (1.7 MB)

4 Likes

Thank you! I believe the RideMonkey posts were from Hugh. iTrack has some awesome videos on YouTube demoing their suspension analysis program, which is far more refined and featured compared to what I cooked up.

I found it very difficult to create an effective optimization strategy for 4-bar linkage designs and was only able to get usable results after adding boundary regions for the various links to encourage local convergence. By comparison, optimizing a single pivot design is pretty straightforward!

I didn’t implement this, but having a separate algorithm to tune a shock linkage design independent from the swingarm seemed like an interesting idea to me. This would allow you to design a single-pivot, linkage-driven design by first positioning the main pivot for your desired wheelpath/AS/AR response and tuning the shock linkage separately.

1 Like

Setting the main pivot first is how I handle my linkage driven single pivots. Get that set then I spend many many hours picking away at the linkage. I’ll then transfer into Fusion and something I didn’t consider in the space constraints pops up and it’s back to Linkage to fix / change. Generally I’ll also have an aesthetic goal with shock location and that’s kinda my main boundary. I should probably take the time to get a better representation of my Fusion model into Linkage to cut down on some of the back n forth.

1 Like

Well damn! Way above my pay grade!
I love the diversity in bikes and new ideas.
Can you further explain the bottle boss fusion tool thingy? That went right over it head but looks very useful.

2 Likes

The animations of the different suspensions systems on your website are fascinating, and thank you for sharing the Matlab program!

woah, this fills me with a mixture of jealousy and absolute joy! some amazing things in there, the steering hub looks so good!

1 Like

Wow this is all really impressive work! I think I’m most impressed by the timeline in which you were able to accomplish all of this. Also, thanks for sharing the matlab program!

1 Like

I finished up two bikes last quarter!

The first is a swing bike that has become my de facto commuter. I chose a staggered wheel setup to minimize toe overlap with the front tire (for maximum swing angle!) and added some quality-of-life features like a hydraulic rear brake and Acolyte groupset. The bike currently has a crankset I designed to measure loads using two strain gauges and a small PCB tucked within the driver-side crankarm. I hope to start testing this soon!

The second bike is a flex-stay full-suspension bike. The rear seat stays flex around 1 degree throughout the 120mm of rear travel. It’s quite interesting to actuate the swingarm without the rear shock installed. You can feel the seat stays “pop-through” at around half travel. The suspension is very progressive, going from around 3:1 to 1.5:1 (rear wheel travel:shock stroke) at full compression.


17 Likes

Love the concept of a short travel MTB with tons of progression! Something I’d like to explore myself.

All your stuff is very nice/envy inducing! especially the cargo bike stuff.

2 Likes

Beauty! How did you get the SS CS brace on the drive side to clear the chain? How close is the chain?

1 Like

Thanks, Daniel! The CS-SS brace chain clearance is pretty spicy on the smallest two cogs. Here’s a picture of the chain in the second to lowest cog. I did not realize how close the chainline would be to the brace during design - if I were to do it again, I’d consider dimpling/scalloping/moving the brace to gain a few more mm of clearance.

The chain just touches the brace in the lowest cog; after powder coating, I plan to add a small strip of Teflon/PTFE to prevent the brace from getting chewed up over time. Not a very elegant solution, but it should hopefully be a good enough band-aid fix!

5 Likes

Both of these frames are so slick in their own ways!! I love the BMX styling in the swing bike and that full-squish build looks like a total dream to ride.

2 Likes