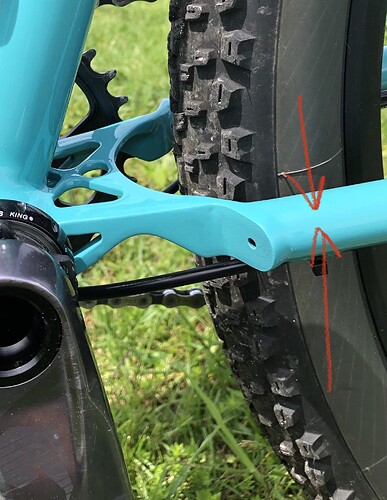
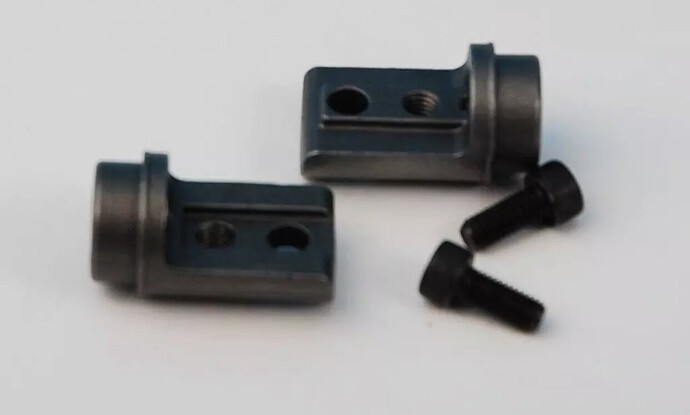
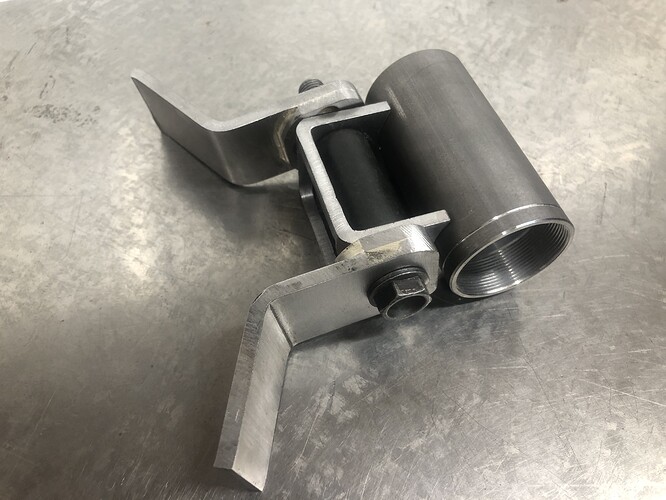
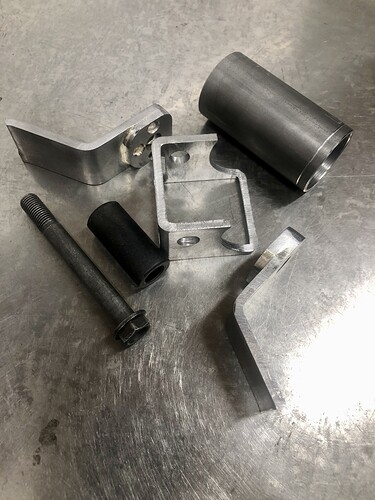
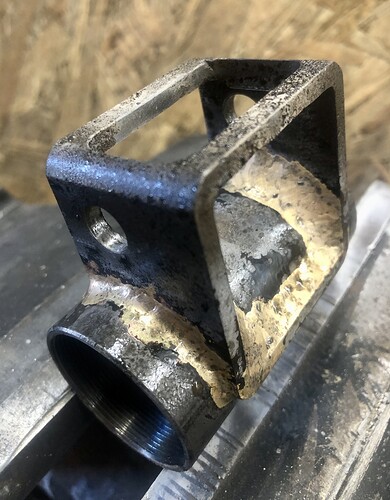
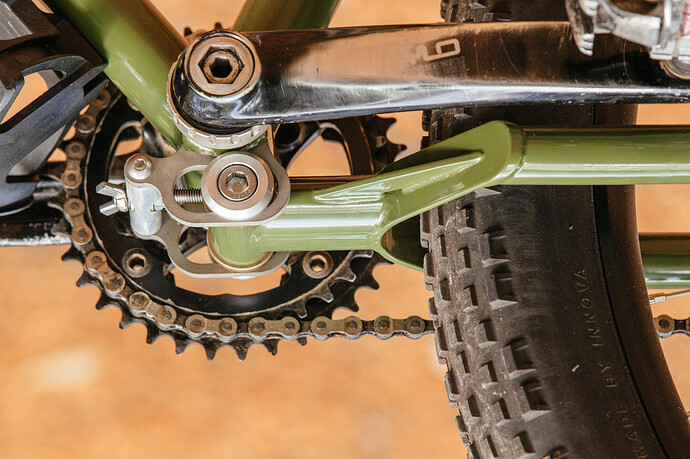
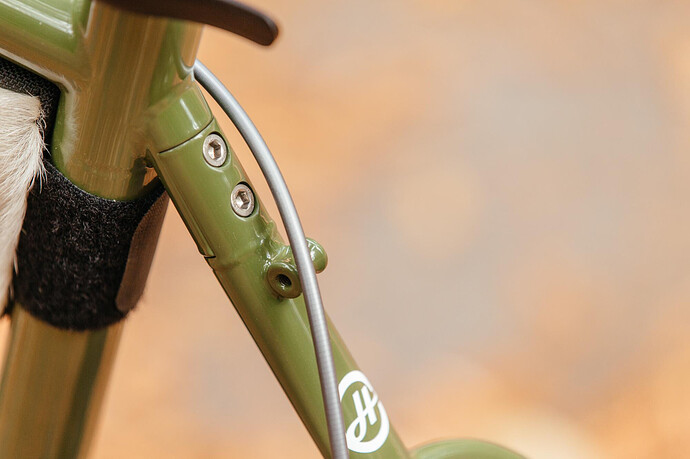
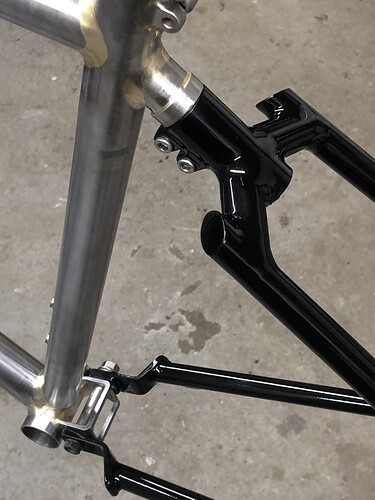
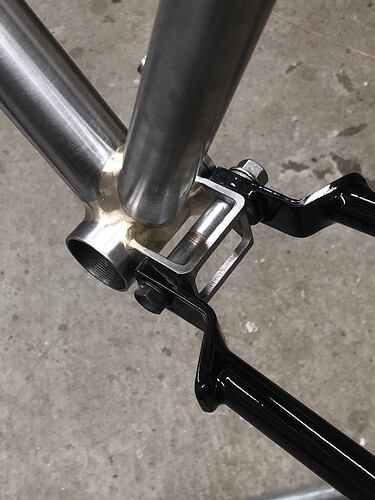
If I build a MTB hardtail frame with 19mm seat and chain stays like this one (pic 1) with yokes top and bottom and put couplers in like in the 2nd pic is it going to be strong enough for general mtbing ( nothing too silly ) ? Anyone done this? Z couplers are crazy expensive… just like excess / oversized luggage!
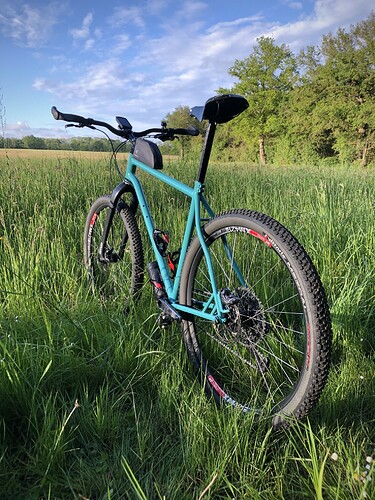
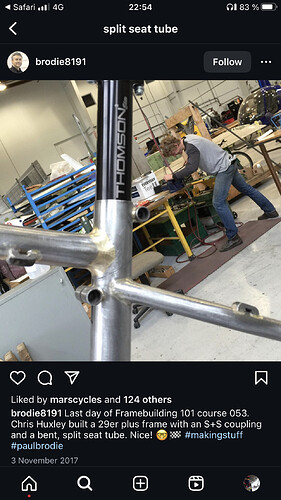
I’m not sure about strength but I think I would be doing something like @normaali did on this frame:
It would give you a lot of freedom to make it as beefy as you like
That would allow you to make it more solid and also even more compact. Unfortunately I don’t have a lathe so would be harder to make up those parts…. Still ![]()
You want to use the belt split as a way to split an entire frame in half? I am not sure it will be strong enough but maybe I am wrong, you could do some tests.
That said, I paid $600 to have Steve Rex put S&S couplers in one of my bikes a decade ago and I recoup that money after the first trip, I was travelling back and forth from EU at that time and bringing a bike with me was $150 a leg, 4 legs each roundtrip, $600 after the first trip, they are not expensive once you consider what even a single travel with a bike in tow will cost you.
Also consider that you could put them in afterwards (like I did) so if there is no plan for any trip coming soon you can defer that expense to later on, albeit they will be a little bit more challenging to install.
The reason S&S couplers and Z couplers are so expensive is because of the complicated featuring that holds on itself to stay in place regardless of what direction forces are put on them. Complicated featuring=complicated to make=$$ to make=$$ to buy.
I would predict using 4 cast belt drive splitters it will eventually fail at the chainstays. The boss and recess on those couplers pictured are open on one of the 4 sides. So provided they are a snug fit, best case scenario the boss will prevent twisting, bending, and compression, but there is no feature to prevent pulling. Your seatstays will experience mostly compressive forces so they would probably be fine there. But your chainstays will experience pulling forces, and with nothing to prevent that but the screw and a clearance hole, the couplers will be slowly guillotining the screws with every bump until they eventually succeed. Could be a few rides, could be a few years, who knows? Maybe worth a try? Worst case scenario your bike breaks in a not-so-dangerous way then just weld them up and its no longer a split bike.
The least expensive way to do this that is totally secure I would say is what Ahearne cycles did here -
https://www.instagram.com/p/C_EuN1ayiXr/?utm_source=ig_web_copy_link&igsh=MzRlODBiNWFlZA==
Once Z-coupler on the downtube (you can barely even see it in this pic cause they are so low-profile) And then split at the seat tube so that where your top tube attaches and where your chain stays attach are two separate seat collars. This way you only have to buy one Z-coupler and your seat post locates and secures the top half.
If you are going to use yokes, especially laser cut ones, I would not bother using splitters. You can just laser cut the parts and bolt them together with hardware store items. No need for a lathe either, especially if you are not planning on designing some rotating parts,
If you don’t like the look of it, but it rides, just don’t post it on the Internet.
Ritchey sells their break-away kits to frame builders, I wanna say less than 200$
Thanks for the replies… gives me plenty to think about. Have an idea which I might give a go… maybe a bolt on not with splitters. Will only be my 3rd frame and while I think the other 2 look good this one I want to play around a bit and if it doesn’t work at least I am learning something.
I will build a frame with couplers in the future but don’t really want to spend €600 or more on them till I know my skills are up to making a frame worth putting them on. Don’t have much time as I fly in a month so better get moving.
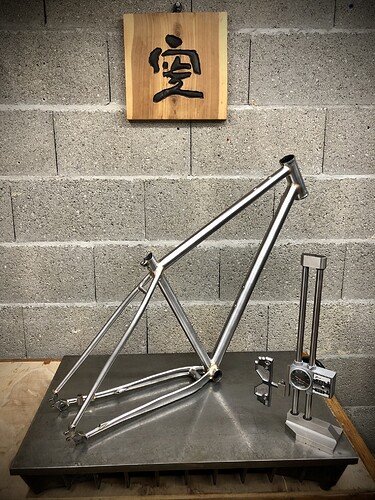
The other two…
Working on chain stay / bb joint… think this will work. 10mm bolt of a Ducati engine support but need to find a nut!
For the seat stays not sure yet. If I use a split seat tube but unlike this photo have the seat stays on top is there any issues I should watch for? I know it will not look as good with seat stays above top tube.
Still hesitating between this and a bolt in yoke.
I like this a lot. You will probably still wear out that bolt and/or bolt holes over time, but you’ll be able to tighten the hell out of that 10mm bolt and I bet it’ll last forever even if it does wear a little. I love a good creative solution!
Looks sweet! Reminds me a little bit of the tensioning setup on a breakaway/SS Hunter Bushmaster from the Radavist a few years back. Same bike also featured a wishbone seatstay coupler that might be a fun design to reproduce.
That’s a nice seat stay set up. Not sure my skills are up to that yet. So far just using scrap metal I have found at work.
This looks very efficient use on parts. I wish I had a metal shop, whose scraps I was able to poke around. I find that that parts at hand feed my creativity much more than a CAD model on the screen ![]()
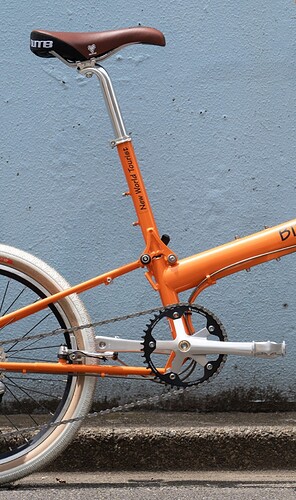
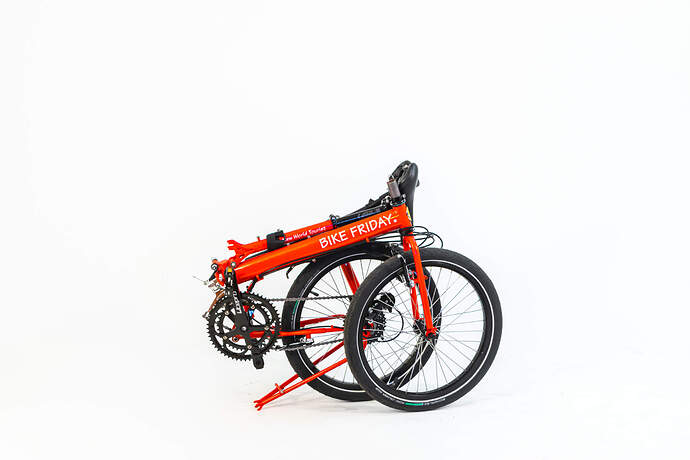
Anyway, I urge all splitbike enthusiast to google around what folding bike manufacturers are doing (Japan has plenty of these bikes). Their couplers are usually much smaller than you’d think would ever last on a bike. I love the Bike Friday folding mechanism and this bike is all steel with very simple looking parts.
Not really an engineering shop… just a motorcycle workshop with a bit of scrap lying around. It’s coming together but will be a bit chunkier than I like…a lathe would allow me to thin down a few of the parts but all in all it might be bc 500 grams heavier than a normal build. Shouldn’t notice it too much except when lifting over stuff ![]()
Coming together… just got to paint front triangle.
Simple design which will easily fit in 158cm ( 3 sides ) box… and in the end very cheap.
I’ve been researching varied options myself. not the way I went but rick hunter has some pretty cool stuff…
Yes it’s was already mentioned above… tidy design but not that simple to do in my garage with limited tools. Mine isn’t so simple to break down but it won’t be used that often… to be honest I may just leave it New Zealand when I leave as I visit the family once every year or two… only cost me couple of hundred dollars for the frame. Was a fun experiment… now just to see if it works!
i really like this concept! i play bike polo and like to travel around for tournaments, taking my bike with me is a bit of a pain. something like this would be great i think, i don’t have a rear brake or shifting to deal with so it seems like it would be relatively easy to break down and put back together. i might have to explore something similar when i get around to building a frame for myself
the small wheel version in the bike packing article was also relevant though!
