This is a thread for showing off custom bike things you’re making, other than frames or stems. I.e. did you make a sweet custom rack/bag/pedal? Whatever you want to show off.
I was looking for a thread showing off misc custom bike-stuff folks are making, and haven’t found one, so here we go!
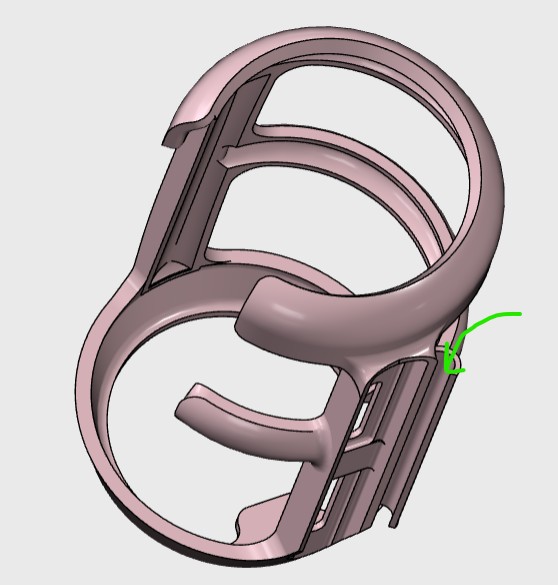
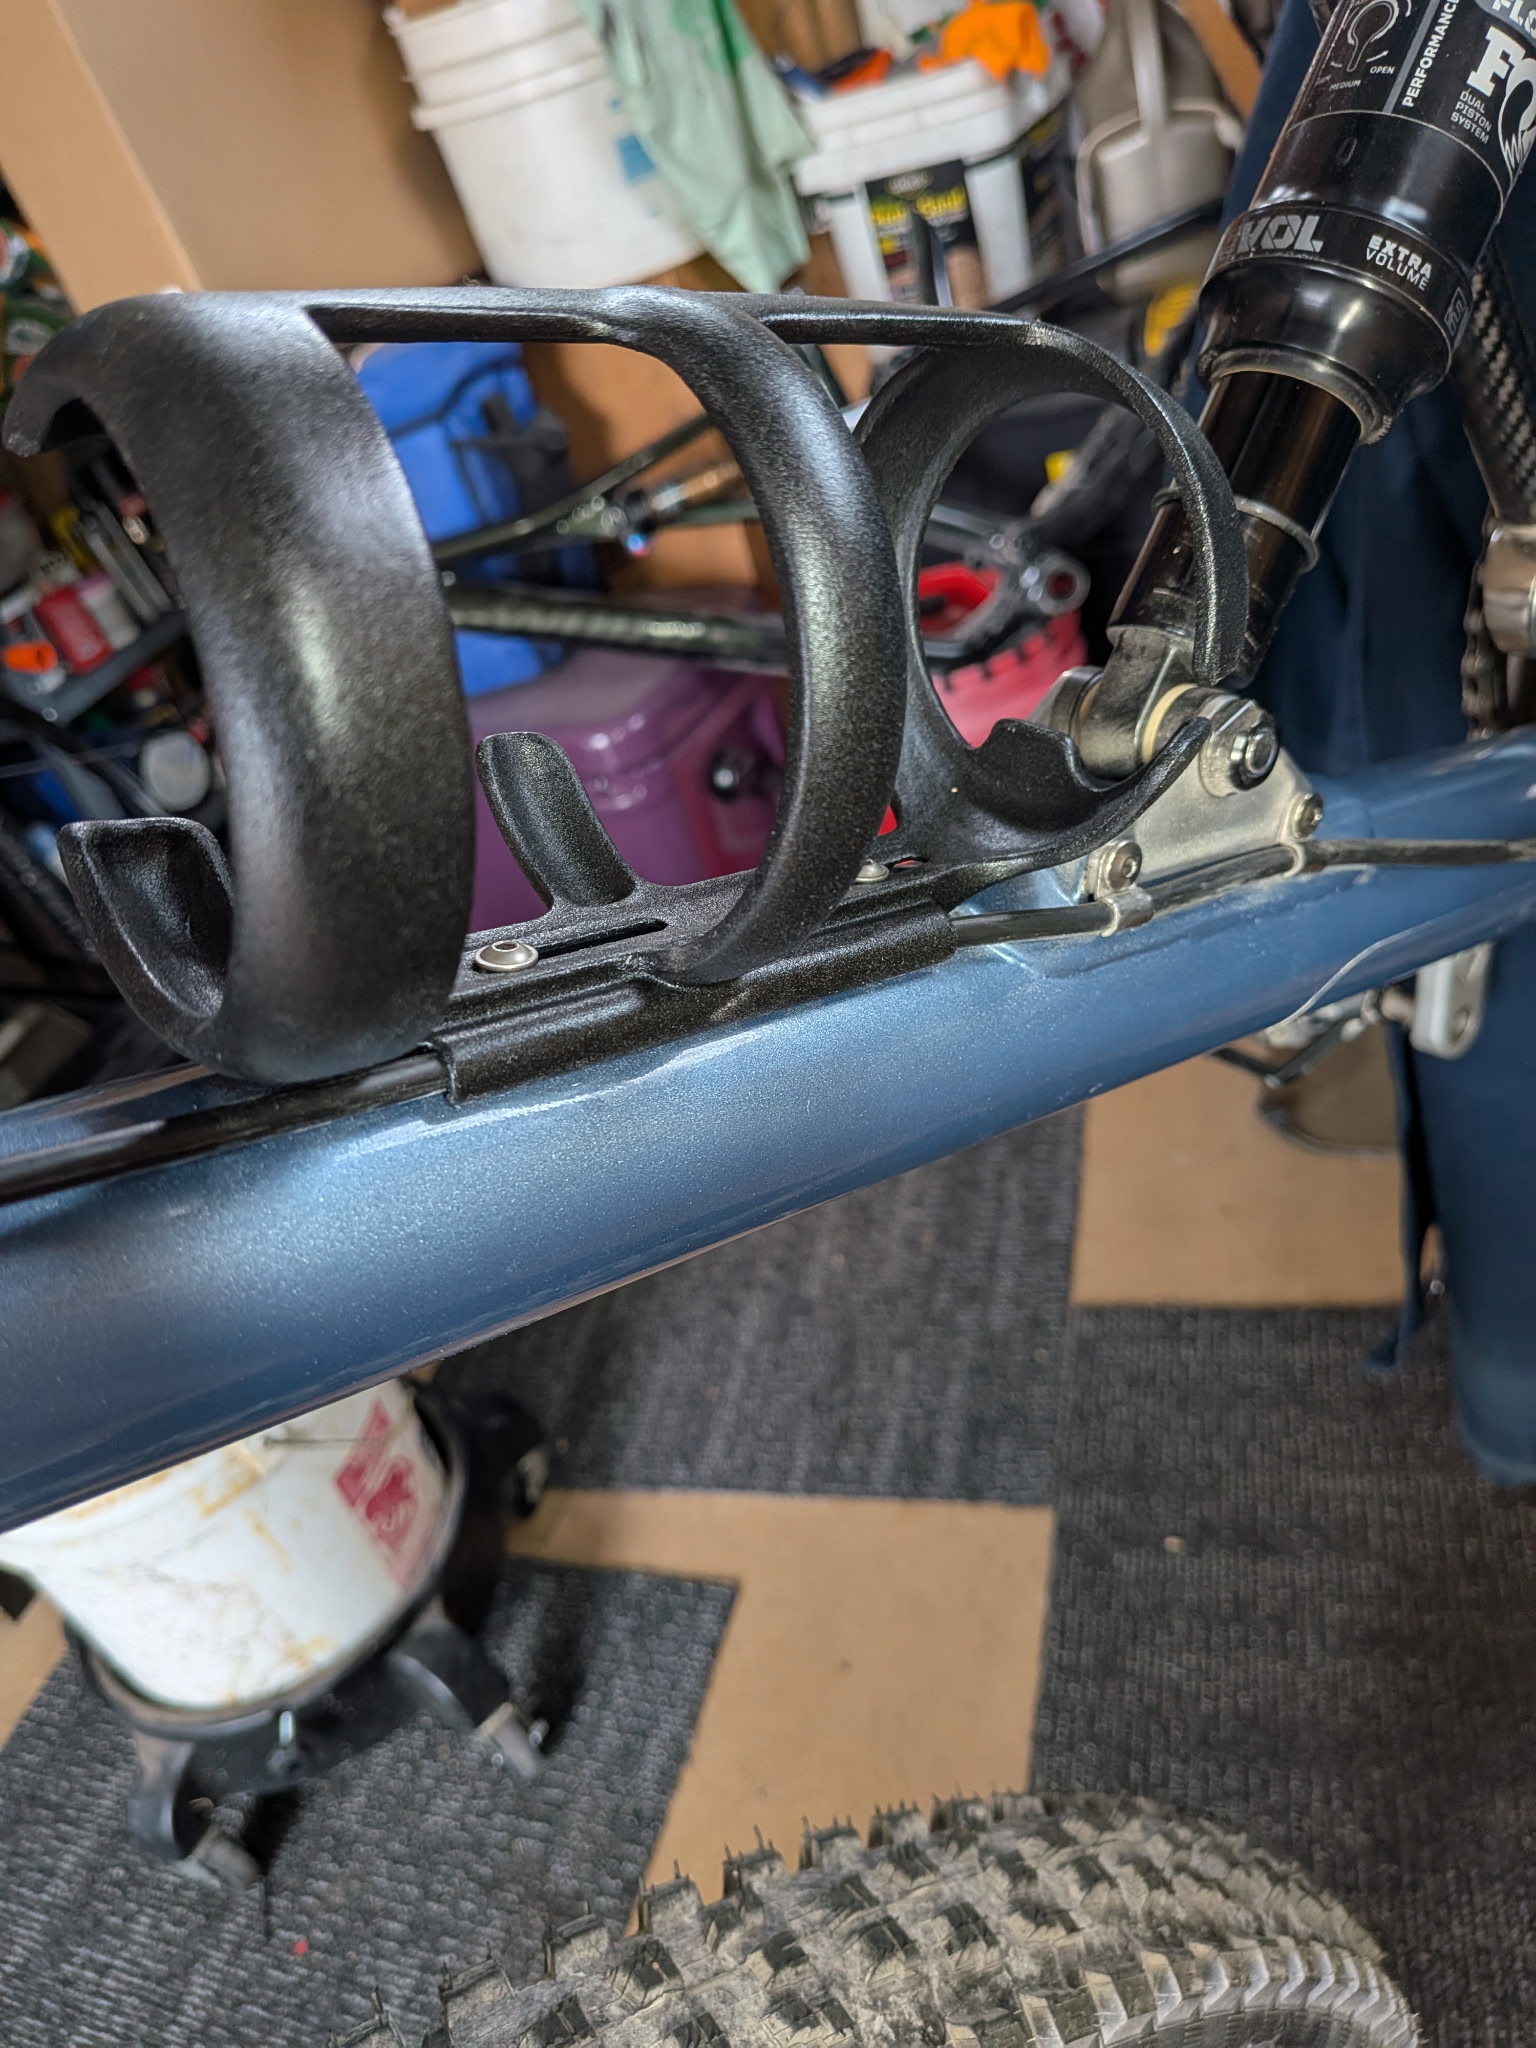
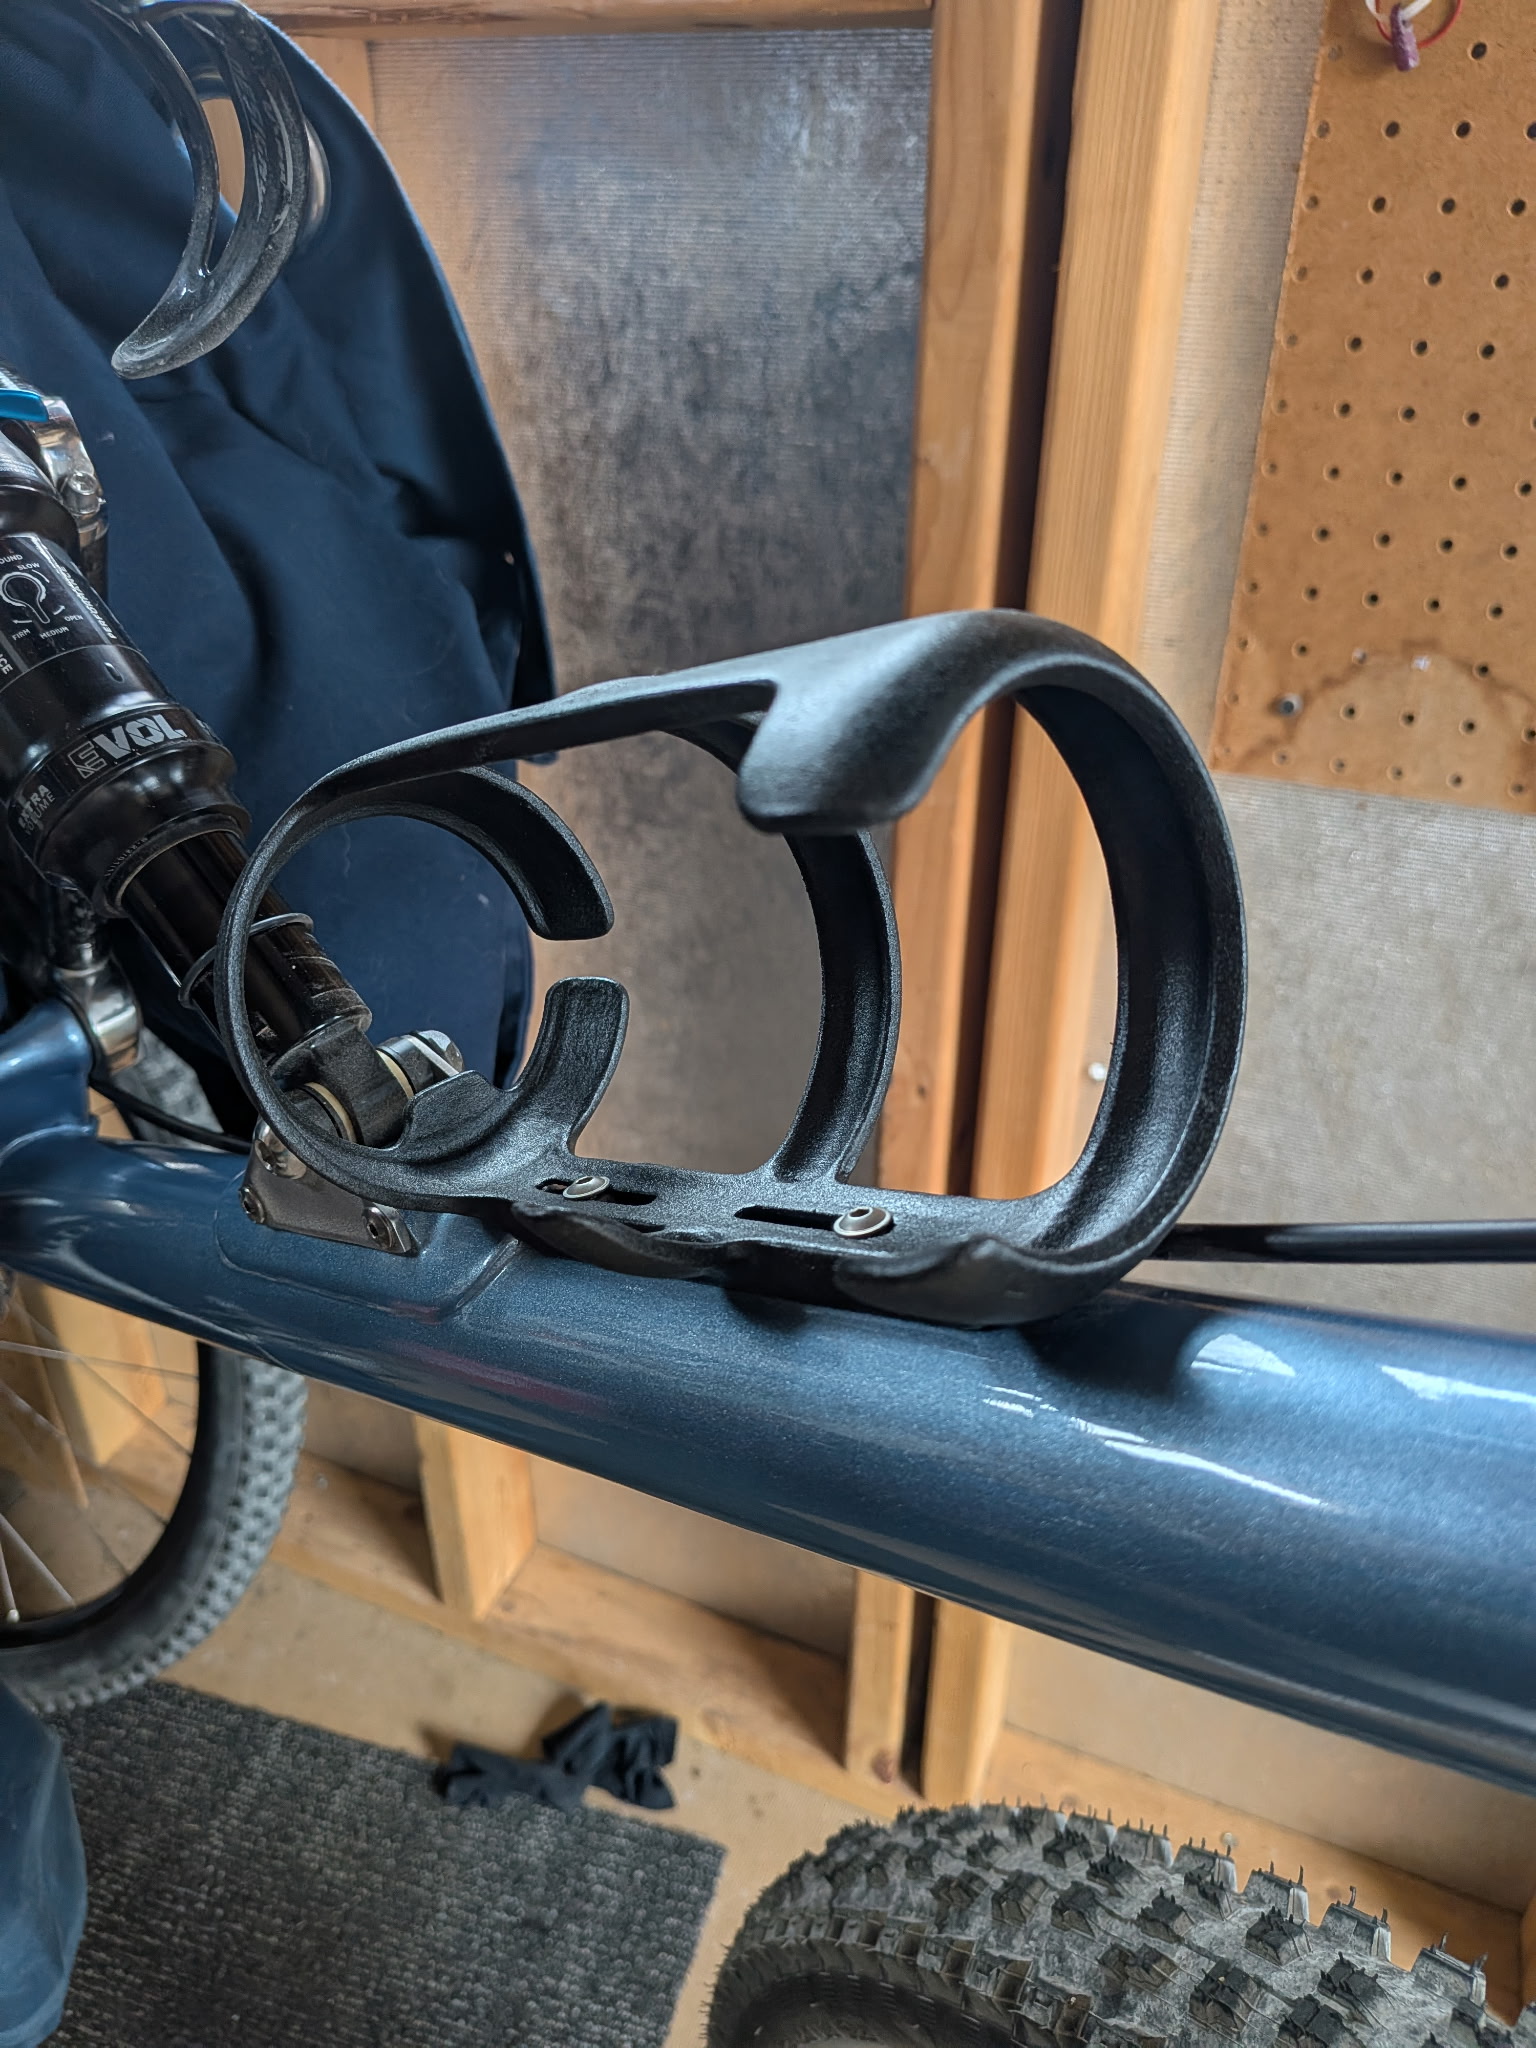
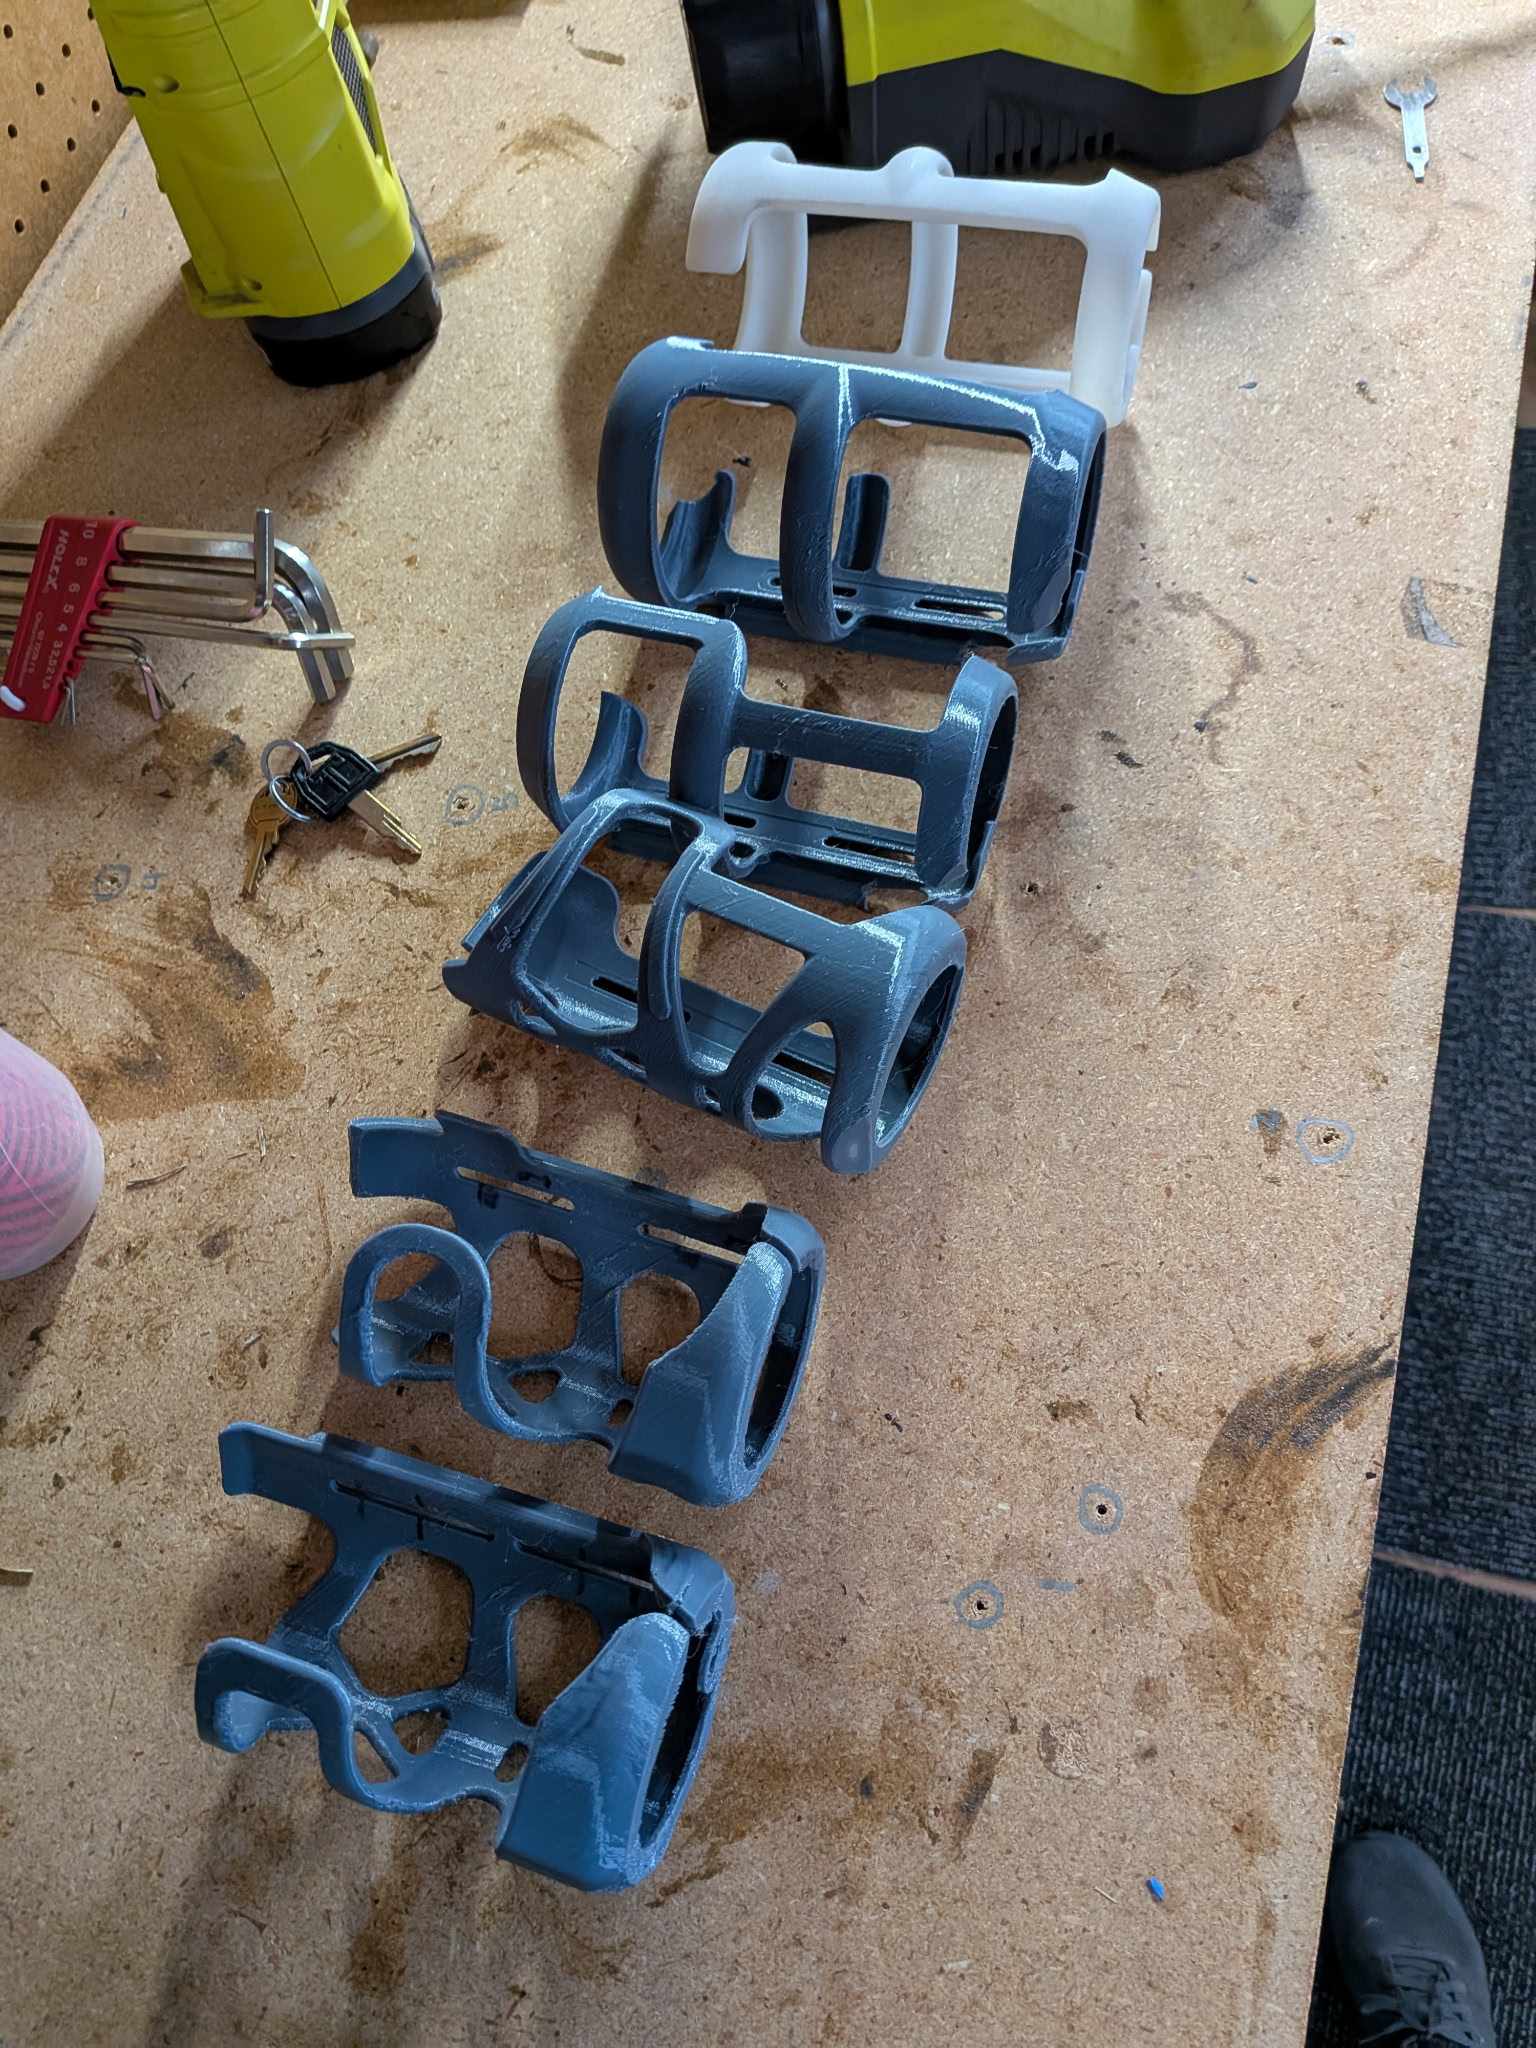
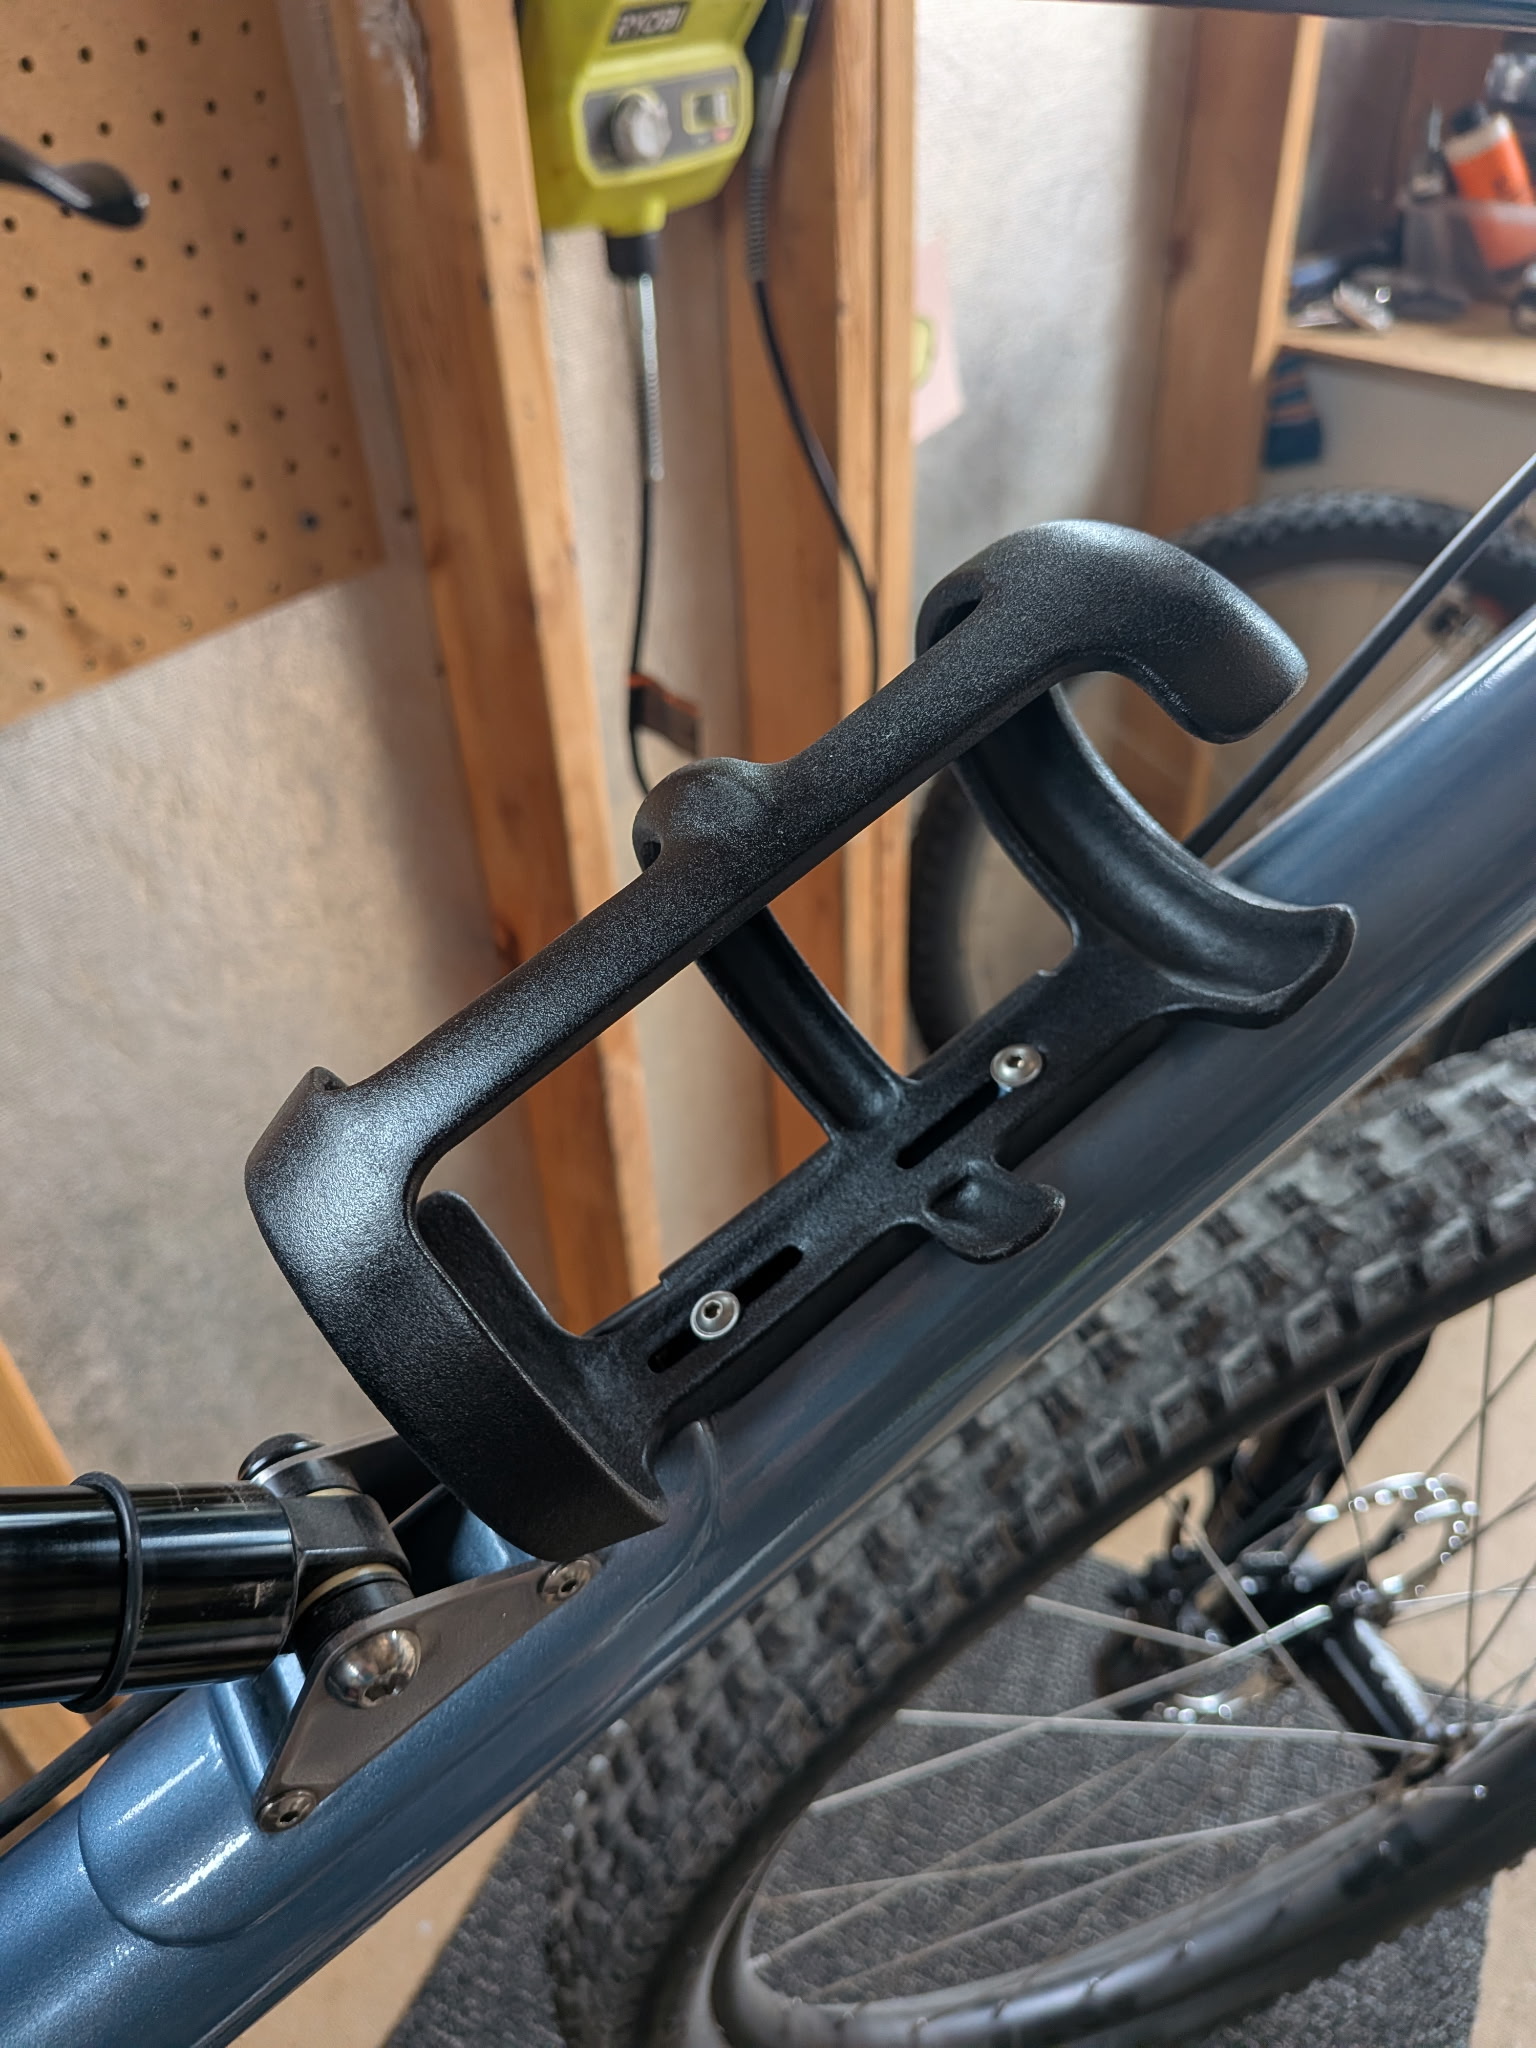
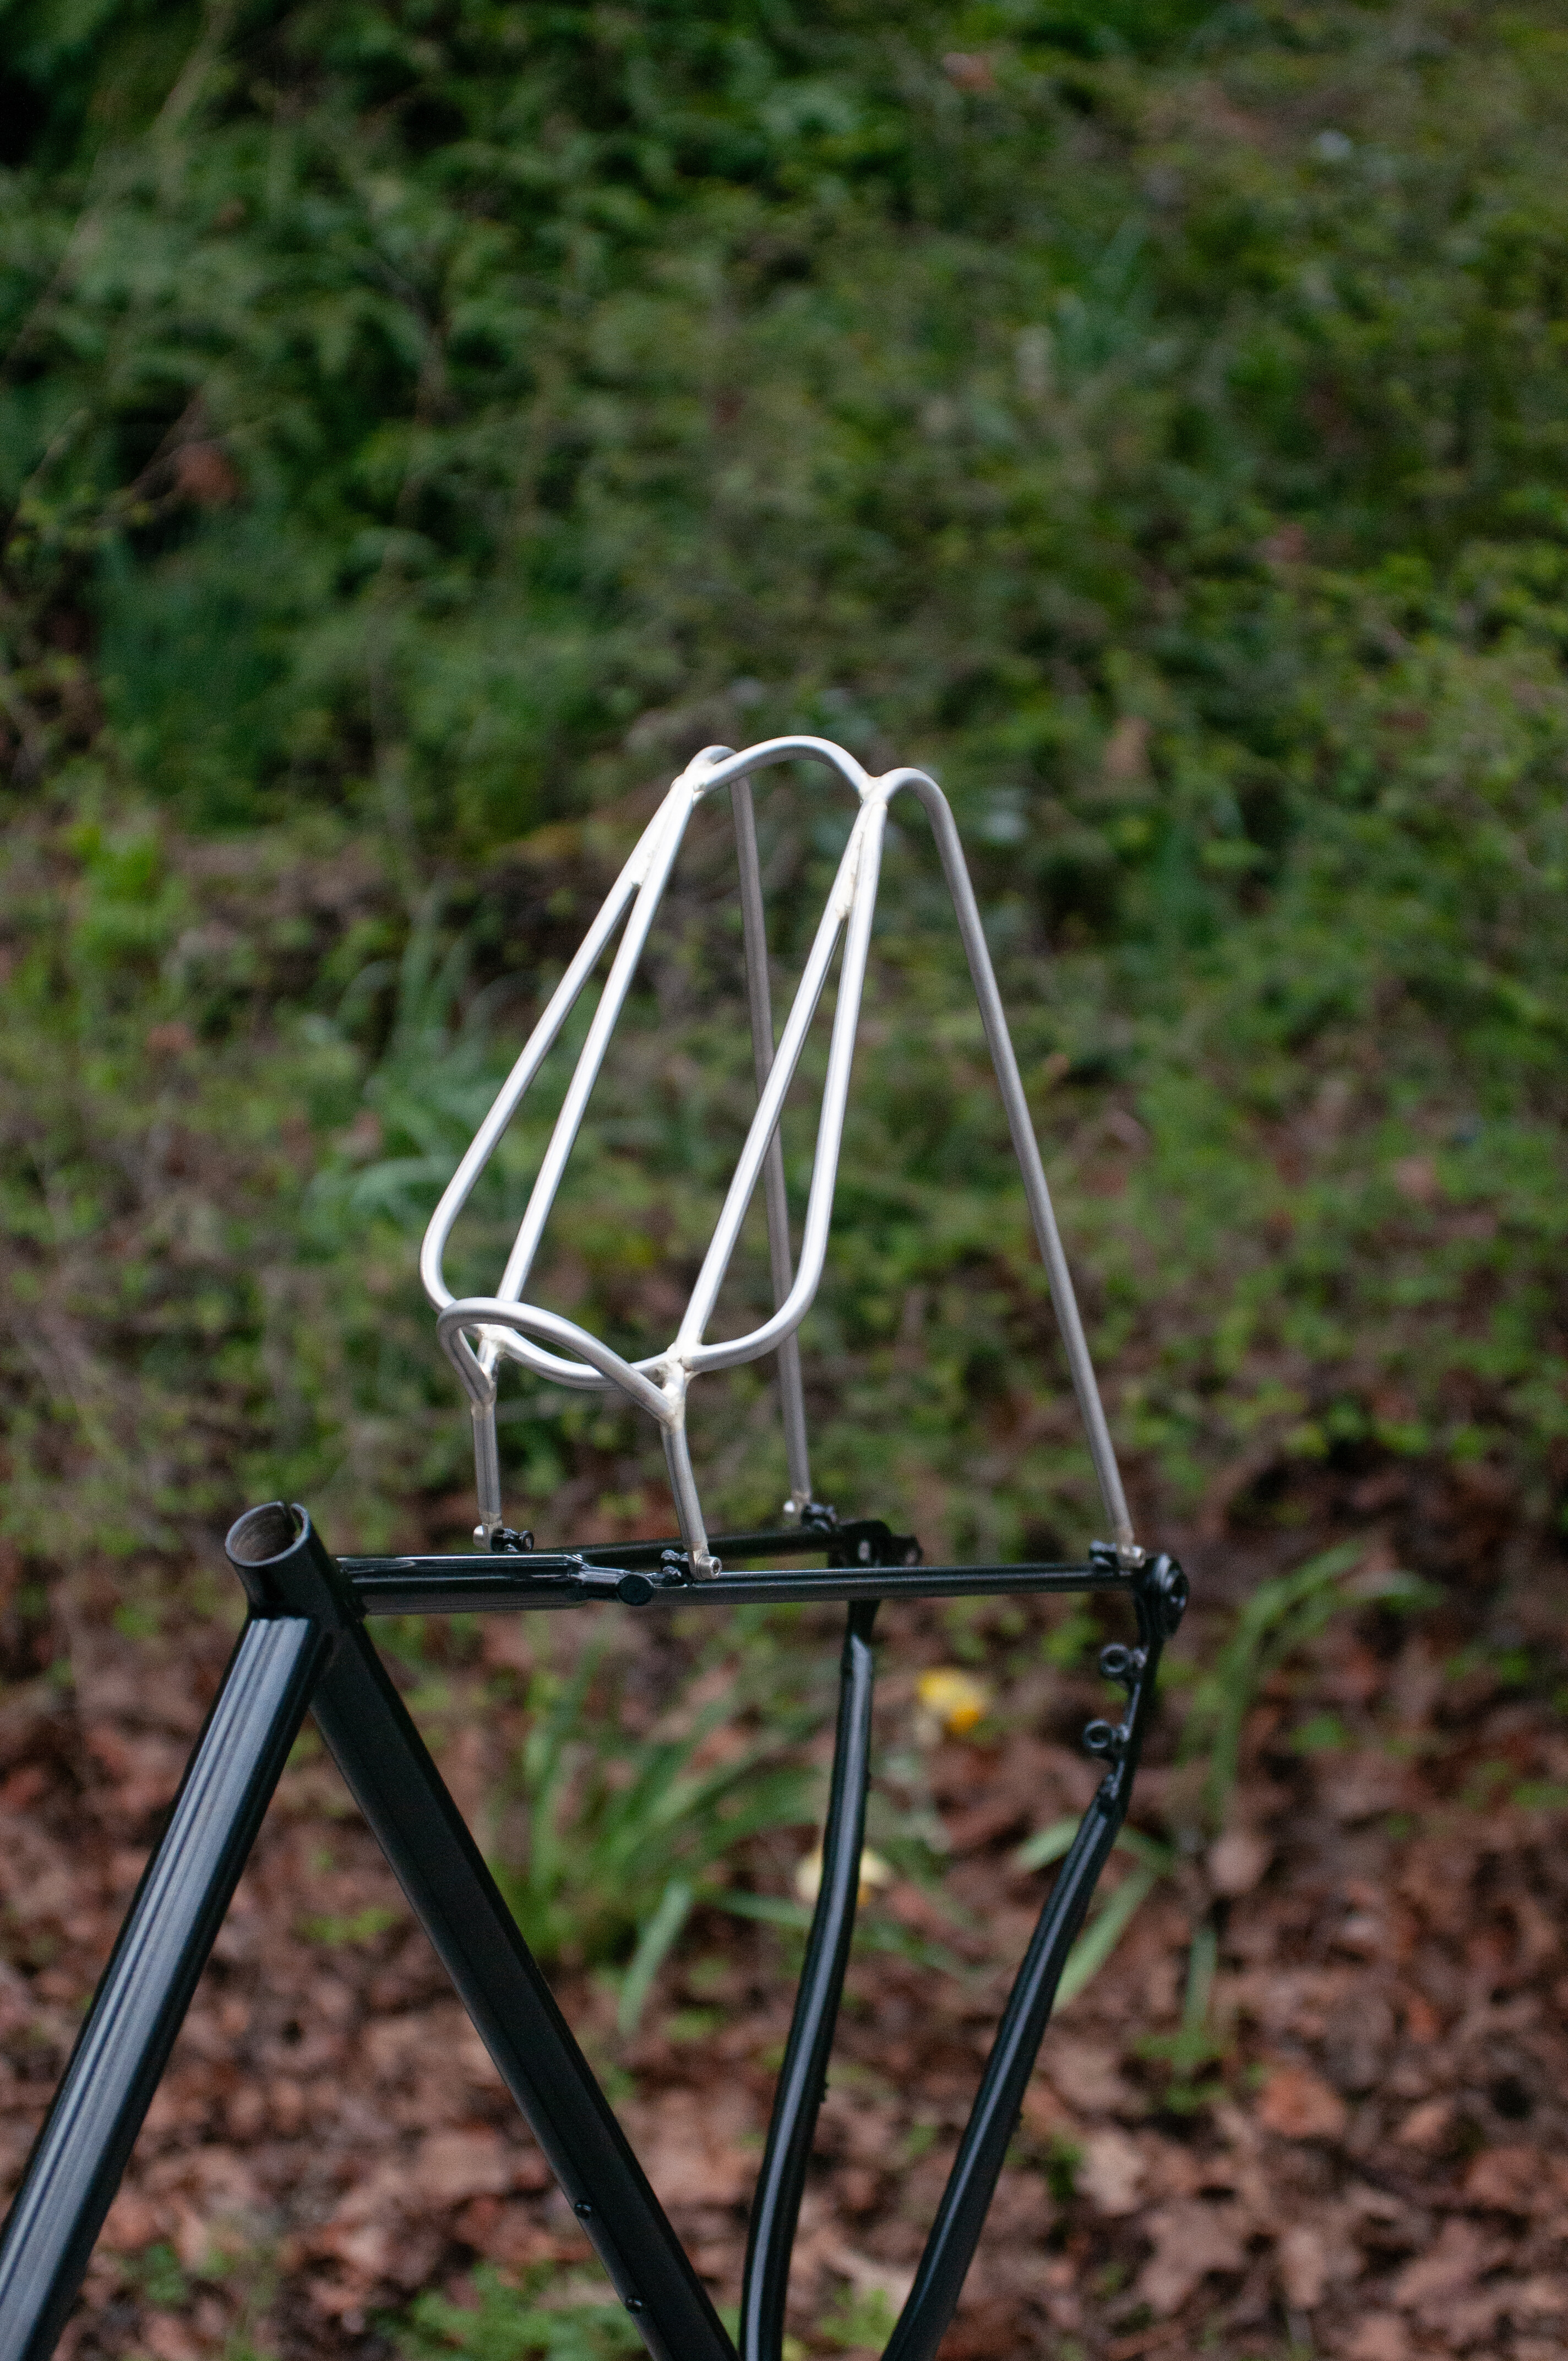
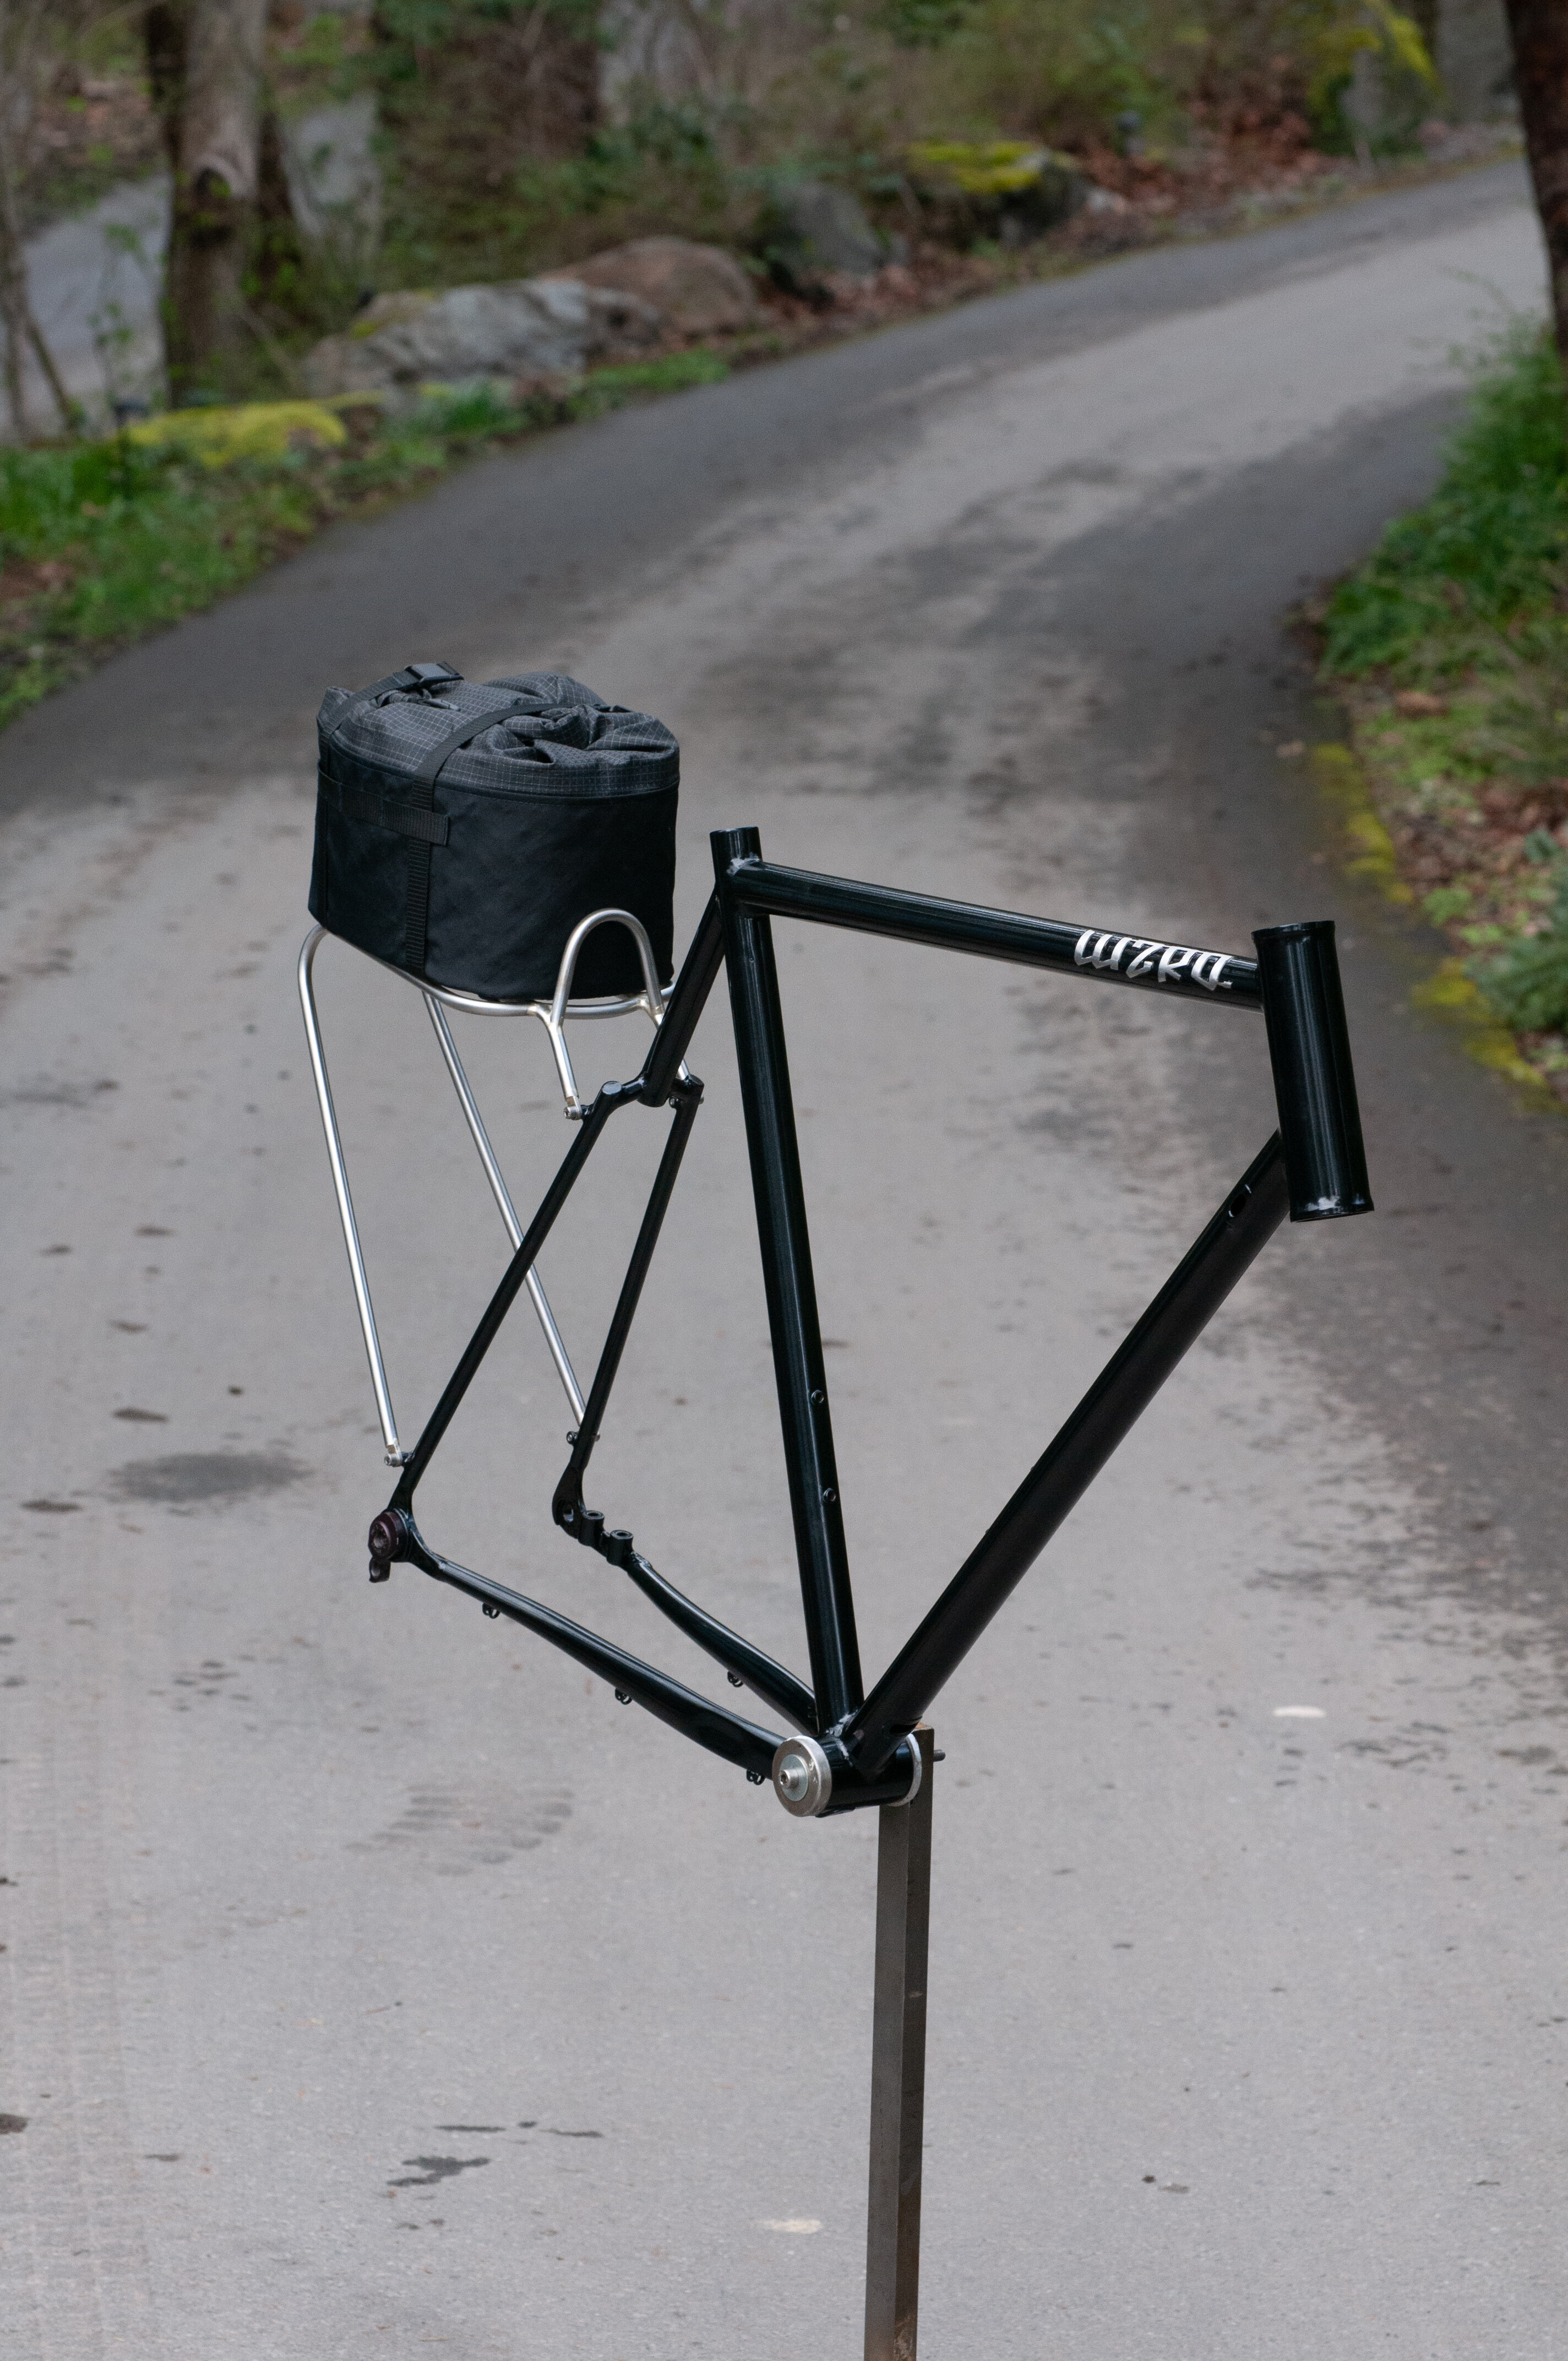
I’ll start. Here’s a customer water bottle cage I just finished. Its 3D printed using SLS out of Nylon 11. I did it to buy myself about 5mm clearance beyond what a normal cage would give. It also covers the bonded cage bosses my frame design uses. Lastly- it incorporates a cable guide slot for the rear brake line.
The printed material is white. The black is ‘textured black’ krylon fusion rattle can. That paint does a fantastic job of covering small defects.
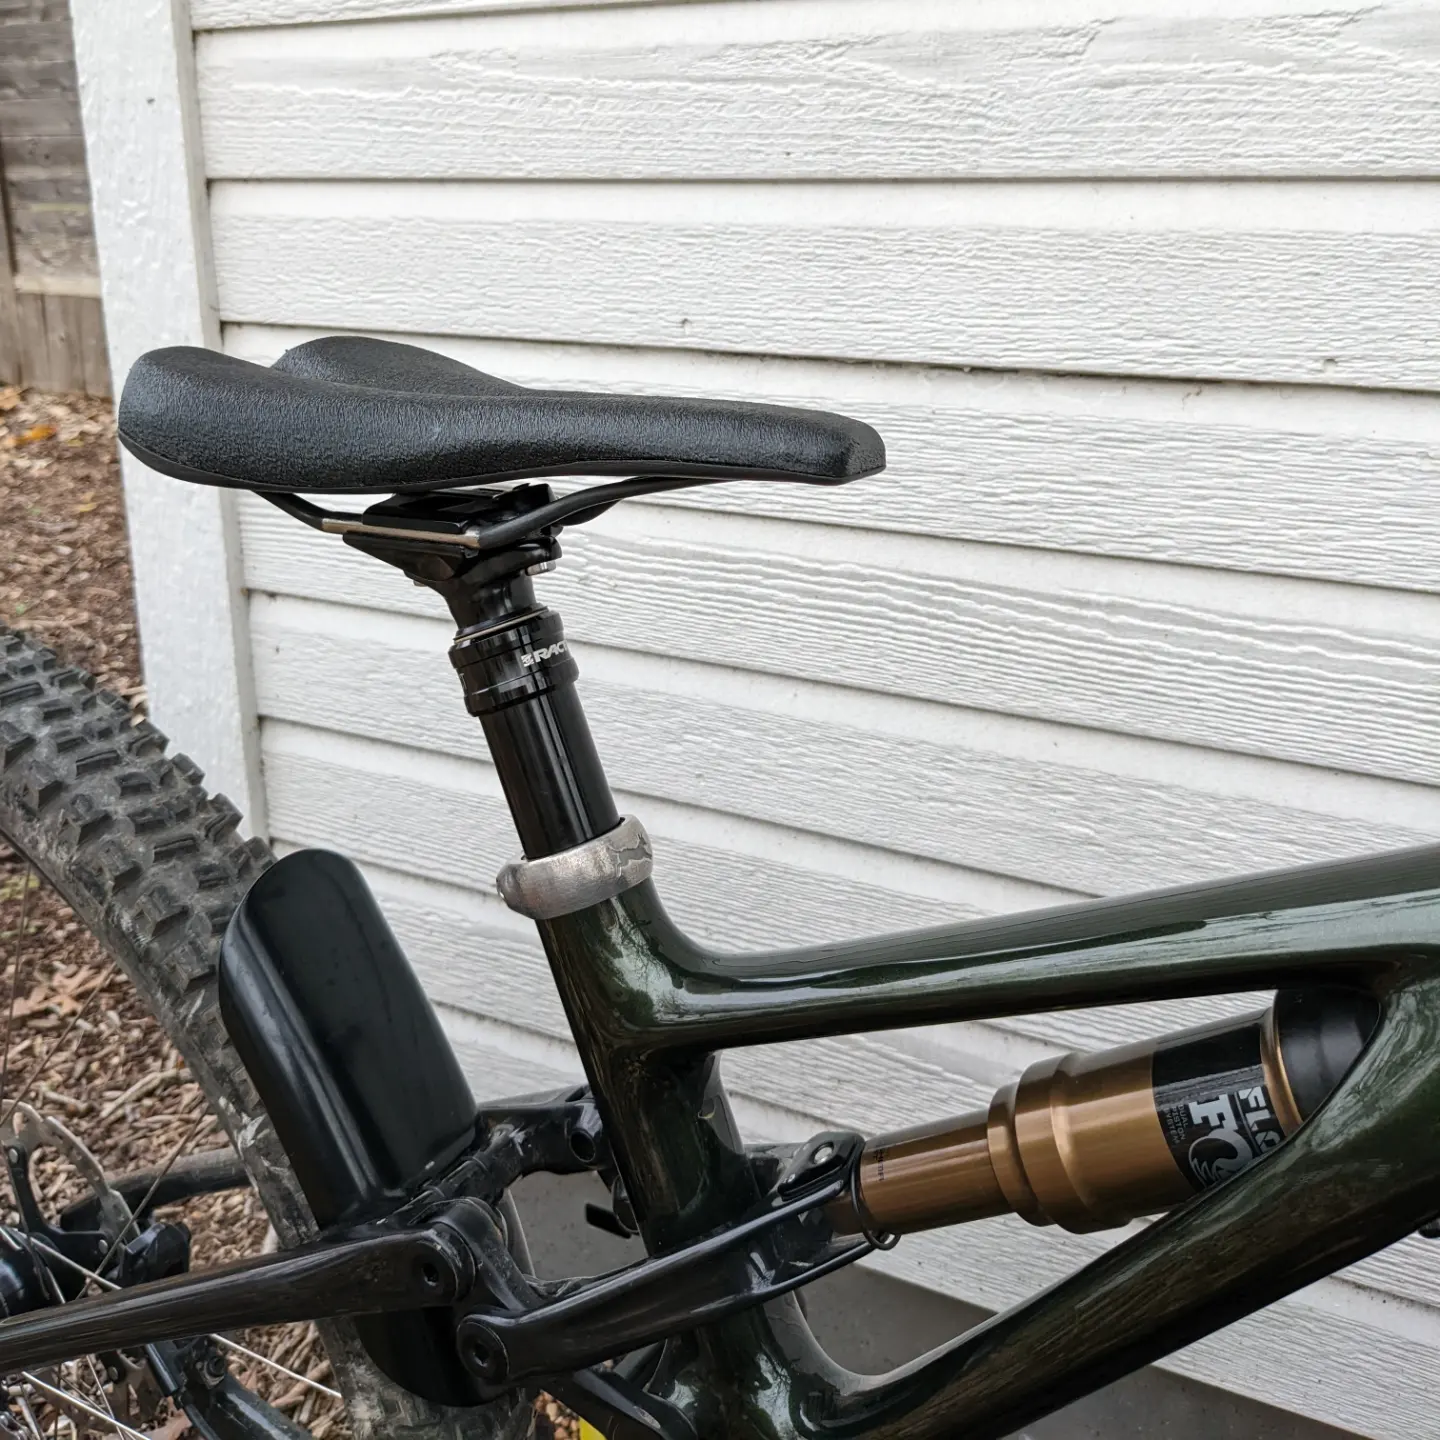
How’d you know I printed a saddle? I guess I’ve shared that on Instagram in the past?
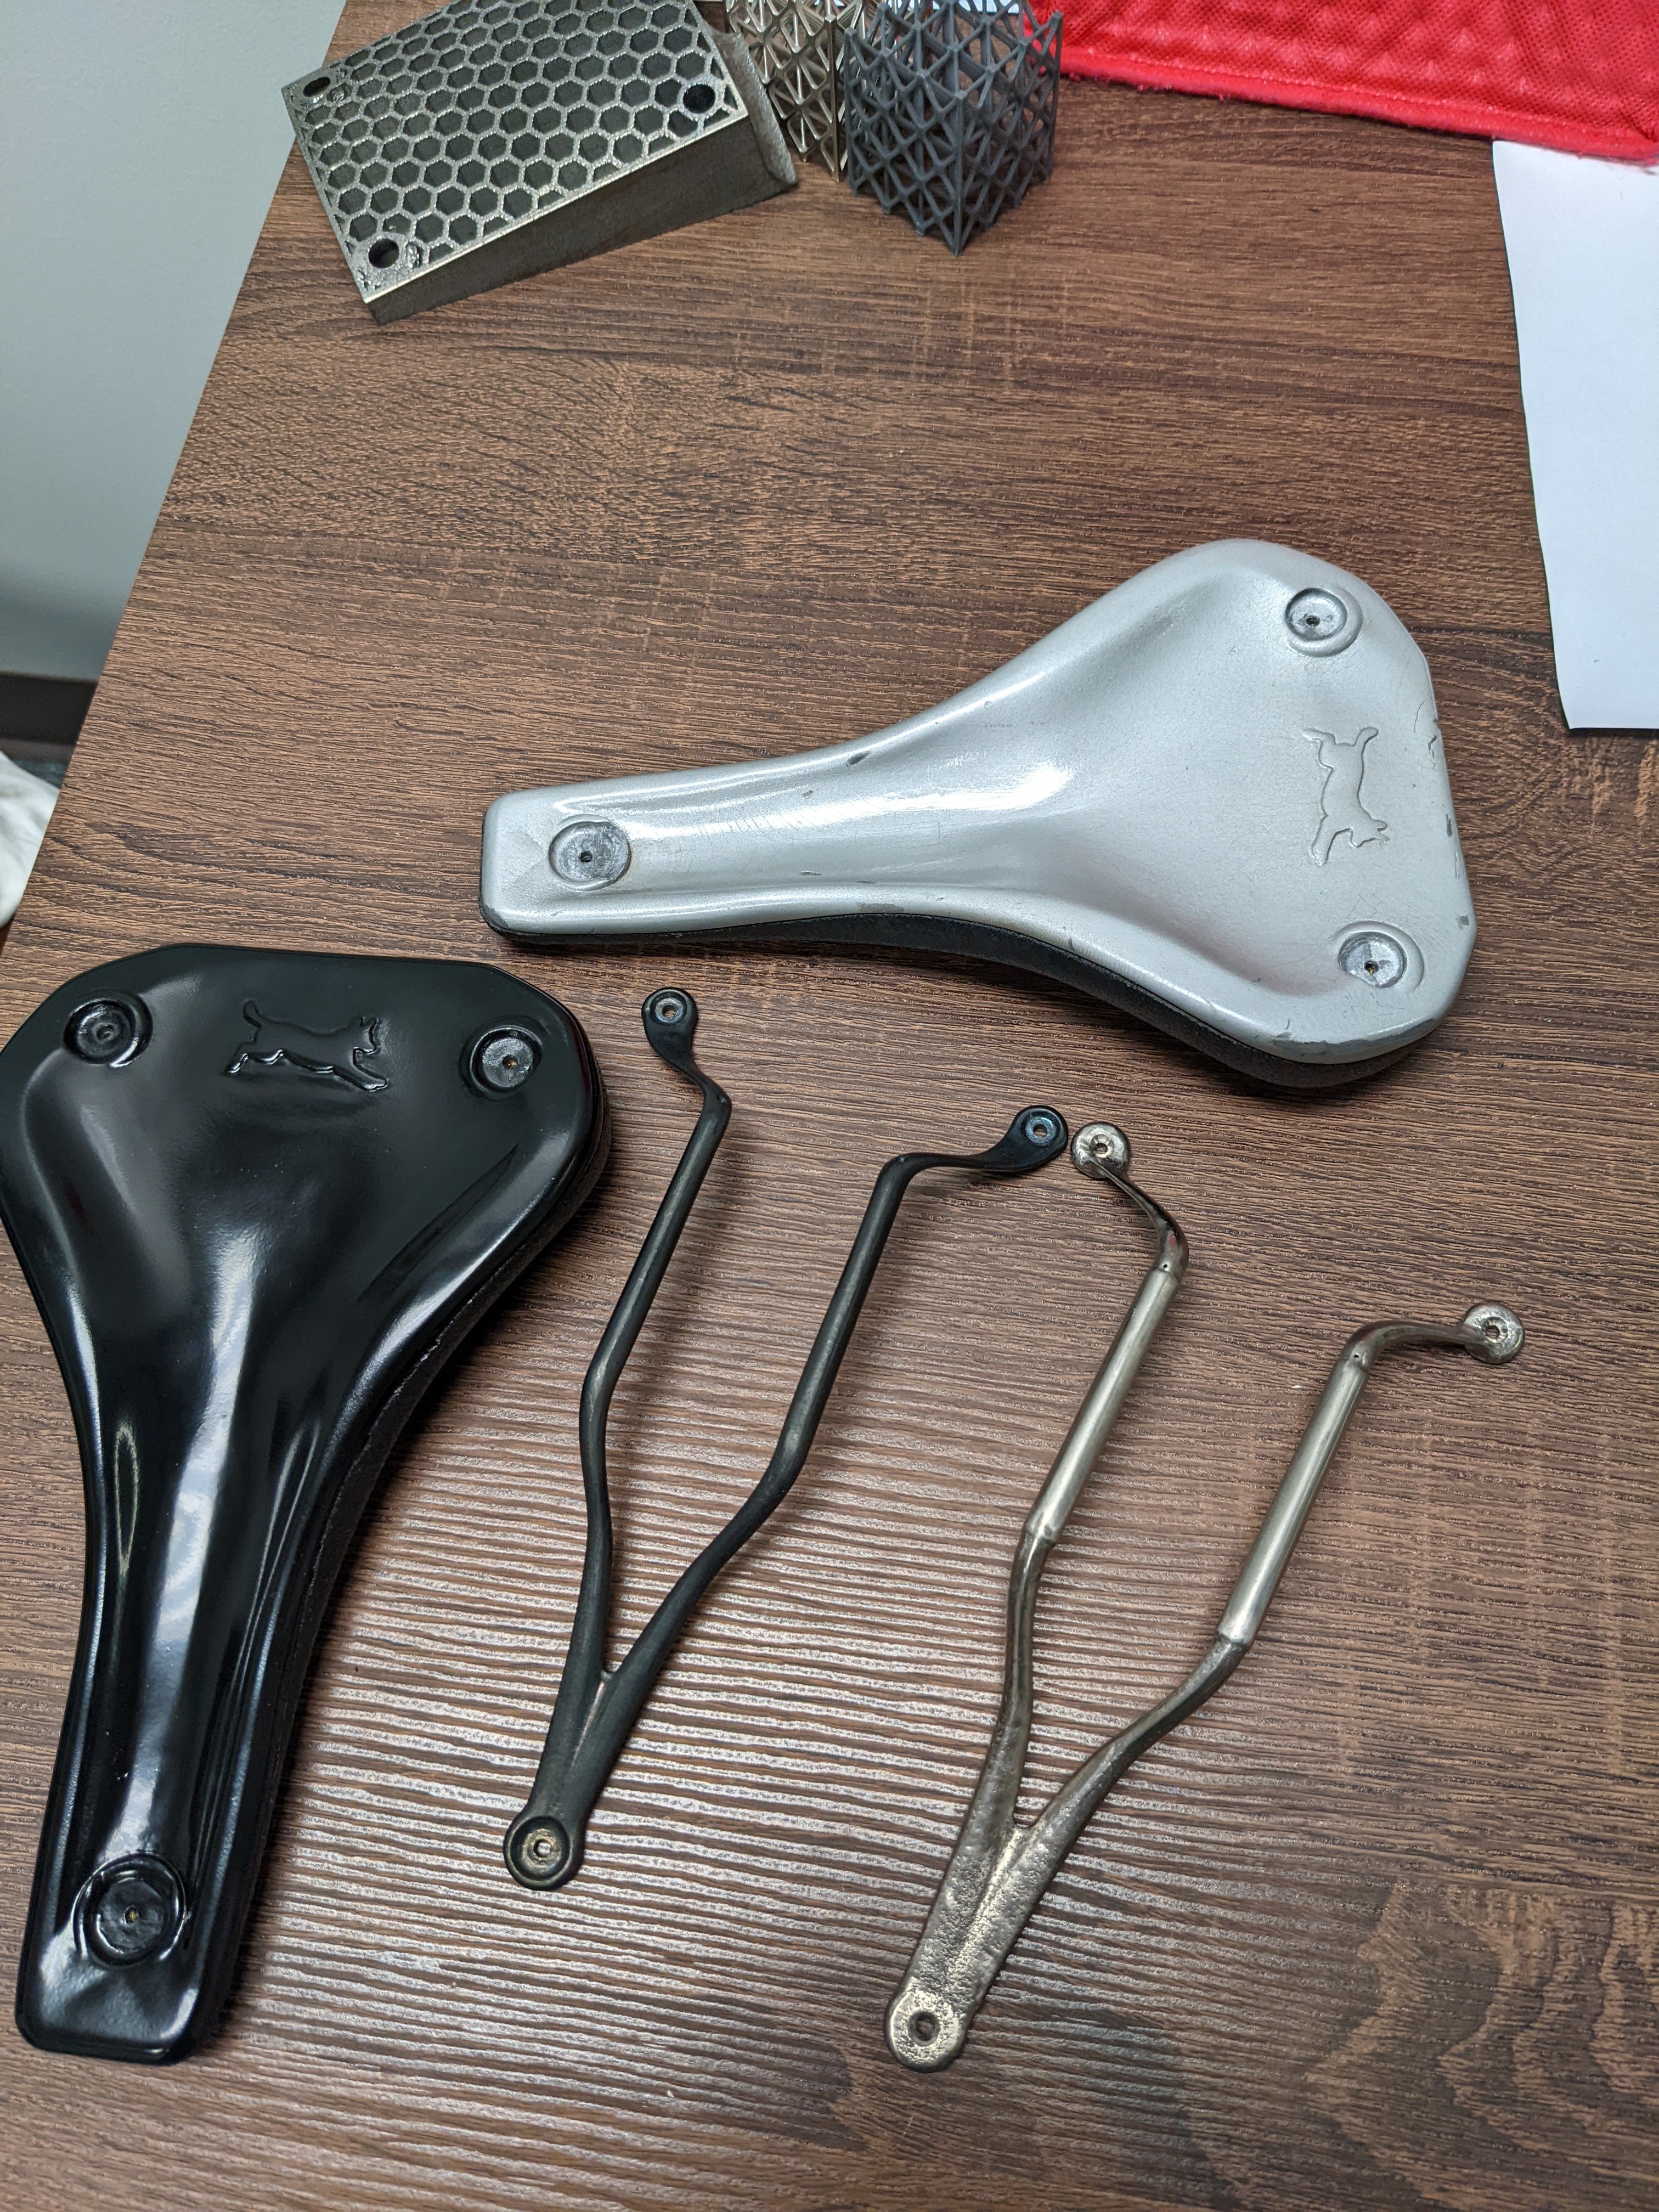
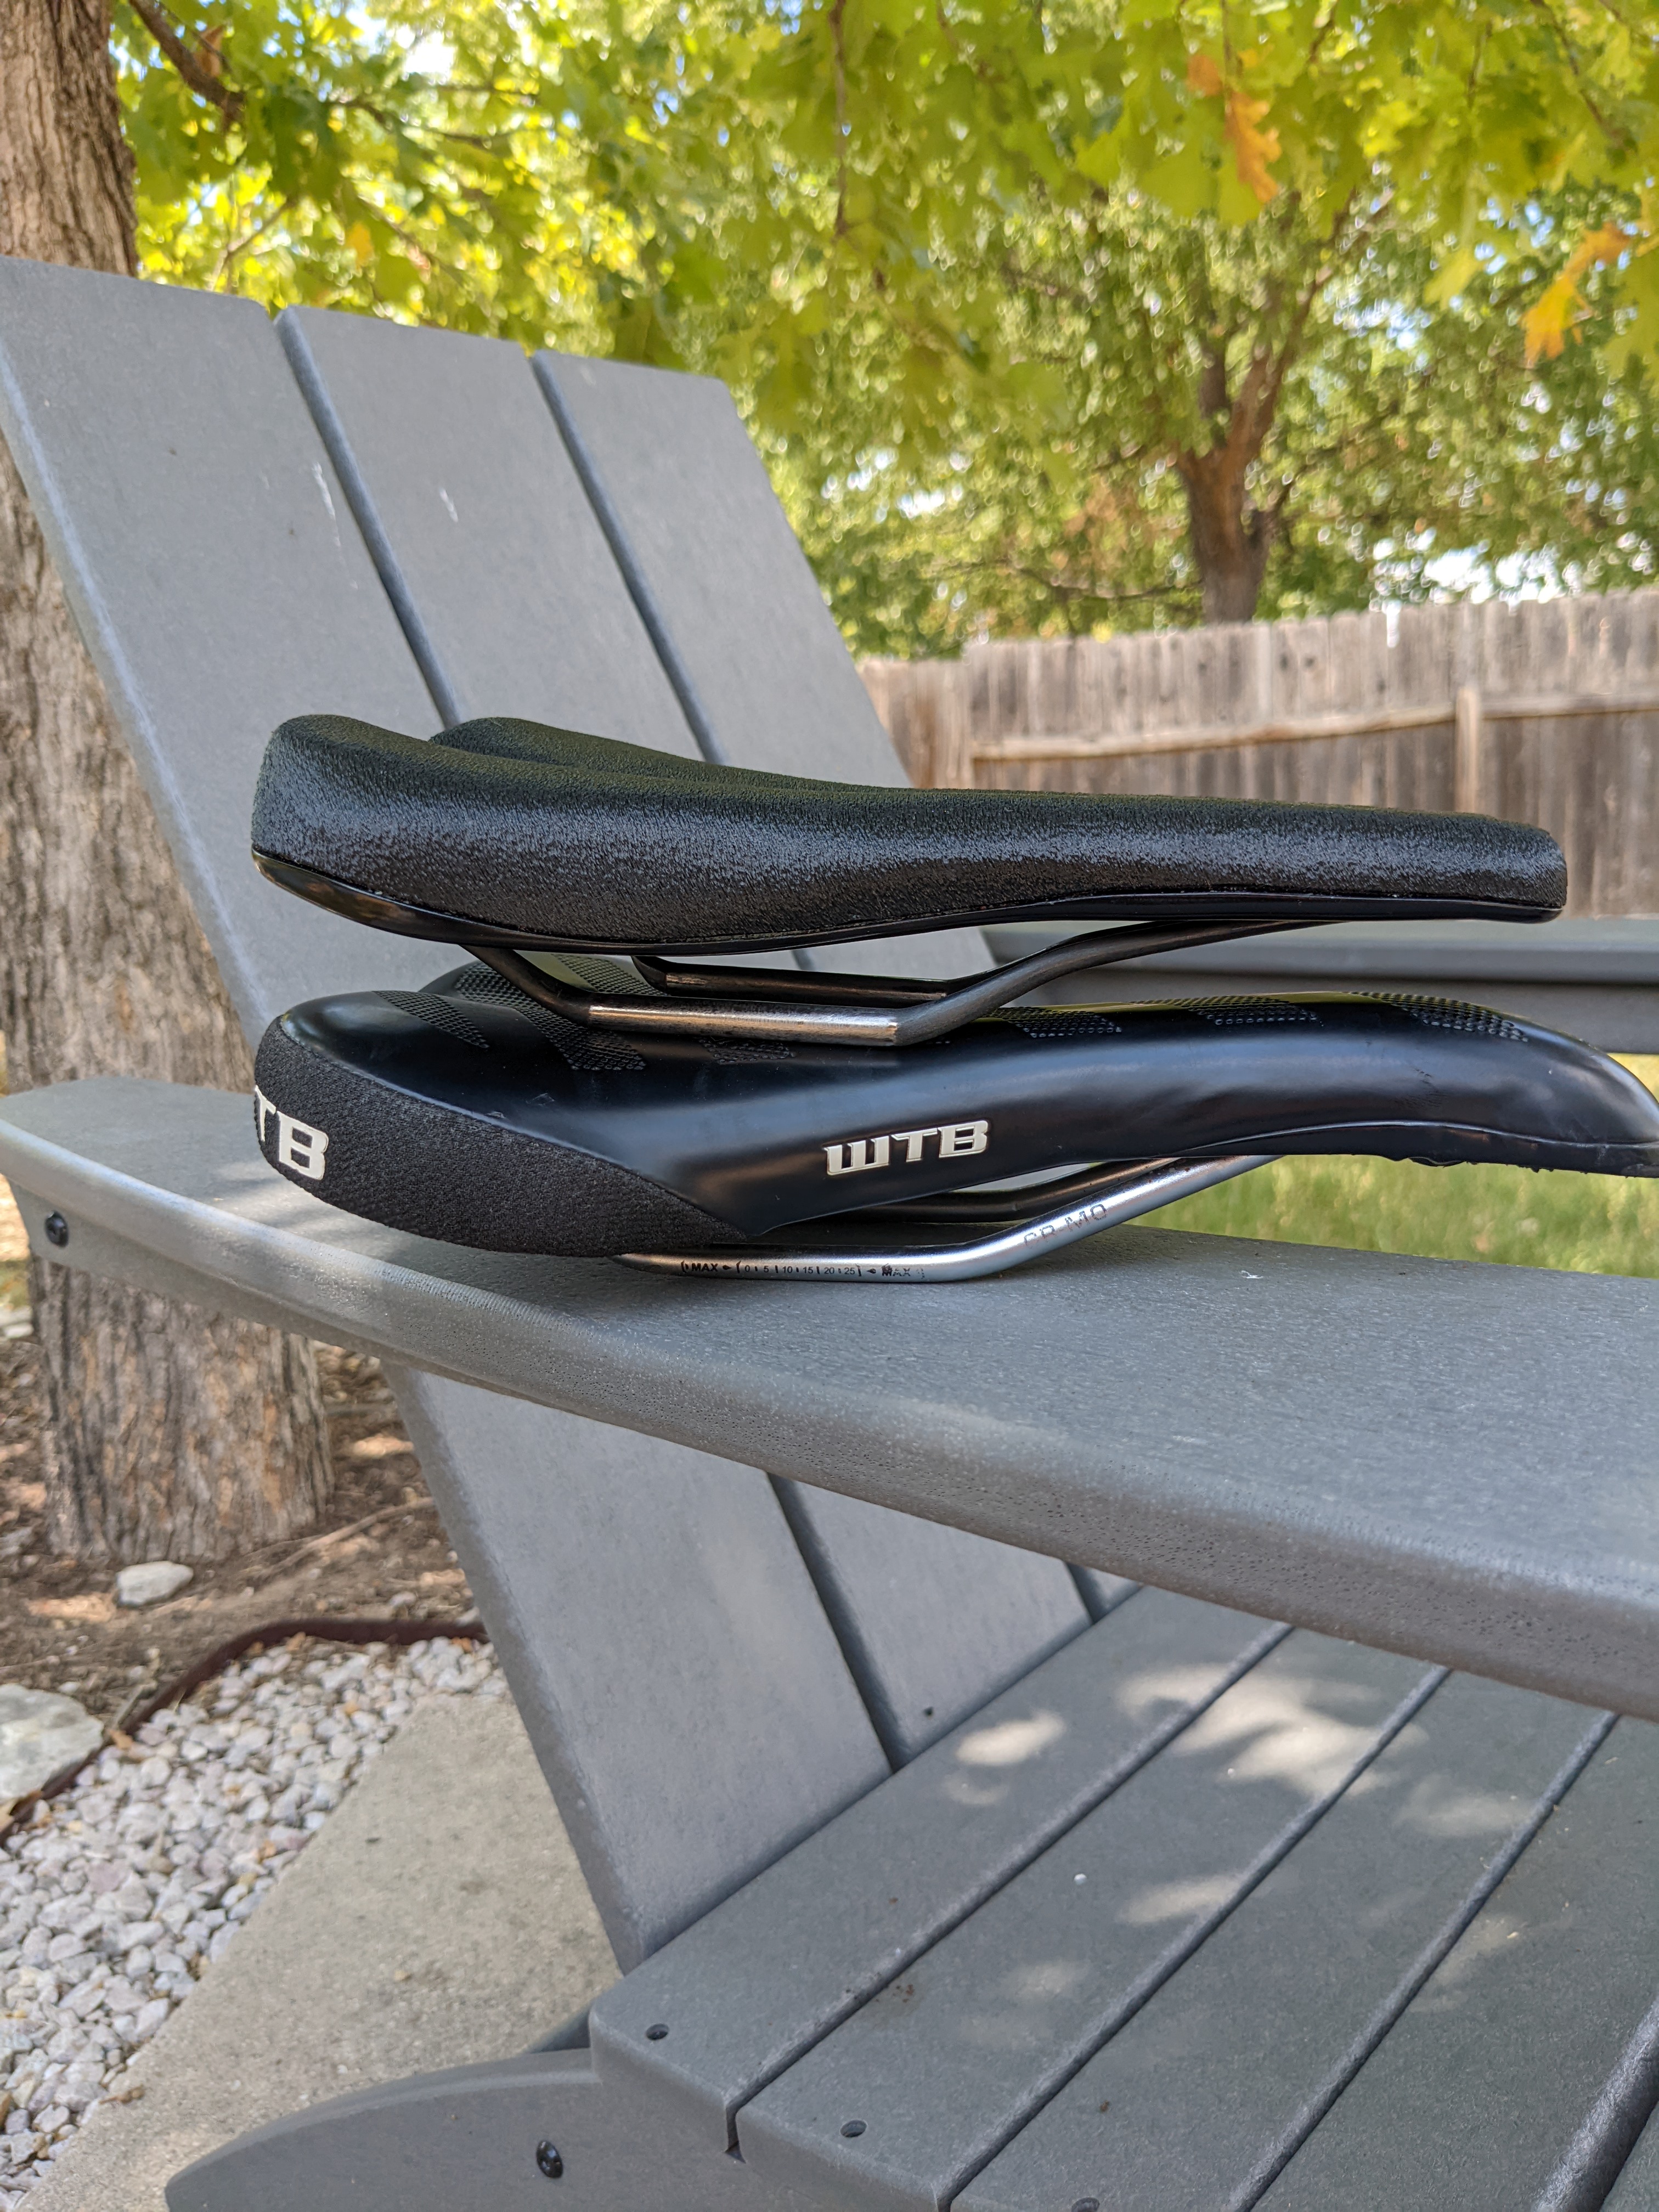
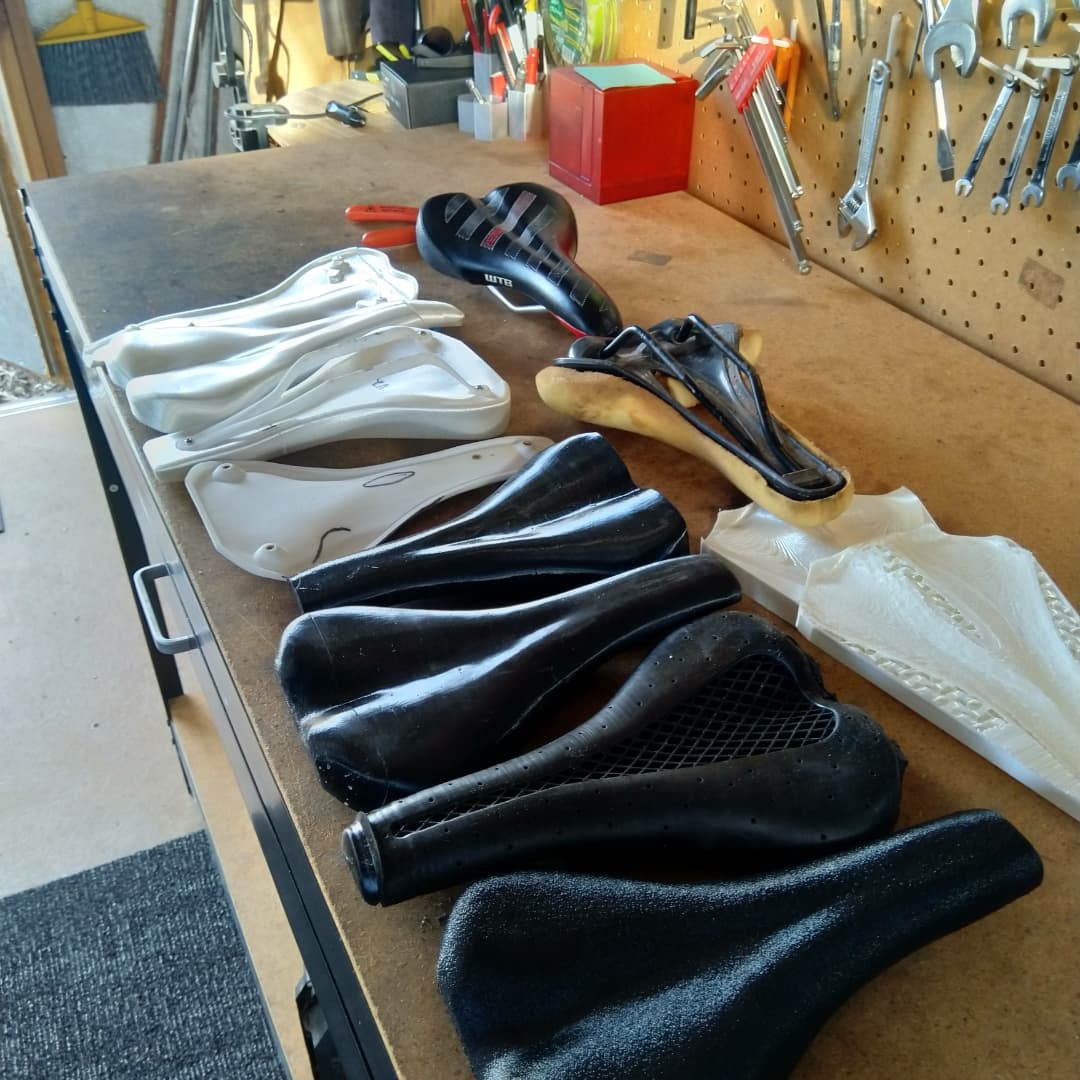
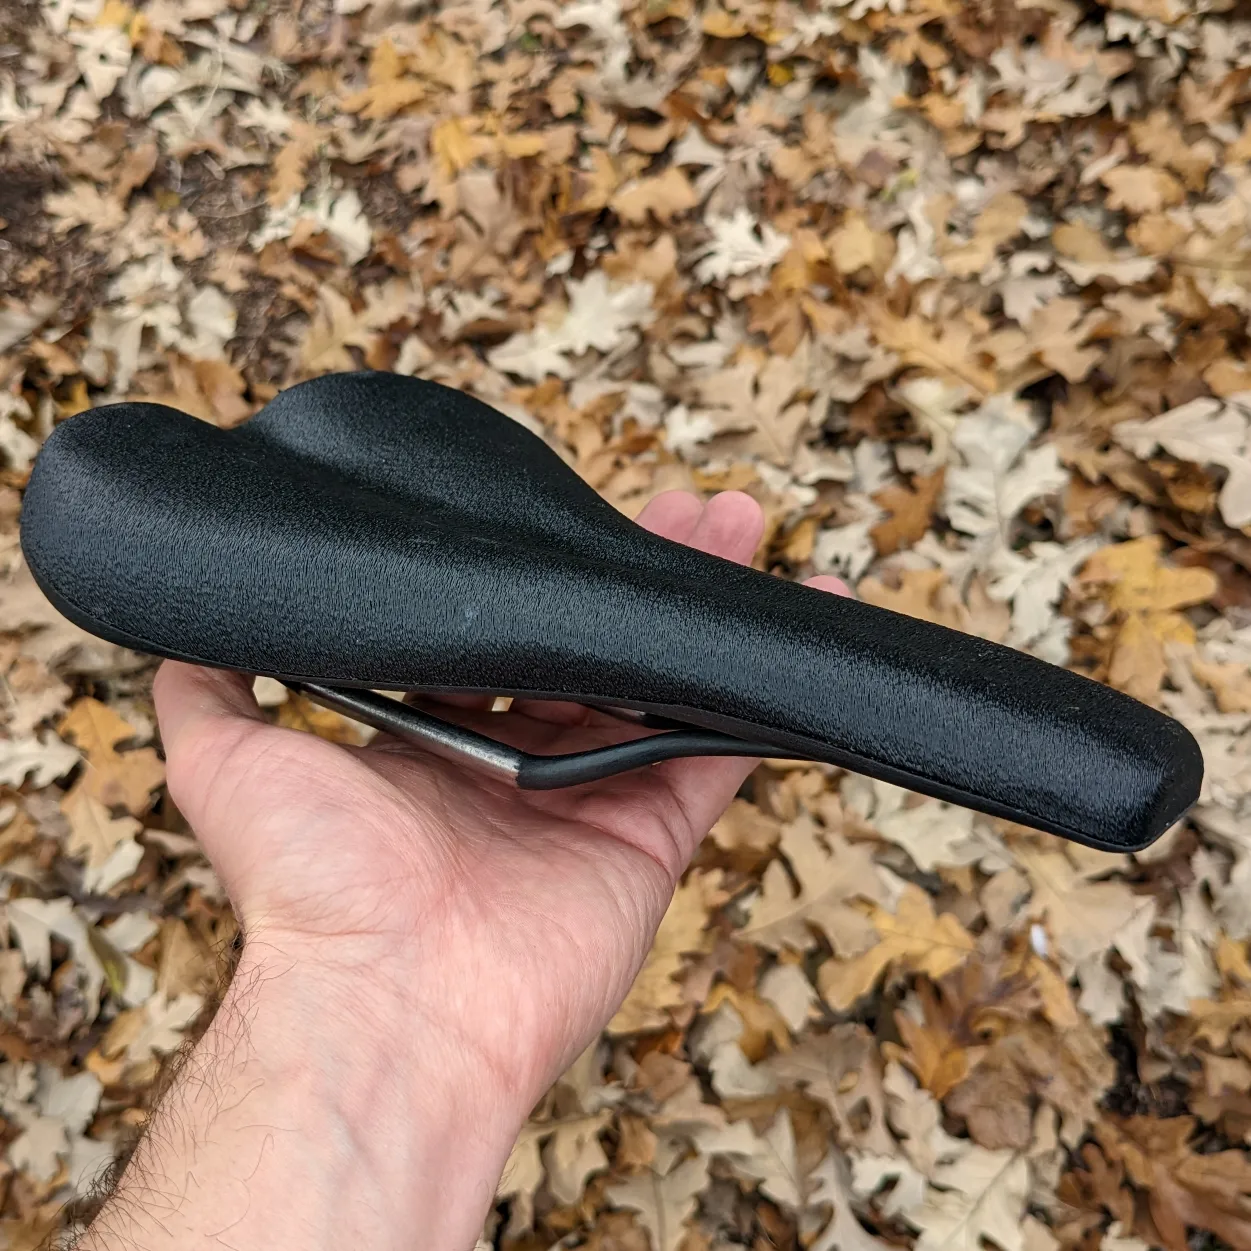
Saddle is 100% 3D printed, but from three components and technologies. I’ve made 3 iterations of the saddle, but here’s the overall process. All 3 iterations have worked surprisingly well, and I’ve got probably 1500miles of XC riding on the latest version without any drama.
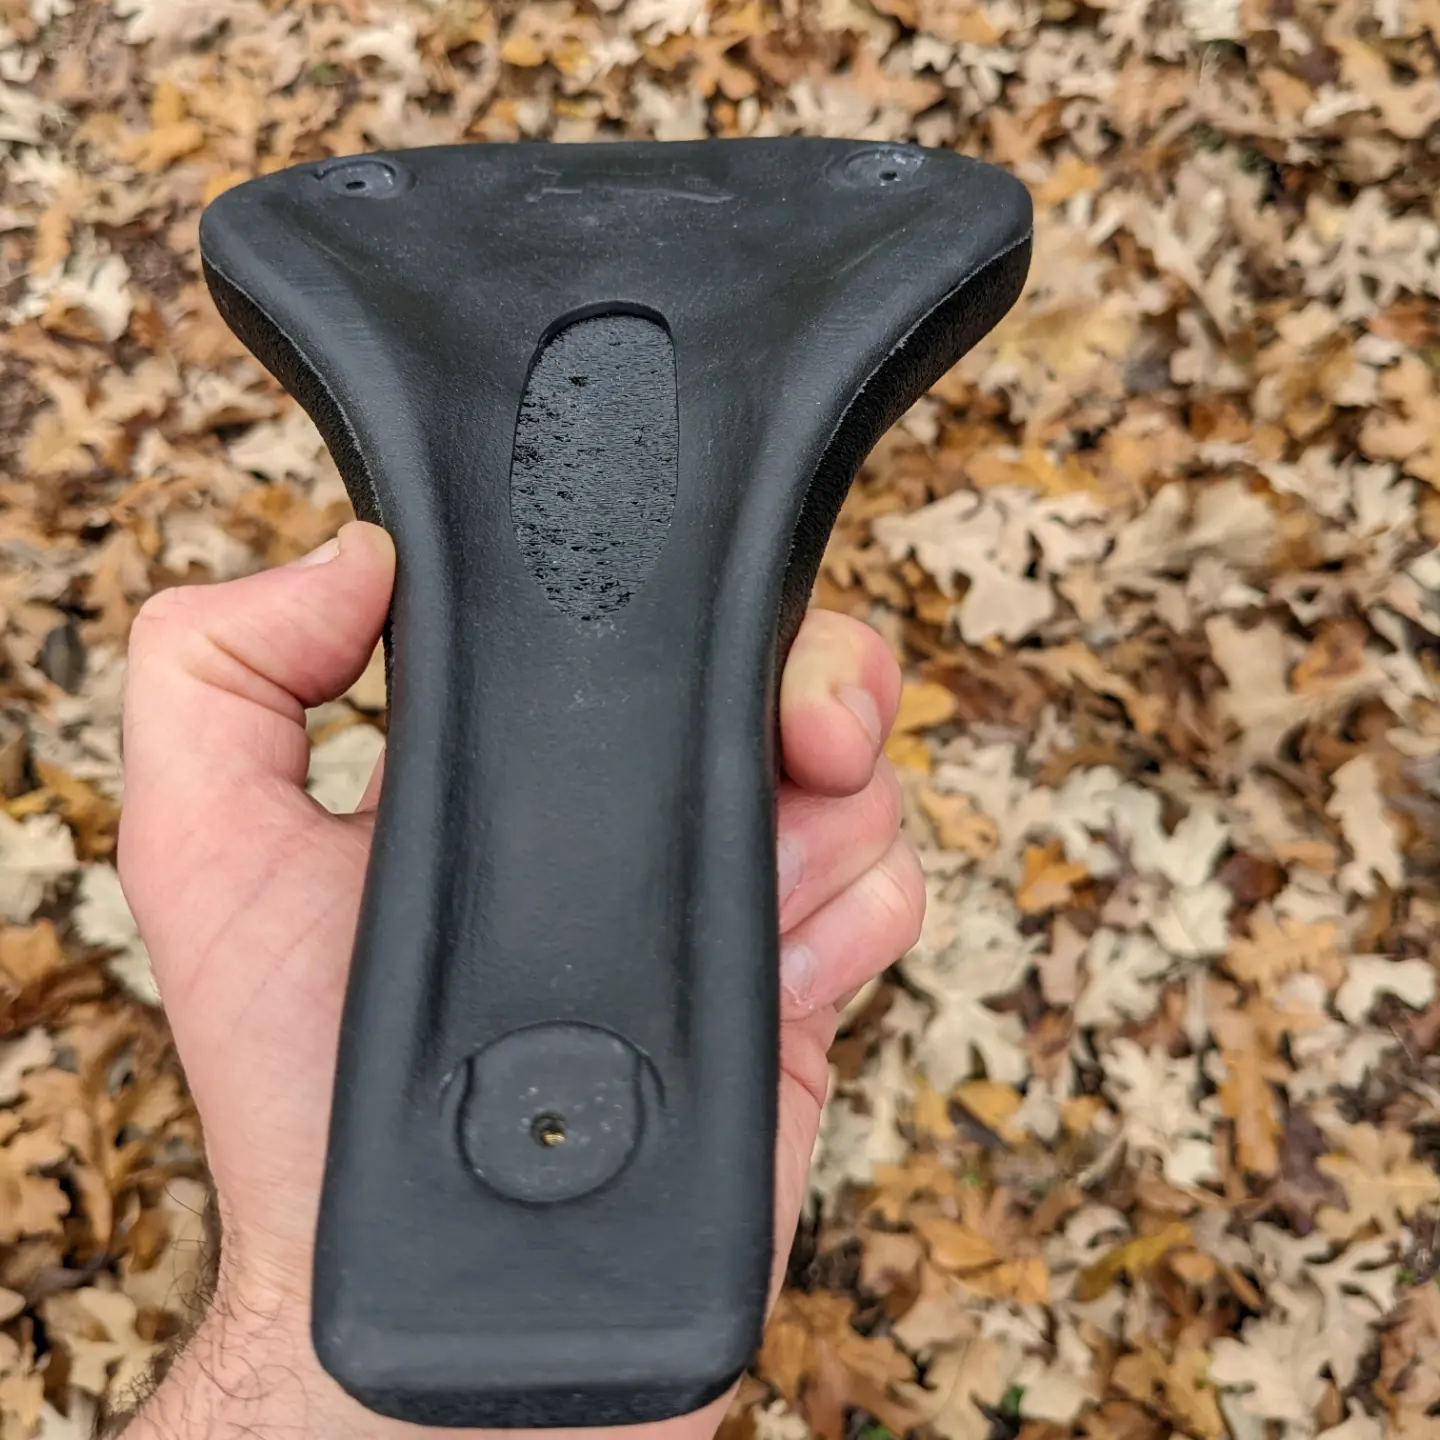
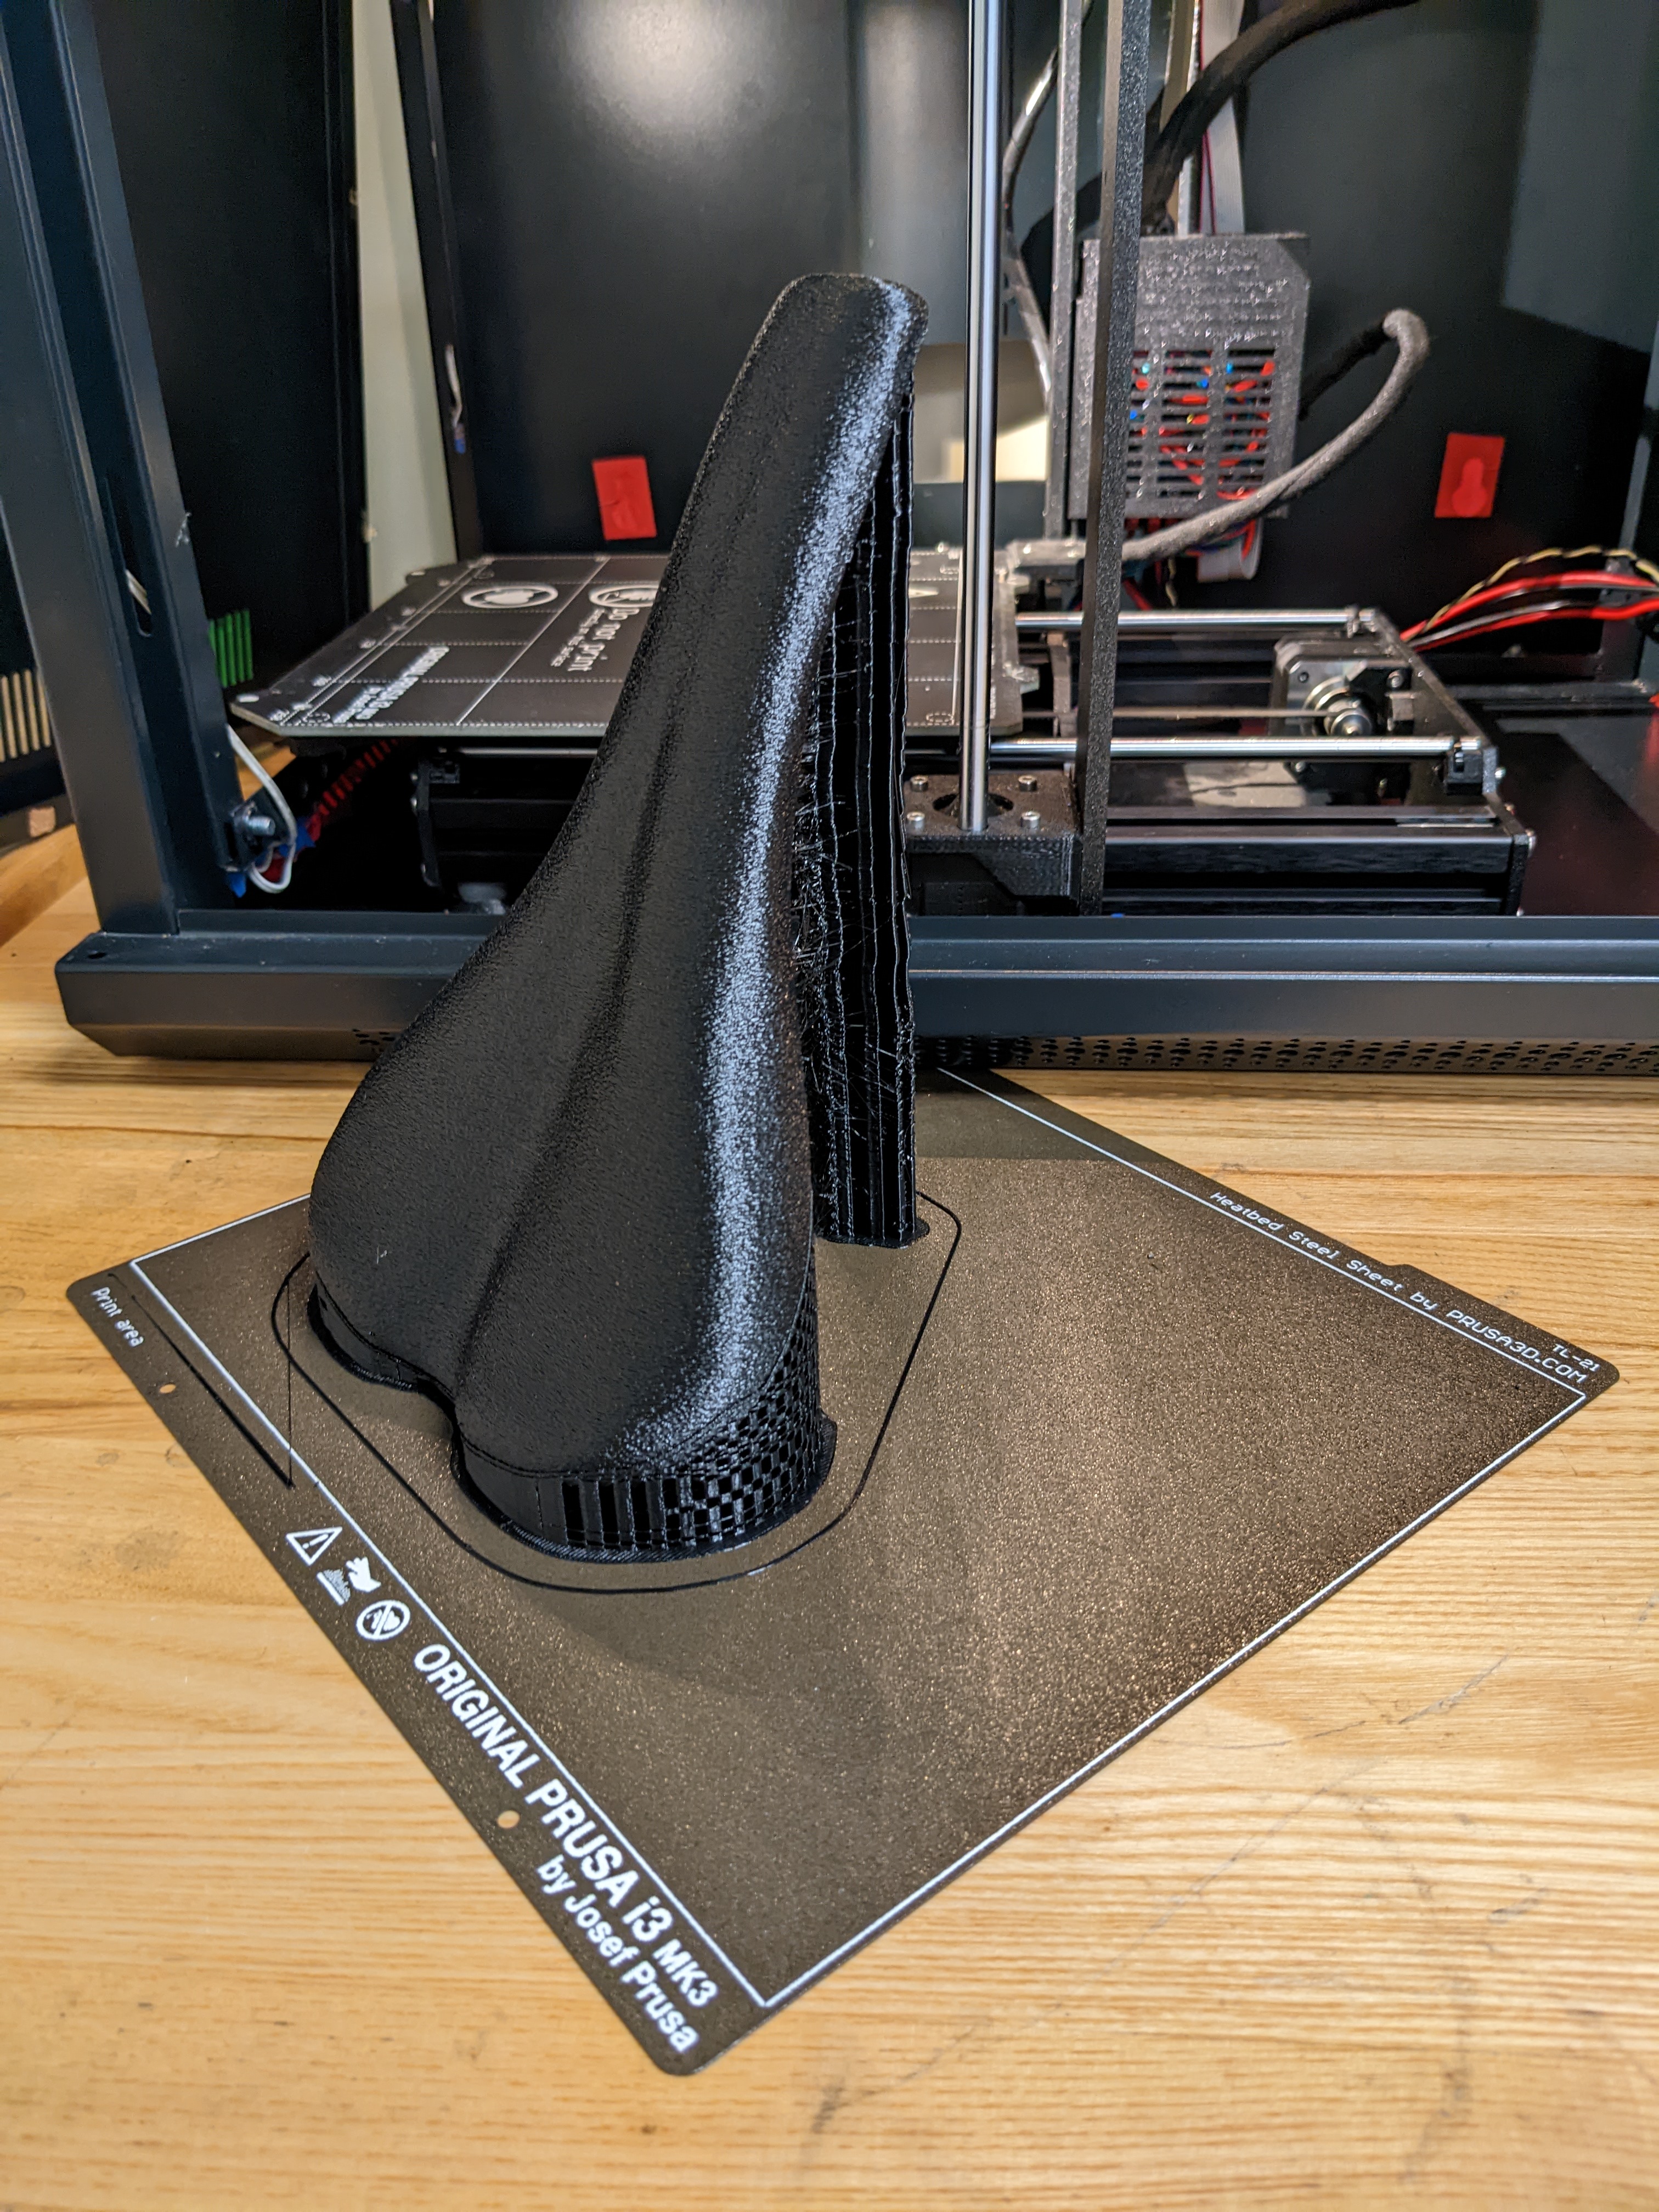
The pad/foam/upper printed using a hobby printed (prusa), FFF technology, in TPU. The pad is mostly hollow, and the texture is intentional. The pad is squishy and feels much like a ‘normal’ saddle as far as pads go. The pad is glued to the shell with some 2-part epoxy that maintains flexibility.
The shell is printed using SLS, in Nylon 12. I made some variants with plain nylon, and others with chopped carbon filled. The fibers add a little stiffness- but more importantly- it gives the shell a nice texture and color! To make it stay clean and wick mud off, I coated it in wax as well. I used brass heatset threaded inserts to mount the rails to the shell.
The rails have been printed using Ti64 via EPBF, and also 718 from a LPBF machine. Like the pad and shell I’ve printed a few sets. The current rails I’m riding are Ti64. They are hollow too!
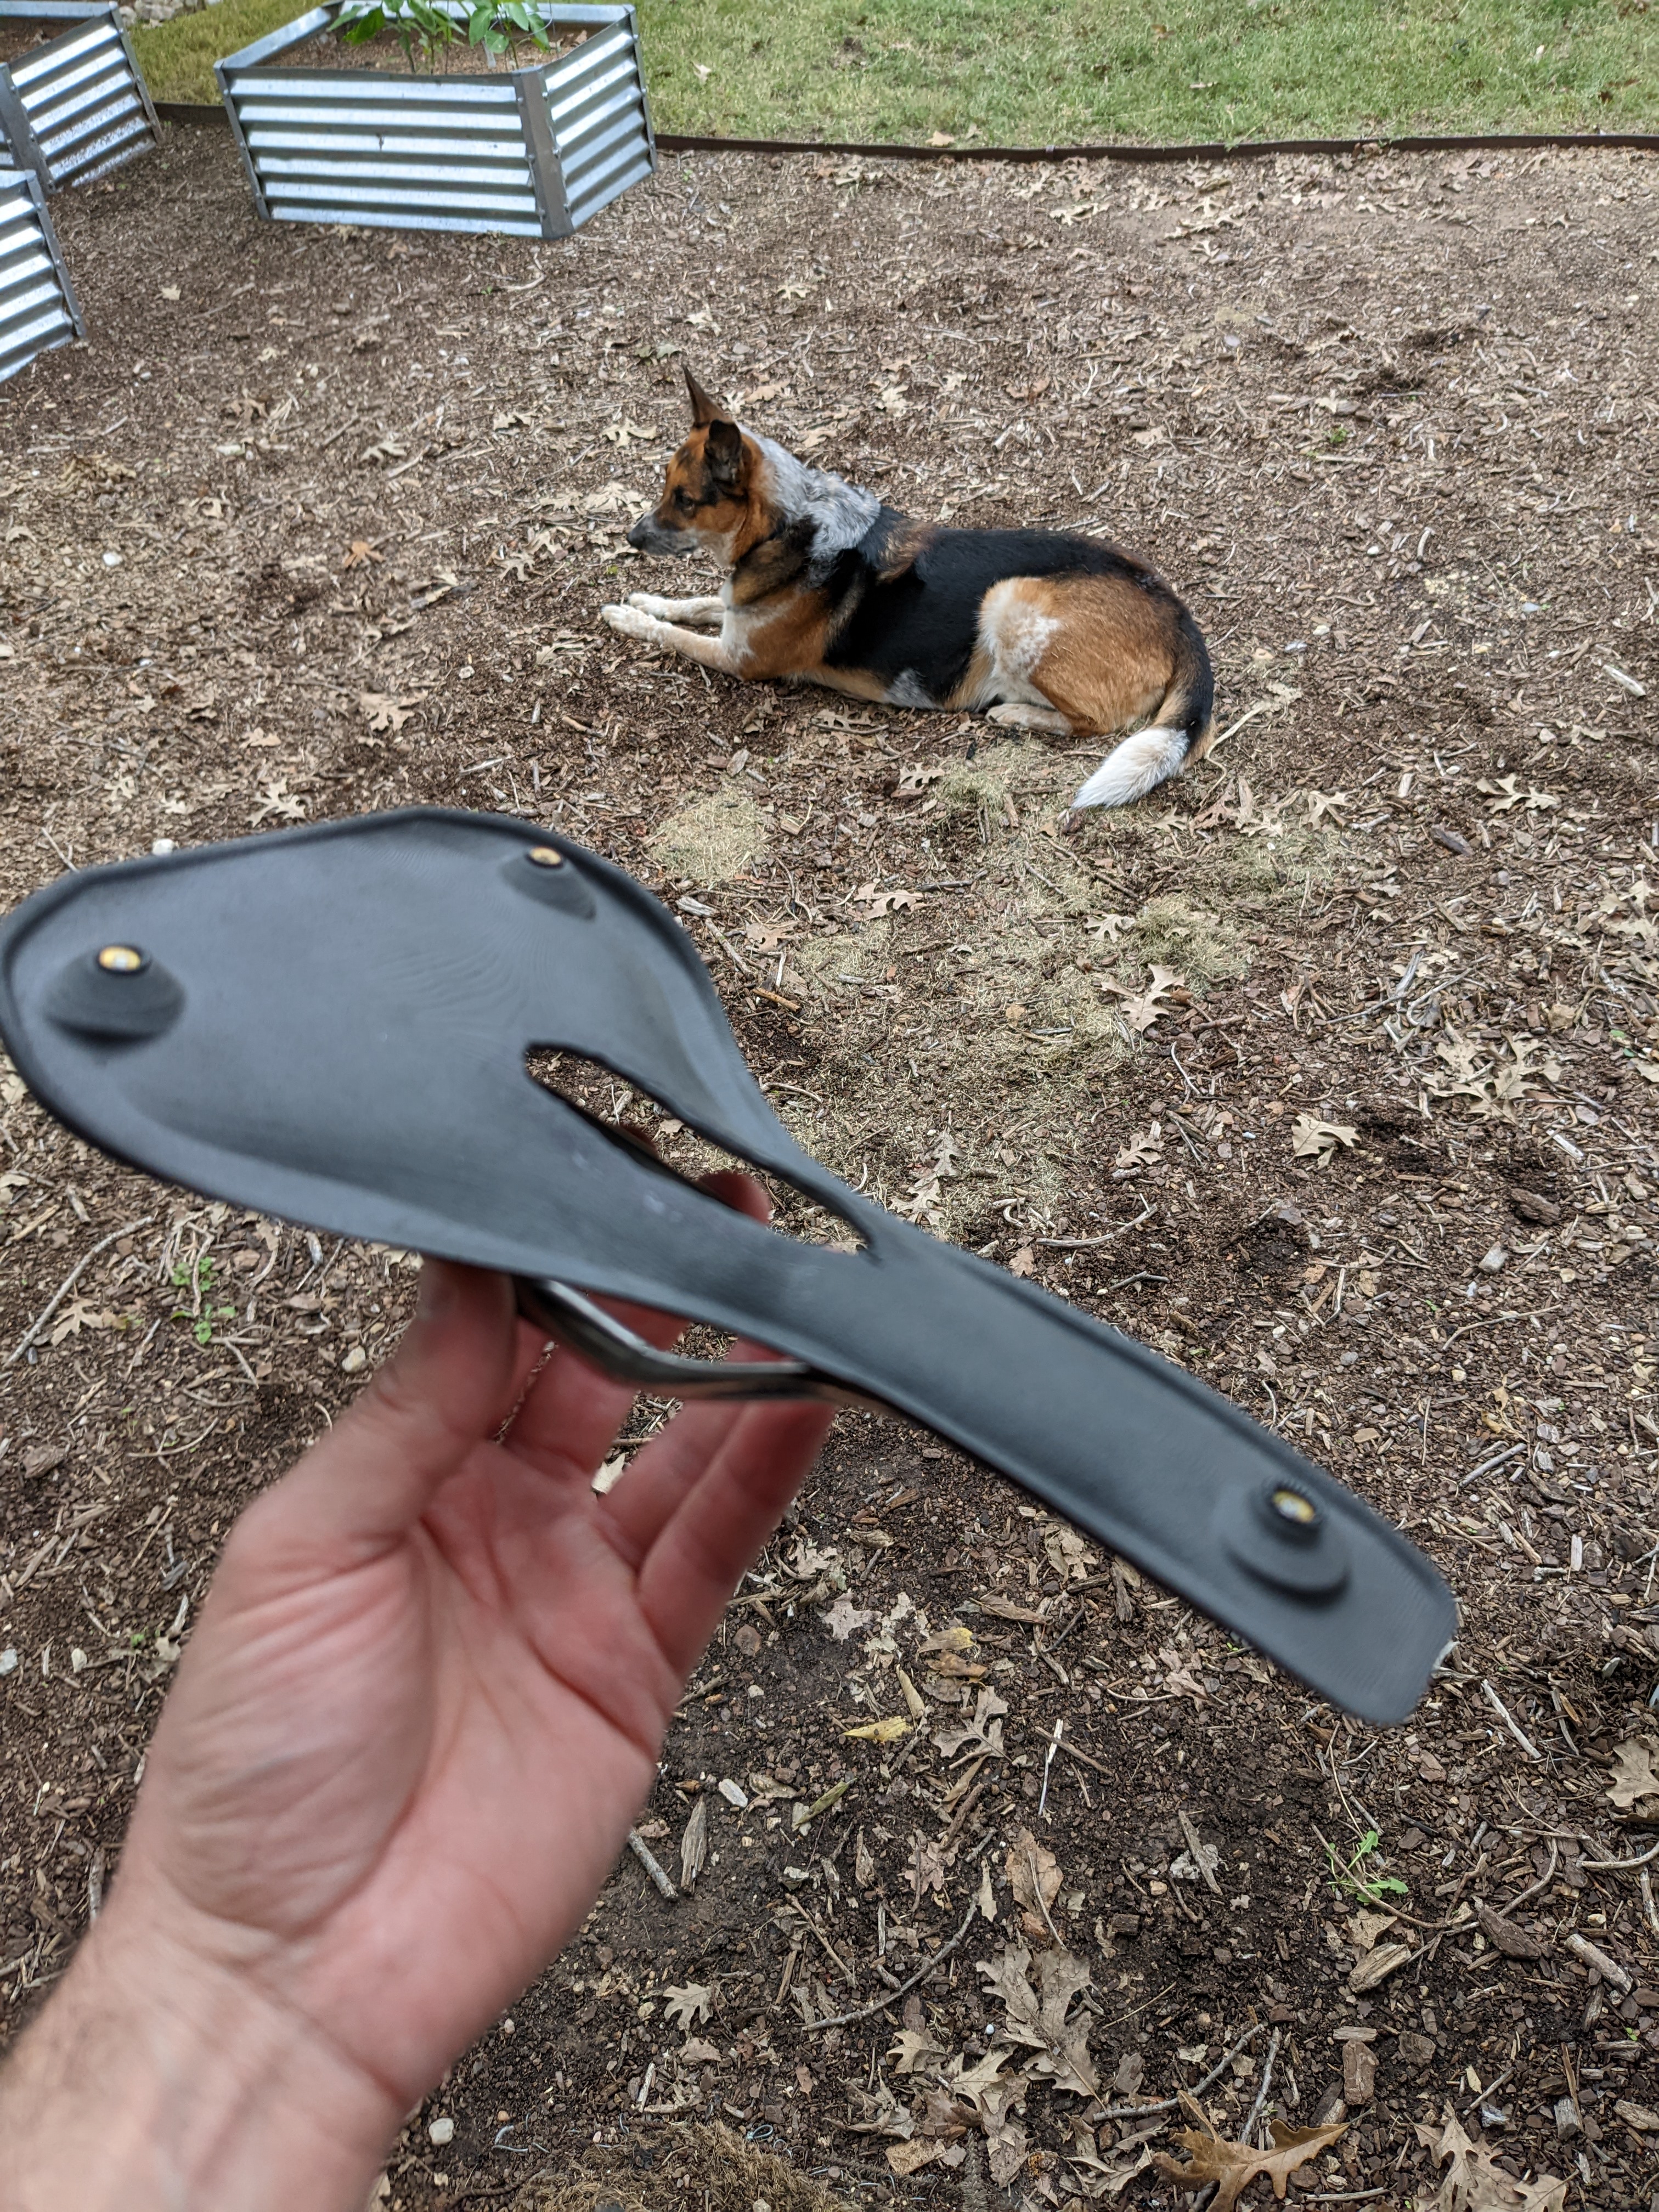
I copied the basic shape and size of a WTB Volt as a starting point, but my saddle is something like 25mm shorter than a Volt. It weighs ~200g.
Is it better than an off the shelf saddle? No, not really. Lol. I just like to make things. It’s lightweight, and works well. I find it comfortable.
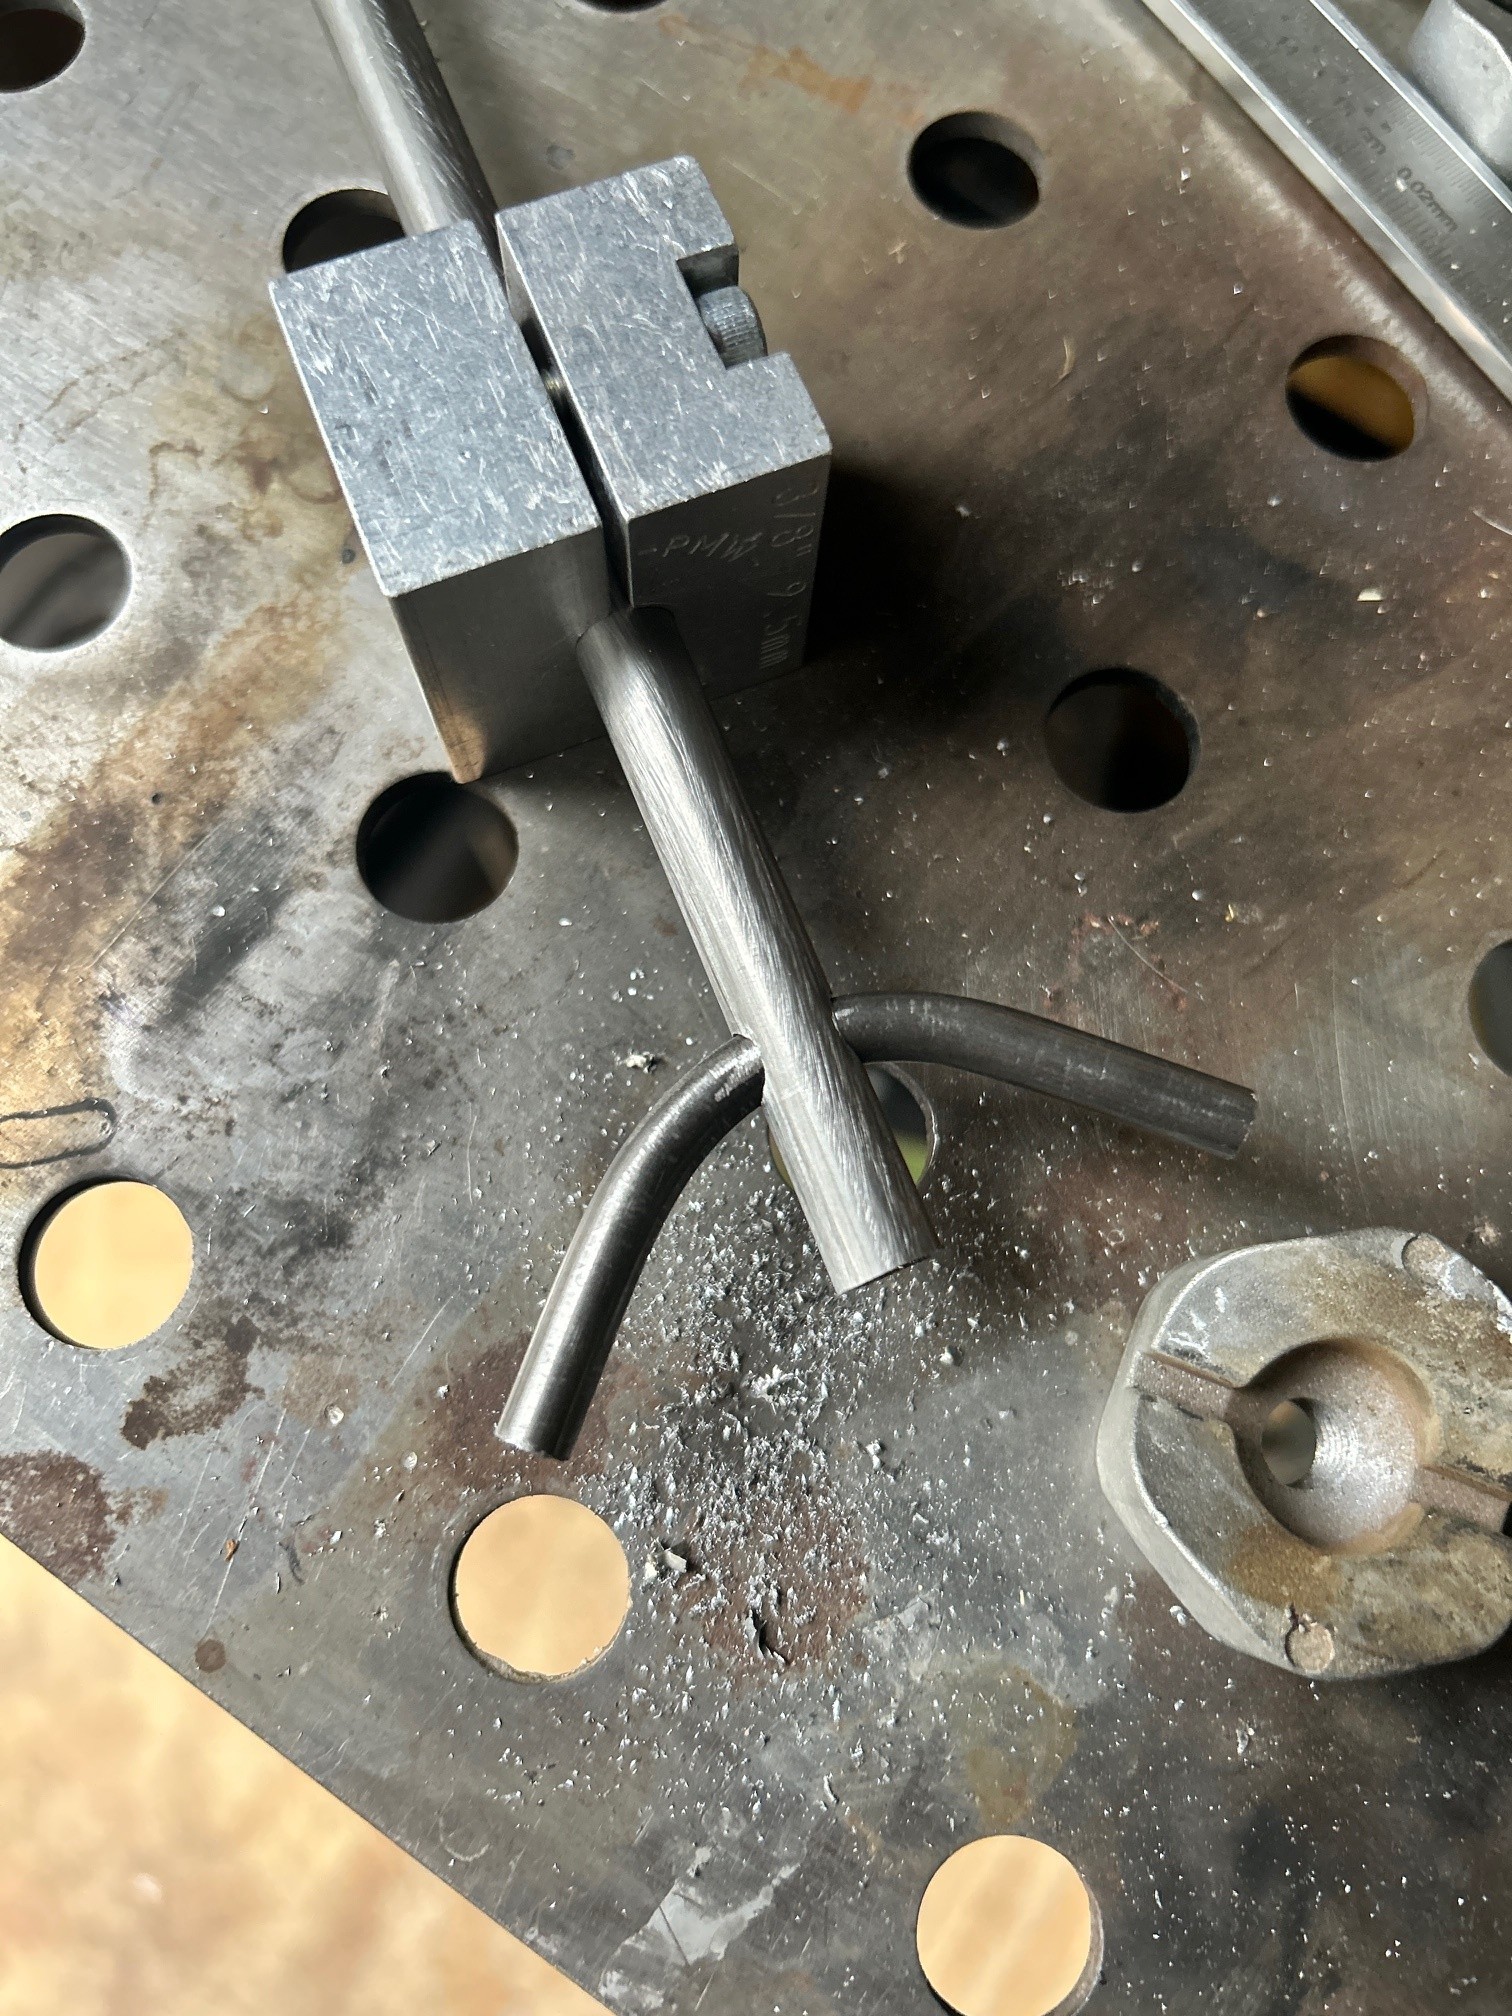
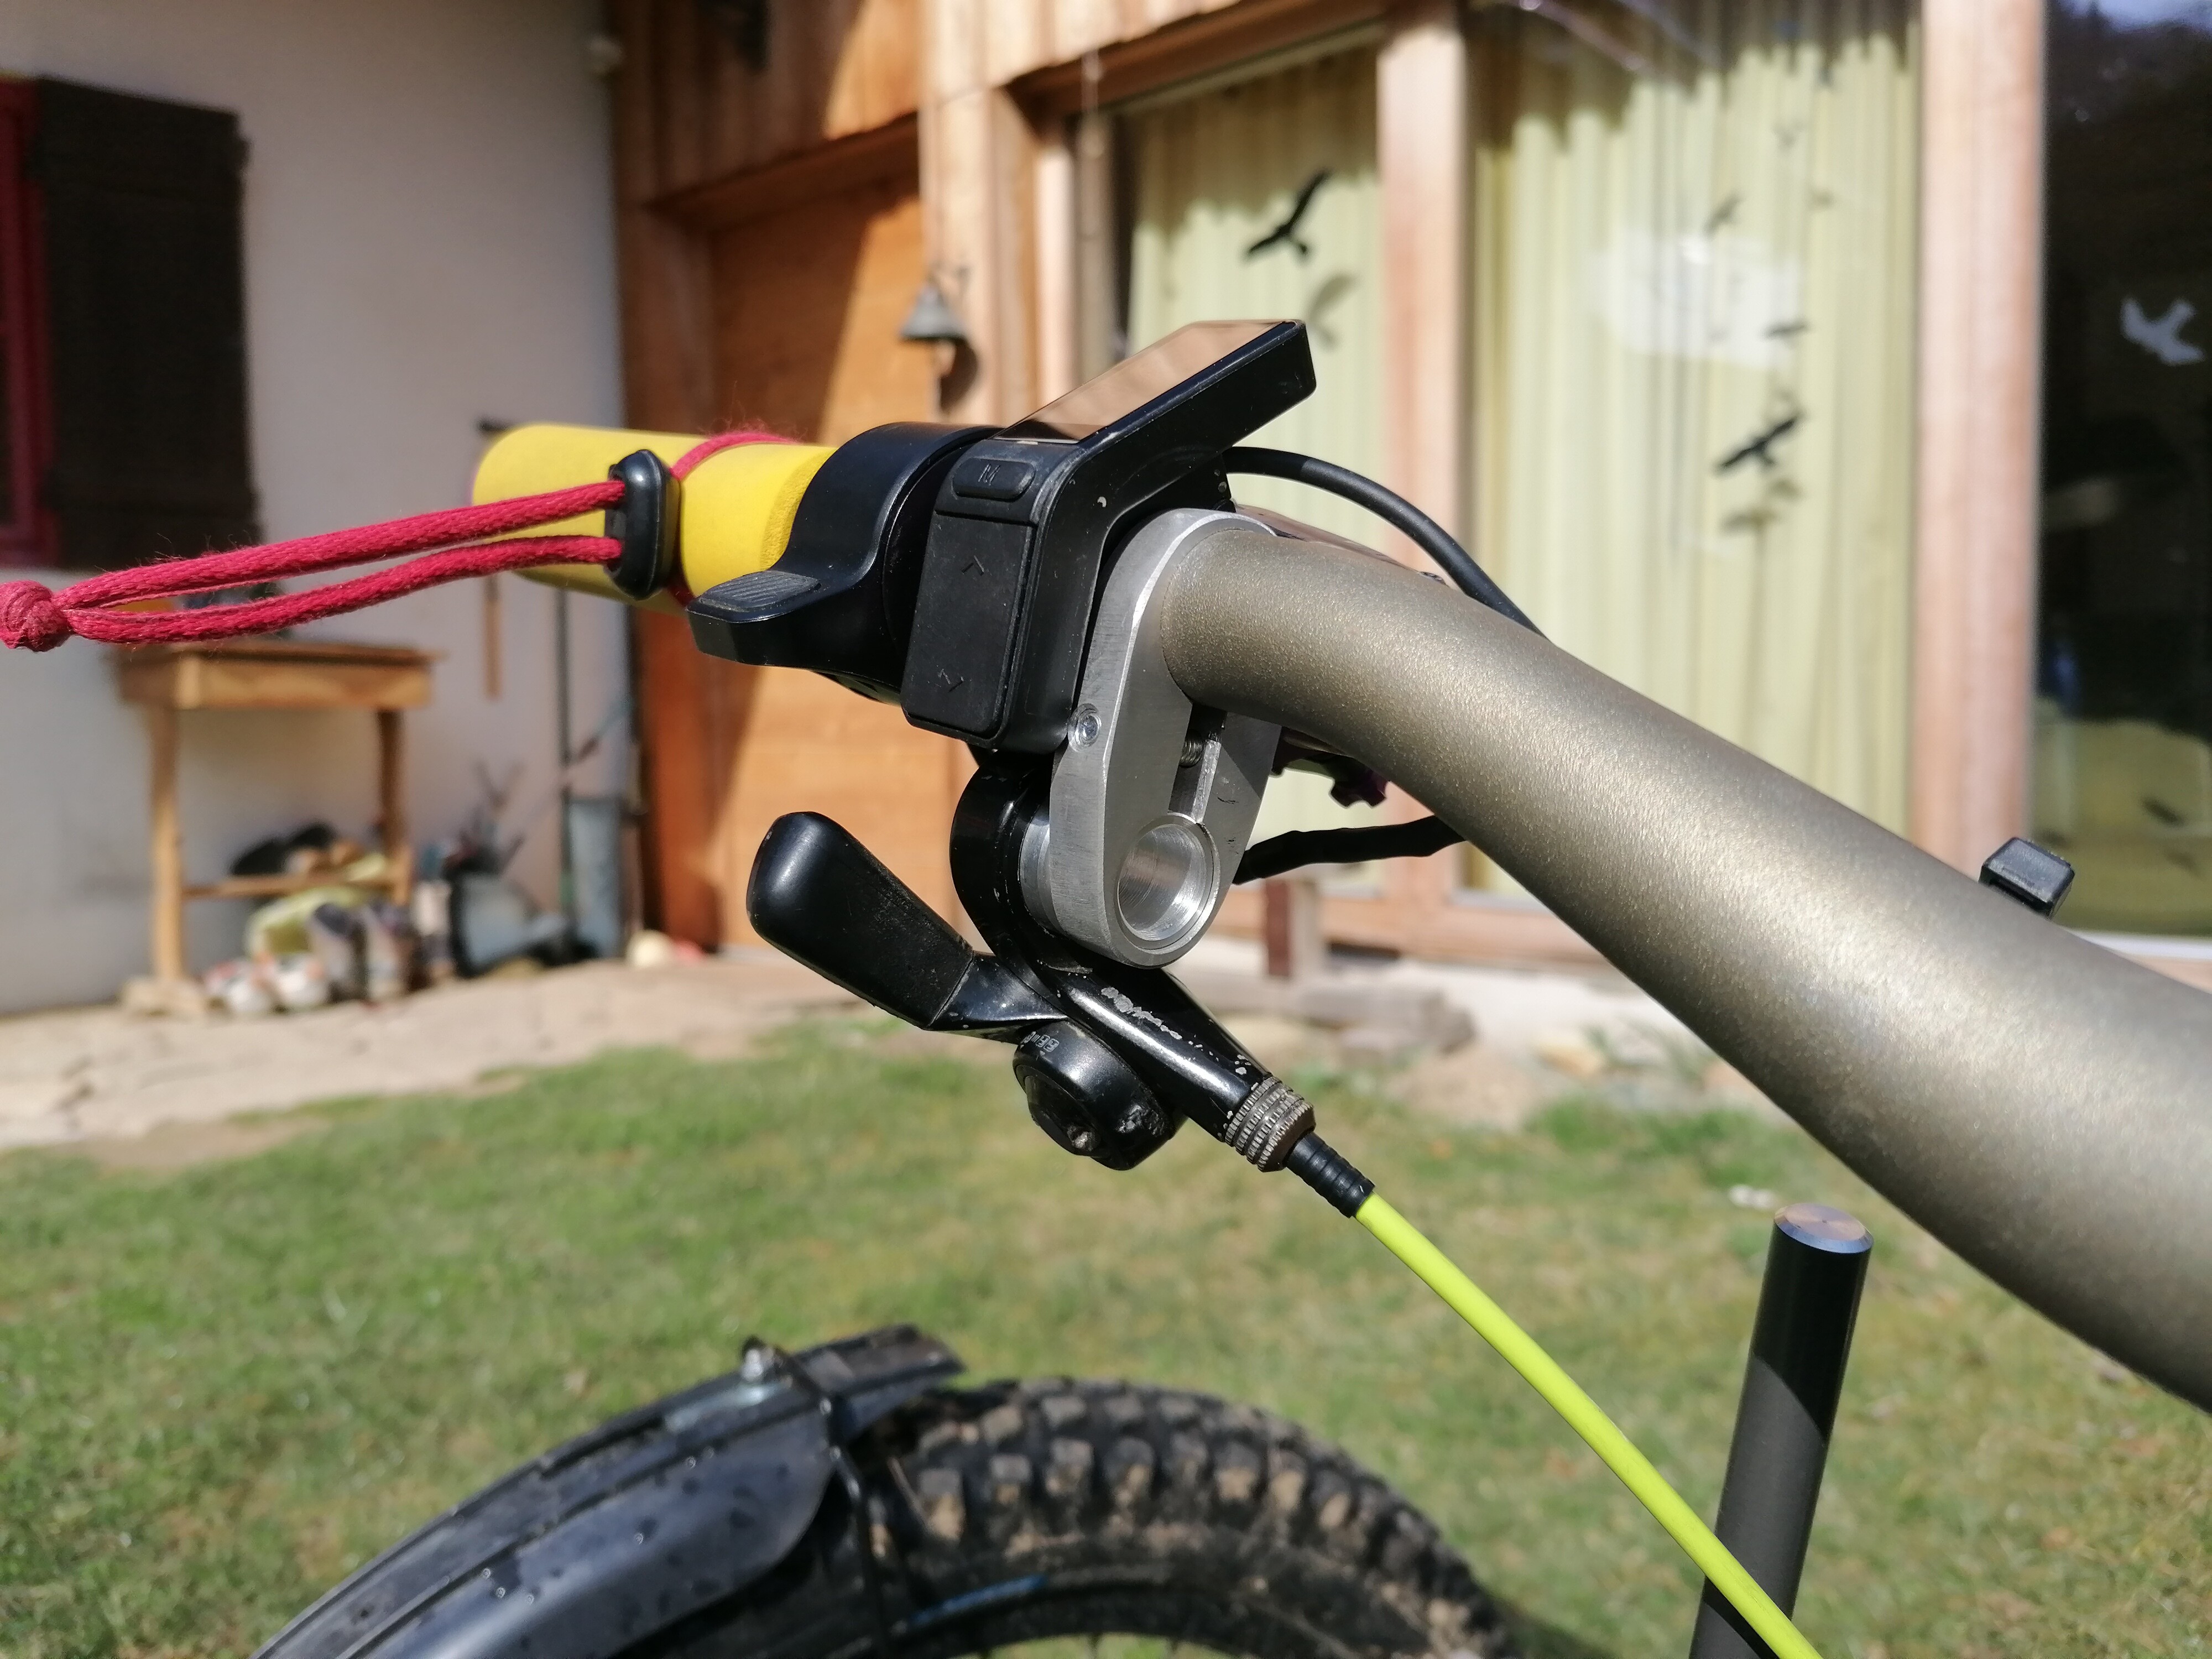
This weekend I had an idea for a cantilever straddle cable yoke. The curved bit of 1/4” tubing follows the profile of my Tektro brakes and the vertical tube will have something more substantial than a 2mm grub screw to pinch the brake cable. The plan is to silver braze the two together and cut off excess. I really want a pair of Paul Moon Units or those Shovel Research things but for the price I don’t think I can justify either
You mentioned the saddle somewere in your build Log. Your bike is beautifull!
I got curios.
I wasn´t aware that it´s possible to print materials that flexible like for your frame bag.
Next thing I need is a 3D printer
Right on! I am VERY excited about the frame bag. lol. It’s still not done. I’ve been struggling with installing the dang zipper! I gave in and dropped it off at a cobbler. If they can sew through shoe leather my TPU bag should be a breeze. I’ll post it here when it’s done.
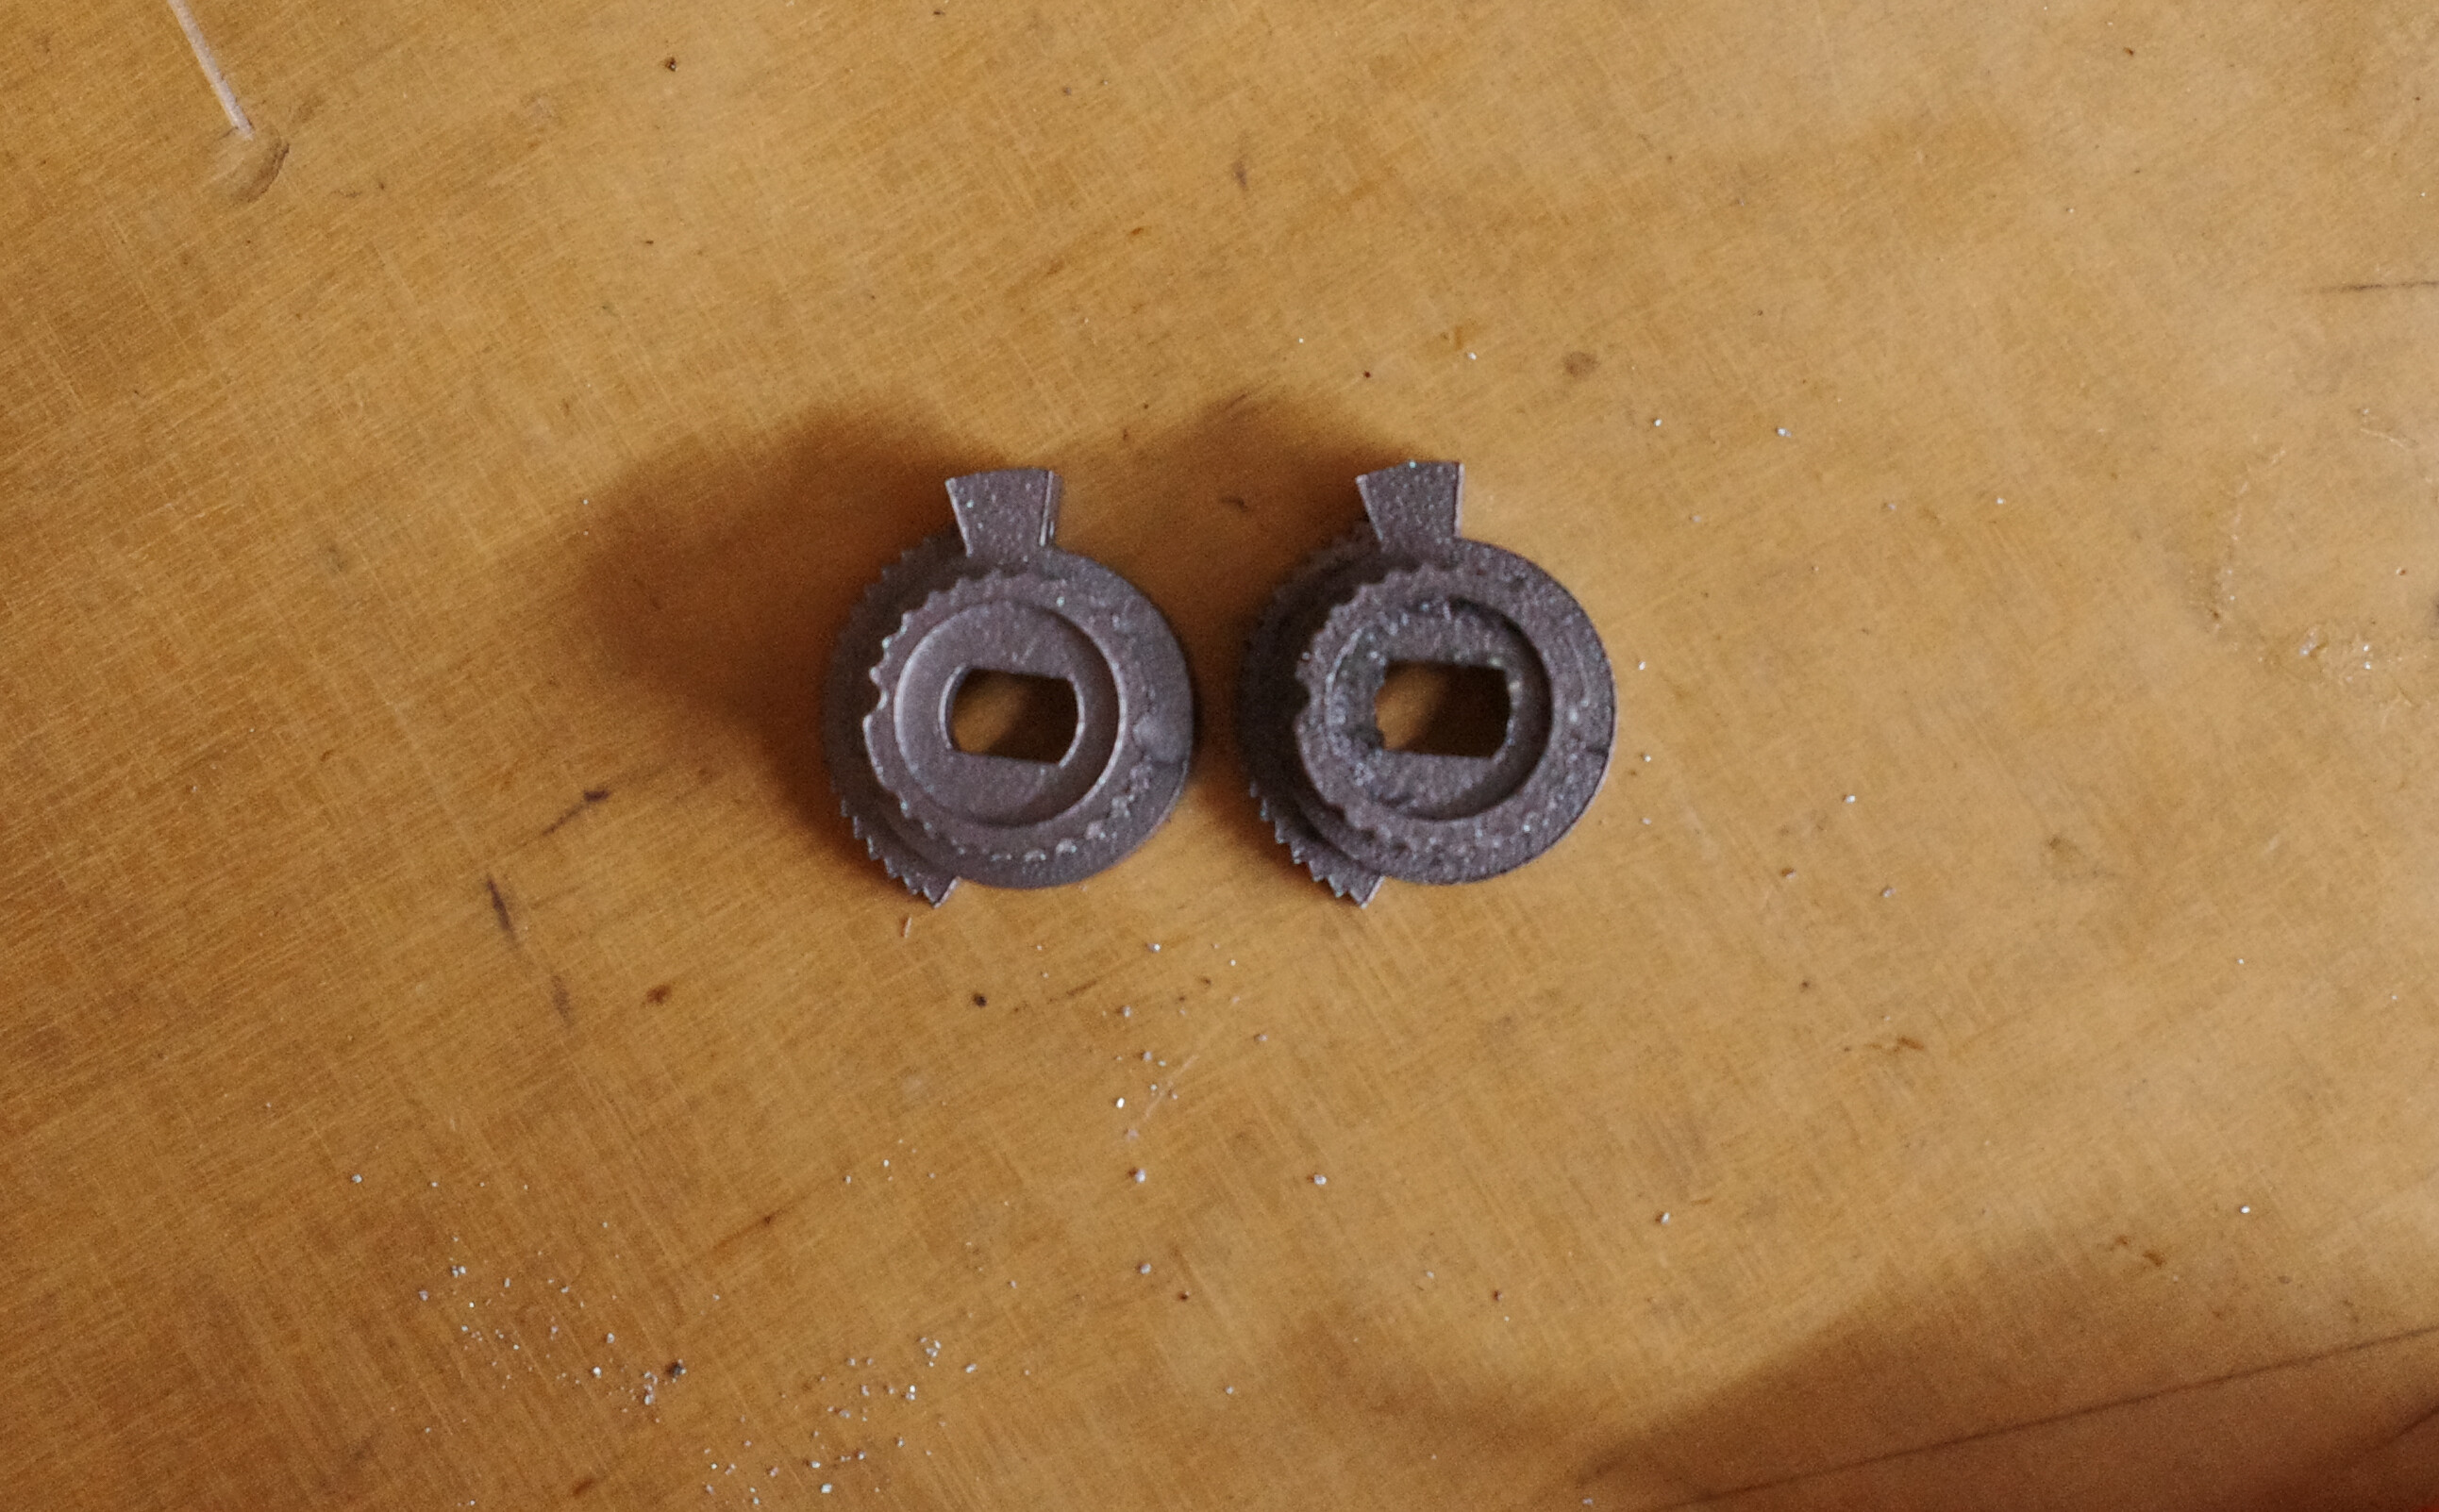
I really like Campagnolo Record 10x Brifters. As someone that watched a few too many ultraromance-videos, I have run them with 8 speed shimano for some time. These parts are replacements for the indexing spool of these levers, that will make them work with shimano 10 and 11 speed GRX Derailleurs (however in theory you should be able to adapt them to whatever rear derailleur you want - probably even pseudo-friction like the growtac equals). Since I never designed anything for 3D-printing before, I was quite skeptical if they would work, however I have run the 10 Speed version for a few thousand kilometers without issues.
They don’t feel as perfect as the original shifting though - I think the cause is the rougher surface of the printed part. I am working on a second version, If someone wants to try this I can share some files. They dont need much material, so the print is very cheap. I got both of these for around 7€ + shipping.
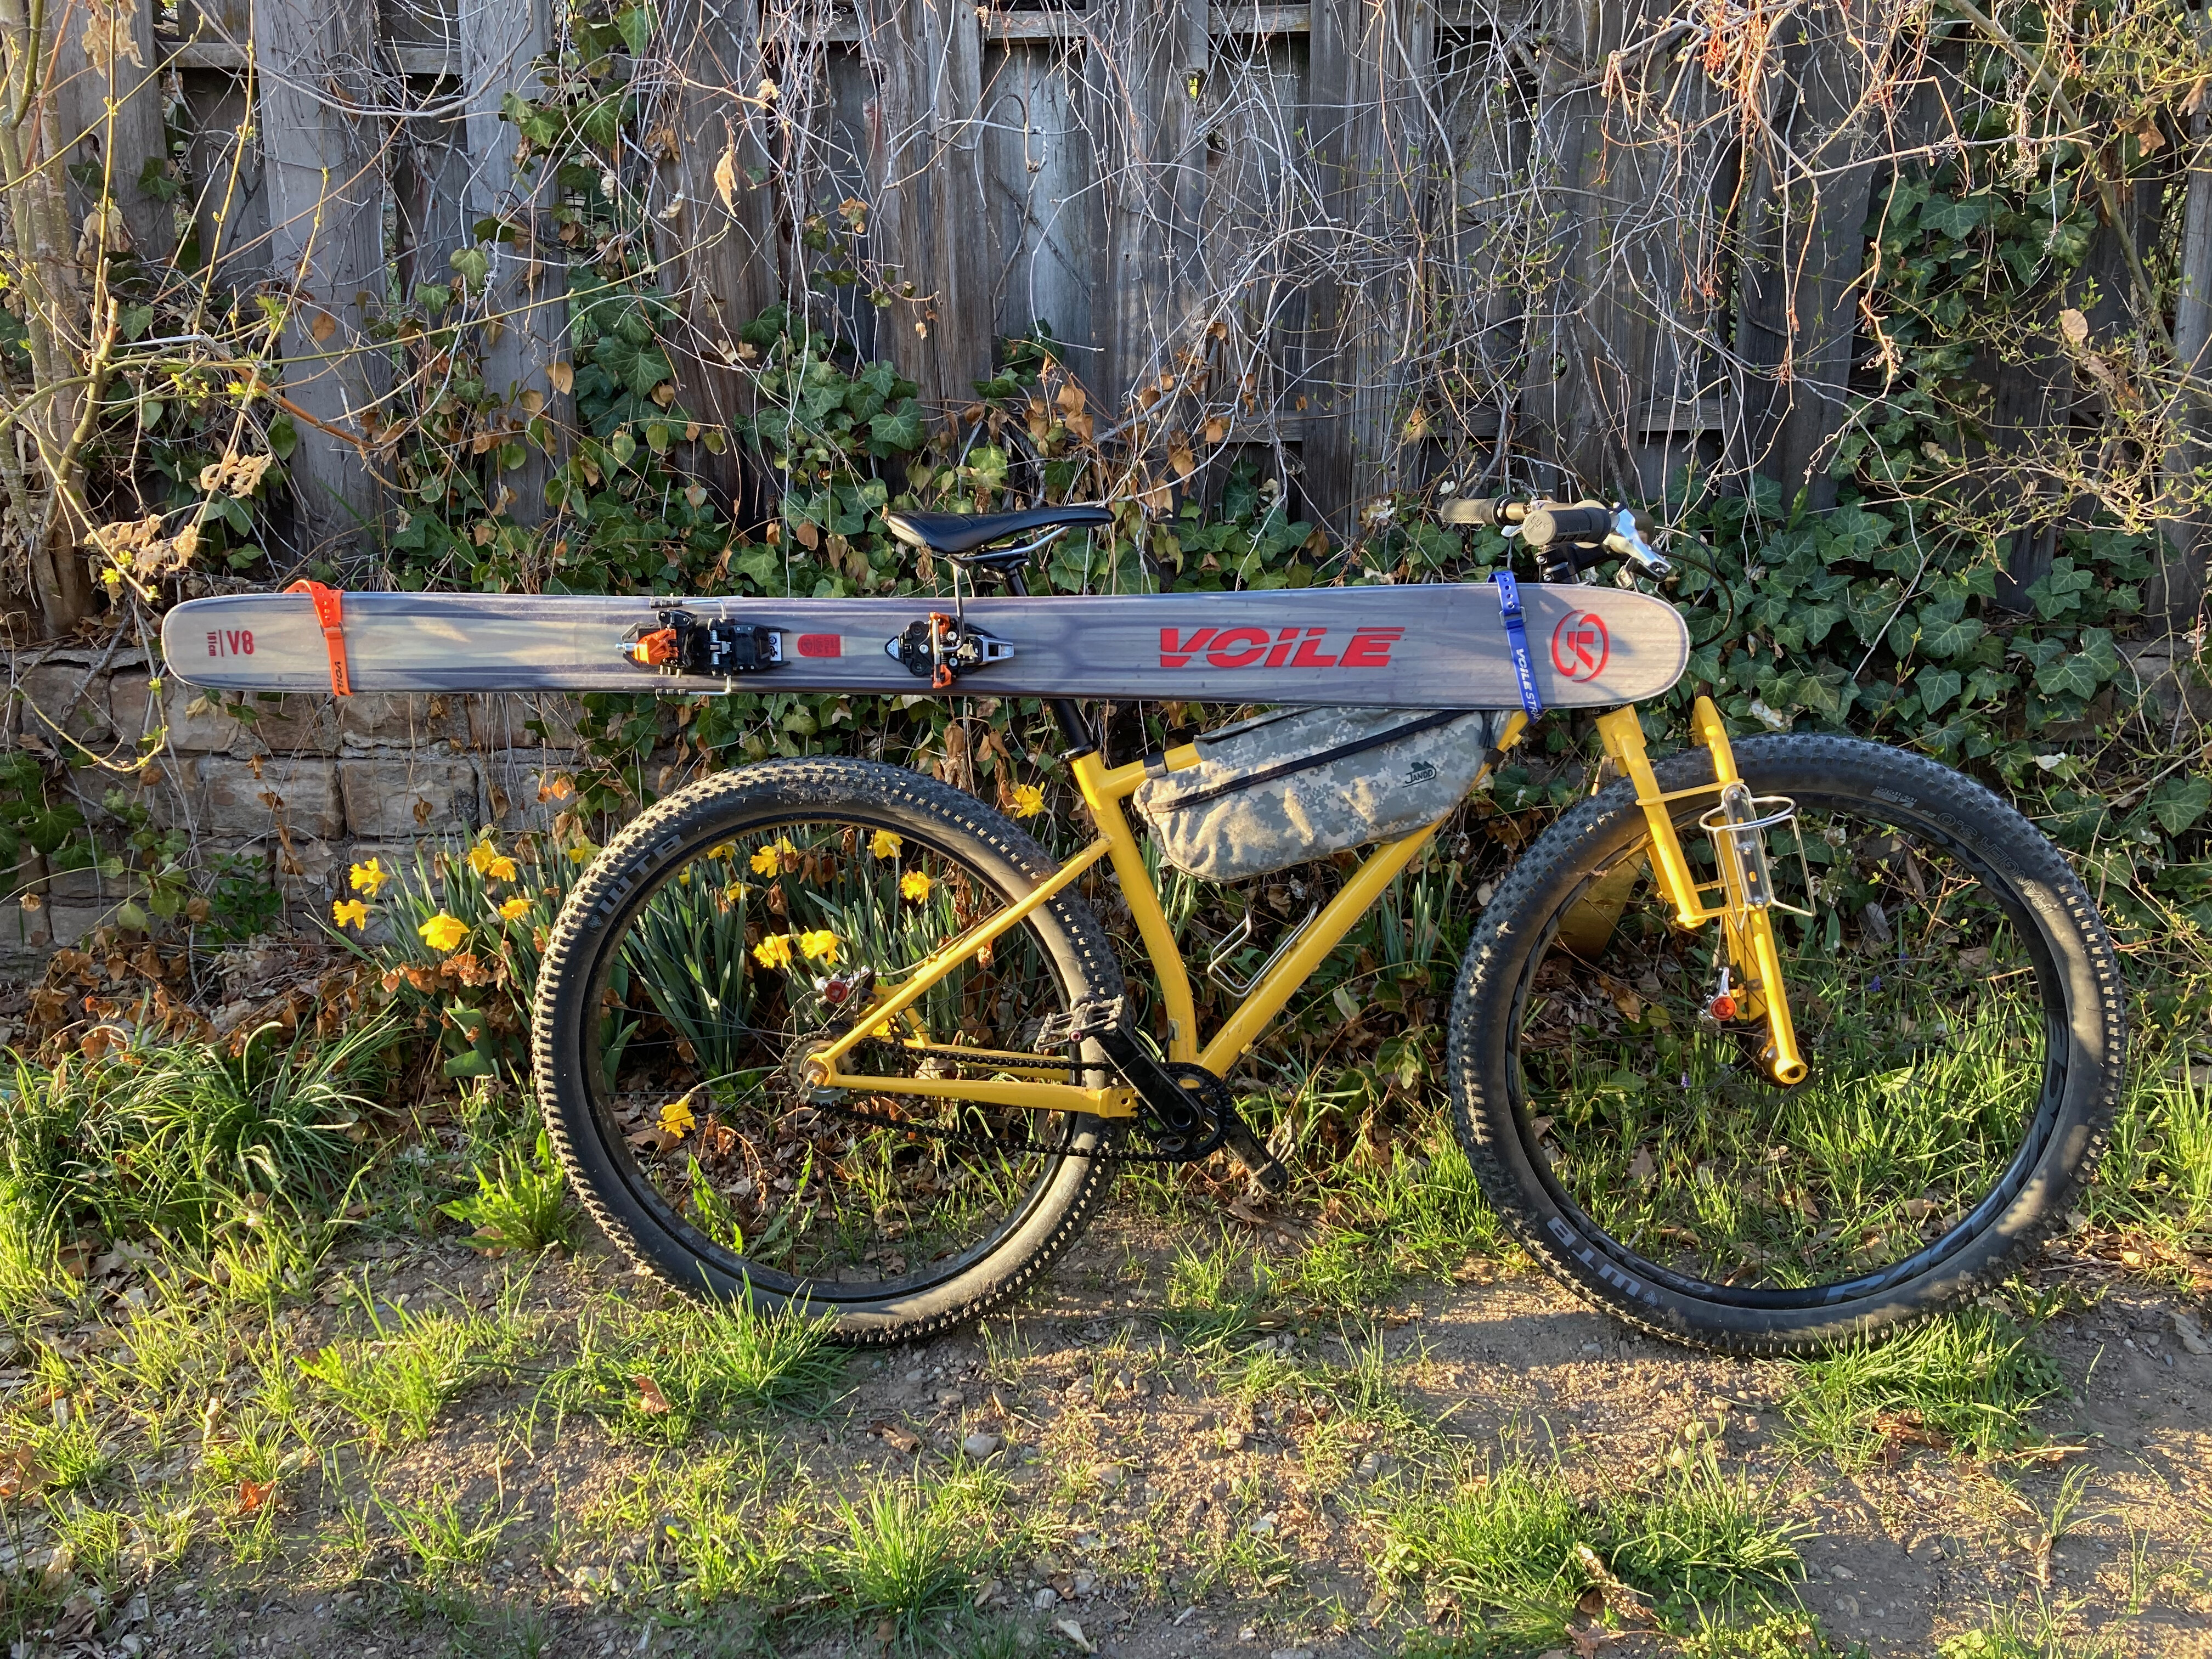
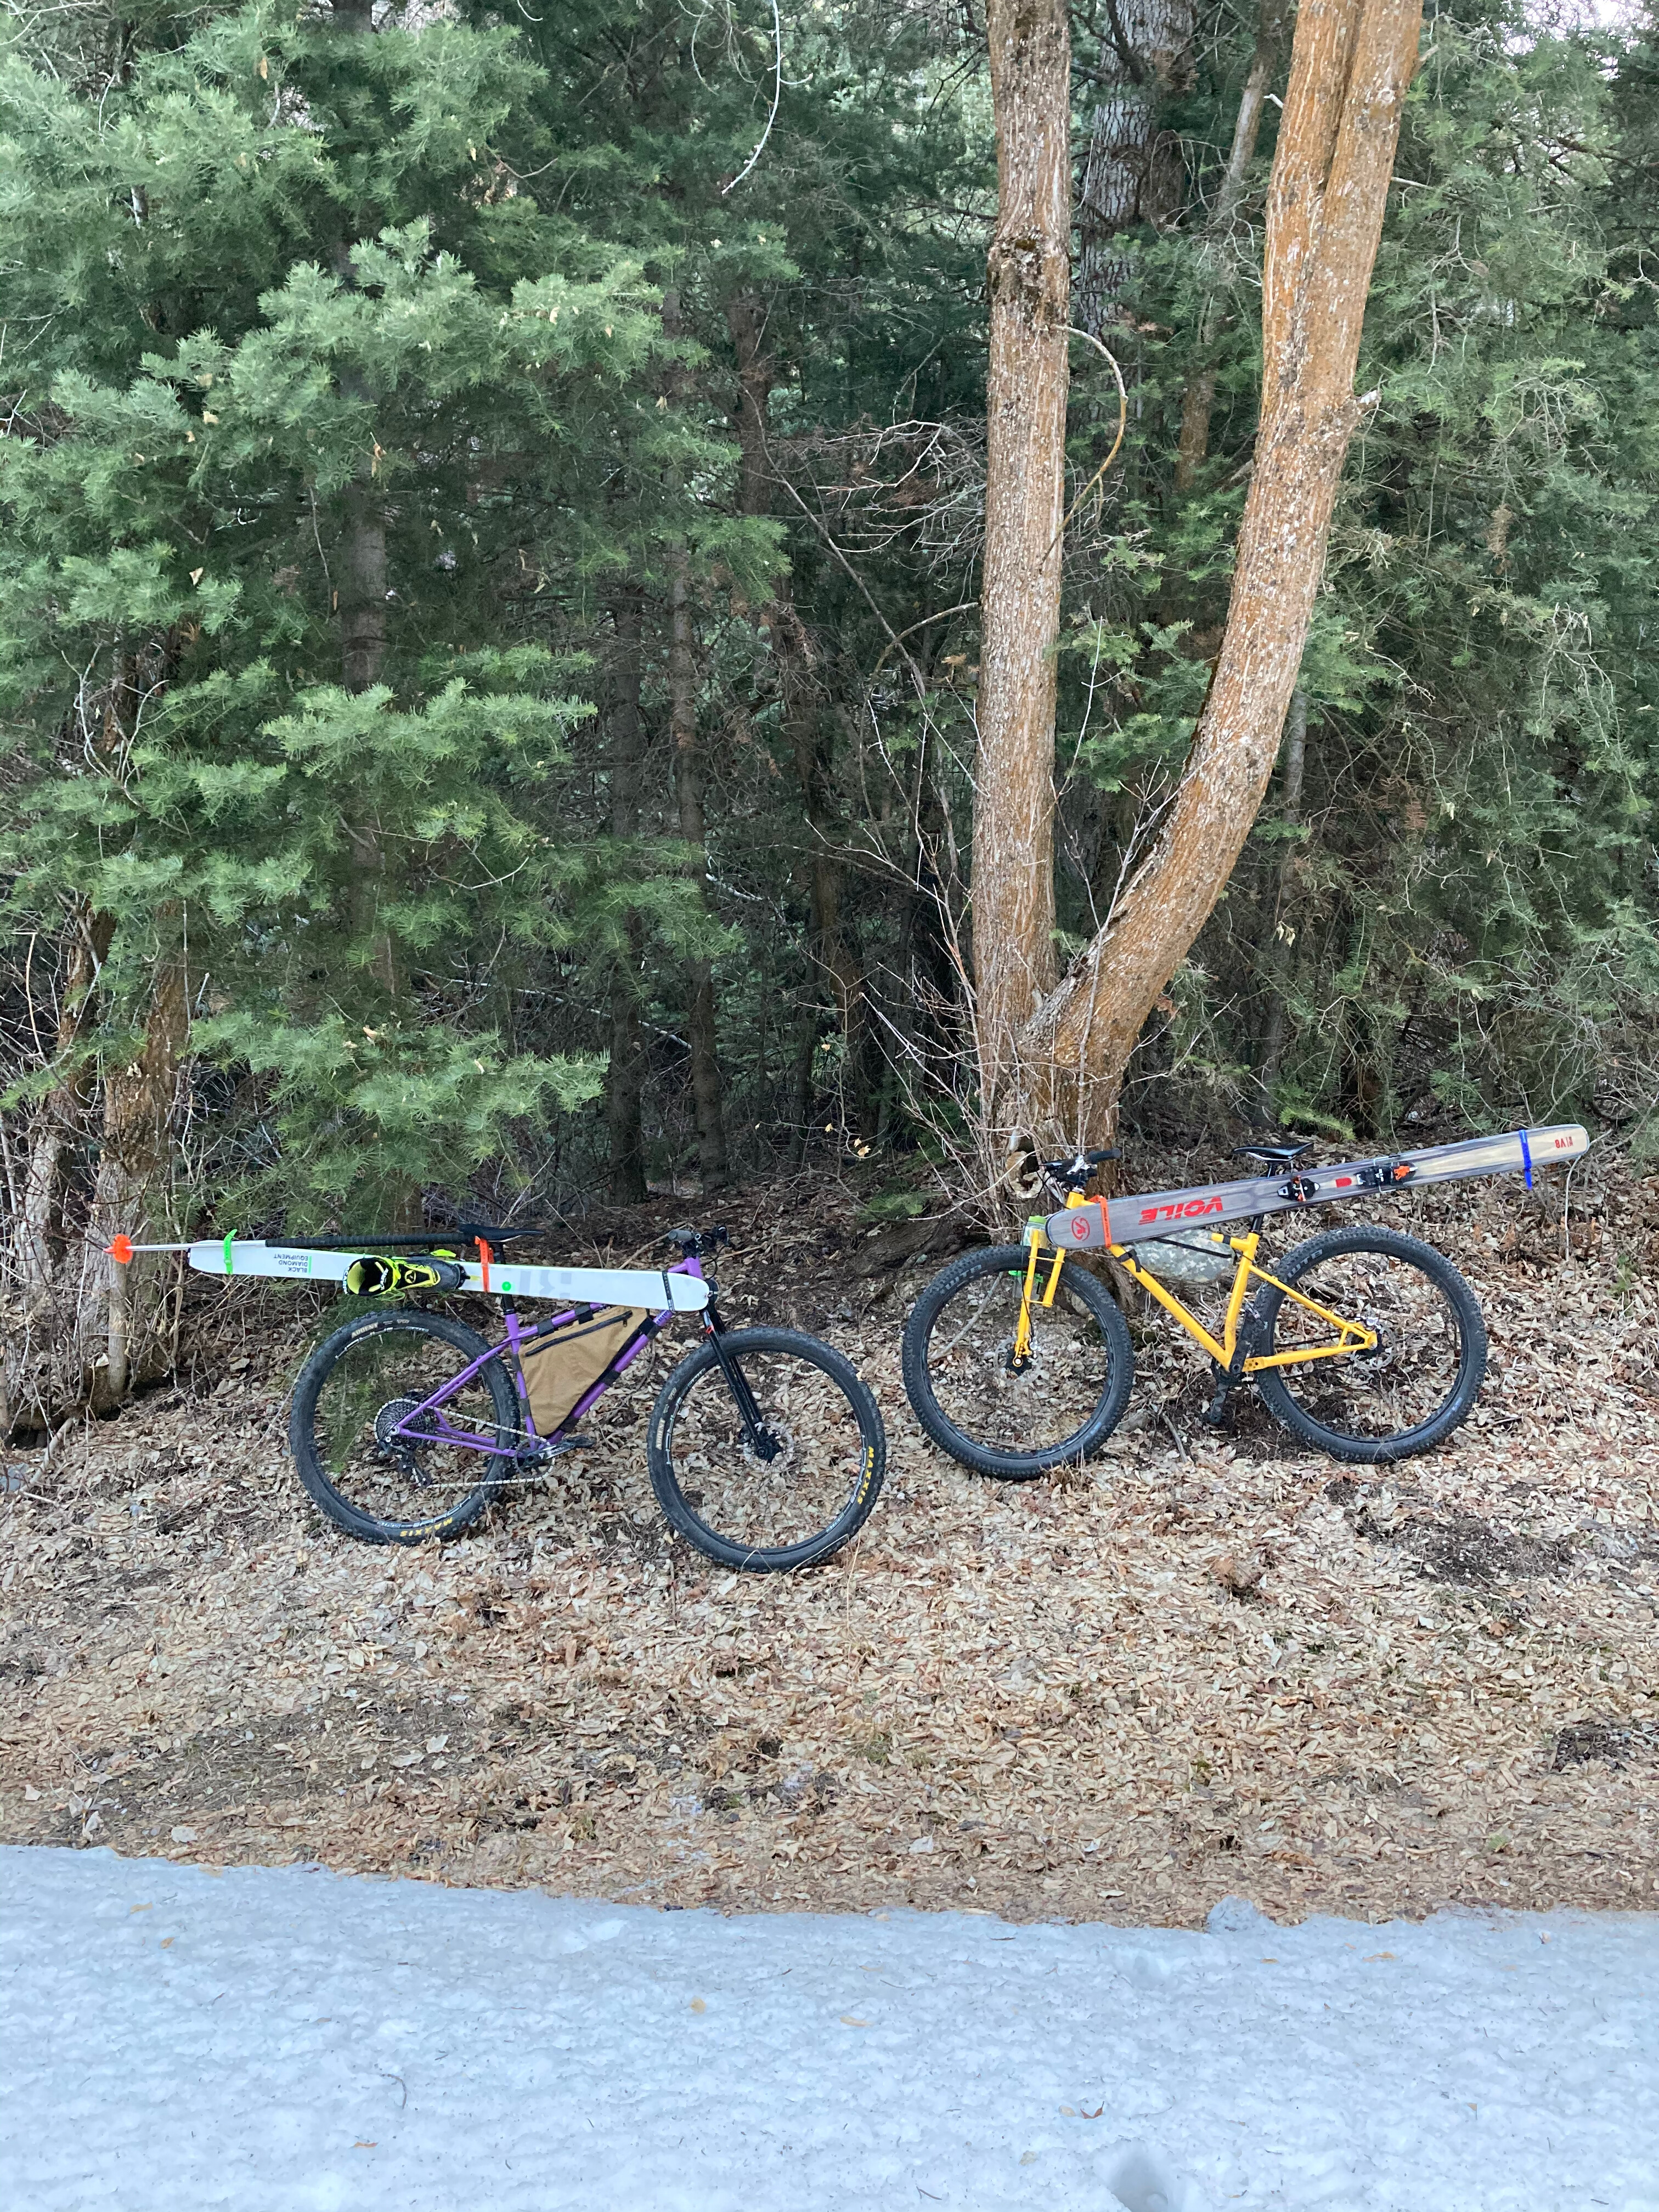
I think this counts. A few years ago I made this apparatus to carry touring skis on my bike. It’s ugly and was poorly made the night before a bike-to-ski, but it worked great then, still works now, and has enabled a whole lot of human-powered fun.
That’s so nice! Also the Moments look the business.
I’ve dreaming about a cargo bike setup for ski tours and just getting to the lifts in spring. I’ve done it before with skis just strapped to the tt but the skis always seem to be in the way of my legs a bit. How’s the clearance here?
That is fantastic! how easy is it to load? Was it hard to find the right length for the toe pieces to clamp securely without rattling? Also love the fork.
I can’t lie, there’s not a lot of clearance. It’s a tight balance between the bindings being too far forward to clear the back of your legs (and being unable to lock the toes) and the tips being too far back and interfering with your knees. But in my experience there’s just enough space to make it work!
I can’t remember where, but I saw someone attach skis by the toes vertically to a rear rack. That could circumvent a lot of clearance and speed wobble issues
The ease of loading is actually the best part! Couldn’t be easier: just set the top pin into the tube, hold the lower pin roughly in place, and lift the toe lever. Once you’re in, the ski just hangs there in place while you secure the tip. I was loaded in 1/4 the time it took my friend to strap his skis to the seatpost:
Getting the length of the piece that gets pinched by the toes right wasn’t too hard, I cut it long and successively filed it down until the fit was snug
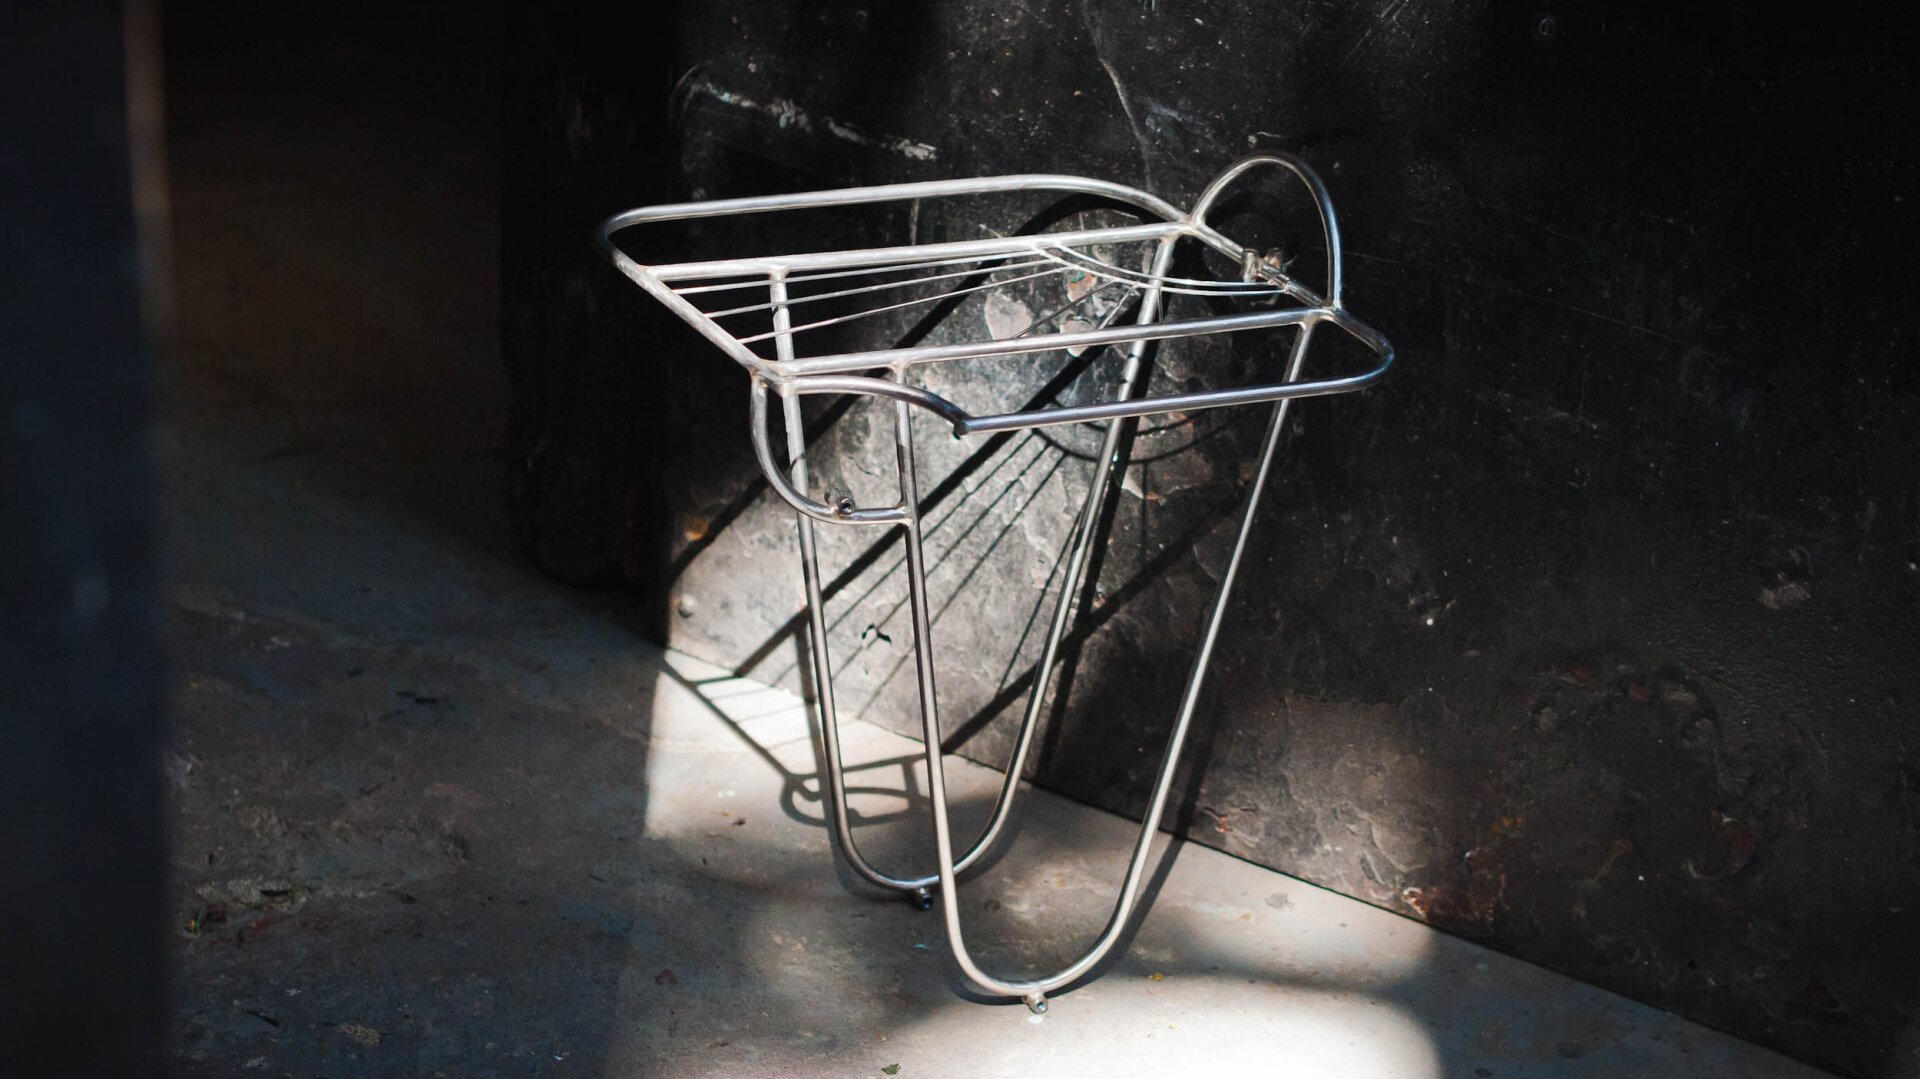
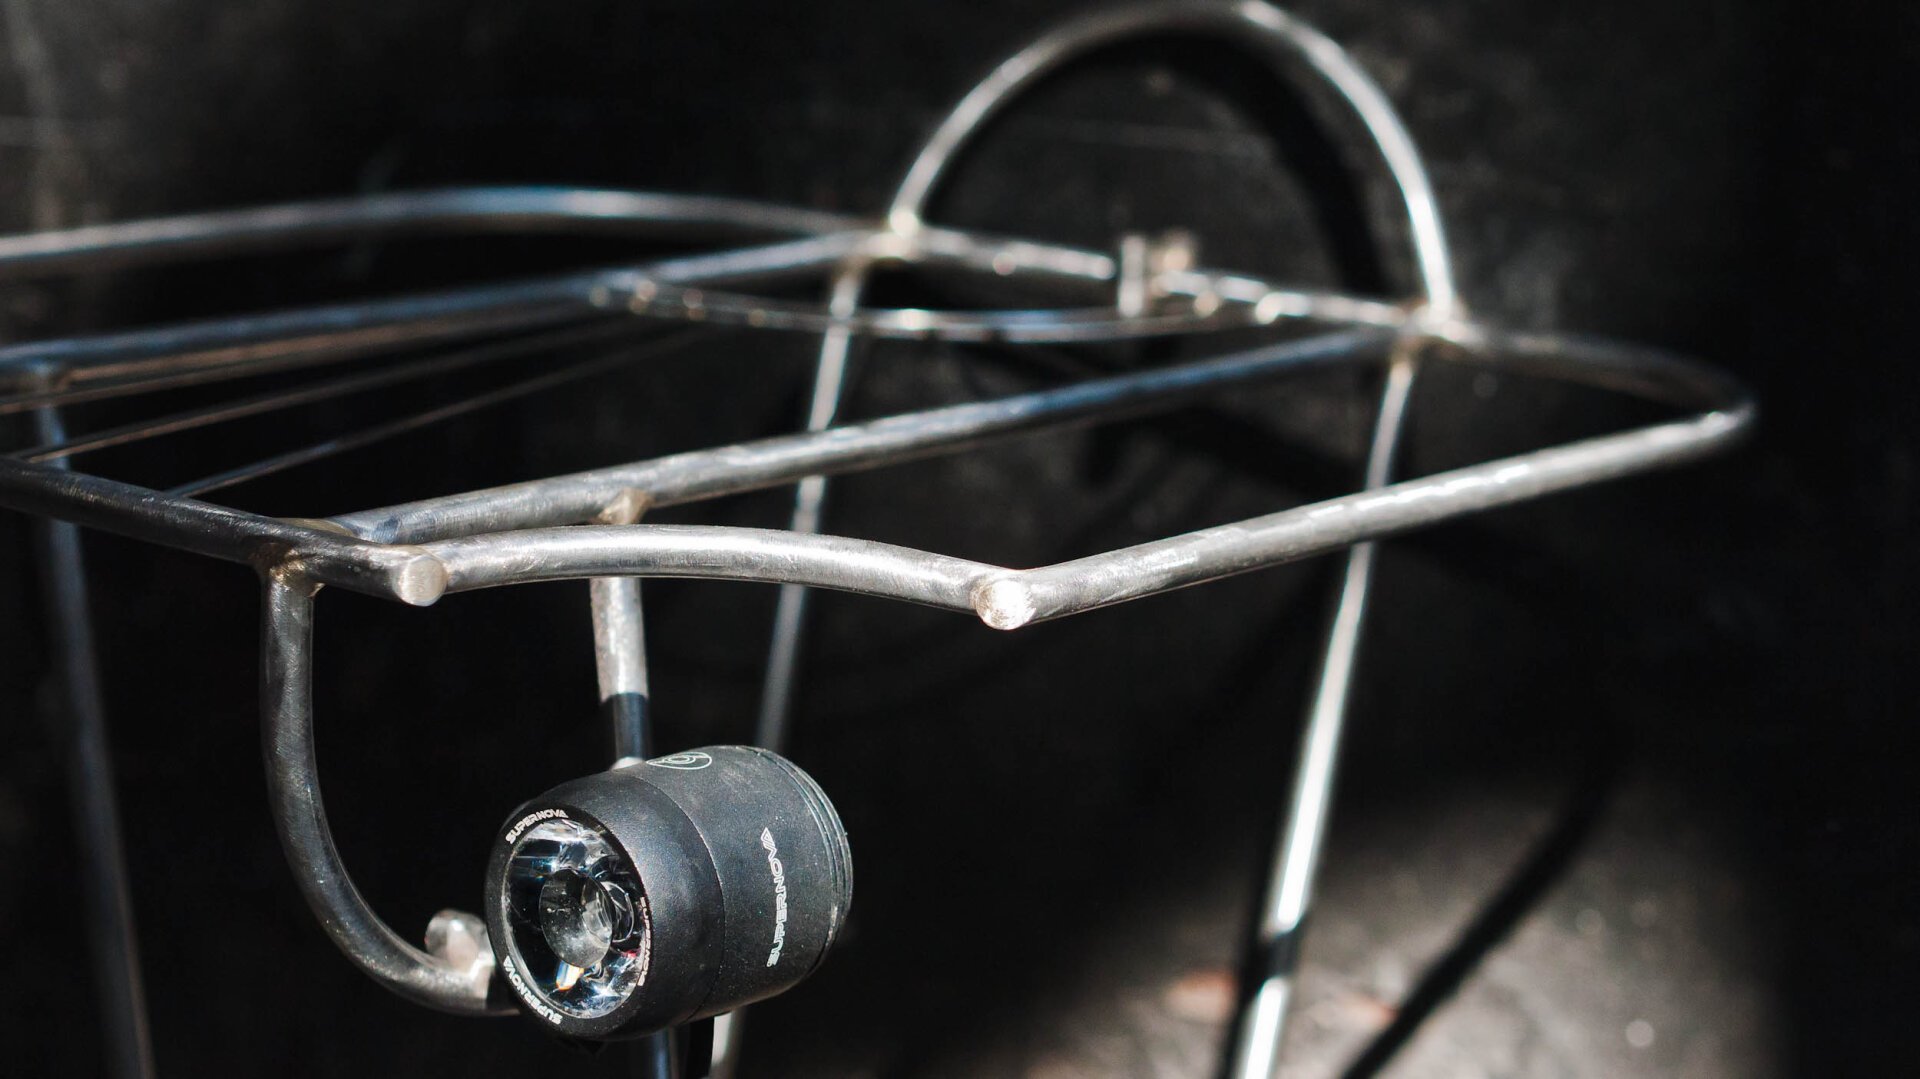
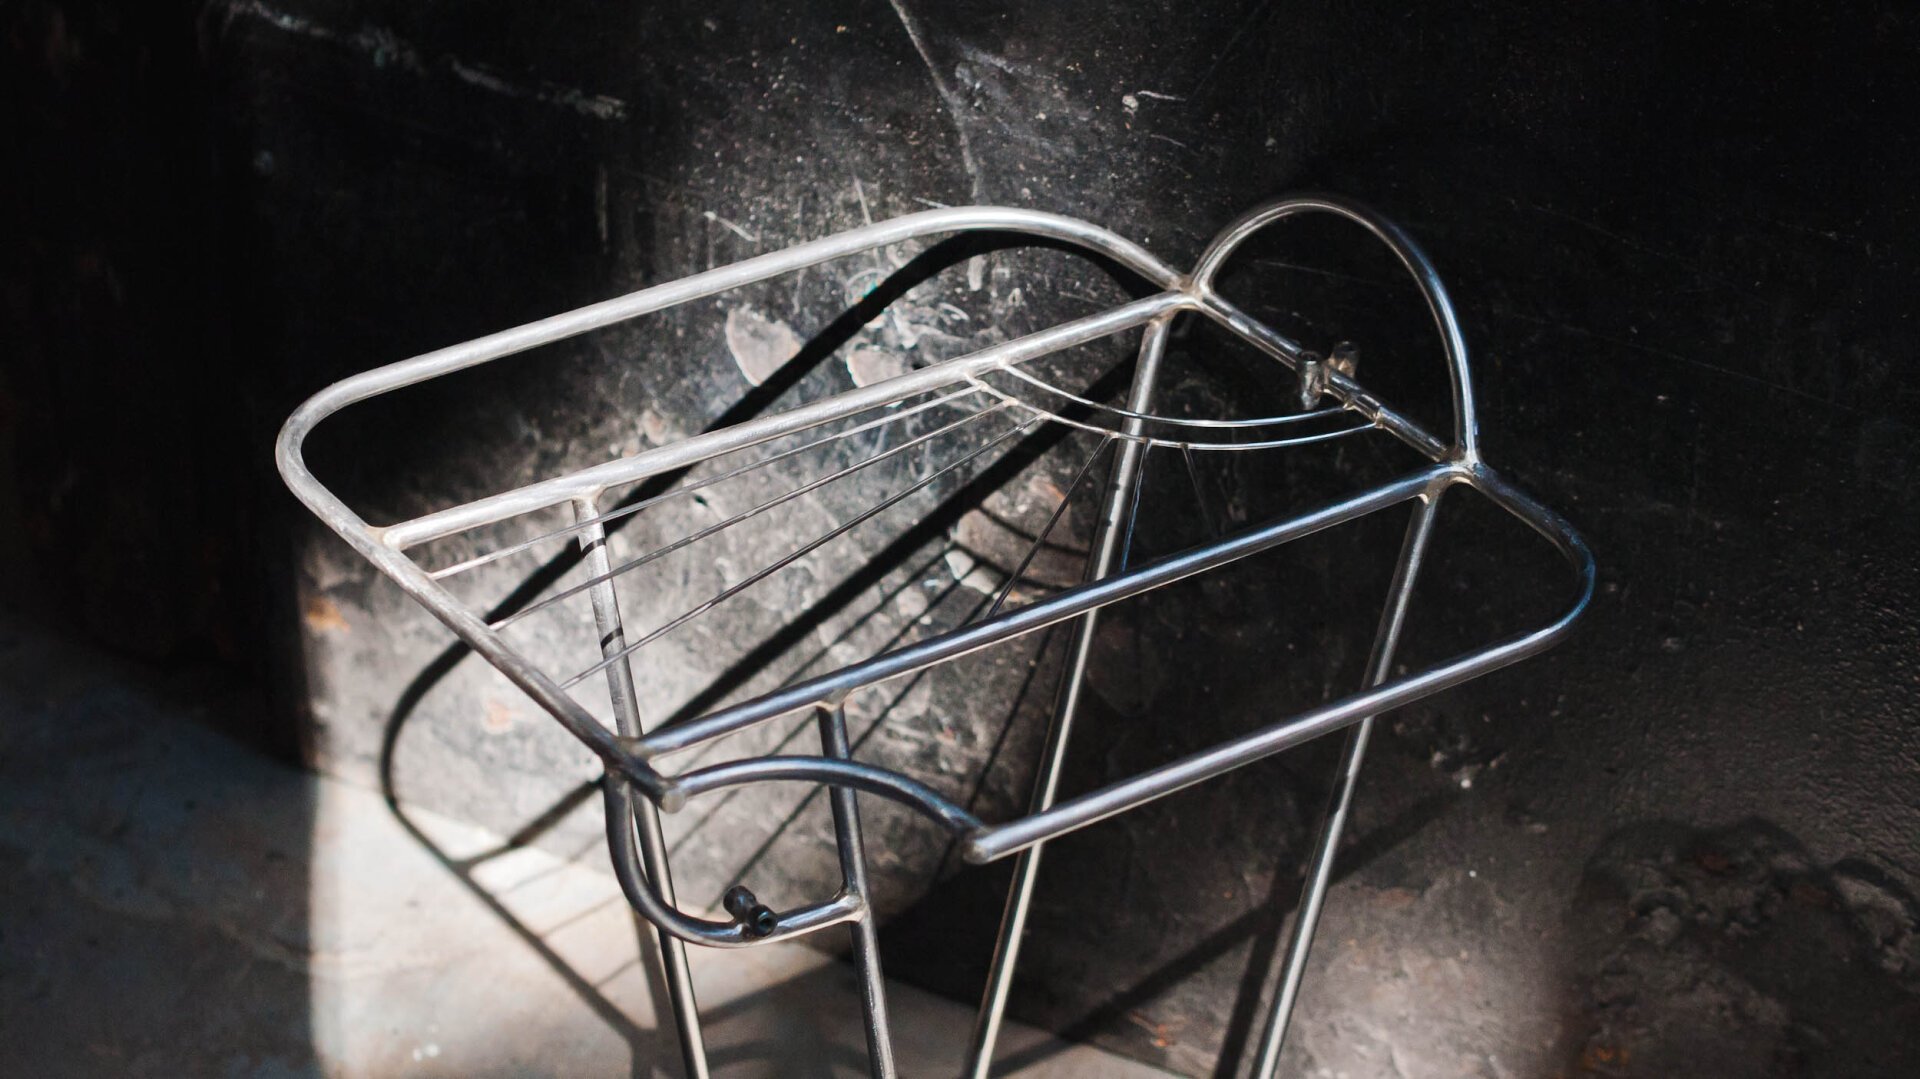
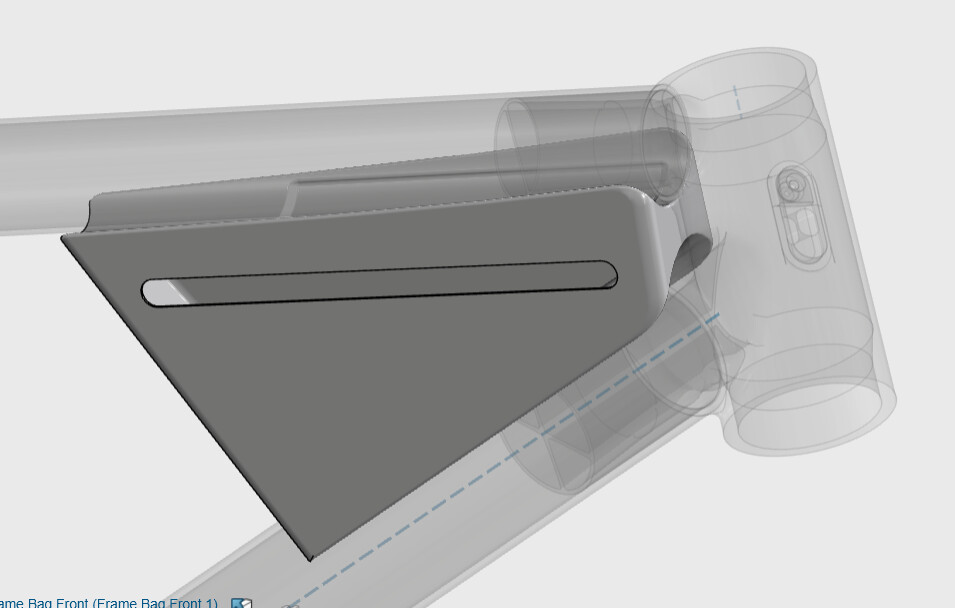
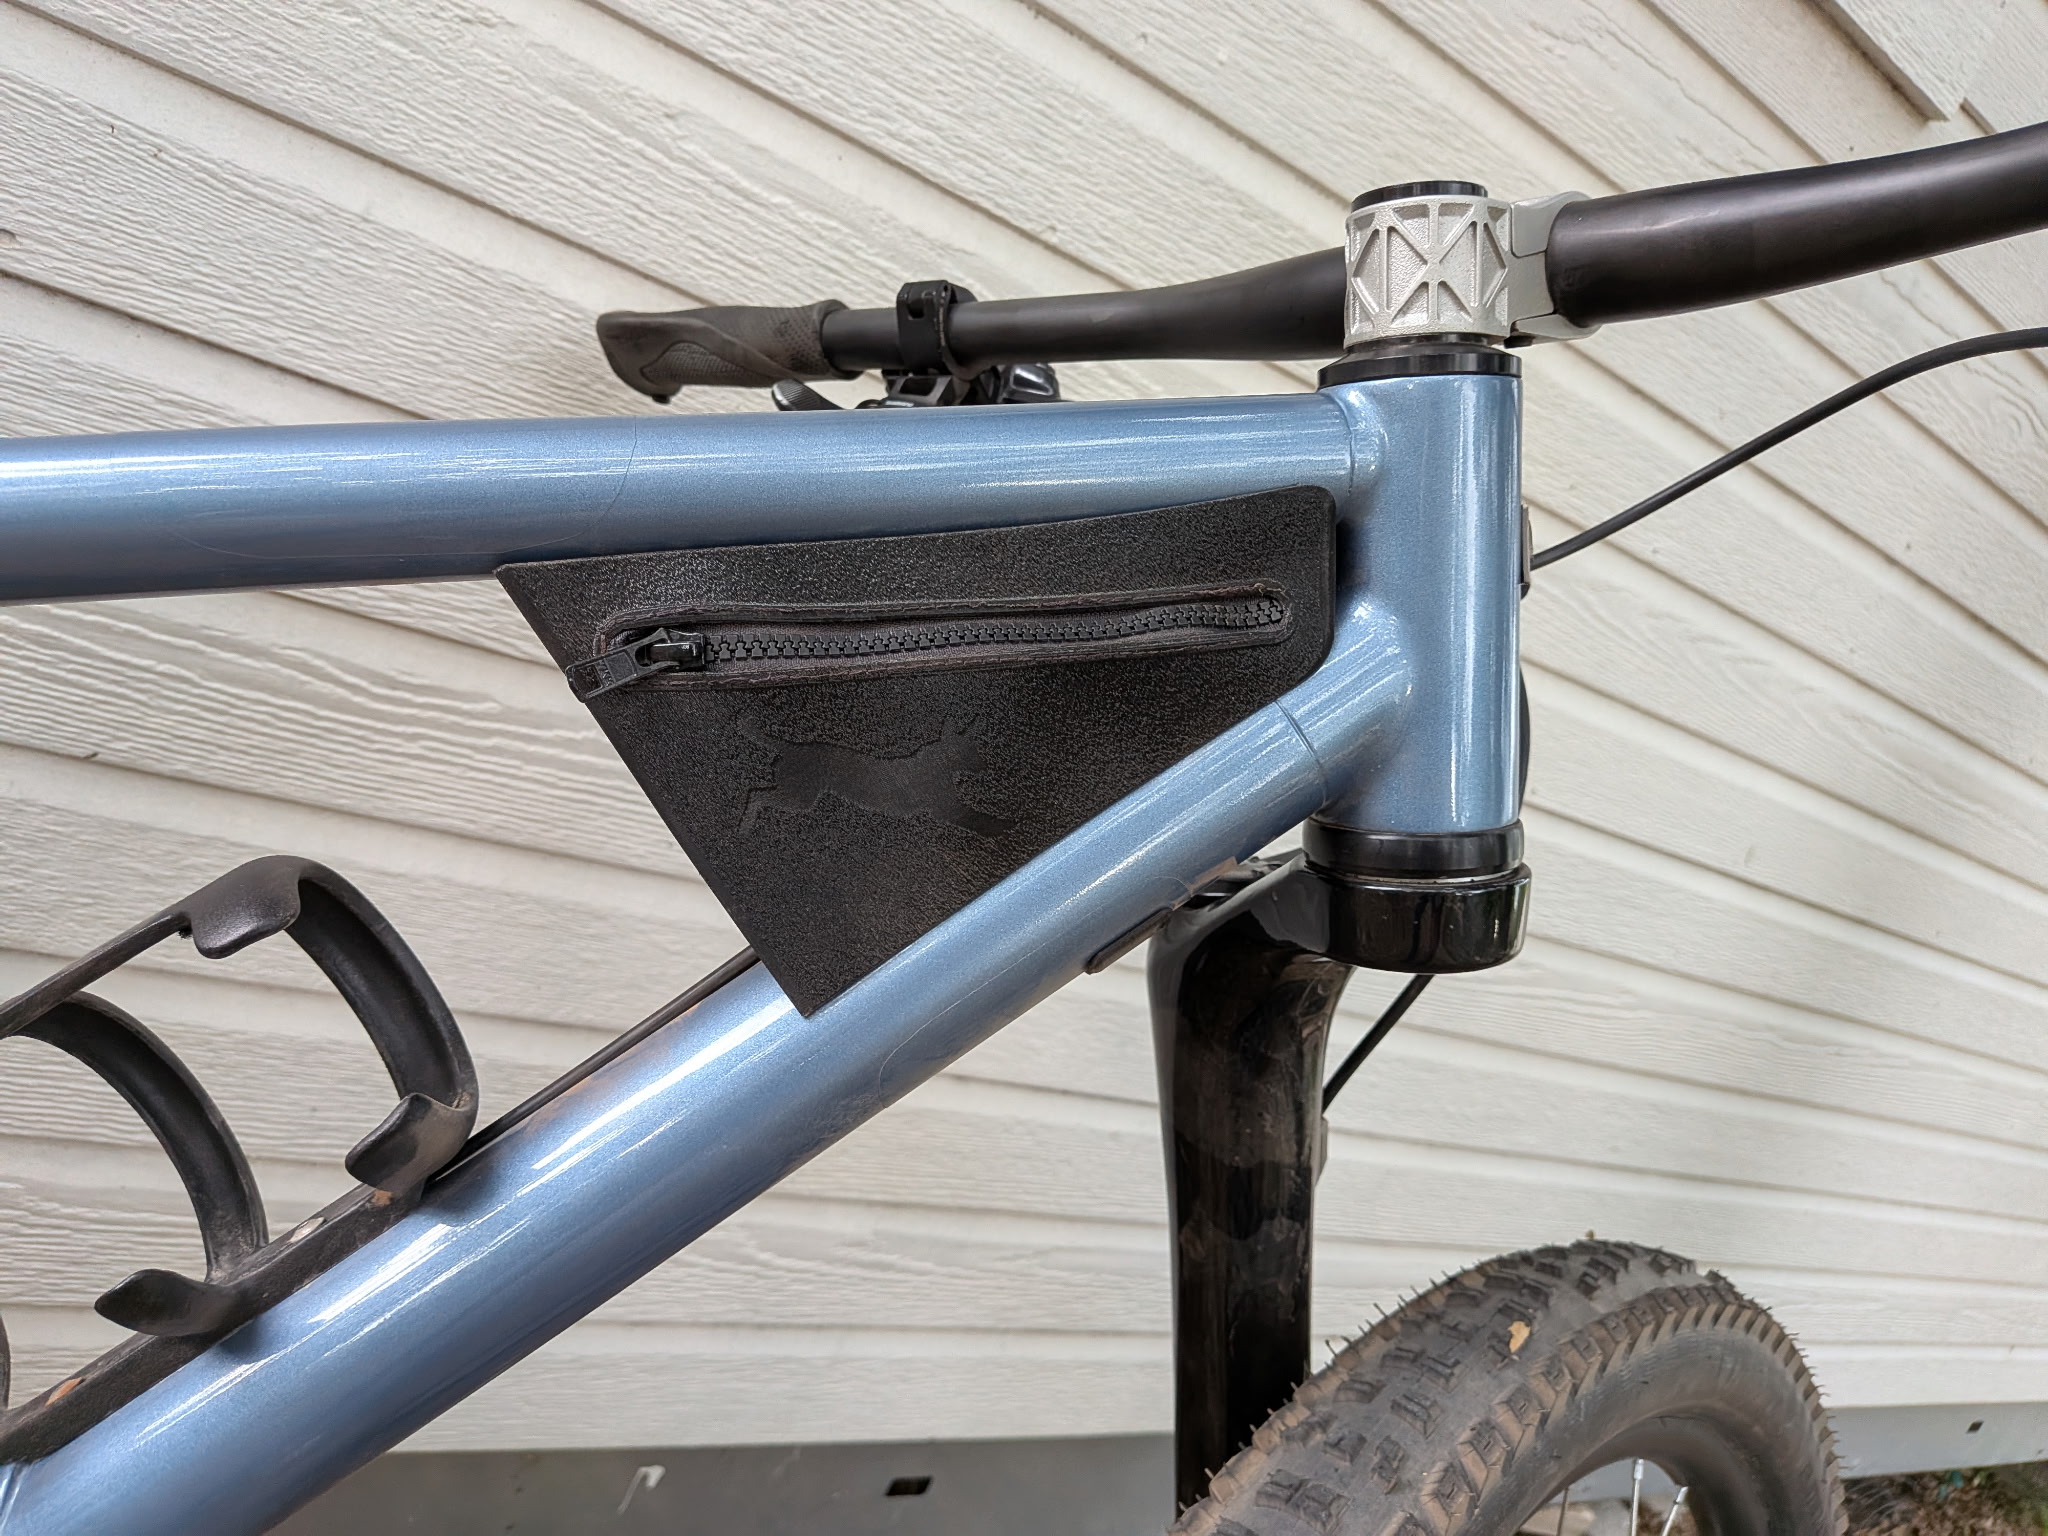
Here’s an ‘aero’ bag and rack I made for an extremely fast gravel rider. The bags sides and bottom are stiffened with a plastic sheet to hold it’s tear drop shap. The bag is mostly Challenge Ecopac, and the rack is all stainless.
It’s 3D printed on a deskop FFF machine (pursa) in TPU. The texture is intentional and called ‘fuzzy skin mode’. It seems to add some additional toughness to the material, and hides defects. My saddle is the same material and texture.
The bag is held onto the frame with some outdoor velcro and it seems to work great. I added recessed pockets to account for the thickness of the velcro. The zipper is a YKK #5 nylon, and was sewn in by a local shoe repair shop.
It’s is the largest bag I could manage while keeping 2 bottles in frame on a size “small’“. Just big enough for keys, a multi-tool, and some snacks.