Devlin Custom Cycles

Thought I’d jump in here and tell my story and then continue on with the build progress etc.

Bare with me. This may get long winded. :laughing:

My back ground career is as a design draftsman, mostly mining and power gen. My first job out of school was in a mchine shop making parts for electron microscopes, off all things. I did that for a year, then a drafting course for a year and then a four year drafting apprenticeship. That first machinist job was in 1990.

I started riding when I was 14 with mates from school. Even did cycling as a school sport, which was unheard off in Australia at the time. Started racing almost straight away and won my second race in C grade against heaps of much older guys. Unfortunately wins were few and far bewteen as I didn’t have a good racing head and spent way too much energy early on. I am far better at it these days but alas the body has decided it wants to retire. :laughing:

I have always wanted to build bikes but in Australia in the past it has been a very difficult field to get into with the plethora of framebuilders we had in Australia in the 80’s dwindling down to just a handful by the mid 90’s. Now though we have a strong, although still small scene, that has a great depth of talent and diversity with a few of the builders arguably among the best in the world at what they do. It certainly gives one something to aspire to in pursuit of this game.

Building bikes! After growing up and working mostly in Sydney. I found myself in Brisbane around 2006 and almost stumbling on the old email forum and then the Frameforum that Neil in England ran. I was able to delve into the knowledge base and started to pester Dazza at Llewellyn Custom eventually building my first lugged road frame mid 2014. This was quickly followed by a track frame, which I still haven’t built a fork for, lol.

Then life took a detour. Seperation, cancer diagnosis and job redundancy with in the space of 9 months left me reeling and in desperation put a call out build if anyone wanted a frame built so I could earn some money. Some would call it brave, fool hardy even with only two frames built but desperation can cloud the thinking at times. Fortunately I pulled it off with two orders and one frame built straight away, for a 6’8" dude!..and I was on my way.

Now in Australia selling custom bikes when you are a relative new comer is very hard. Working out how to market yourself, having space to build, figuring out where to get materials and supplies for a niche industry is hard and expensive. It’s taken a long time to establish myself. I’ve tried doing it as a side hustle, working in a bike shop as a mechanic for a few years. Then covid hit and I was out of work again so tried to do it full time. You’d think that would have been perfect timing but alas, the orders still only trickled in. I’m now back working part time as a draftsman and part time as a builder. The starving artist thing has a limited lifetime.

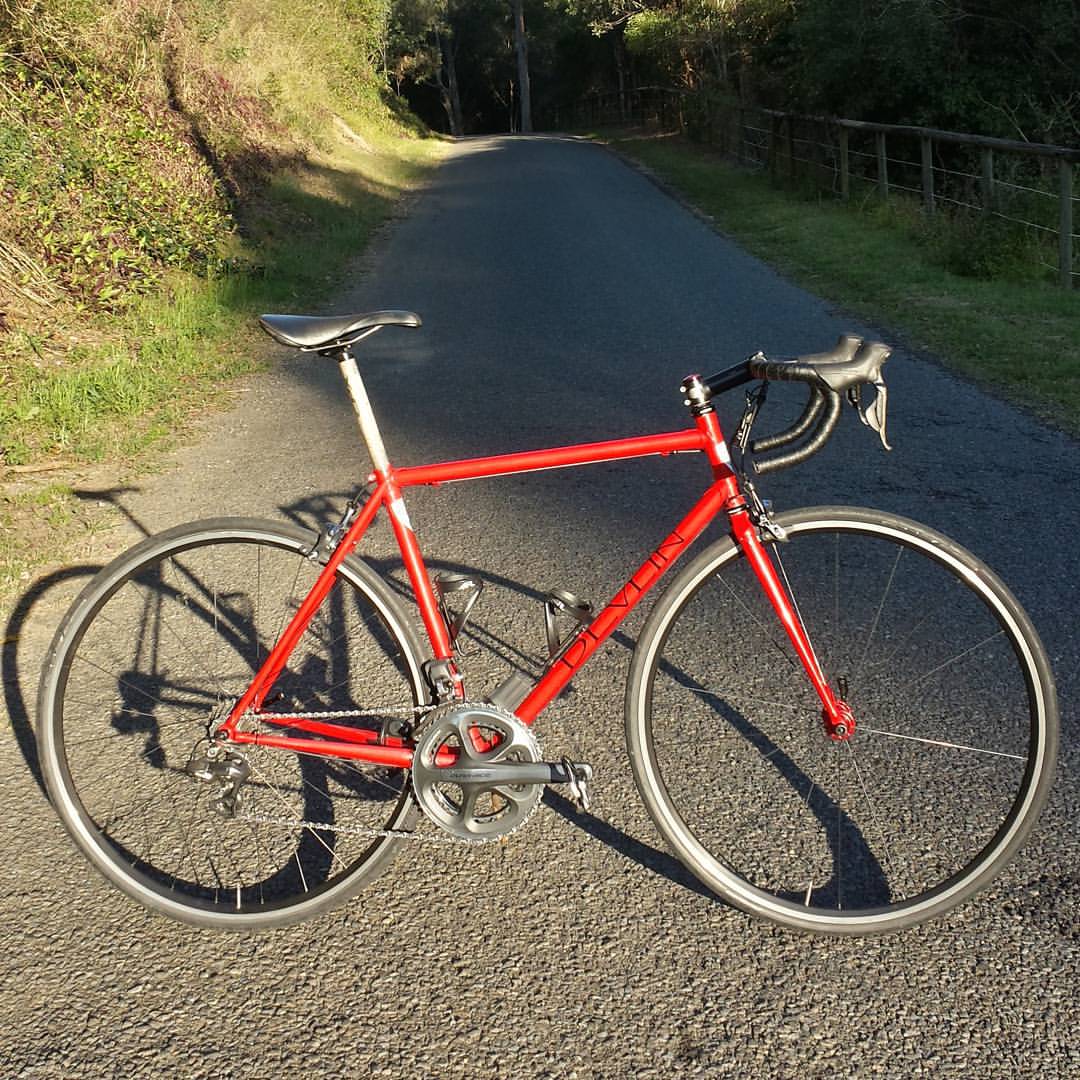
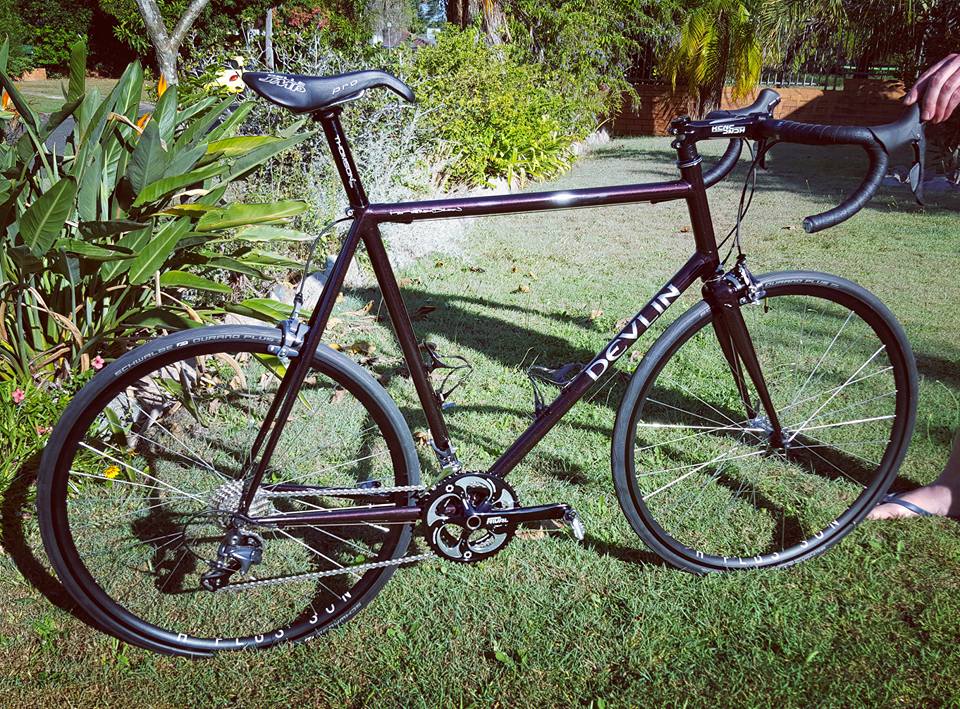
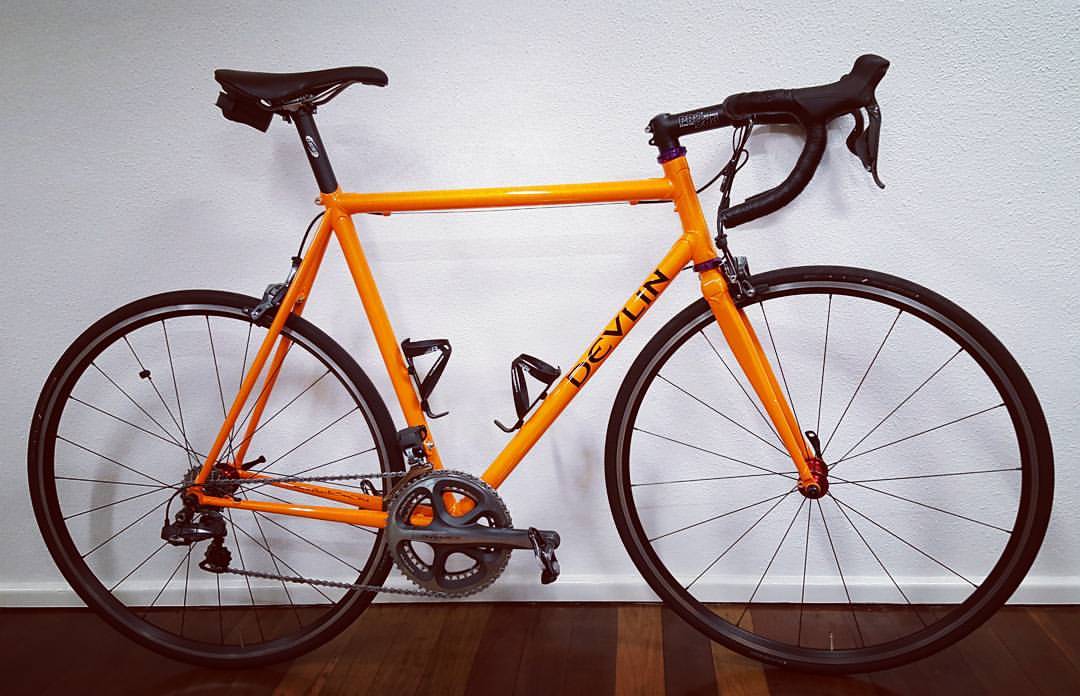
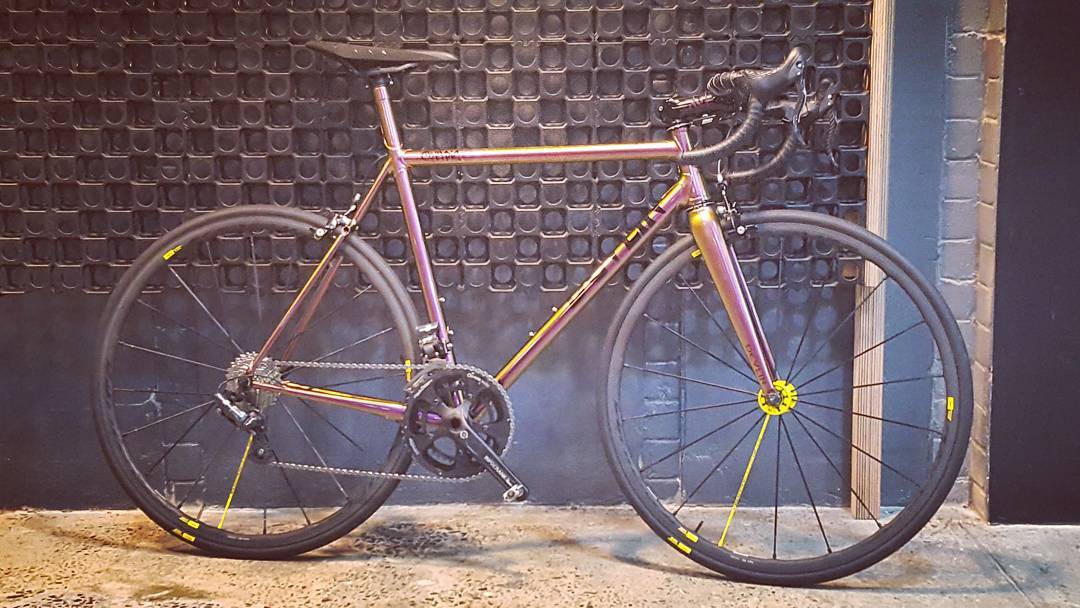
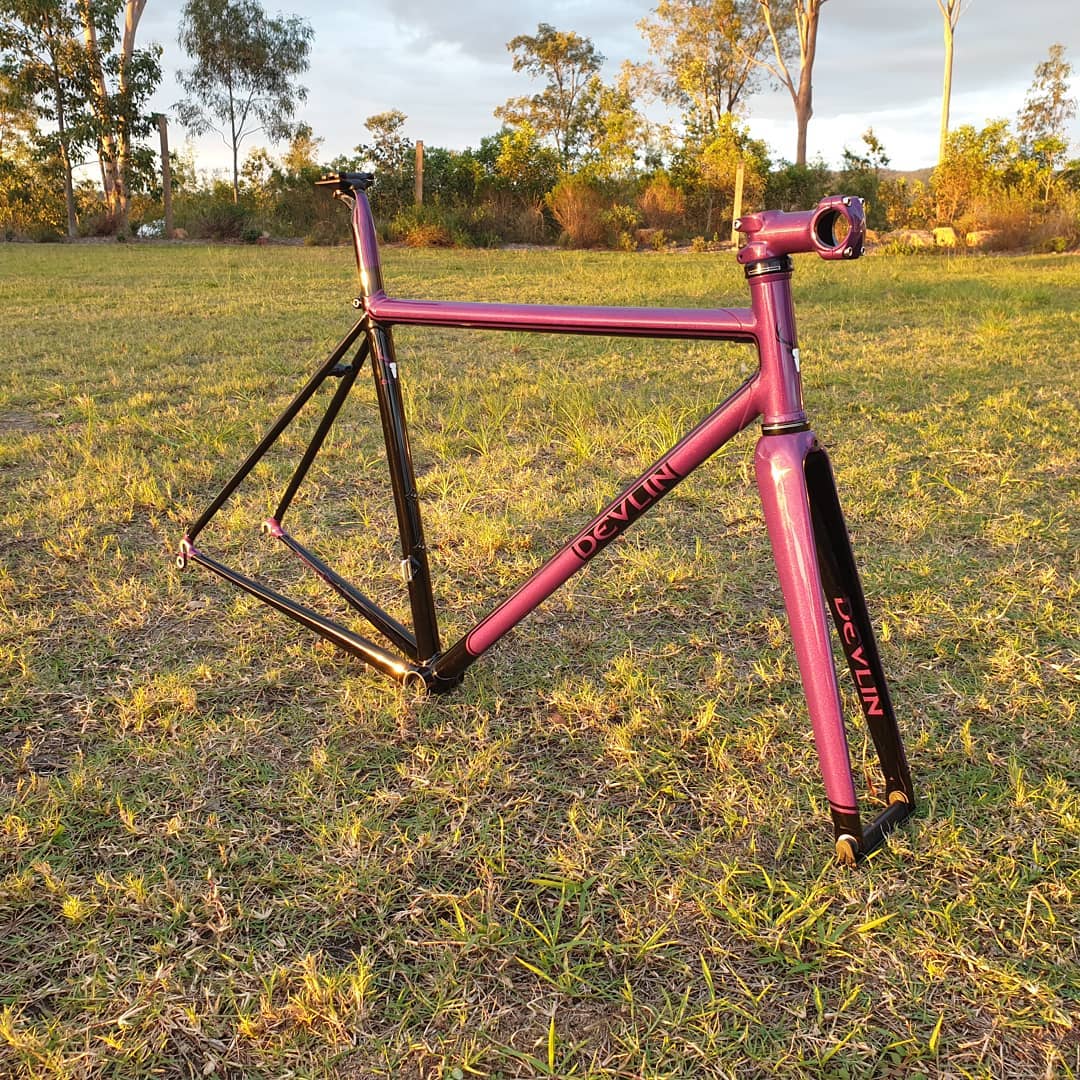
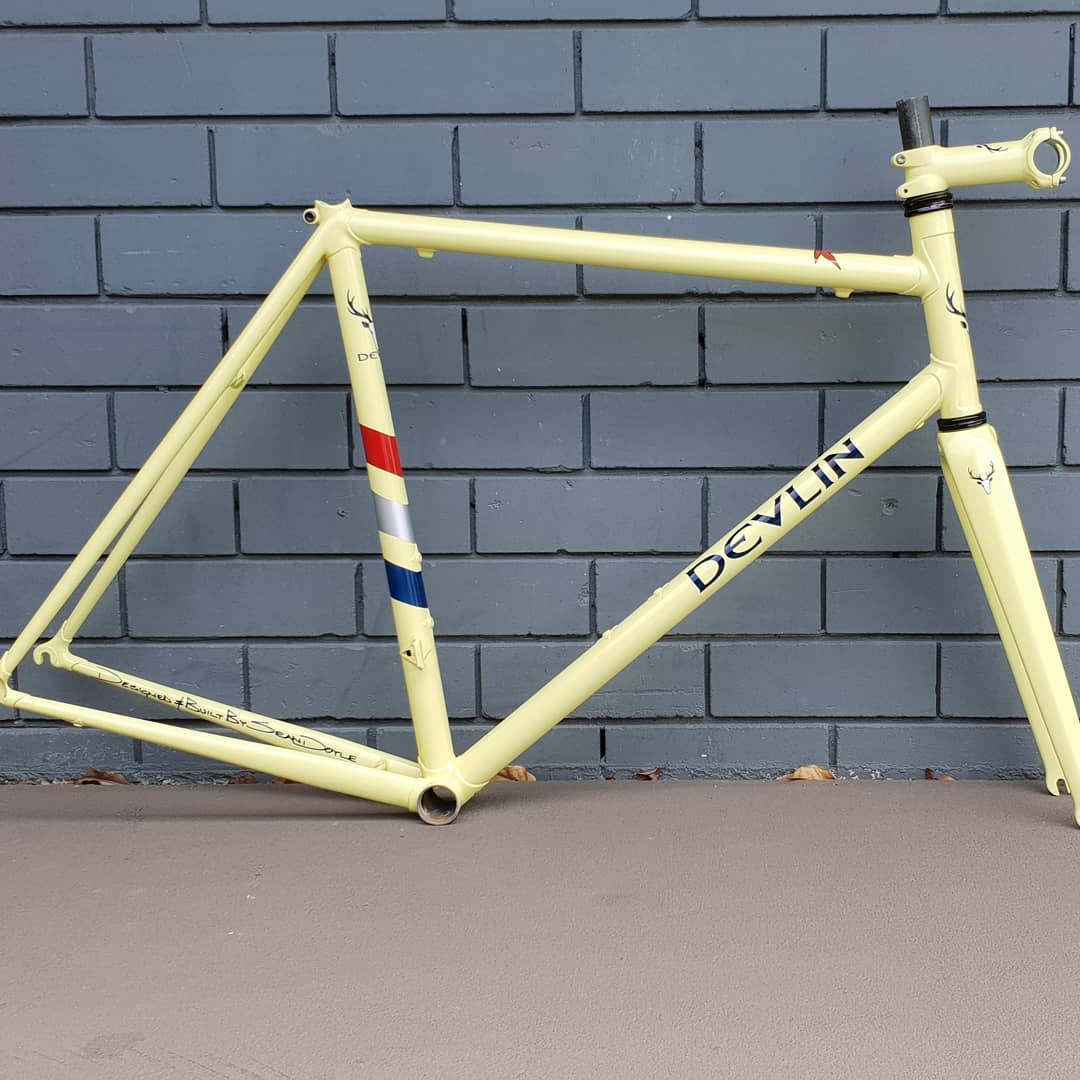
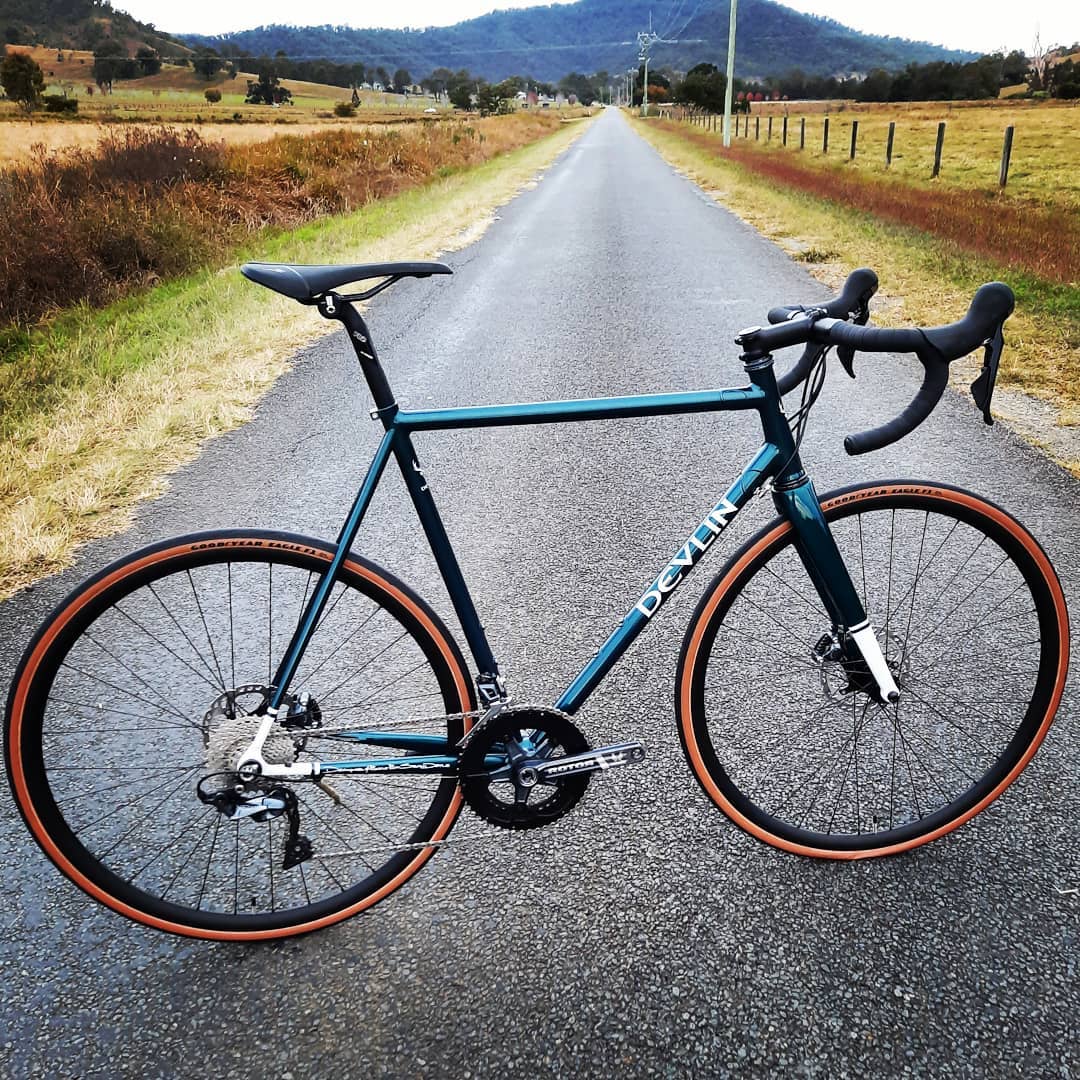
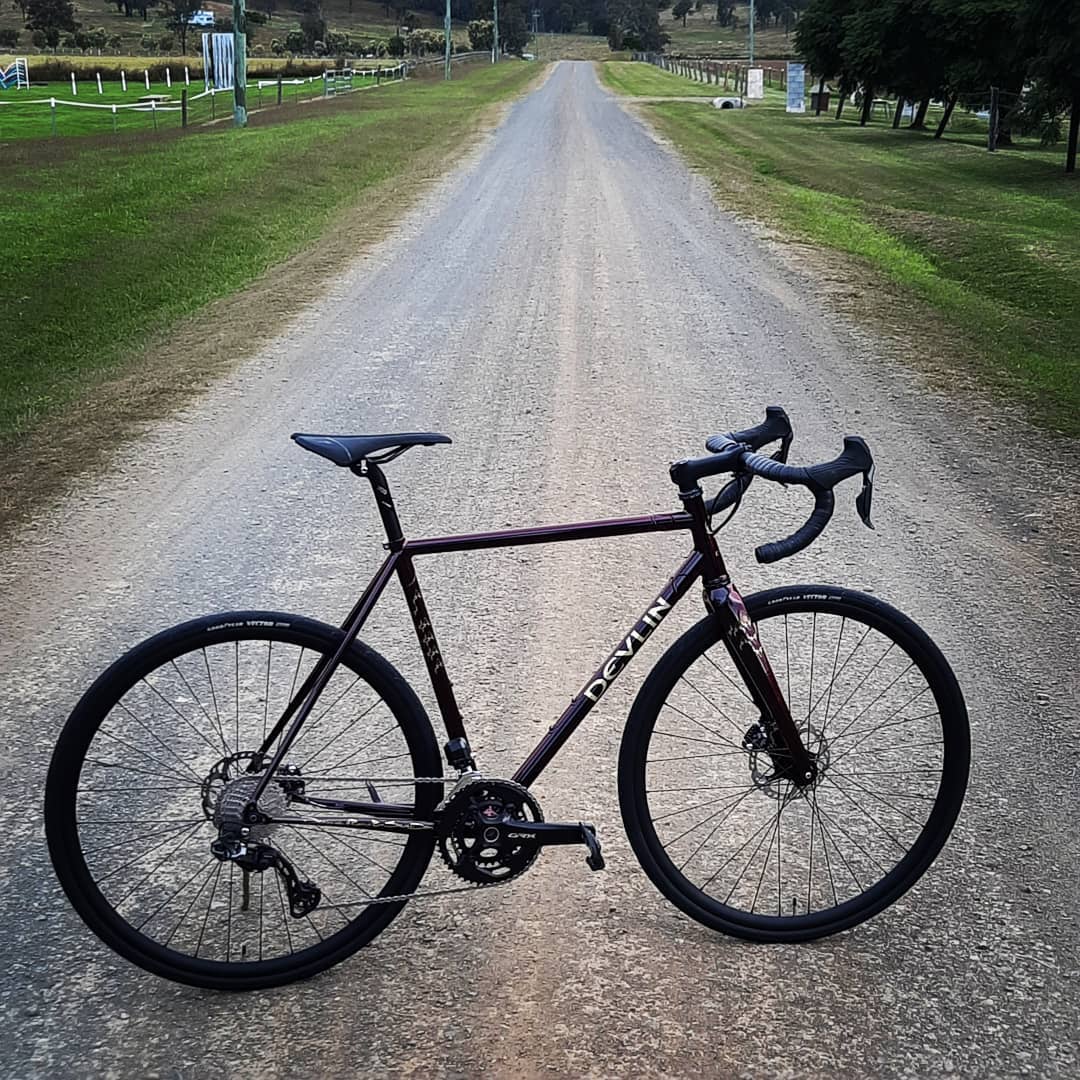
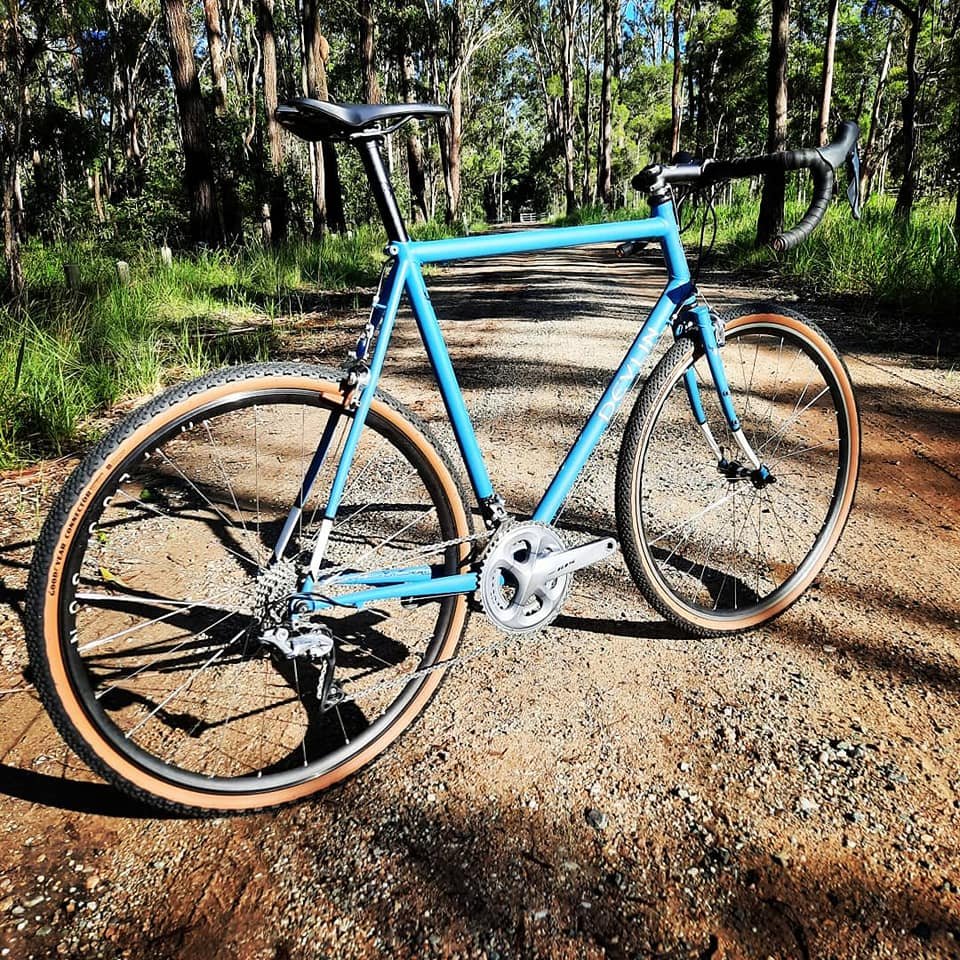
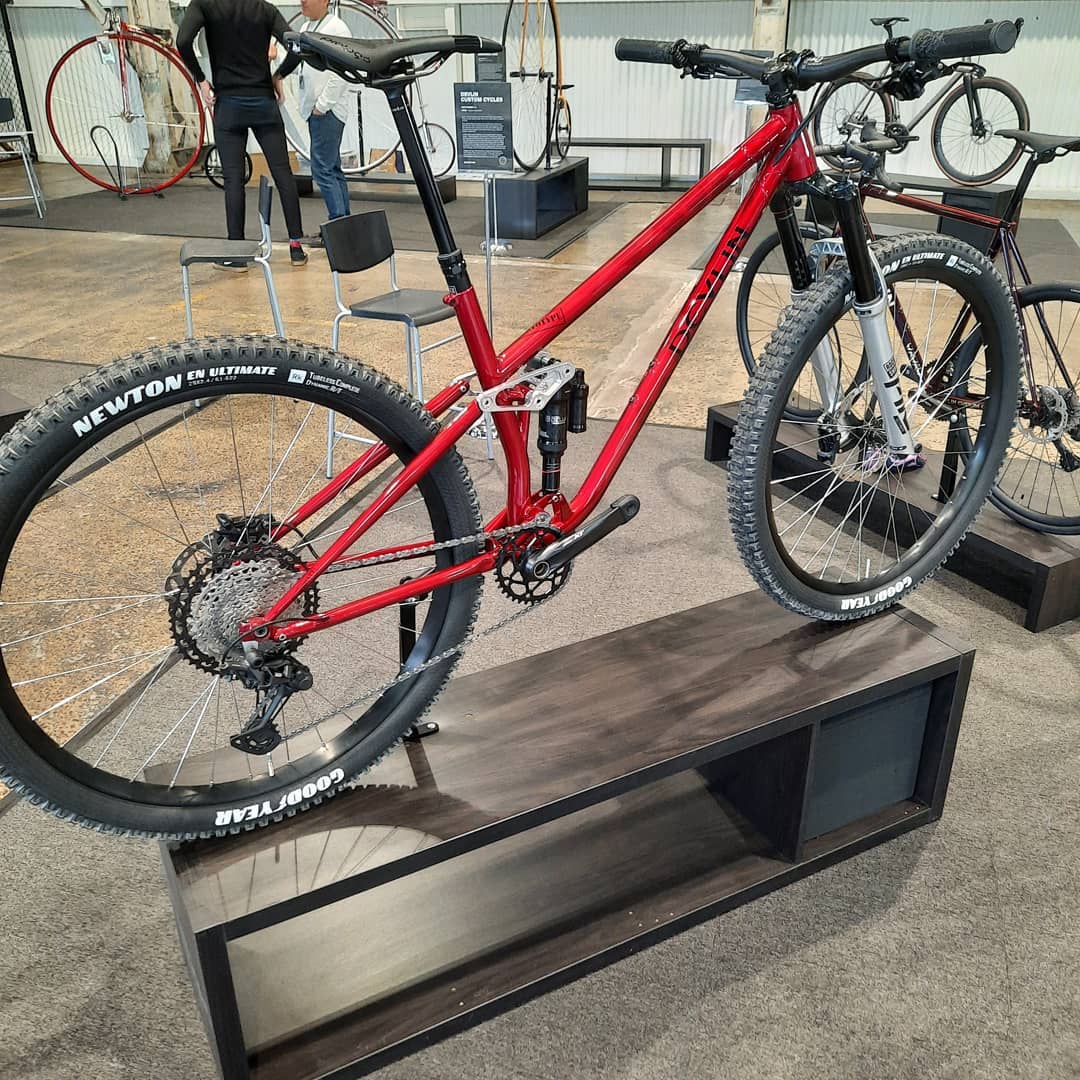
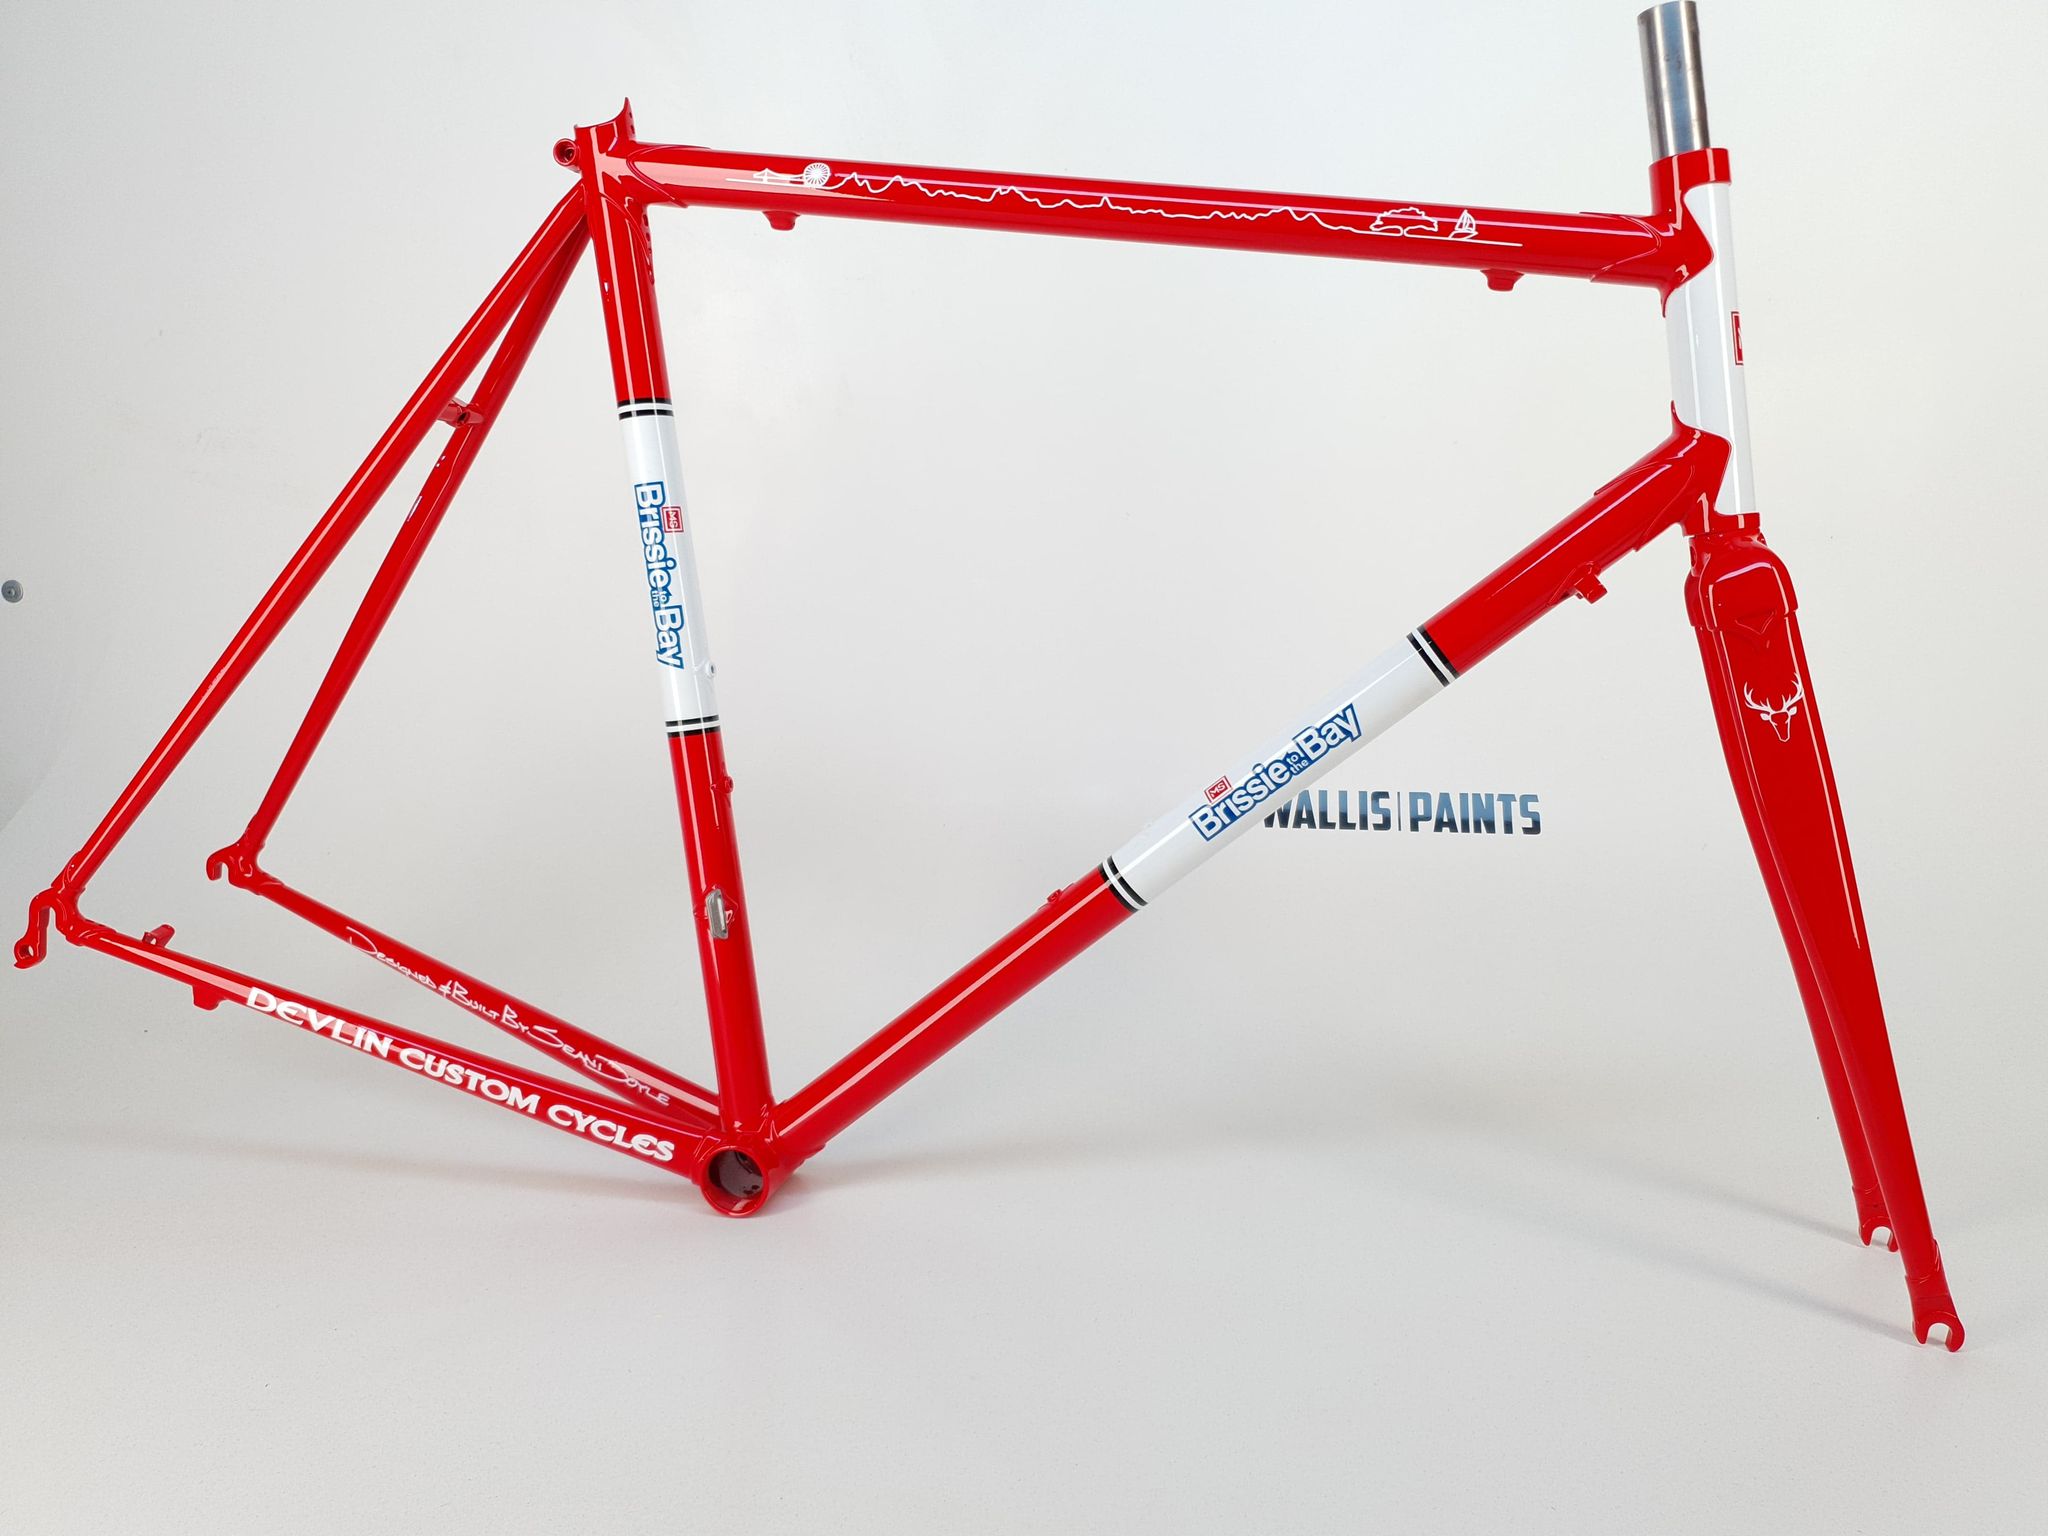
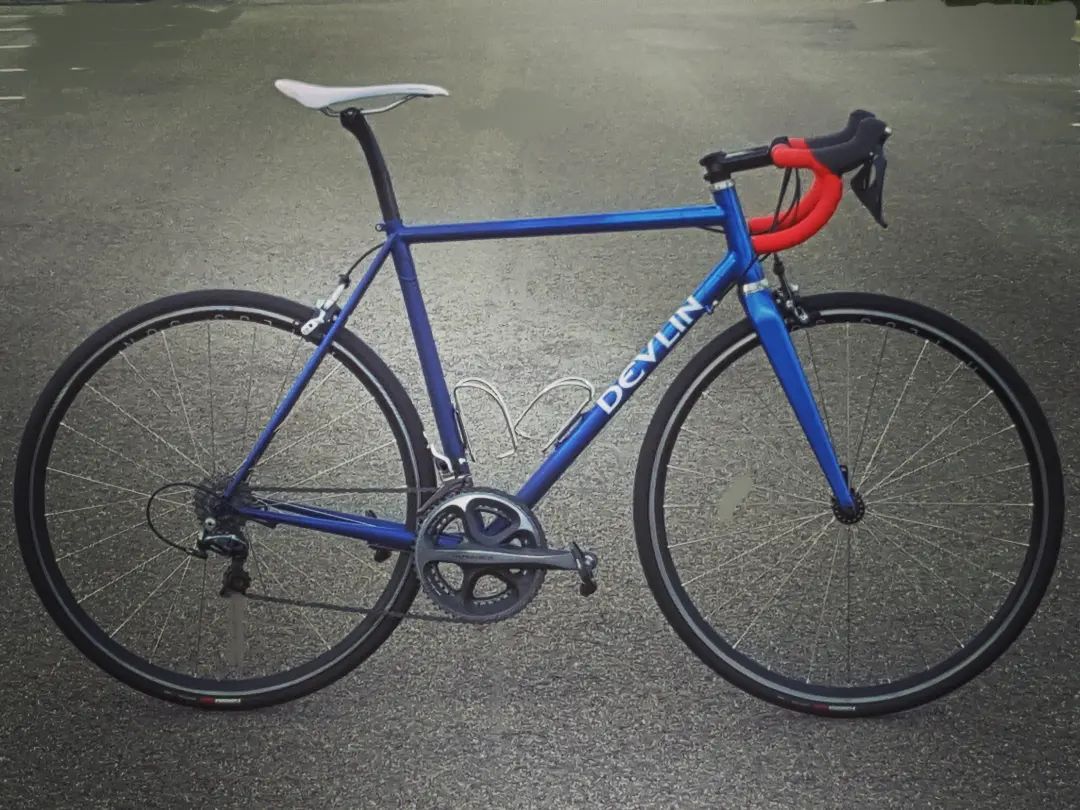
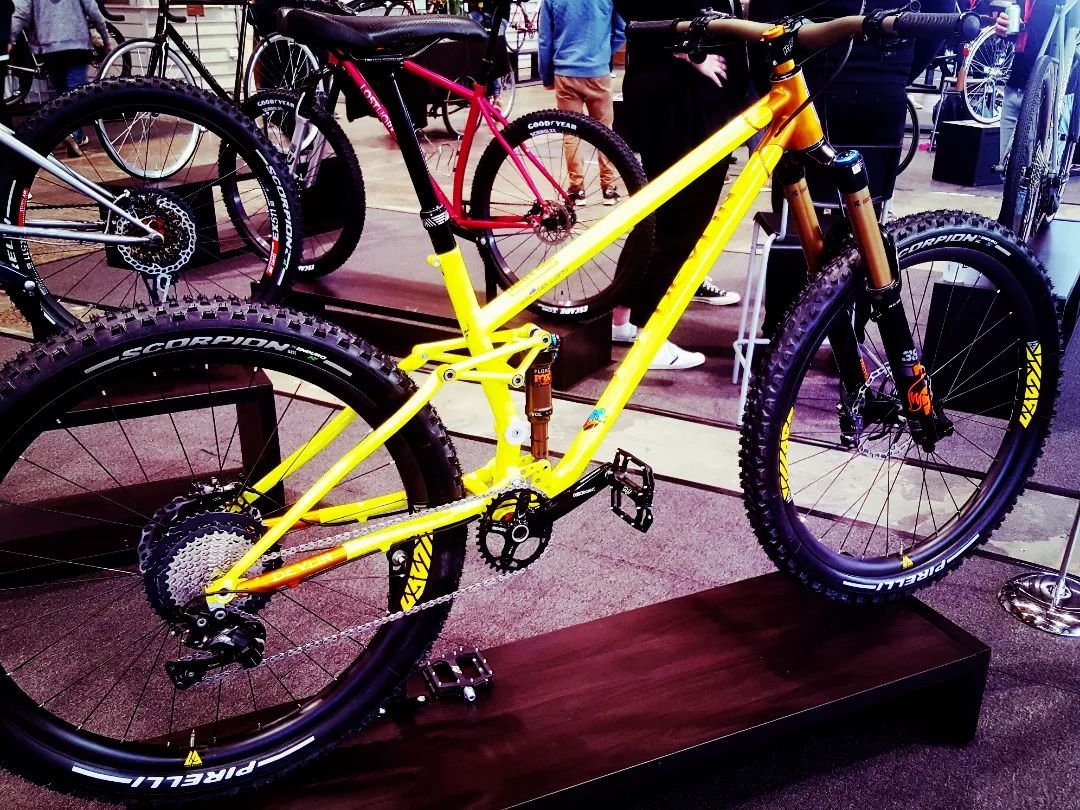
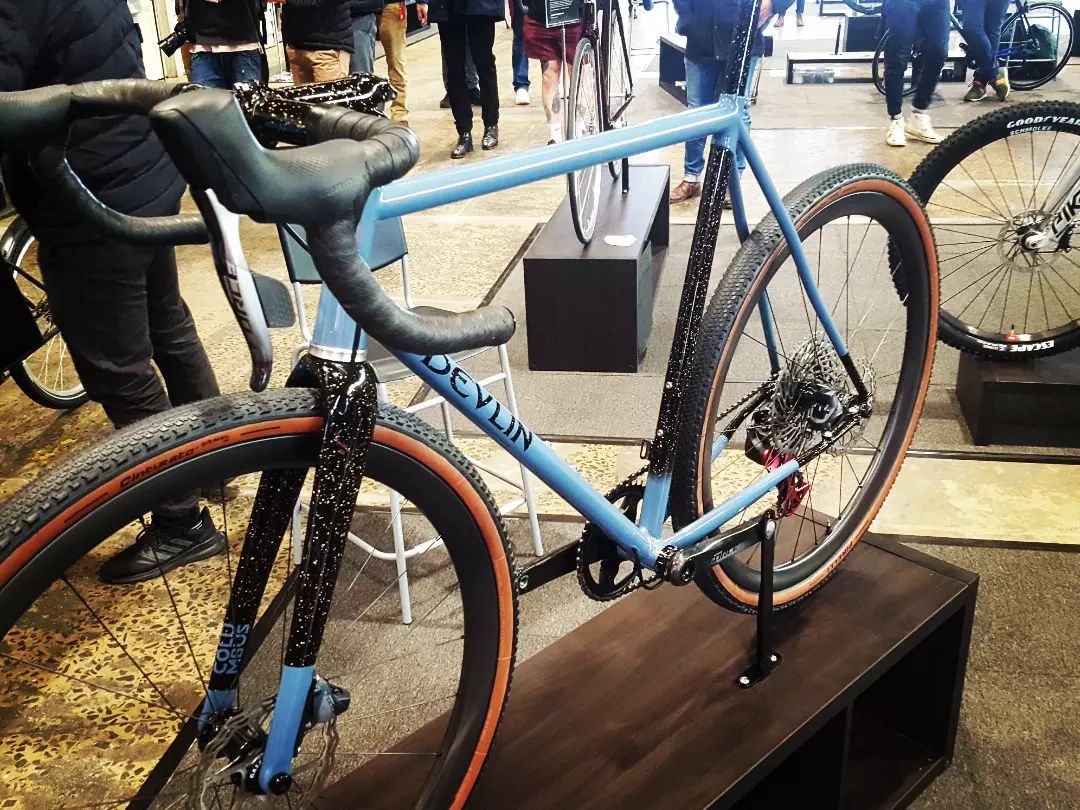
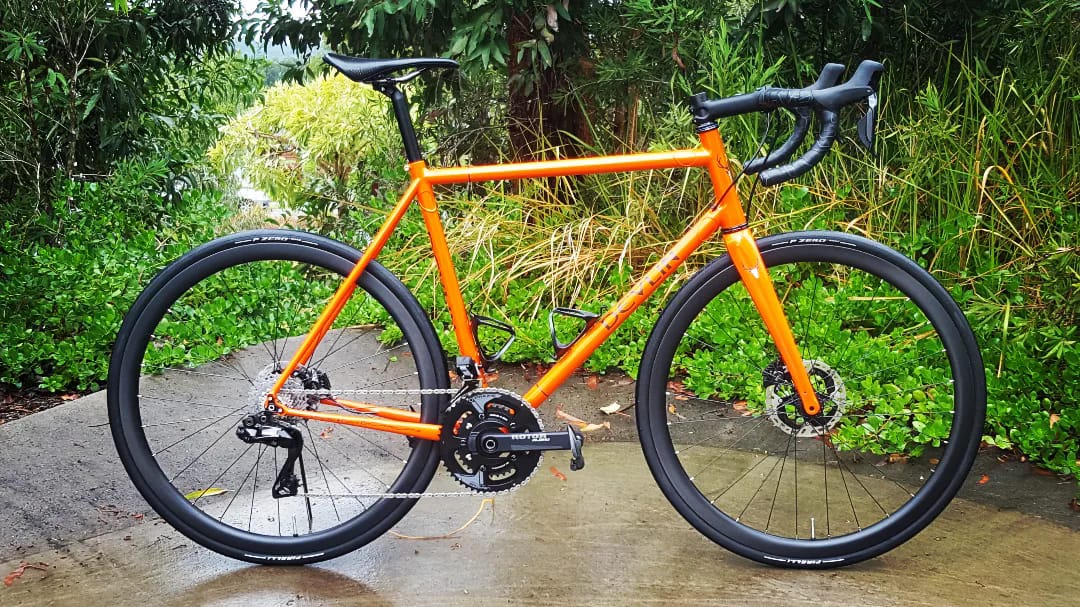
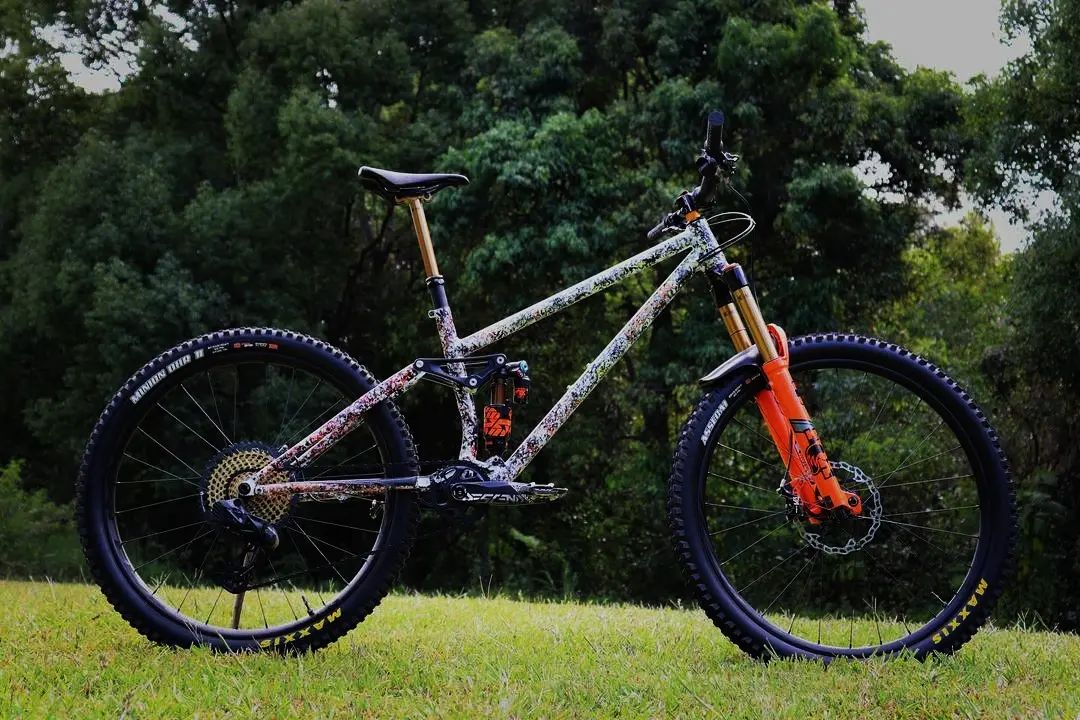
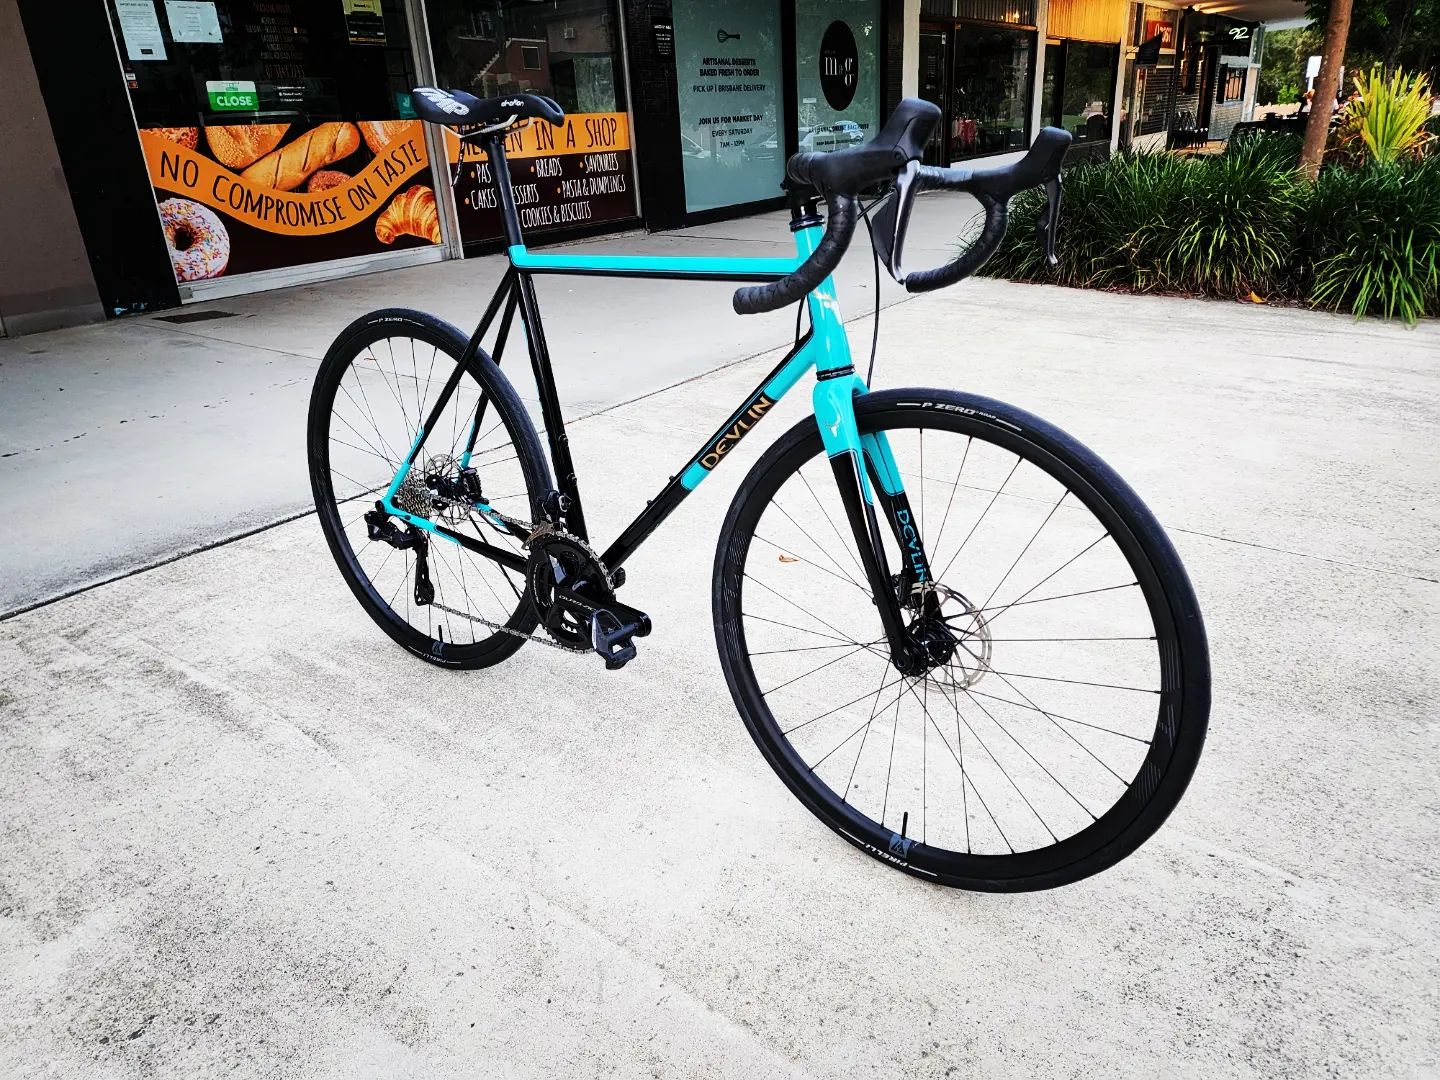
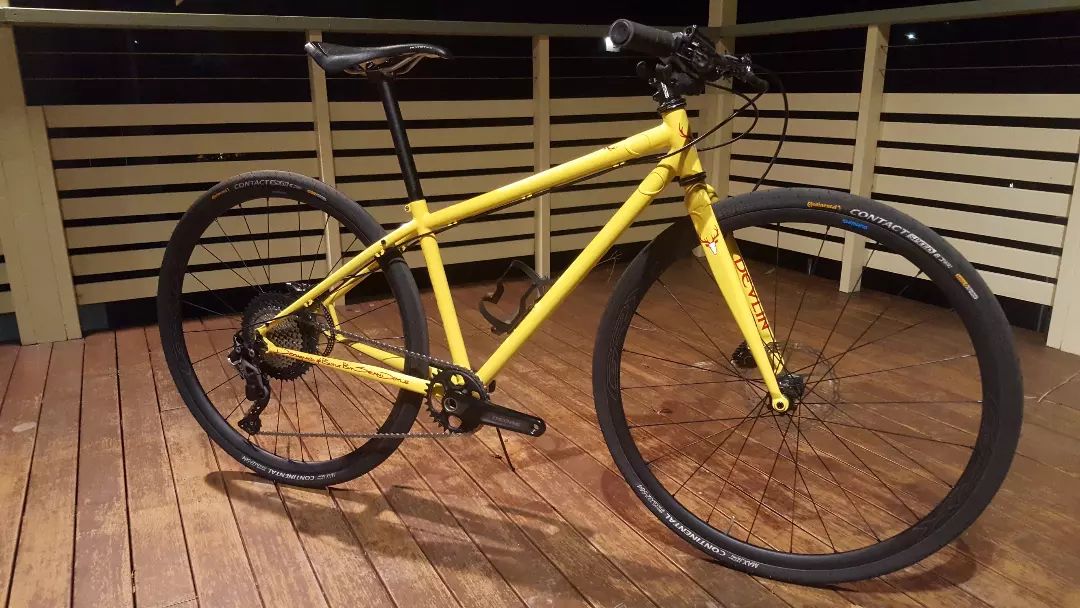
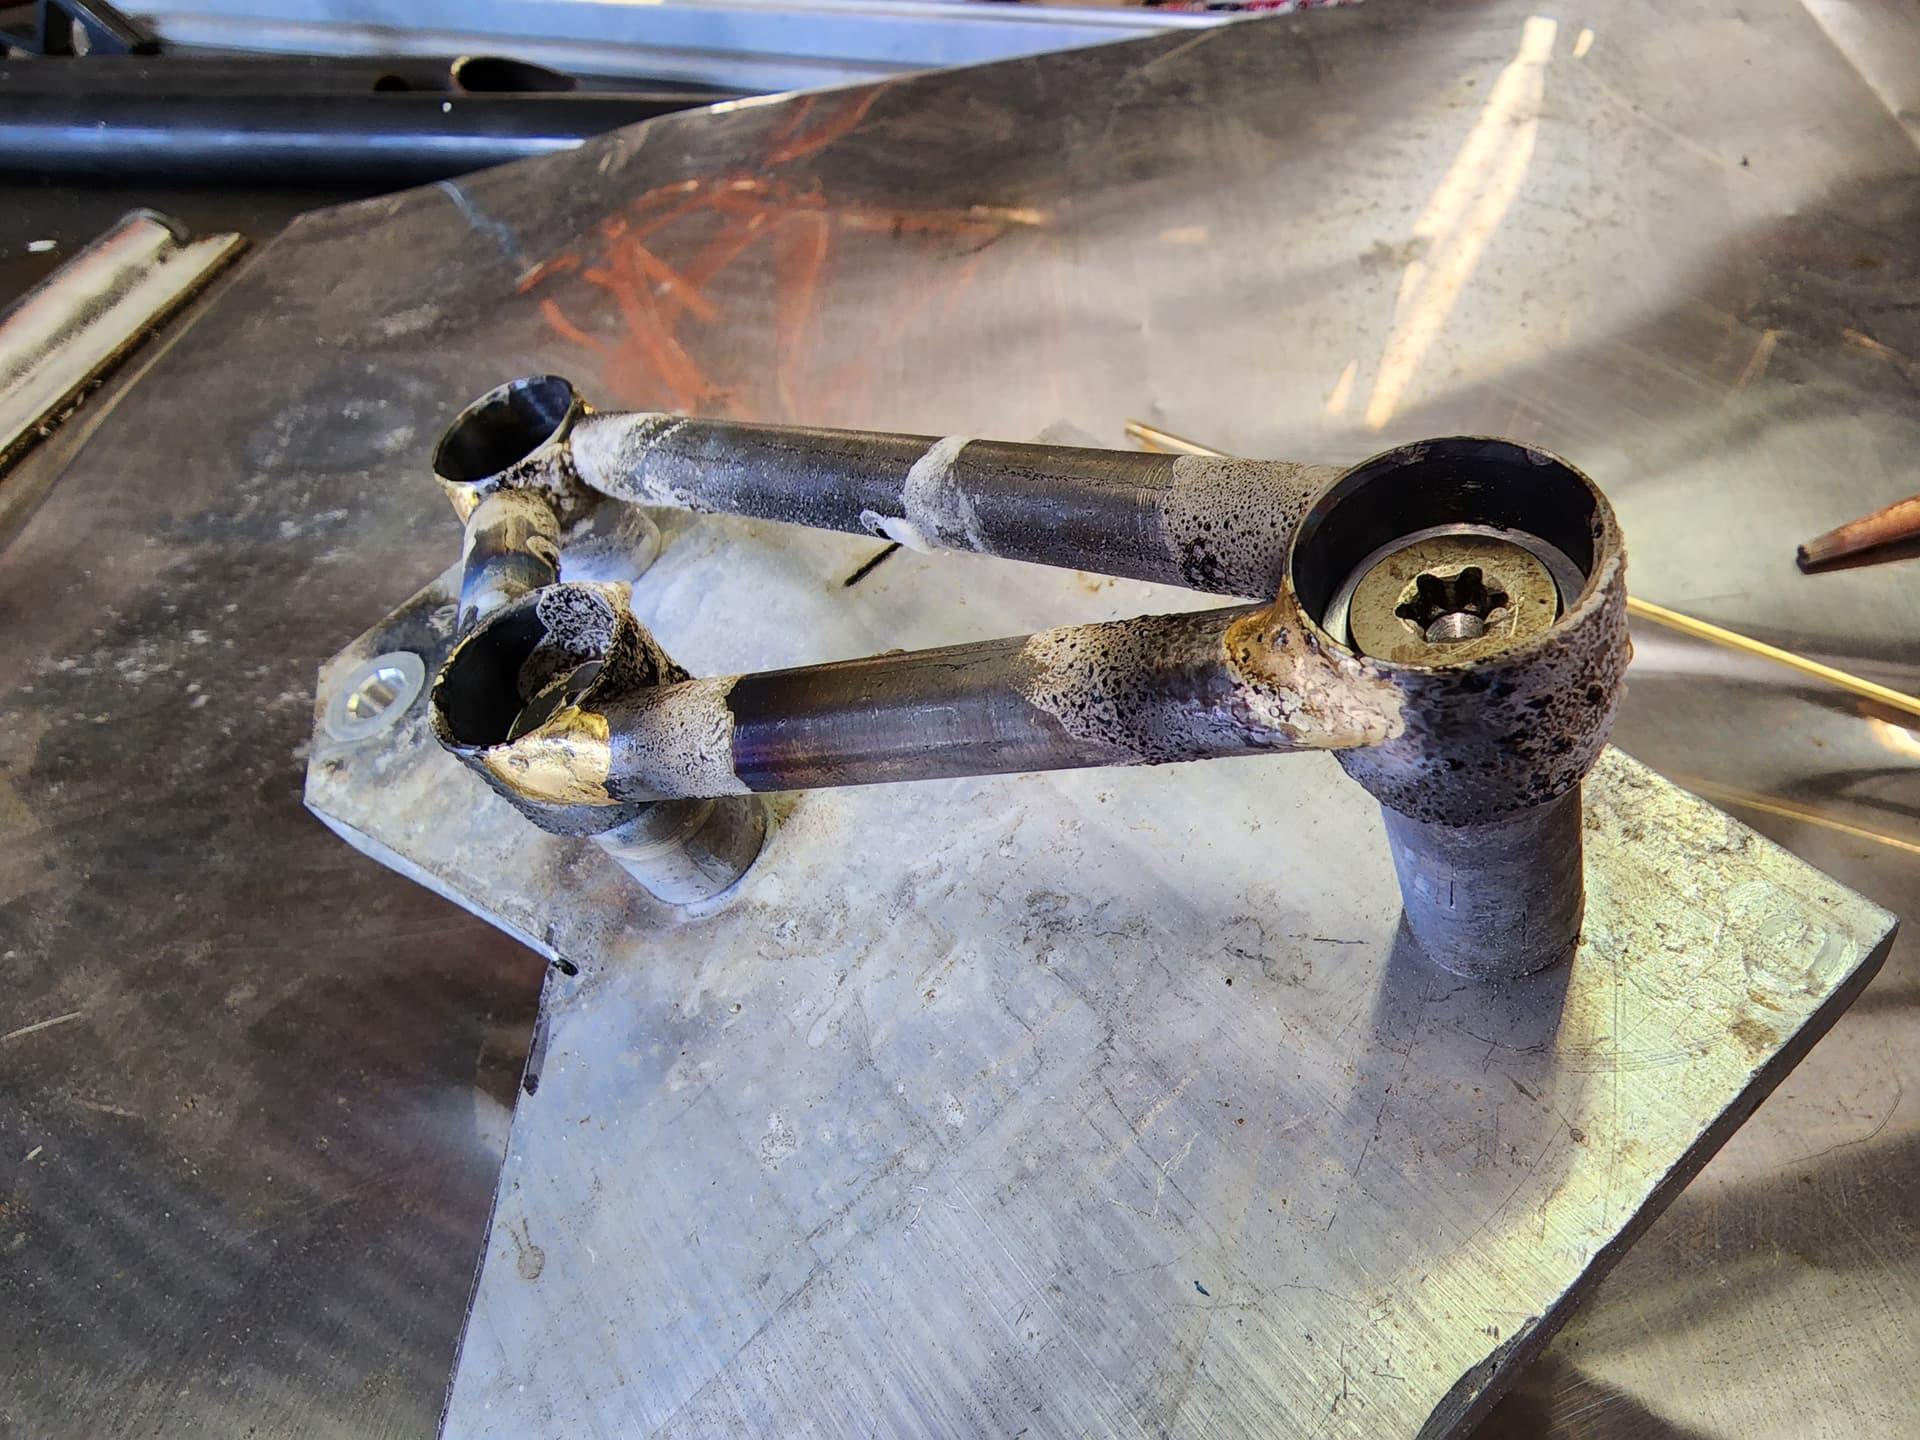
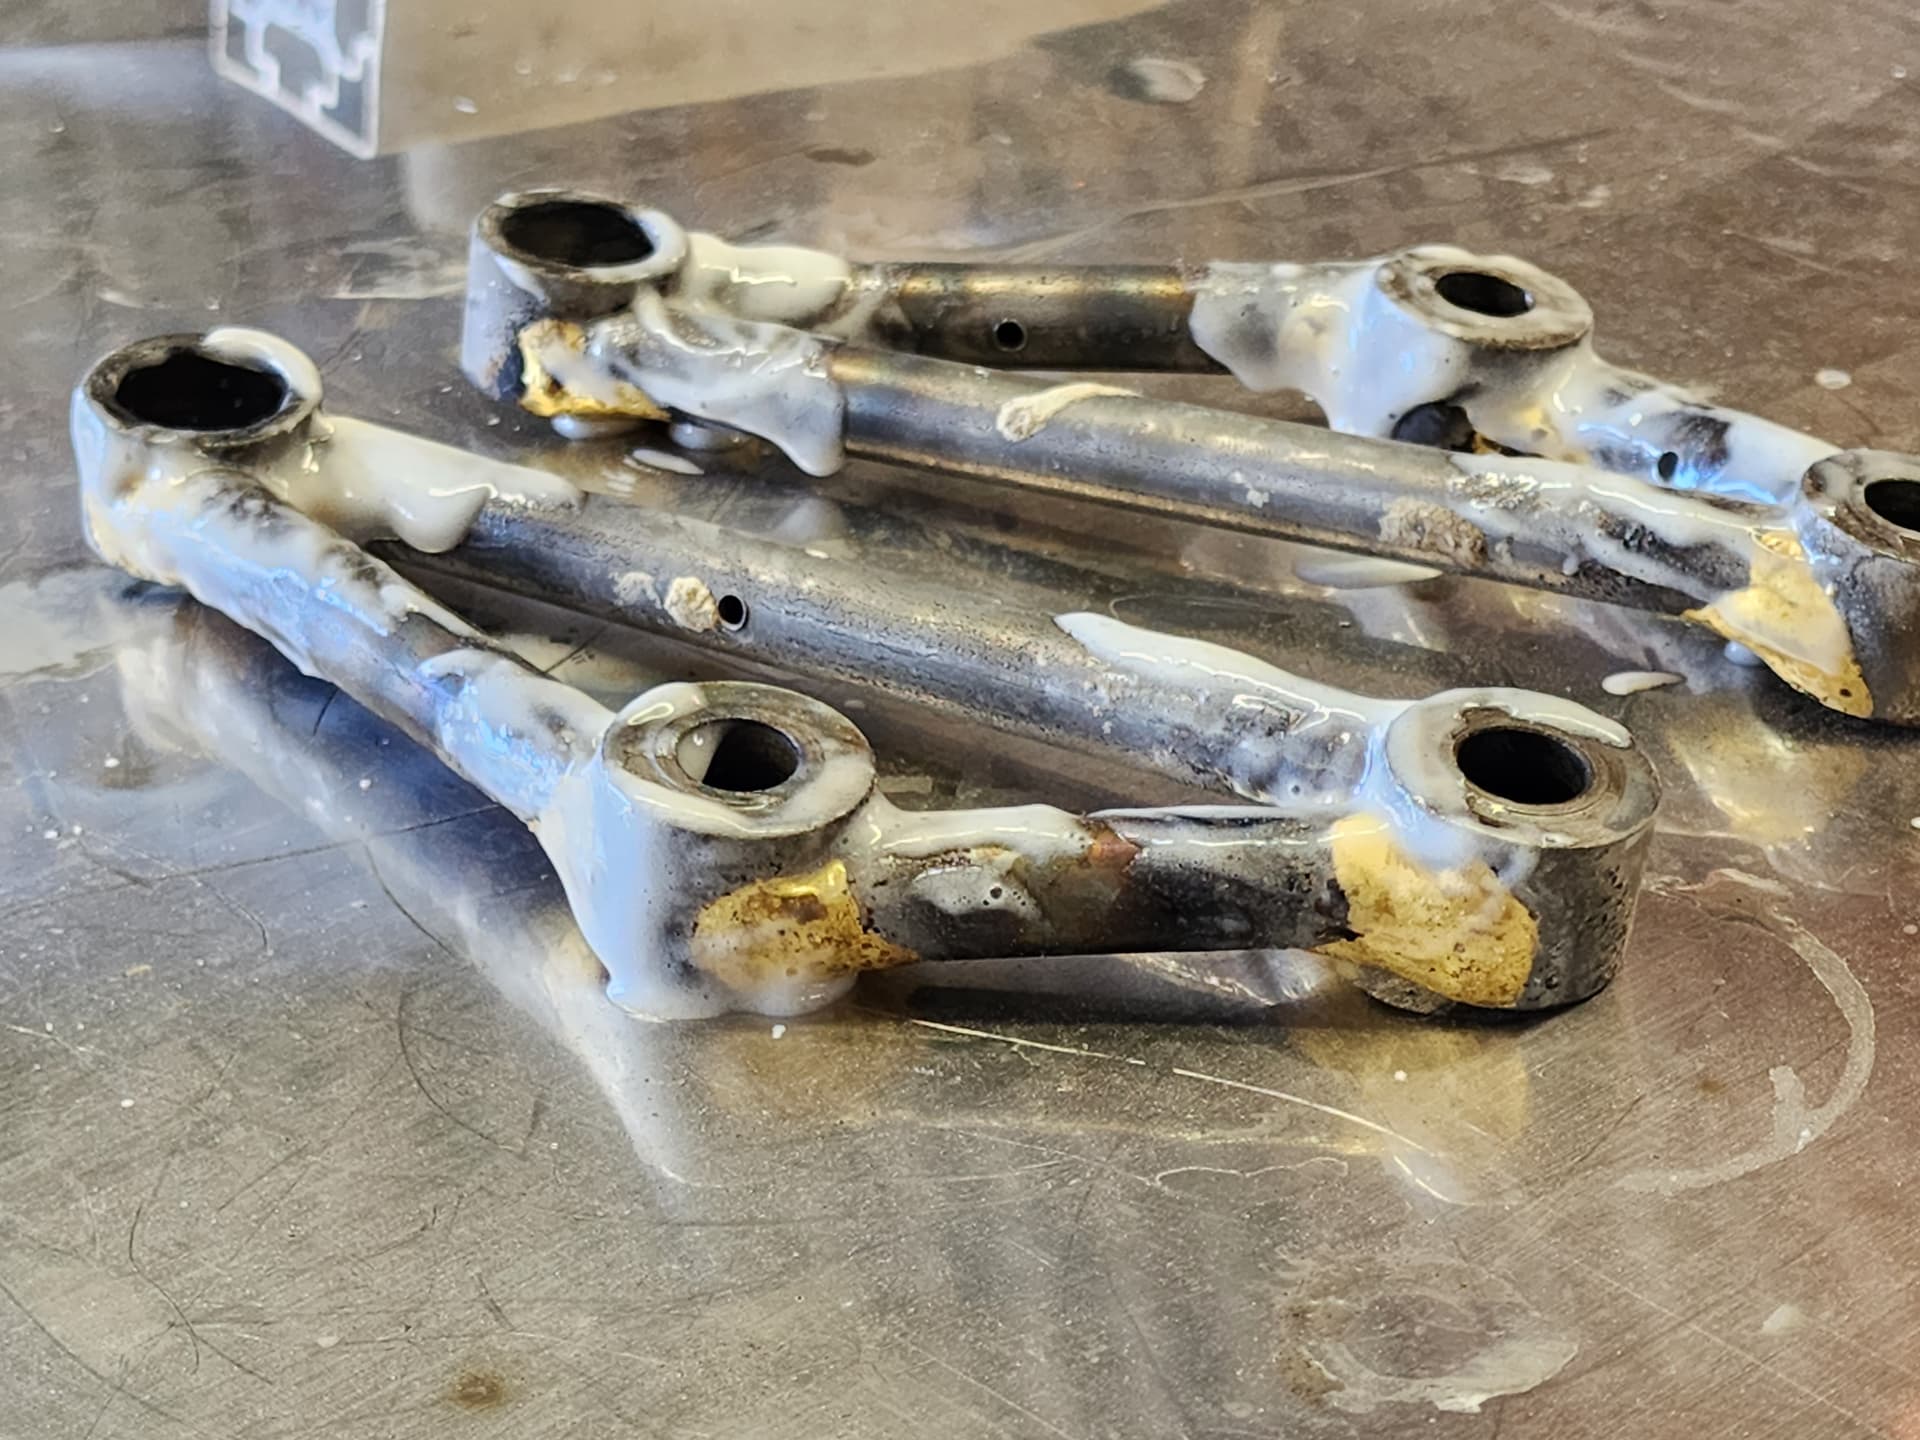
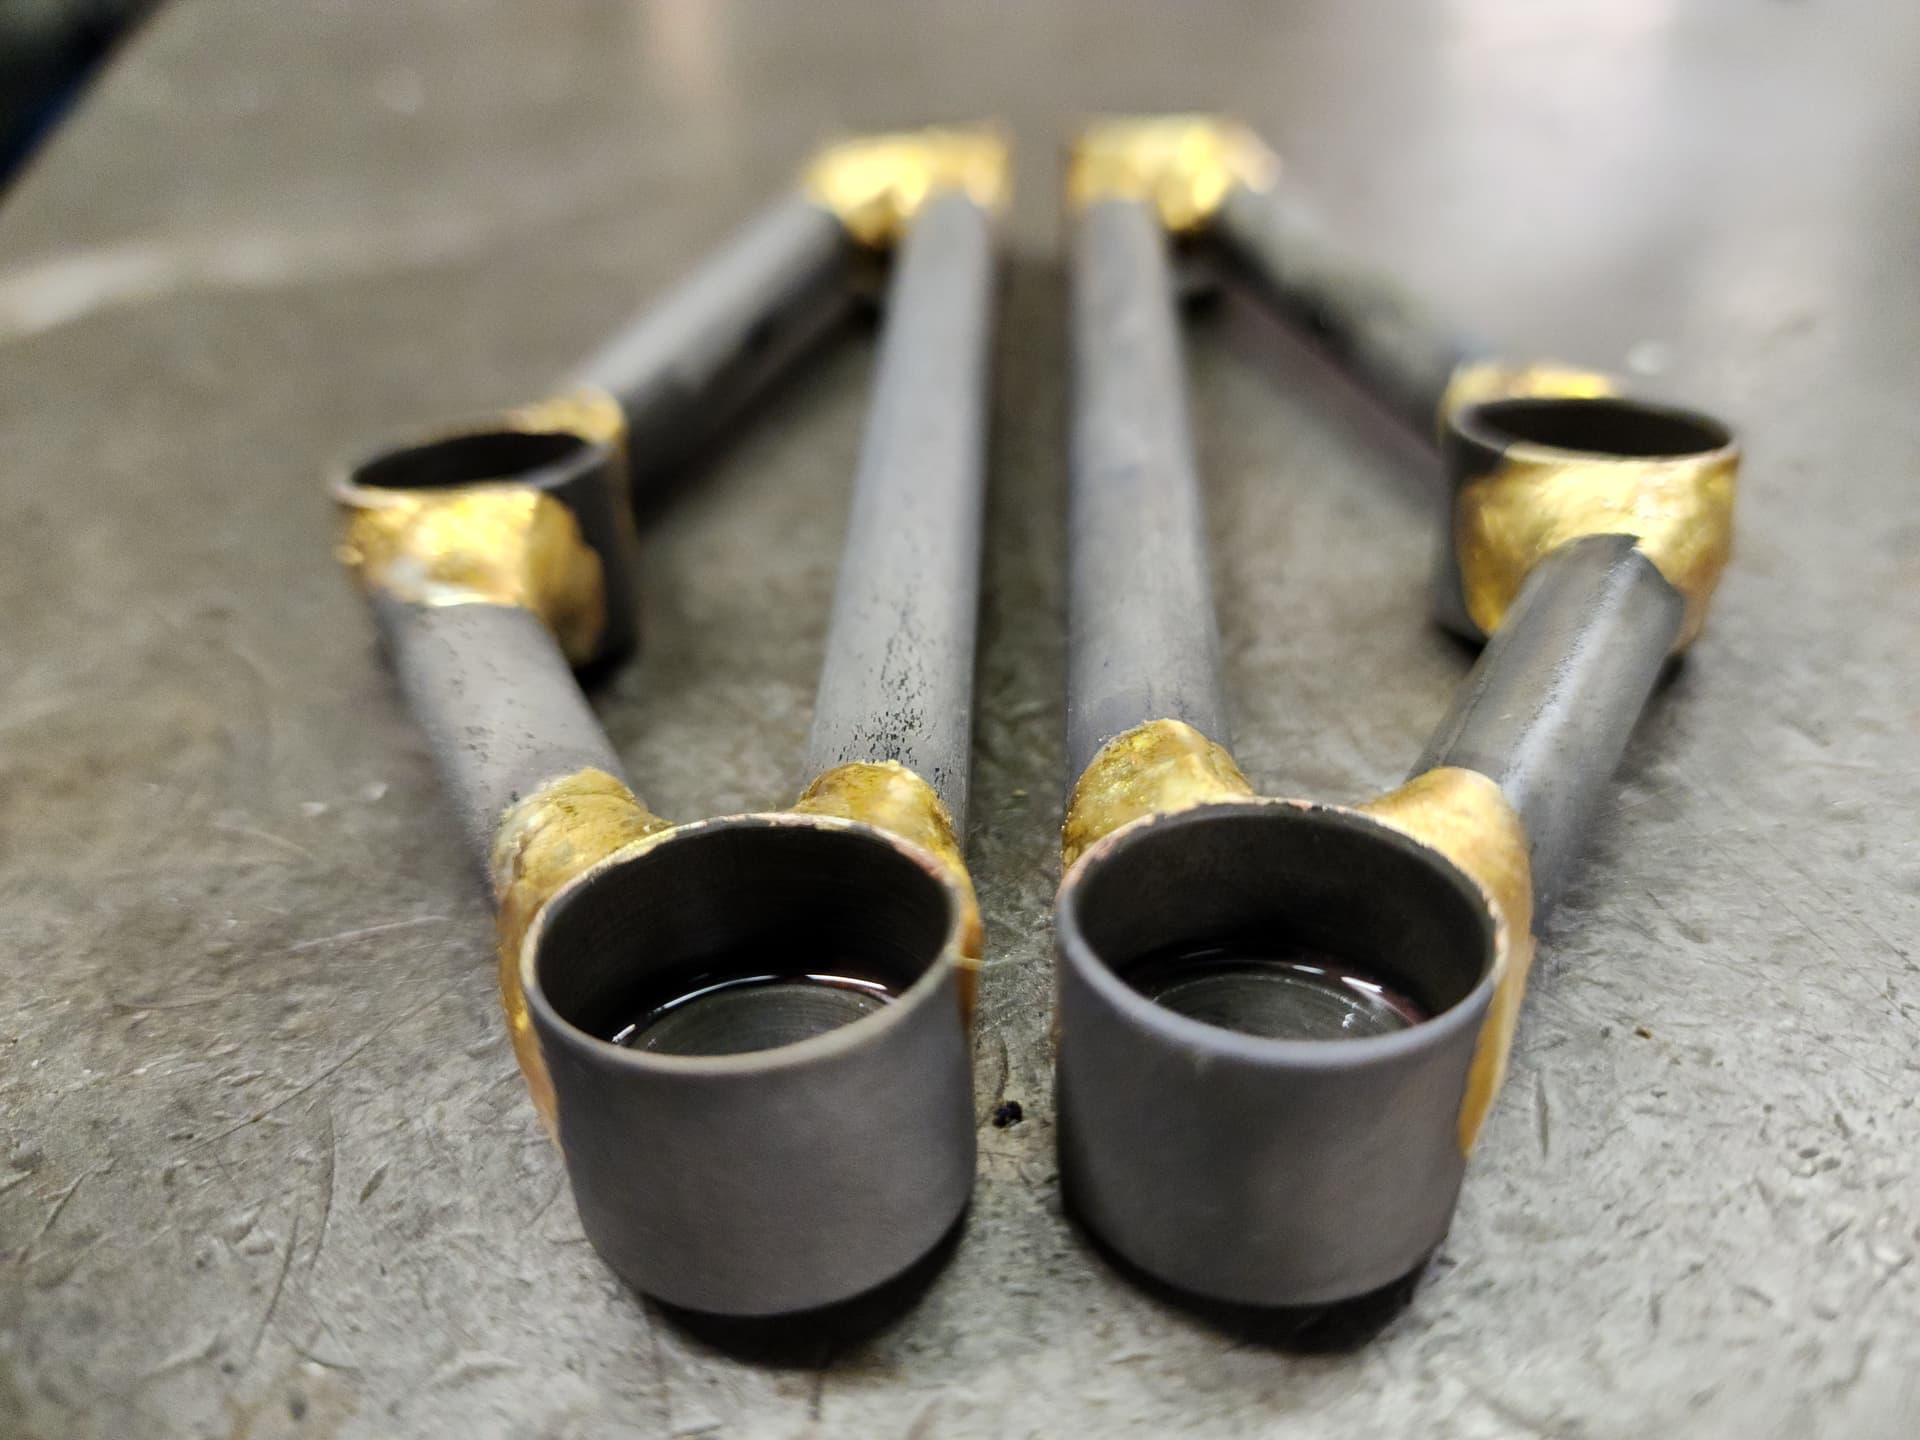
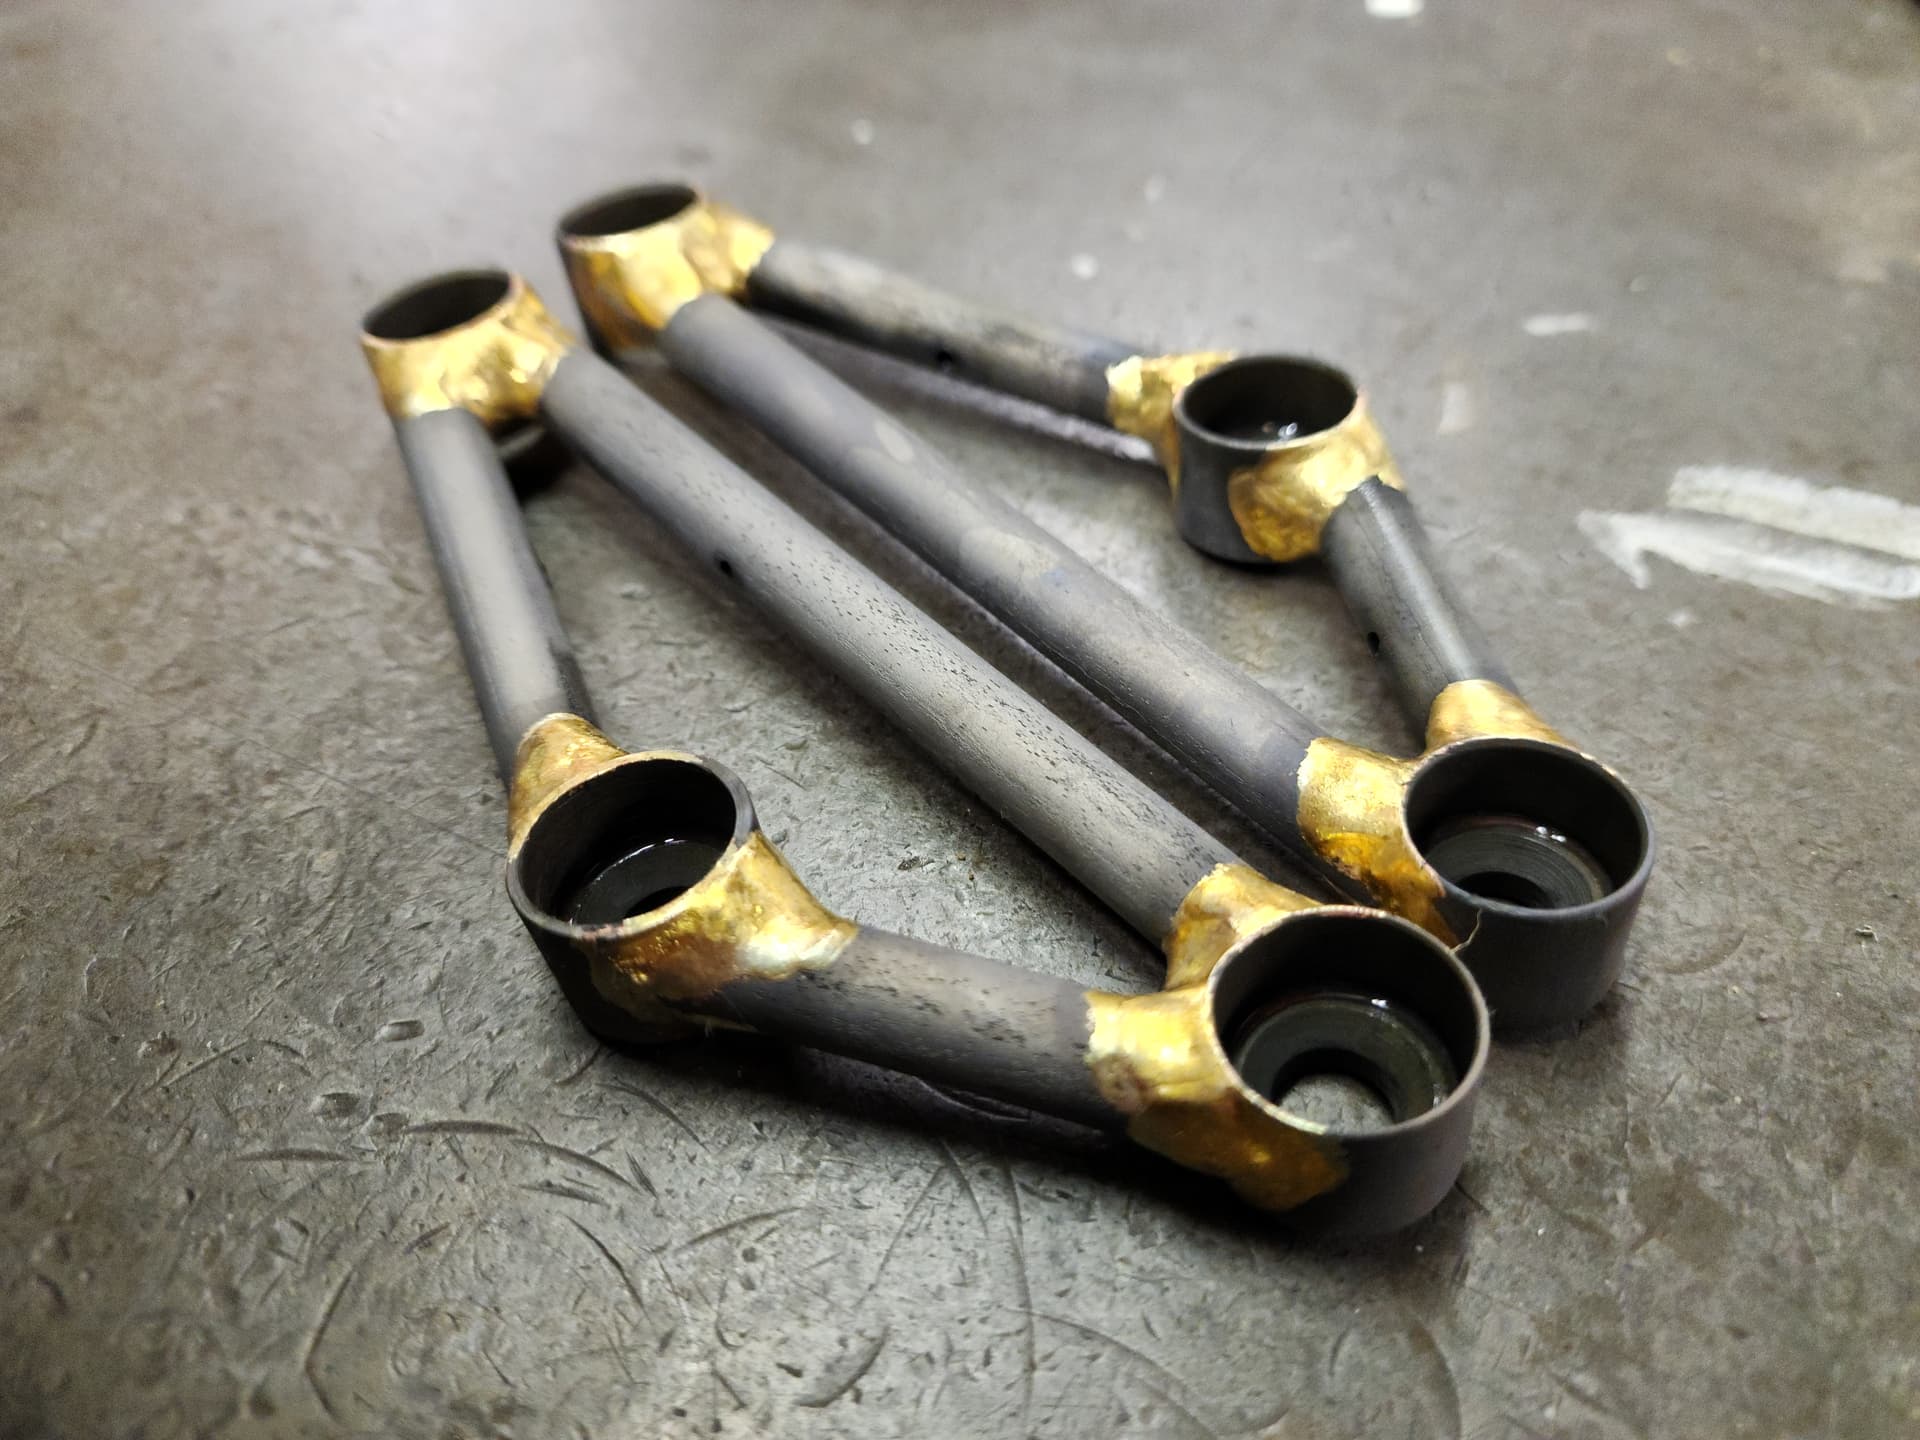
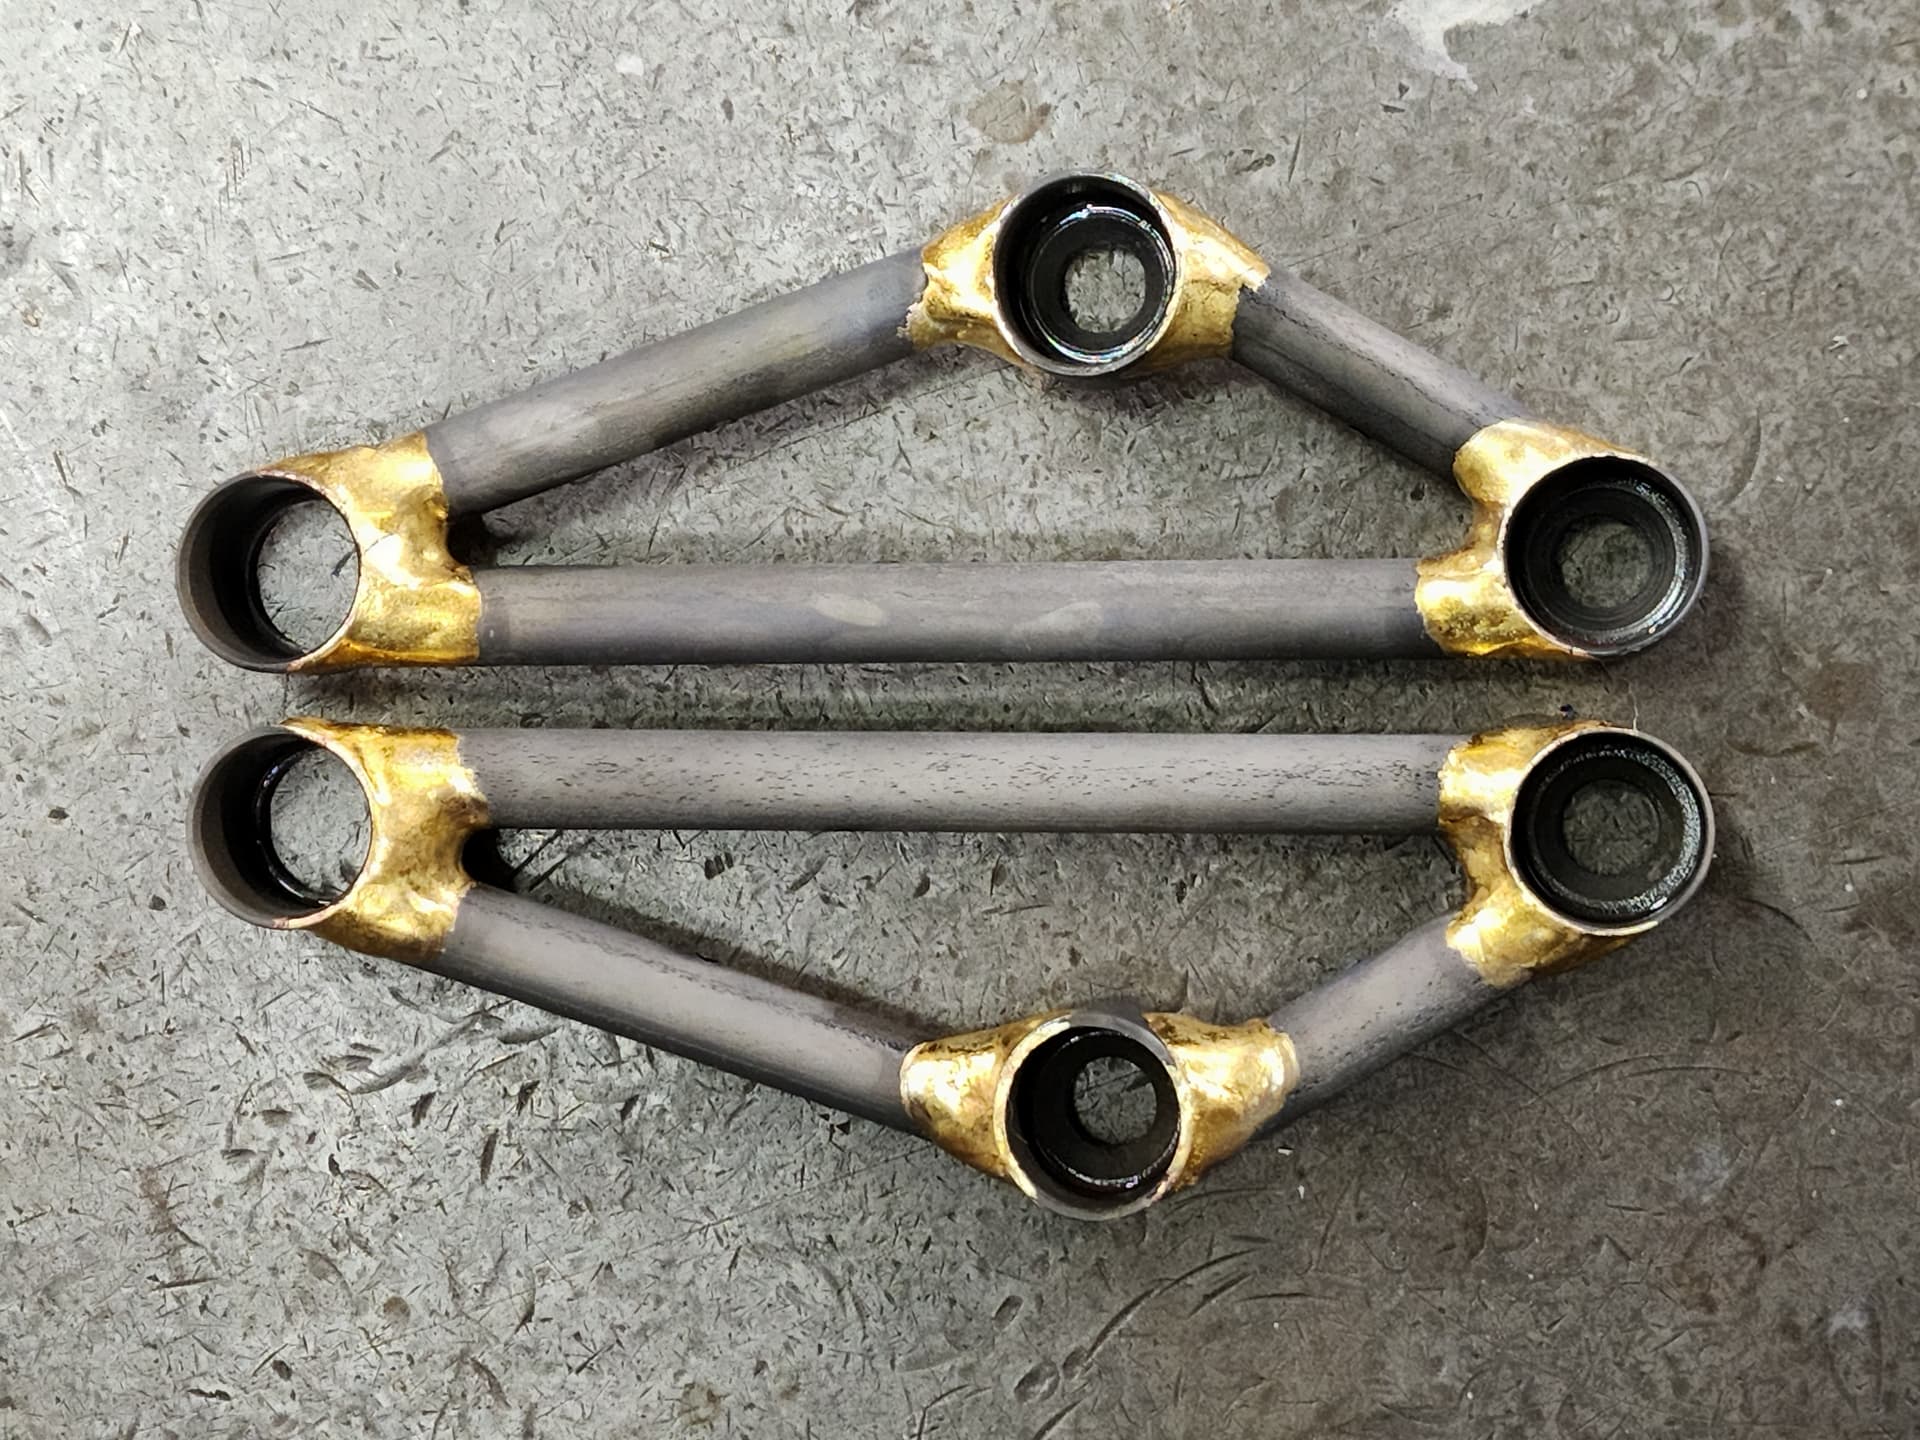
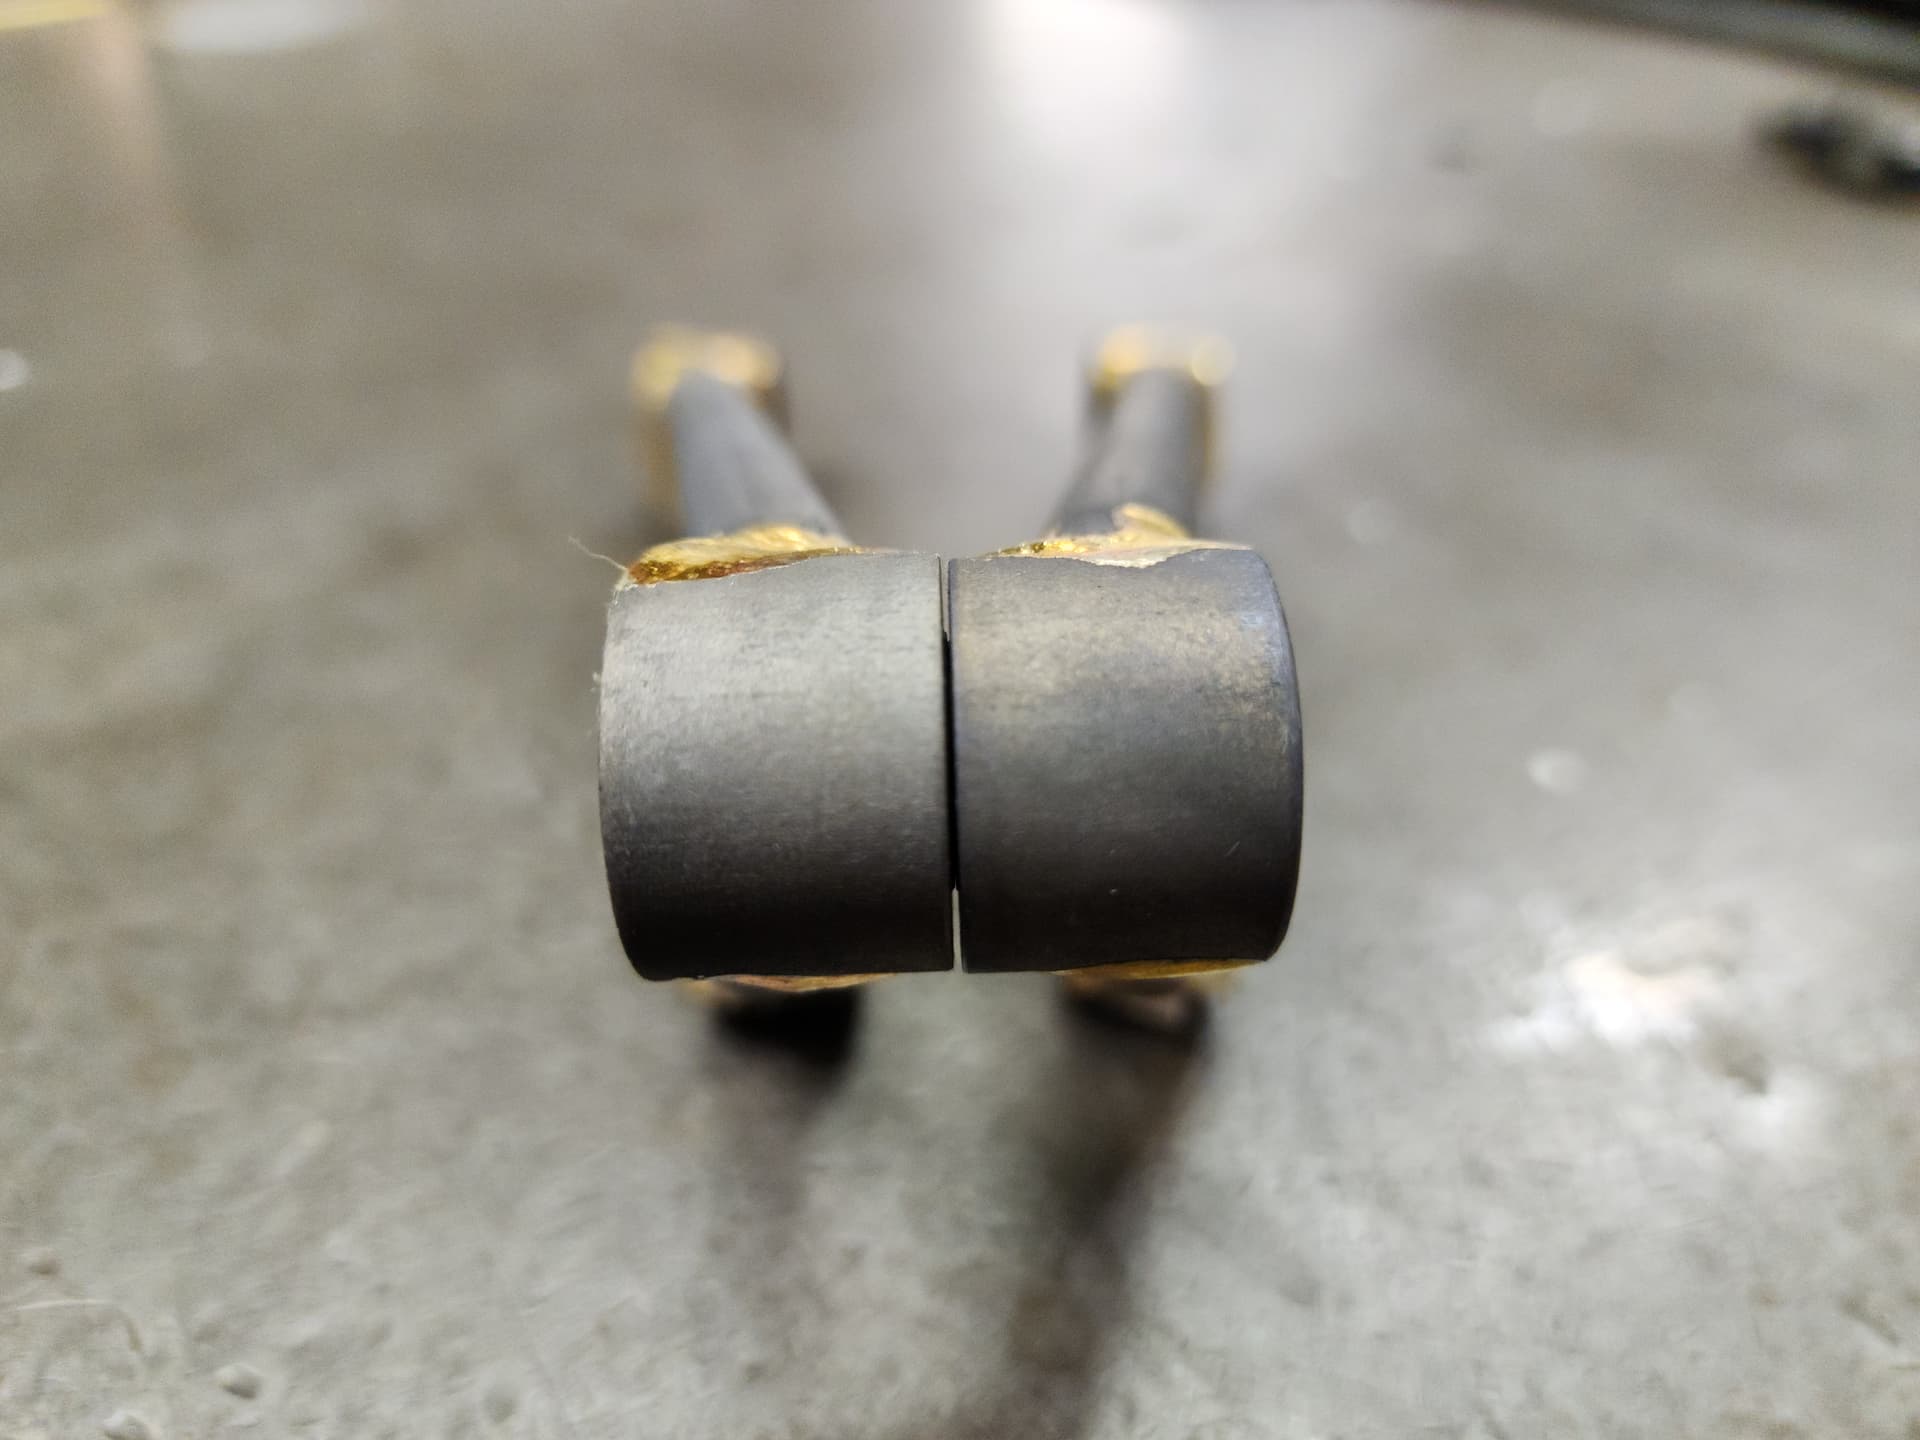
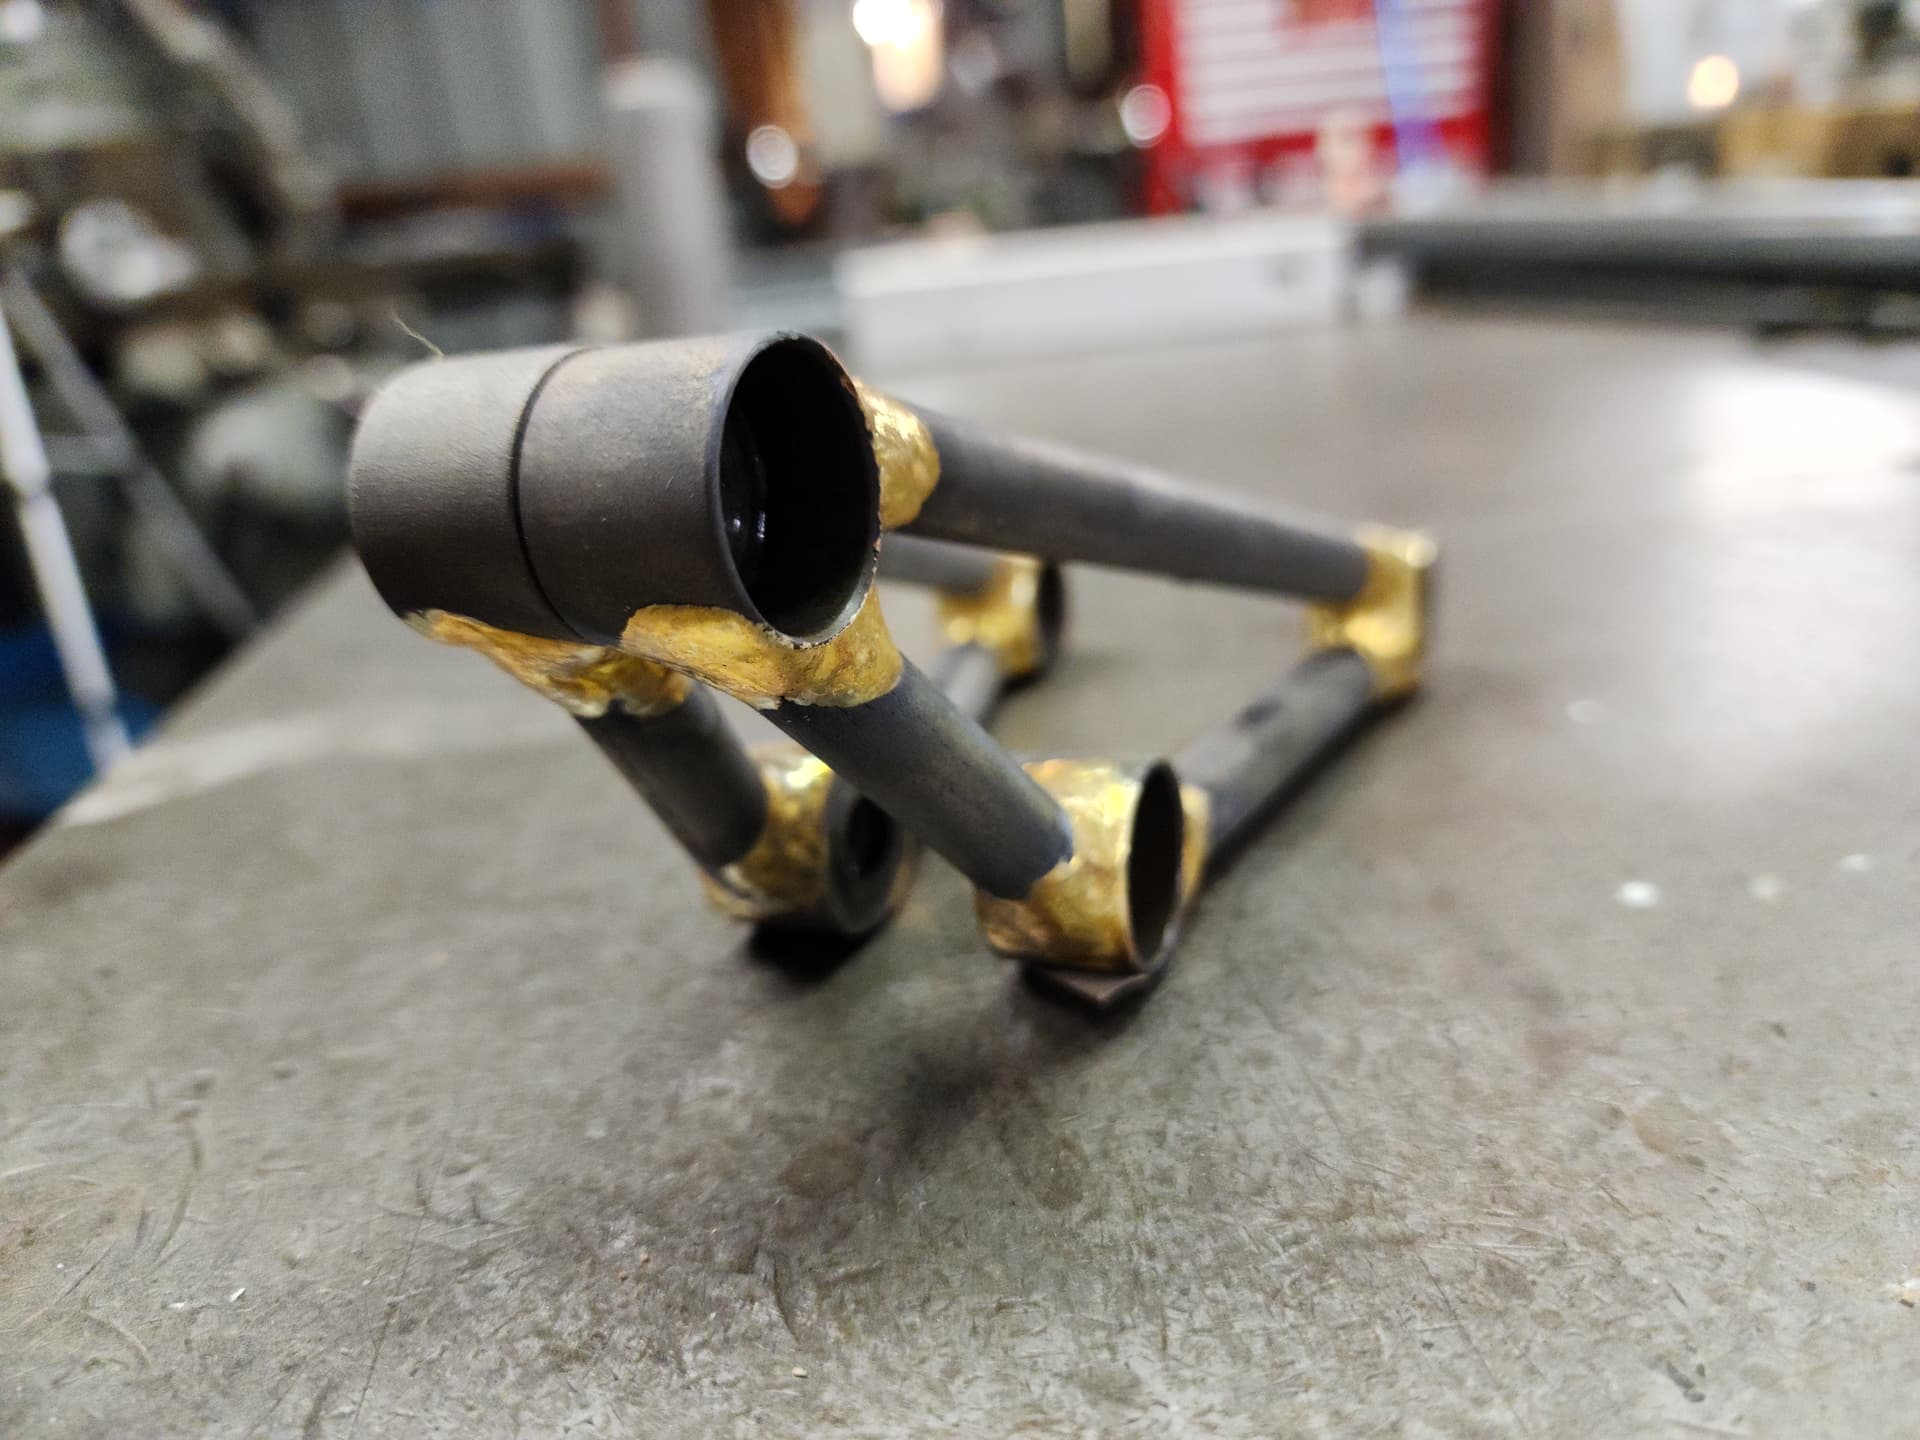
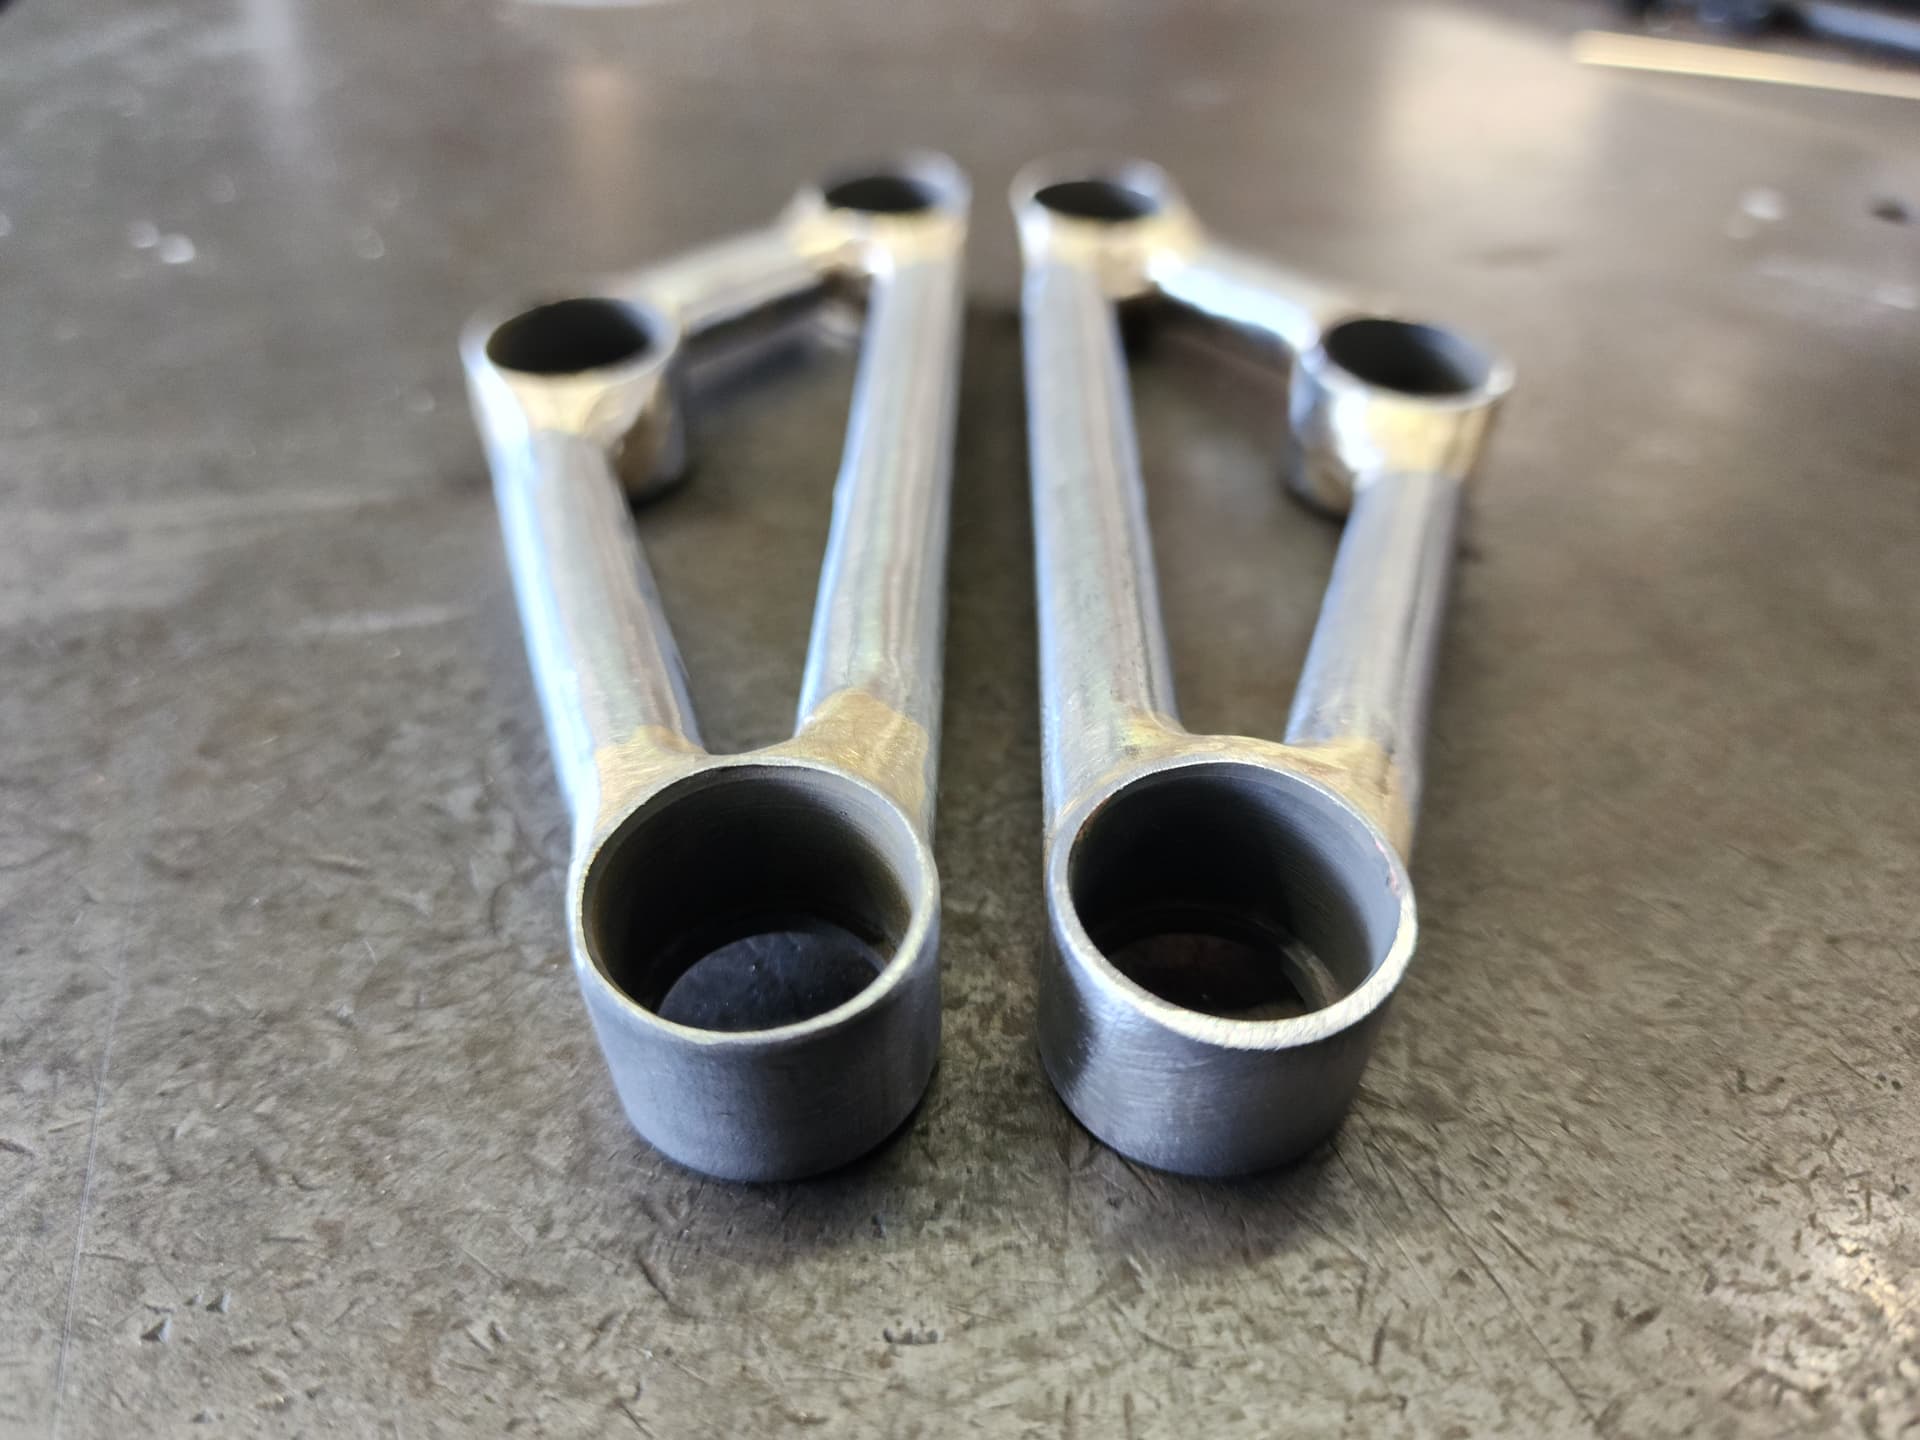
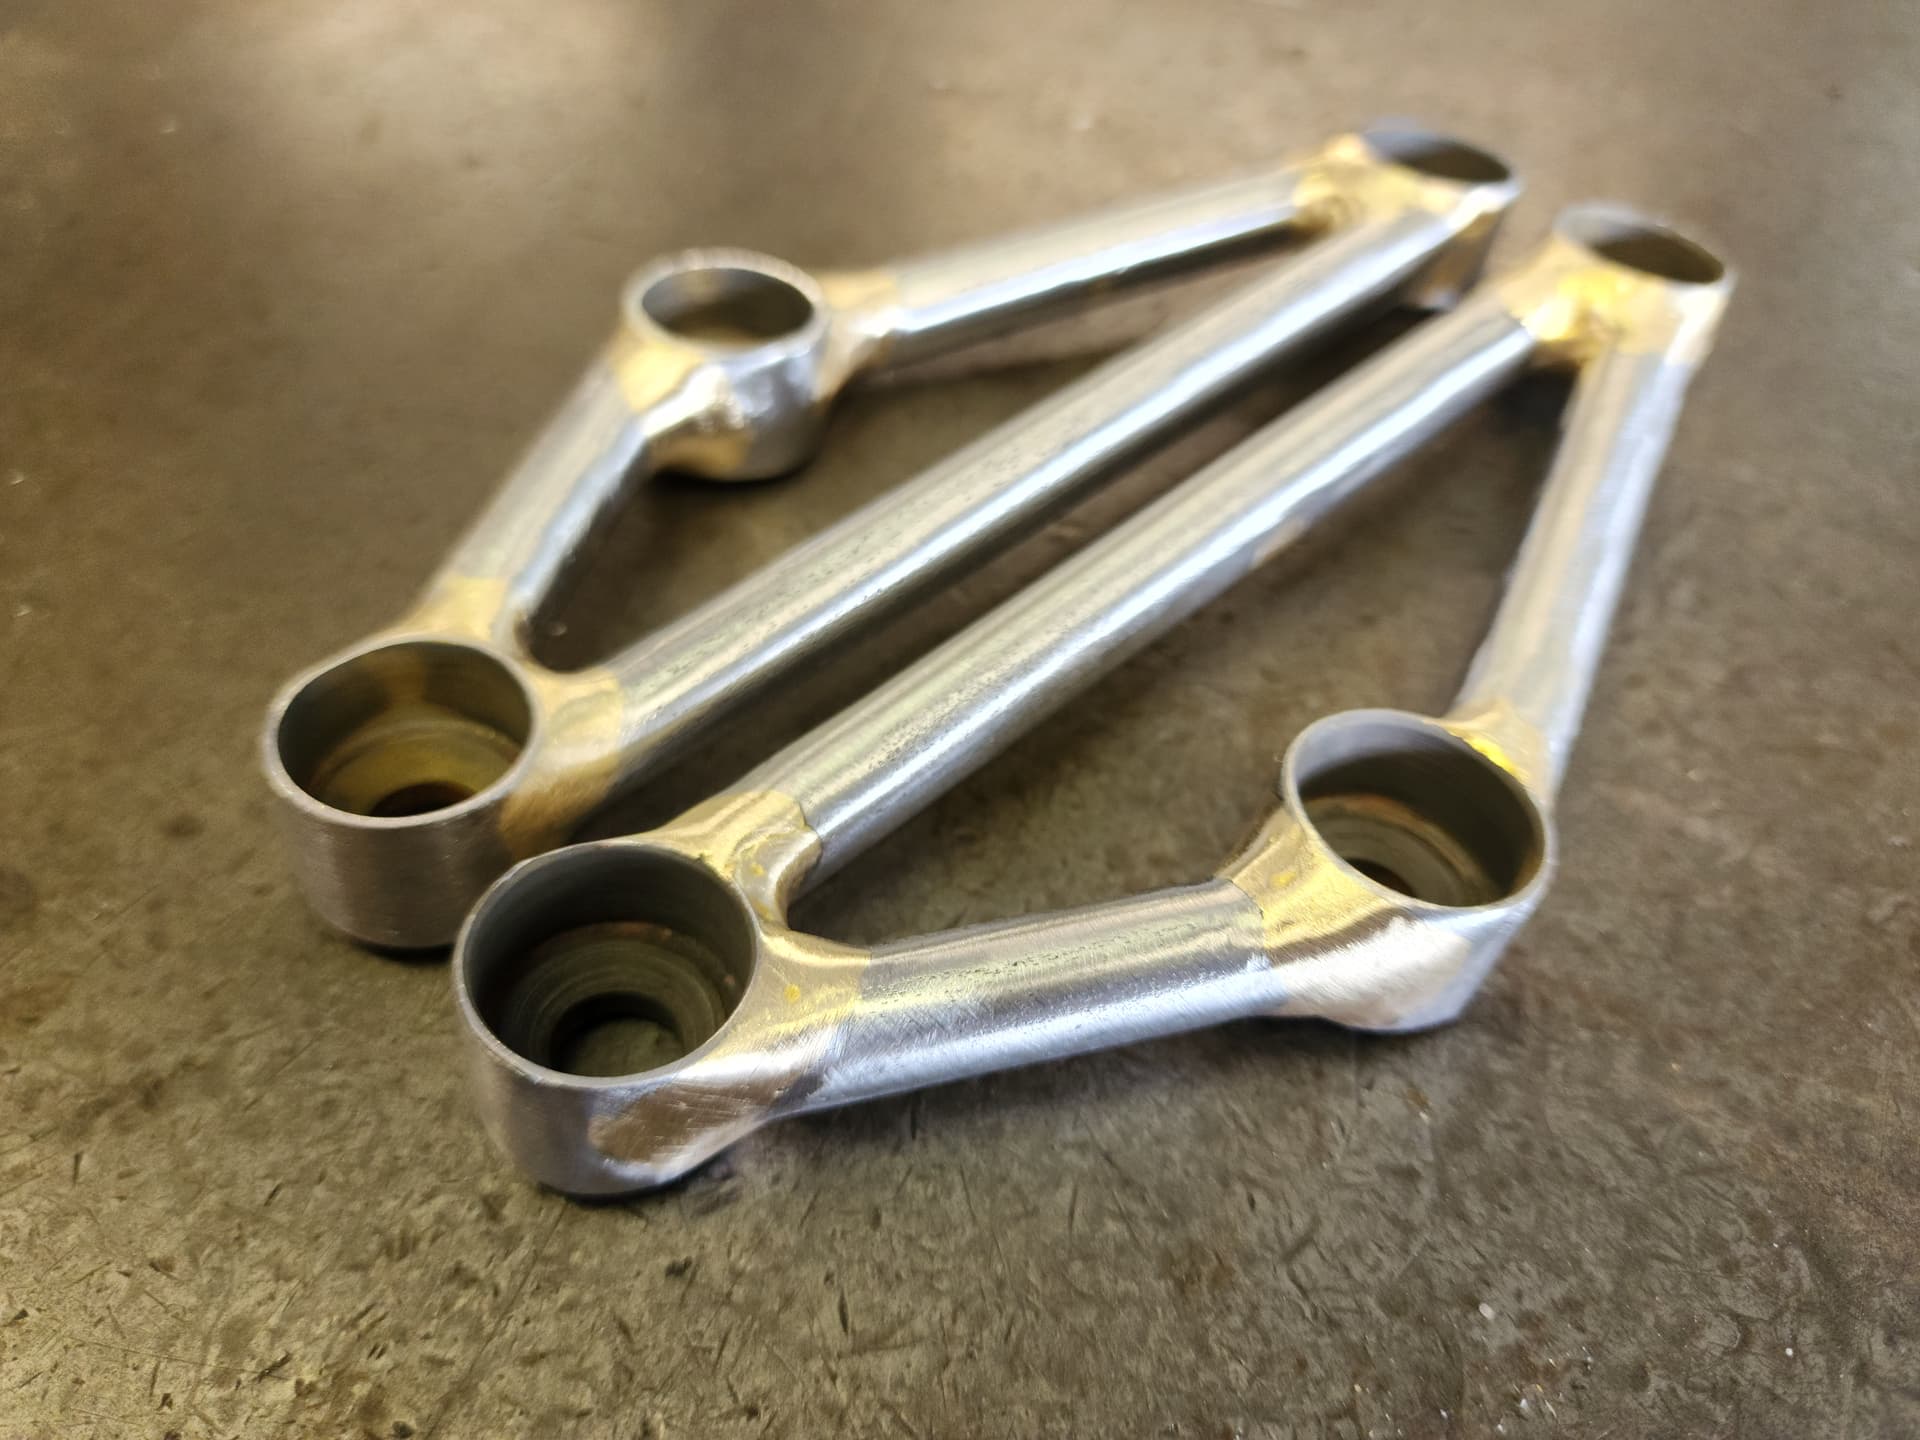
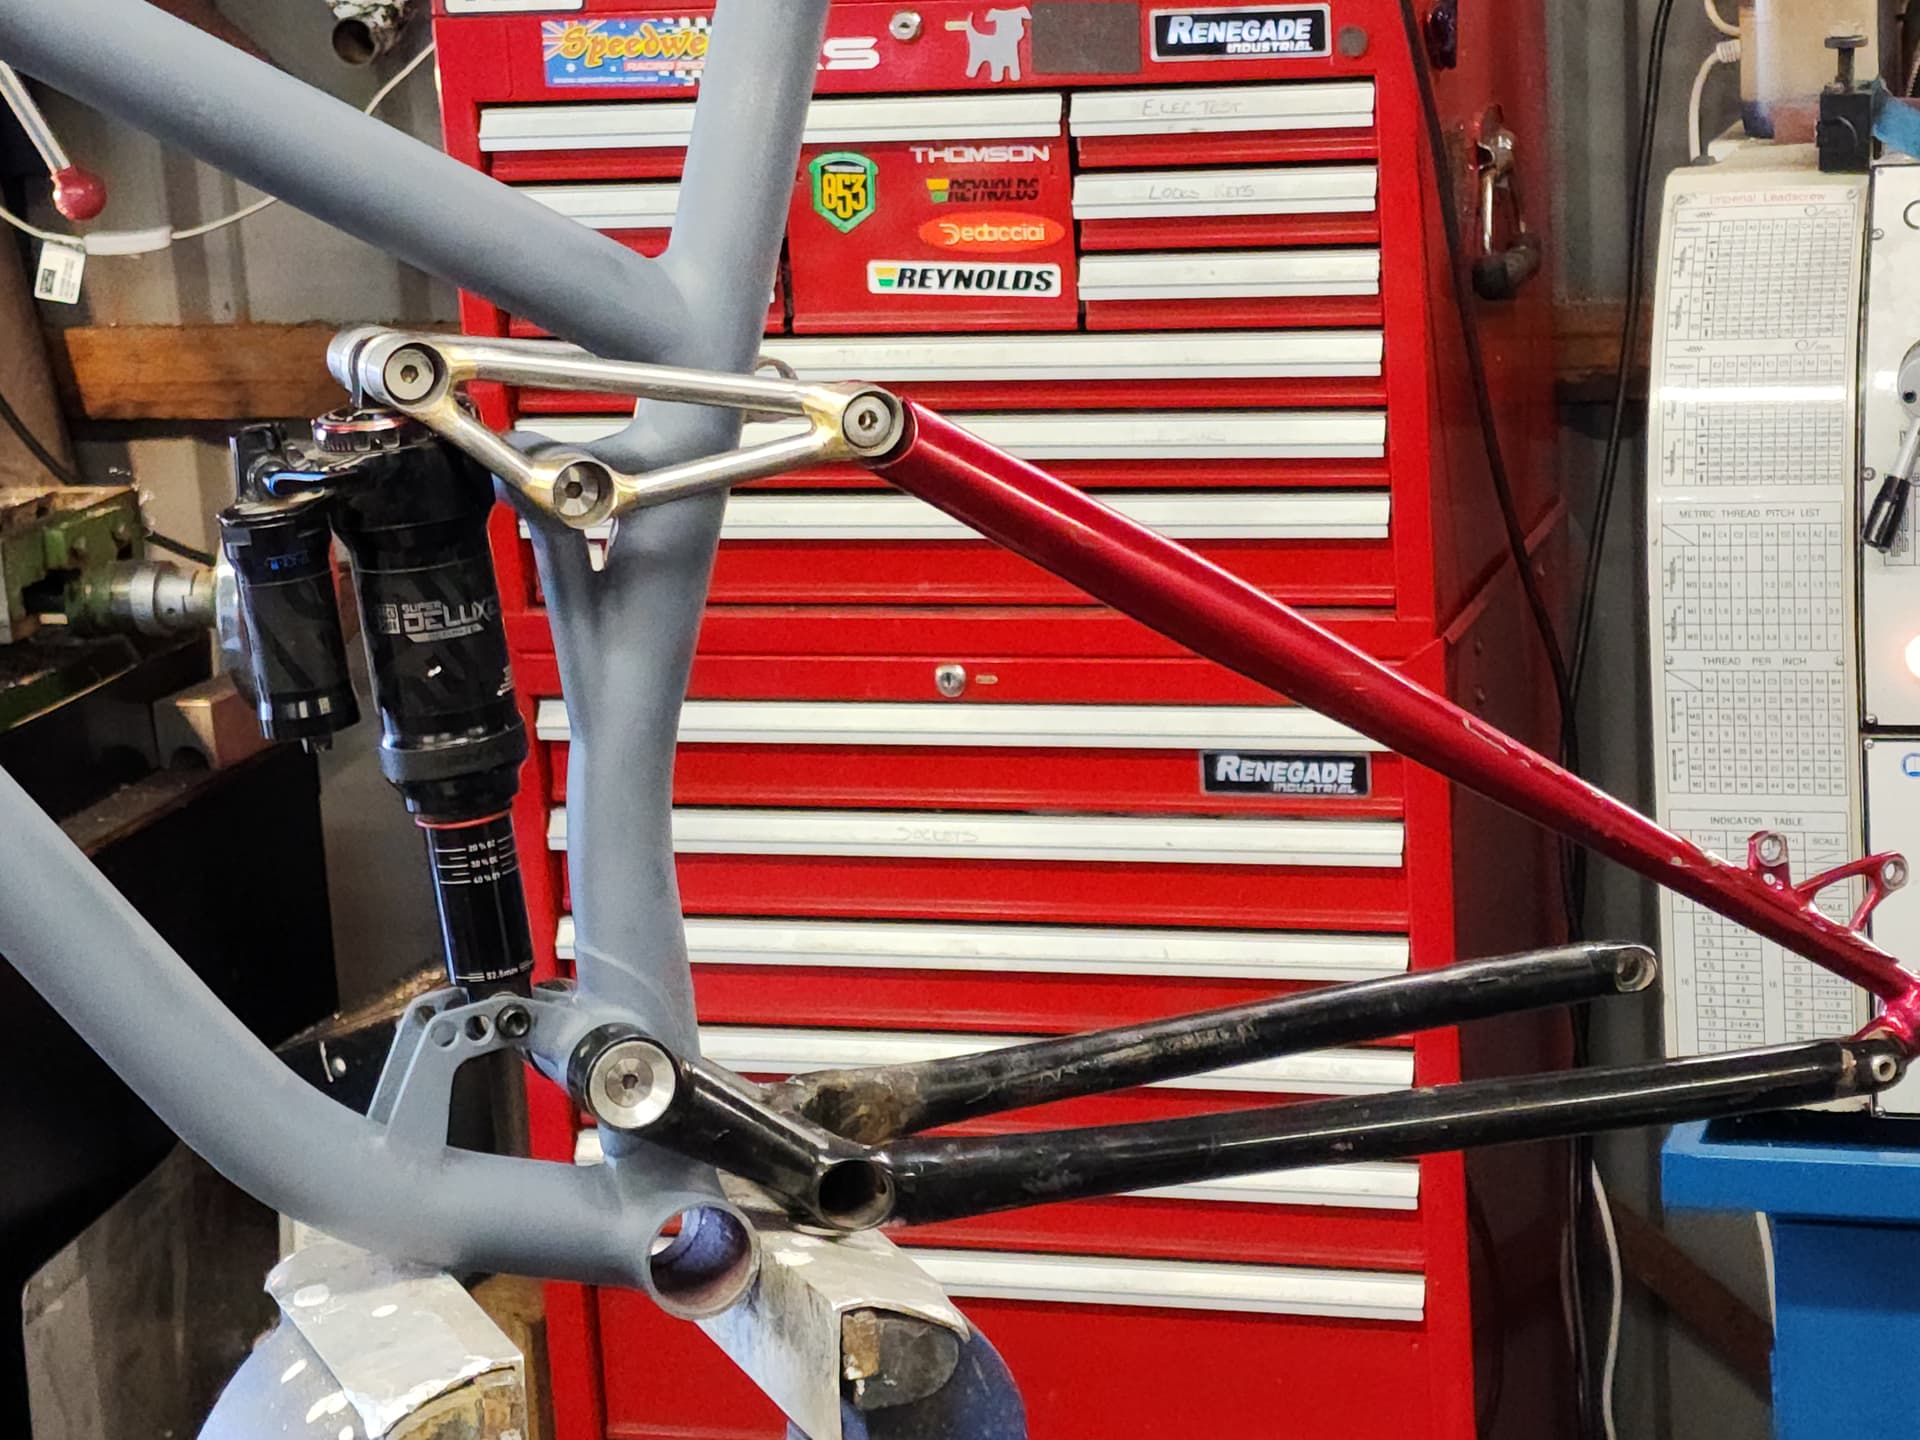
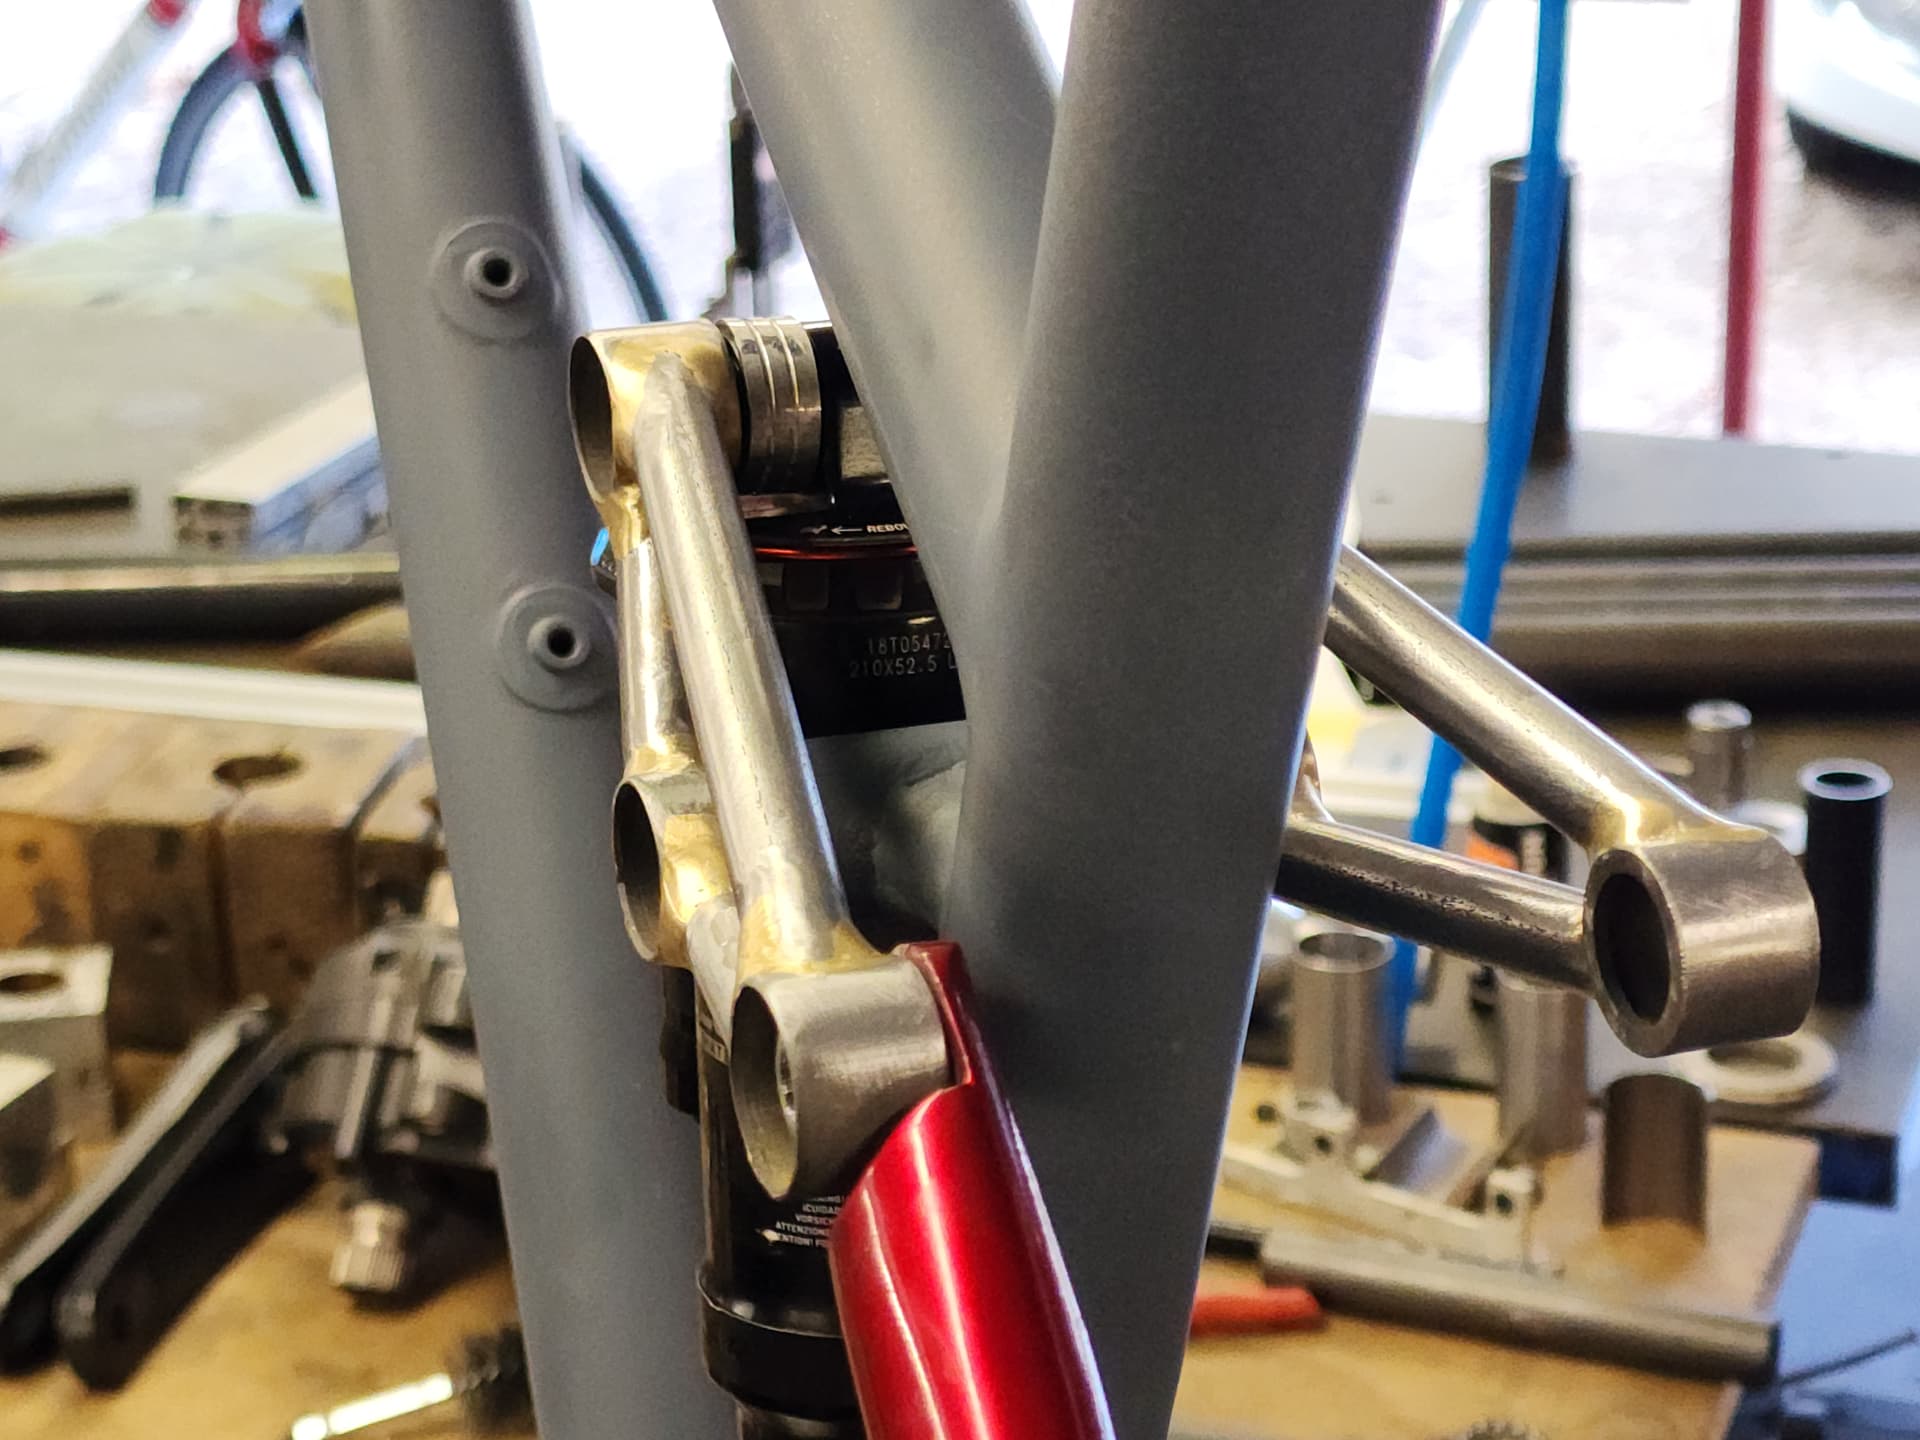
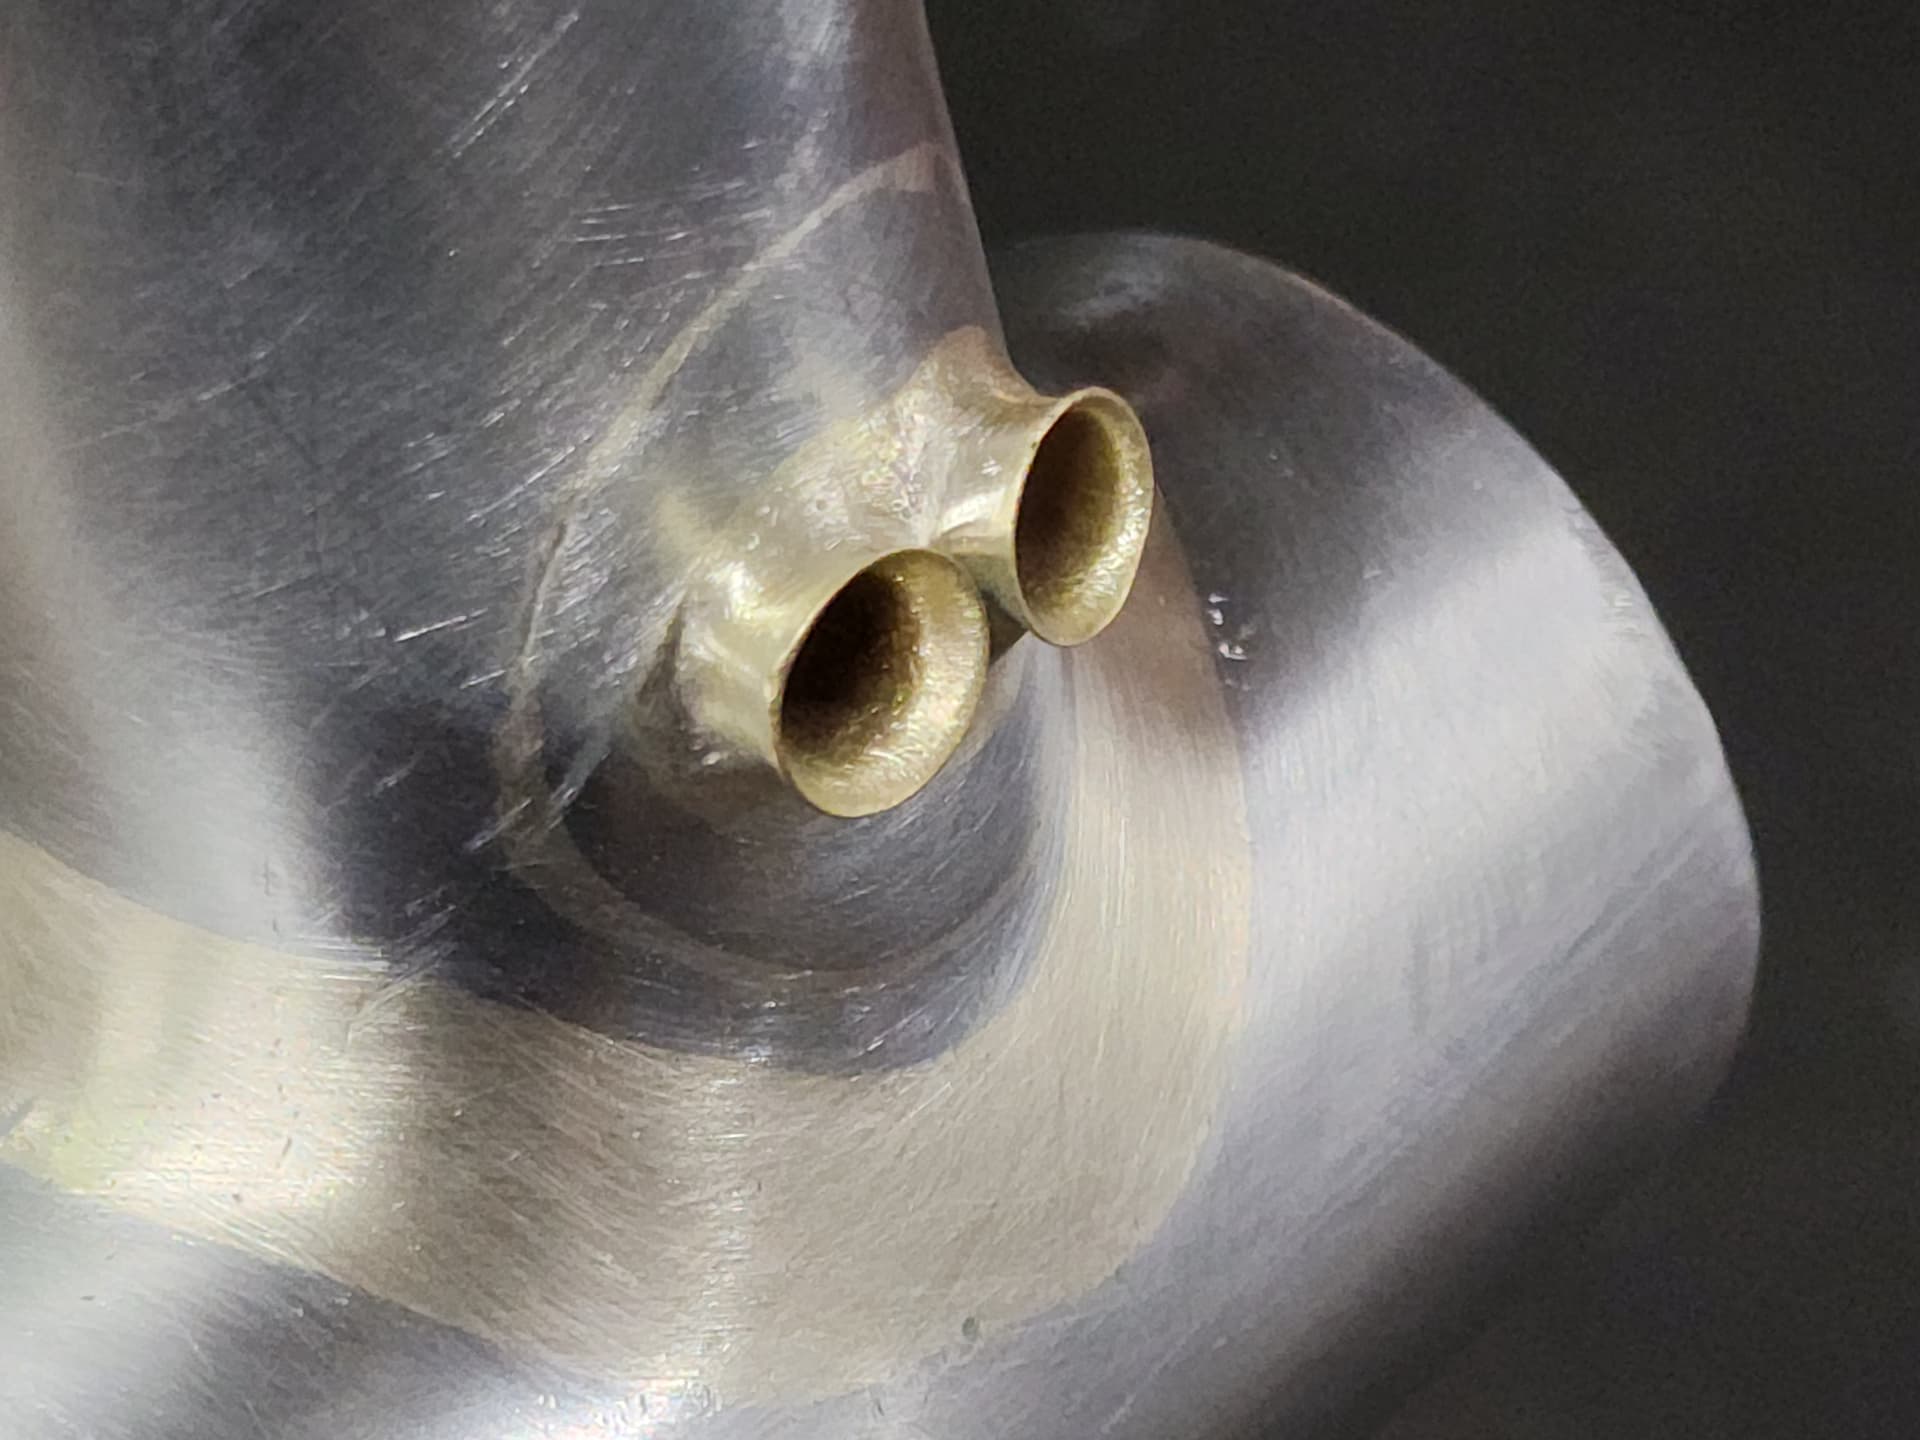
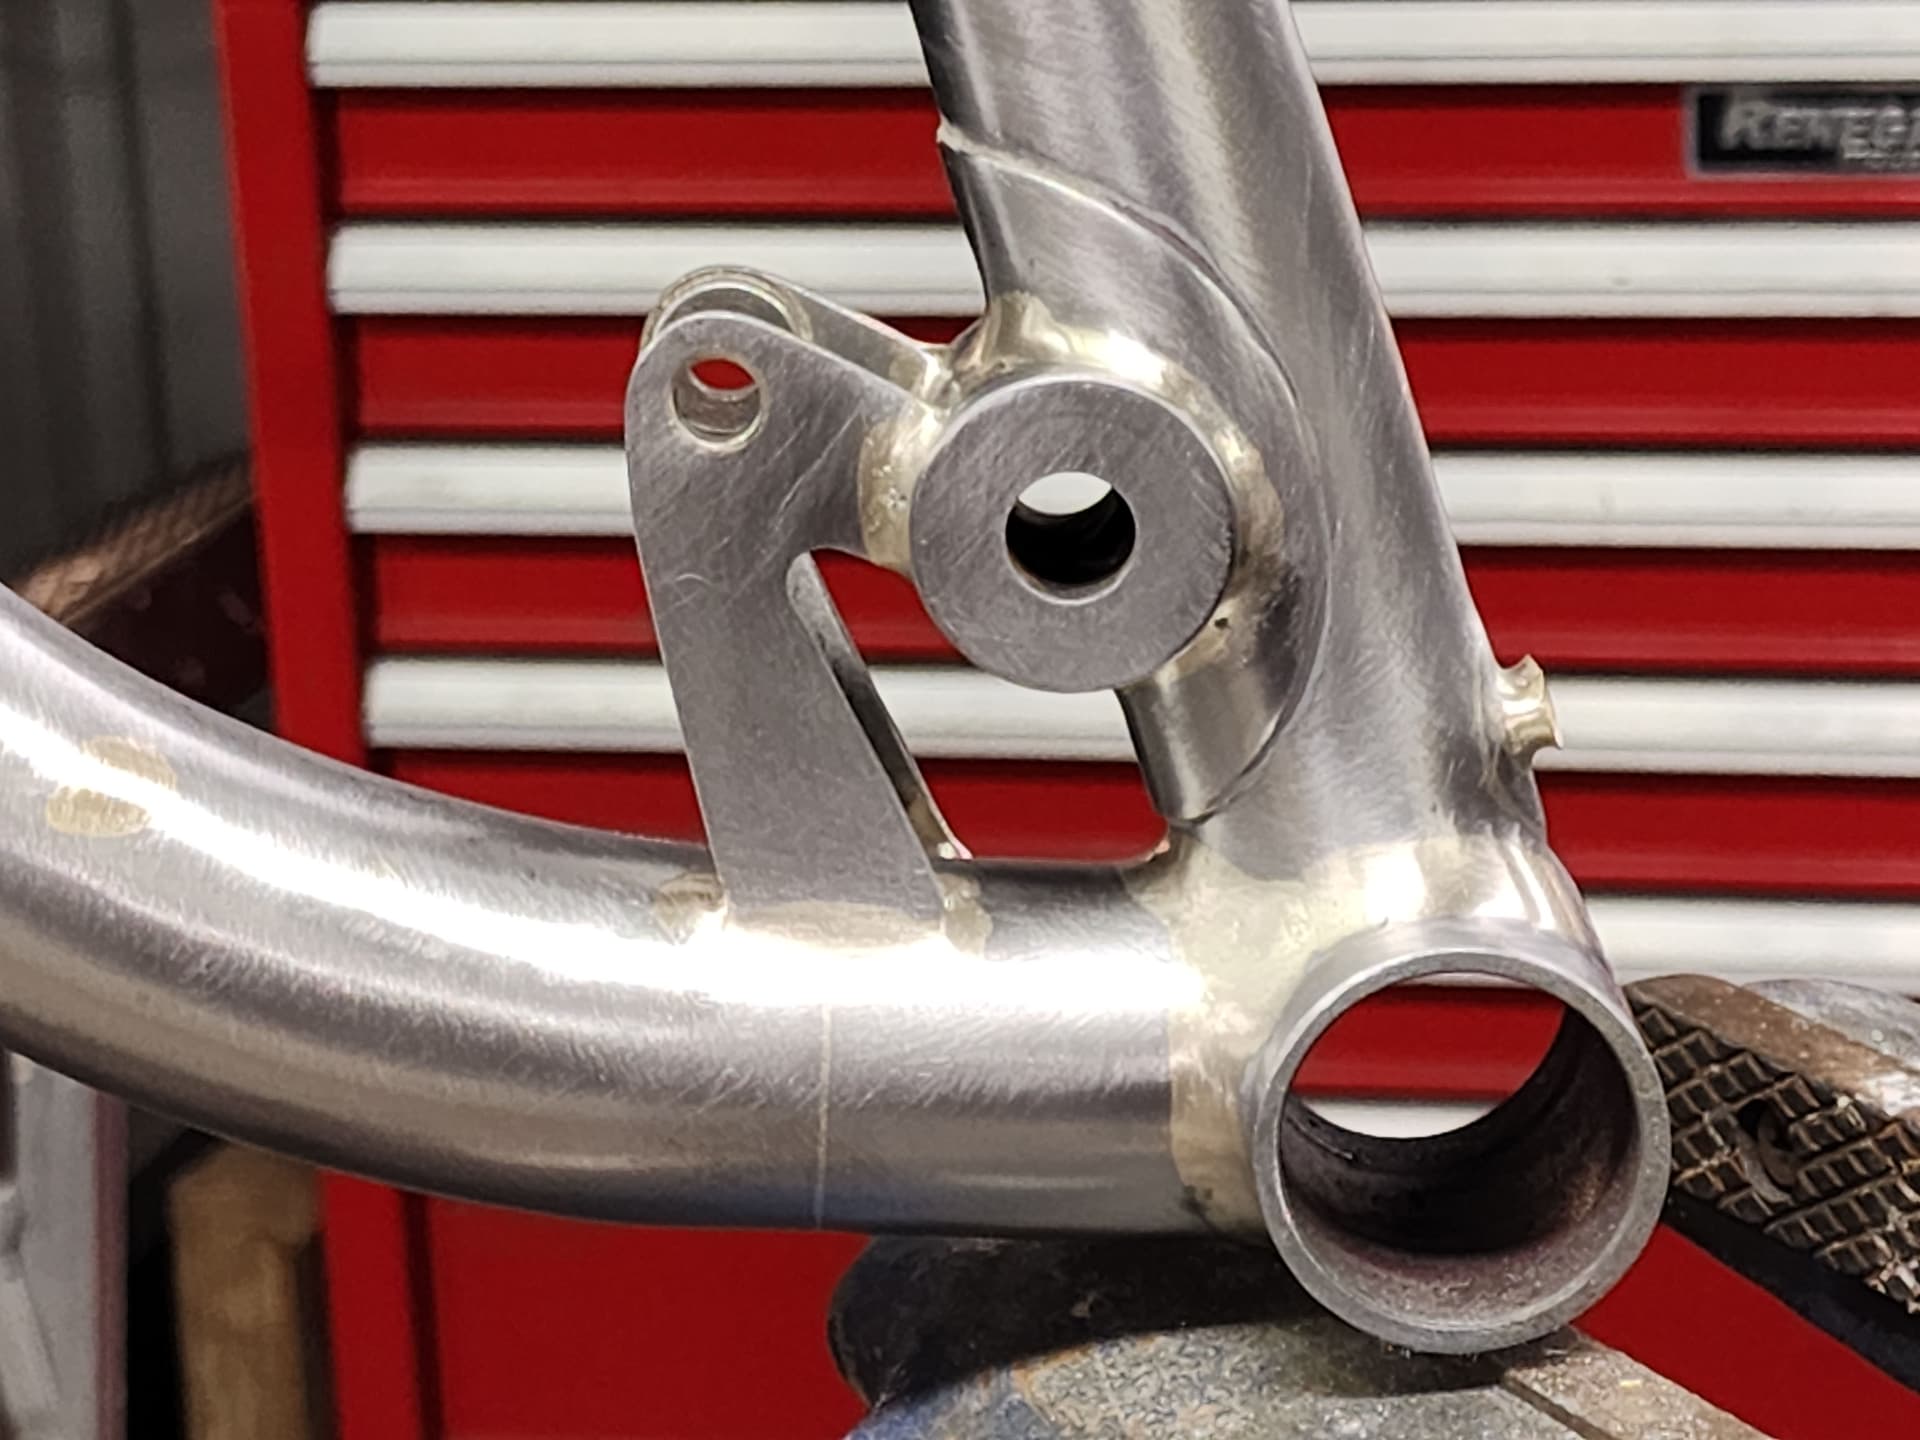
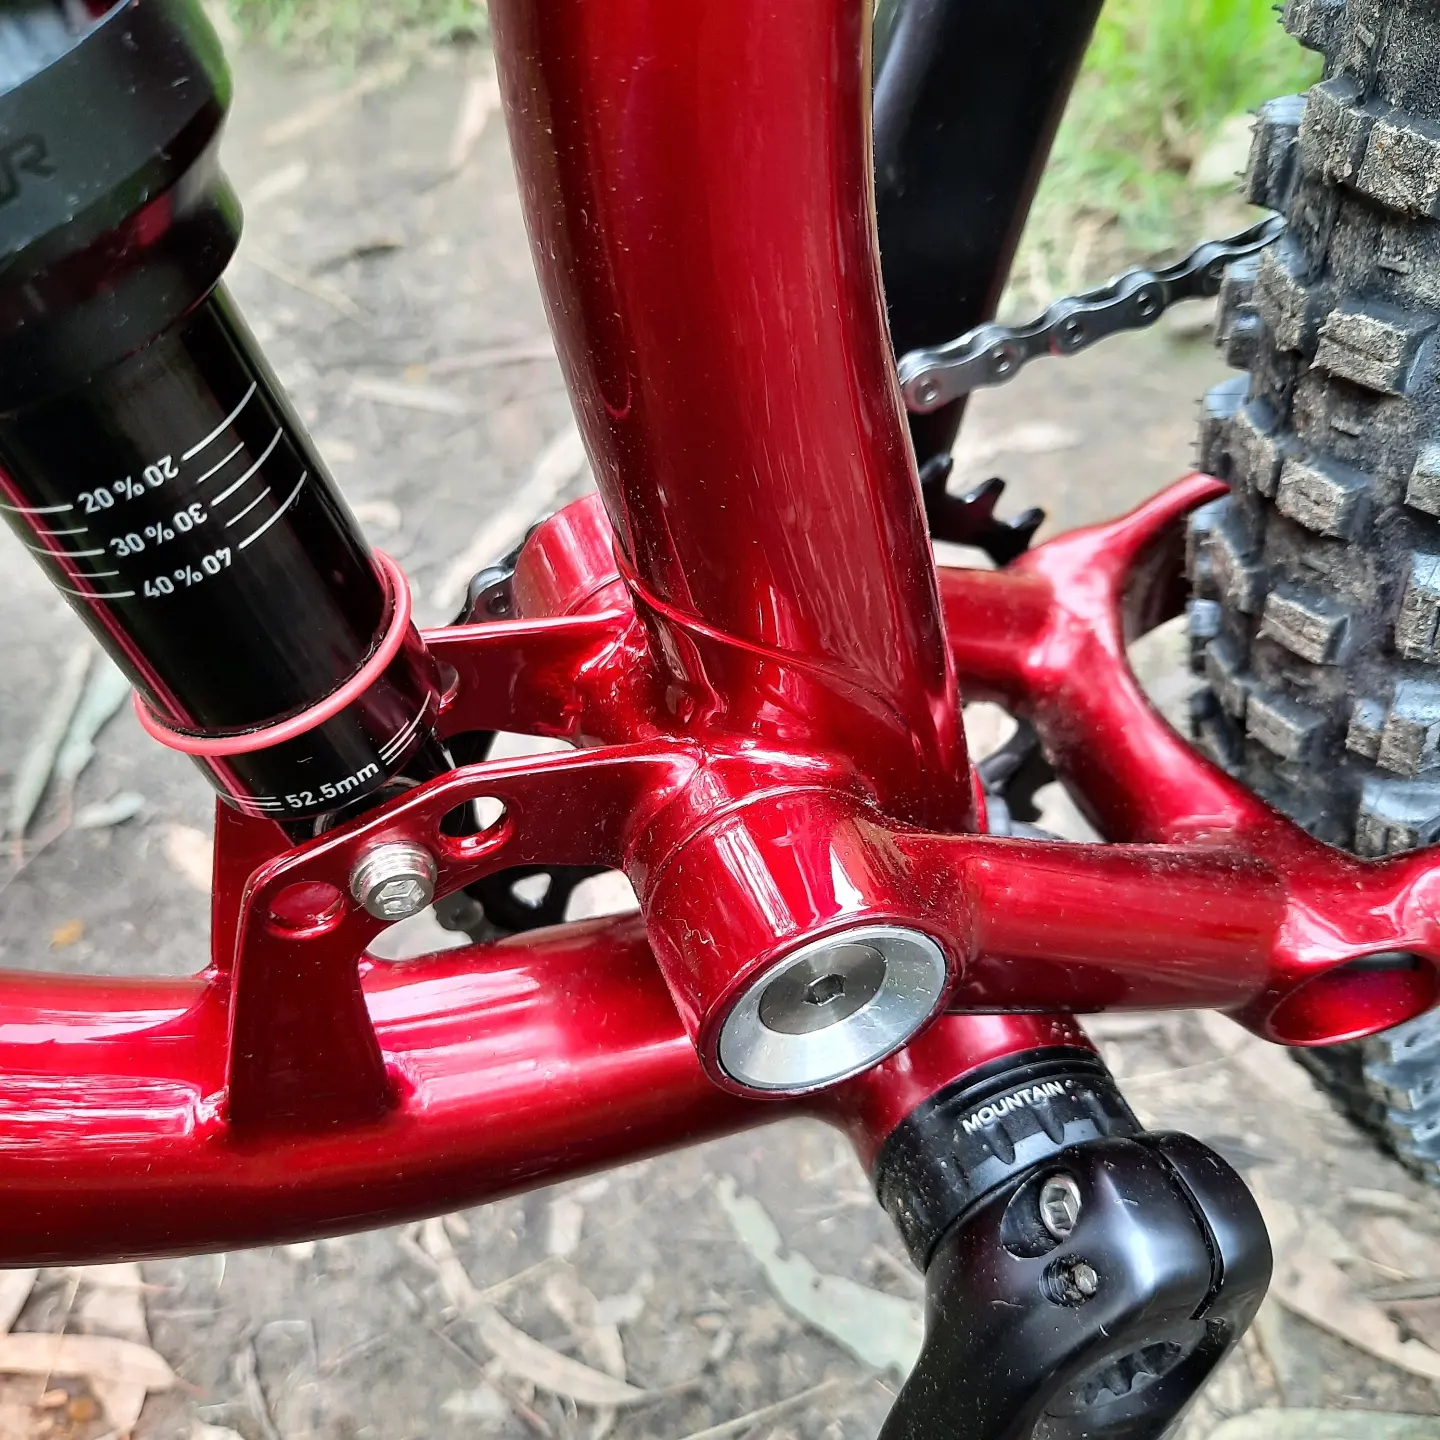
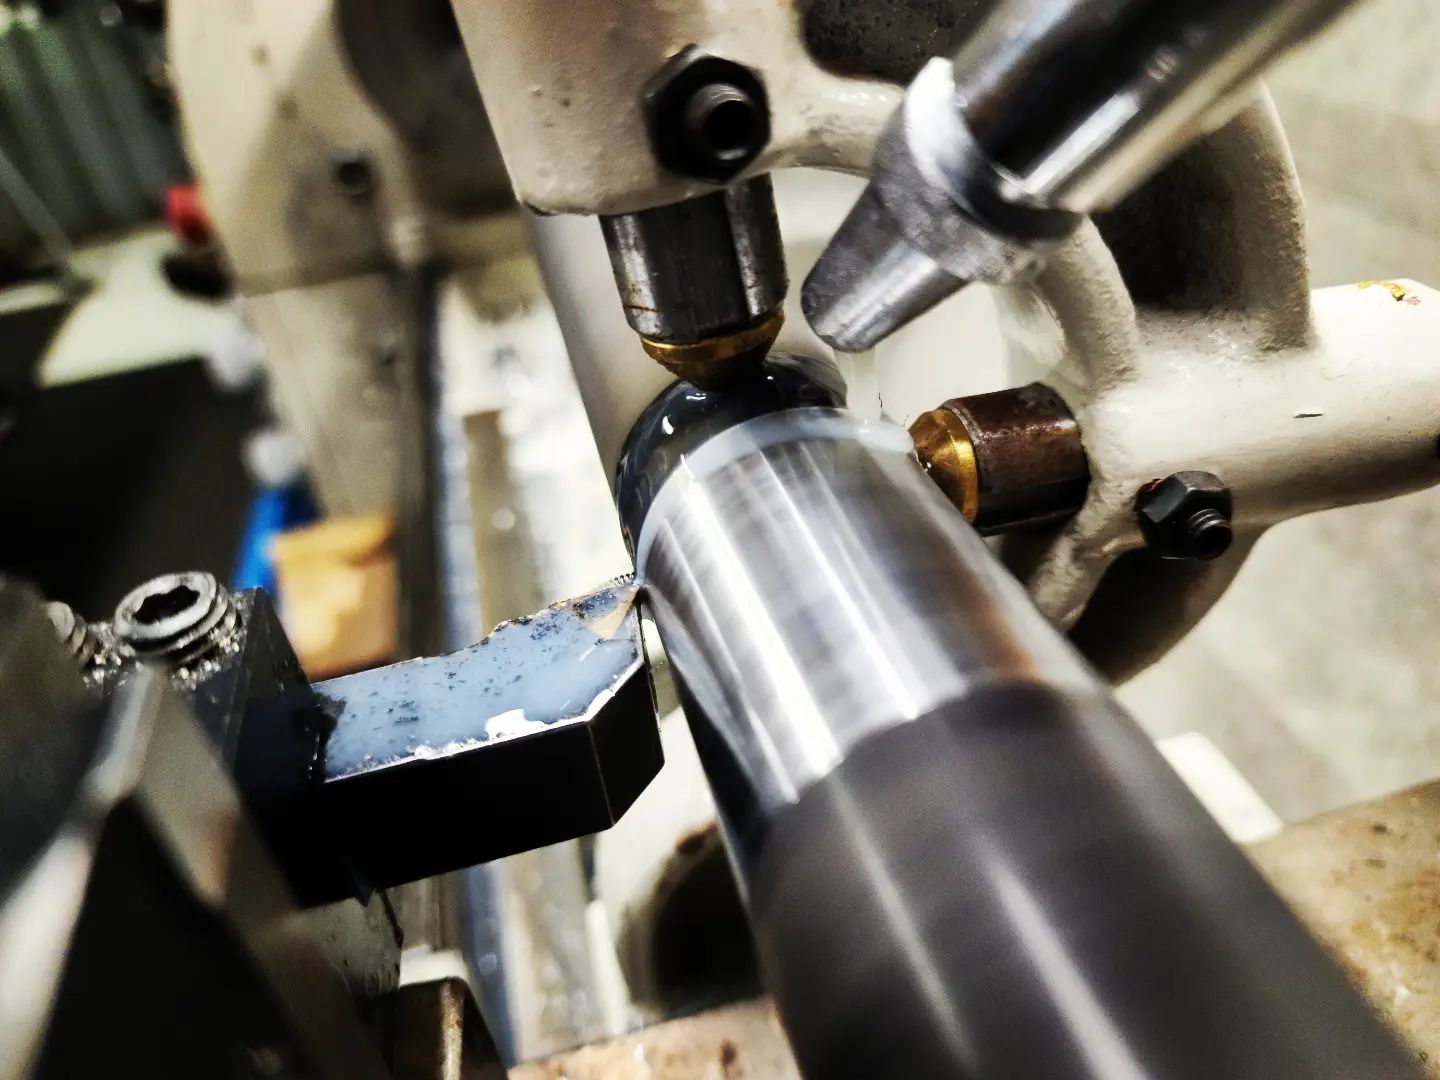
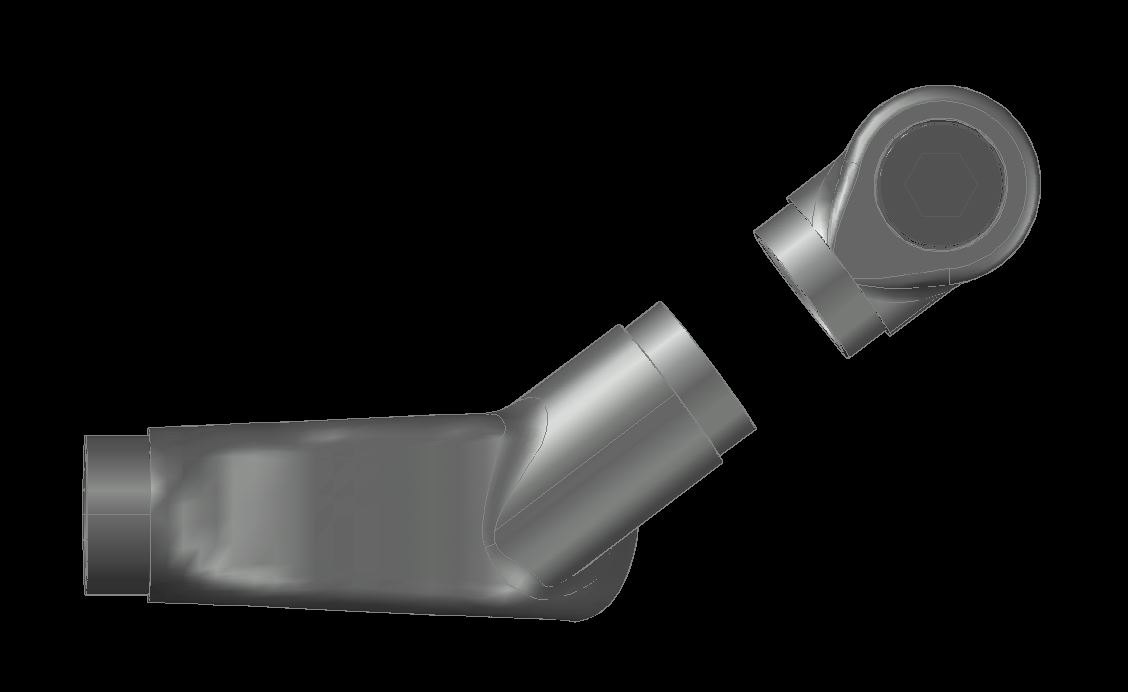
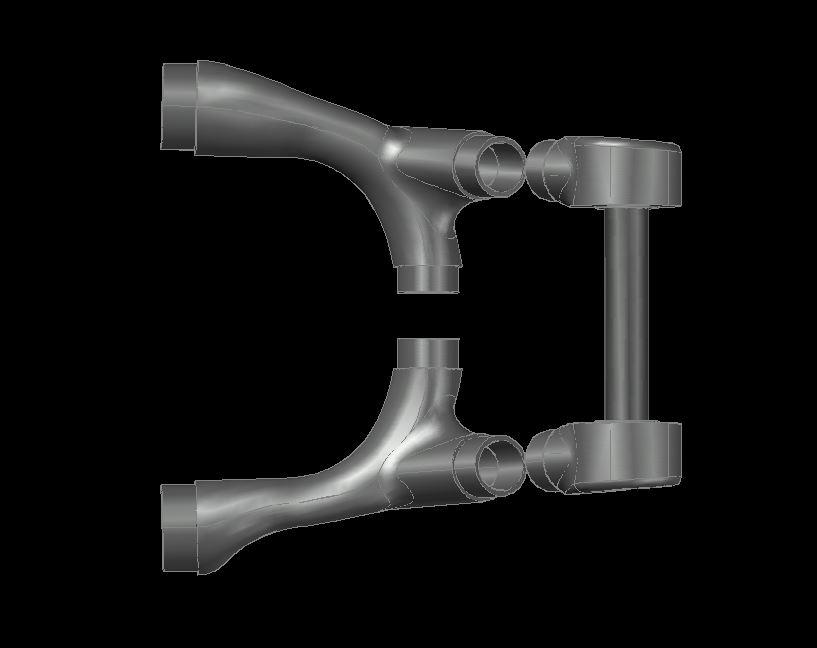
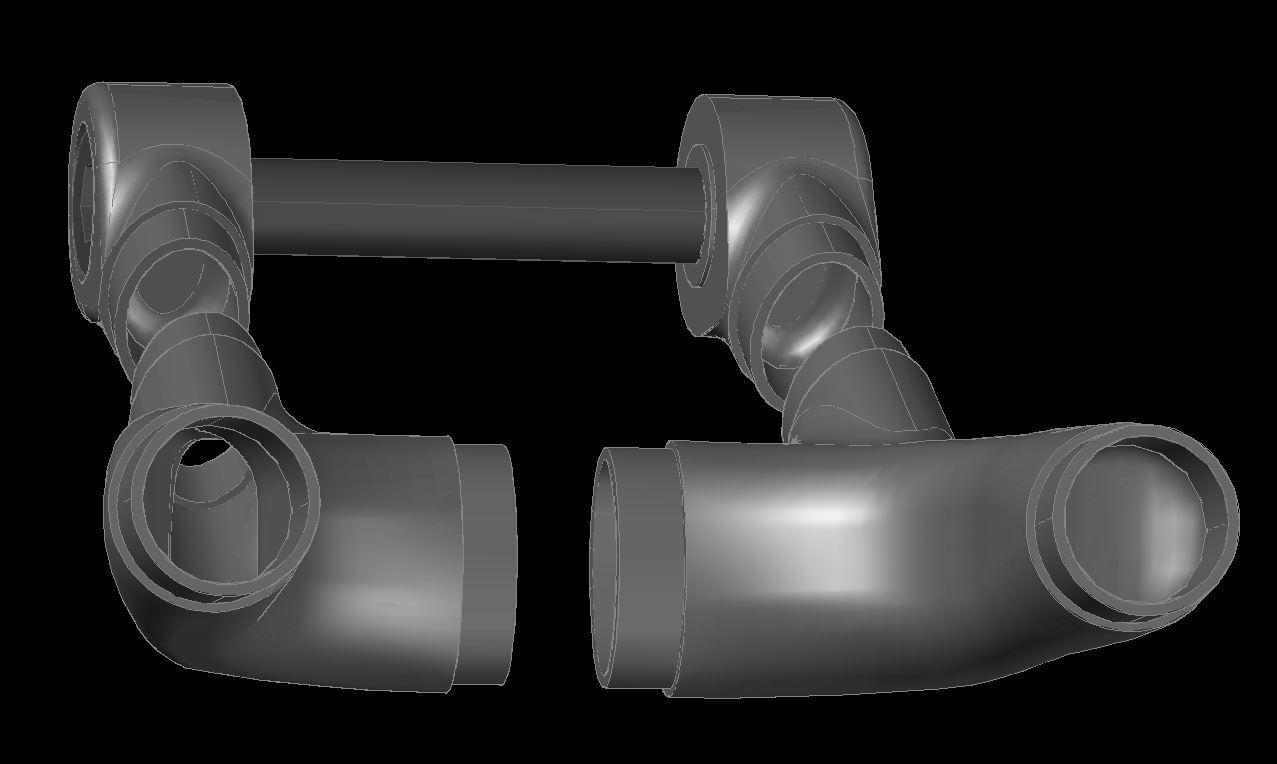
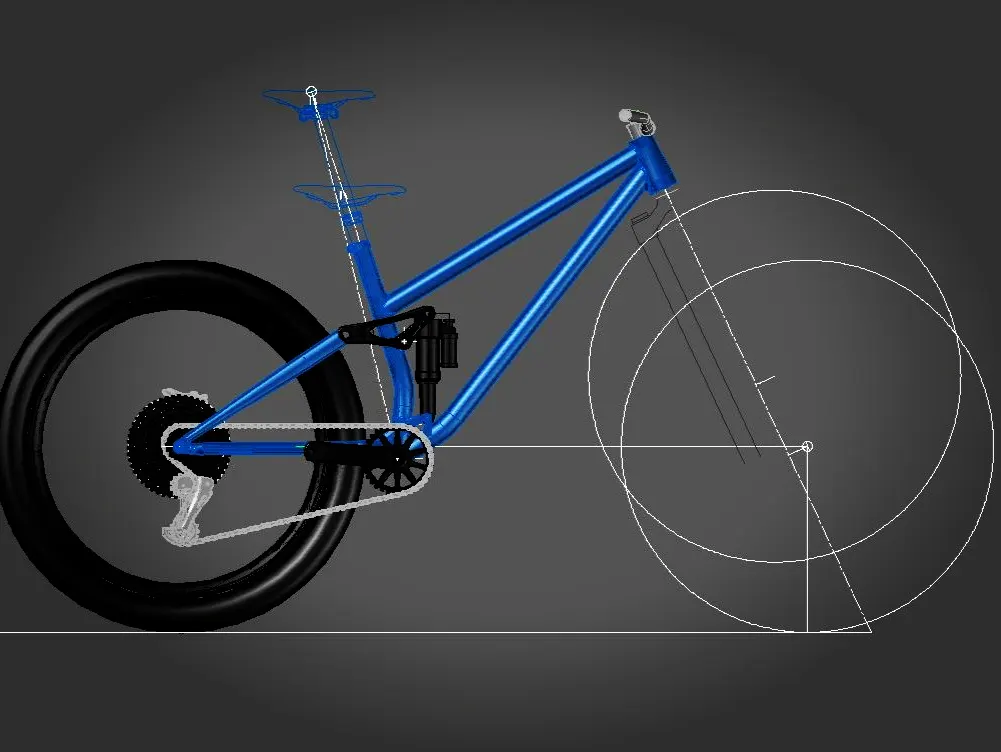
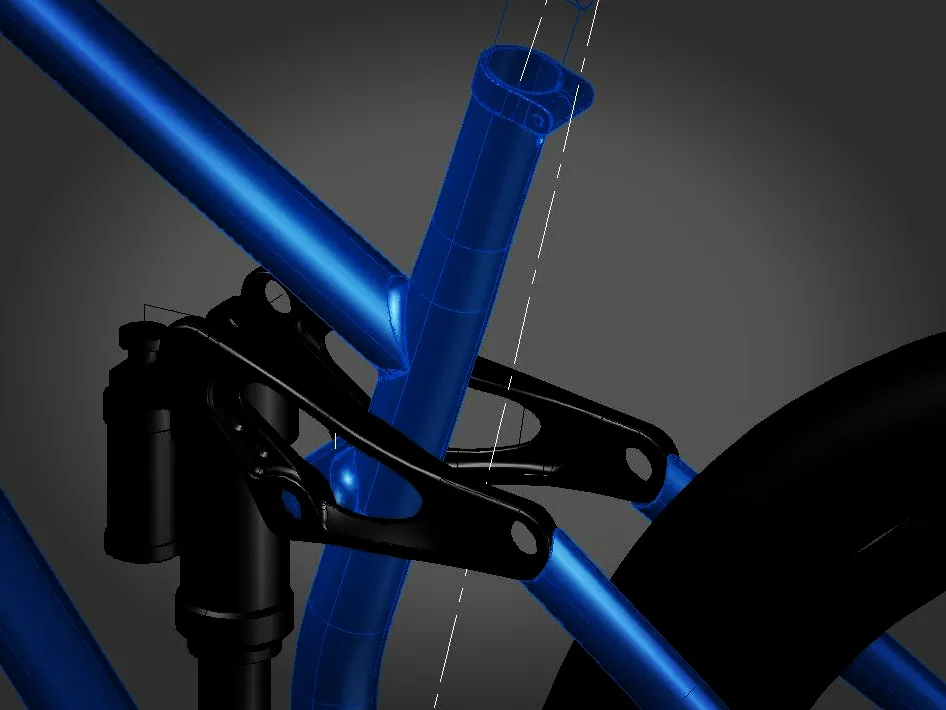
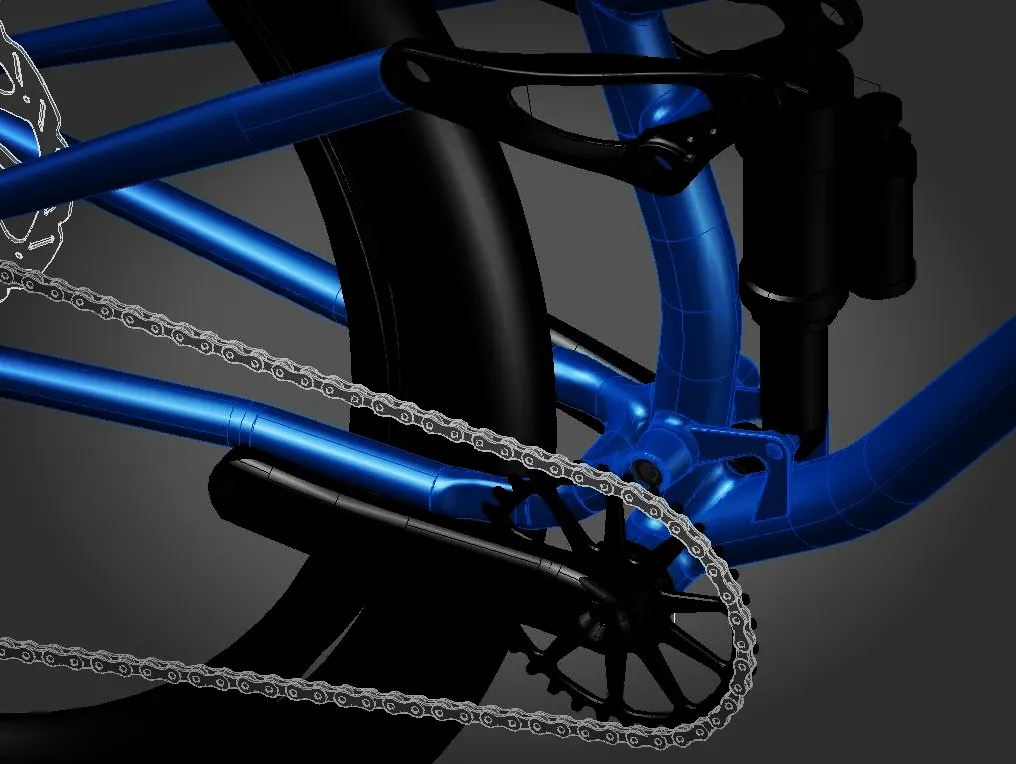
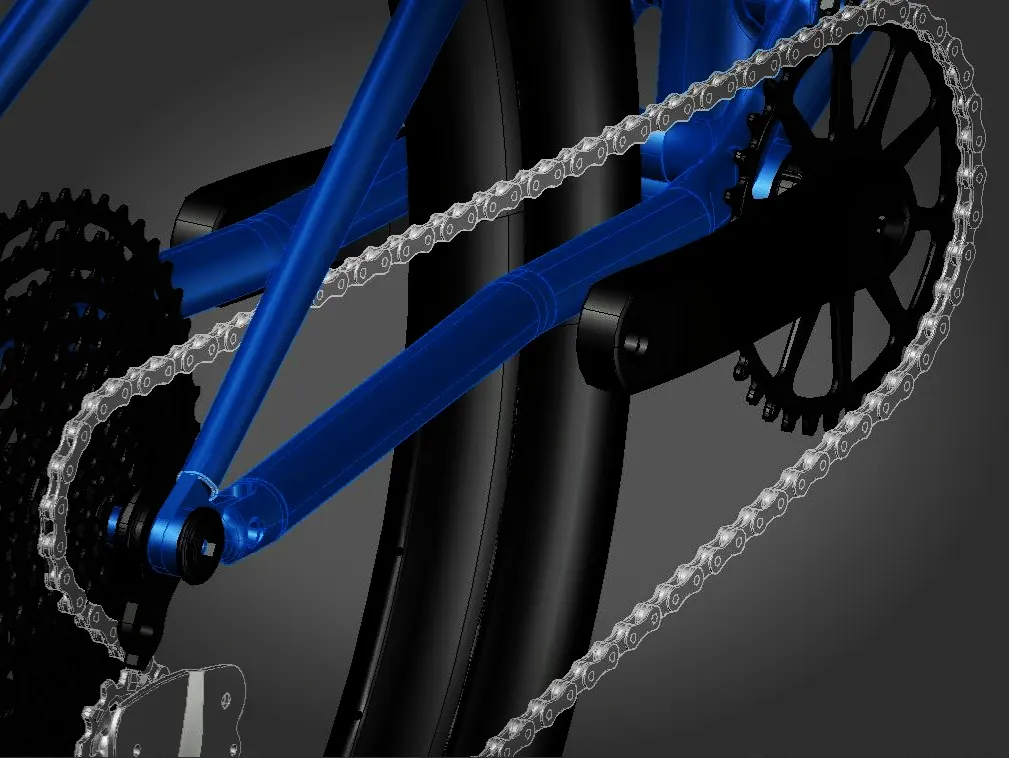
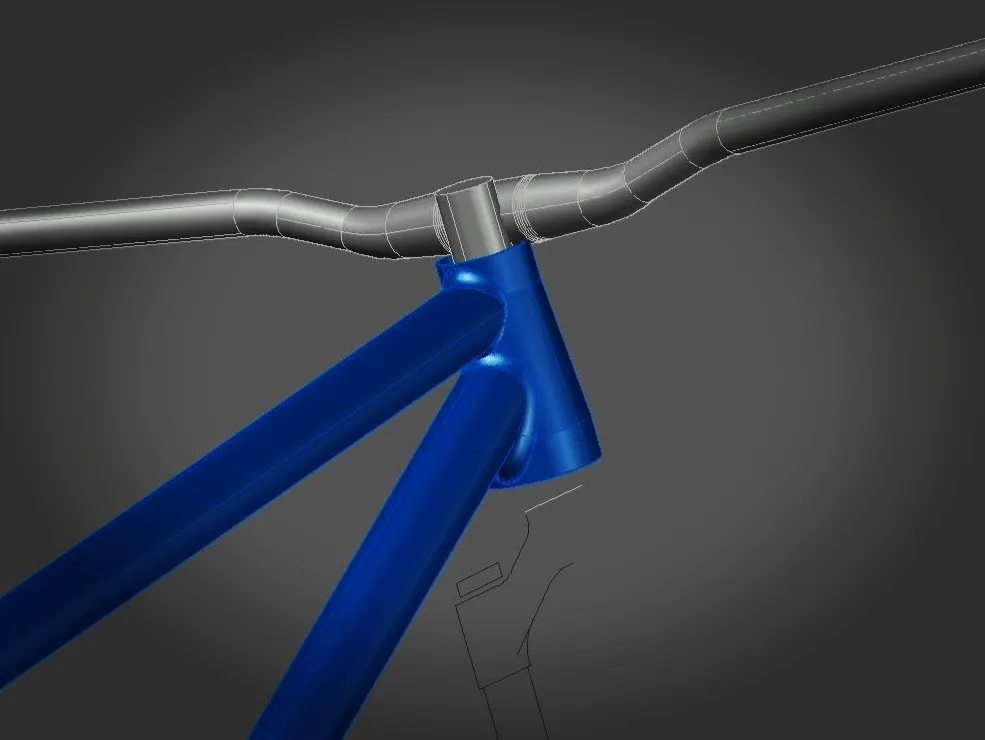
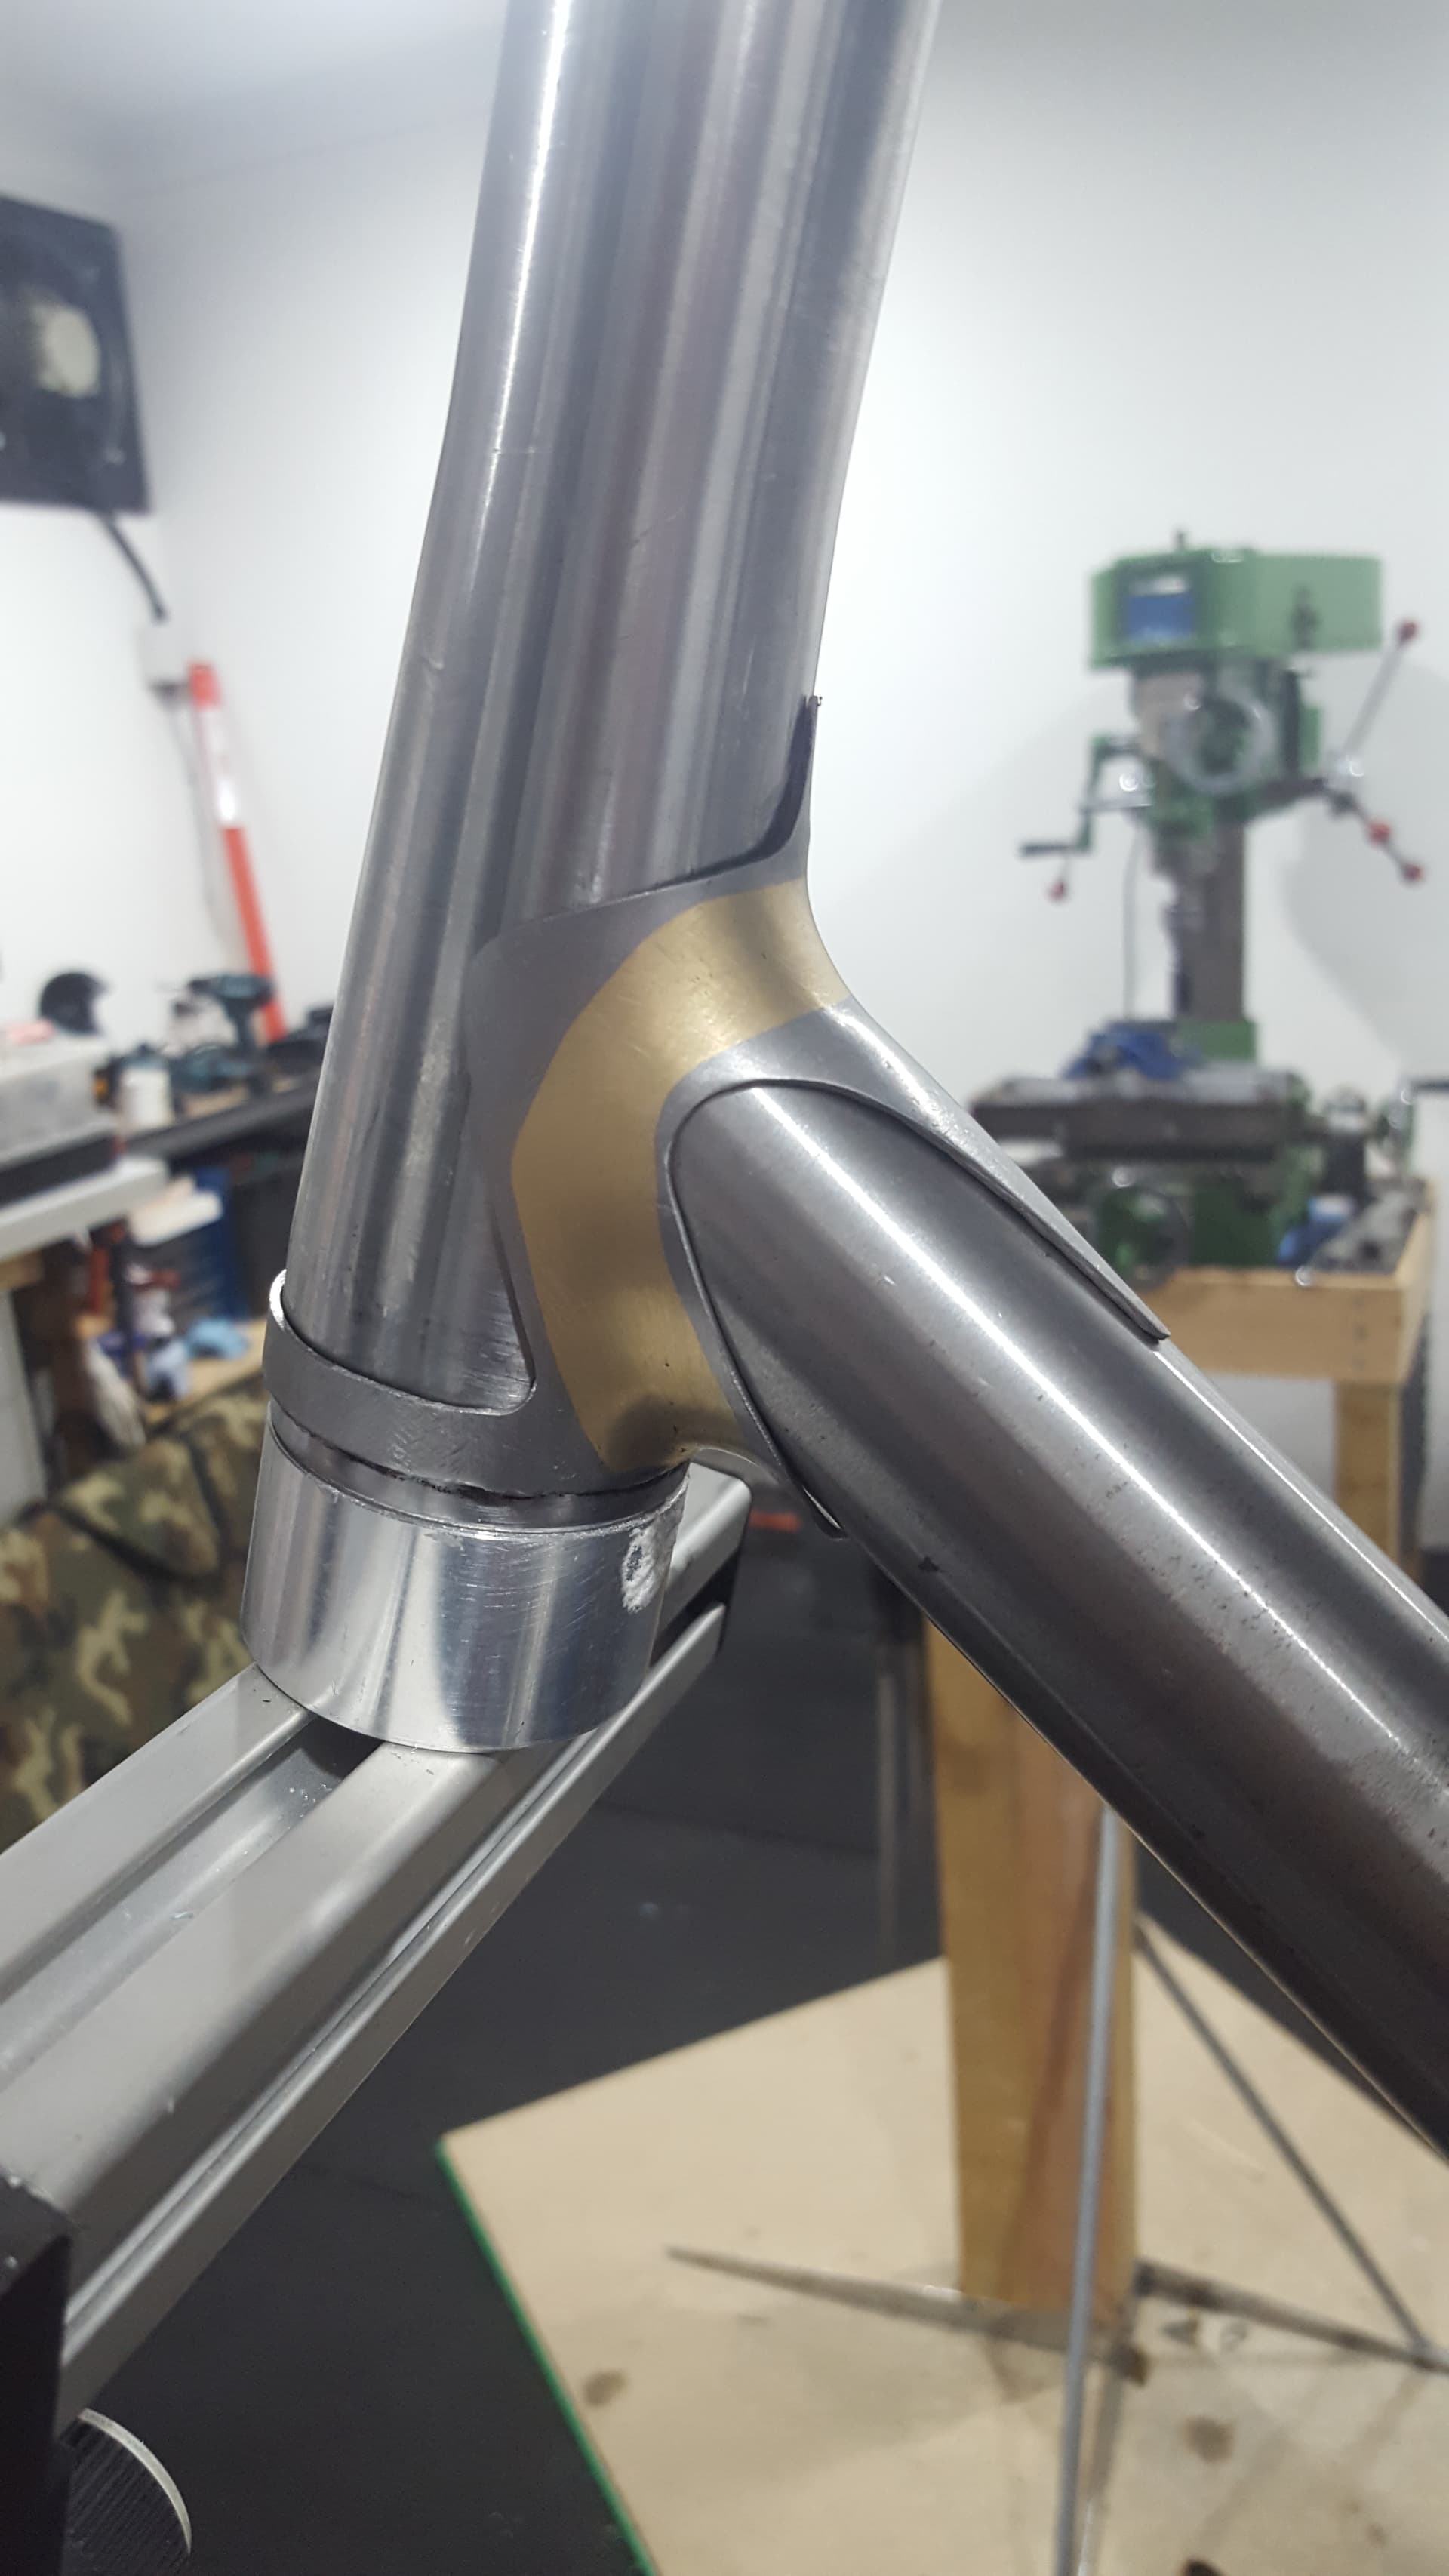
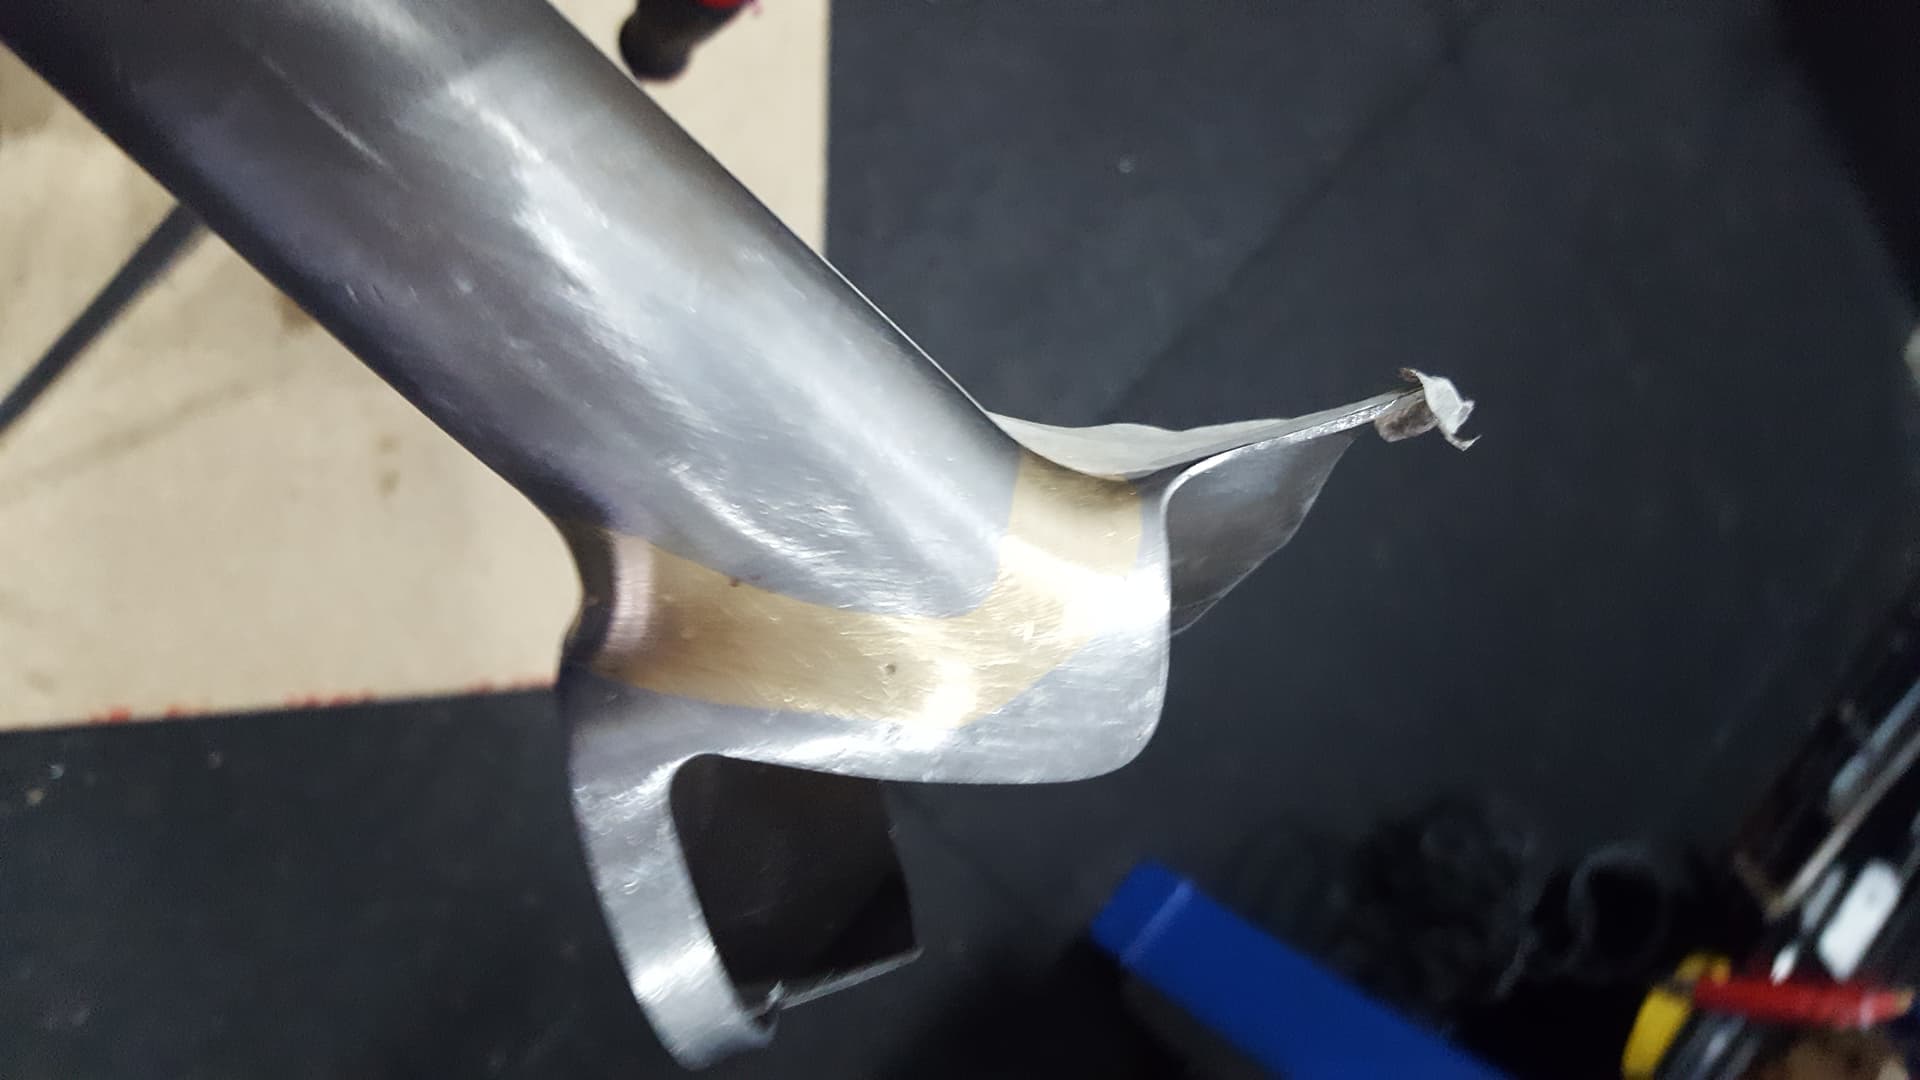
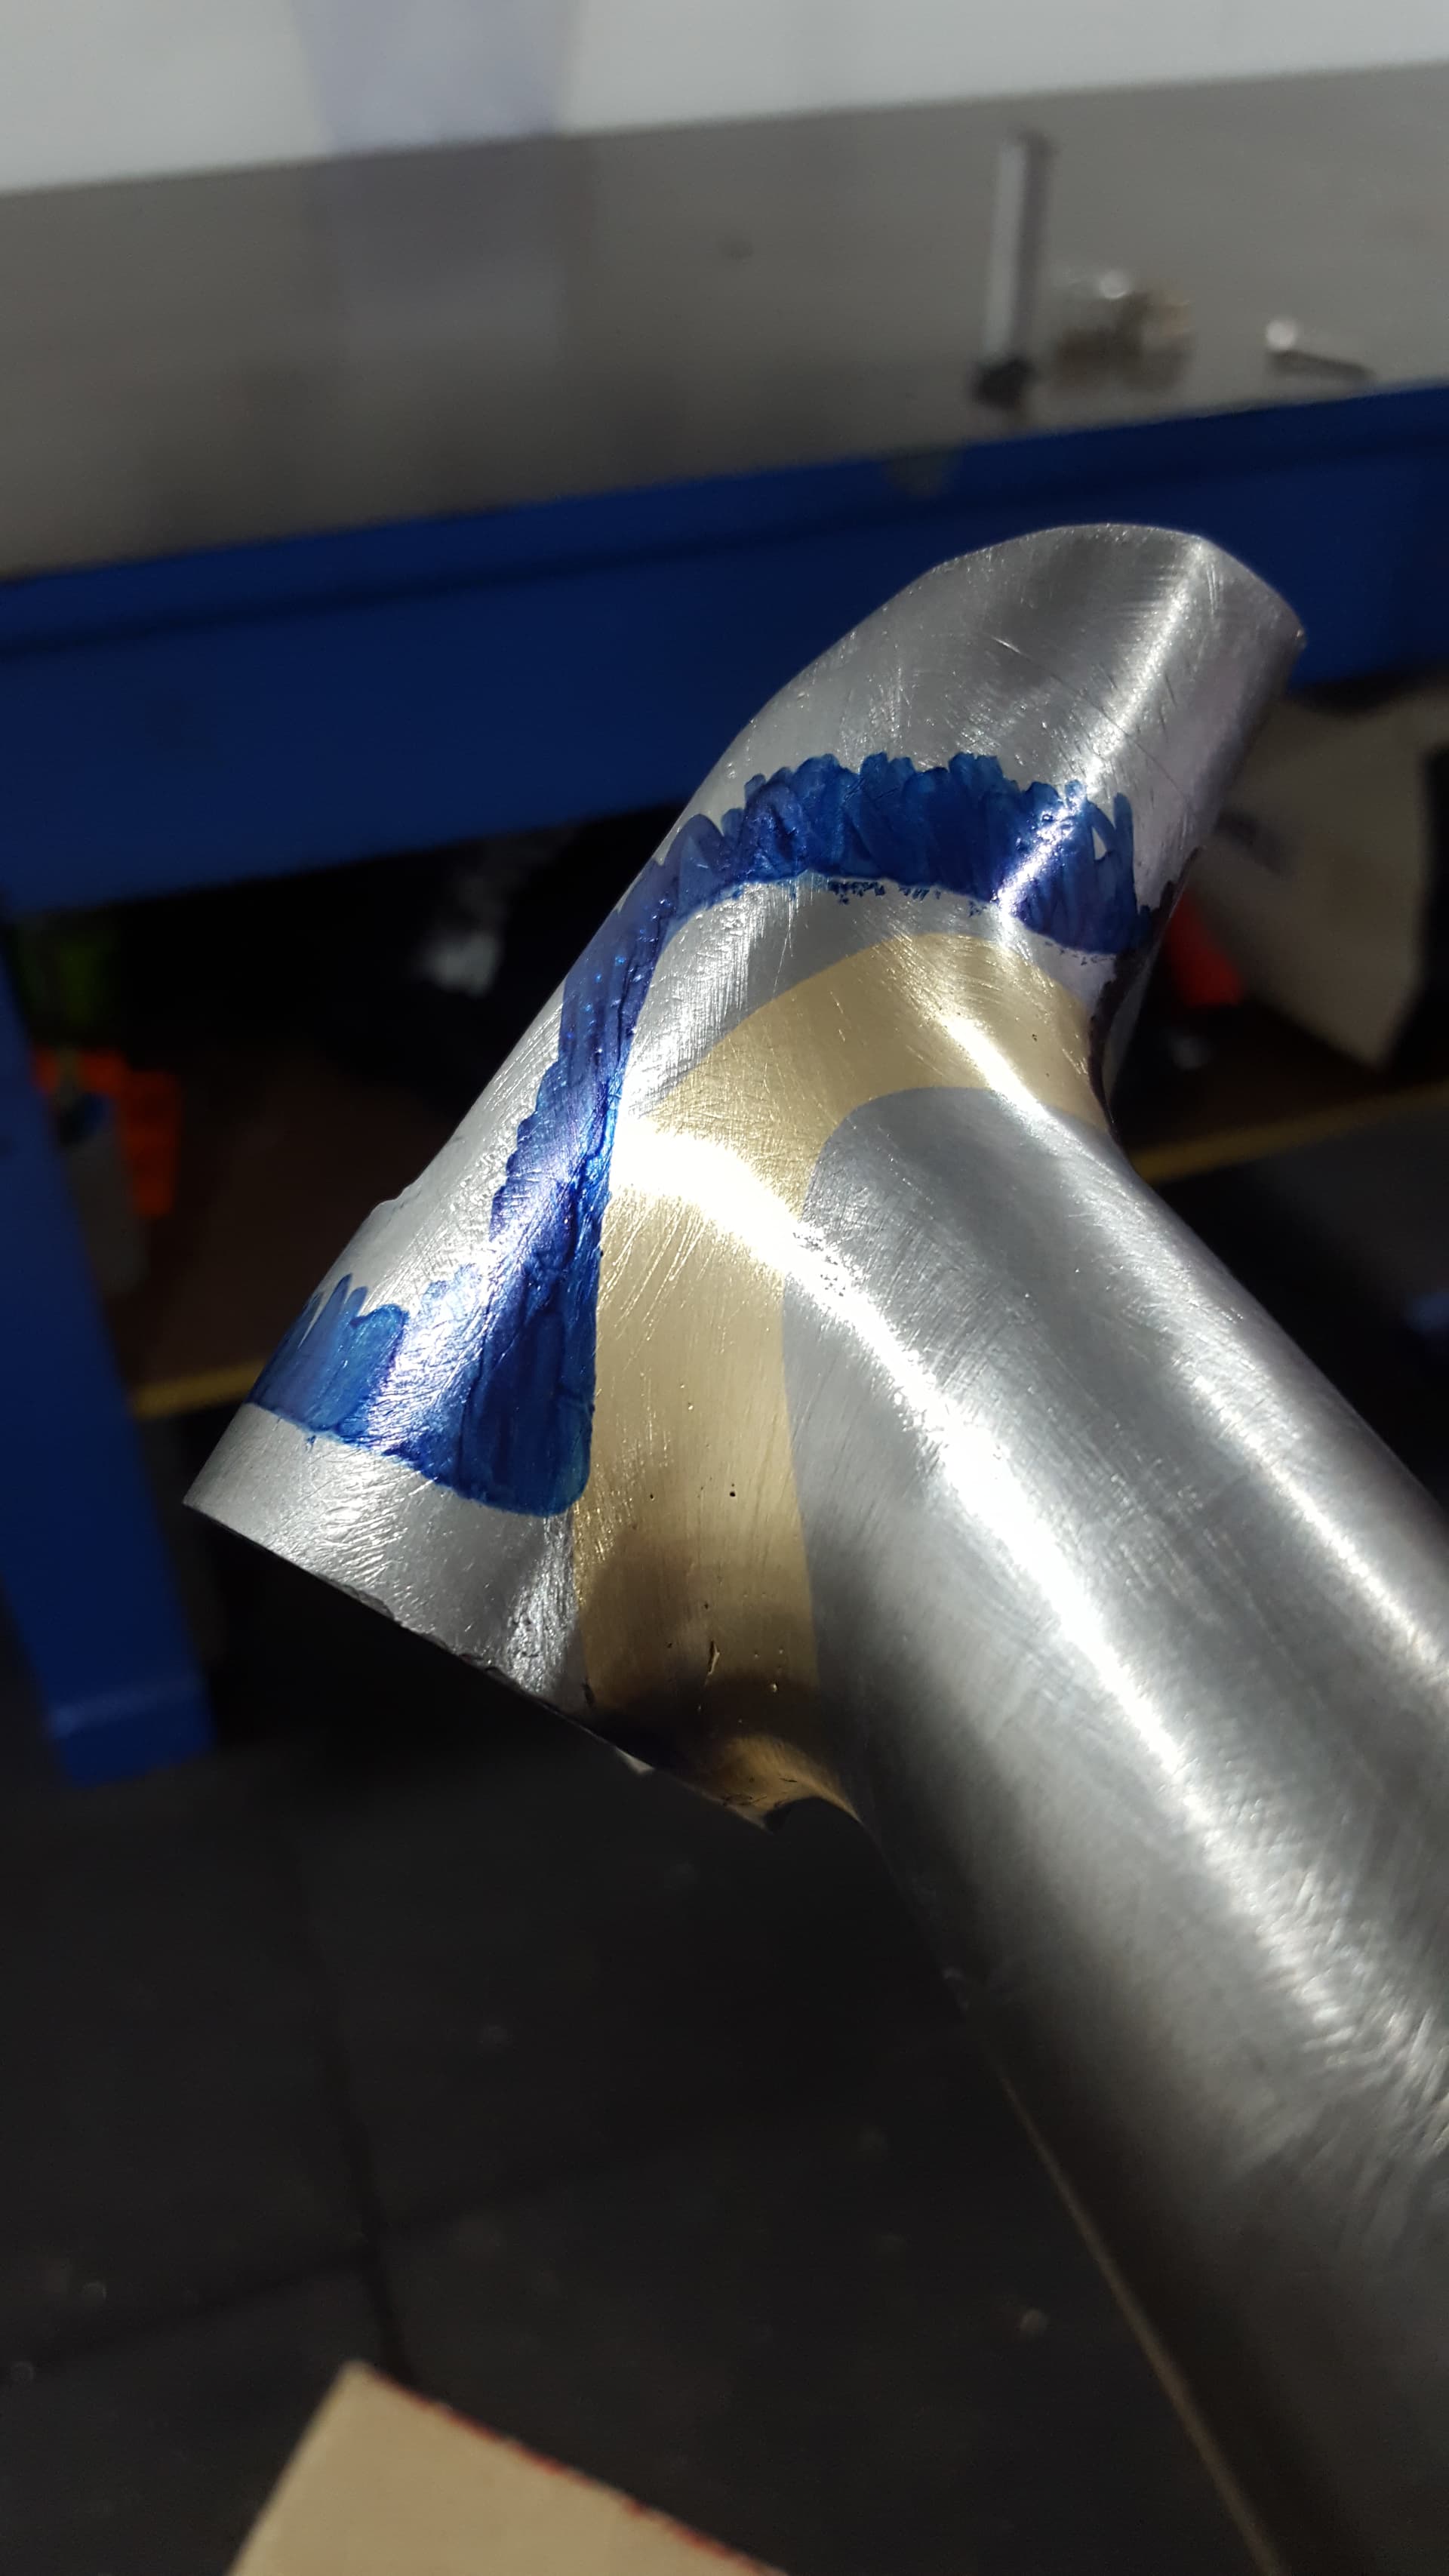
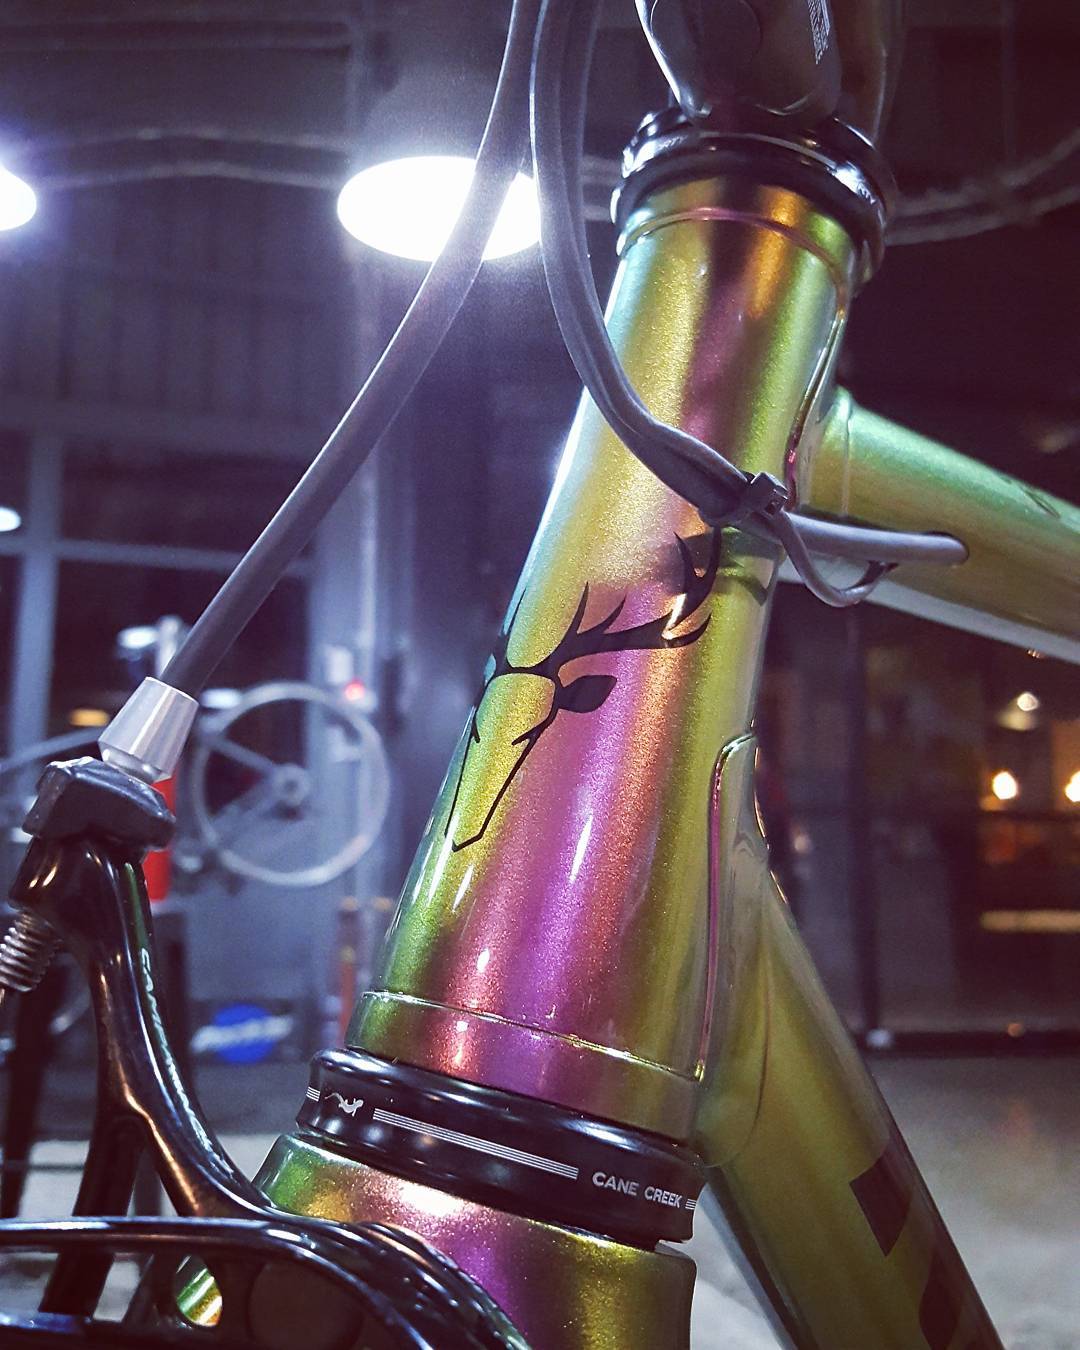
So far I’ve built nearly 30 frames. a good amount of them are road bikes with lugs only at first, through to bilam fillet brazing and now just straight FB with my signature frame carrying the loop bilam. I’ve done a couple gravel fames now and four full suspension frames, one a 140mm trail bike and three 170mm enduro race bikes.

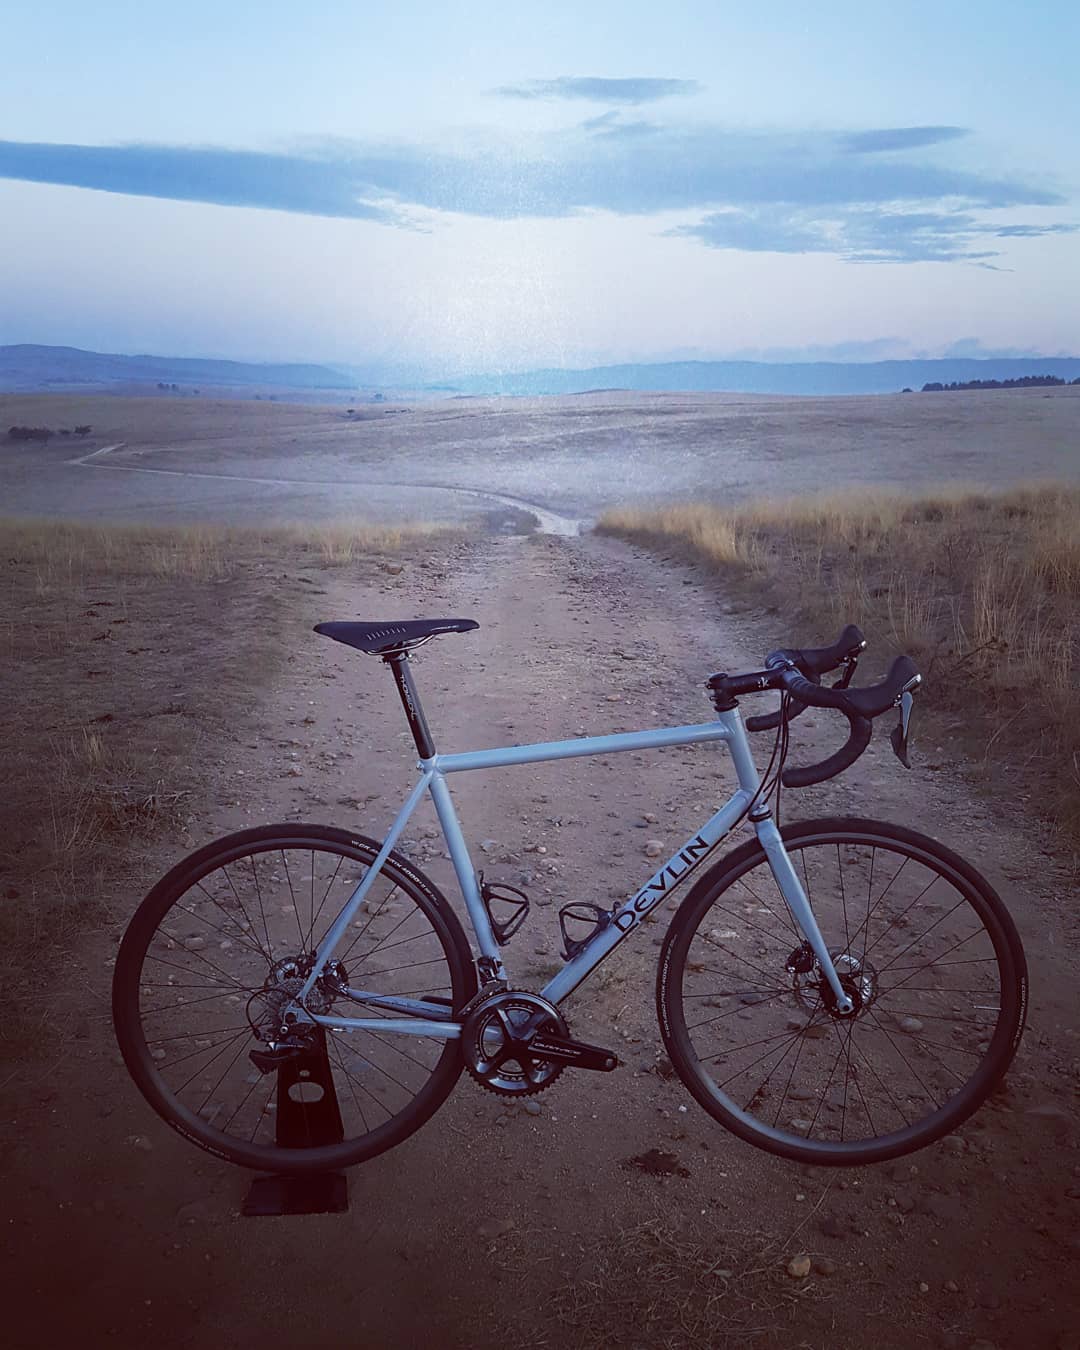
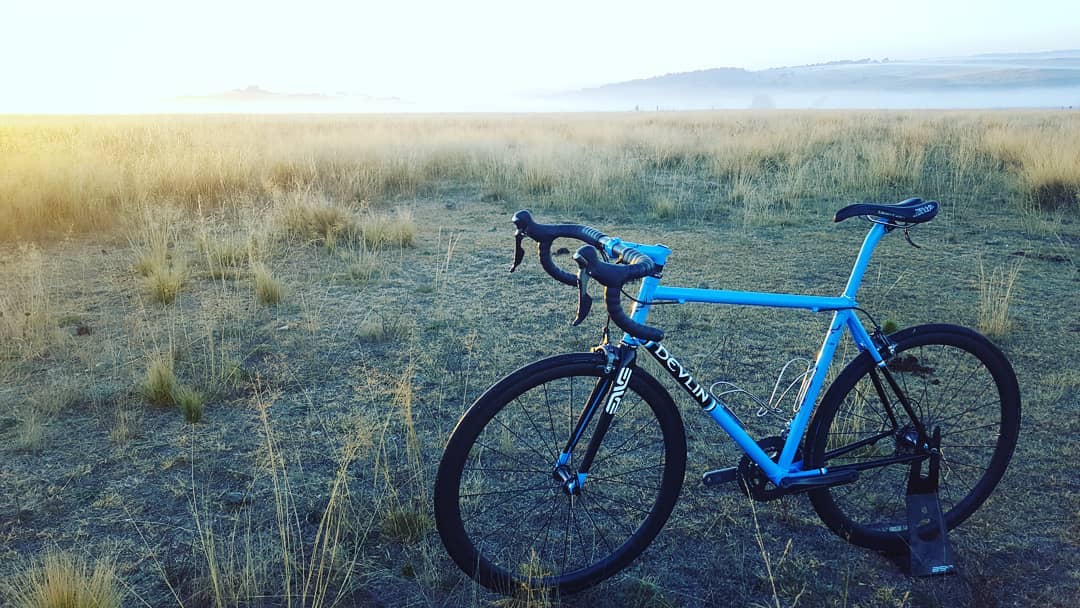
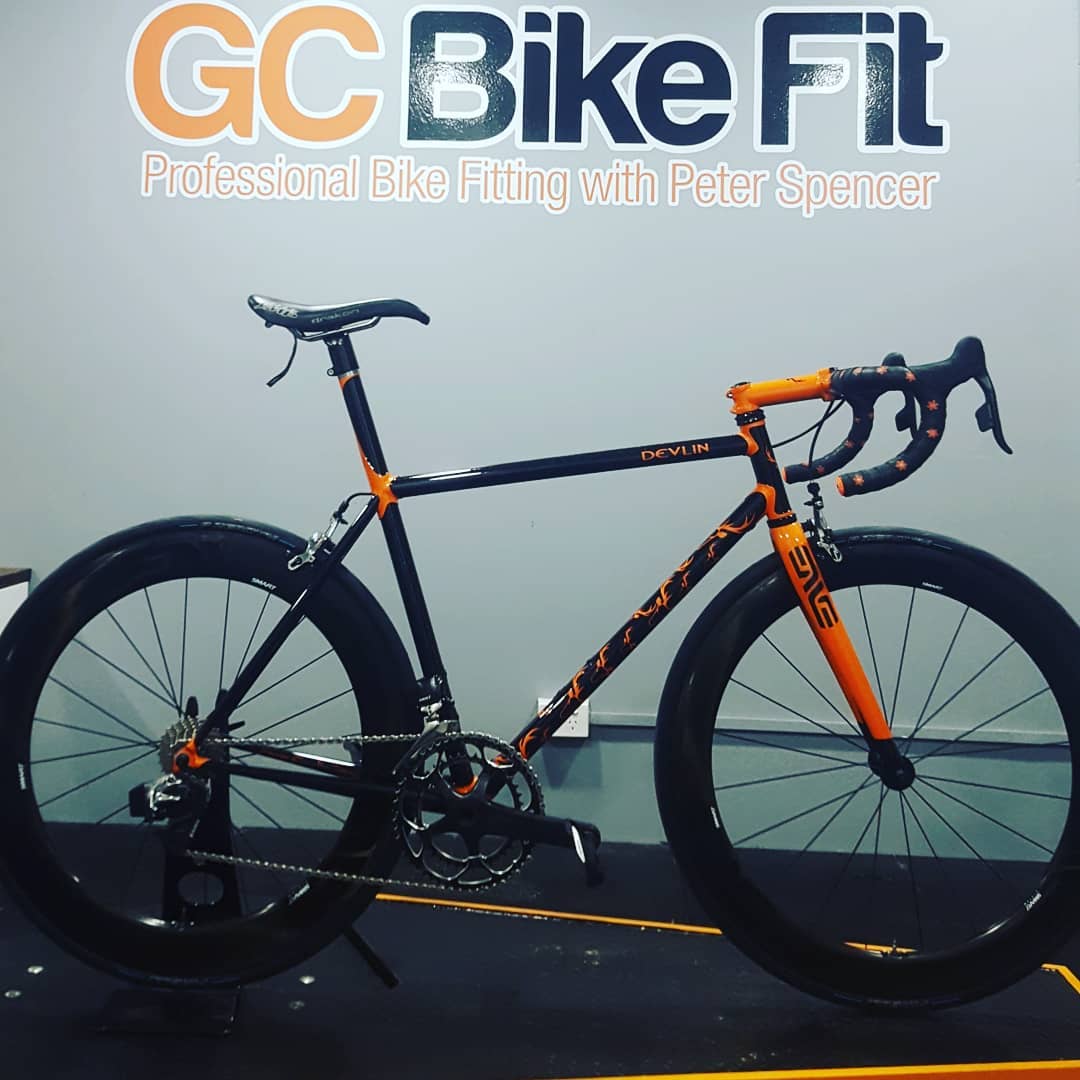
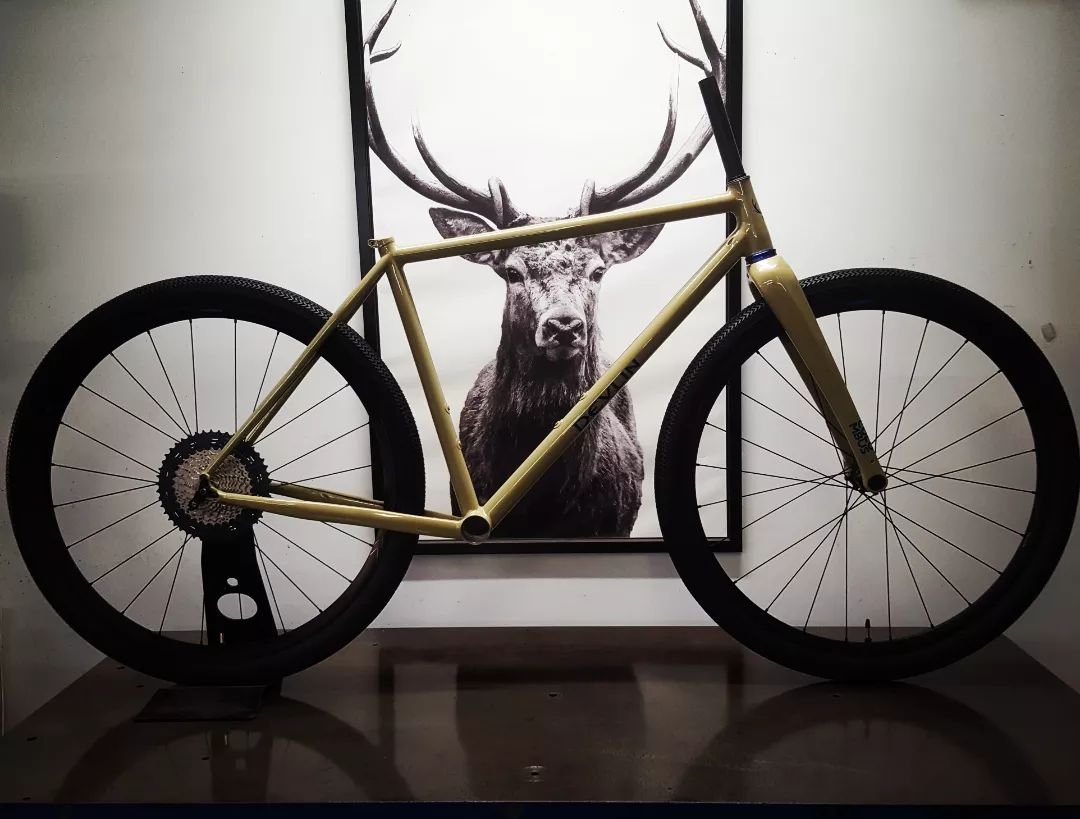
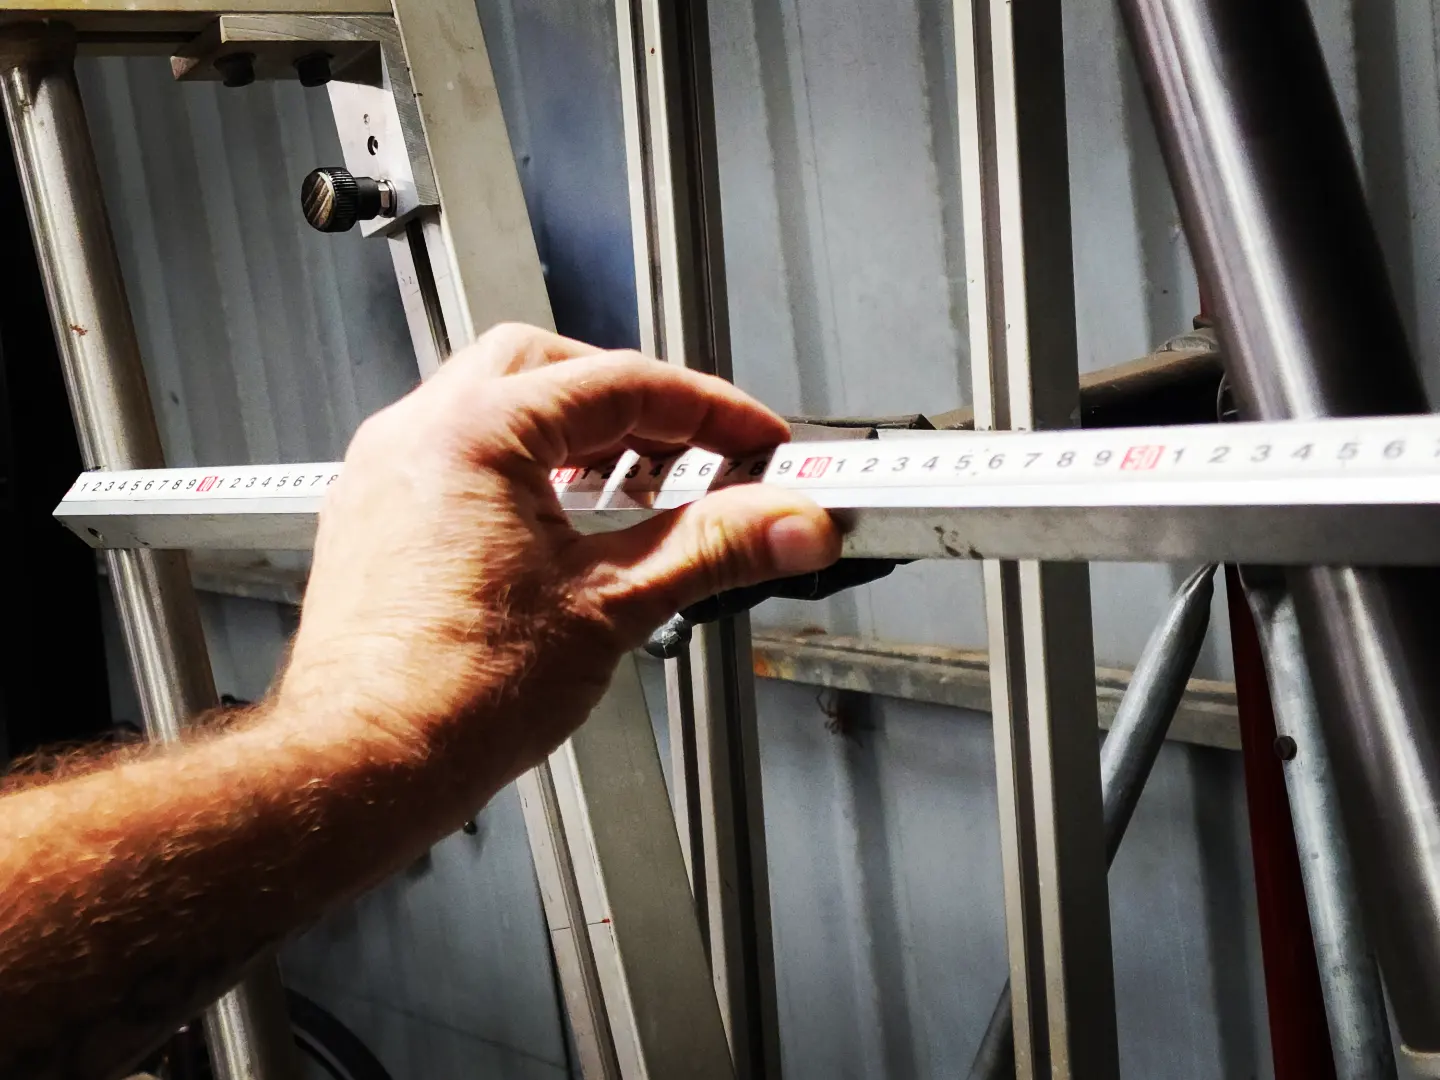
I’ll put some photos up and come back later with some more on why I build the way I do now.

13 Likes

From bike one through to the last bike.

11 Likes

Thanks for sharing your story! You’ve built a beautiful array of bikes. I remember seeing the red full suspension in a publication sometime last year. It’s a true work of art, especially with the impeccable brazing

3 Likes

Love ya work my dude. As always, great stuff chooch

1 Like

Some recent work…


4 Likes


6 Likes


5 Likes


12 Likes

Those brazed rockers look great.

1 Like

I love your tube links! Beautiful!

1 Like

I originally designed the Oisin with one lower shock mount but had real estate while I was making it to chuck in a couple options. I was never really happy with the look to be honest, so decided to replace it 6 I was repainting it.

The rubber grommets never stayed put in the cable ports either. Too much movement of the housing. So some brass sleeves which will allow the movement and also close up on the housings and keep a bit more trail debris out.

Along with the new tube rocker and seat stay bridge, this freshen up will look quite different.

A bit more clean up then a fresh coat of paint. Going for a lighter colour I think.


6 Likes

Wow gorgeous work. Look real good and nice to see full suspension bikes

1 Like

Custom butted tubing. Doing a test front triangle to tear apart with a load cell to corolate some numbers …hopefully.


5 Likes

Preliminary yoke design for the Jester swingarm. My idea is to seperate the nodes so they can be printed seperately and minimise binning a nearly completed full yoke and a failed print. Also if one part fails in service, I could remove that part and introduce a revised version. The pieces will be brazed together with 0.9 wall 4130 tube. Also cuts down on material being 3D printed. That’s the concept anyway.

I’ve just done this in vanilla Autocad. I have purchased Fusion but need to learn it a bit more before getting this complex. The main change I need to make to these now are the little steps inside. They need to be blended smooth. I’ve shelled it with a 1.2mm wall thickness. Also, may add internal guide tubes for gear and brake lines. Haven’t decided on that yet.

10 Likes

A big push today to finalise some details. Too hot to work in the work shop anyway.

Some pivot hard ware to sort out and 3D printing and laser cutting RFQs to organise.

I’ve managed to find a supply of tubing for this first initial batch of Jesters. So many details to take care of. Finding the right materials. Designing components that don’t exist. Crunching numbers and wondering if I’ll make any money out of it. Testing structures. Working out order of process and redesigning jigs.

Got to keep pushing.

IMG_20230212_200553_310

IMG_20230212_200553_393

10 Likes

Hey Sean. That is fantastic! I saw online the bike you displayed at the Melbourne show. Love the bilam design and the flowing lines into the tapered head tube. You should check out Alex Meade’s instagram page. He has a prototype going of a lug that will fit integrated head tubes.

1 Like

Thanks mate.

Yeah been there. Done that, but just the once. So much work do a one off. I like what Alex has done with his.

6 Likes

Wow! That lower head tube lug looks fantastic! It must’ve taken forever! BTW, what torch and brazing equip are you using? I heard that it’s really hard to get even lightweight hoses and American made torches in Australia because of the high import costs and lack of adaptors for fitting the torches to welding hoses.

2 Likes

Cheers mate. Probably took three whole days to make it as I was only my 4th frame so was still trying to figure out how to shape metal. It was middle of summer too.

Yeah, getting all the right tools and materials has been hard. Everything here is boiler maker duty and finding the finer light weight stuff is hard. Many hours trawling and lots of phone calls and emails trying to hunt down stuff. Fortunately the Australian Harris distro is just down the road so getting a nice torch and the silver 56% rods is easy.

I persevered with the heavy hoses until about a year ago when I found out the Gasflux distro in Melbourne carried a set of nice lighteight hoses. That has been a really nice upgrade. Bronze rods I can get a really nice product from an Australian gas supplier, BOC and I also get the 32% silver I use for fillets.

Flux I used to use the Cycle Design but found a silver flux in the local hardware that works really well and it’s a good price too. Still working my way through the pale of CD bronze flux, but it’s getting near the end.

Tubes I get from Sydney, both the Columbus range and the Promolloy 4130 for a race car supplier.

Other stuff I can get locally.

The one that stumped me was getting bent seat tubes. Months of sending out emails and asking for quotes and none of the bending places wanted to do it as either they didn’t have the mandrel/dies or it was to small a job. I ended up getting them from Andy at BFS and shipped over. He was super helpful.
I tried to make my own bender but it needs more work and ordering a Cobra Toob bender ends up costing close to Aus$4000. The newBridgeport clone mill I bought was $7500 so makes the Toob bender look hideously expensive, Though what it can do for me is worth a lot as well. One day.

I t has taken teh good part of 8 years to finally pull all the resources togetehr so I know where to get everything each time I need something.

My current tackle is laser cutters. No one wants to help with the loop bilams sleeves. Which is why I’ve consigned them to the top shelf road bike. Even getting them to rply to a batch of drop outs is like pulling hens teeth. So frustrating.

6 Likes

A few photos from the last week.


7 Likes