Let’s talk about TIG welding. Having trouble with a machine? Trying to get that perfect stack of dimes? Purge or no purge? Put it all here and let’s get everyone that #tigtuesday Instagram cred they desire!


6 Likes

1 Like
I’ll throw my setup out there as a reference, since I’m most definitely unqualified to give advice.
Torch: #10 pyrex gas lens, 1/16 tungsten
Machine: 1s preflow, 1pulse/sec, 30%ontime 5%background 10s postflow
Gas: 8cfh back purge, 15cfh torch
I have most difficulty on the ears of miters where the tubing is almost the same diameter (basically becomes a lap joint). I also always use .045 filler but would like to know if others prefer .035 or change diameters based on the joint.
I started a build log for my notes in trying out titanium since I didn’t want to clutter this space, feel free to observe the carnage. Cheers!
1 Like
Great Idea Alex.
Here is my set up:
Everlast PowerTig 400 EXT with water cooler
#12 flooding cup with gas lens
1/16 2% Lanthanated tungsten
Settings: I use different settings for different parts of the frame, each setting has been optimized for the material thickness and properties of the parent material to maintain consistent weld appearance around the frame while providing the strongest possible joint.
My primary “go to” setting is as follows:
2 sec pre flow
120a
16% time on
15% pulse amps or background
1.1 pulse/sec
10.5 post flow


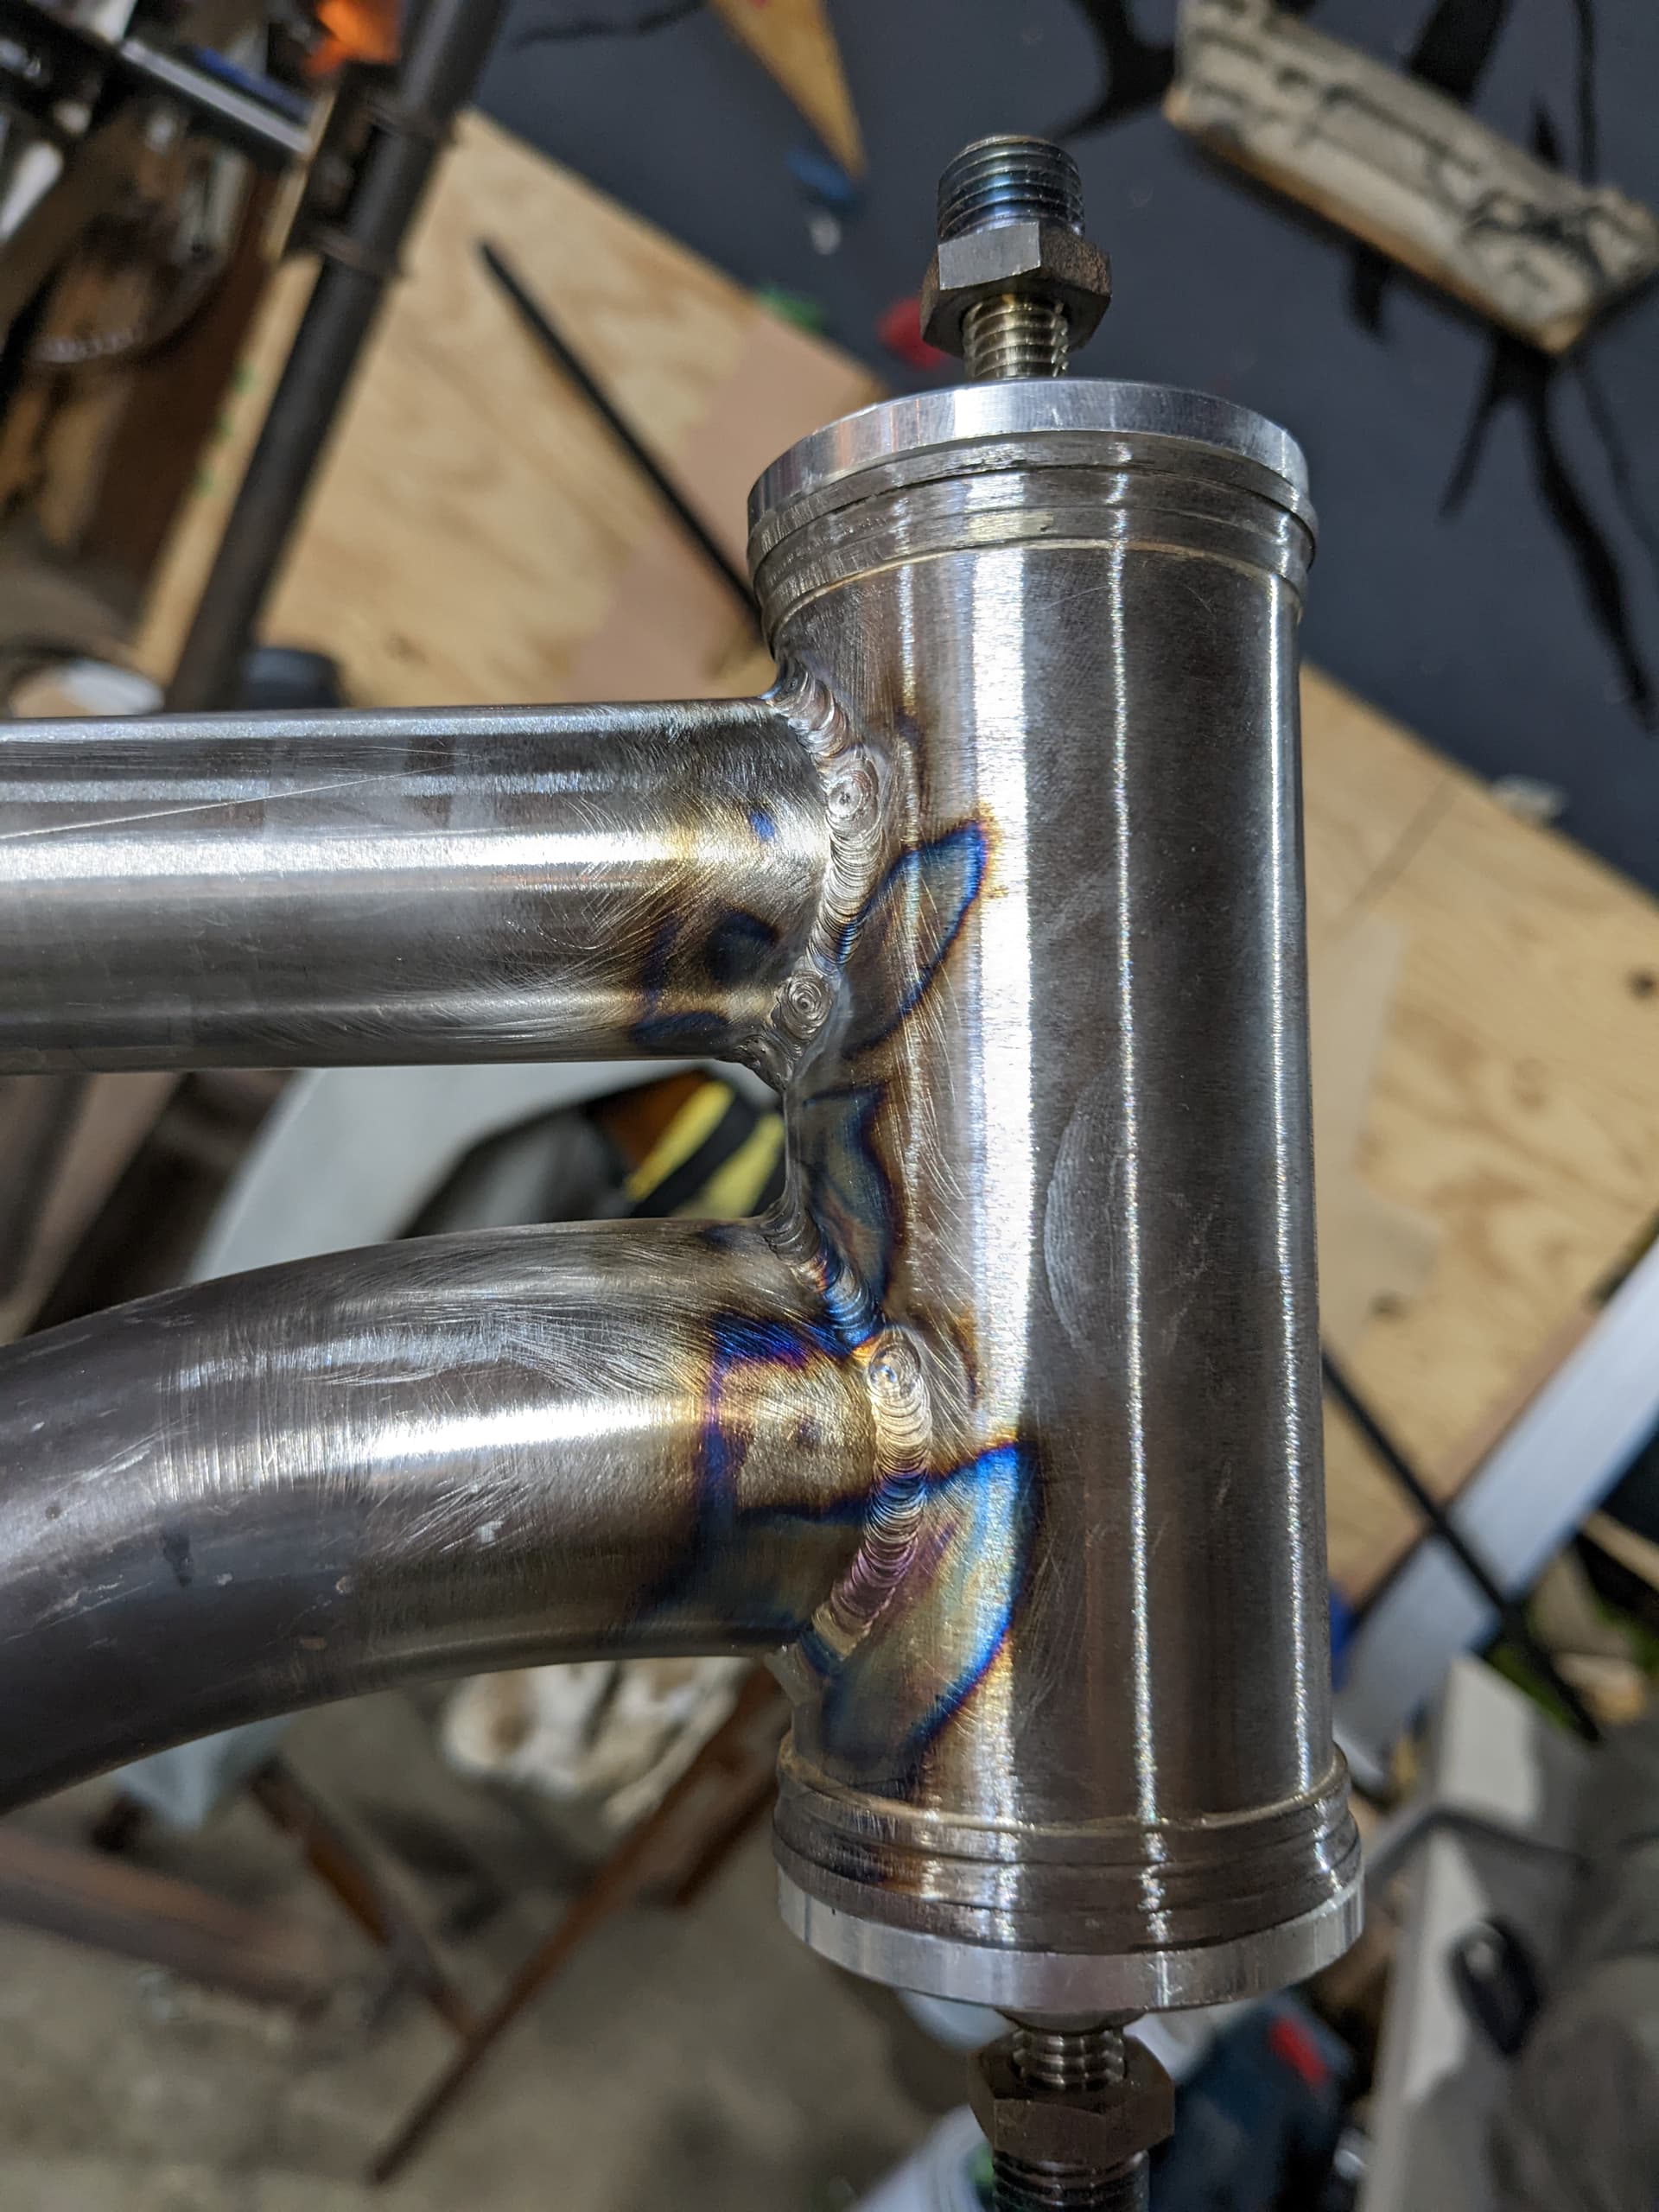
Here’s a thing I made the other day, the weld on the left I need more amps due to the thicker seatpost collar, but was pretty happy with the join to the top tube. My welder is an old transformer machine with hf start and post/pre flow but not really any other settings. Still learning and getting better. Been using a no.8 pyrex cup and gas lens off AliExpress, just got a couple of fupa12 cups and a jazzy 10 to try out so will have some fun with that shortly
2 Likes
Be careful jumping into using the Furick or similar cups when you’re learning. They will hide issues and prolong the learning process.
4 Likes
I’m very slowly moving to welding from fillet brazing. Still need lots of practice.
When do you welding pros not back purge on your steel frames?
I personally back purge everything including all of my sub assemblies. It’s cheap, it’s not any slower once you’ve made it habit, my frames incorporate a lot of stainless parts that benefit from being back purged, and it means I don’t have to do anything different when switching from steel to ti.
4 Likes
I don’t backpurge steel bikes (and I don’t make ti bikes, so I guess I just don’t backpurge).
-Walt
5 Likes
The brace to the top tube has the right look, make sure to push a little extra filer as you get into the crotch, those acute angles are easy to undercut. What was your amperage set at?
More of an aesthetic comment here but try to plan your stops so they are hidden behind or under and feed filler right to the end. You’d be surprised what shows through paint or powder coat.
1 Like
Different horses for different courses.
1 Like
Jealous of the back purge setups and pulse machines! I’m using a late 90s or early 2000’s Lincoln square wave 175. In the past I’ve used a 9 torch with gas lens, furick 10 and 12 cups. Currently using a 15 flex head torch with gas lens and a 8 cup and 3/32" 2% thoriated tungsten. Maybe I should switch to 1/16" tungsten for frame building?
I’ve used .045 er70-s2 for bike related things in the past but the current frame I’ve been using .035 weldmold 880 and am enjoying that so far.
1 Like
I think 1/16" is more common but honestly if you’re used to 3/32" it probably doesn’t matter. For bike level amperage that’s a bigger electrode than recommended but it can work fine.
It’s worth remembering that pretty stacks of dimes are arguably less important than making sure your tacks/stops/starts aren’t in critical spots and that you’ve got a nice even size/shape without undercutting anything. It’s almost impossible to build a TIG bike that will fall apart at the welds, it’s very easy to build one that will crack a tube at a stress riser because there’s a lump or a tacked area that had to heat/cool a couple of times. Unfortunately you don’t find out about welding mistakes until years later, typically.
-Walt
5 Likes
Setting up a back purge is easy, no need to over think it, just put the gas in the tube. Fancy heatsinks are nice and all, but some high temp silicone plugs do a great job too and can help reduce wear on finishing tools.
Jody from welding tips and tricks often mentions how to stop a tig weld without creating a crater, to summarize, give the weld some extra filler before slowly tapering out. It’s a good habit to get into.
4 Likes
Can’t remember the amperage, probably had the machine set around 50-60? I actually need to pull the pedal apart and change the potentiometer to something with a higher resistance value. Its a chinese generic pedal not designed for my machine and the sweep probably gives about 5-10 amps of range. My first 3 frames I just had a HF start button and had to get the amps right or stop and go change the machines settings.
Yeah you are right about the stops, I think having a broader range on the pedal would help with that too. Sometimes I end up right at the low end of the pedal and cant back off before extinguishing the arc and it ends with a pit. I think for the most part I just need to spend more time, things are getting better with every frame so I think it’s probably just learning the movements and getting comfortable/muscle memory.
2 Likes
Welding is a skill that improves with practice and time. I improve every time I strike an arc, and that’s my goal.
When you are doing practice joints make it difficult. Don’t position the work piece perfectly in front of you or move it so you have the perfect angle every time. Some of the best lessons learned were while contorted into a race car chassis welding upside down with the pedal between my knees or even worse, with someone else manning the pedal while I yelled “more”, “less”, and “off”
5 Likes
A lot of my frames use tapered head tubes. I haven’t seen any heat sinks designed to fit that shape. Do y’all make your own heat sinks for the tapers or do something different?
1 Like
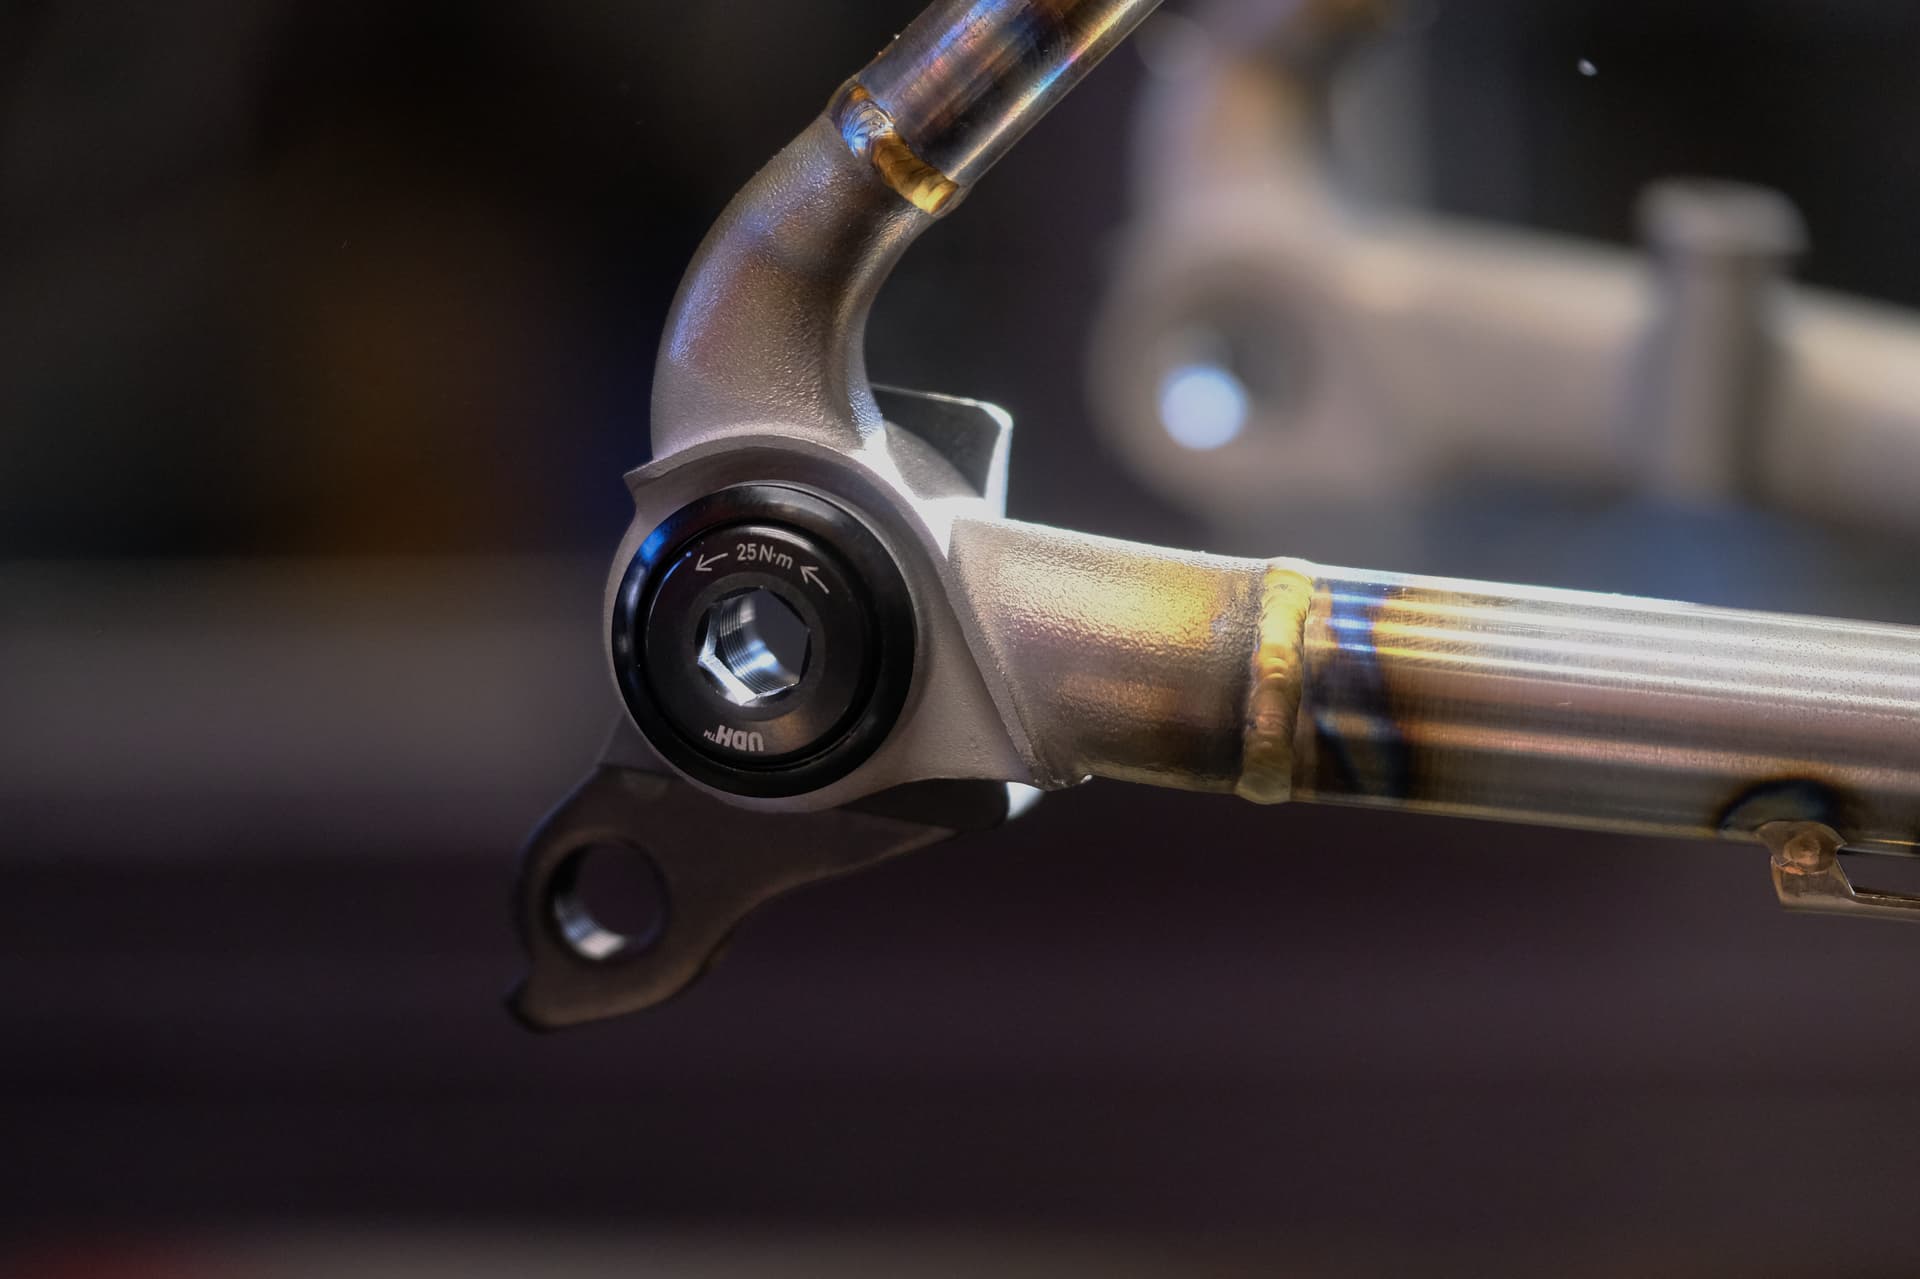
I don’t use heatsinks in tapered headtubes, just two caps, two 1/2 nuts, and a 1/2 stainless threaded rod. One of the caps is drilled to let argon flow in. Generally with an IS tapered headtube your weld isn’t backing up to the bearing race so the tiny bit of distortion you see is irrelevant and can be cleaned up with a few quick turns of an appropriate seat cutter.
4 Likes
I’m getting ready to weld up a few frames and had the set up out so I snapped a few pictures. Each cap has a step and a taper turned onto them. The step allows for use on EC34/44 headtubes and the taper for any of the IS headtubes available.
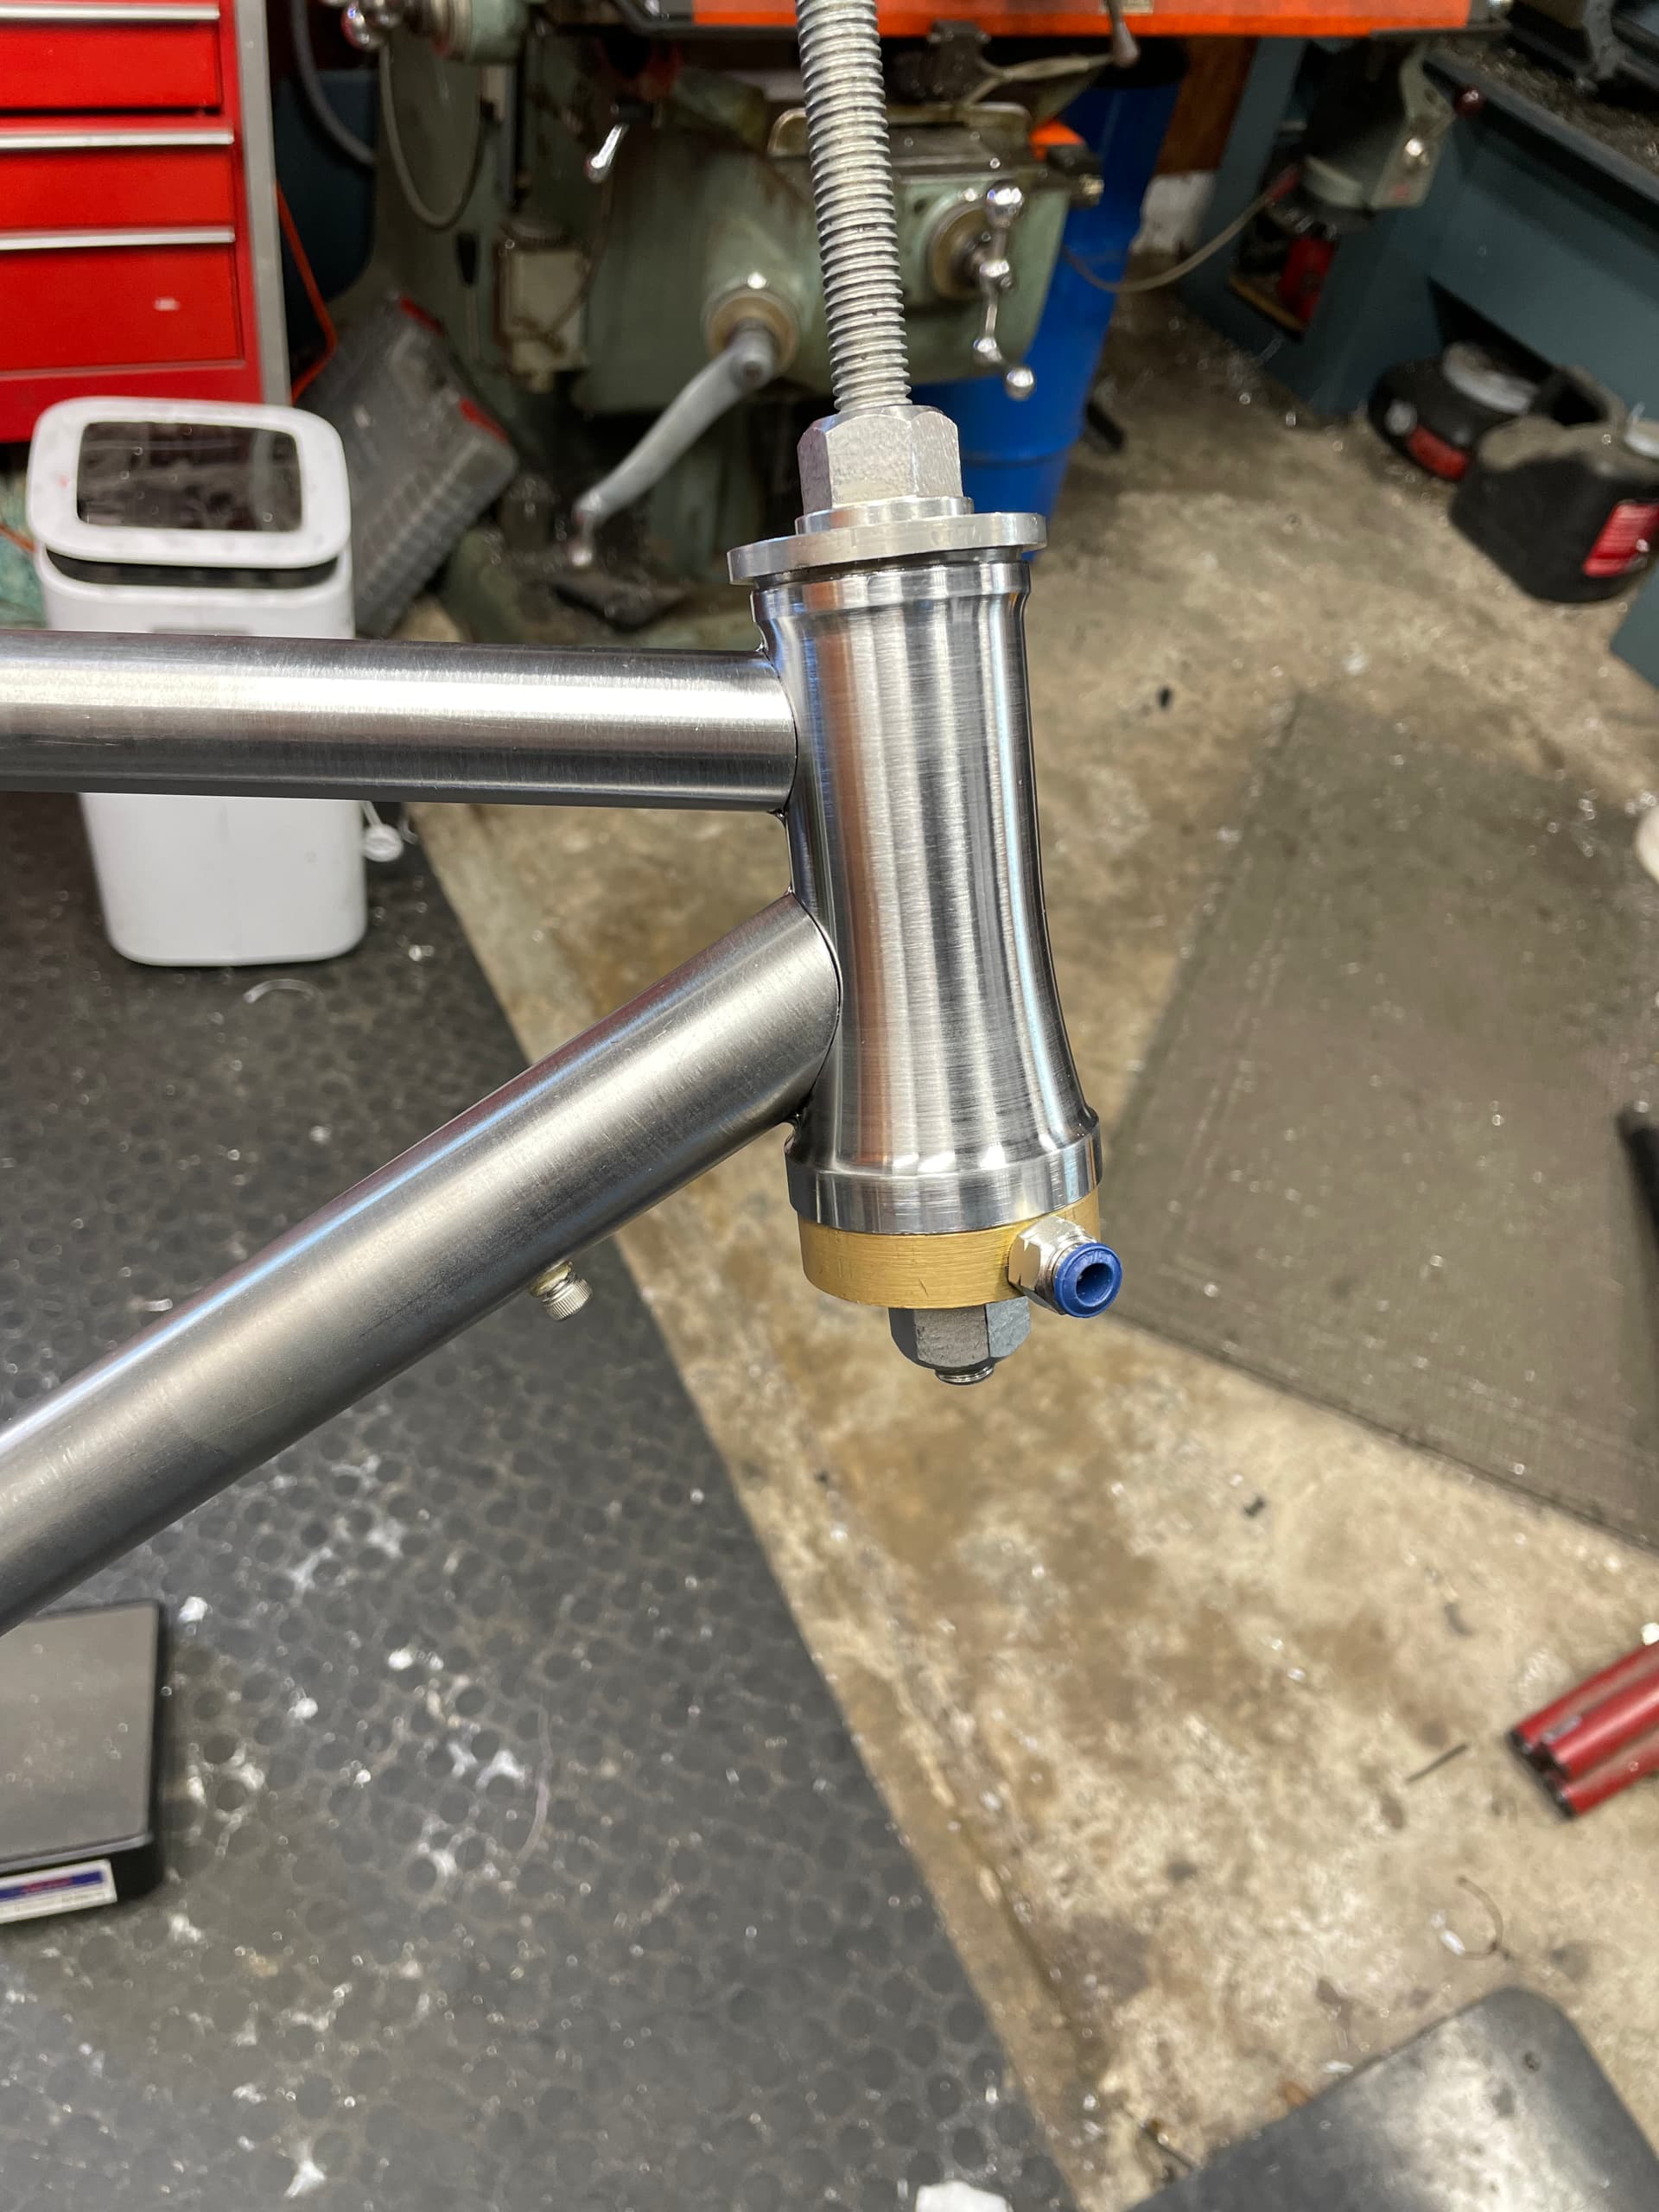

8 Likes
I just TIG’d up my first frame, some good spots, some not so good spots…
Everlast power I-tig 200
Furick jazzy 10
3/32 2% lanthanated
25 cfh
No purge
Sputnik heat sinks
2 sec pre flow
120 amps
30% on
9% background
10 sec post
1 PPS
.035 ER70S-2
I think top tube is under cut here.

Poorly placed/finished stops

Welcoming any and all comments/critique!
4 Likes