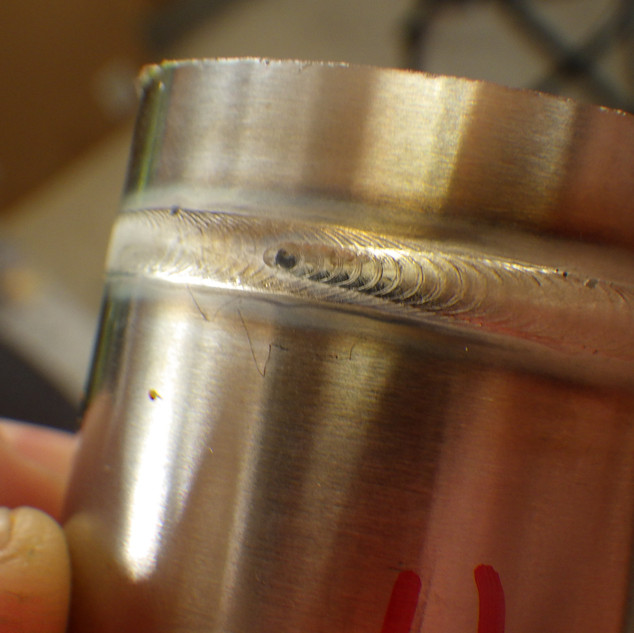
Work on your stops. You want to add filler right before tapering off slowly so you don’t leave a crater or a fish eye.
It also looks like you could push a little more filler in, are you using a lay wire technique? What diameter filler?
Work on your stops. You want to add filler right before tapering off slowly so you don’t leave a crater or a fish eye.
It also looks like you could push a little more filler in, are you using a lay wire technique? What diameter filler?
I also prefer to run 20-30% background, it keeps the filler flowing into the puddle between pulses and helps reinforce the root of the weld.
Hi,
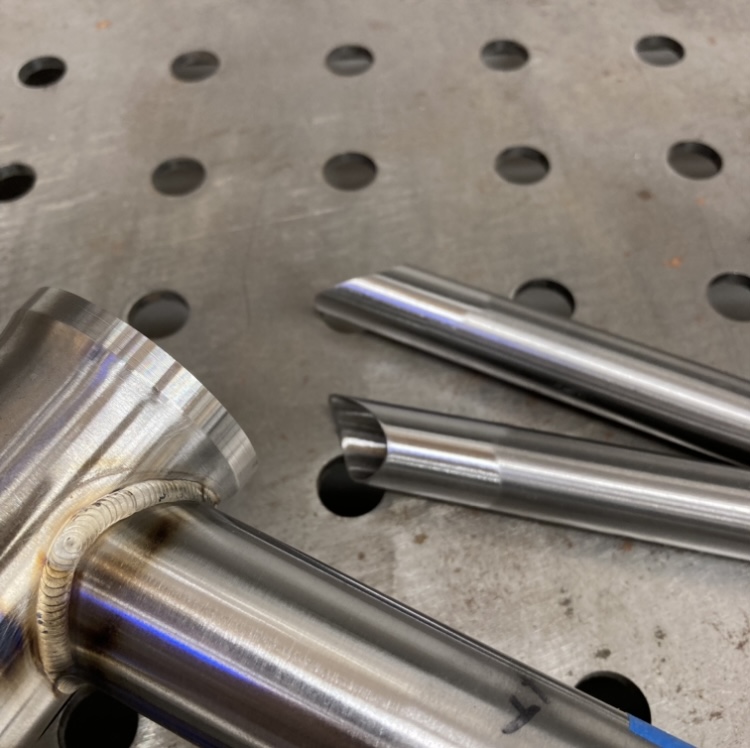
just started using tig, welded one frame and now working on next one.
I have about 4-5s pre and afterflow. Pulse settings are 33/33/ 1 pulse /sec, base is 20amps, max is 60A (I use a pedal, so no idea what is the exact value as I adjust on the go).
Filler is 1mm 316l. 1,6mm tungsten.
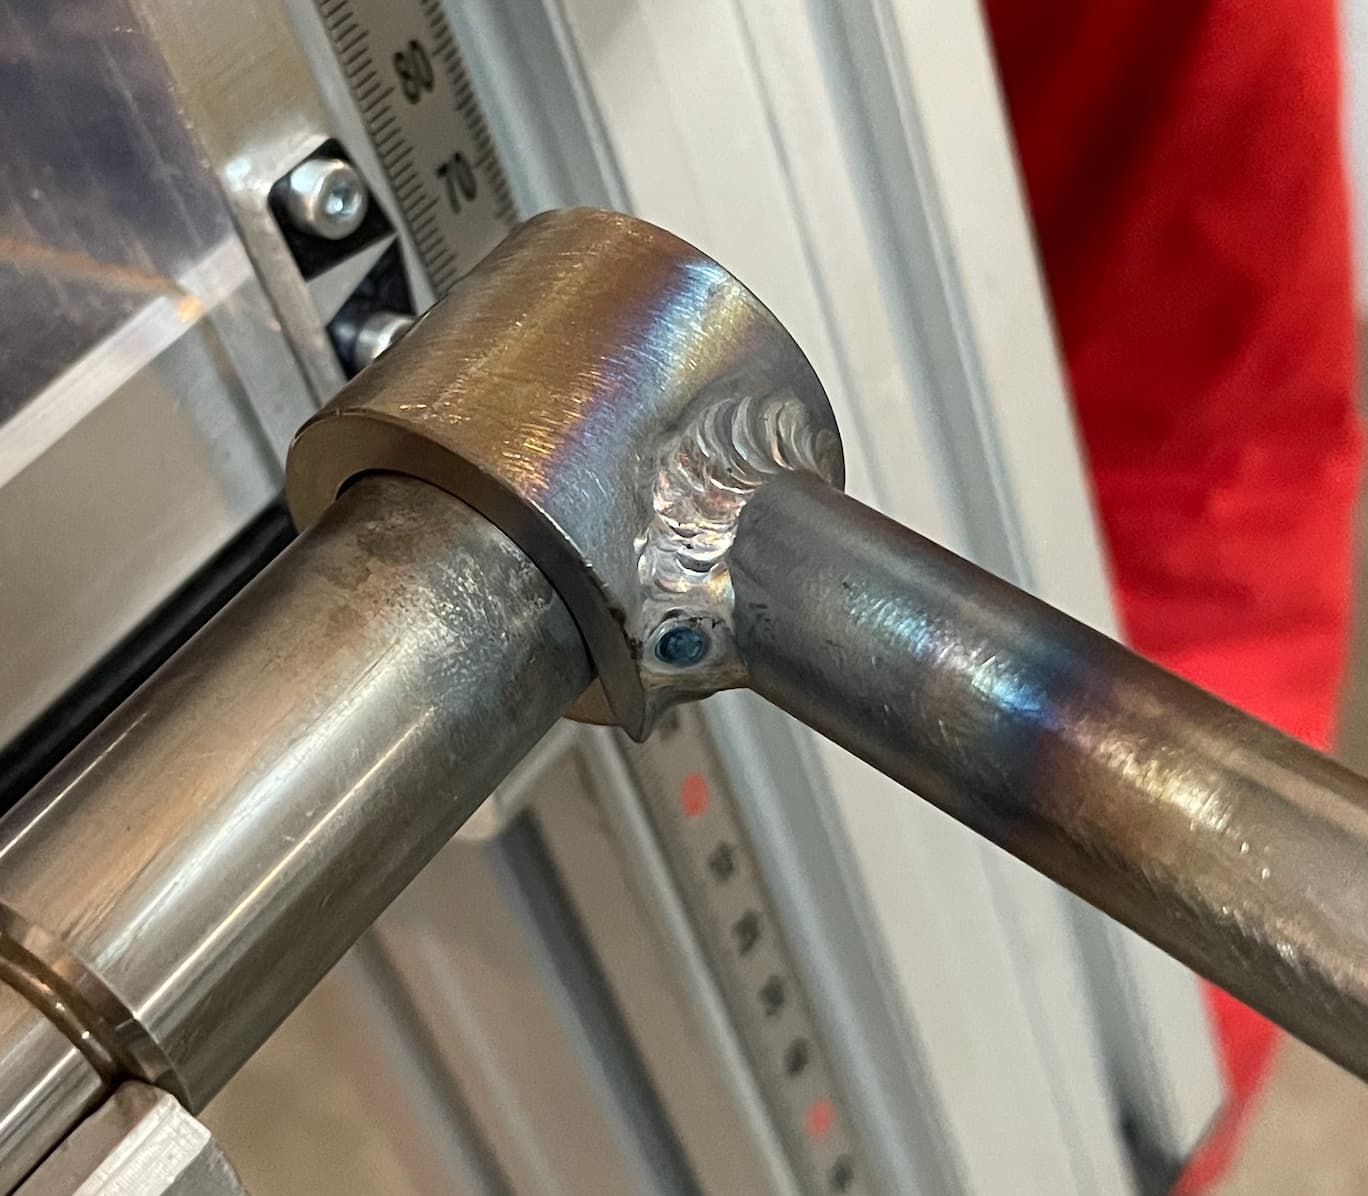
Cant get even dimes, but I guess it’s lack of handskill.
I don’t know if I’m doing it right: I move the puddle from side to side (from one tube to another), along with each pulse. Maybe I should use thicker filler and just go along the seam?
It looks like you’re on the right track! A few things I would suggest trying out based on what I’ve experienced:
It almost looks like you’re trying to “walk the cup” with those beads. That’s a common technique for pipefitting, but ends up dumping a lot of heat into the part. I’d focus on trying to get one continuous bead in the center of the joint. That will help with the “stack of dimes” look. You’ll have to run a bit hotter, but the welds in your picture look a touch cold so that wouldn’t be so bad!
If you have some scrap tubing, I’d recommend practicing trying to run as hot as possible and punching through, then trying to dial it back from there. Especially when welding a bike frame, it’s easy to get caught in the mindset of trying not to run too hot and inadvertently not getting full penetration.
Thanks for your comment. I thought these 60 amps is almost a max, as I usually dont go “full gas” on the pedal. Unfortunatelly it’s a shitty chinese pedal and it is not that easy to control.
I’d also spend some time practicing without using pulse. That’s just another set of variables added to the mix. It’s a nice tool to have, but you should really be able to get a good bead without before you worry about adding that in.
Also, ditch the 316L filler if you’re welding 4130. That can definitely cause problems later on down the road.
I was going to use some cast dropouts on an upcoming frame. Are there any important differences compared to 4130/mild for tig? Wasn’t sure if a different filler or something was needed.
We had Jeff at Sputnik make us some heat sinks for Paragon tapered HT’s.
Just regular ER70s-2 or -6 is fine for those. No real difference for welding technique is needed.
Here is my set-up for steel bikes:
Miller Maxstar 200DX
30% On
5% Background
150 amps for the front triangle. I turn it down a bit for seat stays and thinner stuff.
1.5 -1.7pps (depends how I’m feeling that day)
1sec pre-flow 6sec post-flow
Weldtech Stubby Torch
Furick 10 or 12 cup
CK gas lens
Diamond Ground 1/16 Lanth Tungsten
.045 Weld Mold 880 filler
Pretty much identical to my setup except I use ceriated and a dynasty.
-Walt
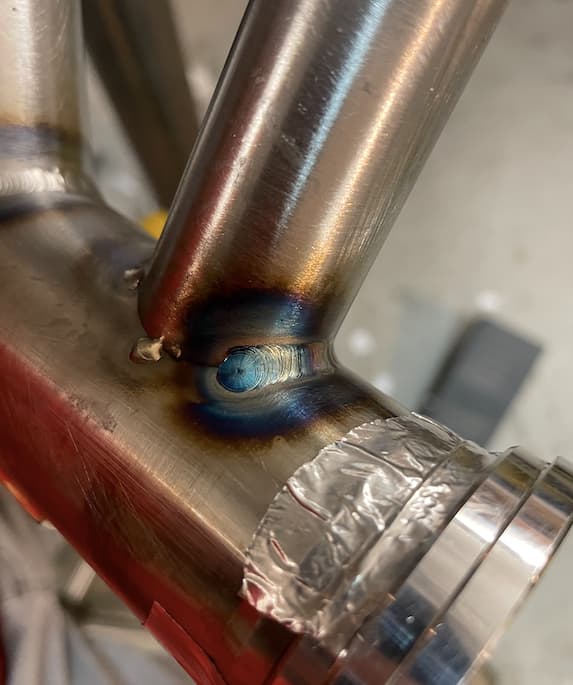
Thanks, that was a pretty good tip. Now the only problem are craters - I did not get them before, now with higher top amps - they occur pretty often. They are not very big (I’d even say tiny) but they should not be there. I stick quite a lot of rod at the end, but this does not cause any change. I have downslope ~2.5 sec and finish amps ~40. Does anyone have any more tips?
I have the same issue. If I release the pedal slower the craters are not there.
Does everyone use a pedal? Or does anyone use the finger button?
Pedal all the time. Kind of a struggle for tacking in my jig as I have to stand up and move the pedal around for every tack…
The torch mounted trigger makes it really hard to roll your wrist as you’re weld wraps around the tube. The foot pedal isolates hand movement from amperage control.
I never could come to terms with a torch mounted trigger. There were plenty of times welding on roll cages and chassis that I’d have the pedal between my knees or even just have someone else operating the pedal and I’d be yelling “more” and “less”
Yeah pedal all the way! I end up using a lot of fingers for support in weird positions so I wouldn’t want to sacrifice any to press a button.
When finishing on another weld, you can slowly taper off but keep moving forward. It’s really common on sanitary tubing, sometimes referred to as a ‘comet trail’.
This picture was stolen from the google machine, but it shows it real nice. It’s a orbital weld (welded by a machine) but it shows the idea well.
I do a variation if i’m stopping not on another weld, where once I start tapering off I go backwards a bit. Doesn’t take much, maybe a 1/8"-1/4" or so.
It works great if you don’t have a pedal. Or this is outside the scope of welding bikes, but for scratch-start / lift-arc pipe welding (where you don’t have any amperage control) a variation of this technique also works.
I add a good dab of filler then start to taper off while slightly backing up. Like Ben said, no need to go crazy just 1/4” or less. With tapering off while continuing forward timing has to be on point so you don’t undercut the weld you’re ending on before you start to taper out.
Has anyone tried a wireless pedal? A quick google search shows more than just Miller has one but not sure how they work in reality…
I have a ThermalArc 185 that’s about 12 years old now and I’ve always loved the idea of no damn cord to get in the way of my frame fixture stand and chair wheels.