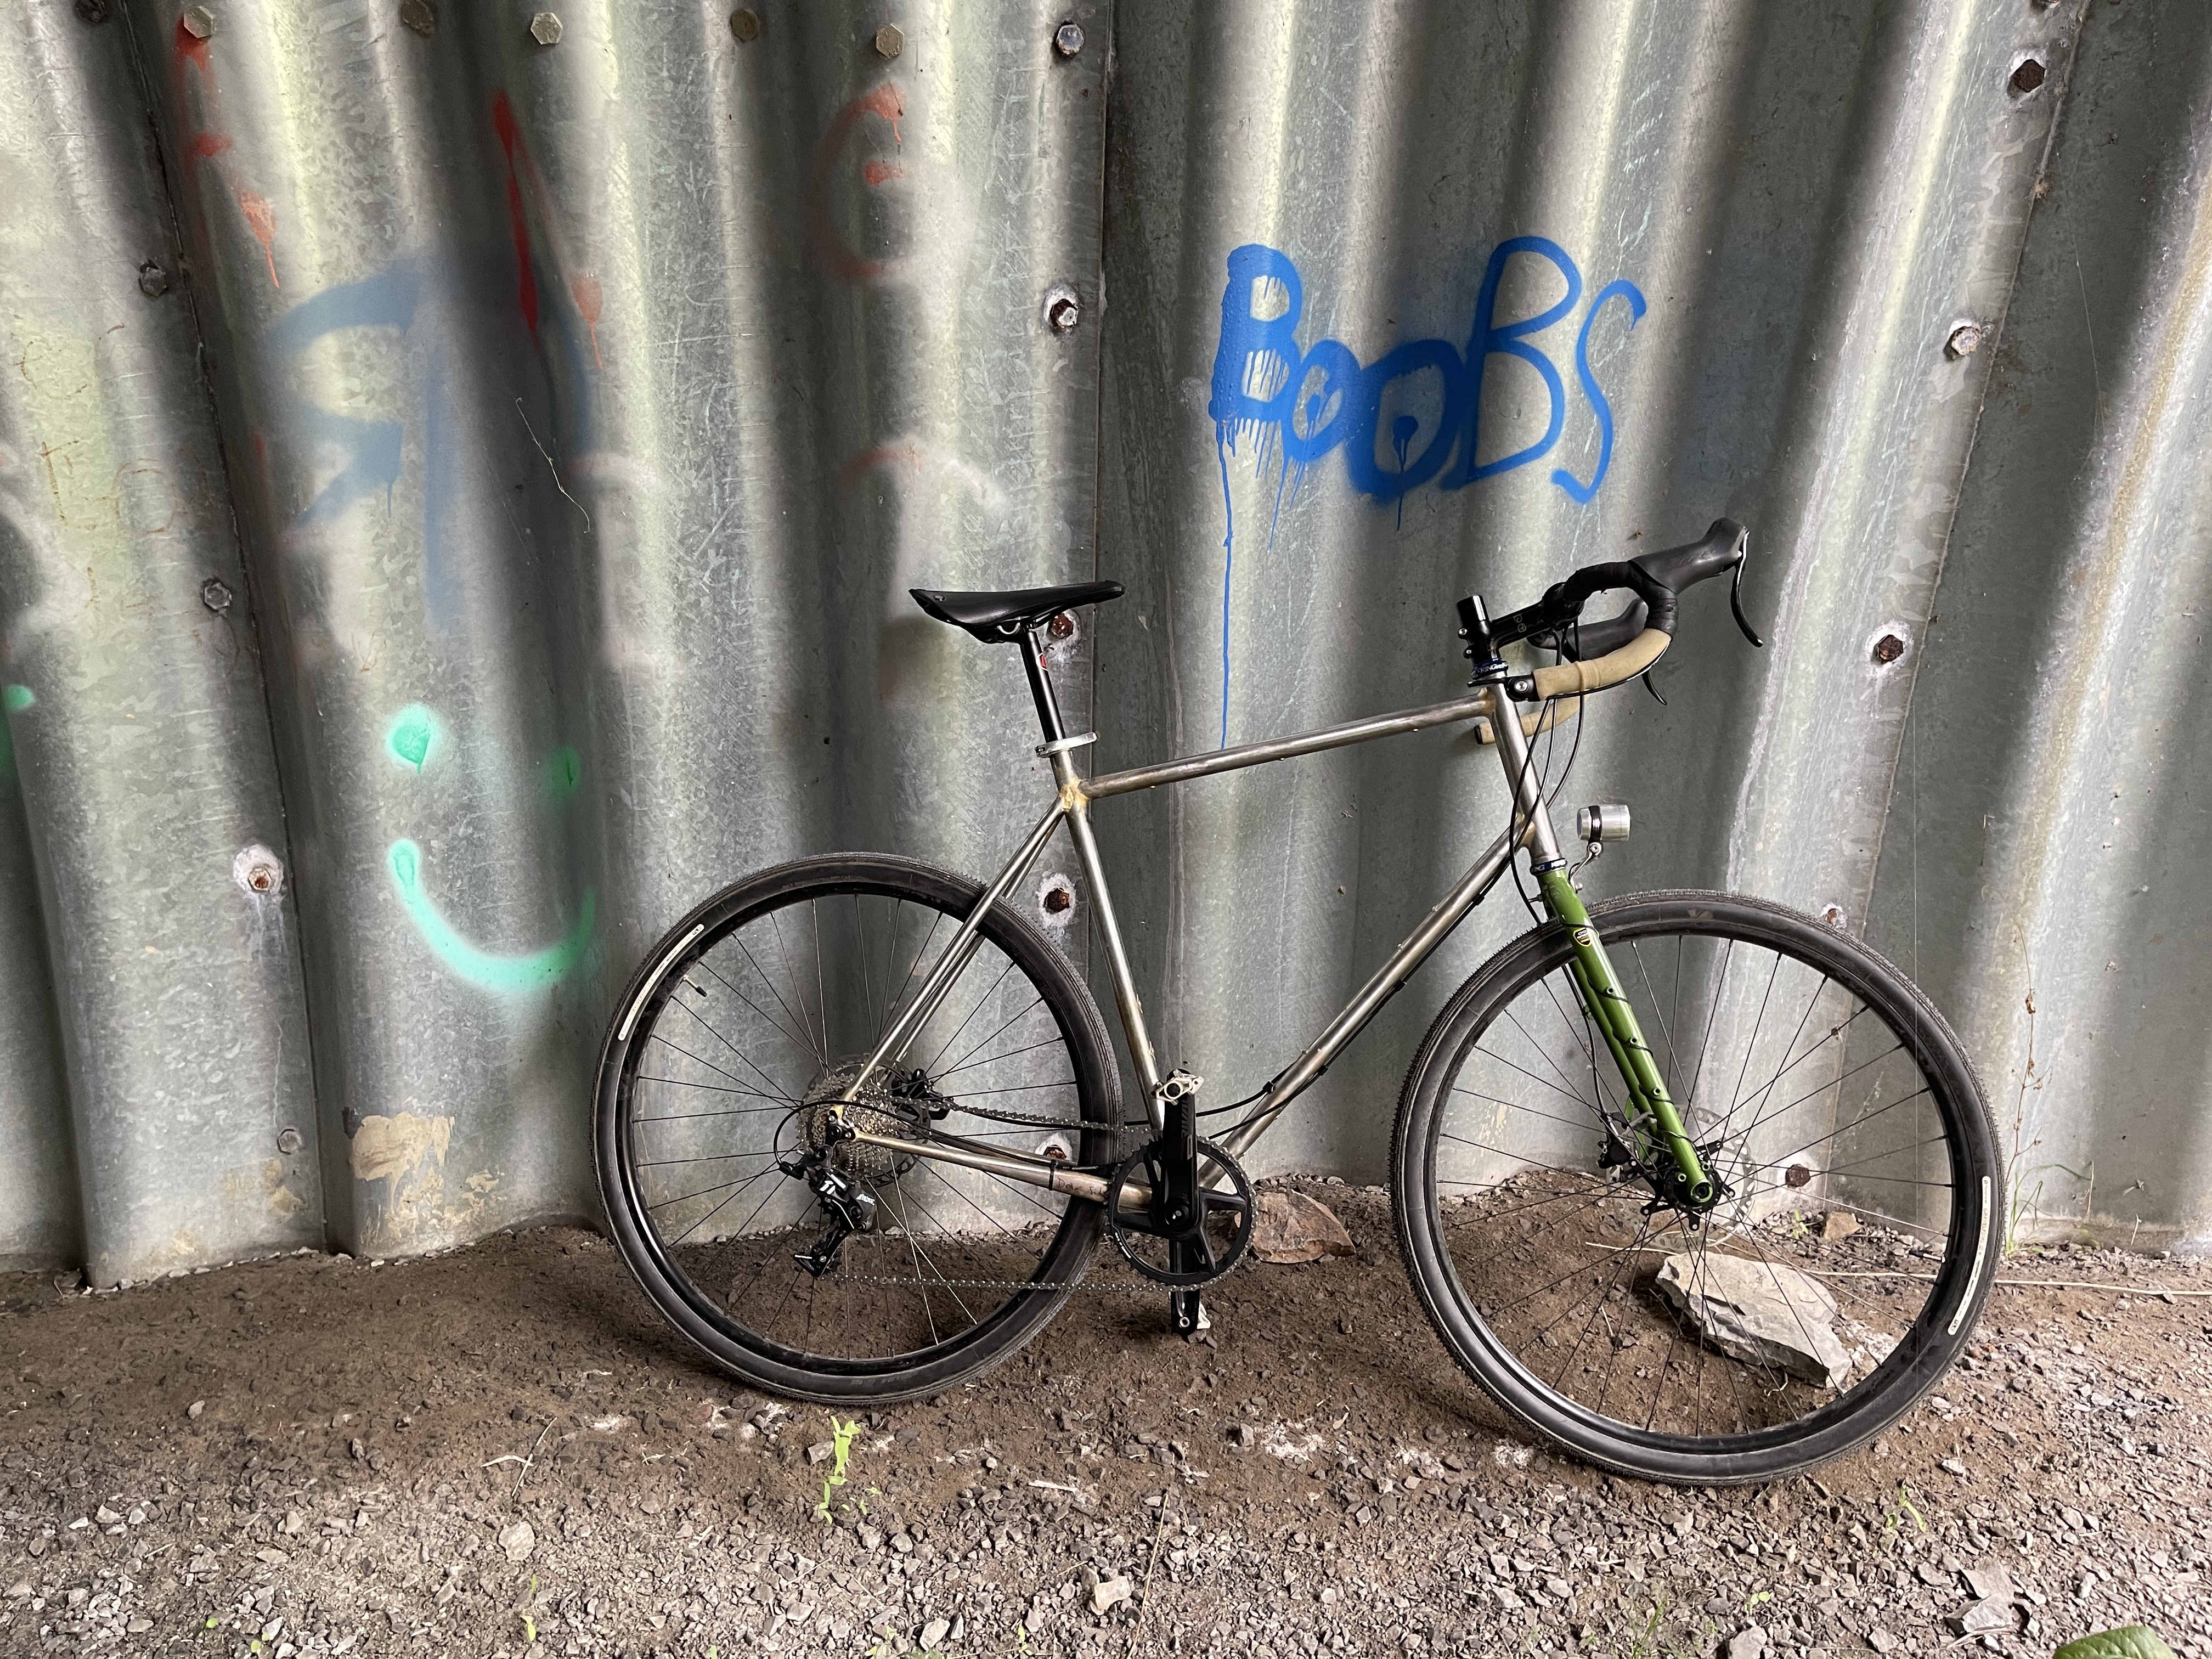
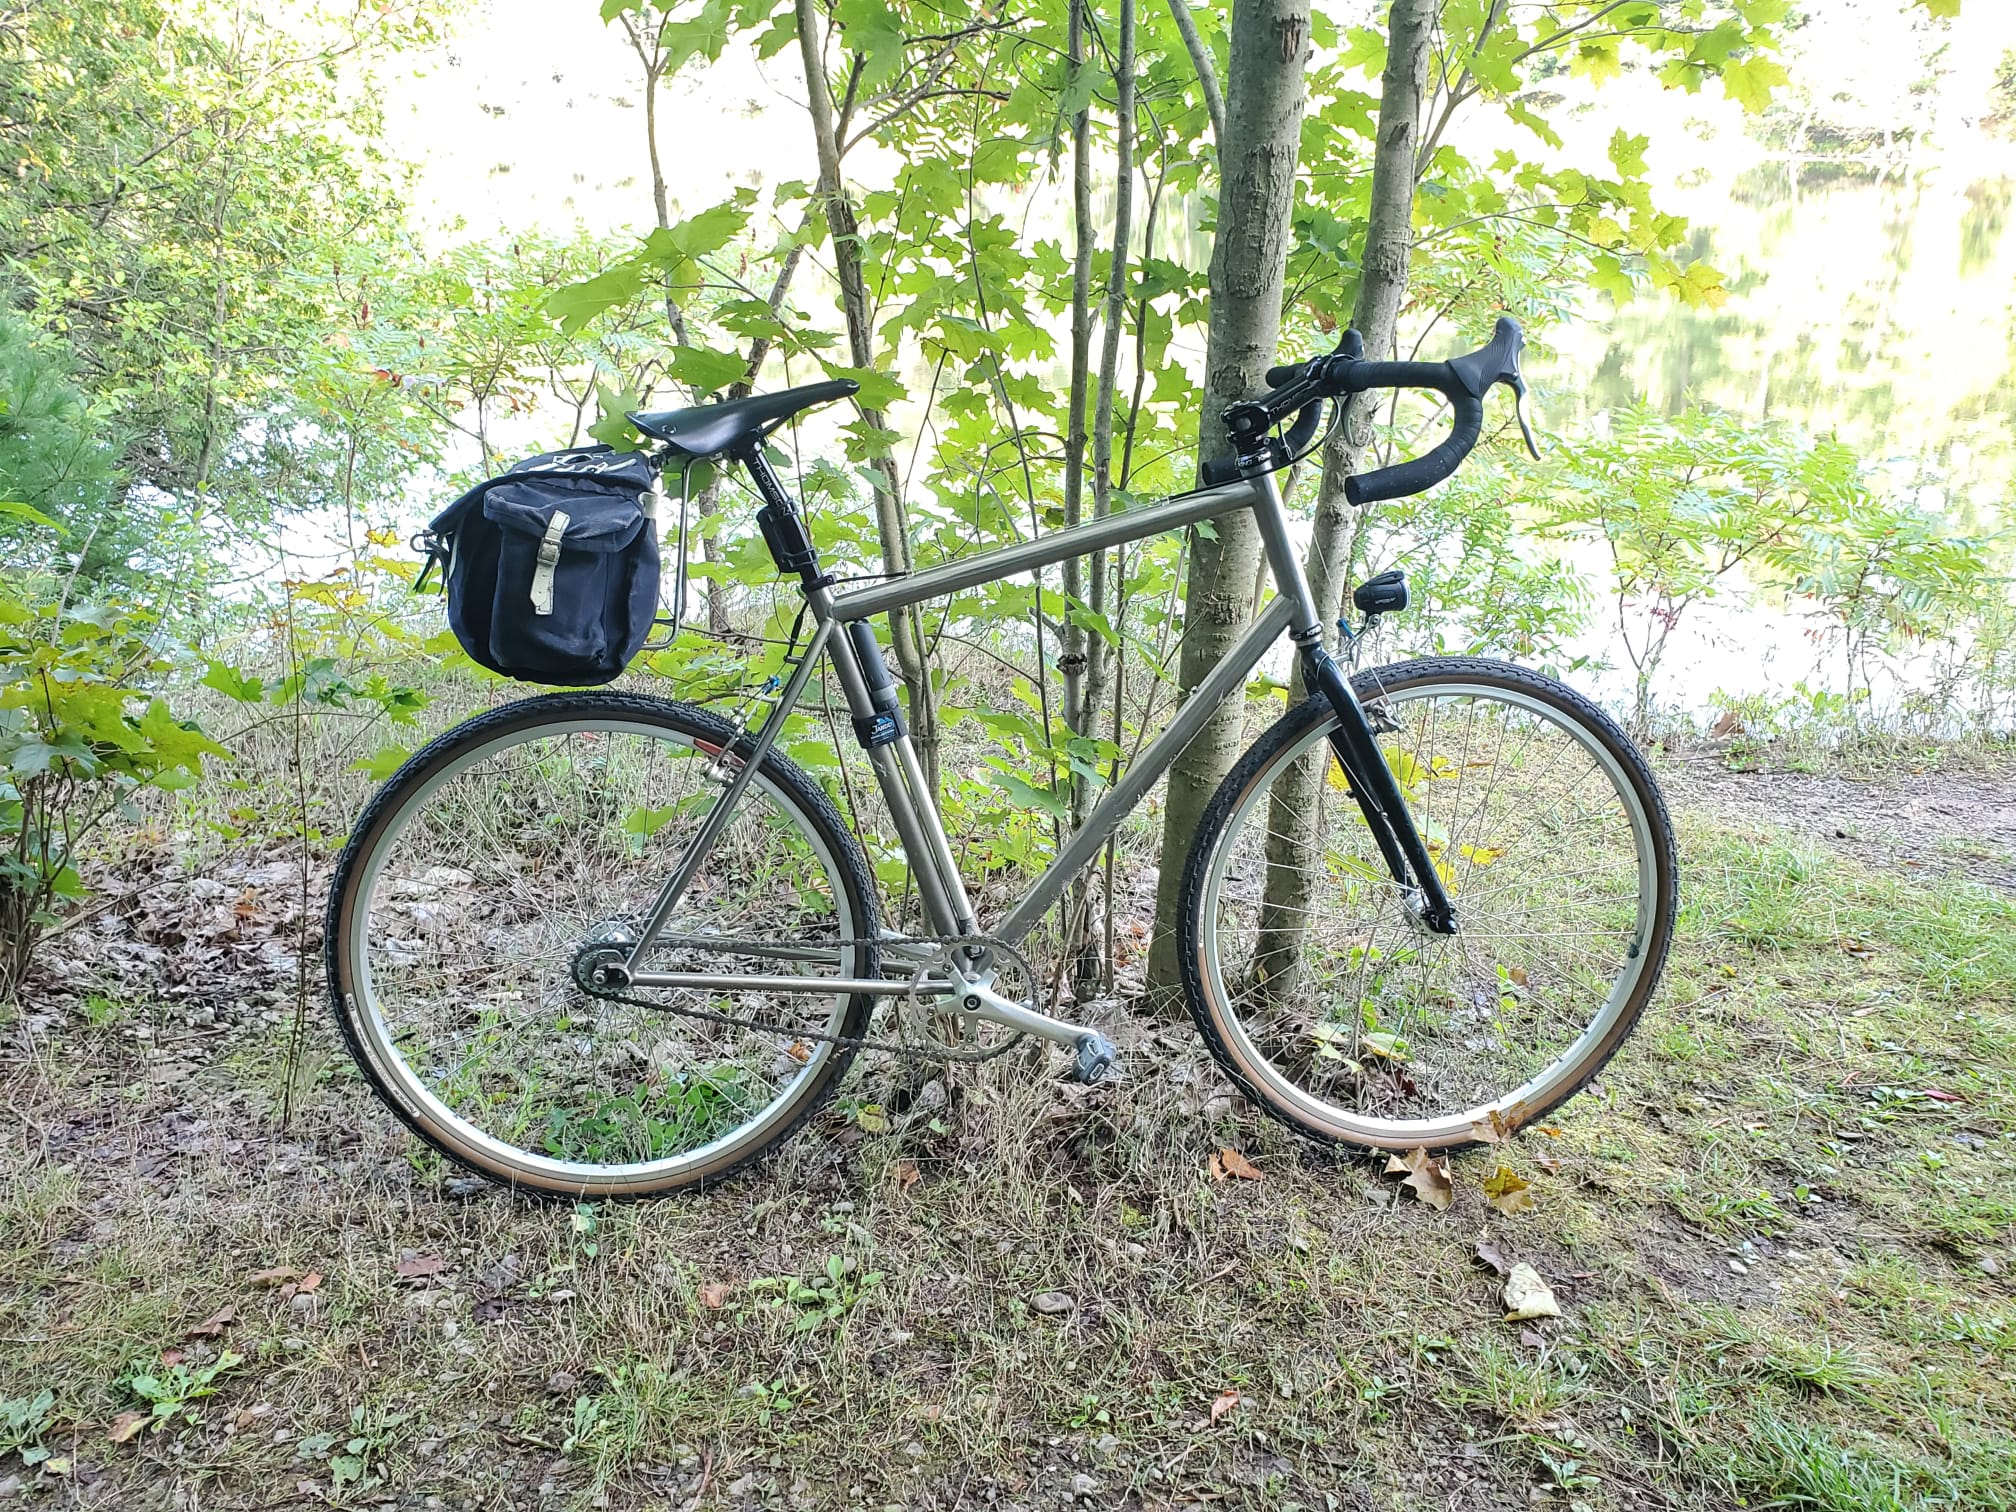
Frame 2: The First Homebuildering was a sophomoric exercise. I used fancy steel, made bilaminates, and was generally more ambitious than my skill level allowed me to execute proficiently. Knowing eyes will easily see its faults and my sloppiness, but fundamentally, it is a rideable bicycle that I learned a lot from, will continue to learn from, and enjoy.
Enter Frame 3.
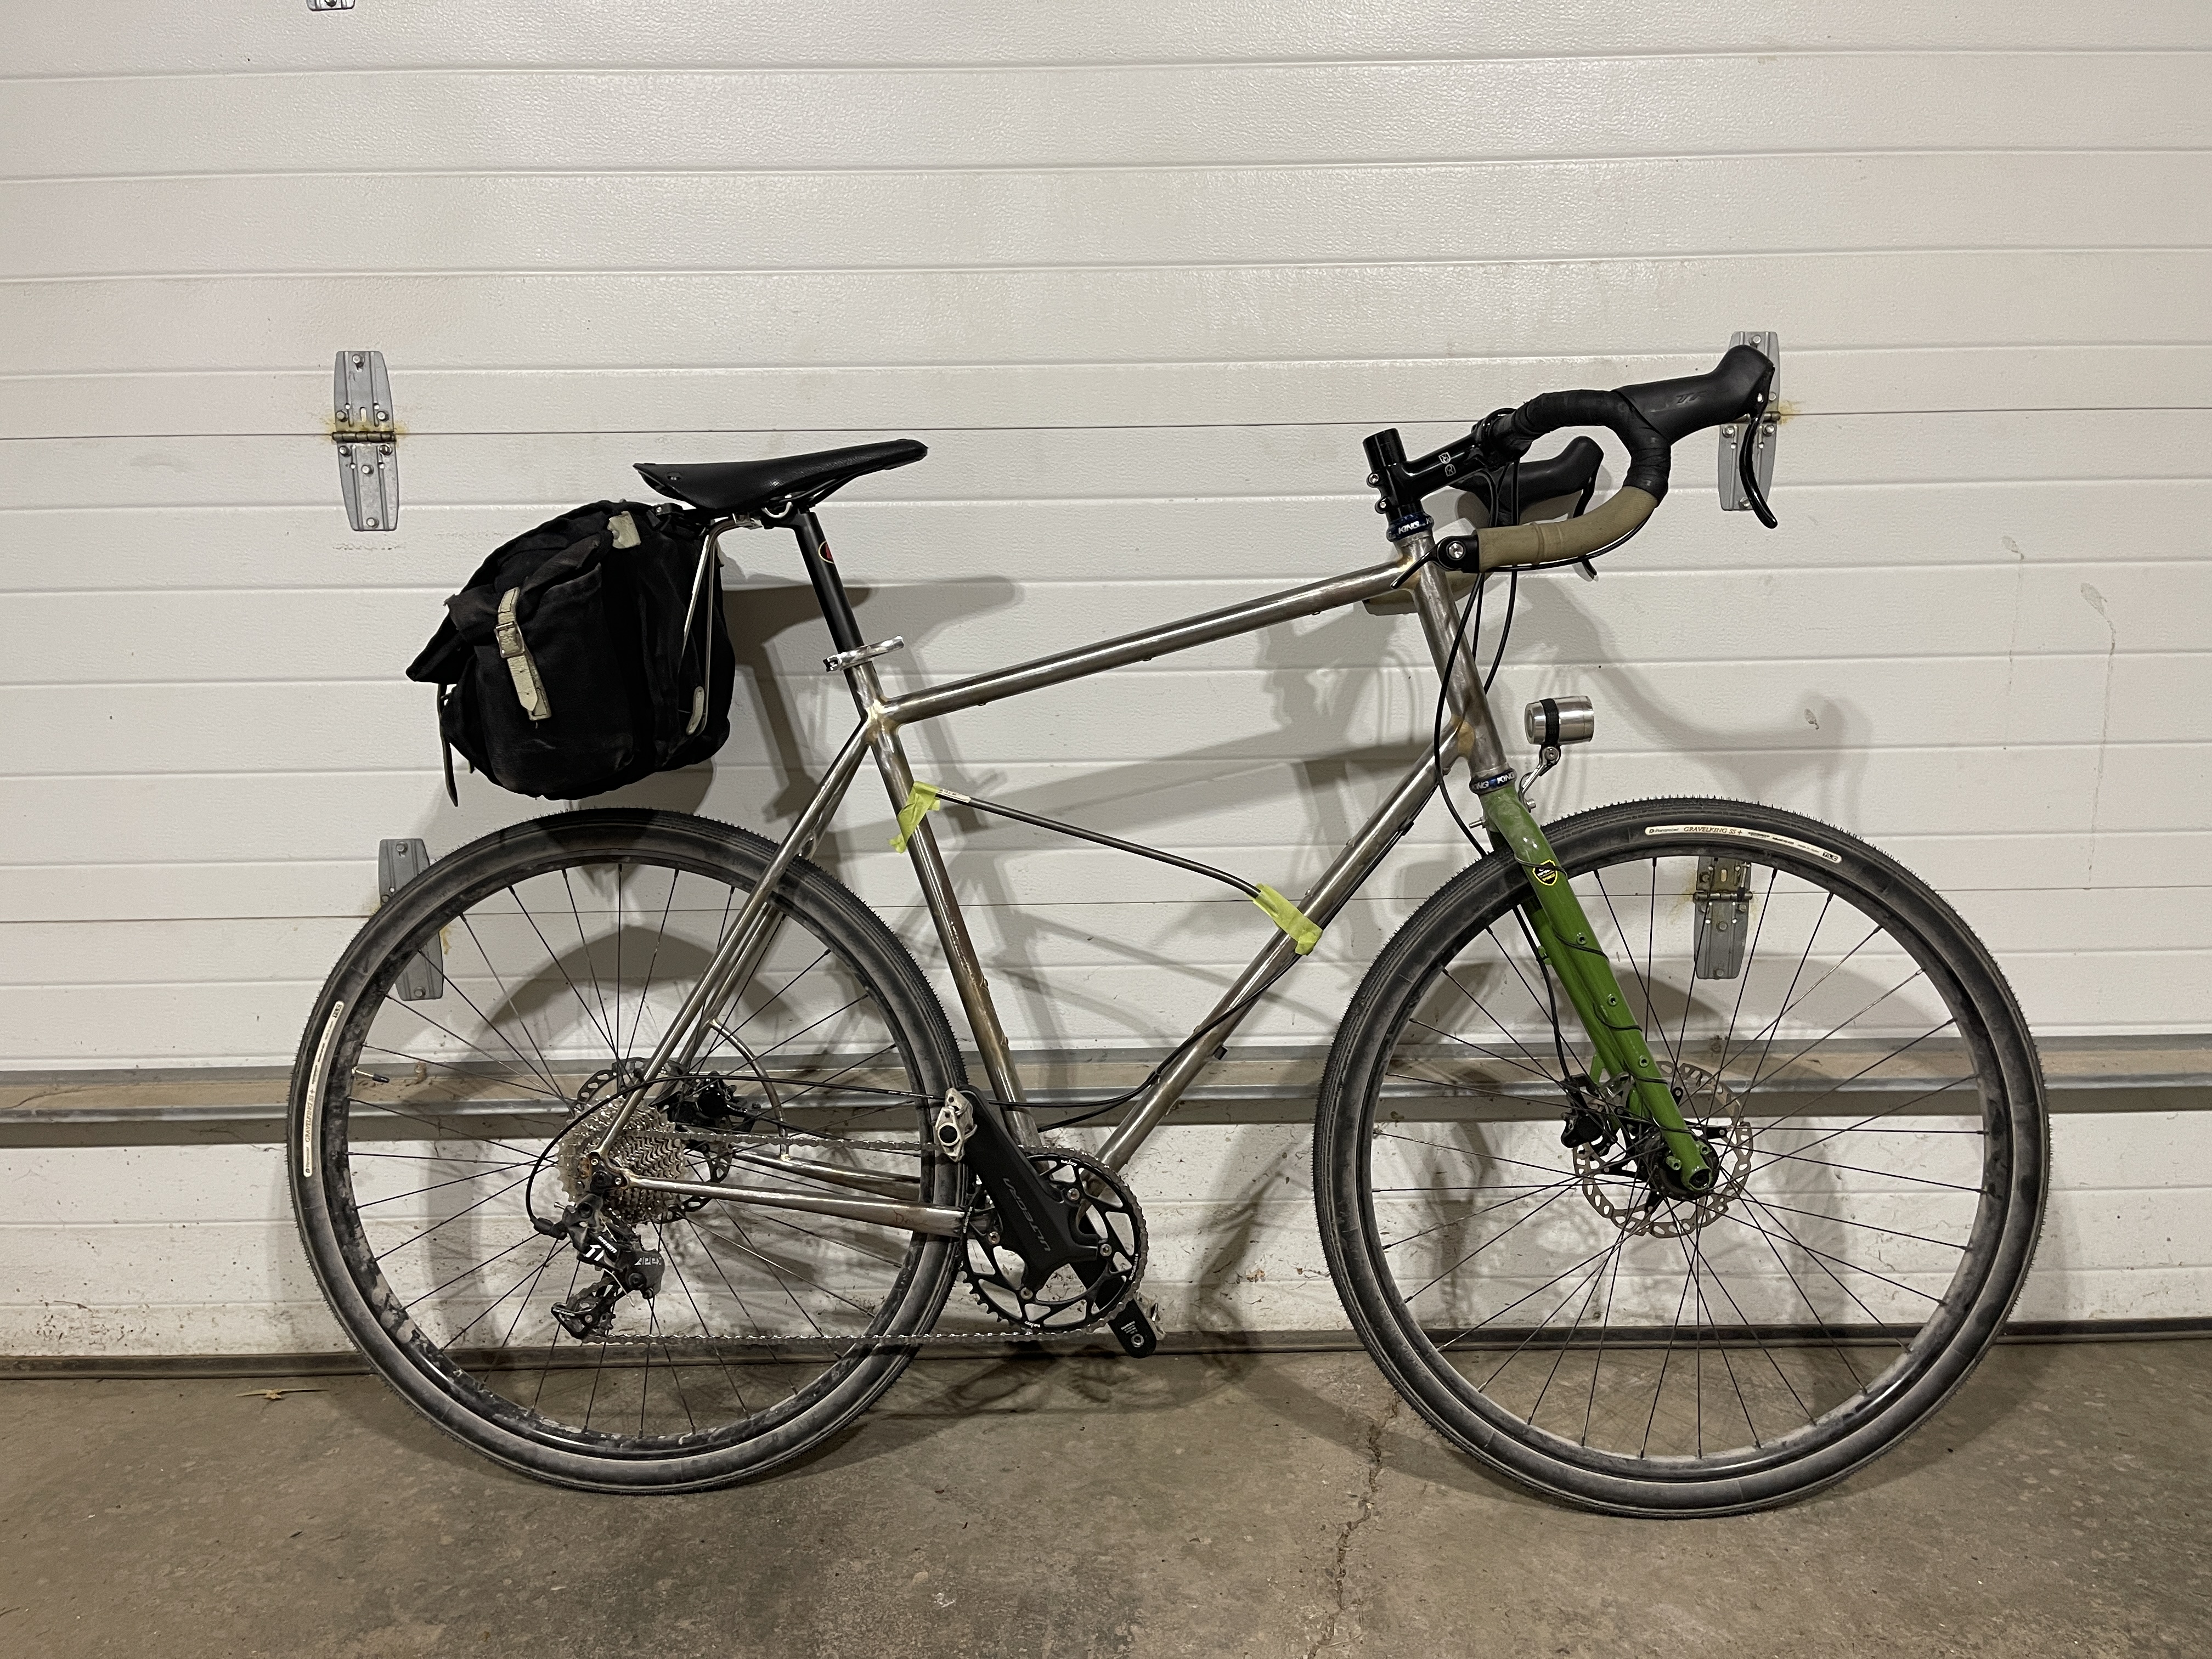
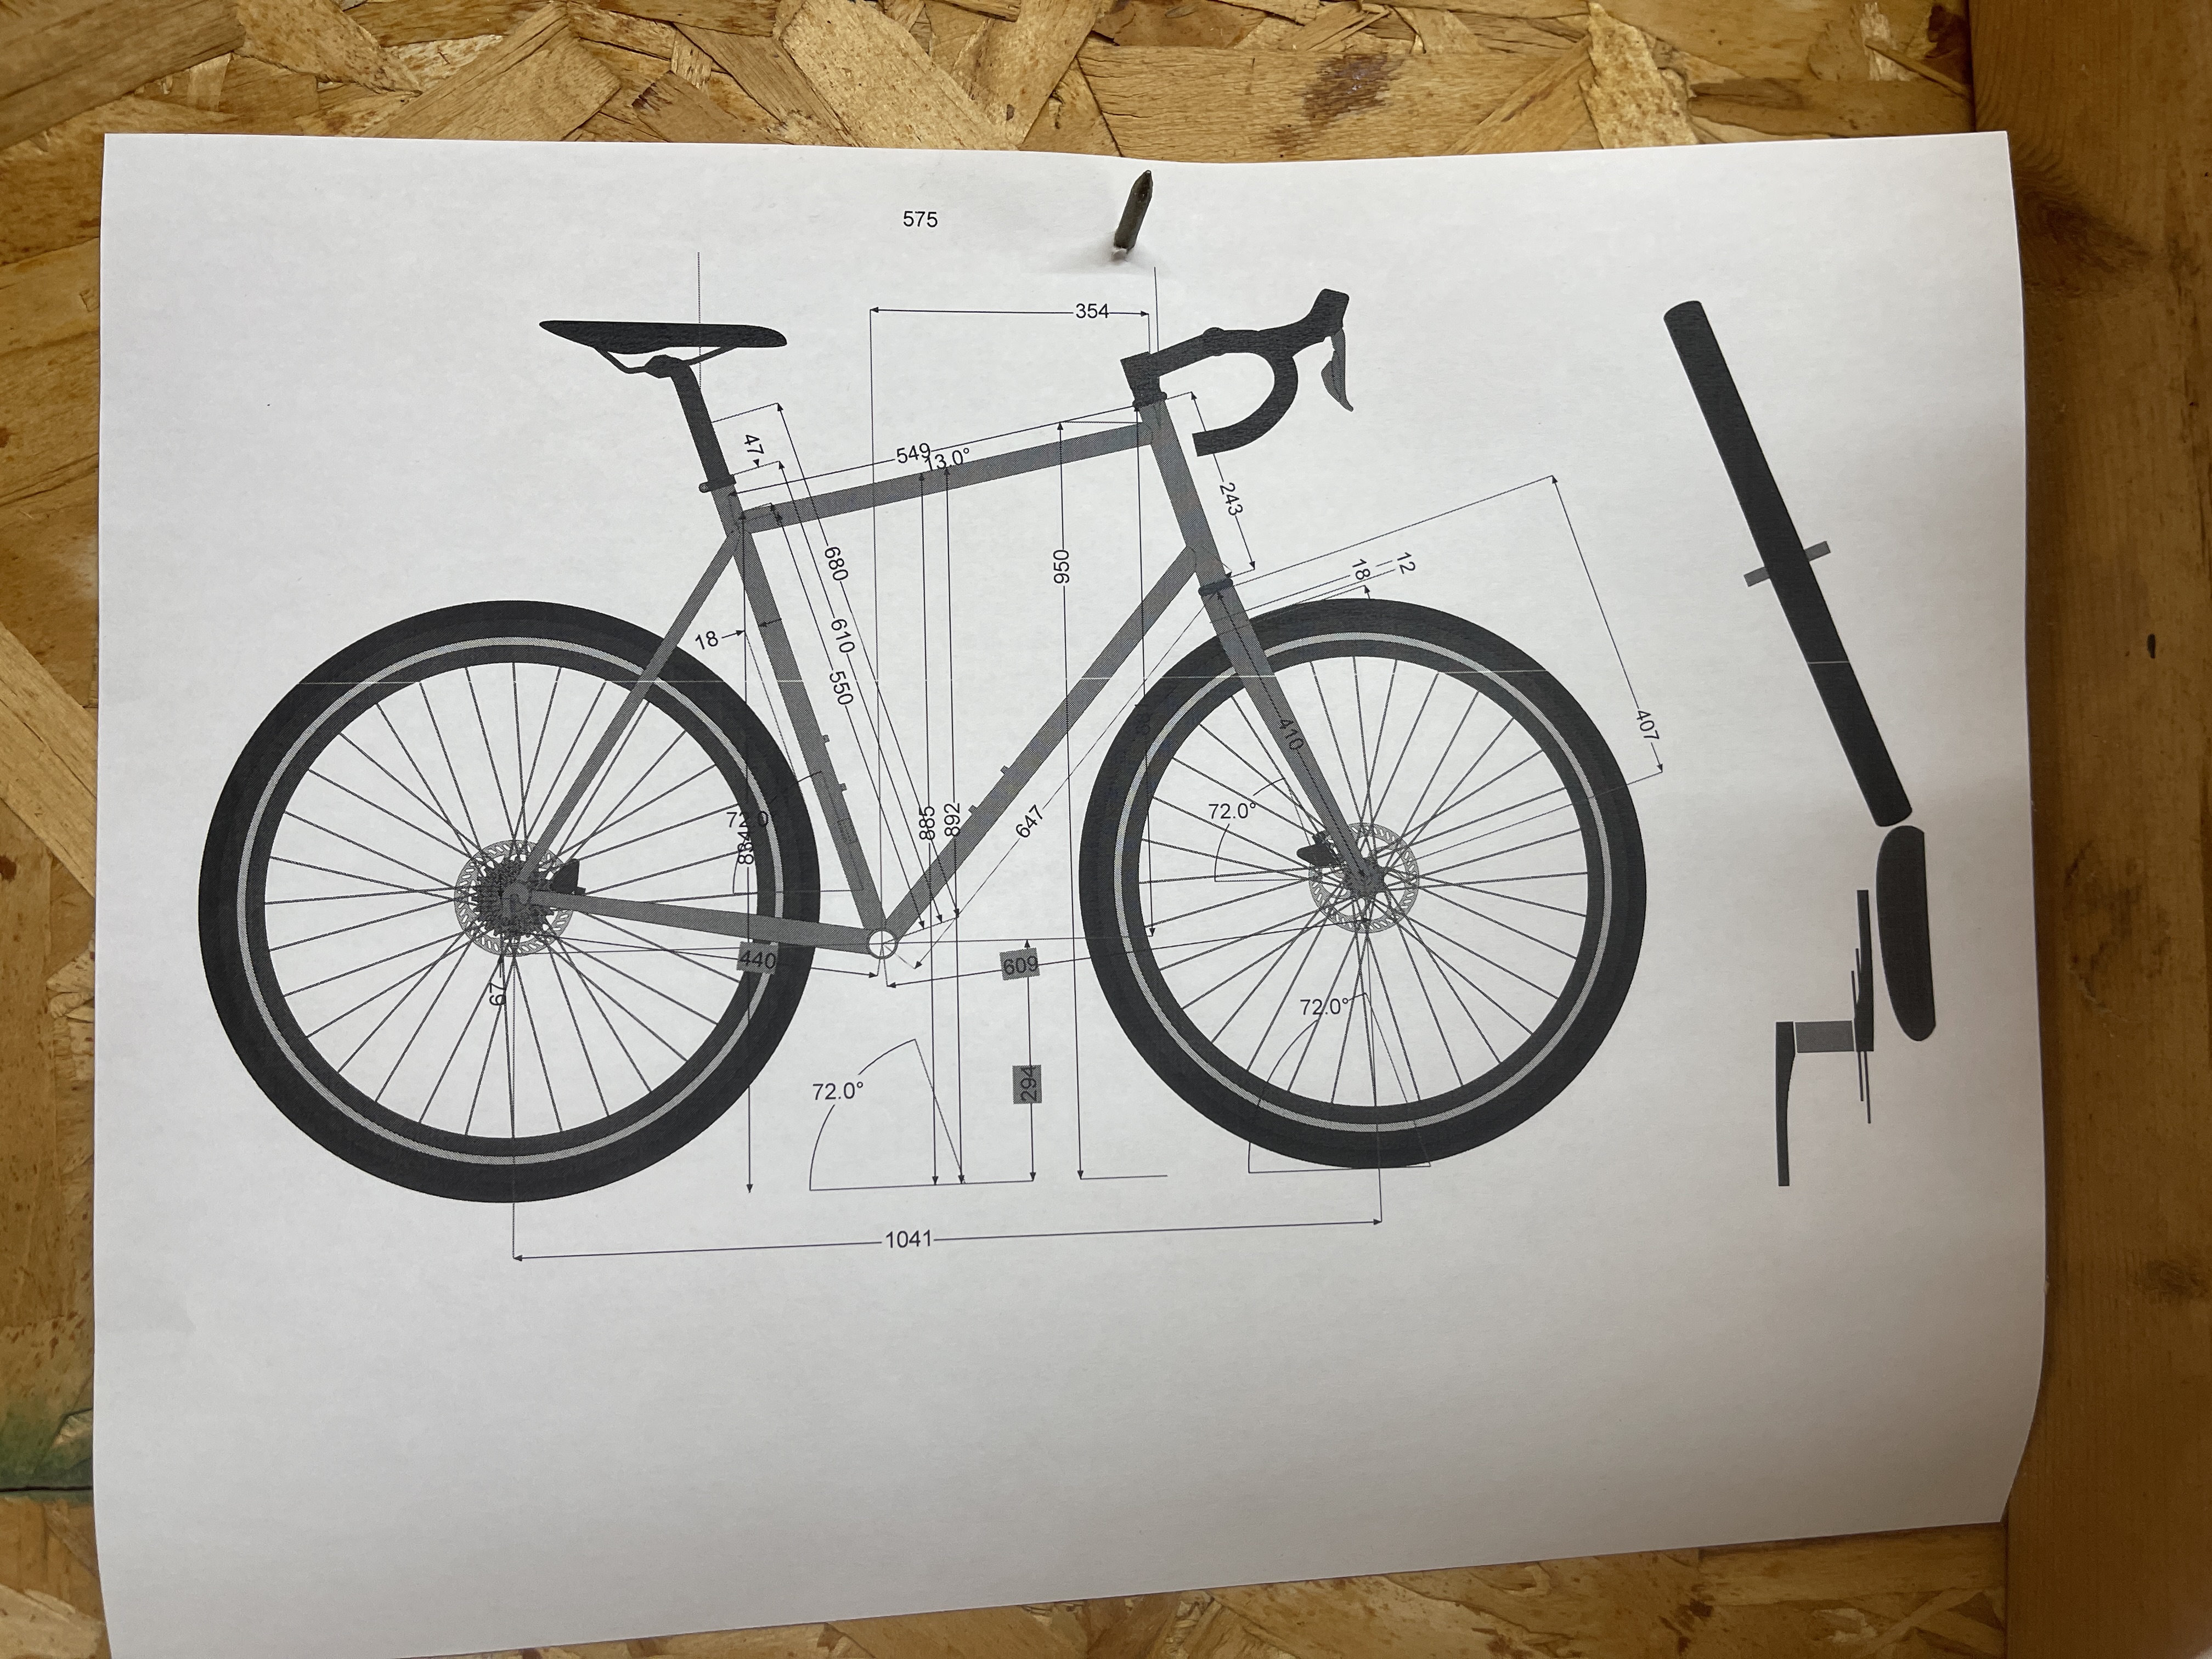
Frame 3 copies the geometry for the most part from Frame 2. Frame 2 fits me quite well and I love that about it. Frame 3 however, is intended to use less expensive tubing and be simpler in its finishing. I want it to be able to blend in amongst a group of Surly’s at the rail trail headworks.
Top tube, down tube, and seat tubes will still all be 28.6mm, but whereas Frame 2 used Columbus SL tubing, Frame 3 uses Founderland 9-6-9, 4130 Taiwanese tubing from CL Cycles in Montreal. Both have the same 36mm Zona head tube stock with top and bottom reinforcement rings. Building nearly the same frame geo but with different tubing, I’m curious to see what if any differences I’ll notice.
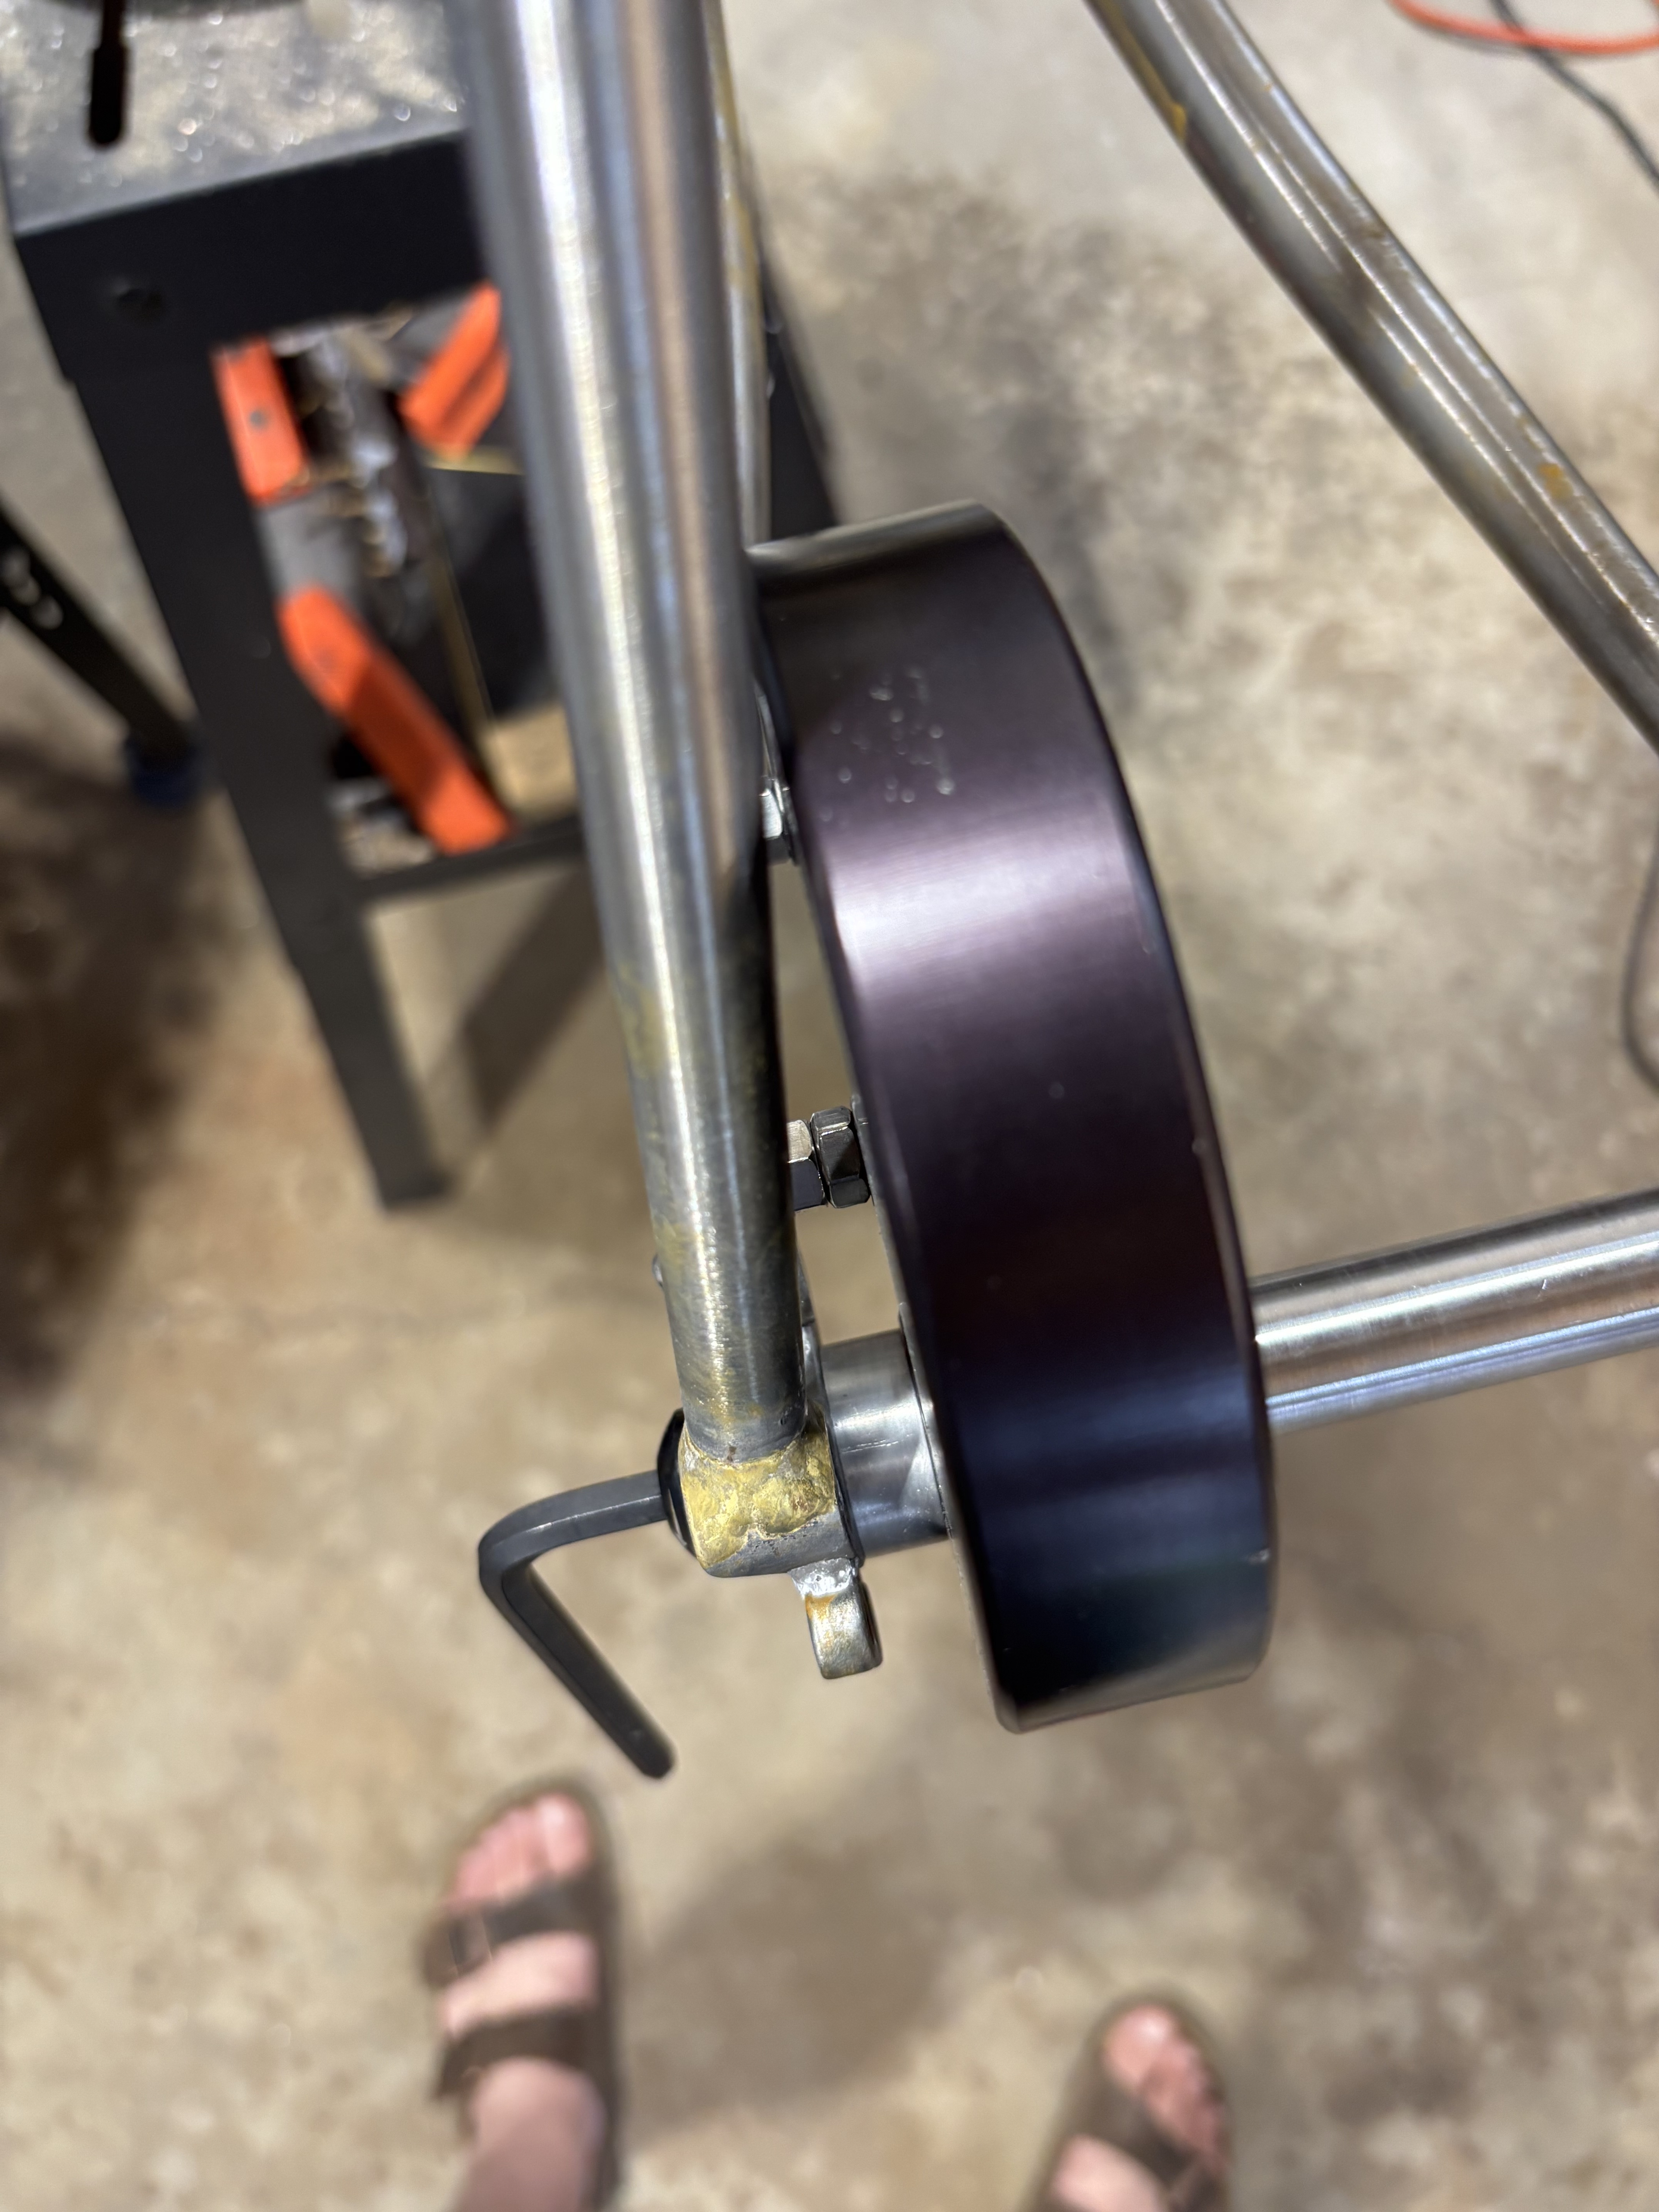
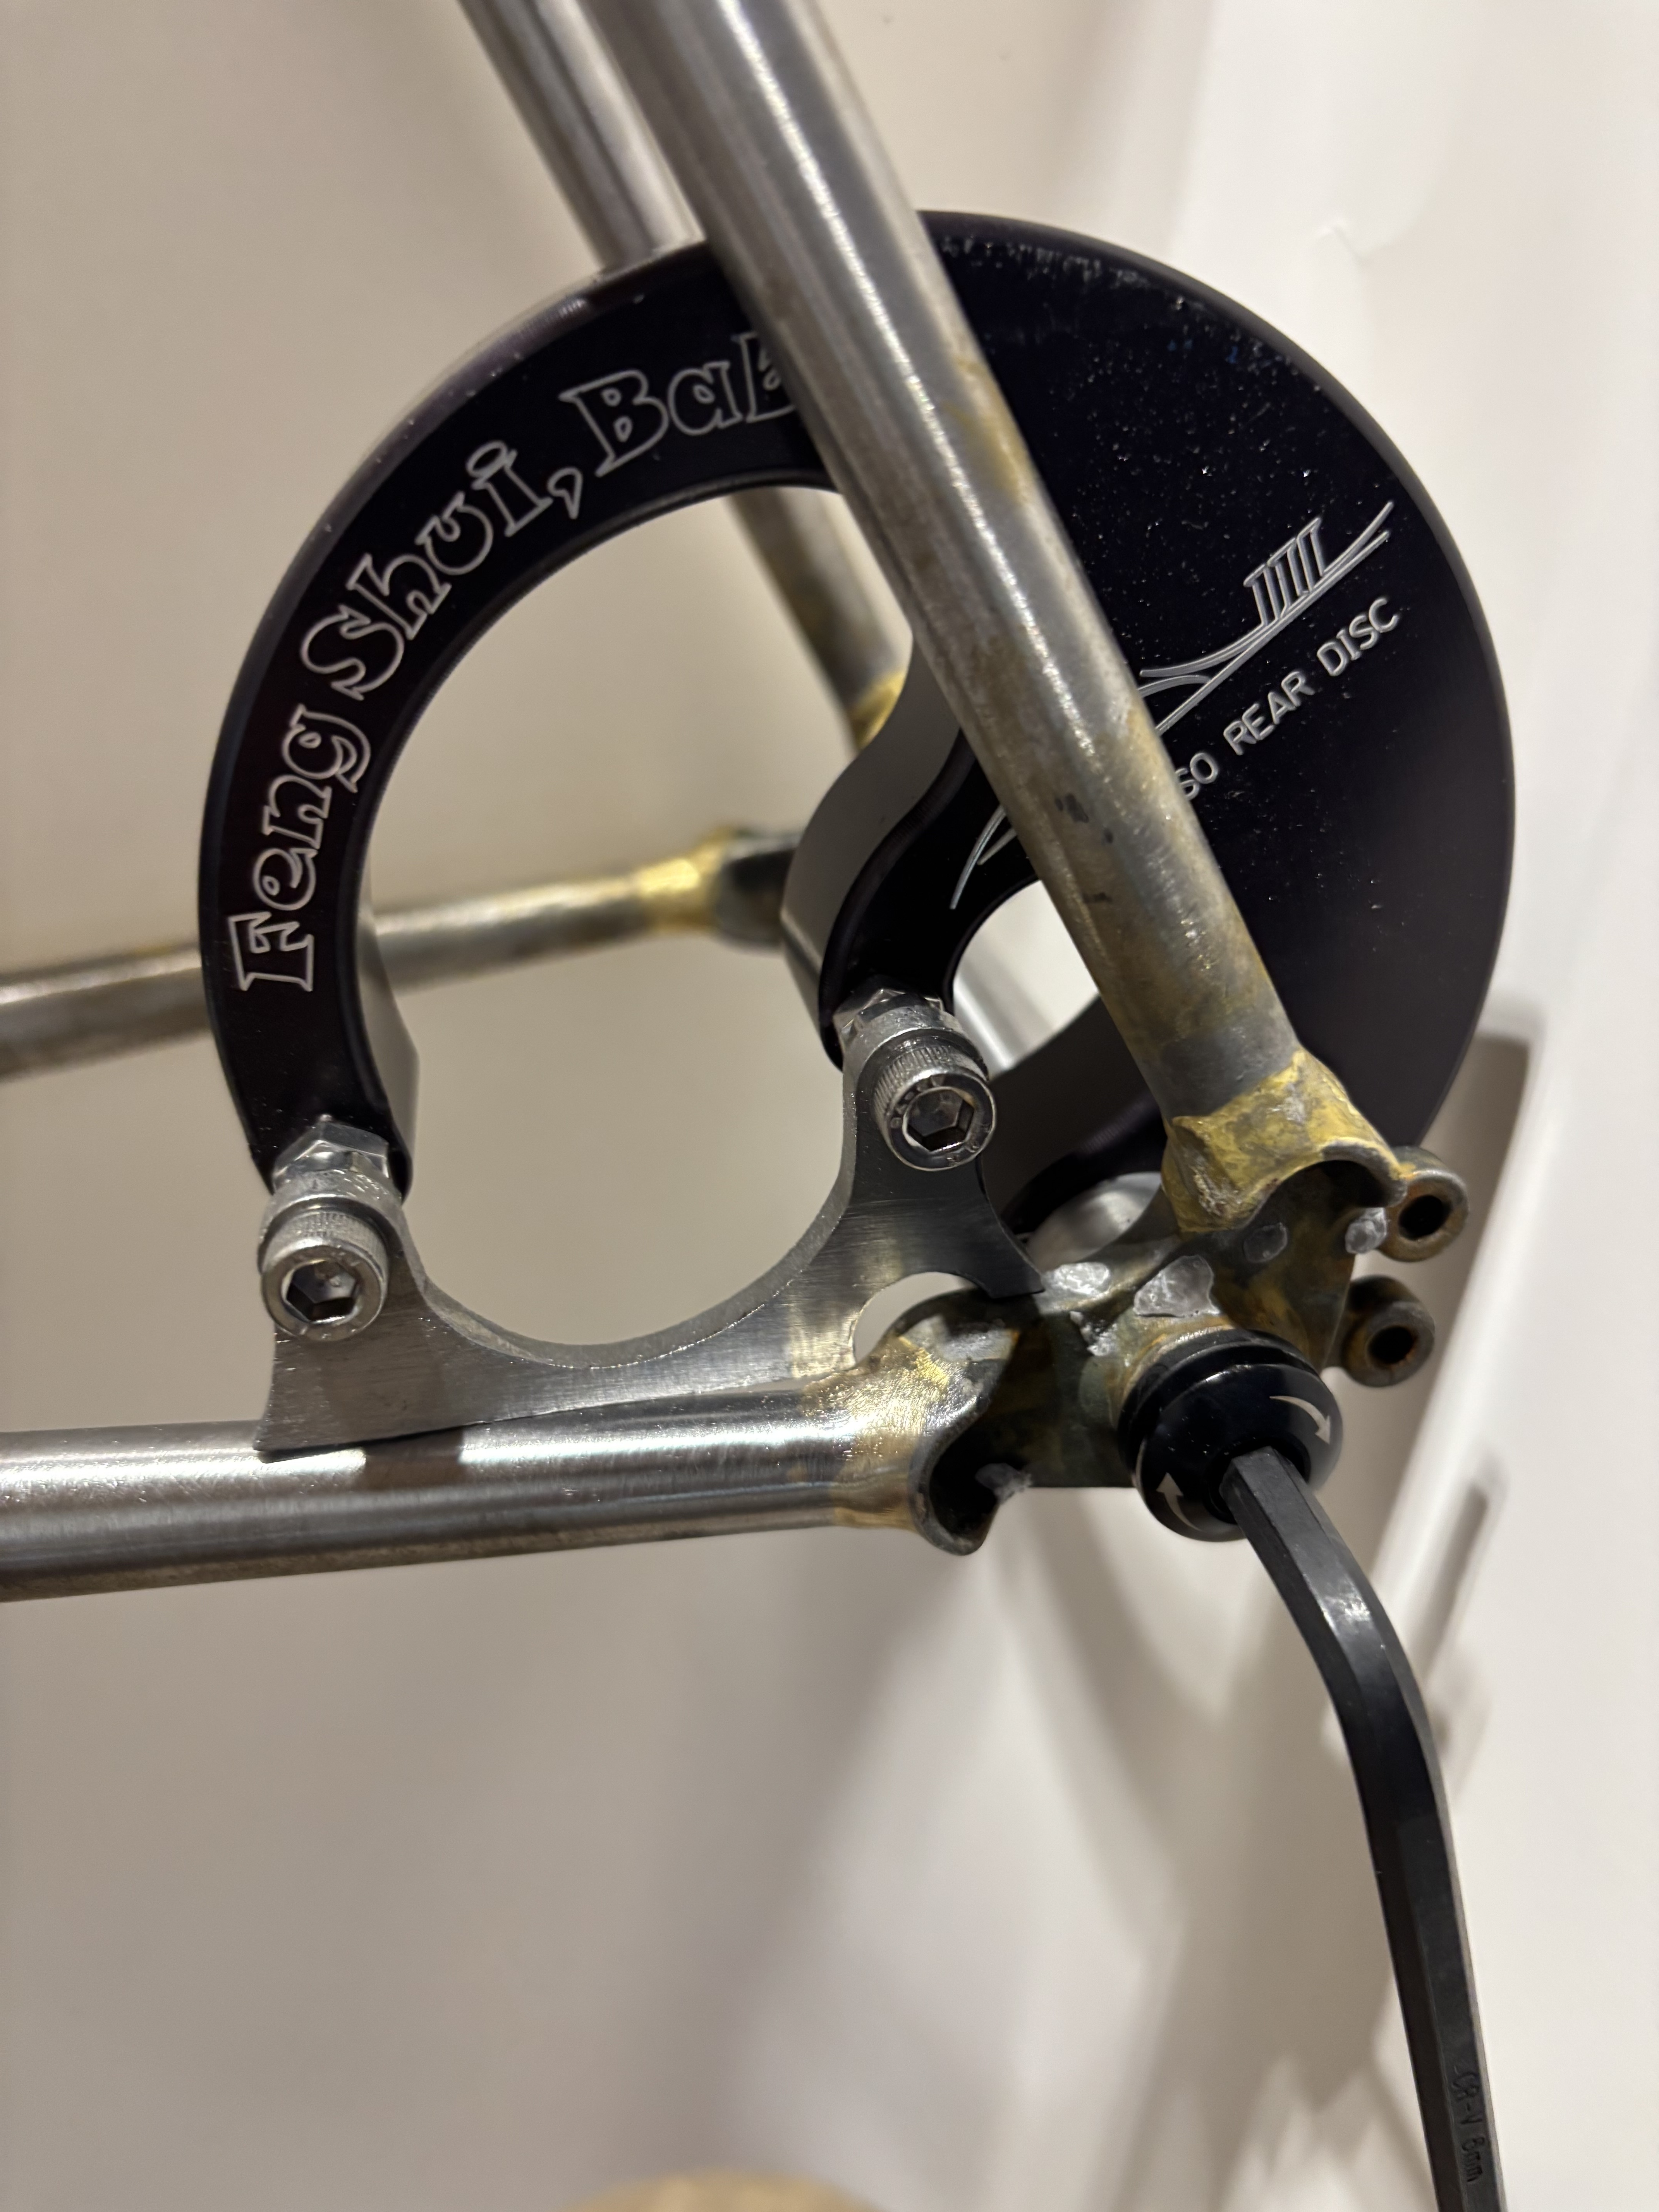
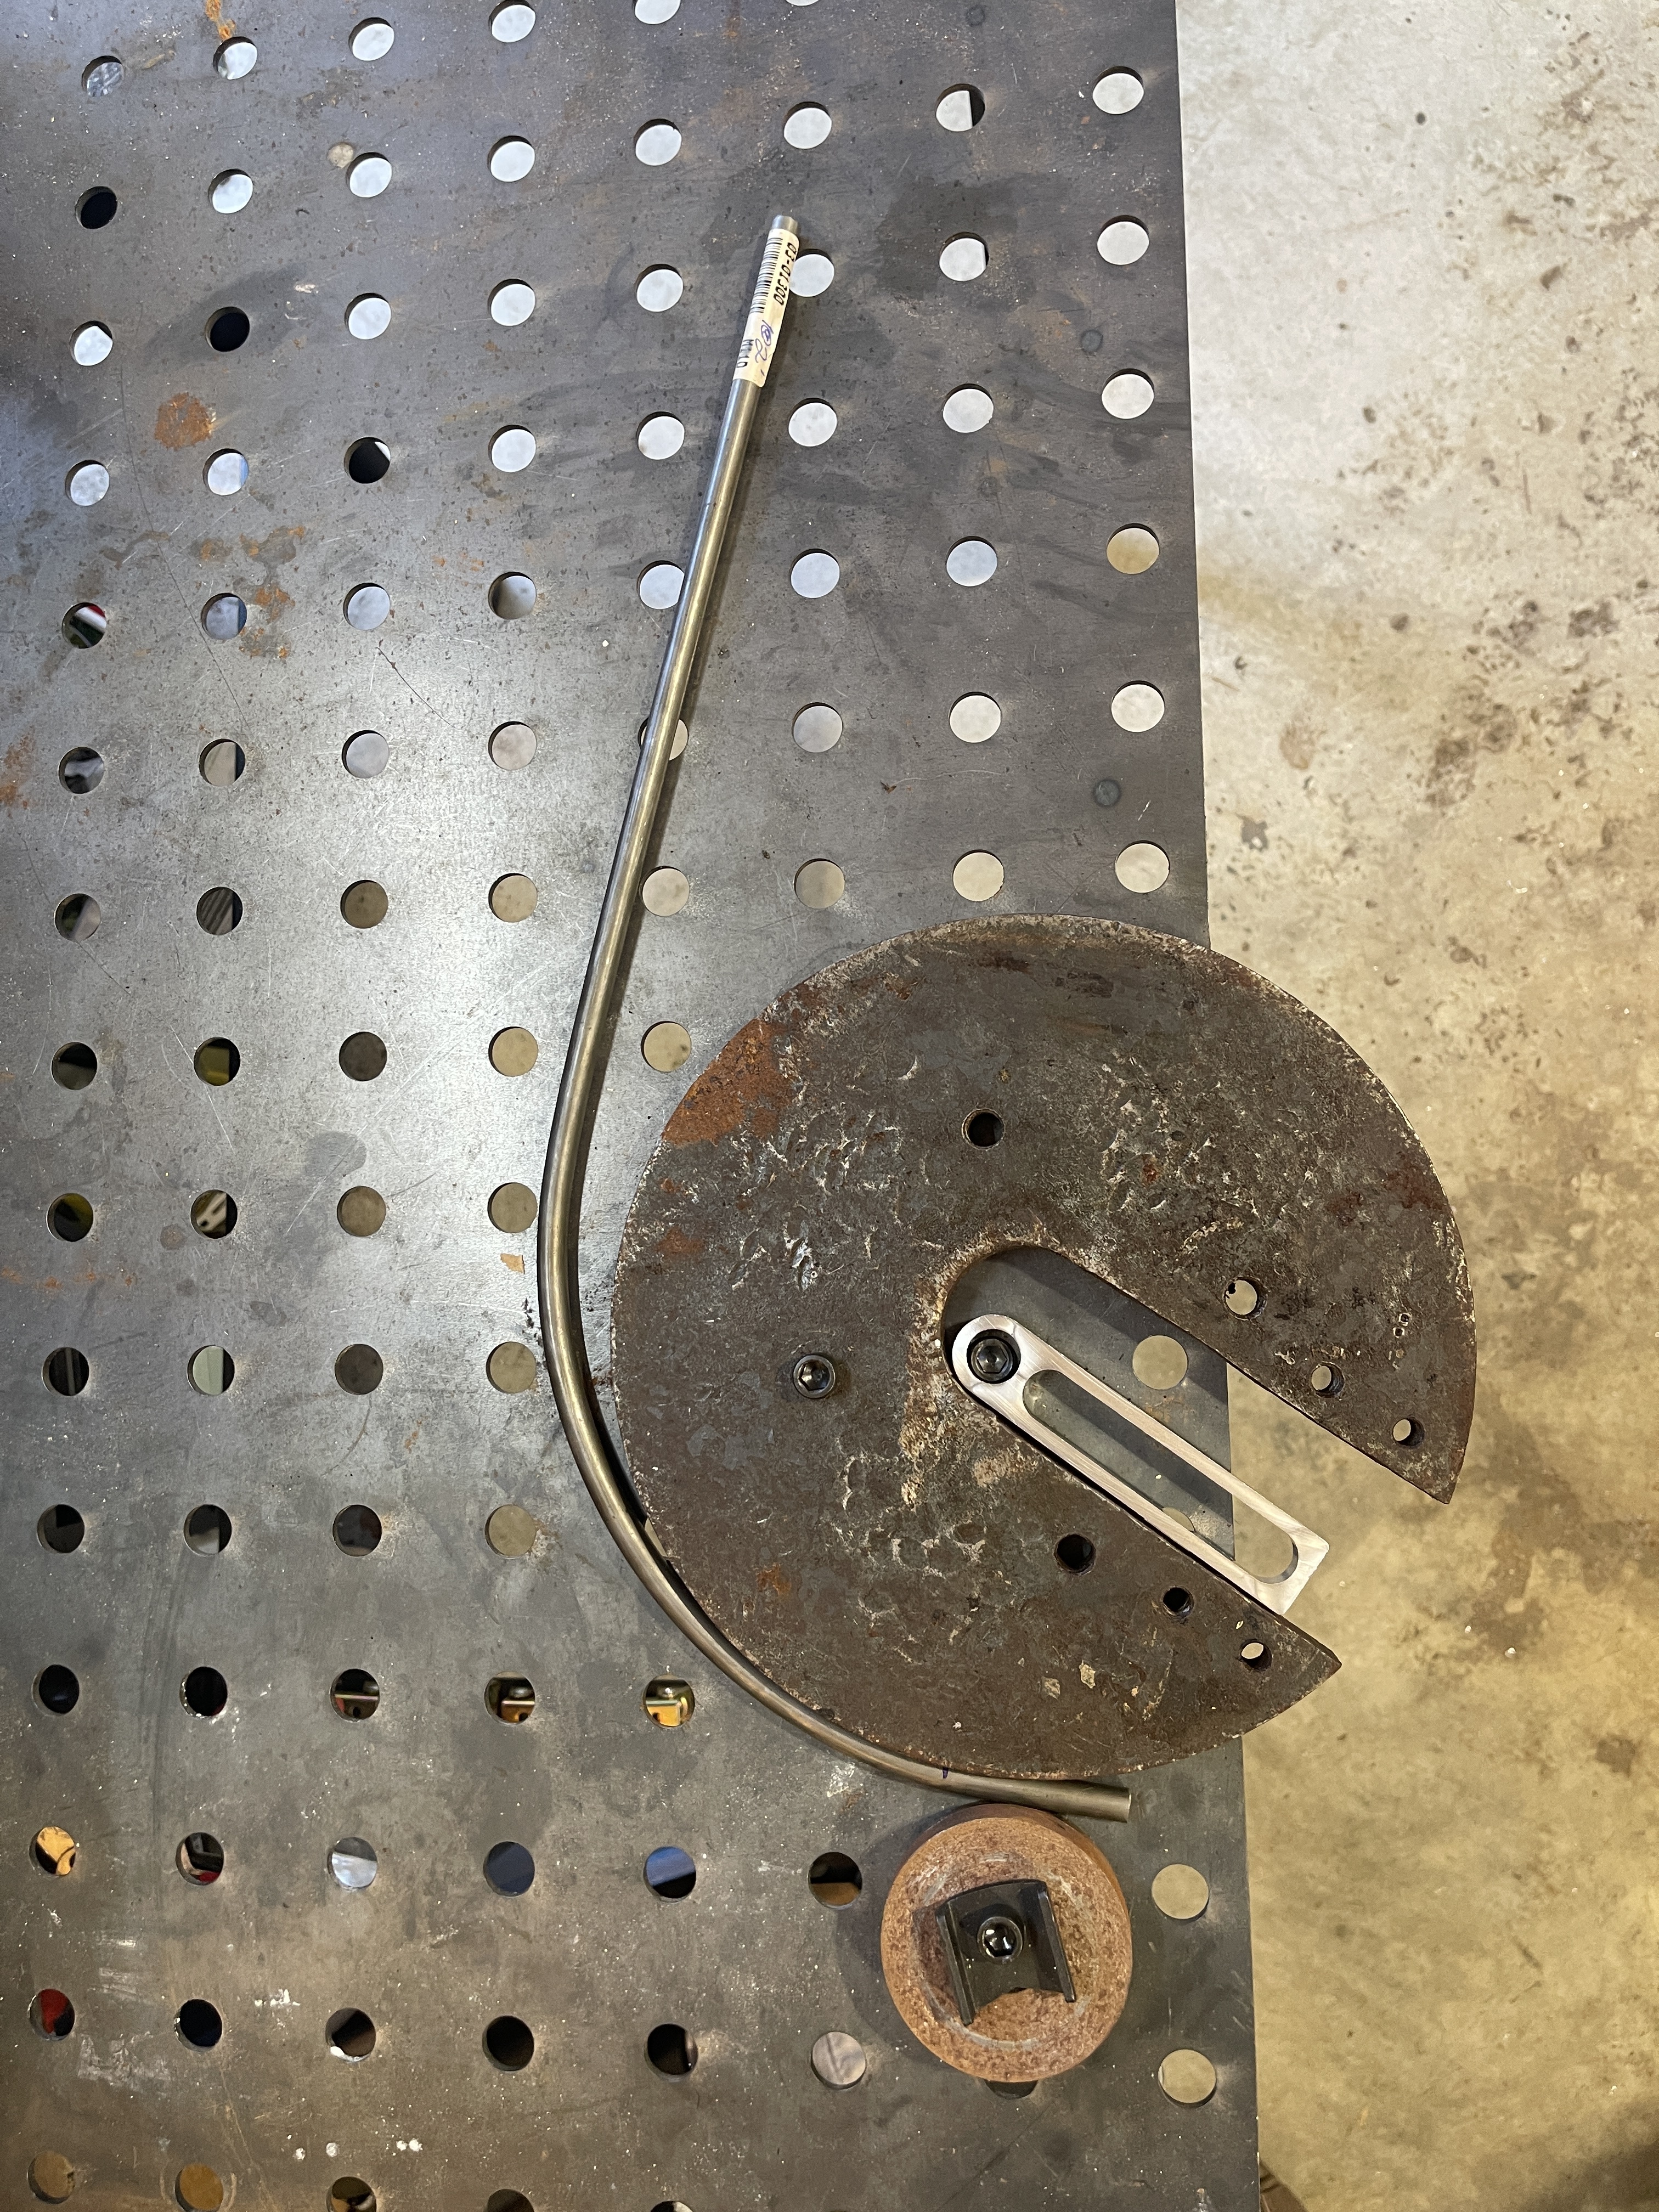
For Frame 3, I want to keep sourcing to Canadian retailers as much as possible. Most of the steel and fittings have come from CL Cycles. For the seat and chain stays, I had initially planned to use some straight gauge 4130 from Aircraft Spruce and bend it myself, but while I was figuring that out, Danielle Schon opened https://www.framesetsupply.ca/. I am excited some Deda CX chain and seat stays will be arriving soon. Frame 2 has canti’s, but Frame 3 will have an ISO disk brake mount.
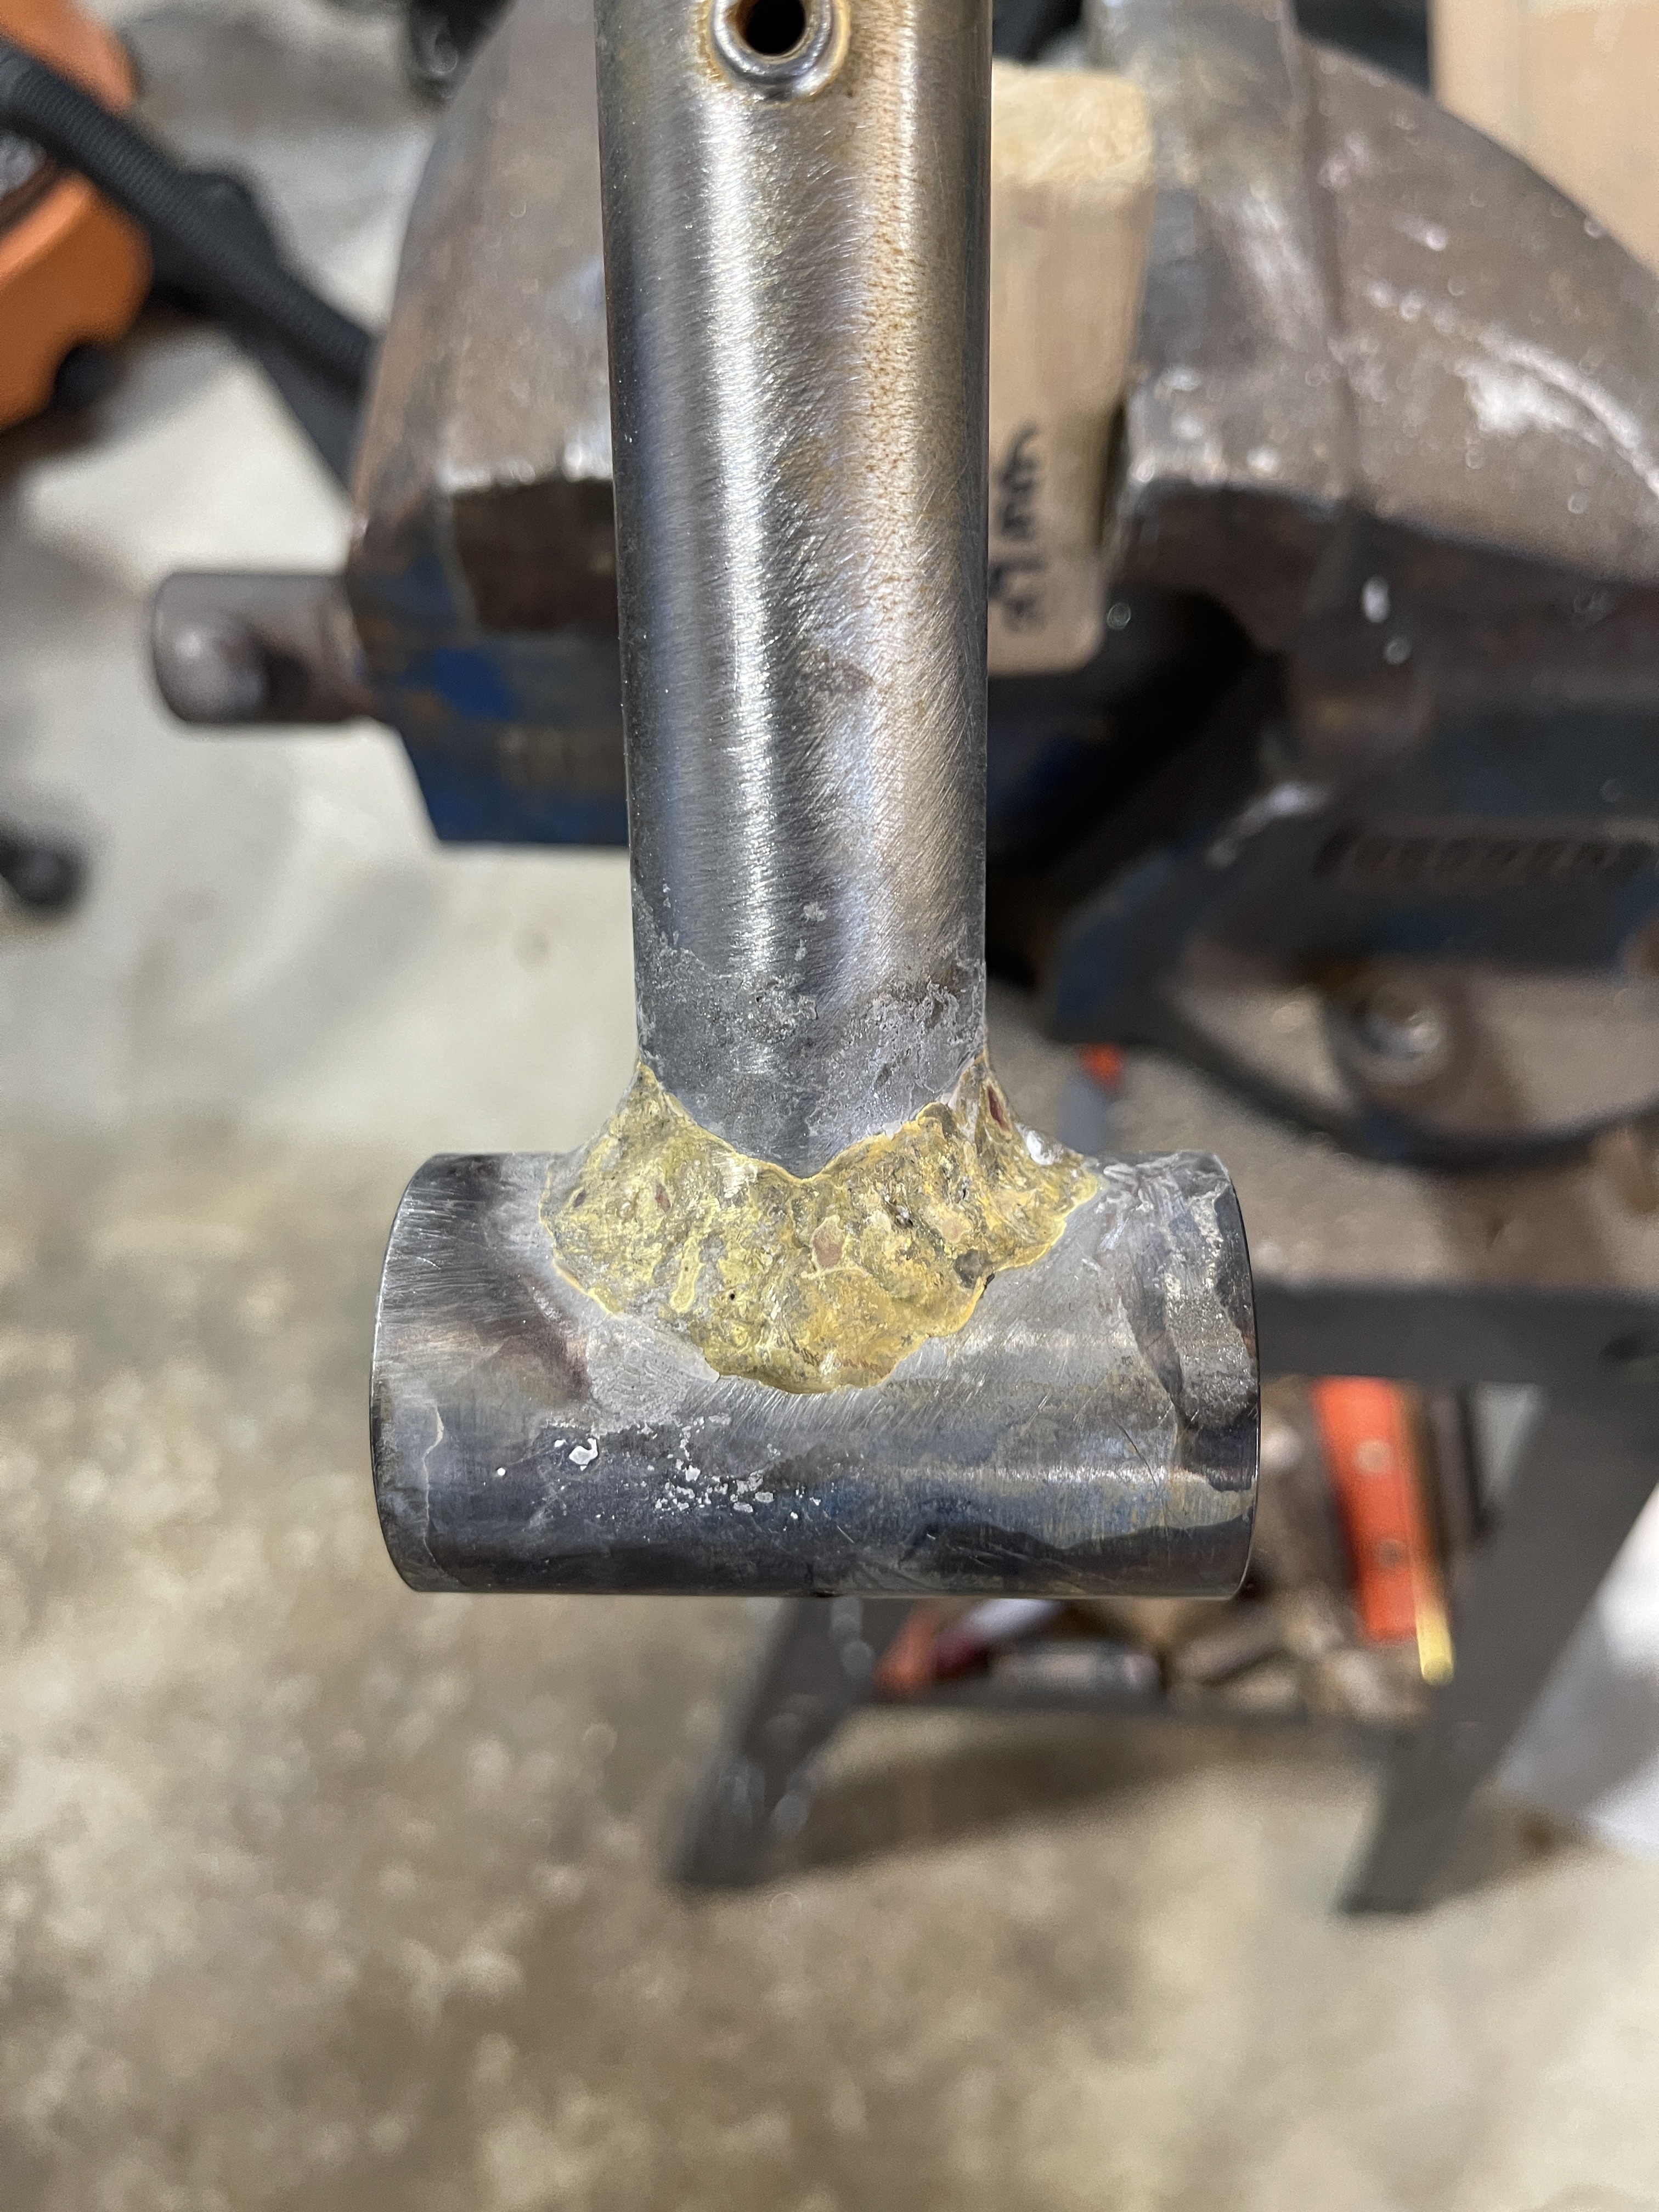
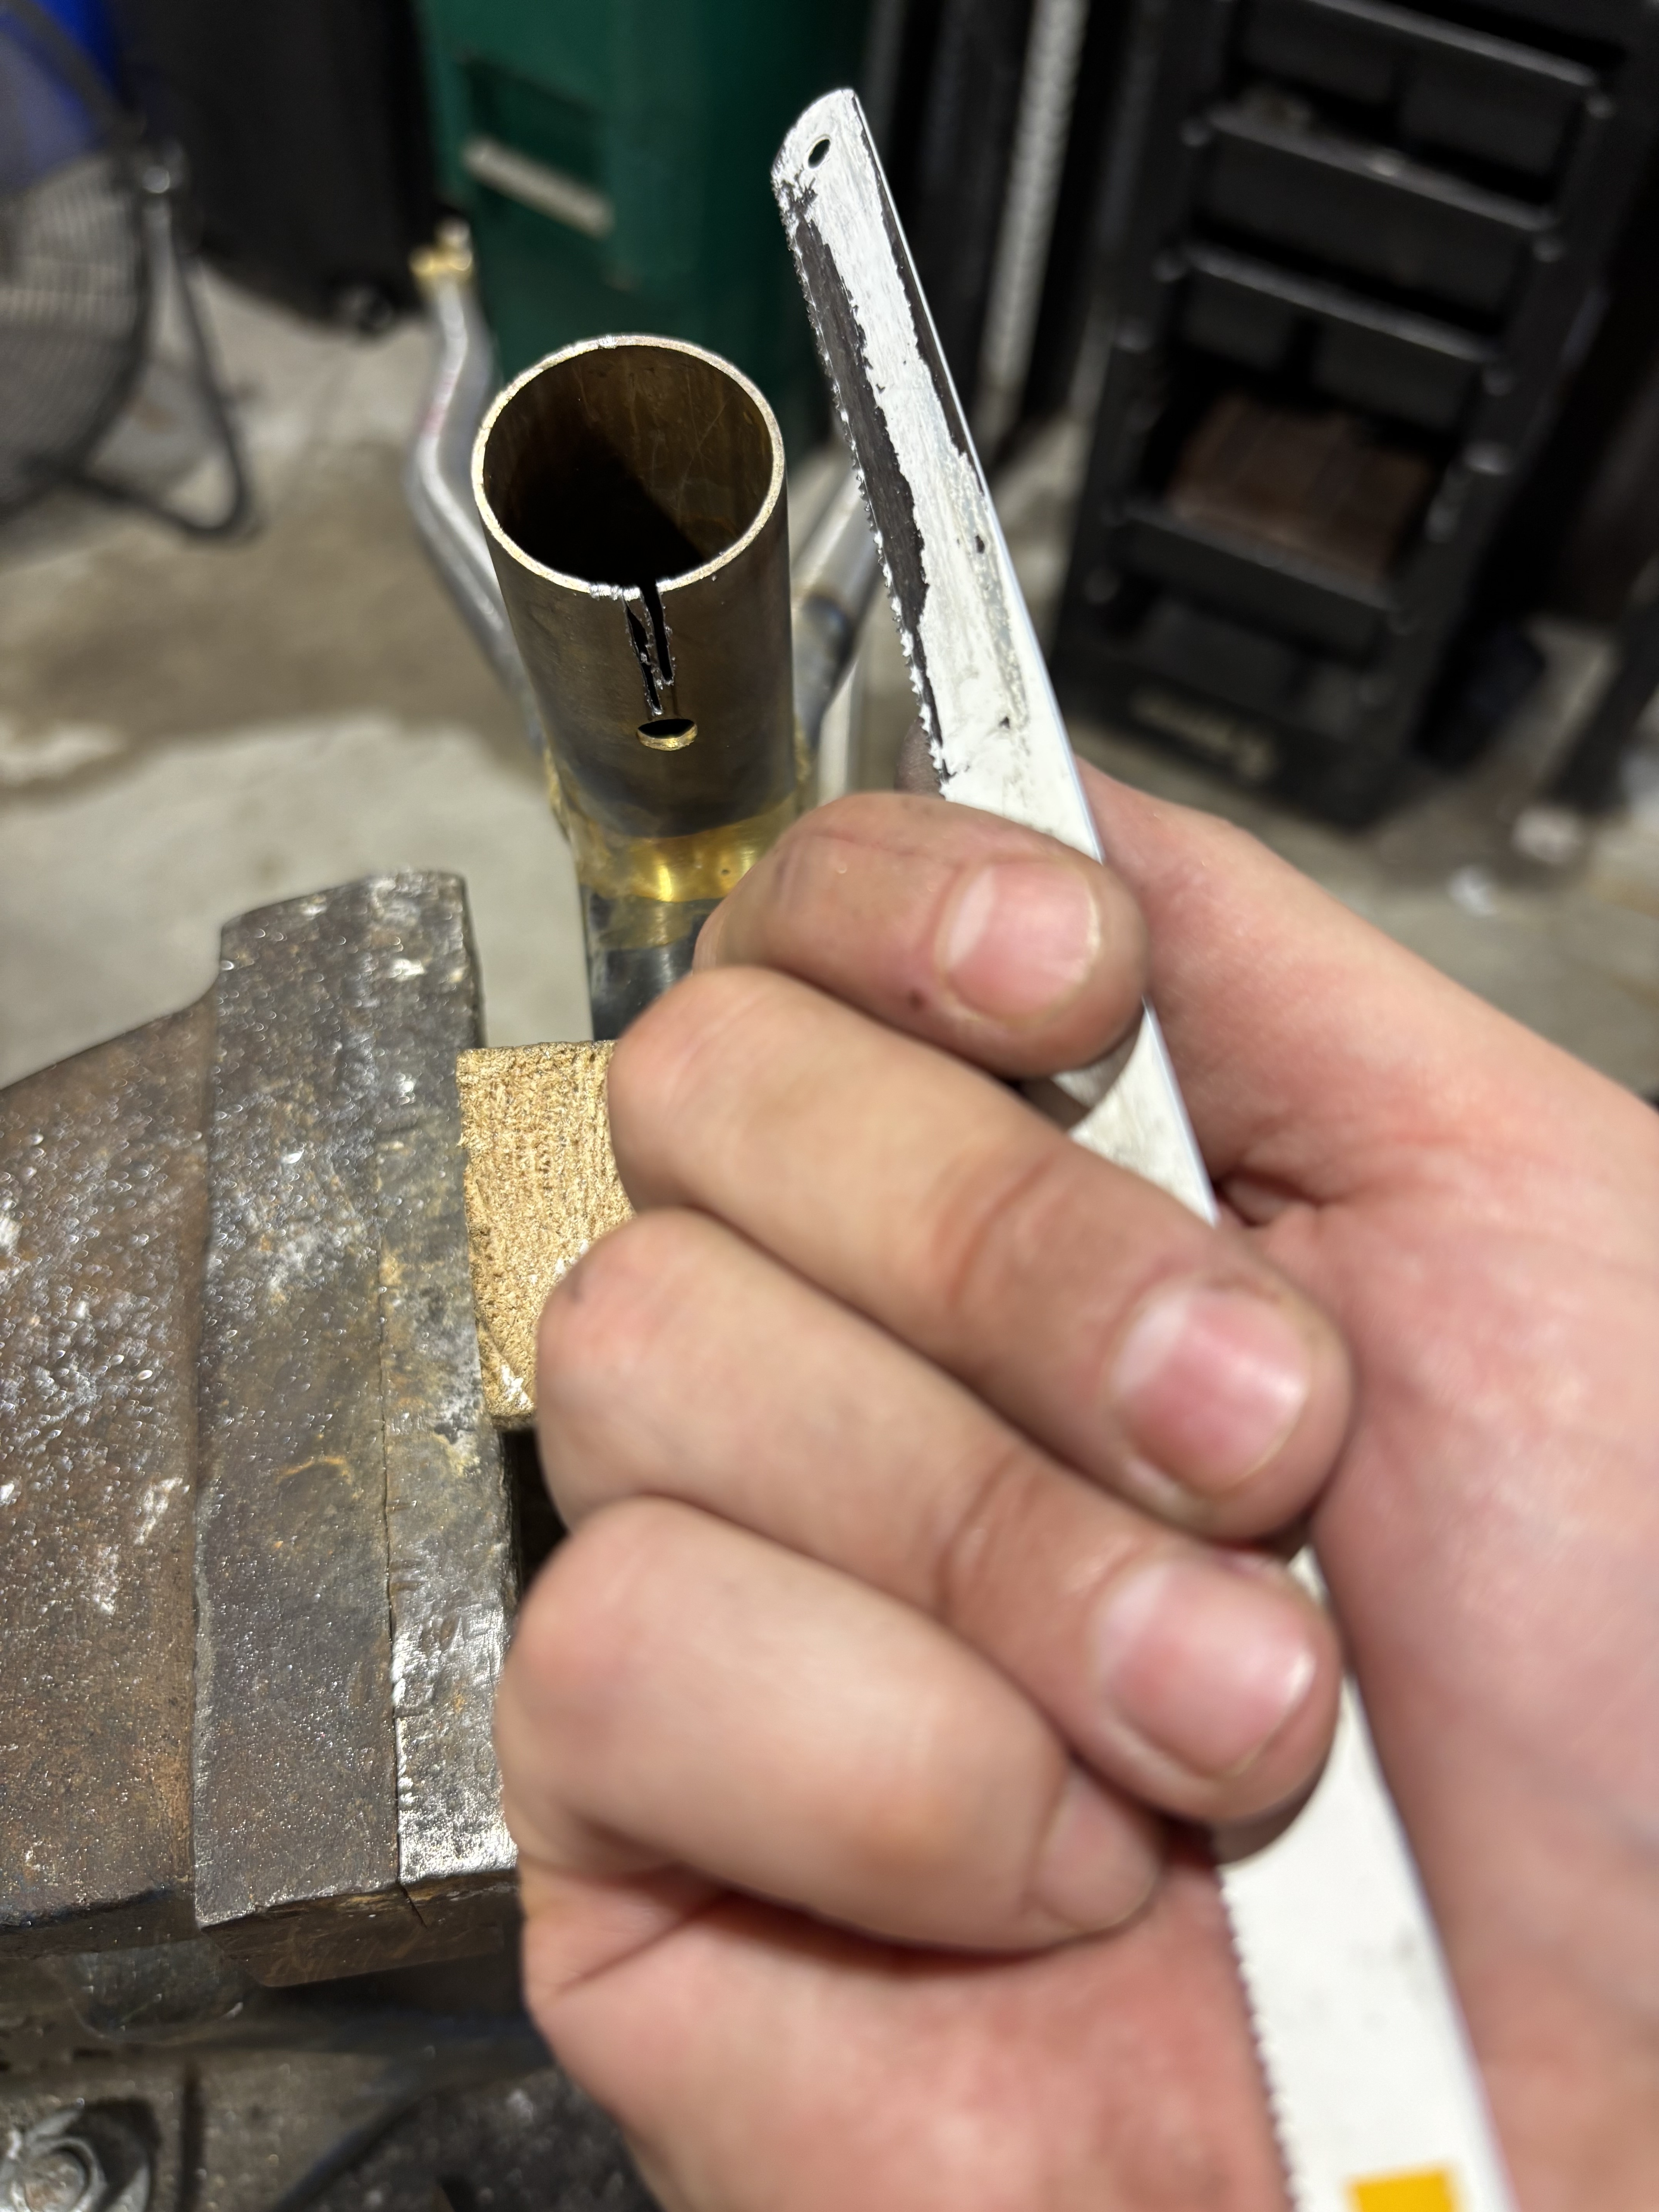
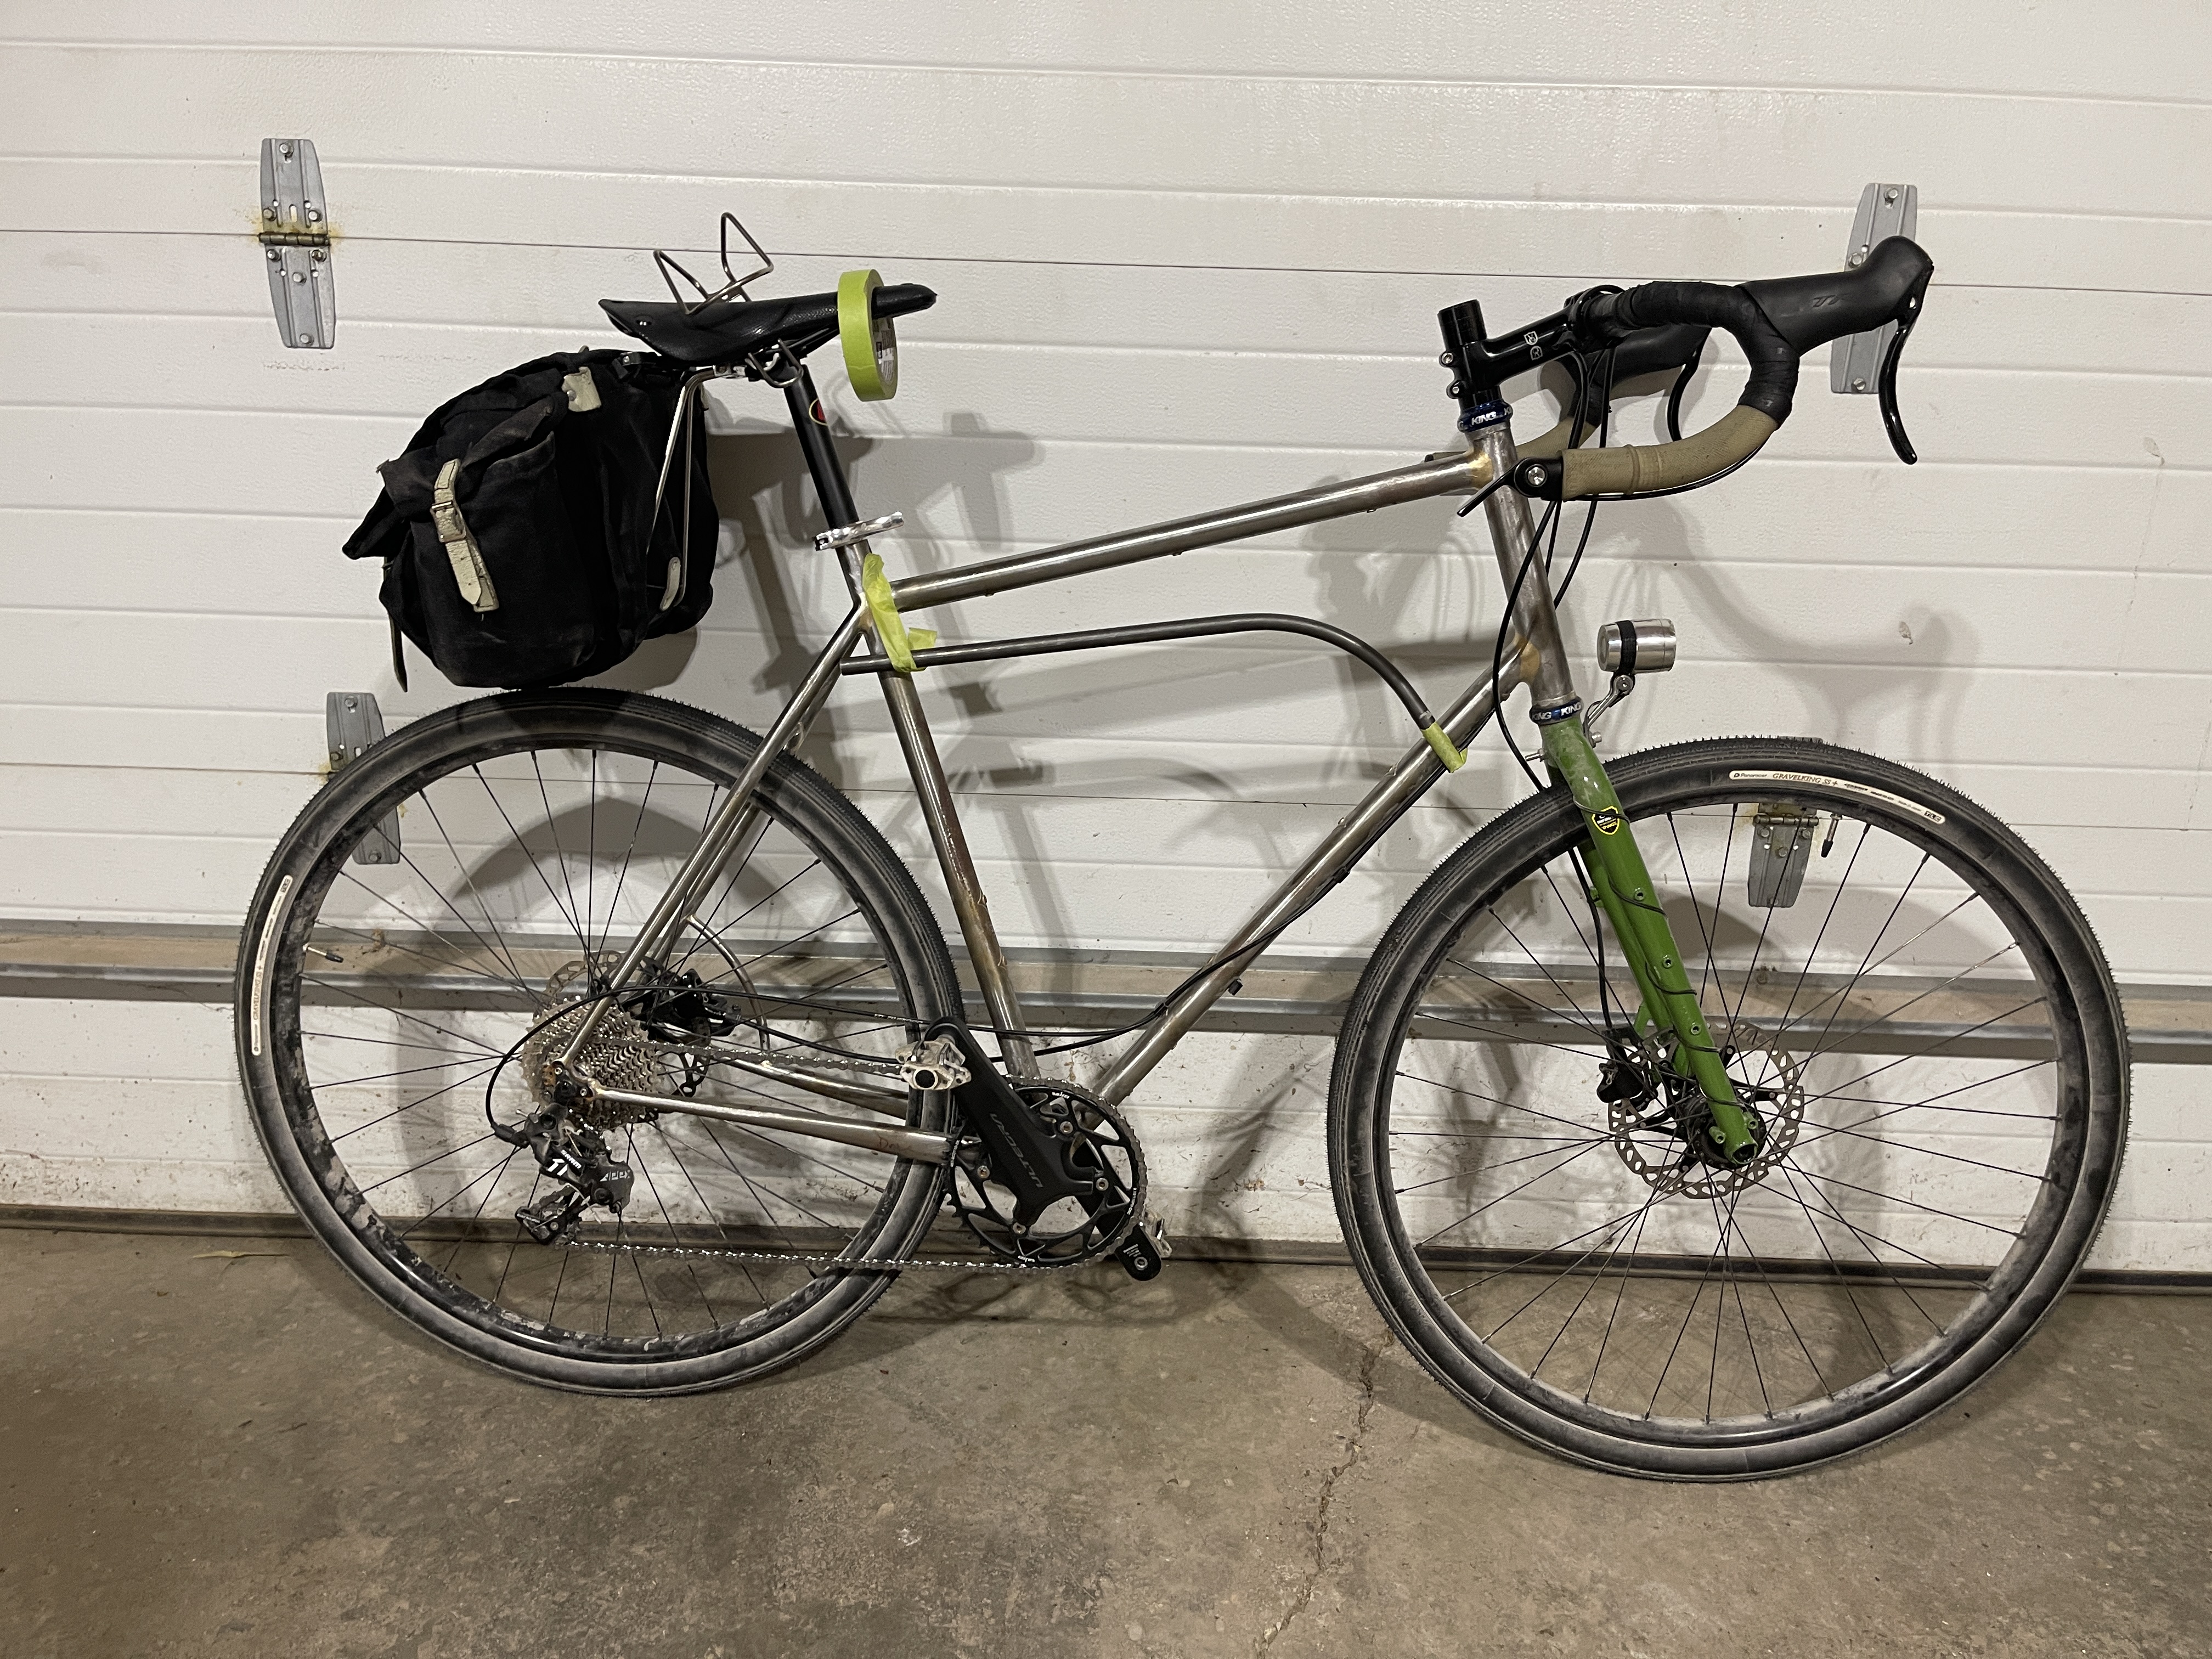
Frame 2 used a lugged bottom bracket. I remember reading it was a more forgiving approach and found that to be true. For skill development and in keeping with Frame 3’s design approach, its chain stays will be fillet brazed like the rest of the frame.
I had intended for Frame 2 to accommodate 700x43c tires. It can, but its tight, and I neglected to create practical clearance around the rear brake to remove the wheel without deflating the tire. I’ll fix this problem with Frame 3, which should fit 50c’s, or 43c’s with good fender clearance.
A Soma Wolverine fork from my parts bin should fit the frame well and get me rolling, but I do plan to make a fork to match. Most of the parts will transfer from another bike: TRP hydraulic road post mount disk brakes and Sram 1x11s with bar end shifter.
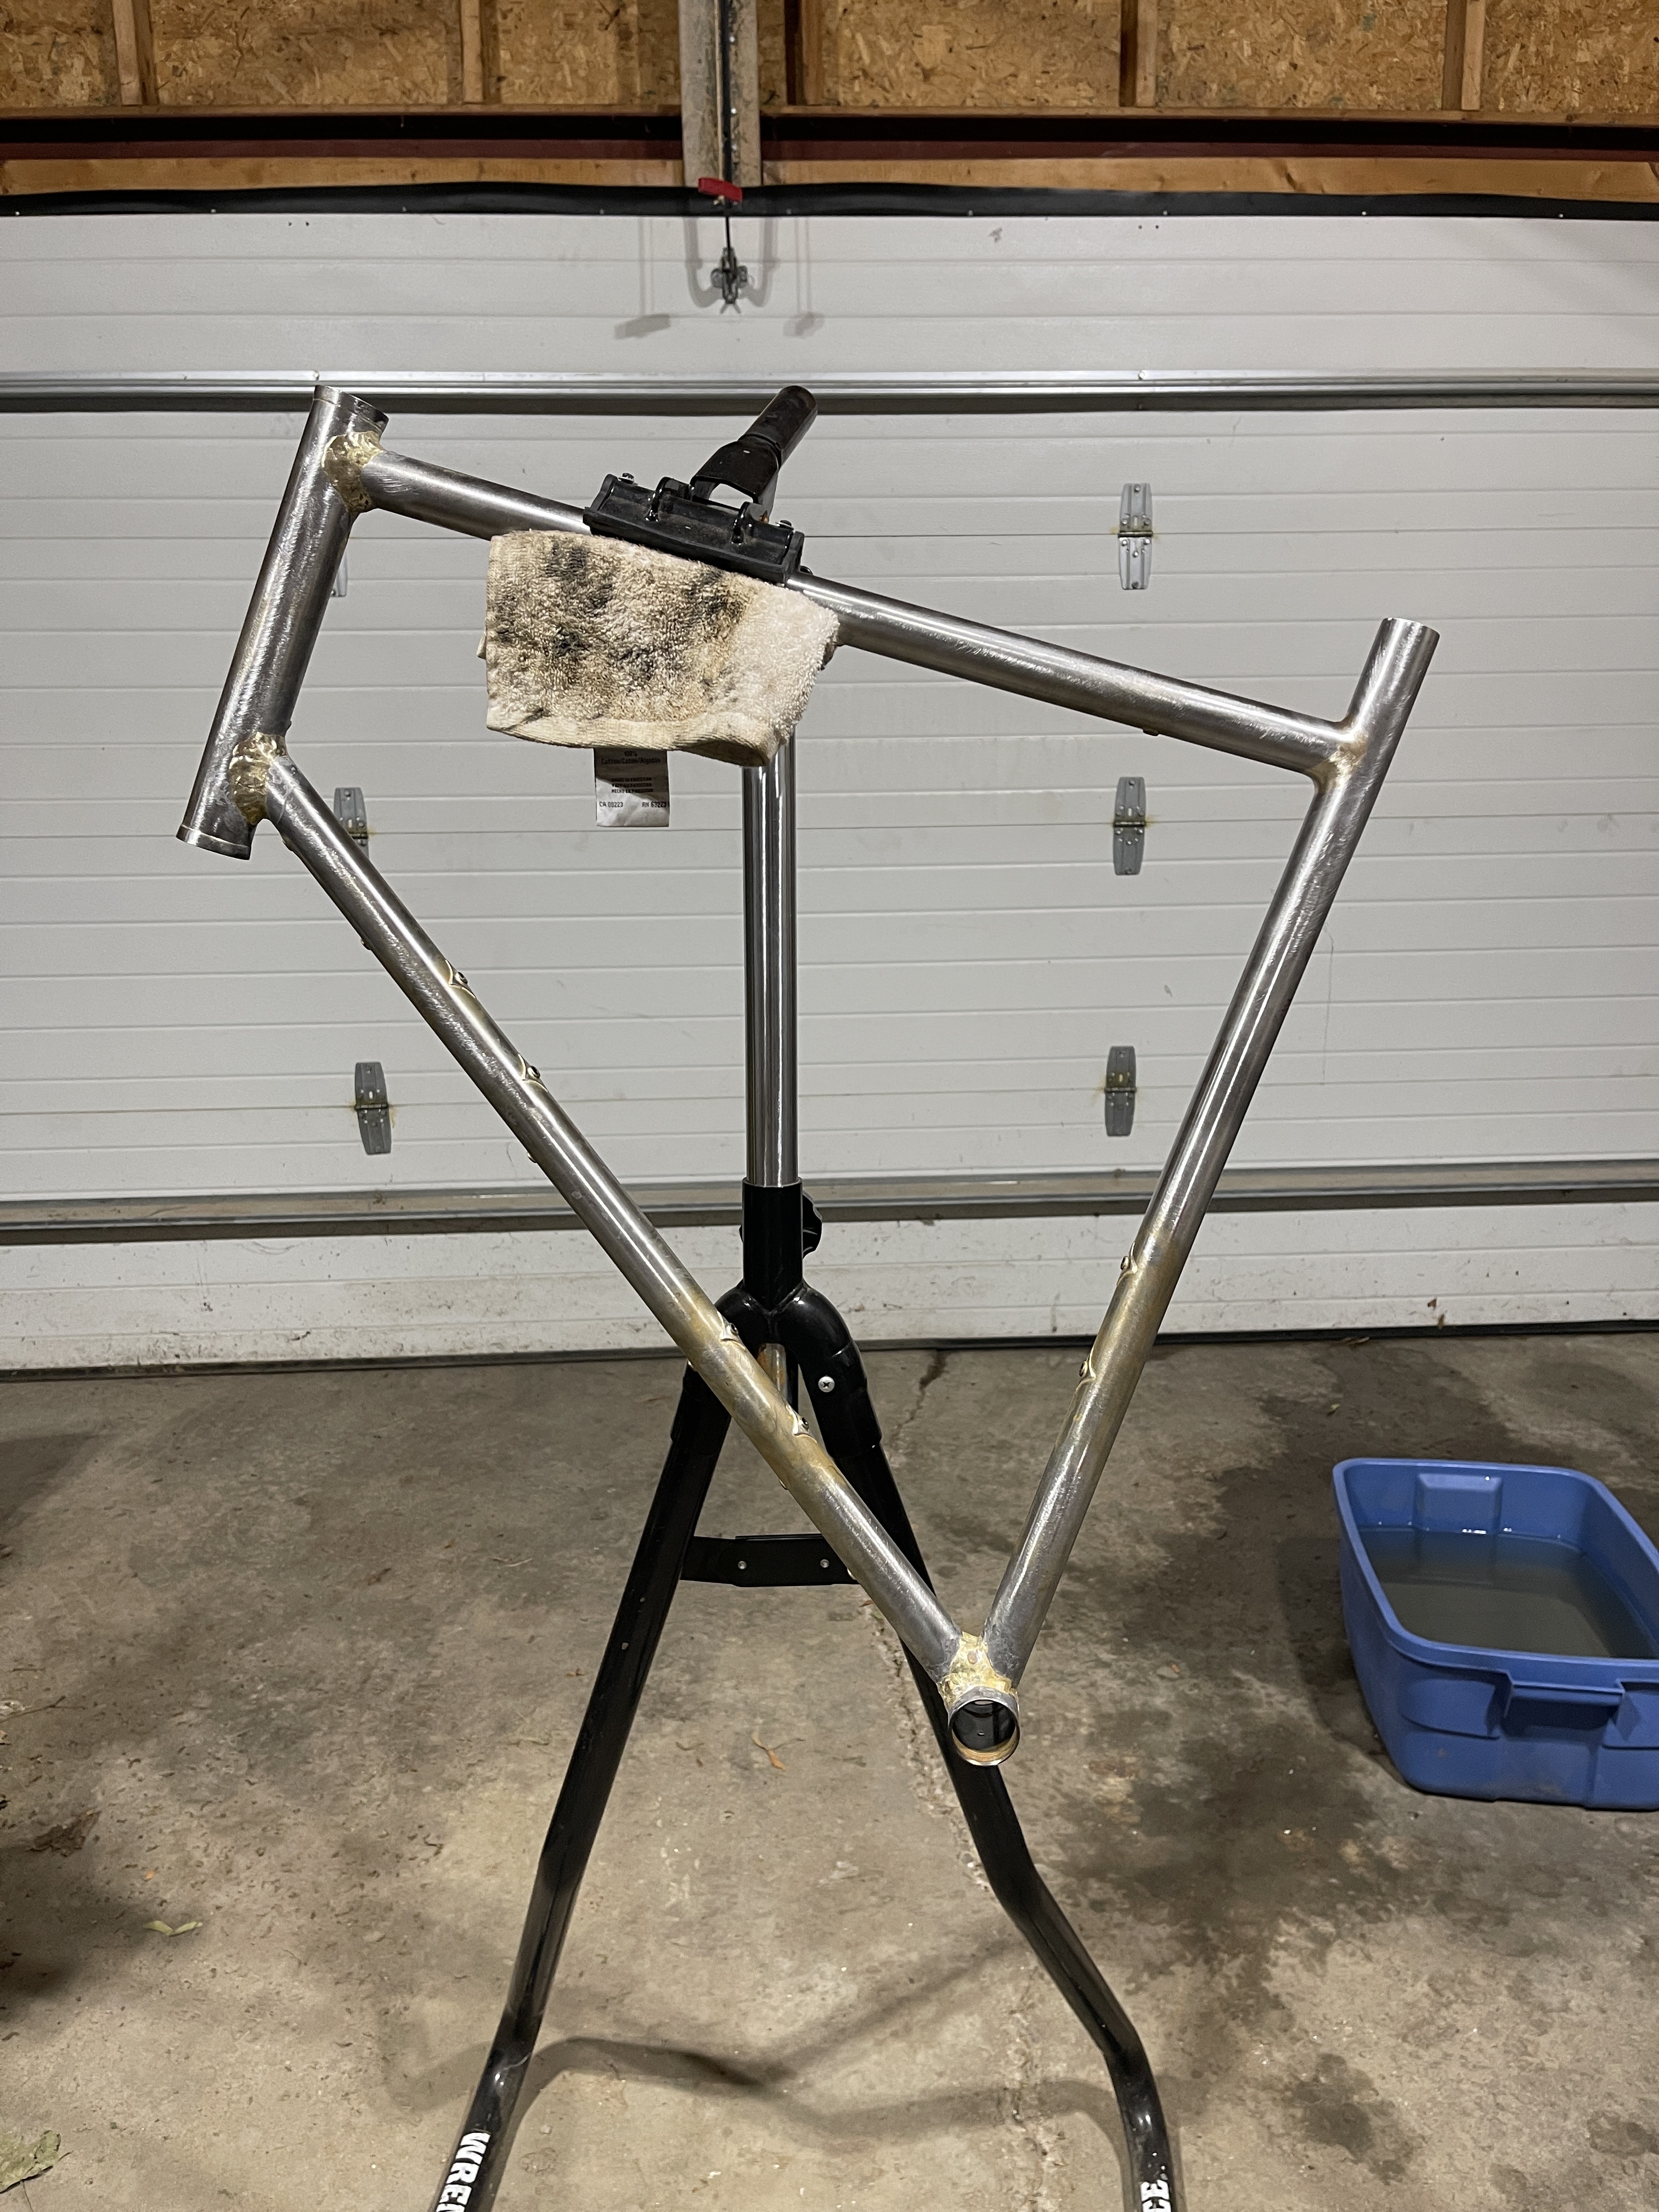
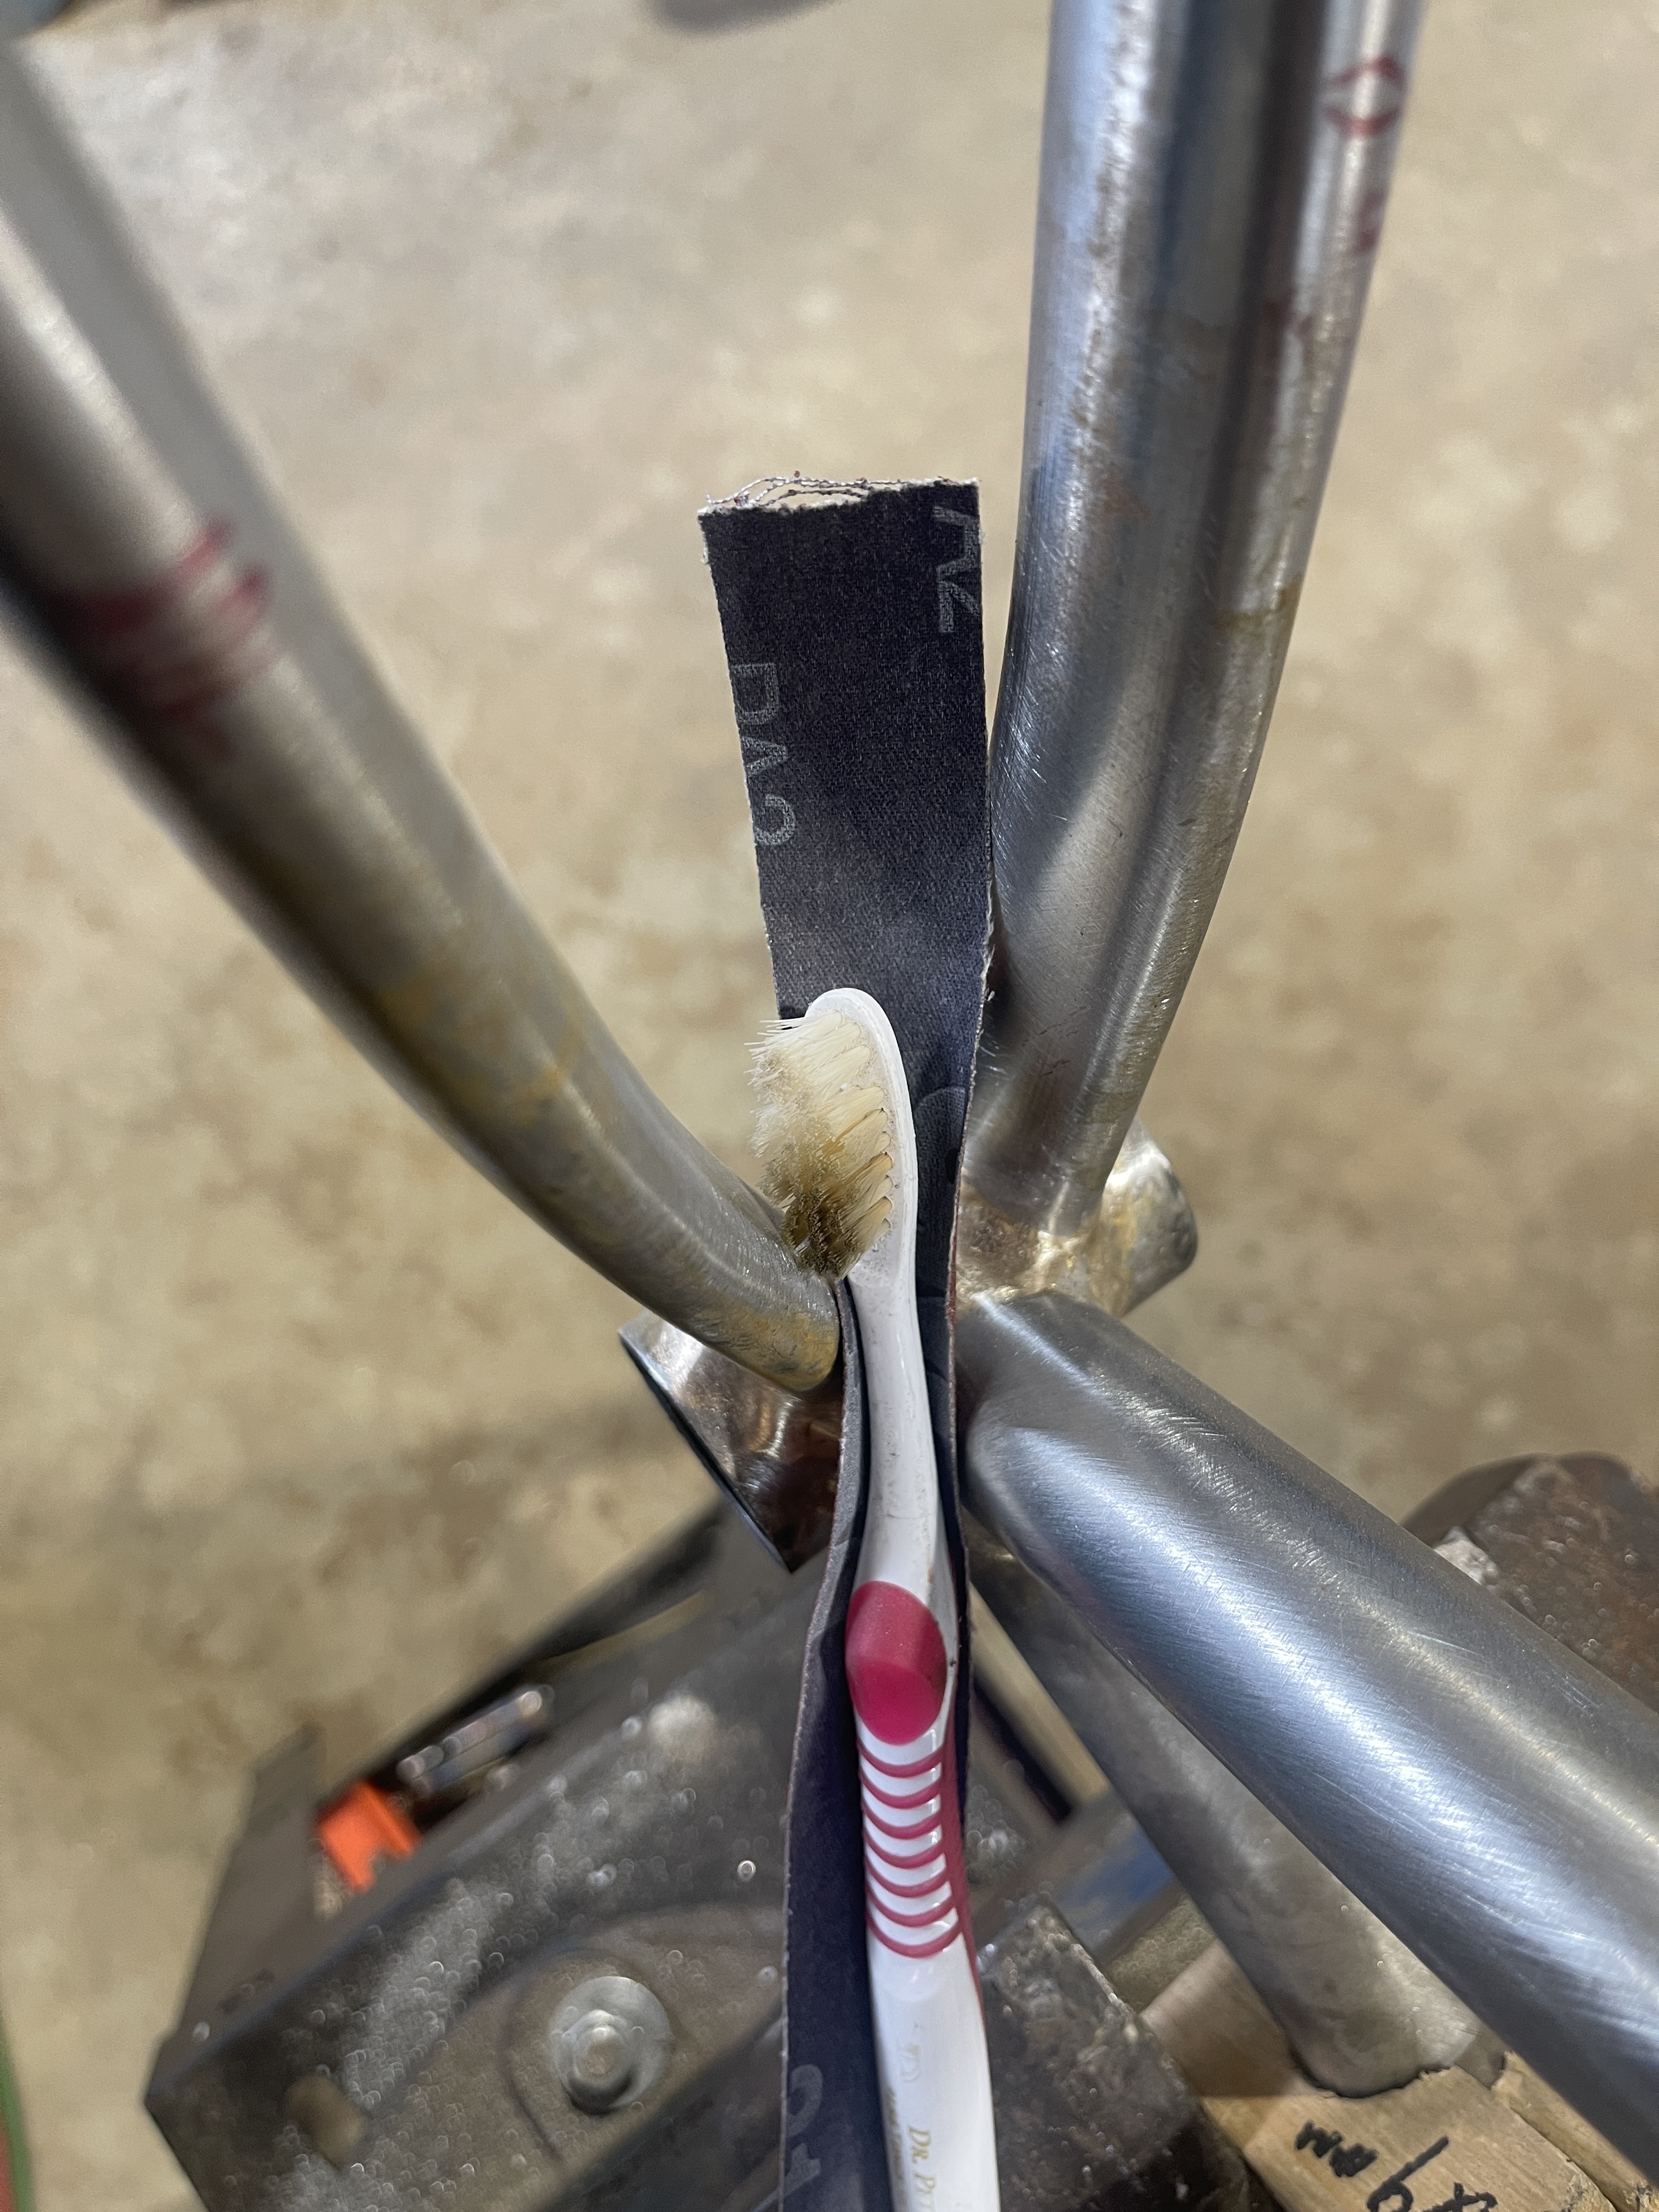
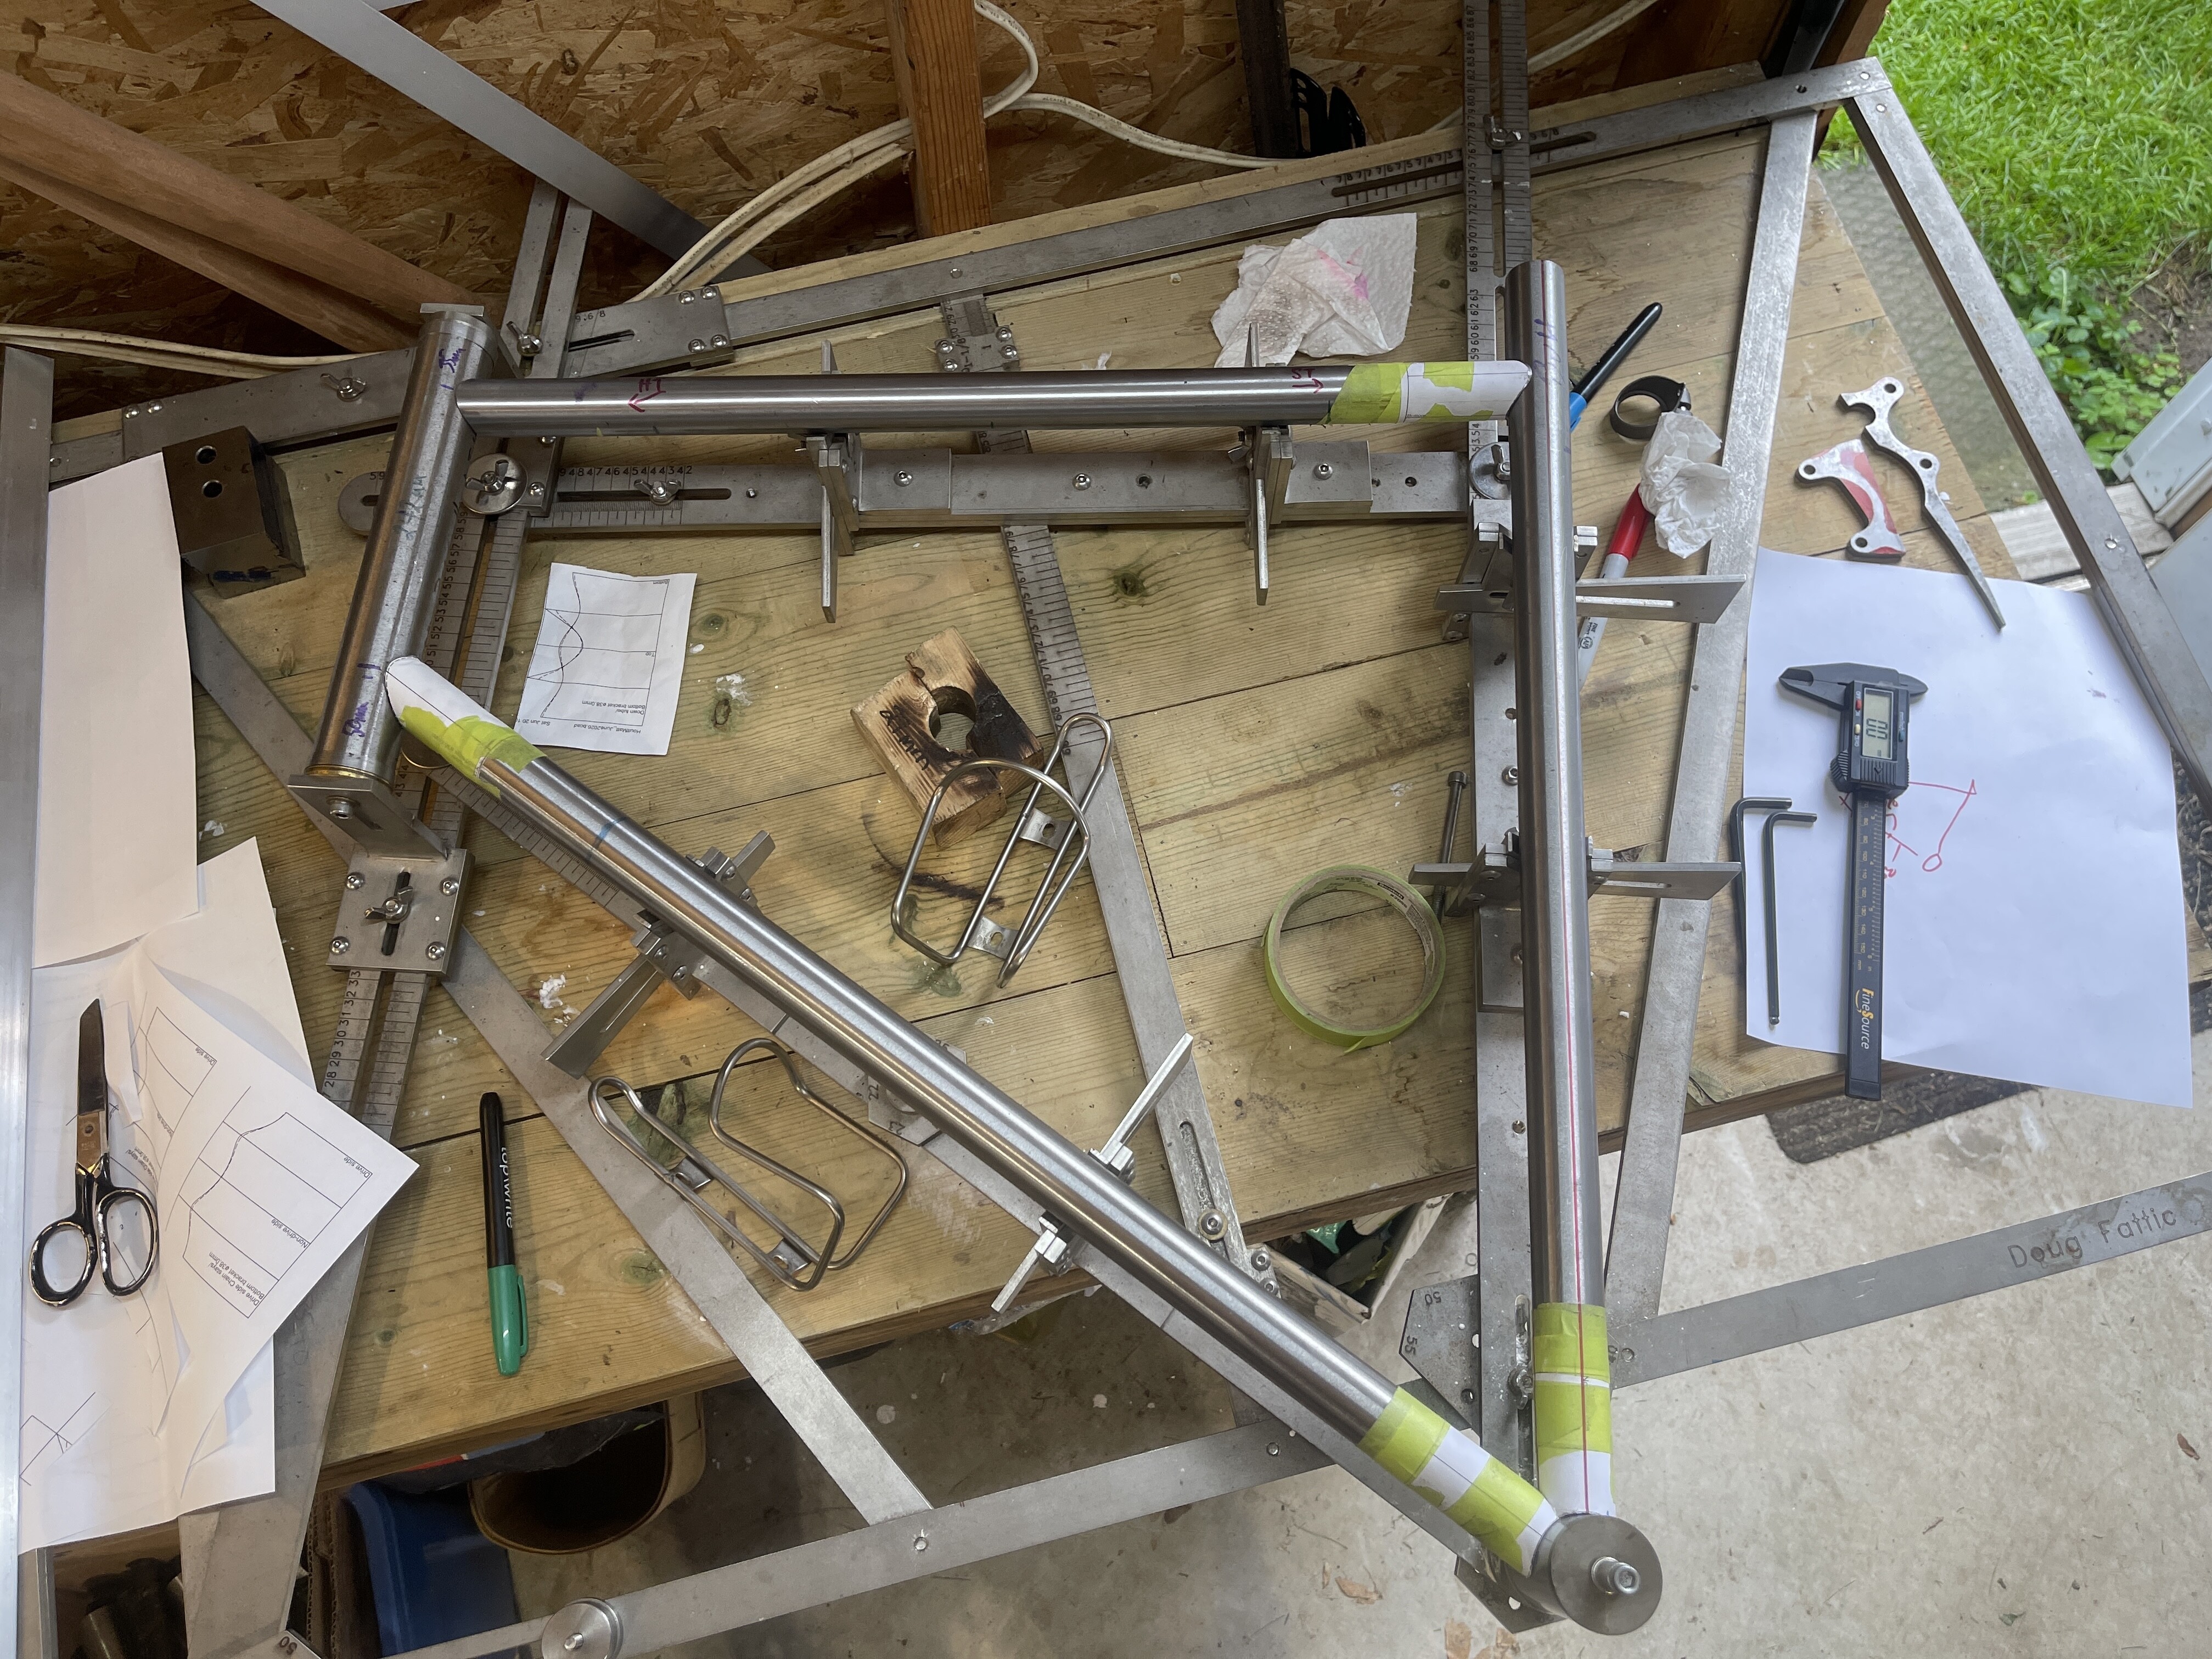
A used mini mill/lathe recently arrived in my workshop and I have been taking slow steps at learning how it works and how to set it up. The initial plan had been to use it for mitering, but hand files were in reach and the front triangle came together surprisingly quickly.
The next step is deciding on cable routing. I want to keep it external and like being able to comfortably shoulder carry.
More updates to follow. ![]()
![]()