I’m curious to know if an economical and precise frame verification and alignment surface exists.
3’ piece of scrap with a hole drilled through it, plus a bolt and a couple washers will do it for the front end. You could mount a dial indicator if you want to be super fancy but a set of cheap calipers or even a ruler is plenty good enough.
For the rear, same item with a few modifications, or alternately just a true/dished wheel and your eyeballs.
-Walt
4 Likes
I’ve had some questions about alignment and alignment tables as well.
I know the conventional wisdom for frame alignment is “straighter the better”. But everything in the world has SOME tolerance. I am curious about what actually matters, what to measure, and how much tolerance is acceptable.
I know there are competing wisdoms of how to align a frame and what matters. Has anyone has done any tolerance stack or sensitivity analysis (for example, how much does 1mm of headtube alignment translate to front wheel planarity?). Does anyone know of any resources or guides?
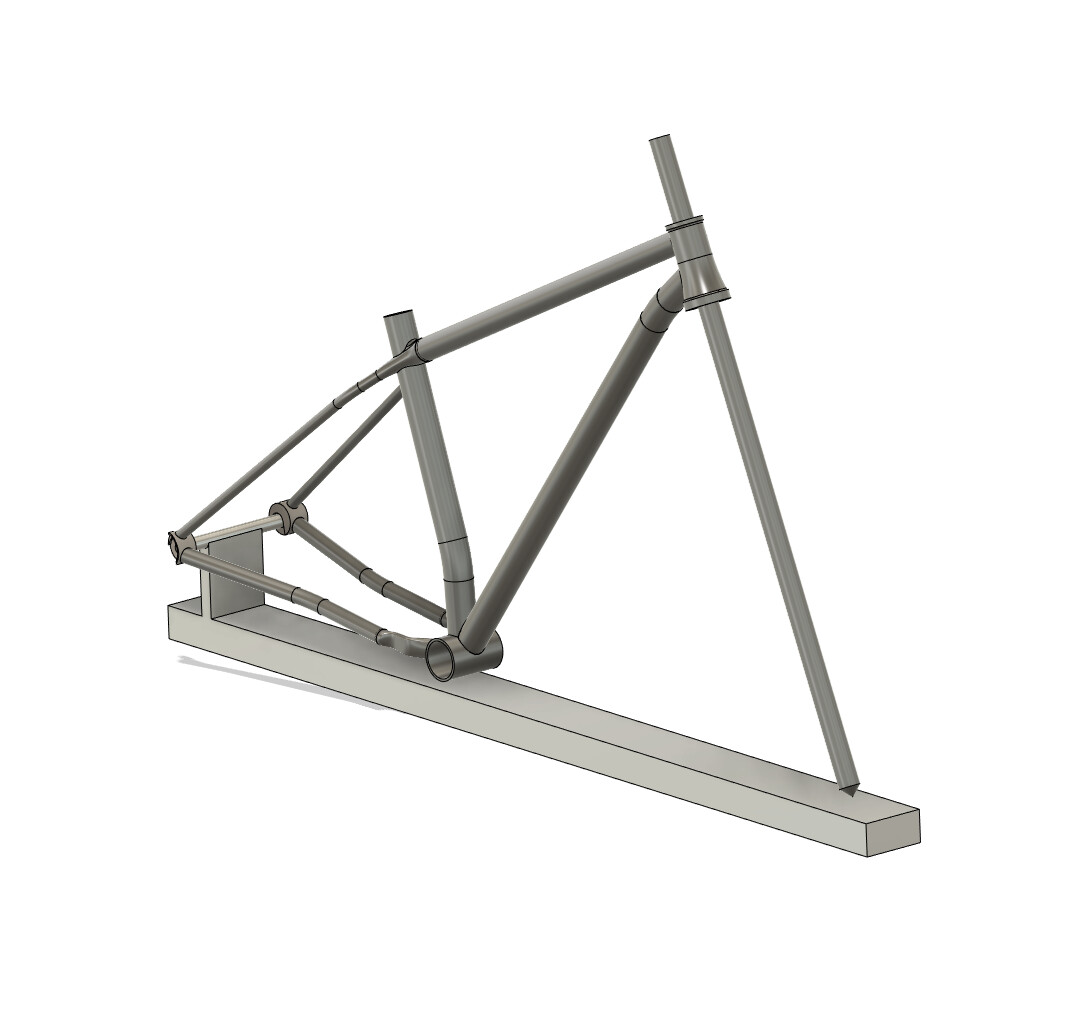
To answer add to the original question, I’ve always been curious about this style:
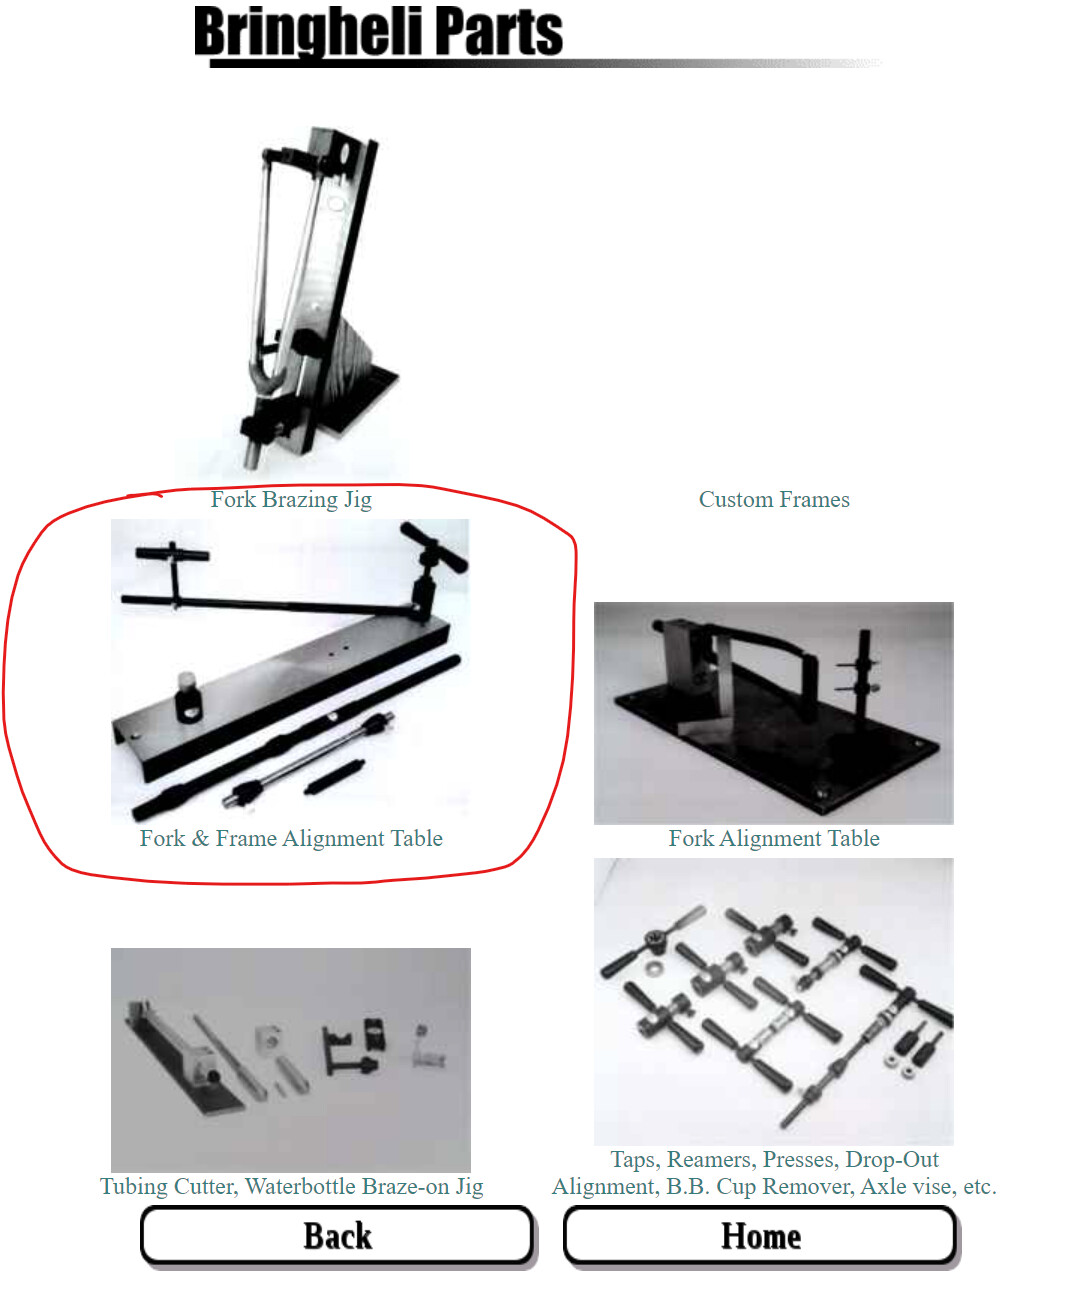
From 44 Bikes:
I know the conventional wisdom with allignment tables is stiffer, flatter, and better. But I am curious how the tolerances stack up in real life. For example, if a BB shell is out of planarity by .1 deg, does you really need a 400lb 1um flat surface plate?
3 Likes
MY take is you make the frame as straight as humanly possible with the tools you have at hand. I have a 600kg cast iron surface table. I couldn’t tell you how flat it is but every straight edge I put on it reveals very little light through so for me that is flat enough.
When I build, I do it with the view I don’t ever want to cold set the front triangle. The rear has always needed a little leaning on but I’m finding as my skills refine I only need teh slightest tweak to get them perfect.
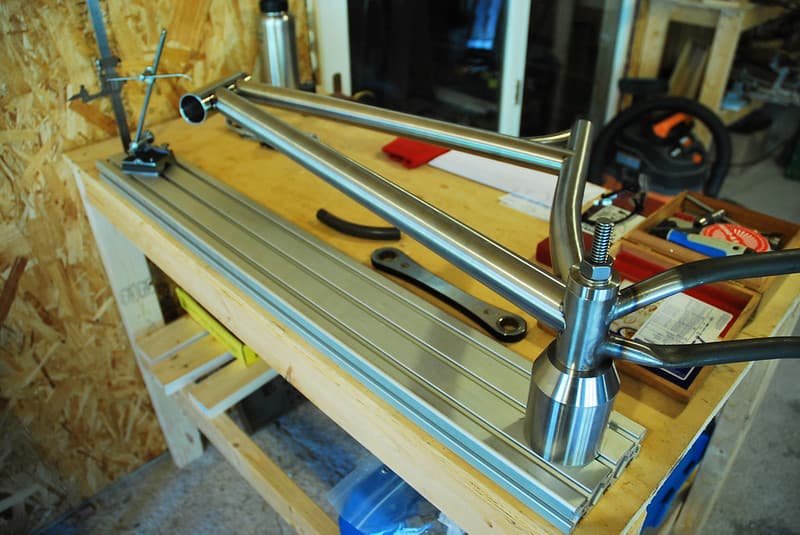
Whats perfect? You can certainly send yourself mad trying to chase tenths. The front triangle I regulary get my head tube and seat tube parallel to with in 0.3mm over 450mm. I check this by resting, never clamped, the BB shell on the post and setting the top of the seat tube with an adjustable standoff so that it is perfectly parallel with the plate. I then set the head tube with the same method and have a aluminium bar, that I’ve checked for straightness, I have inserted in the head tube and take height measurements with a digital height gauge.
You need a full size plate for my method. It’s a bulky set up but it’s the most accurate way that I can do and know I have complete control over eveythings. Correct build process helps with alignment. Tight mitres and a sequance of assembly that ensures that heat walking doesn’t pull the tubes out of alignment.
I’ve made better adjustable standoffs now rather than using the BB shells with cups as shown below.
4 Likes
There’s some pretty basic math you can do to see what’s actually possible just to set your expectations, assuming you’re going to use the BB shell to check your alignment.
The usual Park type chase/face tool will get you (I had a buddy who builds atomic clocks check with fancy measuring tools) within 2-3 thousandths if you’re really fastidious about it. Radius of a BSA shell is 19mm, and your typical head tube is 700+mm away from the BB center, so the error at the head tube is something like 35 times that 2-3 thousandths.
The post you mount the BB to is also not perfect, of course, but we’ll assume it is for the sake of argument.
Hence the closest you’ll ever be able to really be is plus or minus 1/10" or 2-3mm, a bit less at the dropouts. There’s no reason to use tools significantly more accurate than that unless you’ve got some sort of system to get the BB faces really crazy perfect.
There was a long and hilarious discussion of this from back in the Phred.org days where someone innocently asked whether, once aligning the frame on the driveside, you were supposed to flip it over and check the nondrive. All the crusty old timers immediately jumped down the guys throat, of course. If you try it what you’ll realize is that it’s only really going to be “straight” on one side in most cases.
So really, any old piece of rectangular tube from Home depot is flat enough, in general, to check your alignment. There’s nothing wrong with using a big super flat surface plate, but it’s massive overkill.
Now, on the actual effects on riding the bike - you can actually experiment with this (I have) for yourself. Some general observations:
-Twist is your big enemy. 1/2 degree of twist of the head tube or seat tube is enough to notice when doing things like riding no hands. It’s not enough that most casual riders will notice, but it’s not something I’d want to send out into the world. Twist is generally not fixable by any technique, too, so make your miters tight!
To play with this, you’ll need a bike with QRs and a bit of courage. Simply loosen your skewer (front or rear, front will usually be more noticable) and use a little trig to figure out how far your wheel needs to deflect in the fork to get, say, 1 degree of “twist”. Now put the wheel there and tighten the skewer down tight enough that you can ride around with the wheel twisted. You’ll notice it doesn’t take a ton before it’s noticable.
-Things being out of plane doesn’t matter nearly as much. You can test this by redishing a wheel bit by bit - and what you’ll find is that even 3 or 4 or 5mm out, the bike still rides straight. I once owned a Dean ti frame (back in the age of the dinosaurs when I was a sponsored racer) that I decided to copy when I built my own first frame. So since I didn’t know much about frame geometry, I just put the frame in my fixture to set the positions of everything and then mitered tubes to fit.
The frame just wouldn’t fit in the fixture, though, and I eventually realized that it was close to a cm out of plane at the head tube. I had ridden that frame for an entire season and won professional races/money with it and never noticed!
A note about fixing alignment: Modern frames, for most practical purposes, cannot be cold set. The era of a bearded Italian guy yanking on a lugged frame was only possible because frames quite commonly used 1" tubes for the main triangle (1 1/8 downtubes were “oversized” back in the day). Since the stiffness of the tube doubles with every 10% increase in diameter, a modern 38+mm downtube is just not going to actually bend under the amount of force a human can exert. And if you put a big lever on it, you’ll just put so much force into the BB shell that you’ll (hopefully only slightly) crush it. It might look like the frame got straighter, but really you de-faced the BB.
Chainstays are small enough that you can cold set them, though.
You can get in big internet fights about this, so I’ll conclude with this: all of the common processes for checking alignment are fine. You will get a straight riding frame from home depot metal and from a surface plate if you build the frame carefully to begin with. So do whatever makes you happy, your bikes will be great.
-Walt
20 Likes
RE cold setting, has anyone here ever pulled their bike apart after a few thousand miles and checked the alignment of the frame? I haven’t, but I’m curious. I get the practice of producing the highest quality work one can with tight miters, appropriate heating, and a high quality fixture, but some part of me wonders about whether or not cold setting makes any sense at all. I mean, if one’s body weight can plastically deform the frame into a new shape on an alignment fixture, who’s to say that the very same person’s body weight won’t plastically deform it on the trail? I guess I’m wondering if fussing over alignment after brazing/welding is worth it if the rider might alter the shape of the frame just by riding, and if anyone has any experience with this.
Edit: Posted almost at the same time as Walt and he mostly answered my question.
3 Likes
Modern large diameter tube frames (at least the front ends) are not actually plastically deforming via human muscle power, whether on an alignment table or on the trail.
So don’t worry, you’re not bending your frame while riding.
-Walt
10 Likes
Everything Walt said. ![]()
8 Likes
I tested this recently with my very… supple … commuter, it’s just as straight as the day it came off the jig.
For what it’s worth - I braze my front triangle and chain stays then face the bb and put the frame back in the jig to check alignment. I’ll also toss a well dished wheel in there and break out the eyecromiter.
8 Likes
The eyecromiter is key, lol. FWIW I also use my fixture as my alignment checking tool.
I think it’s hilarious to even imagine someone bending a frame by riding it. I mean, there were plenty of 1000+ watt monster riders out there on the boards in the 1800s on skinny tube frames sprinting like crazy people.
And then of course there’s Cippo, who somehow managed to win a crazy number of sprints on floppy bikes with quick releases and quill stems back in the day without bending a single one.

You and I have zero chance of bending something unless we run into a parked car or something.
-Walt
10 Likes
At first i fell into the whole notion that the frame had to be perfectly aligned to ride well. By chasing my tail over many frames I realized i wasn’t asking the right question (“i welded up this frame, is it straight?”). Once it’s welded it’s kinda too late (except for the rear axle spacing/centering).
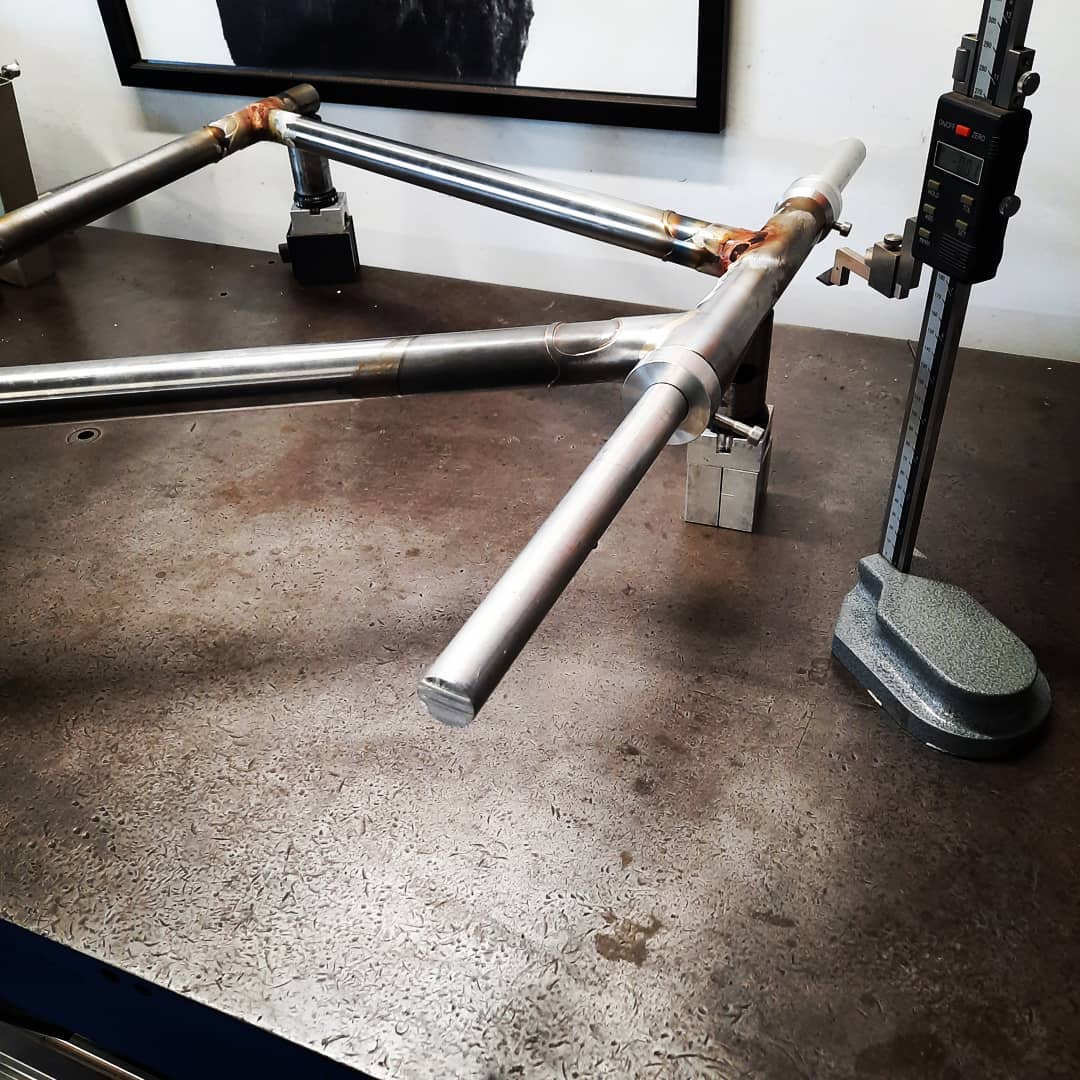
I had a Bringheli C-channel like the one Daniel posted and in order to compare the height or tube center of the seat tube to the head tube and then rear triangle, you have to rotate the frame around the BB post. Because it’s very difficult and unlikely to get the BB faces perfectly parallel, and practically perpendicular with a BB post/tower, you’re not measuring what you think you are. Frame may be very straight but it’ll appear off. I noticed that all my frames were the same amount off at the head tube and that’s when it occurred to me that rotating was introducing the error.
Like Walt said, if you’ve built bikes and know they’re off you are unlikely to notice a difference especially on a MTB frame, although I’ve never tried that QR wheel tilt technique, that’s awesome…and sketchy! Maybe you’ll notice more alignment issues on a road frame with 100psi in 28’s but there are a whole lot of things you may be noticing other than frame alignment - tolerance stacking or whatever you want to call it - is potentially huge since a bike is the sum of so many parts. Wheels out of true? Tire got a wobble? Cable housing pulling your bars one way or another? What about the fork and its own alignment? Ever seen the stated +/- on the axle to crown of a Fox of RS fork? My point is that it’s a losing battle. It’s better to focus on your miters and your weld/braze sequence than try to fix anything after the fact.
The best use of a flat plate in relation to frame alignment is for instructional purposes - if you check the same things every frame and notice a pattern, then you can go back and see what you may be doing wrong that is getting that result. Although that begs the question whether you’re actually measuring a real effect or if your assumptions are wrong (i.e., that the BB is perfectly faced).
I always liked the setups where the head tube was the datum since twist is more worrisome than anything else. I still don’t think you can fix it after the fact, but it will be instructive for the next frame.
I will say, on early frames for myself and friends I’d weld a second pass on steel frames to see if they’d pull into alignment. That did seem to work but is a risk for obvious reasons. Best just to focus on the miters and sequence and use a flat plate for the loads of other things they’re great for like phasing tube blocks on a bent tube, checking your bends on seatstays, adding a tube block to a bent tube to keep it phased a certain way in the mill for a miter, there are so many uses to a flat-ish table i won’t try to name them all.
I remember a video that’s now no longer available of Paul of Rock Lobster aligning a frame using a granite surface plate and a head tube fixture that was somehow aligned to be parallel with the plate. He checked with a height gauge the various tubes and used blocks as “pivots” (not sure what they’re called) to place under the BB shell when using a big cheater bar to torque on the seat tube to remove head tube twist. It was very instructive to see how much force he had to put into the frame for it to cold set. This was probably 15 years ago and a cross frame so he was able to get the frame in better alignment. I have no idea if it was his frame or another builder’s frame but it was interesting to watch. If you do this that head tube better be secured REALLY well. I do think you risk flattening or ovalizing the BB shell or head tube if you try too hard.
Someone has to find that photo of the heat treated frame that failed at the water bottle boss and crumpled when the builder tried to cold-set it…remember that @anon91558591 or @drwelby ?
9 Likes
I did that (buckled the downtube at the water bottle bosses) once myself, but I don’t think I have any pictures of it. I had forgotten to tighten the head tube portion of my fixture so the head tube was… I don’t know, a couple degrees off?
I figured I’d see what I could do with it. The answer was: break it (with great difficulty) without making it any straighter.
-Walt
4 Likes
Slightly OT, but I had an amazing conversation with a customer once many years ago where he had called to complain about his new frame.
“I can’t ride it no hands!”
After about half an hour of discussing the geometry, alignment, etc, etc, I thought to ask if he could ride any of his OTHER bikes with no hands…
-Walt
13 Likes
@Waltworks I thought the one I remember was PVD on an alignment table but maybe my memory is off.
I didn’t know you broke one too…. How did you do it without a heavy table?
2 Likes
Double t nuts and some big washers on my mill table. I wore my welding helmet because I was afraid I would break the bolts and get hit with shrapnel!
I think pvd did the same thing at some point and took some pictures but I’m too lazy to try to find it.
4 Likes
Does anyone use heat to pull HS twist back into alignment? I’m curious if this could work or would you need to use a sketchy amount of heat that it would compromise the zone being heated.
Gary
3 Likes
You can move things around with heat, yes. But if you move the head tube, the seat tube will just follow. The front end is basically not fixable after joining.
-Walt
4 Likes
This is a great discussion. There is a lot of material out there on how to align frames, but not much discussion on why and how much is enough.
Let me see if I can condense the collective opinions:
- Frame alignment precision is effected by many things, the least of which seems to be the flatness of the surface plate
- Modern front triangles, due to their construction cannot be cold set
- Angular alignment of the wheels matters the most
- Surface plate is used to
- make corrections during the tacking process
- provide feedback on your welding/joining sequence and fixture
- validation for your process for future frames
- quality control
Here is some quick math that shows how much half a degree of angular misalignment from the center plane translates to deviation (offset) from plane:
| Item | Angular Deviation [deg] | Charachteristic Length | Item | Length [mm] | Deviation from centerplane [mm] |
|---|---|---|---|---|---|
| Front Wheel (headtube) | 0.5 | headset to contact patch | 120mm fork + 29x2.6 tire | 883 | 7.7 |
| Rear Wheel (rear axle) | 0.5 | Axle to contact patch | 29x2.6 tire | 377 | 3.3 |
| Cranks (BB) | 0.5 | Crank arm | 175mm cranks | 175 | 1.5 |
| Saddle (seat tube) | 0.5 | BB to Saddle | 780mm saddle height | 780 | 6.8 |
The current convention is to align everything to the BB, but as people have pointed out, it depends on the parallelism of the faces. Also, according to that chart, the BB alignment has the least amount of impact on the performance. I feel like the correct way would be to check alignment based on the rear axle and headtube. The angular alignment of the BB seems trivial, and the BB offset can be adjusted by facing.
I think it would be great to get a conversation going on a “Standard”. Obviously, there is no way to check people’s compliance, but I think it gives people a realistic goal to target rather than “straighter is better”.
To get the conversation moving:
| Standard: | Proposed Tolerance: | Difficulty to measure: | Comments: |
|---|---|---|---|
| HT offset at bottom of HT | .5 mm | Easy | Hardest to hit and adjust |
| Front wheel offset | 2 mm | Hard | With a 120mm 29in fork and wheel, 2mm of offset is 0.13 degrees of angular missalignment |
| Axle parallelism | .1 deg | Medium | Easy to adjust |
| Dropout Offset | 1 mm | Easy | Easy to adjust |
| Offset at saddle | 2 mm | Easy | With a 780mm saddle height, 1mm ofset is 0.15 degrees of angular missalignment |
| BB parallelism | ??? | Hard | BB angle is effected by planarity of the faces |
| BB offset | .5mm | Easy | Can be adjusted with spacers |
4 Likes
Shoot for nothing out more than half a degree/3mm and you’re more than good.
It’s actually hard to make a bike that doesn’t ride straight. If you do a good job with miters it’s essentially impossible.
-Walt
6 Likes
Grande Cipollini!!!
[OT]
It reminds me of this test: Olympic Cyclist Vs. Toaster: Can He Power It? - YouTube
If that guy doesn’t bend frames on the daily I think we are safe ![]()
[/OT]
The only real “flat” surface that I have ever seen is the cast table that I used in my welding classes, you could not weld ON it directly for obvious reasons, weighting at multiple thousands pounds, cast iron and then machined to be flat, it was donated to the welding club when the factory that commissioned it closed down. It was a pita to move.
It always struck me that a framebuilder is using flat surfaces and precise tools to measure everything and then a wheel is literally eyeballed for straightness, I mean, even the expensive wheel building tools are still not as precise as the micrometers and marble surfaces that many builder uses.
2 Likes