I’m no expert, but 55a seems low to me. My welder is prettymuch always set to 90a and I will use most of the pedal on start and taper off once the puddle is flowing. I prefer to go higher amps and move fast as I feel I get better consistency and less overall heat input that way.
Maybe give it a whirl and see if it works for you.
3 Likes
That is interesting. I’m using a metronome set to 72 AKA 1.2 PPS. Dow fast do you think you put your rod?
1 Like
Probably about 1.5 dabs per second when I’m up to speed, I use 1.2mm filler. I don’t have a pulser so straight current only.
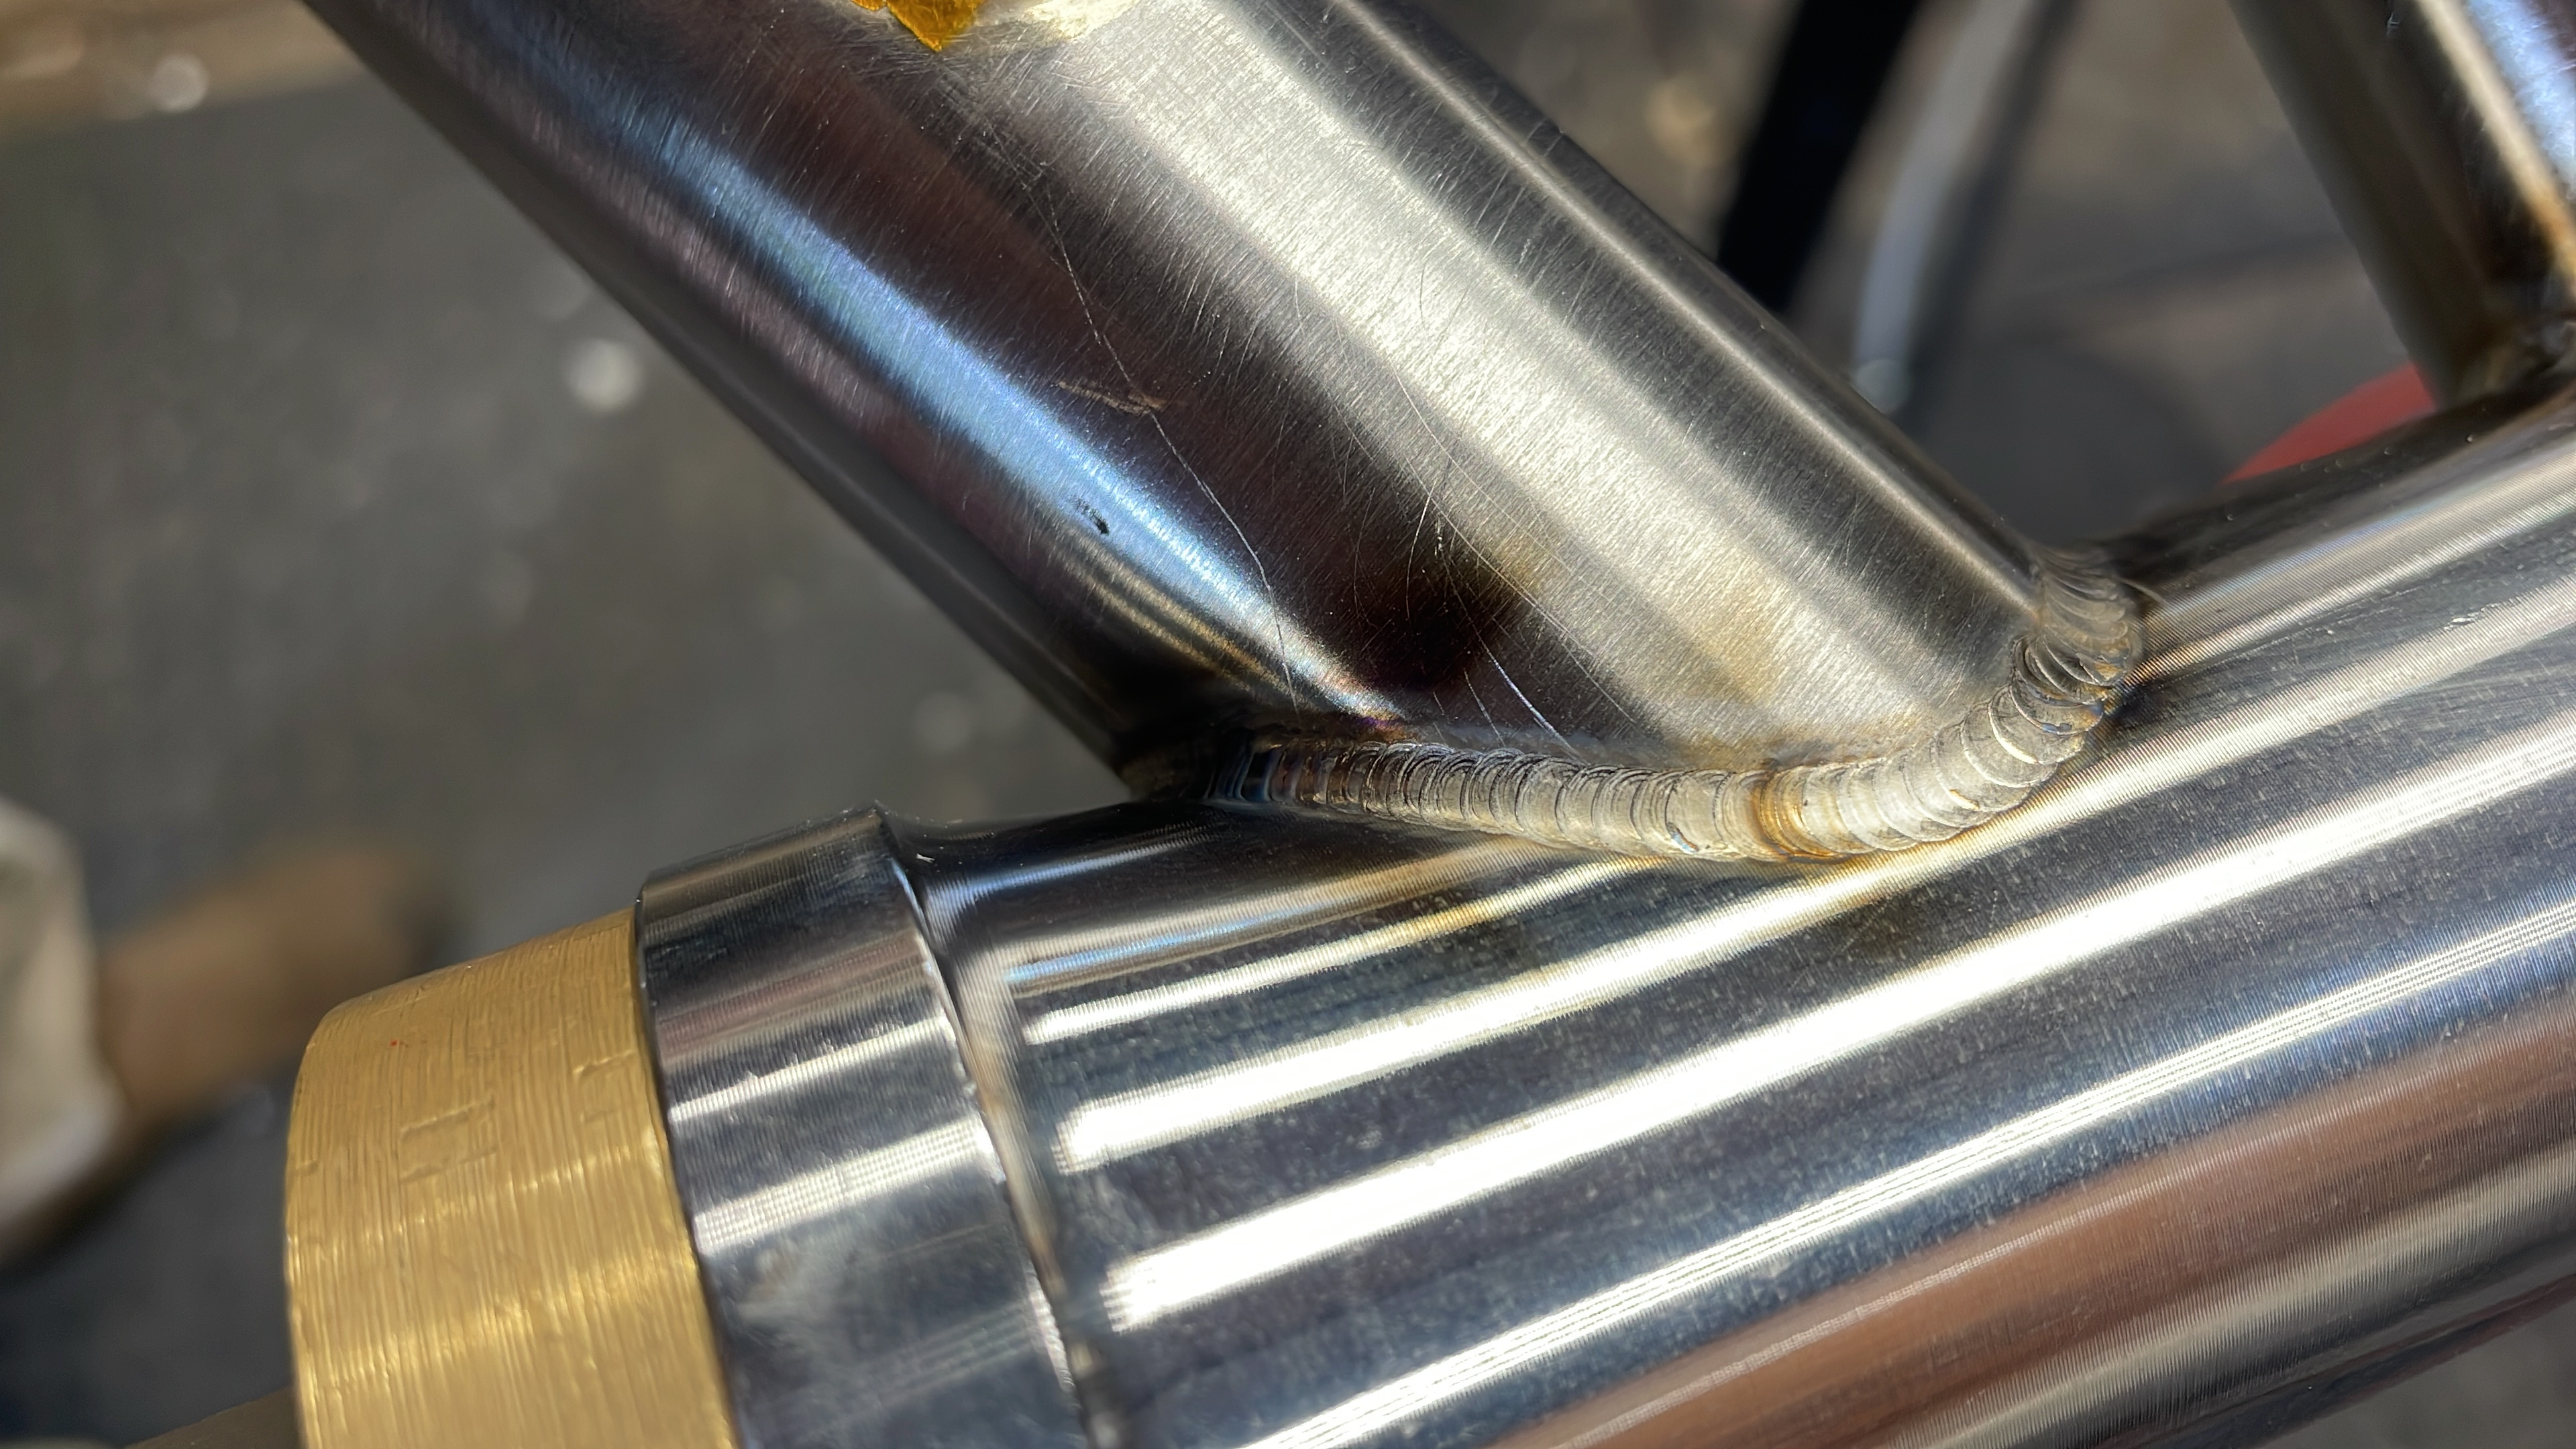
This is a bike I made for my nephew a while ago. I still have work to do on stops and starts but things keep improving with practice.
6 Likes
Not all welders and electrical services are created equal, don’t compare settings amp for amp. The quality of your ground can also have an impact on amperage required and other variables. I always try to clamp to a proper ground stud and ground the piece with a ground strap as close to the stud as possible. A rusty tabletop or clamp loose on a tube is a very poor conductor.
3 Likes
Ah that’s probably a good point. My machine is a transformer machine running 240v too so I guess that may make things very different.
1 Like
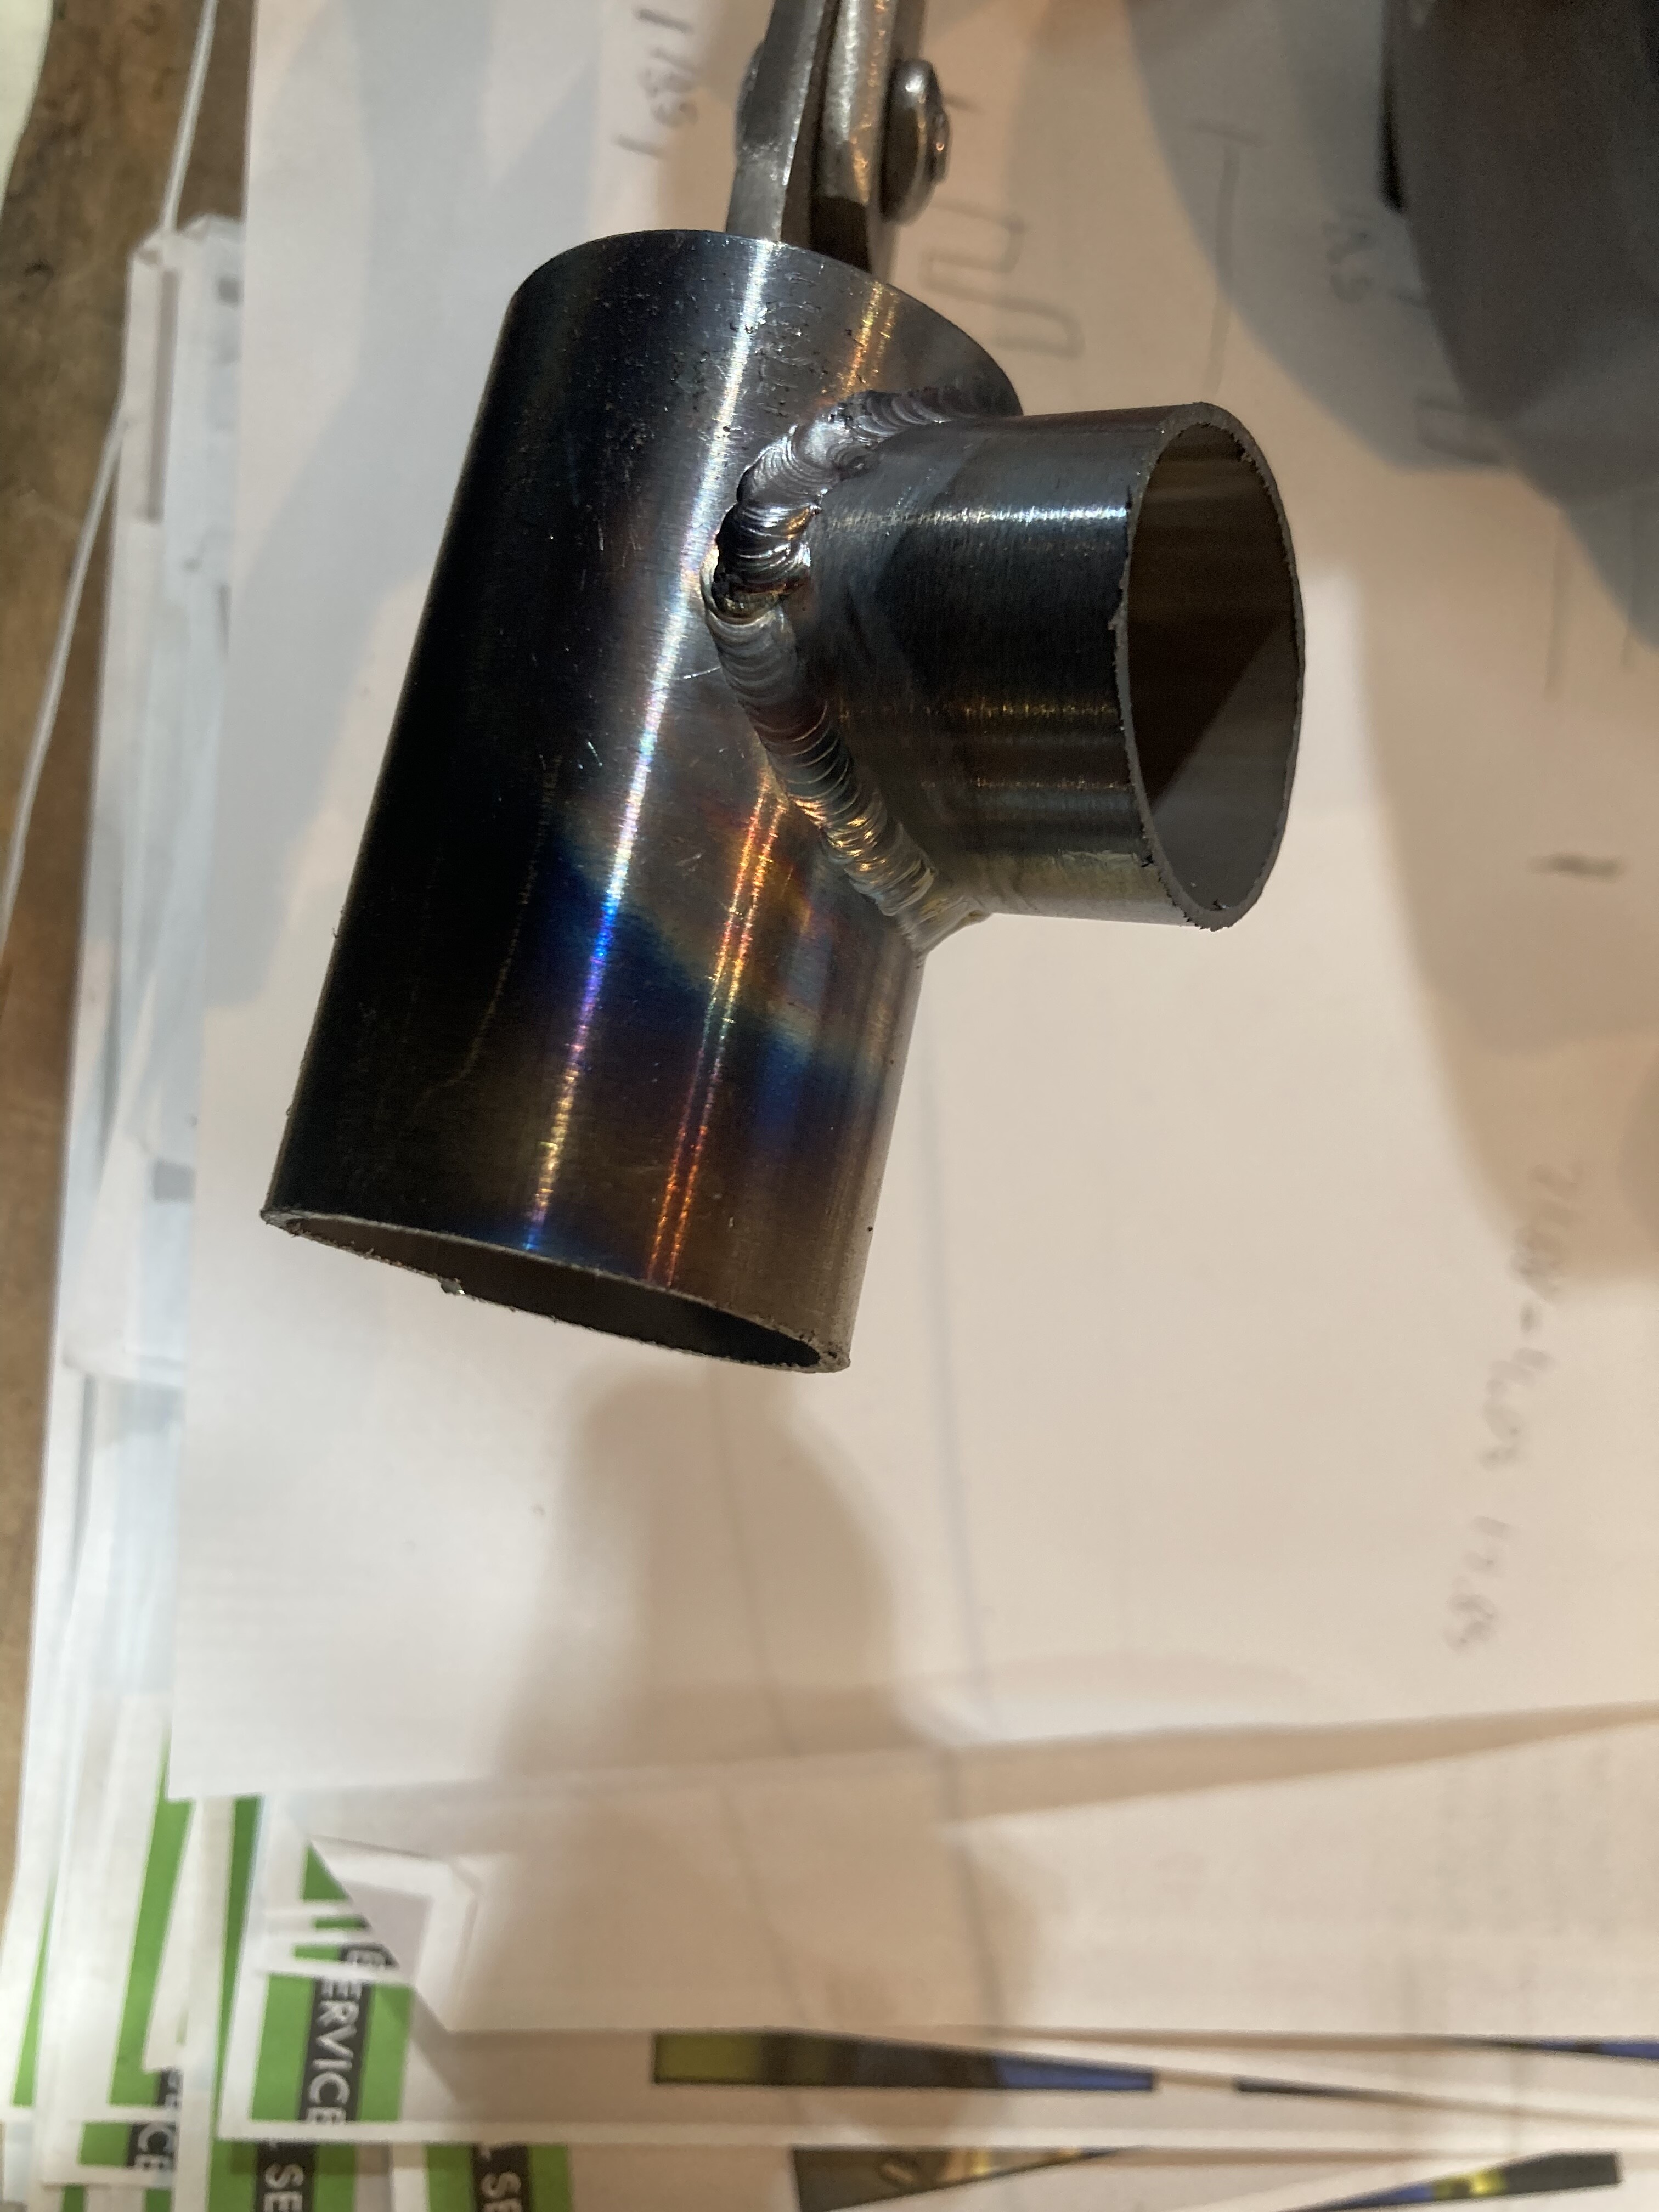
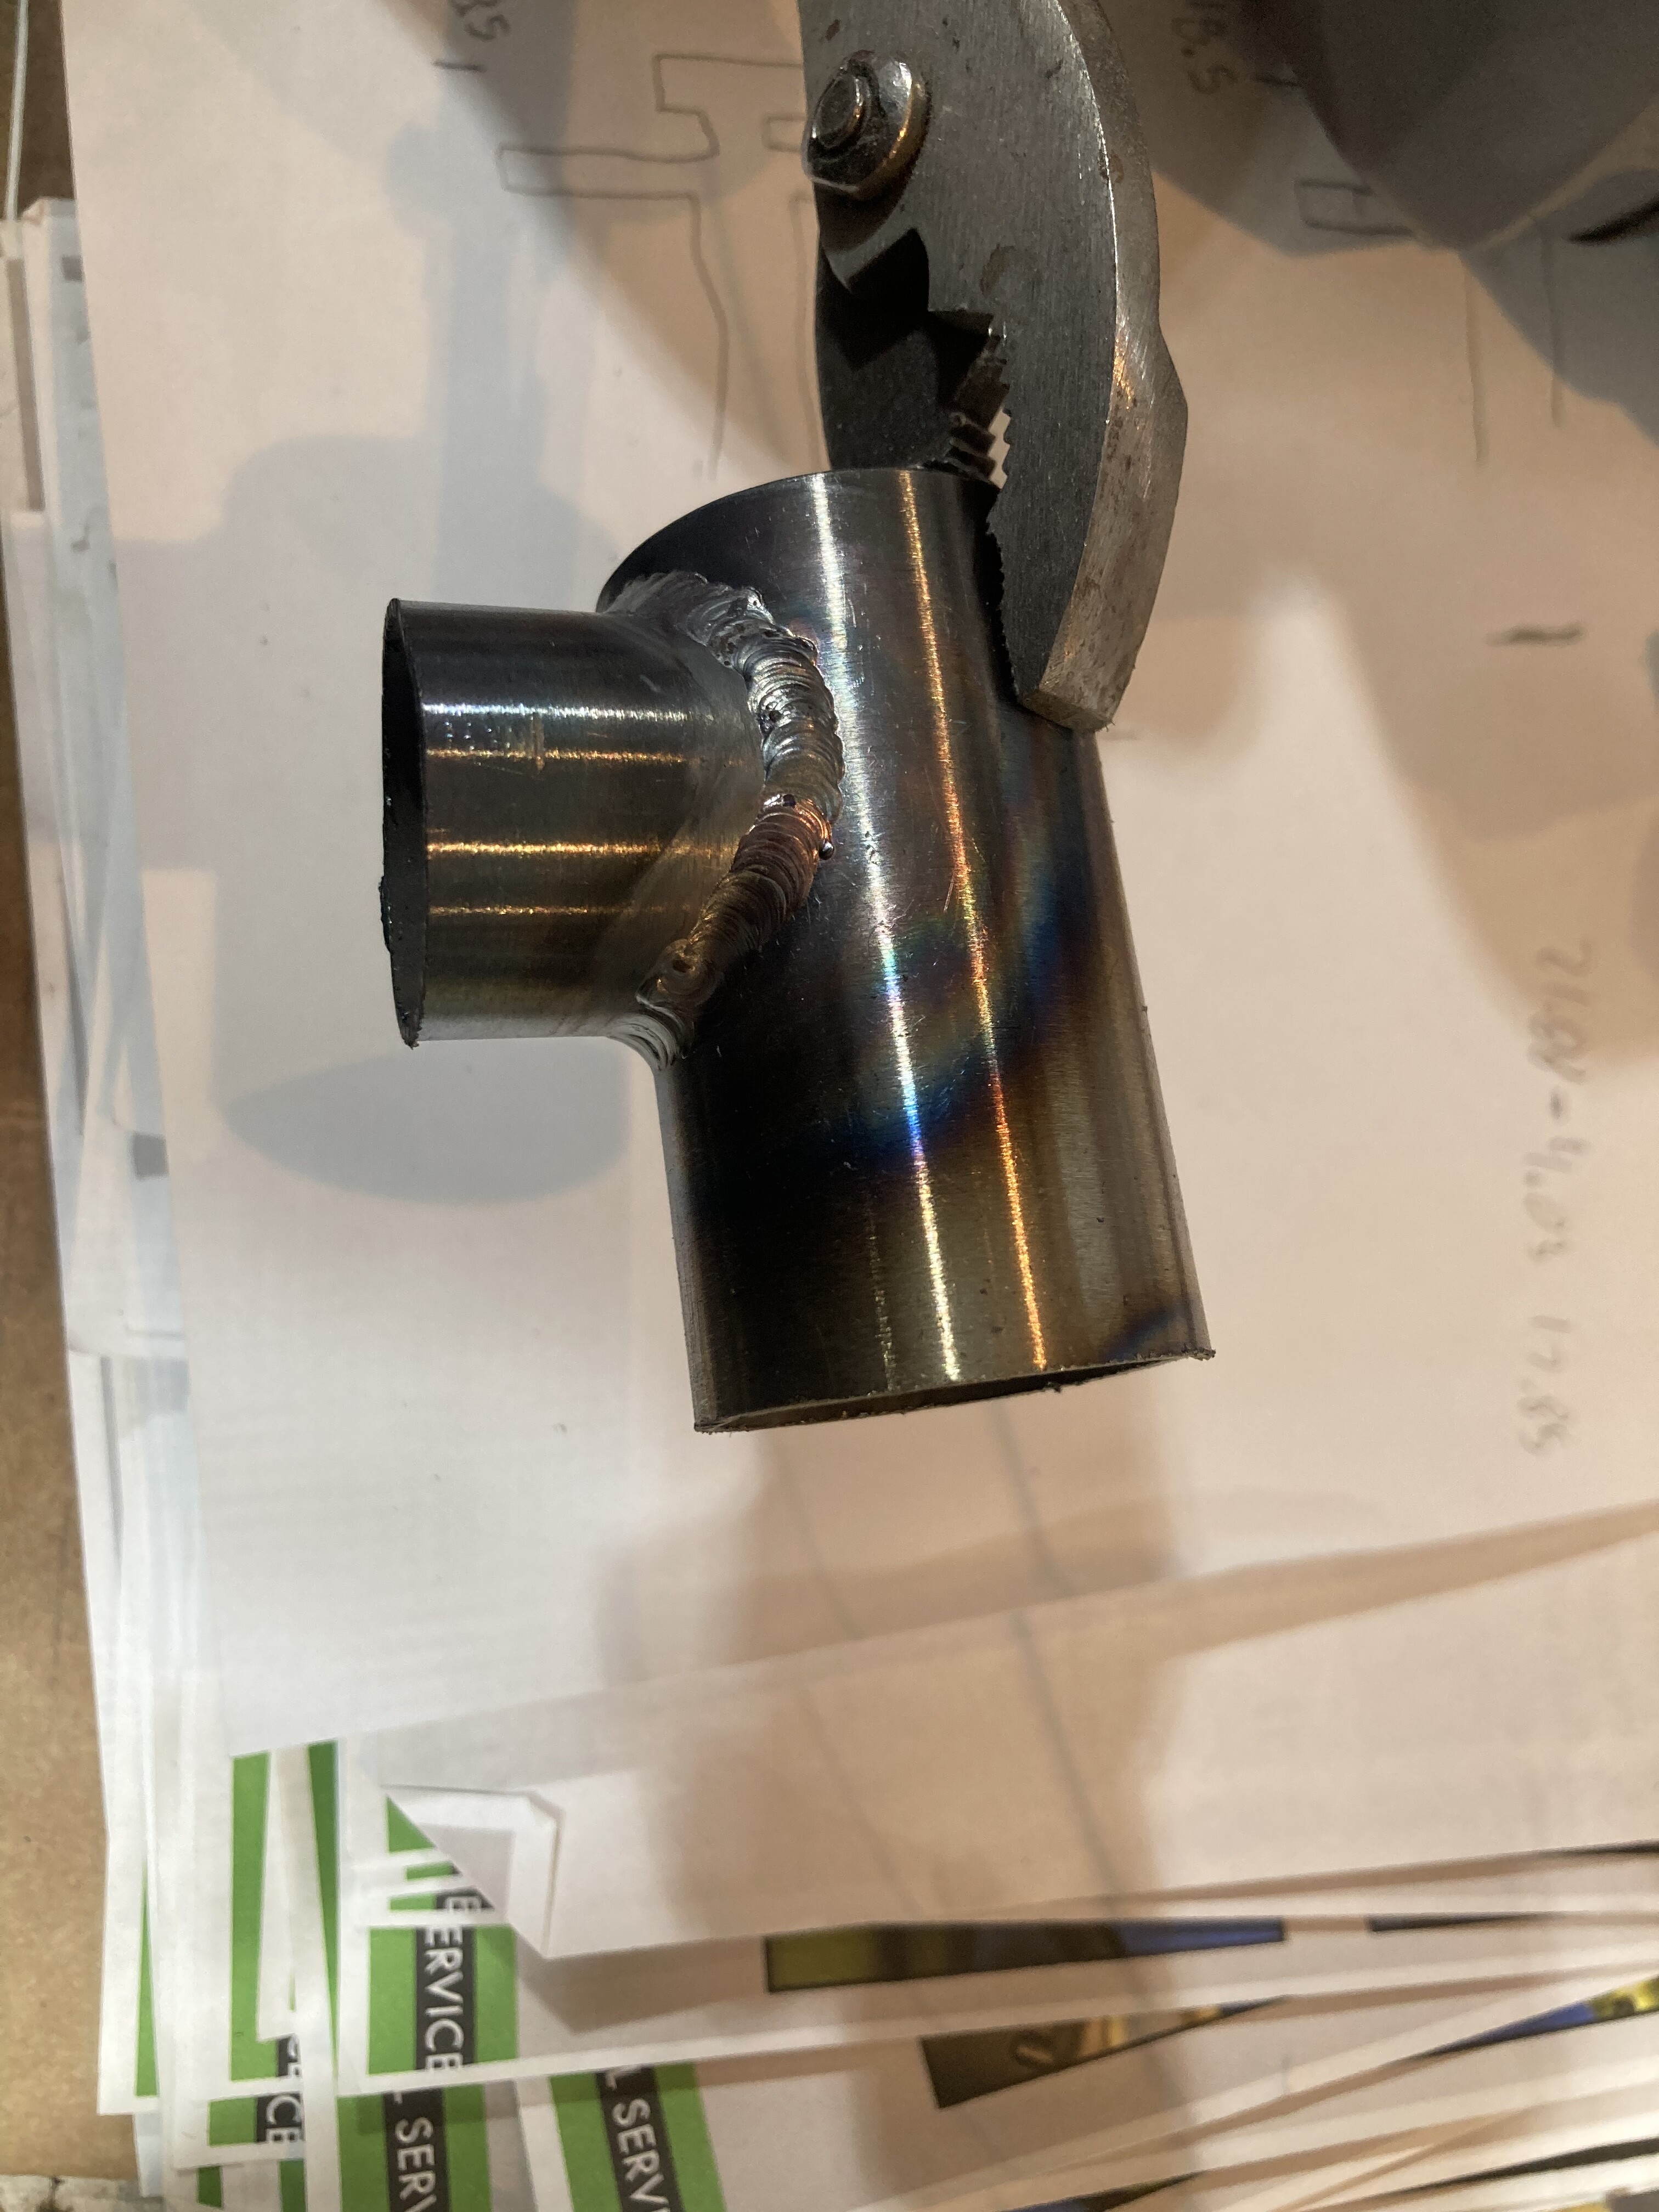
Day 5- perhaps progress?? The weld is getting much more consistent but I am concerned with how wide it is flowing. I know I overheated in the gray areas but I still unsure about the weld shape.
I am using .035 ER70-2 rod for reference.
4 Likes
It’s hard not to overheat small pieces like that. They get heat soaked very quickly.
Your bead should be roughly 1.5 times the thickness of your thinnest material. There are a number of variables that can affect the width of your bead.
2 Likes
I’m a total noob myself, but I find that when welding easier parts I manage to hold tighter arc length, and achieve narrower welds. When It gets complicated my arc length gets longer and it heats wider area, so the weld gets bigger.
This is a cool thread. I’m in noob territory myself, so take this with a huge grain of salt…
More amps can be your friend. I found that with less heat, I put too much heat in the joint waiting around for the puddle to form and the filler to melt, etc… This allowed me to move a little faster, get the filler in and move again, not sit in one place heat soaking. You will have to back off the pedal more once you’re going, but that’s showbiz.
Pulsing with the pedal was a game changer. I’m not suggesting you try that right until you’re more comfortable using striaght current and getting your motions down but it made a huge difference for me. I was able to control the heat input much better, pedal down, puddle, filler, pedal up, move, lather, rinse, repeat.
5 Likes
I have received this input a handful of times so far and am going to look into it during todays session. I feel like this is a speed and heat combination issue. I’m going to try adding some amperage today to see if I can get a smaller bead from the start.
1 Like
Looks a lot like my welds on a good day (and why I need more practice! ![]() ) but not terribly ugly. I think I agree with @SoyWater that less heat trying not to overheat leads to heat soak, holes, or even less penetration when the bead sits on top.
) but not terribly ugly. I think I agree with @SoyWater that less heat trying not to overheat leads to heat soak, holes, or even less penetration when the bead sits on top.
Easy to critique, harder to do. Thought I’d get another session in myself, but ran out of gas, then work, but more to come. Keep up the good practice!
2 Likes
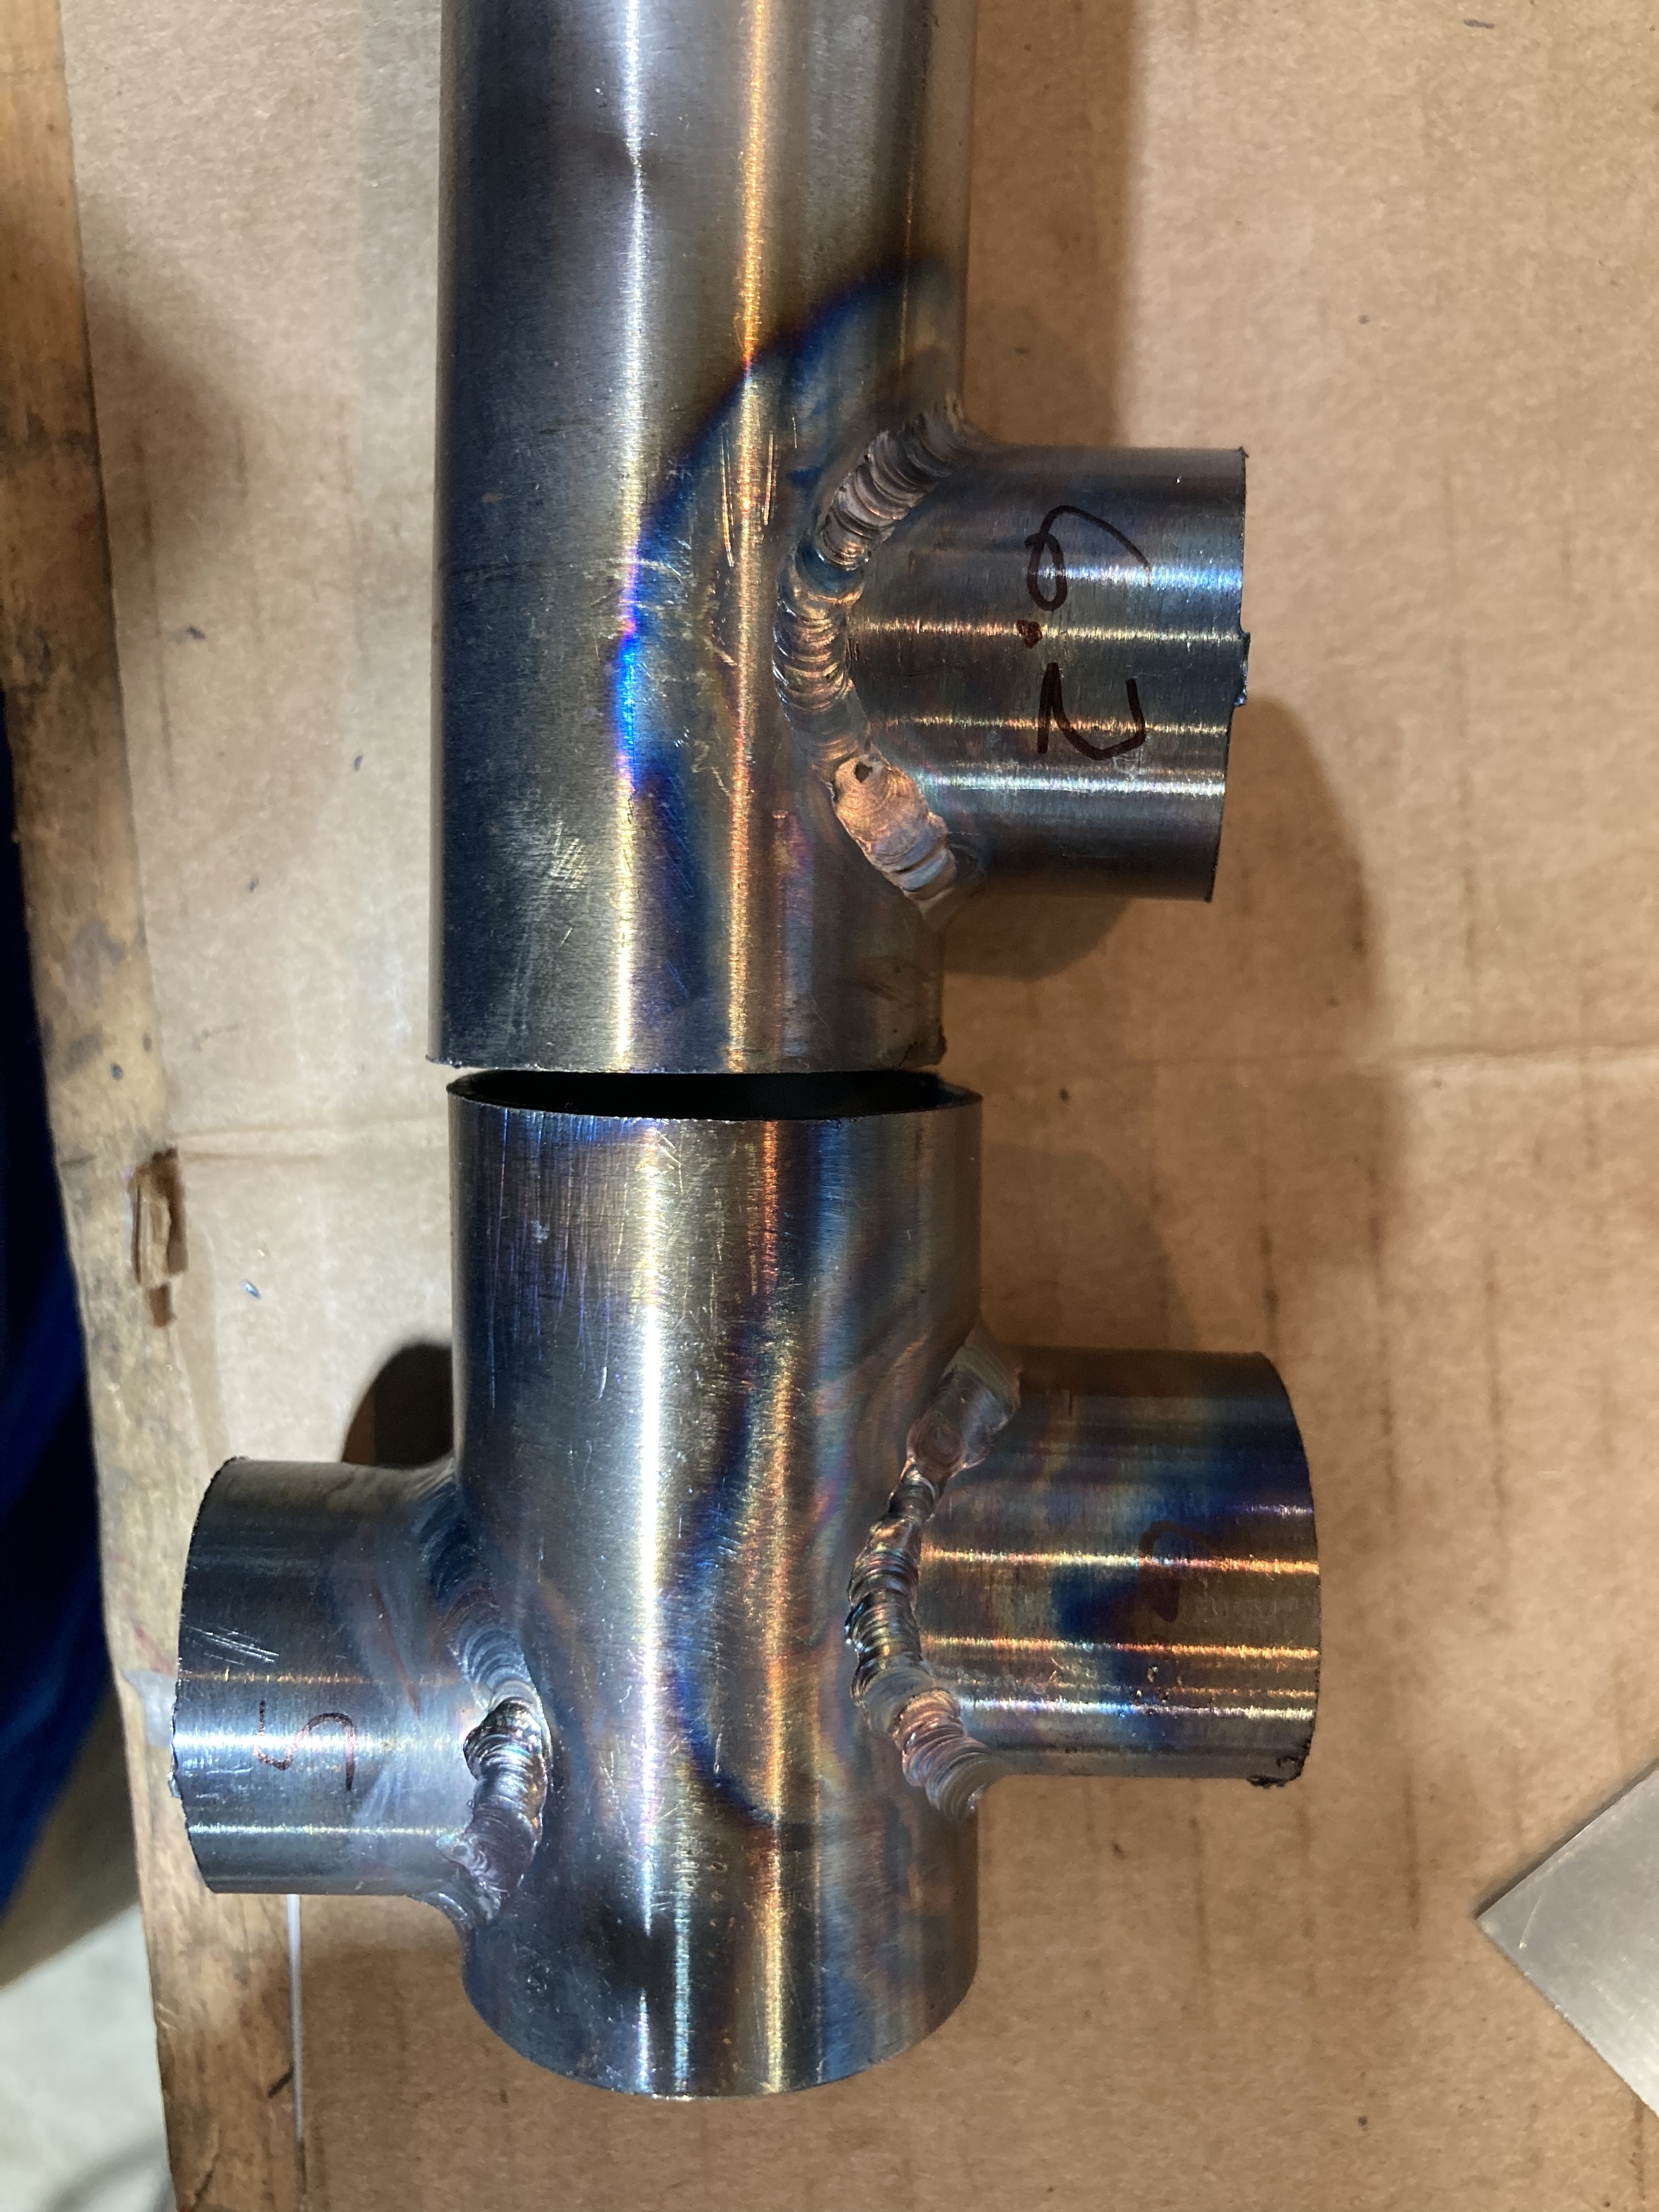
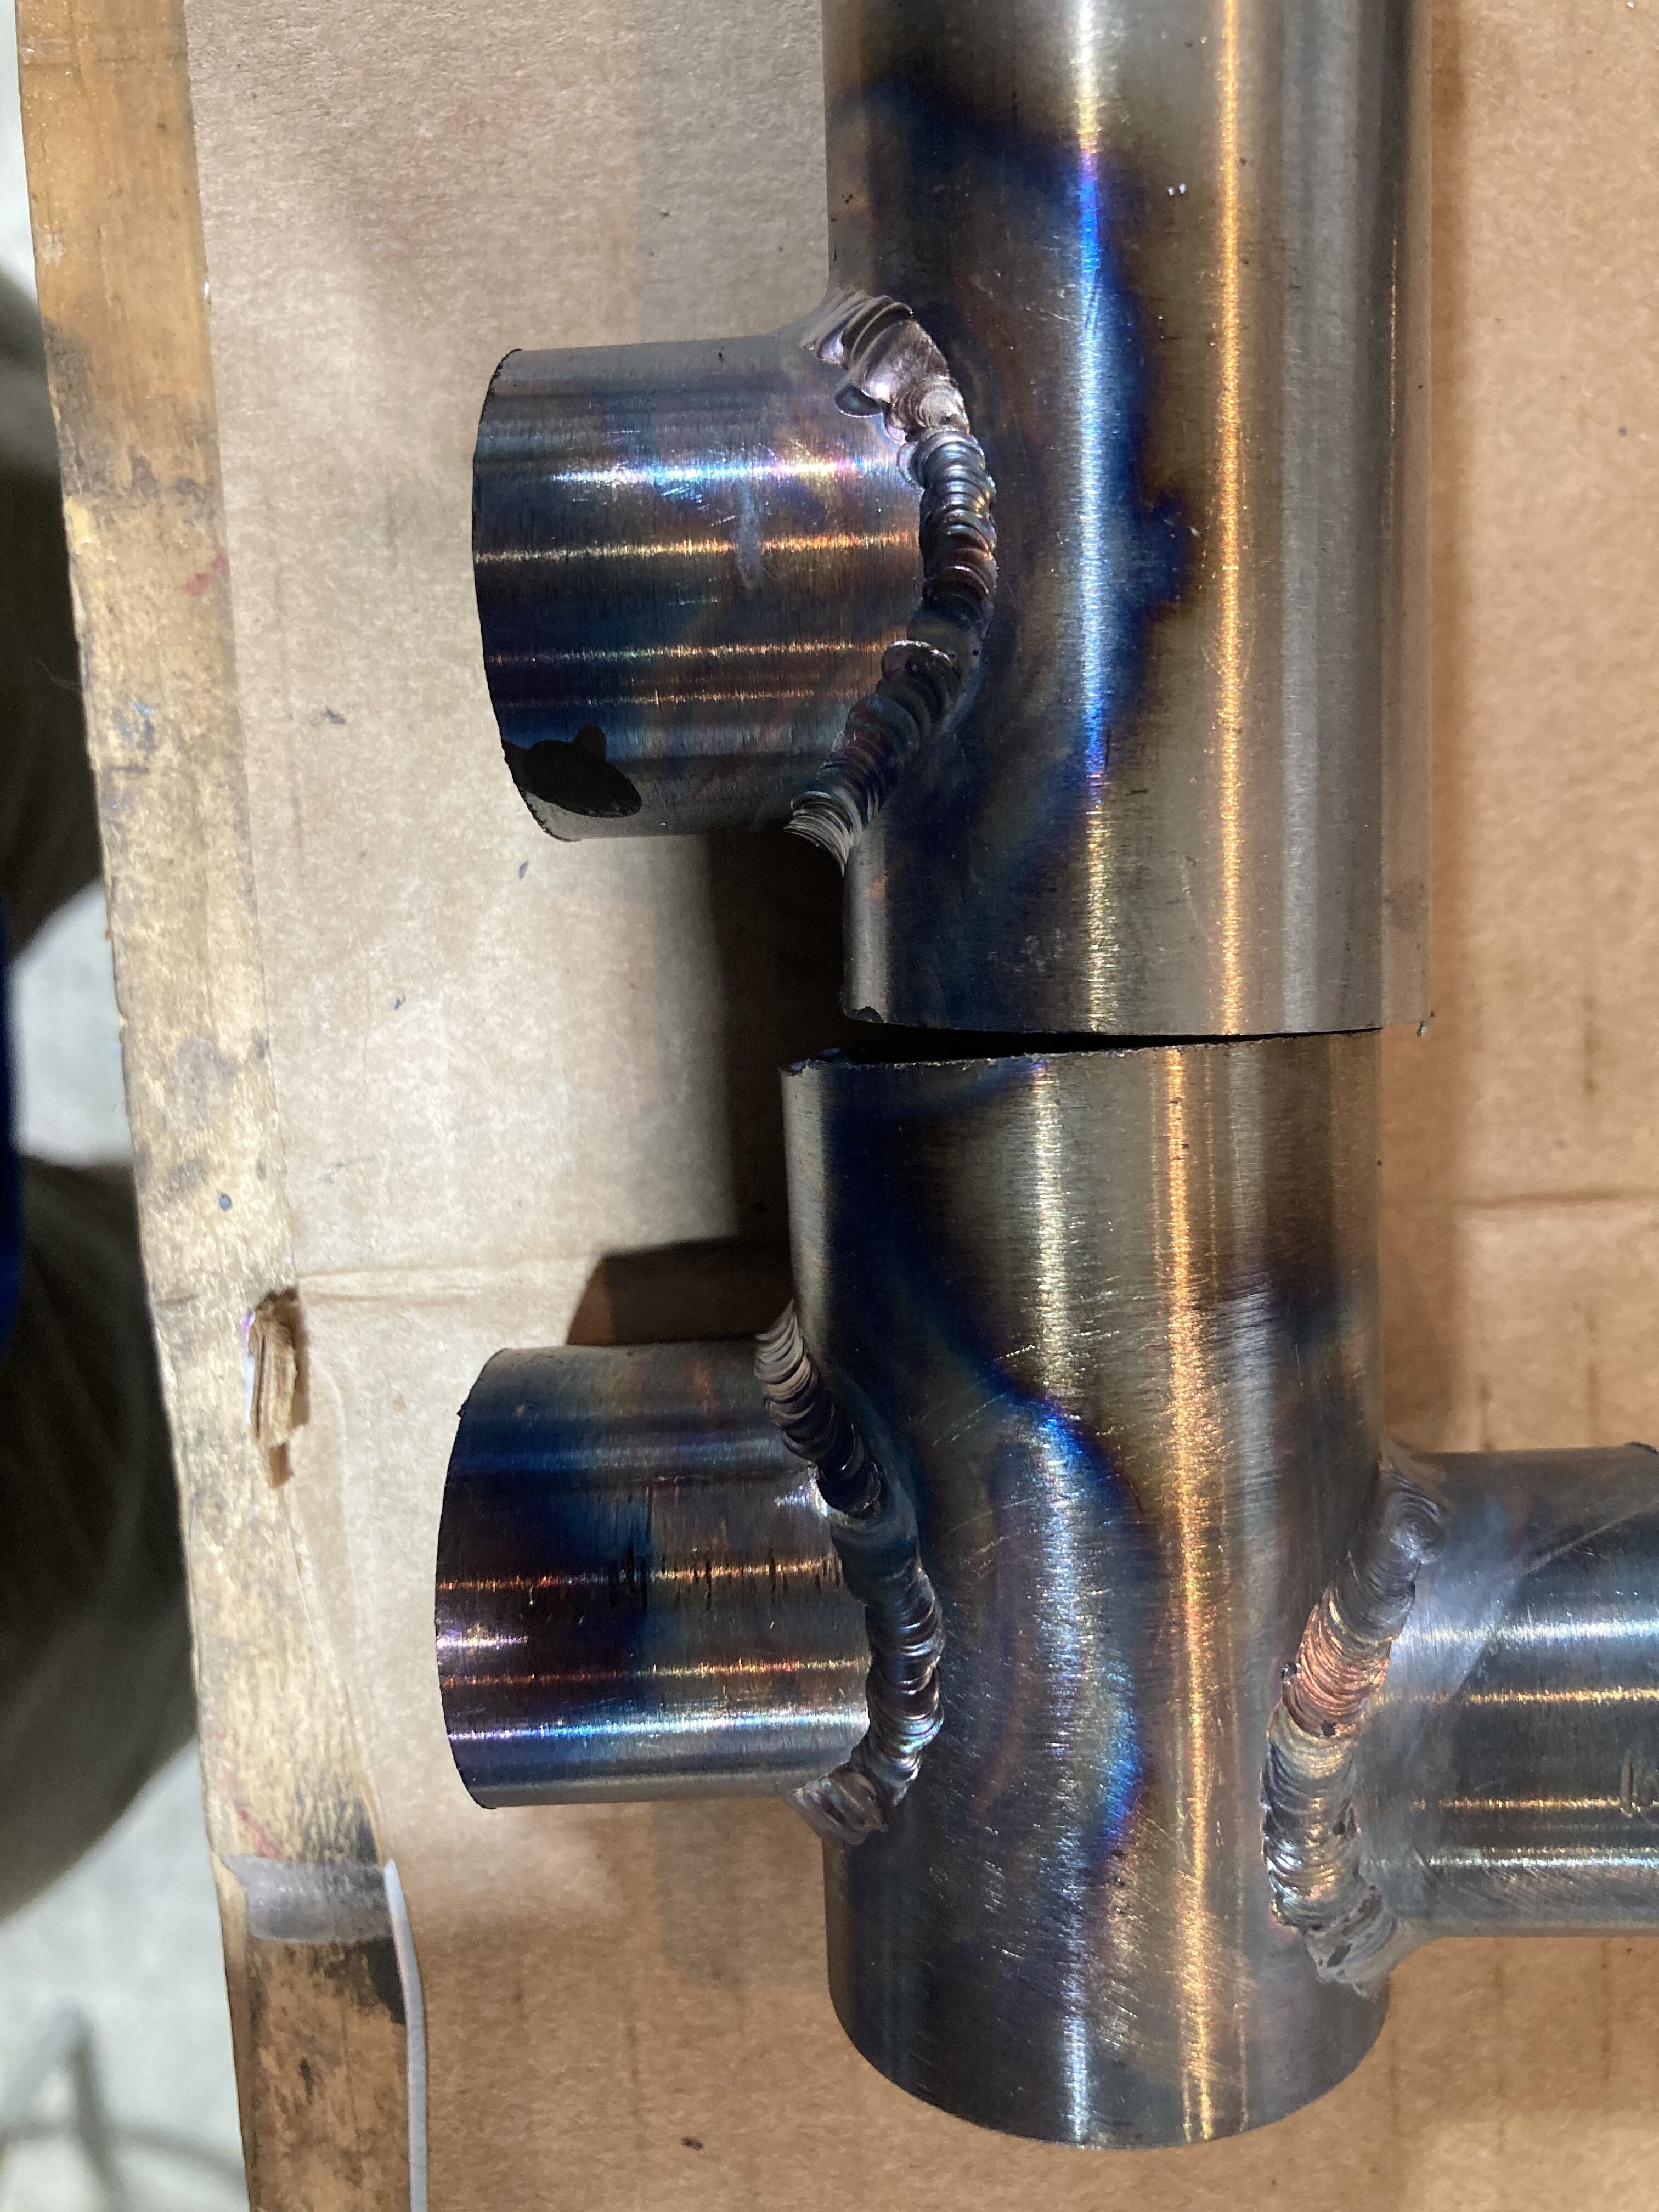
Day 6- added some amps after a few people recommended. This really helped the starts but I still need to reduce filler and pick up travel speed at the ears.
4 Likes
I wouldn’t necessarily reduce filler, just work on being super consistent with how much filler you add. Also pay attention to the angle of your filler relative to your tungsten, I like to keep between a 70- and 80-degree relationship as I travel with the filler constantly in the leading edge of the puddle and the torch angled with a slight “push”. Really reinforce good habits around hand positioning, filler positioning, and torch positioning now, it’s much harder to un-learn than it is to just learn correctly the first time.
4 Likes
That is interesting? I keep do a laywire technique from 44 bikes with pulse but I have never tried without pulse.
I think I open the torch to filler angle above 90 degrees on the ears. That maybe a reason for the build up.
I mis-read somewhere I thought you were just using straight current and backing off the pedal for heat control.
First, I meant to say the other day, I can already see that you’re improving. That’s awesome, practice makes progress.
In my experience, I could do the lay wire+pulser thing like a madman when I was welding practice coupons on the bench. When I tried the same thing on tubing, it was a disaster. For me, there was too much going on. Hand position, torch position, arc distance, filler placement, and since the pulse rate was programmed into the machine, if anything went the tiniest bit less than perfect I couldn’t slow it down to re-position or re-consider or anything. I made a lot of holes. I also found that i was running short of filler a little way down the joint because the puddle was pulling a bit more off the rod each time, then I didn’t have enough rod to cool the puddle. More holes. This also caused me to panic, get mad and break stuff because I’m a child.
It was a total gamechanger when I started pedal pulsing and pushing the filler into the puddle like @Neuhaus_Metalworks recommended. All of a sudden, I was driving the process, not just trying to keep up. I was able to really keep a much better eye on eyerything and add more amps when I needed it and remove them when I didn’t. I also got much better control of the heat build up and my welds started looking much better.
This is just what worked for me when I was (and still am) learning. Your mileage may vary.
10 Likes
There is always a moment of zen just before you smash something. That’s what kept me going when I worked in cars ![]()
I spent a very small amount of time at the end of my welding session pulsing the pedal with positive results. I decided to hold off on that skill until I get better with torch angle and moving.
I totally agree with the pulse blowing holes. Everything will be flowing great then a pulse hits and I blow a big hole. If I get a hole with straight DC it is always much smaller.
4 Likes
I’m definitely doing it wrong. Unless zen is that red, pulsing vision thing and ringing ears ![]() this is why I don’t cars anymore.
this is why I don’t cars anymore.
That’s exactly what I did. Try to take it in small bites. There’s so much going on at once it’s extremely easy to get overwhelmed. I found that If I focused on just one part at a time, I didn’t feel so over my head. I also needed to remind myself constantly that it’s not a race and learning isn’t linear. Just because I was good yesterday, doesn’t mean I’m gonna be good today, and that’s all right.
2 Likes
You can do a lay wire technique with or without pulse depending on the aesthetic you desire or the requirements of the job. I’ll try to grab some pictures next time I weld a frame, but in certain areas I run as much as 30% background current, this keeps the puddle well established the entire time and ensures that I have good flow into the root of the weld. You can actually see ripples in between each filler deposit from travel at the valley of the pulse cycle.
You should not see your filler rod ball up ever, the puddle should be melting the filler, not the arc. The arc creates the puddle.
3 Likes
Keep the arc pointed towards the ticker or solid piece of material. Even if your weld starts to keyhole, you have time, back off the pedal slightly, reposition the torch and filler, then continue. This is the same process for blending starts and stop. Take your time, look, think, act, but not all at once.