I will use pulse in the future and the technique you described is exactly how I did it before this experience. The “slippery” feeling of the rod described by 44 Bikes is what made that click for me.
I put some time into pedal pulsing from input from @SoyWater. This was a huge learning experience. I had no clue how much ability I had to back off, fix my torch or filler angle and pick back up.
Before tonight if I got off a little I would break the arc and reset. This is a big stepping stone!
Day 8-not every day can be your best! Valuable lesson learned by an off day.
I was very timid with the heat today and that led me to a key out. Keying out 1.1 tubing is quite an achievement This was a big lesson about how low heat and slow speeds result in more heat in the tube
So, I consider myself a welding nerd. This helped me out a while back to get the concept of heat input. The actual equation for heat input is this:
(Volts x Amps x 60) / Travel Speed = Joules per inch
Now with tig, the amps and travel speed are obvious, but what a lot of folks don’t realize is the voltage is your arc length. Tighter arc = lower volts.
With that equation, it’s easy to see what lowers the heat input. Make the volts and amps less, and the travel speed more.
Where it gets weird is what you’re already seeing, in many cases a higher amperage can allow a faster travel speed. Travel speed is the big divisor in the equation, so it has a large effect.
And as an aside, I’m gonna go against the hive mind by saying don’t look at the pretty colors. They’re not an indicator of heat input (or heat affected zone). They’re a function of gas shielding and cooling rate.
For welding 4130, having a somewhat high heat input and slow cooling rate is actually good for ductility in the completed weld. The yield strength will be lower, but that comes with higher ductility. (Ductility on a bicycle is a very good thing)
Again, this is against the hive mind here, but having a large heat sink inside the tube and welding it super fast (and thus having it cool super fast) is actually not a good thing.
That’s getting a bit far down the rabbit hole though. You’re doing great. Just keep up the practice, and the consistency will come.
Future me edit: I got the equation wrong. I originally put (Volts x Amps) / (Travel Speed x 60) = kilojoules per inch.
That formula is a great visual of what I am experiencing.
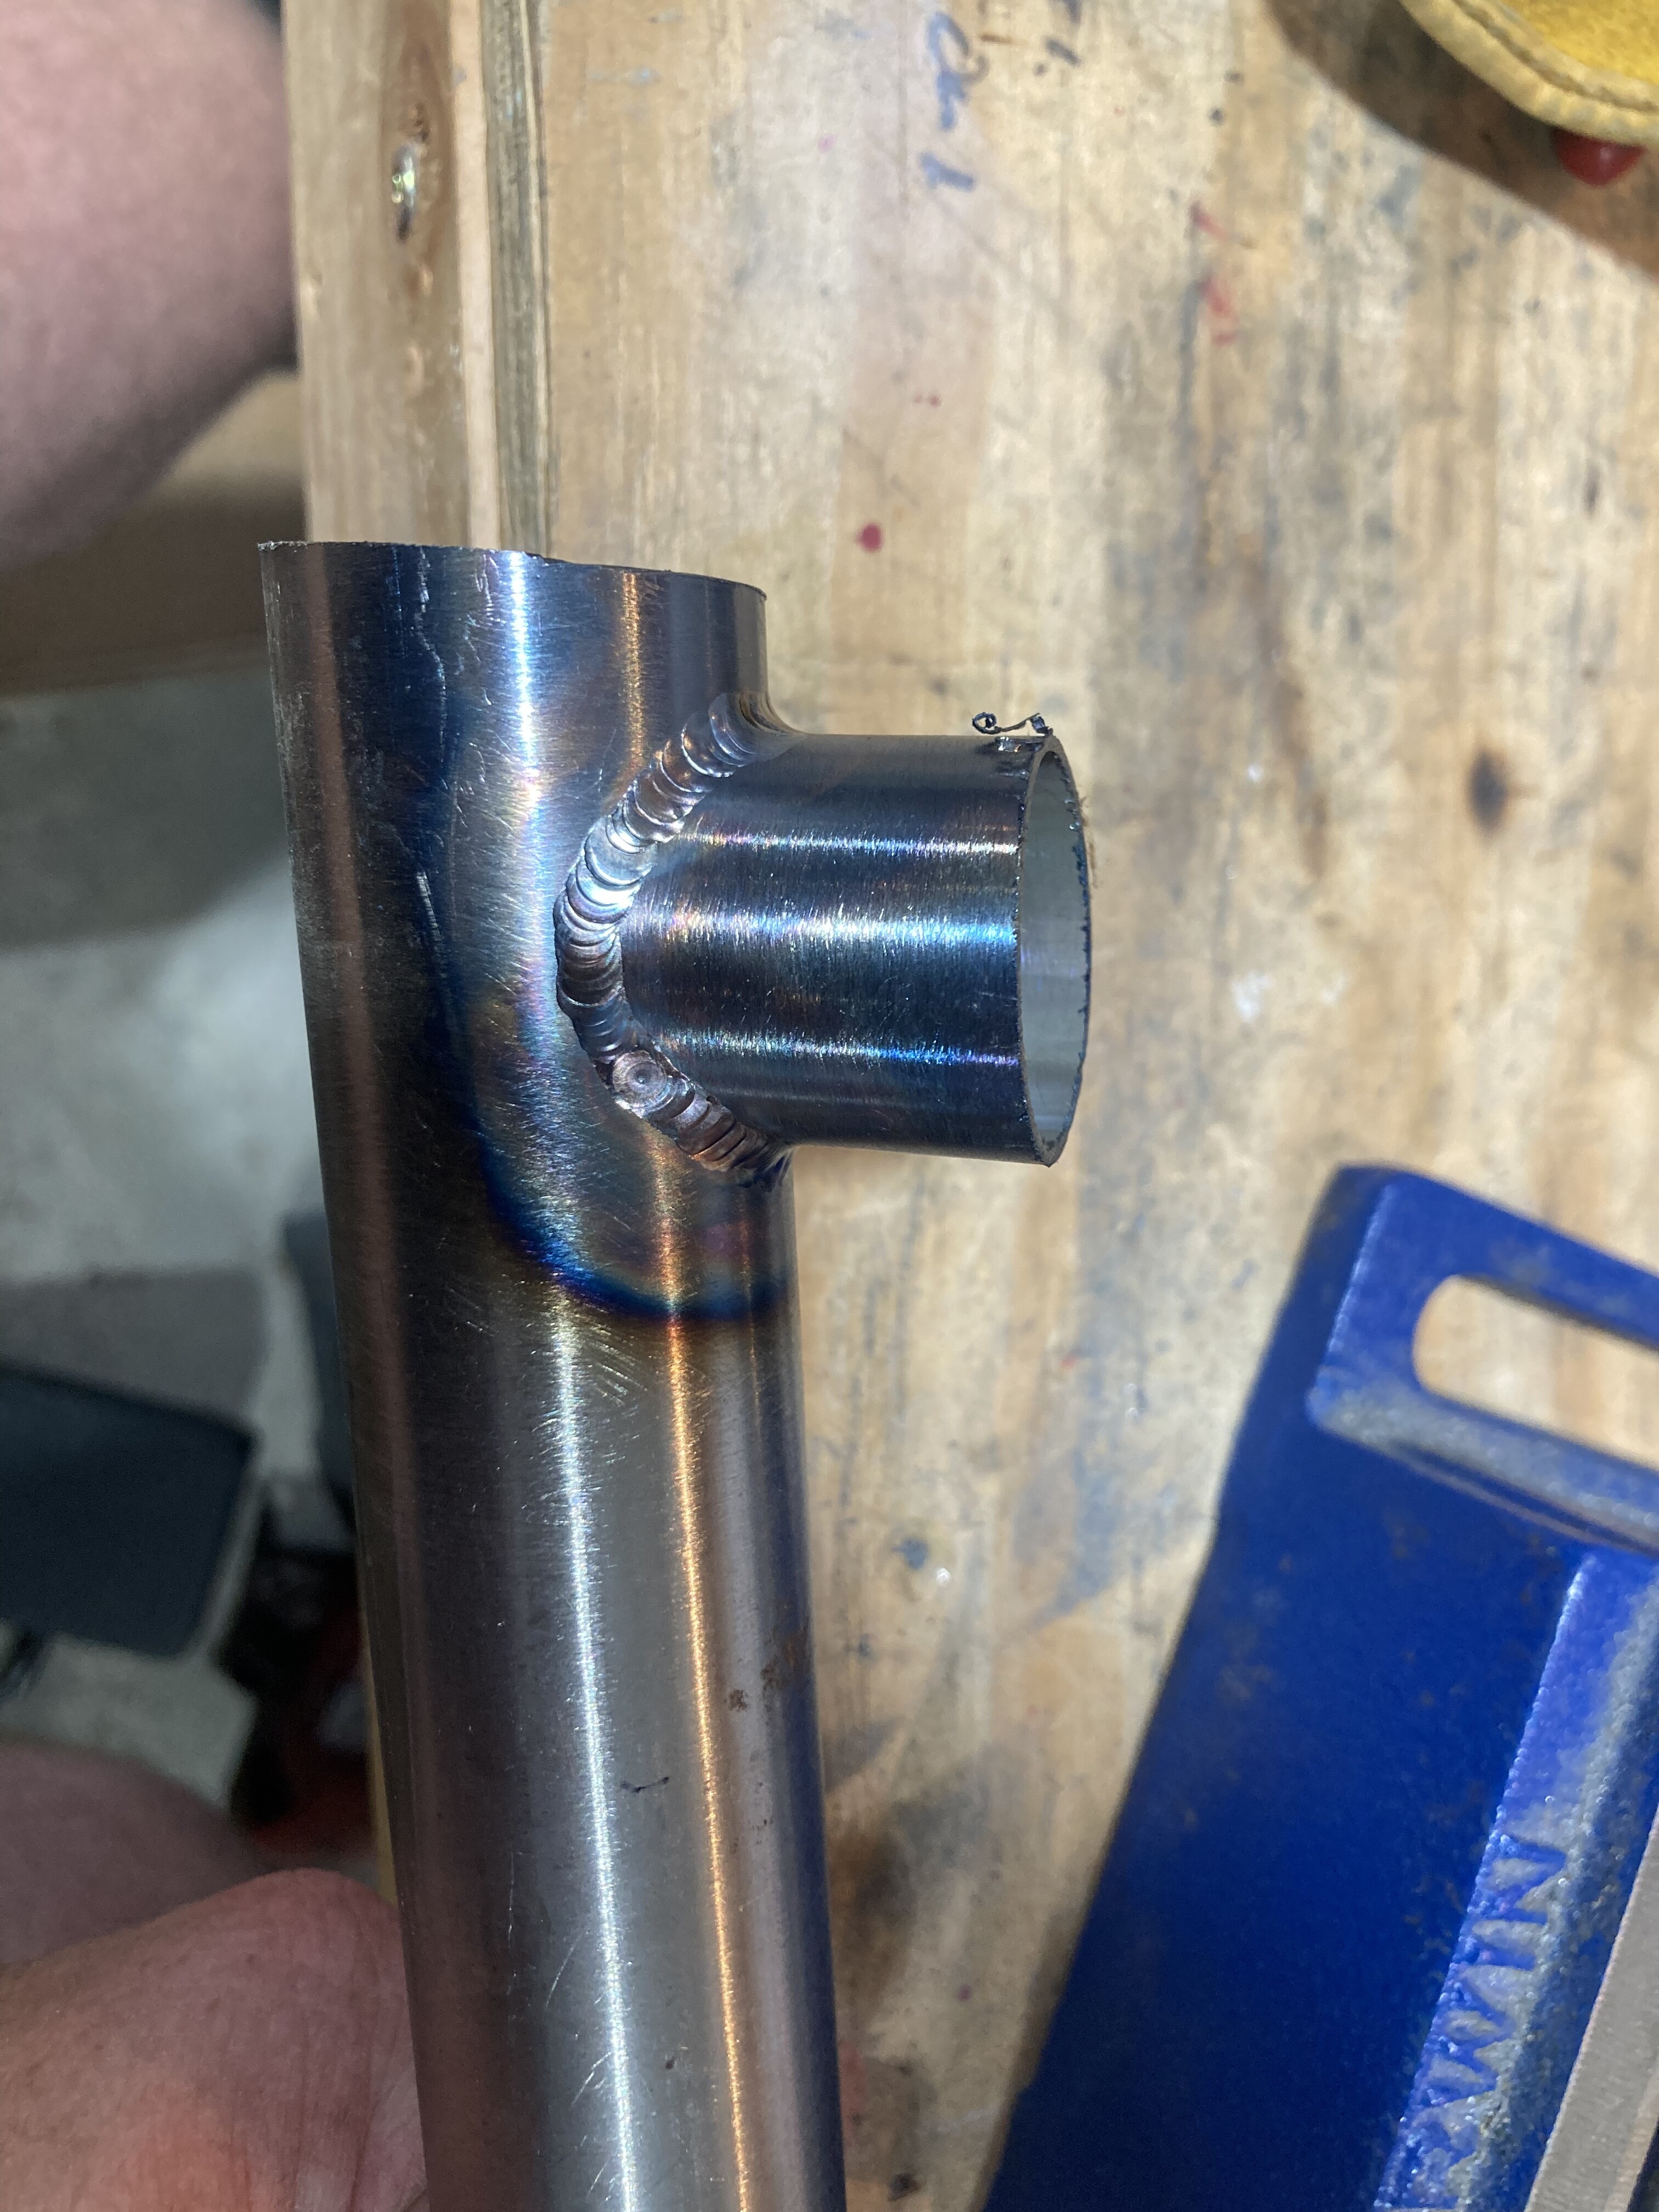
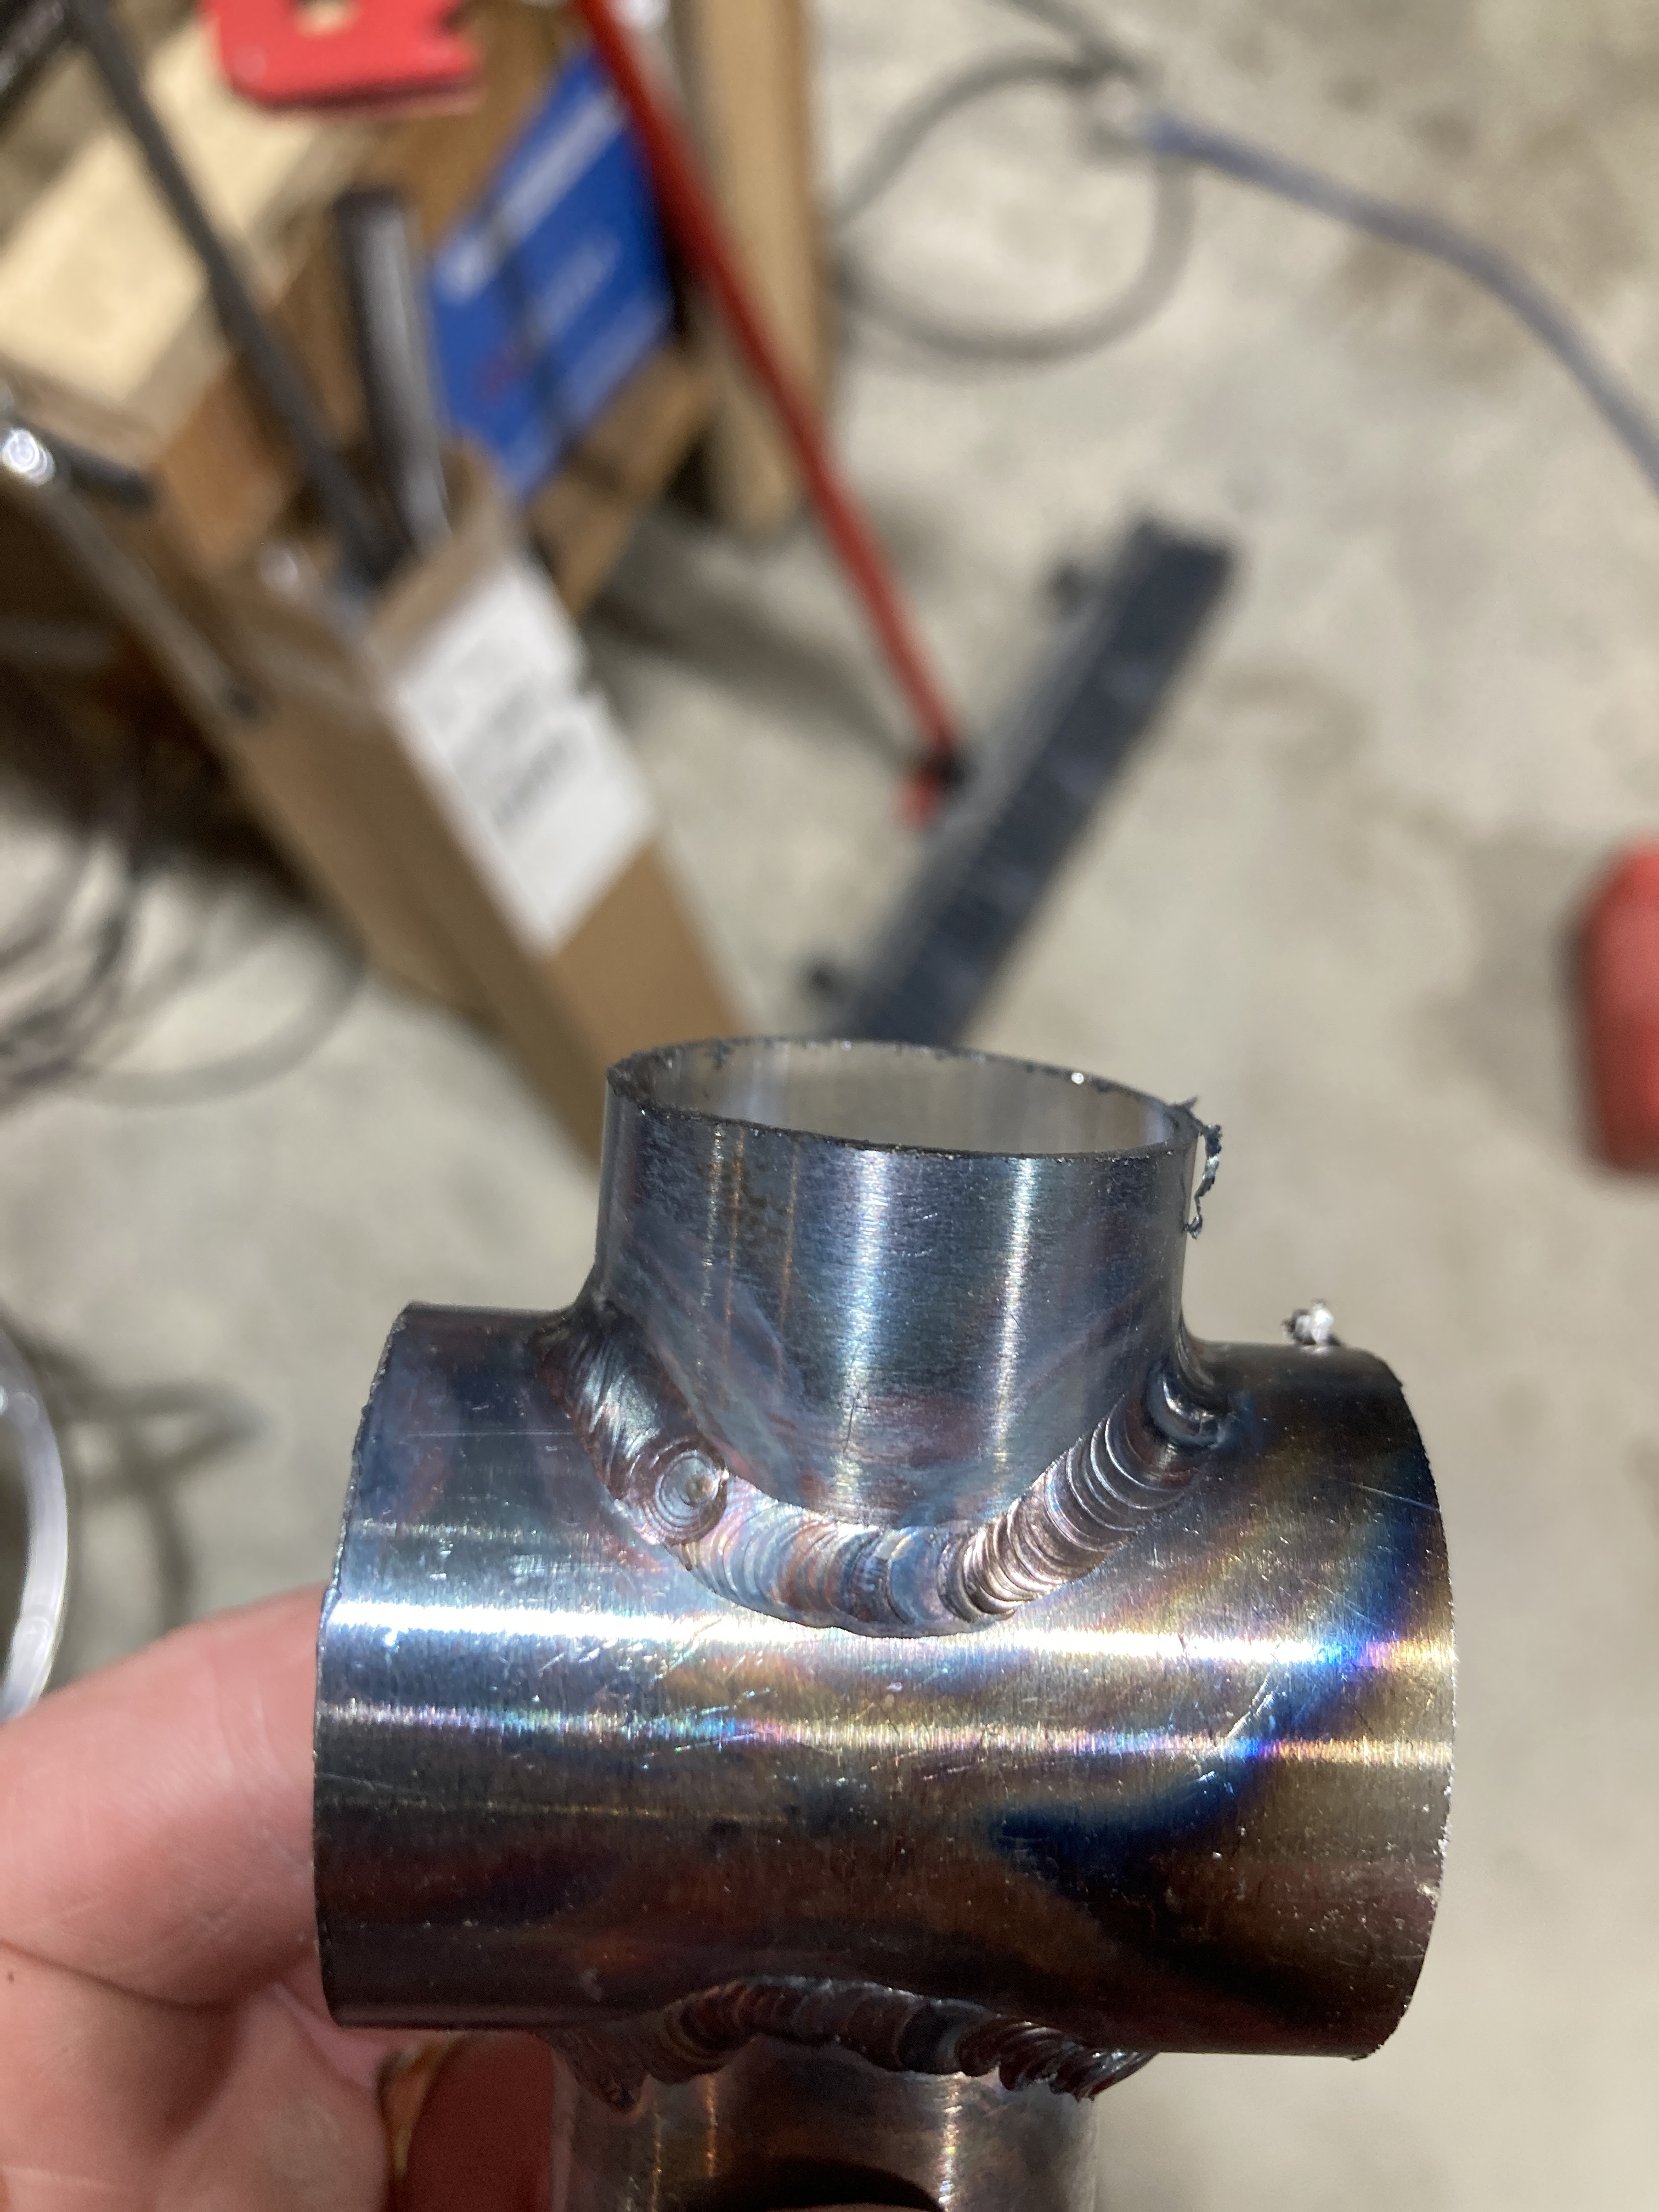
As far as heat is concerned I am looking for a few items on my weld.
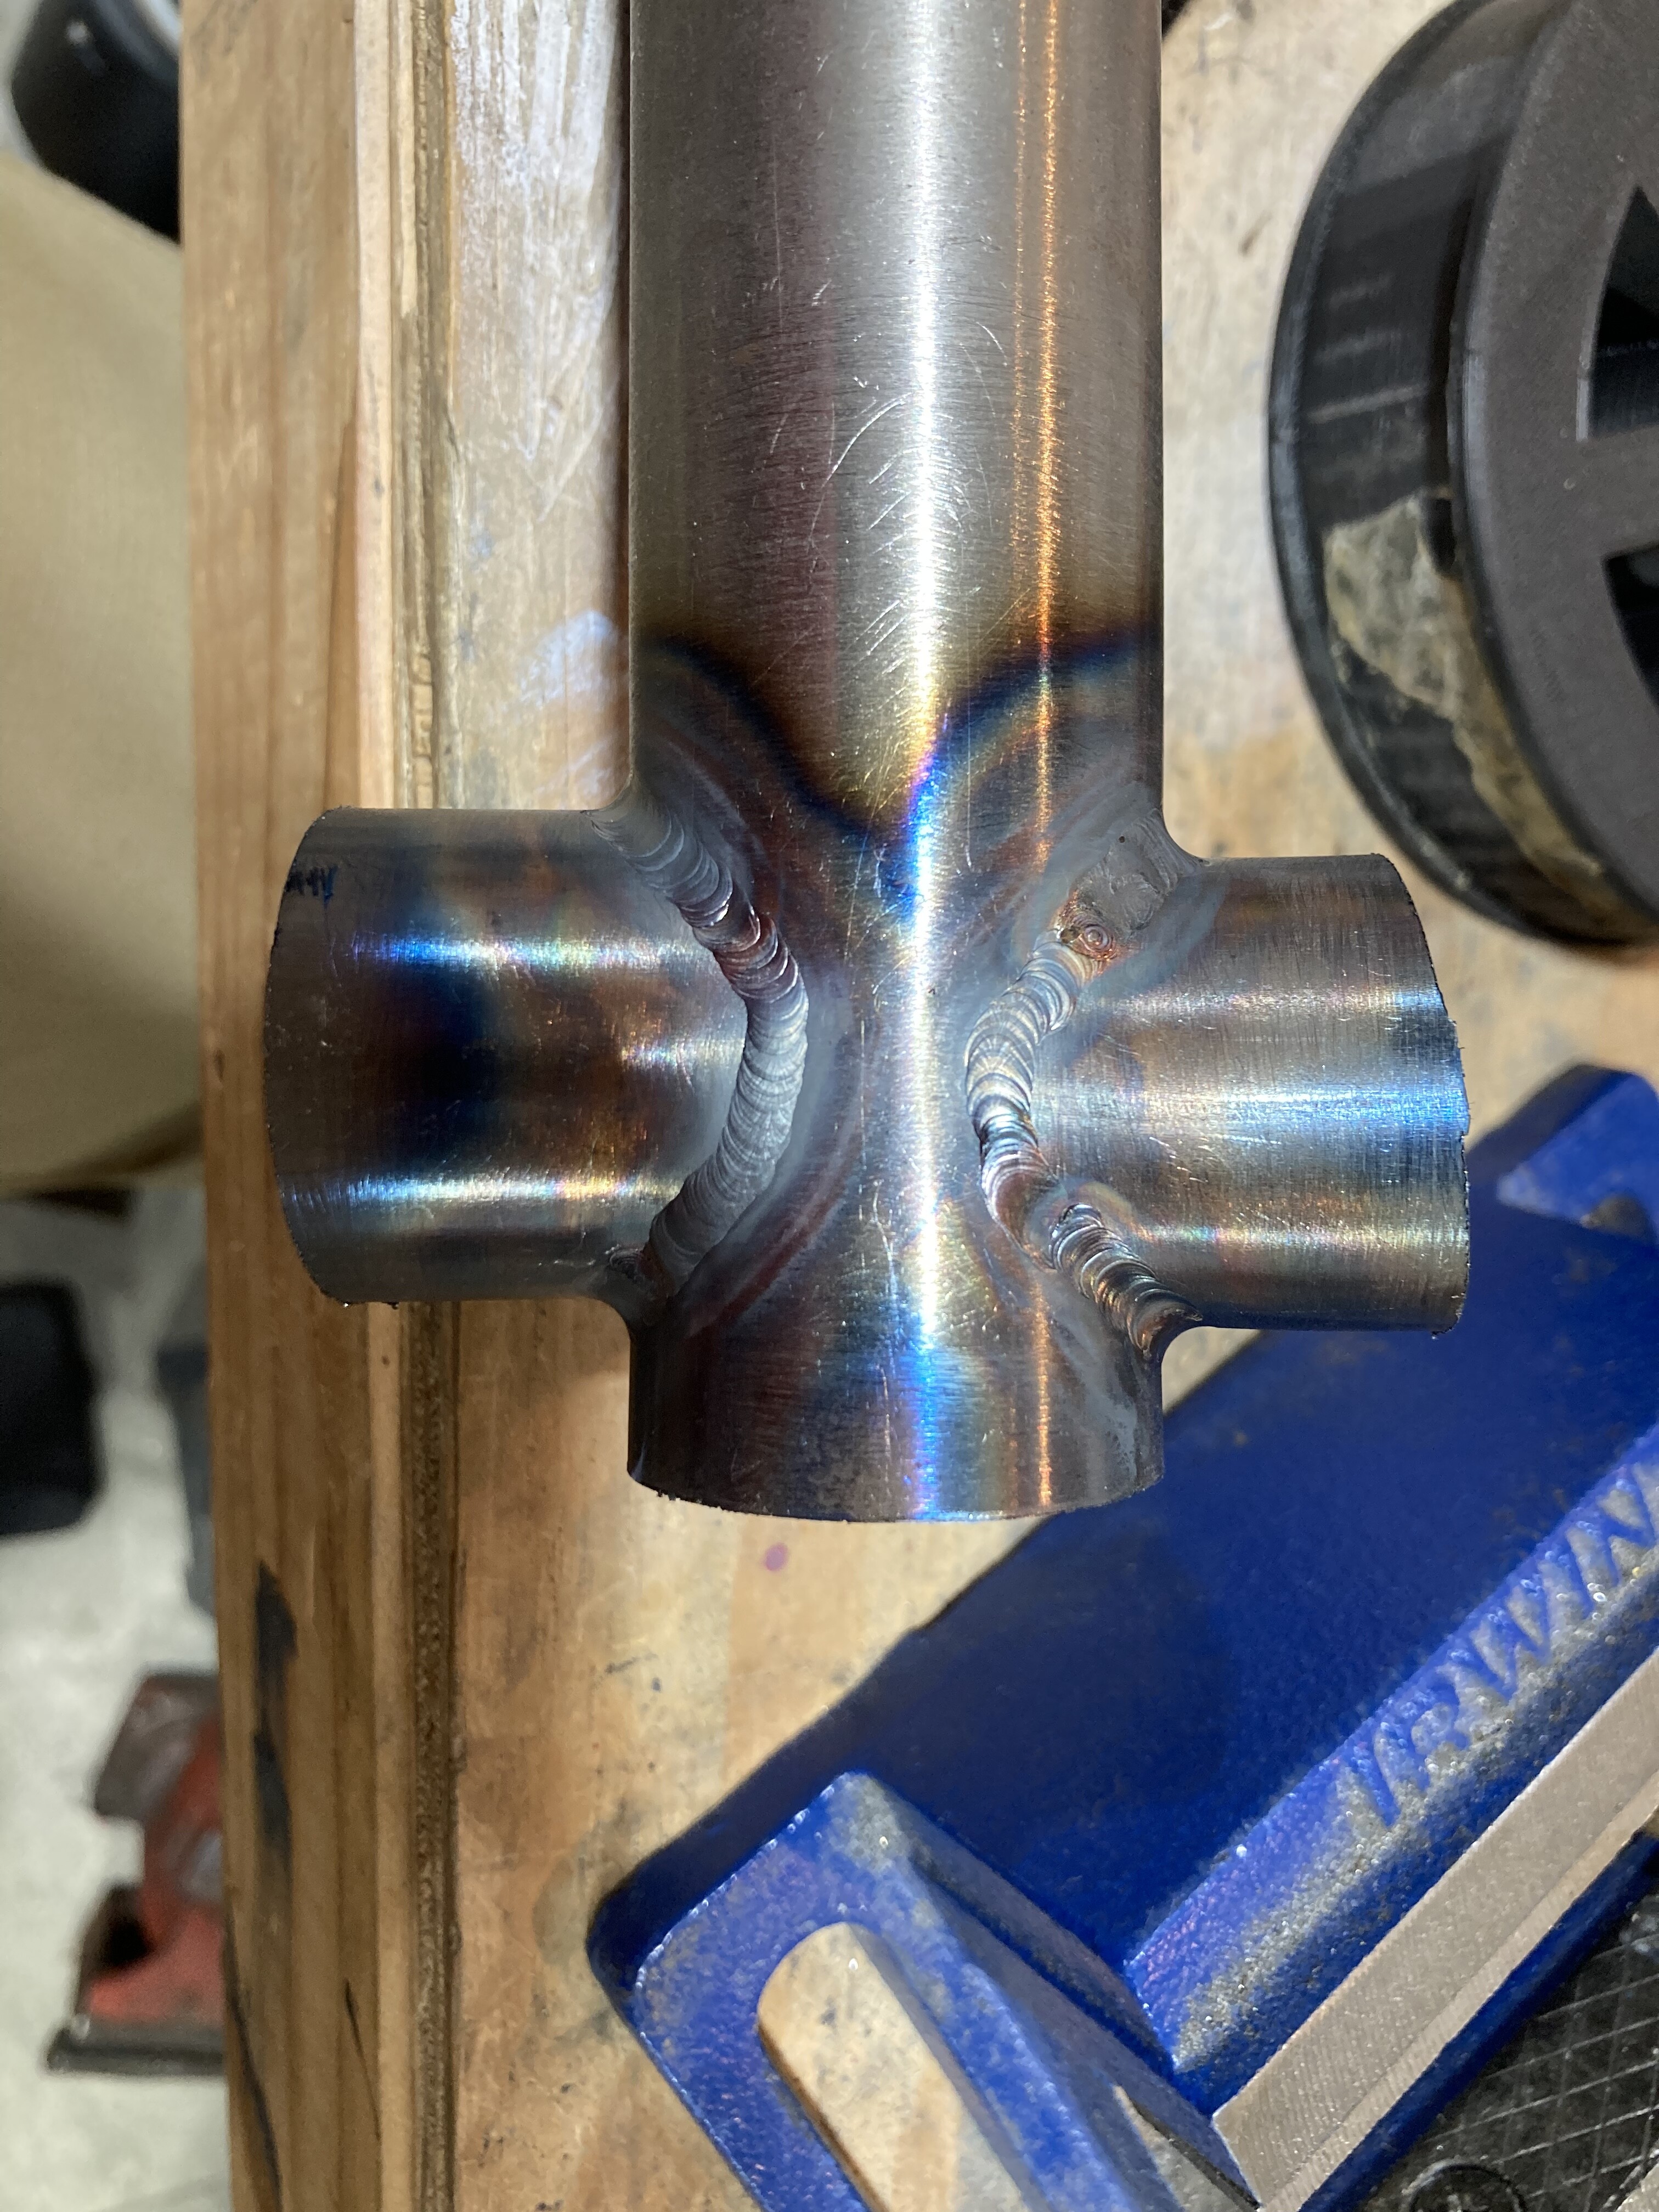
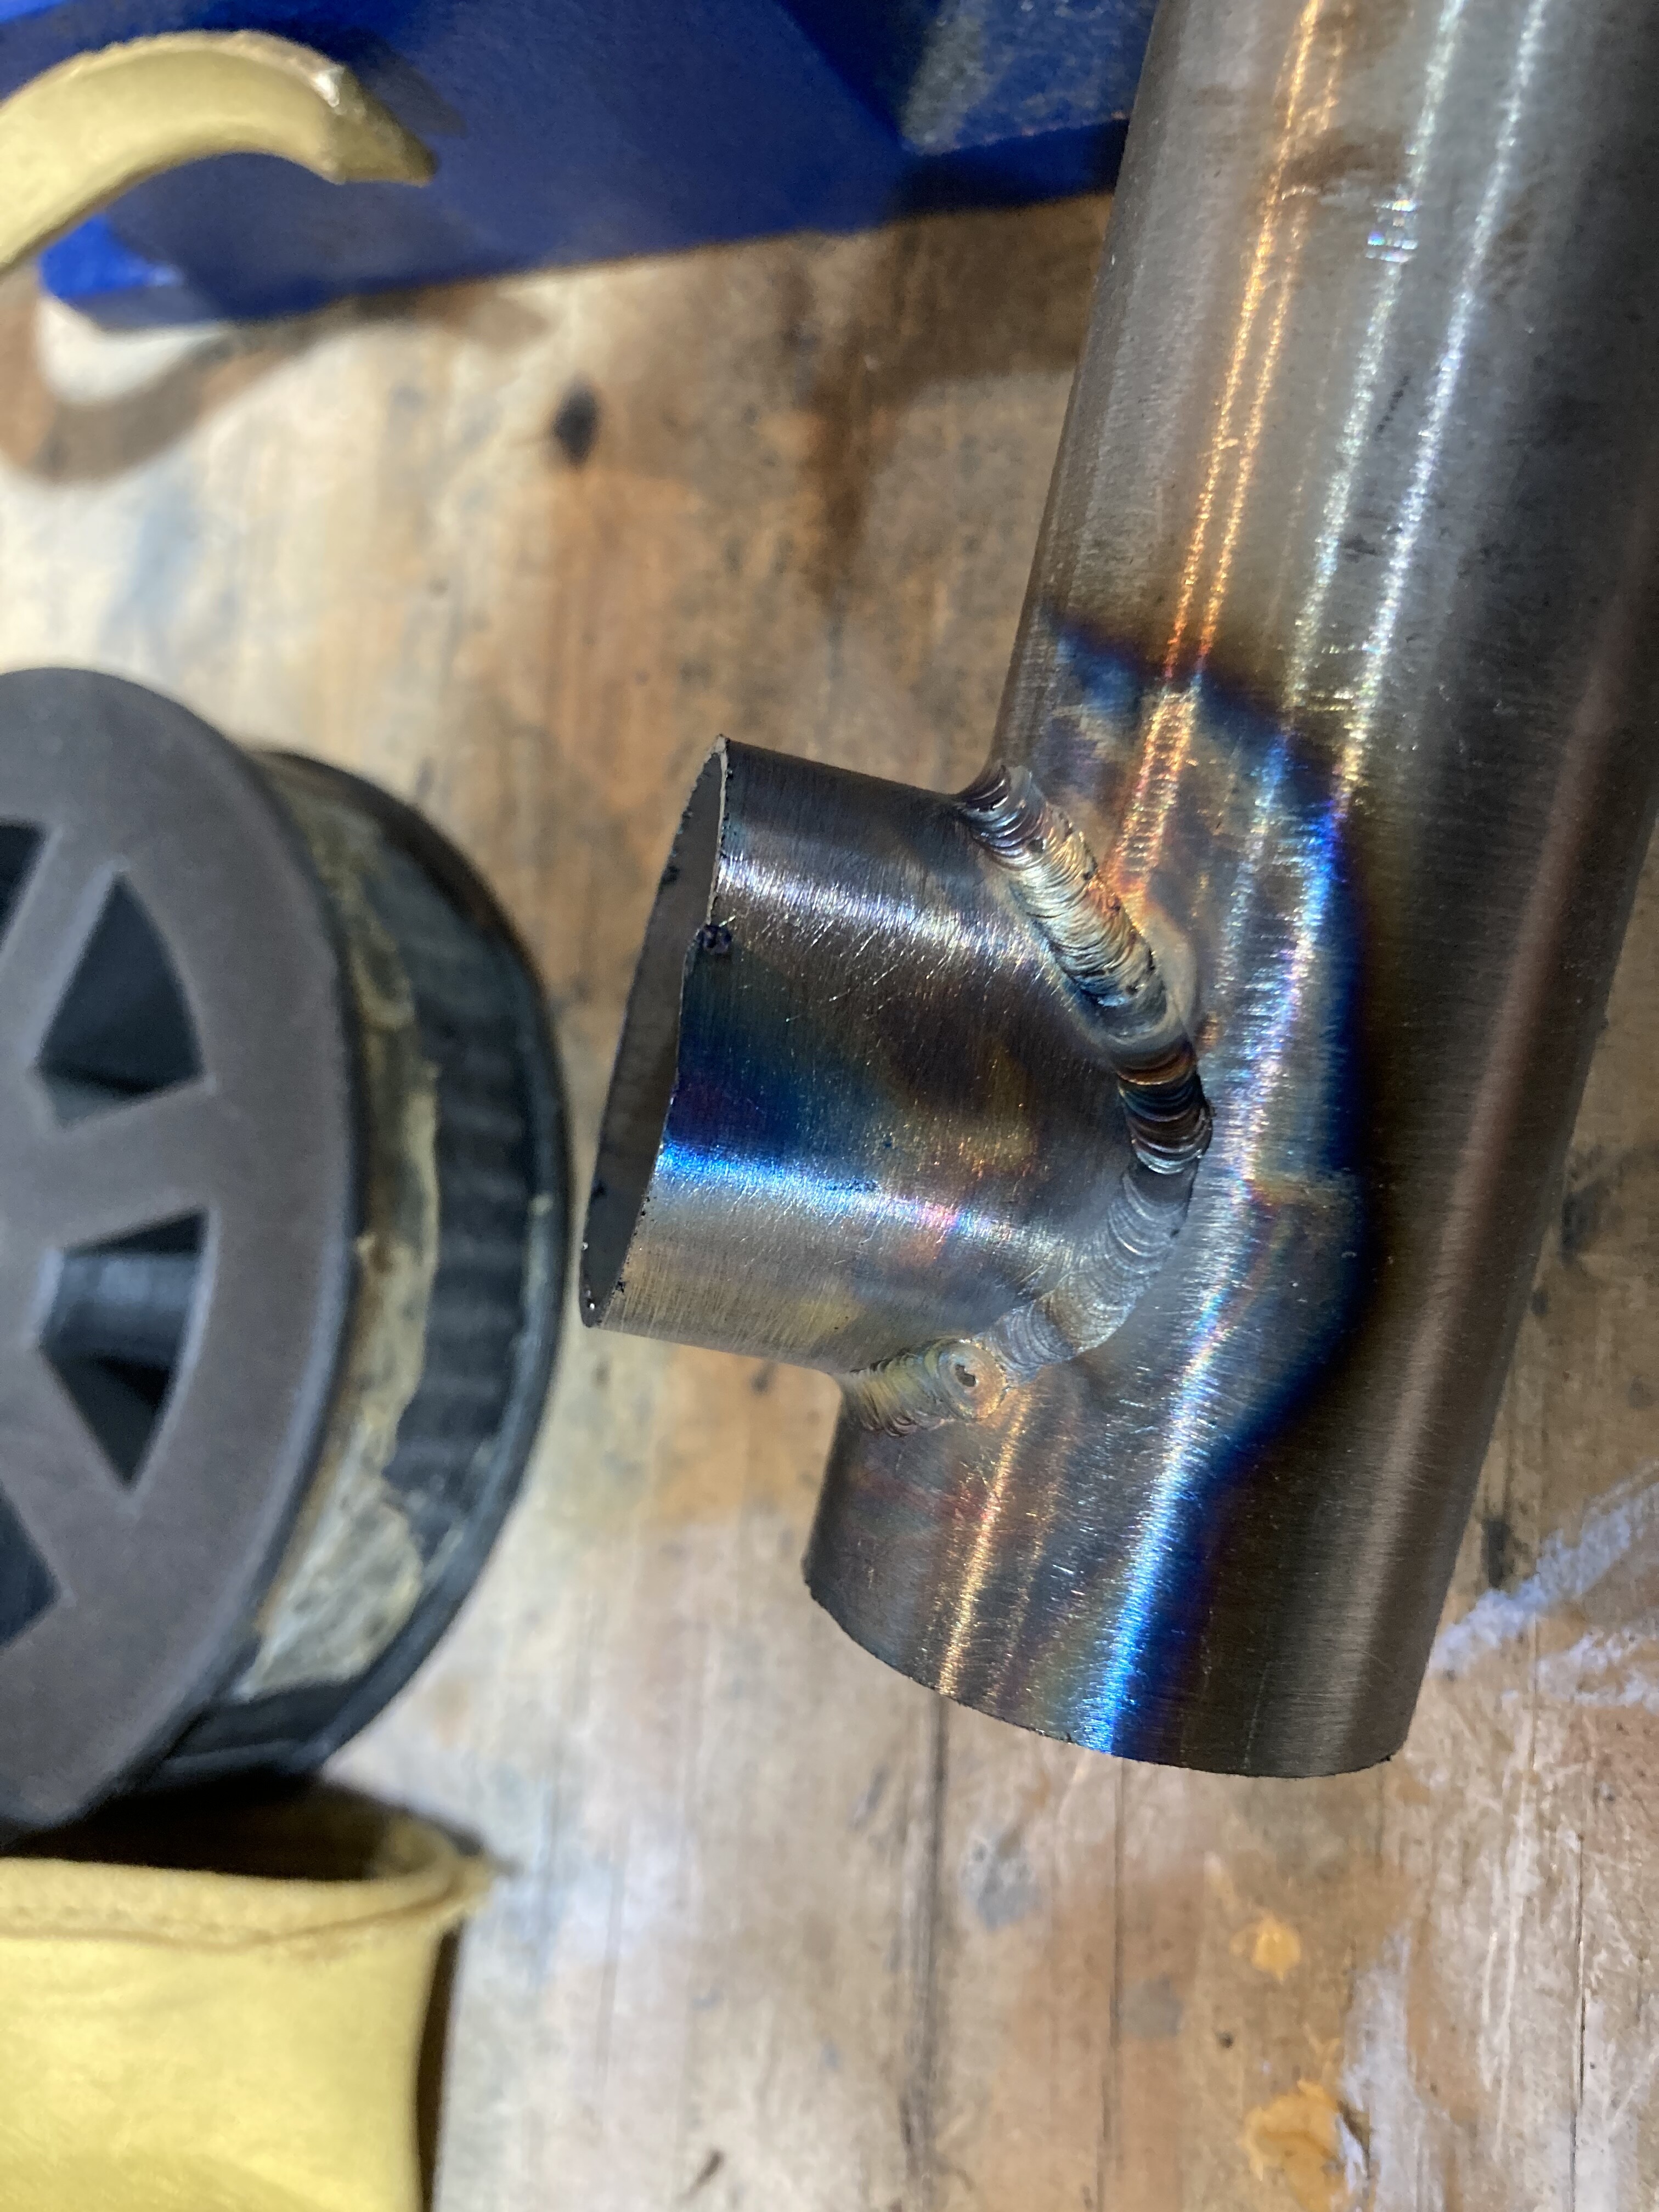
1-Bead height- when I am shy with the heat my beads get tall. This is most noticeable on the ears. It happens in the crotch but the shape of that area prevents the build up.
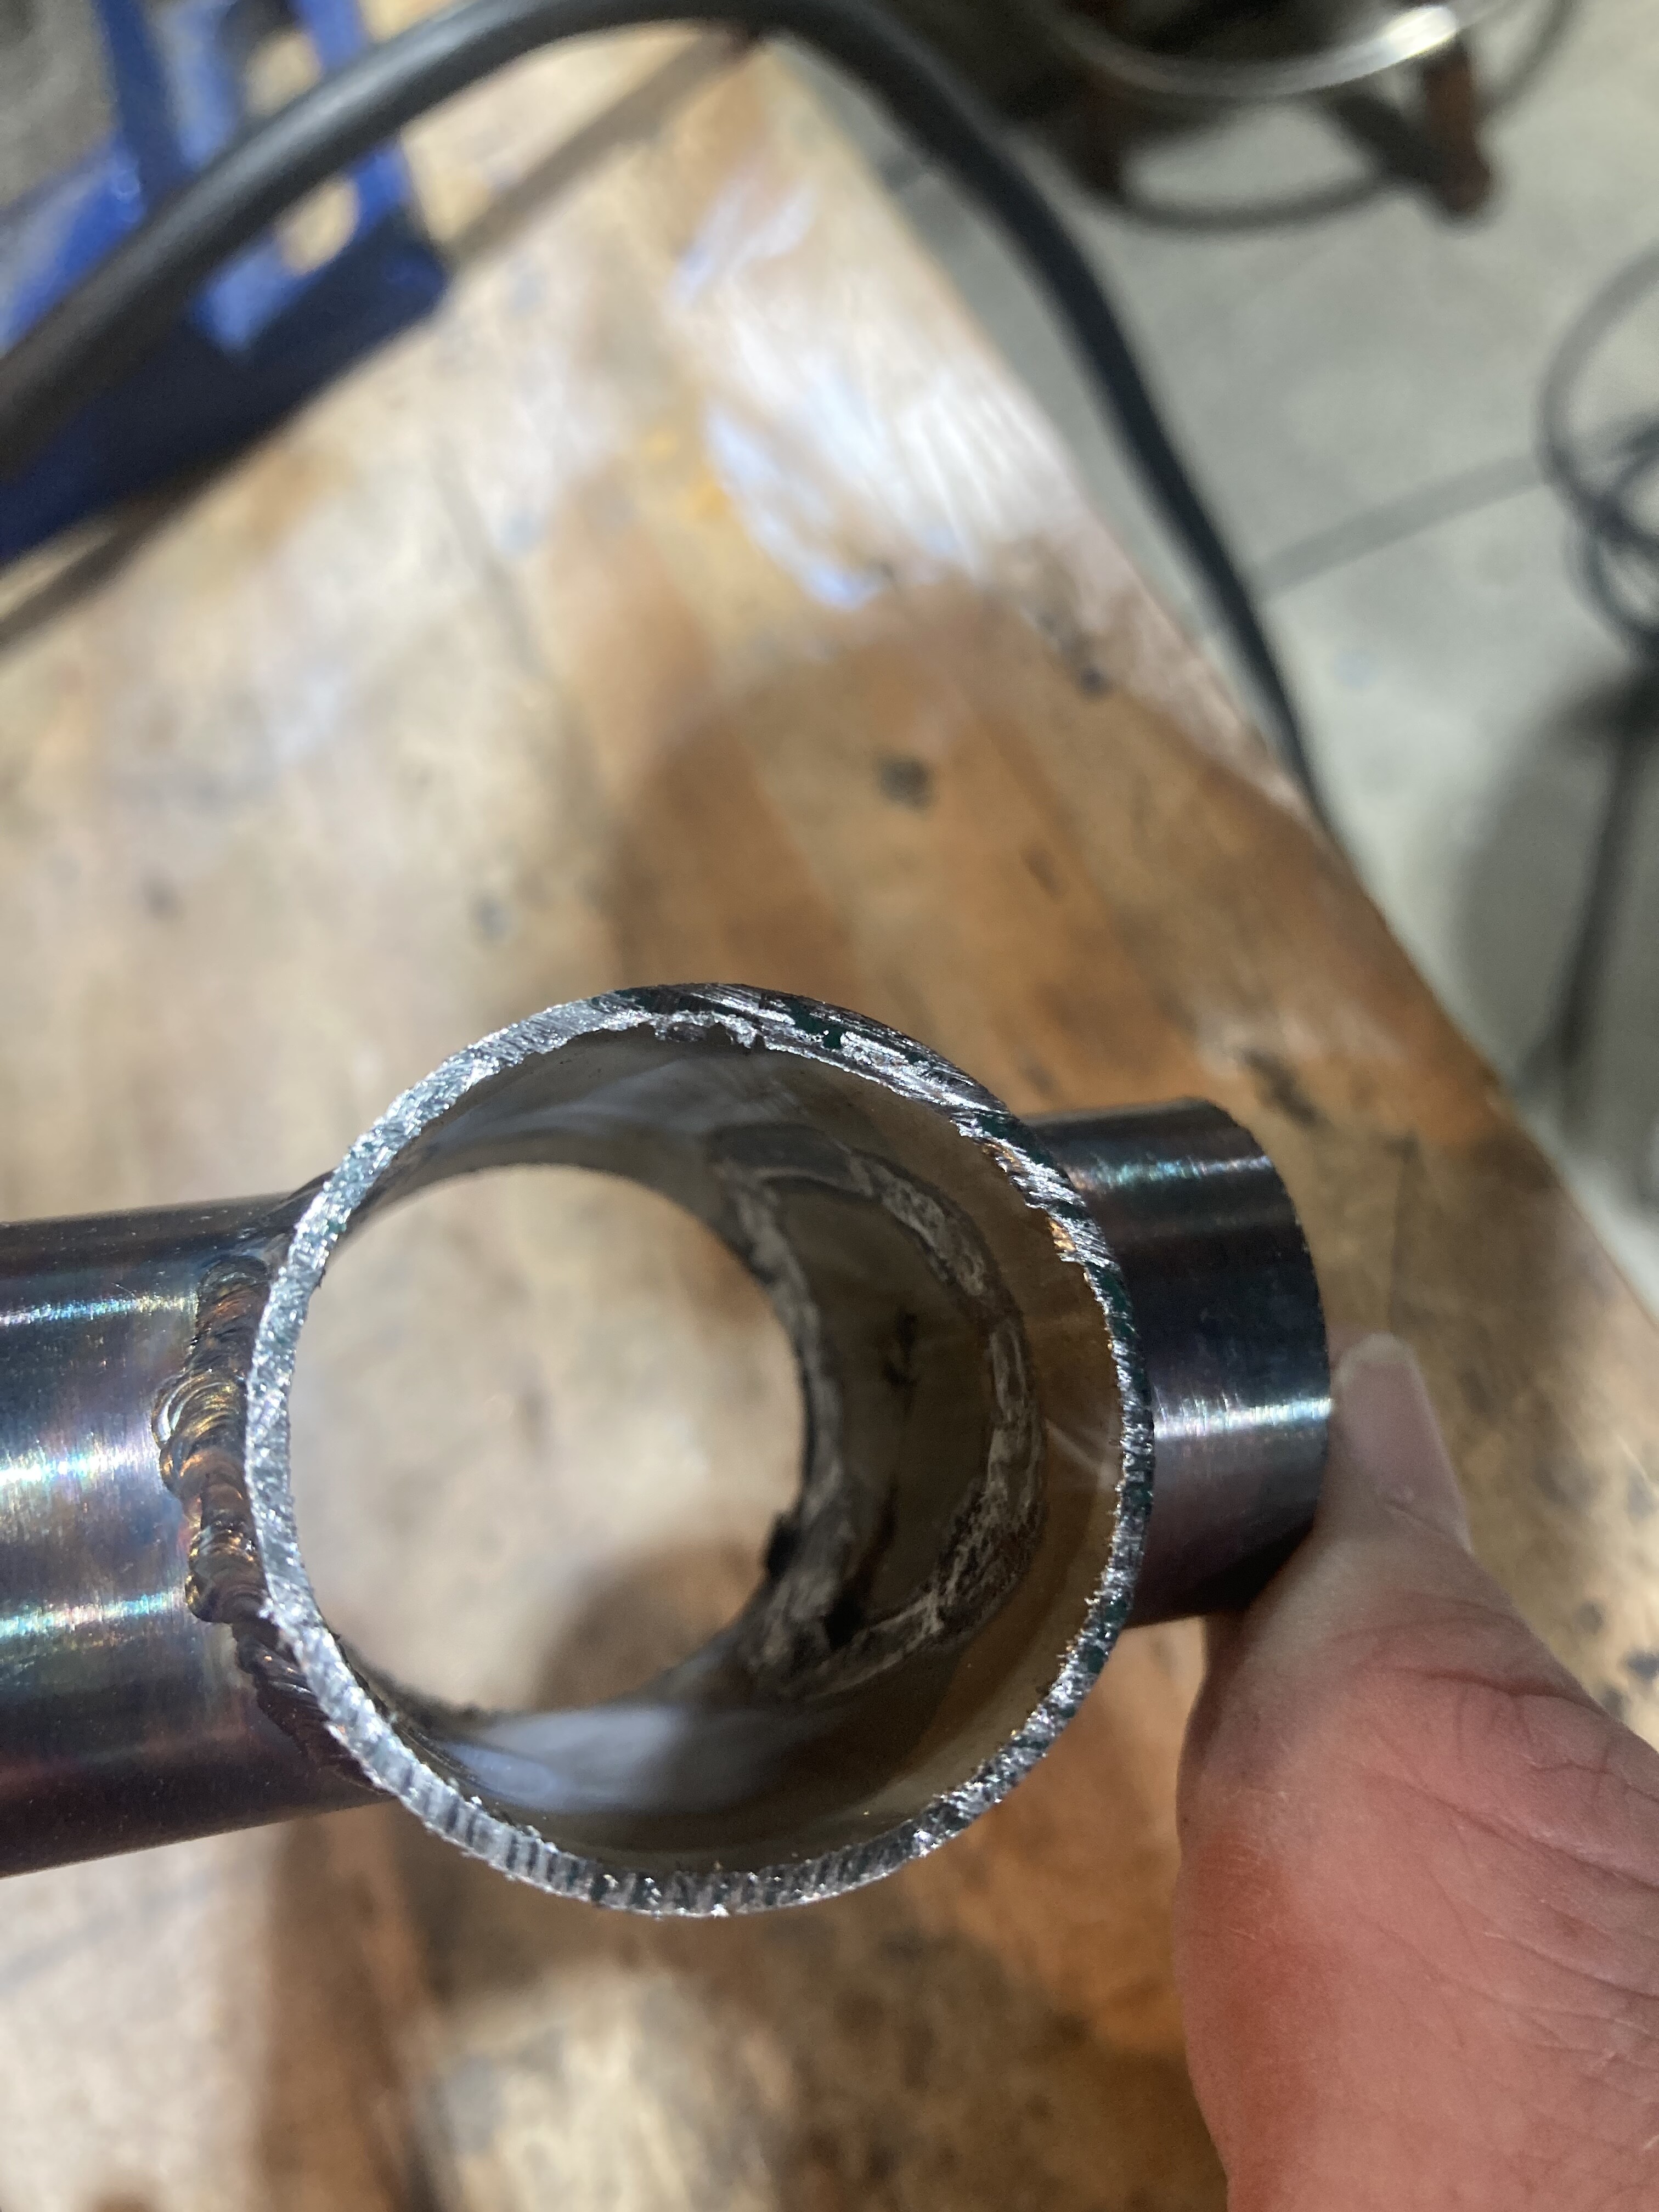
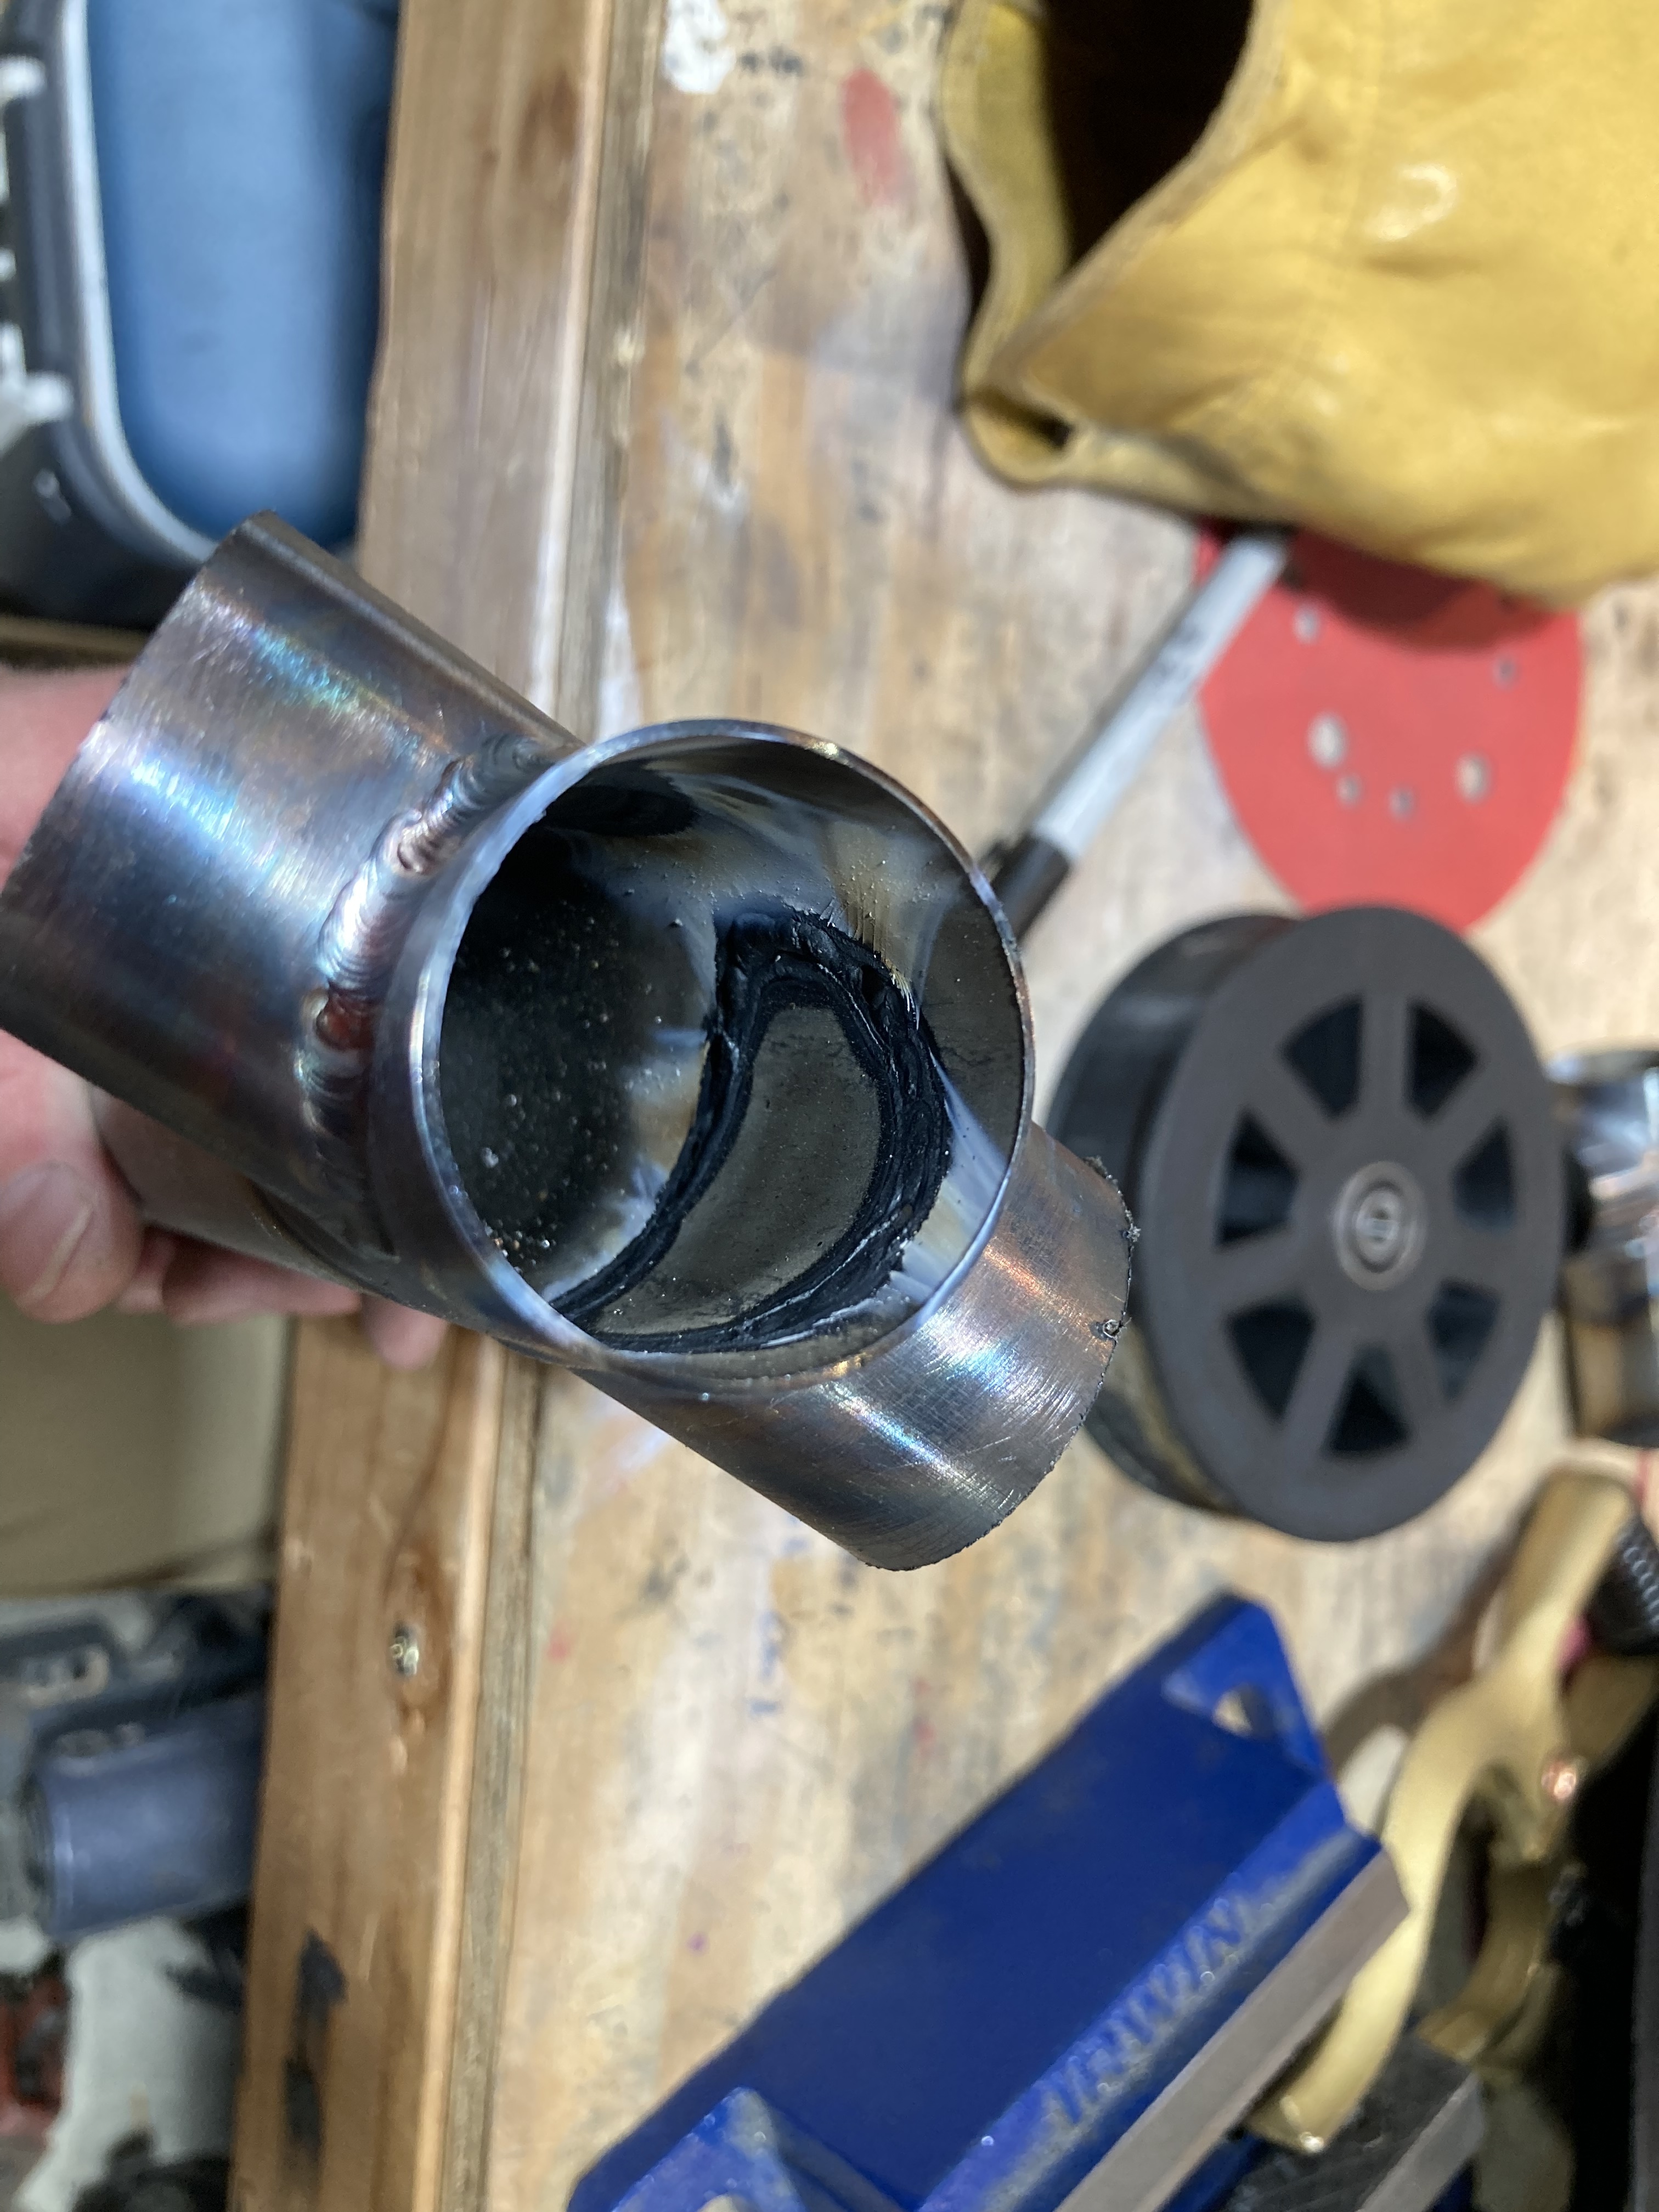
2- Inside heat distortion uniformity
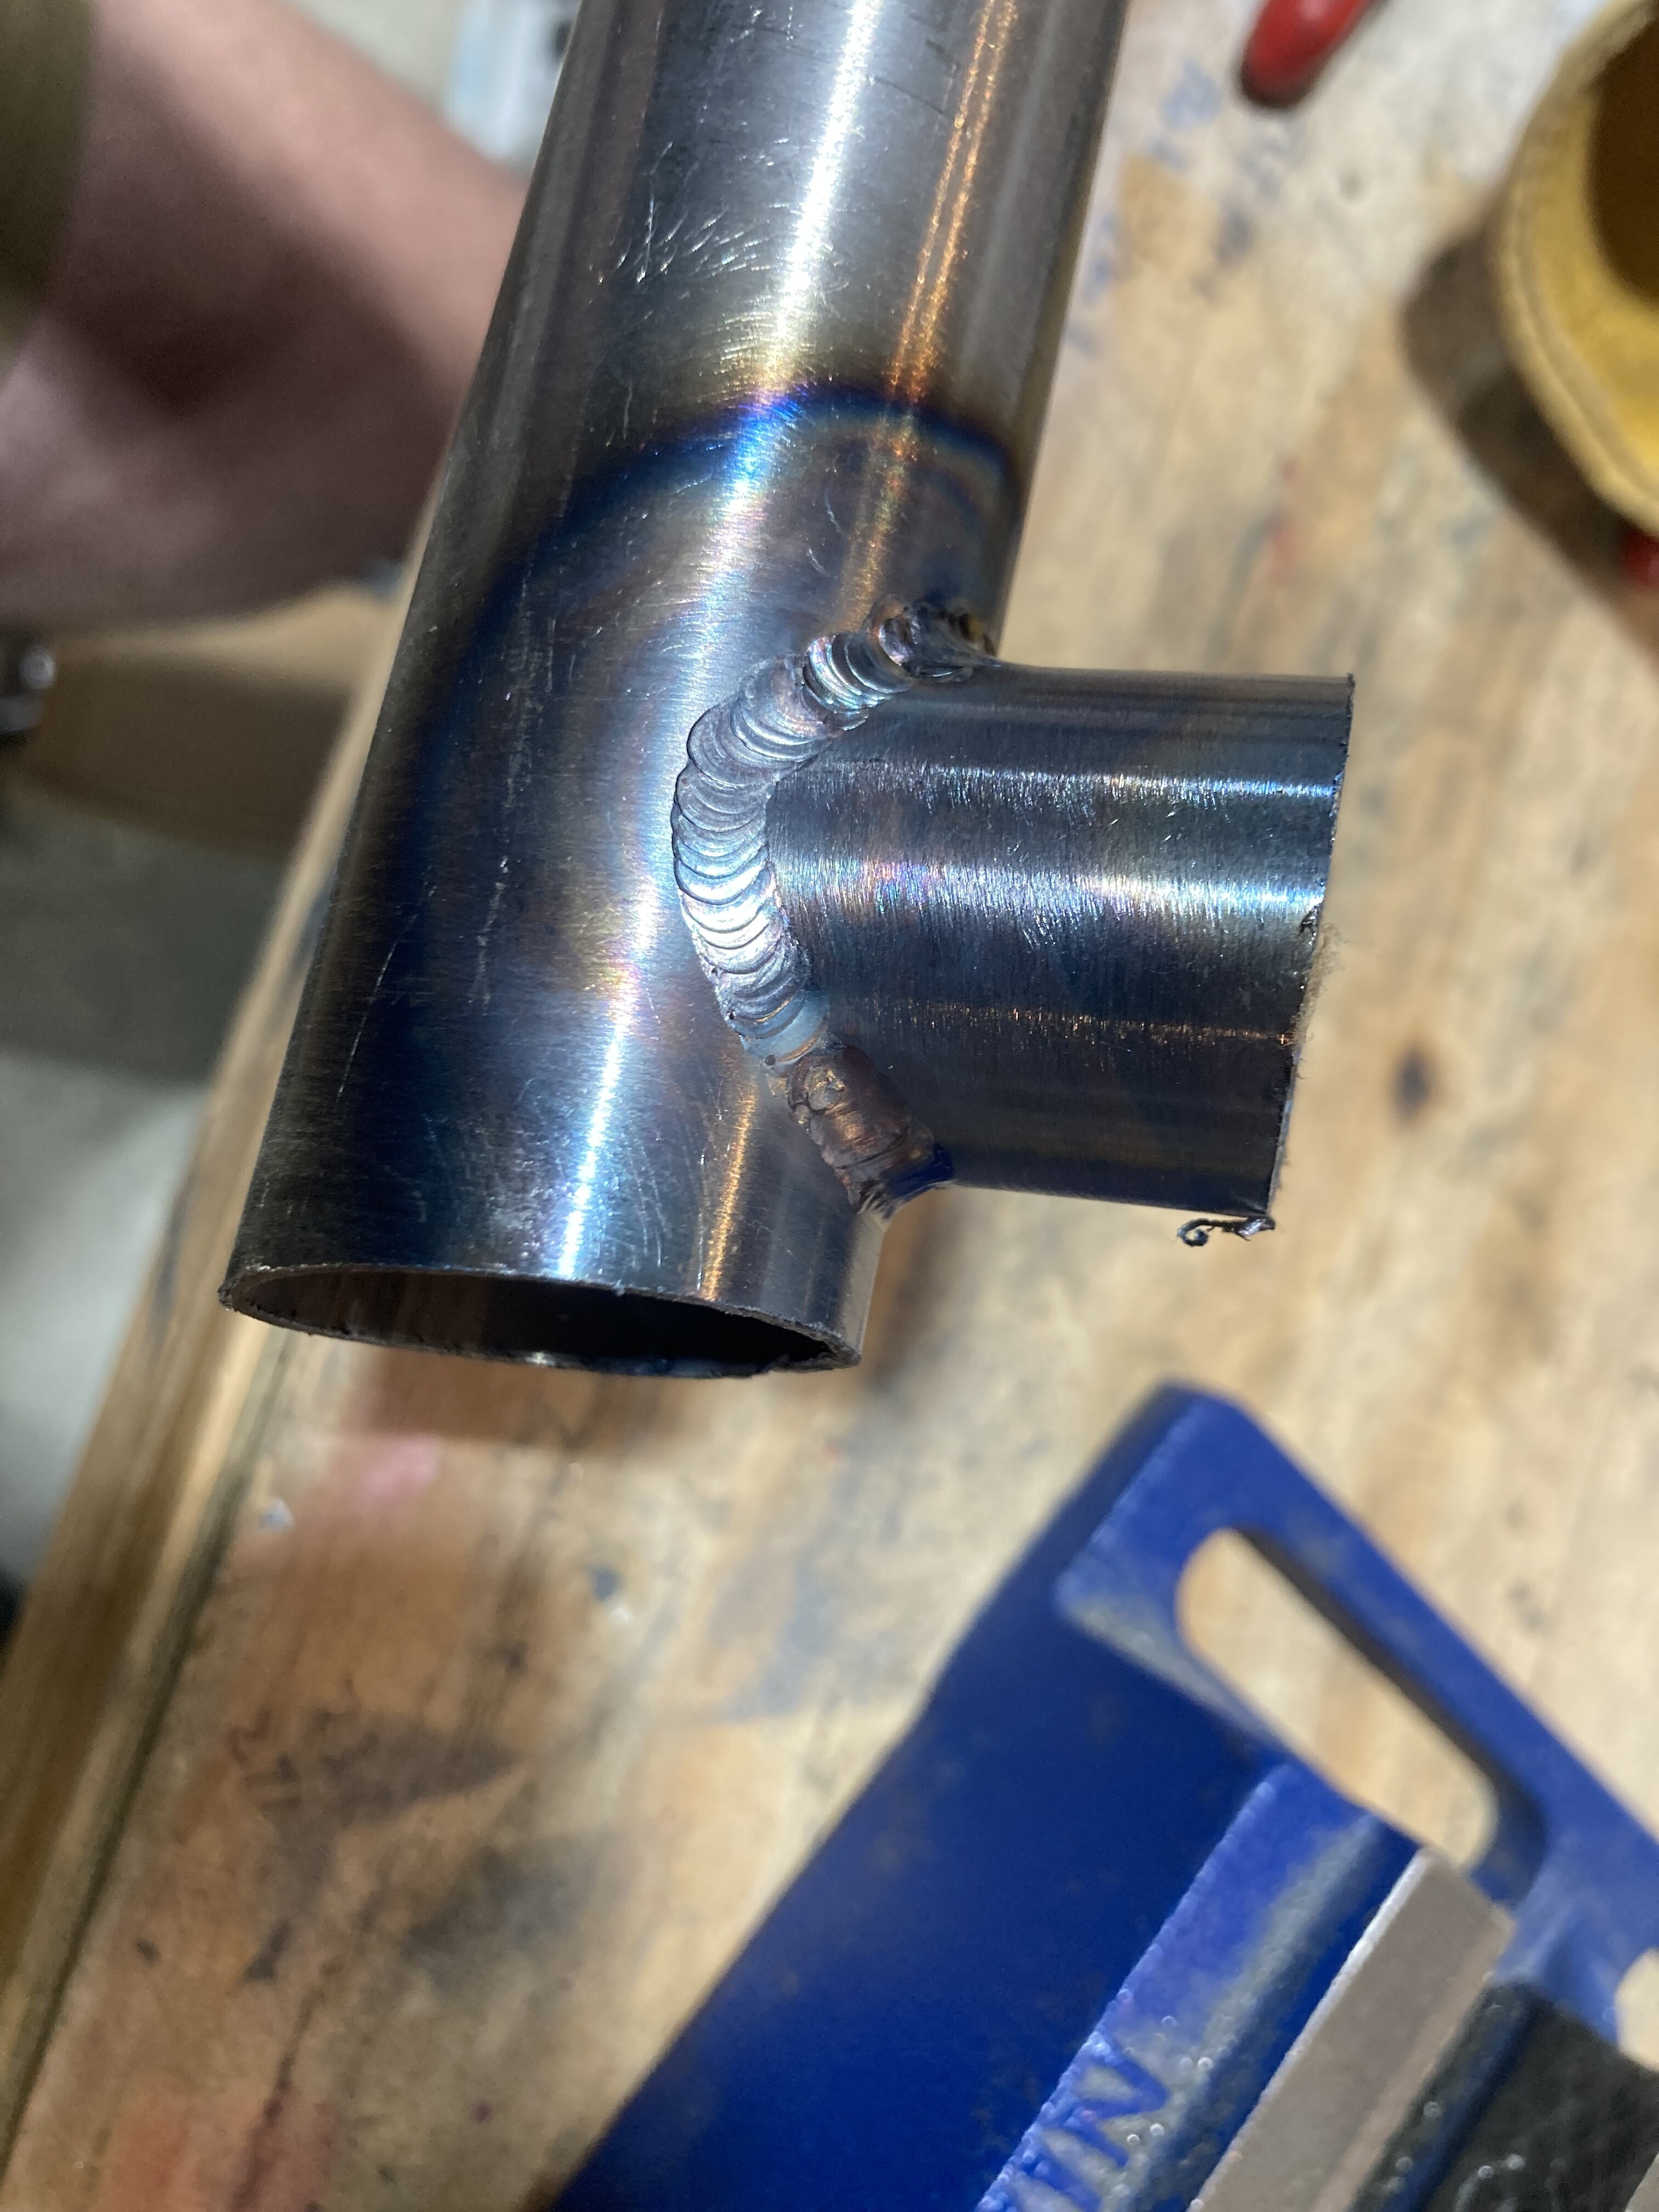
One example is getting melted globs inside the mitered joint like below. I think this is from trying to get the puddle without using enough amps to make it start flowing so I can keep moving.
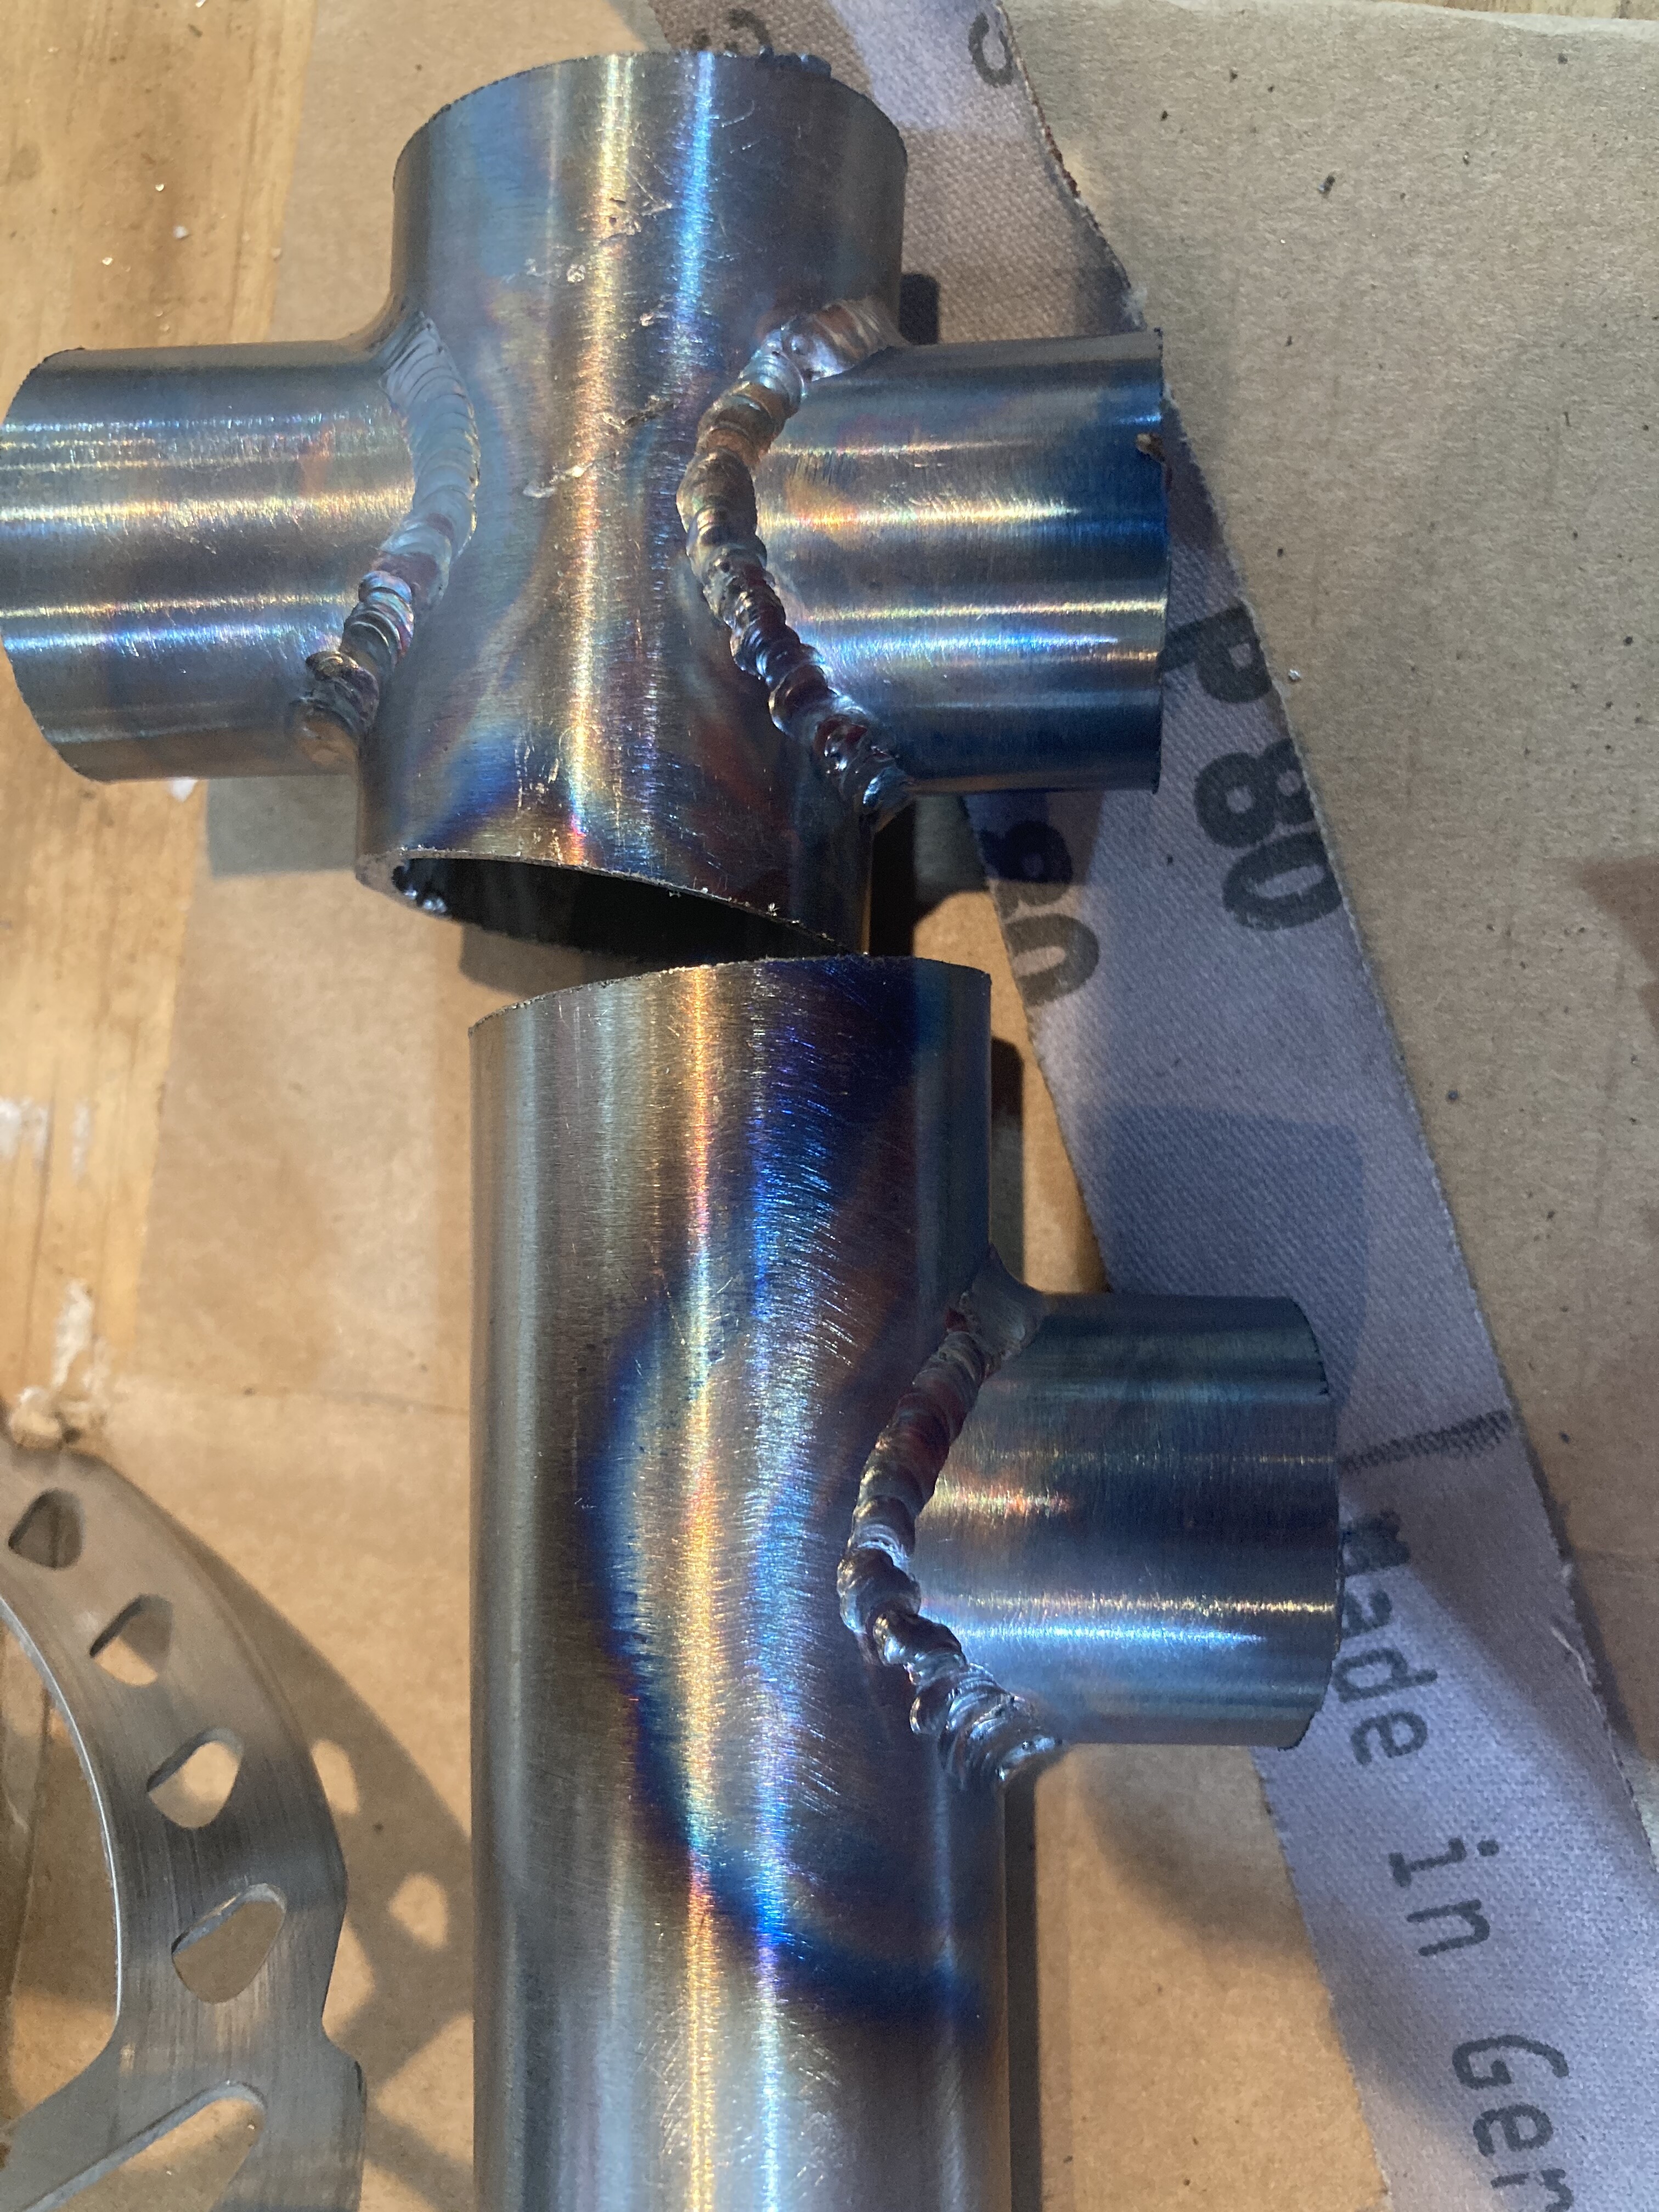
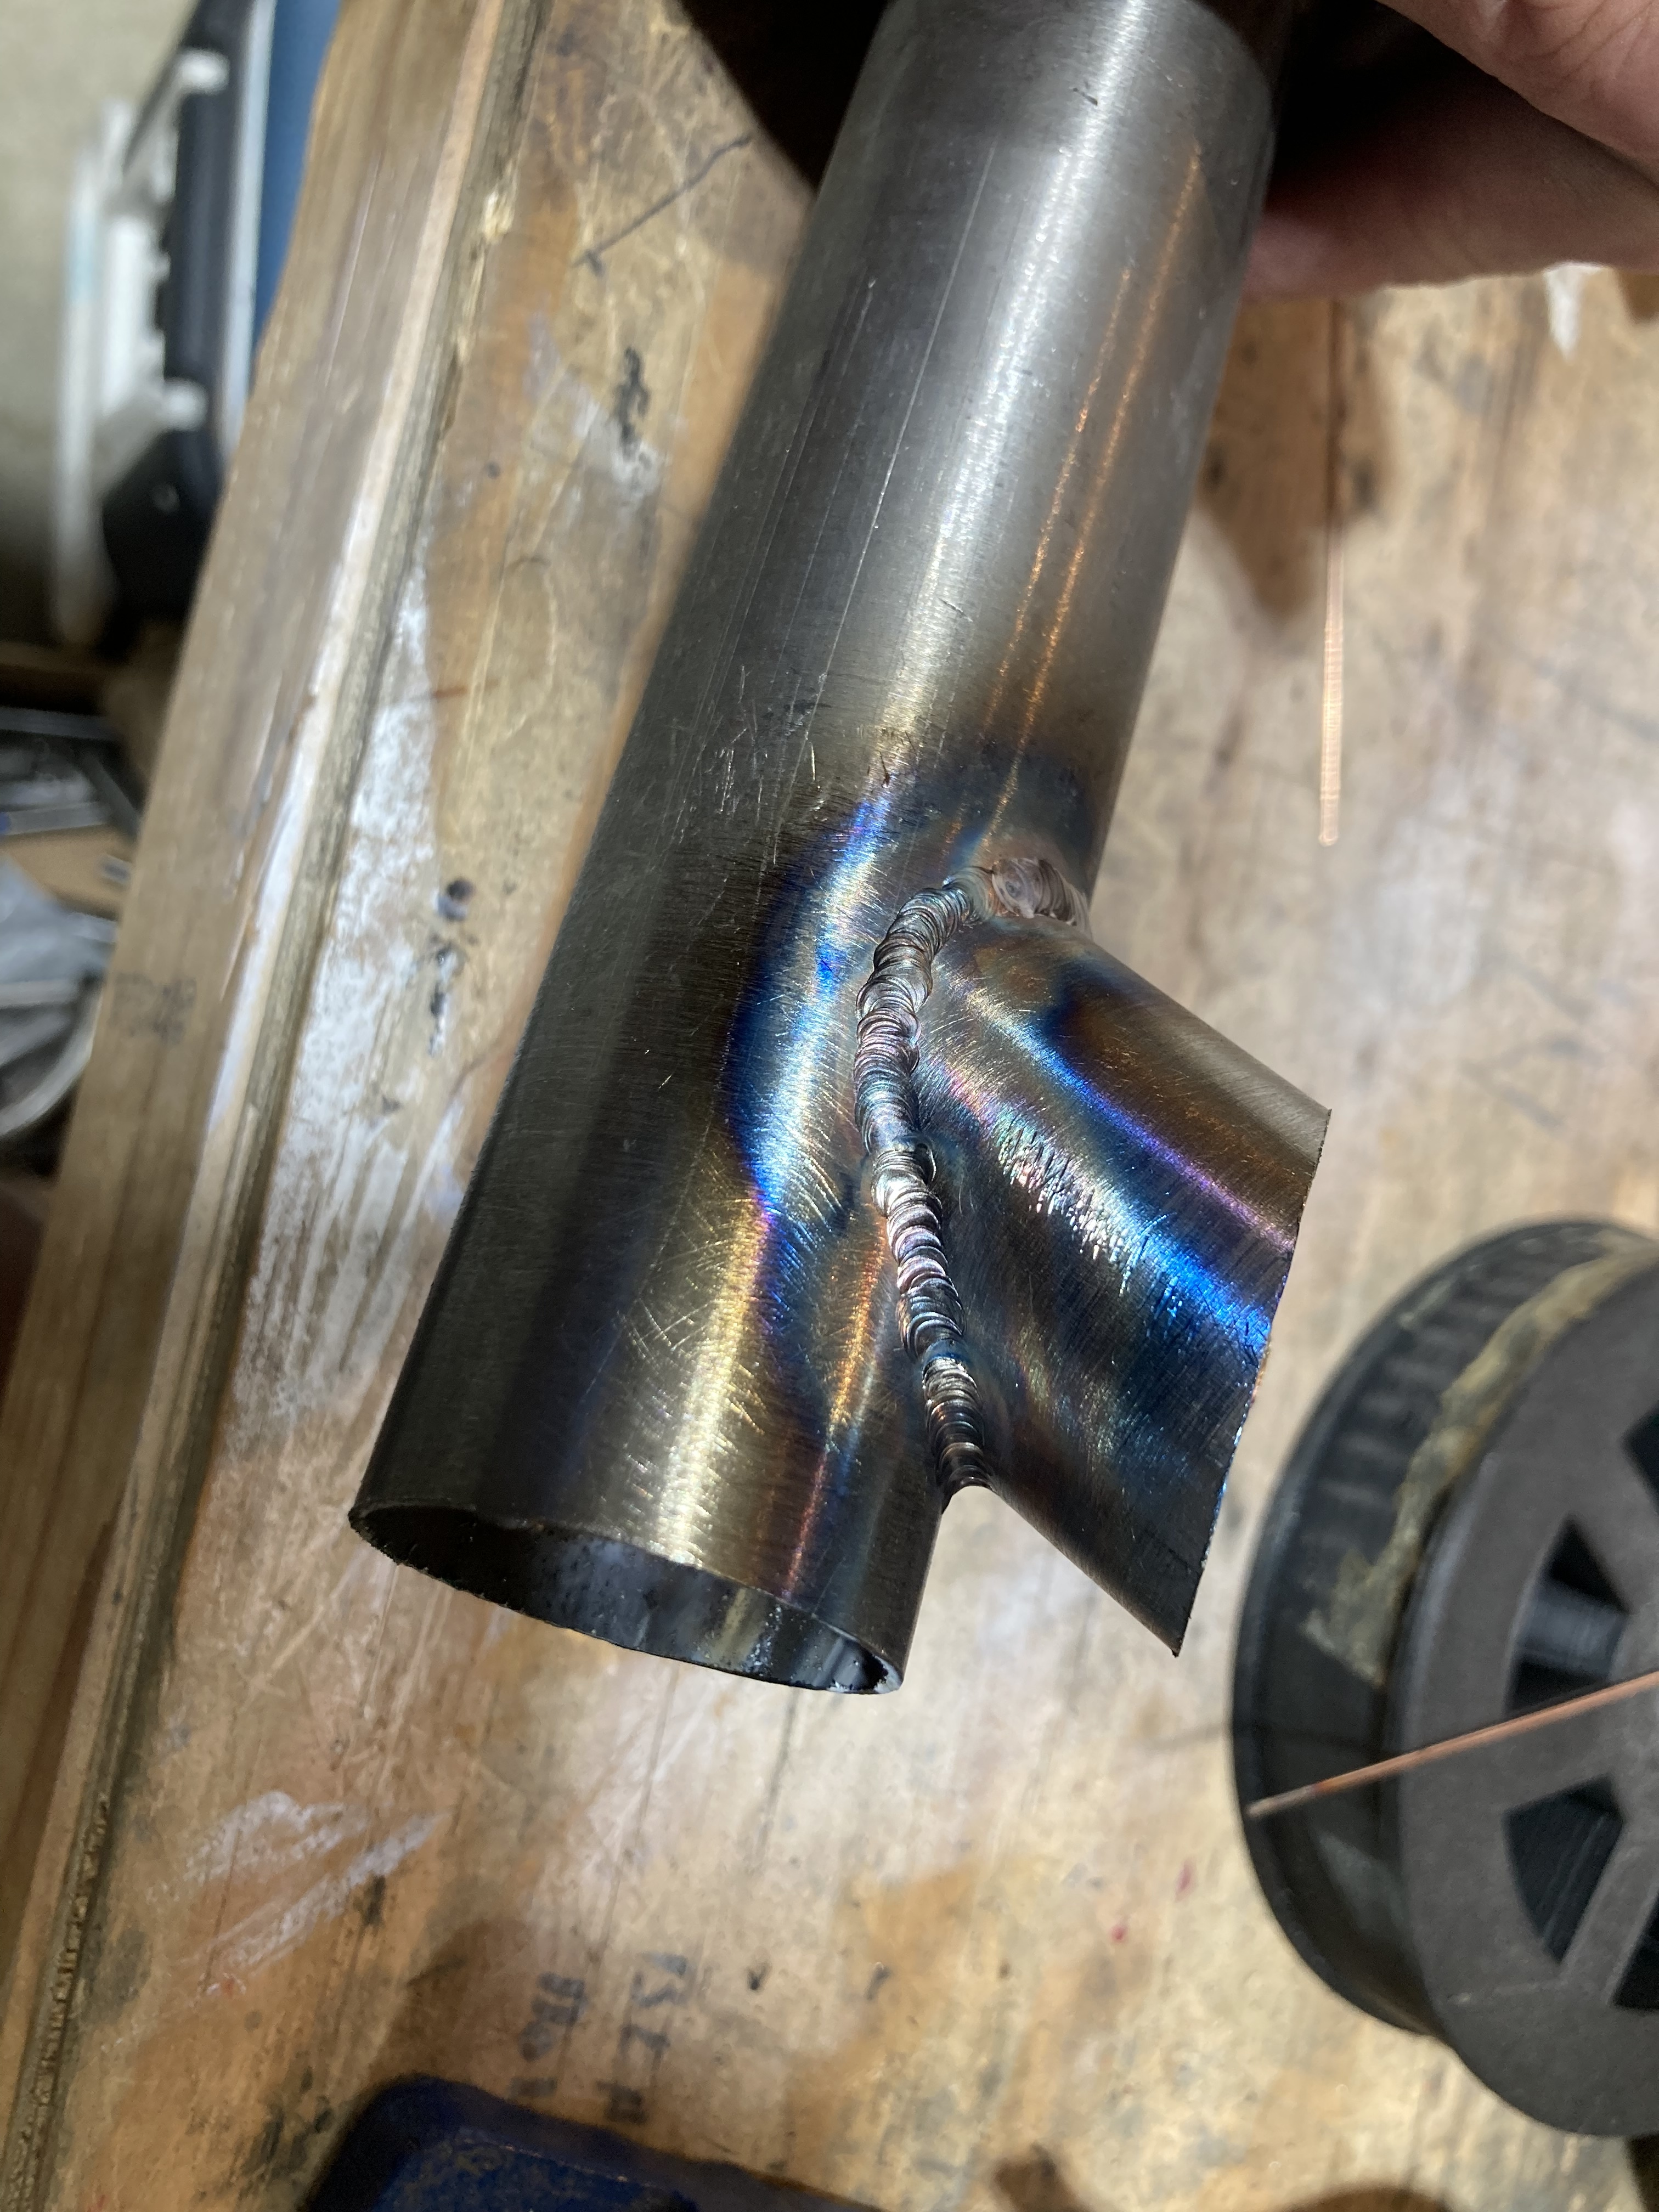
The next indicator I’m looking for is on the inside of the non mitered joint. I want to see an even distortion around the weld. The picture below is an example of having hot spots and cold spots.
Yes, that’s a good summary my brain this morning couldn’t come up with. A small amount of bulge / distortion on the inside is normal for tubing as thin as bicycle tubing. If it is excessive, it’s not necessarily an issue though, unless it’s on BB threads or something similar.
The outside bead profile is more important as far as strength goes. As you mentioned, the bead should sit nice and flat-ish with a little reinforcement, but more importantly, have good fusion on the toes of the welds. Having a high-crowned bead can cause stress risers at the toe of the welds.
Oh Ben you’re touching on something I’ve wondered about and have asked about but haven’t gotten a true answer on (e.g. “This is what I do . . . .”) When is it optimal to remove a heat sink? And how does that timing vary between materials (e.g. 4130 vs ti vs stainless).
Can you share any information on blending the end of welds? Mine always have a flat spot where the bead ends and I do not see that in production bikes.
So, for 4130 a slow cooling rate will give you more ductility in the weld and area surrounding.
For titanium, getting the heat out quickly is necessary to prevent the oxides from forming once the argon shielding goes away. If it’s somewhere around 400F or above when exposed to ambient air, that’s when the pretty colors show up. Titanium is also a terrible heat conductor so heat sinks really help.
With Stainless, a faster cooling rate is good to help prevent carbide precipitation in the weld. This is especially true with stainless to 4130, as the 4130 adds some carbon into the mix. That’s a tricky one though, because you kind of have to shoot for the middle ground between those two. Really though, that’s getting too far down into the weeds to be relevant for bicycle welding.
It’s very hard not to have a visible stop, what you want to shoot for is uniformity at the end point. Don’t stop right at the start of another bead, overlap and feed filler so you don’t undercut the bead being overlapped. Once you are ready and in a good place to stop, feed filler and back out slowly so you don’t create a crater or fish eye.
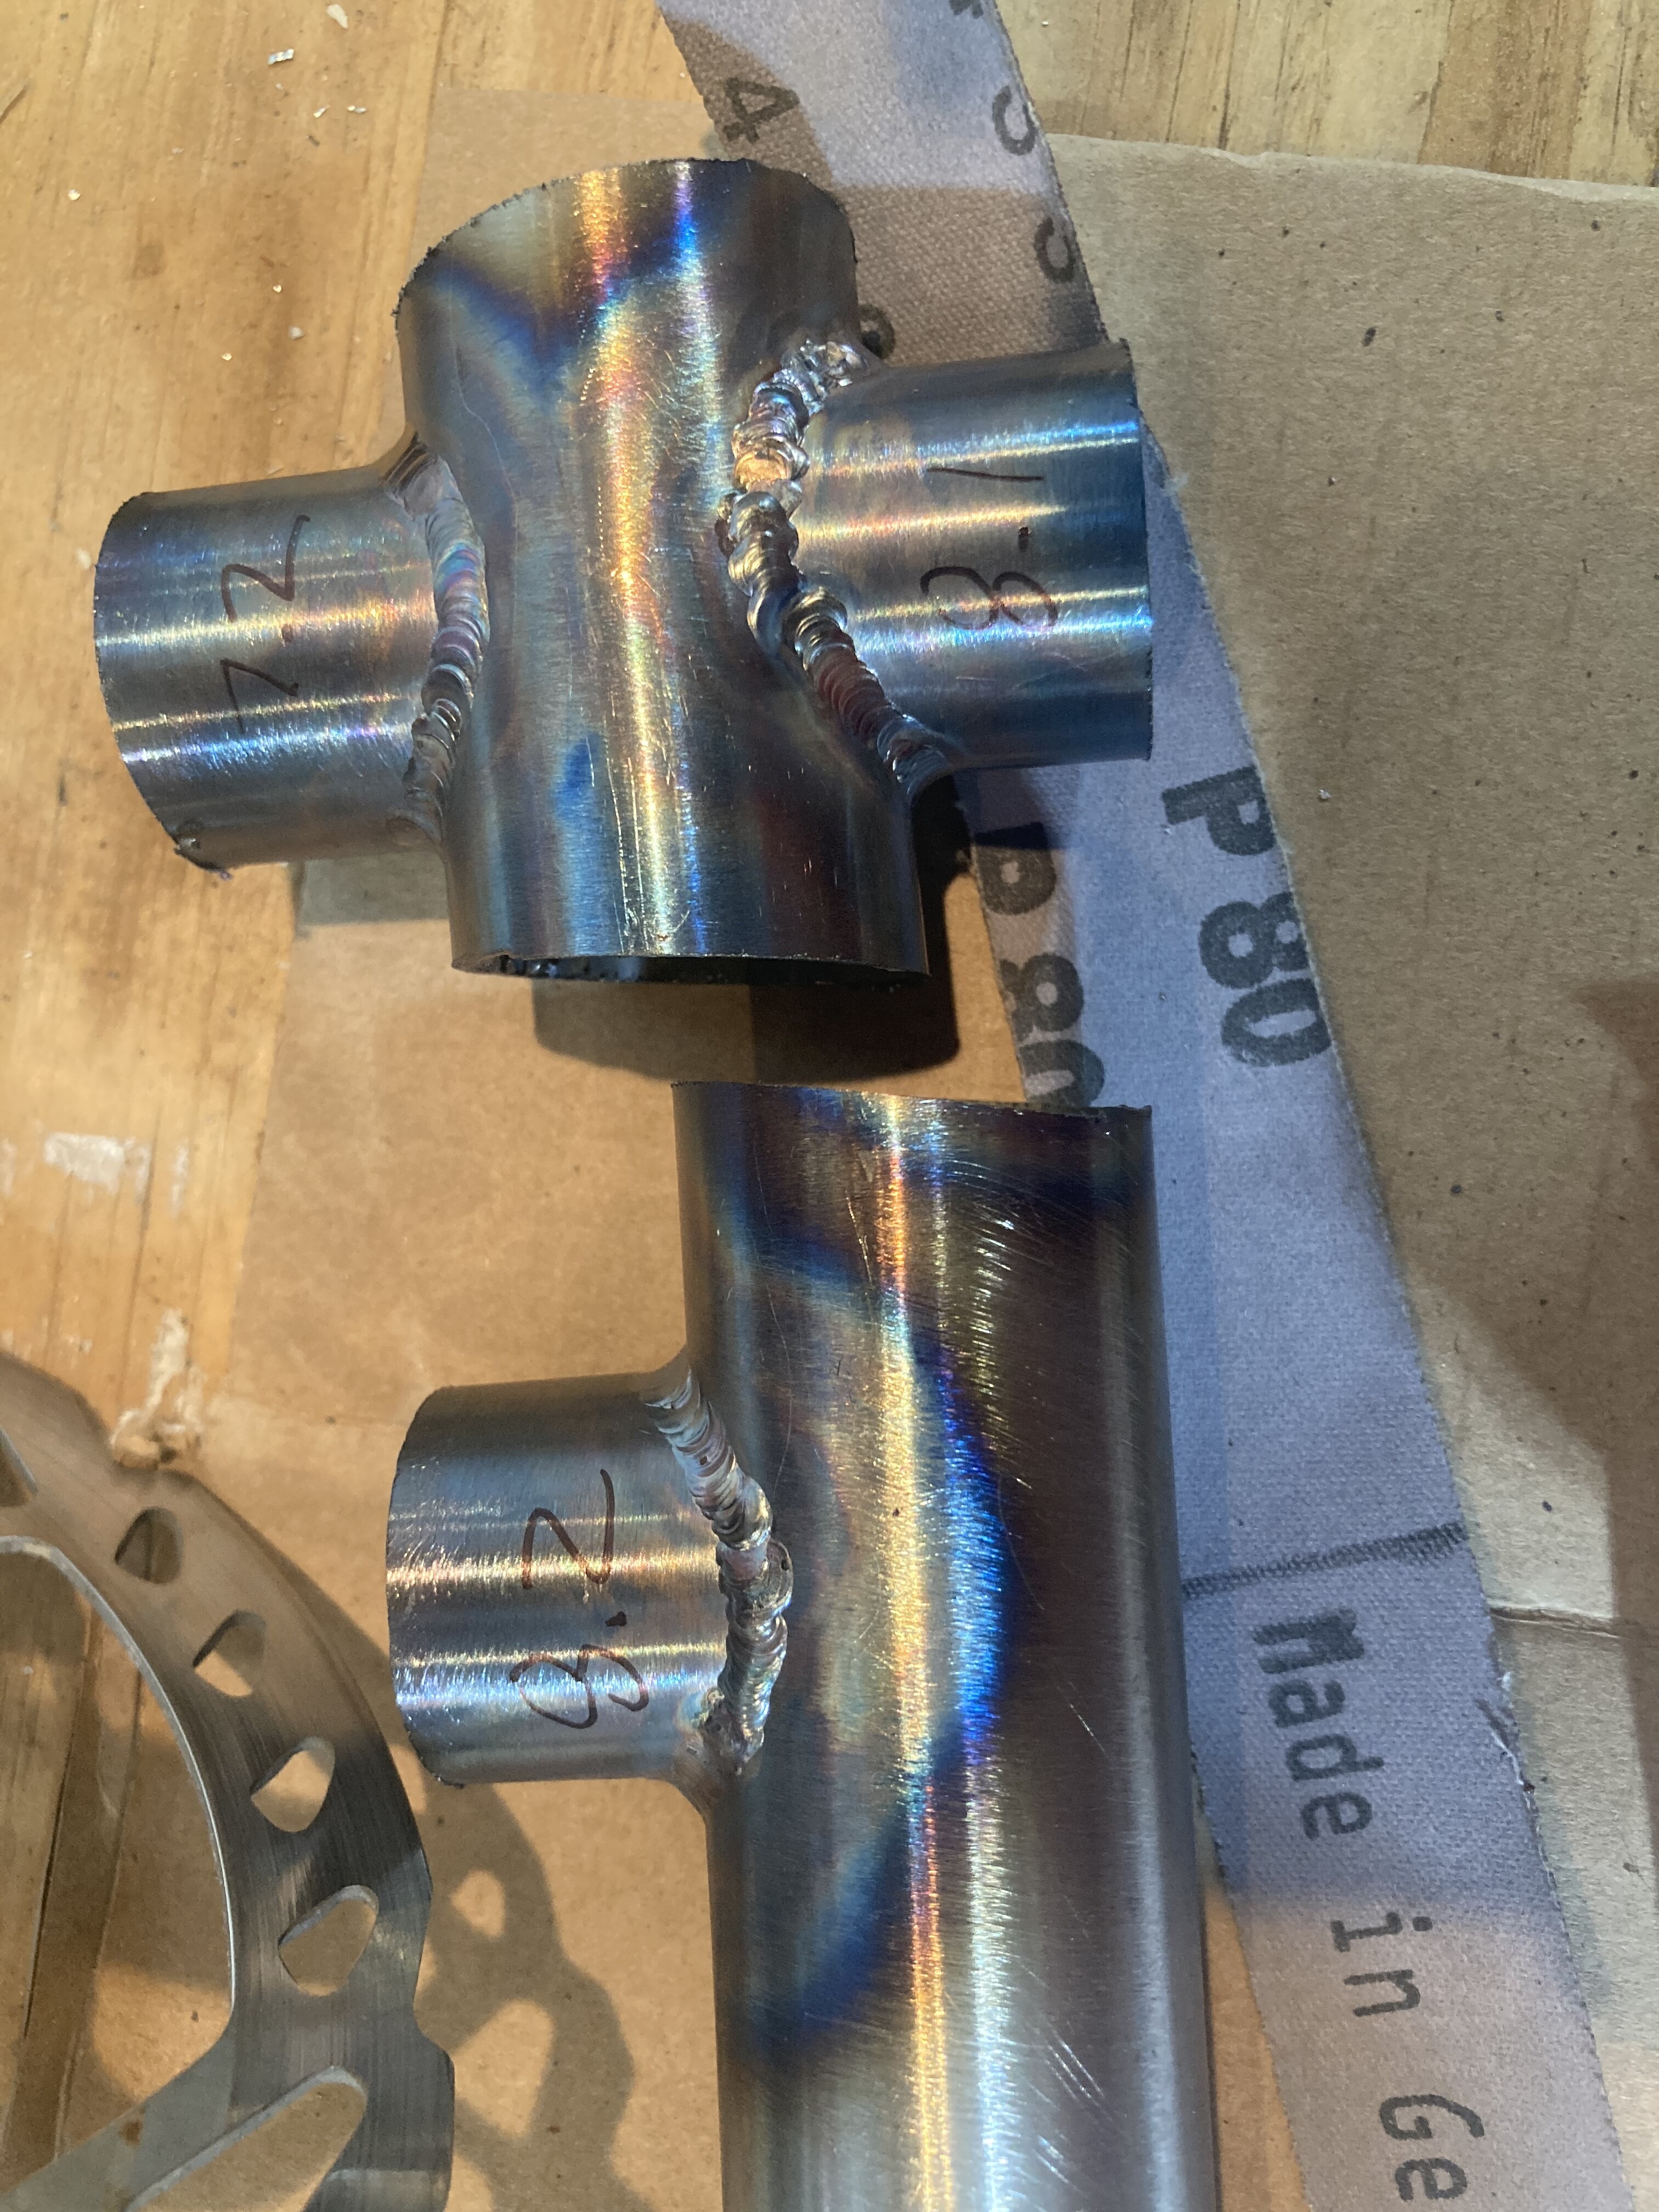
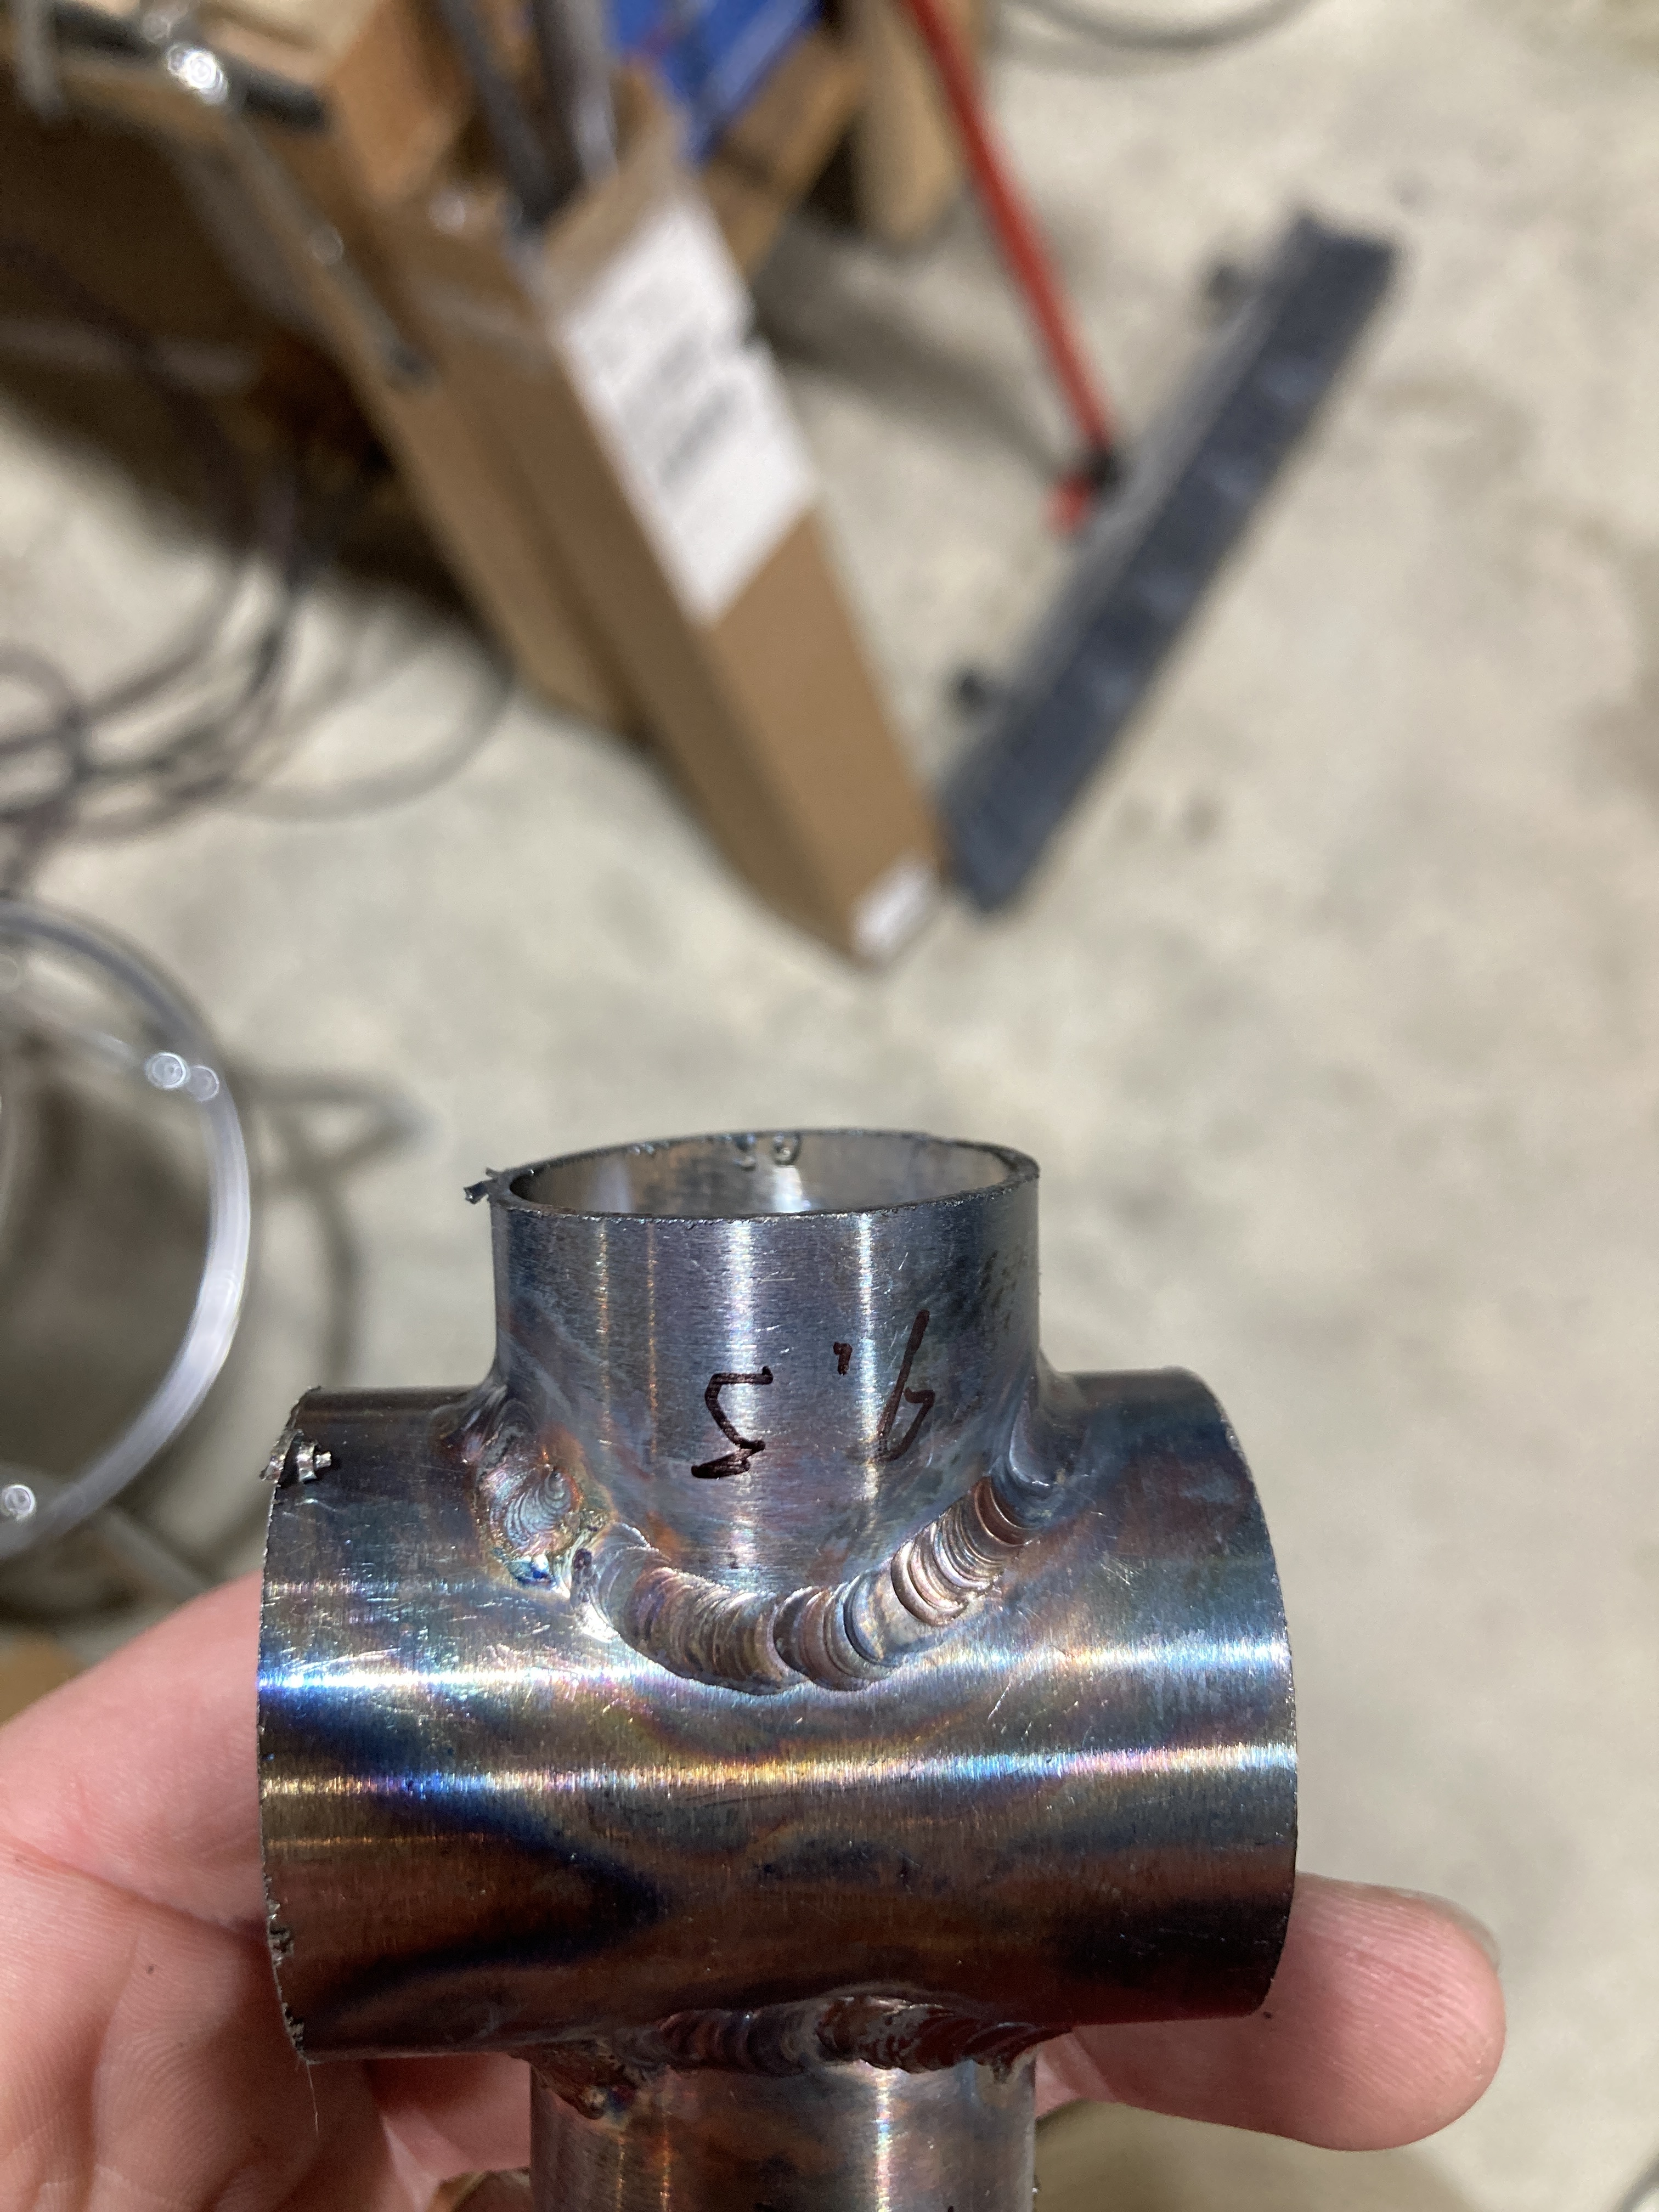
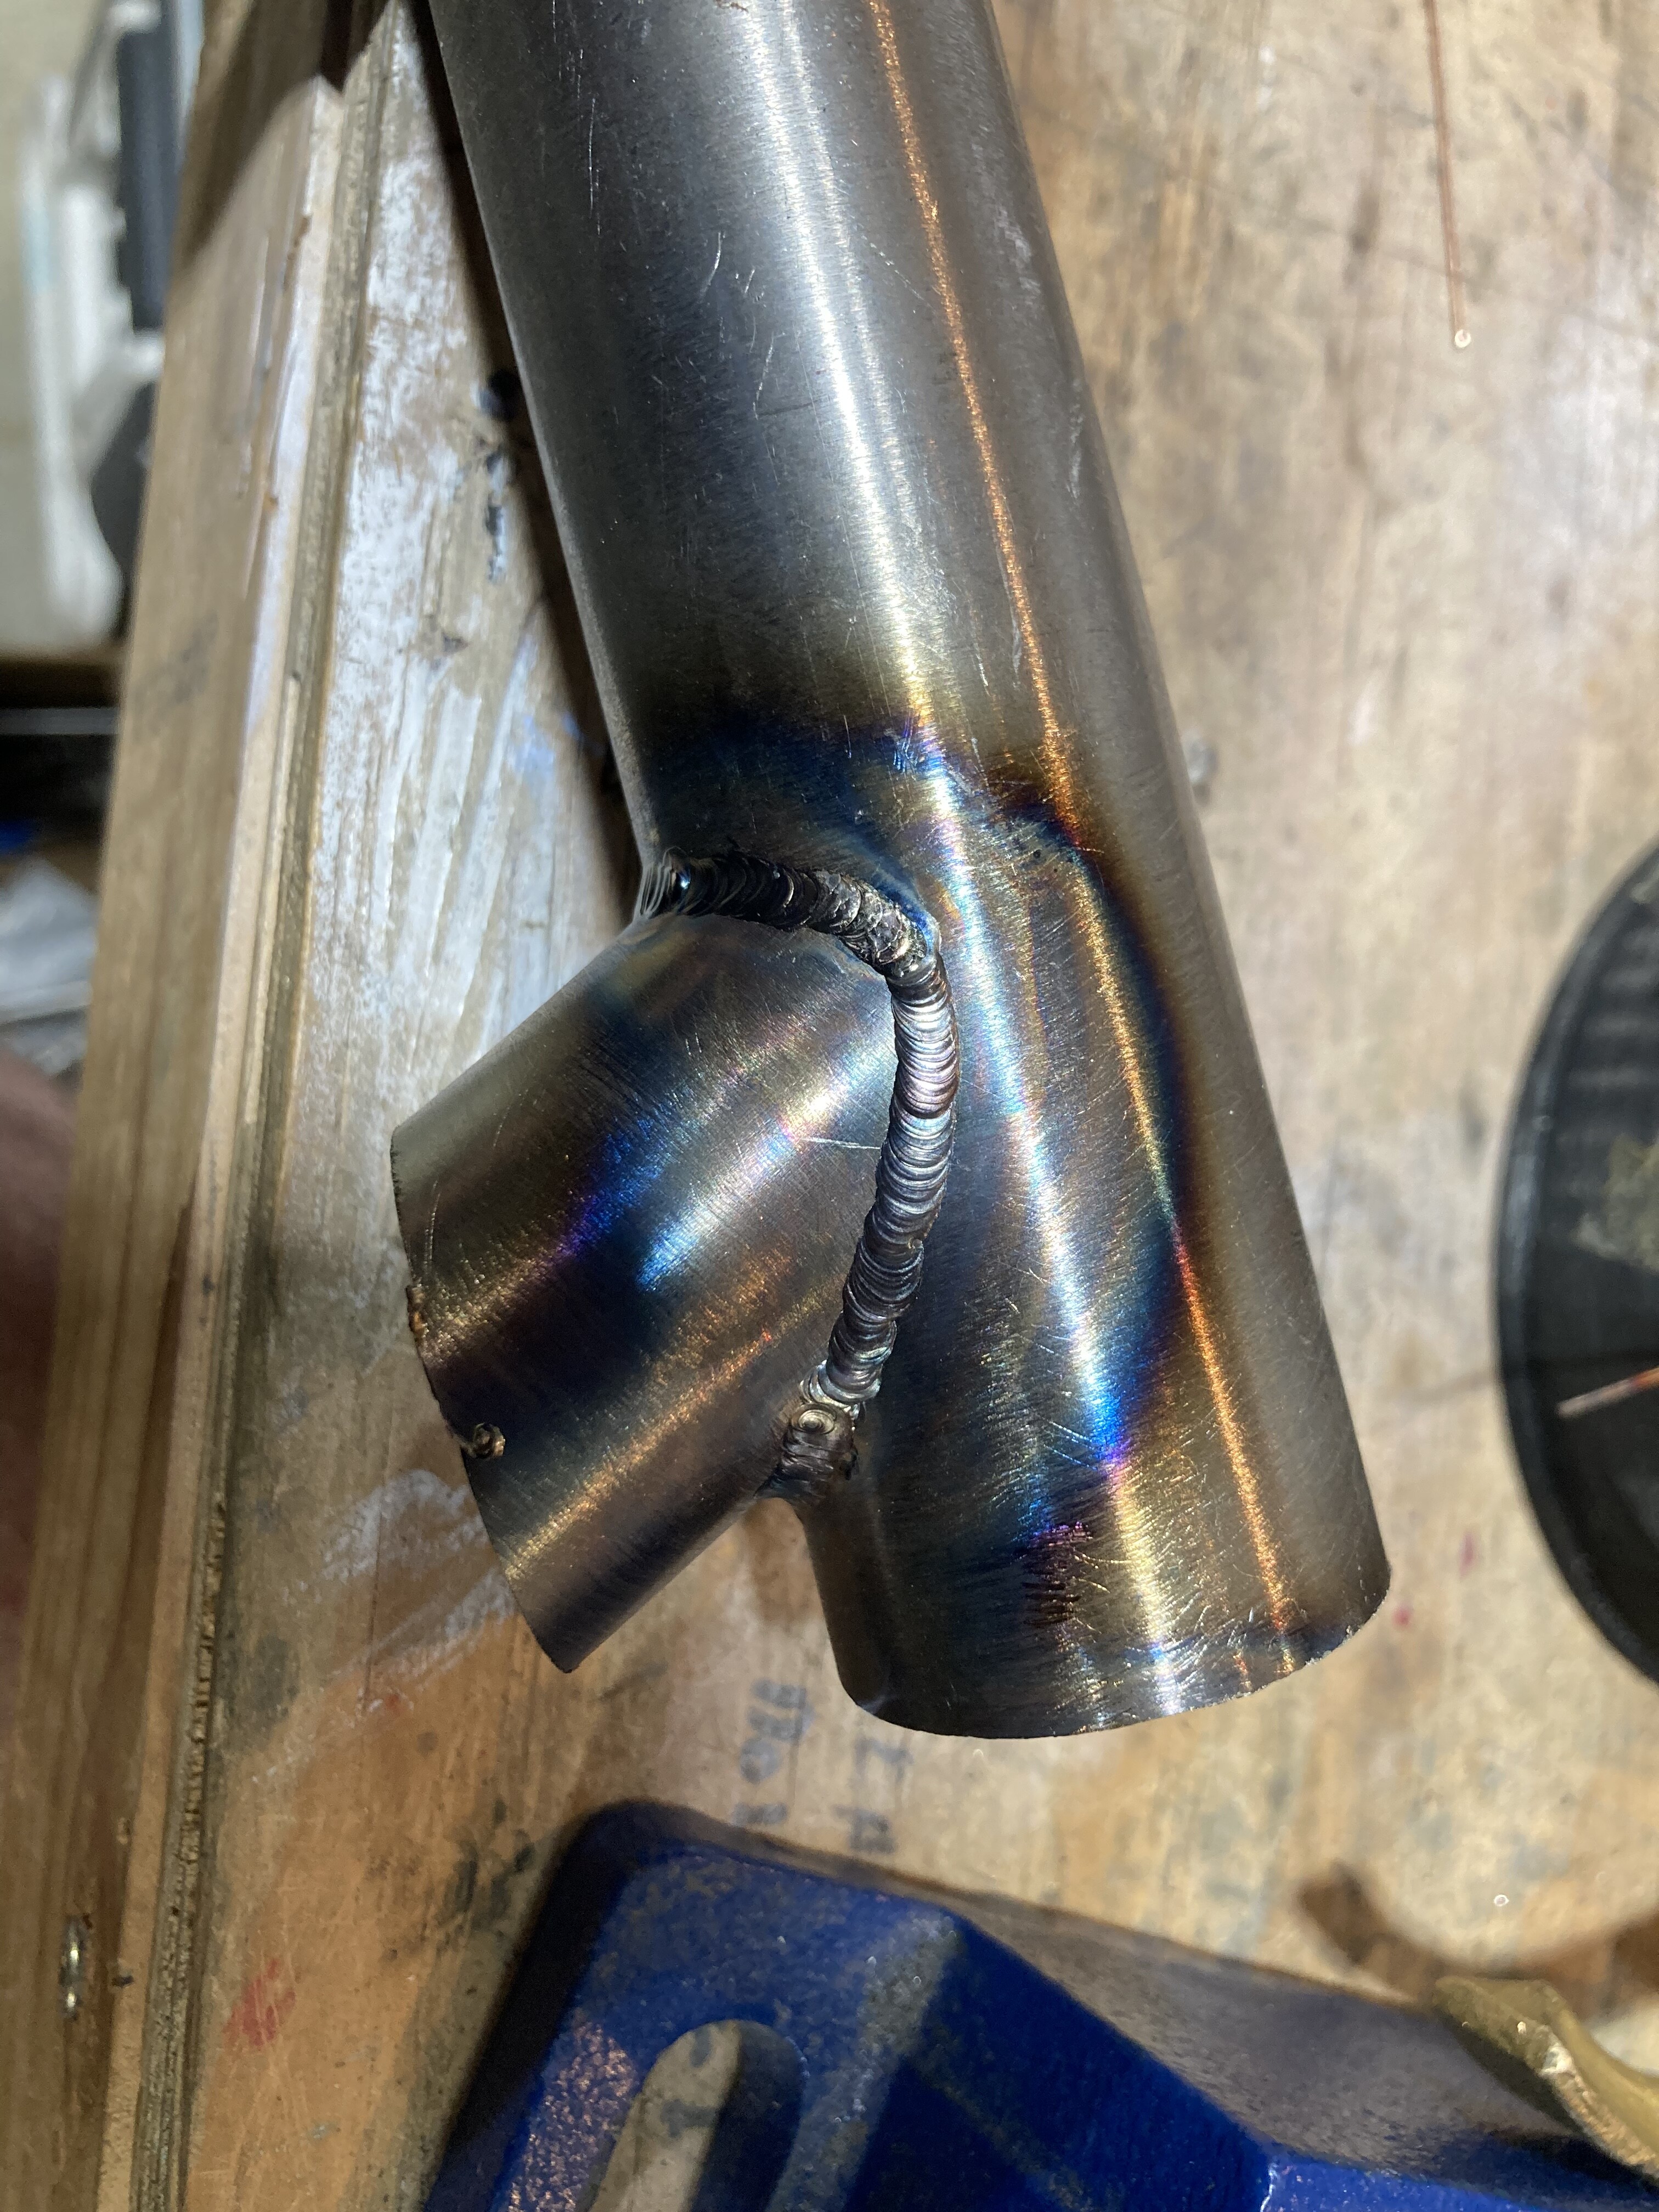
I picked up some .035 ER70S-2 due to a quickly dwindling stock of .045. This really flattened my weld profile. I am not sure if that’s good or bad… It was certainly easer to flow into the joint.
Still dealing with over heating issues with .9mm wall tubing. Slight improvement on this area but it will take time to figure out.
On my first joint I left the whole tube on the miter while welding. This was much more like welding a frame. This brought out some inadequacies in hand placement that will be good to address.
My second joint was angled similar to a down tube. This was better than I could do 12 days ago but the bead is fat on the flats and undercut in the corners.