Levin‘s Stoke Machines

Hey there,

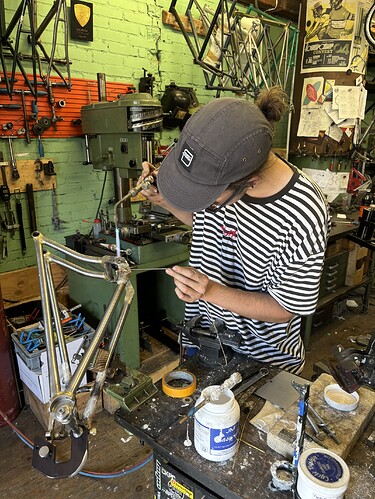
my name is Levin, I love bikes and I am a metalworker from Germany and my boss is kind enough to let me use the workshop in my leisure time.

I really enjoy reading the forum and I want to show some of the stuff I have build over the years.

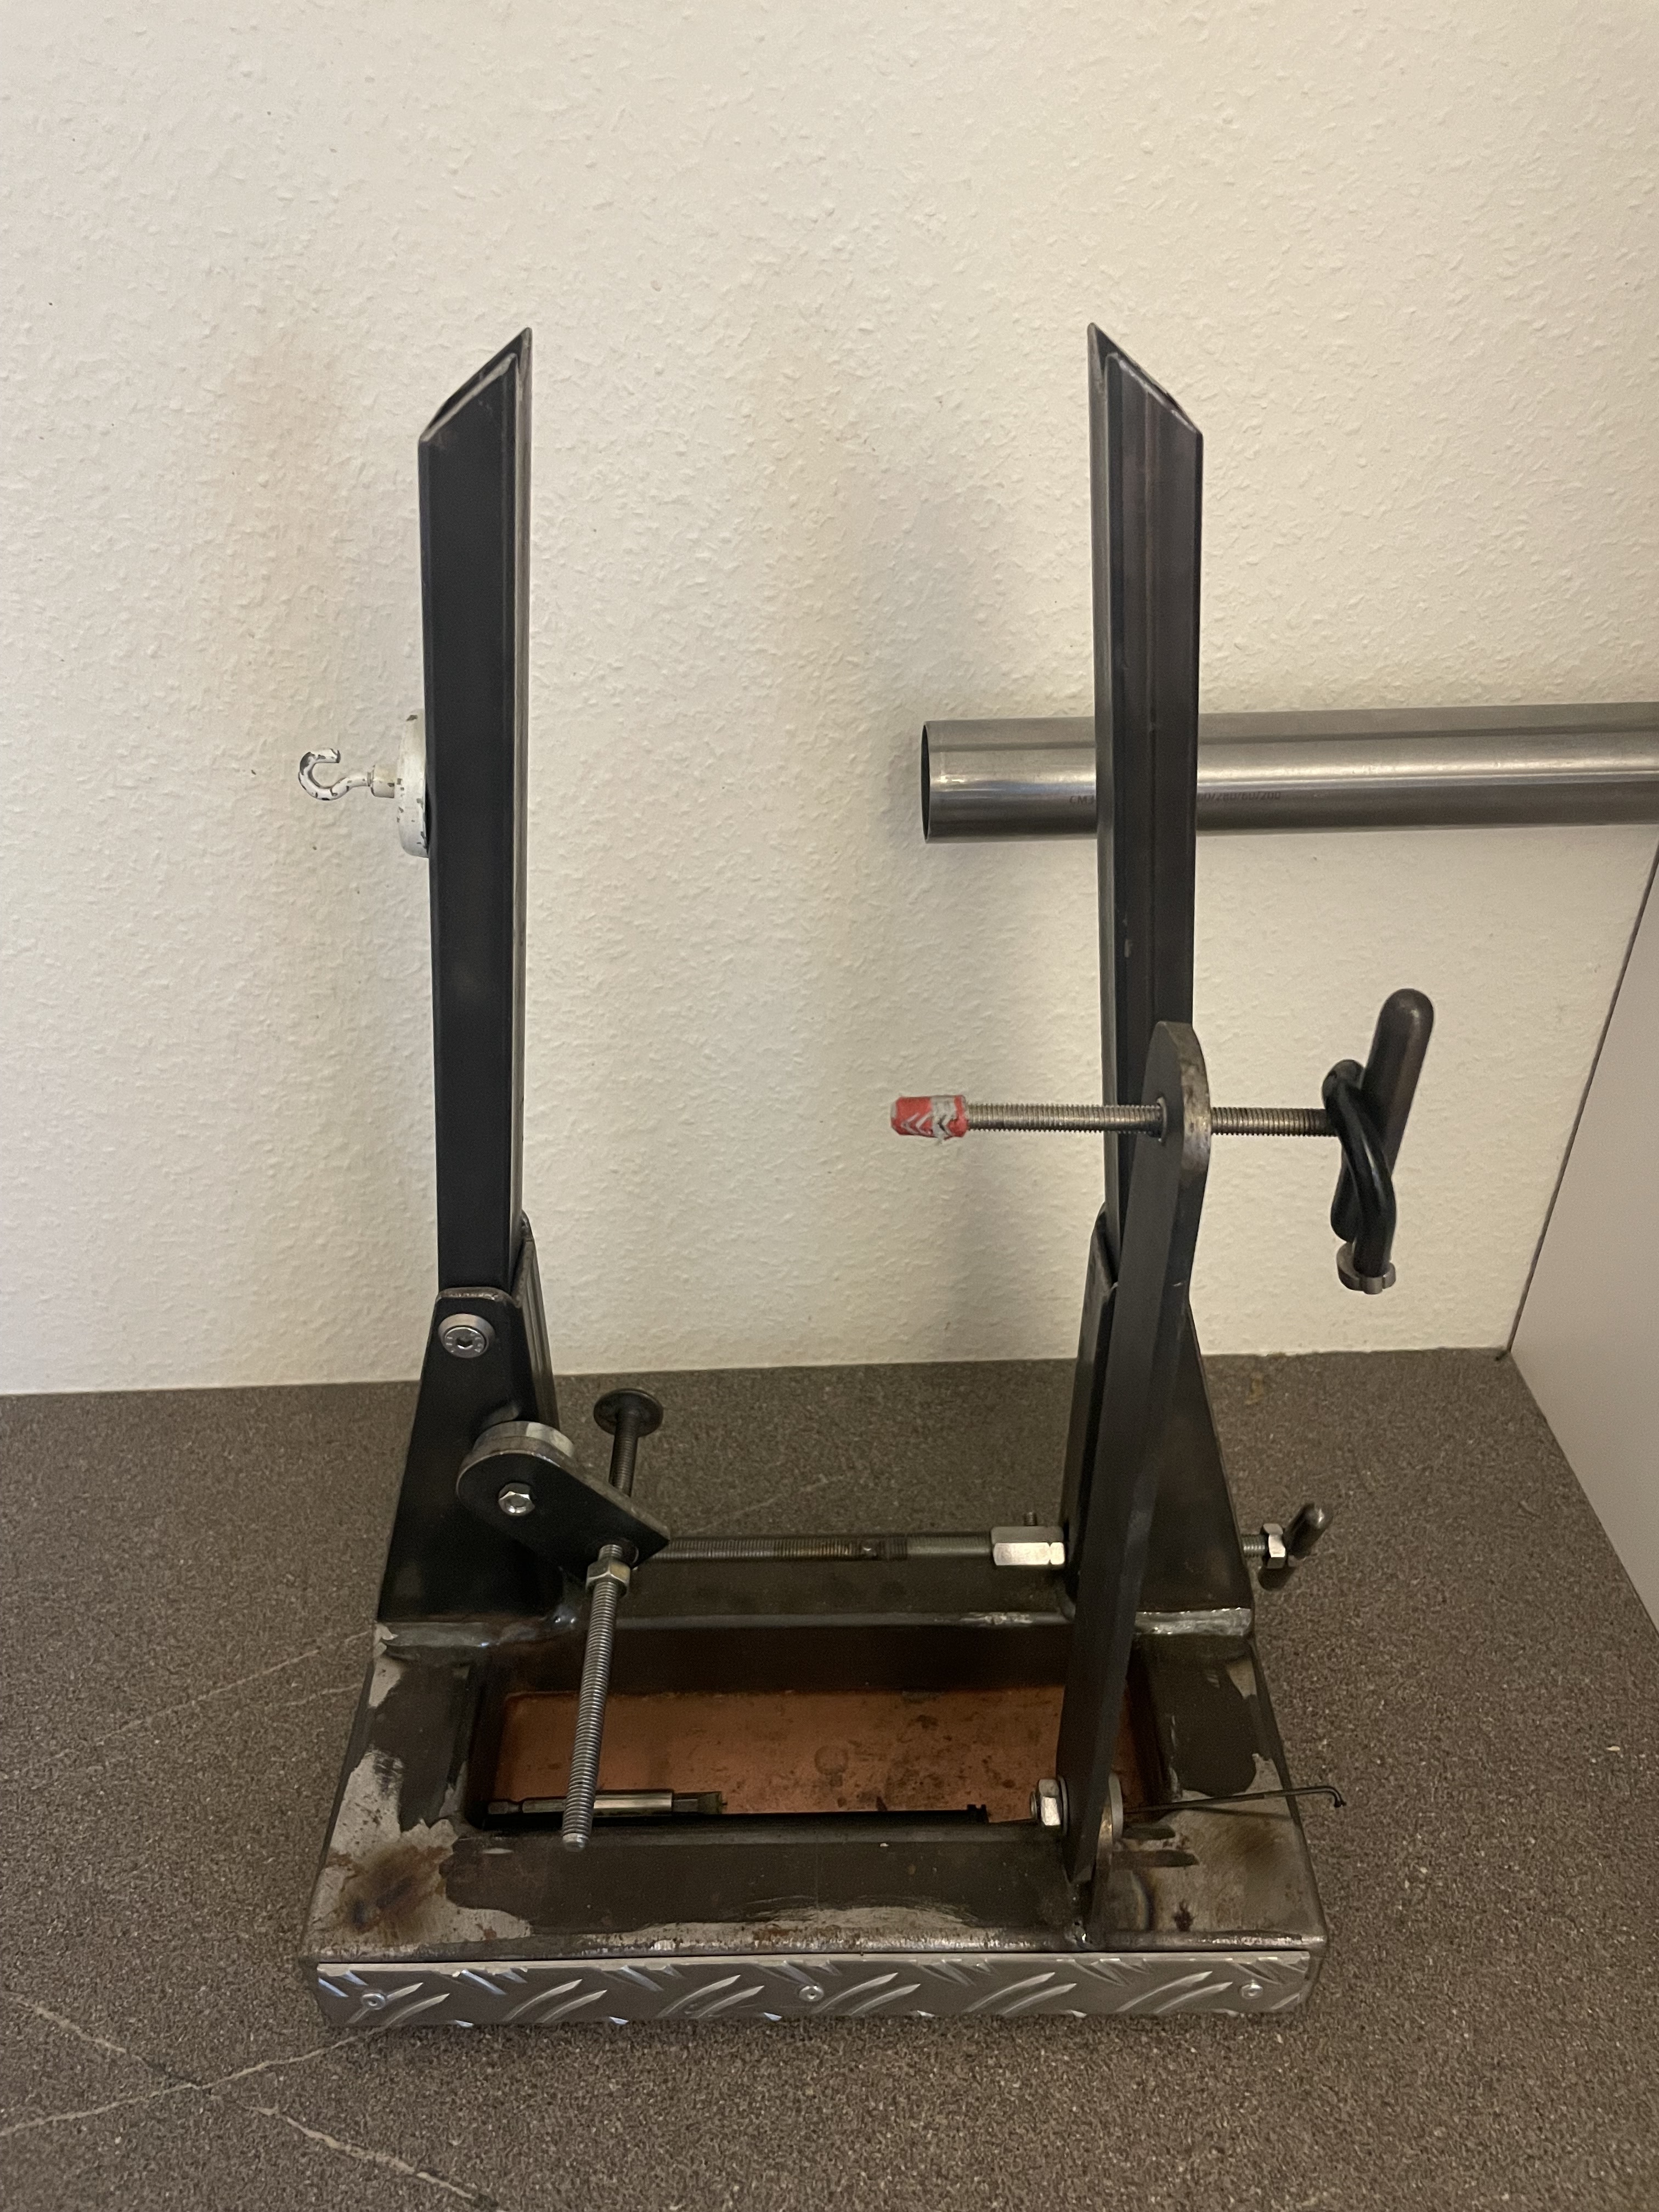
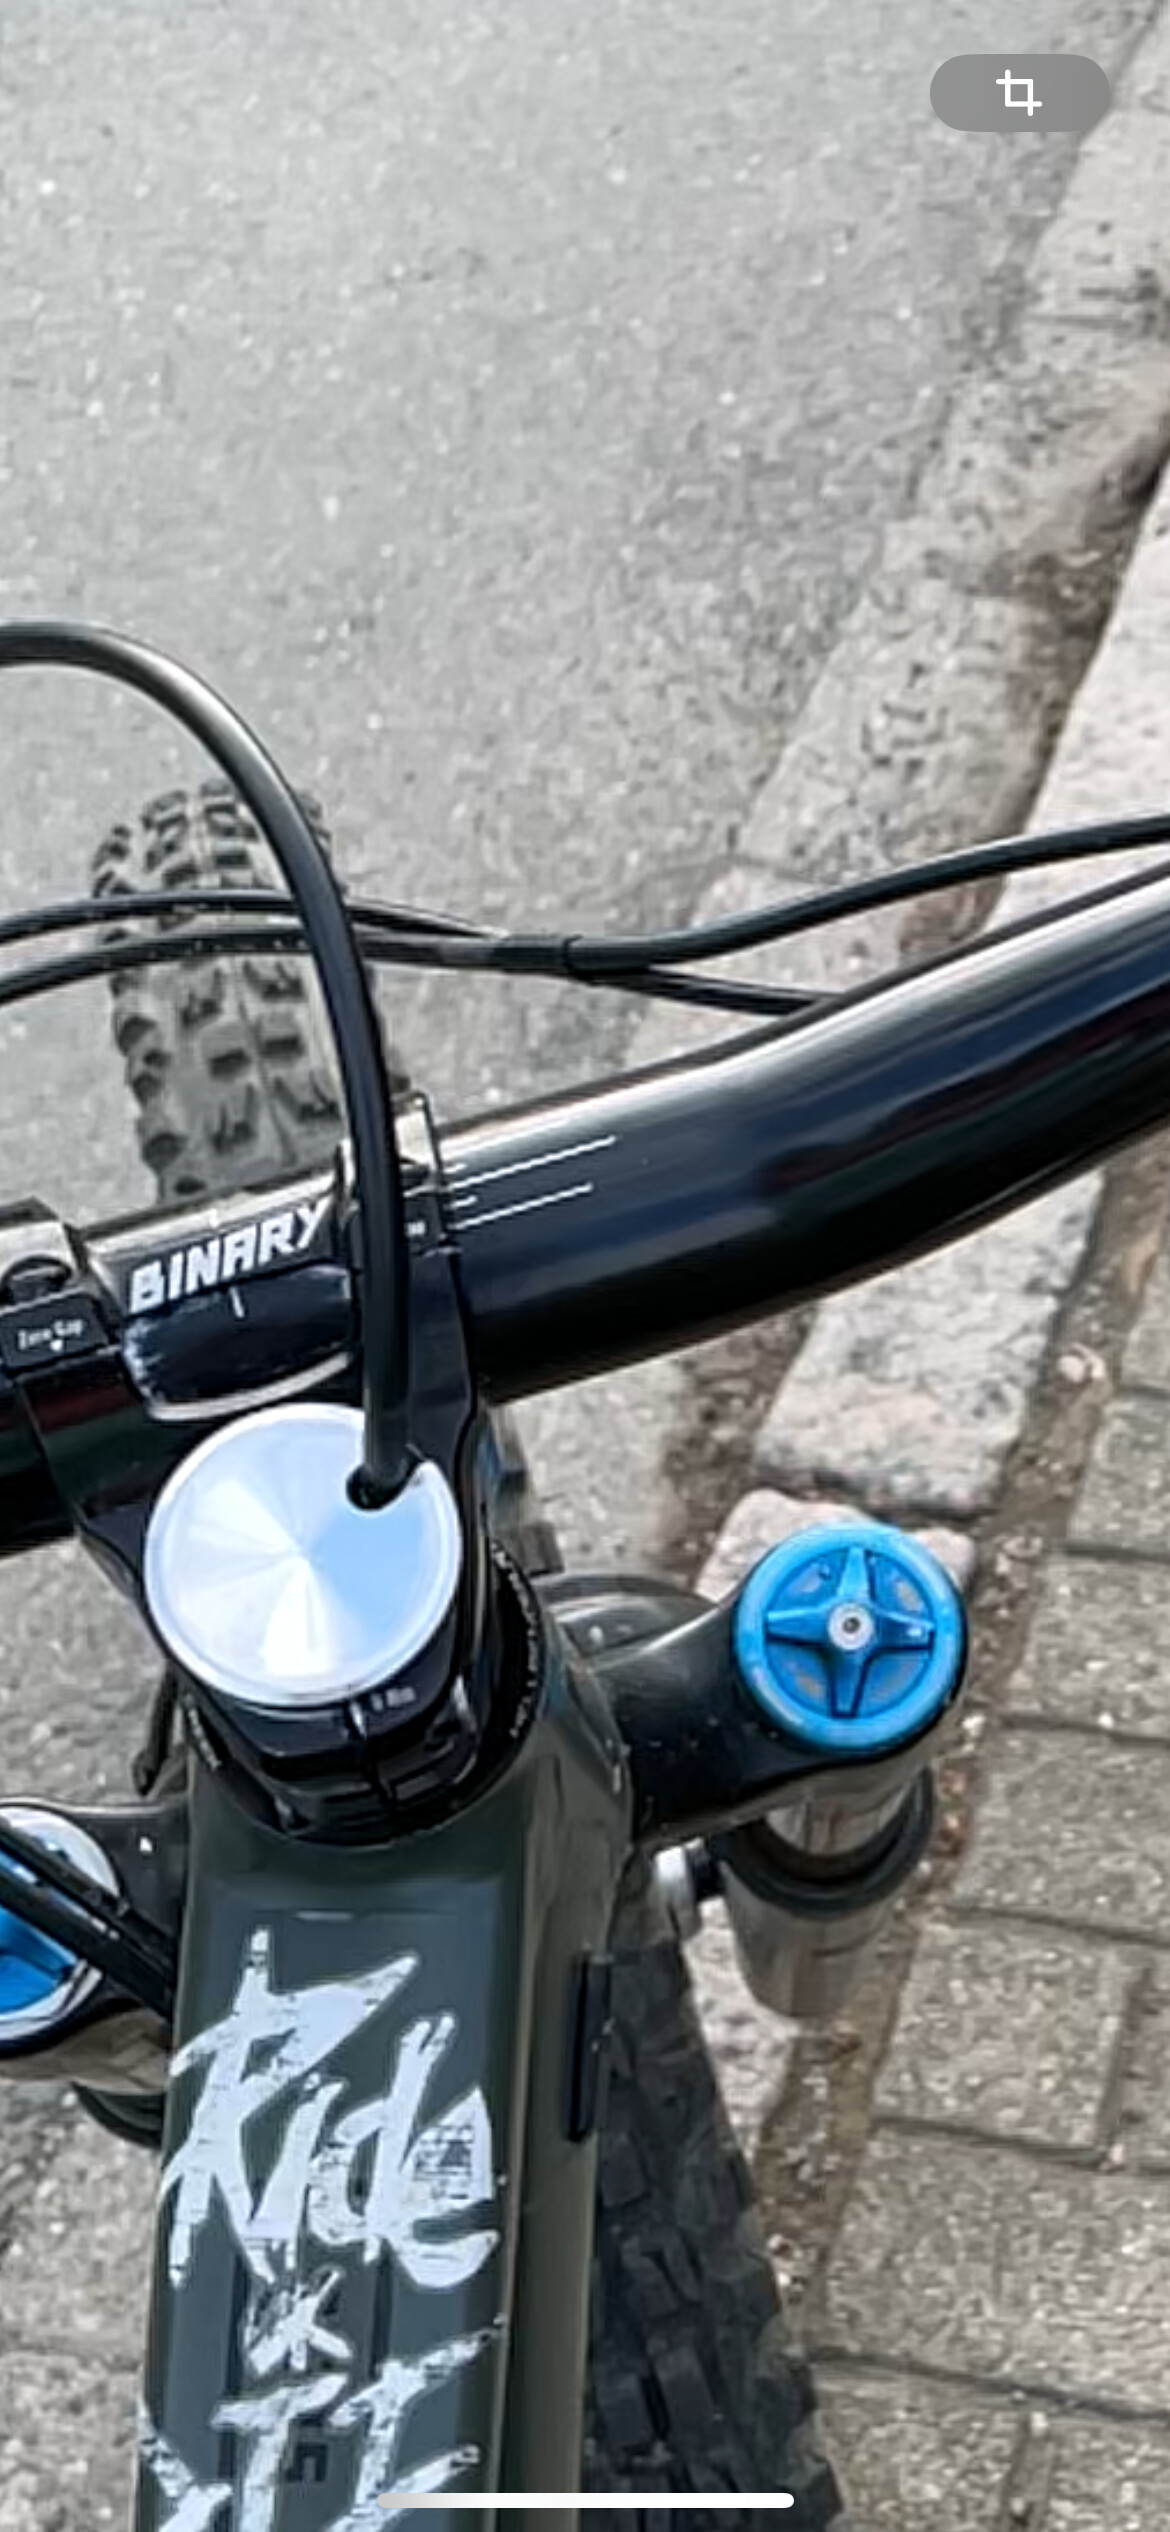
I started off by building small bike parts like top caps or this truing stand
IMG_8744

IMG_8745

After learning how to tig weld I was captivated by framebuilding and wanted to build my own bike.

The first frame I worked on was just a modification for a friend of my boss. The bike looks rather ugly and the top tube is the push handle from an emergency exit.
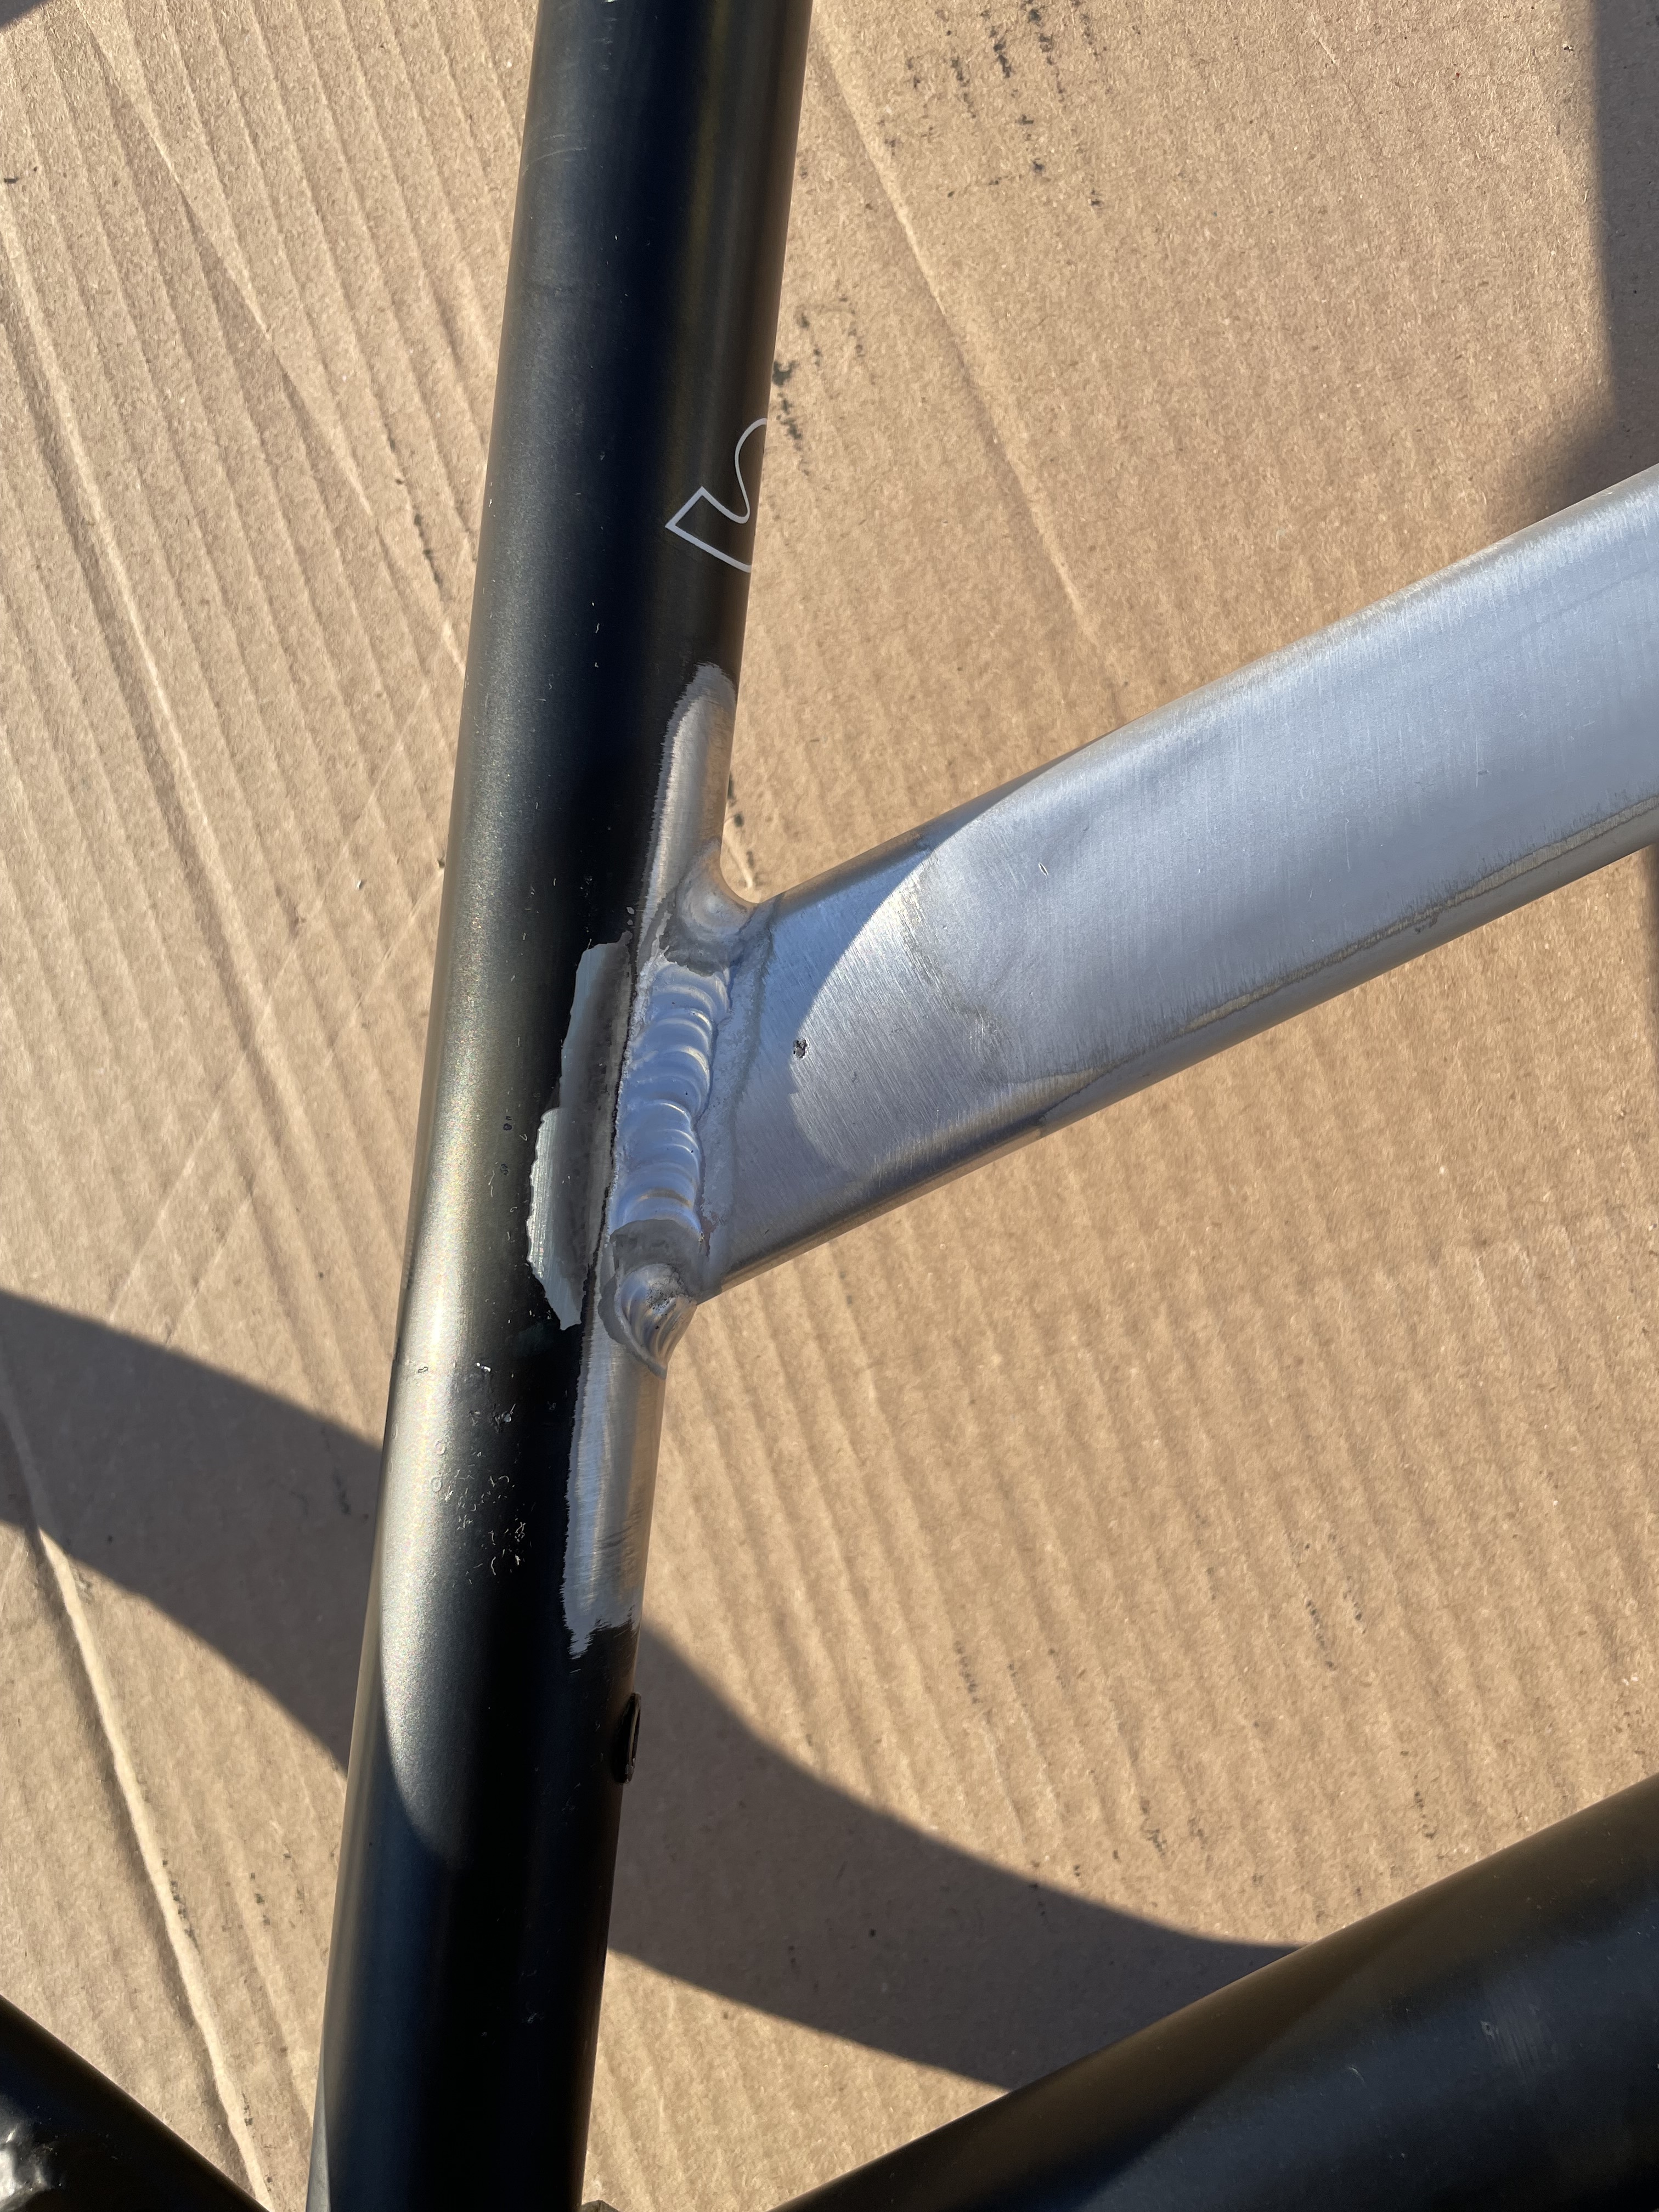
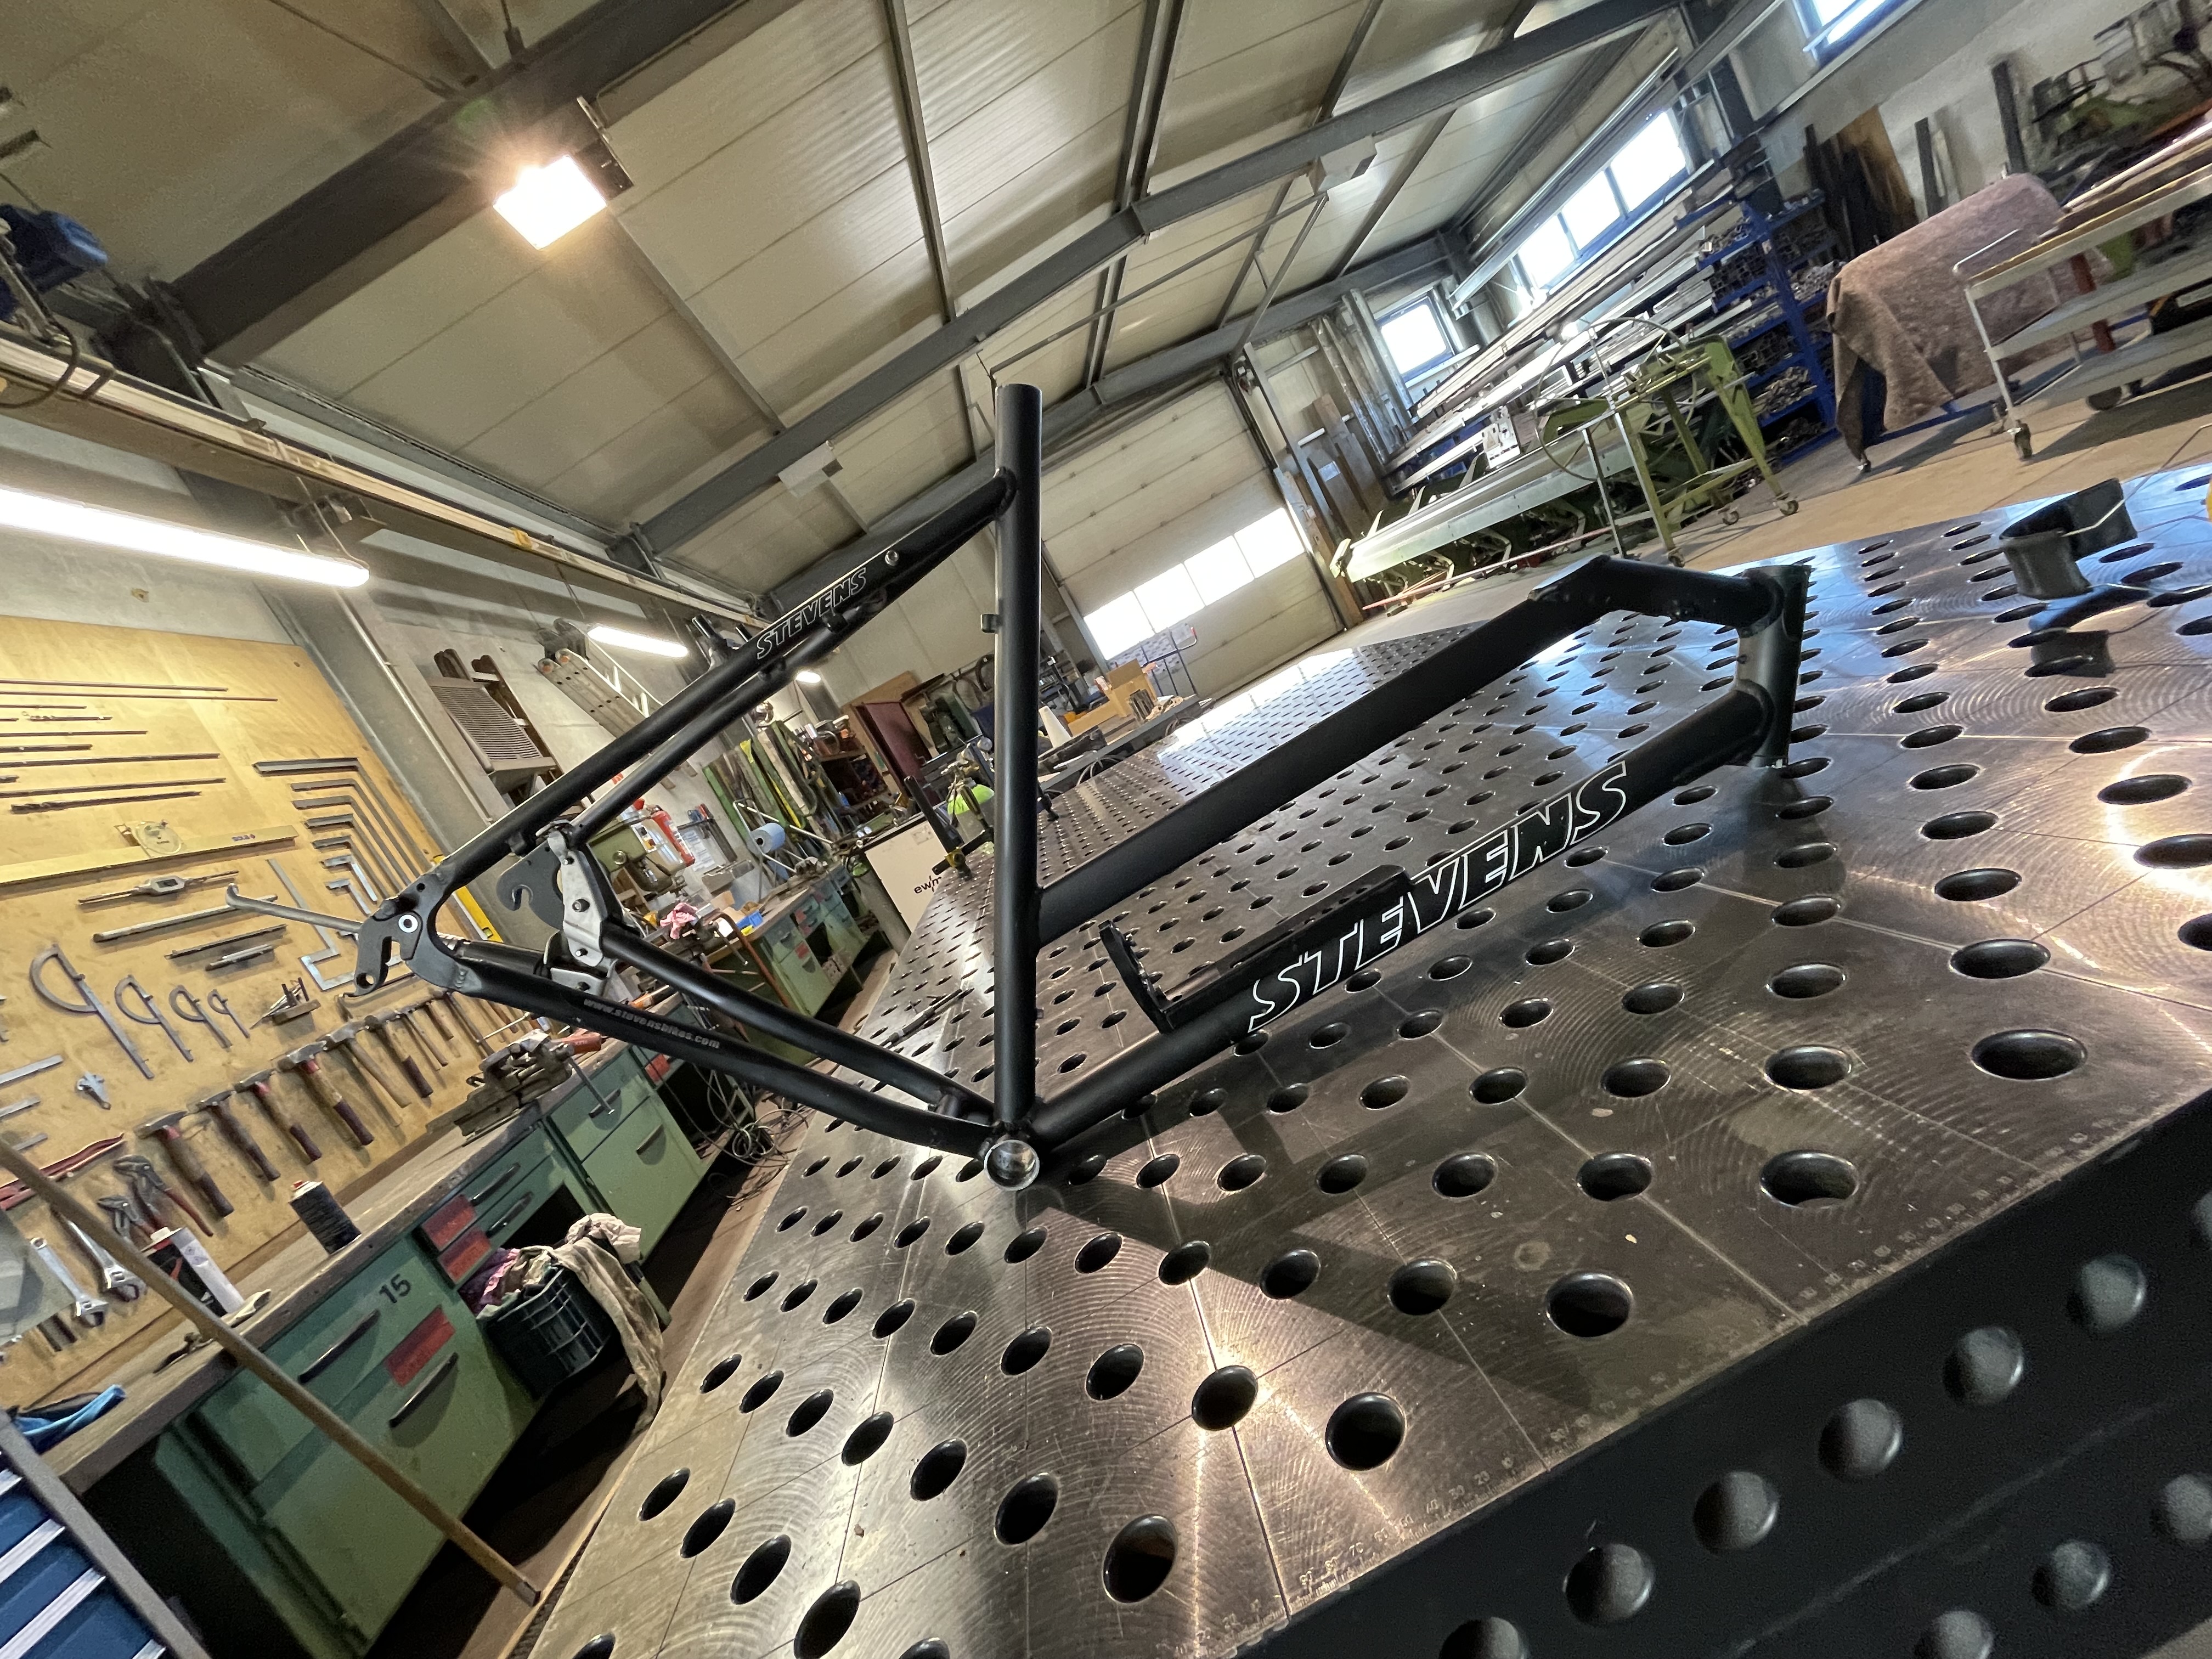
IMG_2944
IMG_2947

The first real frame I have build is a dirt jumper for my self. It was a lot of work but I enjoyed the process and learned a lot. I love how the frame rides and how well it holds up.
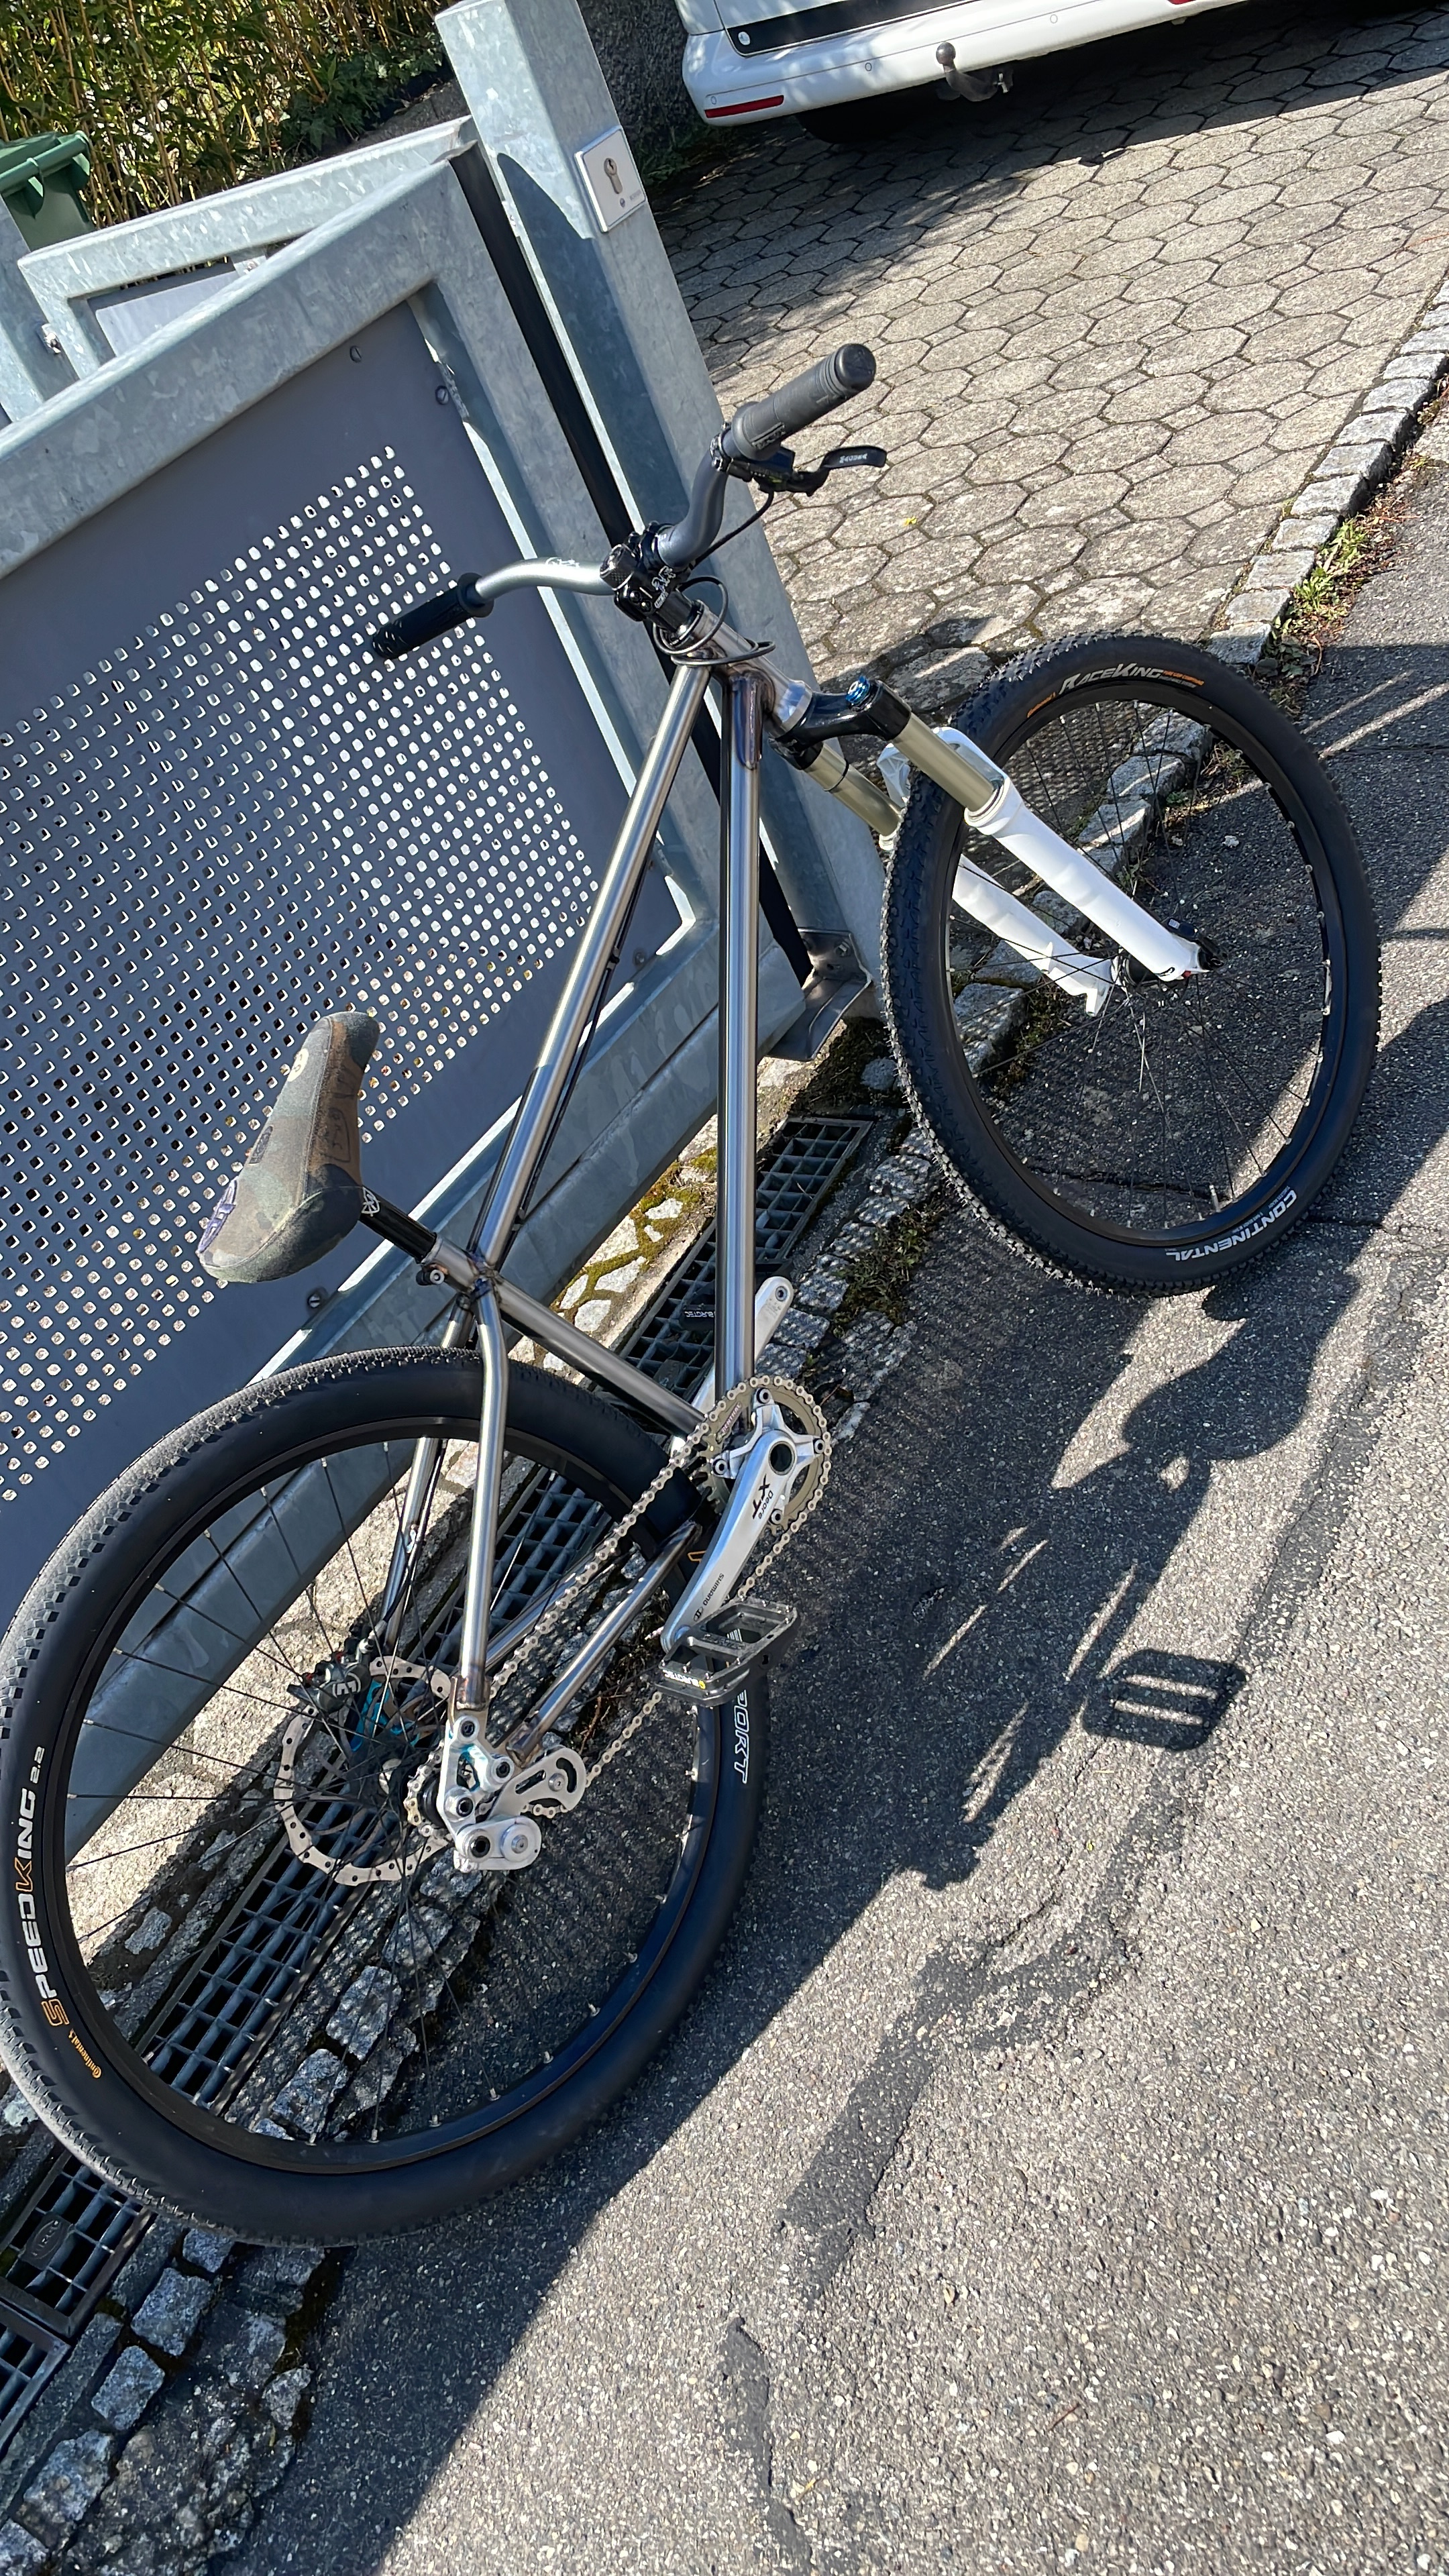
image

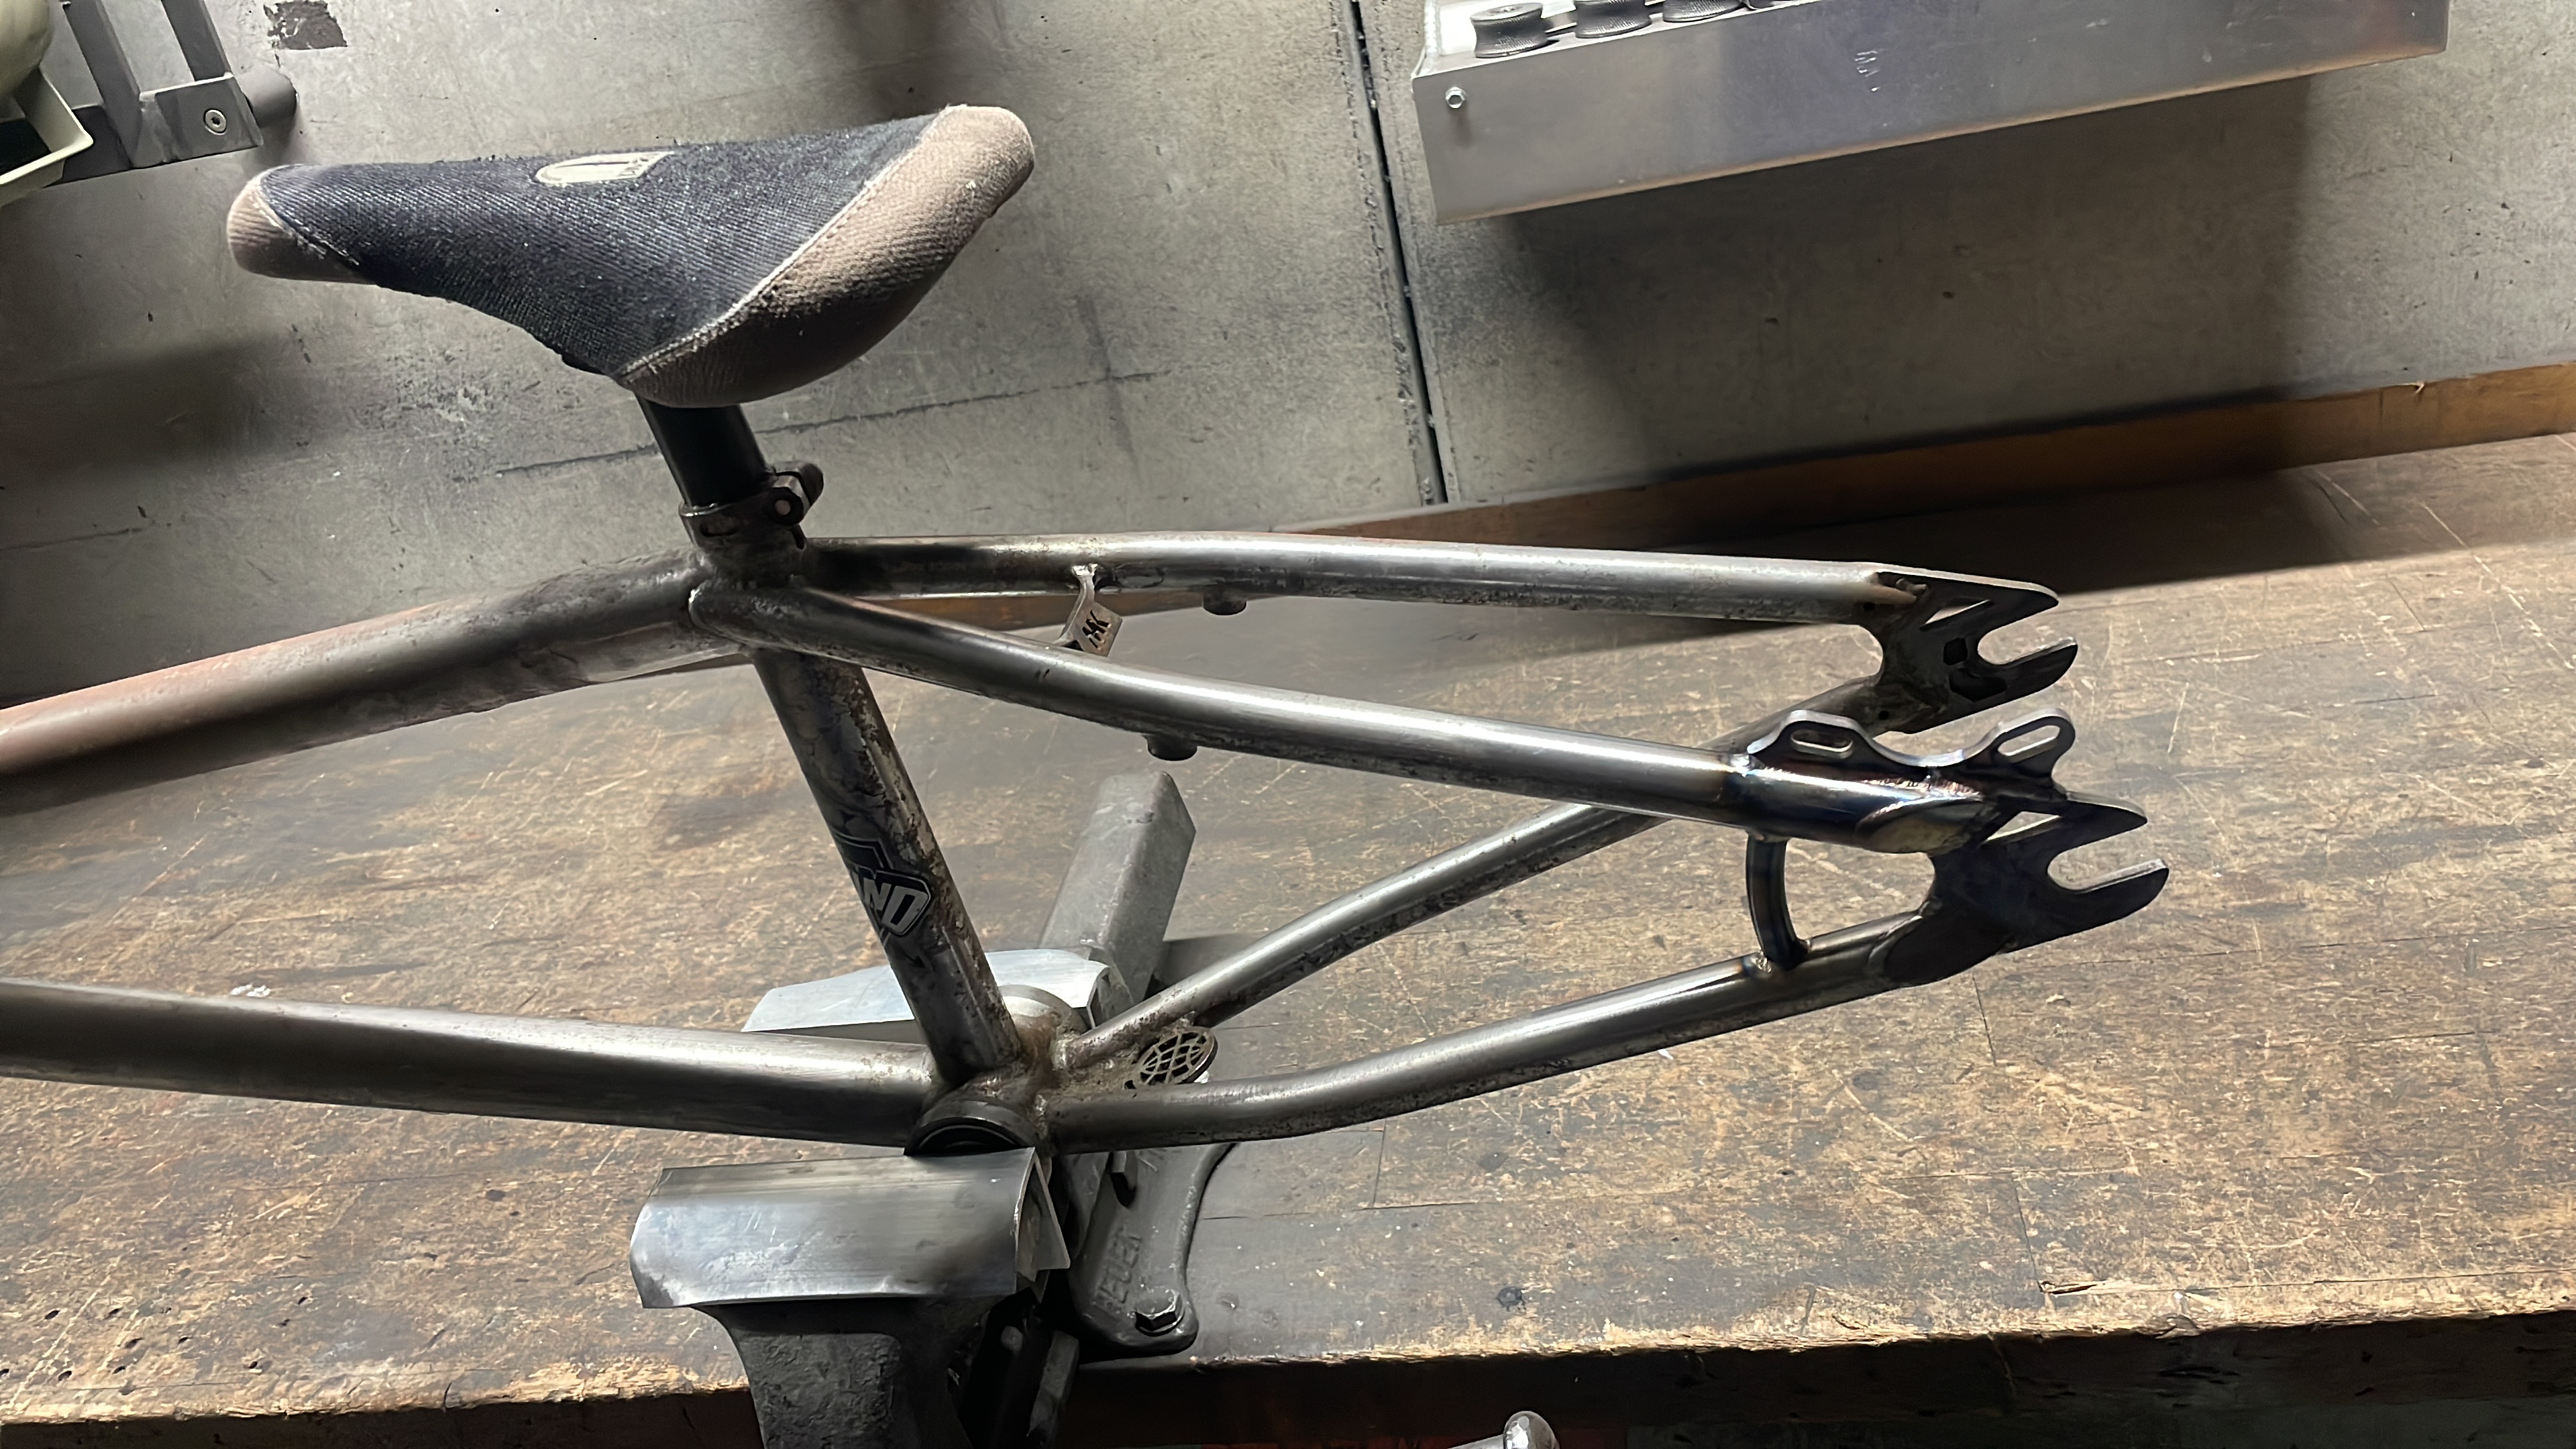
What I didn‘t like is that i had to use a chain tensioner. Fortunately I could cnc some new horizontal drop outs with build in chain tensioners.
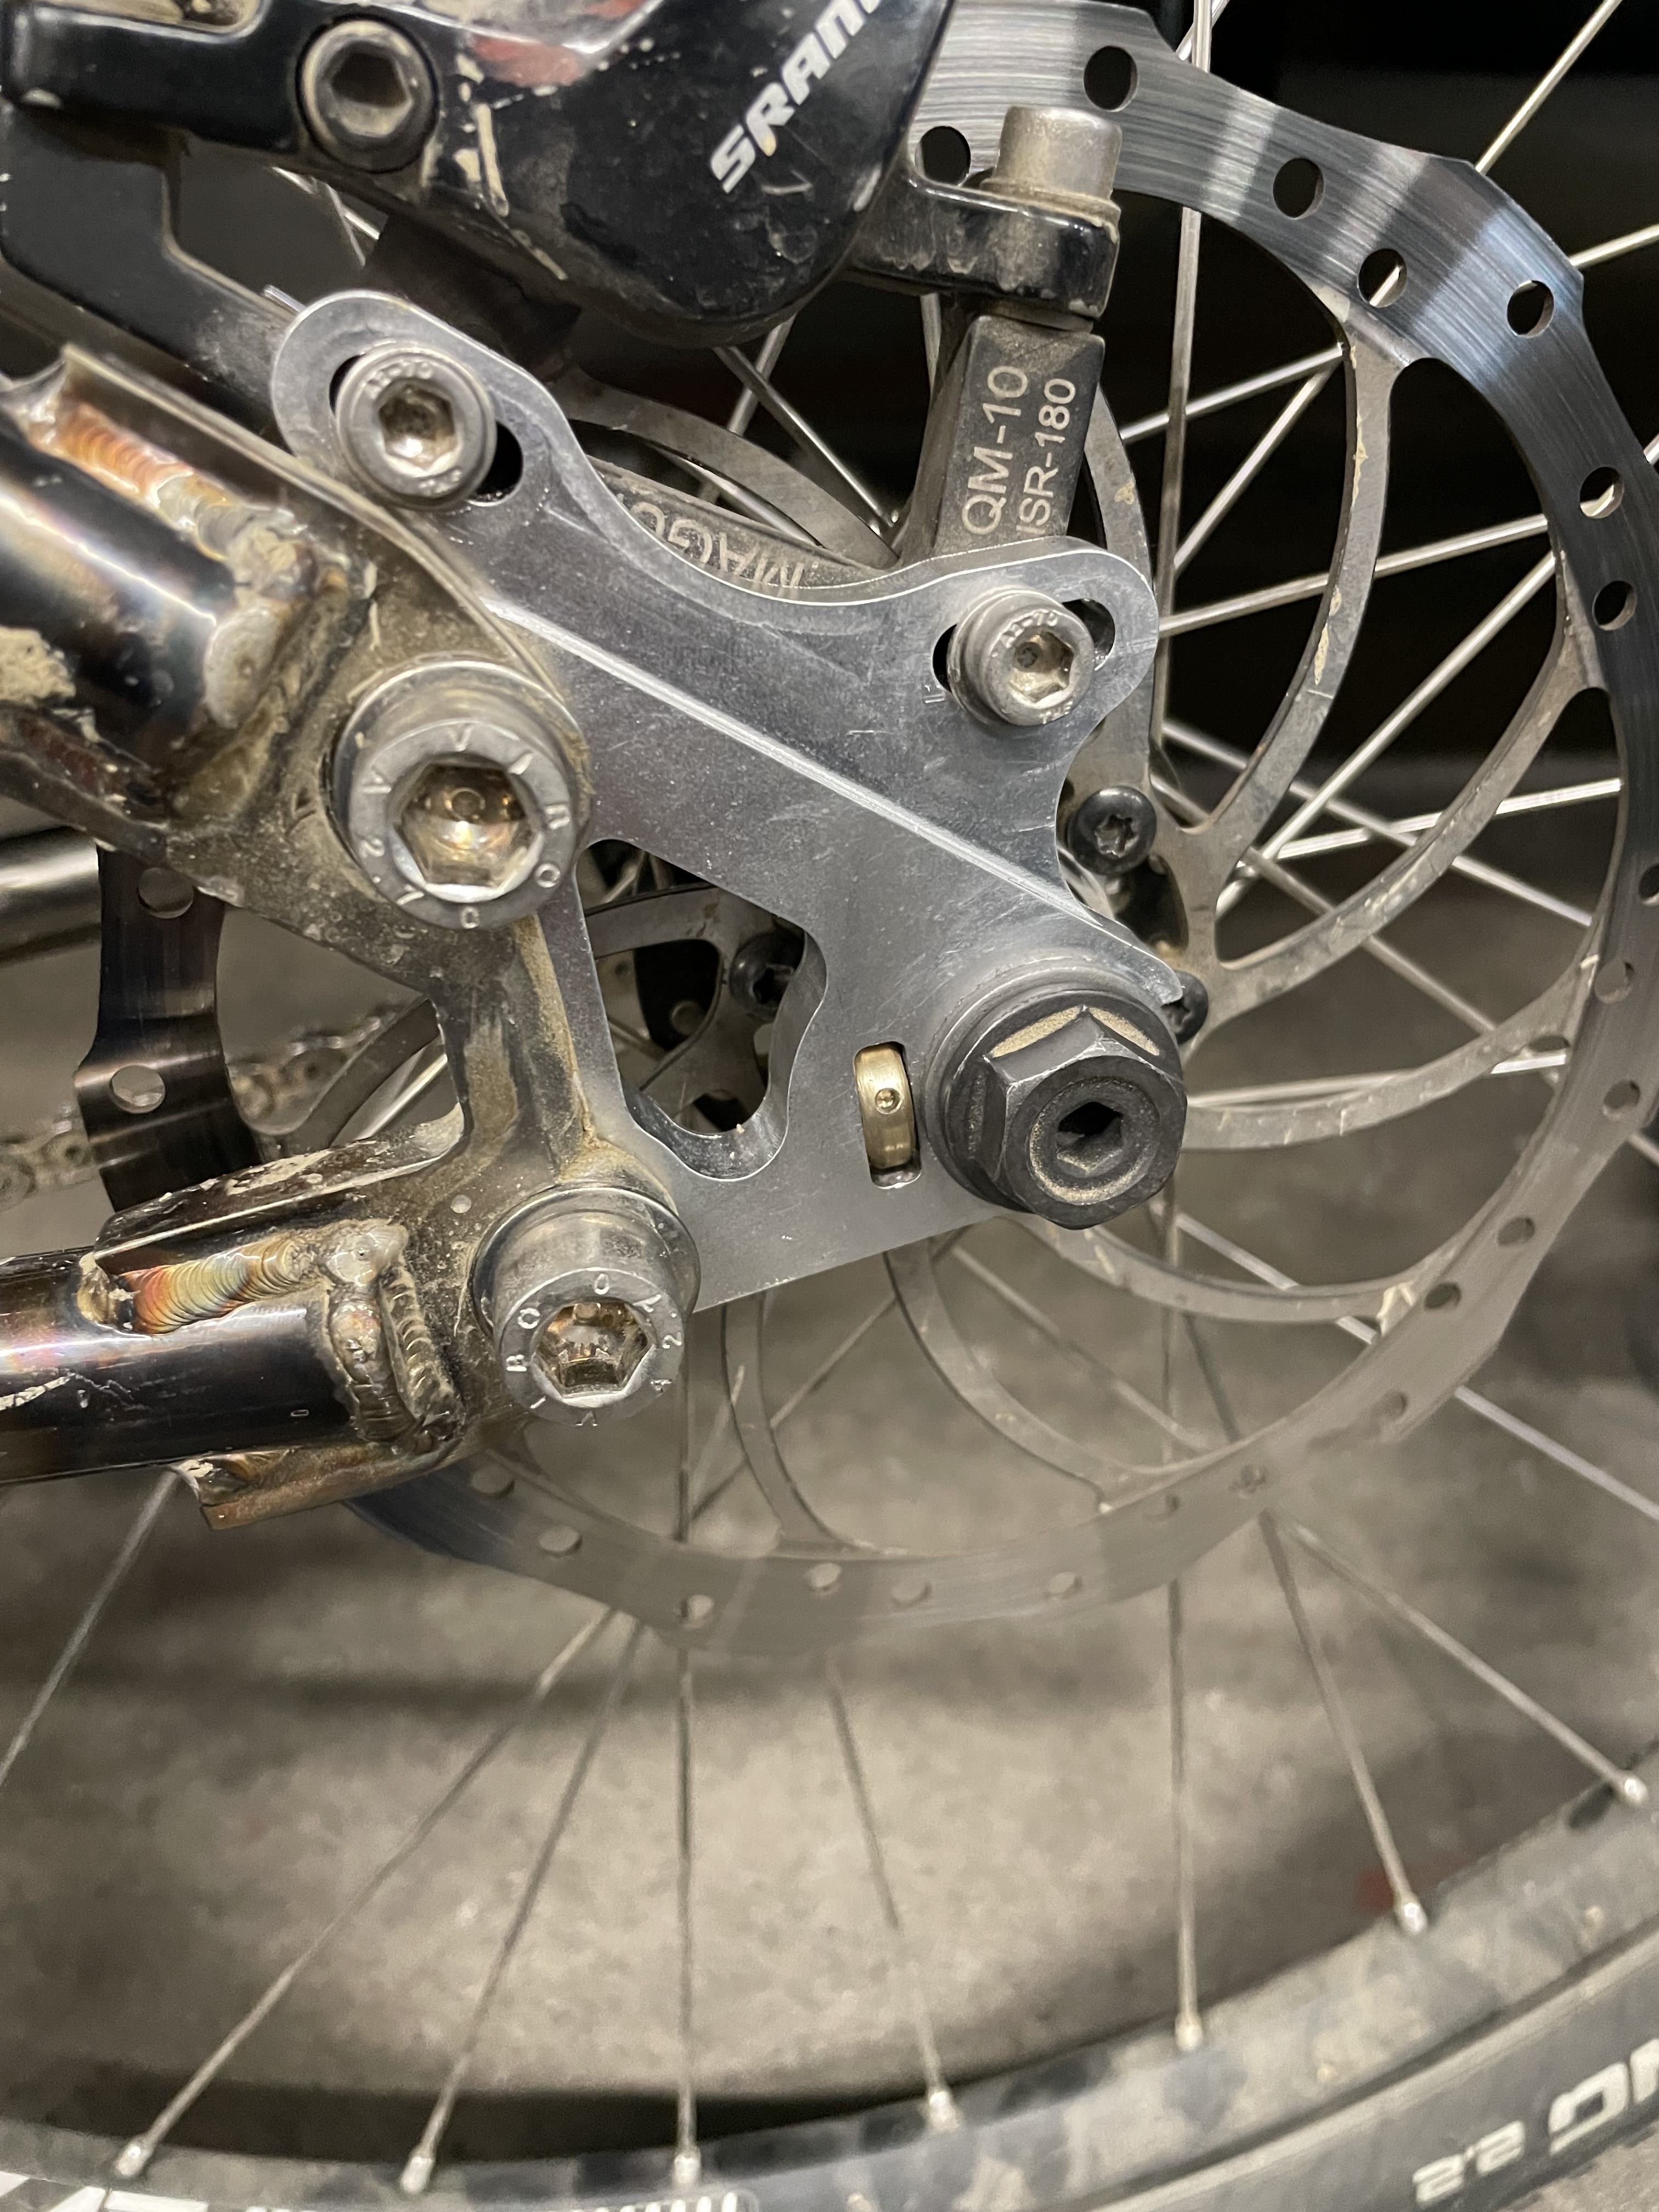
IMG_5920

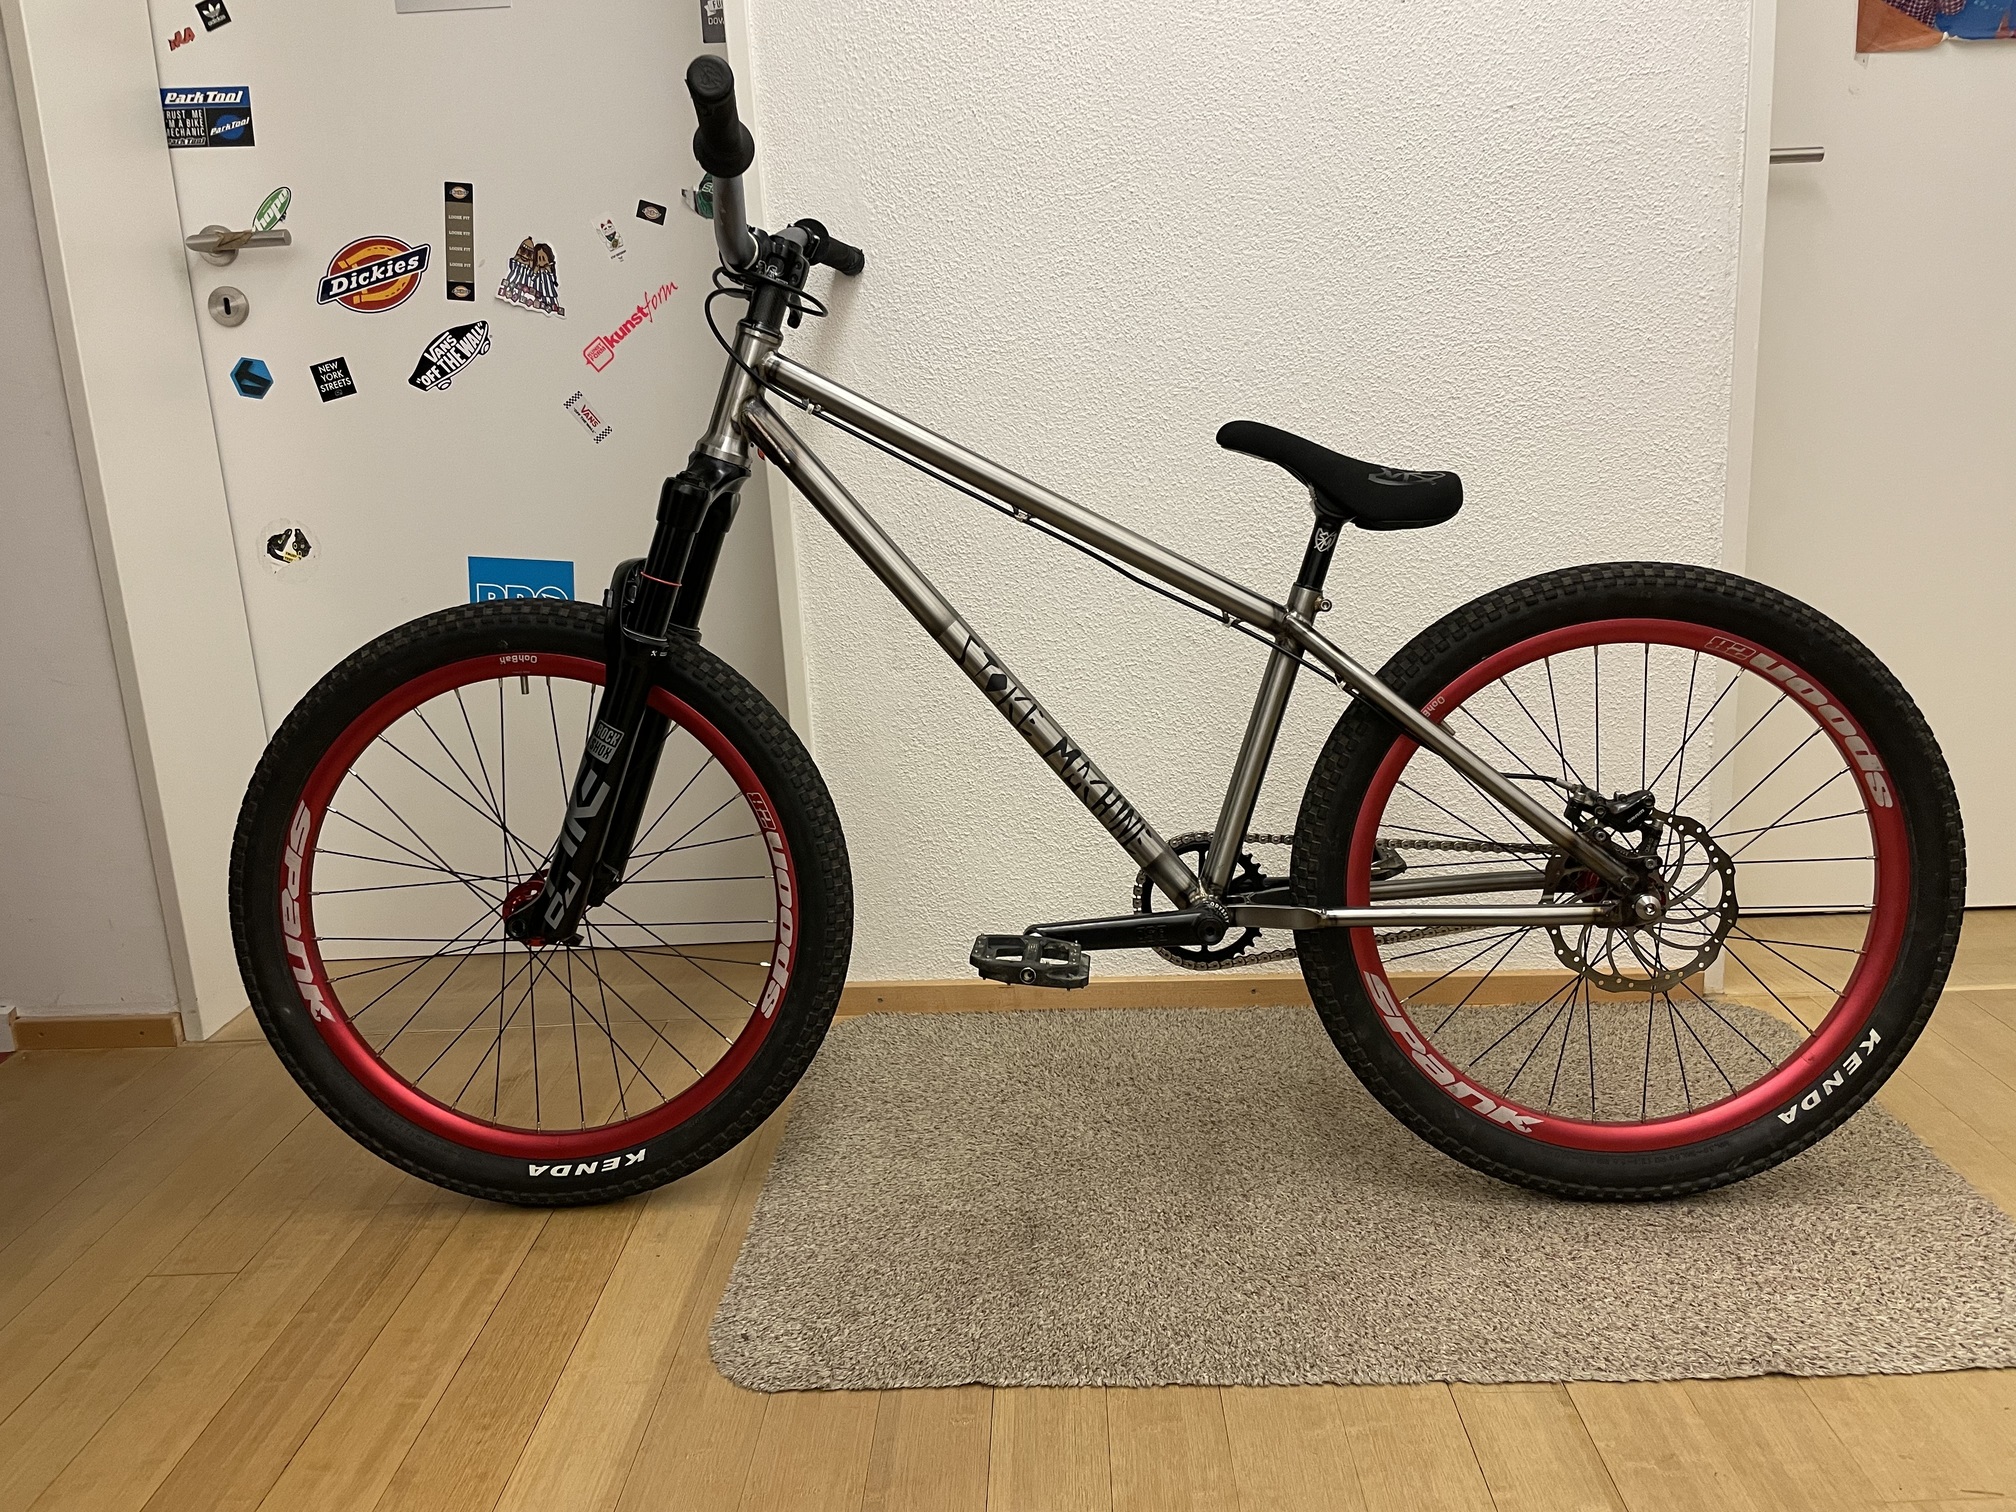
After some time I wanted to build a new bike and friends brought up the idea of building a 24“ dirt jumper.
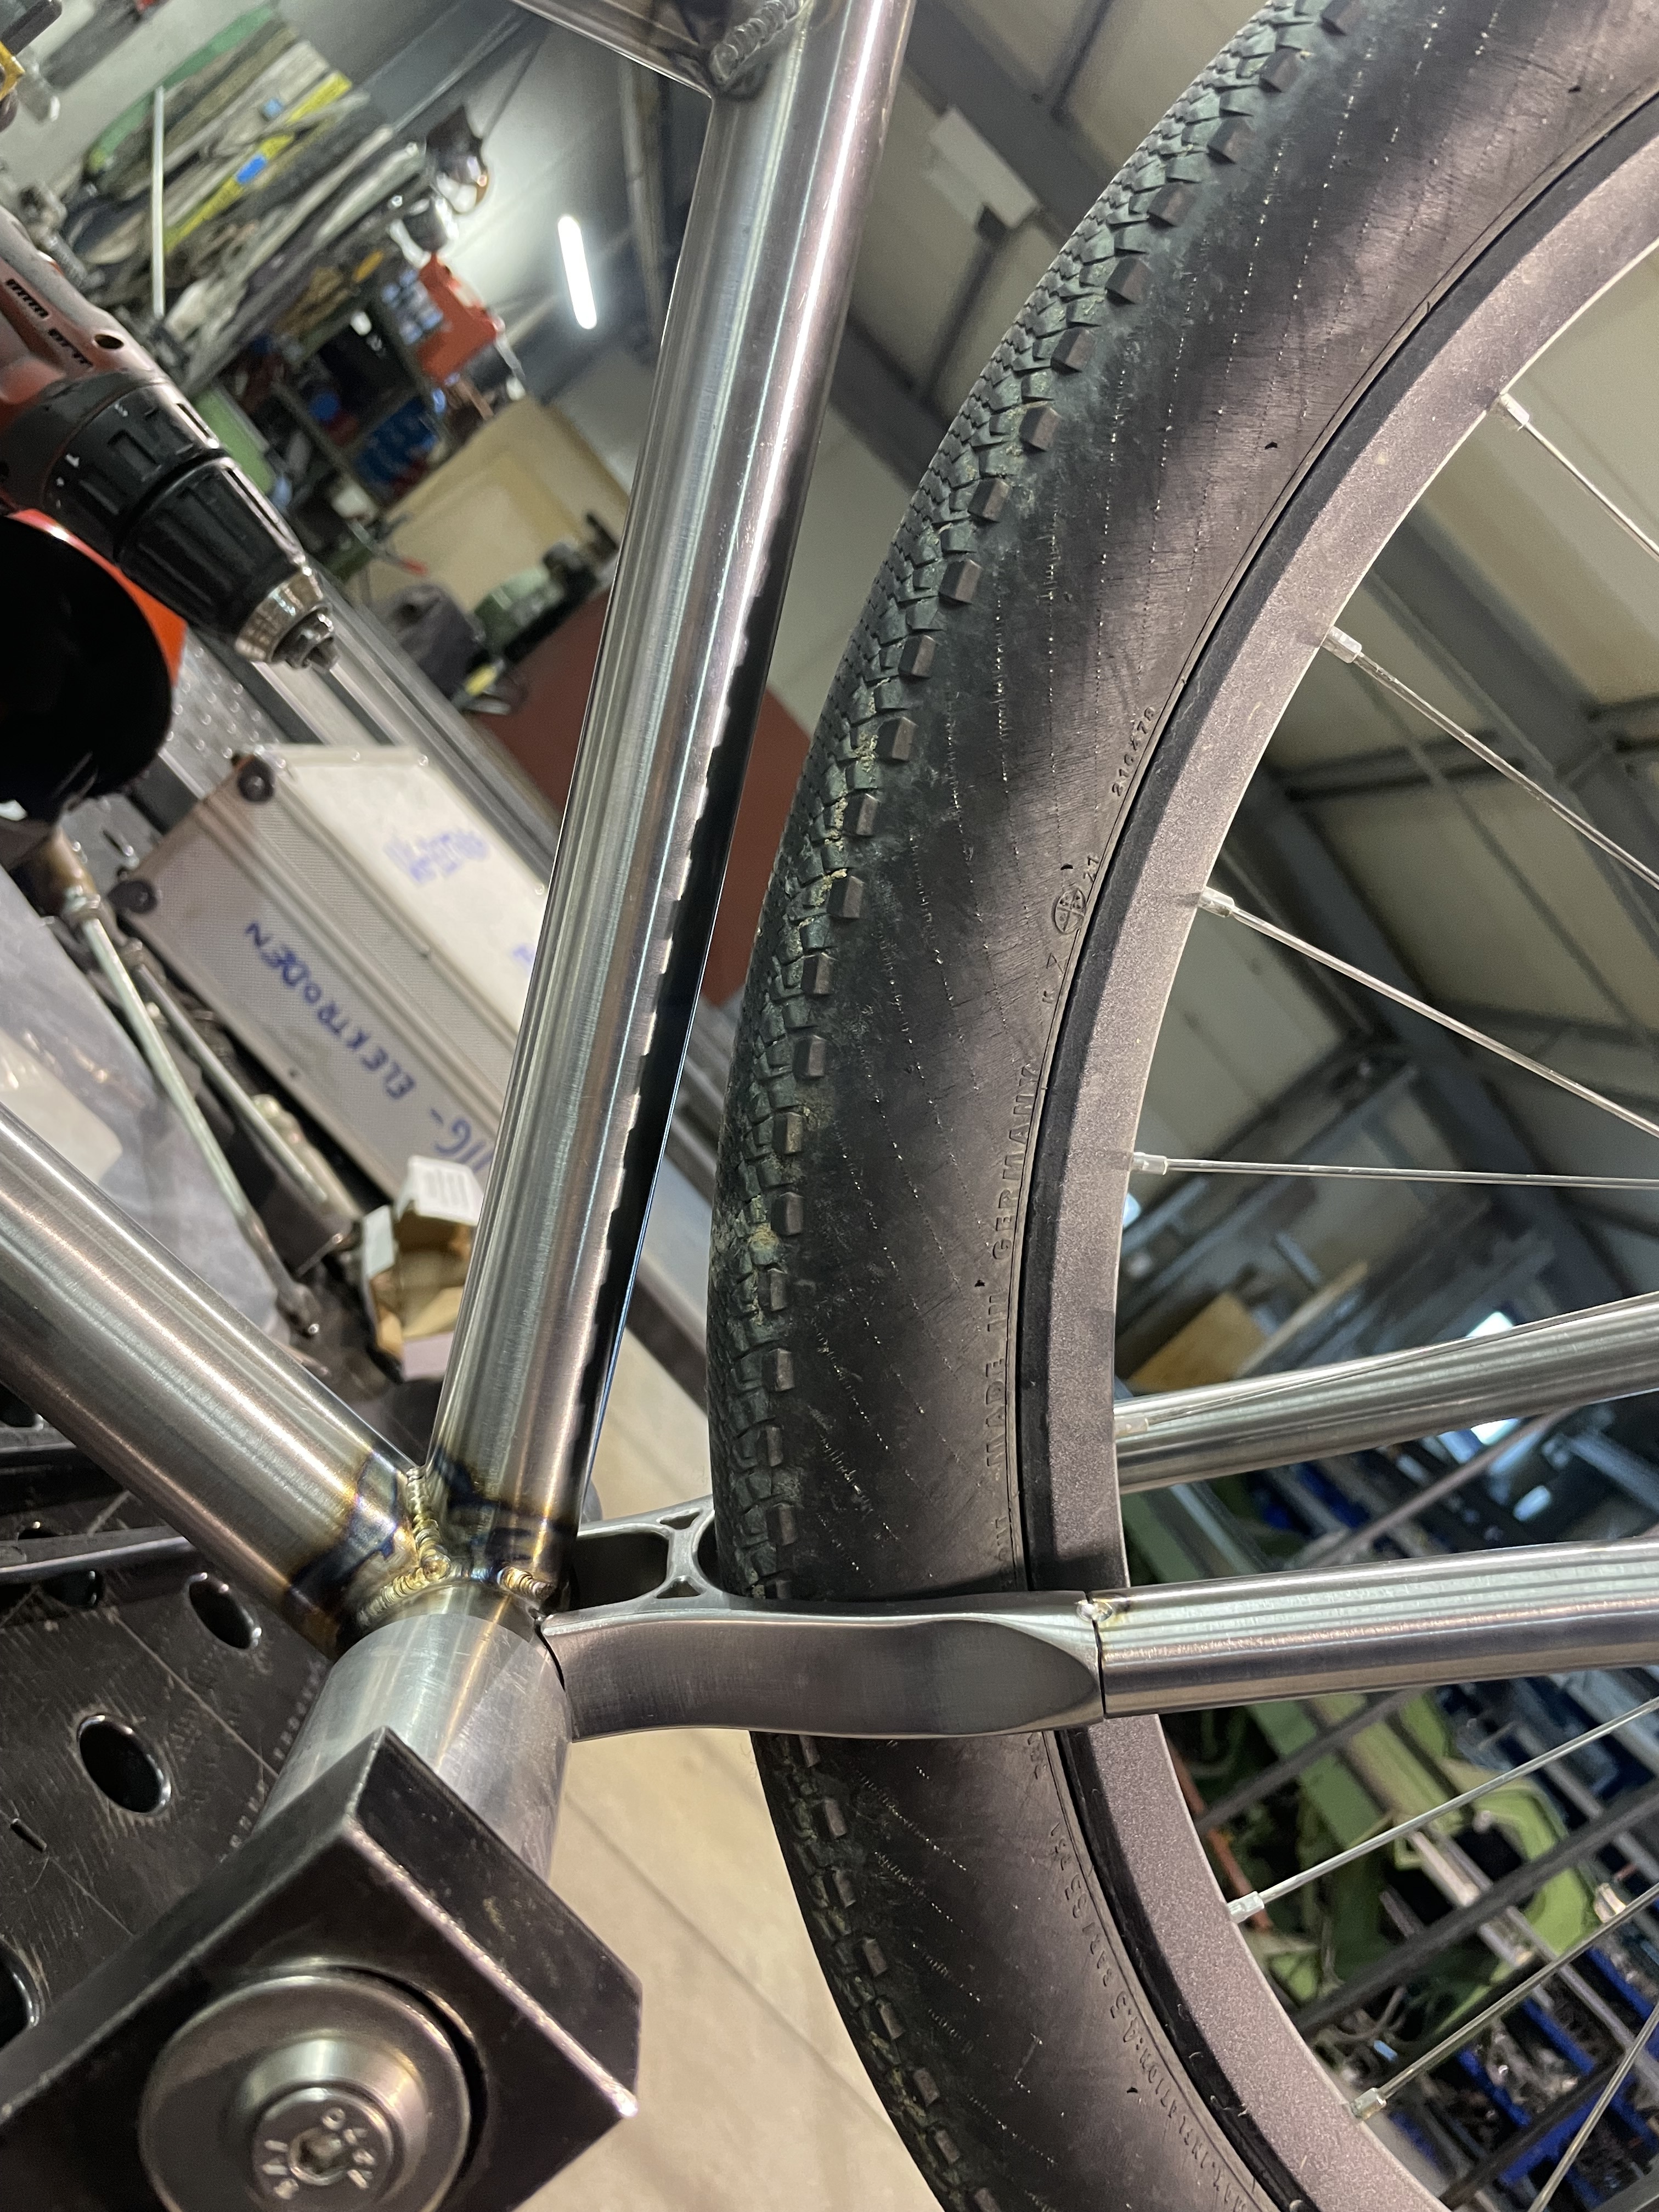
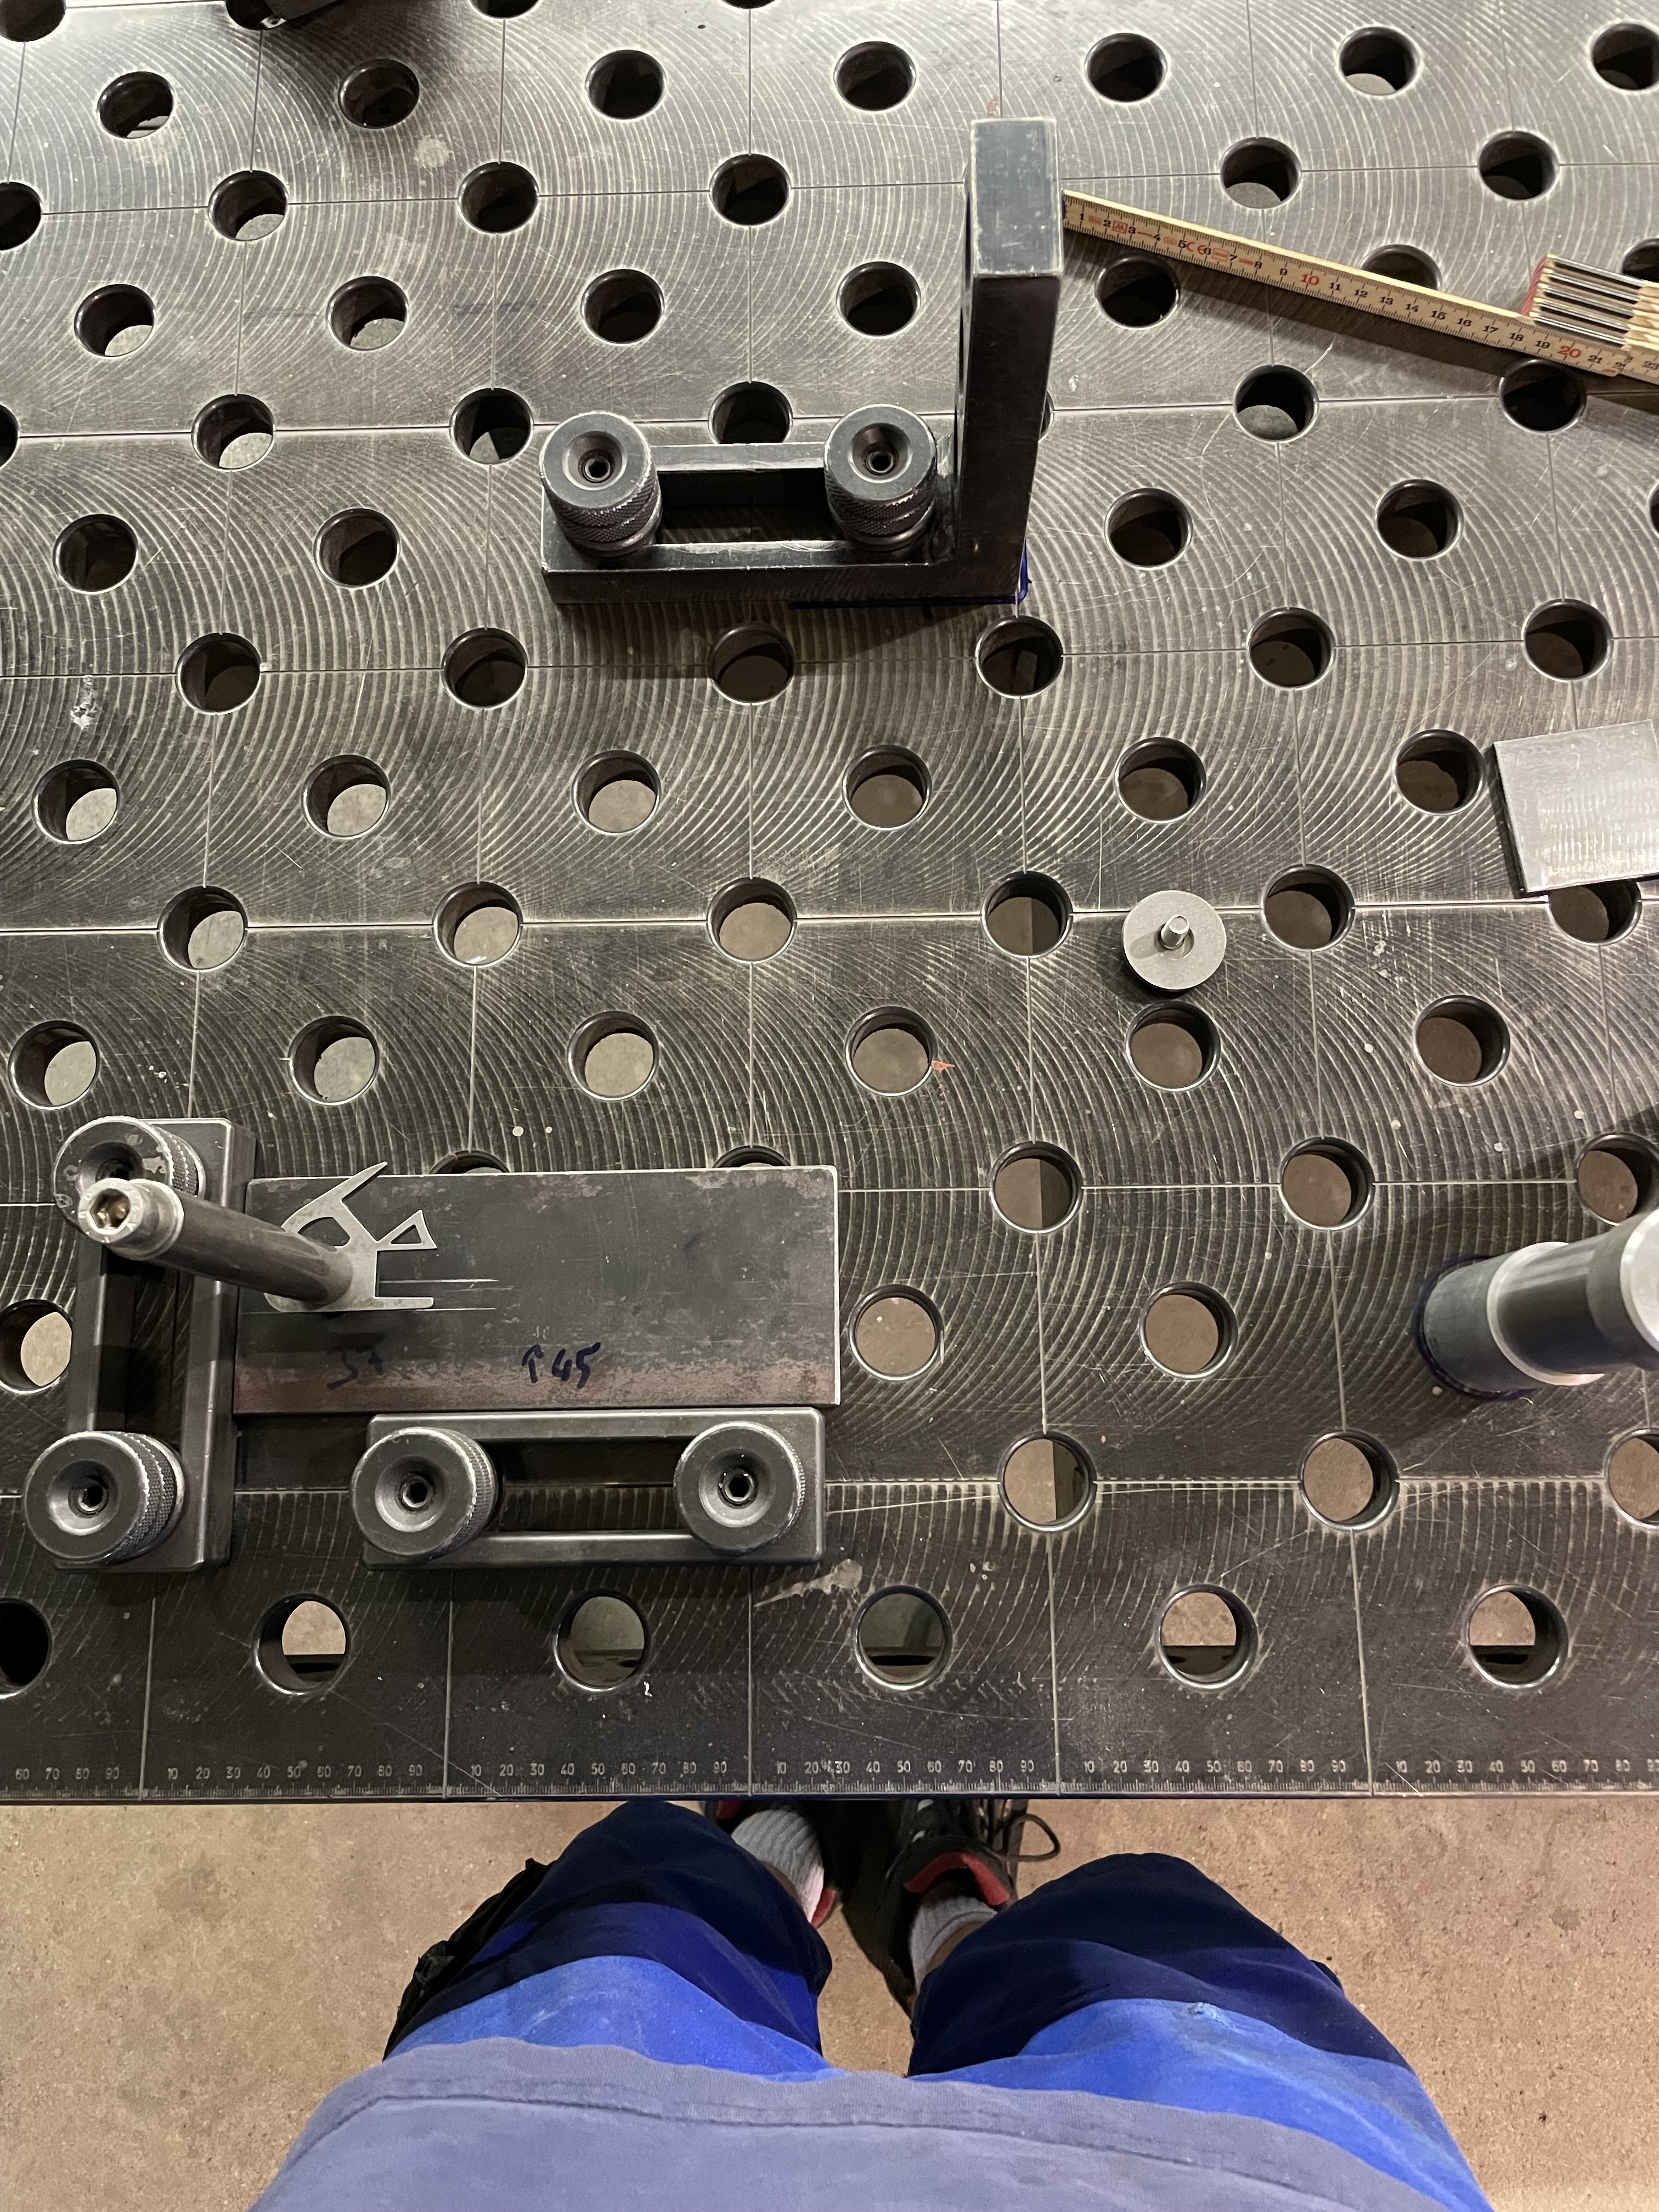
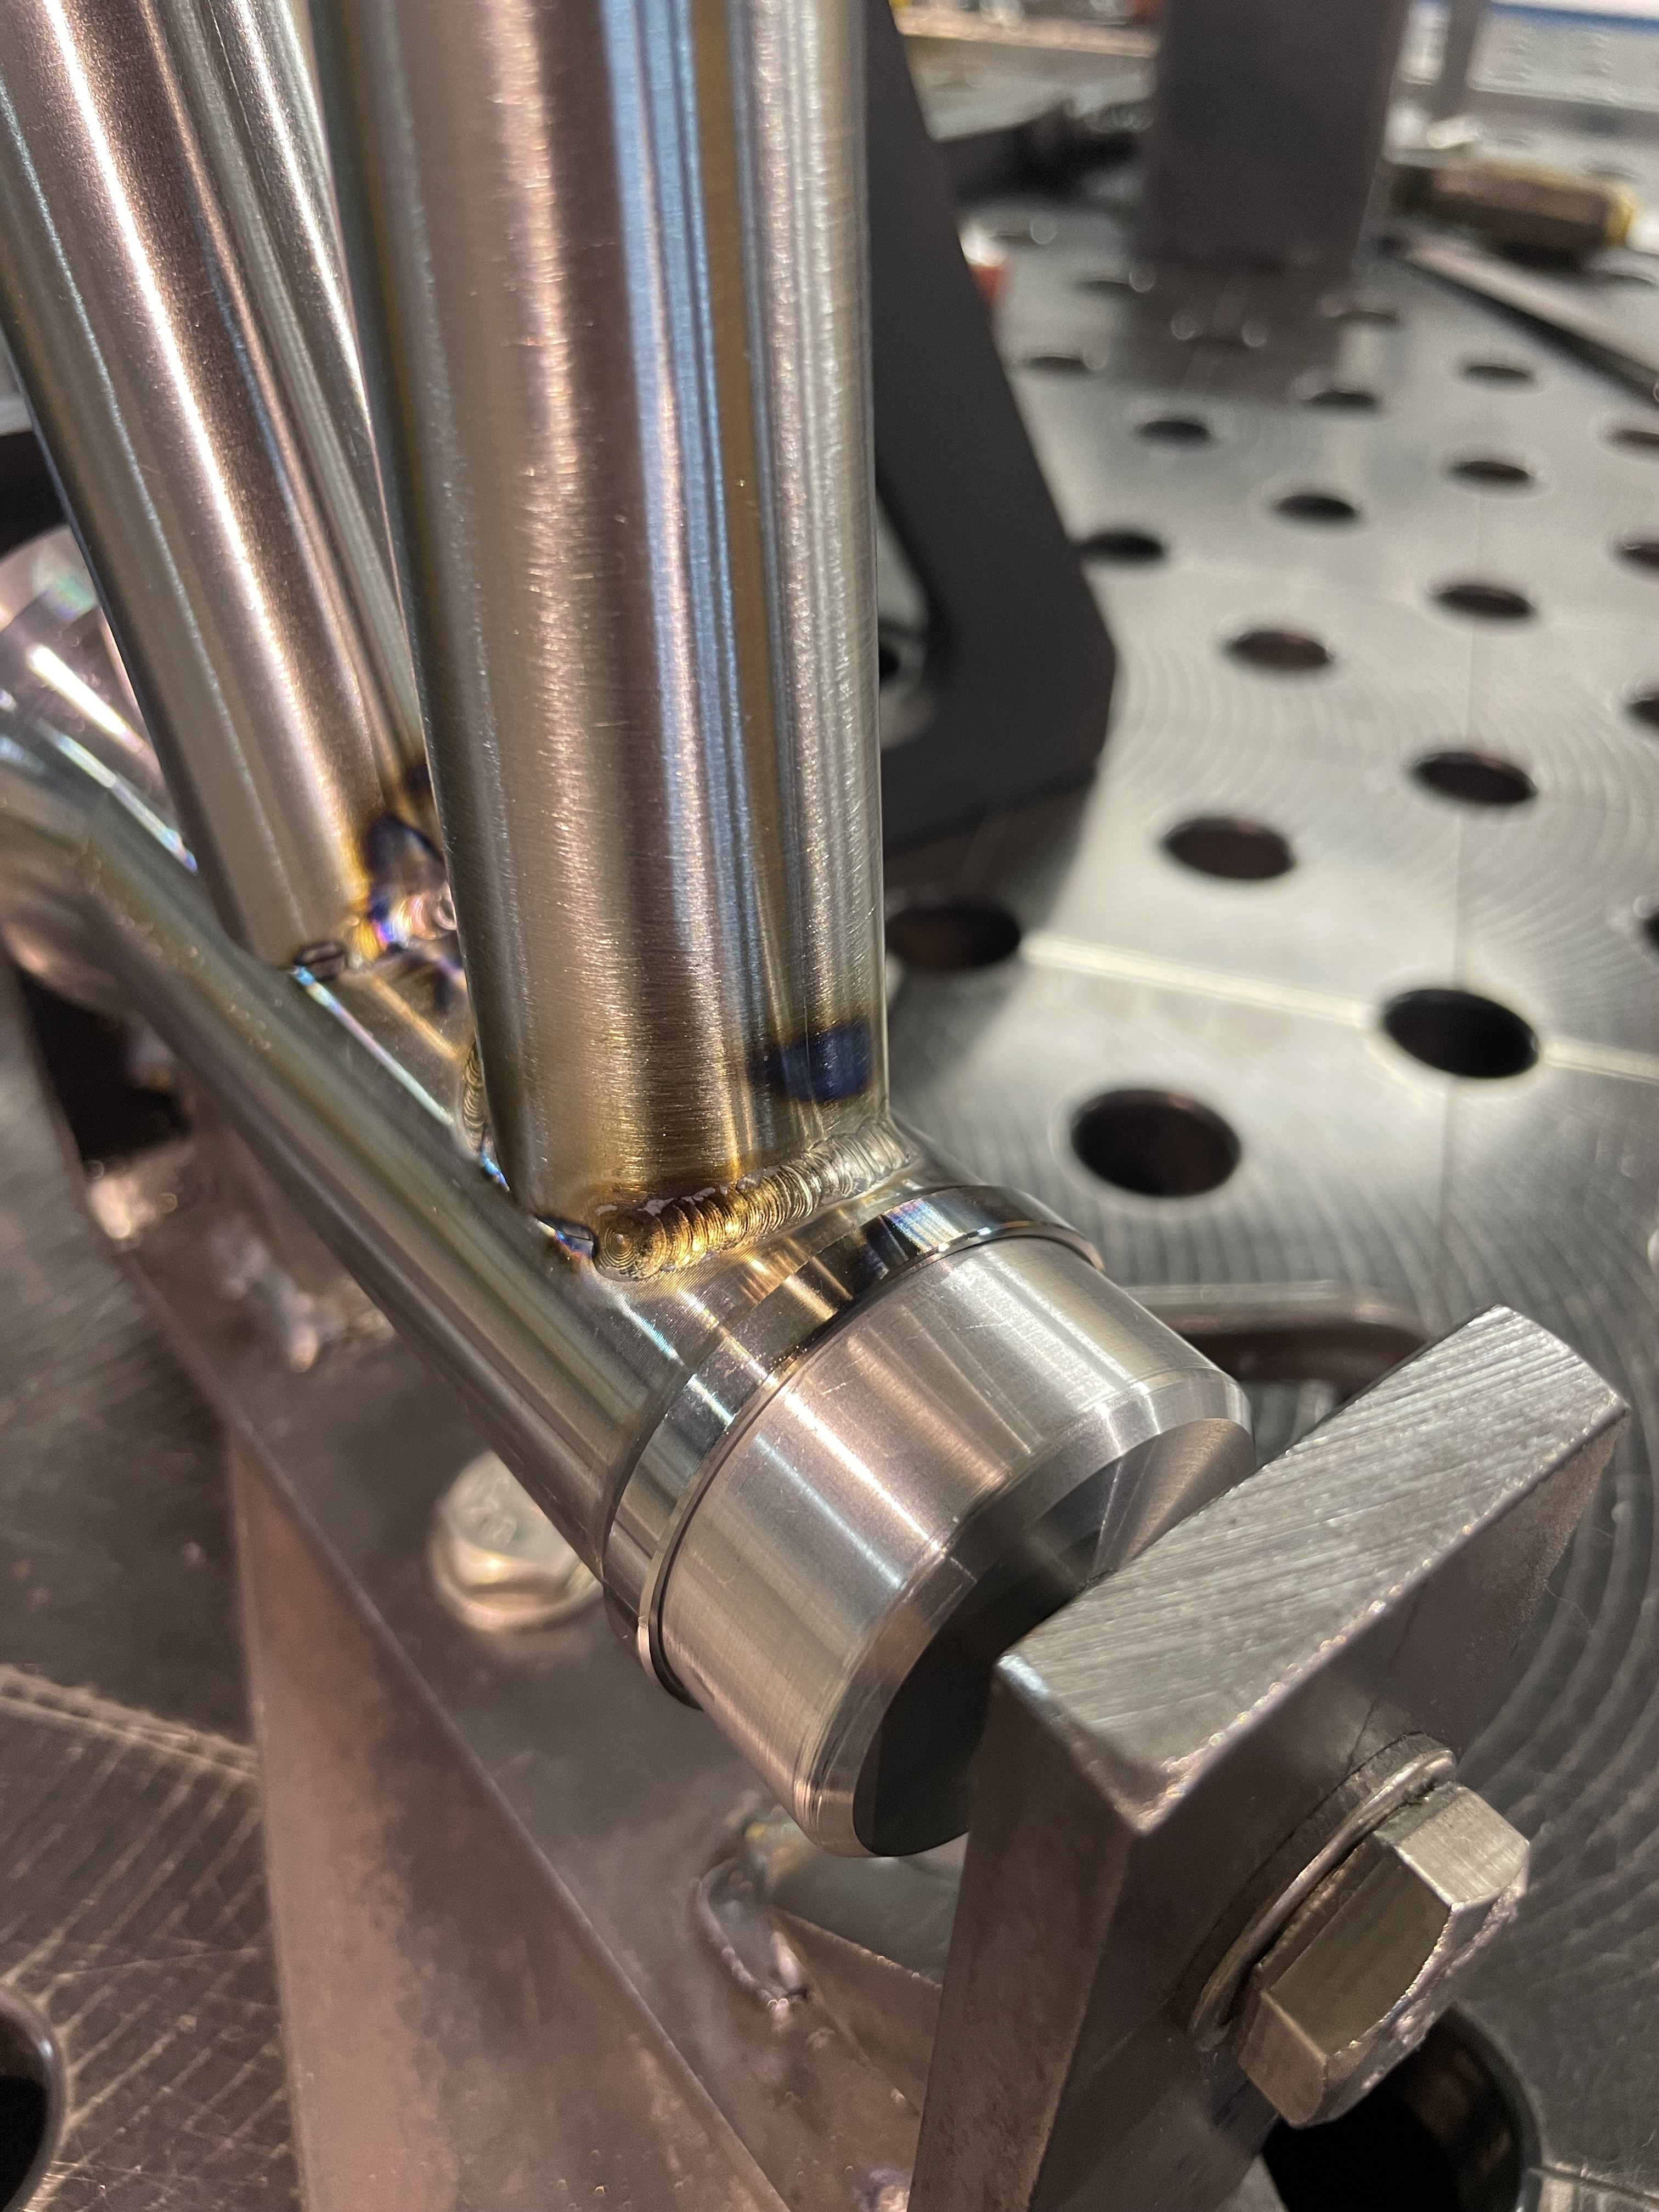
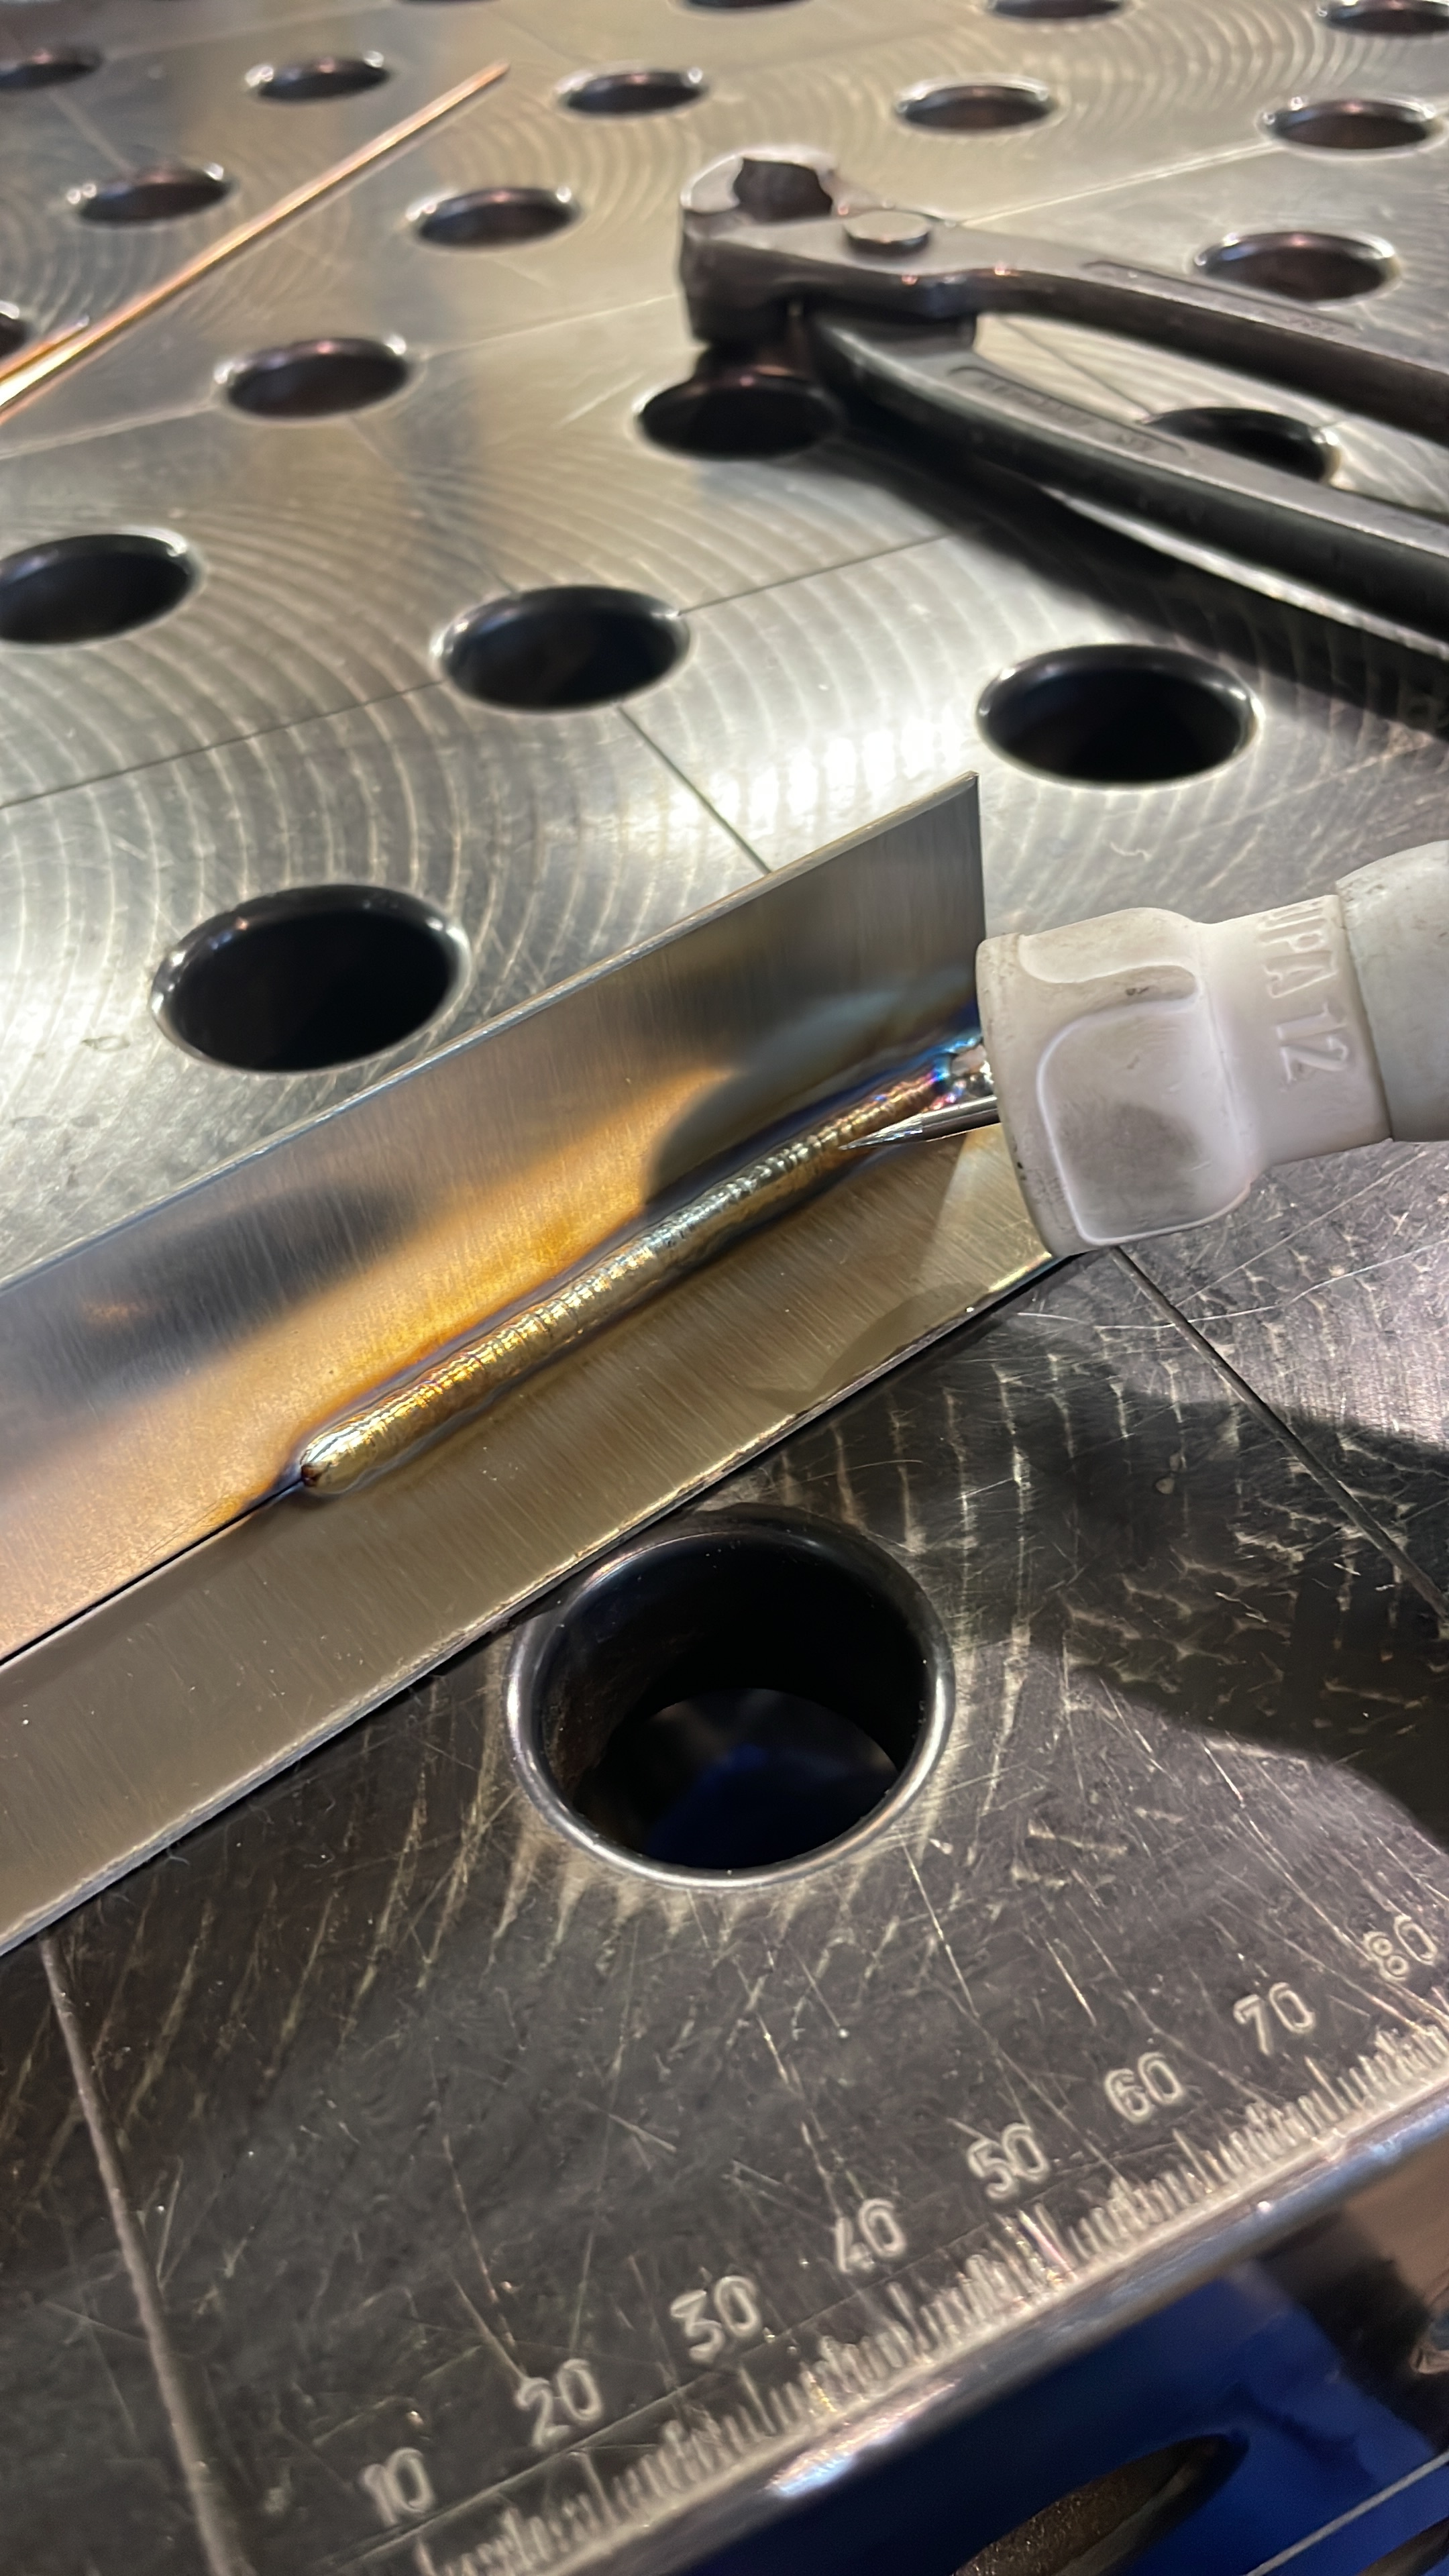
For the new frame I used another welding set up wich worked way better than the old one.
IMG_6750
image

I modeld the frame in Fusion, the Tutorial from Daniel helped a lot!
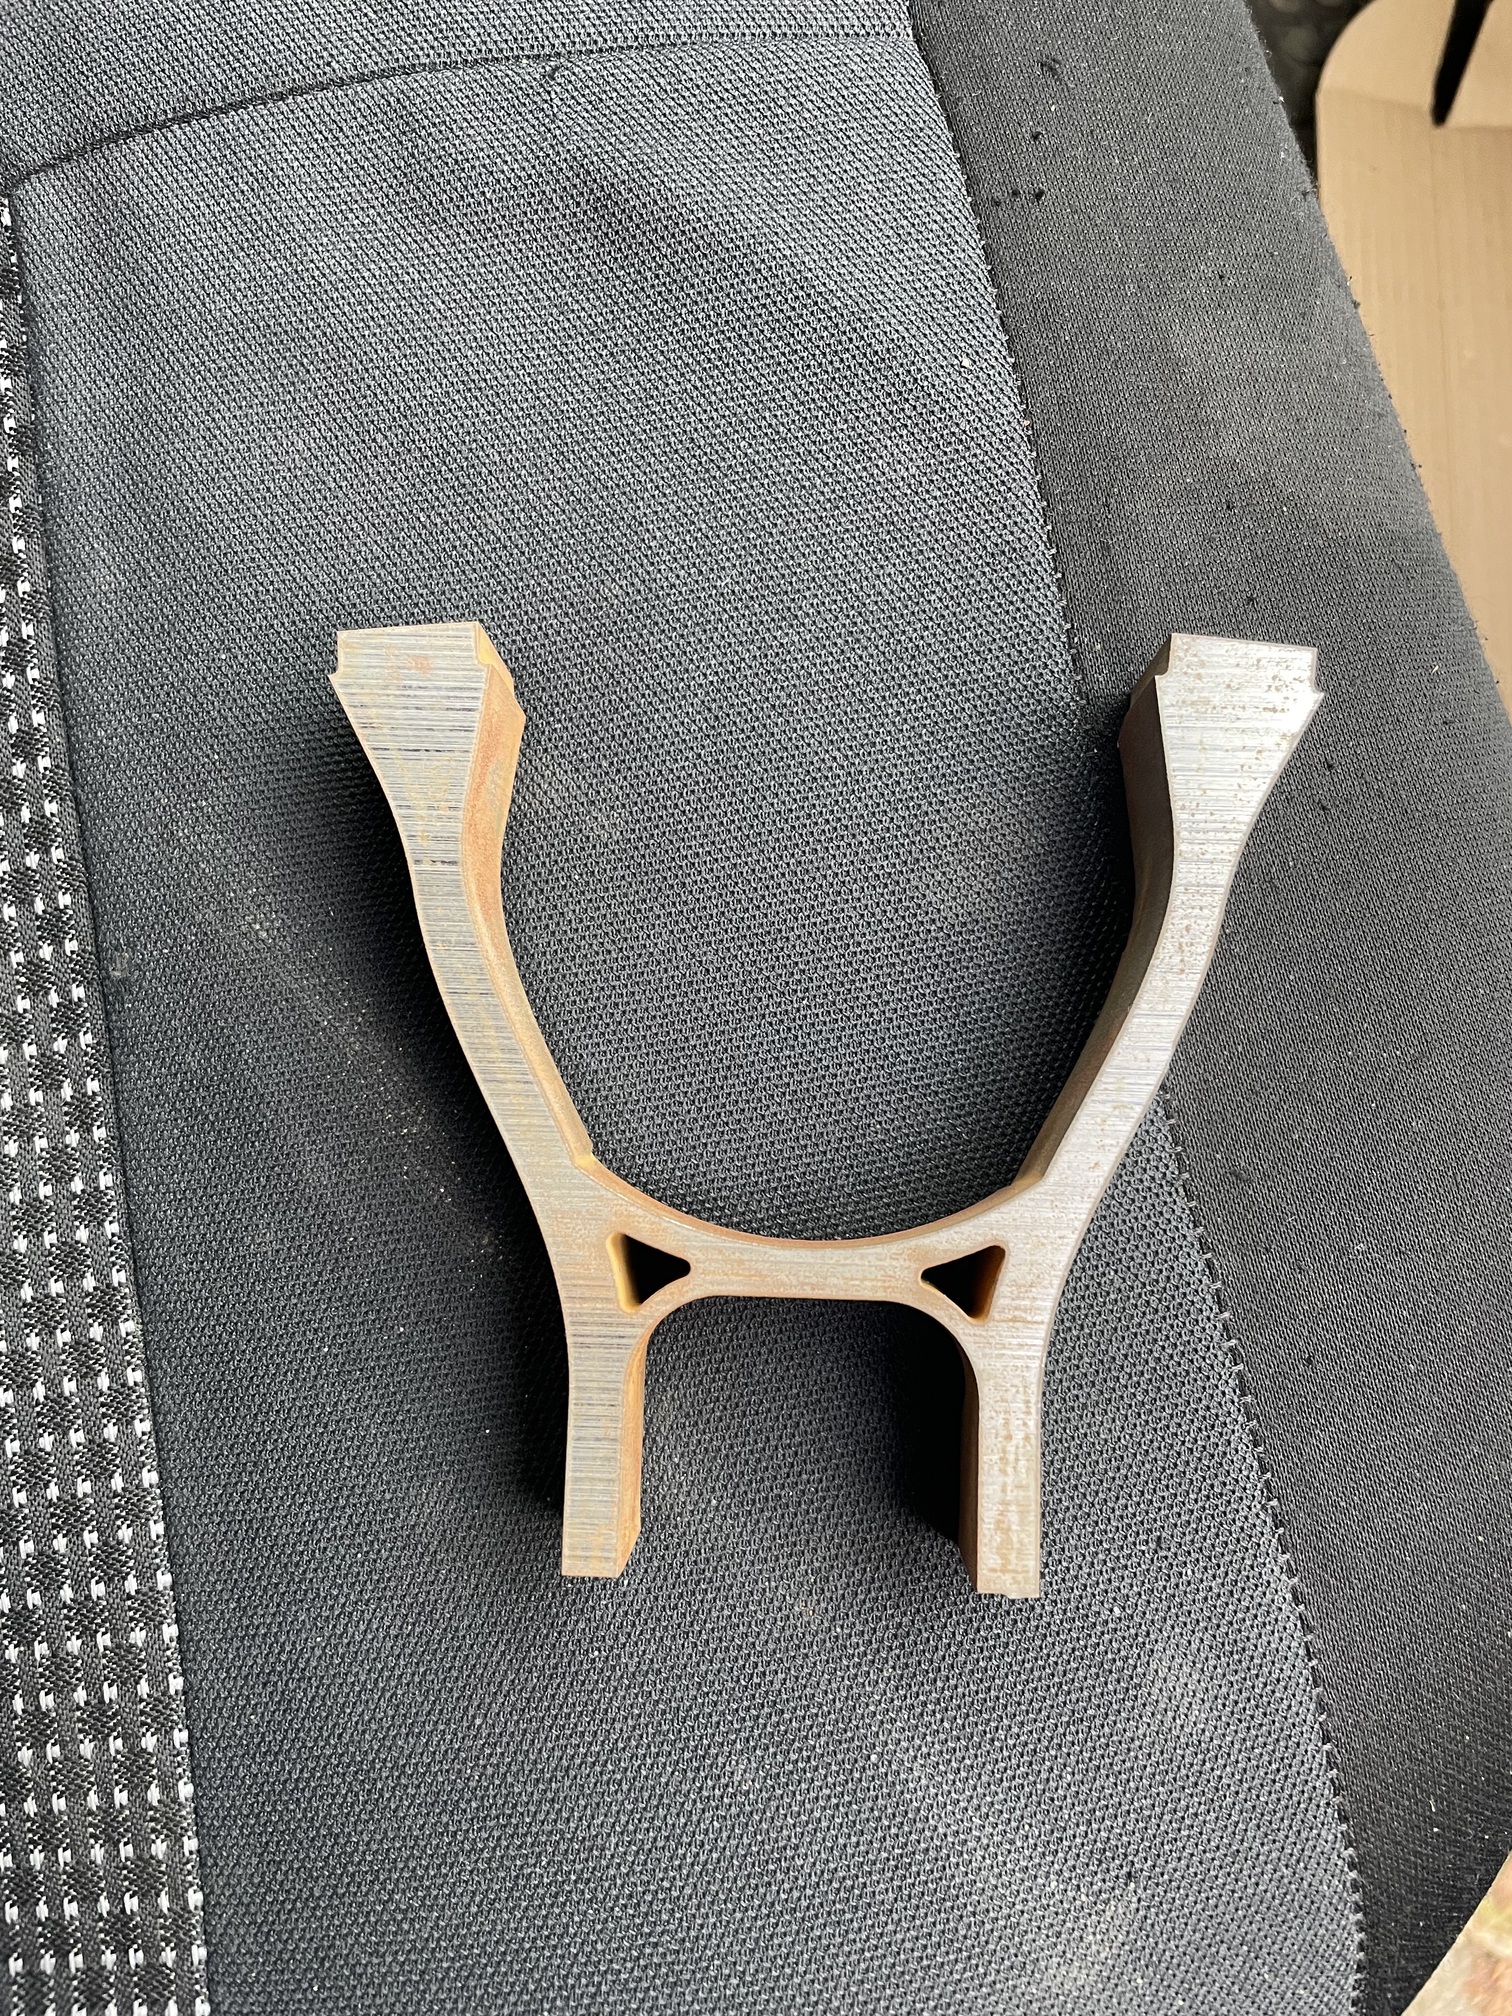
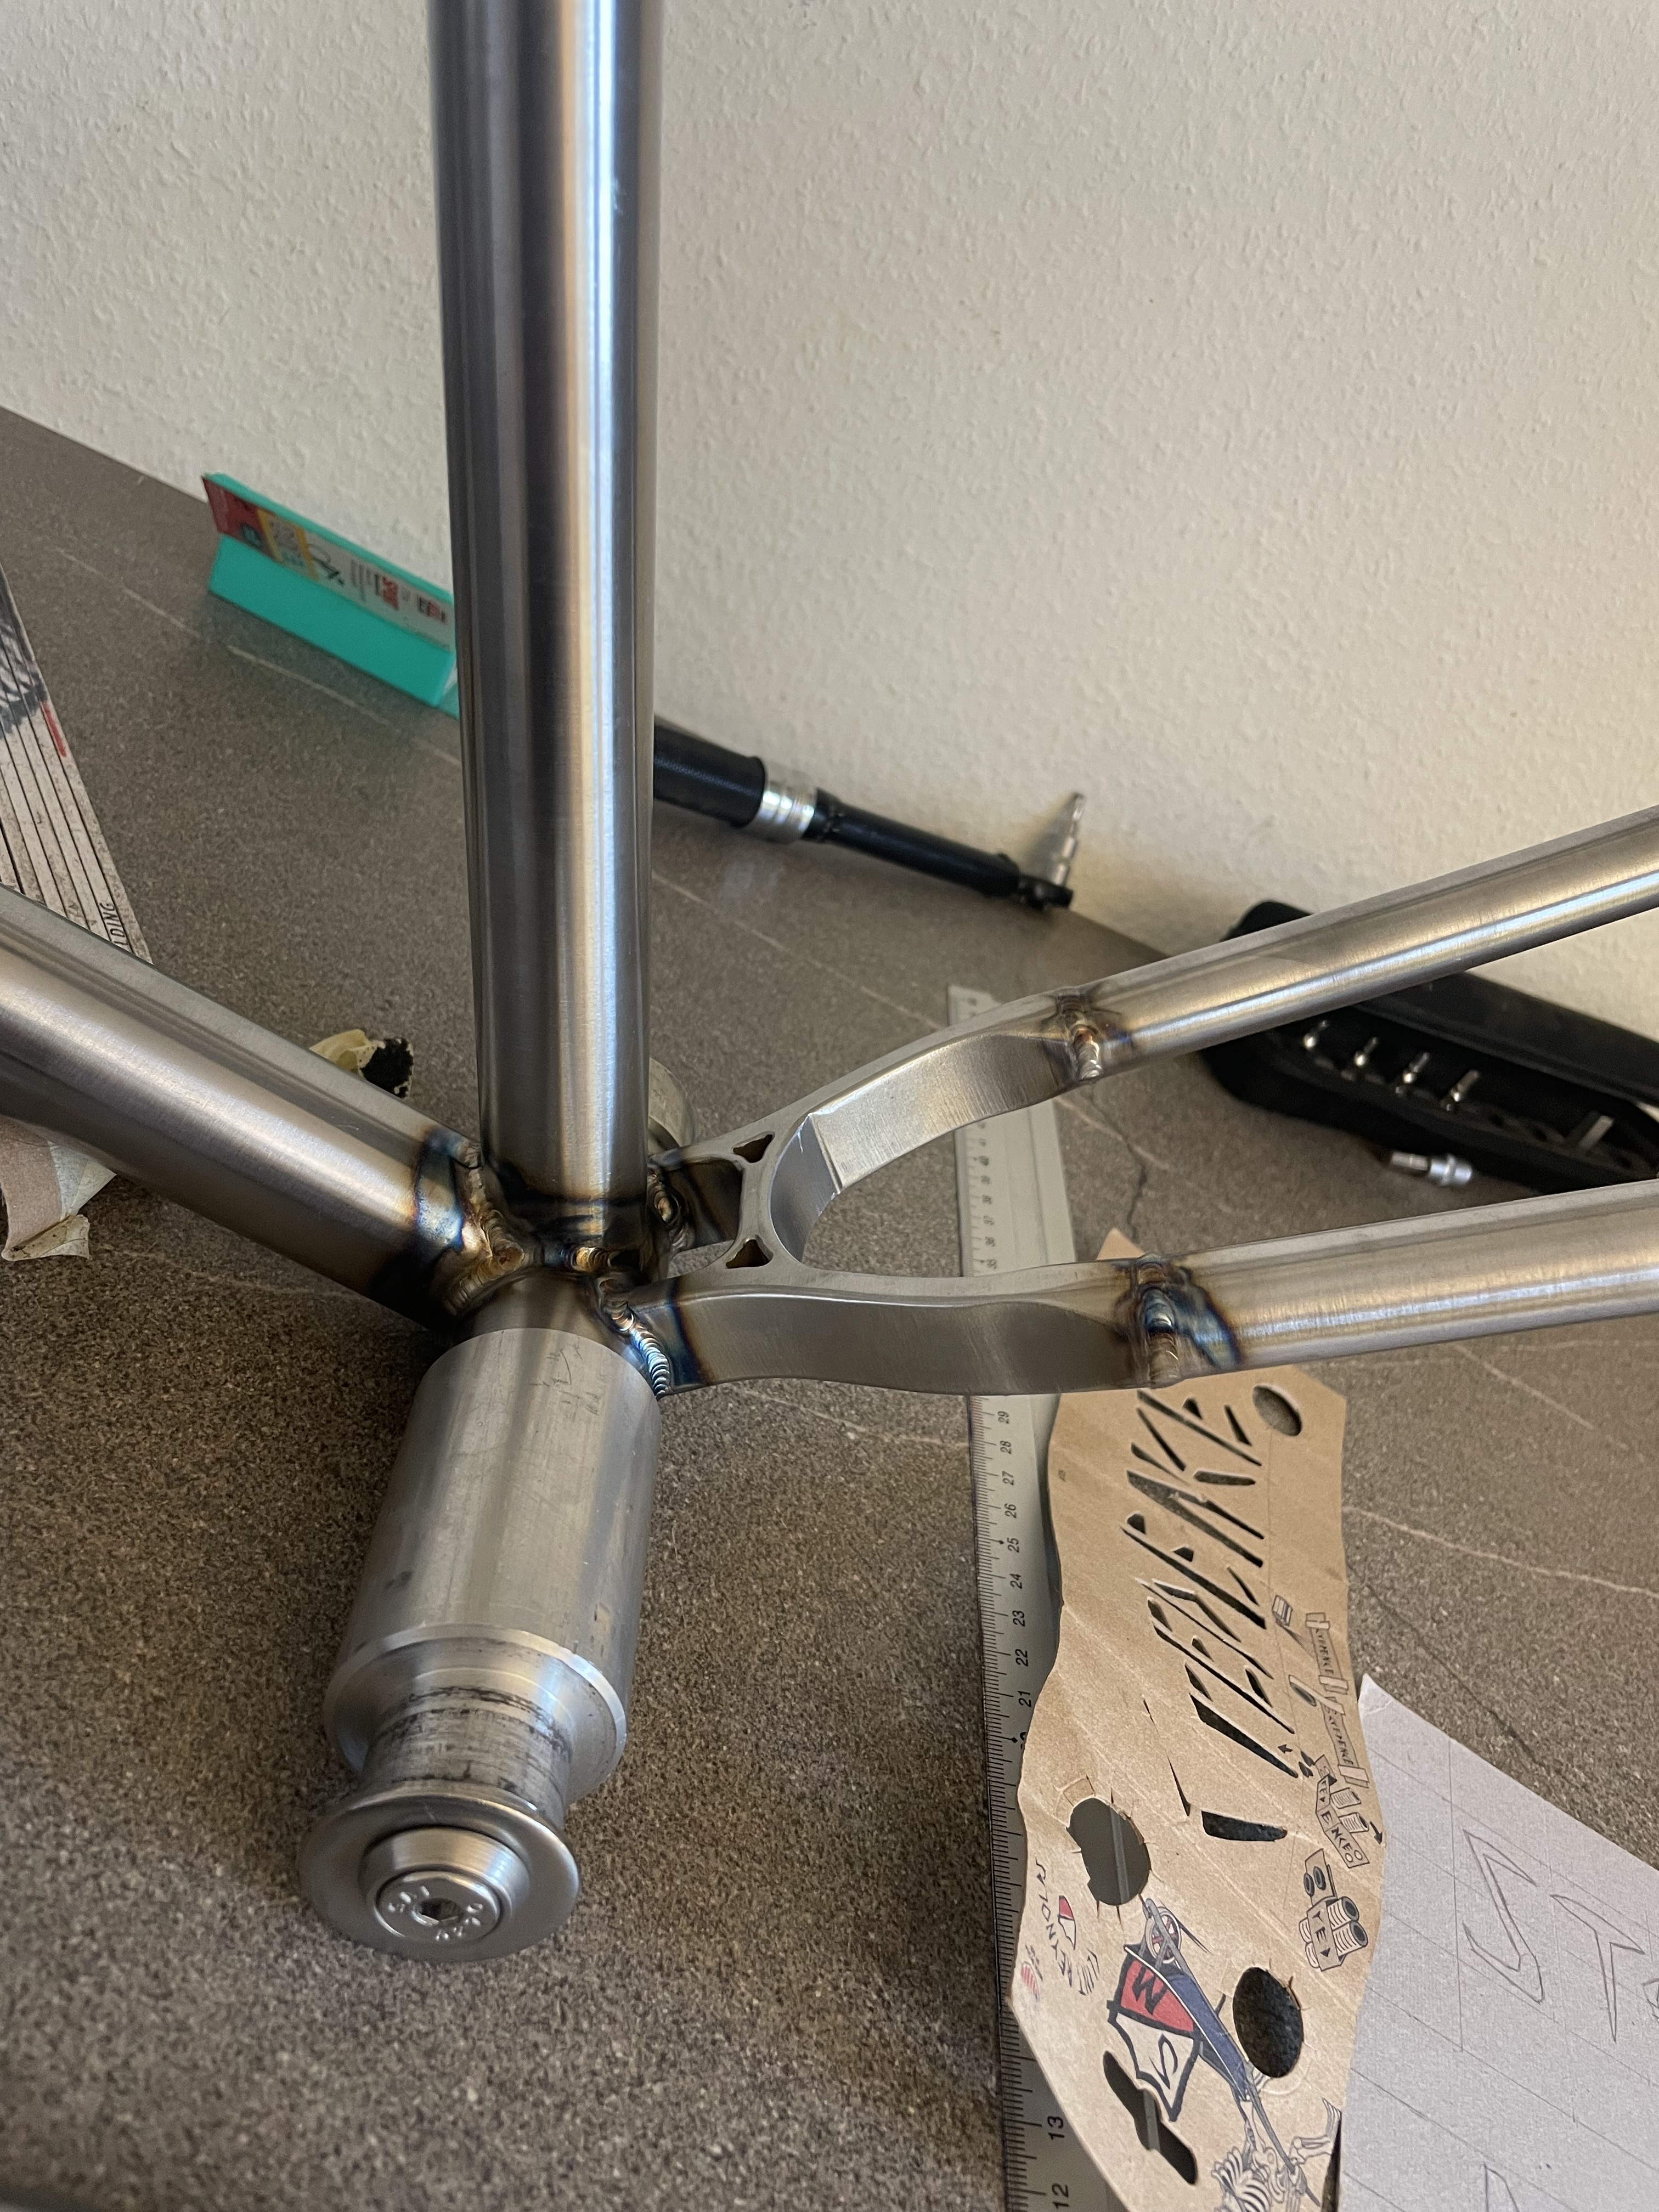
Wich also improved the look of the yoke because I could waterjet cut one. (The old one looked like bbq pliers)
IMG_7026
IMG_6854
IMG_6852

The yoke allows me to barely fit a 26“ wheel, but the 24“ rides so good that I never tried a 26“

The bends of the chain and Seat stays also came out way better than on the first frame because I used a different tighter bending die.
And I actually prefered mitering the tubes by hand because my lathe set up wasn‘t that ridged.

And I Improved my jig, the first one worked fine but i had to cut it apart to get the frame out.
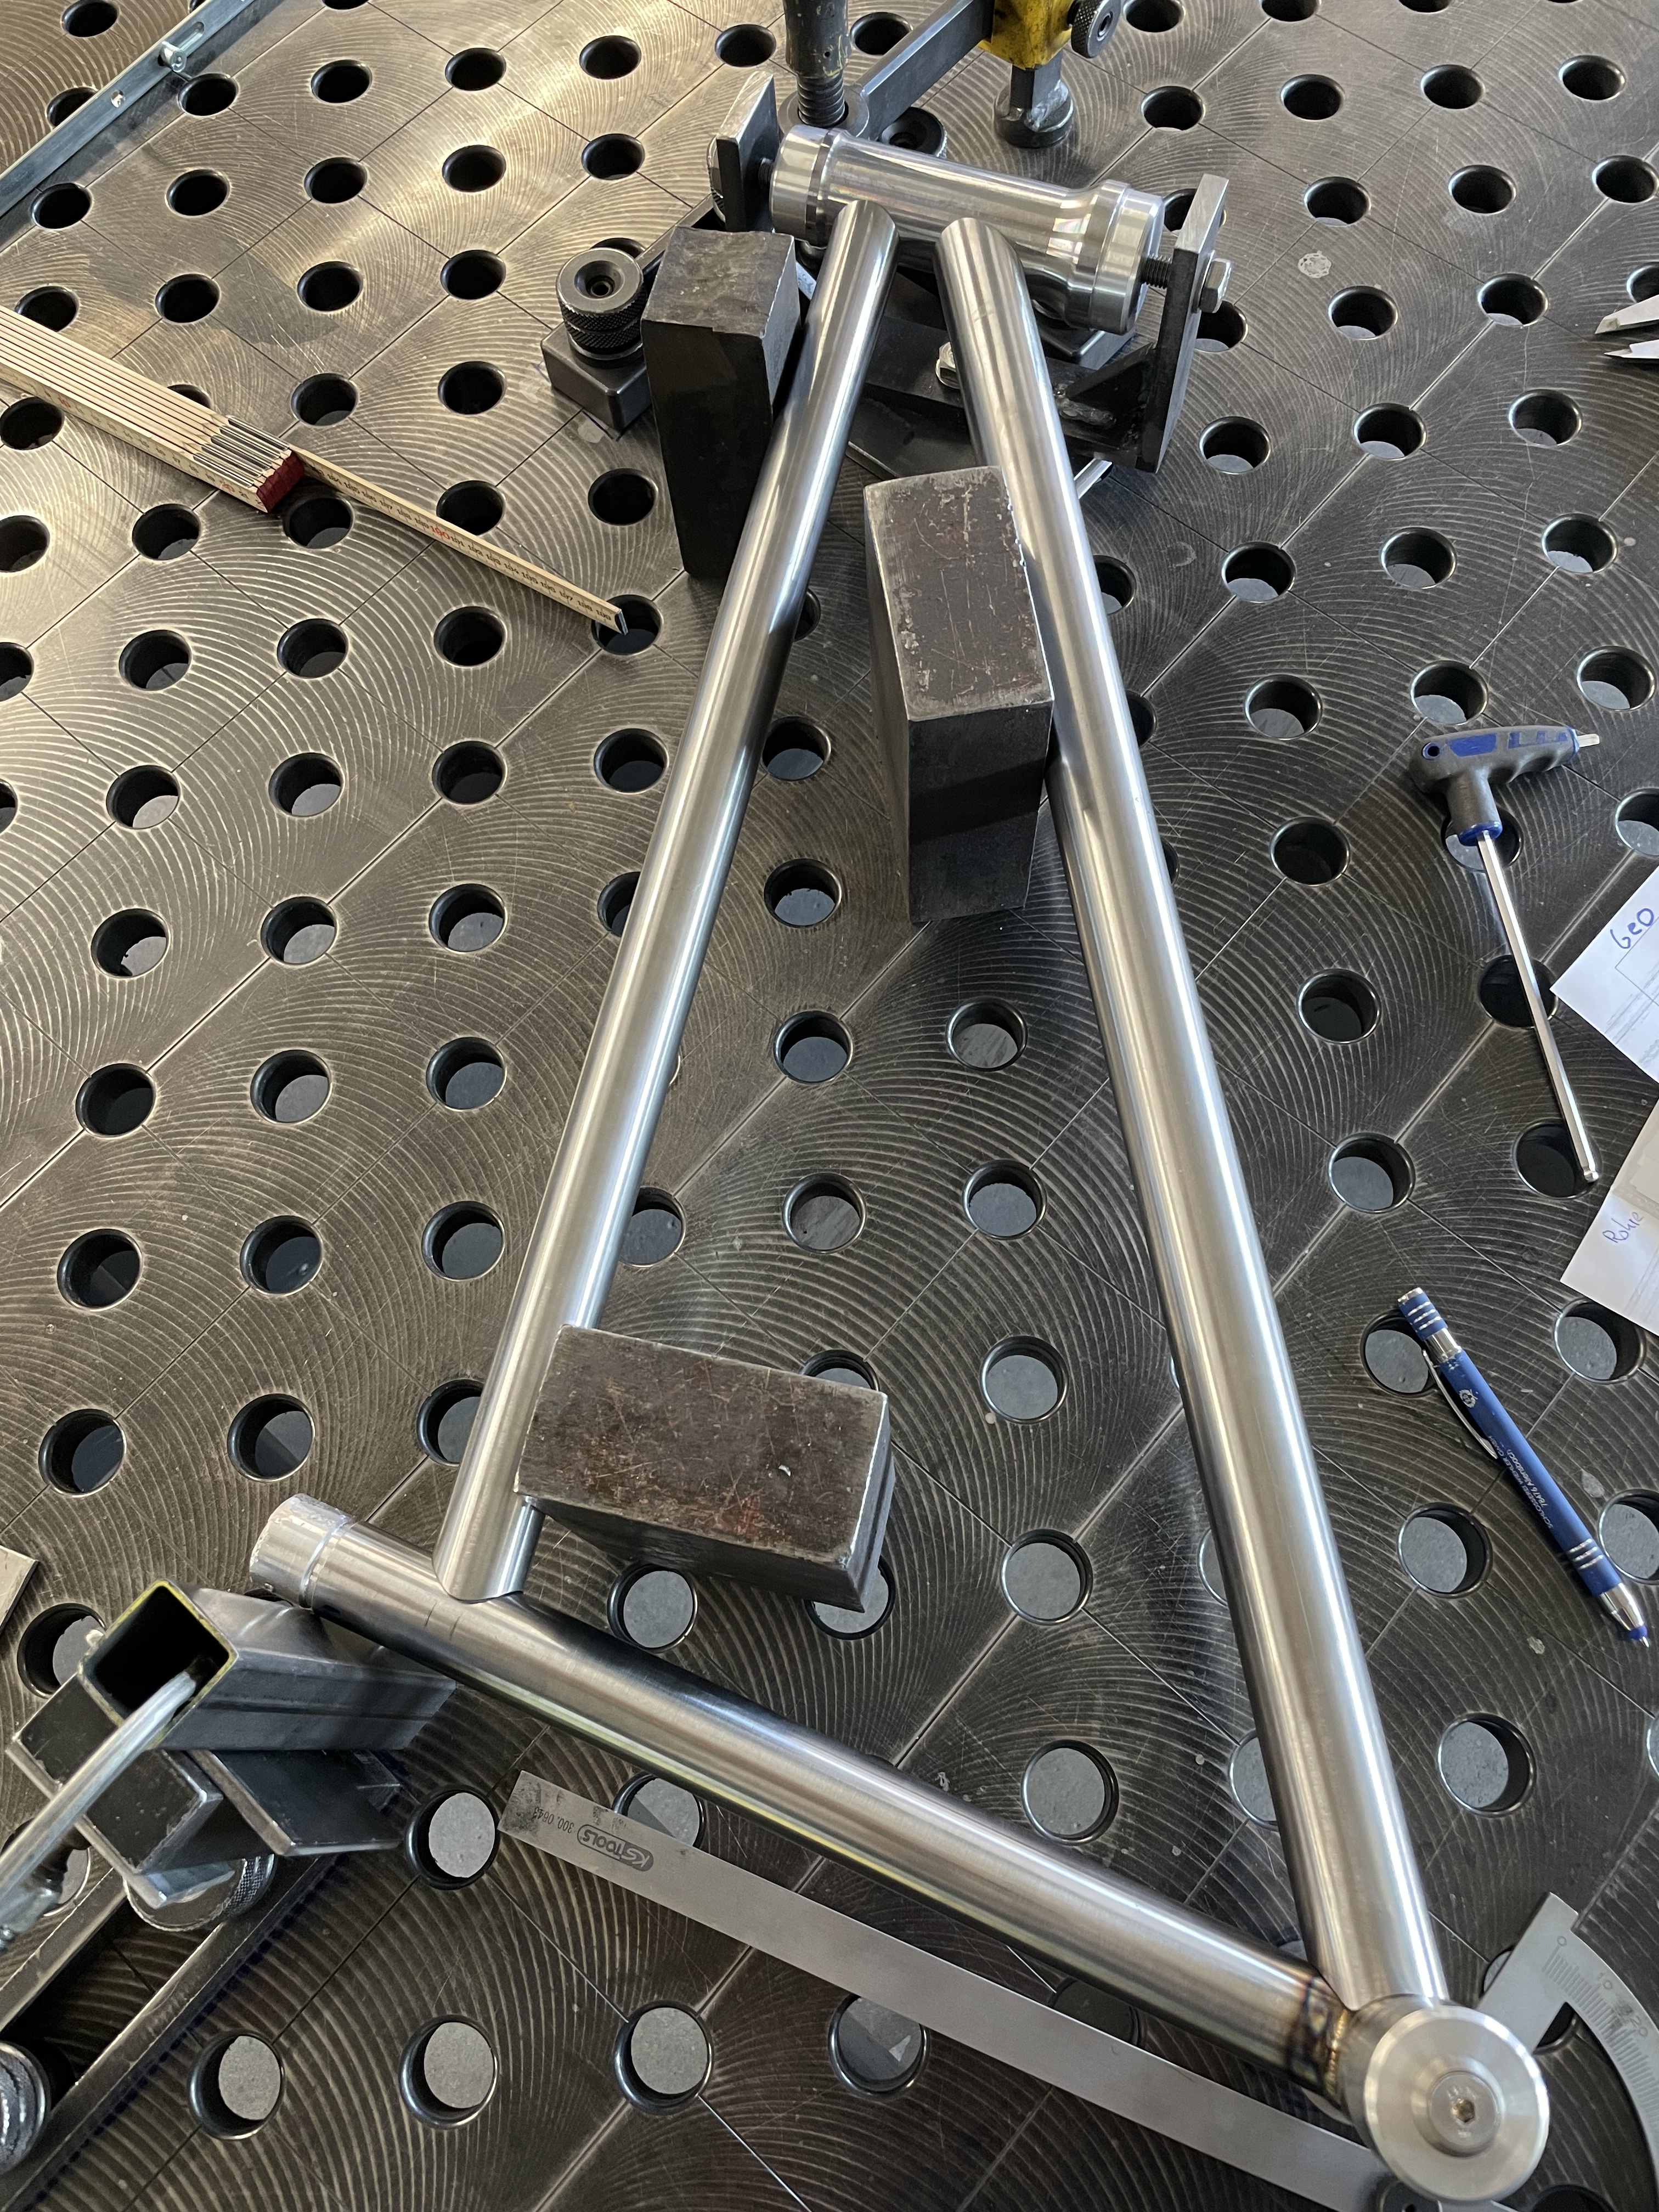
IMG_6742
IMG_6468

I really like clear powder coat and I didn‘t have any issues with the first frame (almost no spider webs after 2 years just some really small ones on the downside of the bb and on the cable guides wich you barelly notice)
And I have put a lot of work into the frame and it would be sad to hide all the work.

Finished Frame:
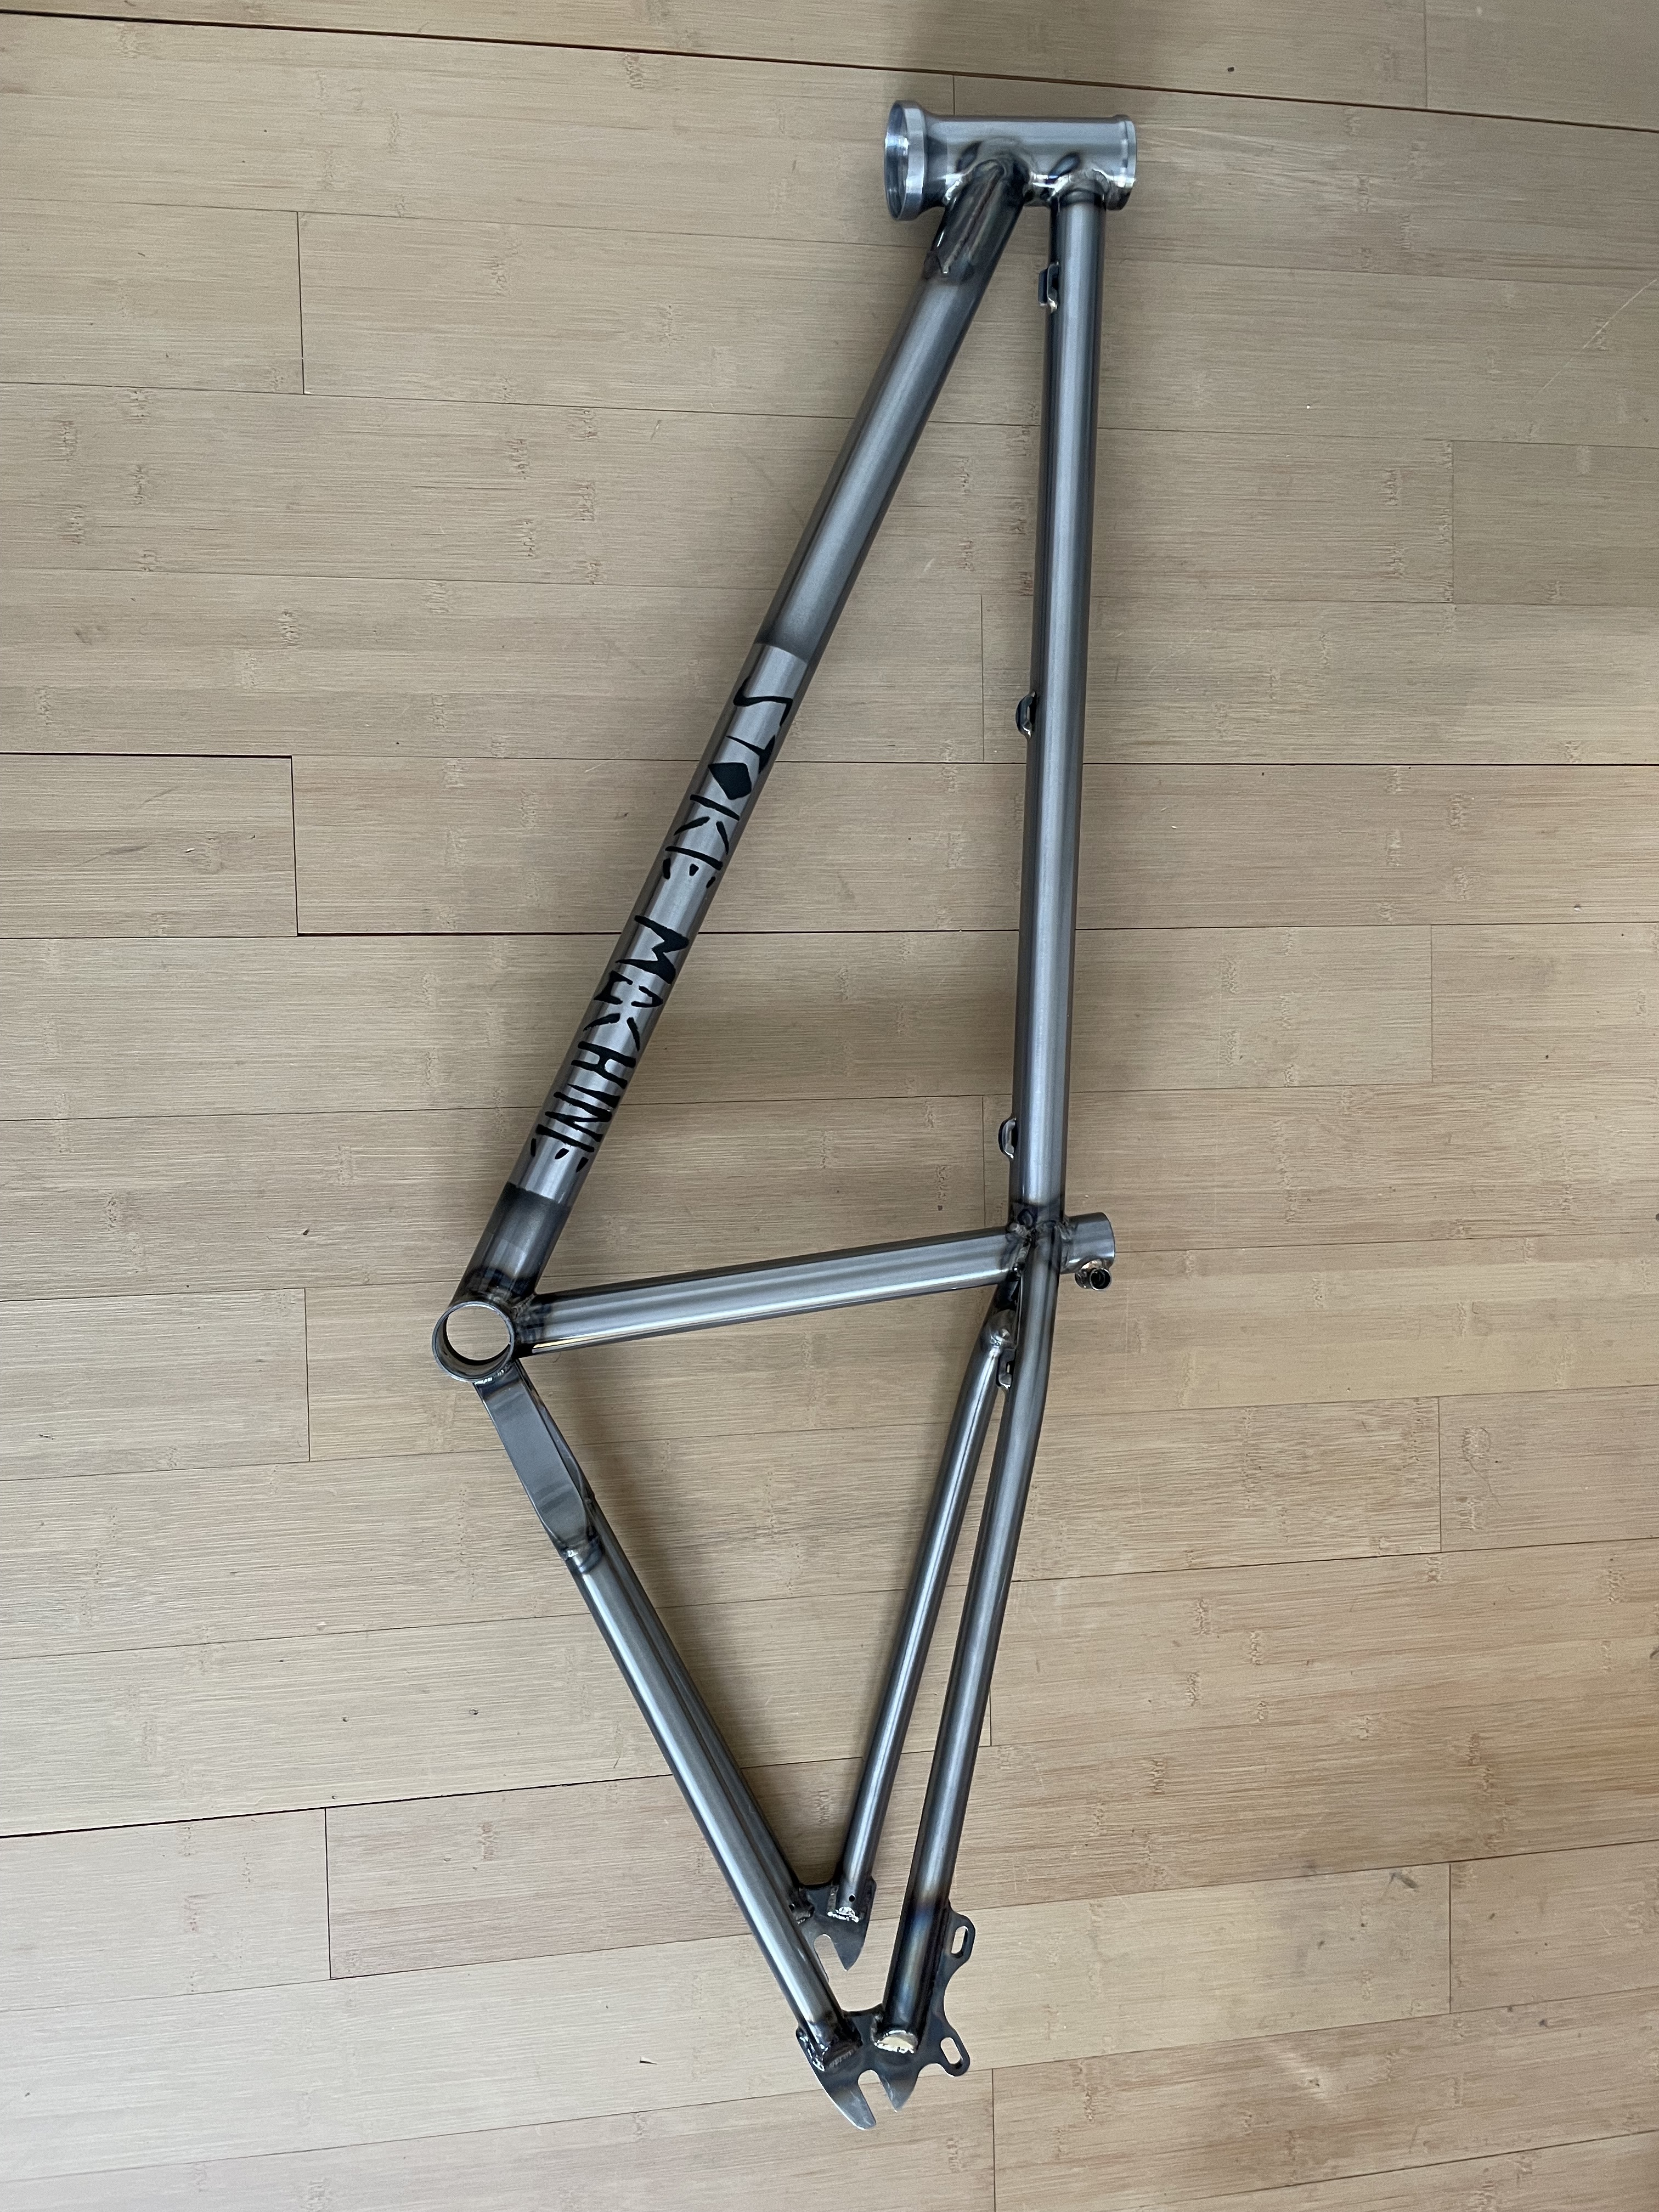
IMG_7090
IMG_7166

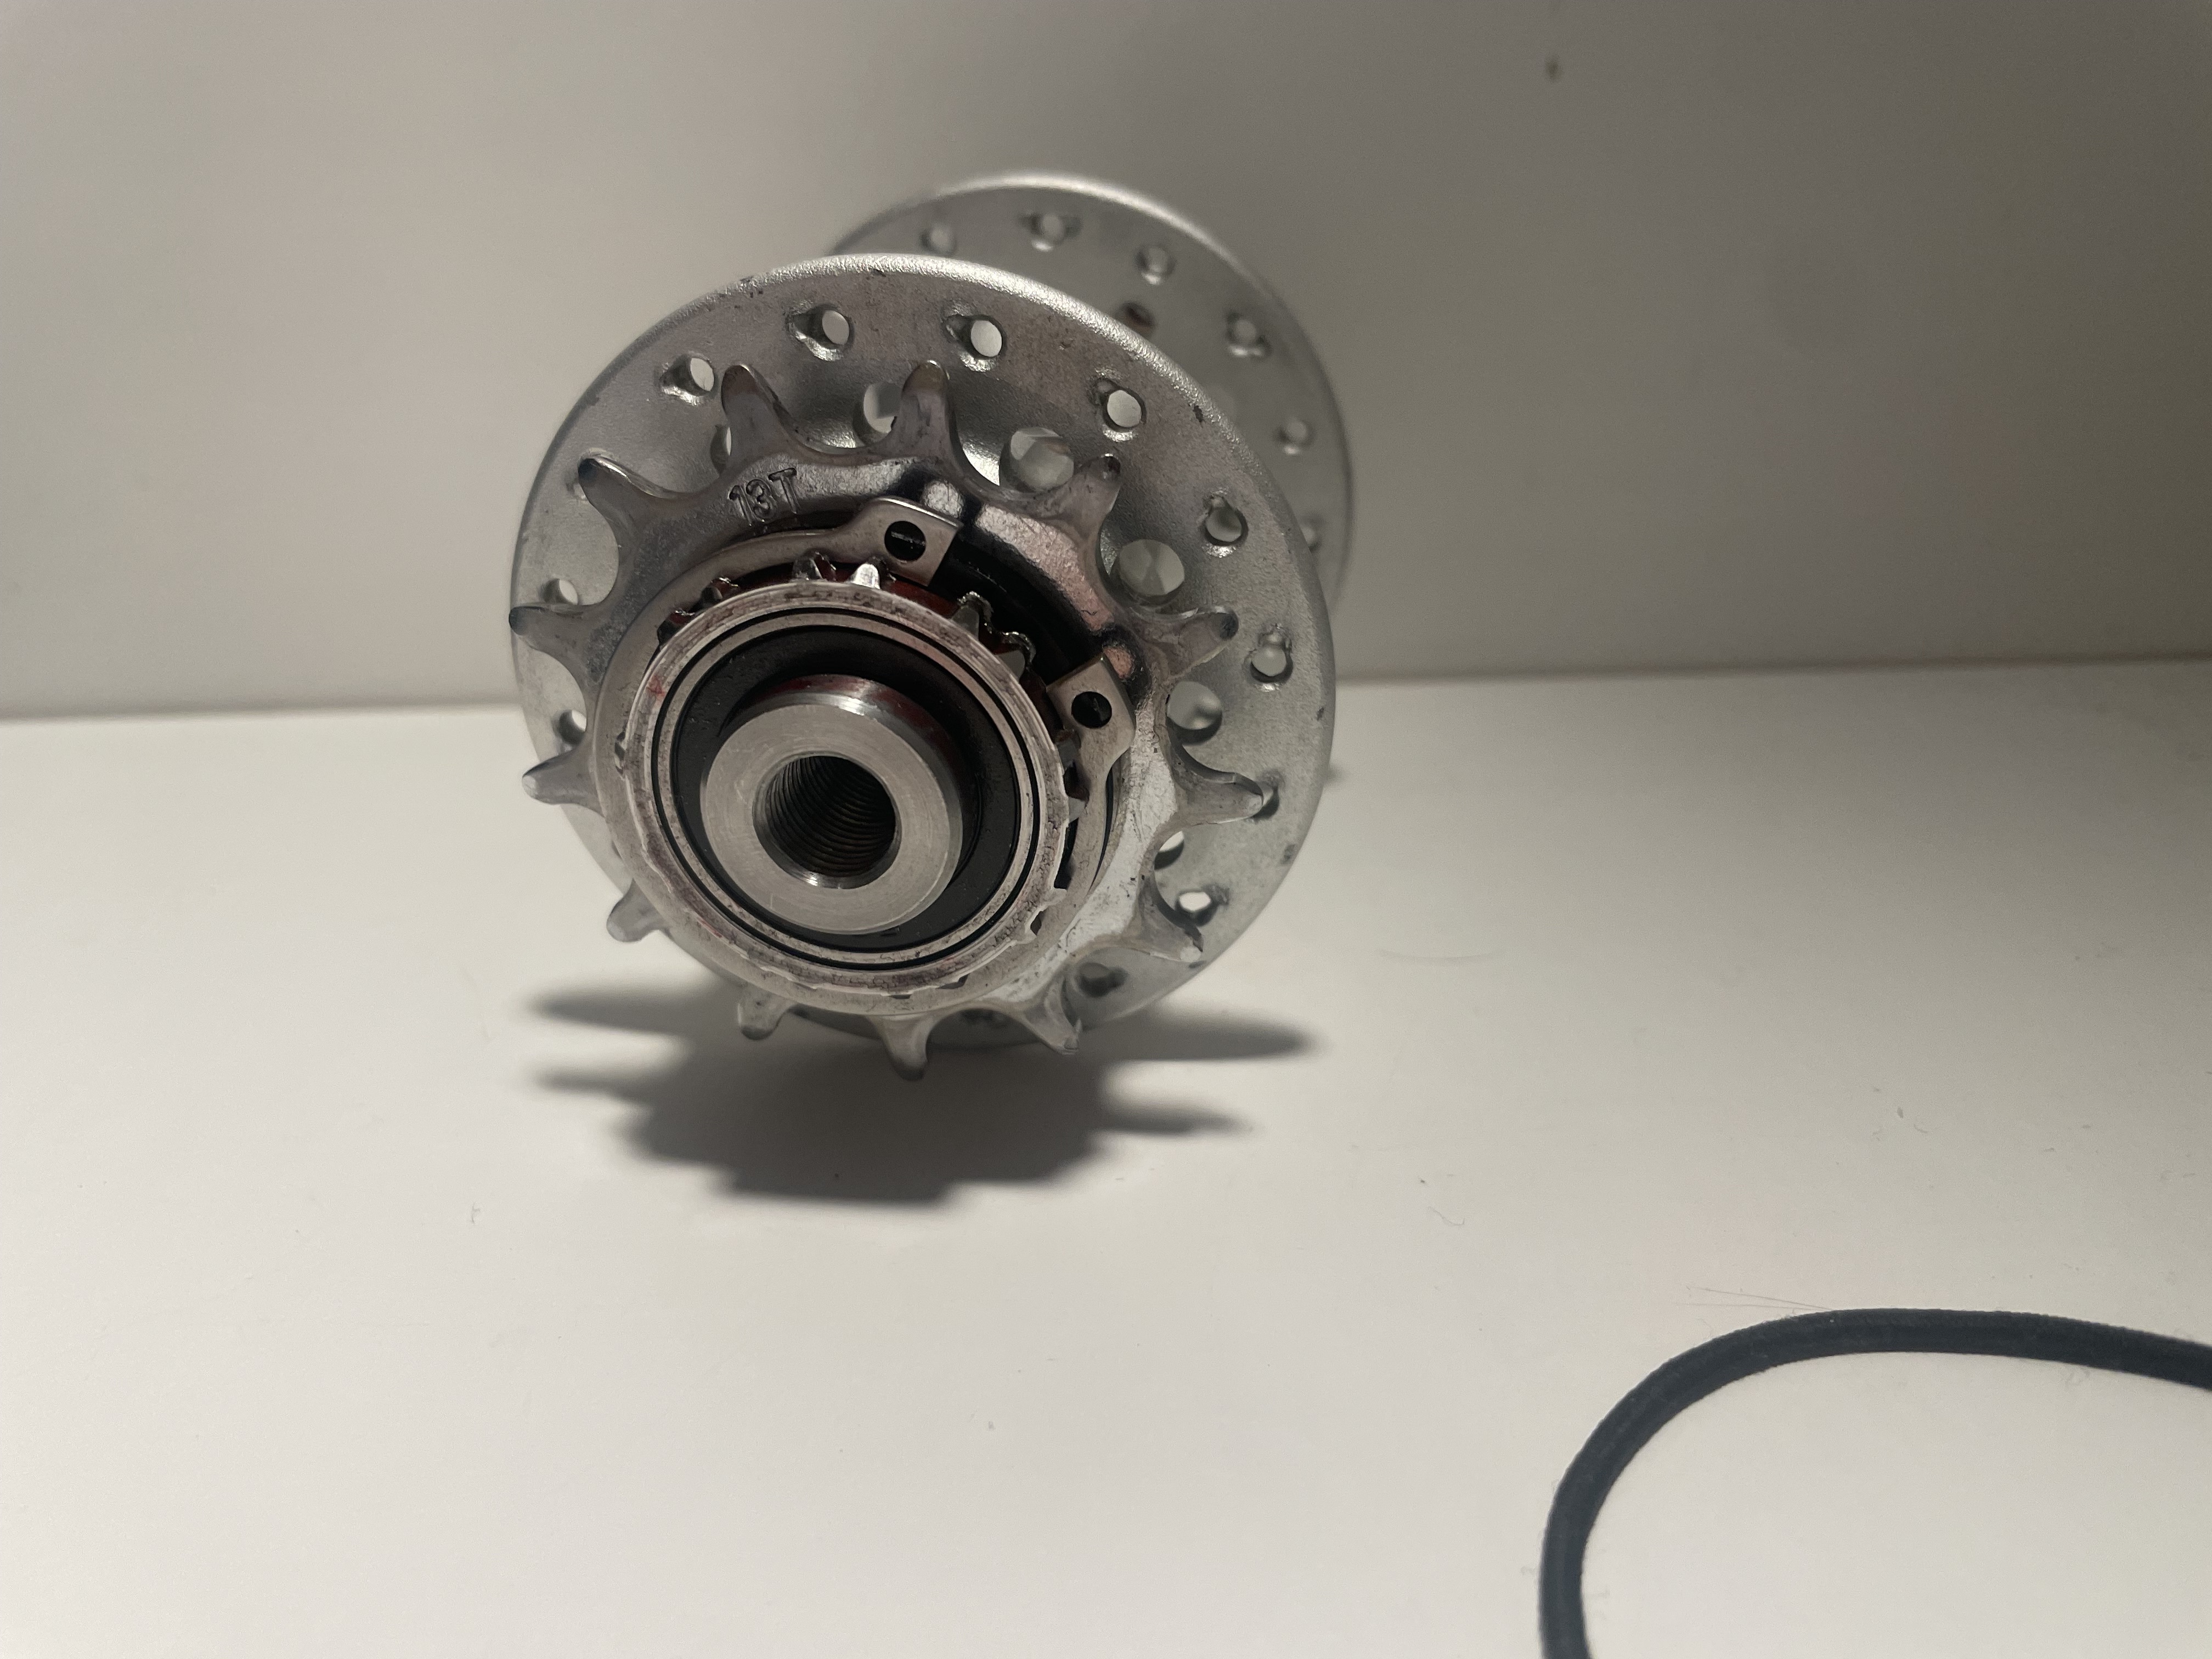
My latest project was welding a disk brake mount on a bmx and modifying a old hub to fit into the frame:
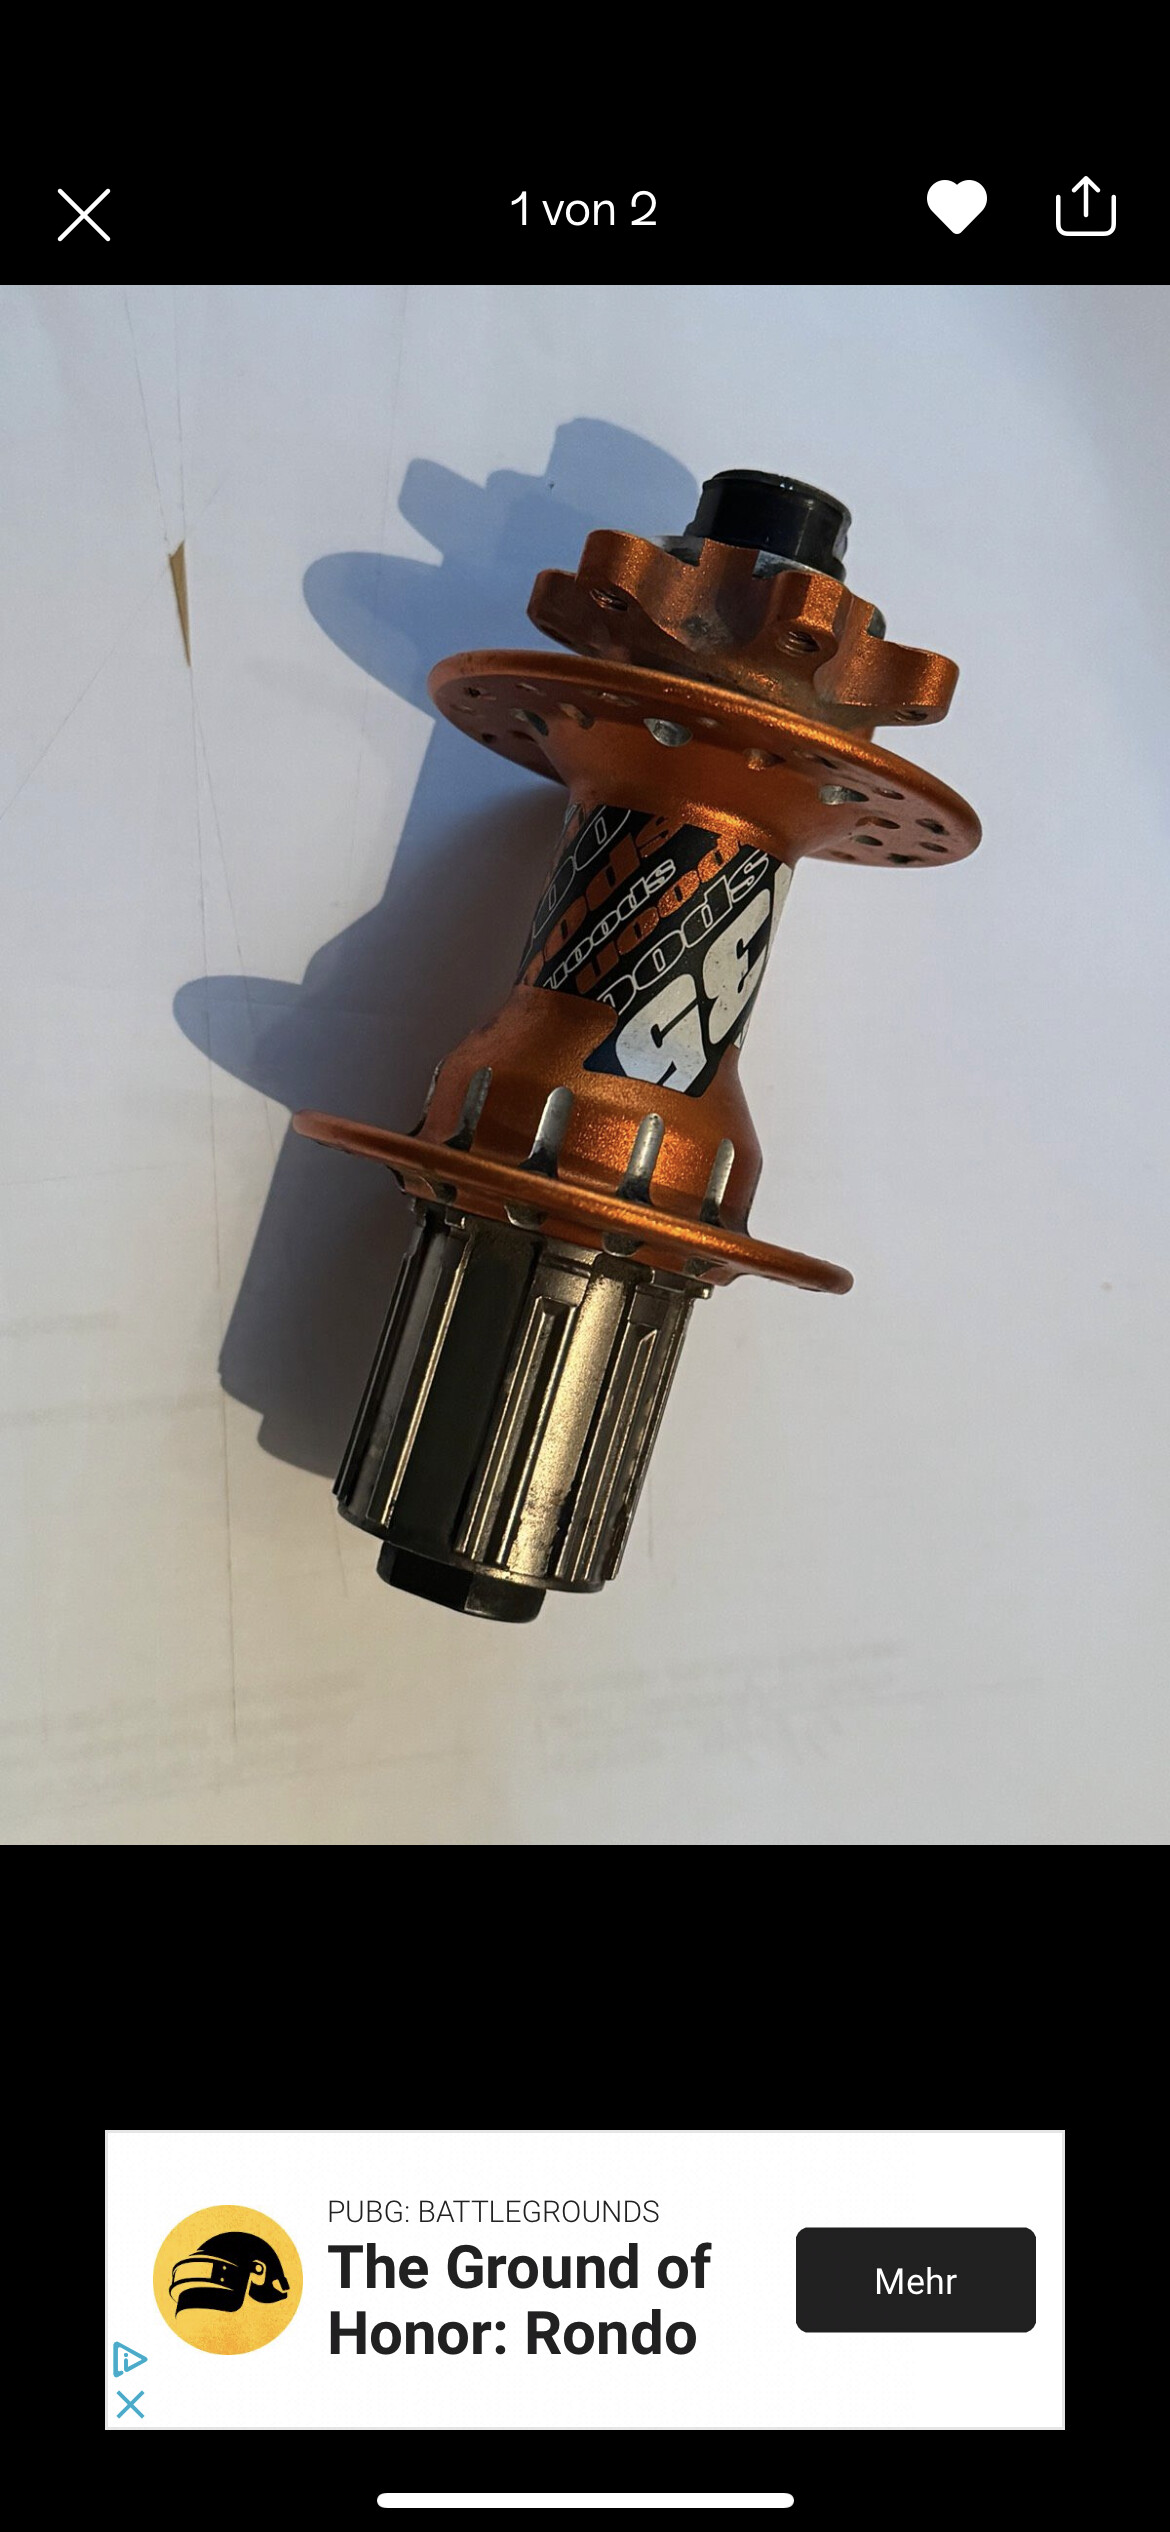
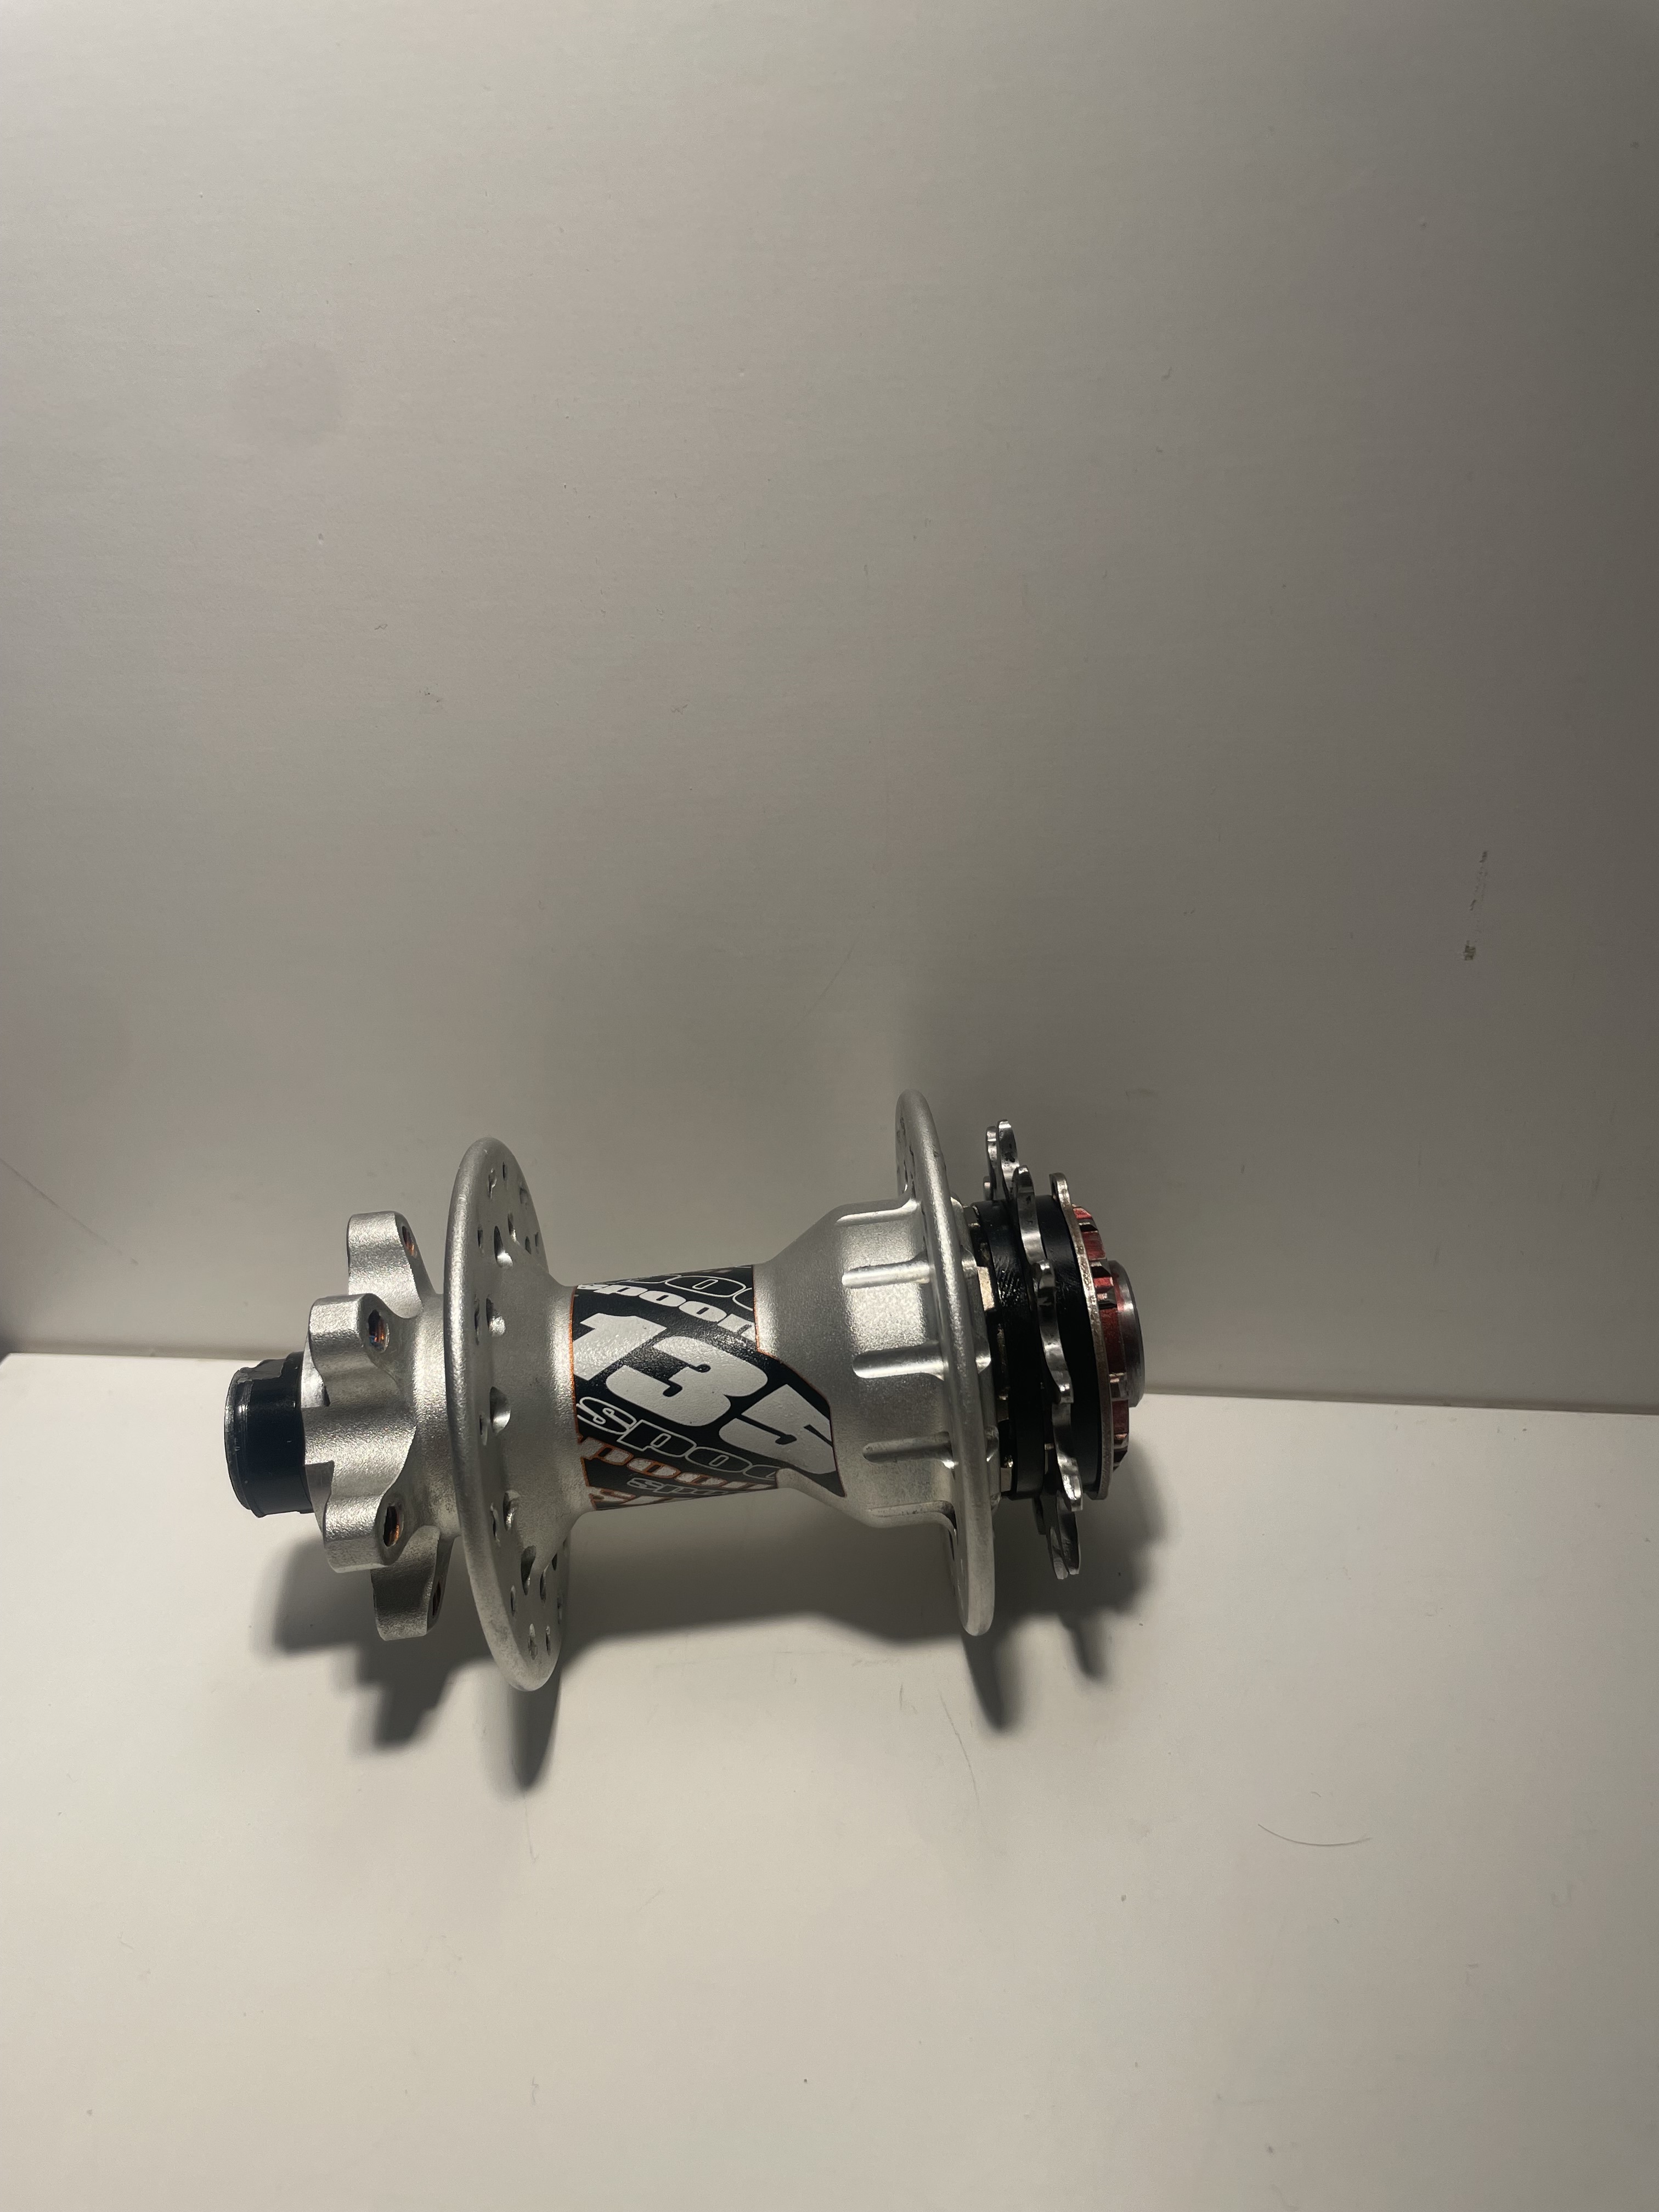
IMG_7510
IMG_7678
IMG_7680
image

I am really lucky that my chamber of crafts pays a frame building course in Zürich by Kolb Rahmenbau.

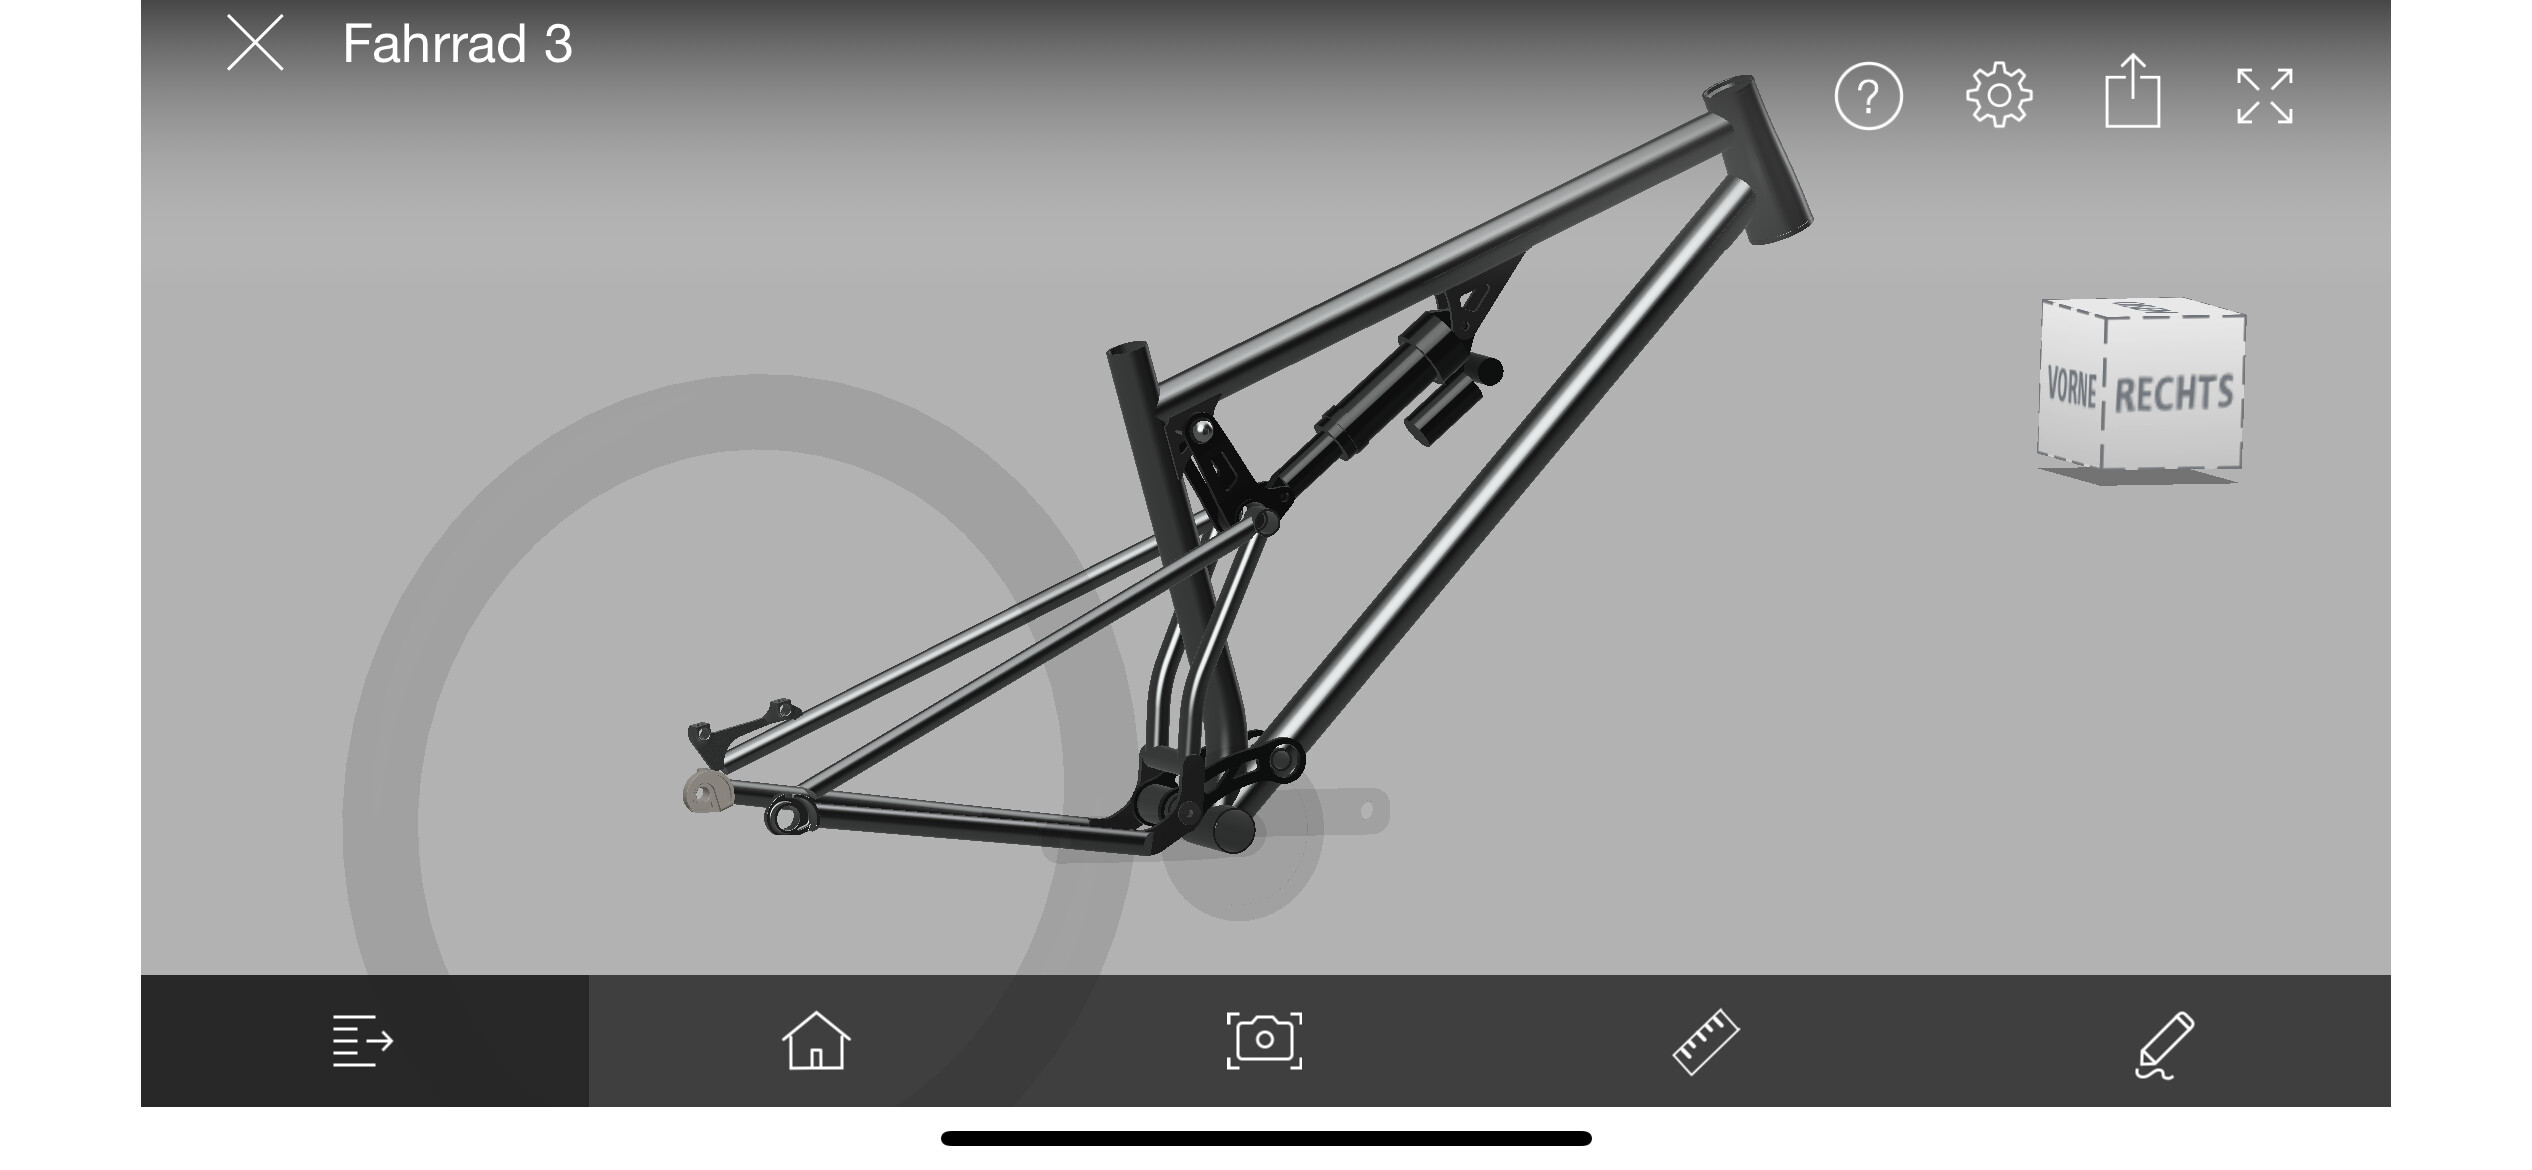
My plan for the course is to build a fullsuspension trail bike with 135mm of Travel
IMG_8747

I have already started to build a jig for the rear end and I can’t wait to build the bike!

Thank‘s for reading this far, I would be happy to receive any questions or feedback
22 Likes

Your bikes look awesome, nice work!

What geo did you use on the DJ frames? 24” front and rear wheels?

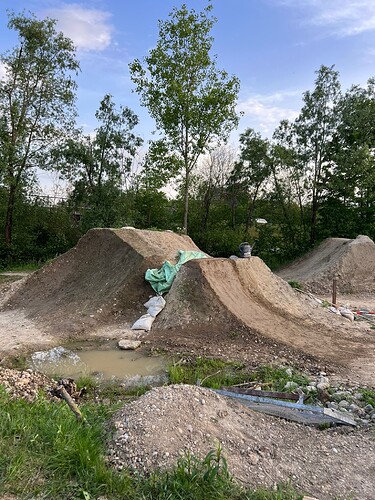
Let’s see a picture of the local jumps!

1 Like

Thank you!

Yeah I ride 24“ front and back, the first frame had 440mm of reach wich was way to big, the second frame has 416 mm of reach. I tought a lot about the bottom bracket drop difference between a 26“ and a 24“ frame and I went with a 20mm bb drop, wich rides amazing because you stand really low in the frame and feel really secure. The rear end is almost identical with 388mm of chainstay length wich makes the bike really stabel. The Head tube angle is 69.5 degree wich is pretty normal for a DJ frame.

Ps I love your cross bars maybe I try to bend my own ones one day

A picture of my Home Spot:

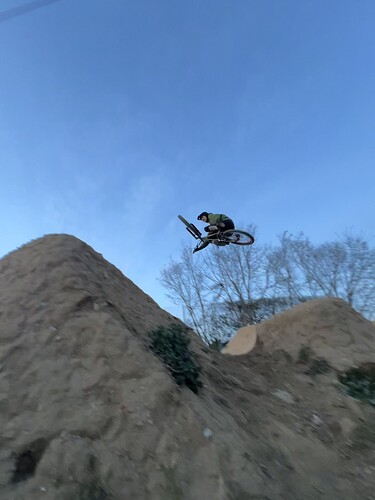
And a picture of the frame in action in La poma in spain:

9 Likes

Nice work!

2 Likes

I’ve been wanting to build a DJ, I think this is the inspiration I needed! Thanks!

I’m still not sure if I want to go 26 or 24. I know a 24 I’ll be able to tuck more but a 26 won’t be such a drastic change from my daily 29x2.6 bike.

The jumps look nice!

1 Like

Welcome! @Loose_Levin

That yoke is really impressive, and the full suspension design is very nice as well. I am surprised by how many good designers, fabricators, and skilled riders are on the forum!

1 Like

Nice work!

For DJs, 24 is so slept on. Love it.

1 Like

Thanks for the nice feedback:)

It is a huge step from 24“ to 29“, when I ride my downhill bike it feels really big. Maybe I change the Dh to a 27,5/26“ set up…

The big advantage of 24“ is that transitions are relatively bigger and you can push better. You are also quite low wich feels really secure and it‘s really playfull.
The downside is that you are not as stabel (but you get used to it) and bumps and rocks feel bigger.

1 Like

And thanks again for your tutorials, without them I wouldn‘t be able to use Fusion :slight_smile:

2 Likes

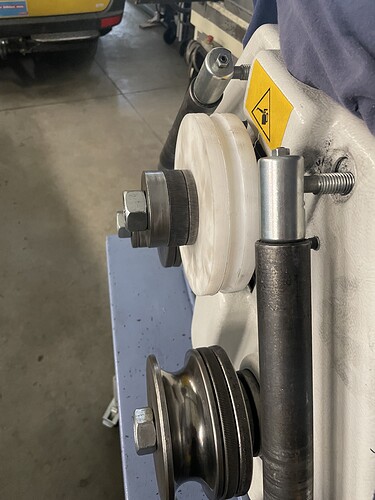
Today I tried to improve my bending set up, but sadly it didn’t work out :frowning:

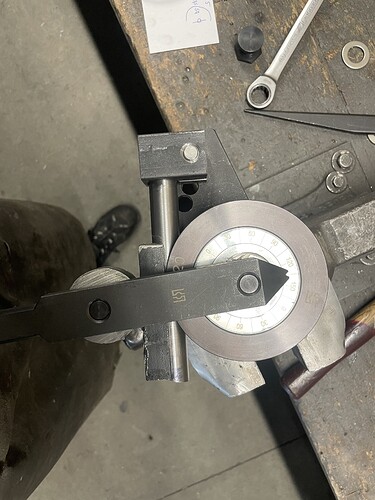
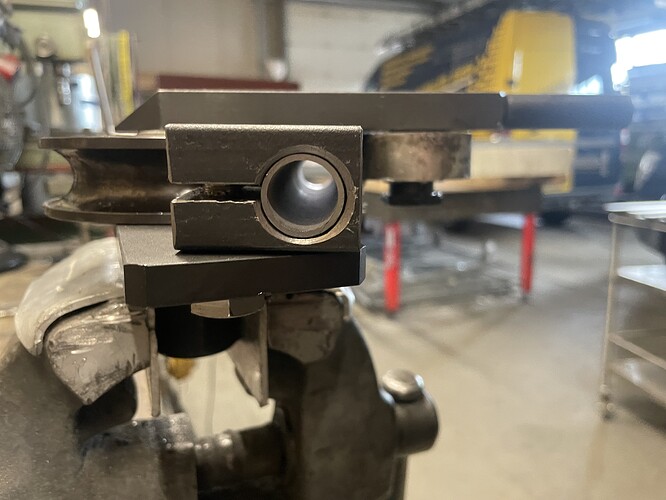
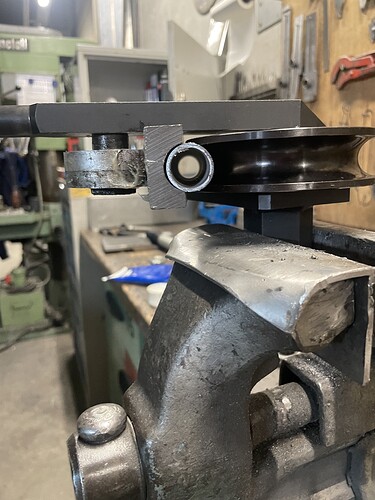
I wanted to improve a bender by adding a clamp block and a follow bar:


The tube is 20x1mm chromoly
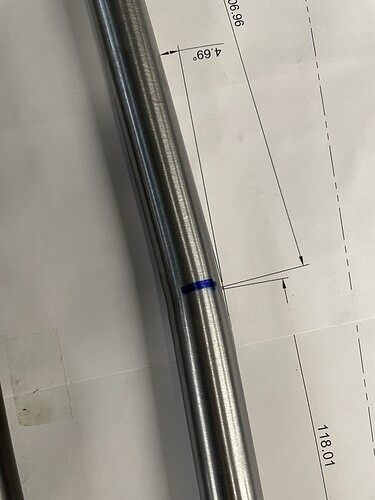
I need a 5 degree bend and the bender has a 60mm radius (wich is probabbly to small)
I used sand inside the tube but I still got wrinkels:

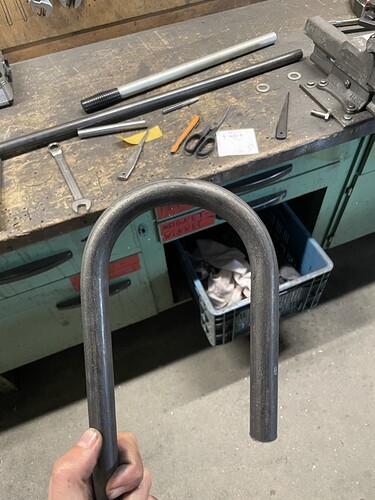
The Bender on mild steel:

Maybe someone has a solution to my problem.

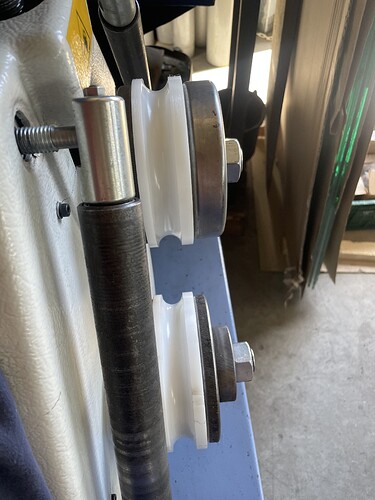
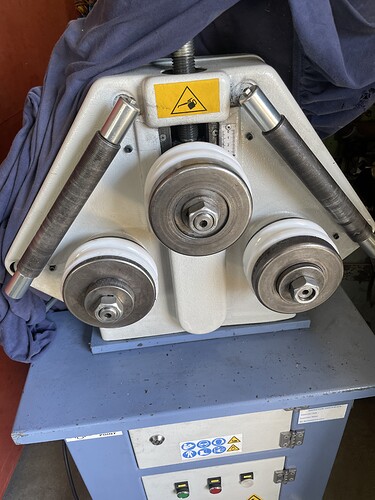
My plan b is to use a Roller bender wich we have at work to bend hand rails. Sadly we don‘t have 20mm dies so I have to make my own ones. I probbably use some hard plastic because it’s way cheaper and easyer to machine. I have allready made a 12mm die to bend round stock wich worked really good.

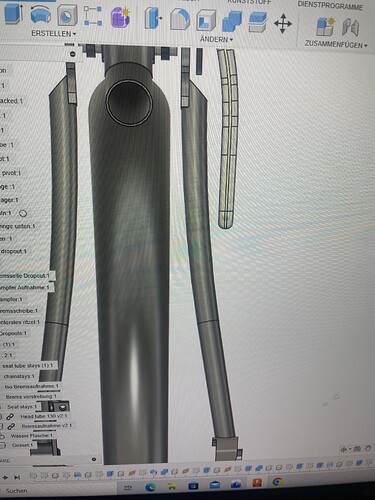
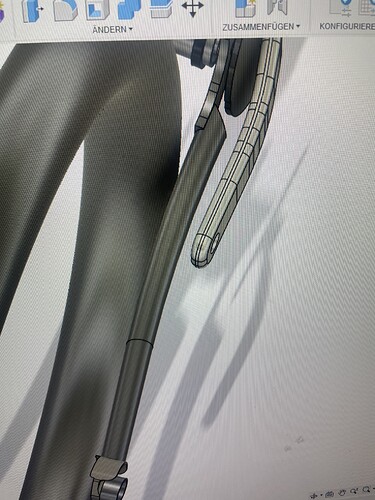
Now I have to draw new chainstays in fusion with a way bigger radius.

Let‘s hope that the next chain stays won‘t land in the bin.

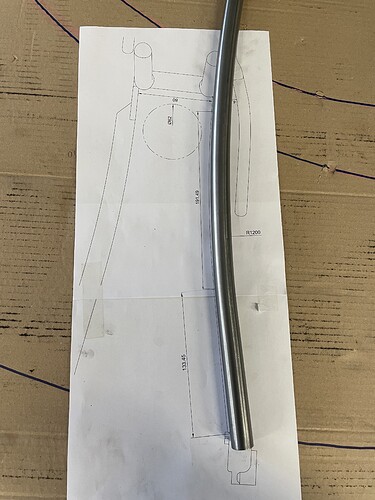
Updatet chainstays:


2 Likes

Those rolled chainstays look really cool!

I agree, 60mm is probably the issue. The Cobra bender is very rigid, but even with the follow bar and the 115mm radius die, the tube will indent a bit on the bend. I imagine a 60mm CLR die is just too aggressive without an internal mandrel.

2 Likes

What if you use heat while bending?

Might be worth a try, but I want to see how the roller bender works and I have already turned the dies today.

Last week I have bend the chainstays on the ring roller and it worked out really good!


A cool bonus is that I bend one tube and cut it apart in two chainstays wich results in 2 identical bends

Next week I‘m going to Bend a 12mm tube for a brake bracing with a way tighter radius (~200mm) and I hope it works out fine.

And the waterjet cut parts finally arrived, they look so cool :slight_smile:

8 Likes

Hey!

I finished my new Frame! :slight_smile:

I will Upload more stuff when I have some Time…

But now I need your Help, I need to ream the Headset, it‘s a paragon Head Tube with is 41/ is52. Do you know someone in south Germany or switzerland who has a is 41 reamer?

Thanks for your help!

7 Likes

Just seeing the rolled C’s, those look great.

Finished bike is looking good

1 Like

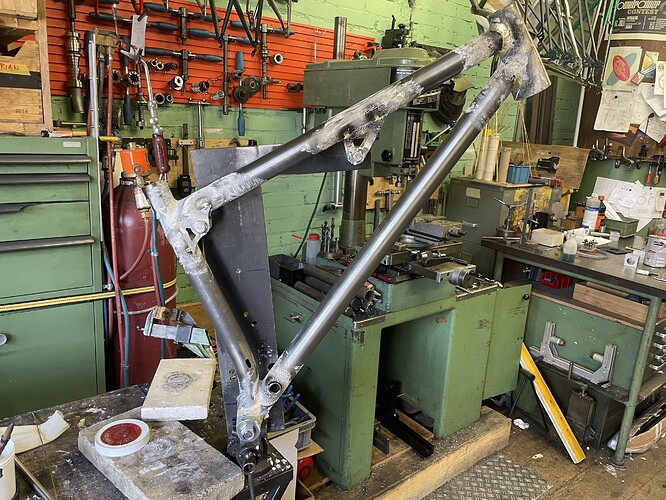
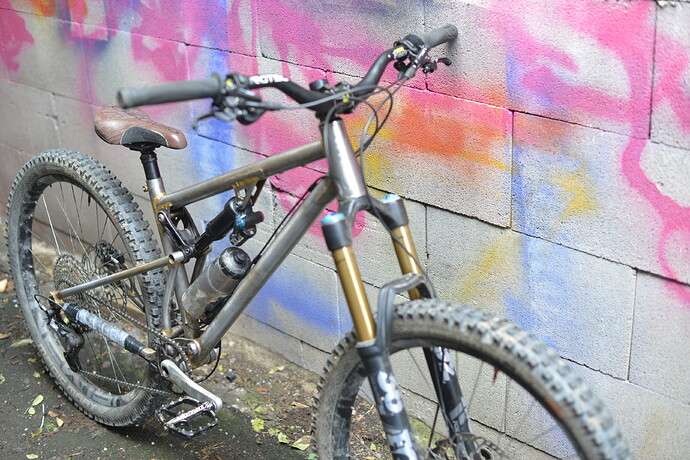
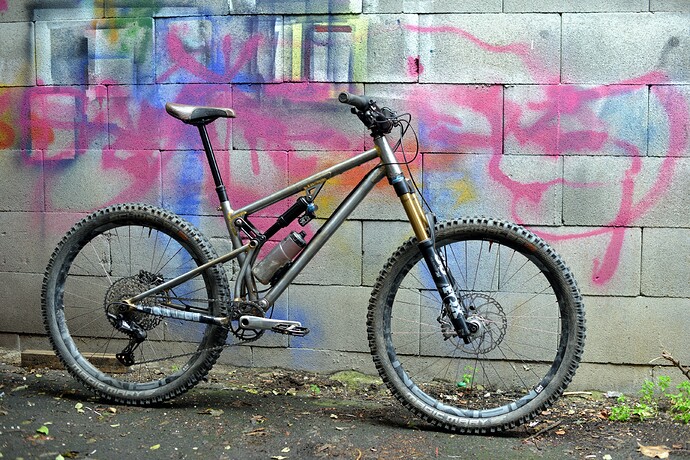
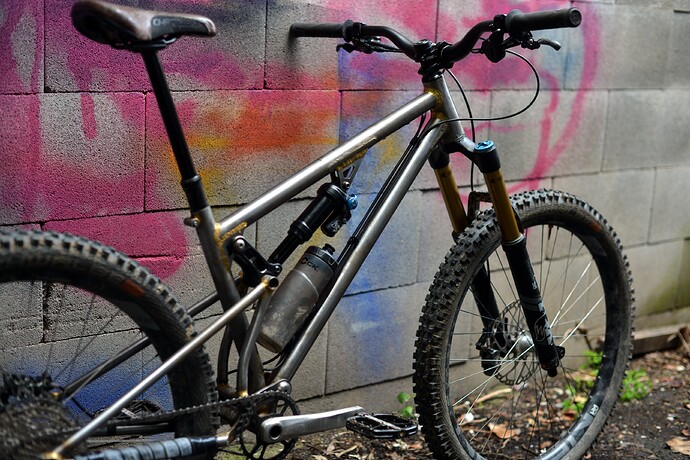
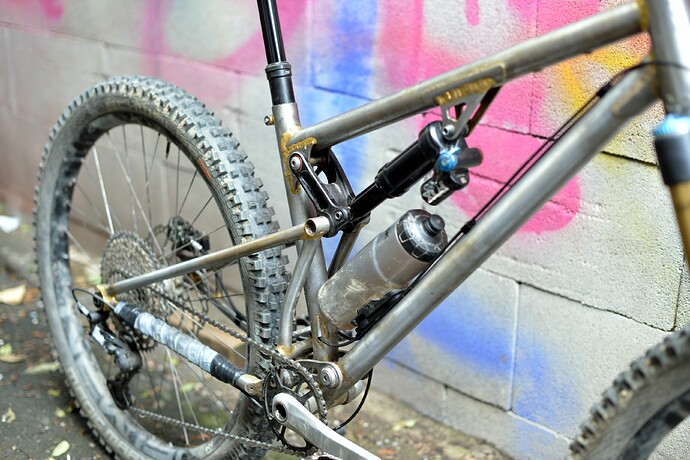
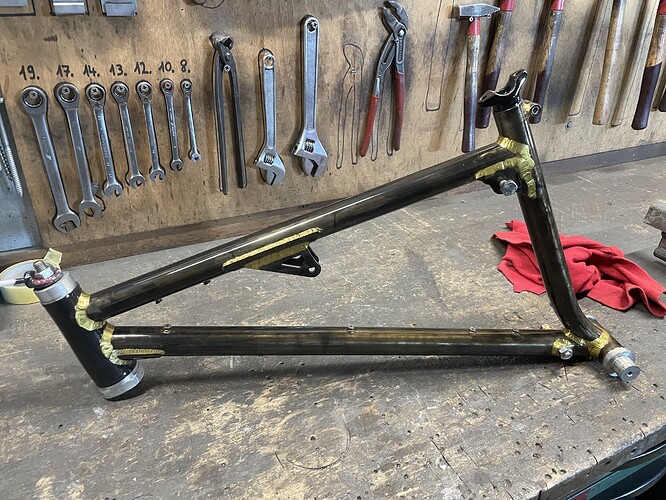
Hey I finally have some time to post more about my Frame building course at Kolb Rahmenbau. I didn‘t really know what type of bike I wanted to build and Wim suggestet to think of I bike that I really liked and Build something simmilar. So I copied my favorite bike wich is a Santa Cruz 5010 in size M from 2018:

|Reach|437|
|Stack|600|
|Head tube angle|66.2|
|Head tube length|130|
|Seat tube angle|74.9|
|Seat tube length|405|
|Chainstay|426|
|Front Center|741|
|BB height|330|
|BB drop|24|
|Wheelbase|1167|
|TT length|598|
|Standover|707|

I am 1,85 m tall and it‘s a really small frame for me, but I love that…

The material and tubes I used:

Head tube: Paragon is 41 is 52 130mm
Top tube: 35x1 straight gauge 4130
Down tube: 38x1/5/9 butted
Seat tube: 35mm bent tube with collar from bike fab supply
All the plate steel is S355 (stronger mild Steel) water jet cut
Upper damper mount is 4mm
The Upper pivot mount is 3mm
And the yoke and lower swing are 6mm
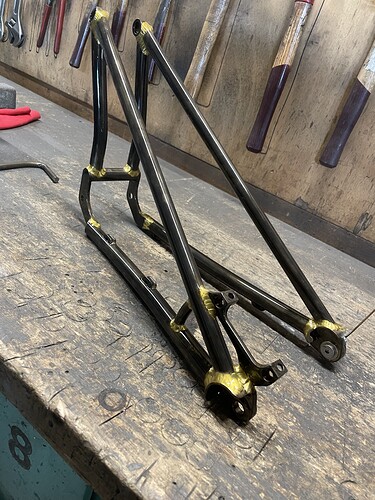
Chain stays are 20x1mm 4130 rolled/bend by my Self
Seat stays are 18x1mm straight 4130
And the seat/chain stays (don‘t know how to call them) are 19x0,9 bmx seat stays from bfs
Drop outs are the udh drop outs from Paragon with their post mount
The swing arm mounts are turned by my self from mild steel I had laying around

I made the fusion model by my self and Wim was happy with the desing. He was as excited as me to build a full Suspension…

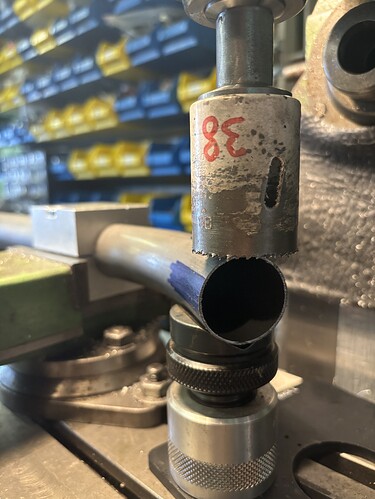
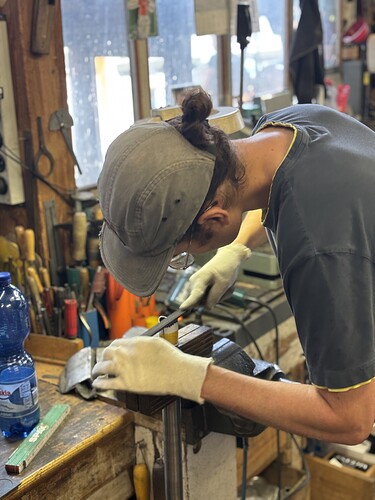
First of all we started by mitering the tubes, some of them I mitered by hand and some of them with a hole saw


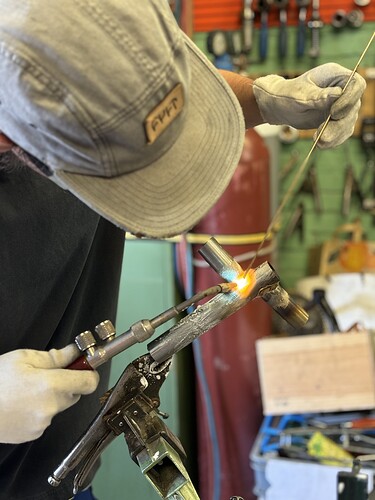
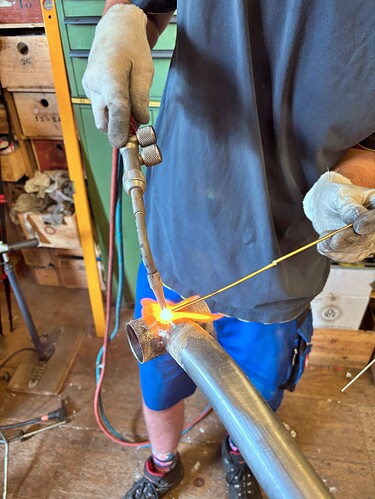
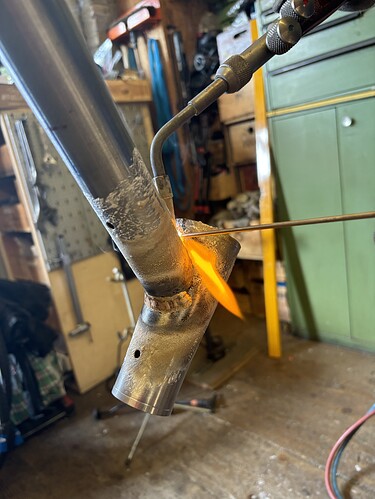
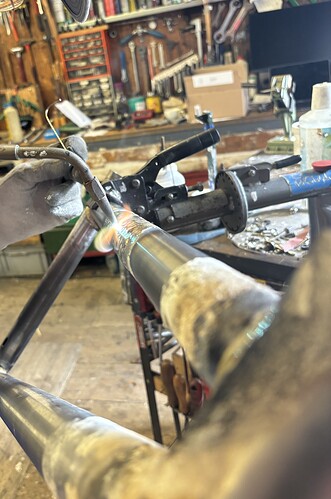
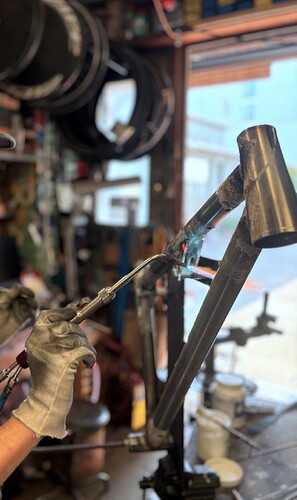
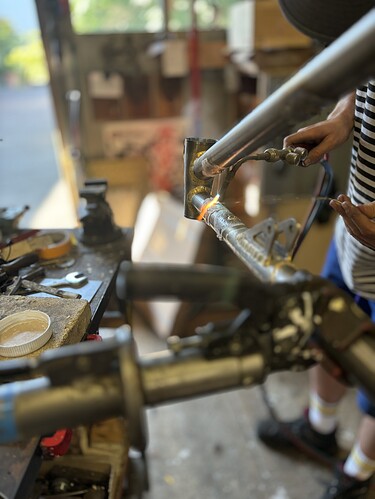
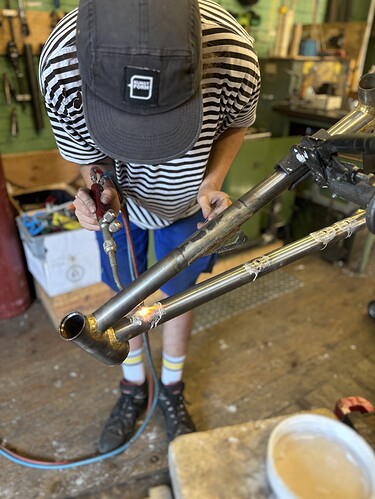
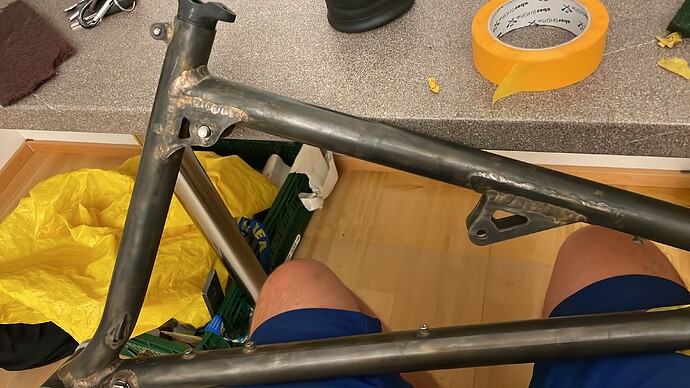
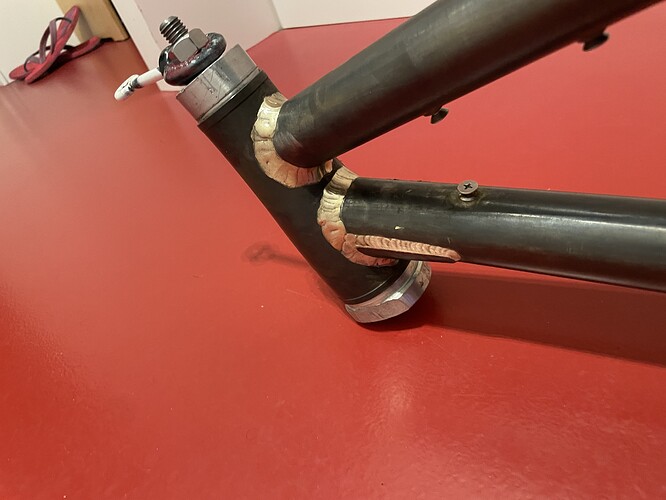
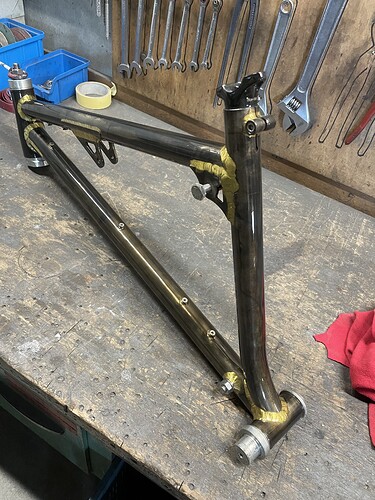
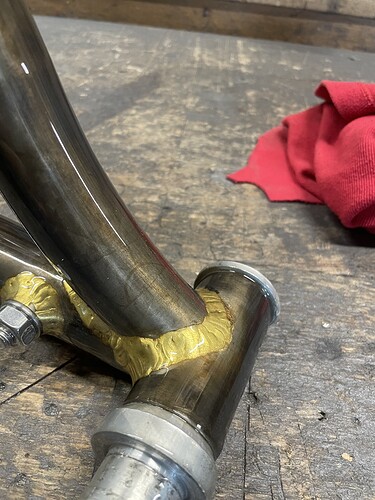
I never brazed bevor, but Wim is a good teacher and I was suprised how „easy“ it was.
(Still a lot of room for Improvement)
I really enjoyed it and probably invest in my own brazing equipment.


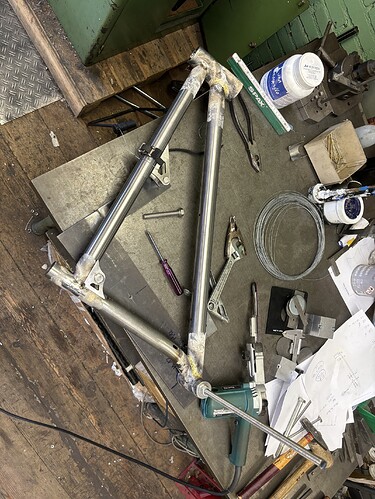
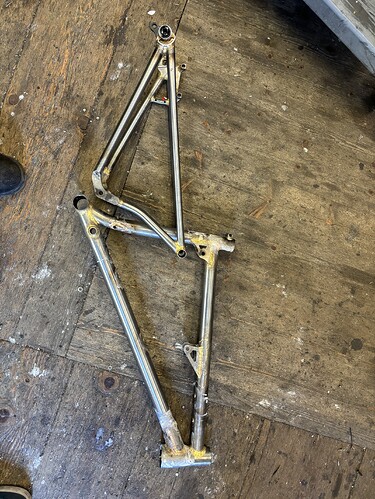
We brazed the front triangle like a hockey Stick wich made the head tube joint really easy, but I think when you weld everything together and look on the welding order you end up with less distortion.

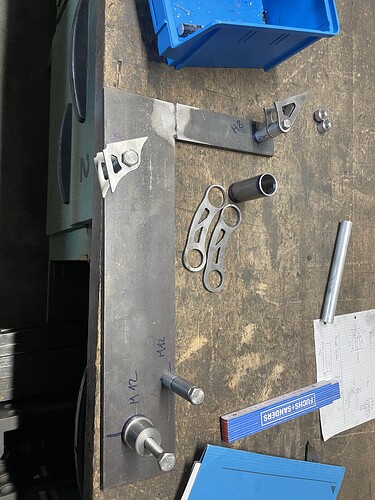
Next step where all the Pivot points and top tube gusset. The jig is some 10x100 mm mild steel plate with some threads at the right location


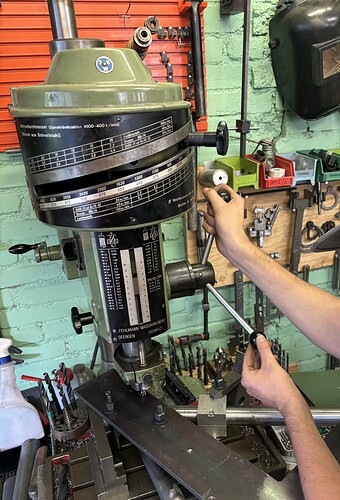
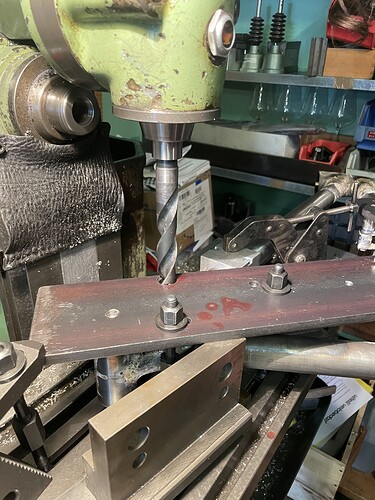
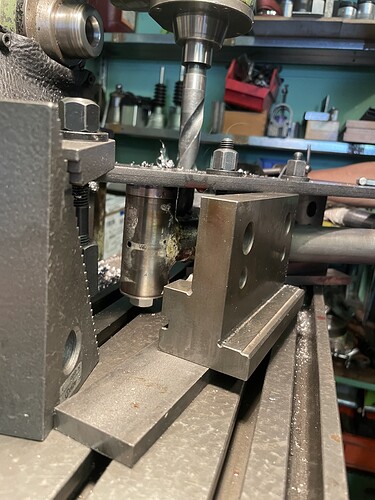
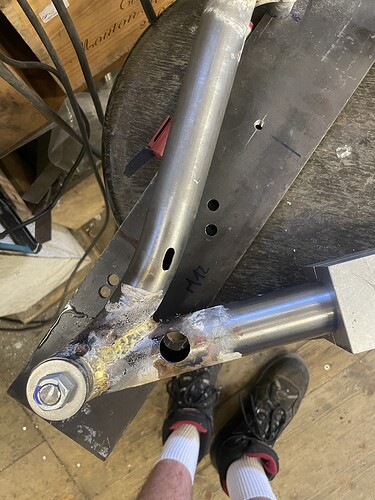
The main Pivot was a bit scary because we Had to get a big whole in the Frame. We used the jig as a drilling template wich worked really well. First pass was with a endmill.

Then we opened up the hole with a 19 mm Drill, it worked out way better than I thought because the set up was really ridgit.


The Main Pivot is a 19mm „tube“ with a 15mm hole wich is reamed to H7.

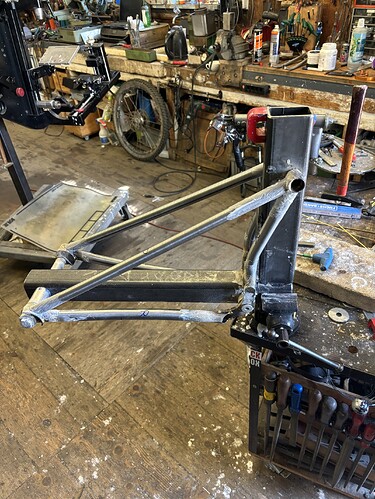
For the rear end I had build a jig from some old tubes I had laying around at work.


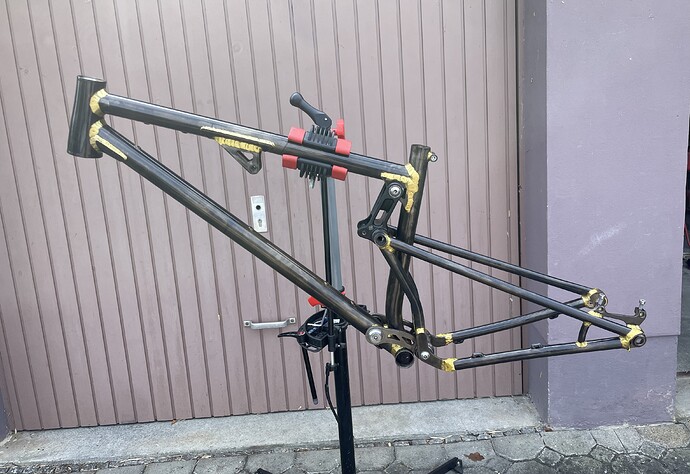
Adding some water bottel bosses and external brake routing. I hate internal cabel routing it just makes life unnecessary harder.


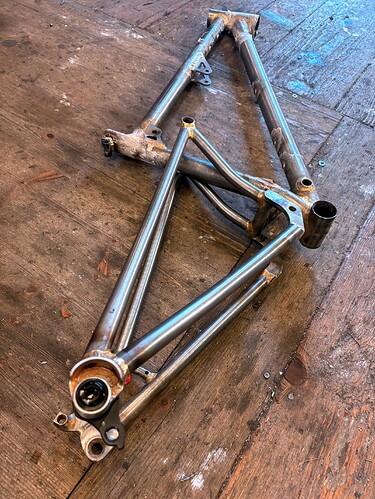
Almost finished frame:


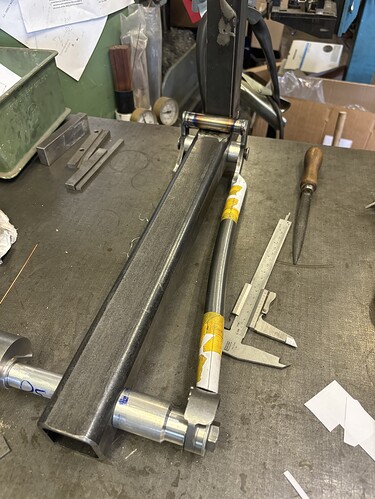
I have left the wholes in the lower swing a littel undersize to allow for post weld reaming.
We measured the old swing and done some test cuts with an adjustabel reamer in an scrap peace. The tube part was really easy but the plate steel part was really difficult because the reamer wasnt straight by it self. So we did some sketchy lathe work:

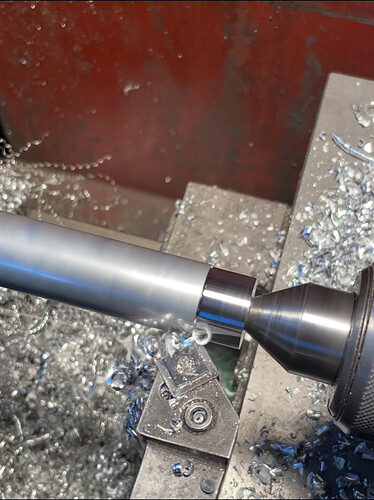
I turned the axels back home they are from some high strenght Aluminium. Sadly I didn‘t made any fotos from the axels but here is a foto from a nice surface finish :slight_smile:
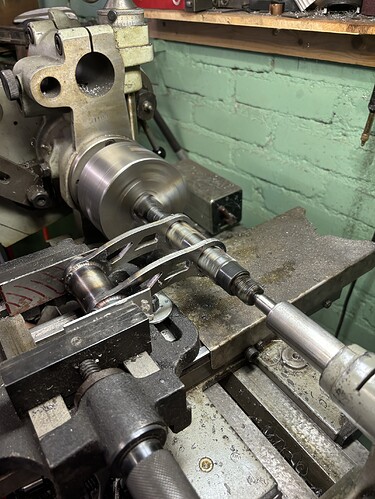
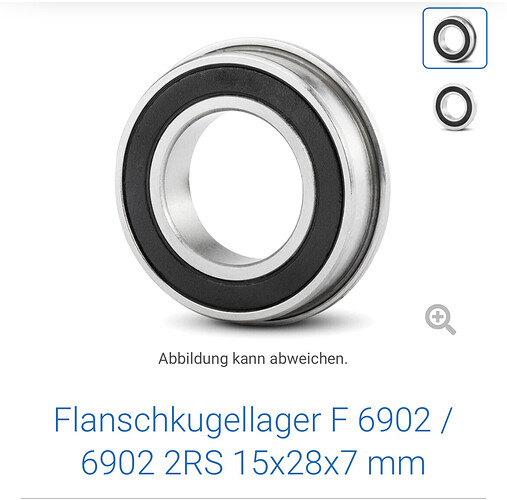
The bearings I used are some 6902 bearings with a shoulder

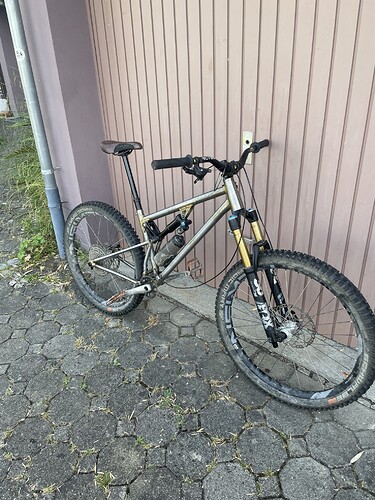
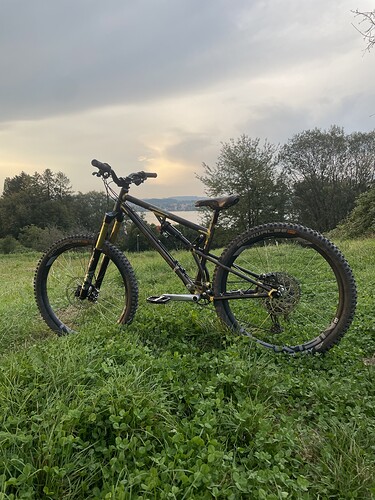
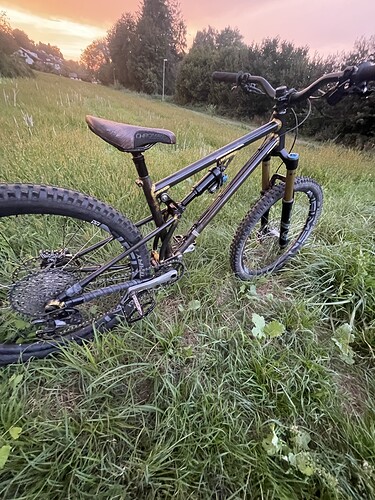
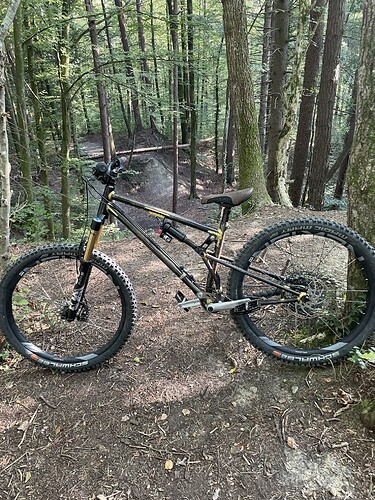
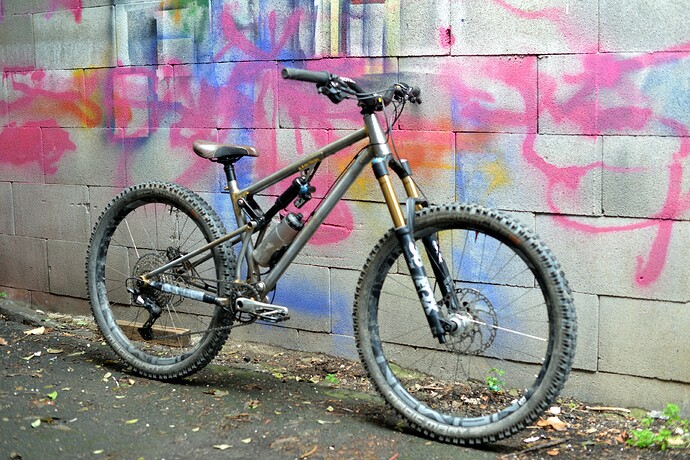
Finished bike:


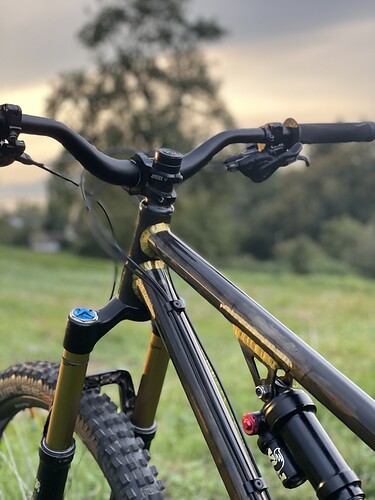
I rode it for a month raw but I wanted to cold blue the frame:

I thought that the „welds“ would stay golden but they turned black as well, so I had to polish them for a couple of hours.
Sadly the guy who coatet my other frames don‘t work anymore so I had to bring the frame to a new guy wich was scary…
But the frame turned out really cool


I only did one coat of cold blue but I like the ratty look and it has different colours when the sun hit‘s it.

The finished frame:


Thanks to Wim for the awesome week!

And thanks for reading this far and sorry for my bad english.

I would love some questions or feedback!

22 Likes

Yo! Amazing that ya built a dually as a first build. Looks like a heap of learning and such a sick bike as well!
1 Like

Excellent work! Love the look
1 Like