Mikesbikester builds

Going to jump right in to what I’ve been working on, things that worked and didn’t work for me. Success and failure, so hopefully someone else might be able to not make the same mistakes, or might benefit from something that I learned the hard way. Most everything is going to be low cost, home made for now.

I built a couple frames in a friend’s shop, I’m going to skip over those.

In an effort to scale back my mechanical projects to take less space, I’ve spent the last couple years cleaning out and finishing various car projects. Building a bike frame is a much less space and time intensive project than say, building a tube chassis for a car.

I rarely ride my road bike and thought it would be good to build a gravel frame to replace the road bike and my run around town bike, so out came a frame jig that I put together back in college. It’s been following me around around for almost 10 years.


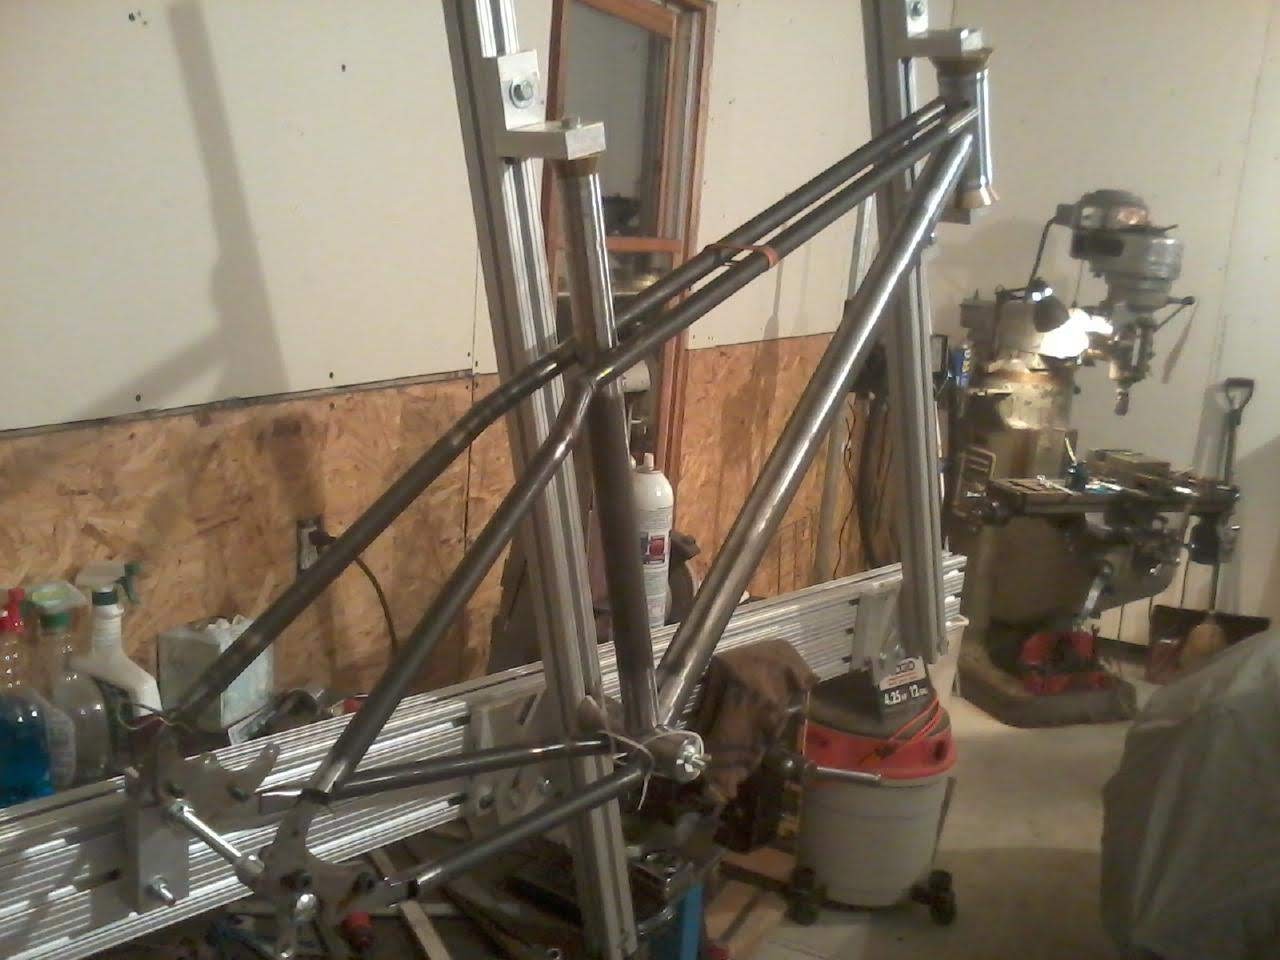
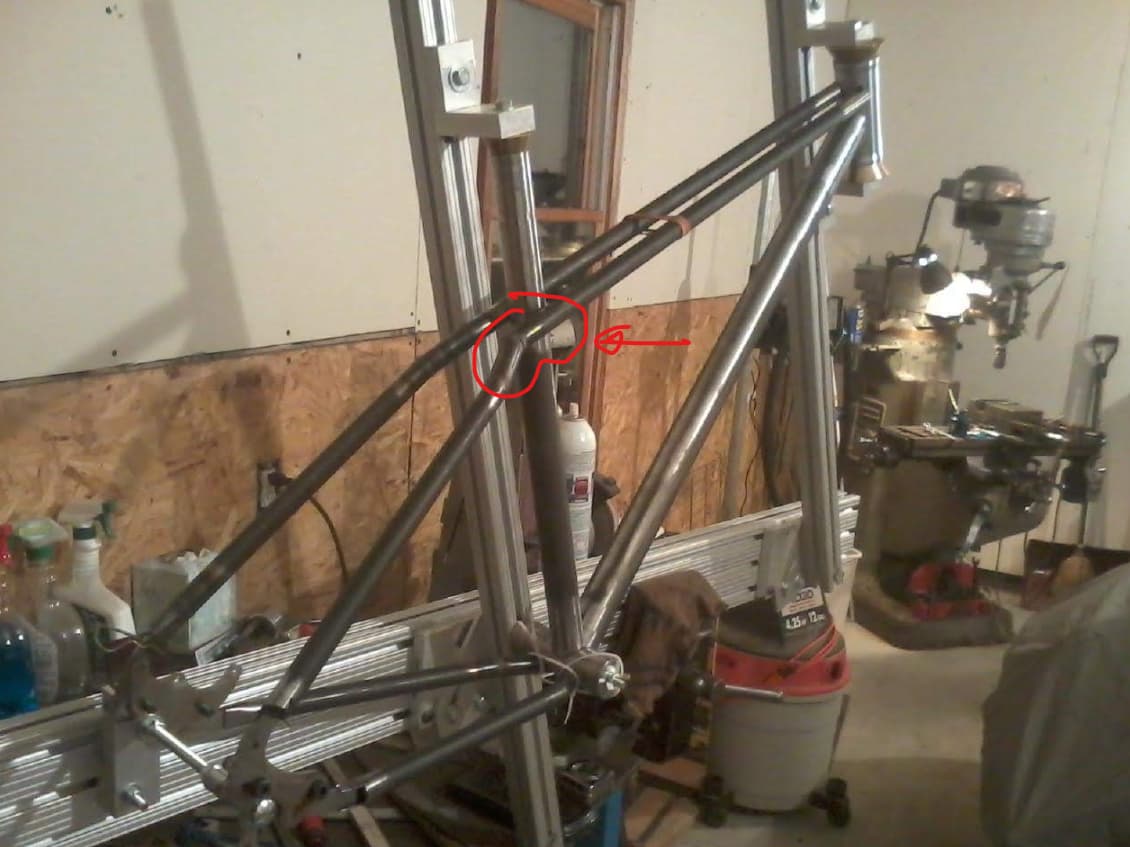
These pictures are from my dad’s garage, I don’t have a Bridgeport unfortunately. Learned a lot making this frame, ended up scrapping it. So the frame jig I had built a long time ago and uh well it was pretty bad.

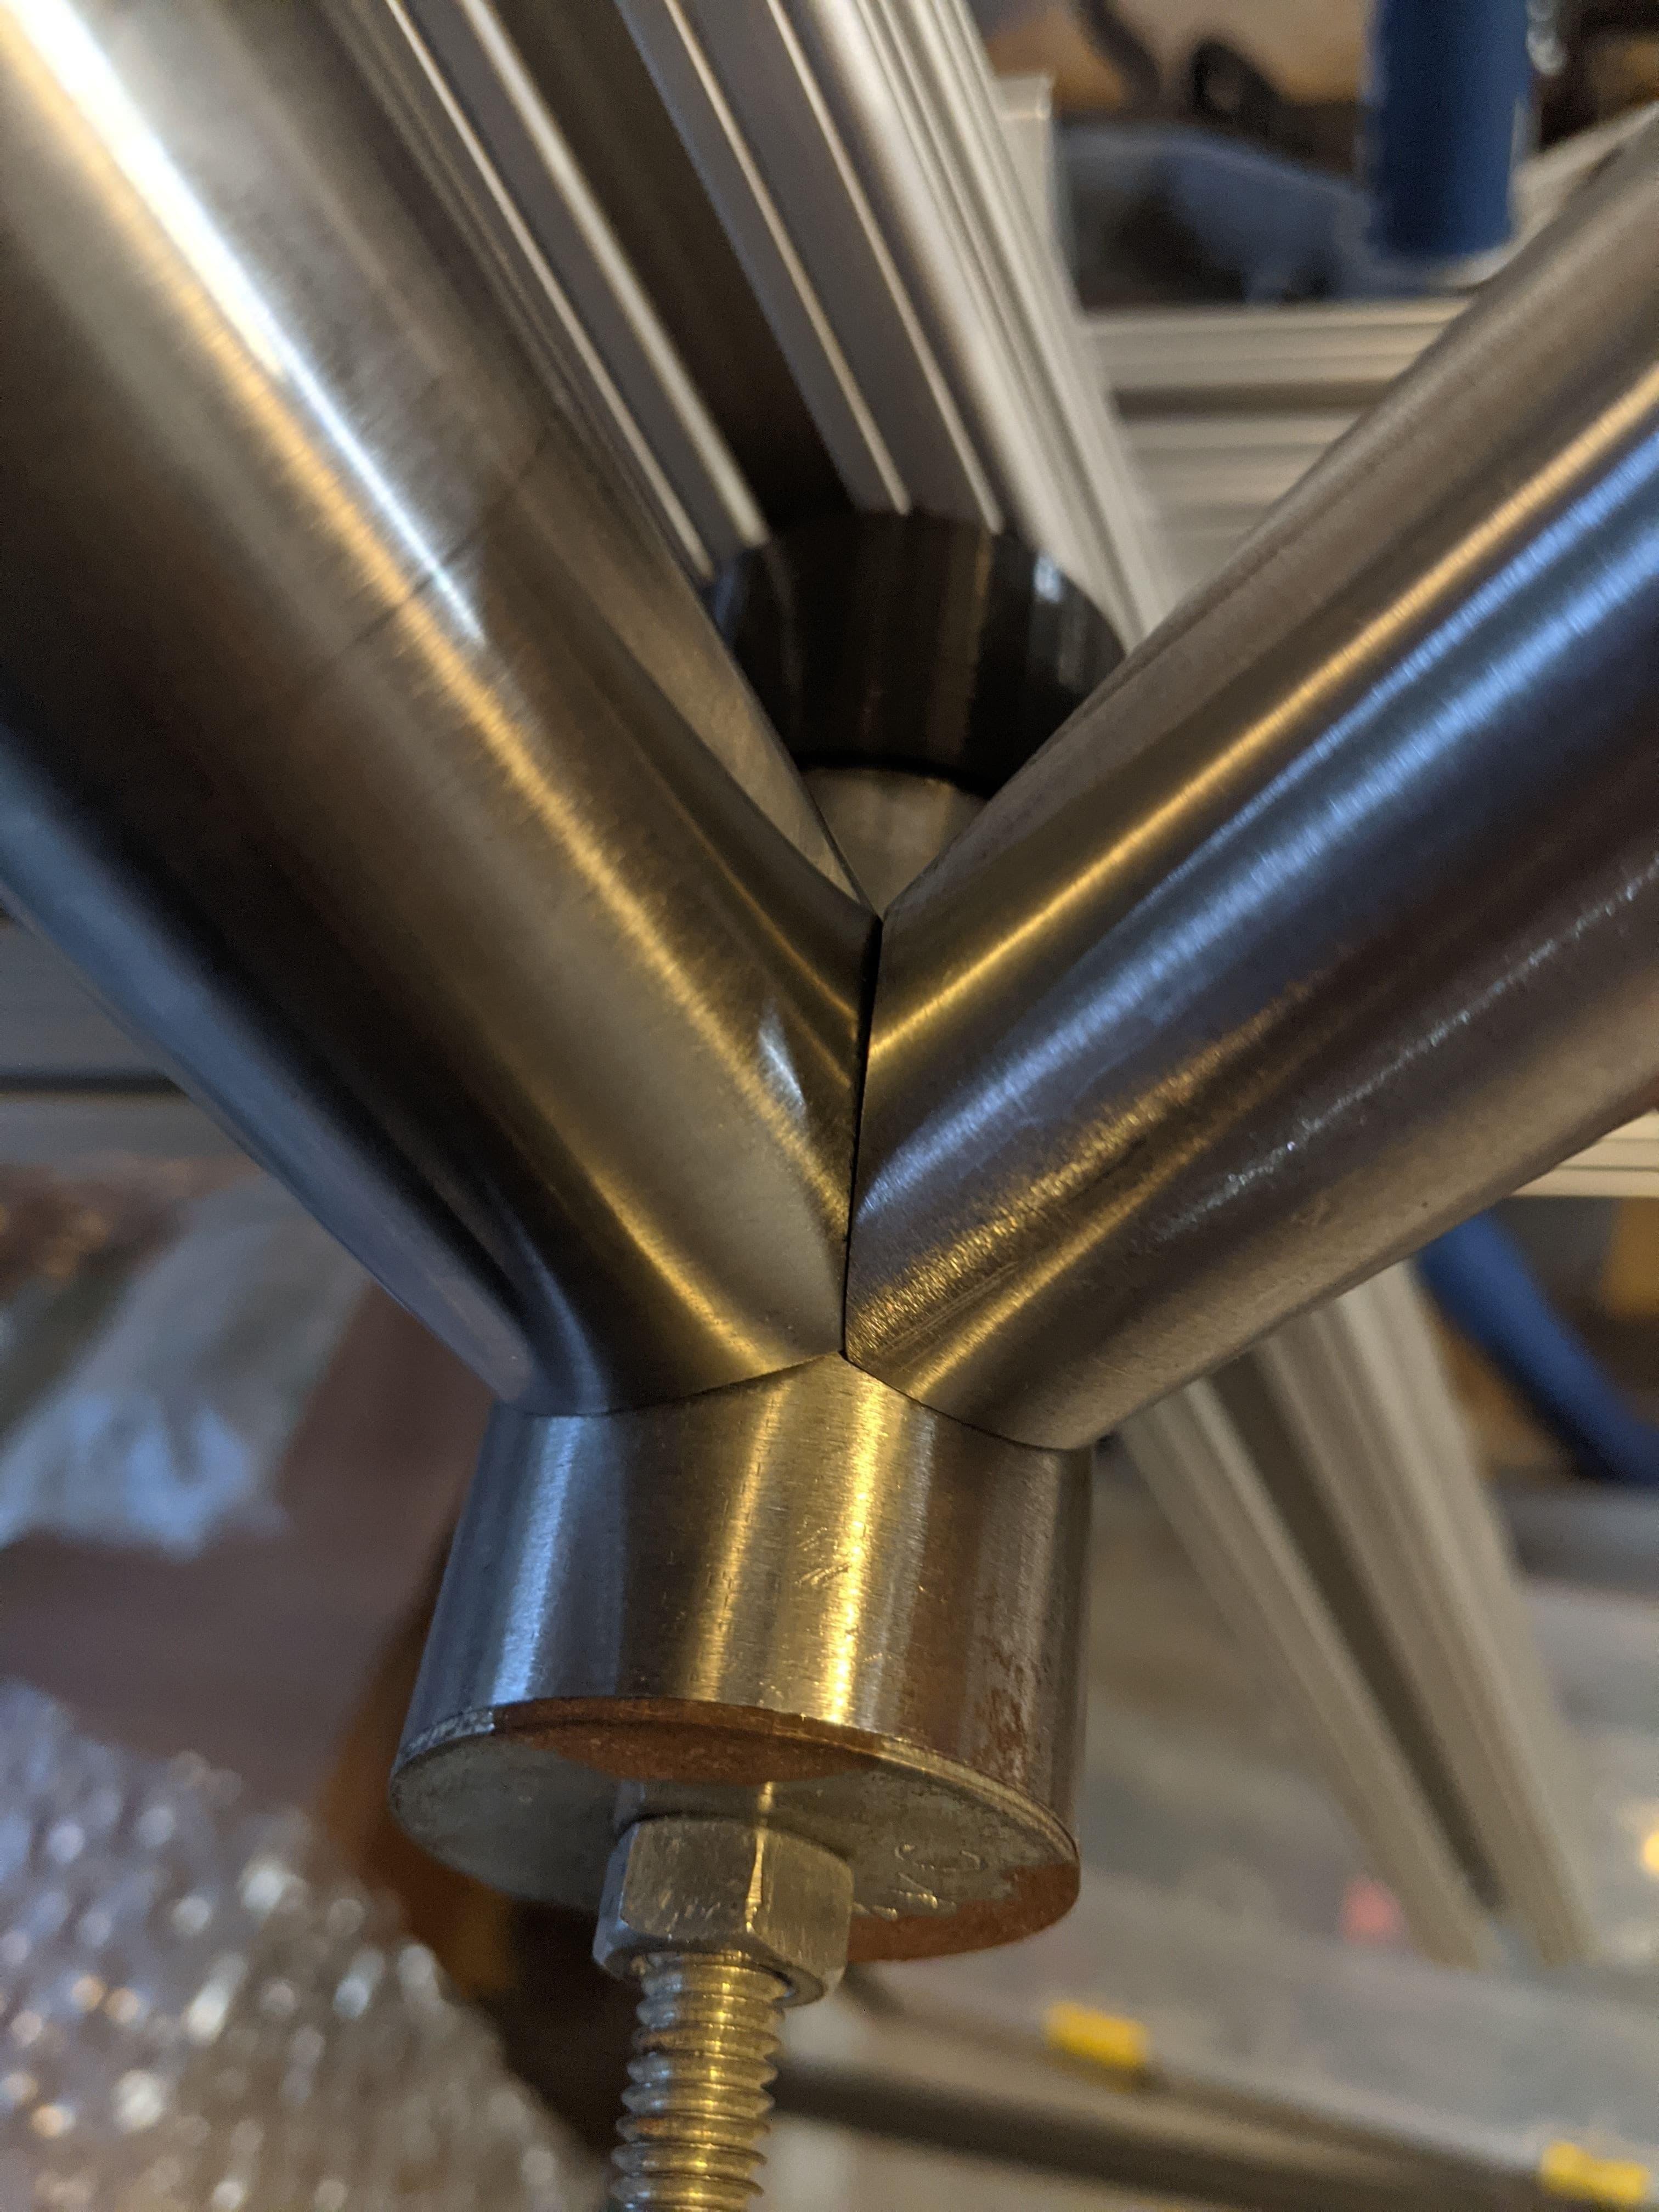
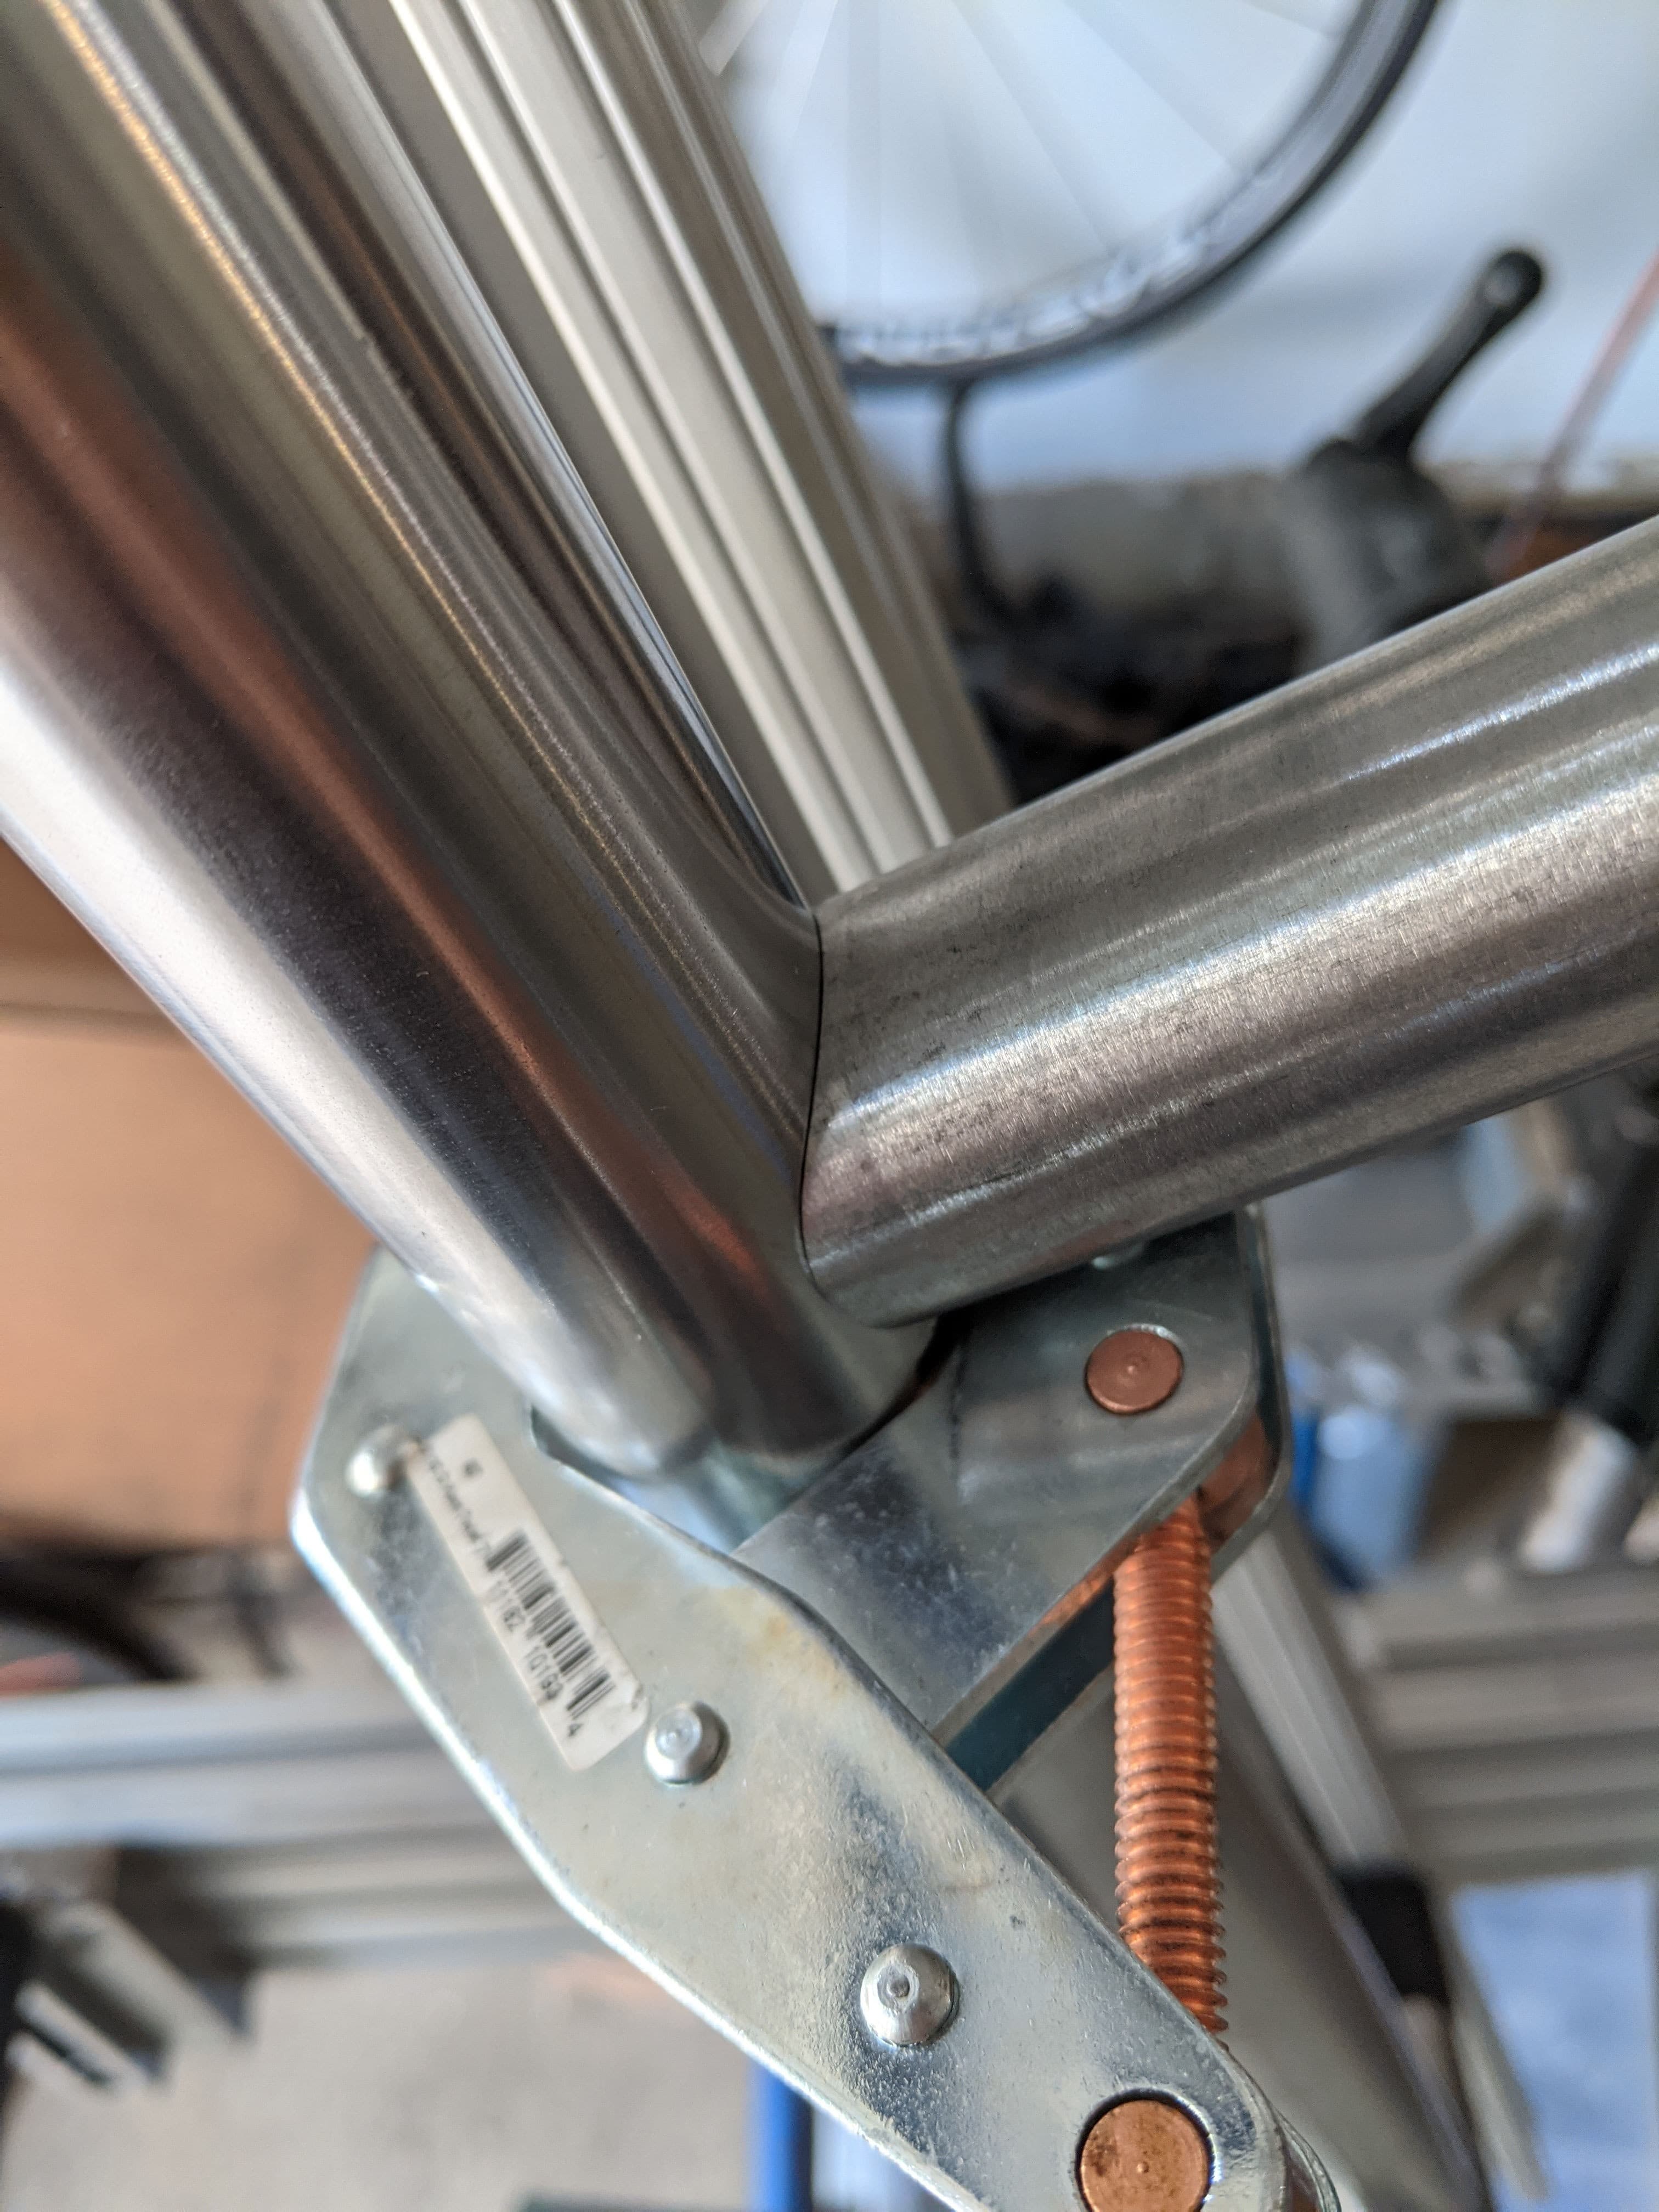
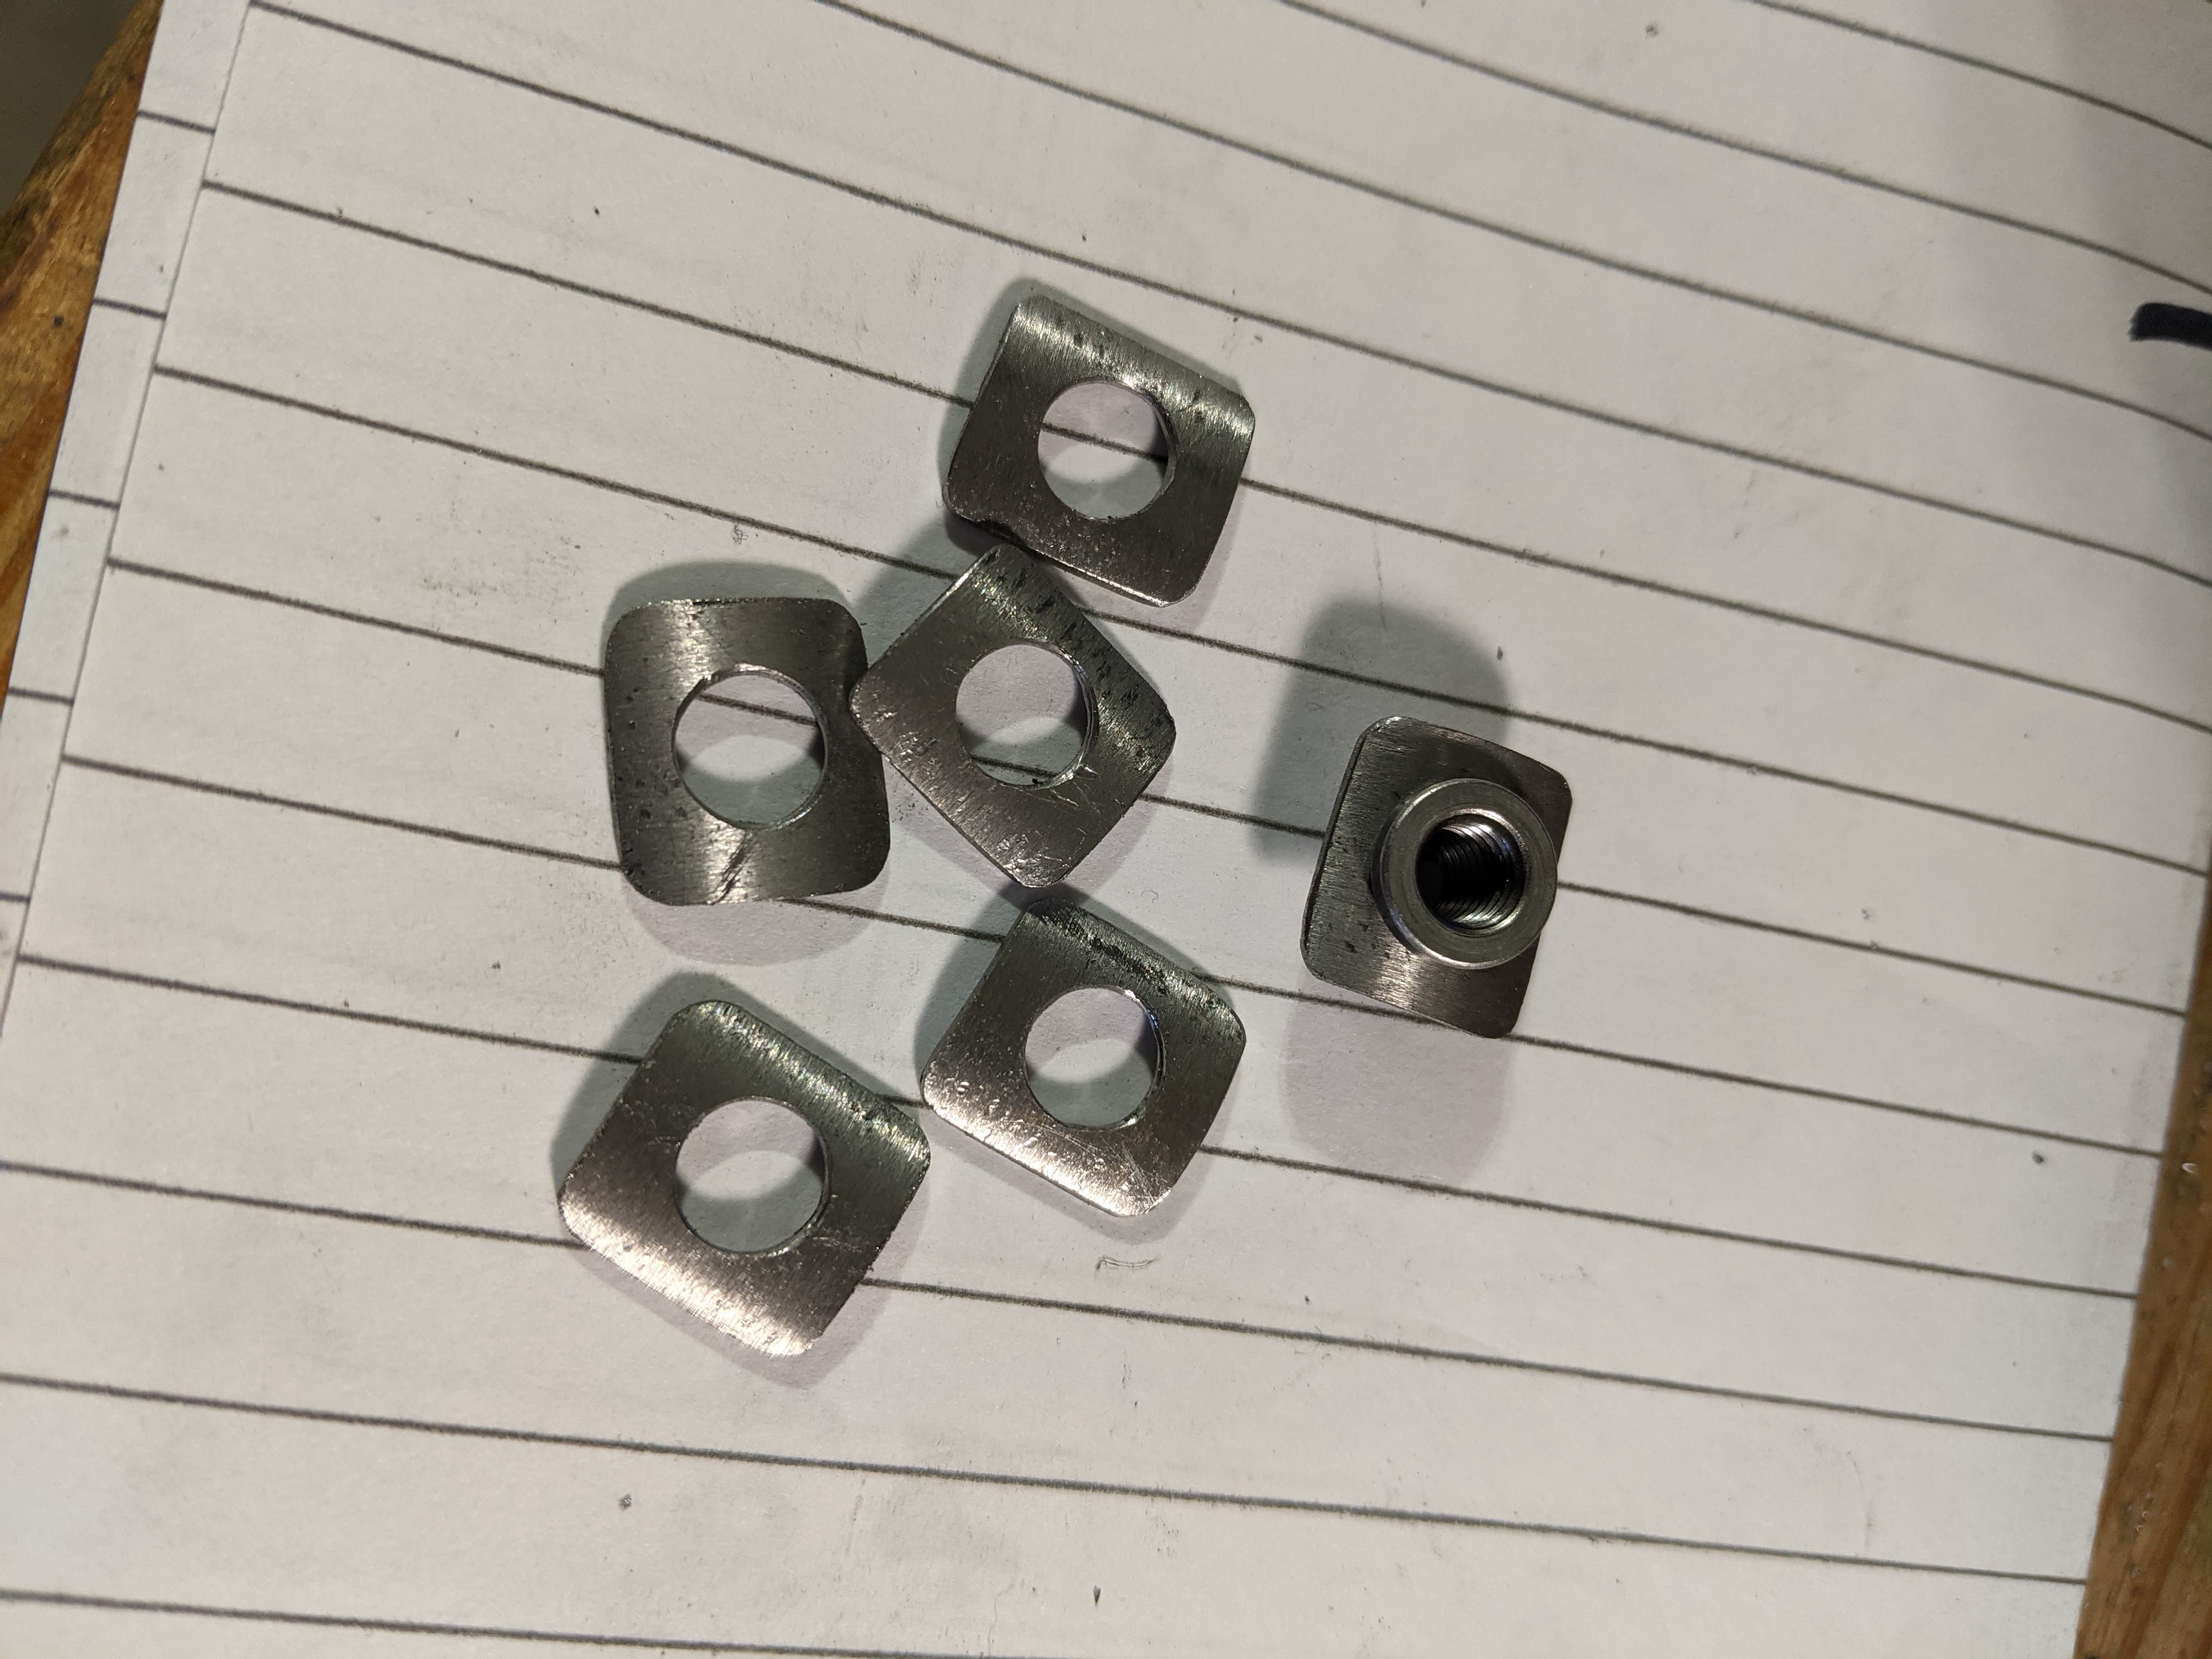
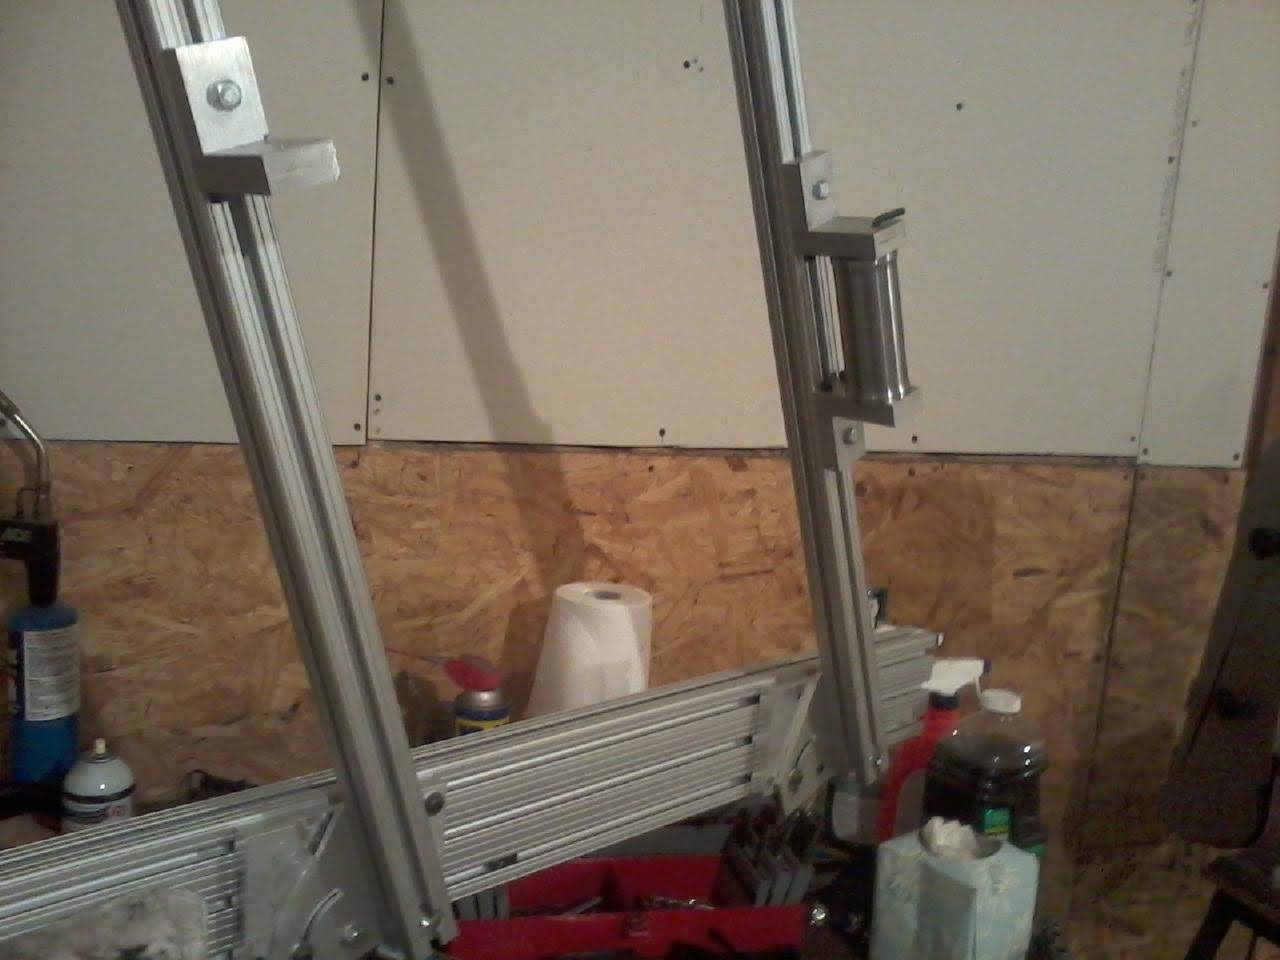
These are the mounting brackets I had used for the seat tube and head tube. They are way too complicated and flexy, which puts the head tube and seat tube on different planes.


As you can see here, above straight junk.
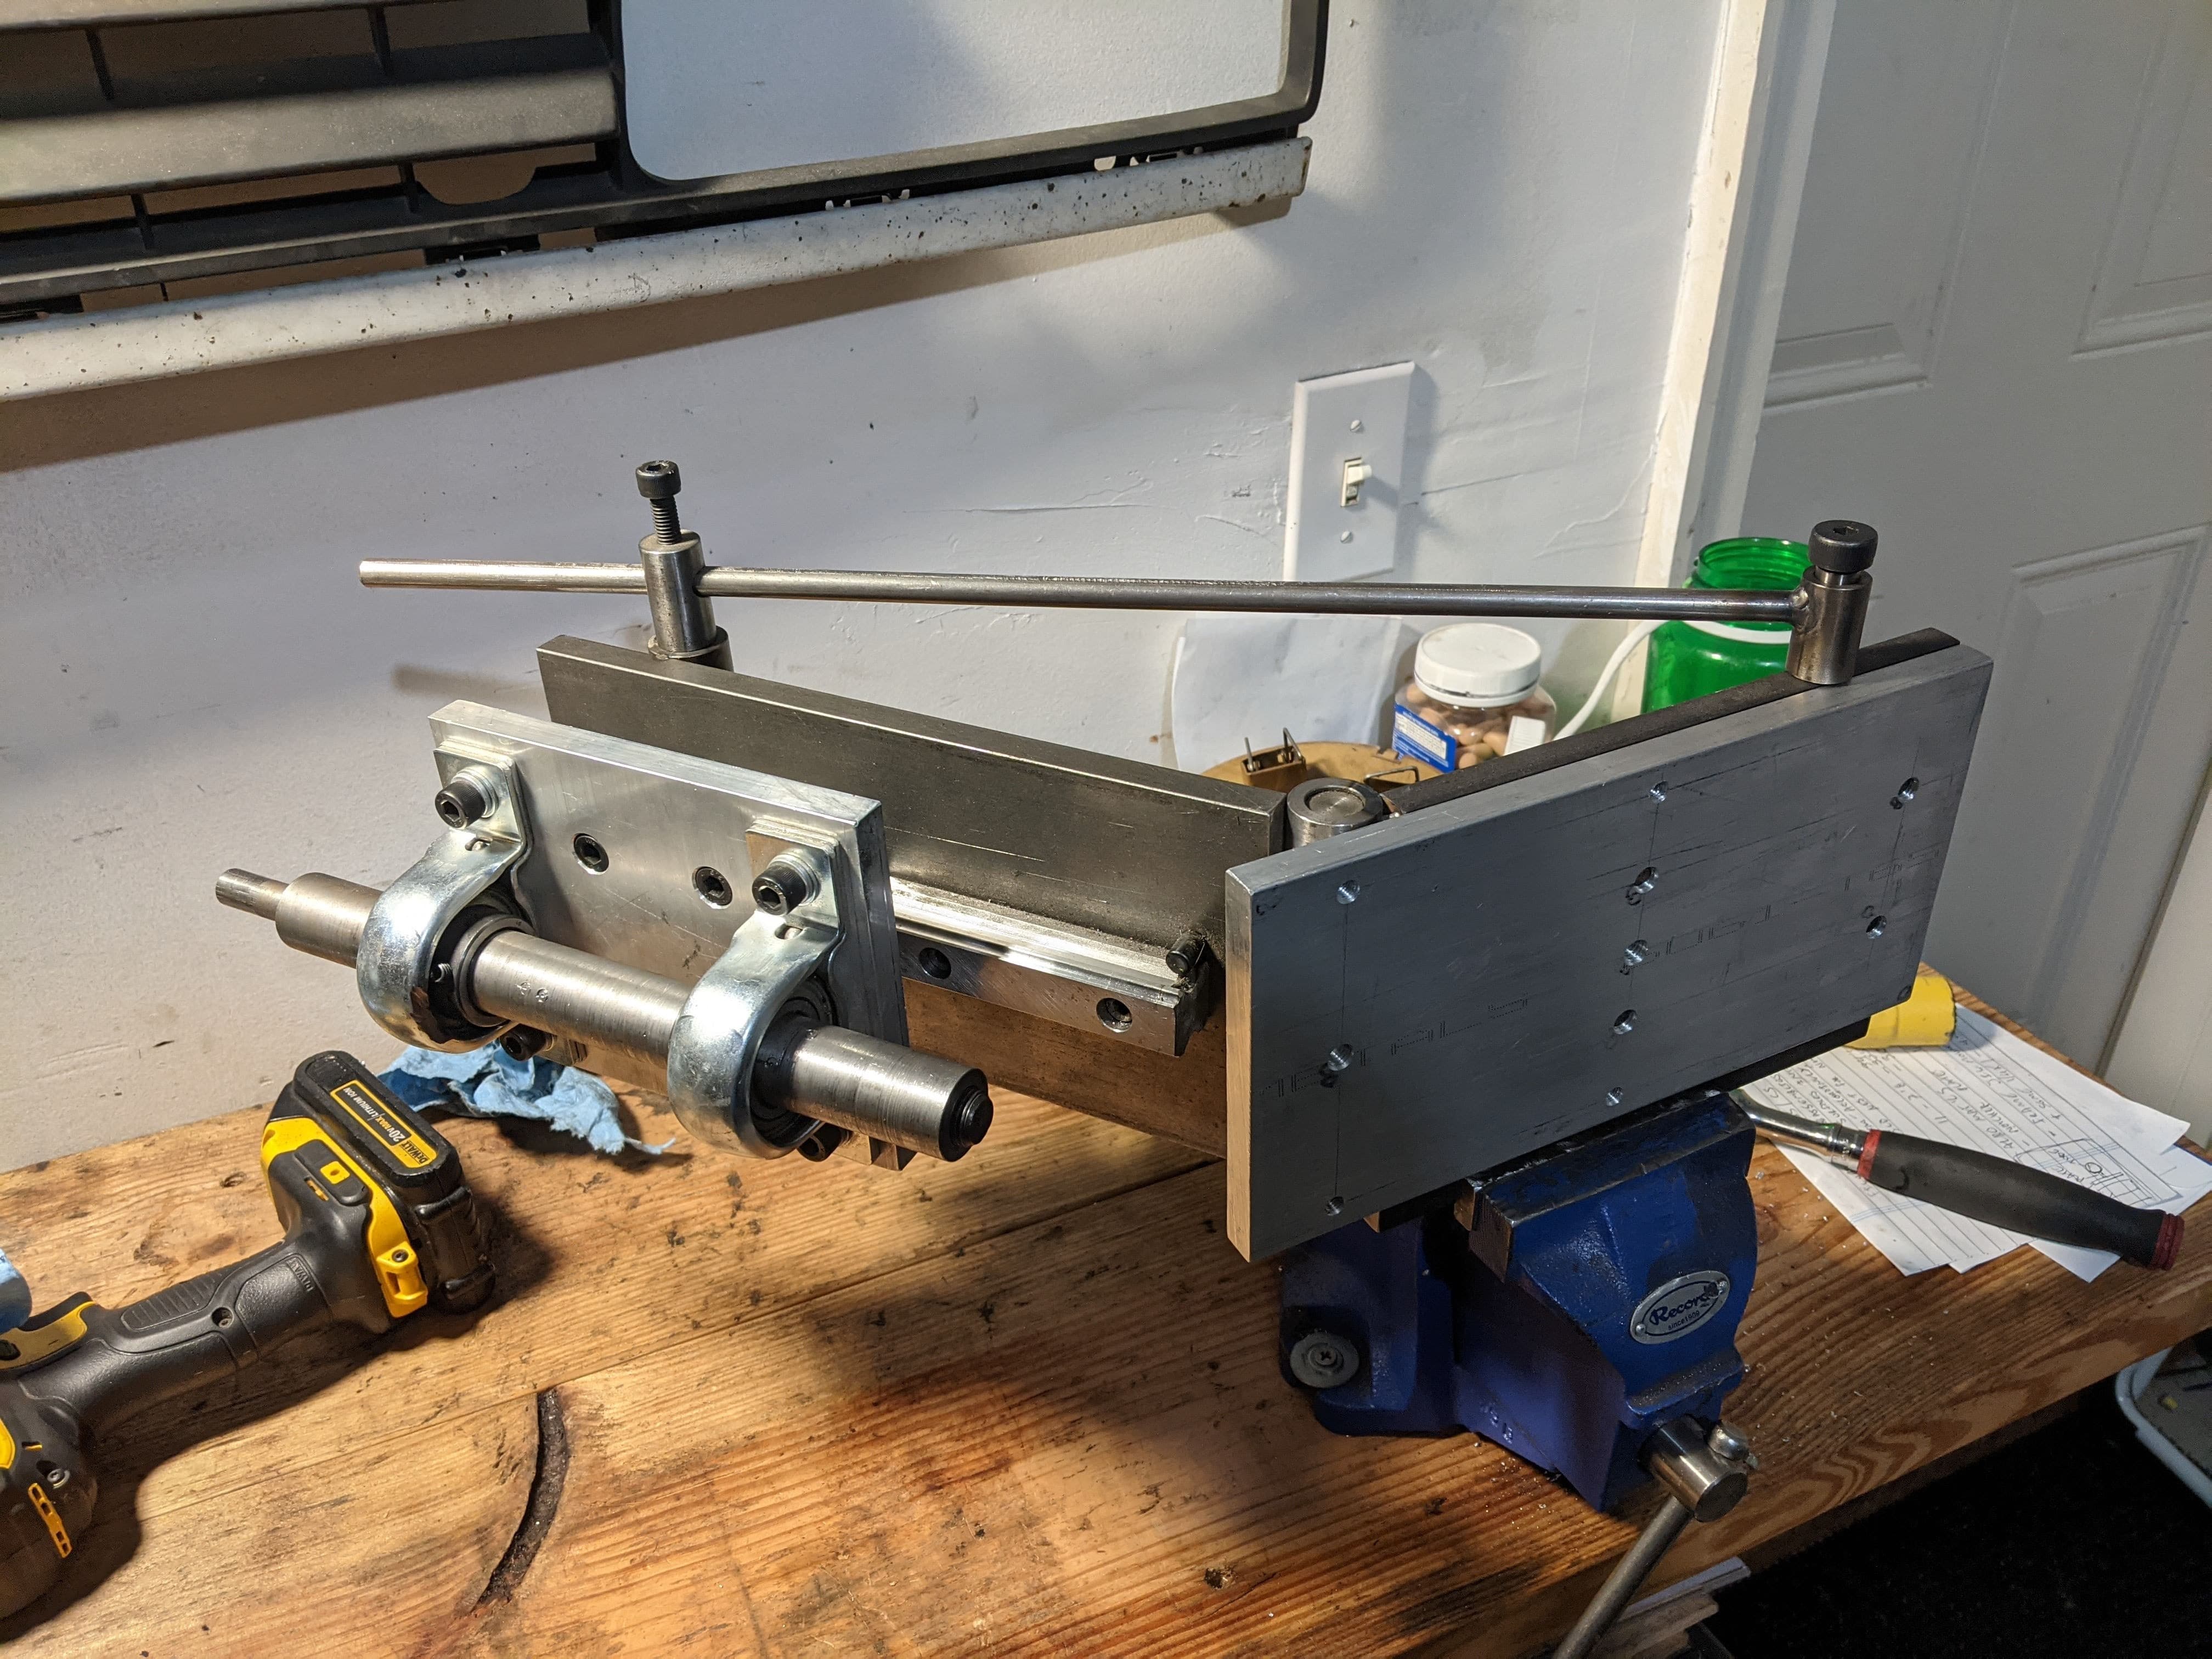
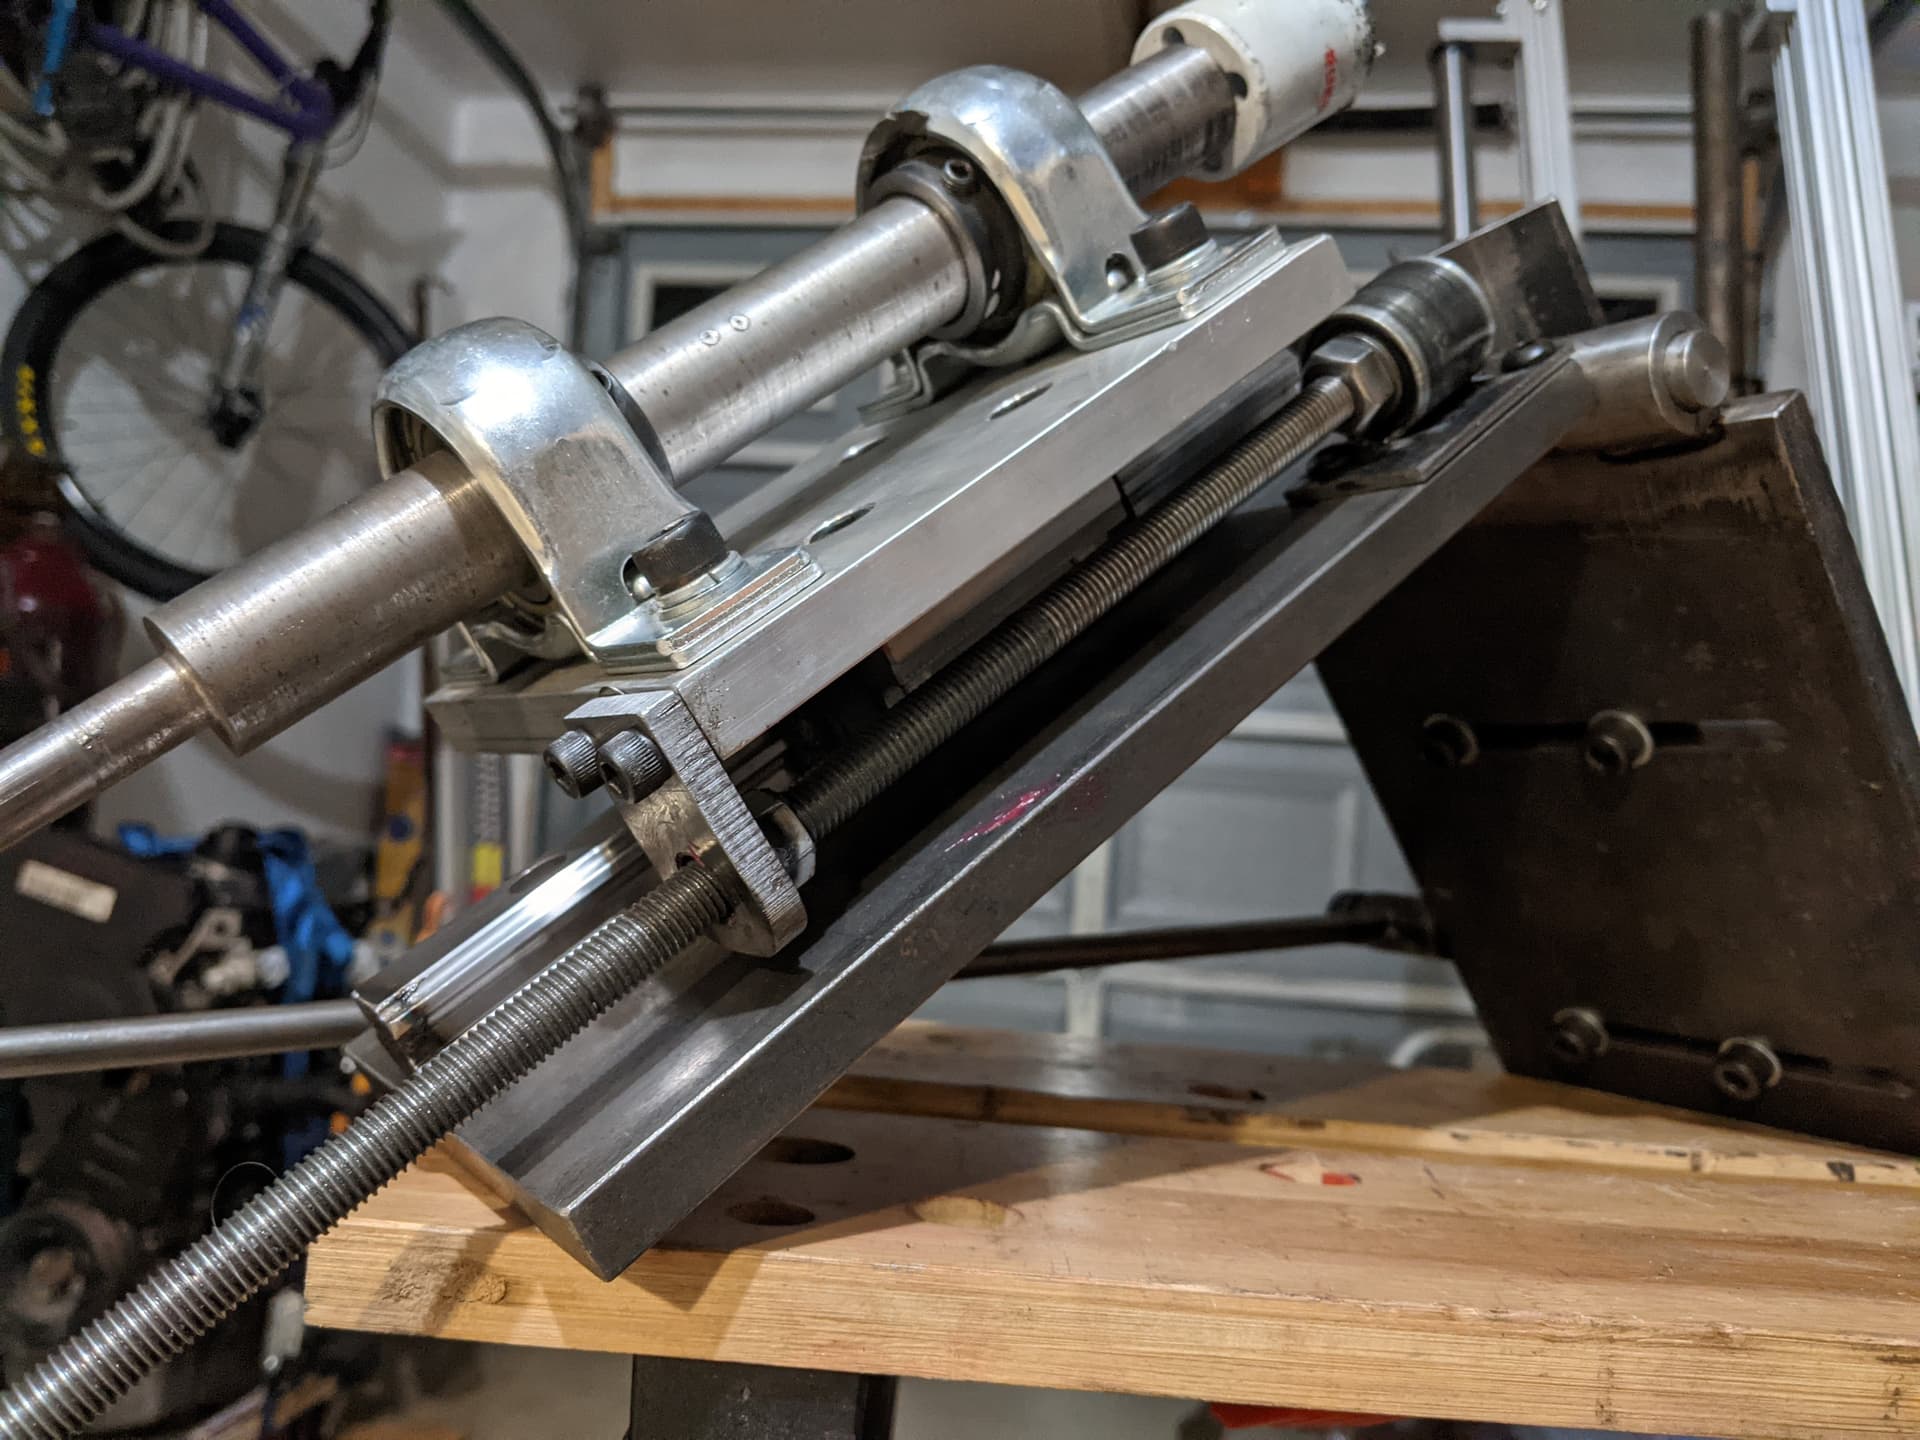
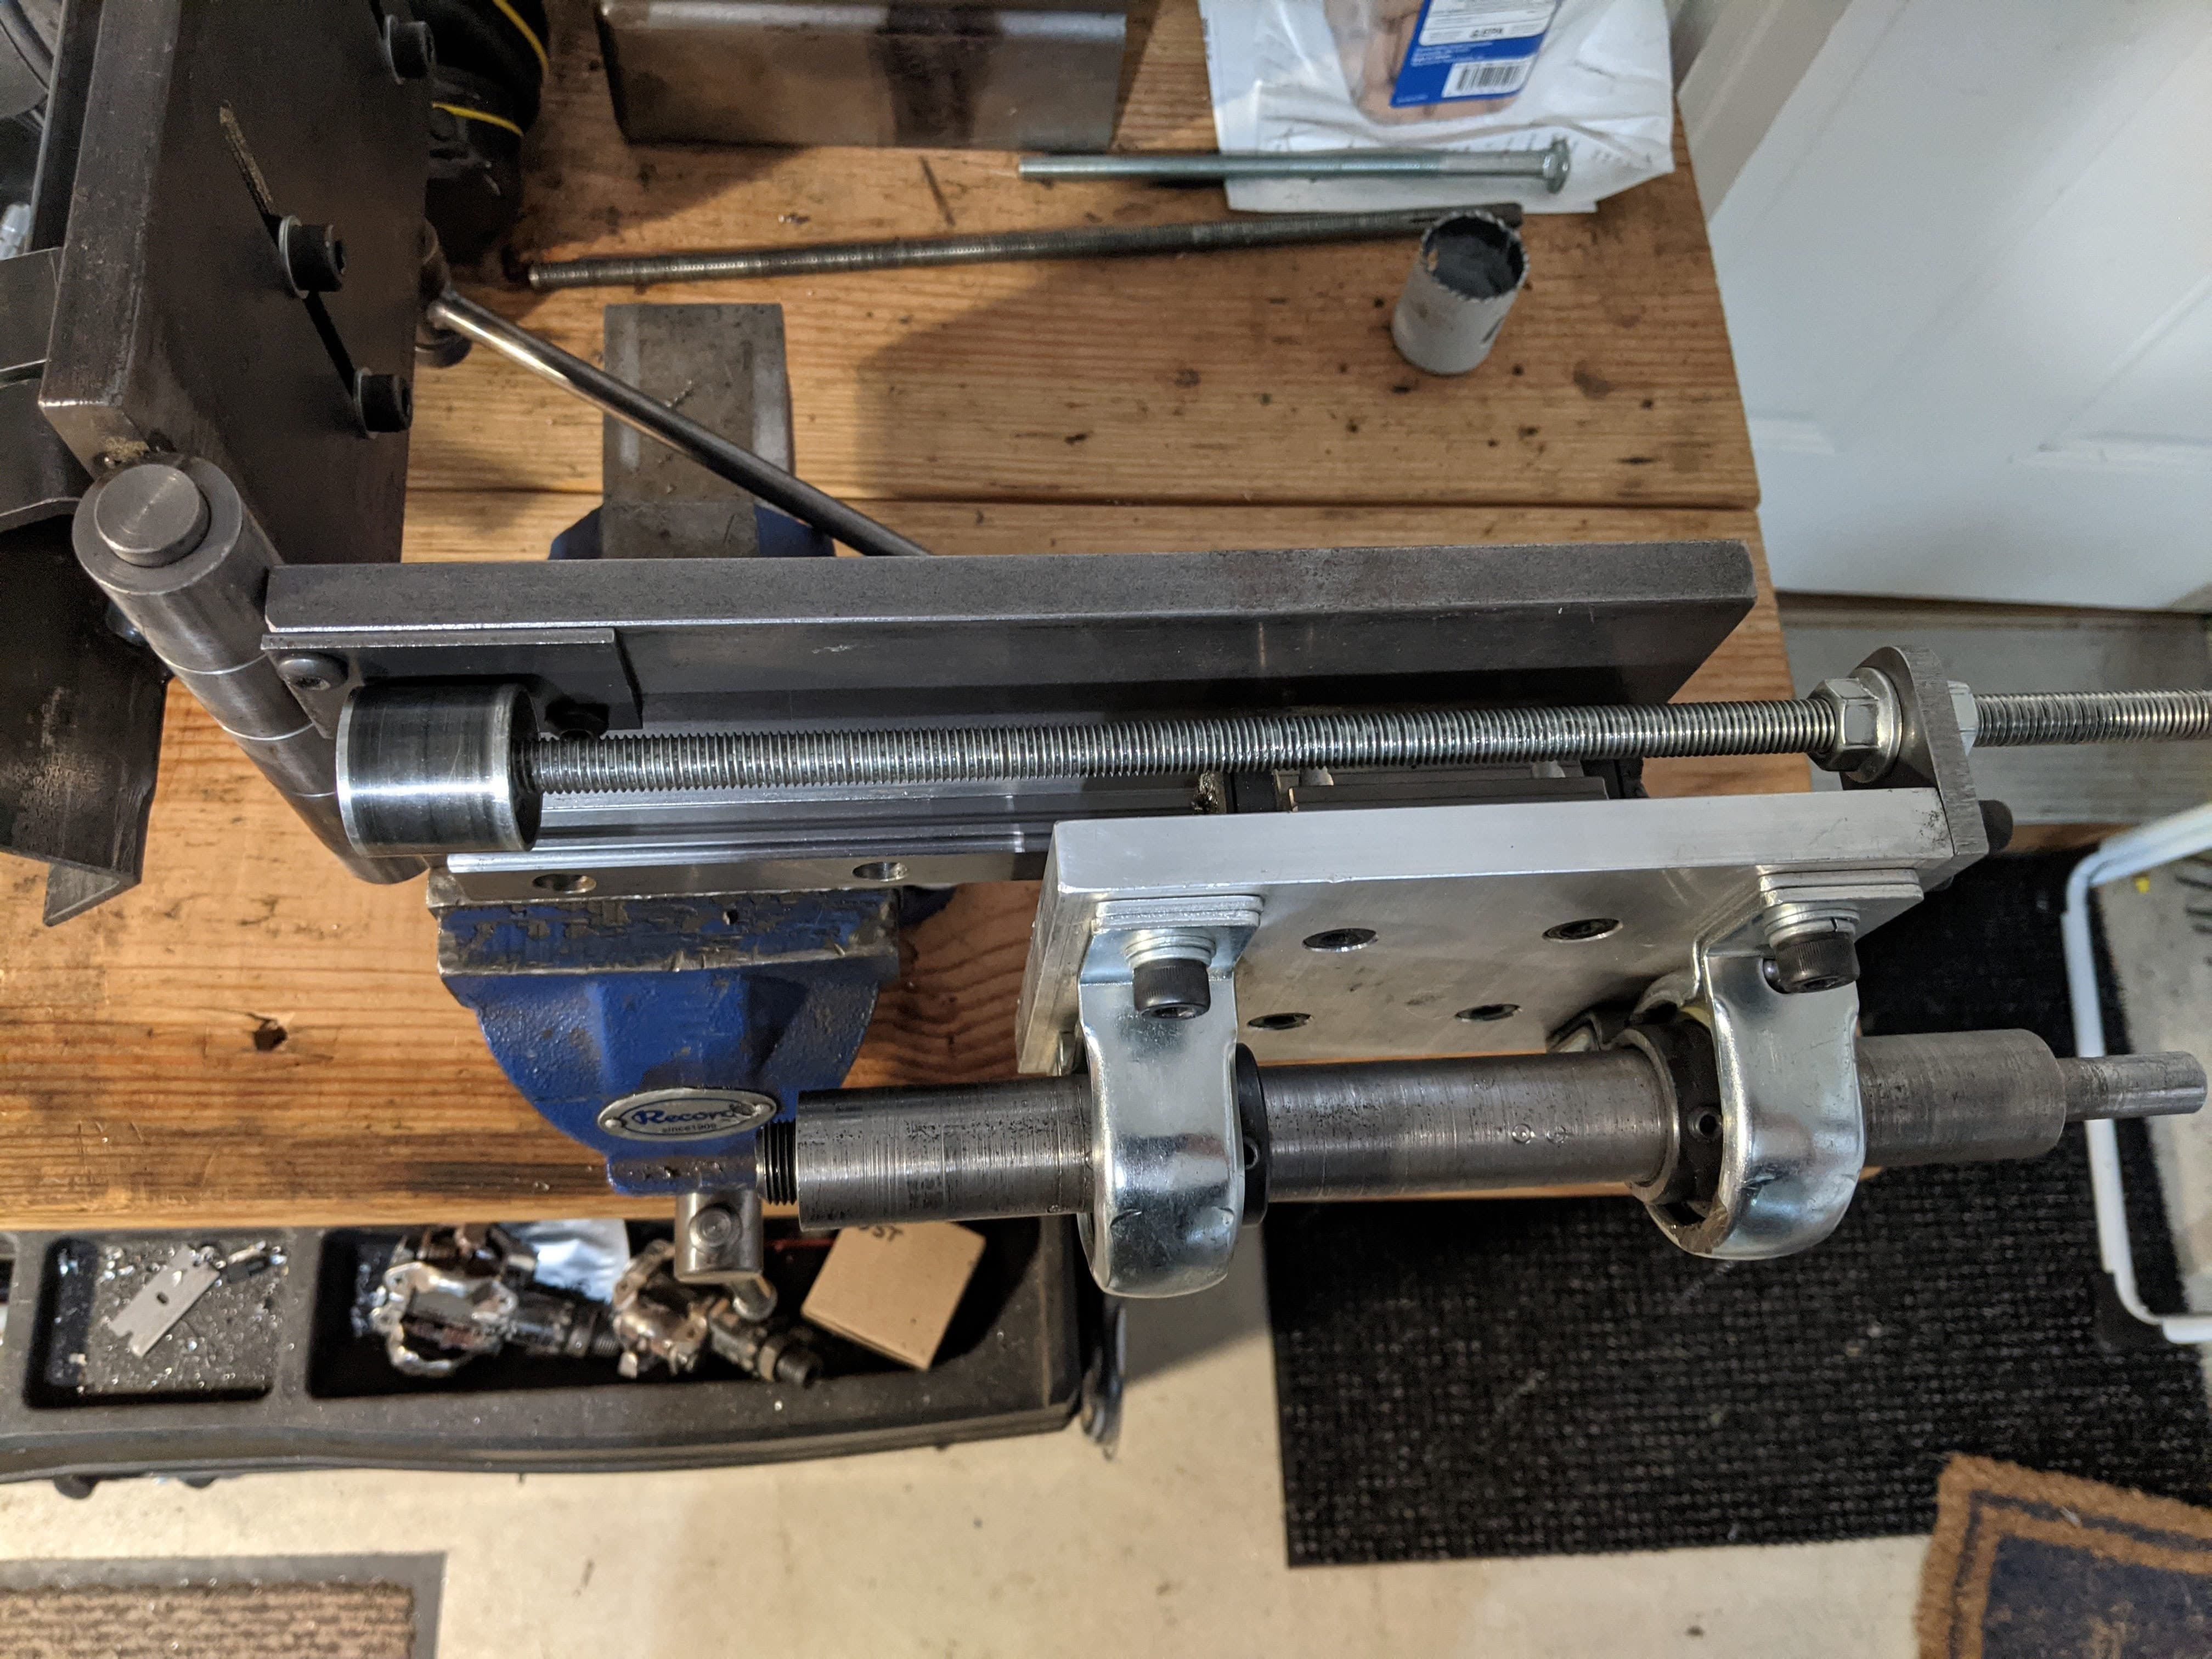
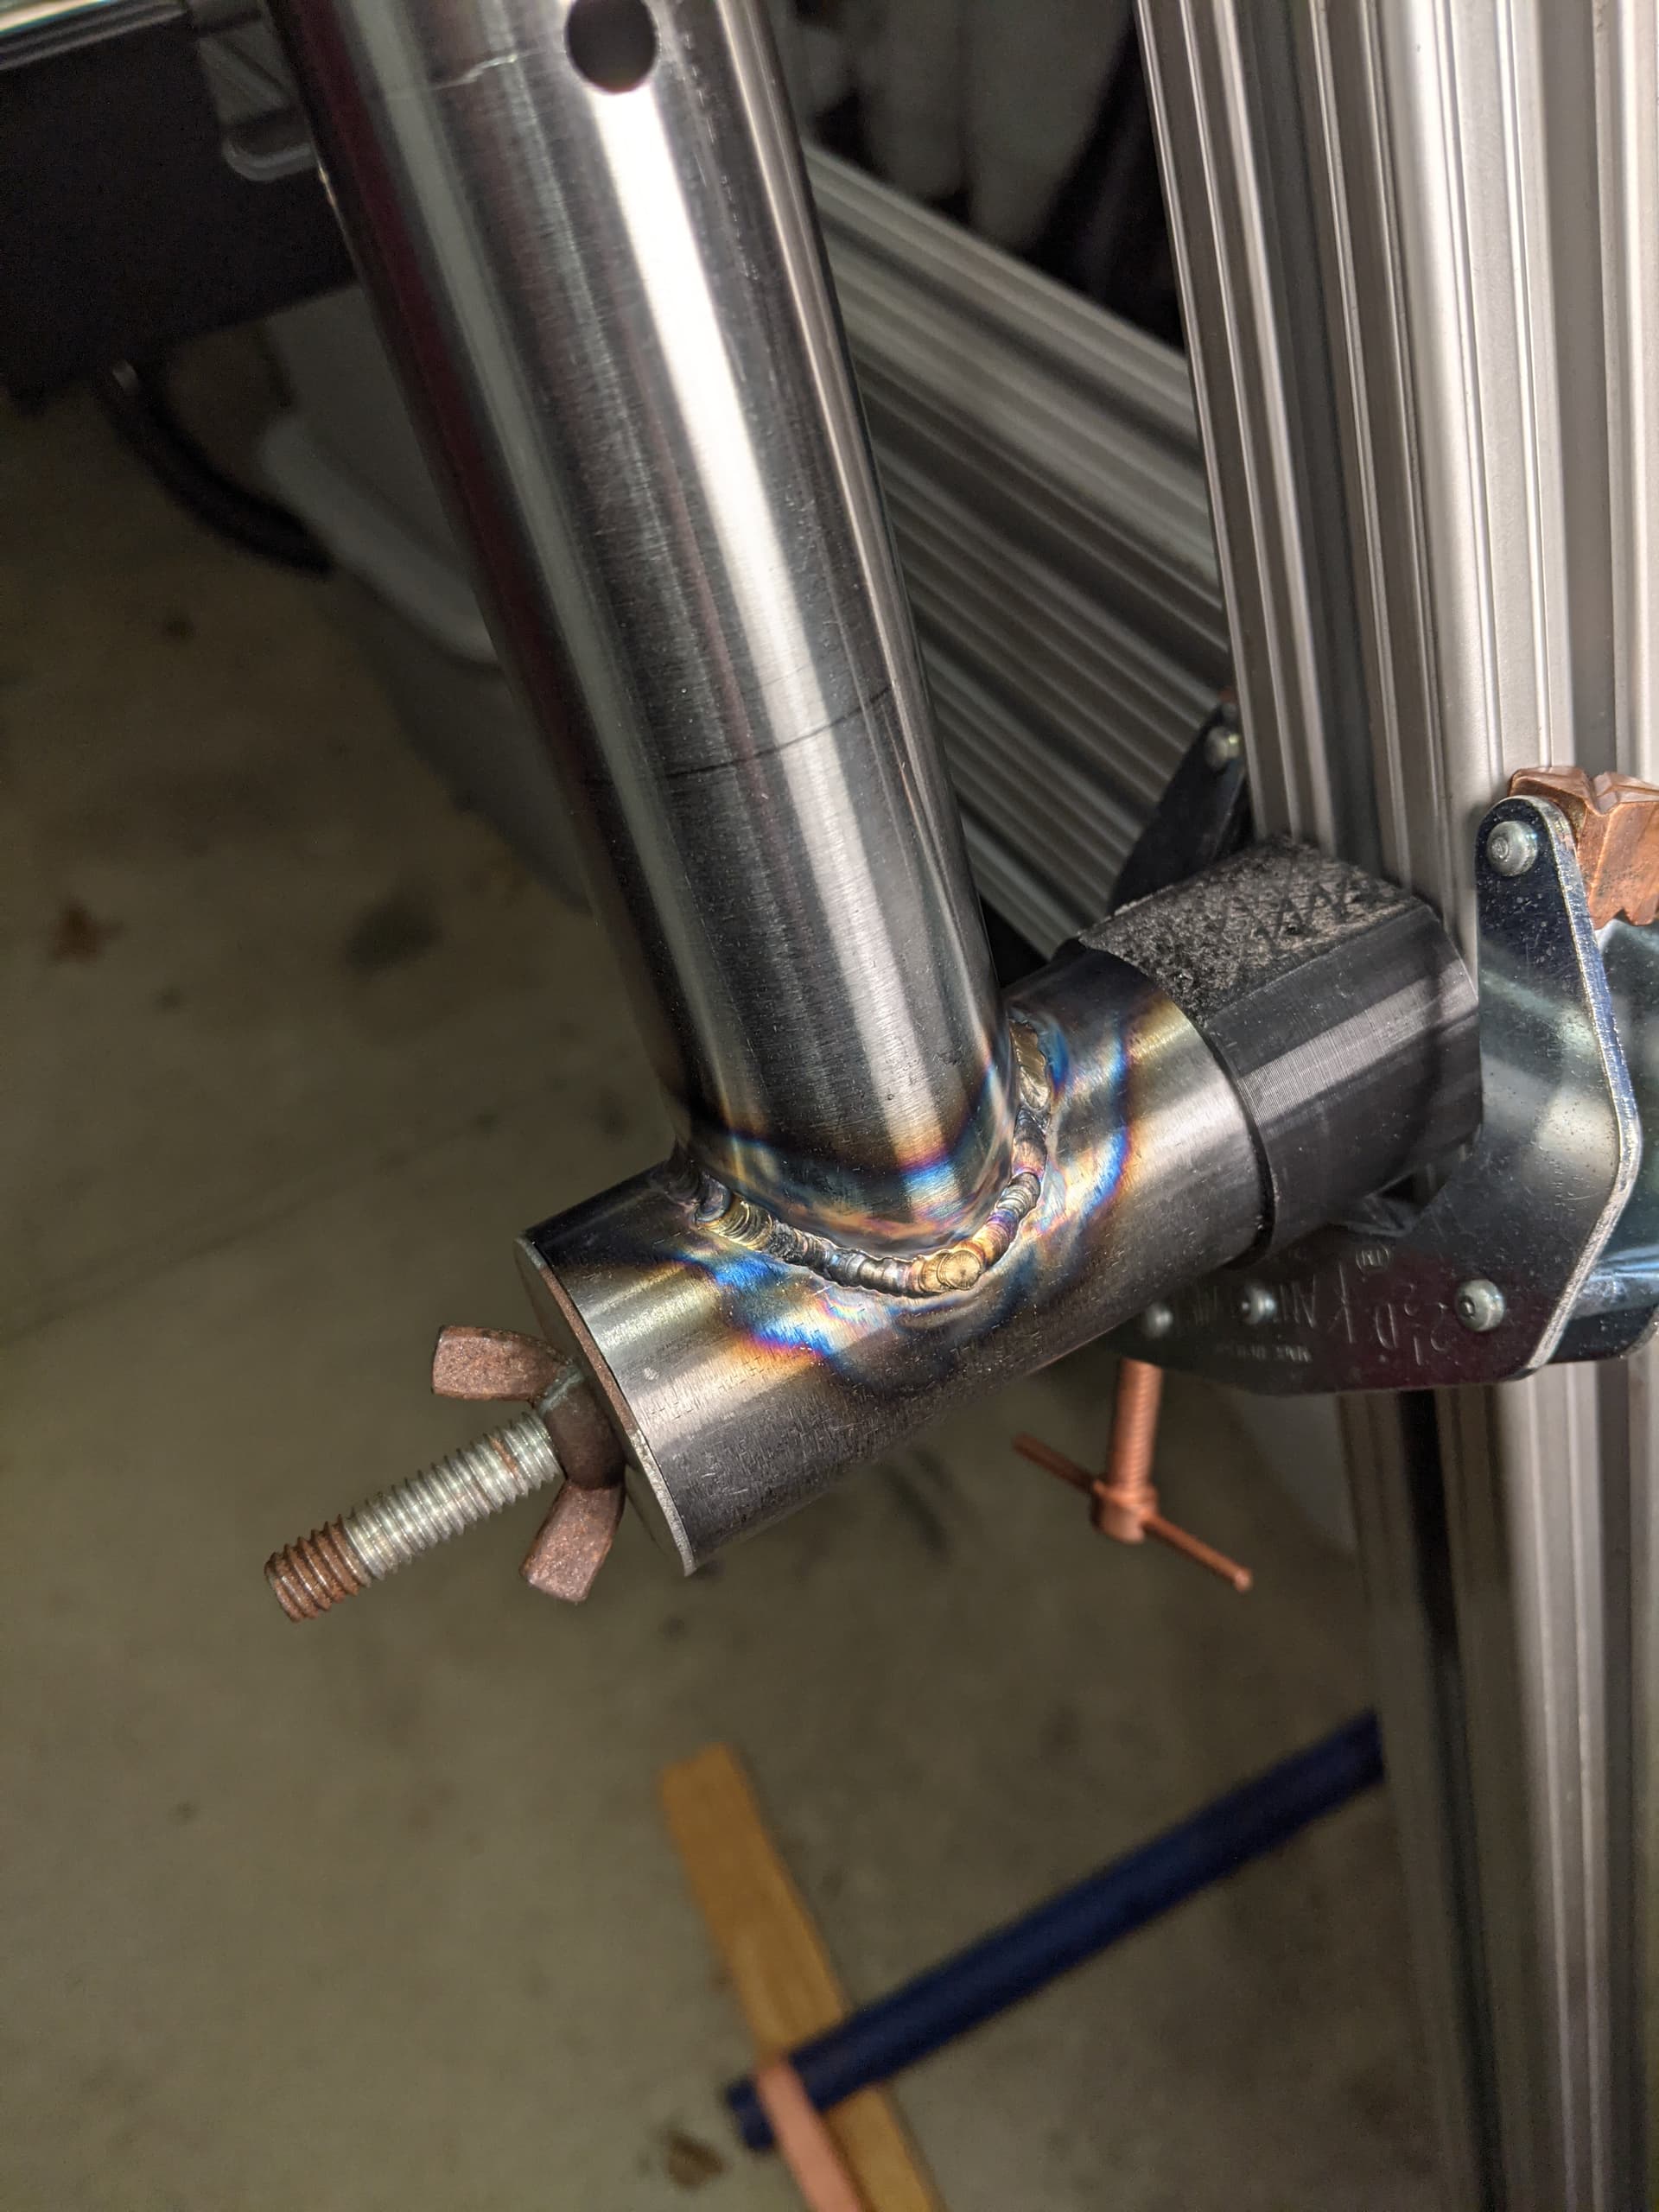
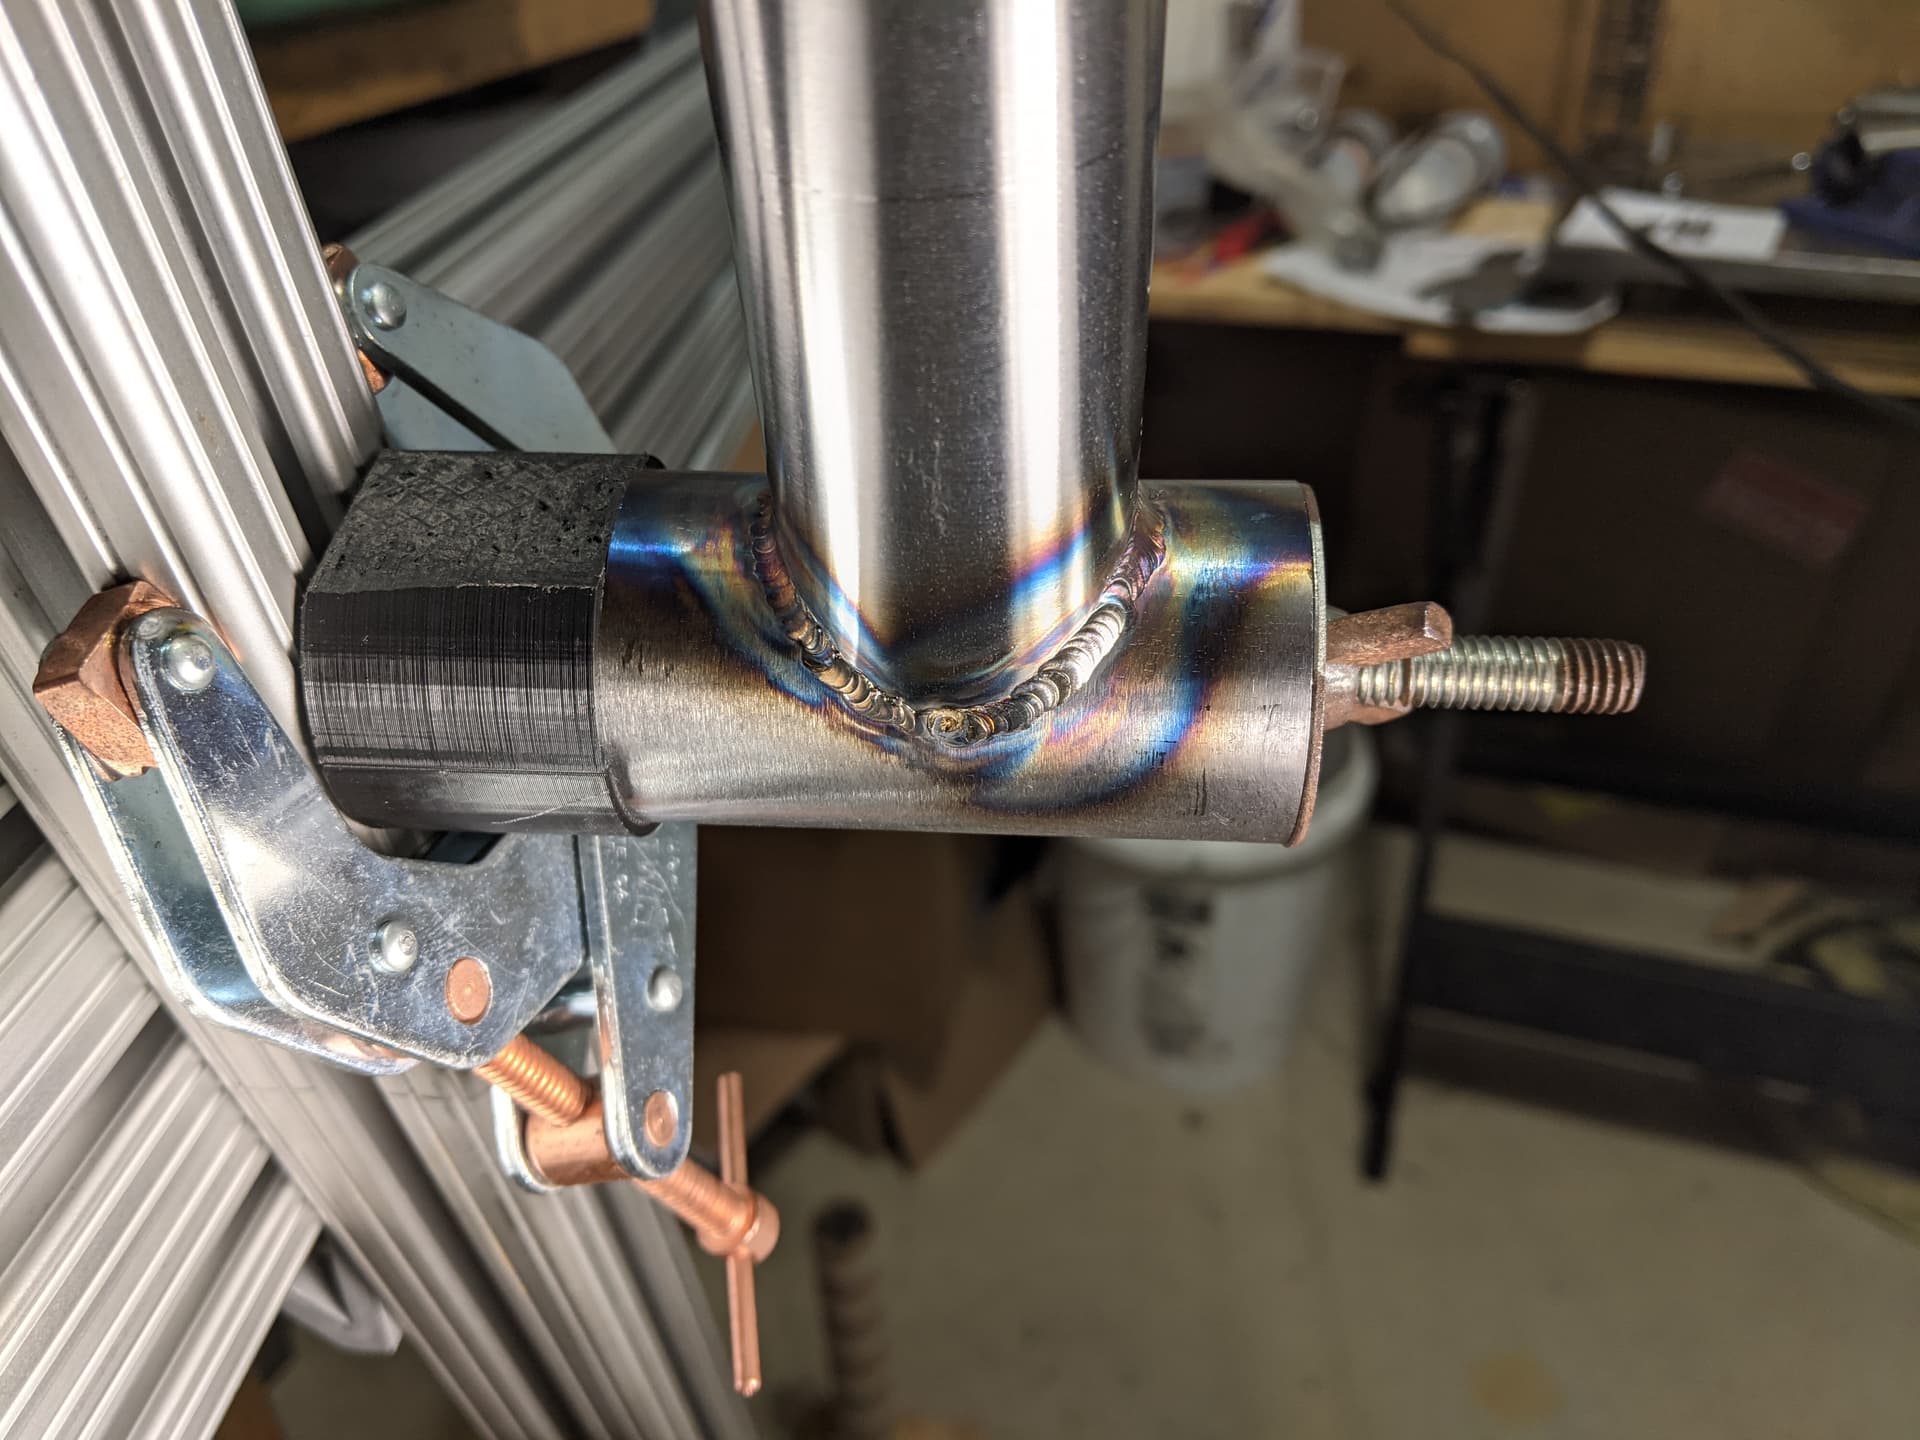
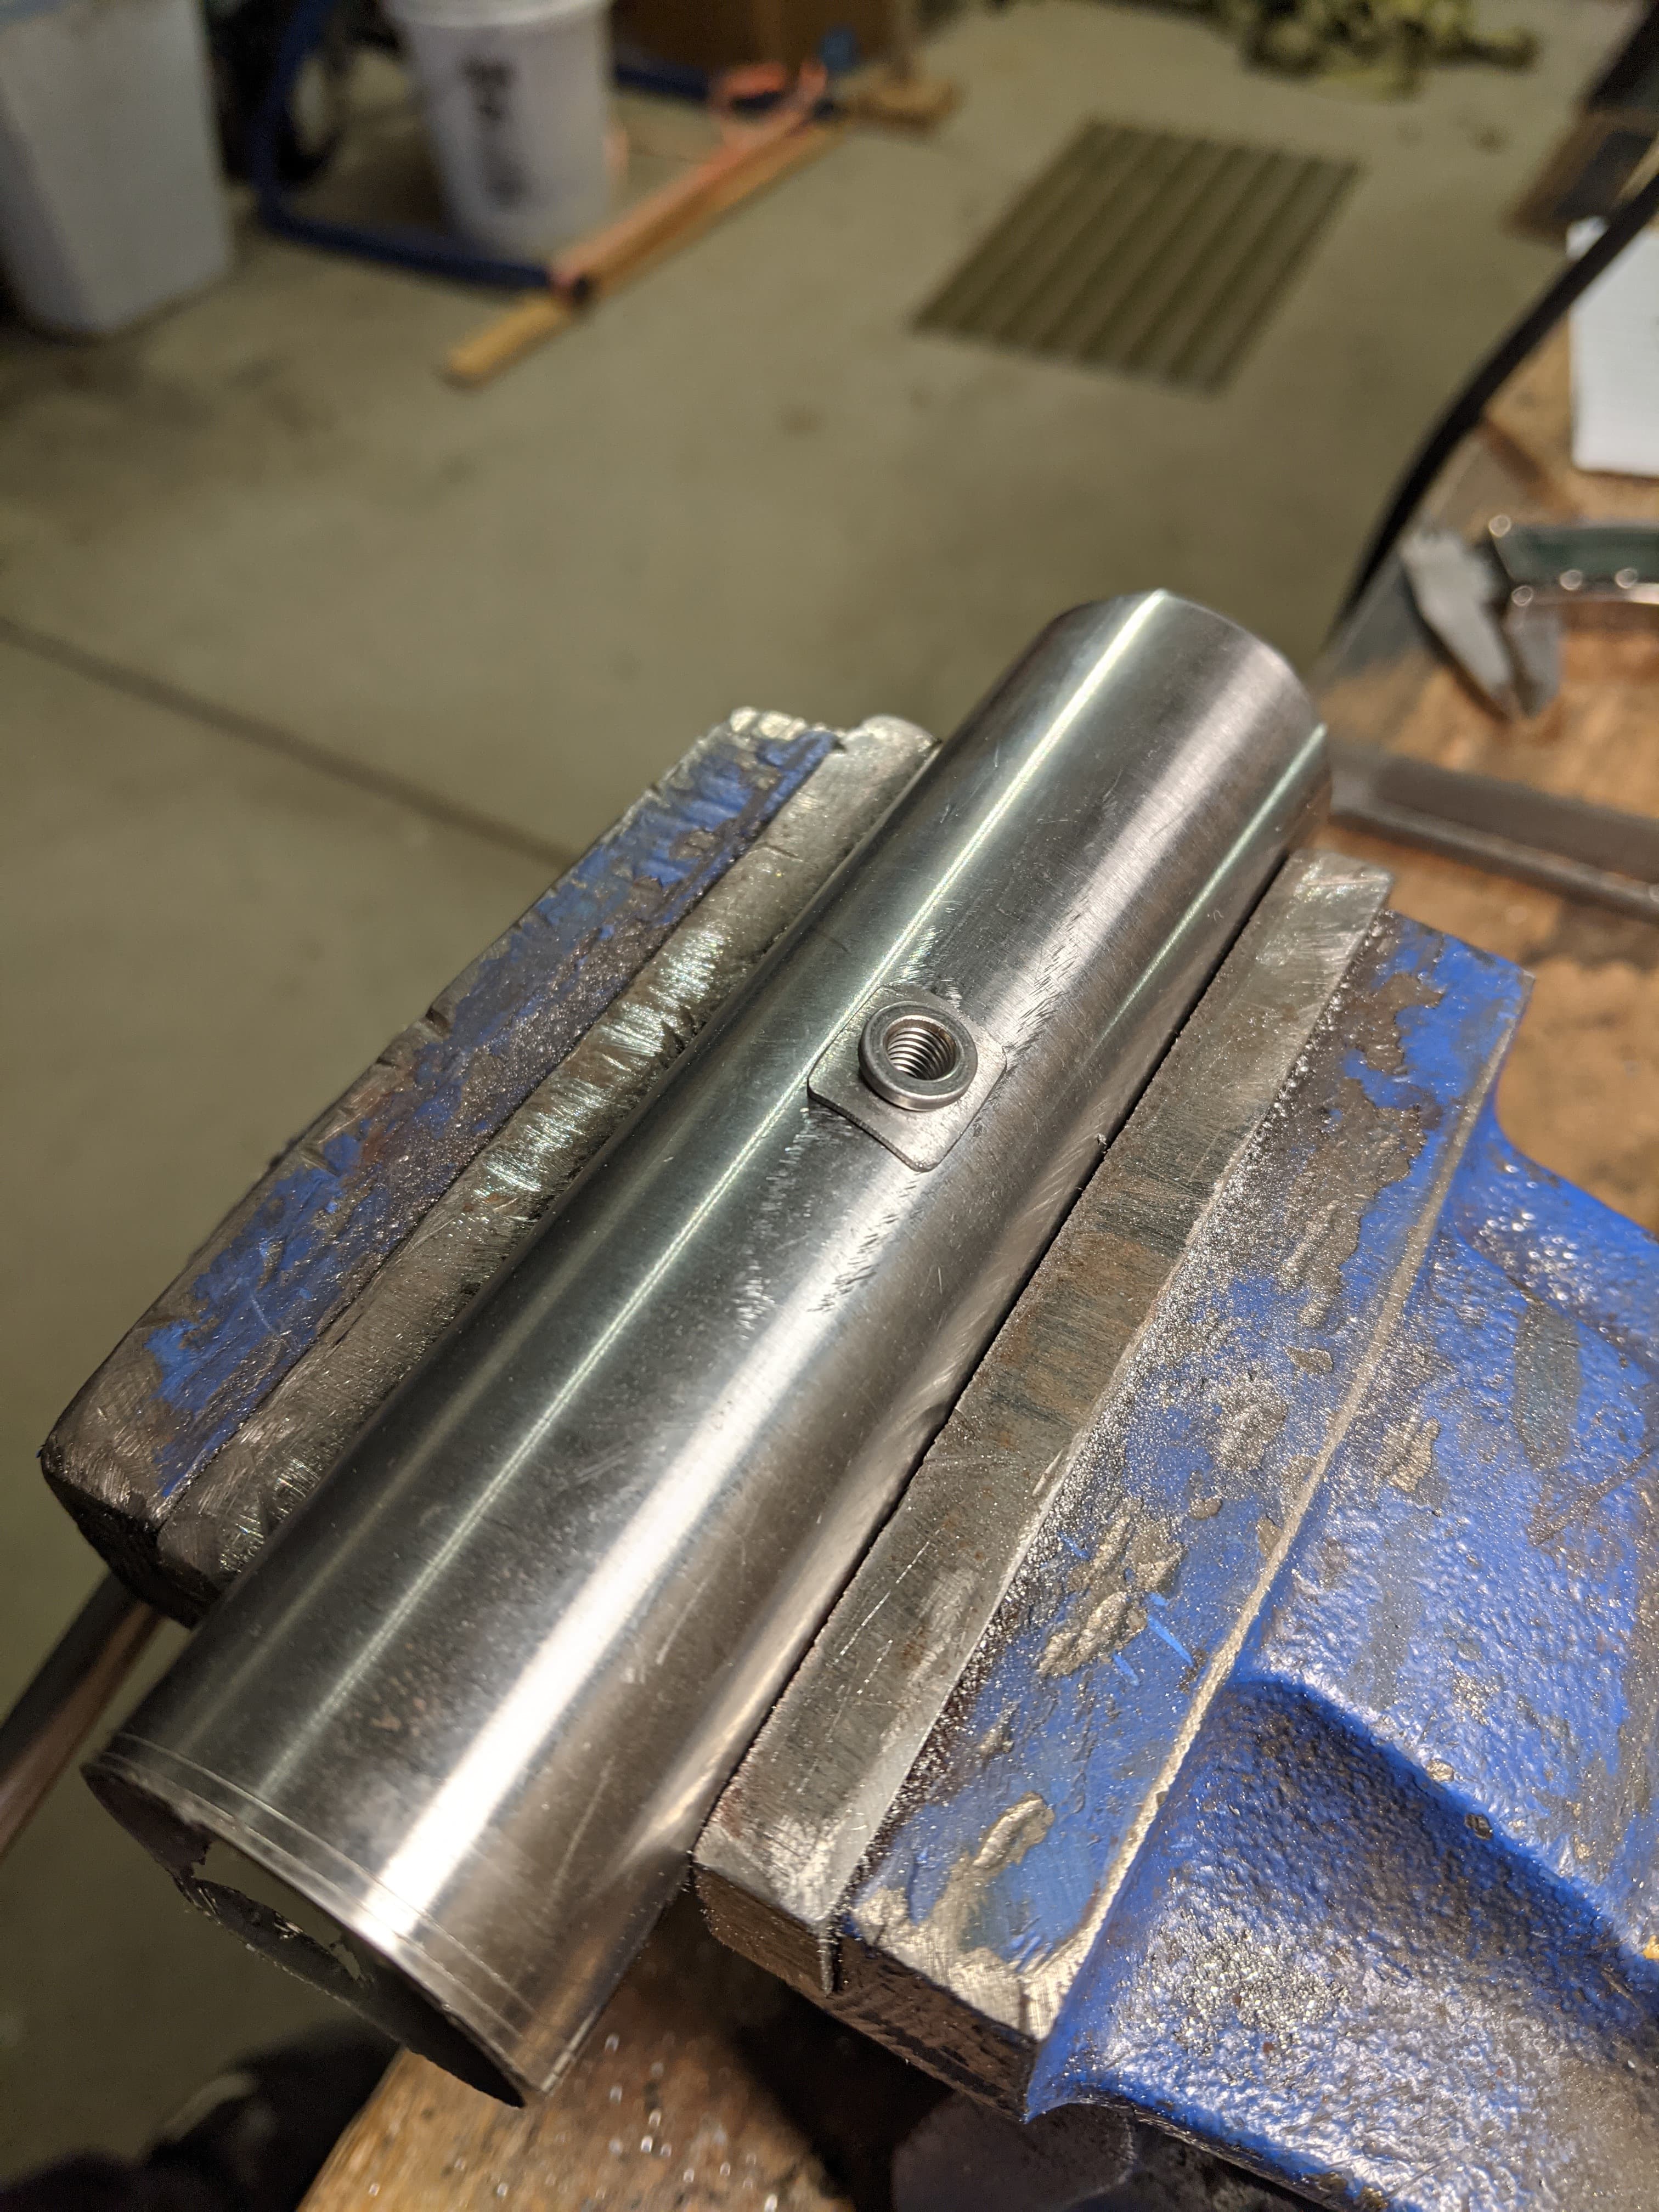
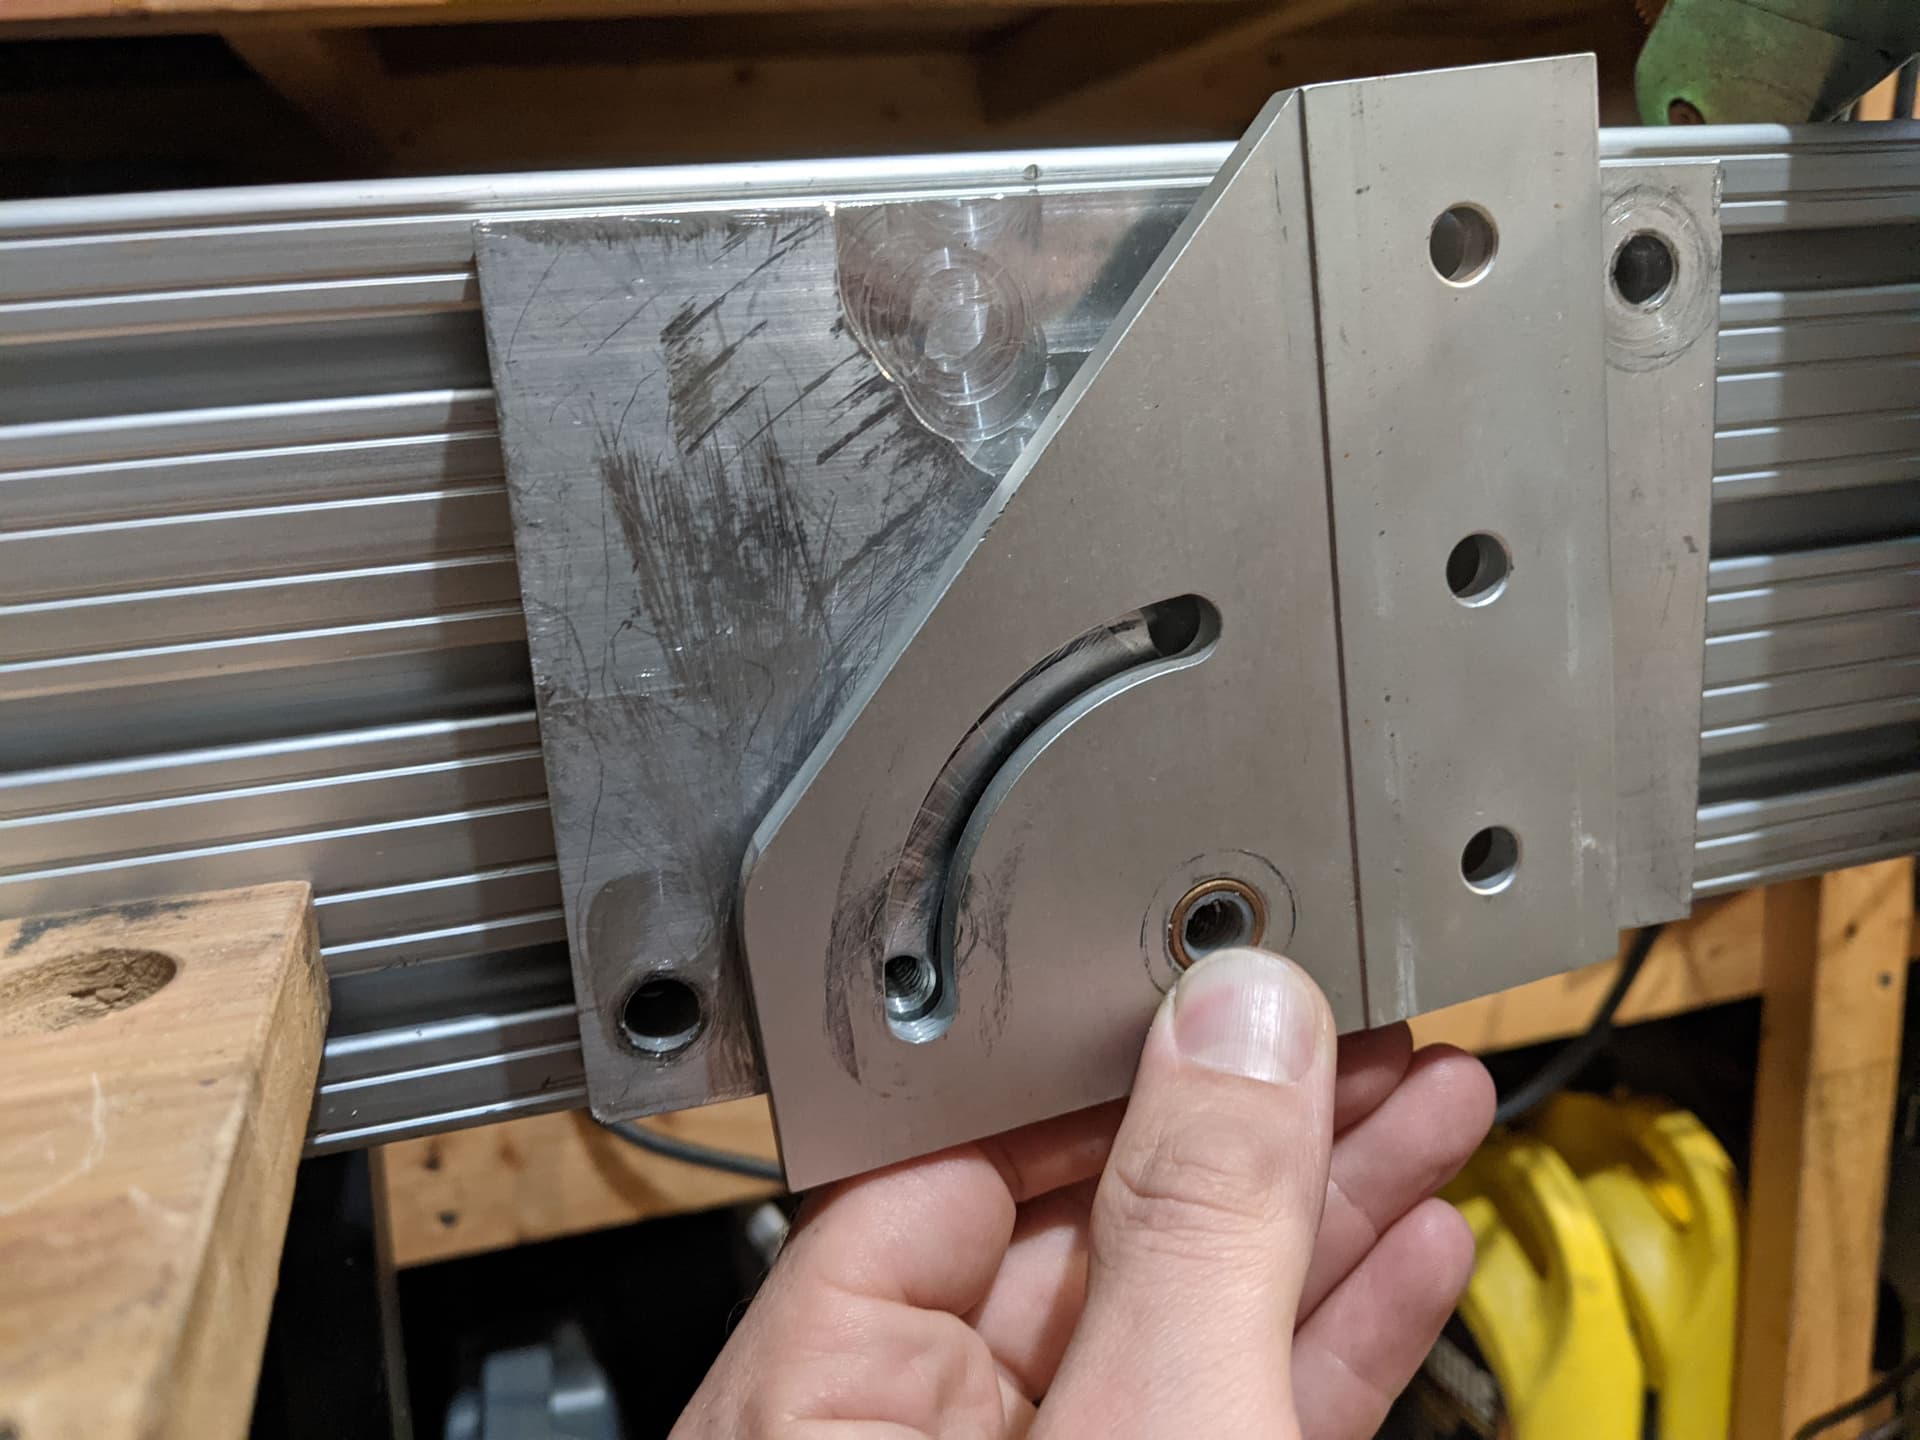
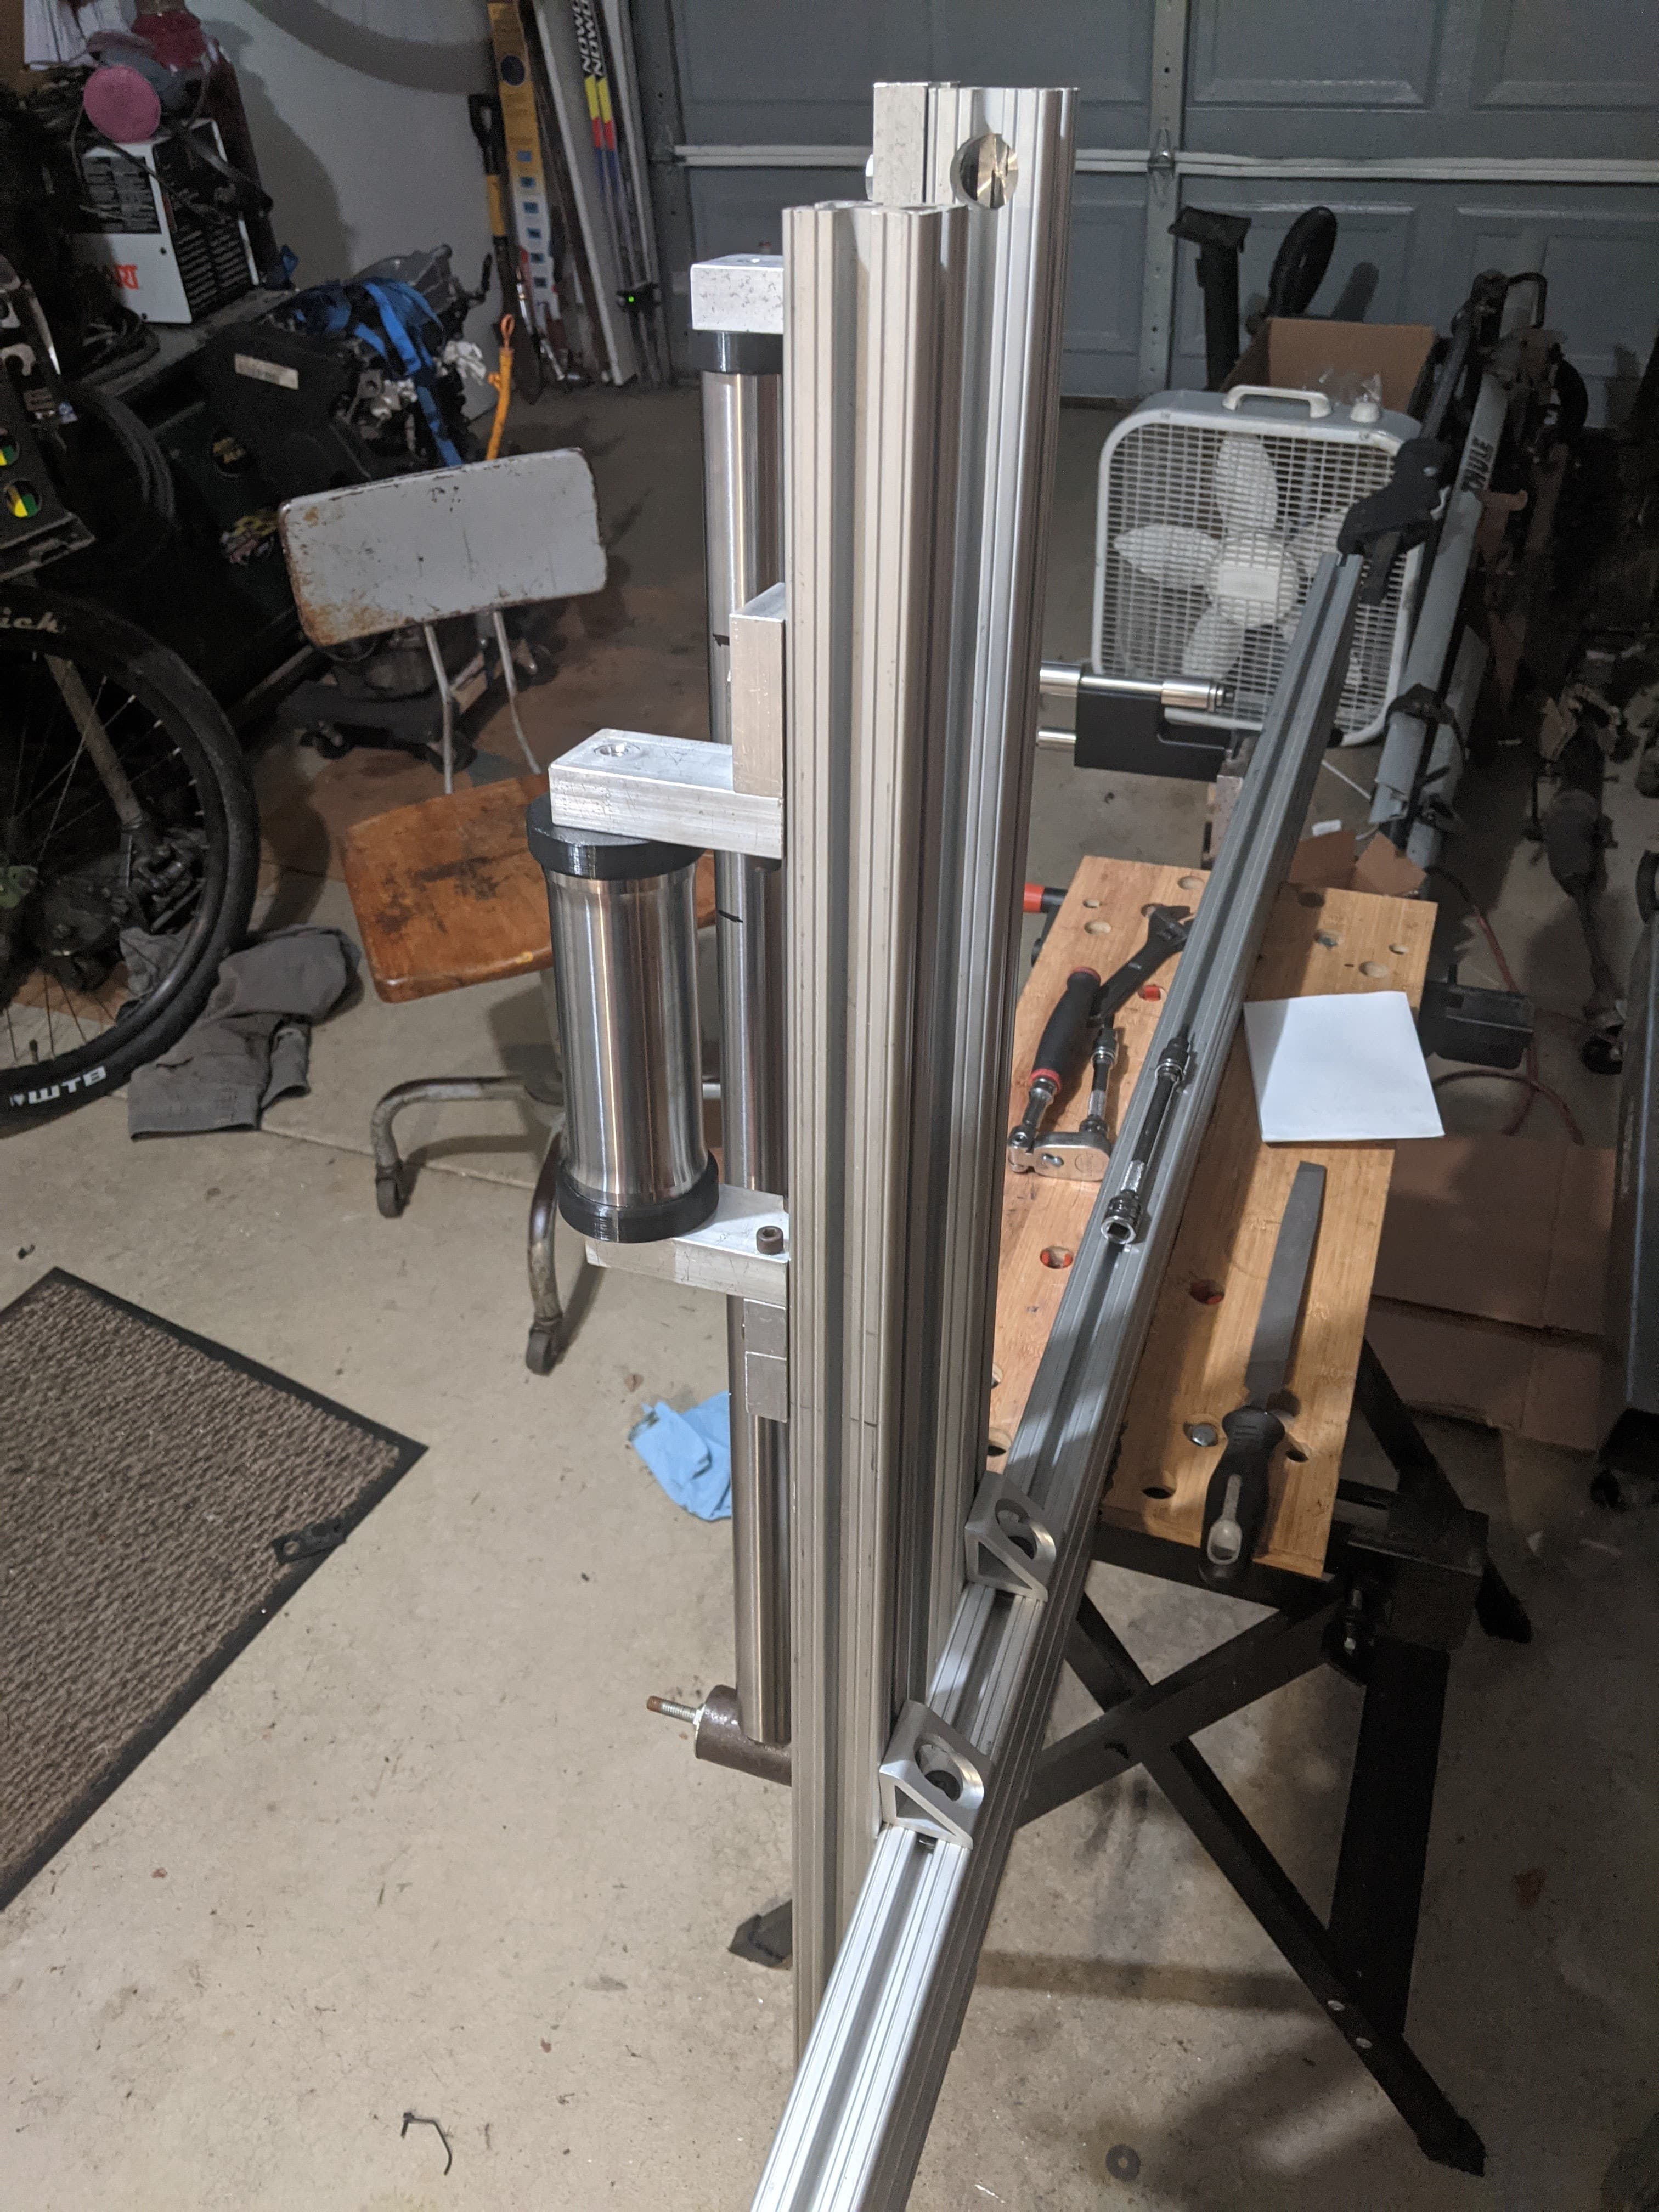
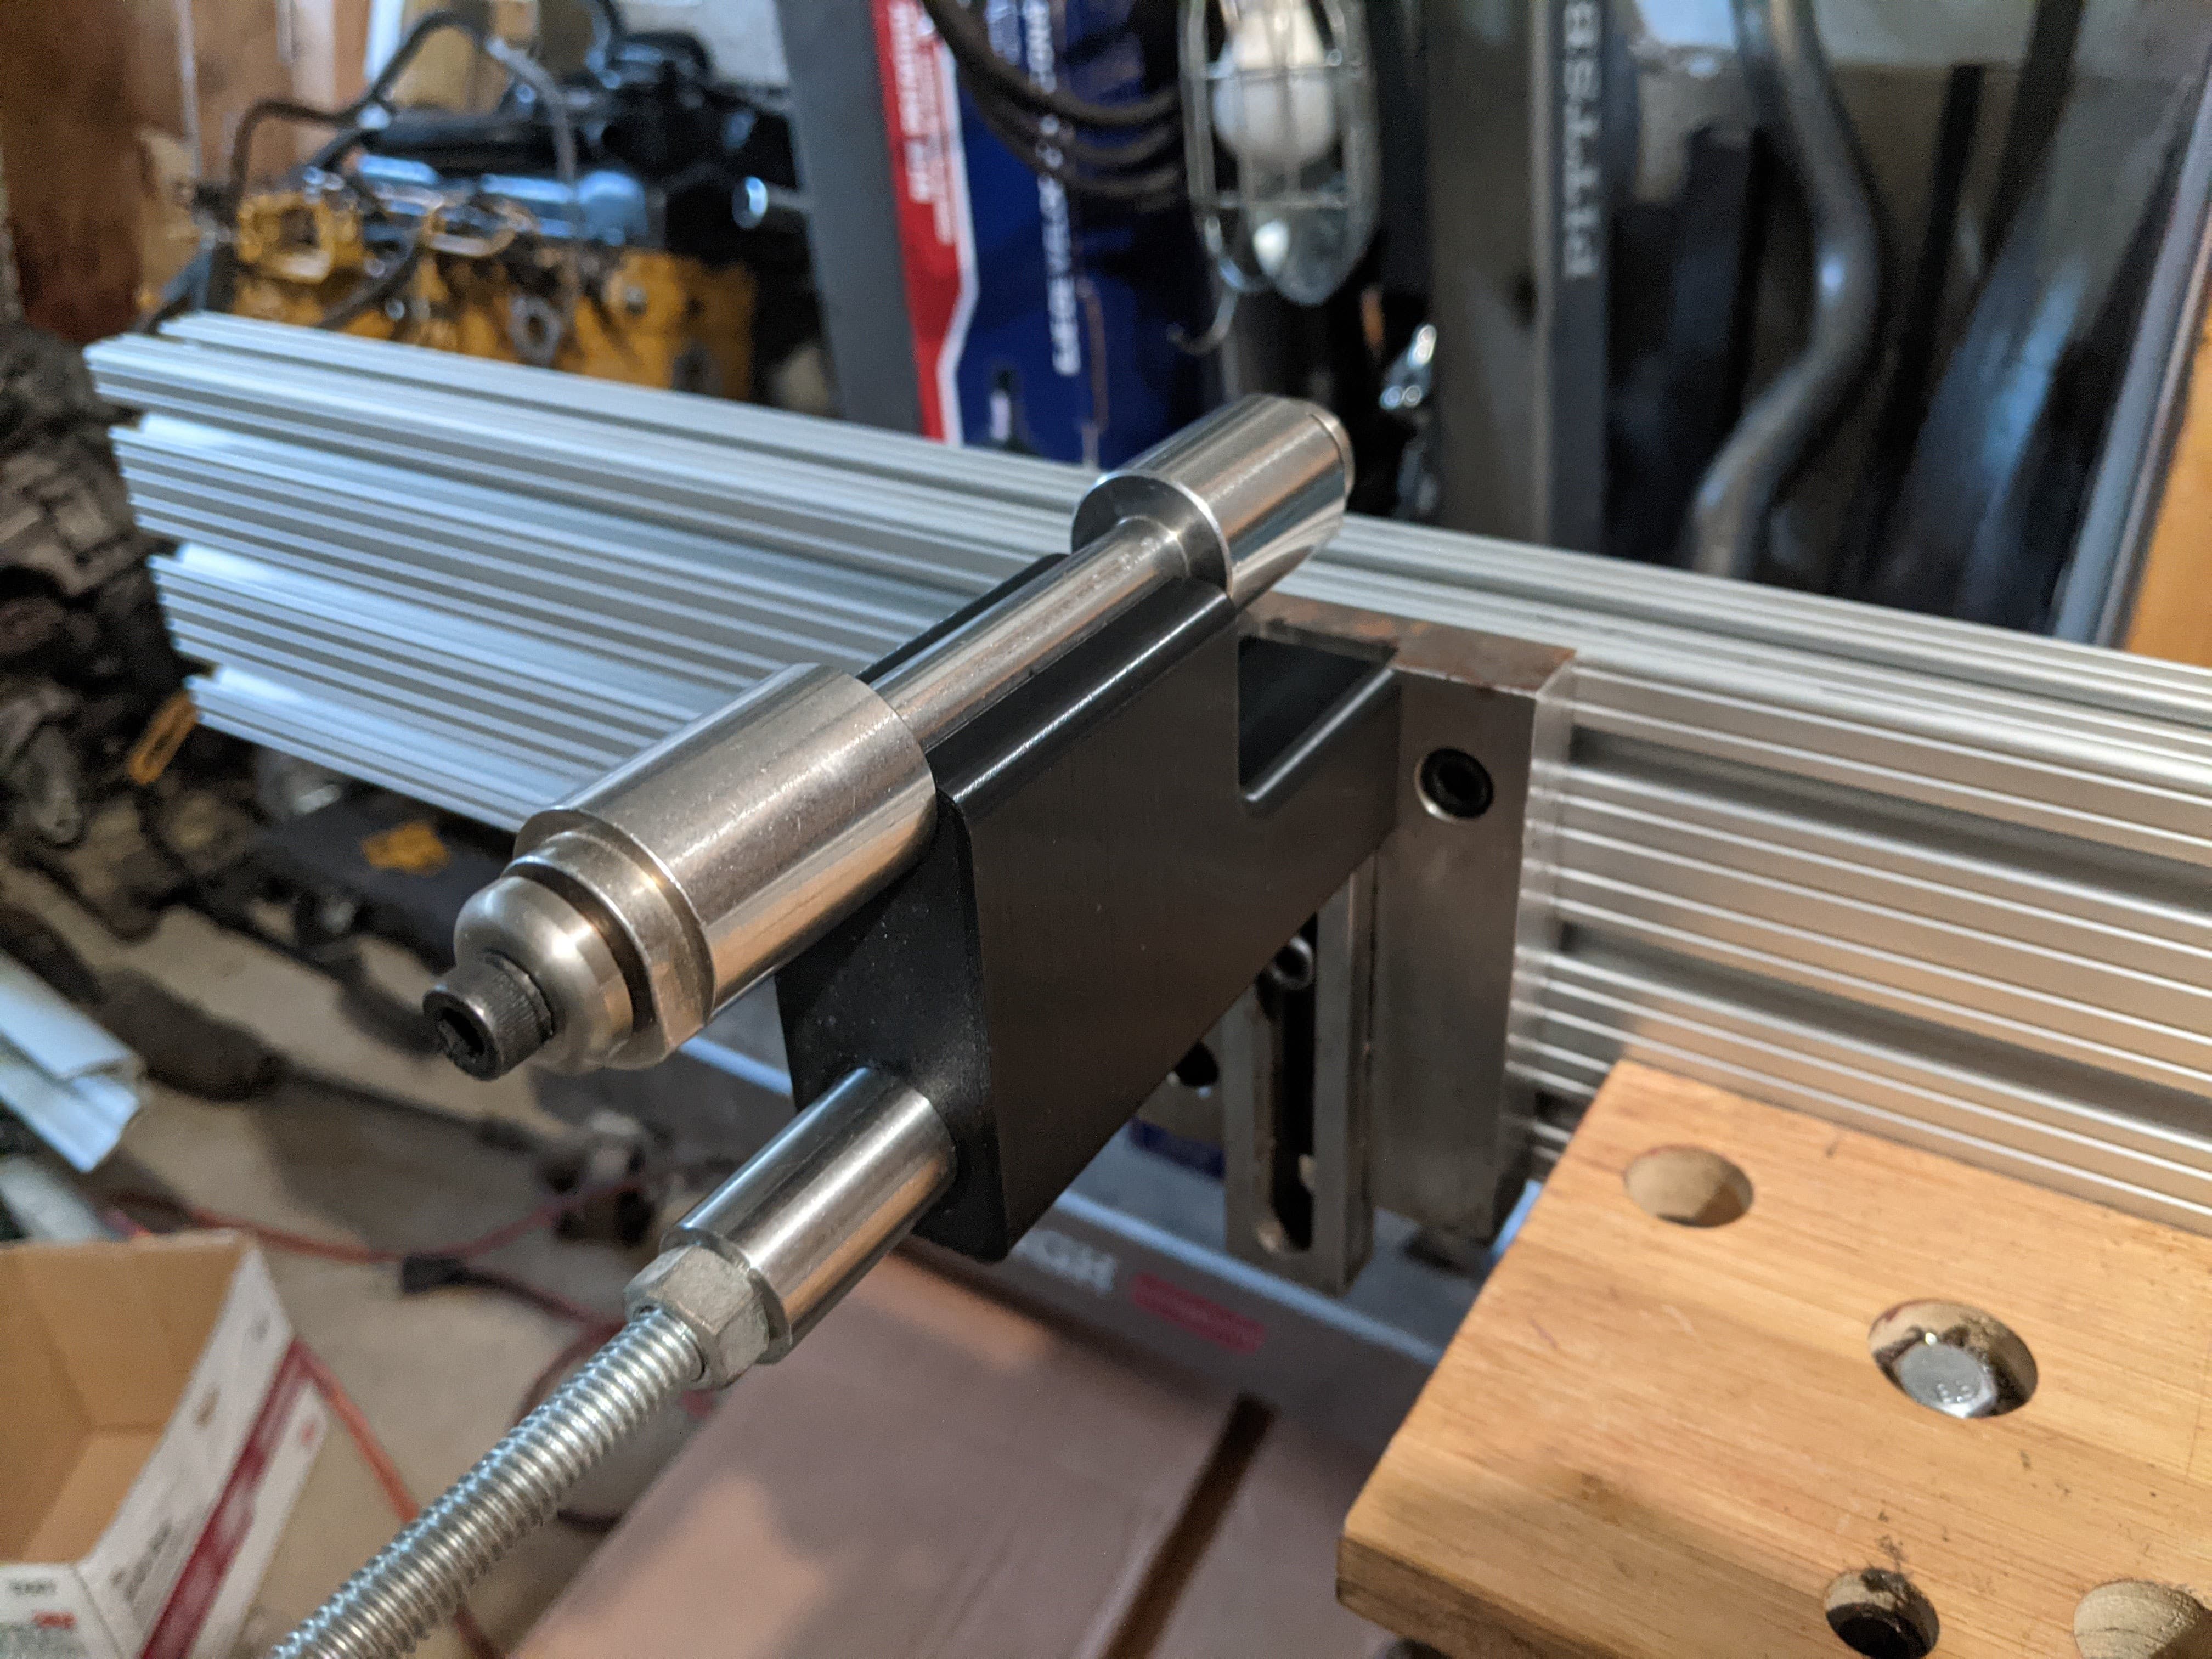
I replaced the pivots with these brackets from 8020, theyre simple and made the HT and ST extrusions parallel and rigid.

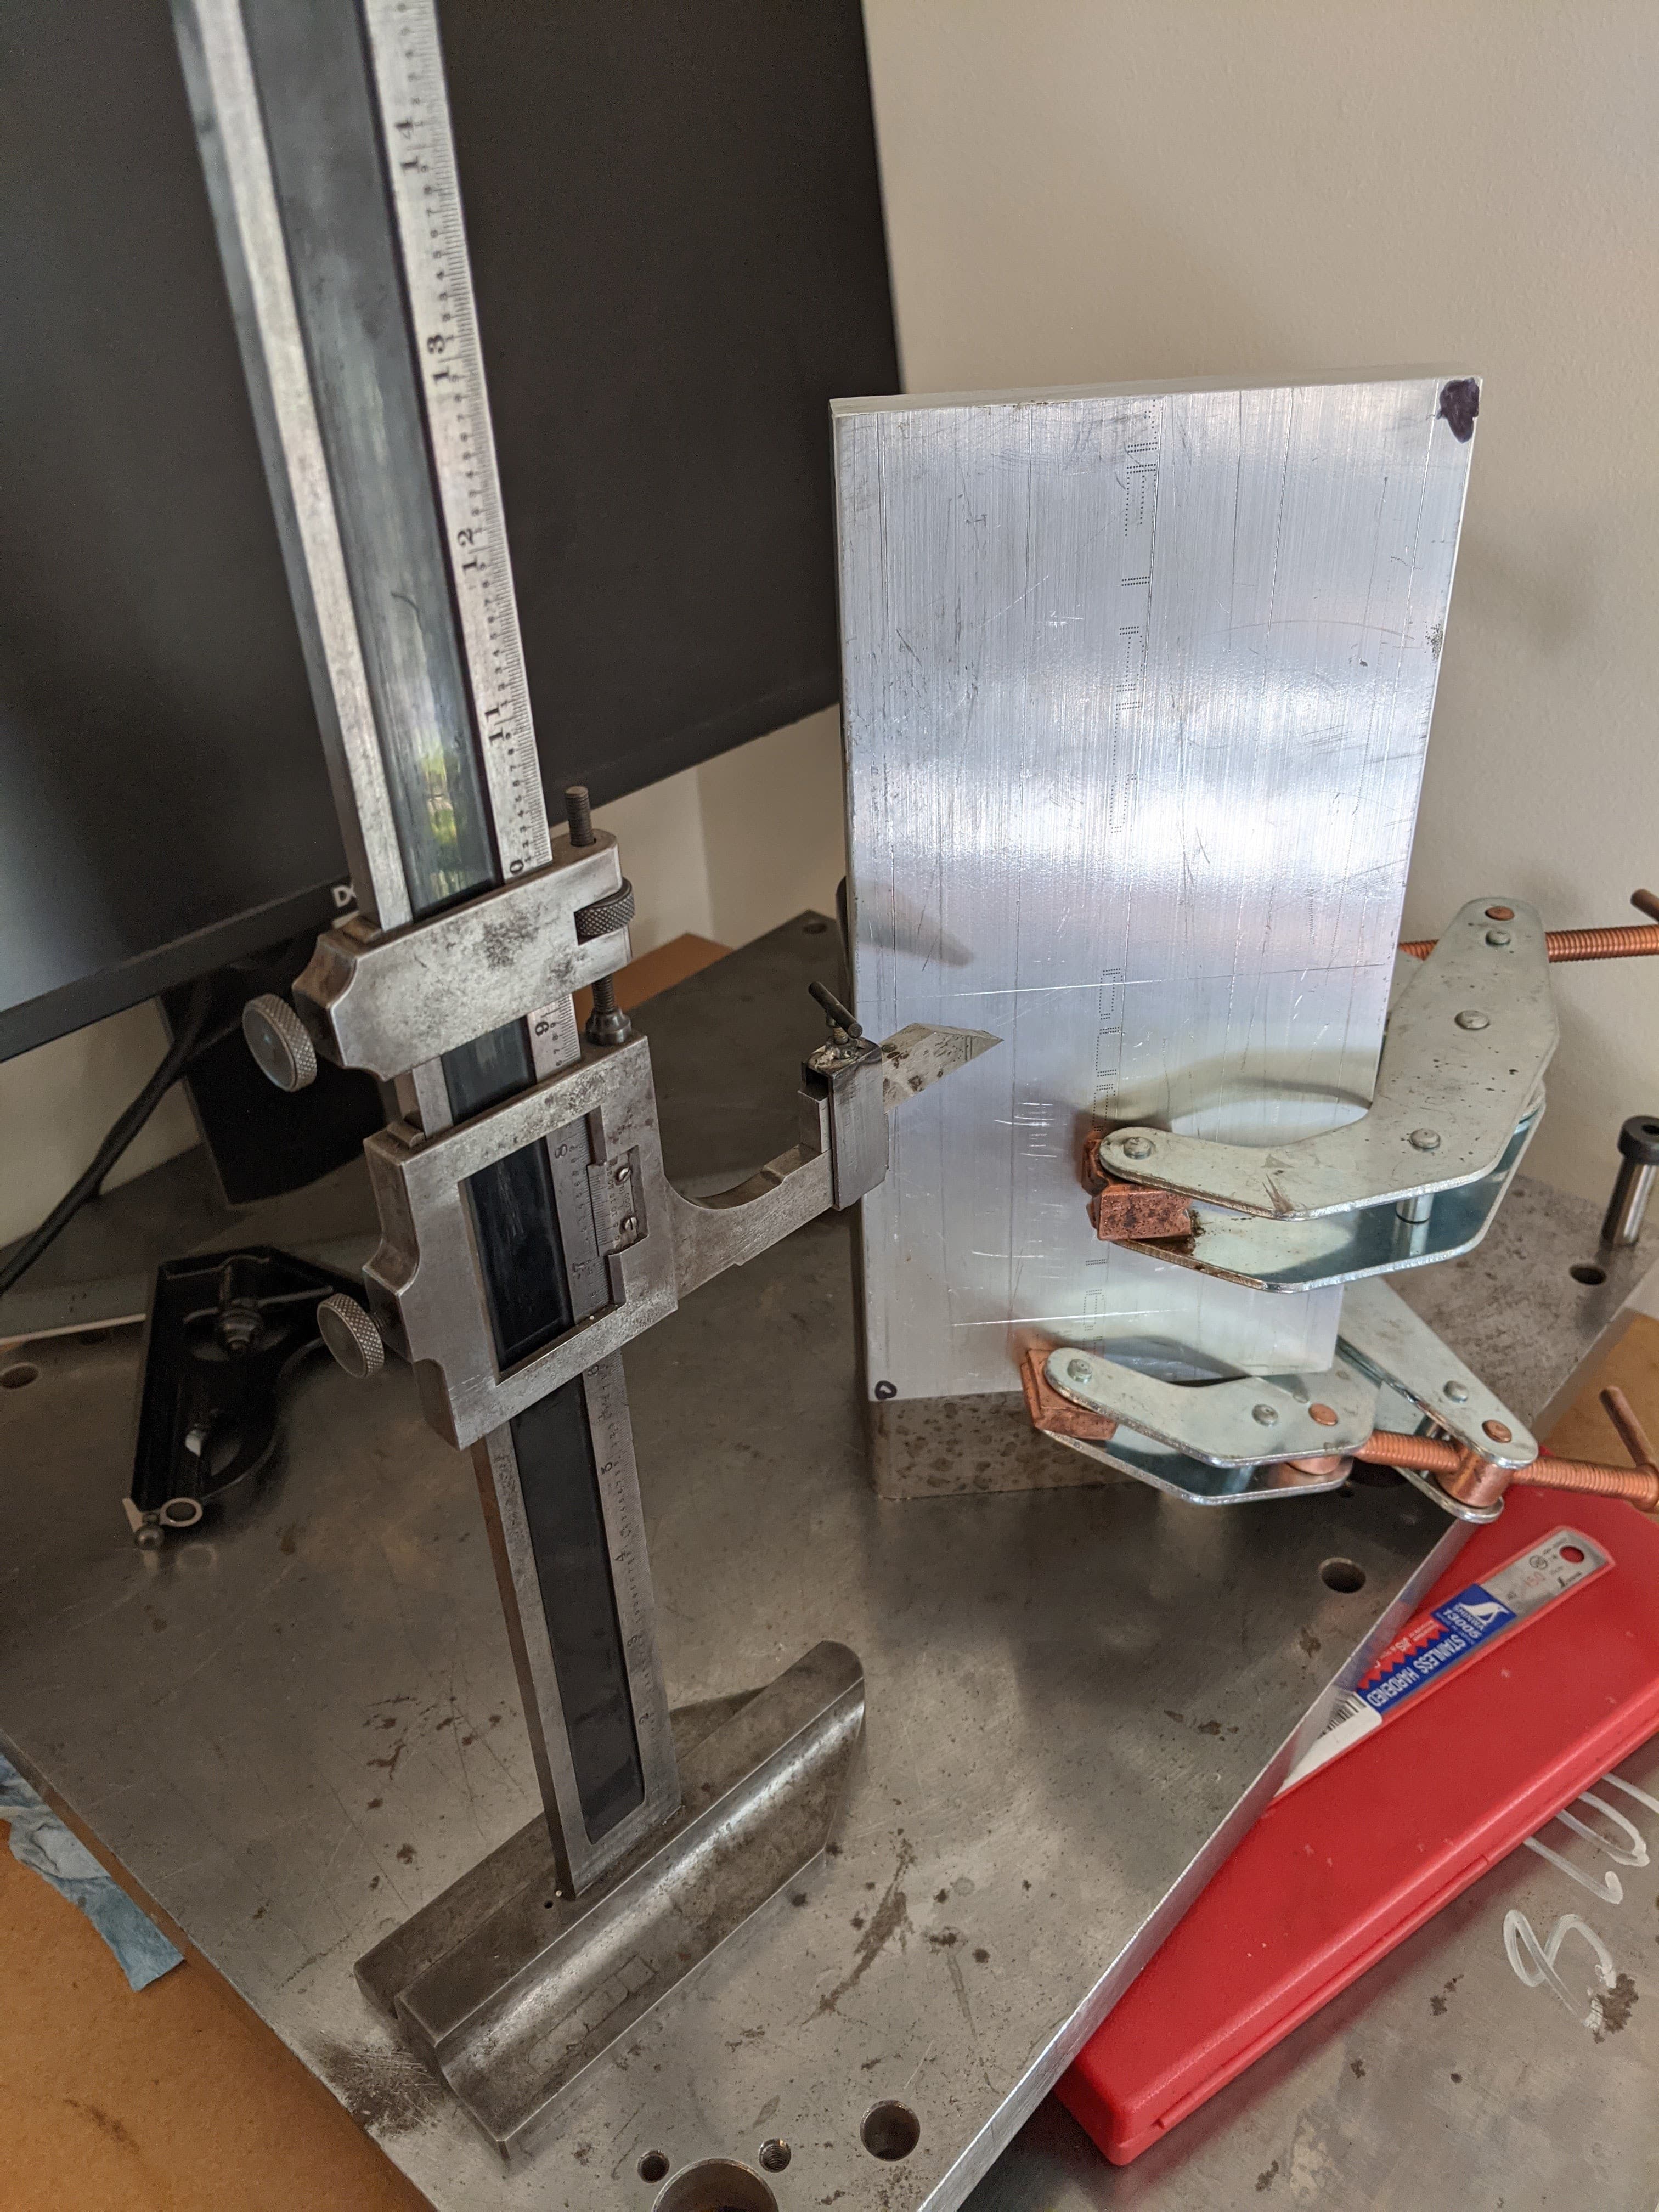
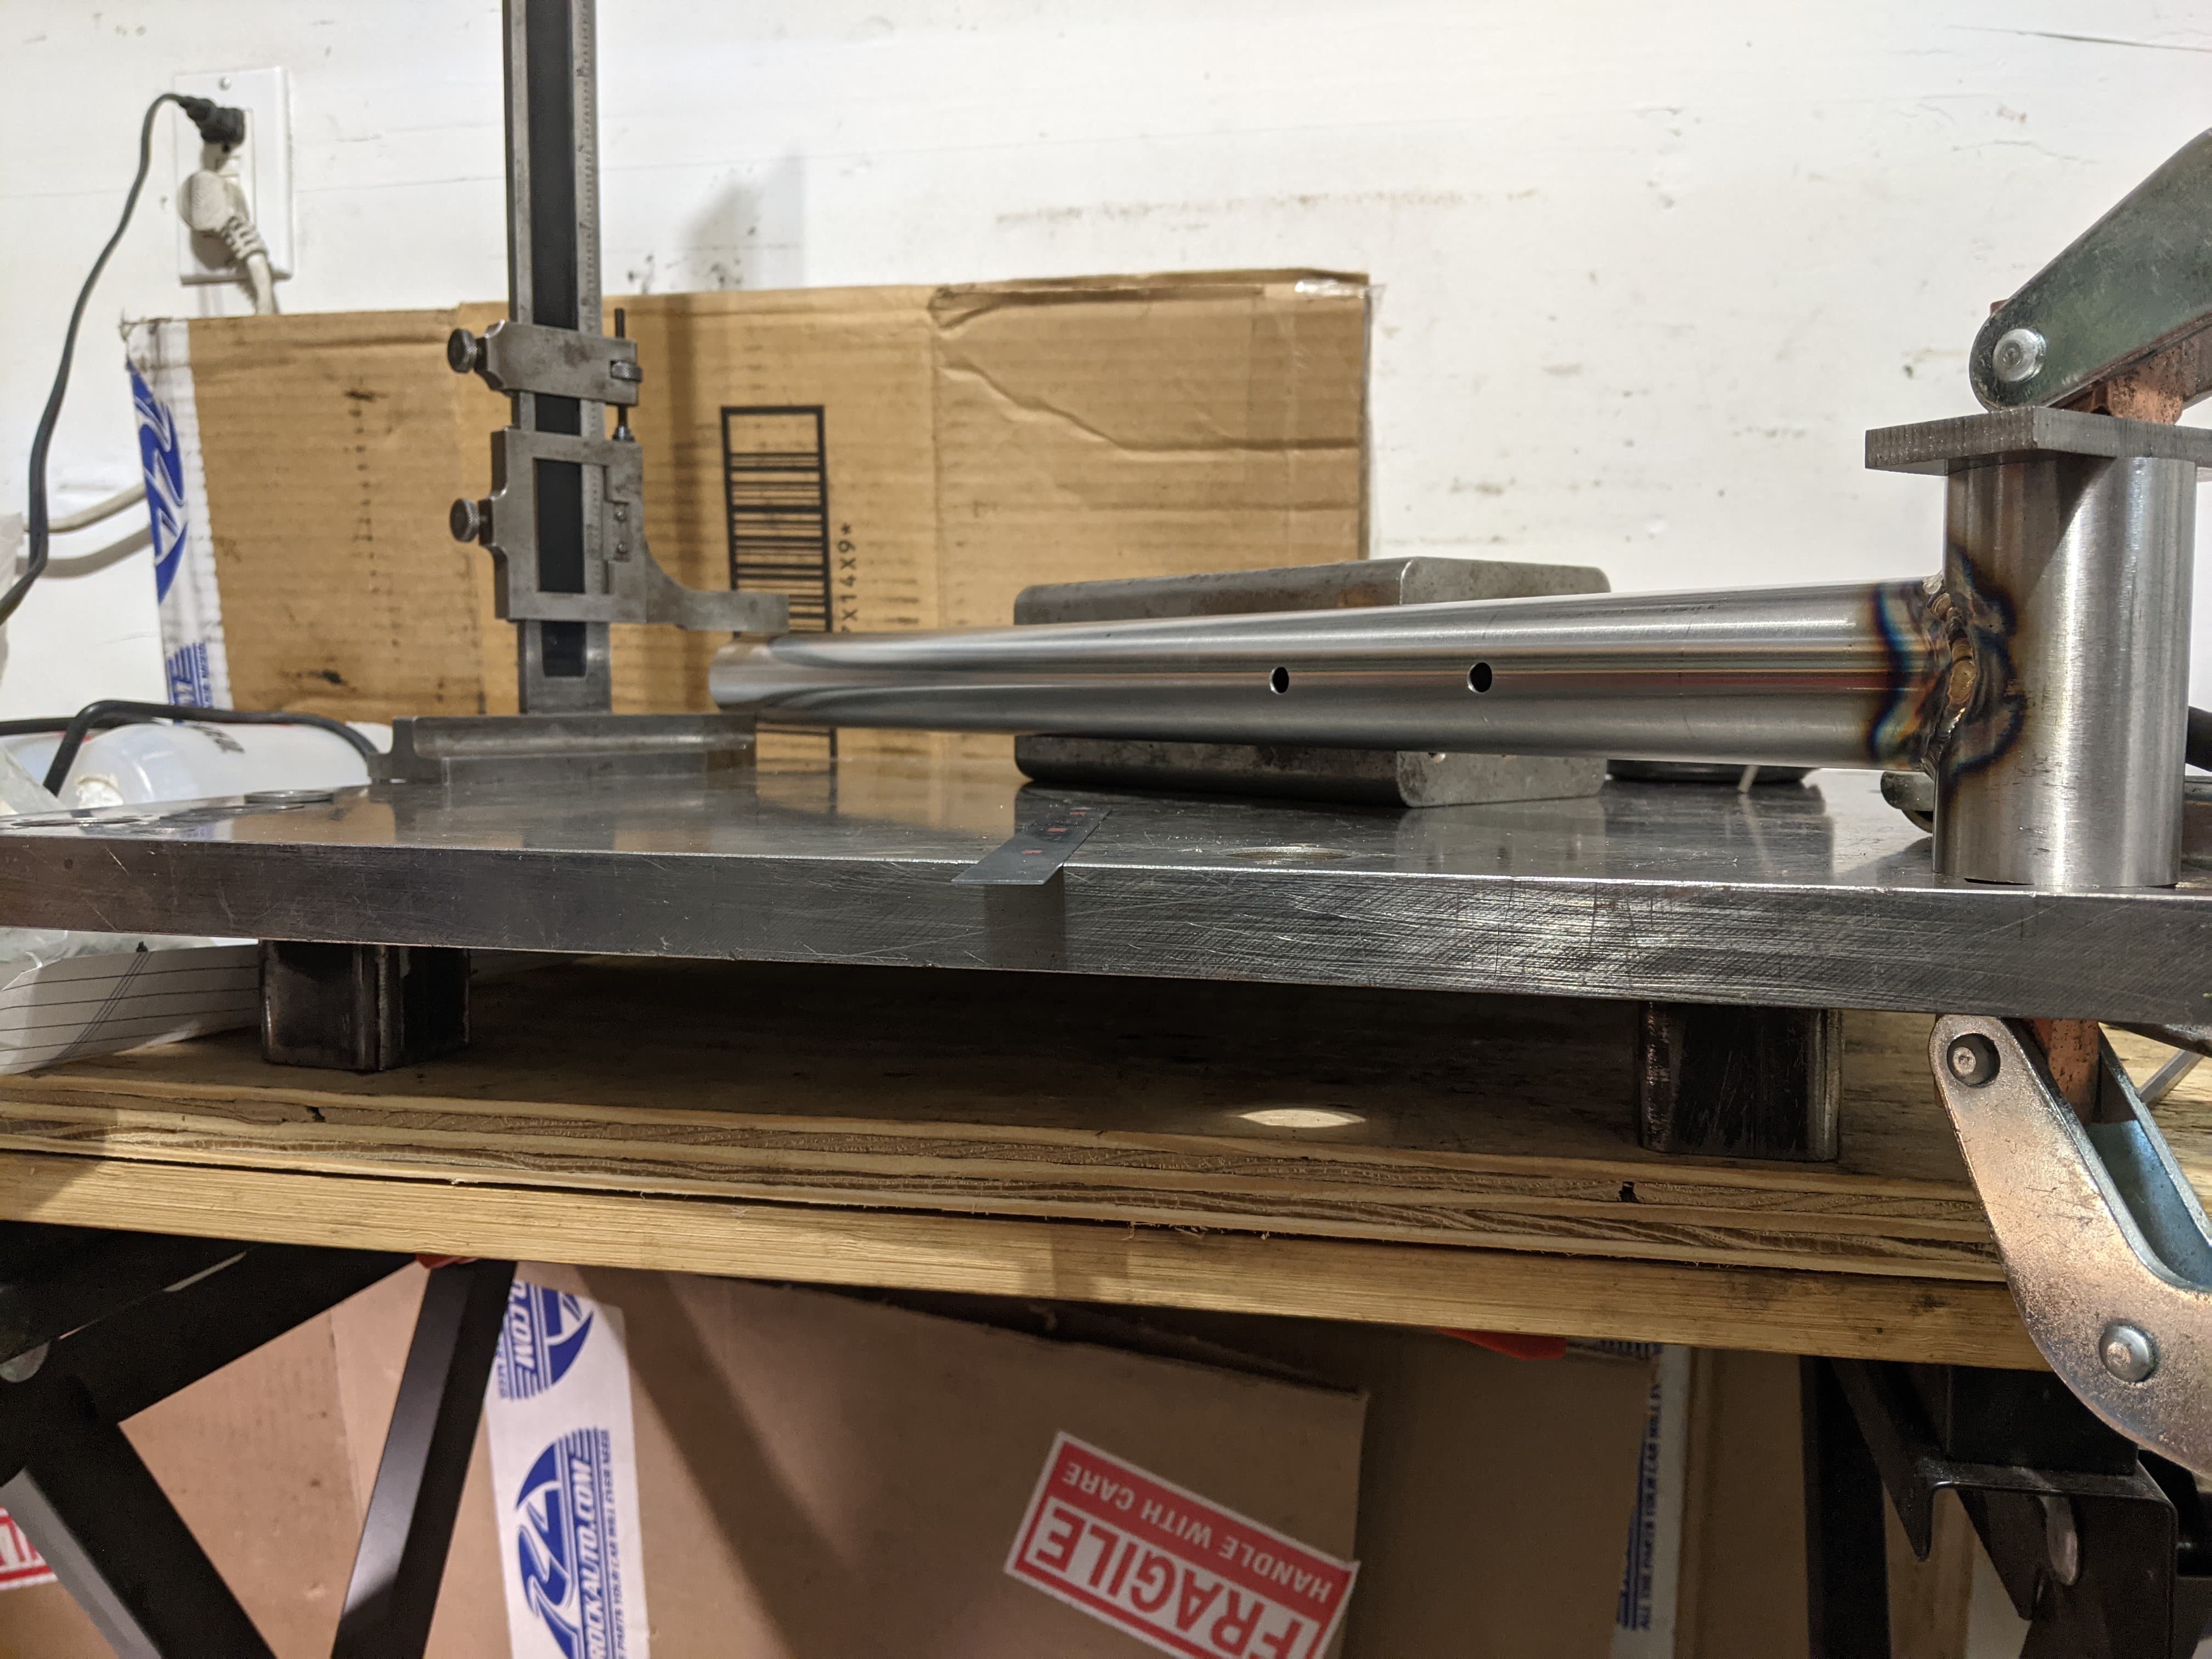
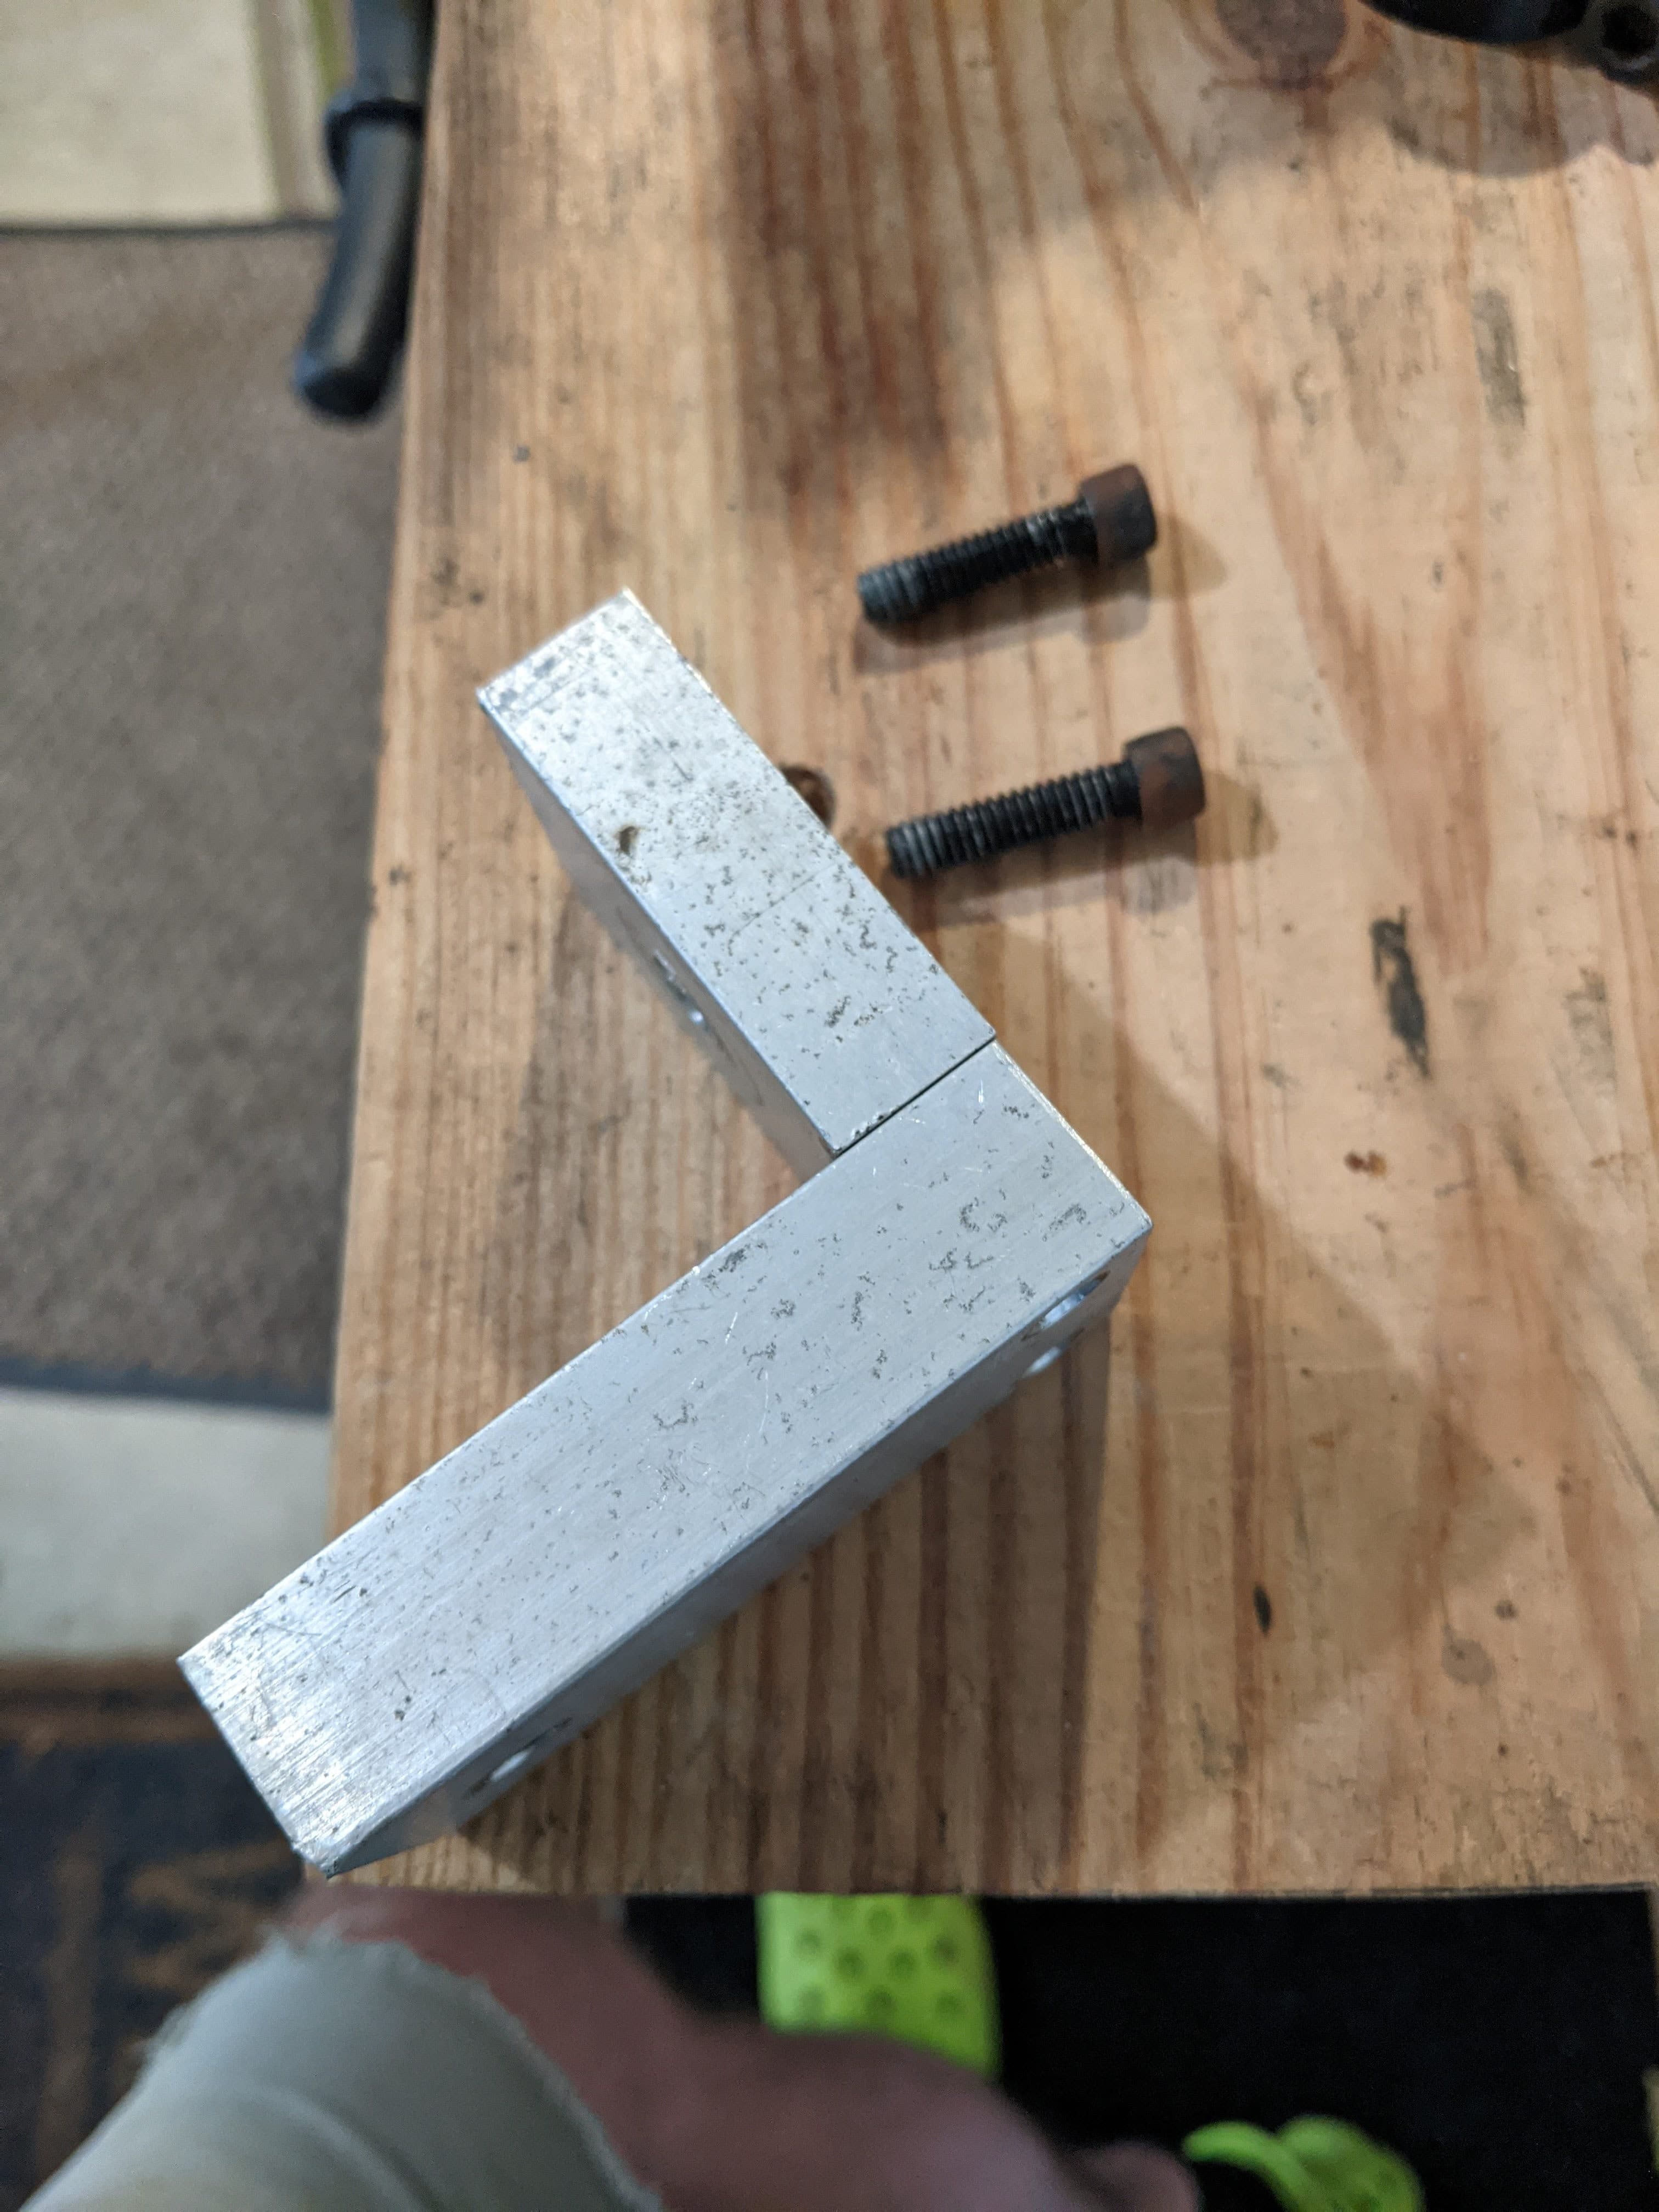
Continuing this fixture tune up, I noticed the bracket assemblies that hold the head tube and seat tube were not very square. Apparently I decided a saw cut was square enough back in the day. So I fixed those up as best I could without a mill, and without drastically changing the dimension to the frame center.


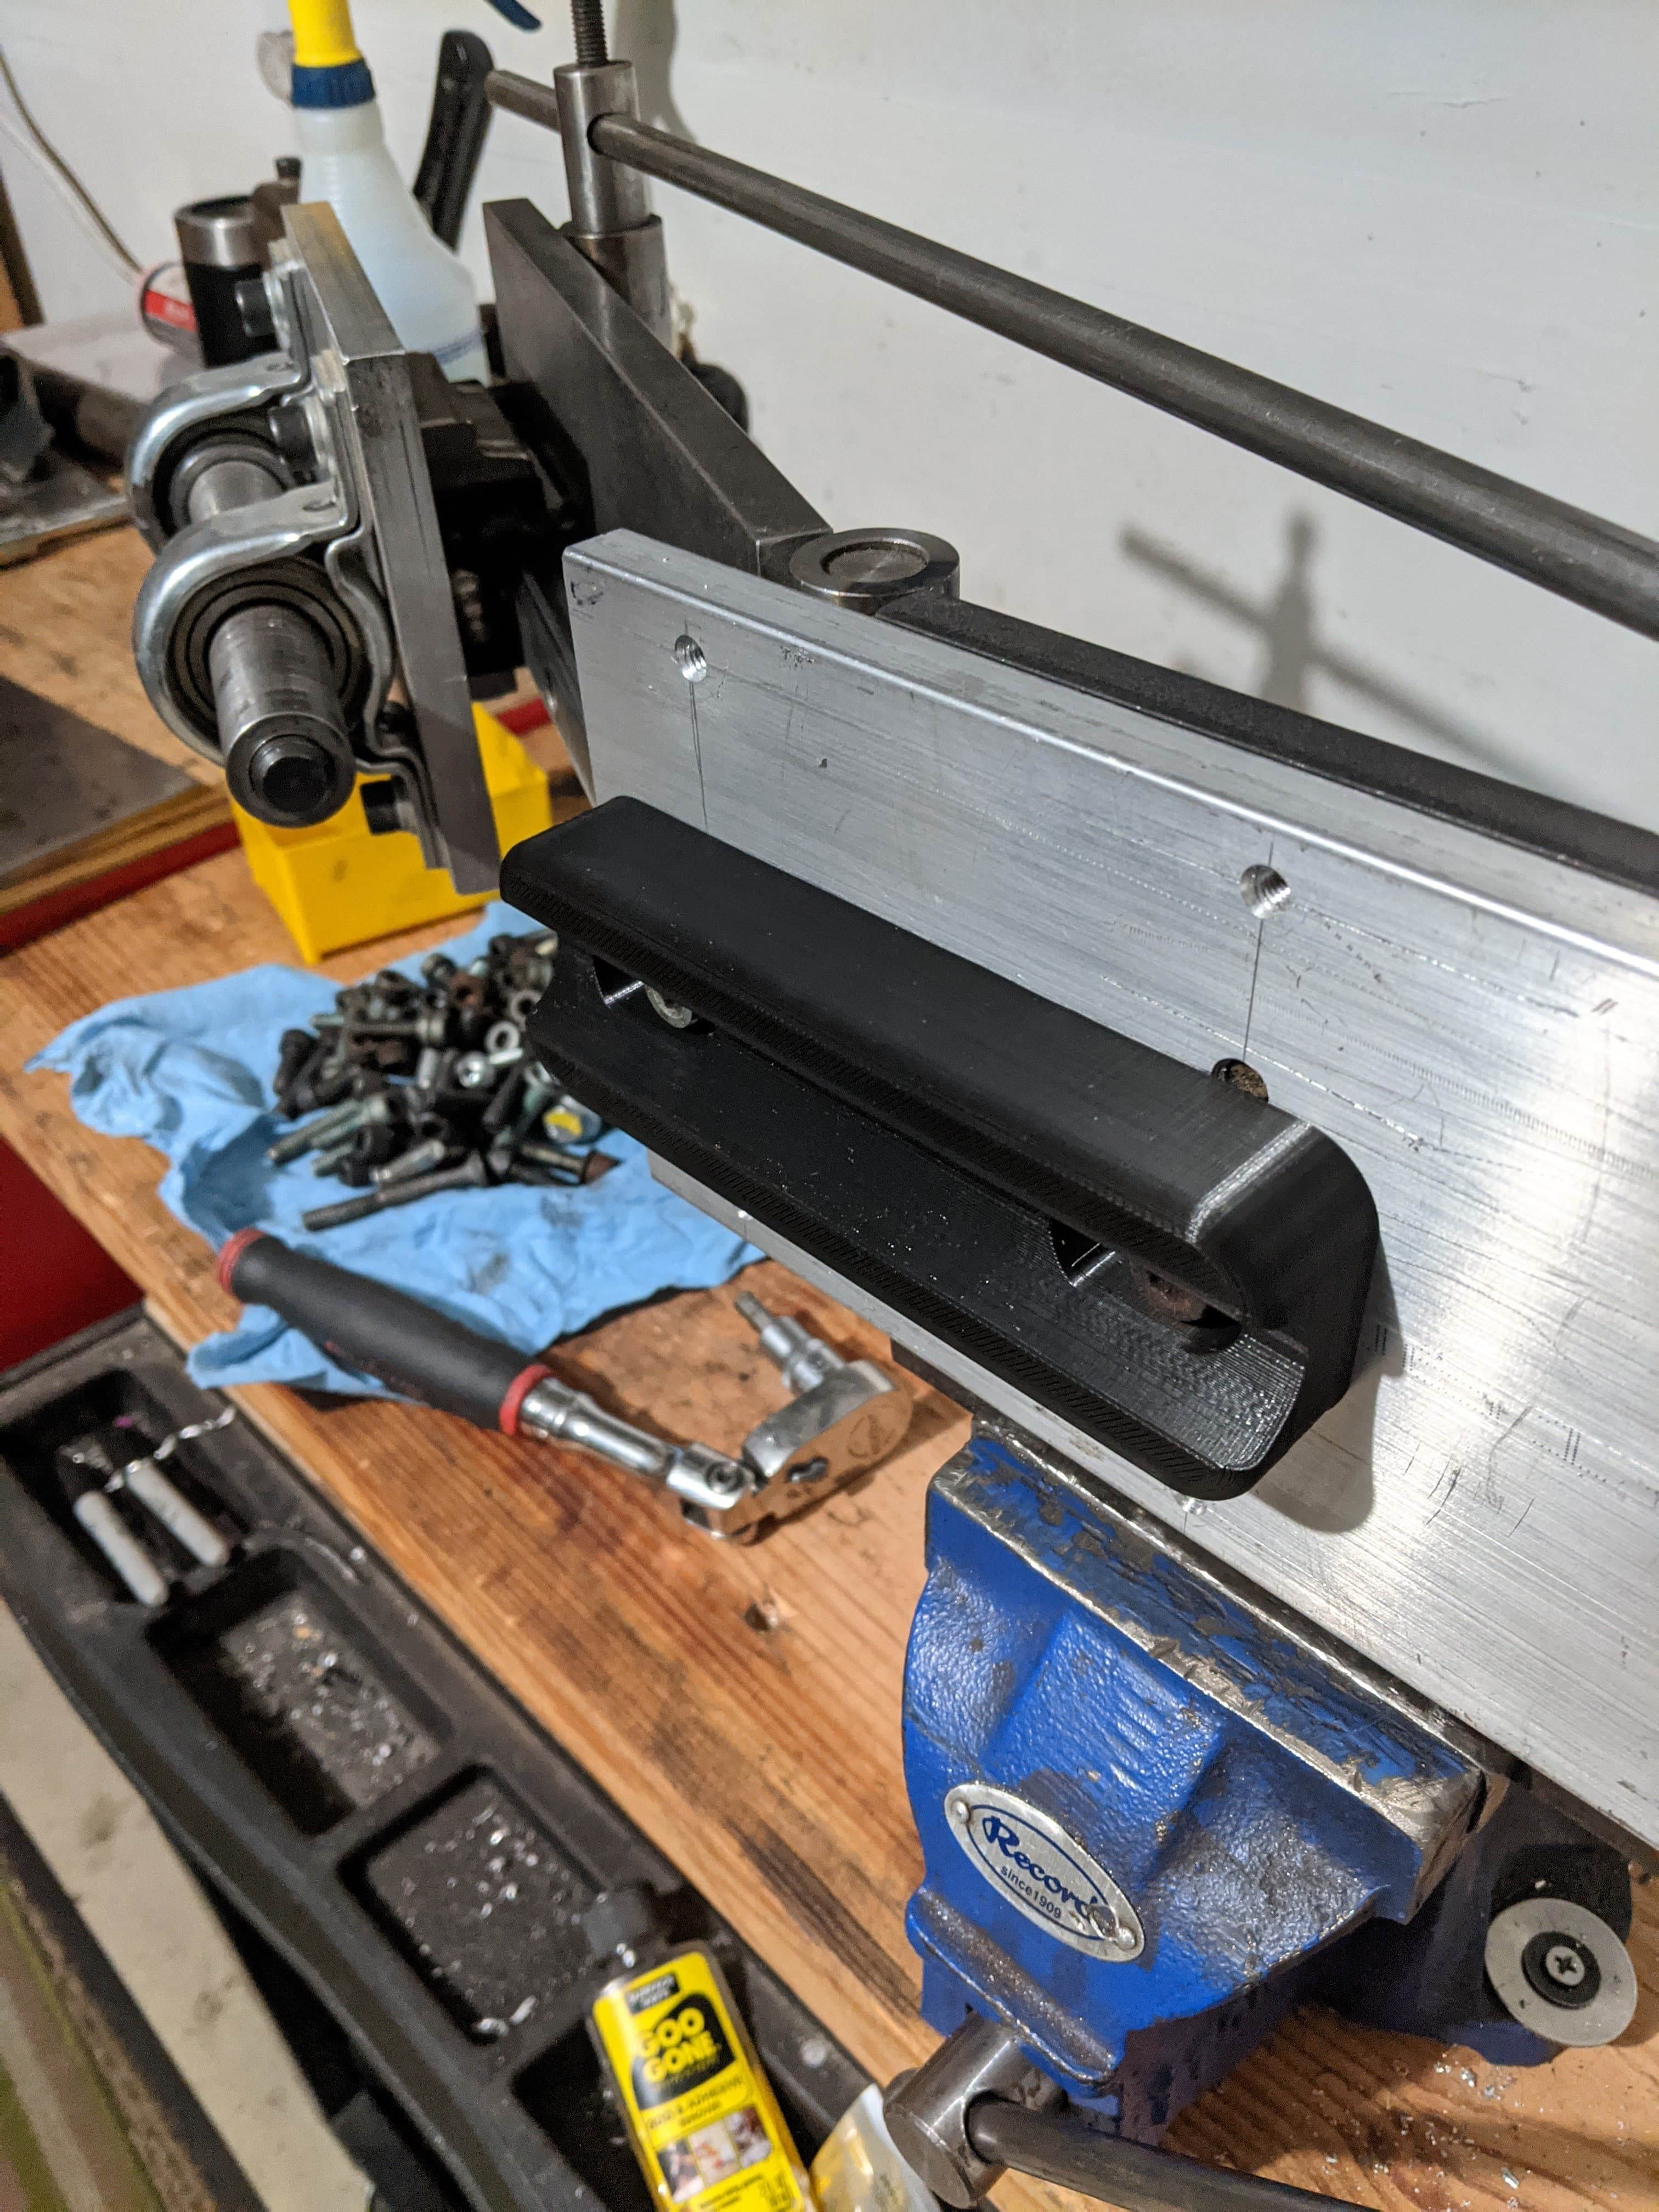
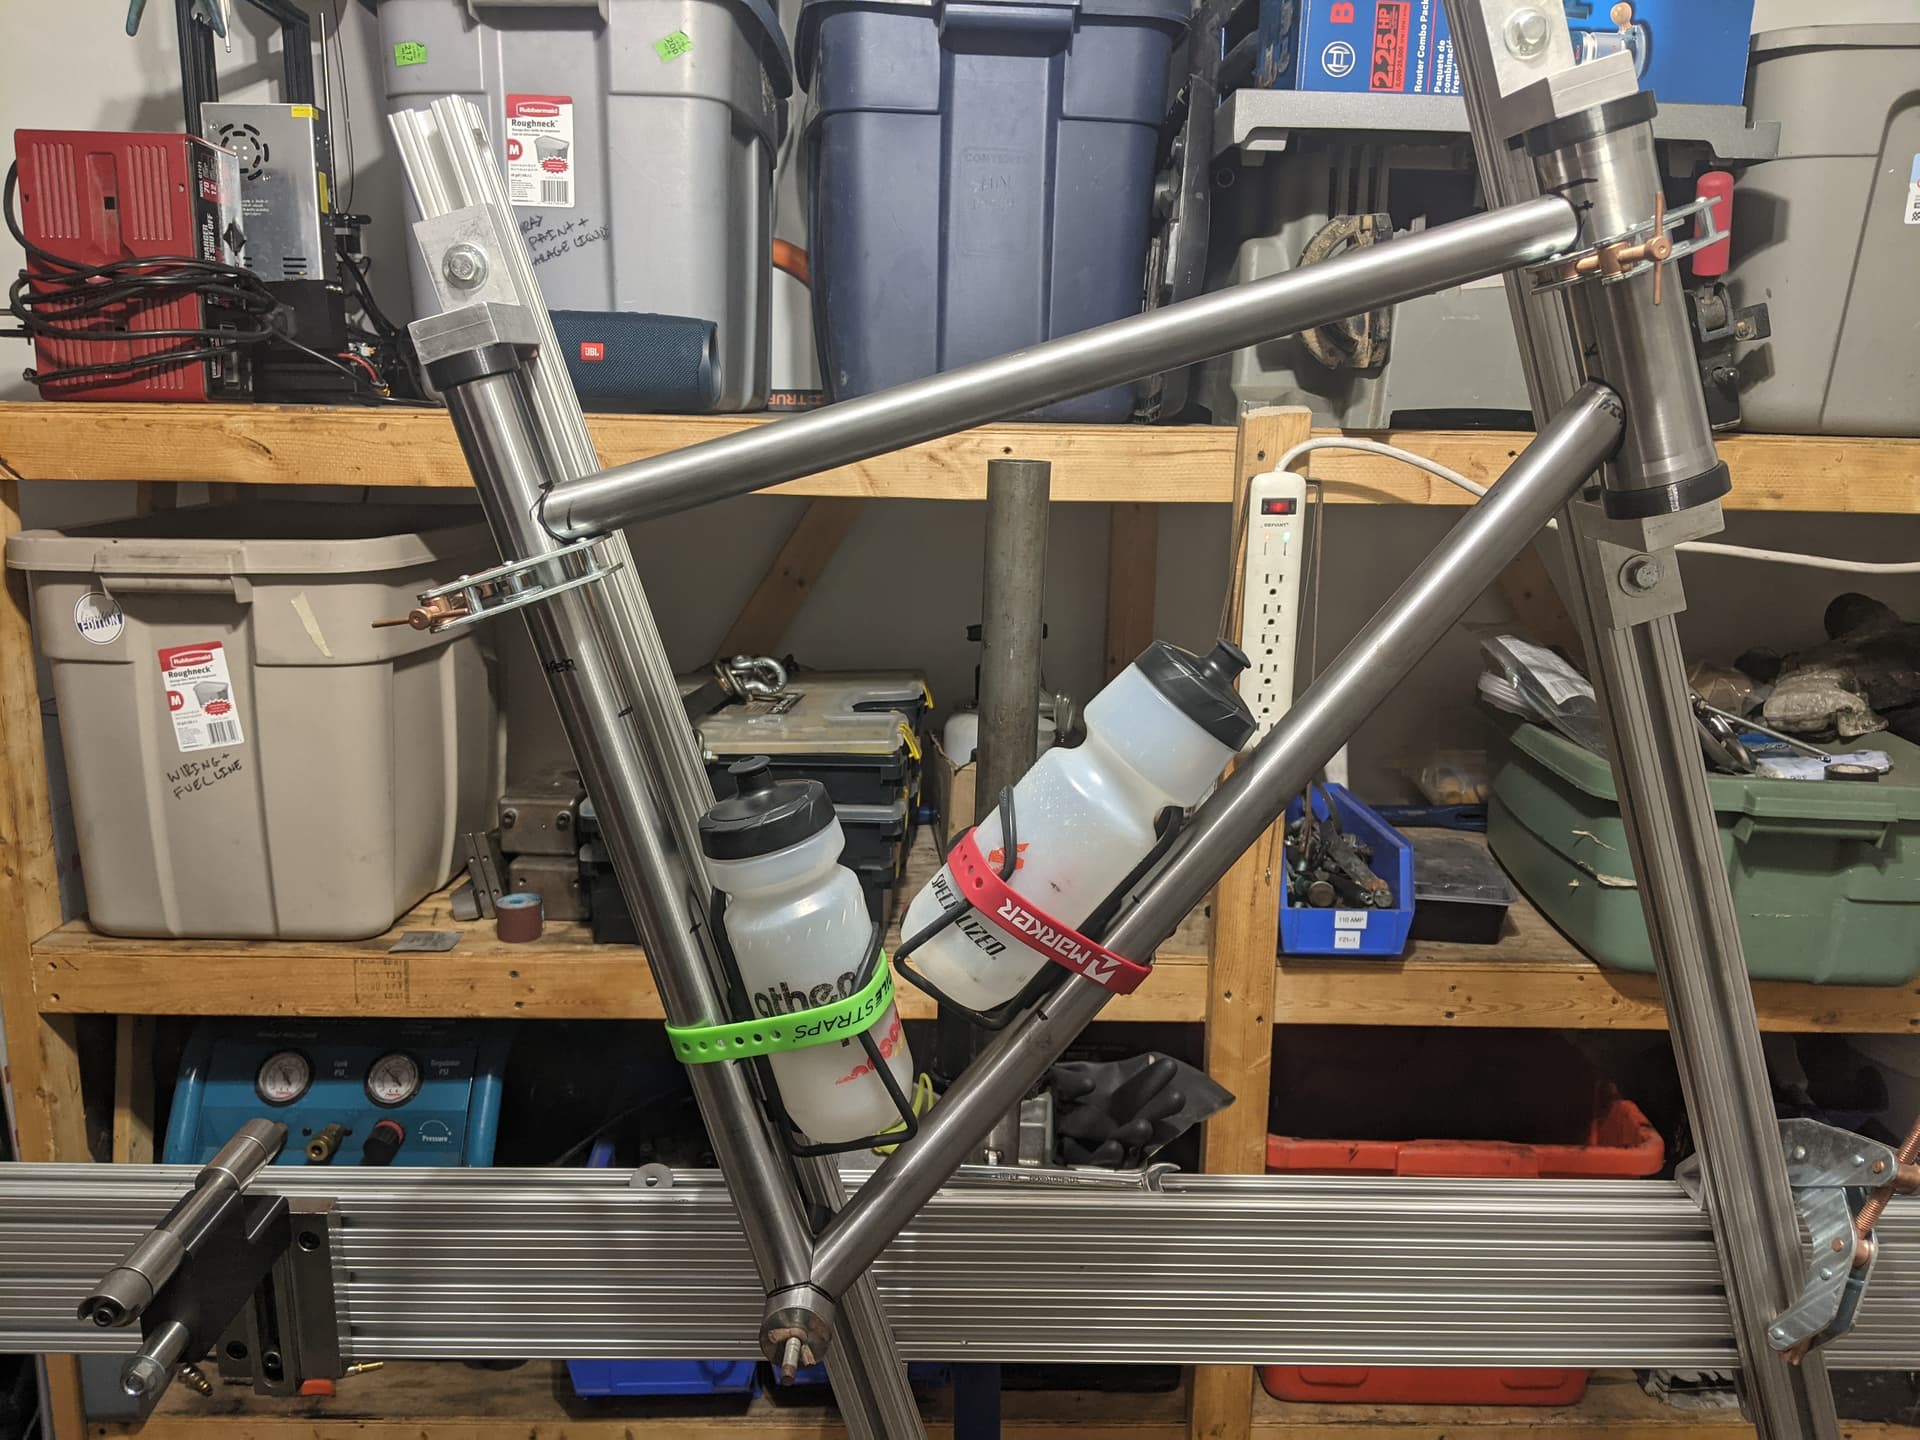
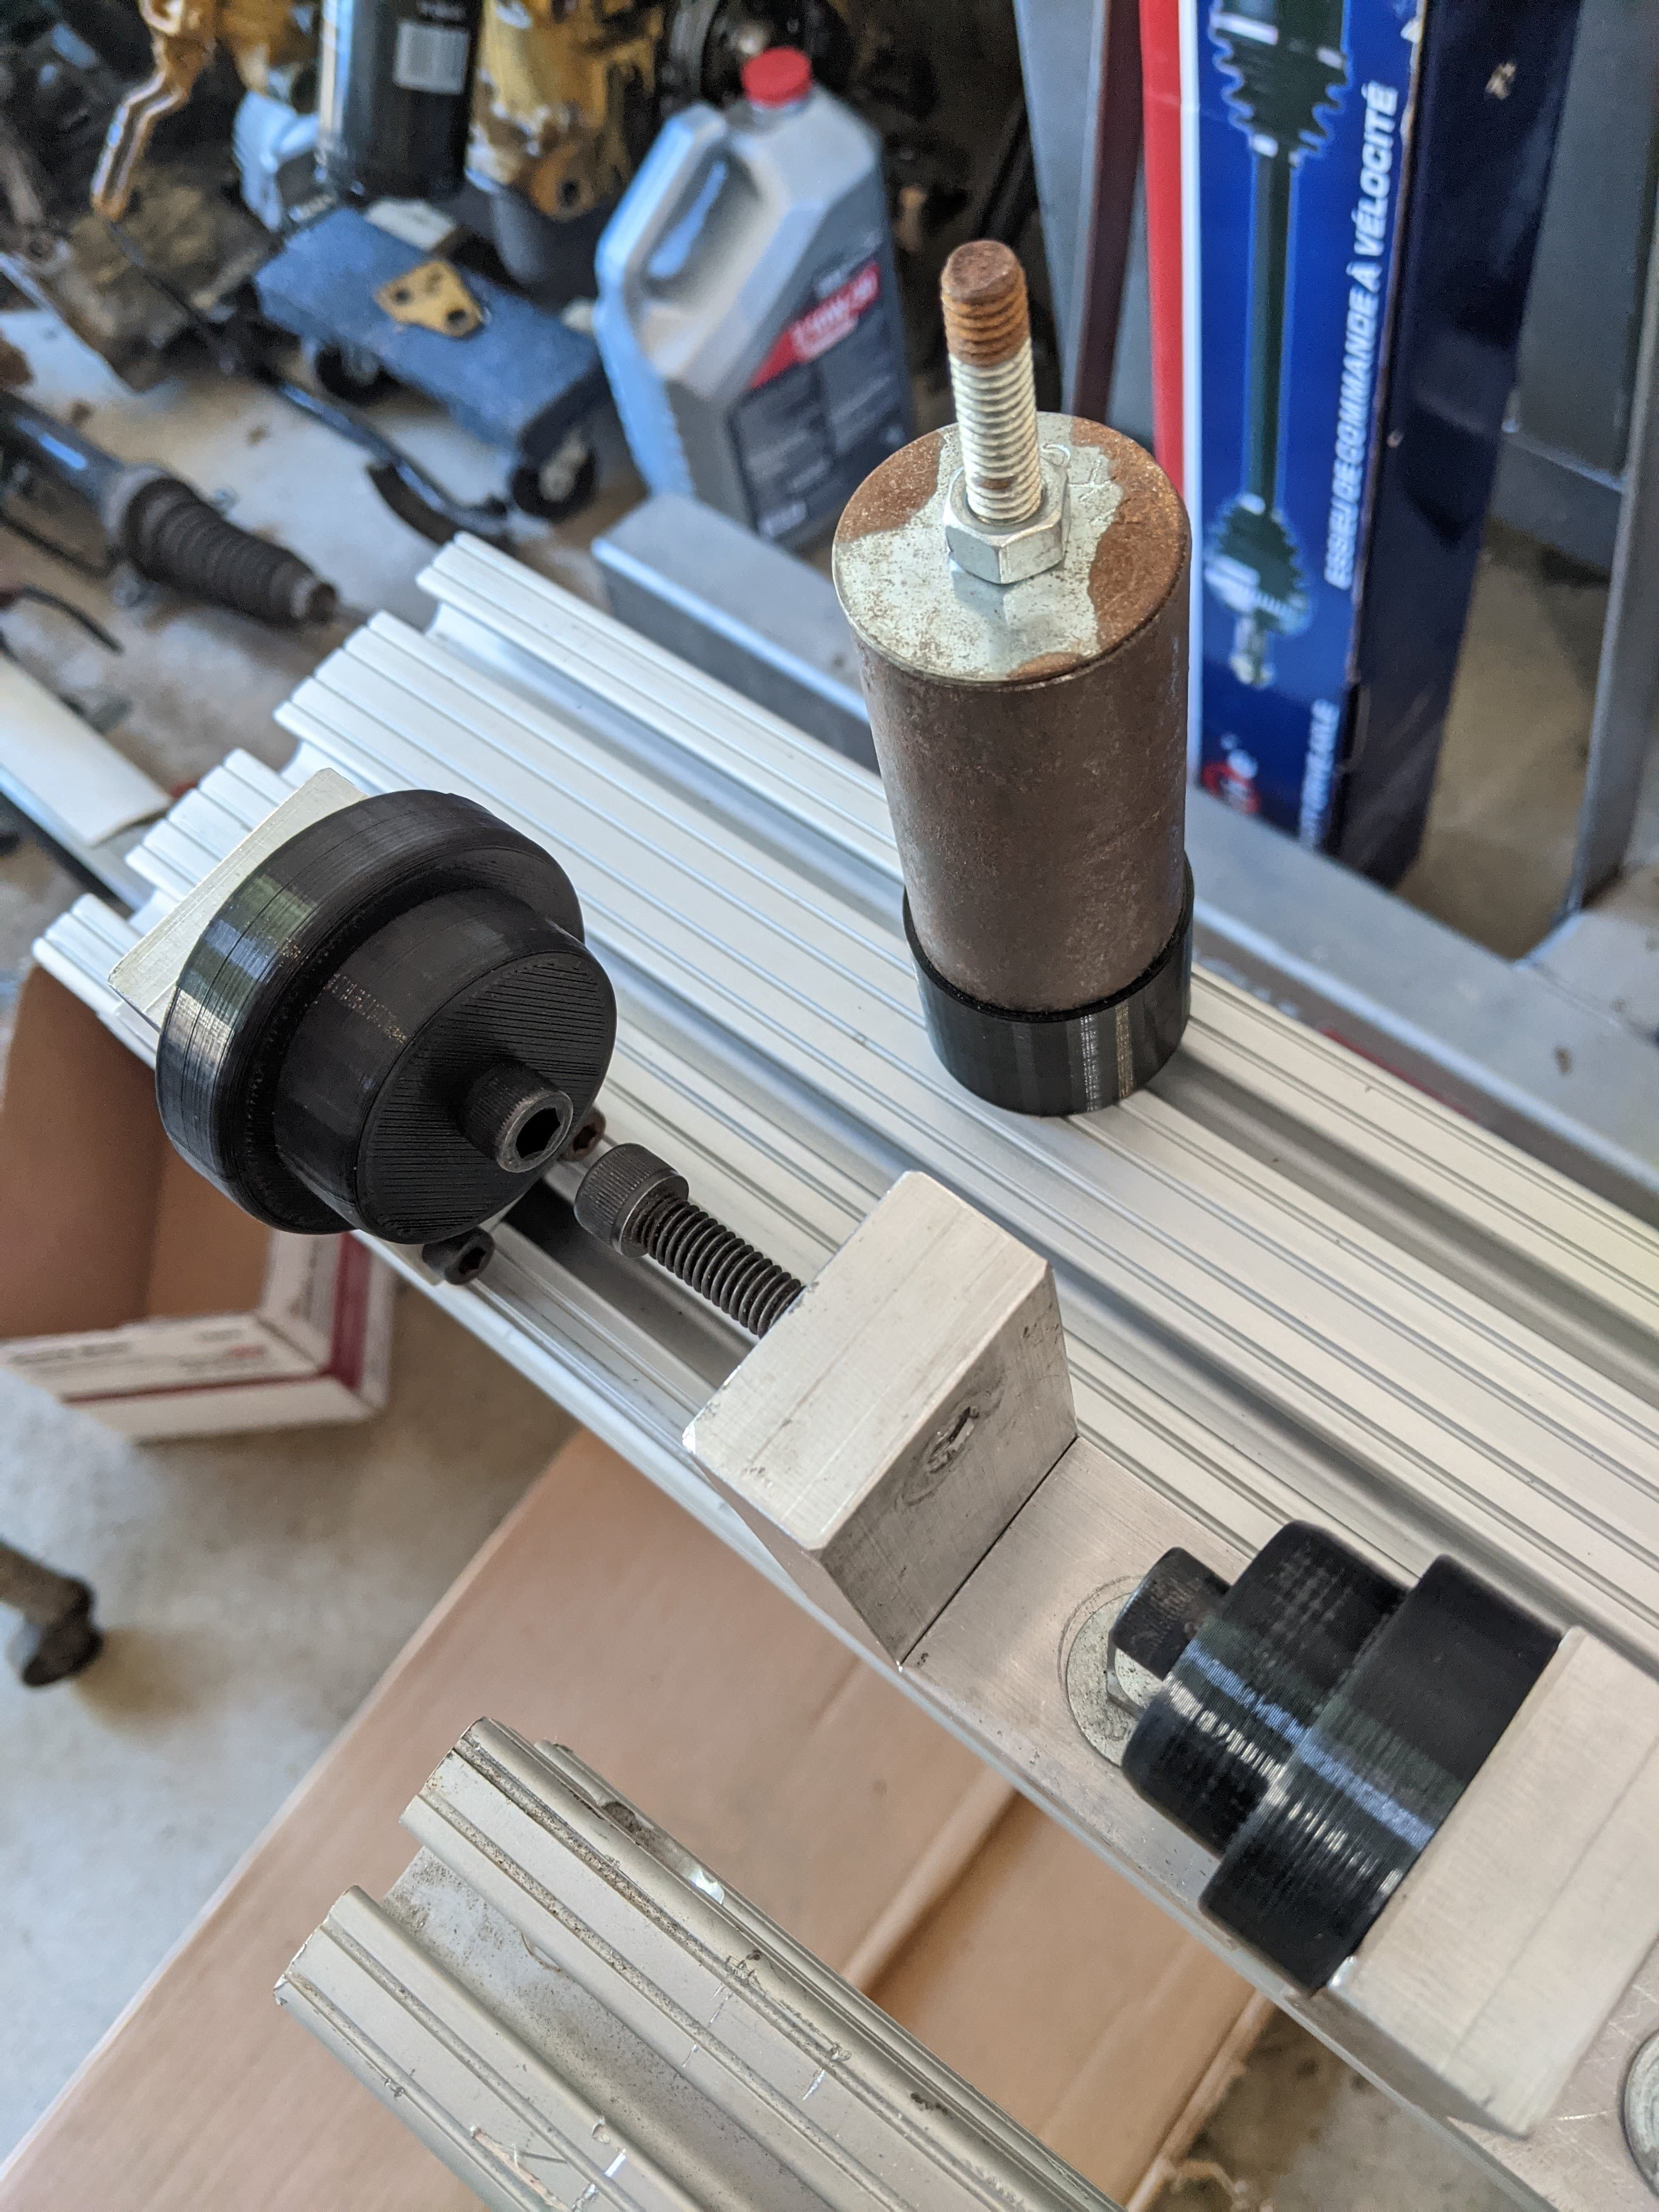
3d printed some new holders for the HT, ST, bb. Didn’t trust the old ones.


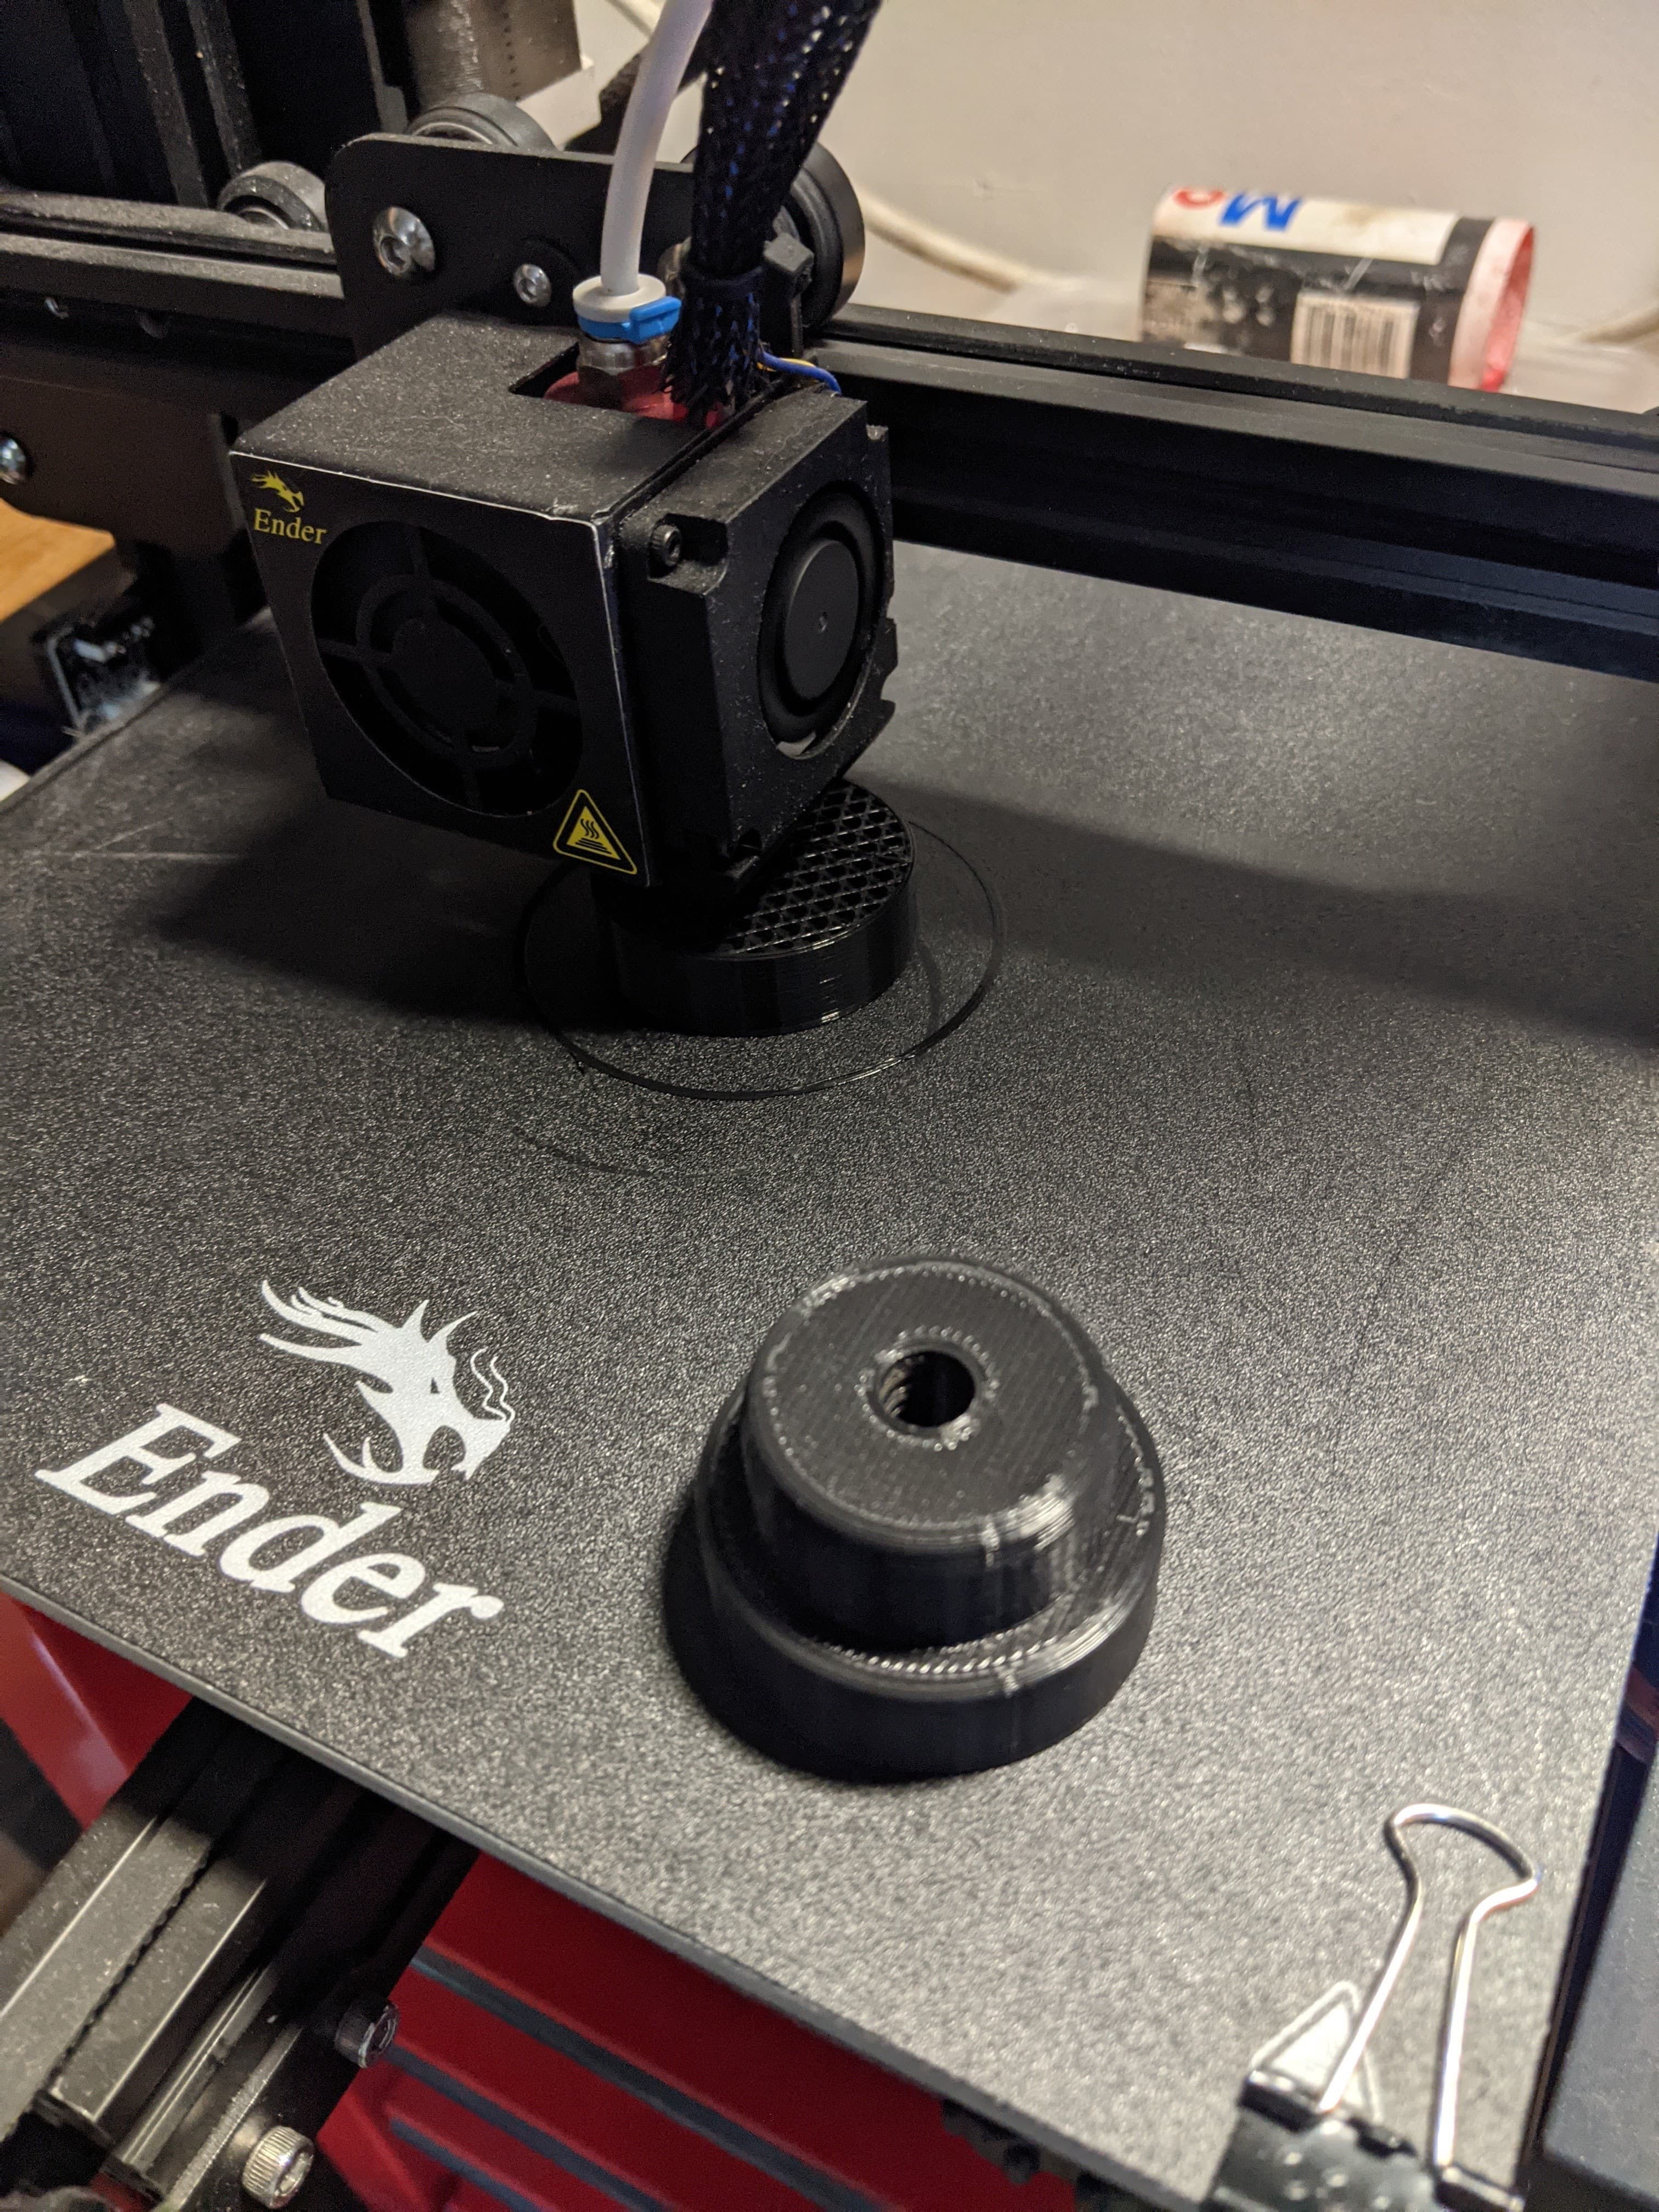
Im currently only set up to print PLA. I know that these holders aren’t going to allow me to fully weld the frame in the fixture, but I think they’ll be sufficient for getting it tacked. It’s probably not the best way to do it. I’d love to hear about your experience and how much welding you do in the fixture.

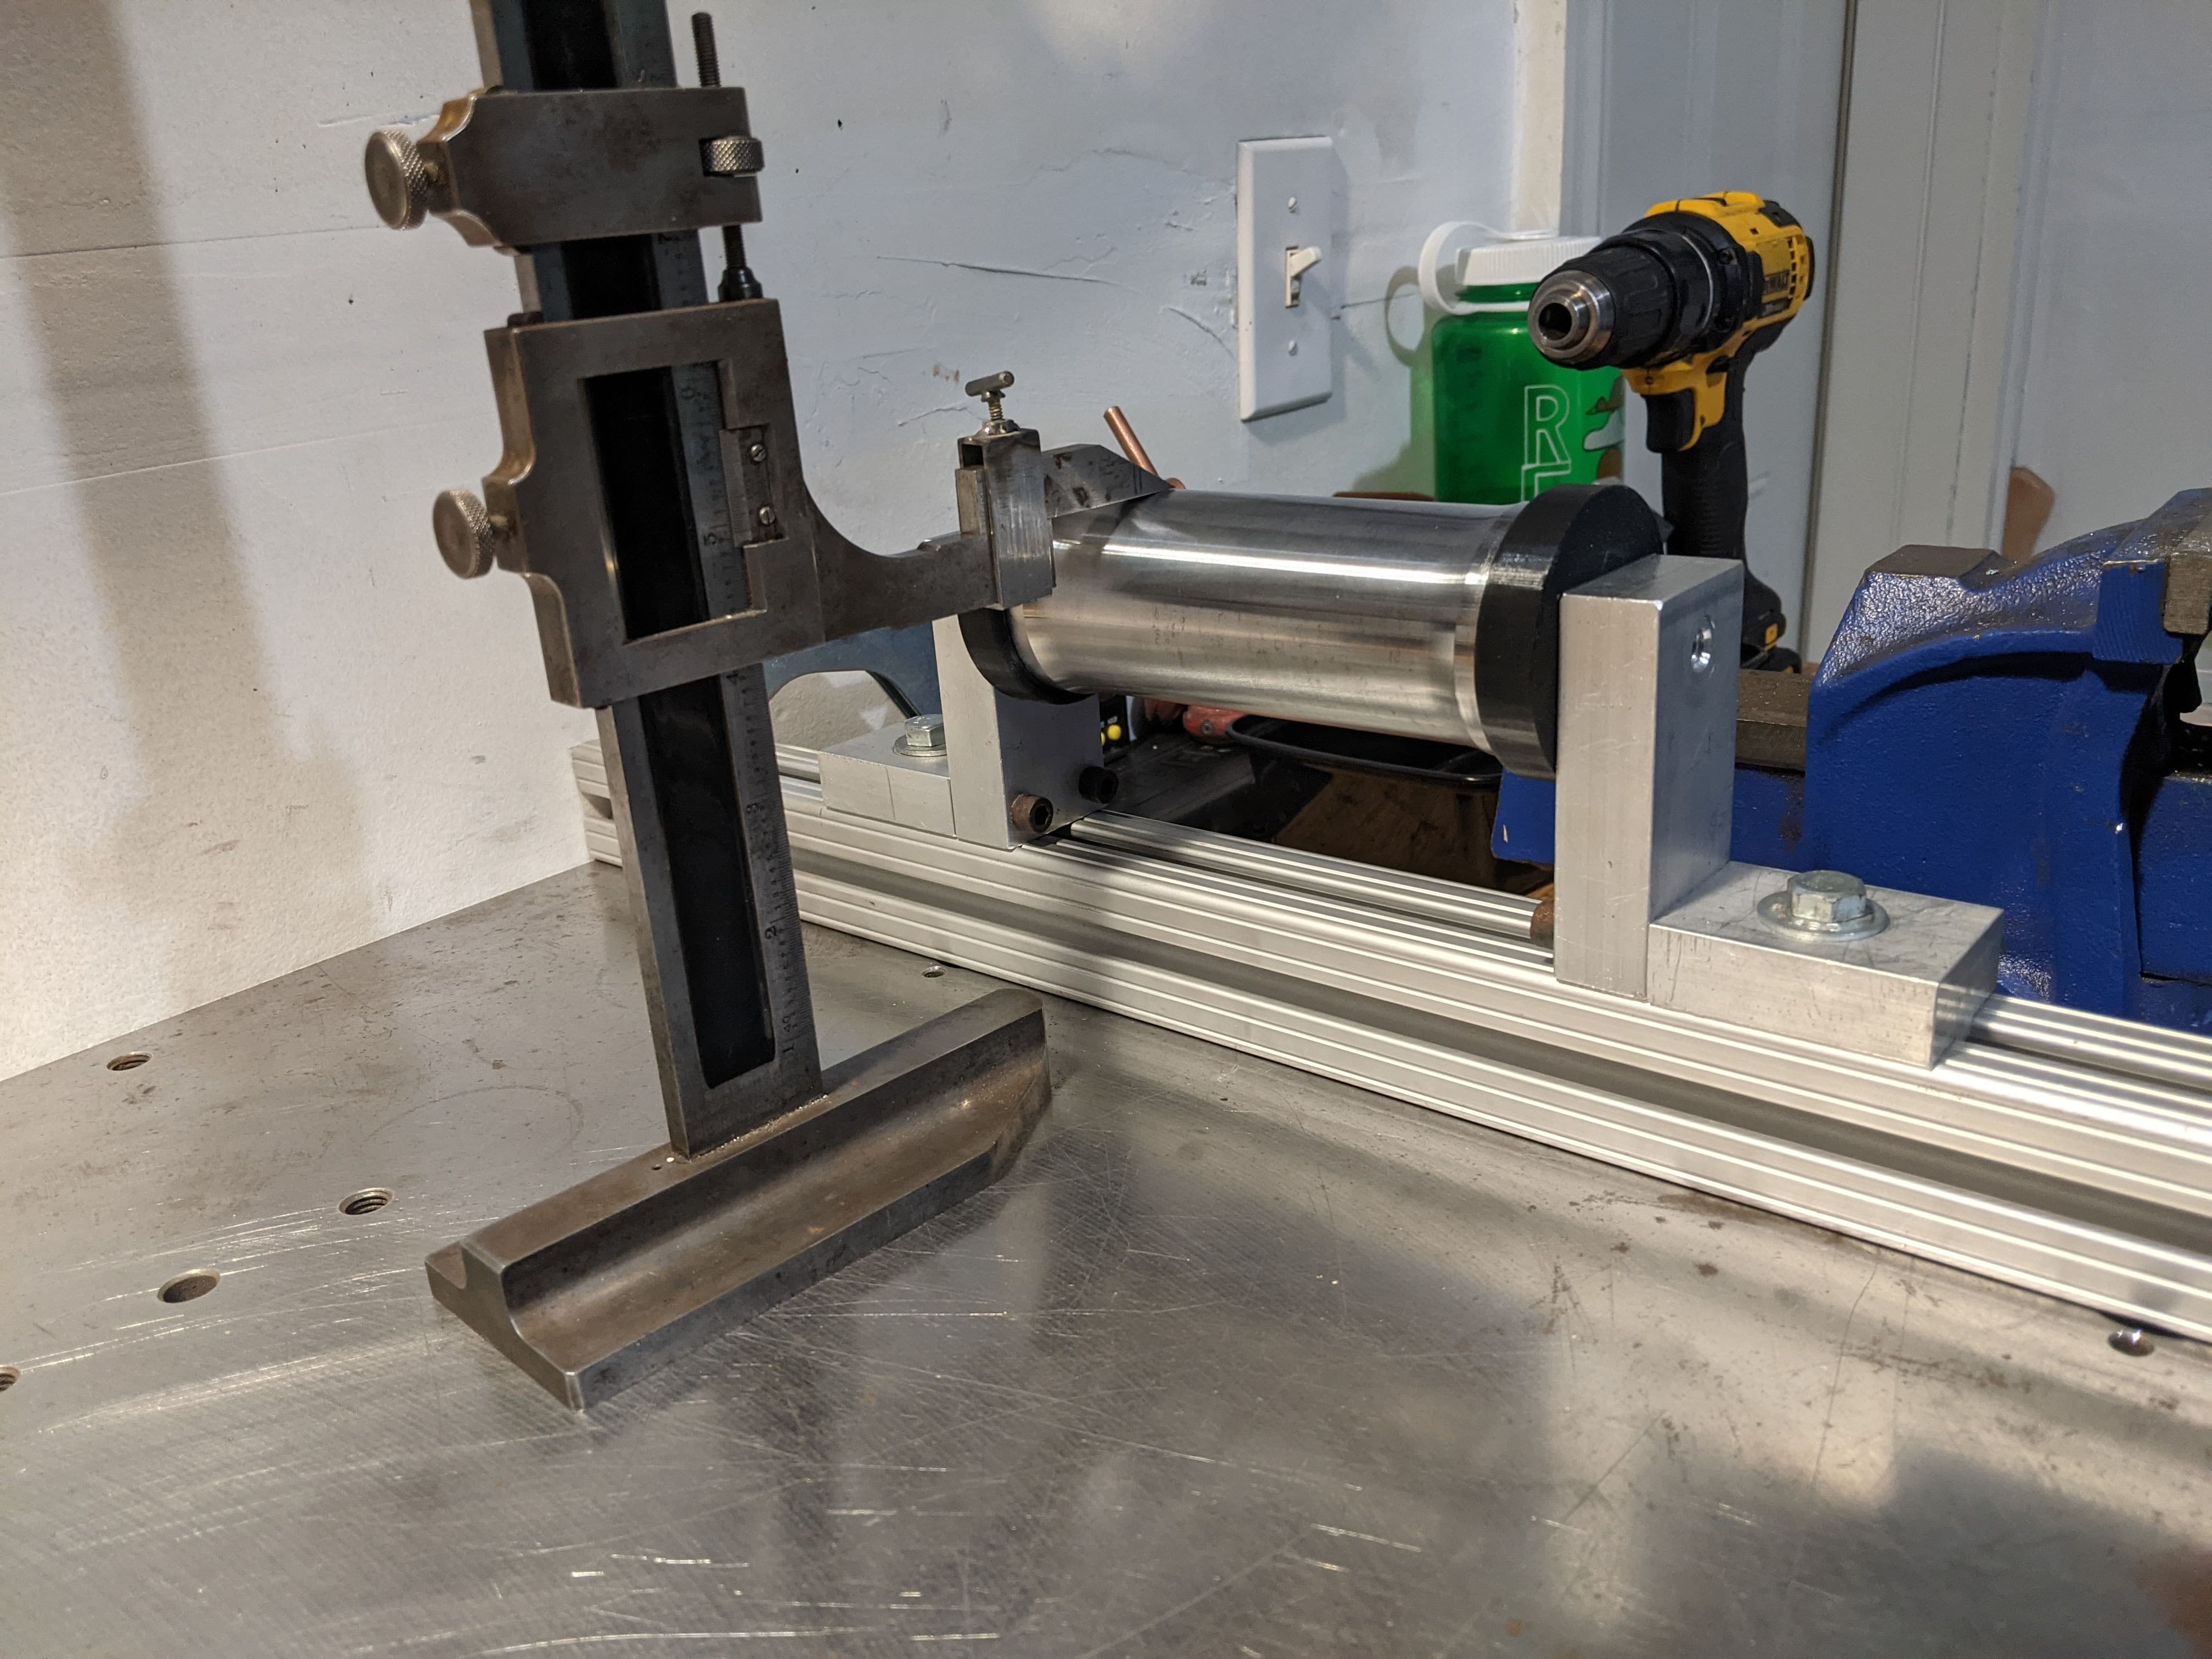
3d printed this thing to hold the dummy axle, not sure that it’s up to the task, but I’ll find out. Big thanks to my buddy Joey for letting me borrow his axle.


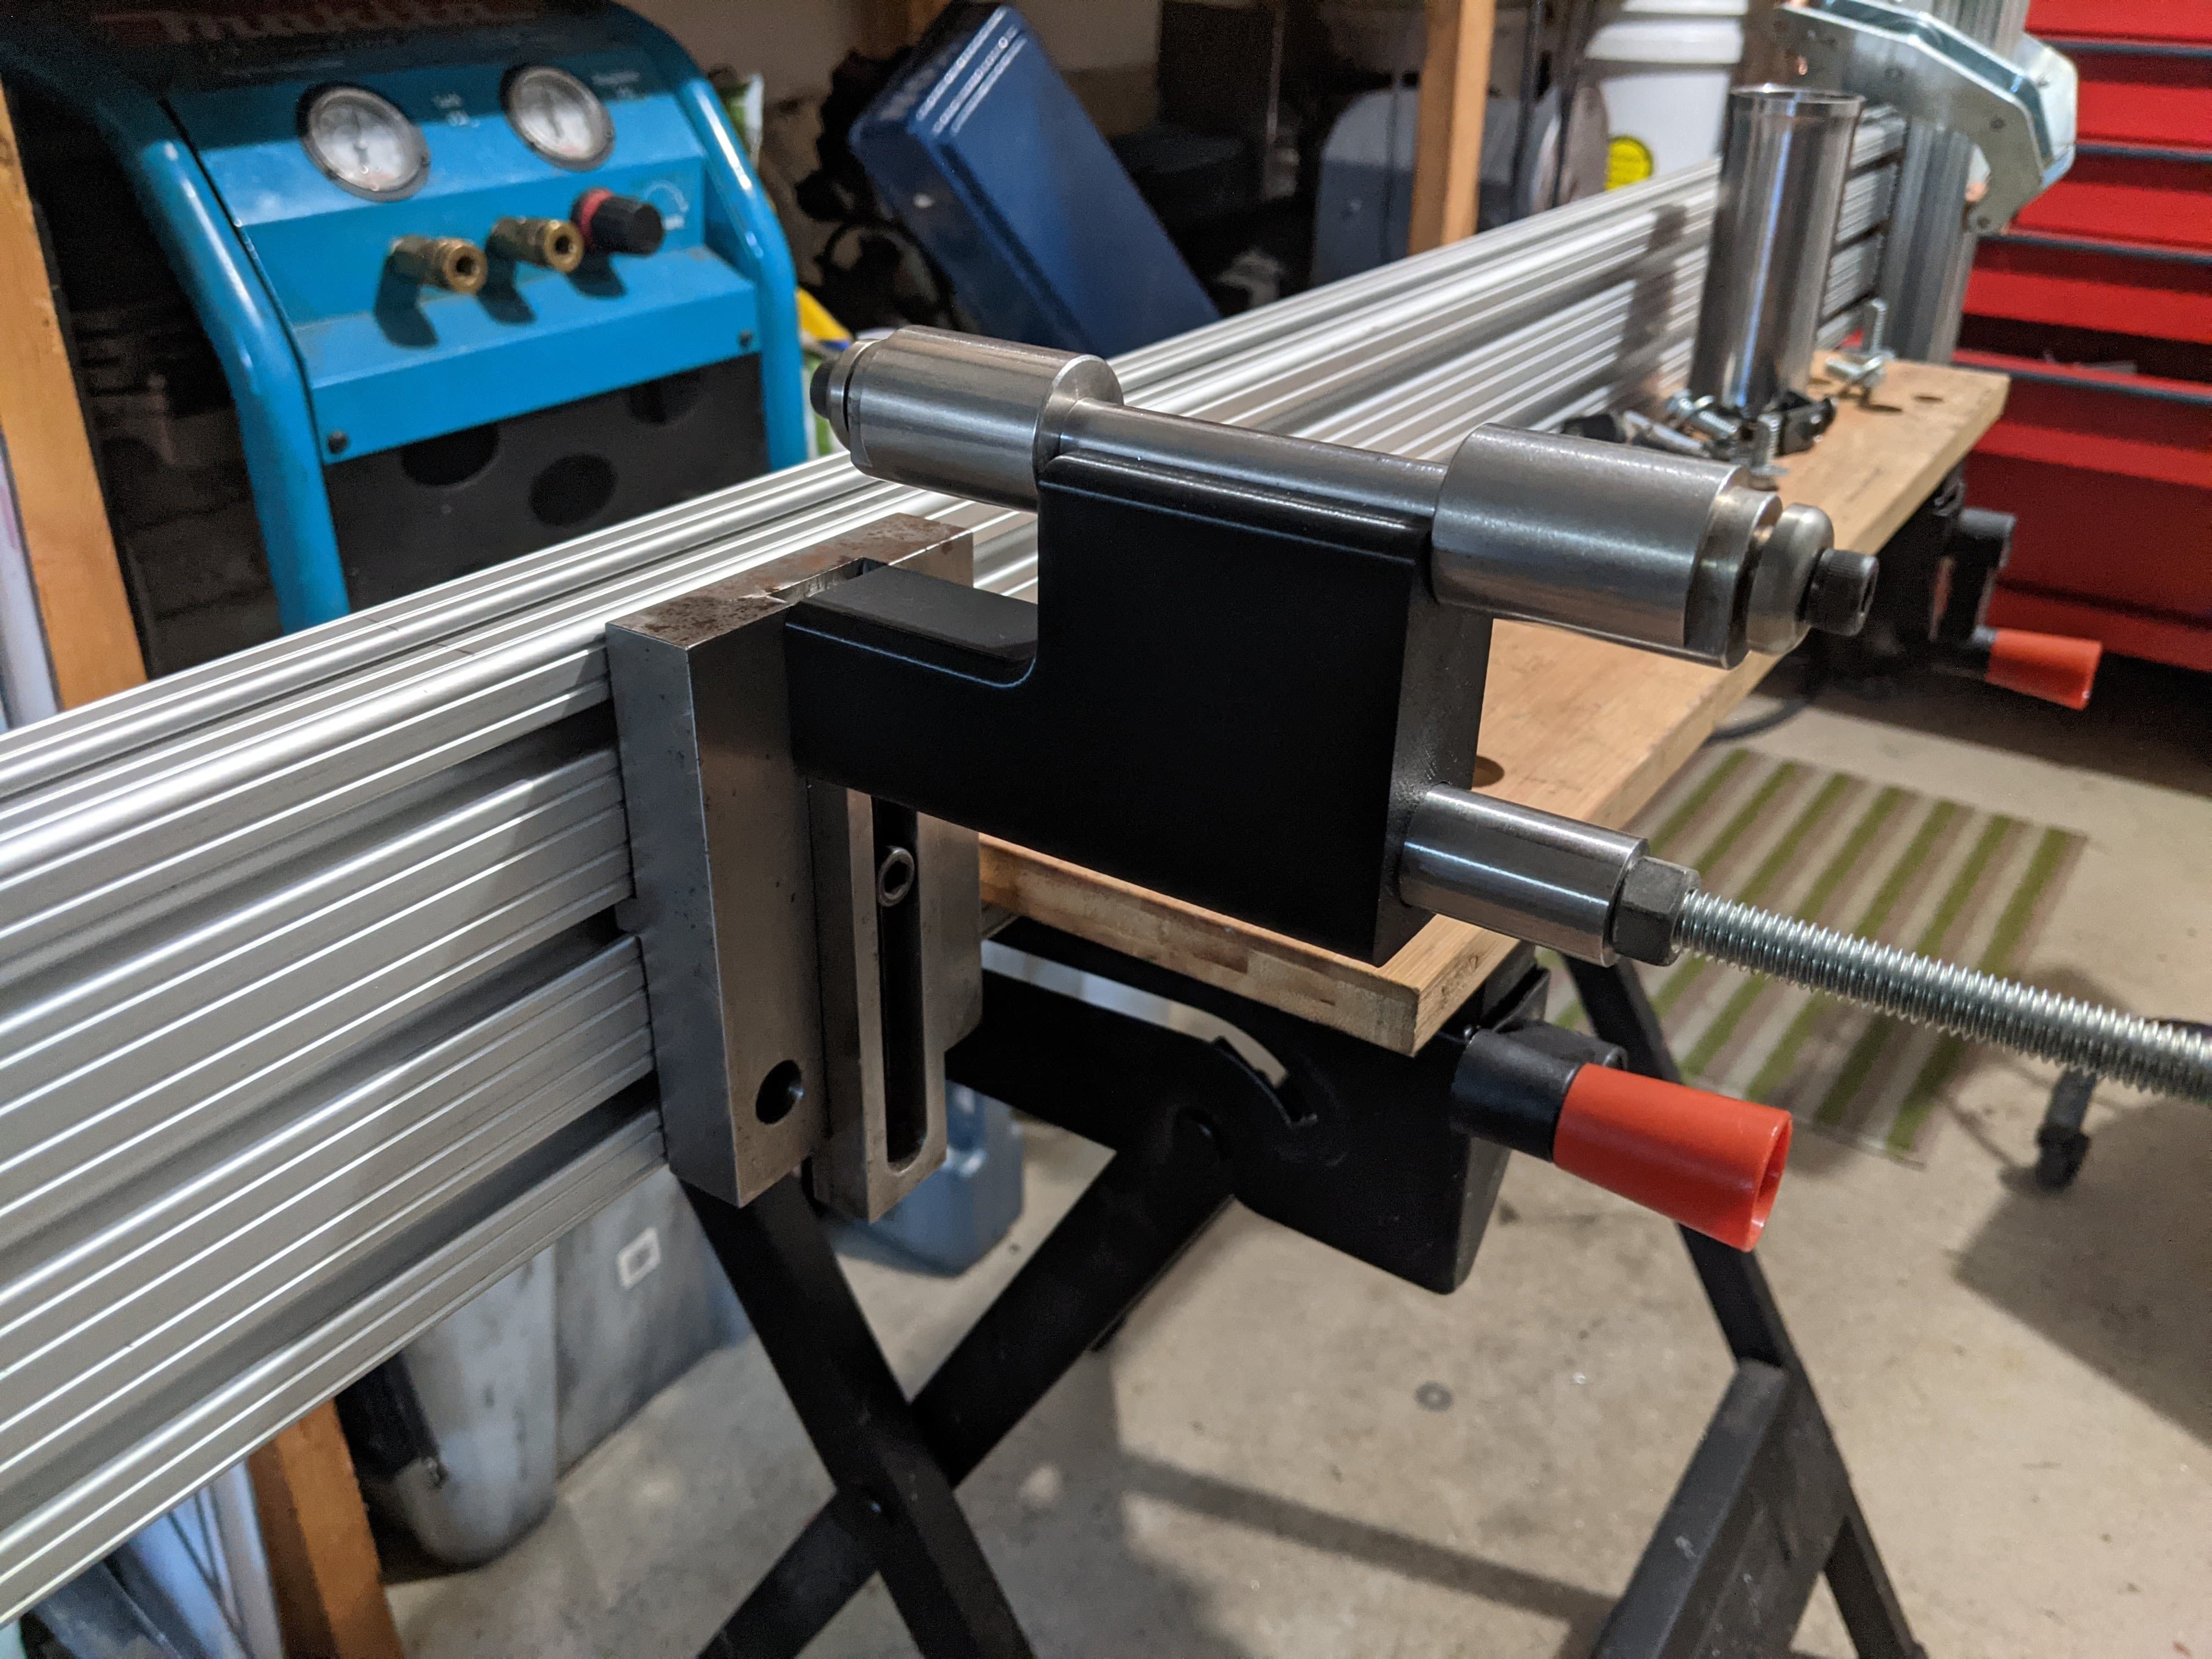
I think that’s all for recent fixture related updates. There are some more pieces to design and print, but this is atleast enough to hold the tubes kinda in the right spots. Pretty excited about these improvements to the fixture.

5 Likes

Thanks for sharing. So much to unpack in that post. That frame looks really cool, and I love the use of 3D printing

I am really curious how you got this bend. Is it a bend? is it a miter?

Regarding HT pucks, my hope is that the community could help each other out. I know people are sitting on lathes and raw materials. If the plastic pucks don’t hold up, you could post a “wanted” ad in the marketplace to see if someone can help make it.

3 Likes

That bend was two miters I guess, really it was two notches cut out of the tubes, then welded.

Regarding the pucks I totally could outsource them to friends with lathes, and eventually will probably do that.

I got the ender 3 at the beginning of the pandemic, and it’s been really handy for a variety of projects. I’ve been pretty impressed by it’s accuracy for the price! It’s been a great tool for prototyping and making templates to transfer onto metal.

1 Like

FWIW welding in the fixture is just a way to save time. As long as your miters and tacks are solid, welding in or out makes no difference to the end result. So unless you’re trying to move fast, just yank it out and weld in a stand or on a table.

You may find that there are welds where the fixture is the ideal way to hold the frame anyway, of course, and if so then blaze away as long as you’re not messing up your preferred sequence to do it.

I love seeing diy fixtures, I used to spend all sorts of time trying to talk students into building their own, and then they’d immediately go drop $5k on an Anvil.

-Walt

6 Likes

I appreciate that feedback! I’ll plan to do just that, get it tacked up and weld it in the stand. I’m pretty novice so I’m sure my weld sequence will be off, but we’ll burn that bridge when we get to it. Thanks again!

1 Like

I had made a tube notcher some years ago. The work holder was a piece of angle iron welded to a plate that bolted to the notcher. This worked okay, but it was welded slightly low, so that the notches we’re always like .010 to .020 off center depending on the protrusion of the work piece. A quick mounting plate and of course more 3d printing to hold tubes. I don’t think blocks in different diameters is the best way, I’ll probably make a v block at some point.


The notcher worked well on thicker tubes, but didn’t stand a chance on thin tubing without a way to control feed rate. So, I added this threaded rod to feed the hole saw into the tube.


Its definitely not as efficient of a process as mill or lathe that’s set up for notching, but its compact allows a wide range of angles.


It seems to produce decent notches with these upgrades. My current task is to re work the top tube and down tube for the gravel frame, I had some made a design fumble and had the top tube intersecting the seat tube outside of the butted area. So I’ll fix that and have pics of the front triangle in the jig soon!

4 Likes

Made a little progress over the weekend, excuse the garages mess. Made new miters for the top tube and down tube, marked out bottle cage holes


Welded the seat tube to the bottom bracket, it went out of square by 2mm at the seatpost end, so like 0.25⁰ off from perpendicular to the BB. I think next time I’ll add a little more preload when clamping it to the table before running the first bead. Or maybe use a slightly different weld sequence, or both!


Made some reinforced bottle bosses inspired by @Daniel_Y and @Neuhaus_Metalworks which we’re a good exercise in making small parts by hand. Also a good exercise in edge control with the Tig. I’m out of practice as you’ll see. I’m thinking I’ll either bond them to the frame with some epoxy or have a friend braze them in. I’ve recently heard a little and Tig brazing, not sure if it would work for this or not.


2 Likes

I tig braze my cable guides on using Silicon Bronze, it works well for that, not so much bottle bosses. It’s far from a cheap solution especially if you’re doing a bunch of bosses, but you can use a Mapp gas or a propane torch from the hardware store and silver to braze those things on.

3 Likes

very impressive! How did the 3D printed bb puck hold up to the welding? Do you think that could have contributed to the 2mm misalignment?

Re-brazing: Is there a reason why you don’t have your own brazing setup? I am not suggesting you get one, I am genuinely curious. I am a bit iffy about storing tanks of gas and playing around open flames with my landlord around hahaha.

2 Likes

I’ll have to get some silicon bronze for when I do the cable guides, glad to hear it works well for that! Good idea with the silver braze. I do have a map gas torch and some silver braze, is that sufficient for bottle bosses do you think?

Thanks! I only used the 3d printed piece for tacking the seat tube to the bb, I then pulled it out of the jig and clamped it to that steel plate in the picture. When I clamped it to the plate I checked it with the height gauge and it was right on, so I’m pretty confident that it warped when I welded it. Ill have to do some practice joints and figure out how to keep it square.

I’ve never really had a need for a oxyacetylene torch setup so far! I agree with you as well it doesn’t feel like the right thing with a garage that’s attached my living space haha.

2 Likes

I am really curious about induction brazing for this reason:

It could be a huge space and time savings. Although, since I don’t know anything about AC circuits it brings an electrocution risk haha.

I wonder if you could generate enough heat through conduction with a mega soldering iron:

Ah that’s interesting, I wonder if that soldering iron would do it. 550w at 110v gets you around 5 amps, so that thing will work in about any normal electric outlet. A heat gun or corded drill will draw more power.

I don’t know enough about induction to say, but I could see it working pretty slick for heating up a bottle boss and sticking it to the frame!

1 Like

Yes, I have used a propane torch in a pinch. If you’re not doing a ton it’s a fine set up but gets pricy if you keep having to buy cylinders at Home Depot.

3 Likes

It’s likely that your BB shell distorted, and that’s what is pulling your seat tube out. Easy way to check is to just rest a parallel on the bottom of the shell and see if you can rock it back and forth a tiny bit.

Large vent holes will allow for more distortion, in general, so you can also minimize it a bit by using small vent holes into the BB shell. But no matter how good/careful you are and how small you make the holes, it’ll still distort some.

This is why any detailed alignment checks generally have to wait until the front end is done and chainstays are on. Until that’s all done and you have faced the shell, you have no reliable reference to check alignment from. You can face the shell repeatedly if you want to, of course, but it’s probably not worth the effort.

If you want to mess with it now, just re-run a cm of the weld bead on the side you want to pull.

-Walt

5 Likes


2 Likes

I thought about doing this as well, riv nuts seem like a pretty good solution

2 Likes

Another option for not brazing in bottle bosses. Flow drill and tap.

3 Likes

That’s a neat idea! Been thinking about it some, and Ive decided to use epoxy and bond these on to see how it works. Will report back if my water bottle falls off haha

This is exactly what’s going on. Im sure most everyone here has experience with the way the bb warps, but I’m going to add some pictures incase it helps someone. Like @anon91558591 said, there’s not much reason to check how warped the warped thing is before it’s fully welded.


After welding the seat tube to the bb, the width of the st side of the bb shrinks (apparently about 0.010" to 0.015") so, in a fixture like mine that references that bb face, it will appear as though the seat tube and bb aren’t square, when really it’s that the bb is distorted. It’s gonna be good enough for a bike though.

2 Likes