Came up with this thing to hold a chainstay in the tube notcher, maybe will give it a try tonight. It took a bit to remember surfacing skills, it’s been a while.
3 Likes
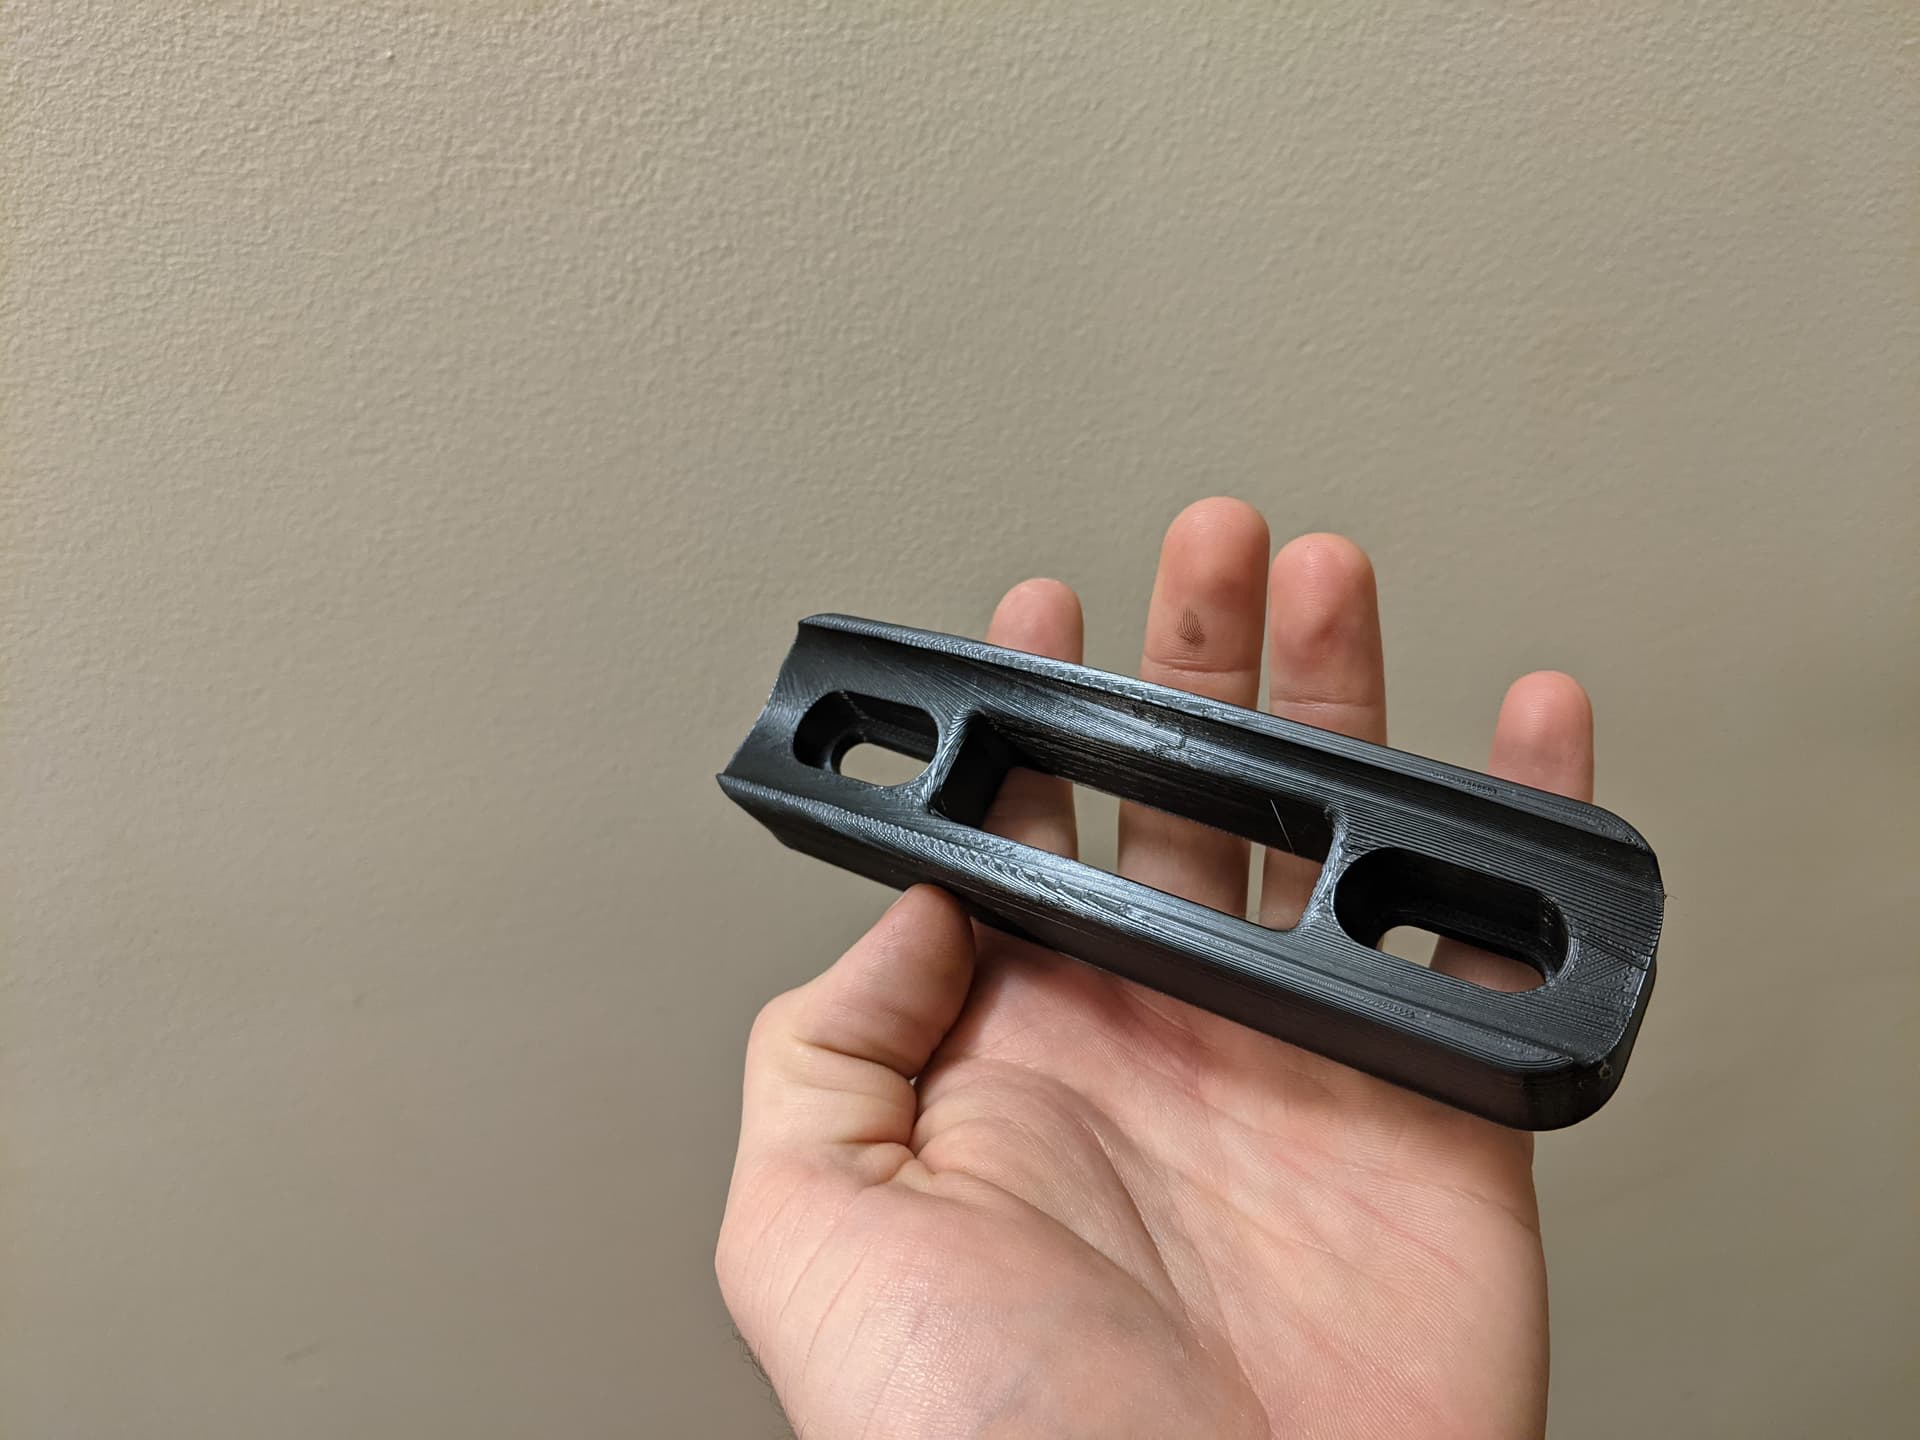
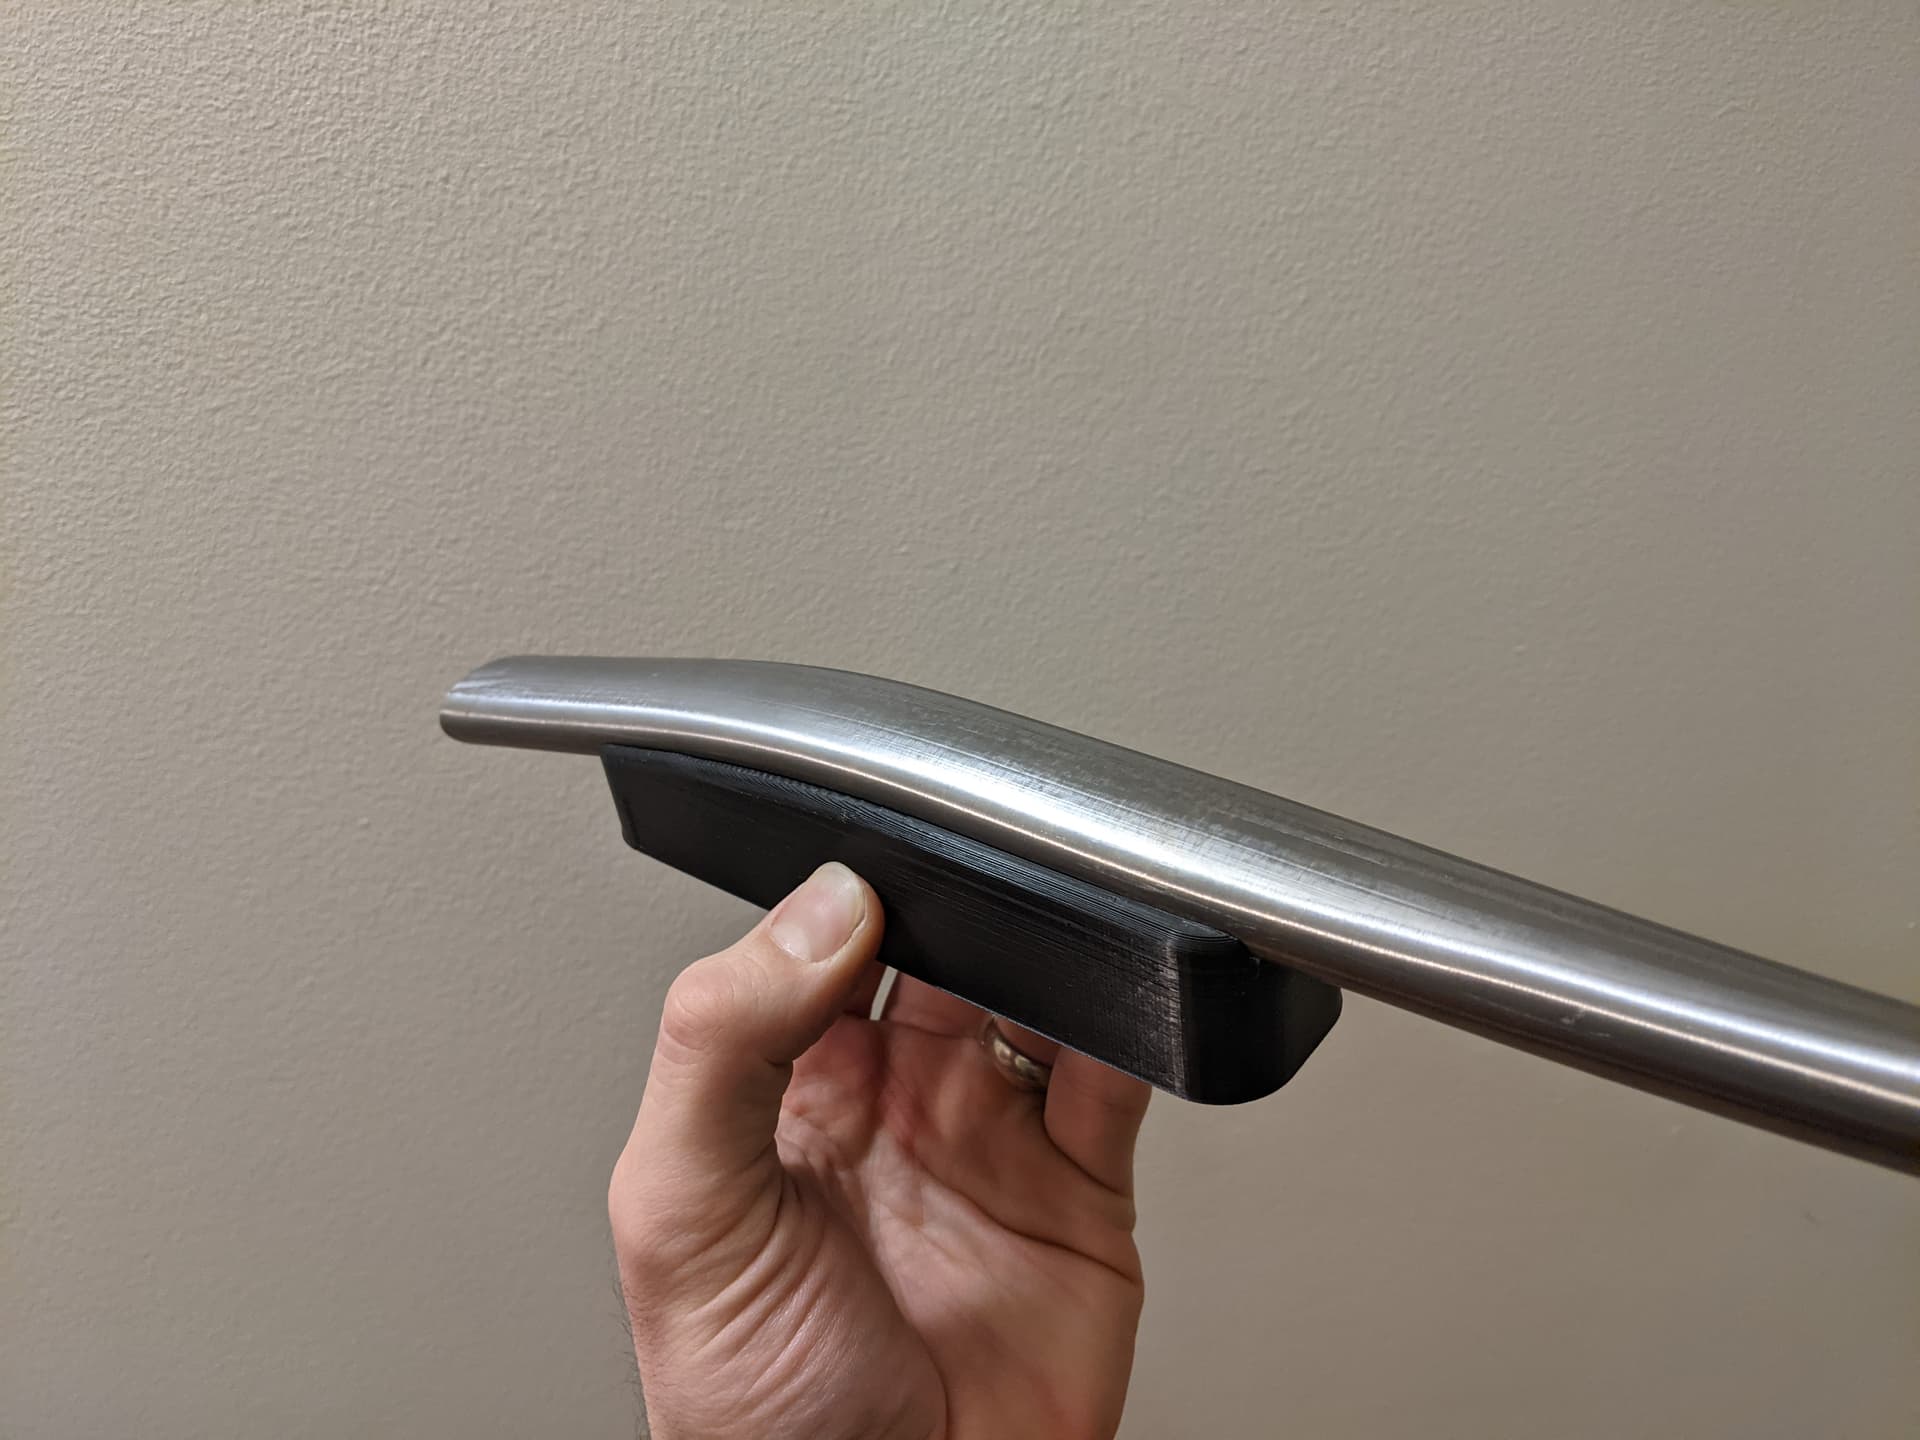
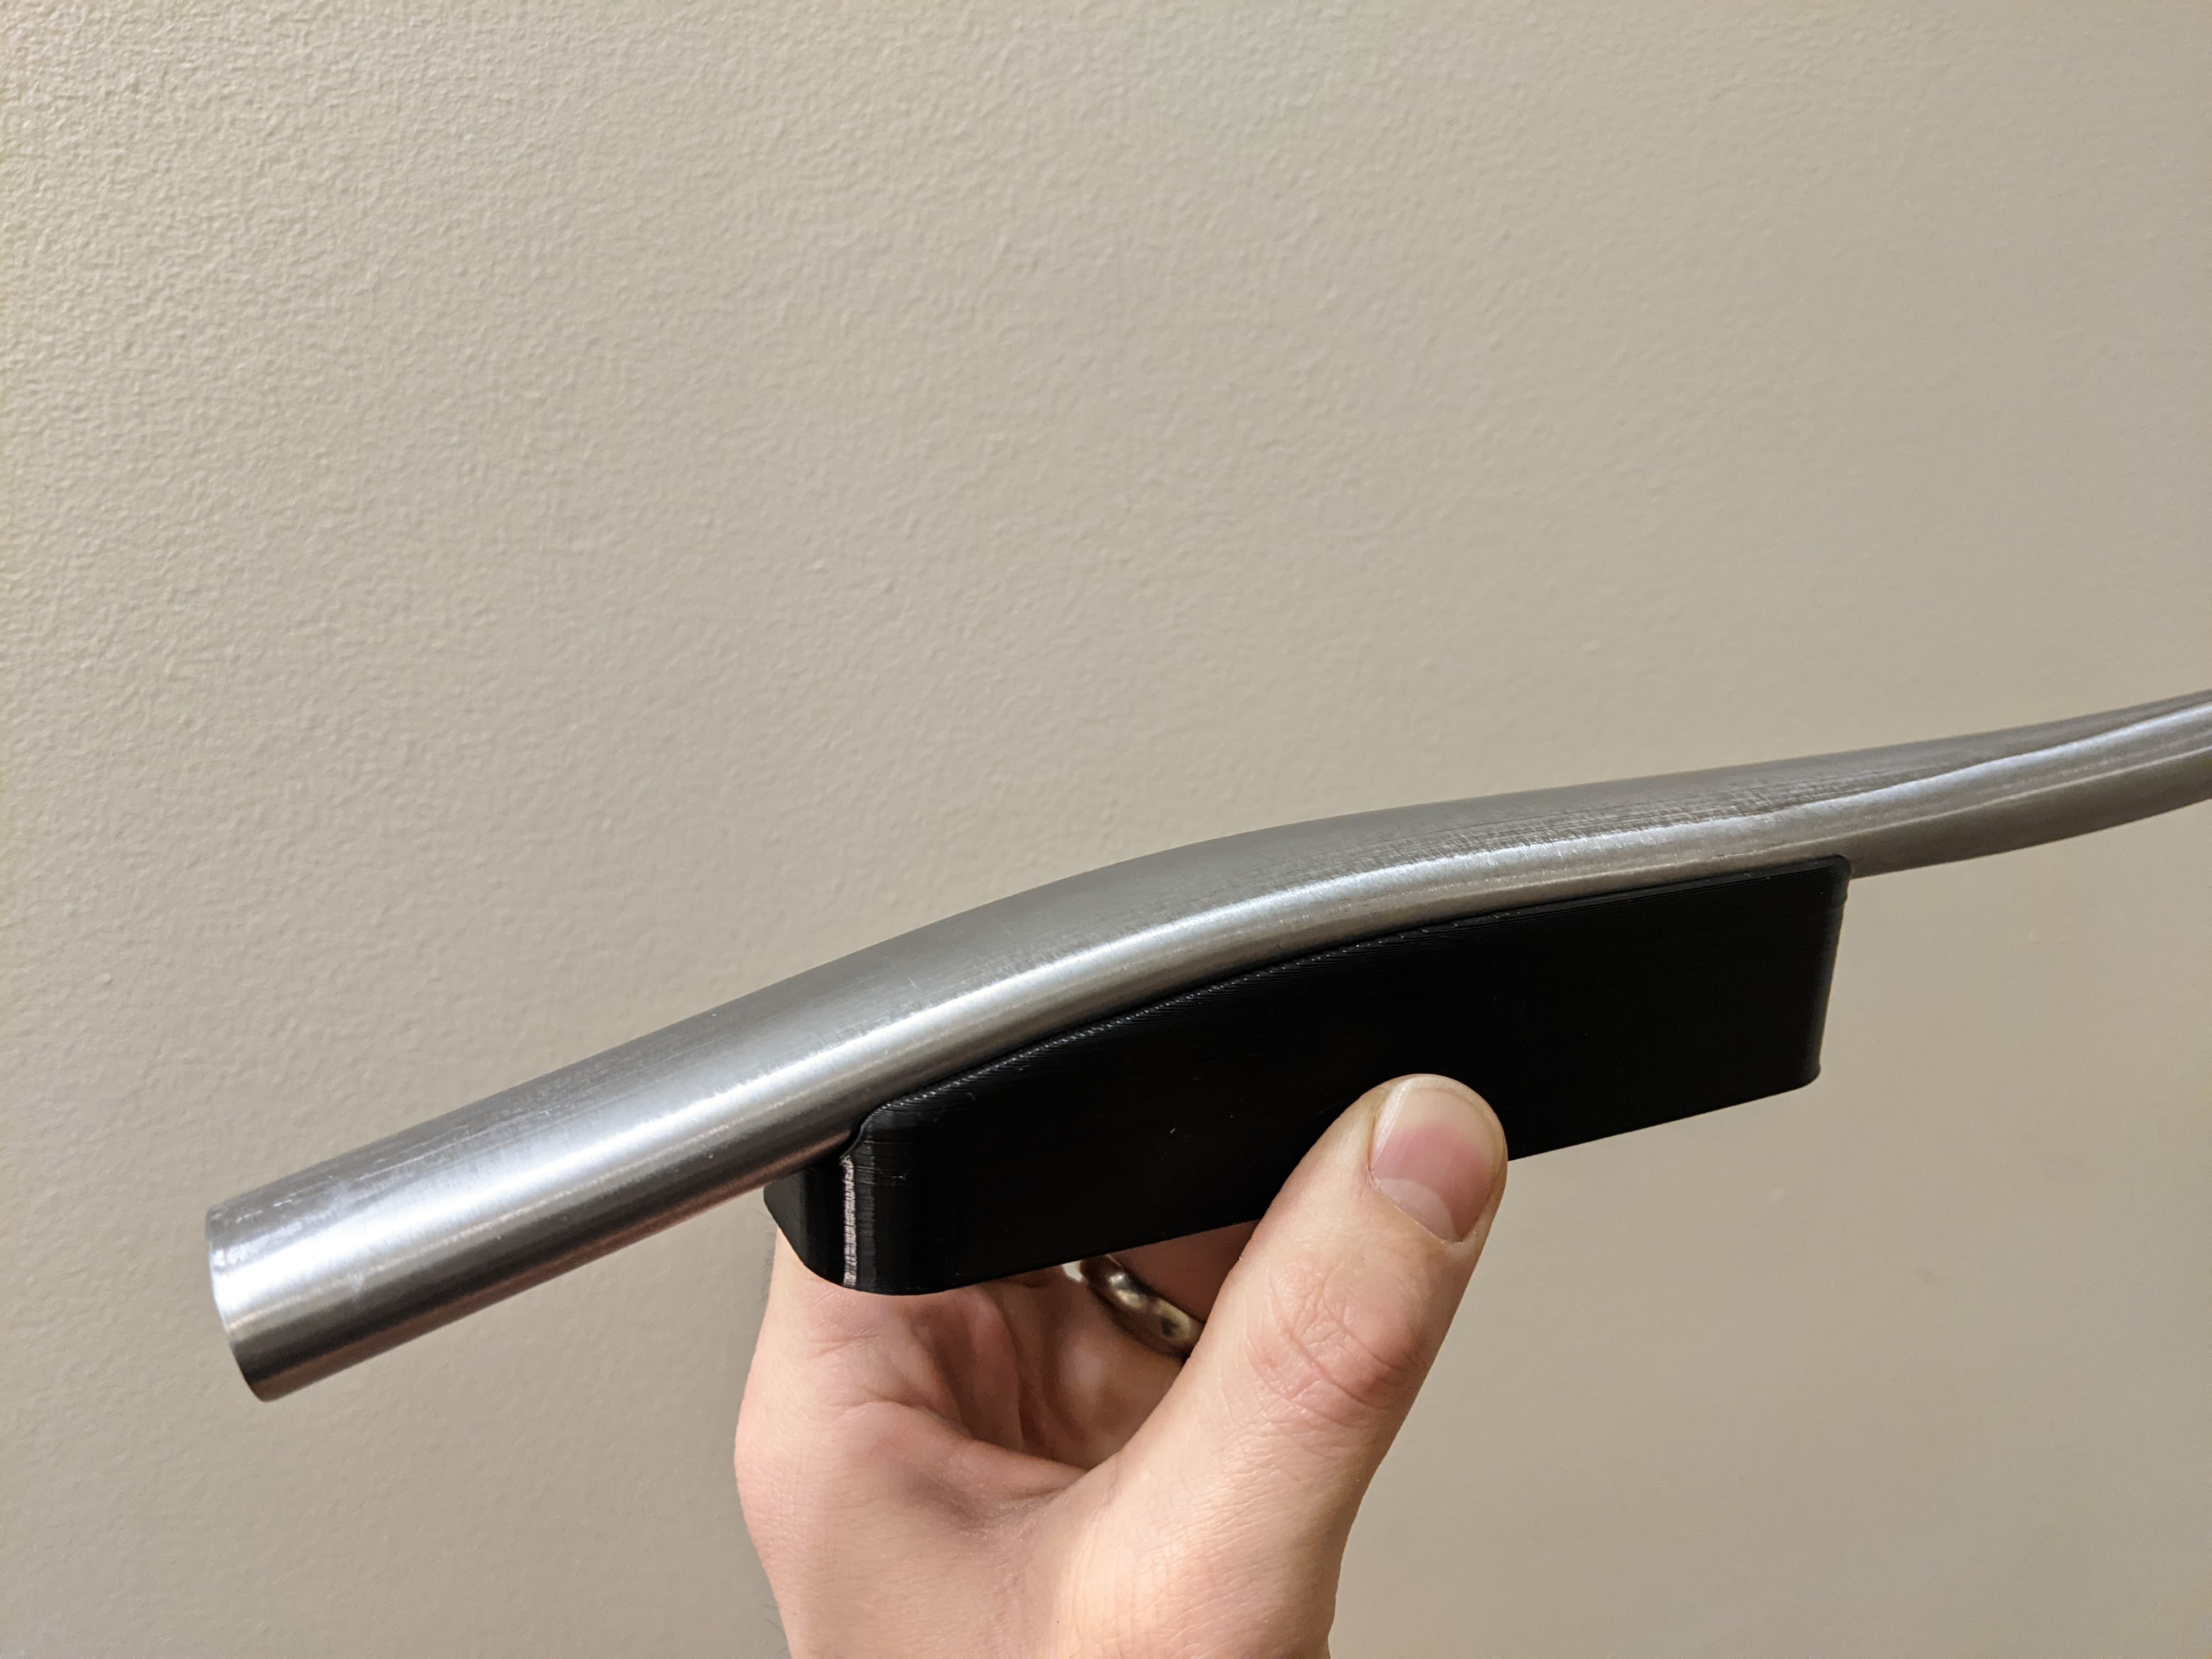
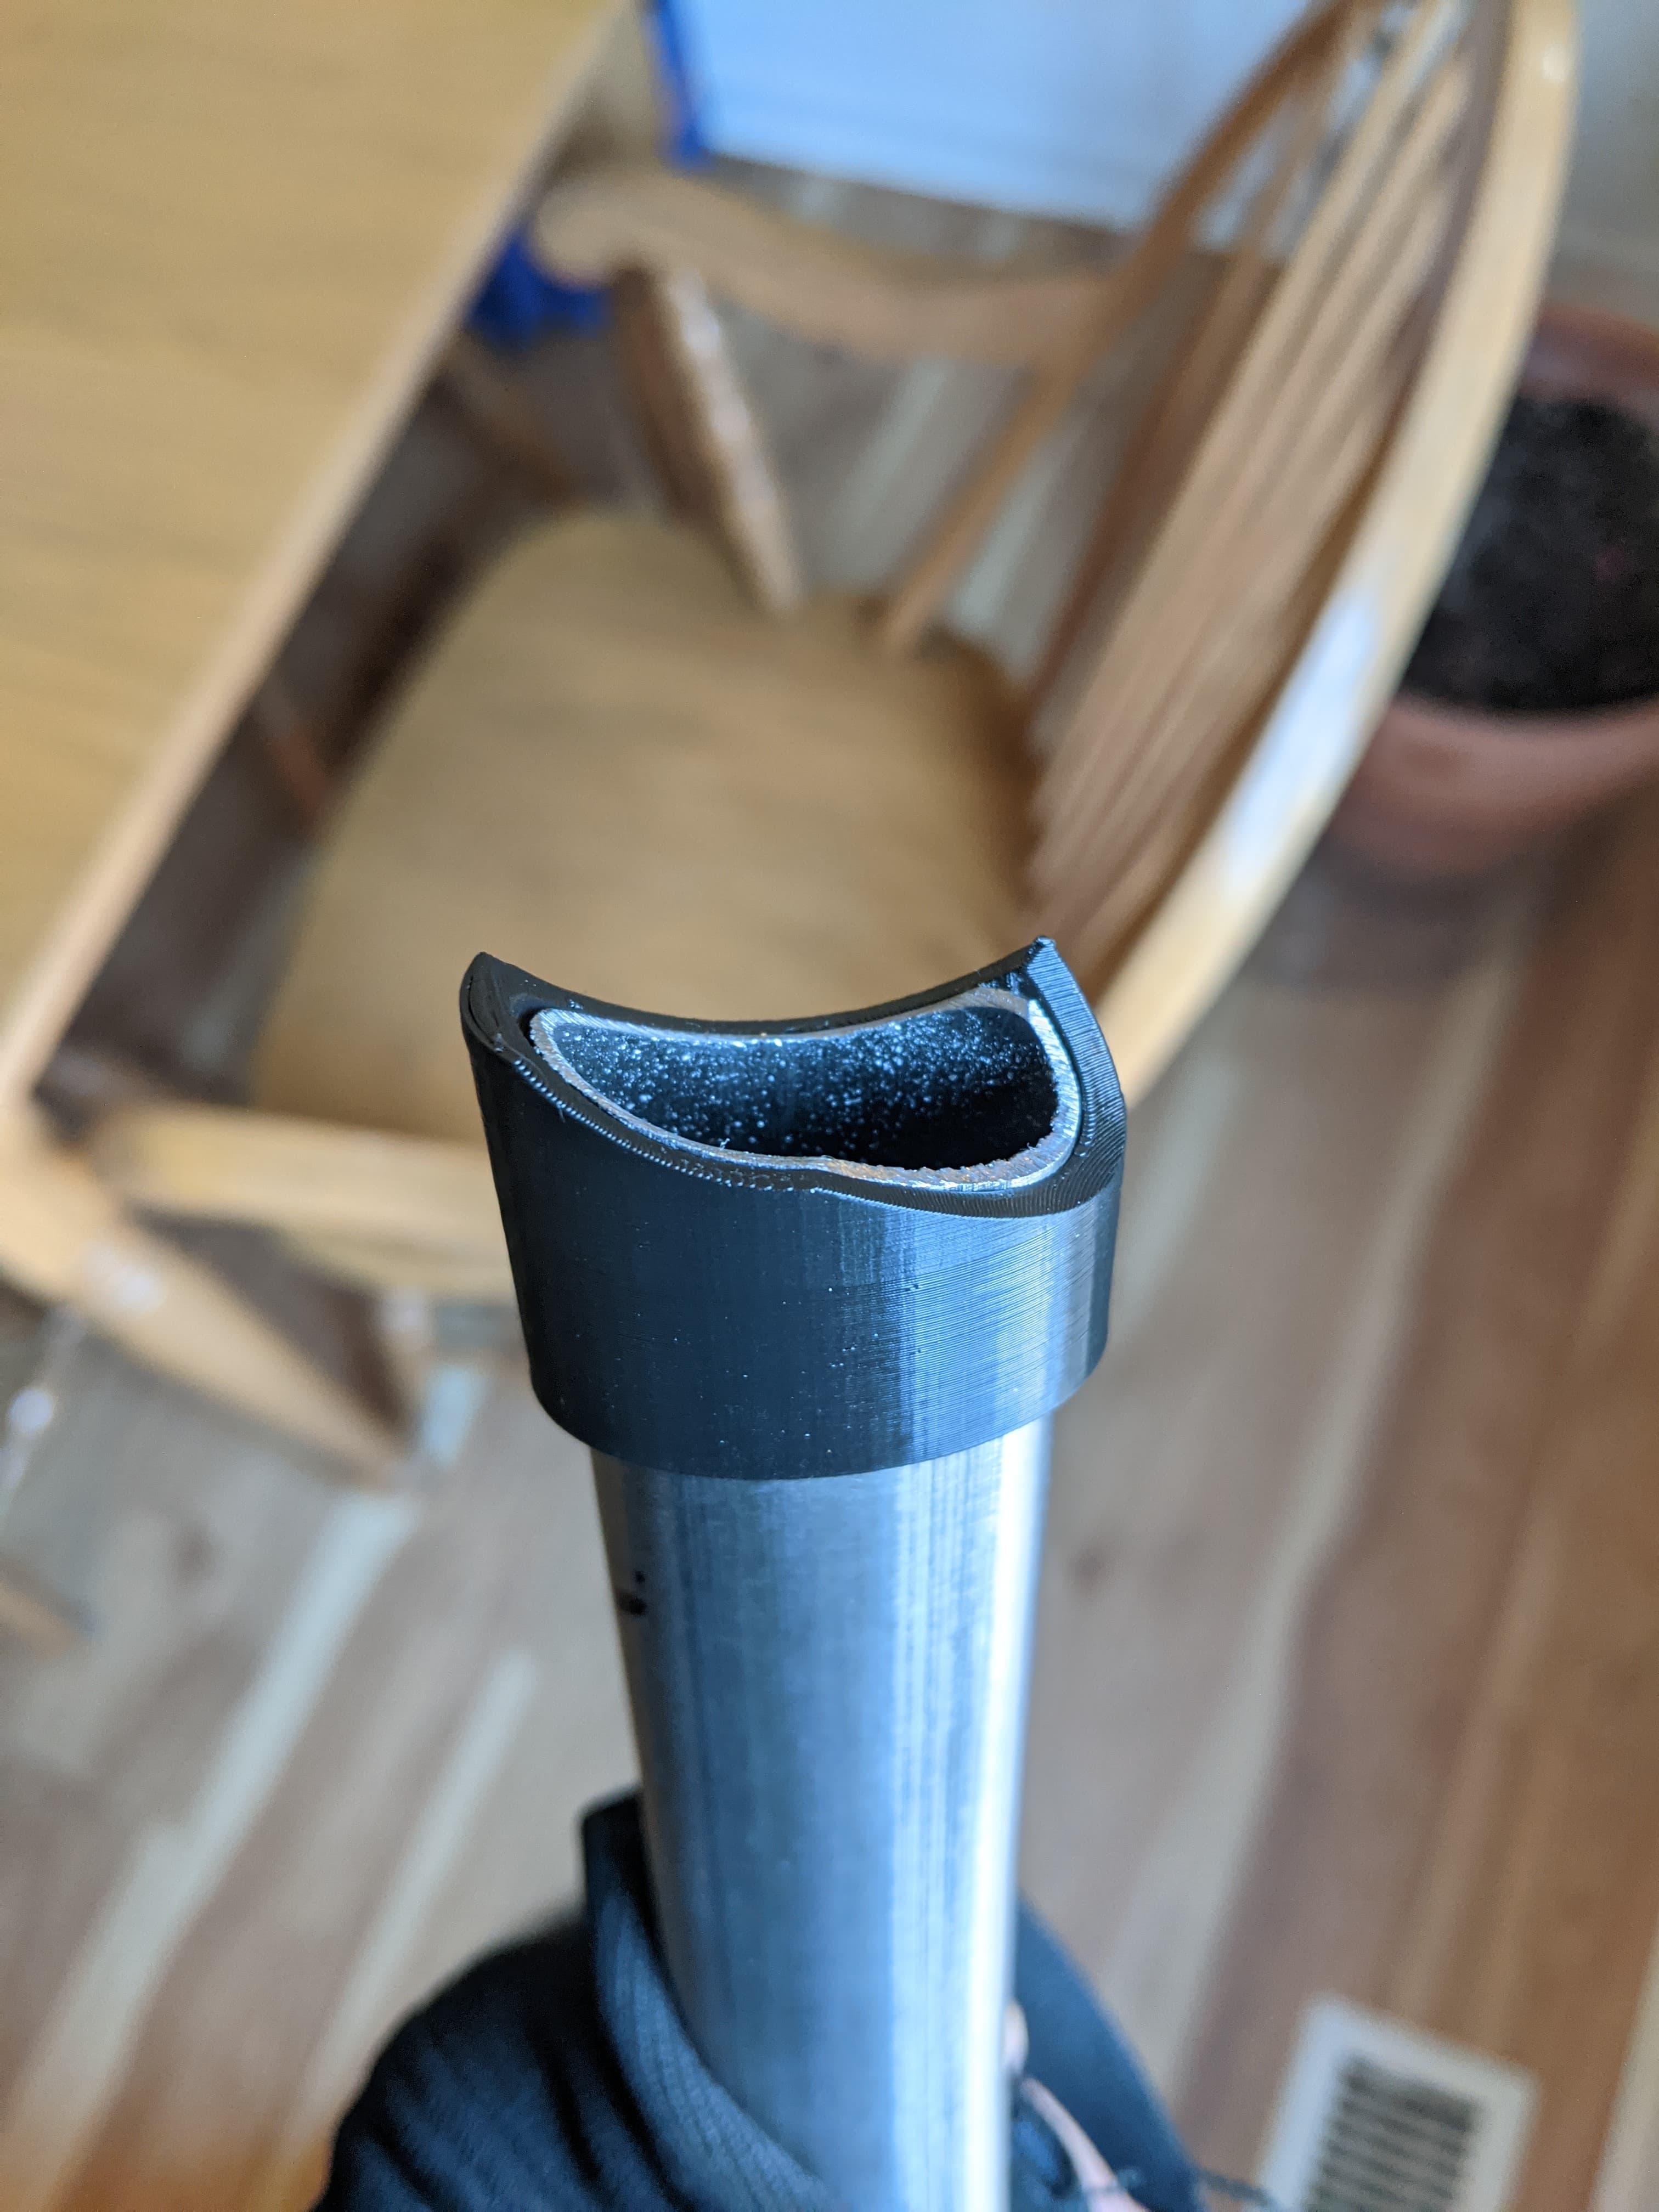
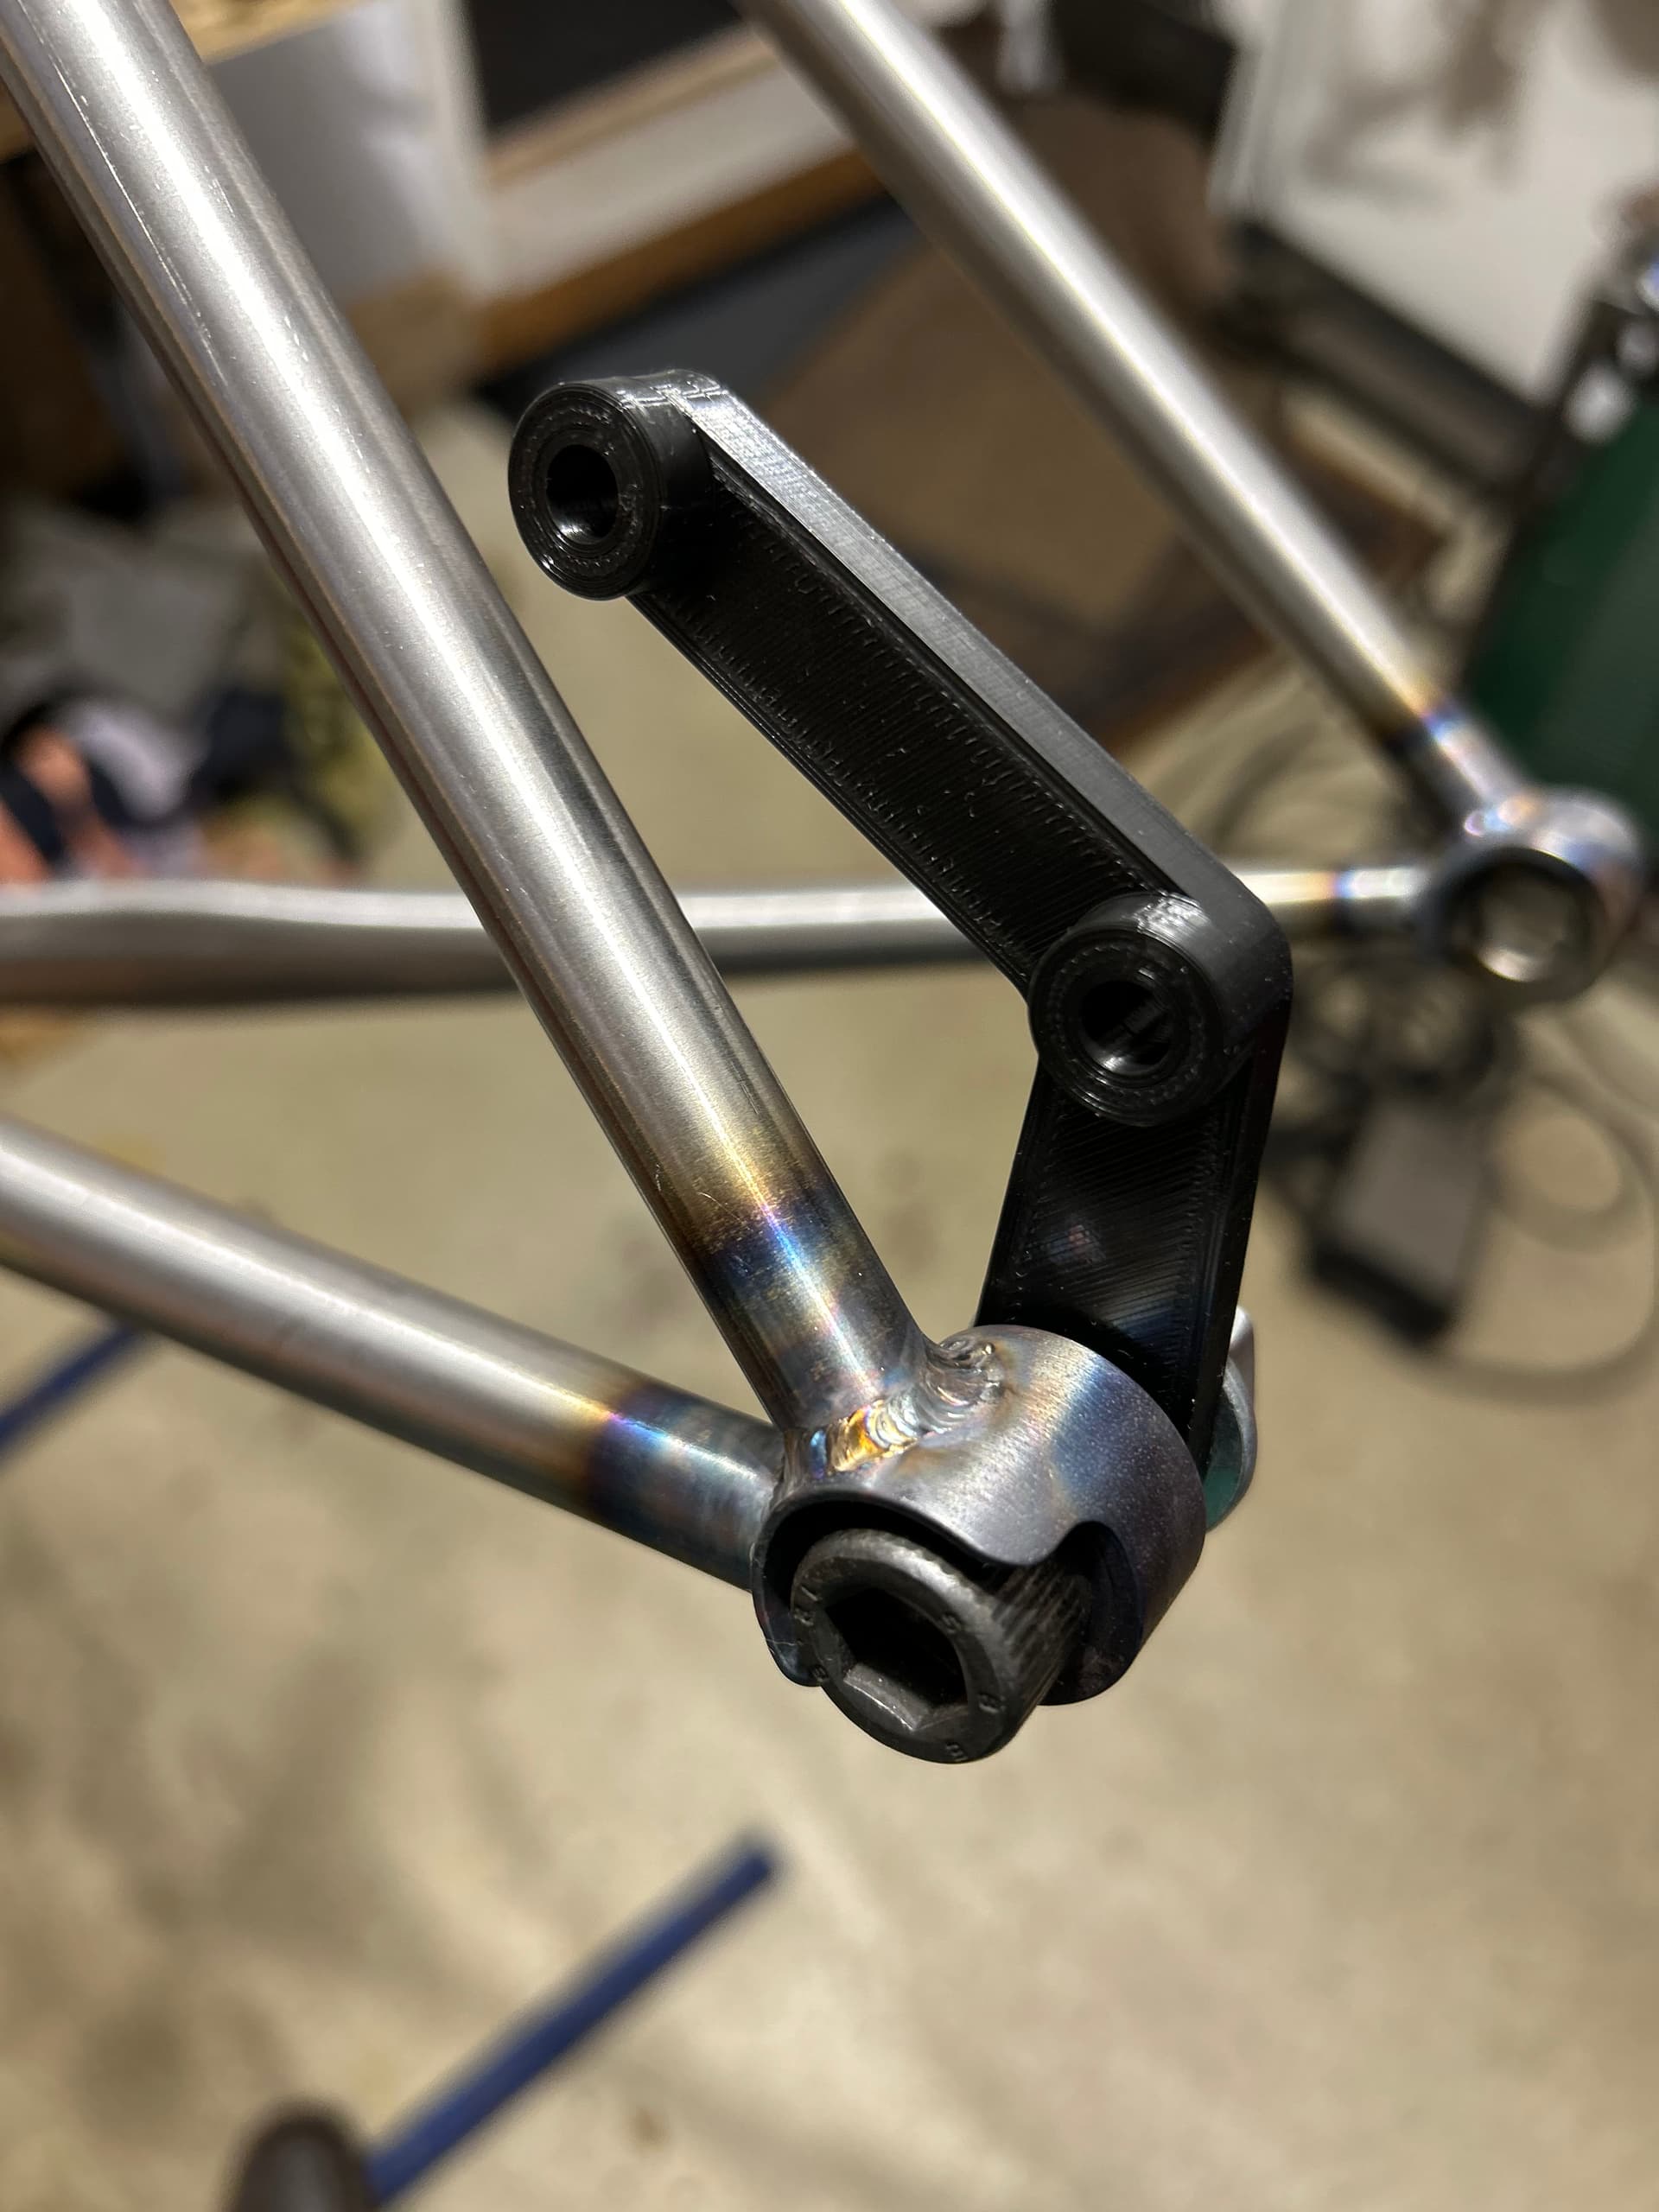
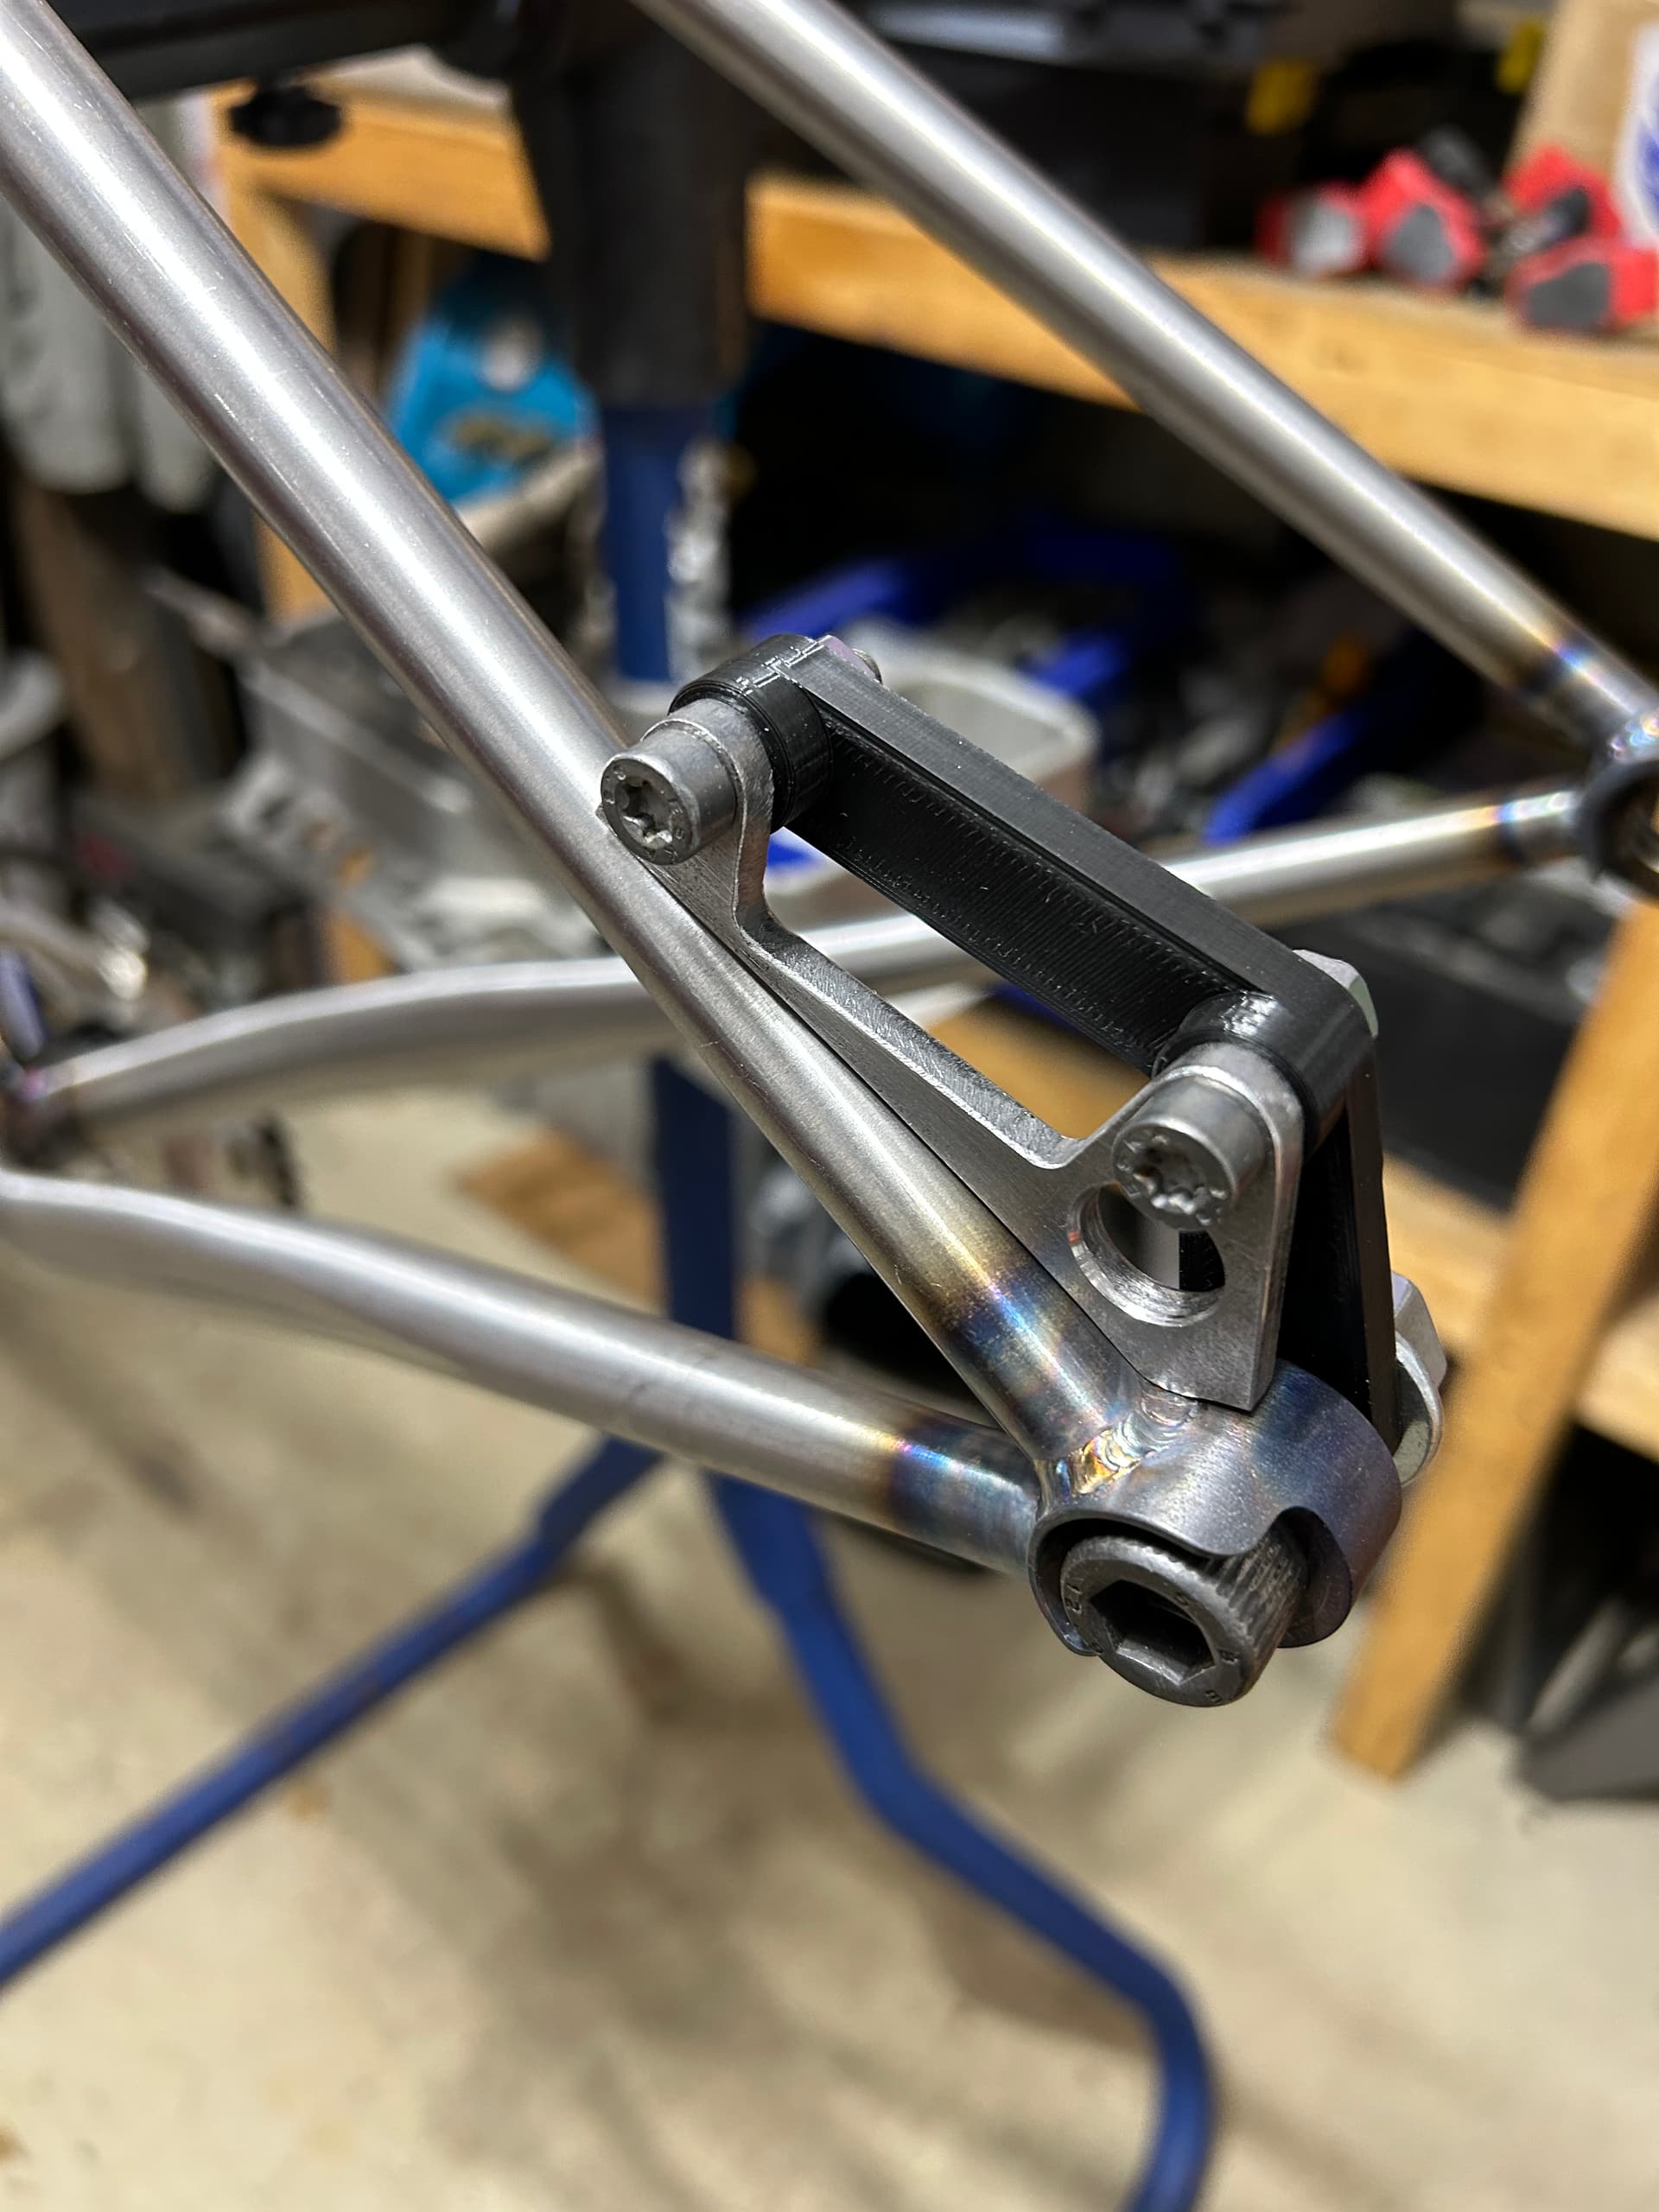
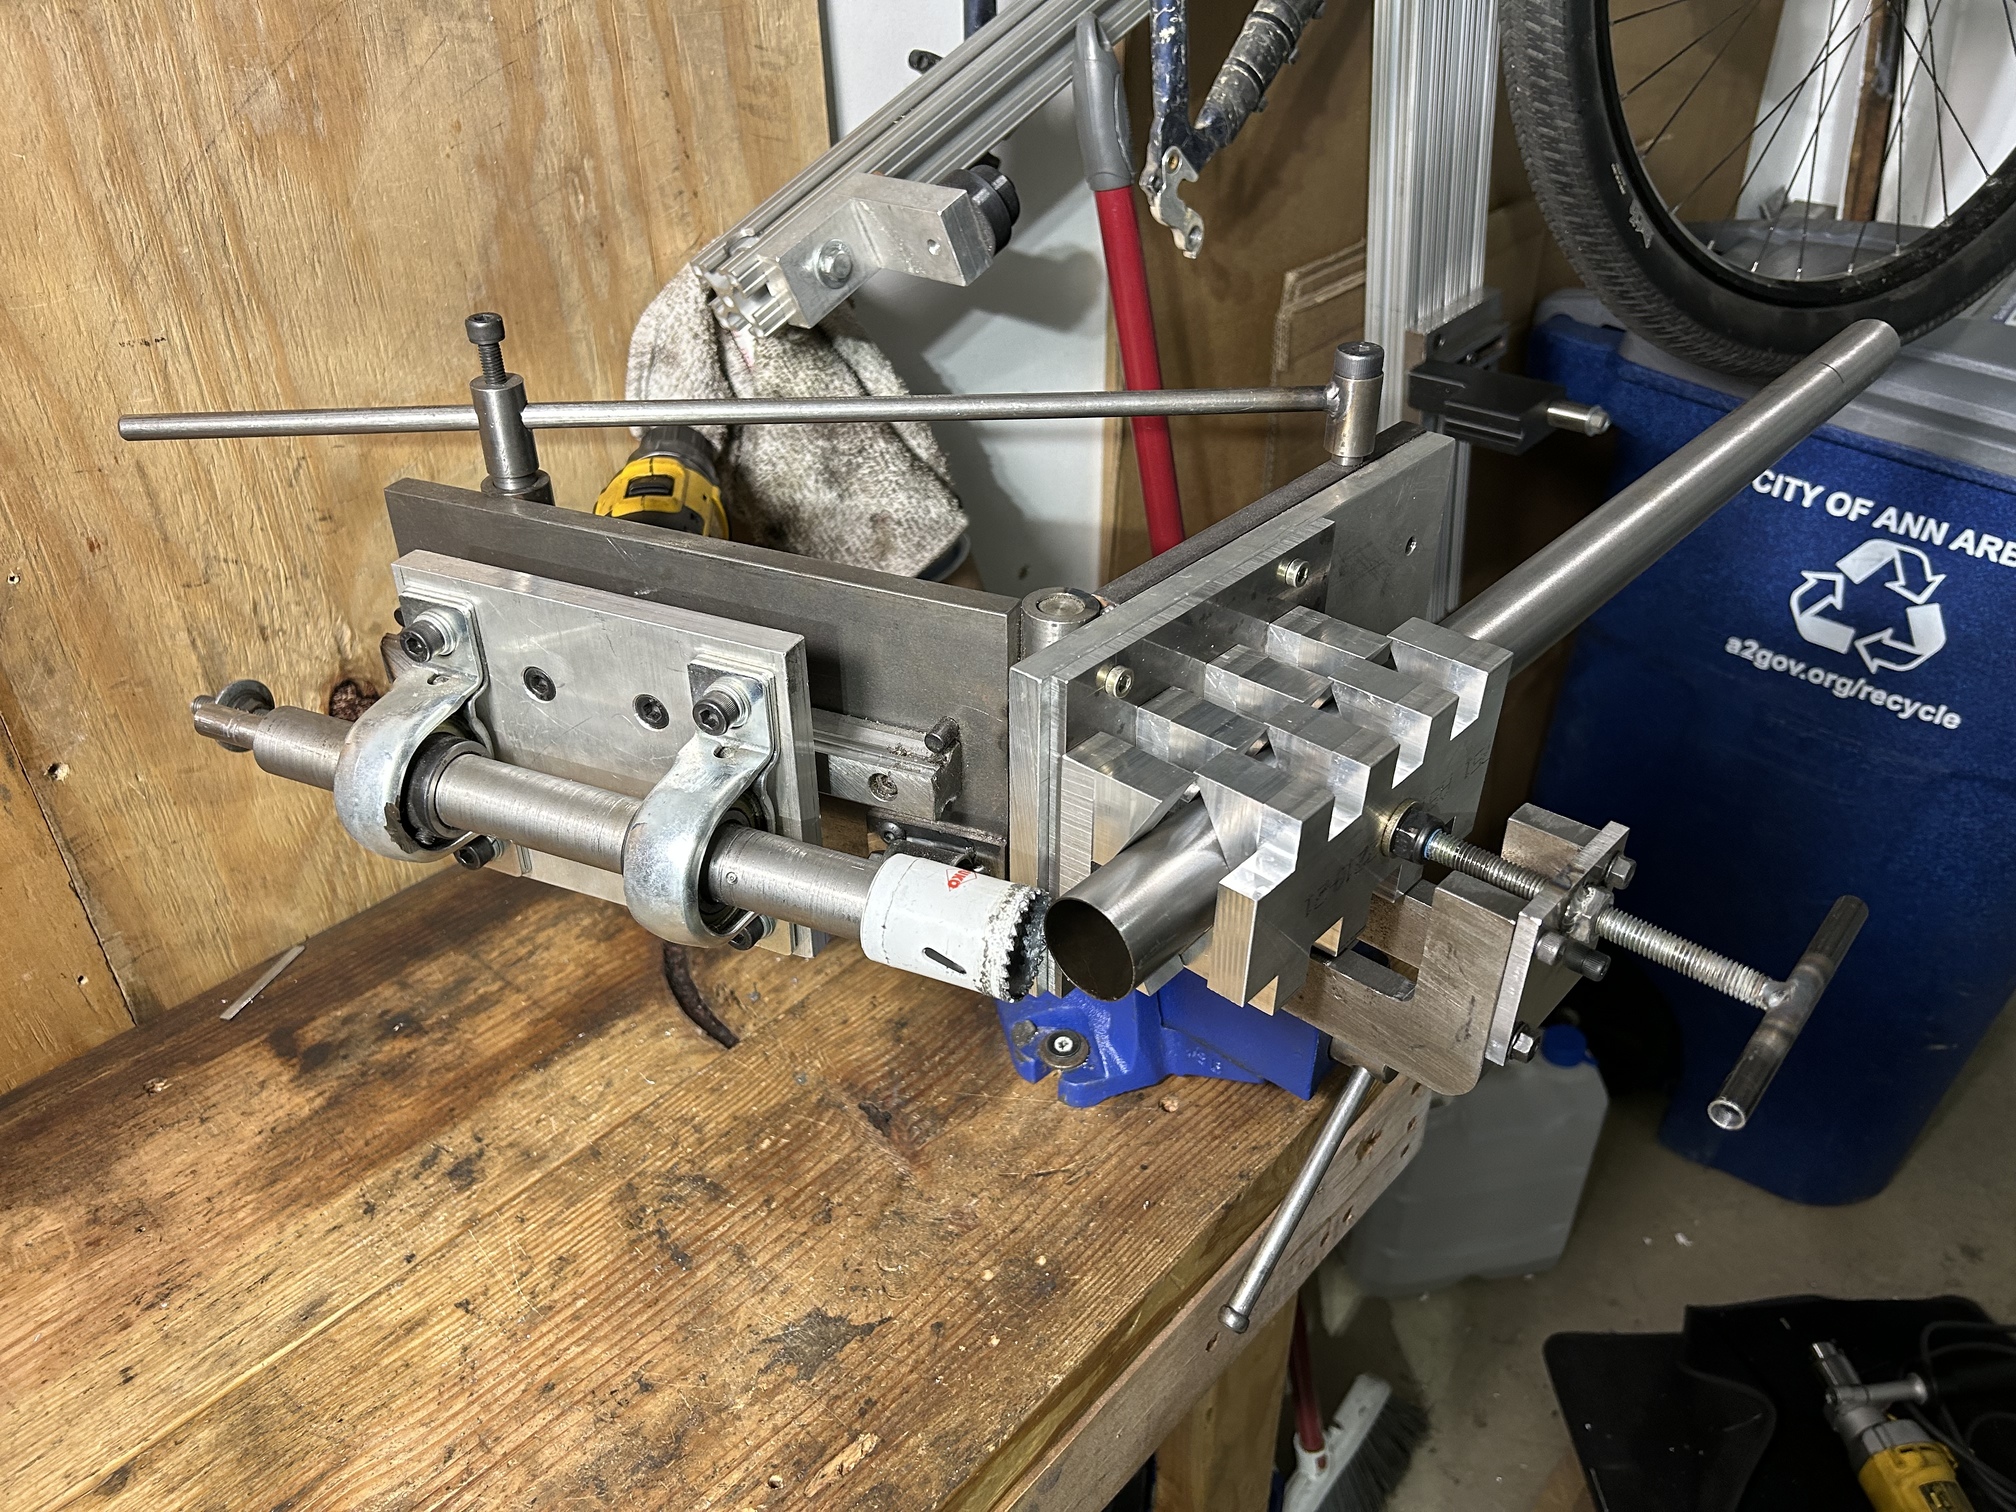
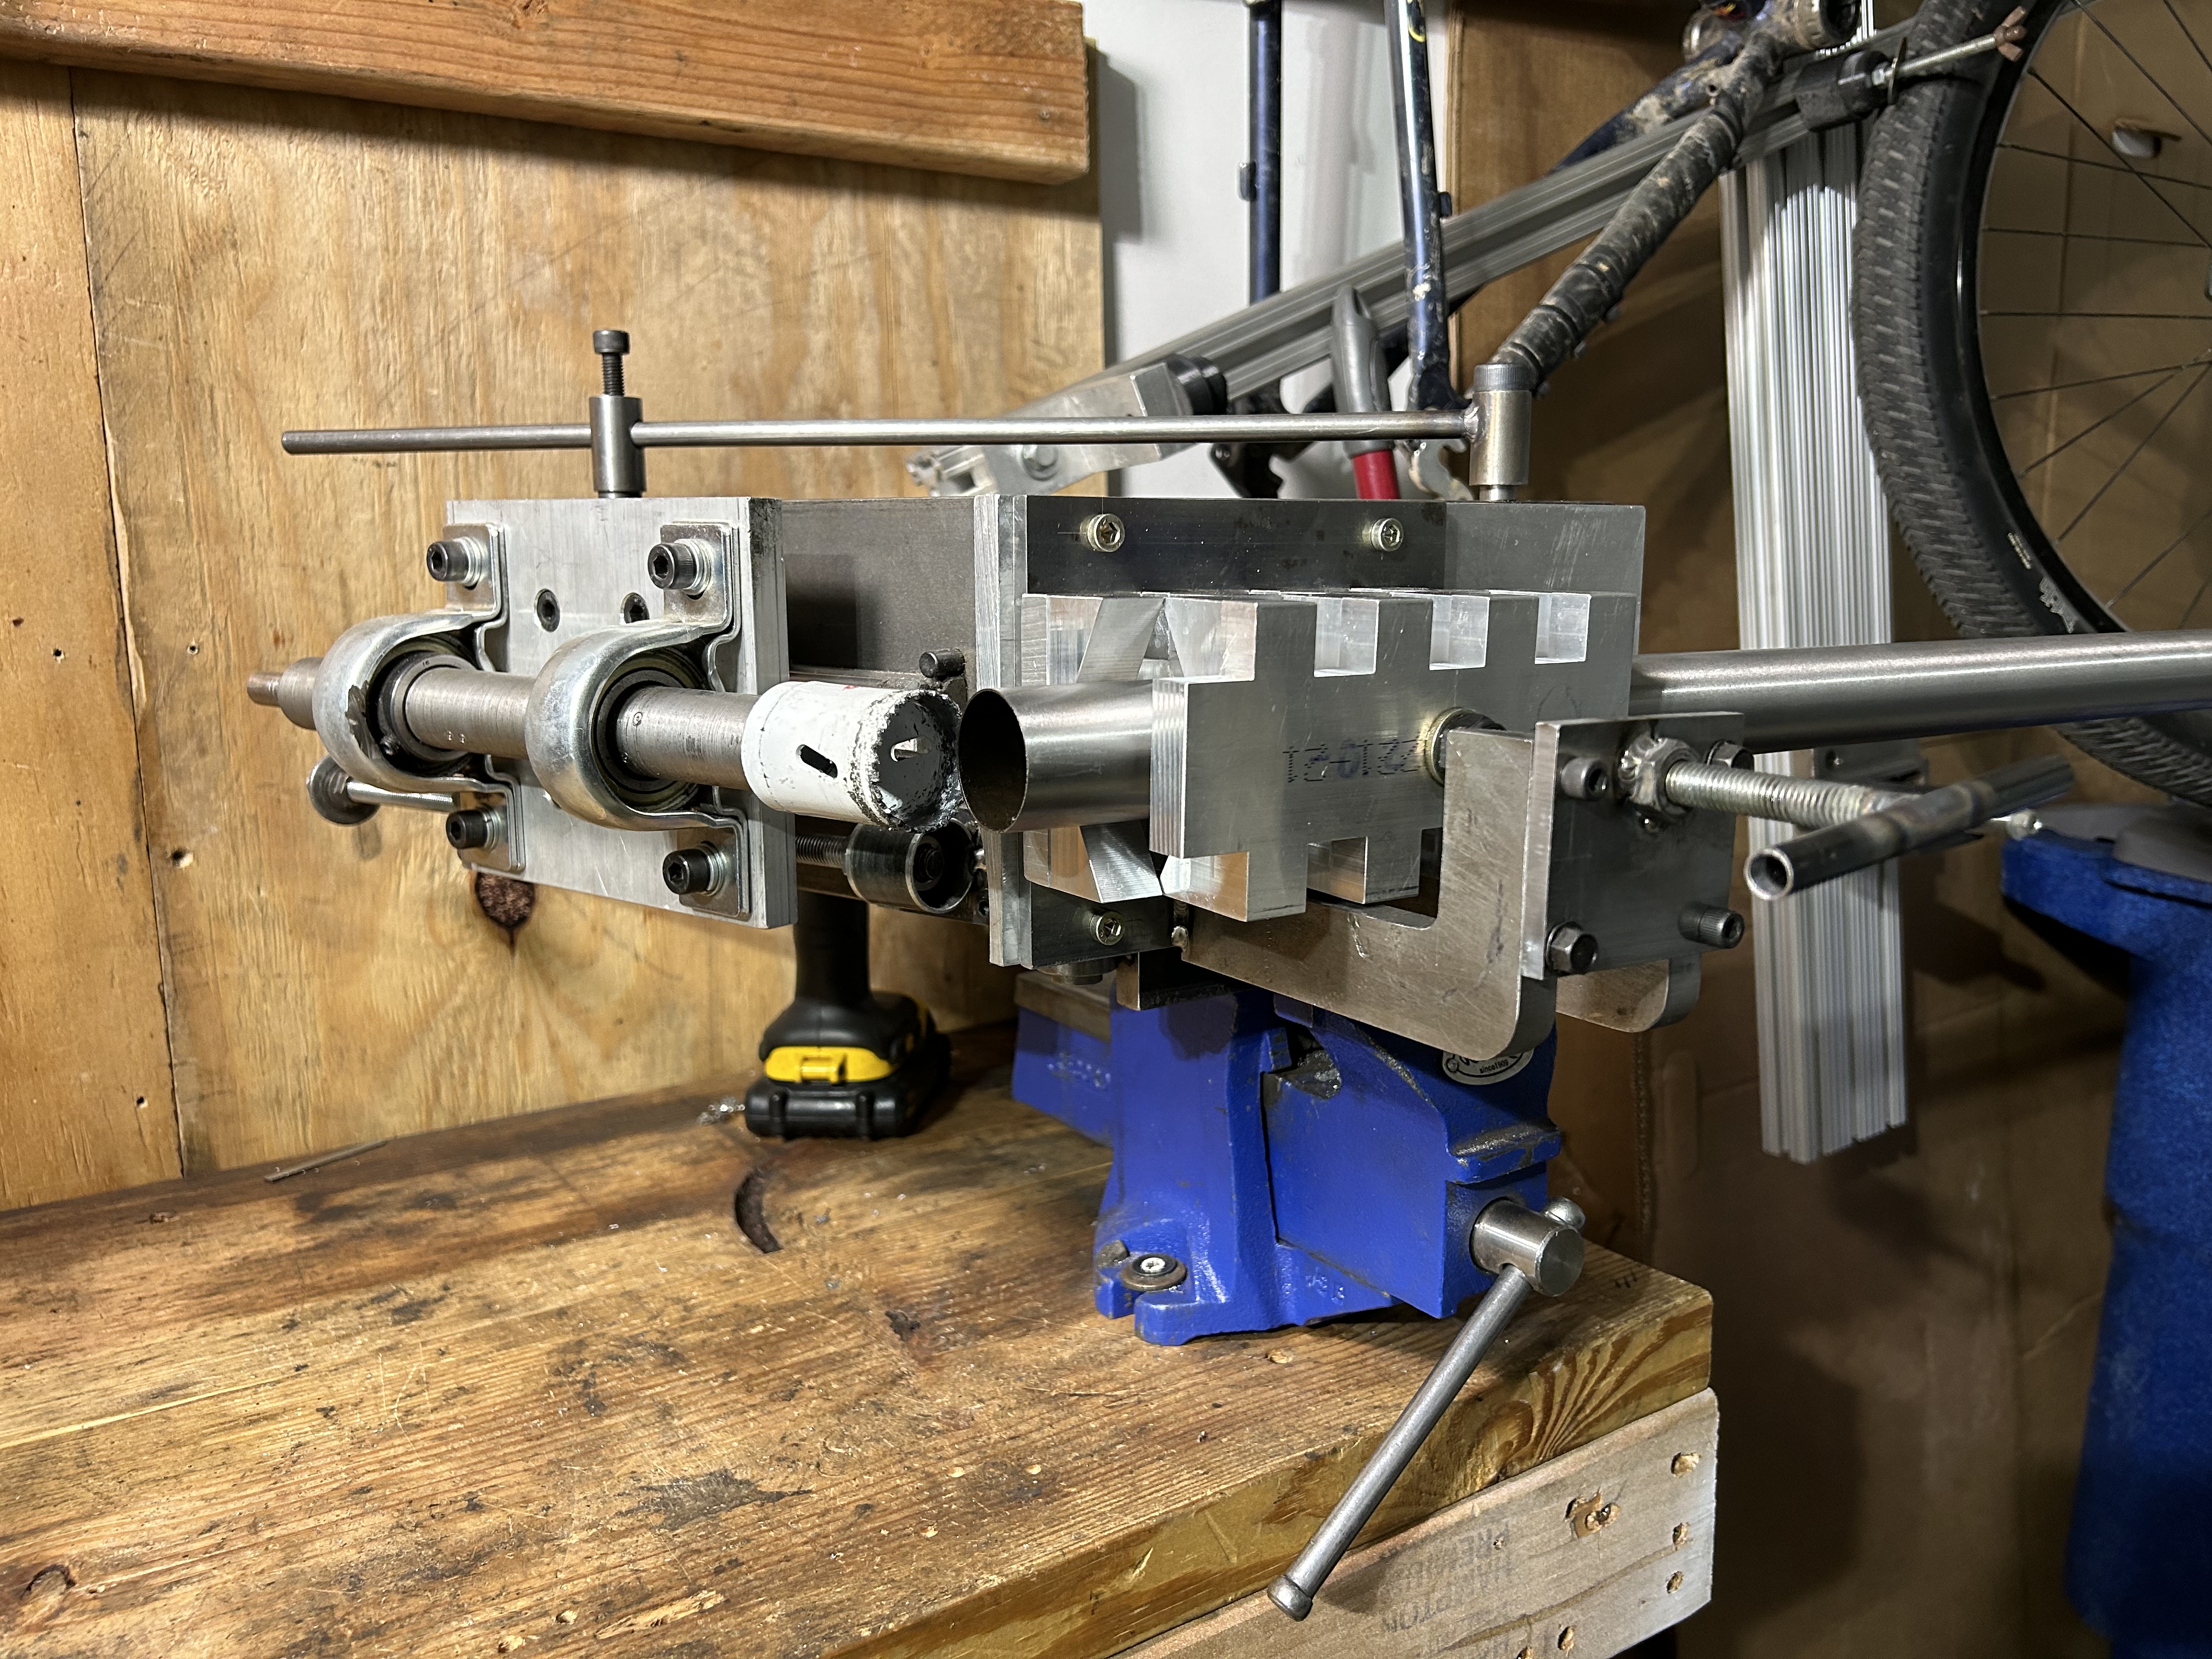
The chainstay nest worked great, here are some pictures


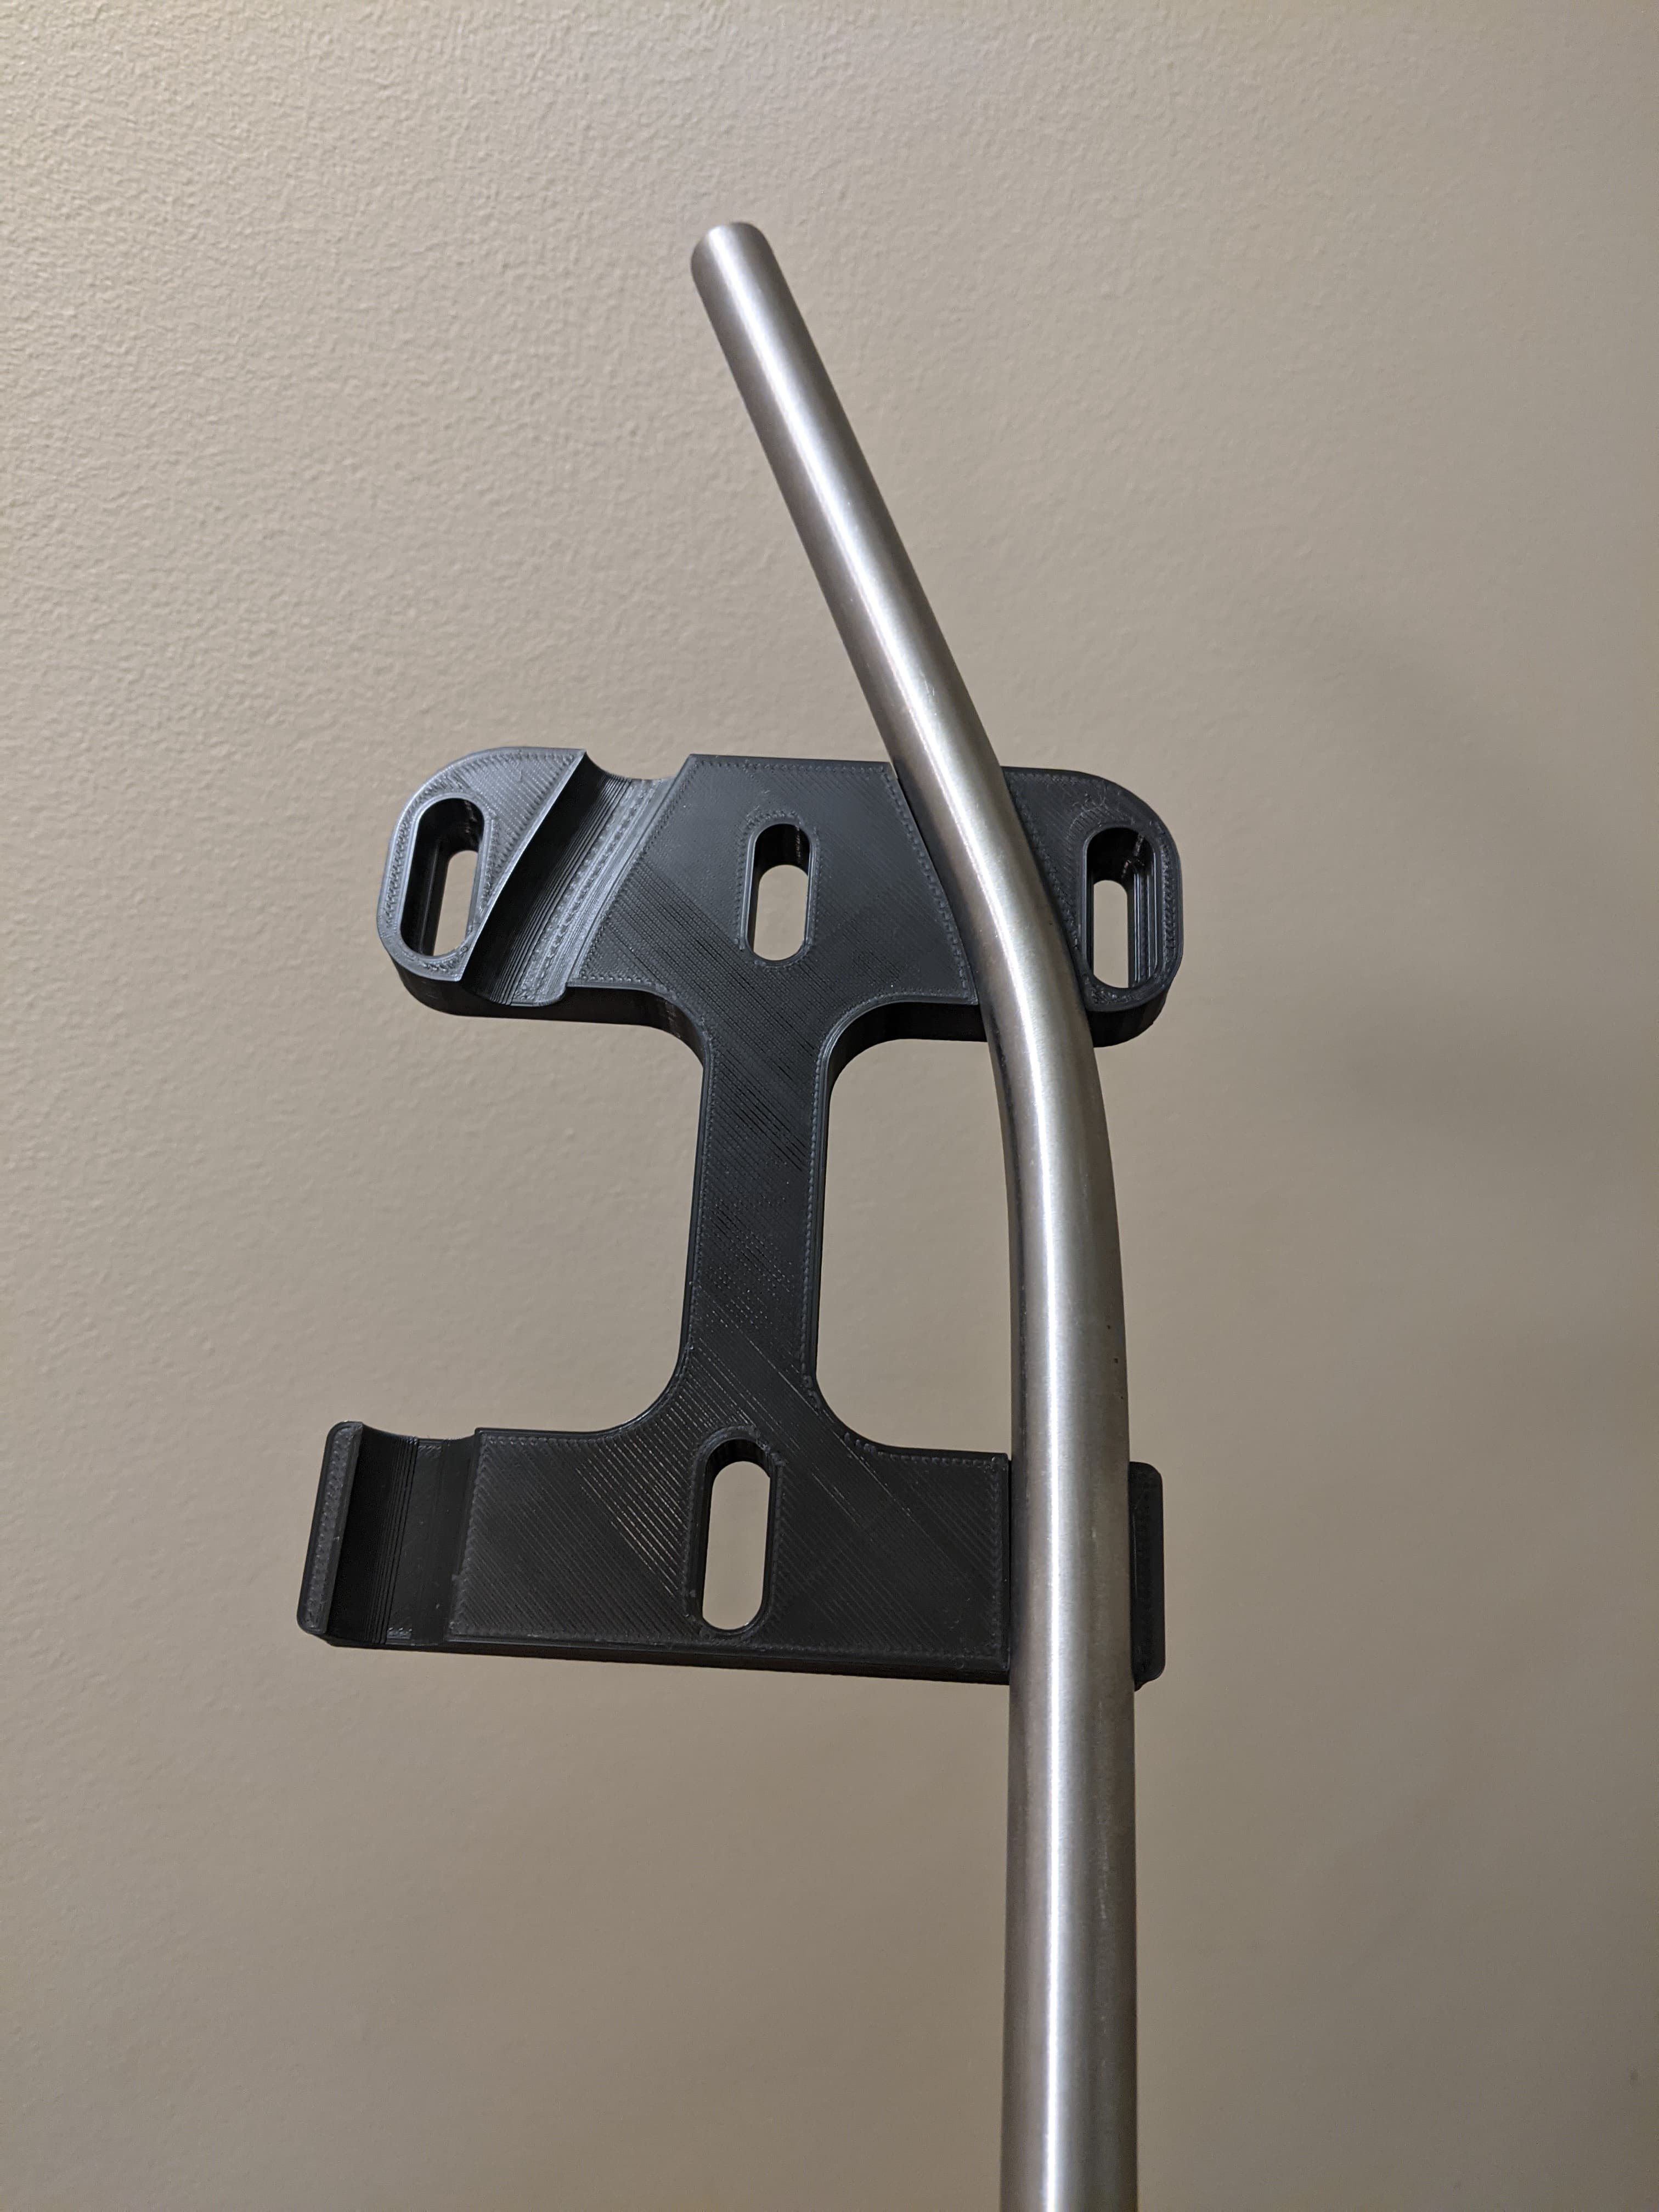
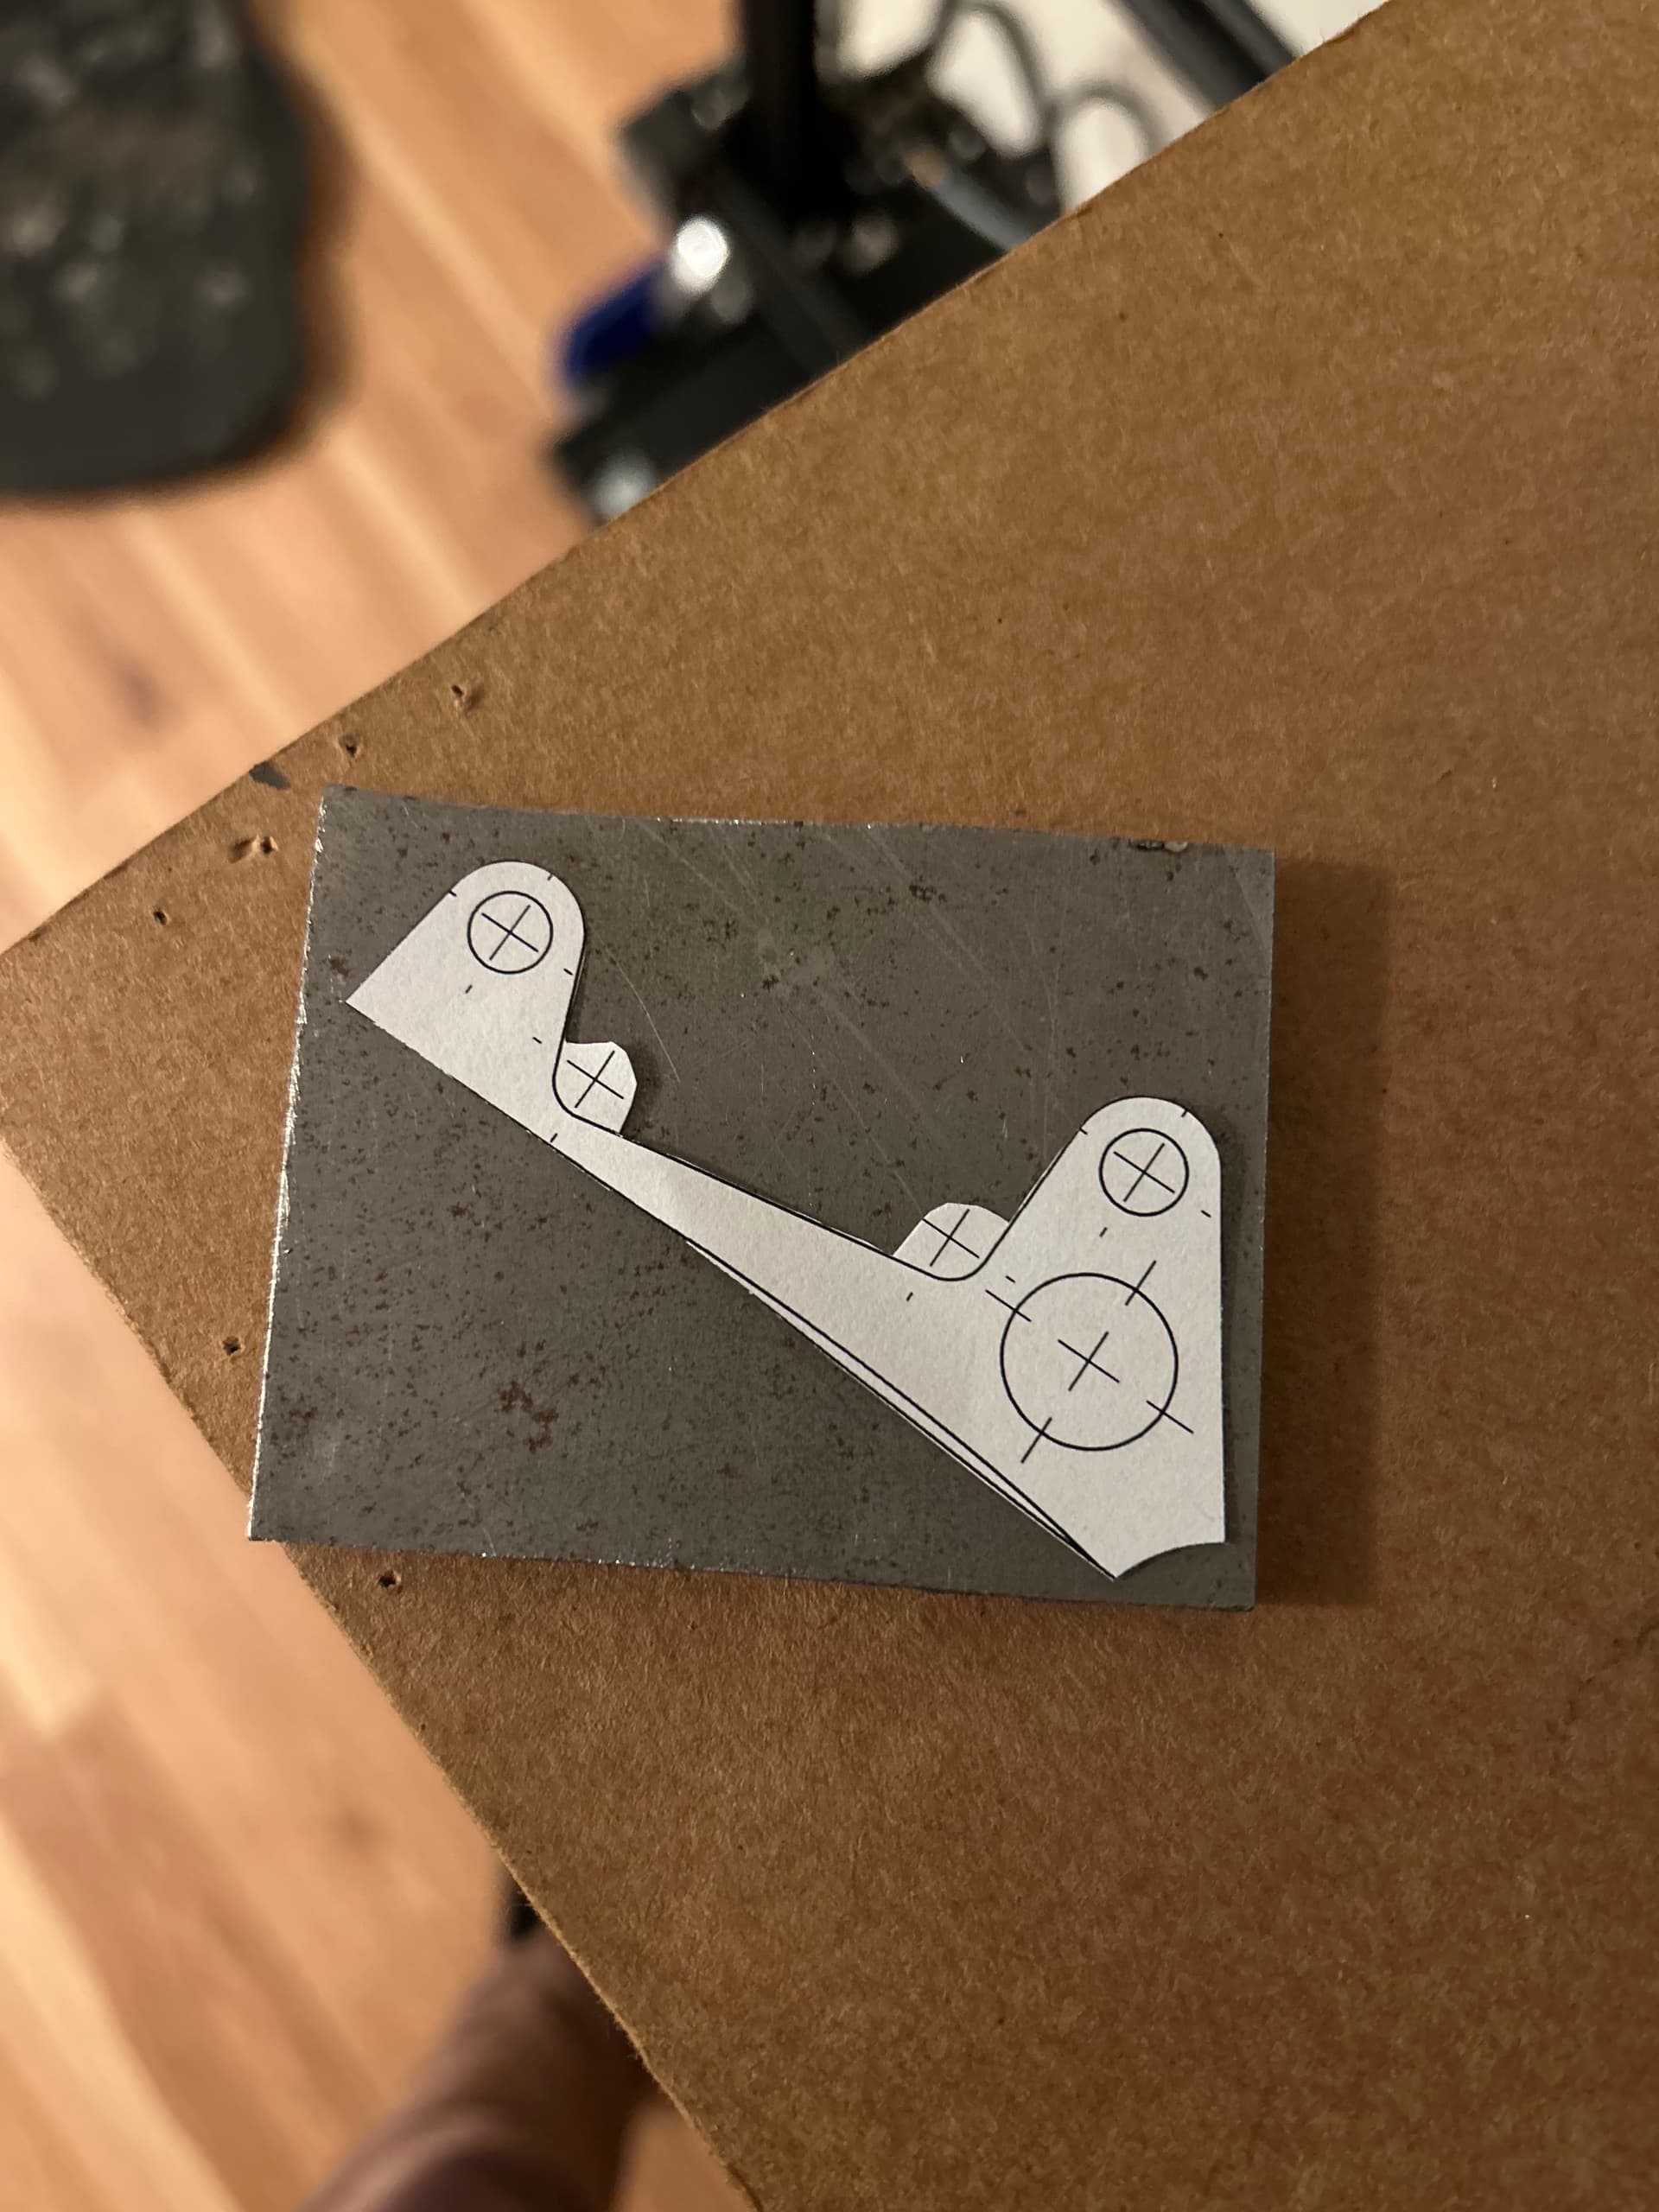
To notch the chainstays for the seat tube I made up some templates like this
Also made this nest for mitering the seat stays.
That’s about all the progress for me until the new year. Hopefully will get some riding in until then!
6 Likes
Awesome. @Mikesbikester do you have an IG username? I would love to highlight this work on IG this week
1 Like
It’s also mikesbikester, I haven’t posted much frame building on there, but feel free to share!
Edit:
@Daniel I realized I didn’t reply back to your comment, but couldn’t figure out how to delete my post so I figured tag you here
2 Likes
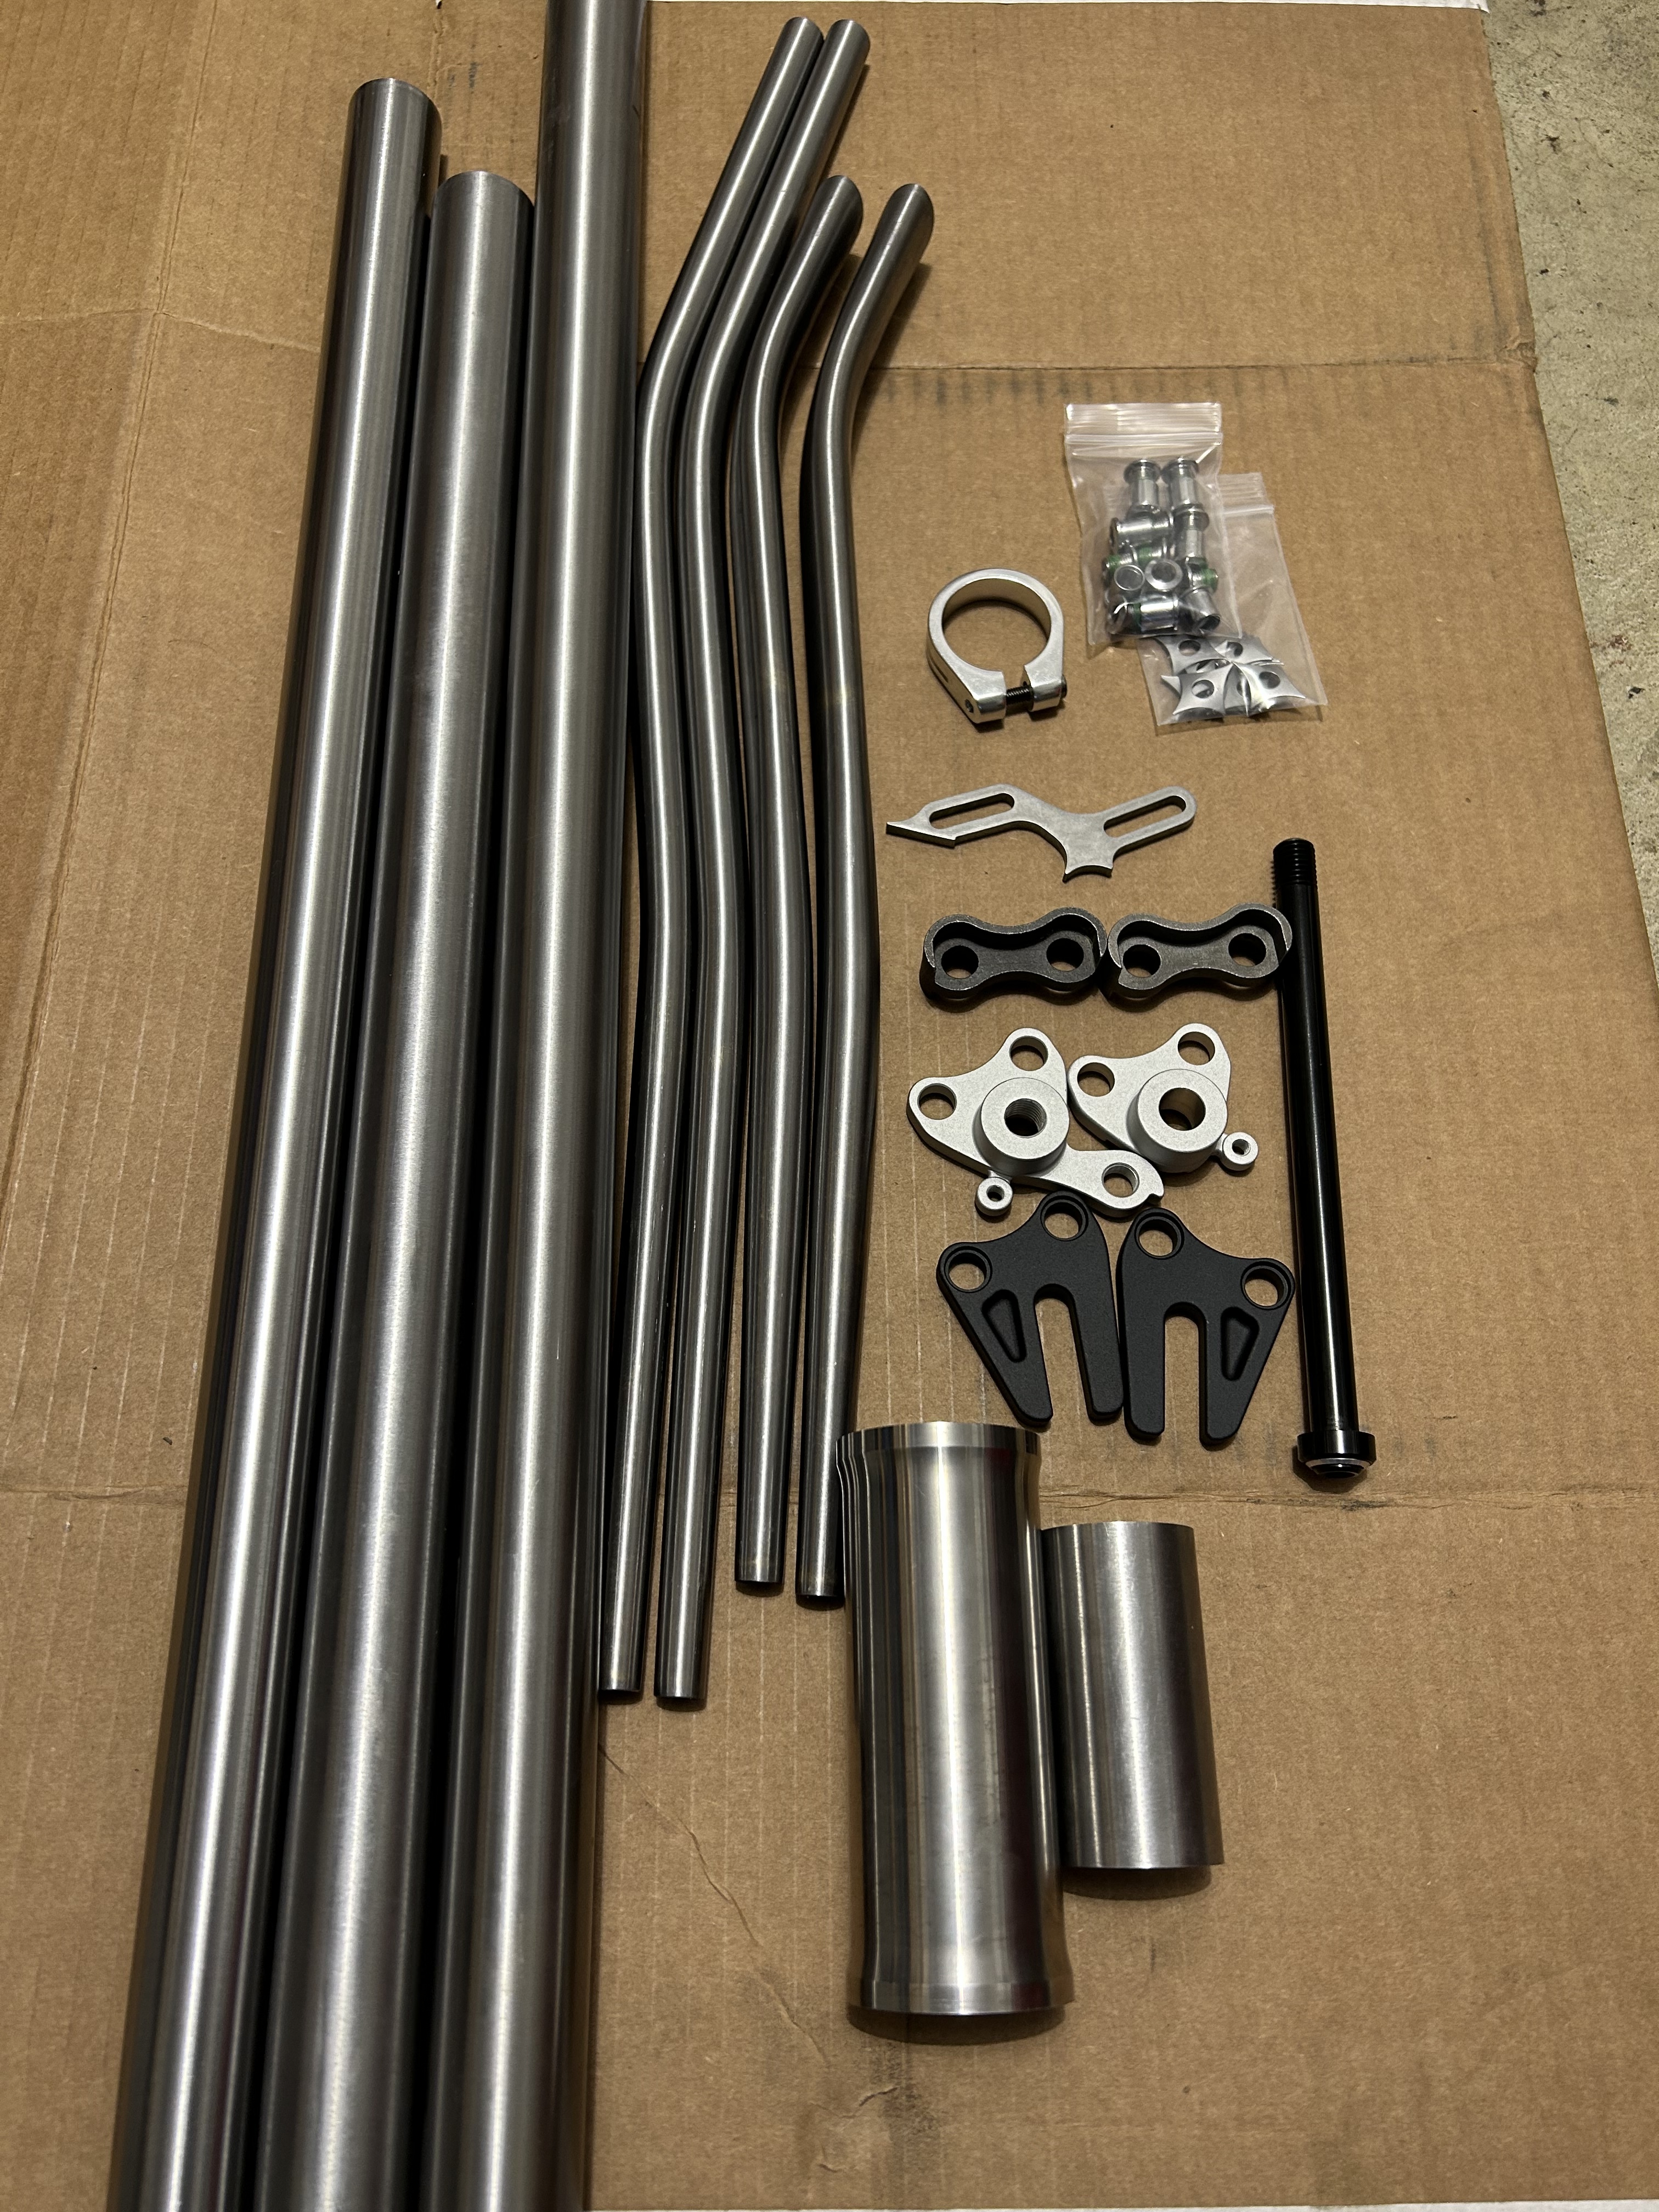
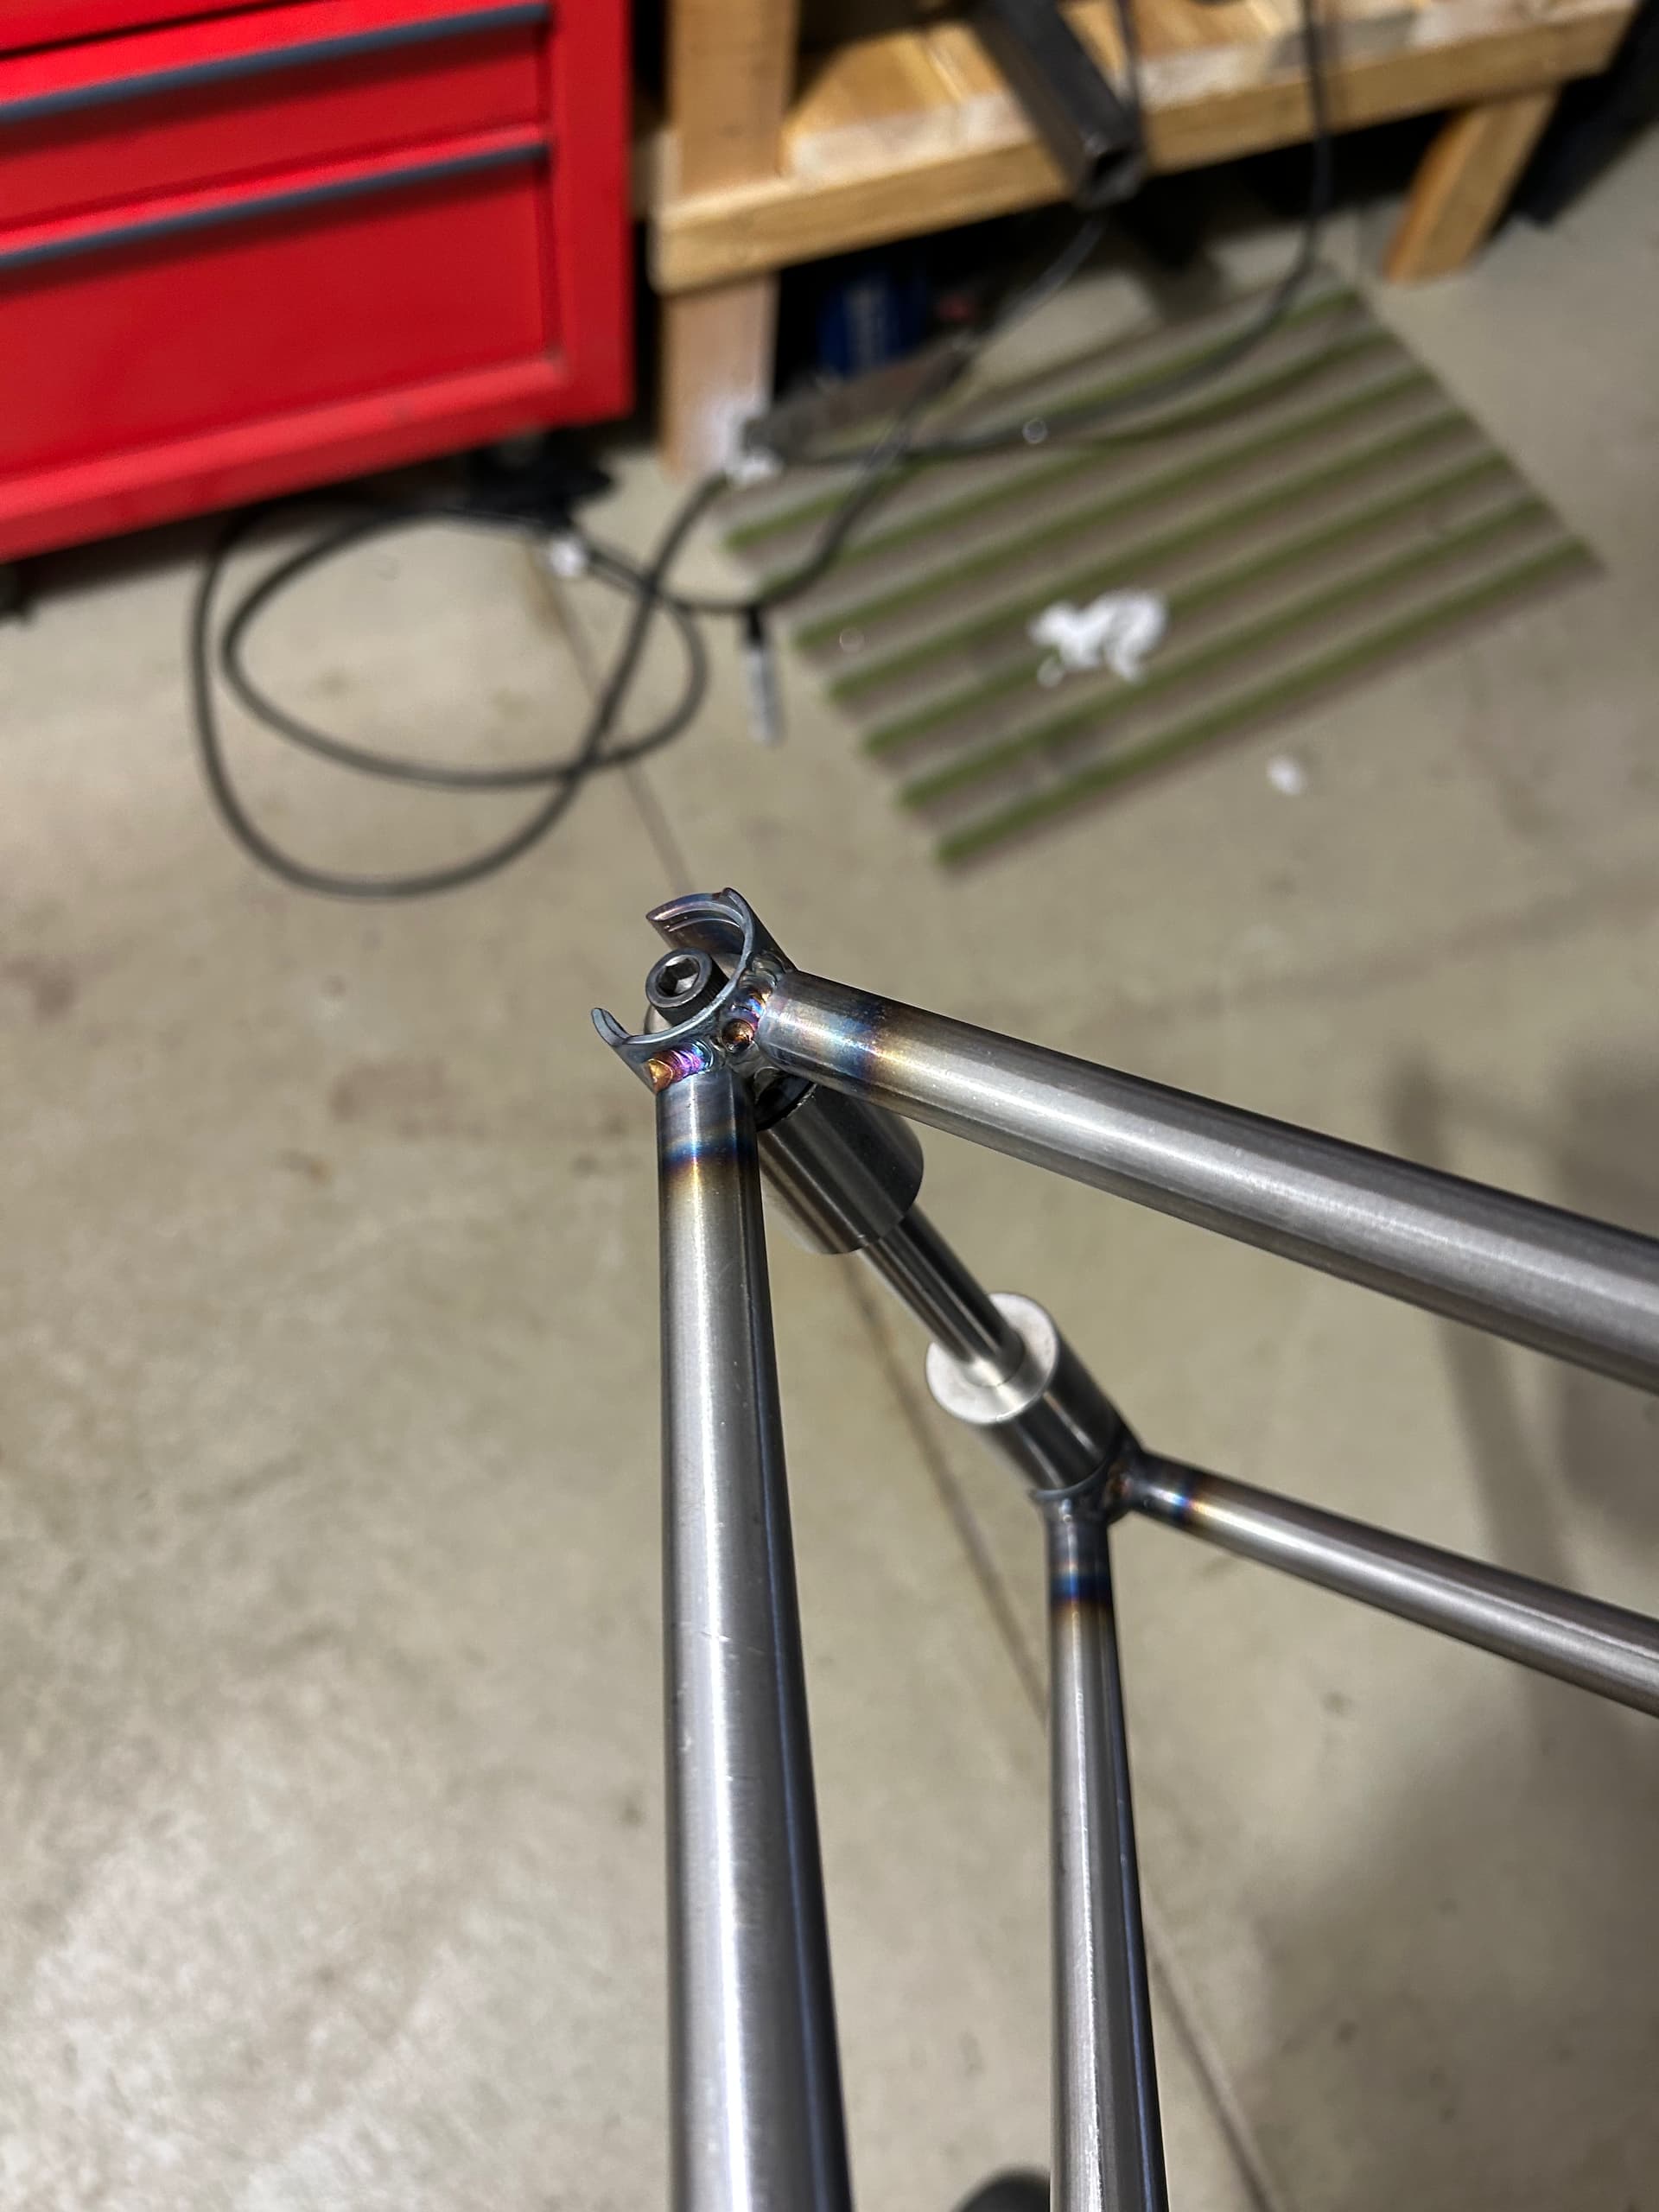
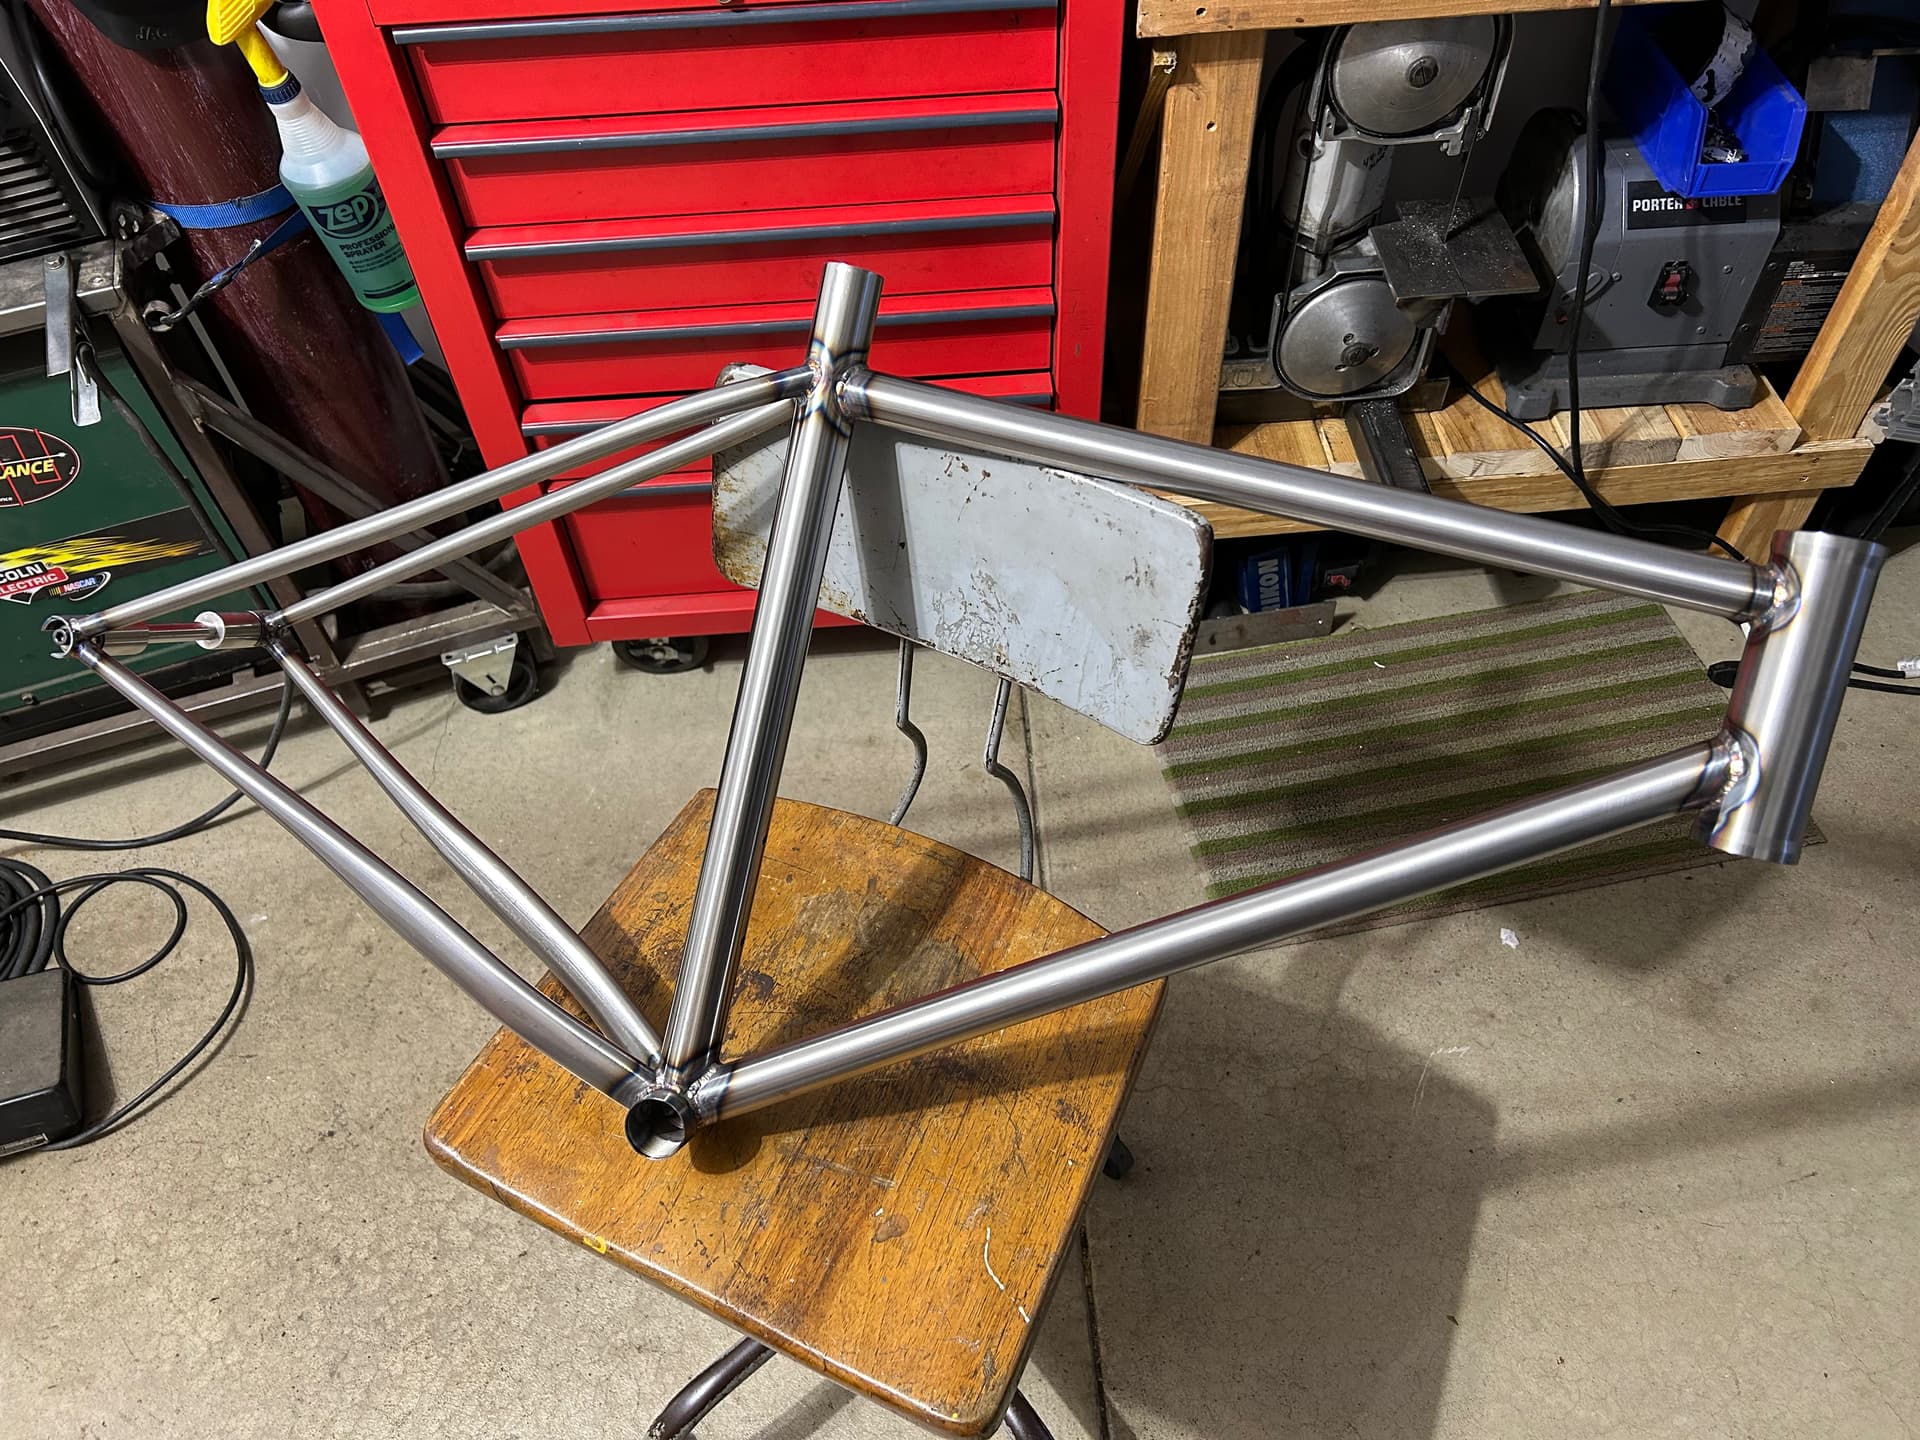
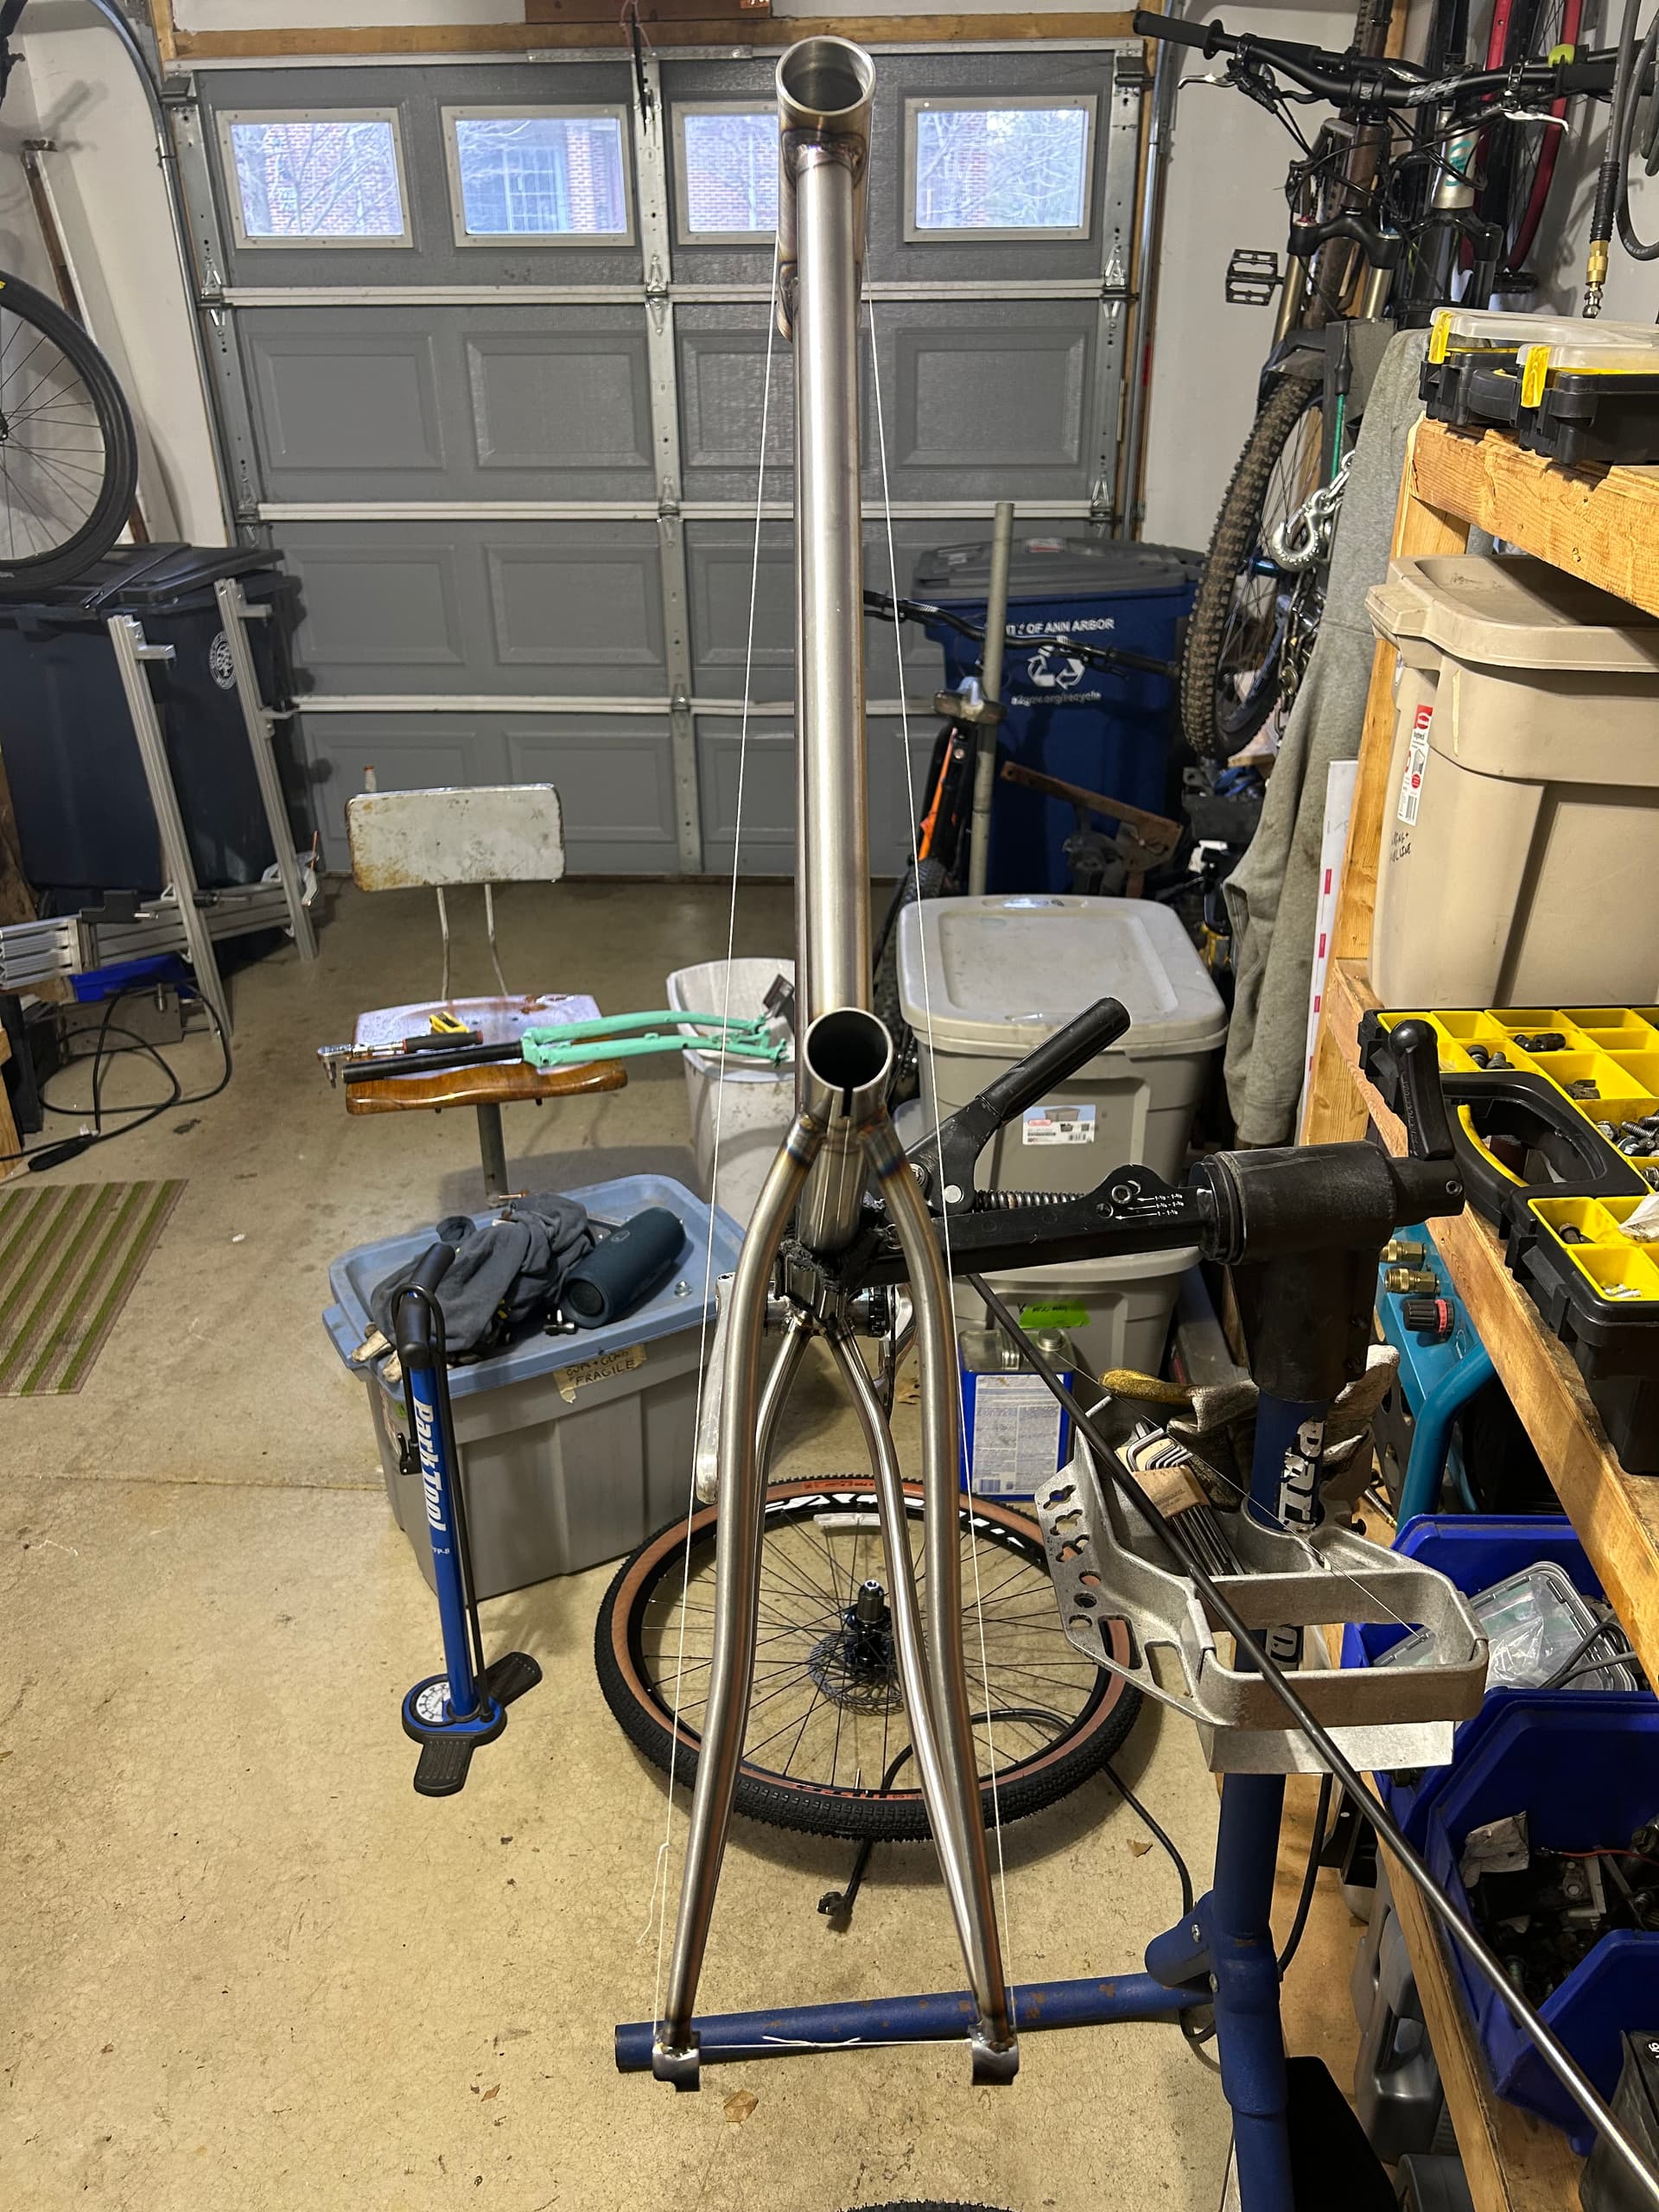
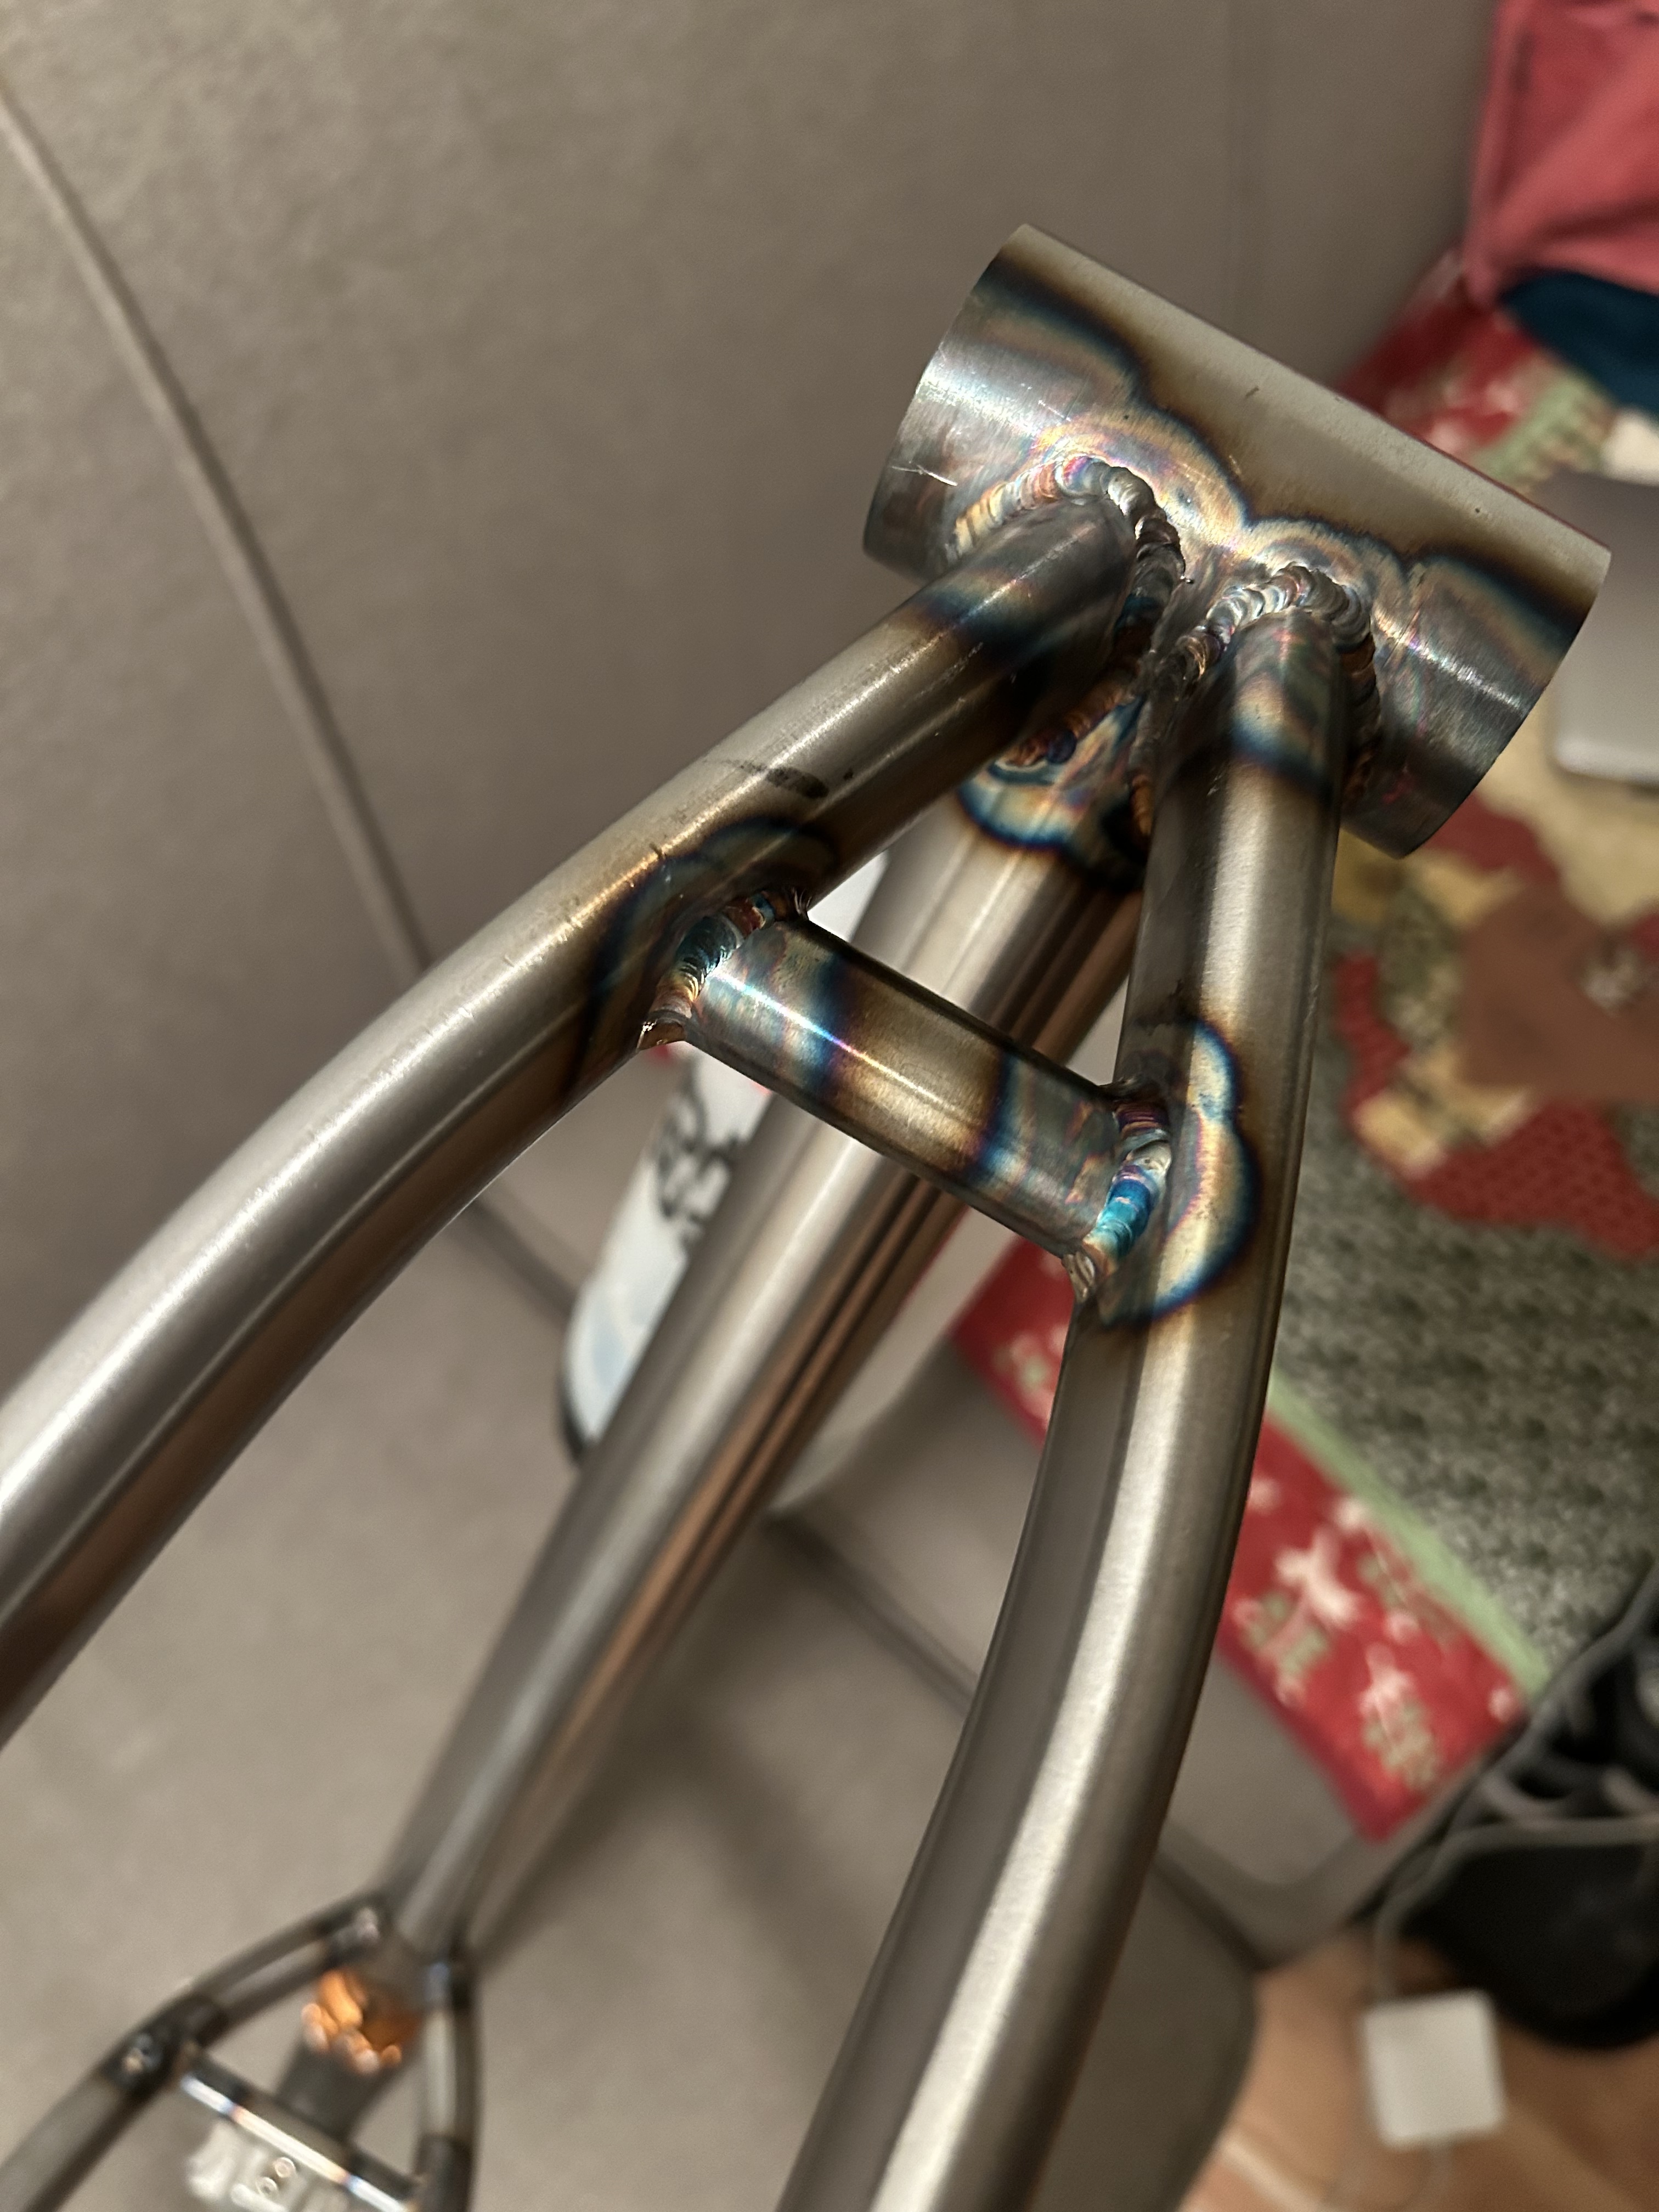
Back at it, wrappped up the chainstays and tacked the front triangle together earlier this week
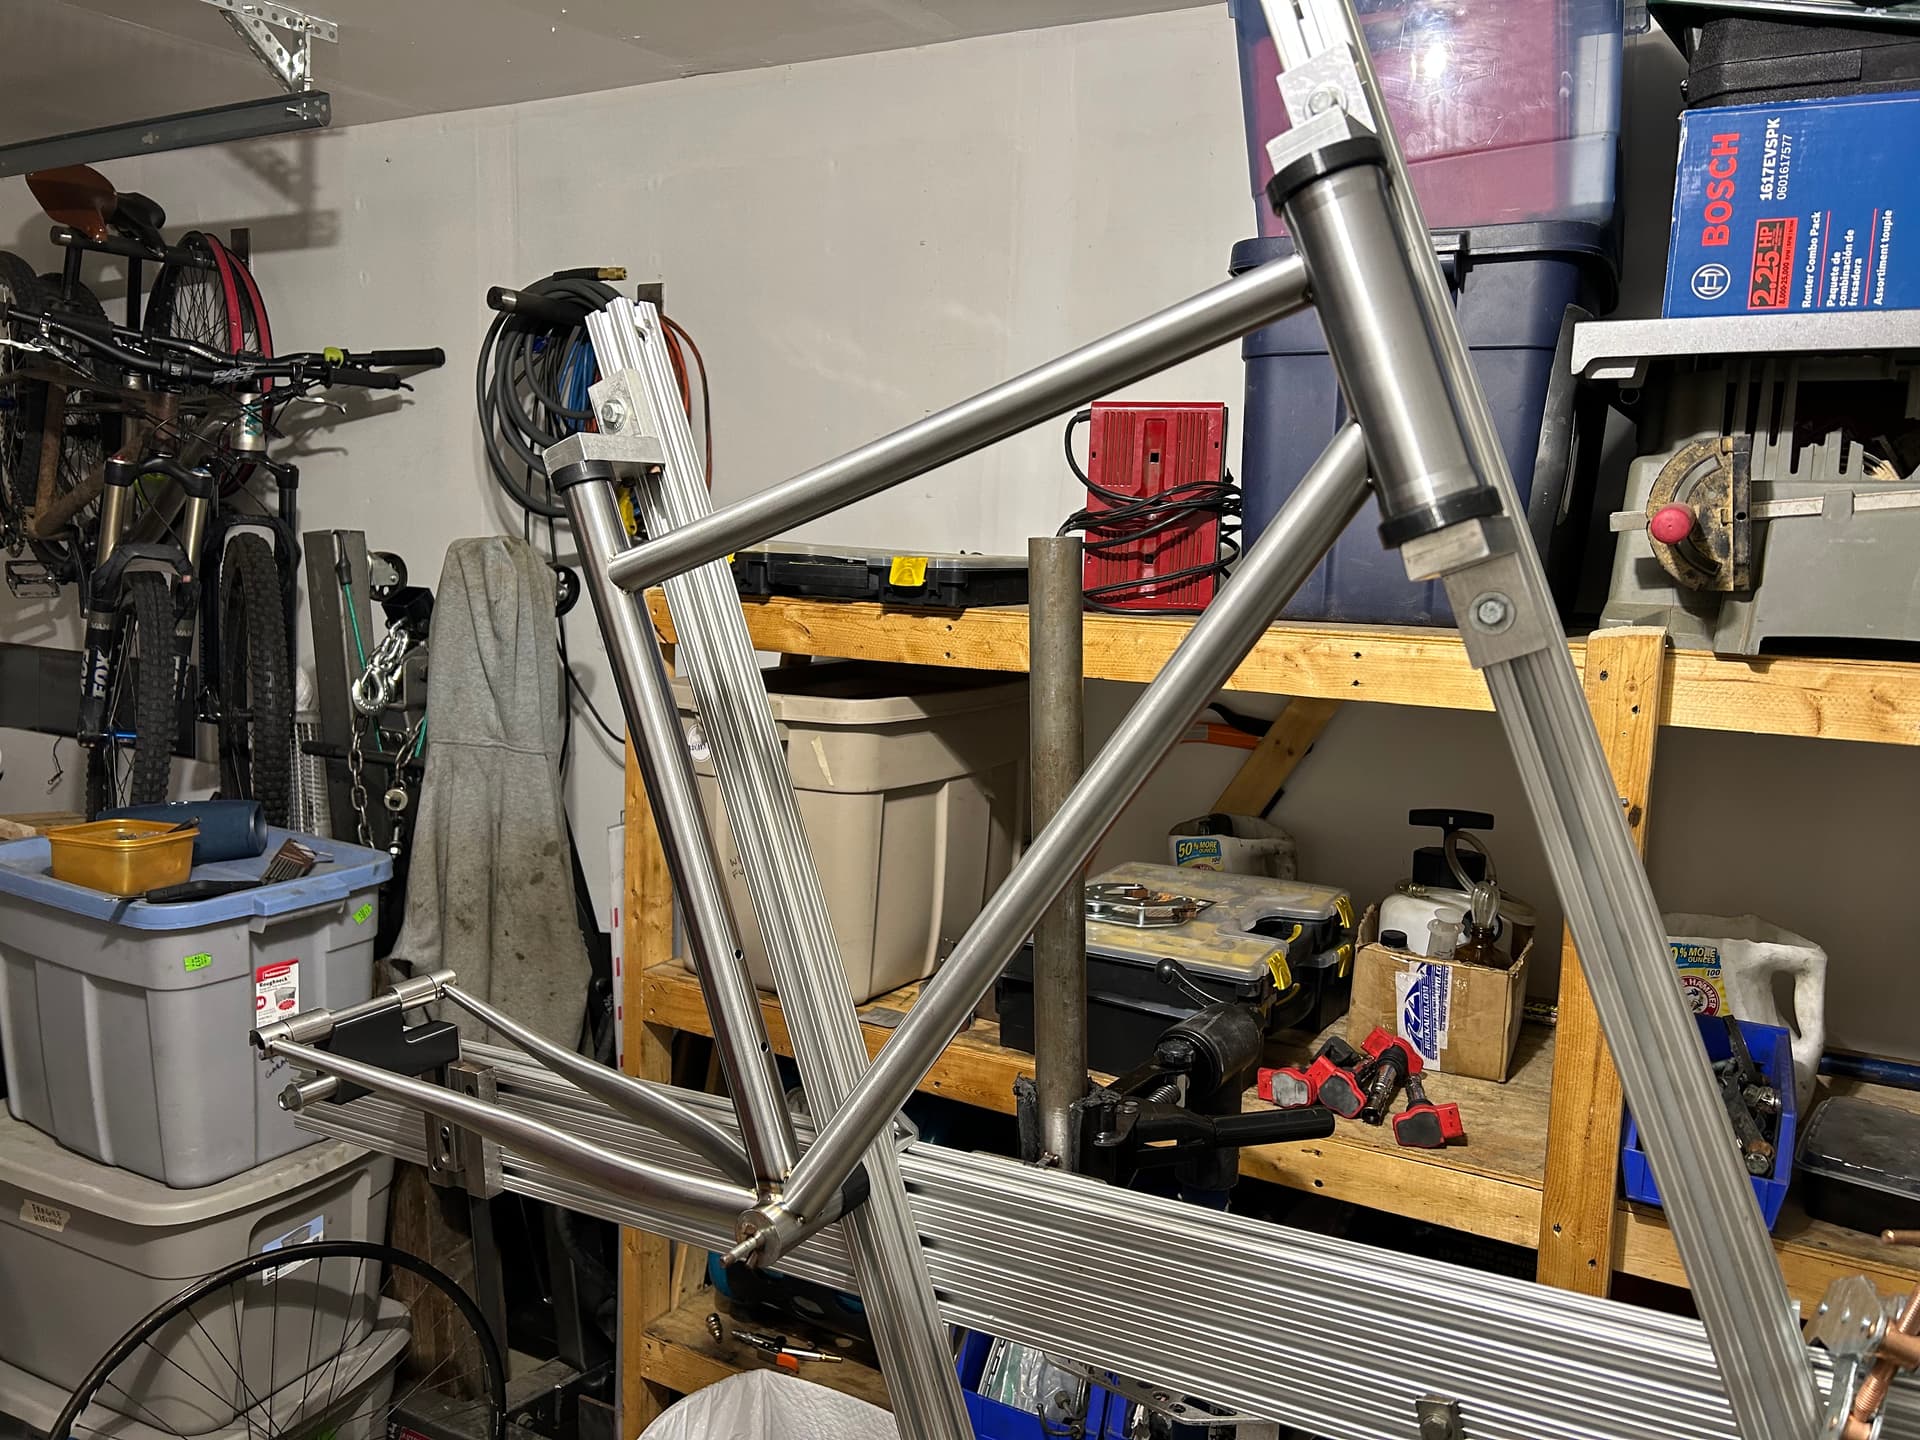
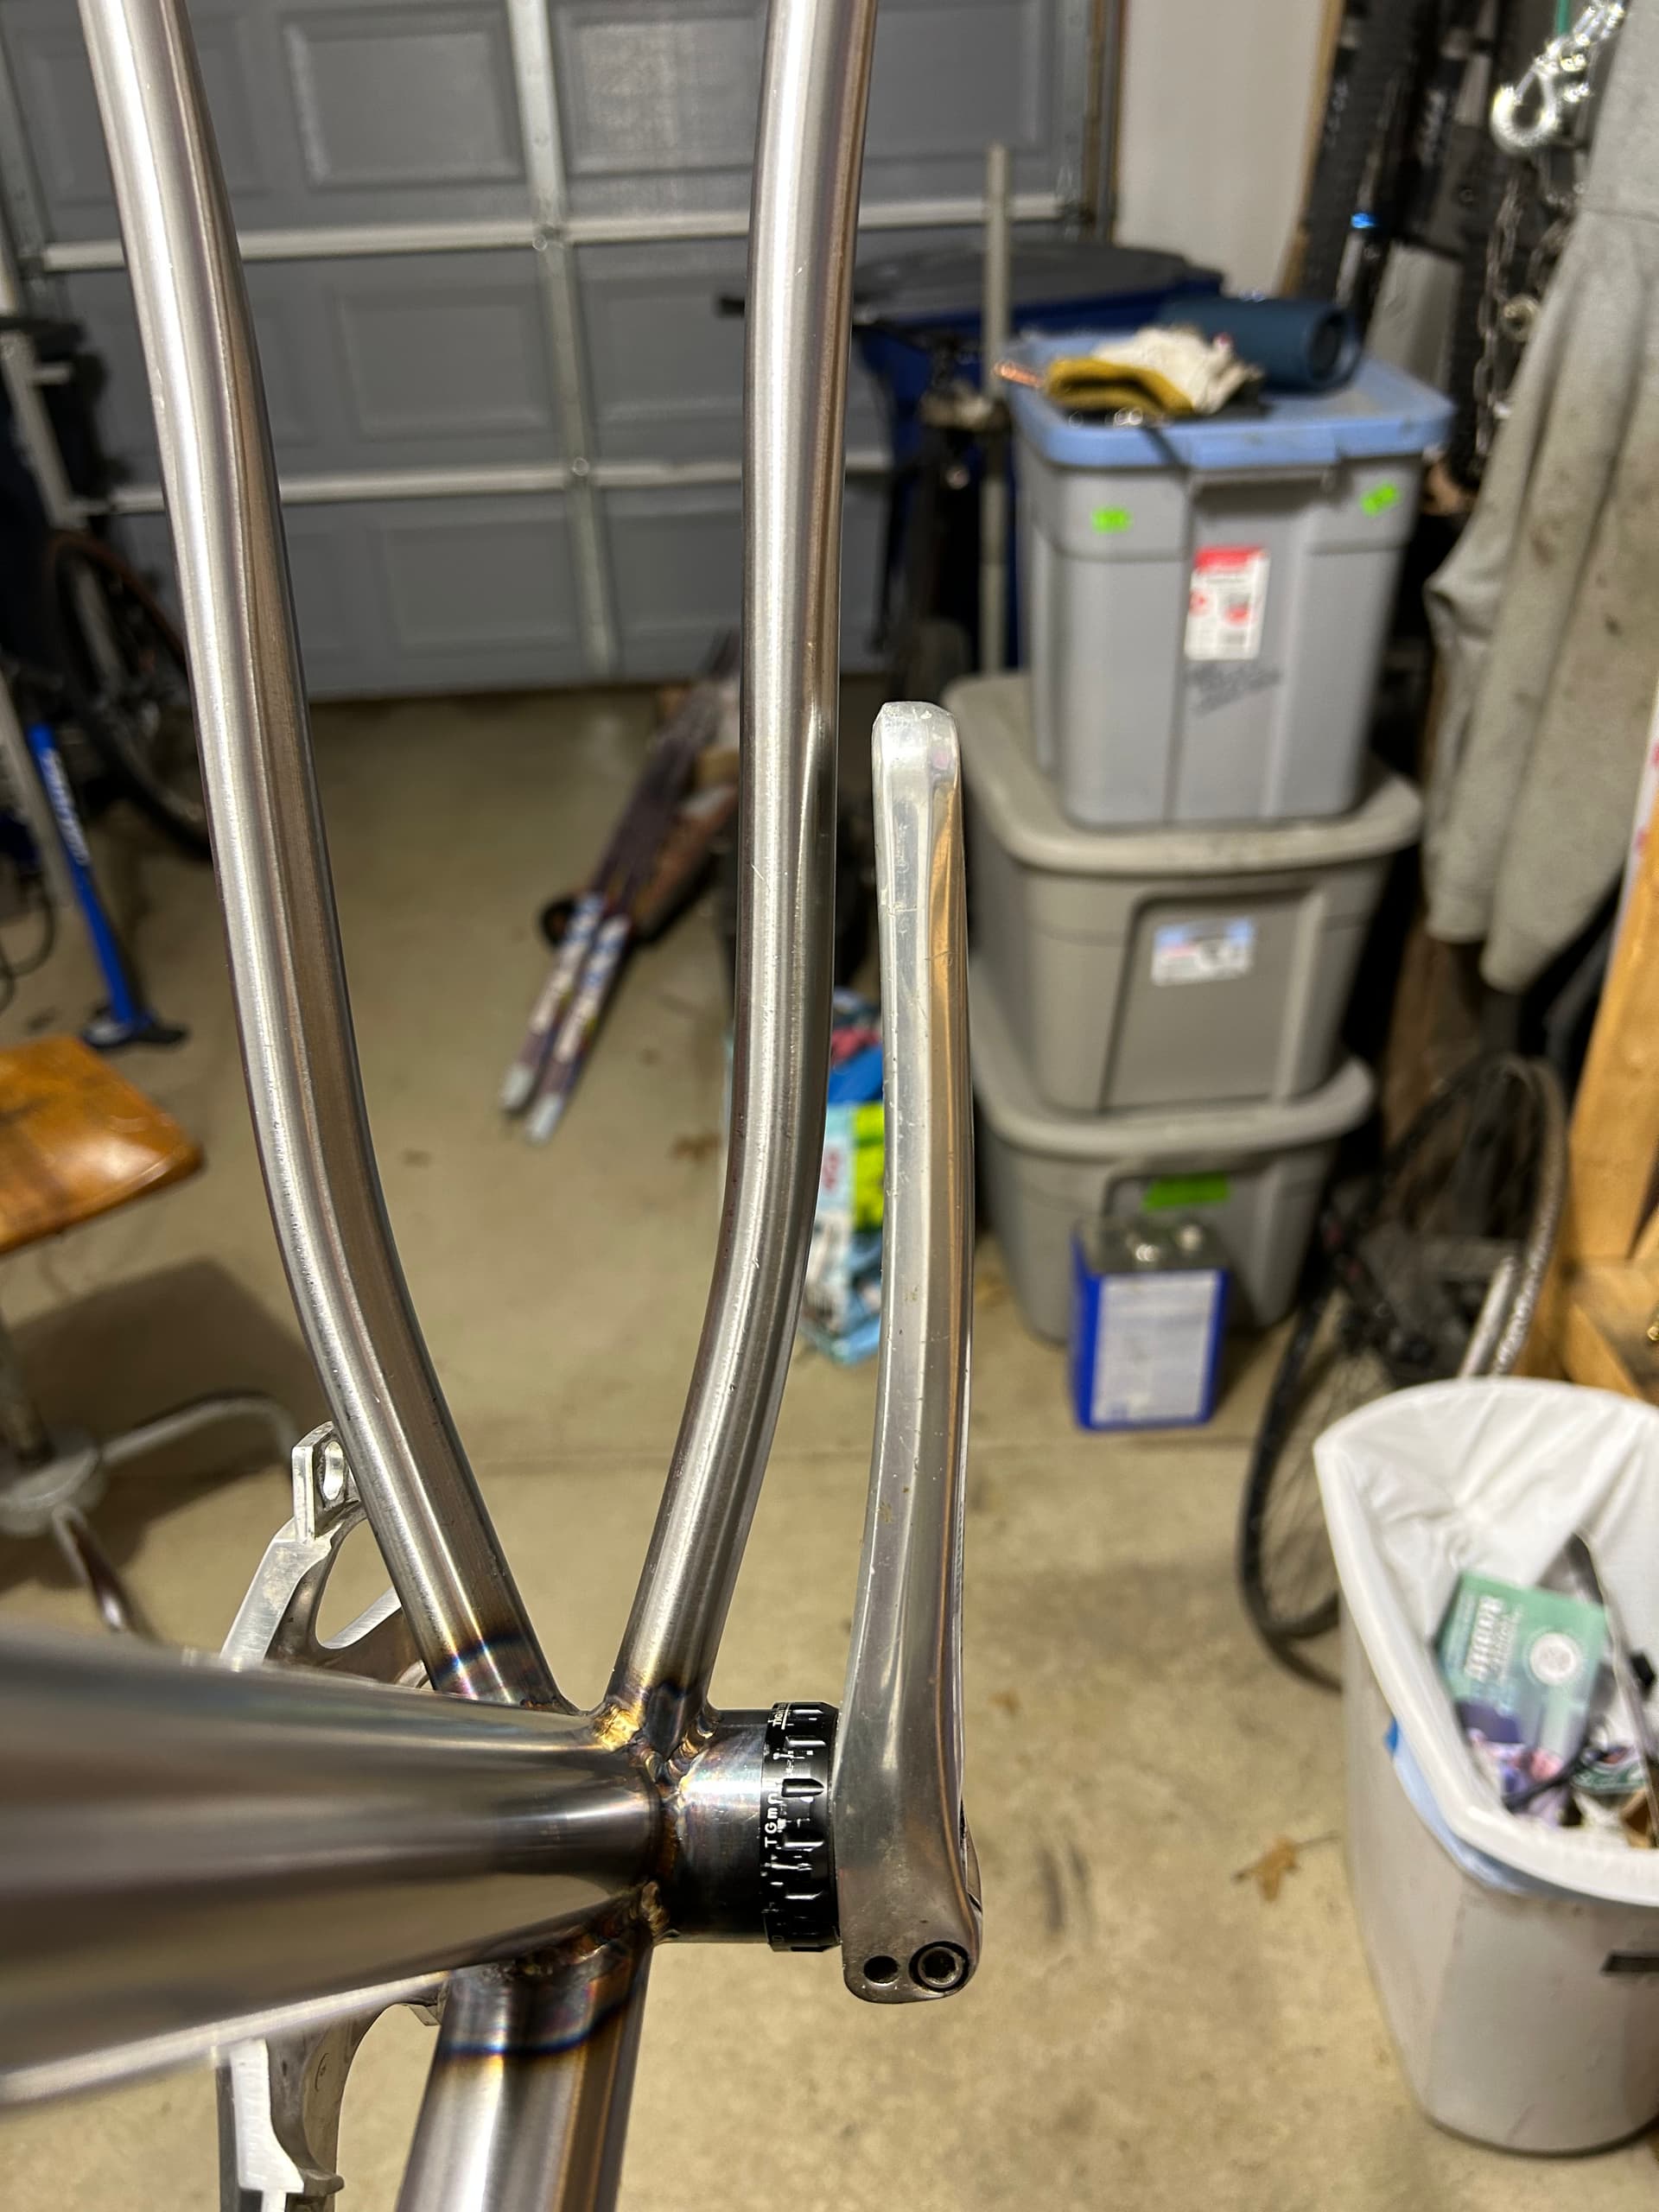
Notched the seat stays tonight and finished tacking the rear end together. Per usual, excuse the garage mess.
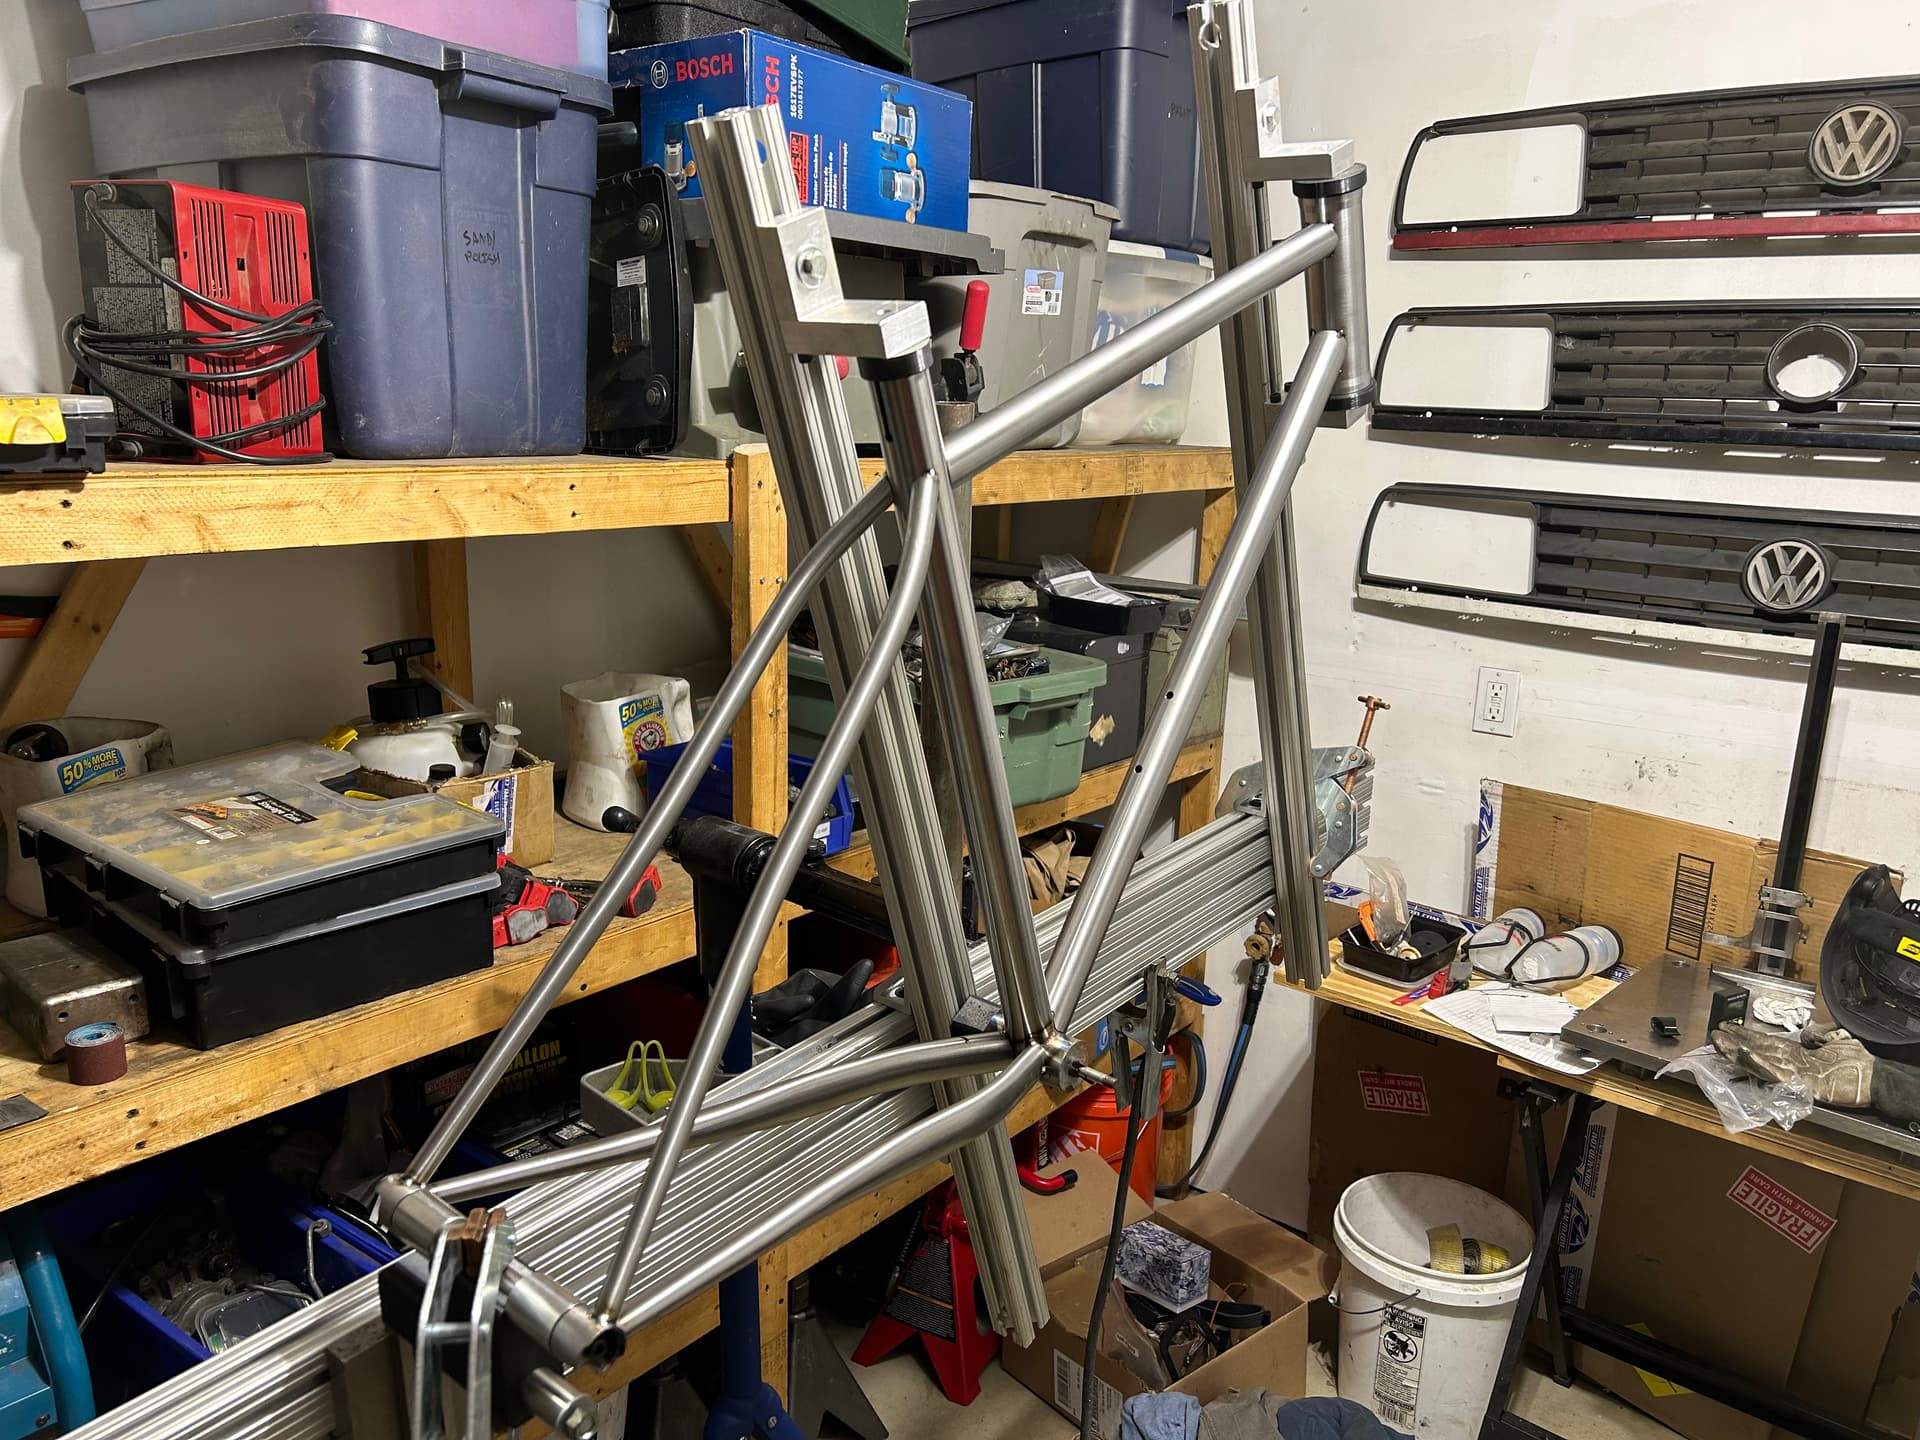
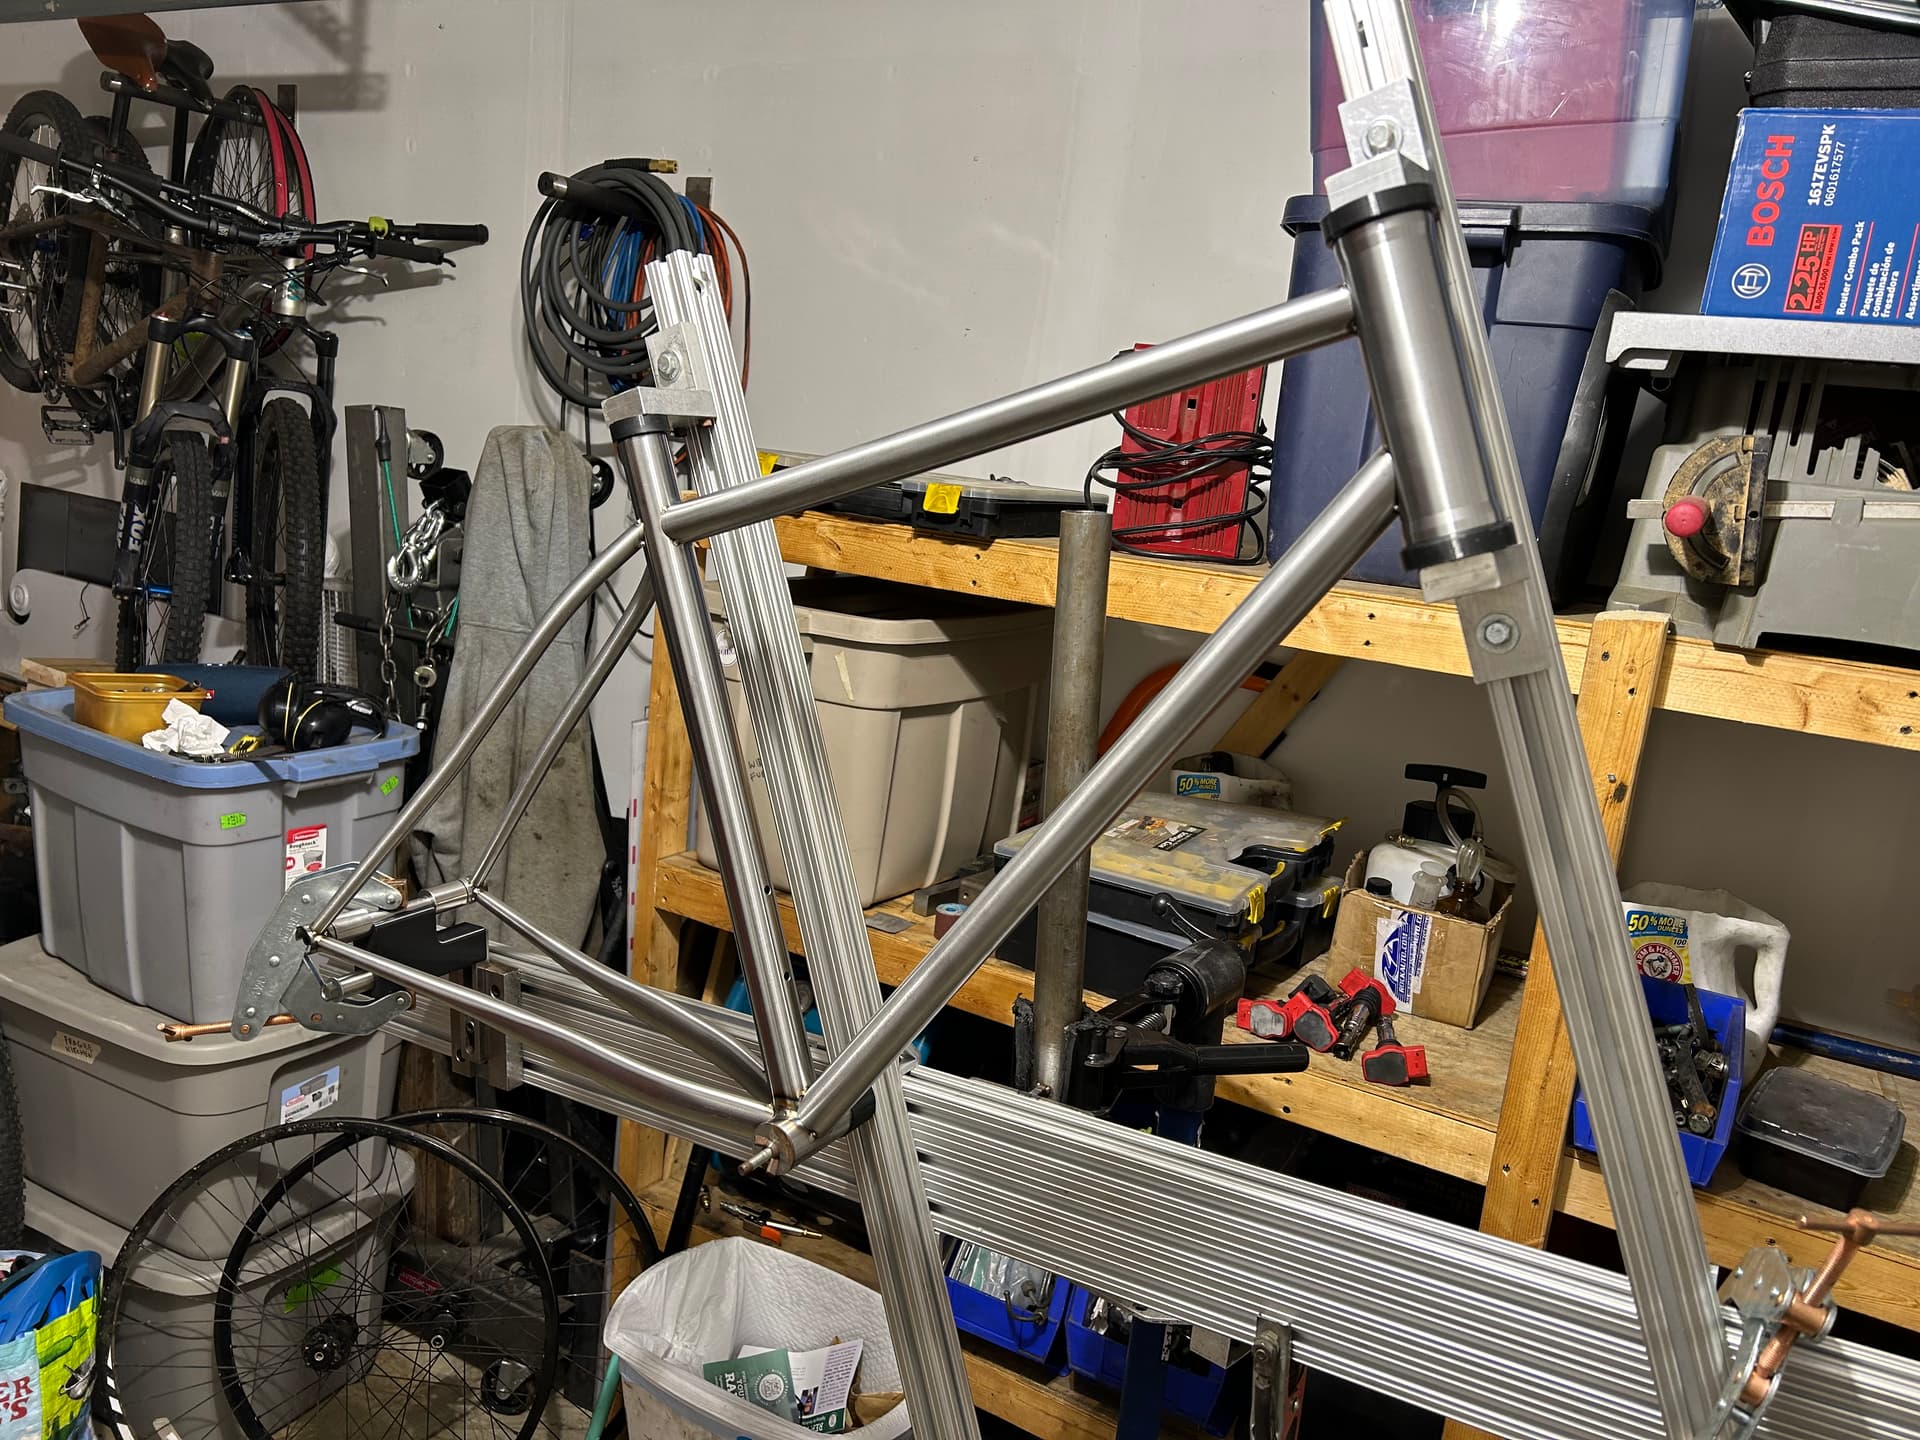
Should be able to weld it this weekend.
2 Likes
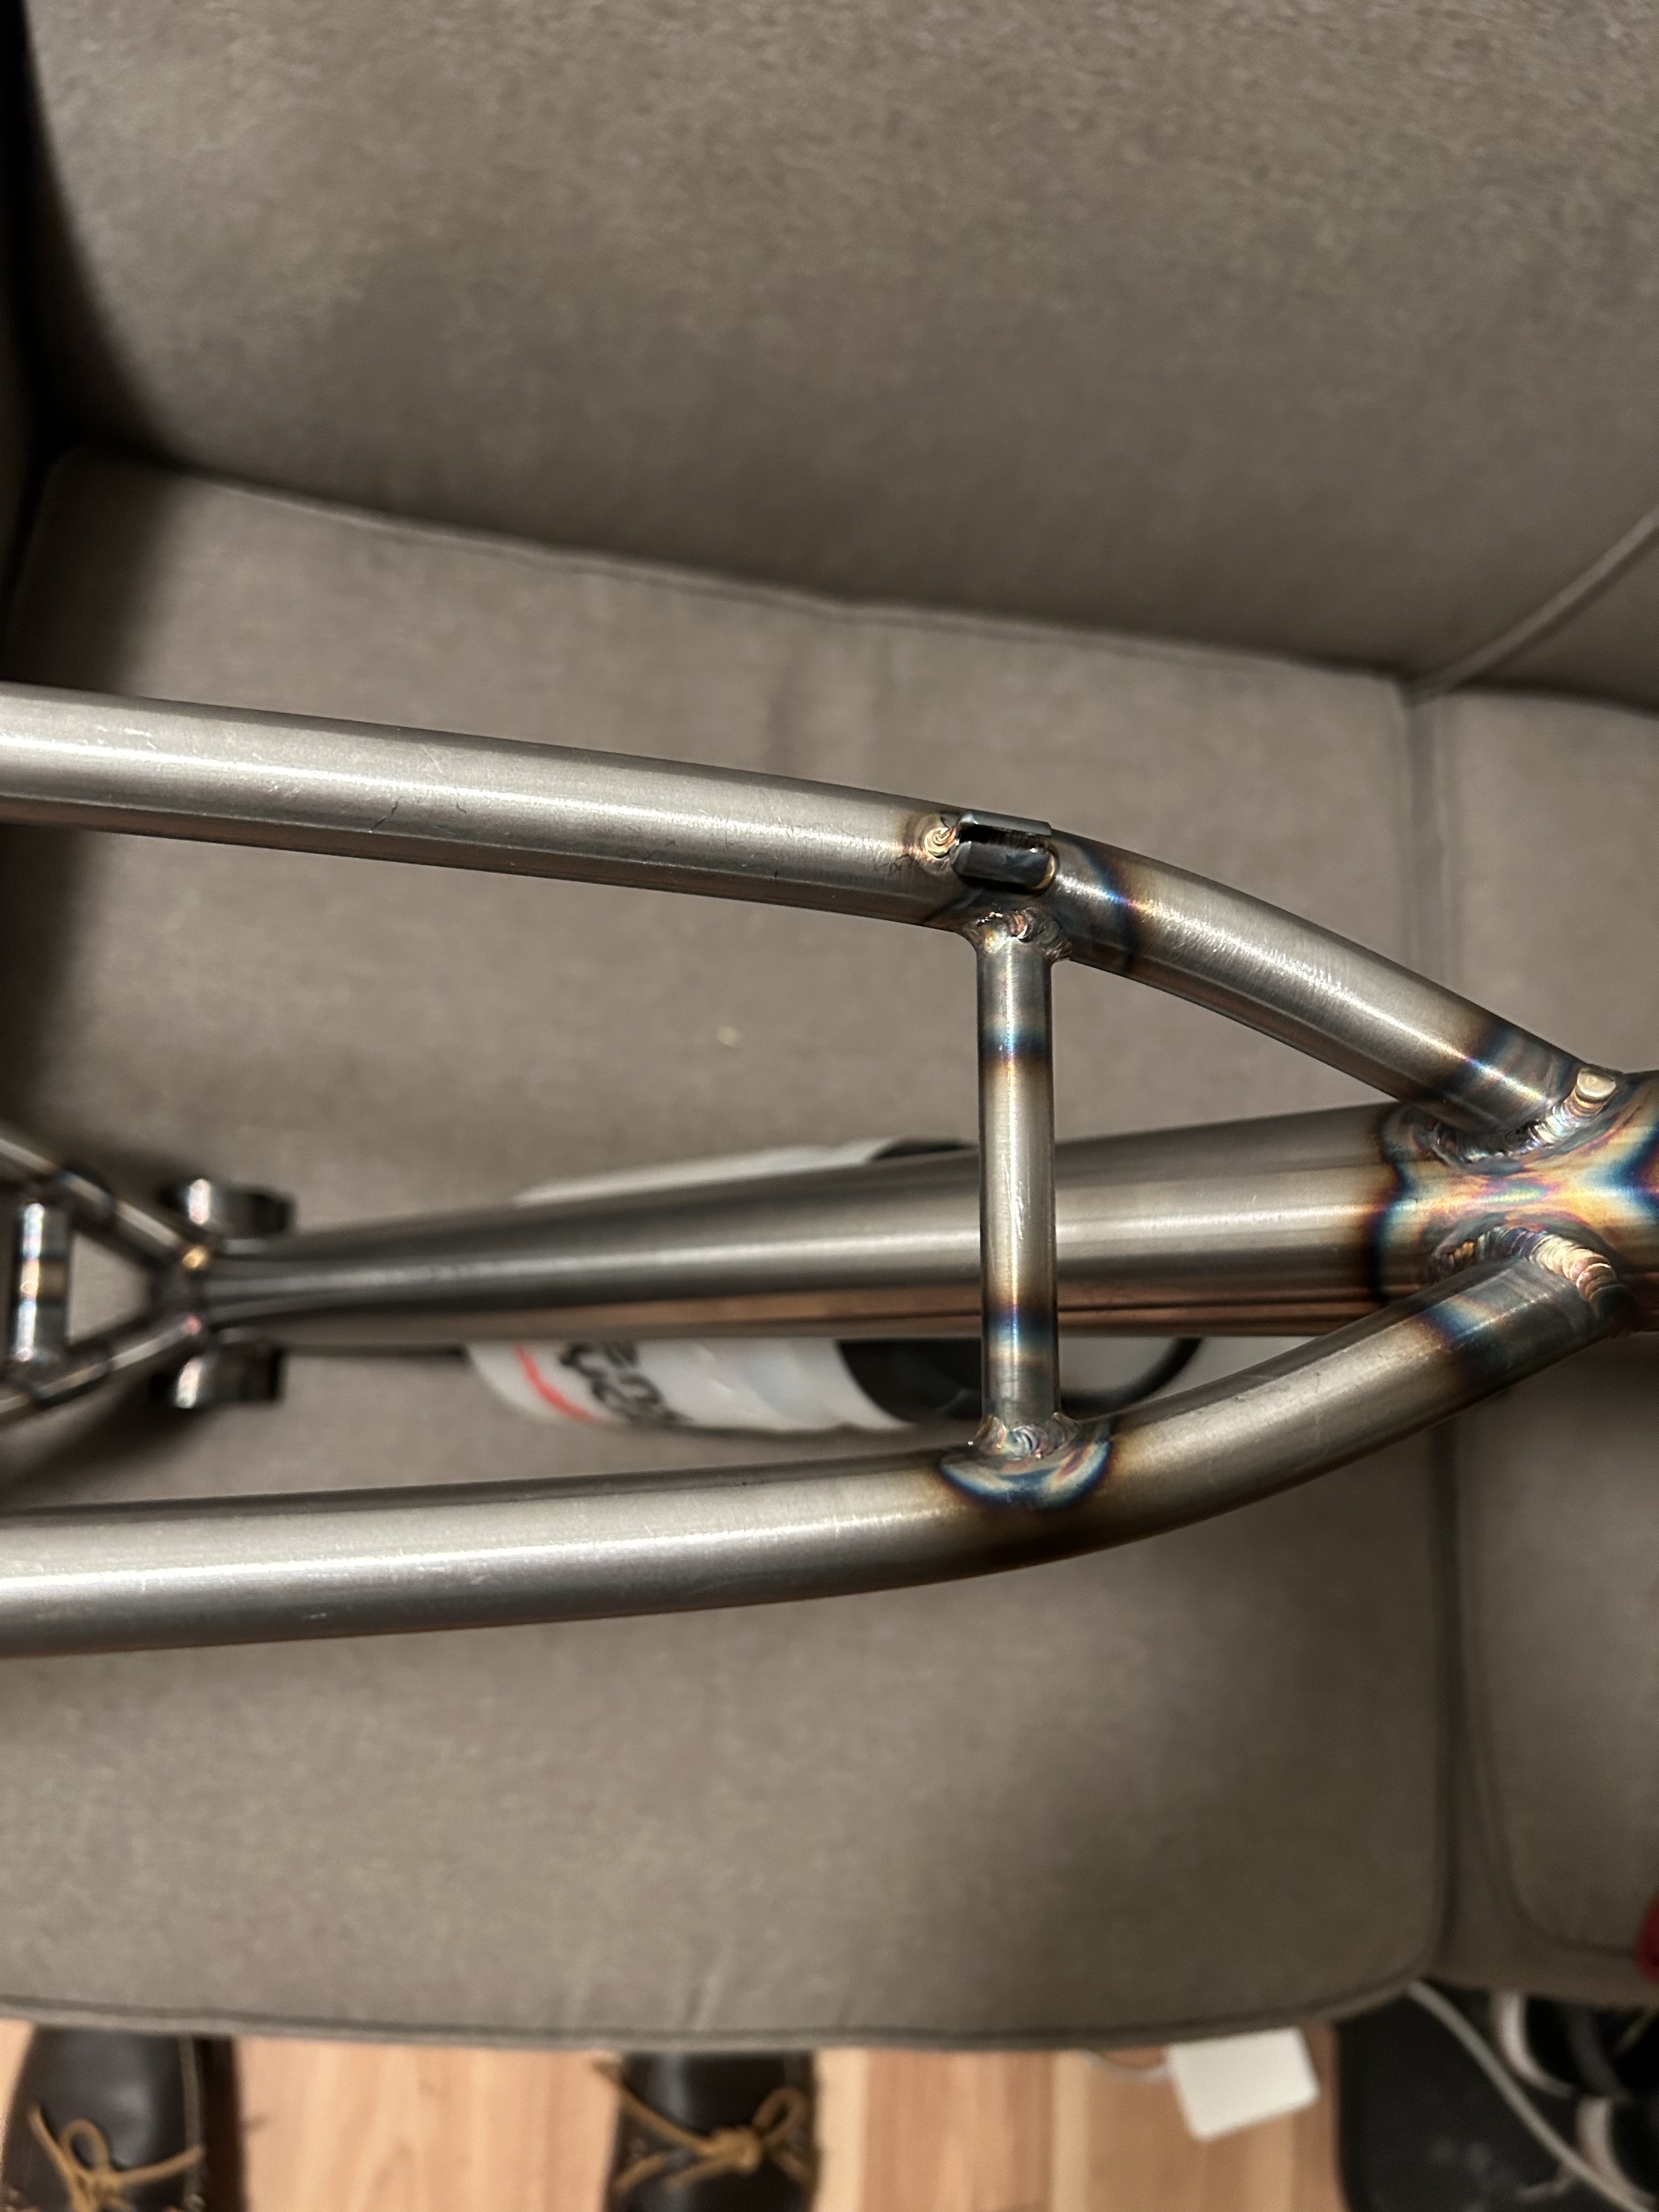
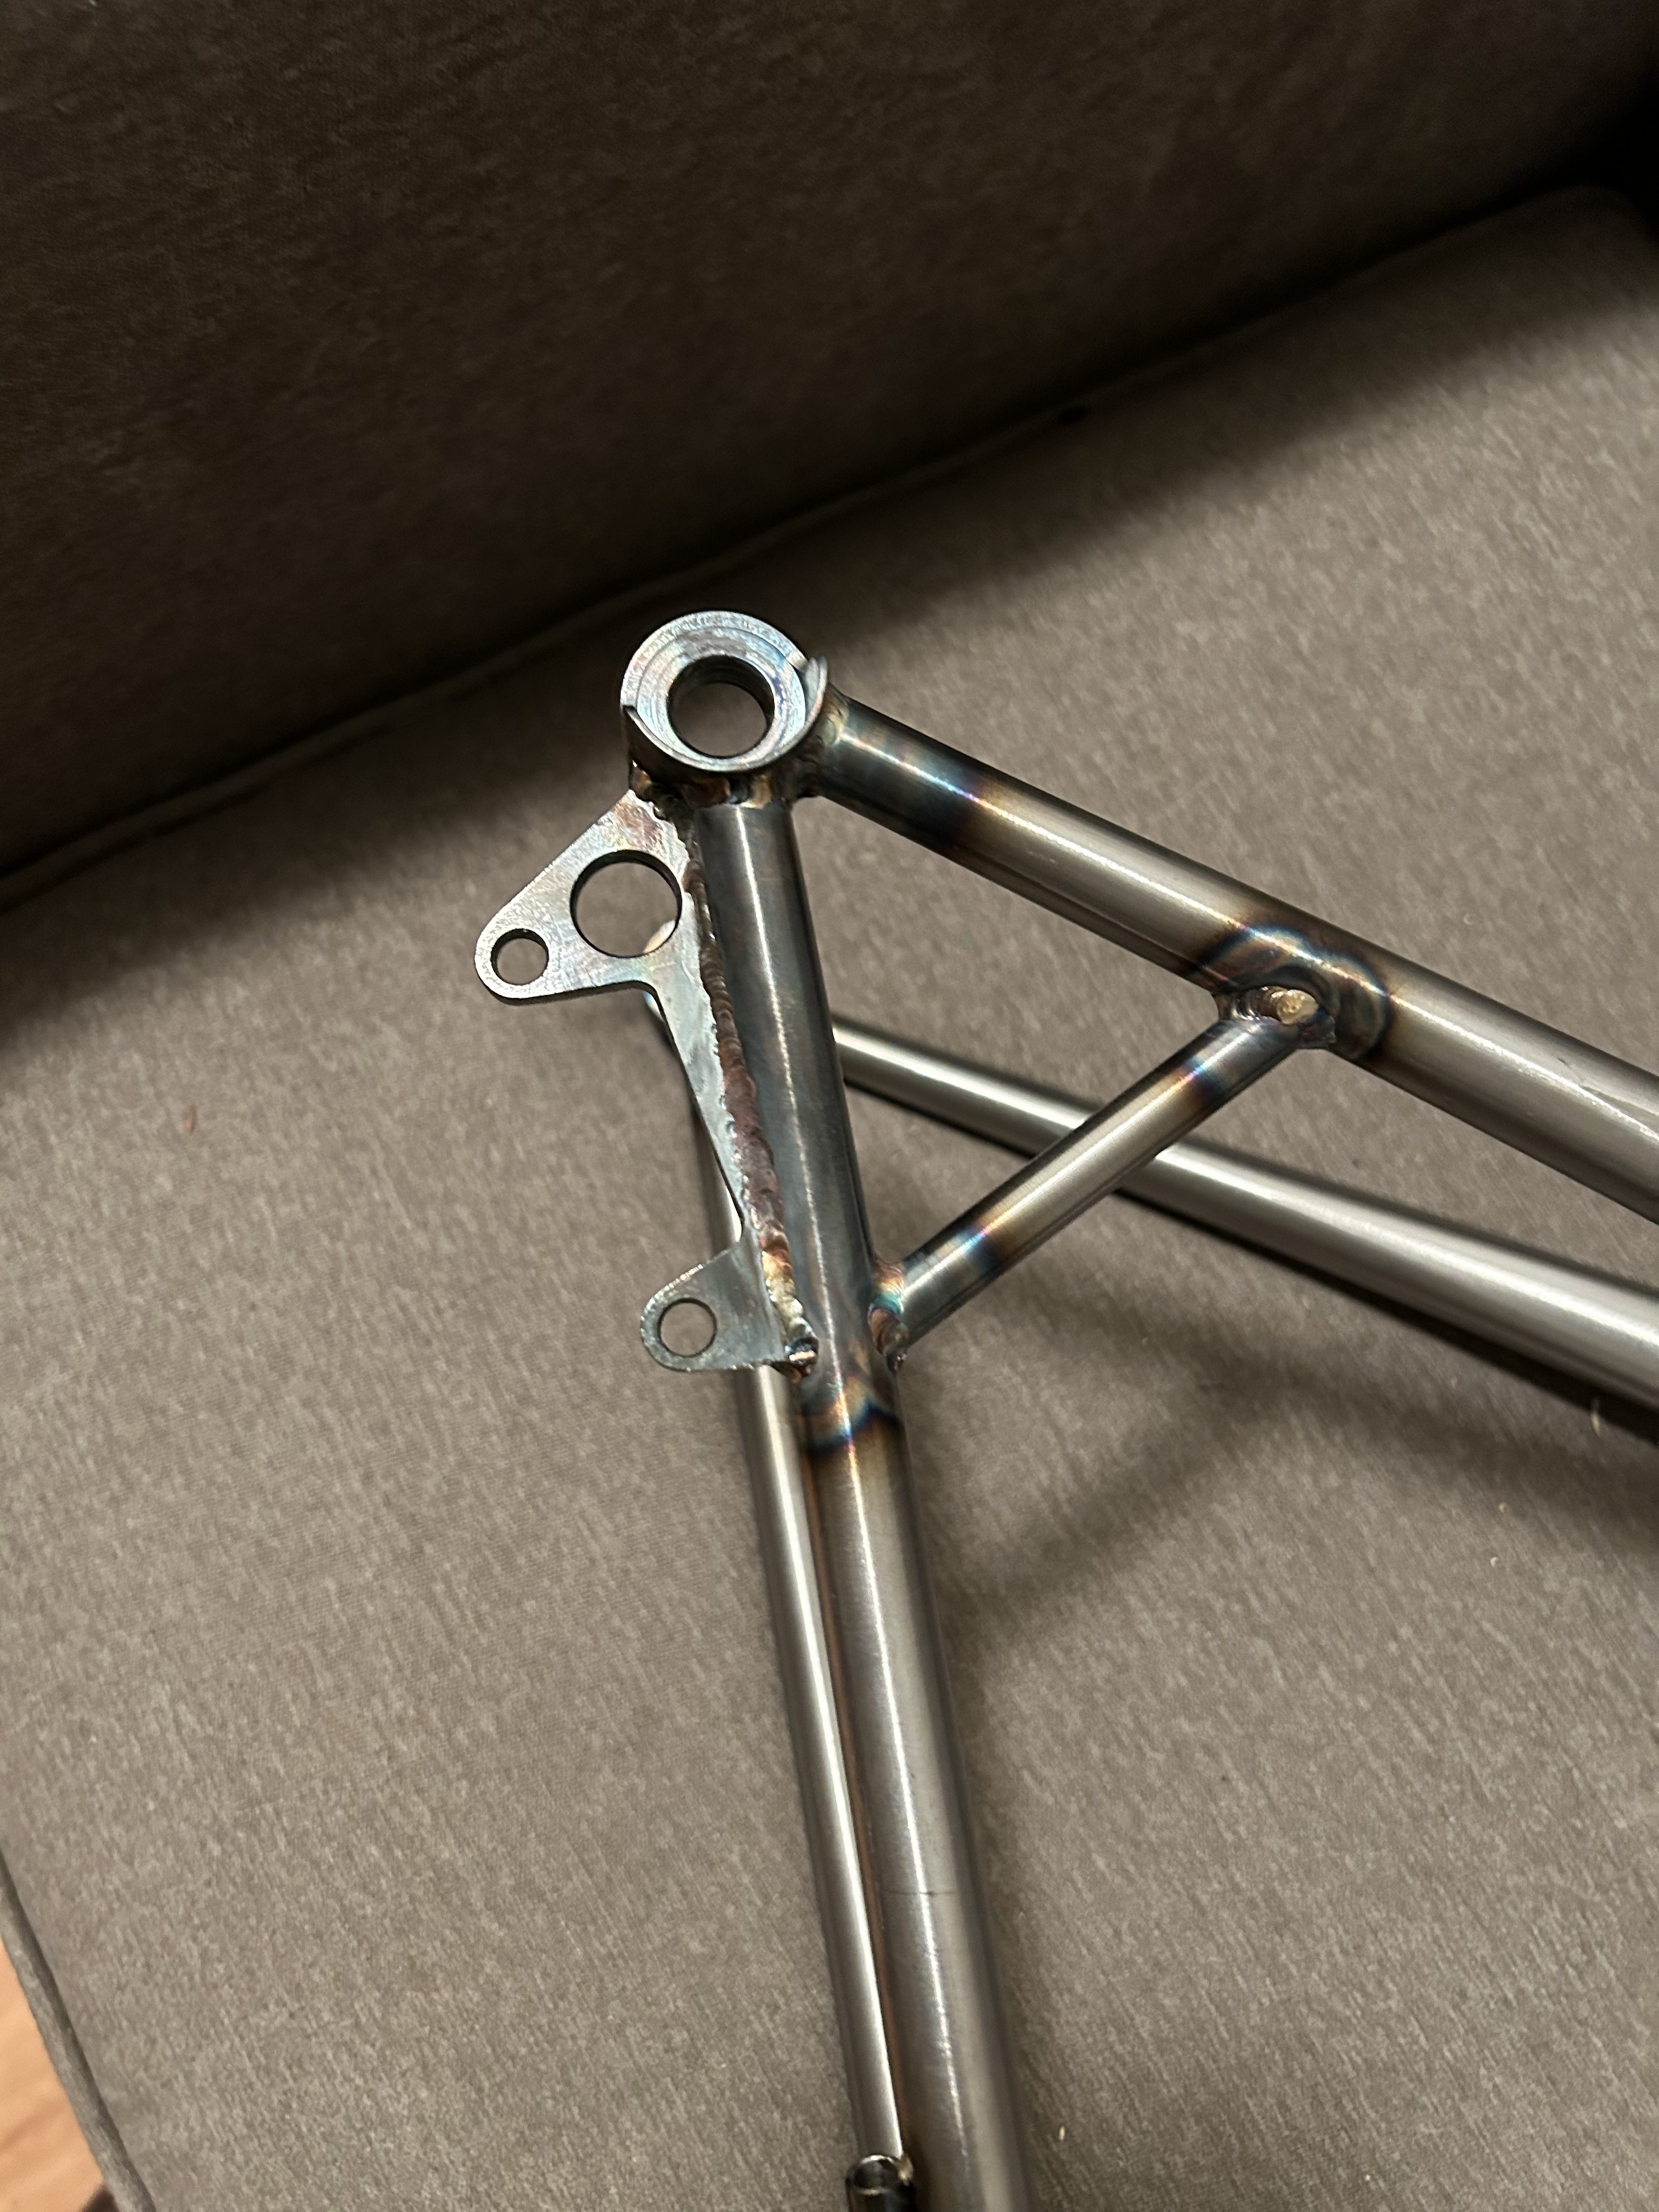
Pic dump from welding
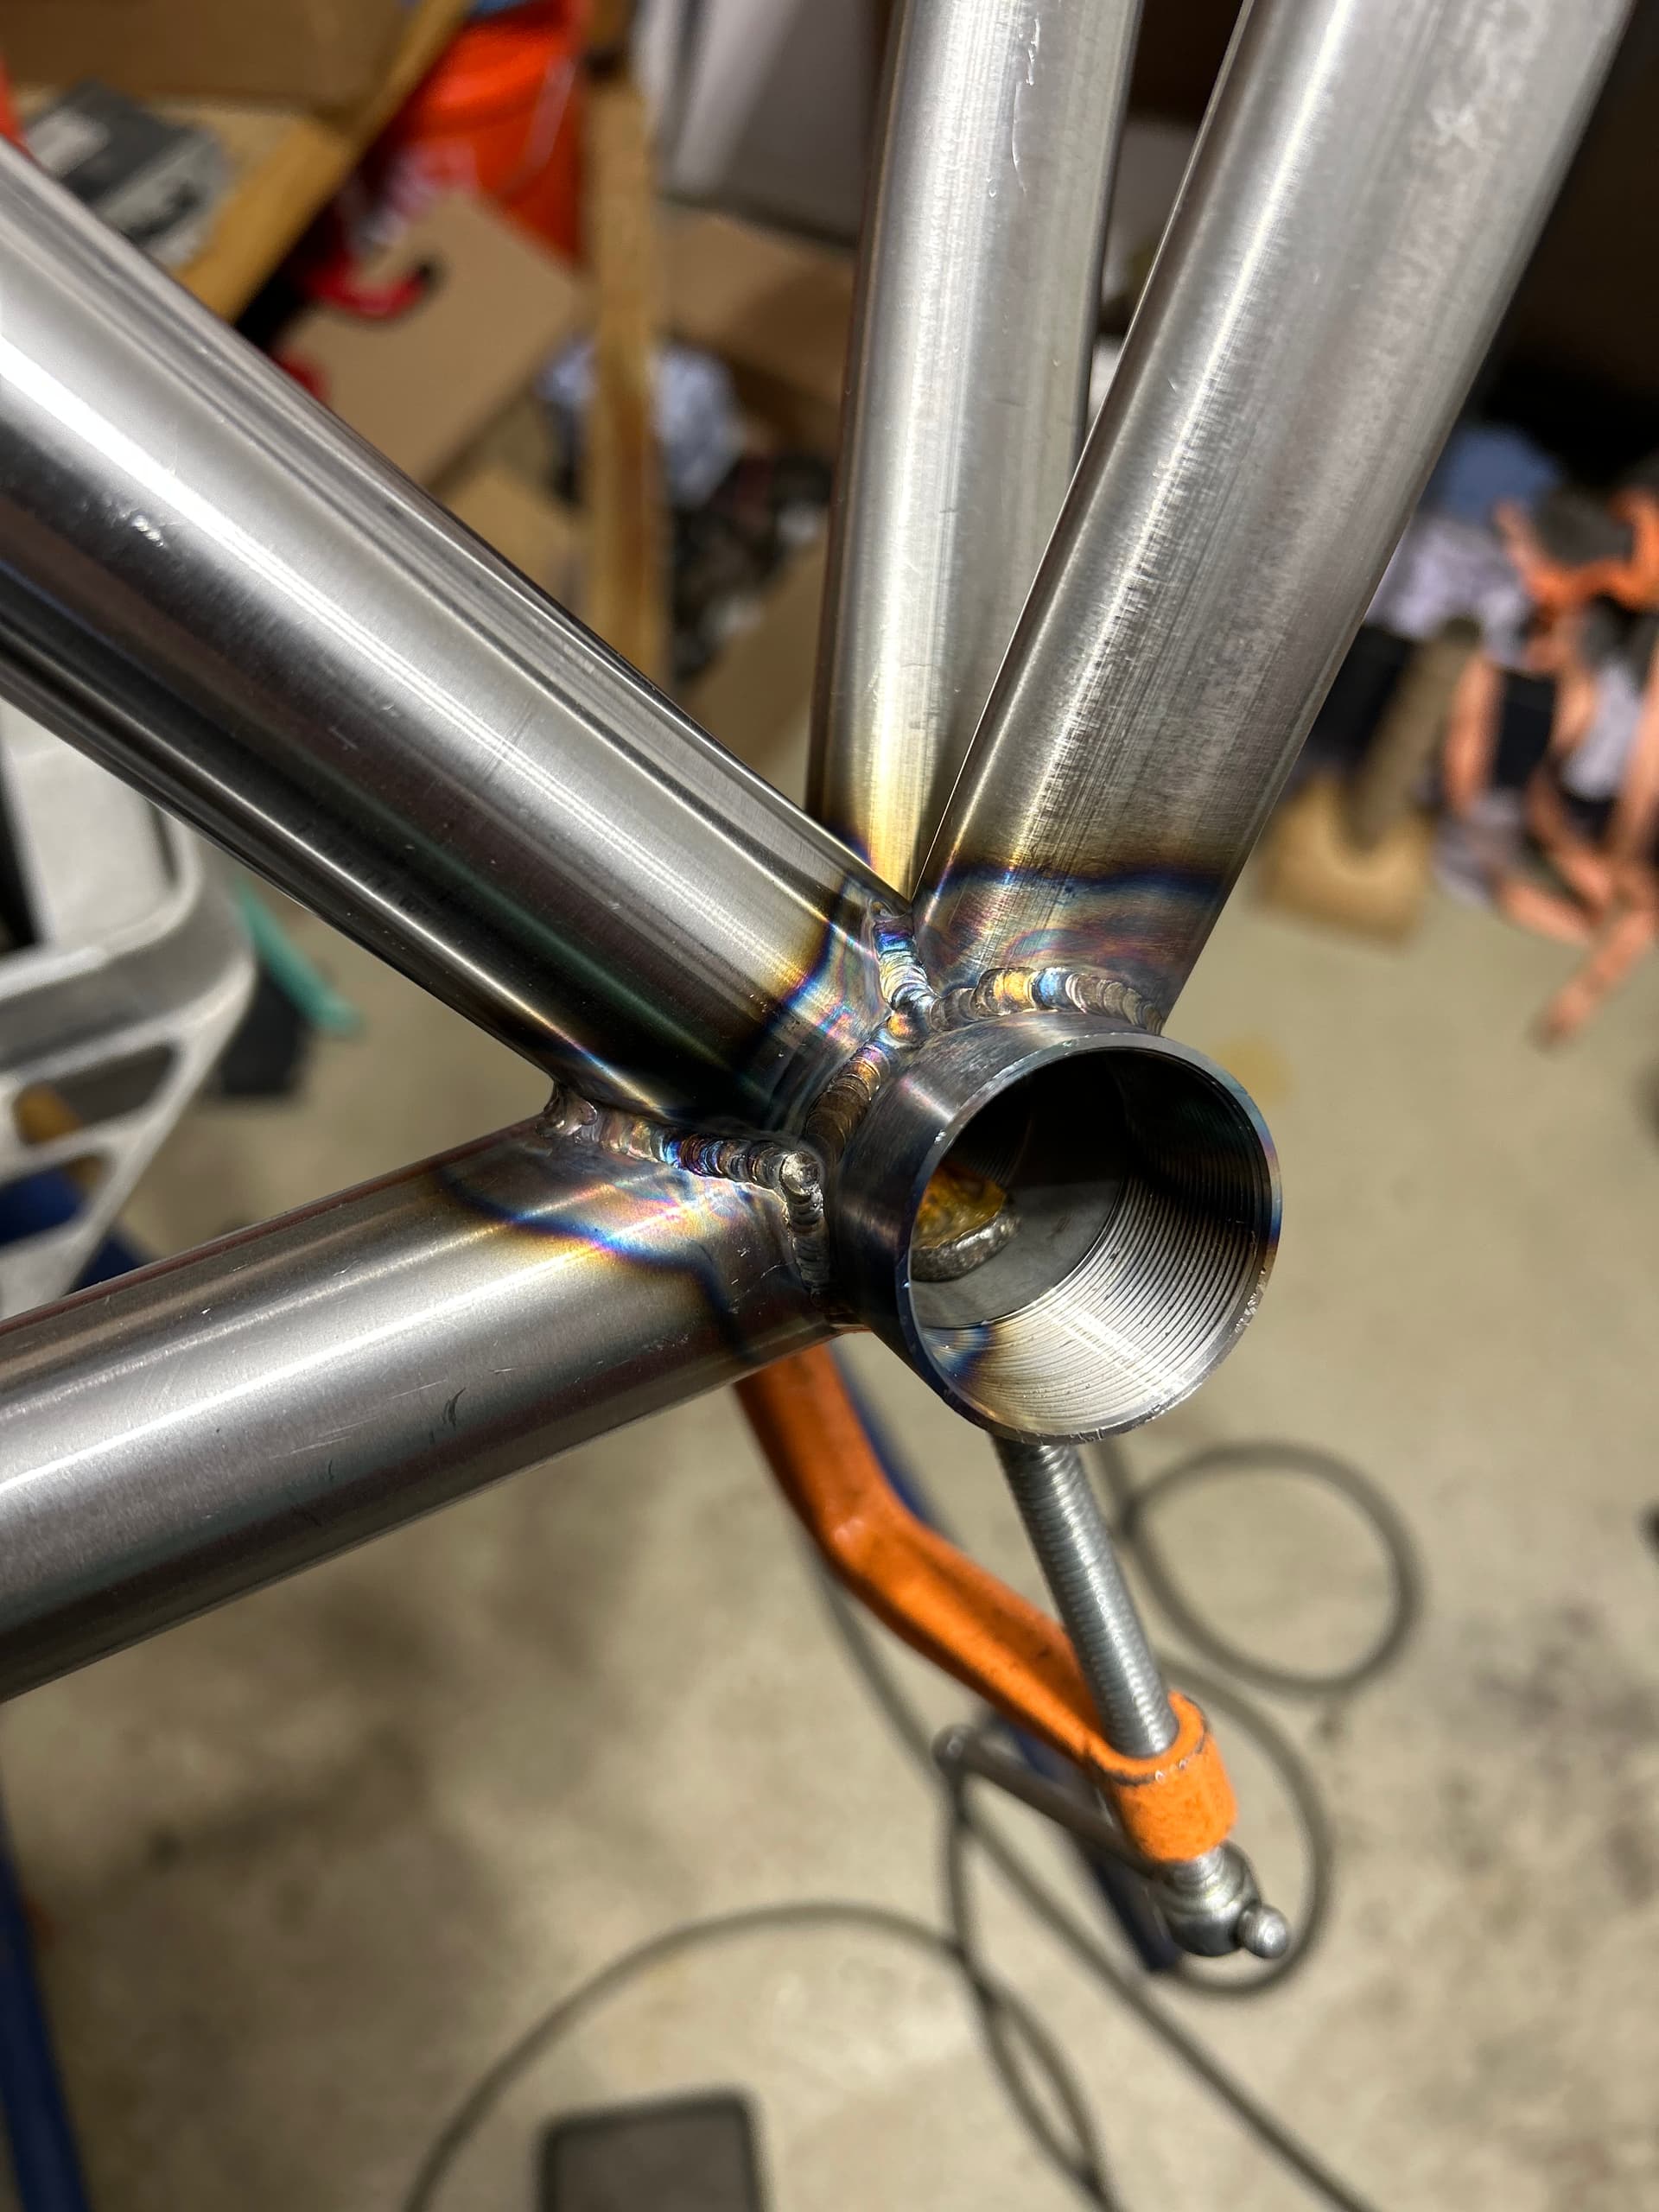
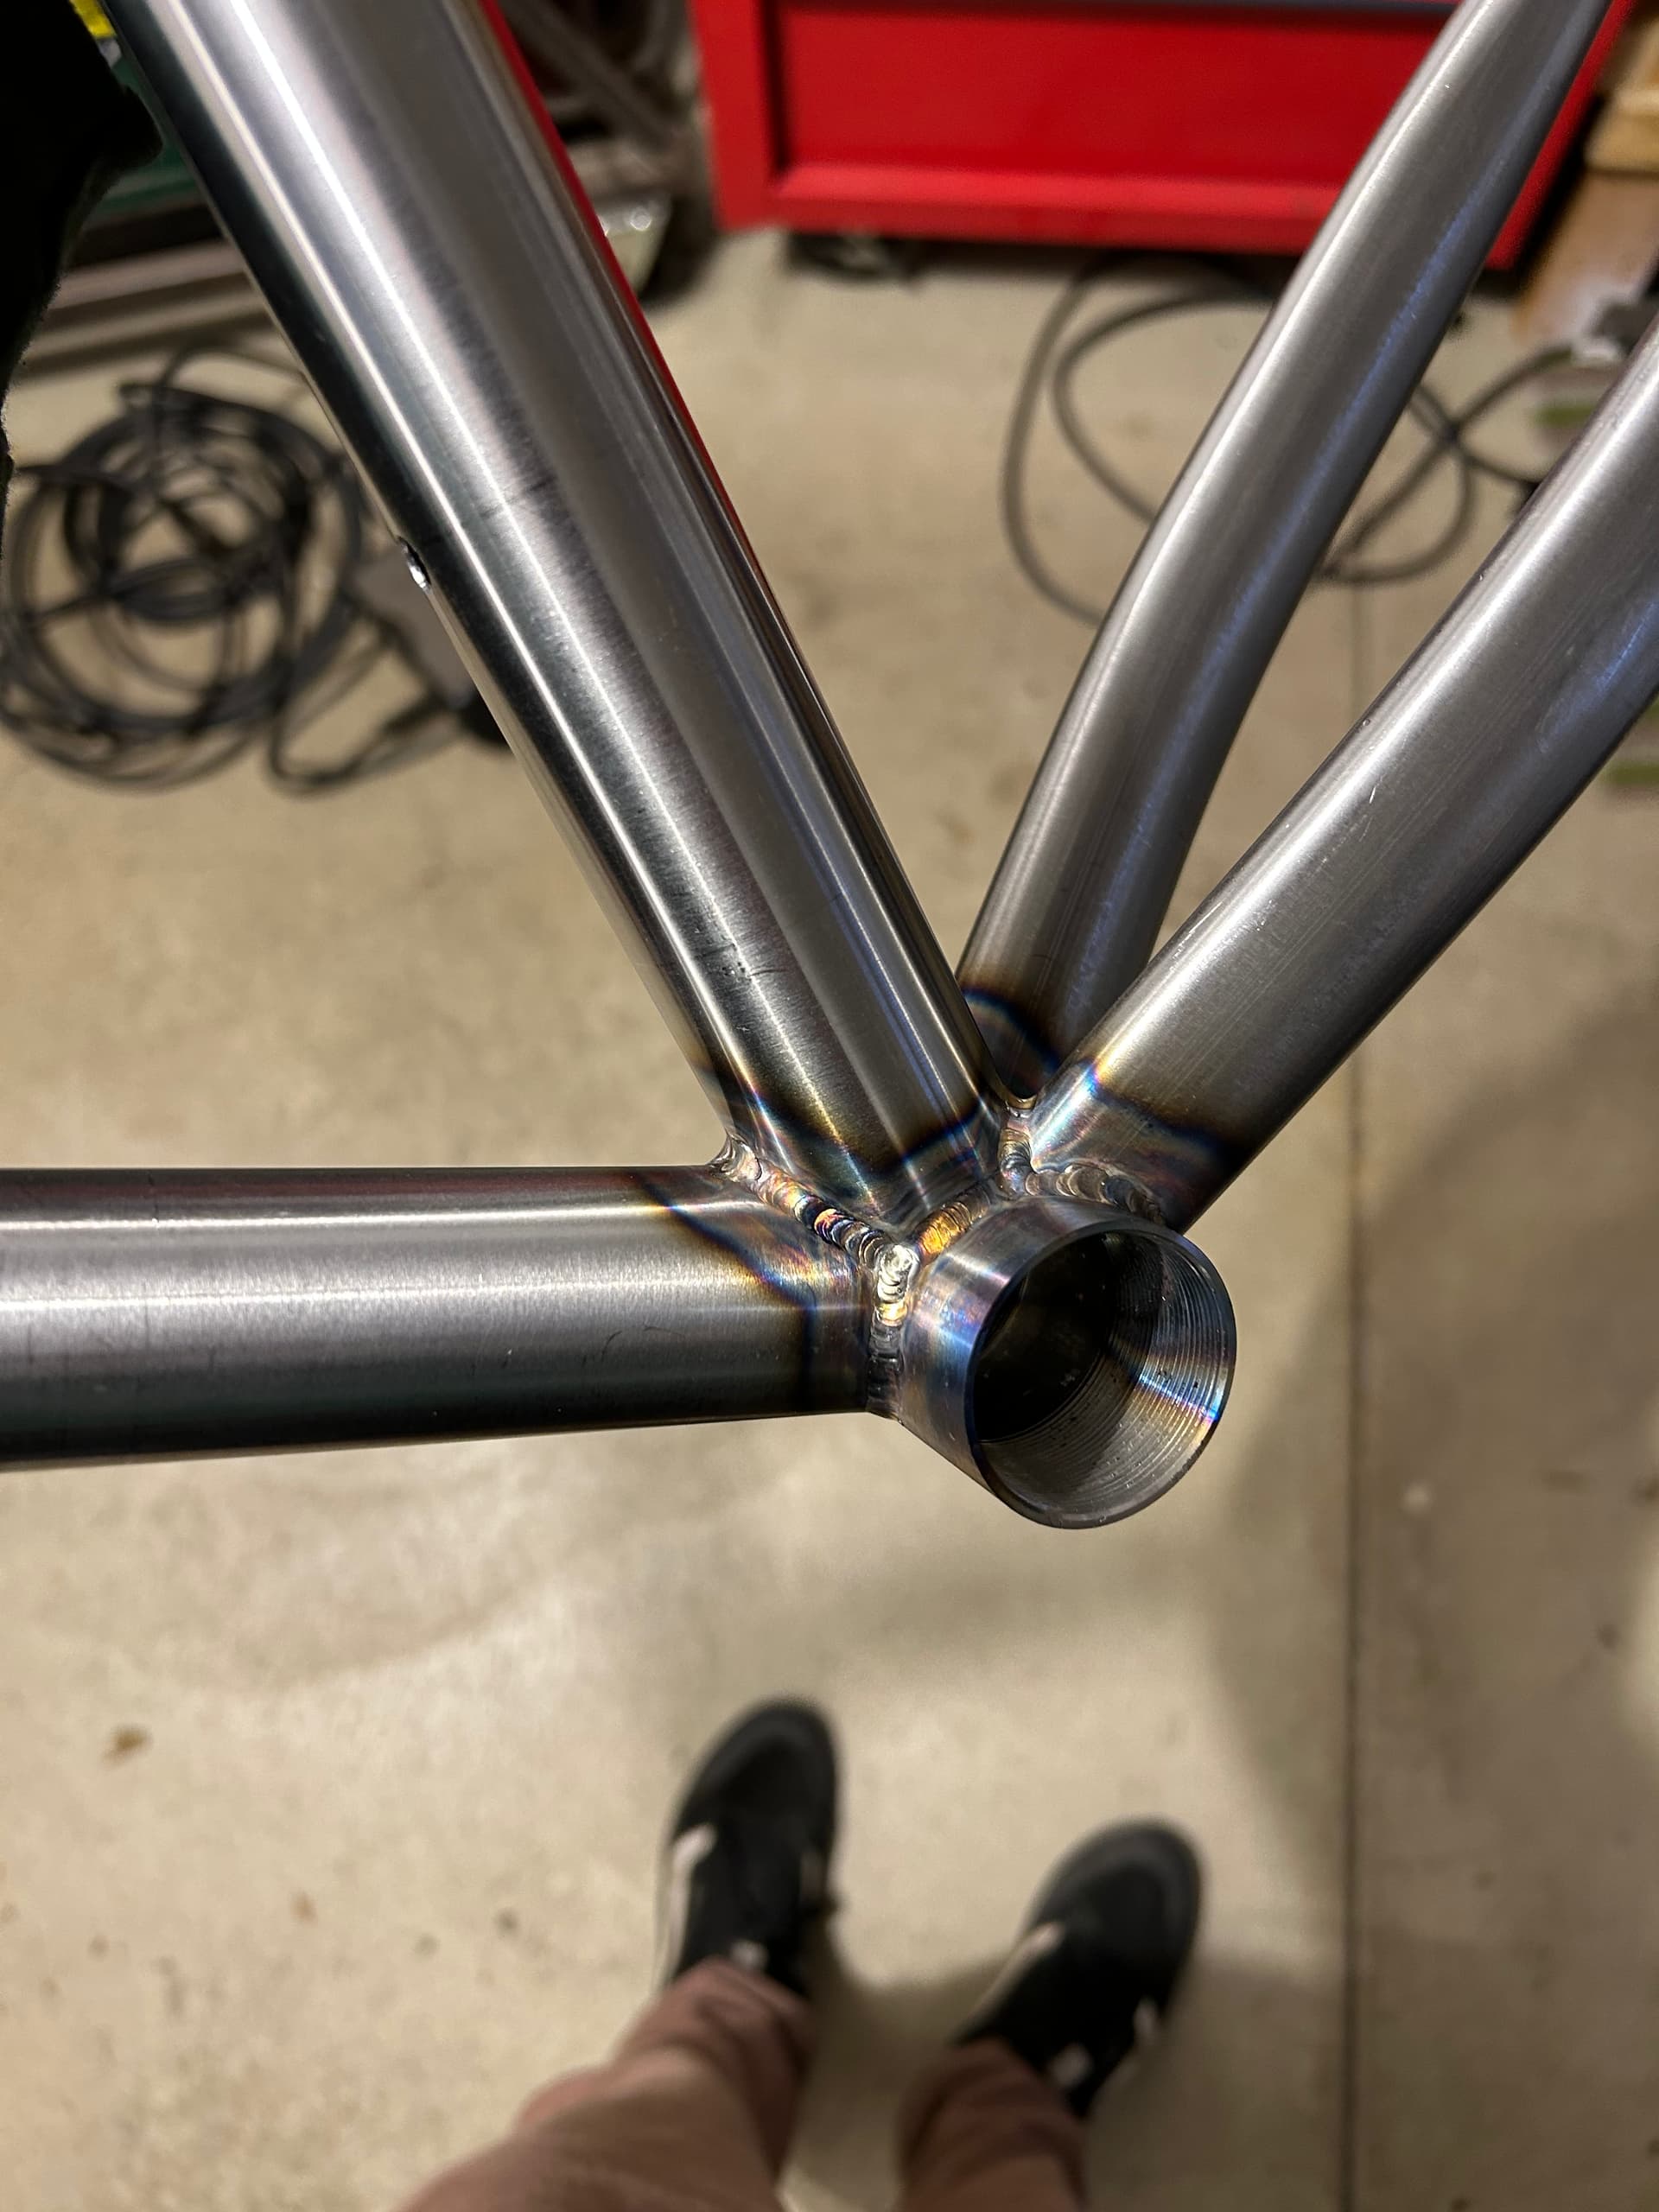
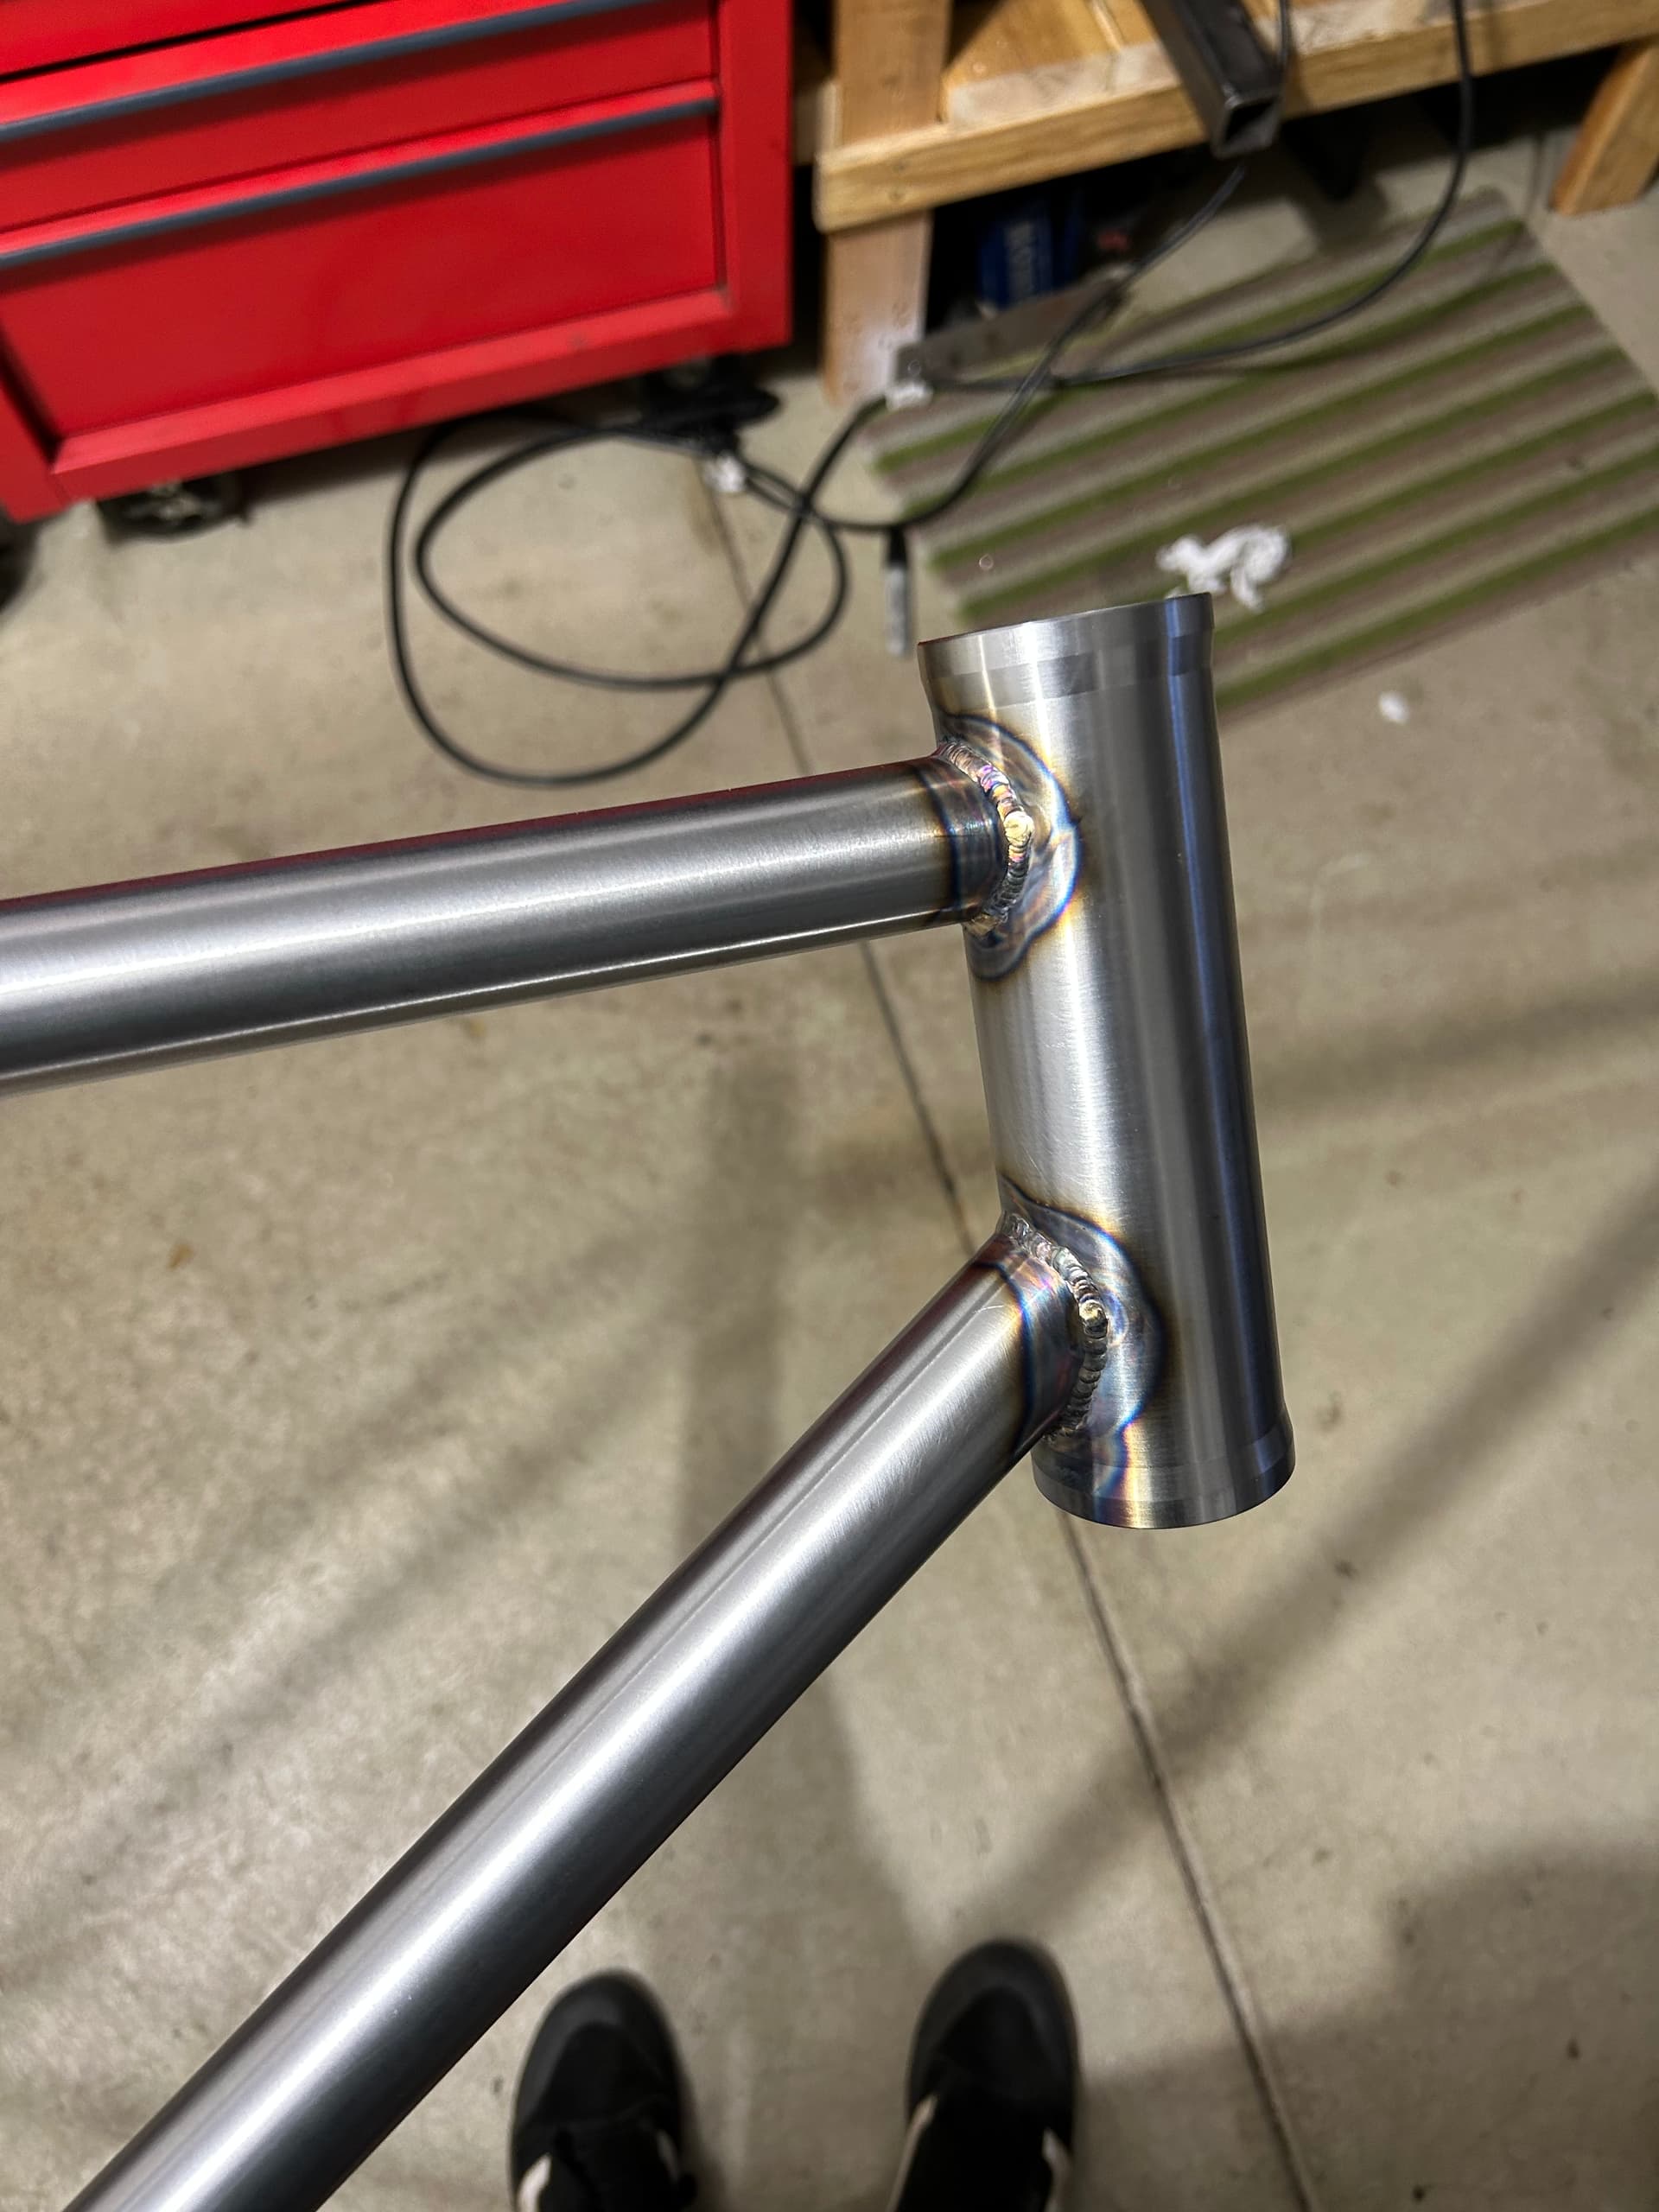
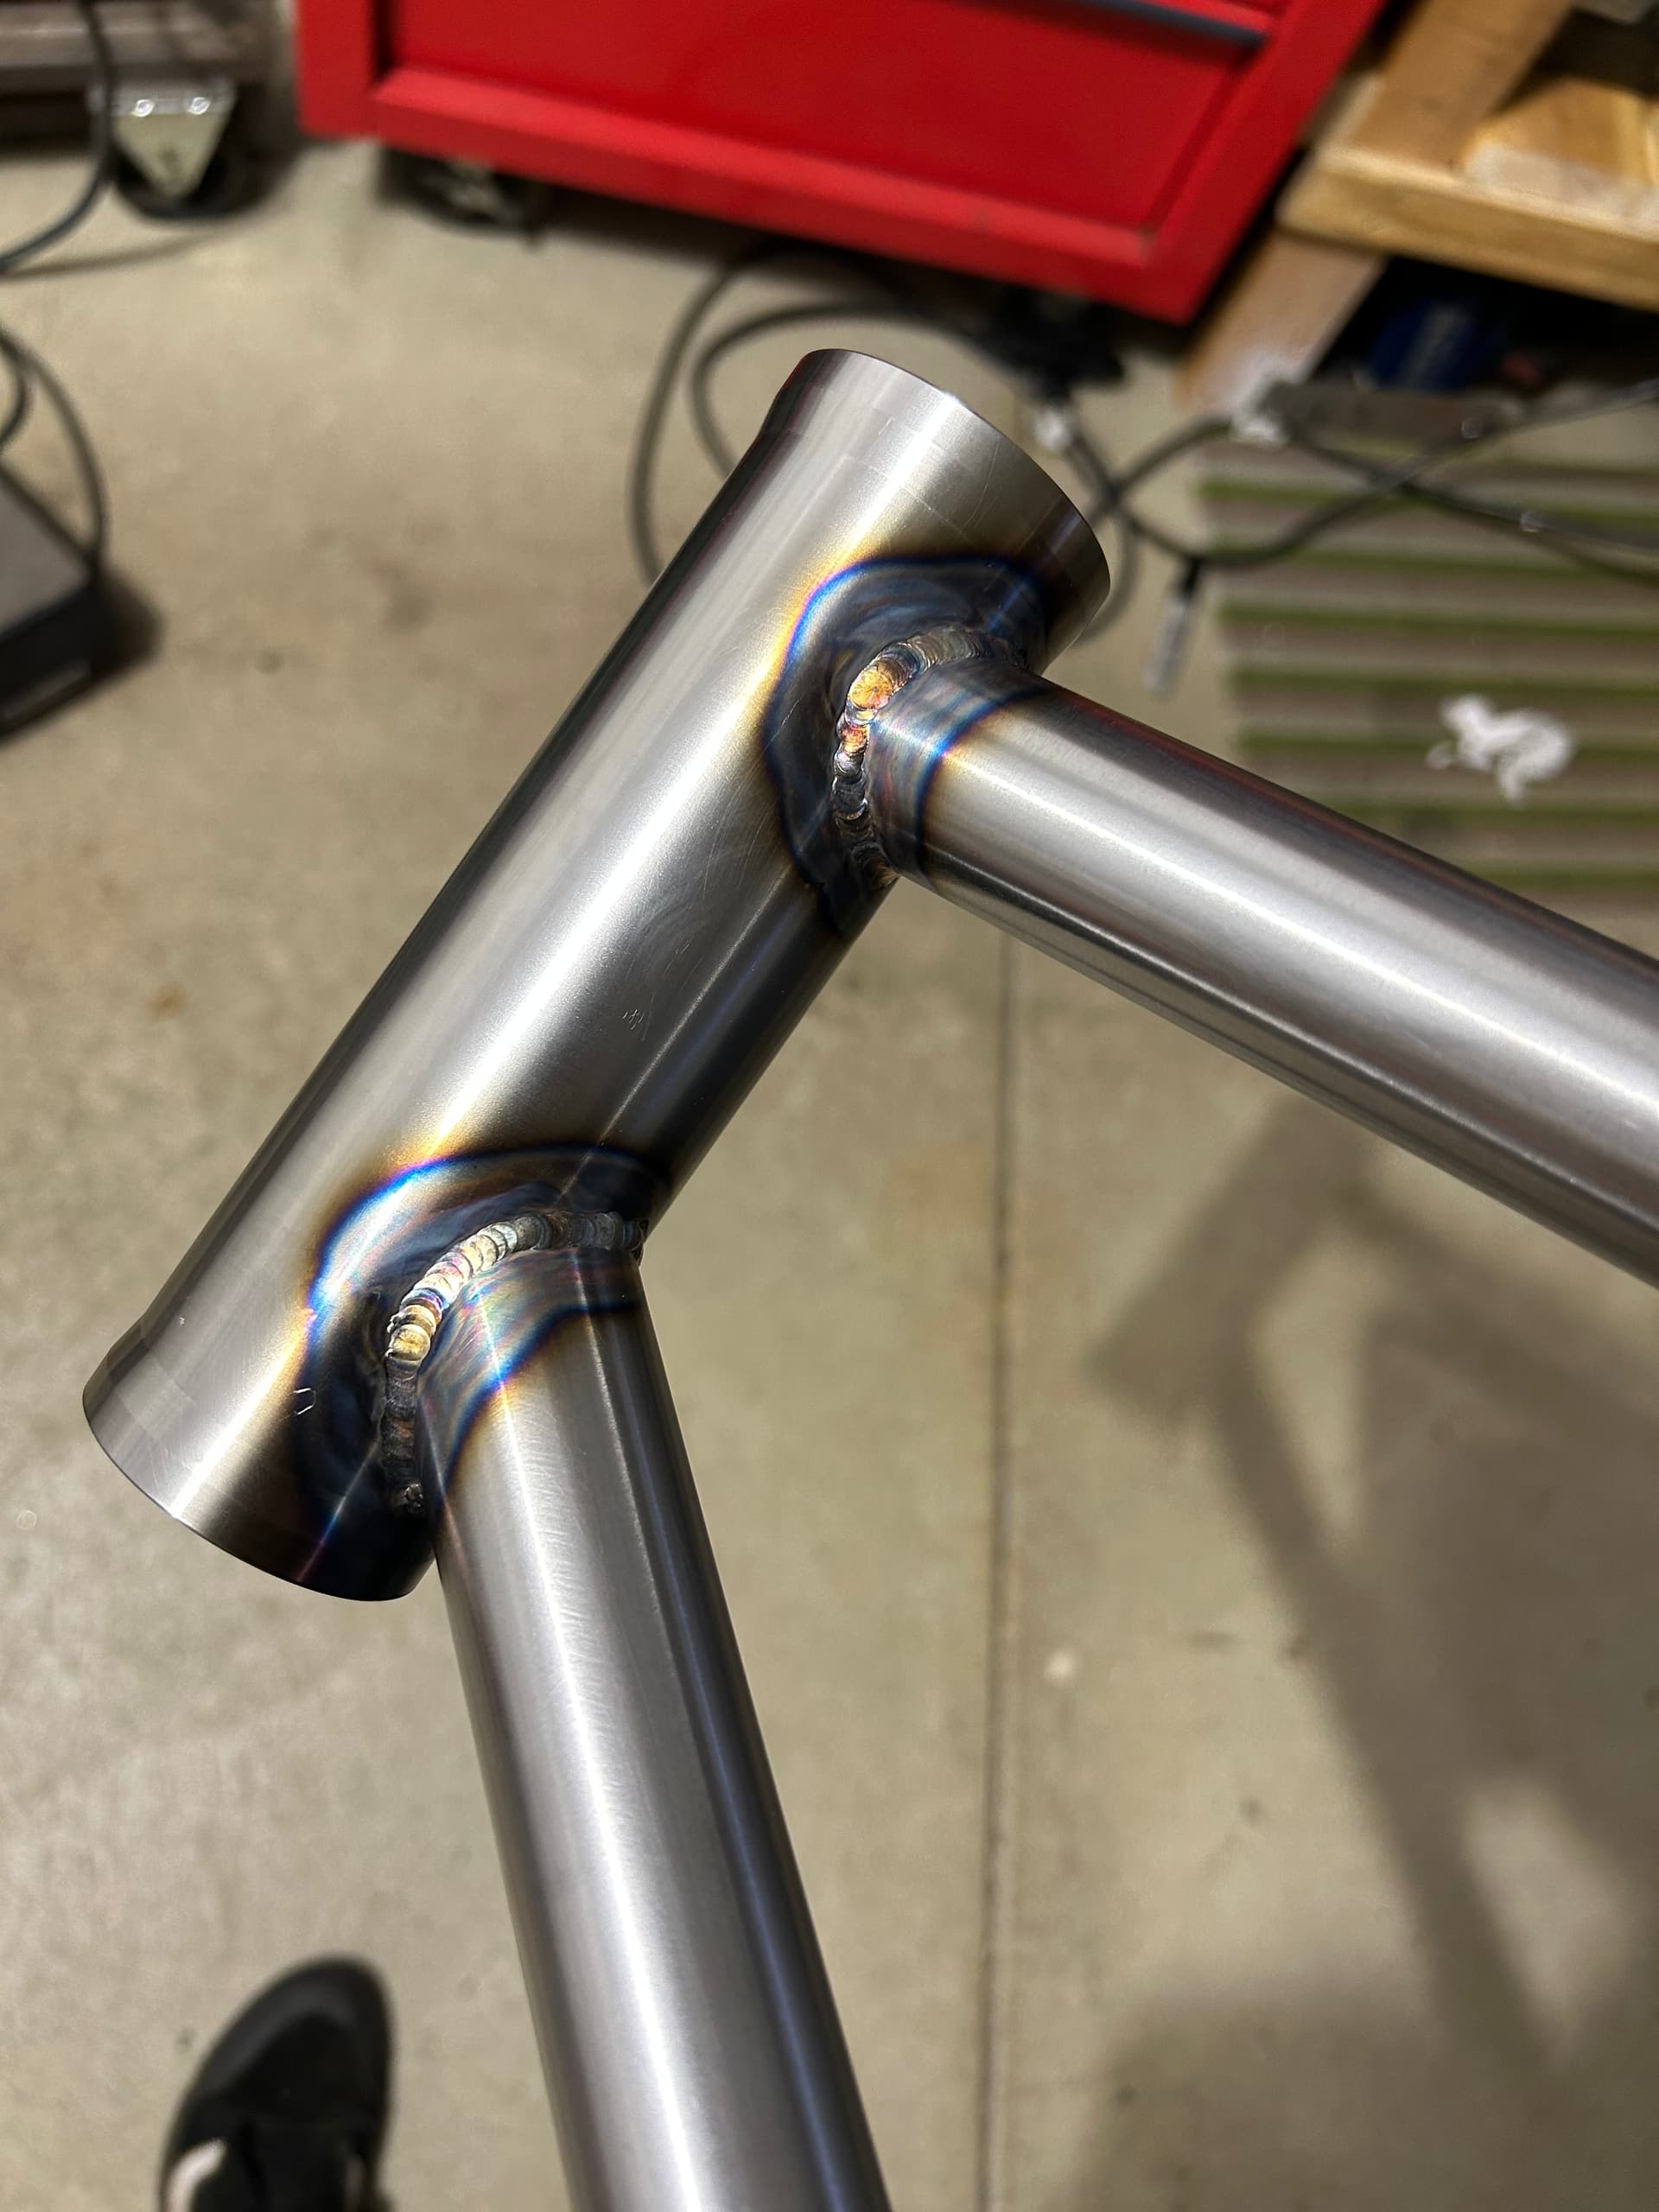
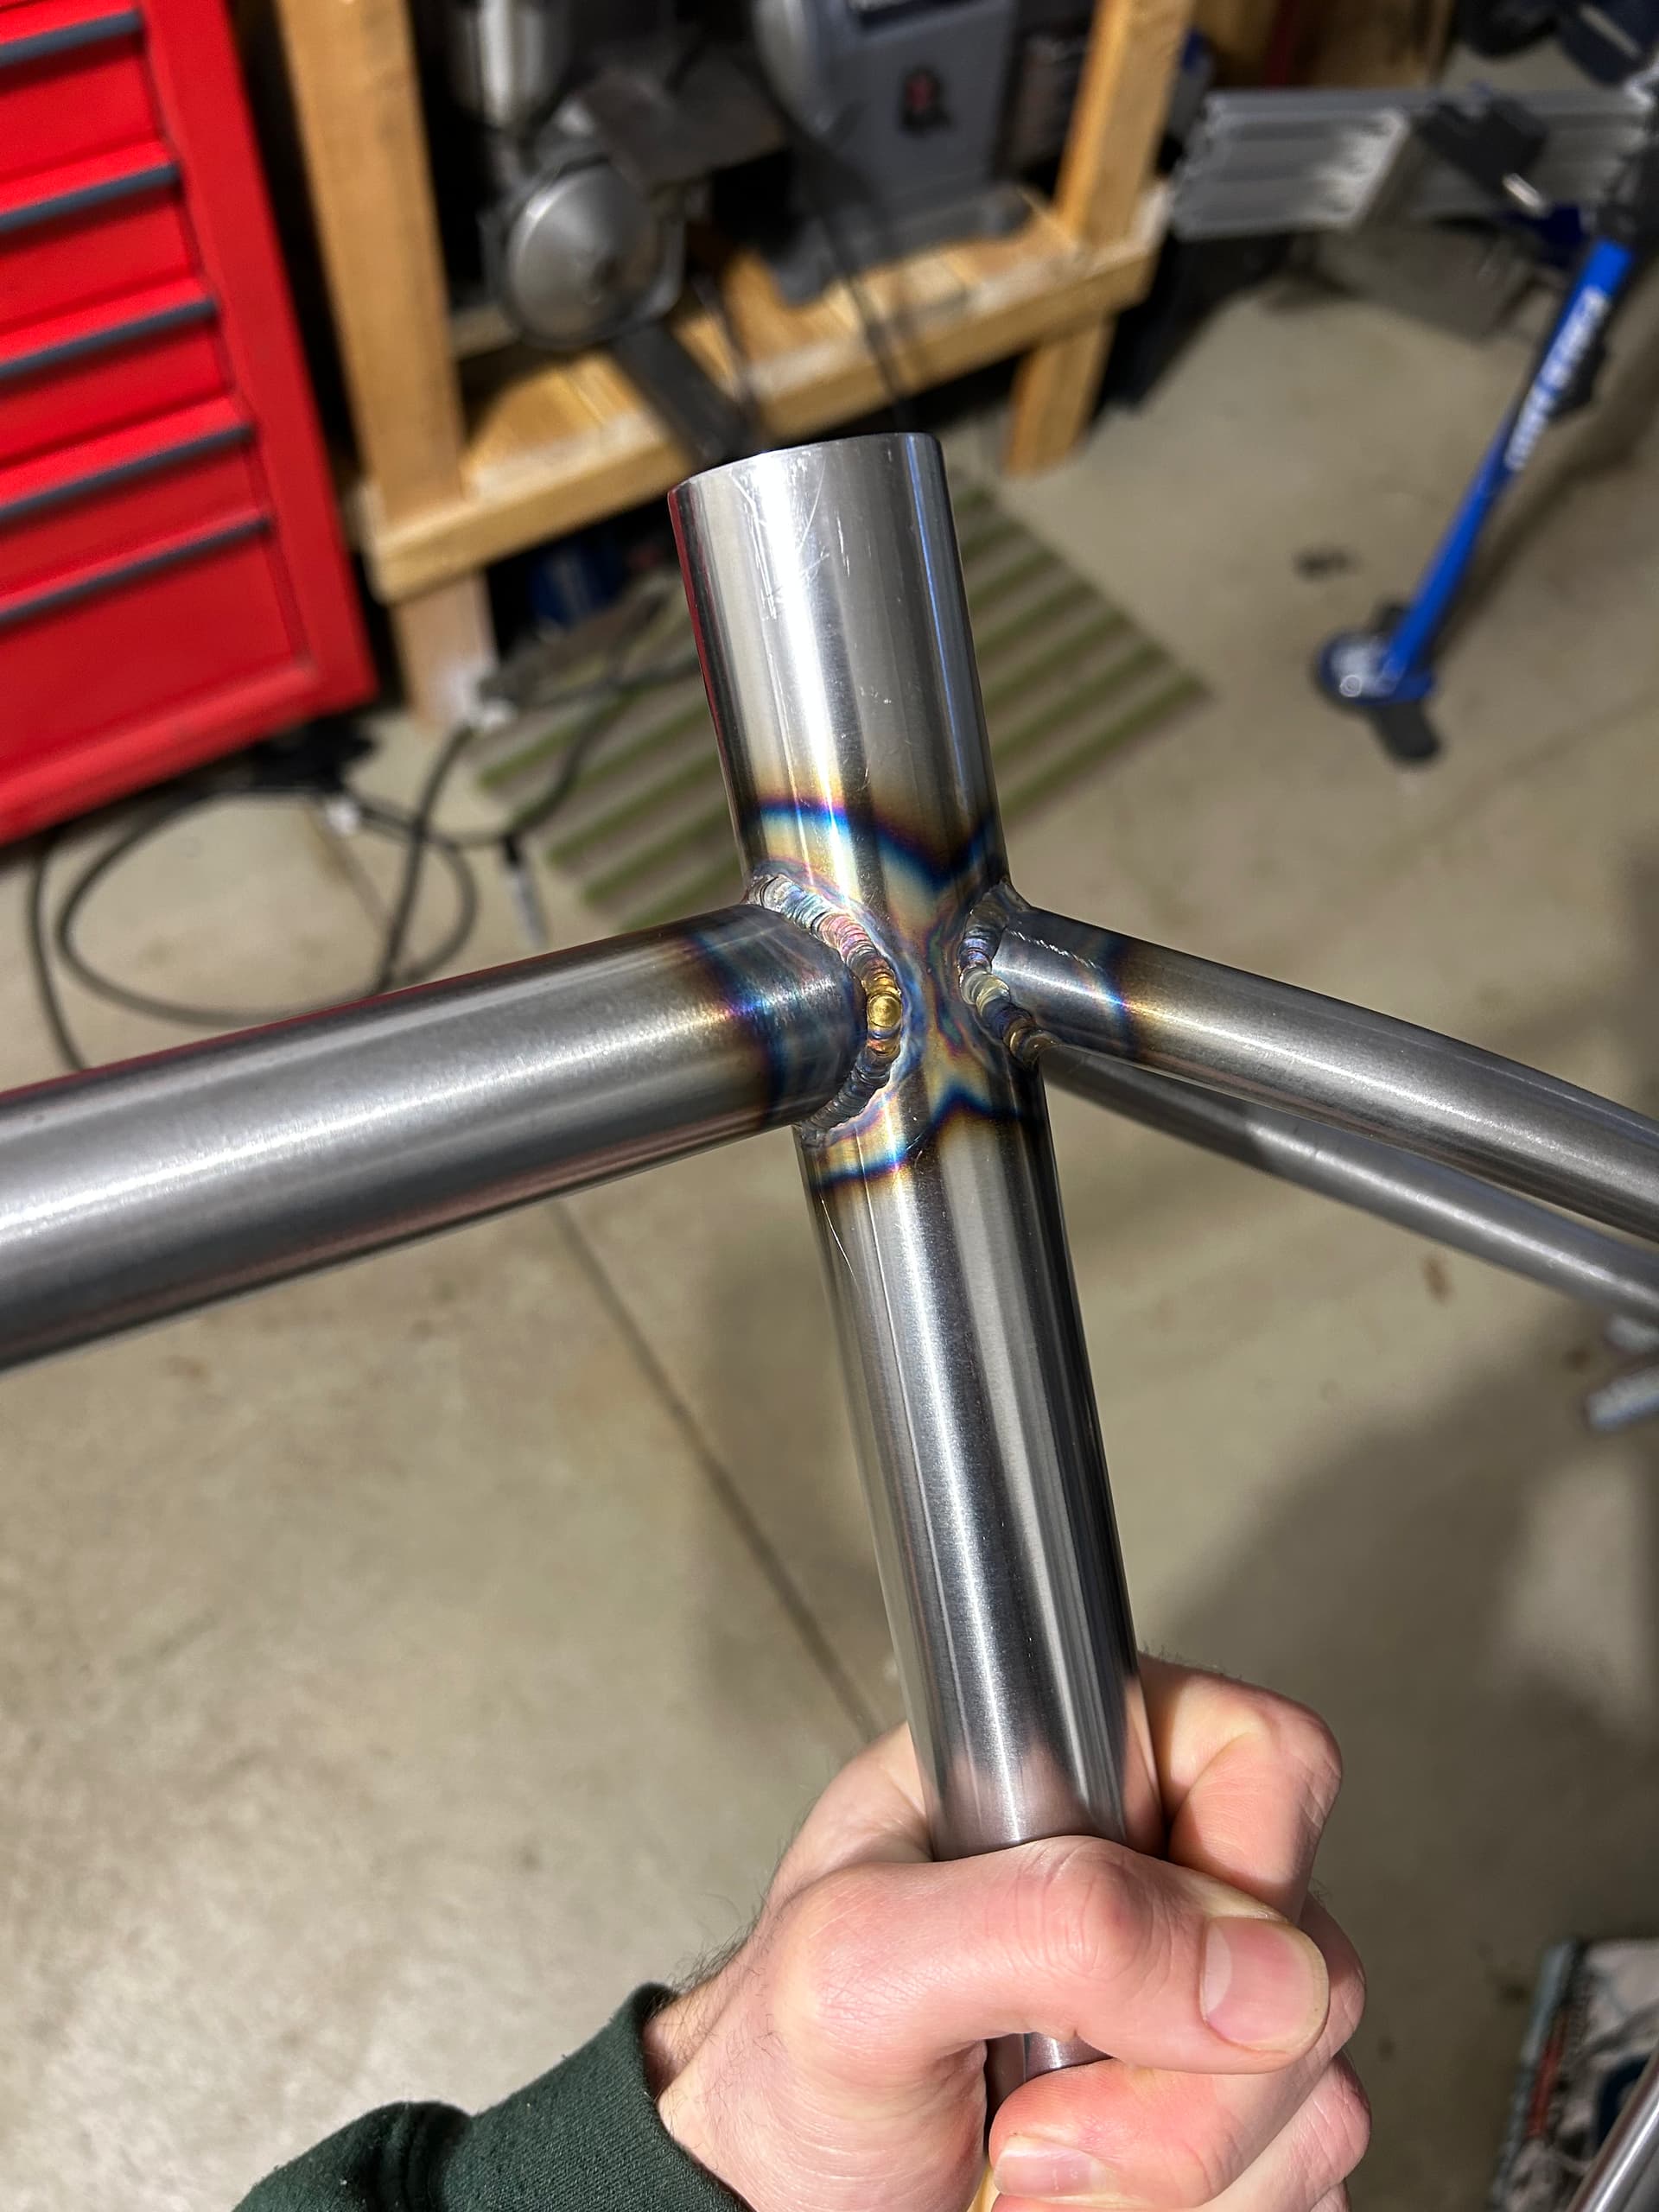
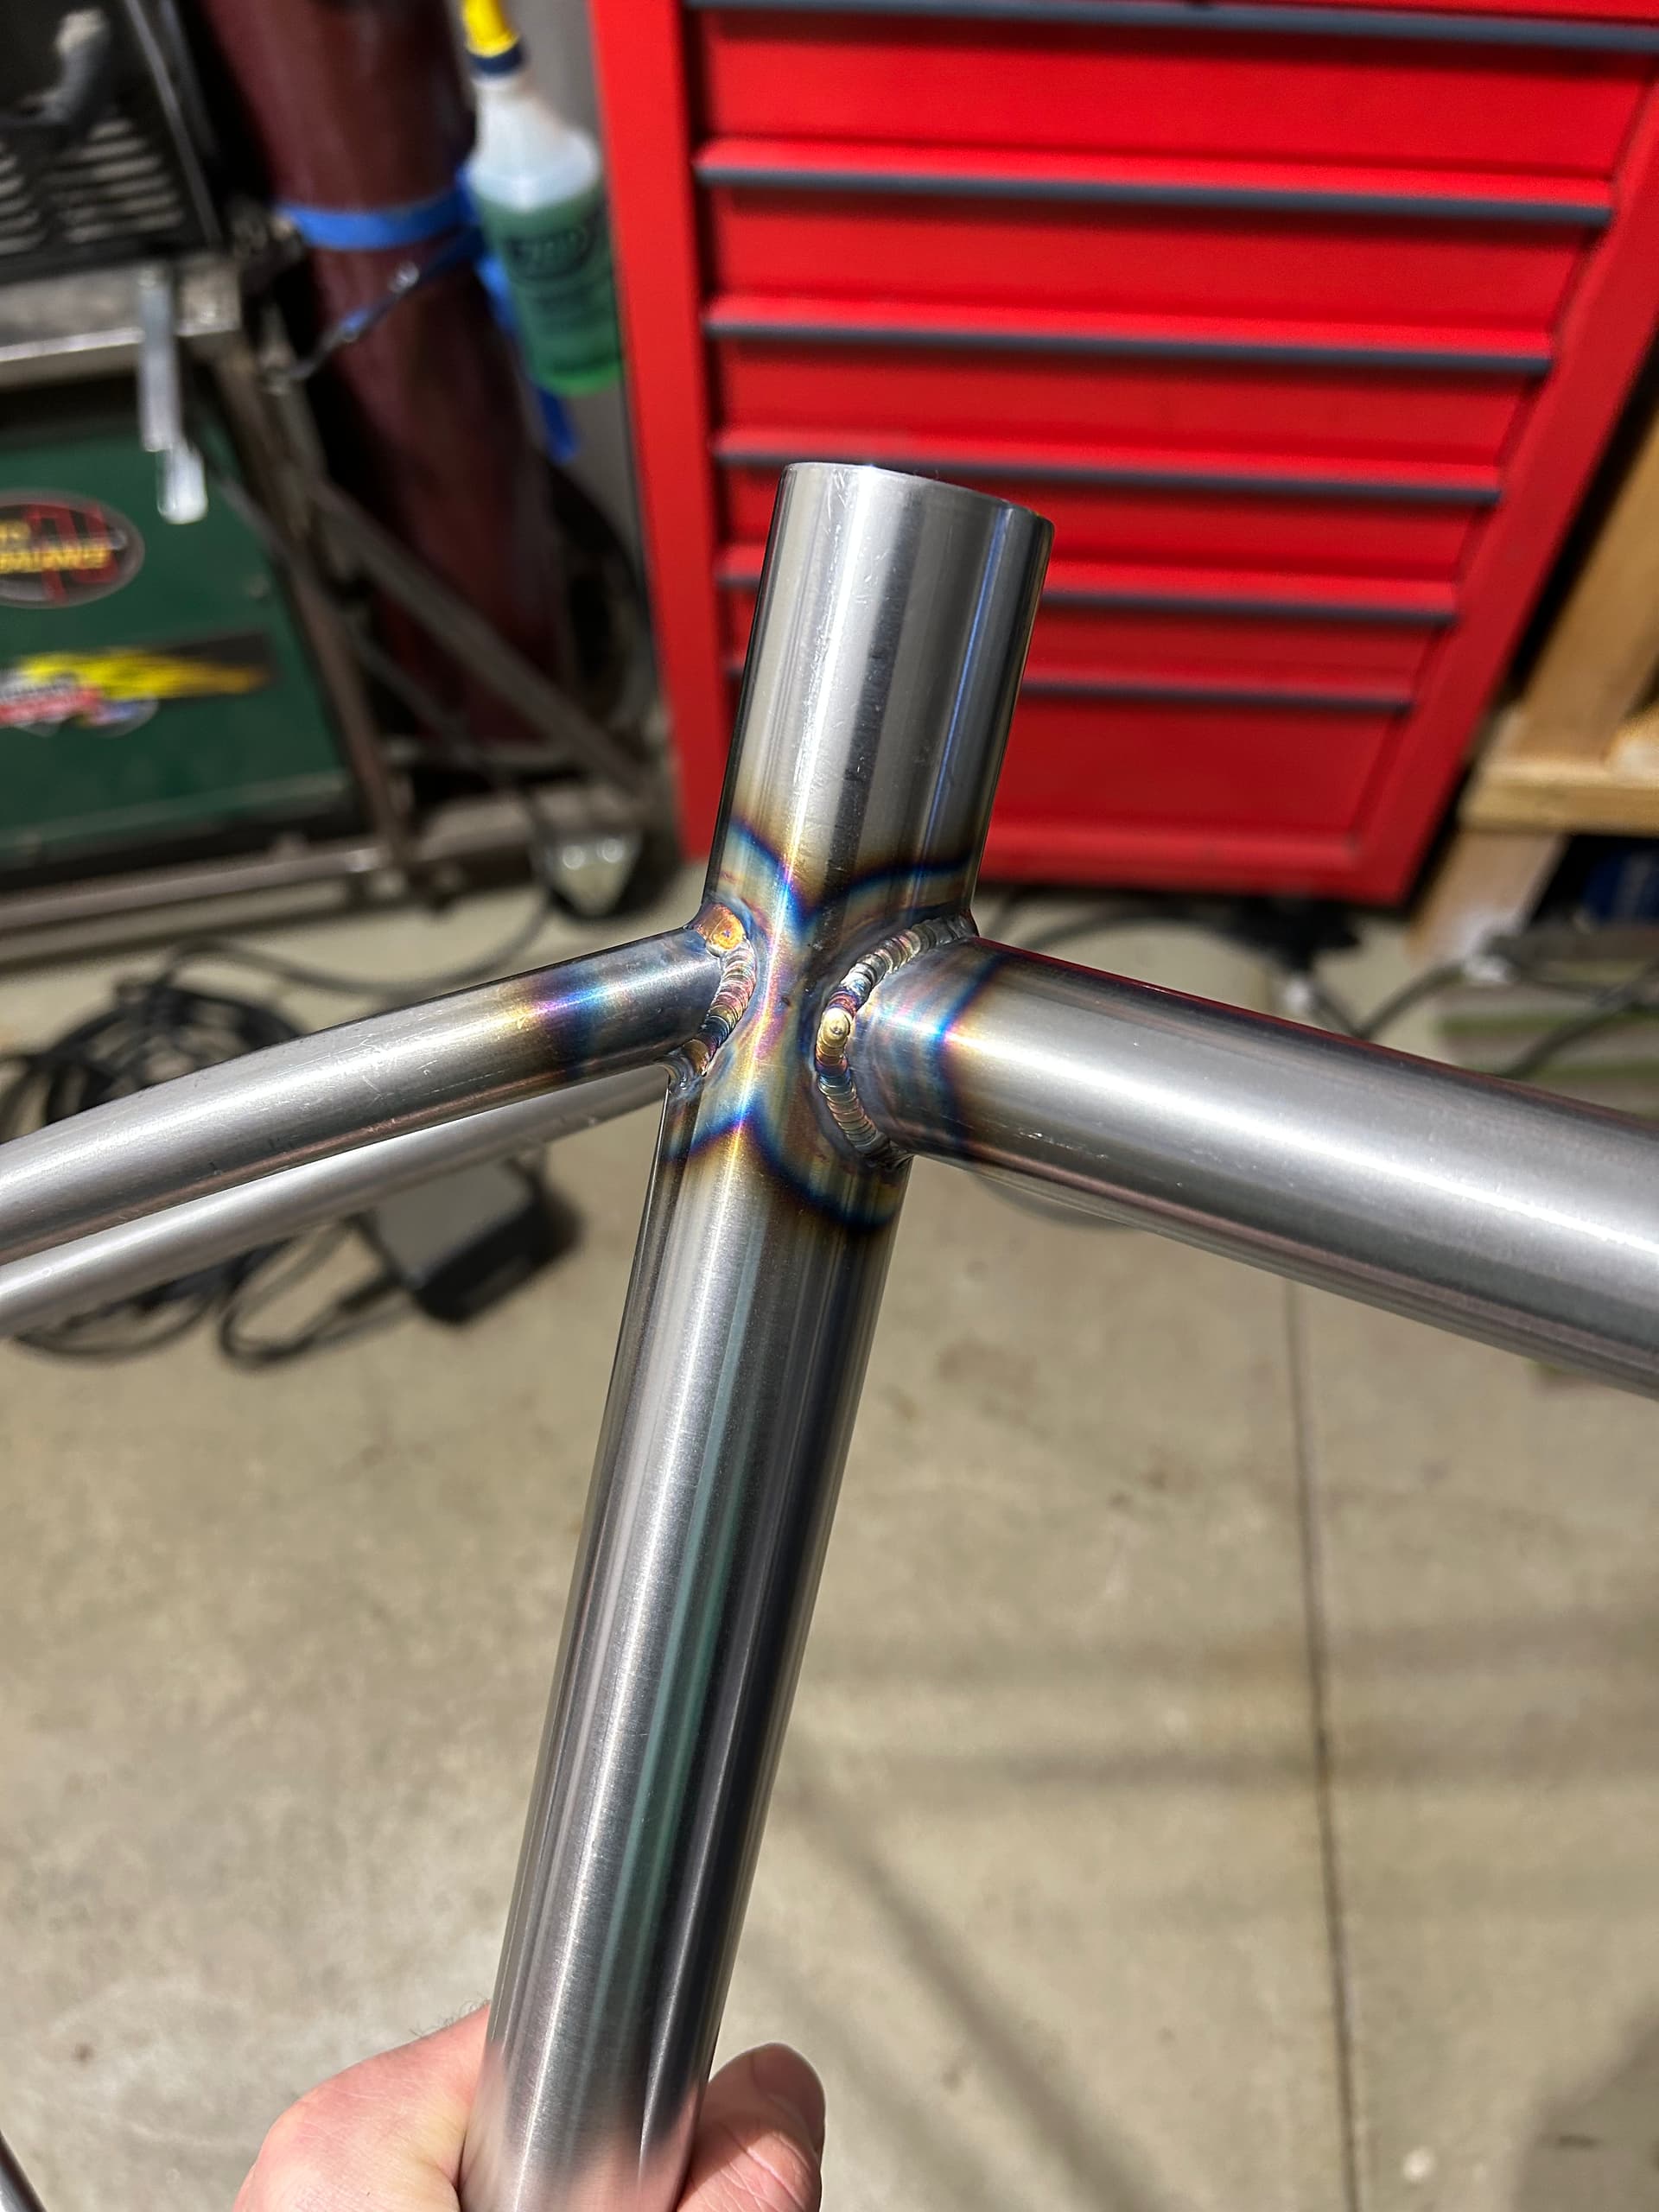
Some of the welding isn’t the best, it got better as I went along but I’m pretty rusty at this point. But I think it’ll hold together for at least a few rides. Ill work on being more consistent for on the next one.
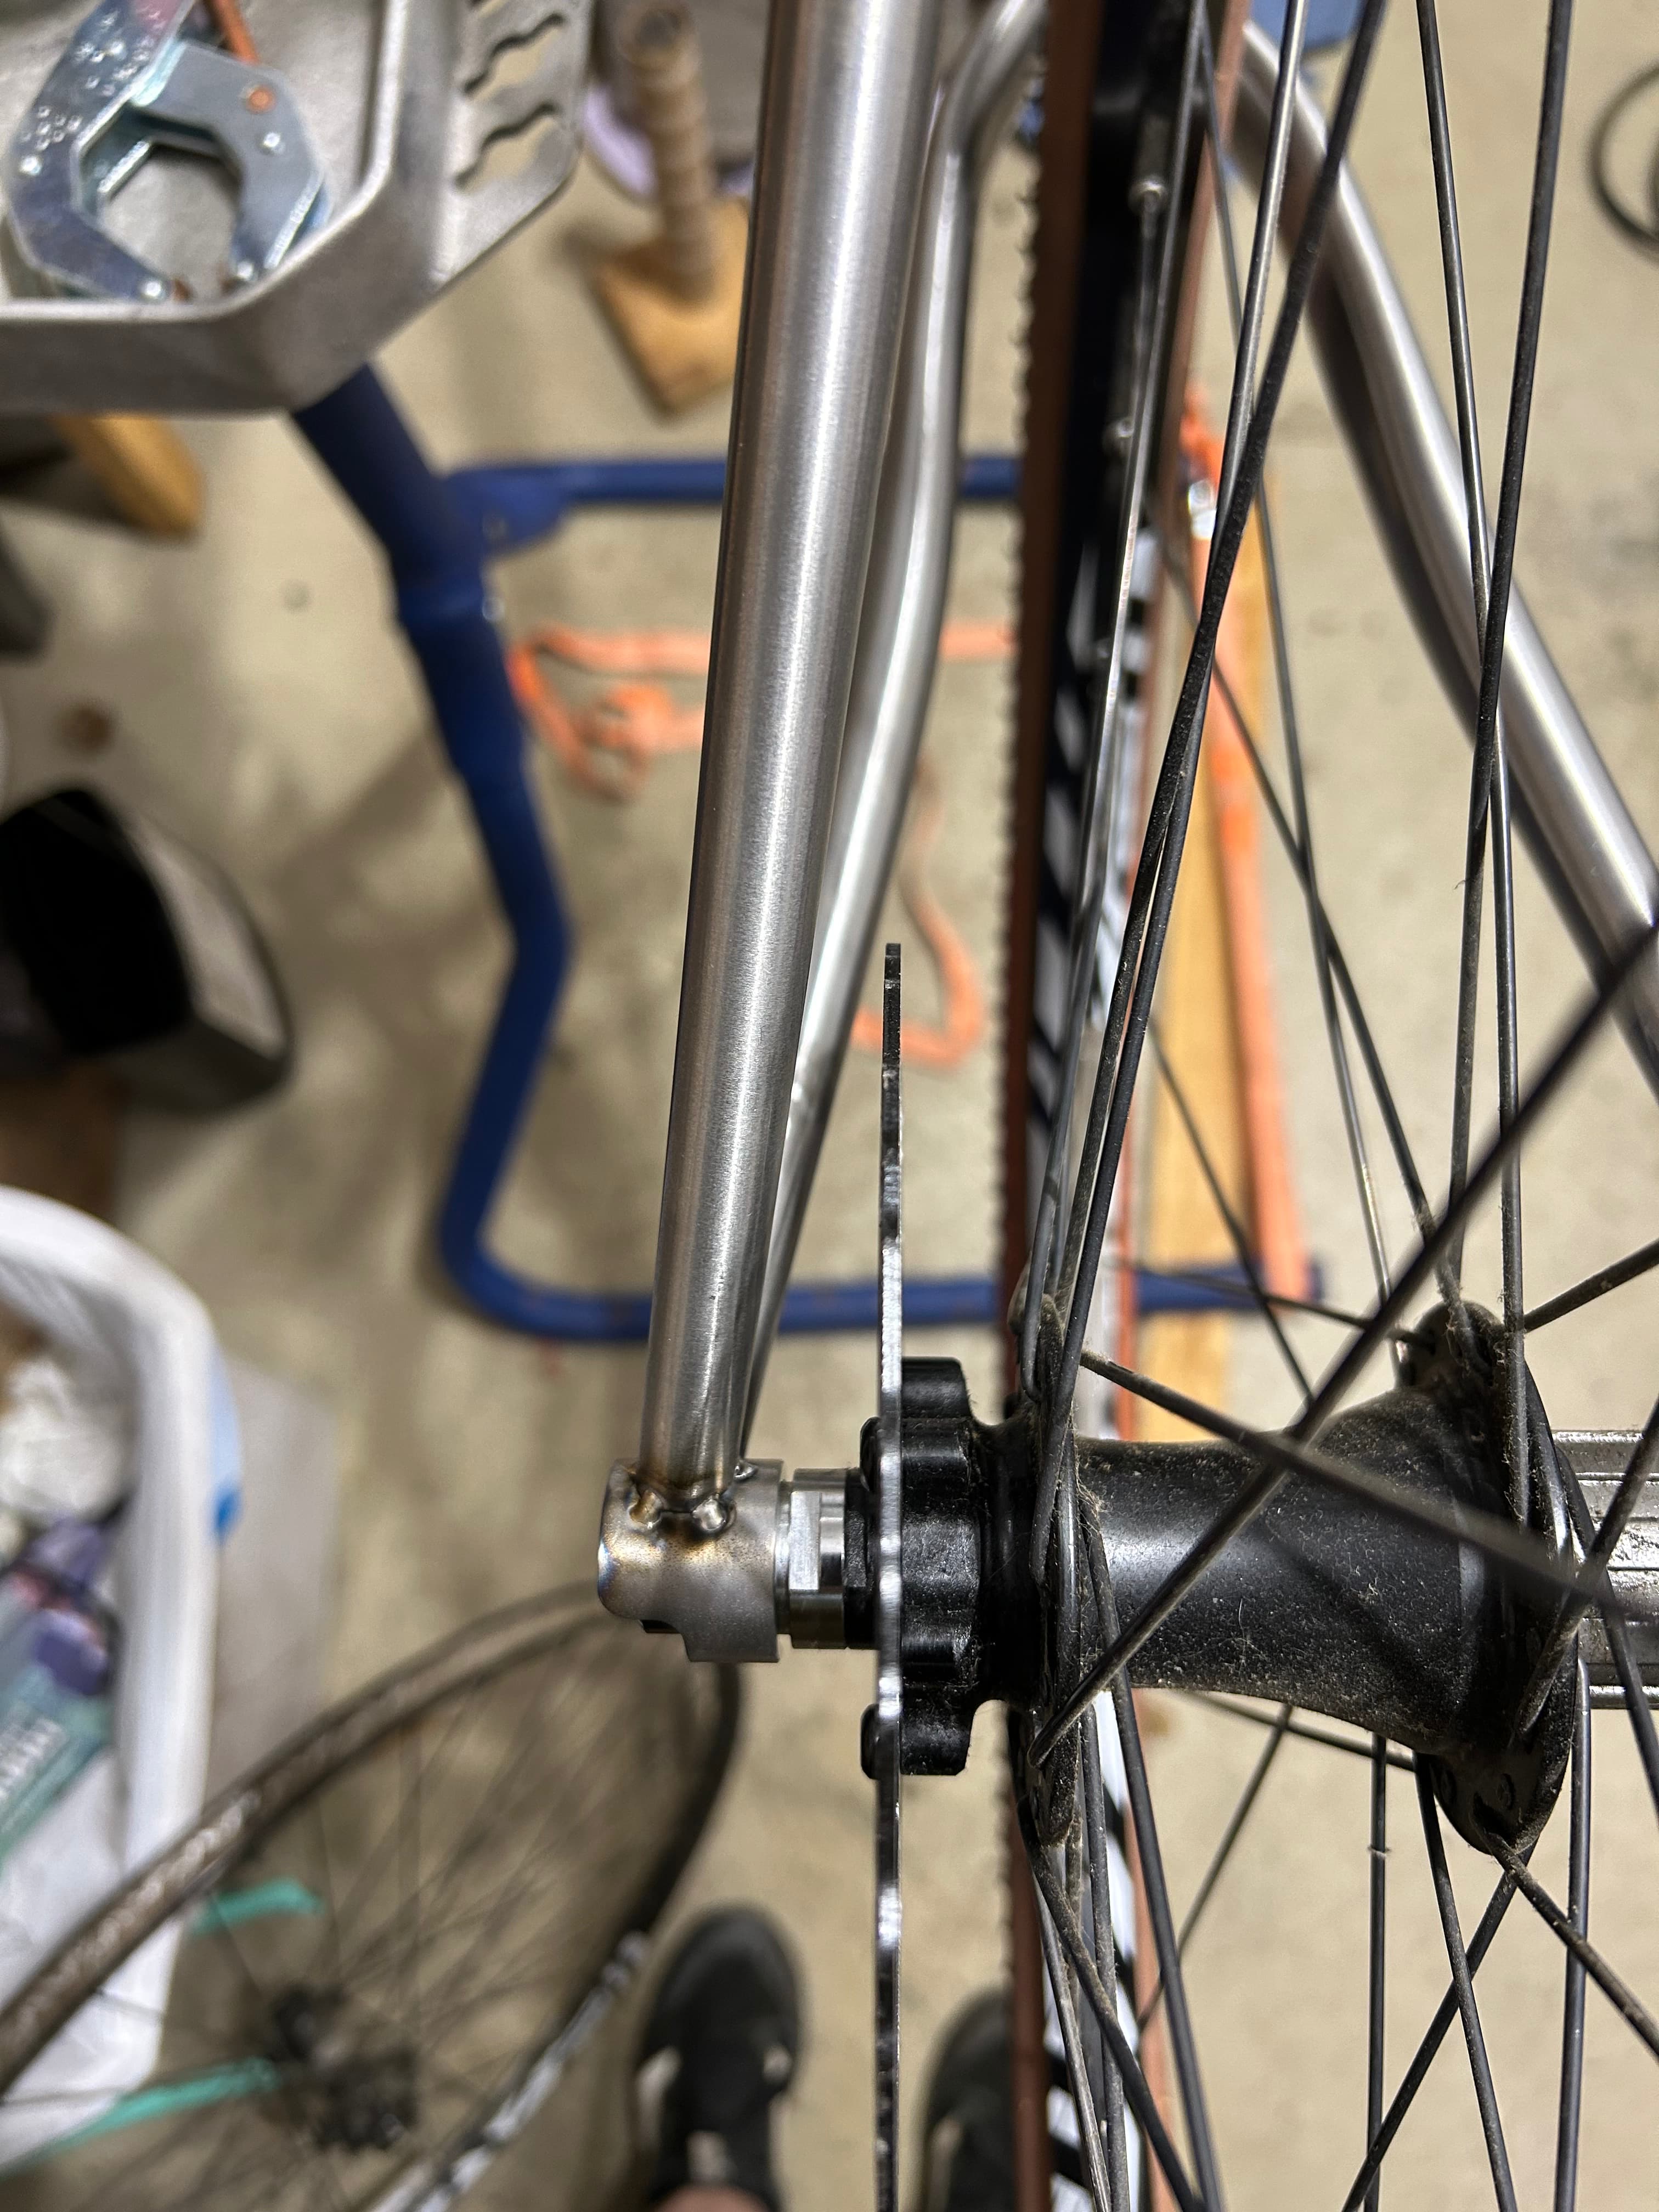
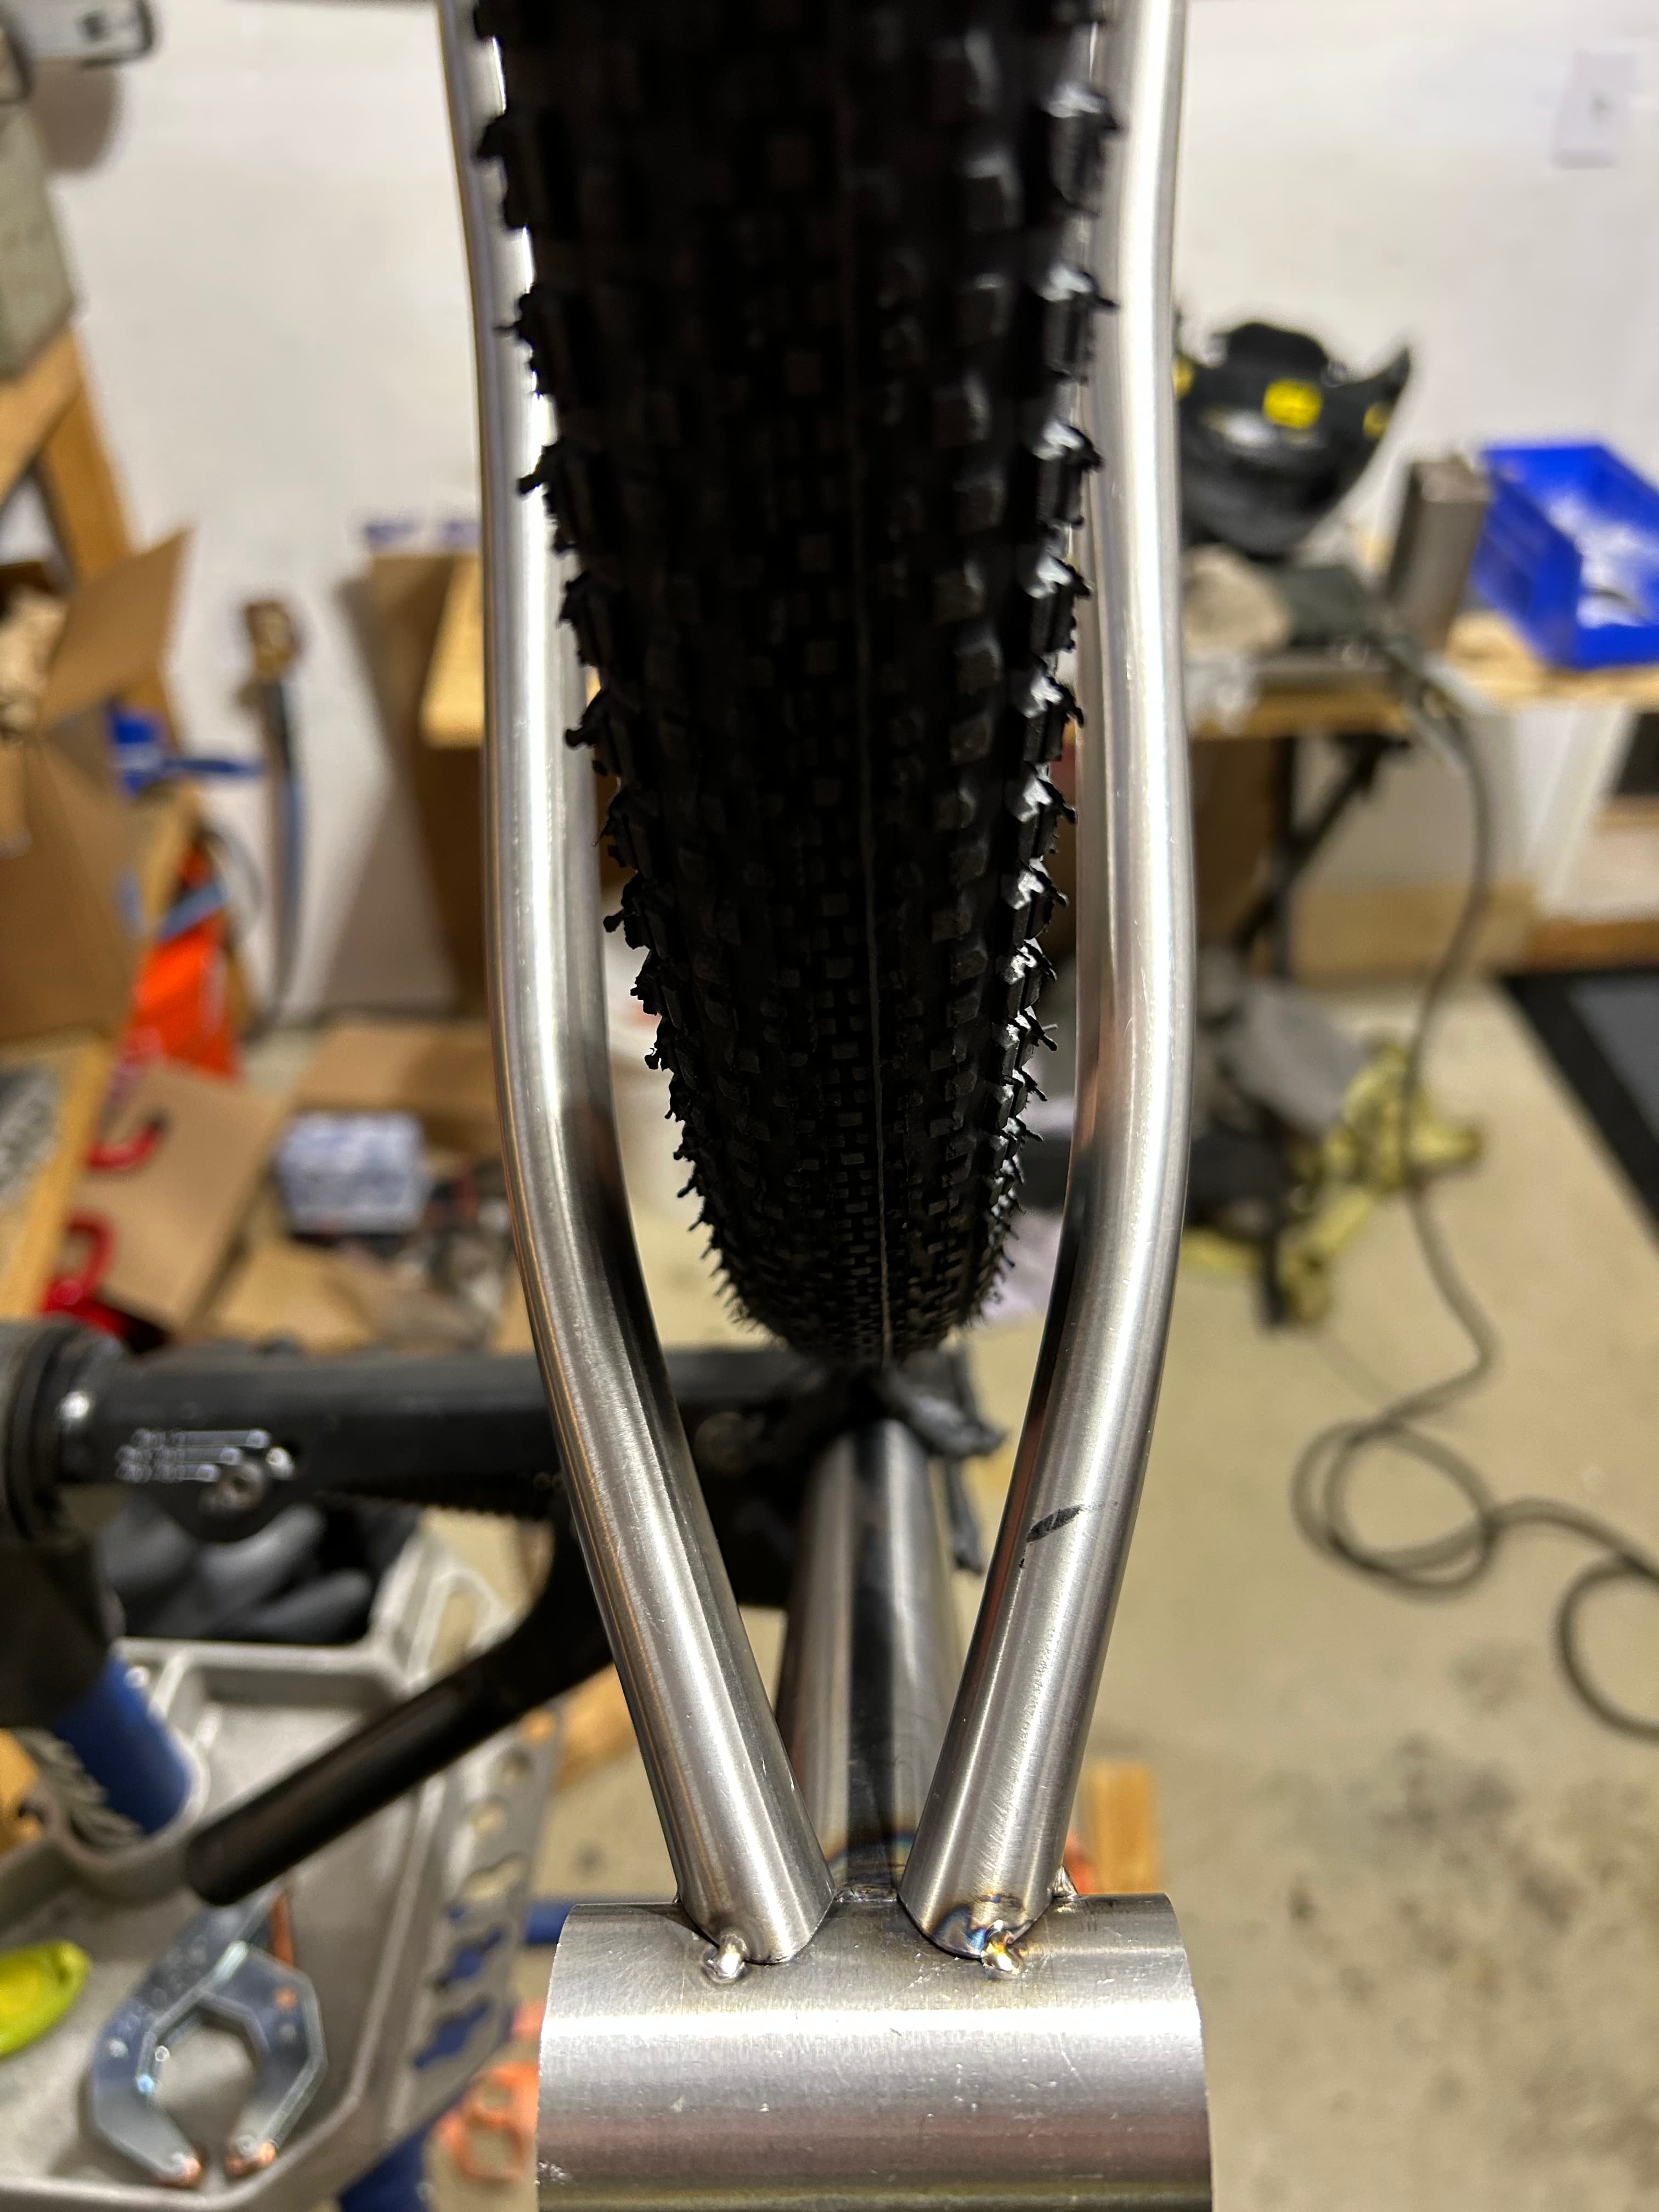
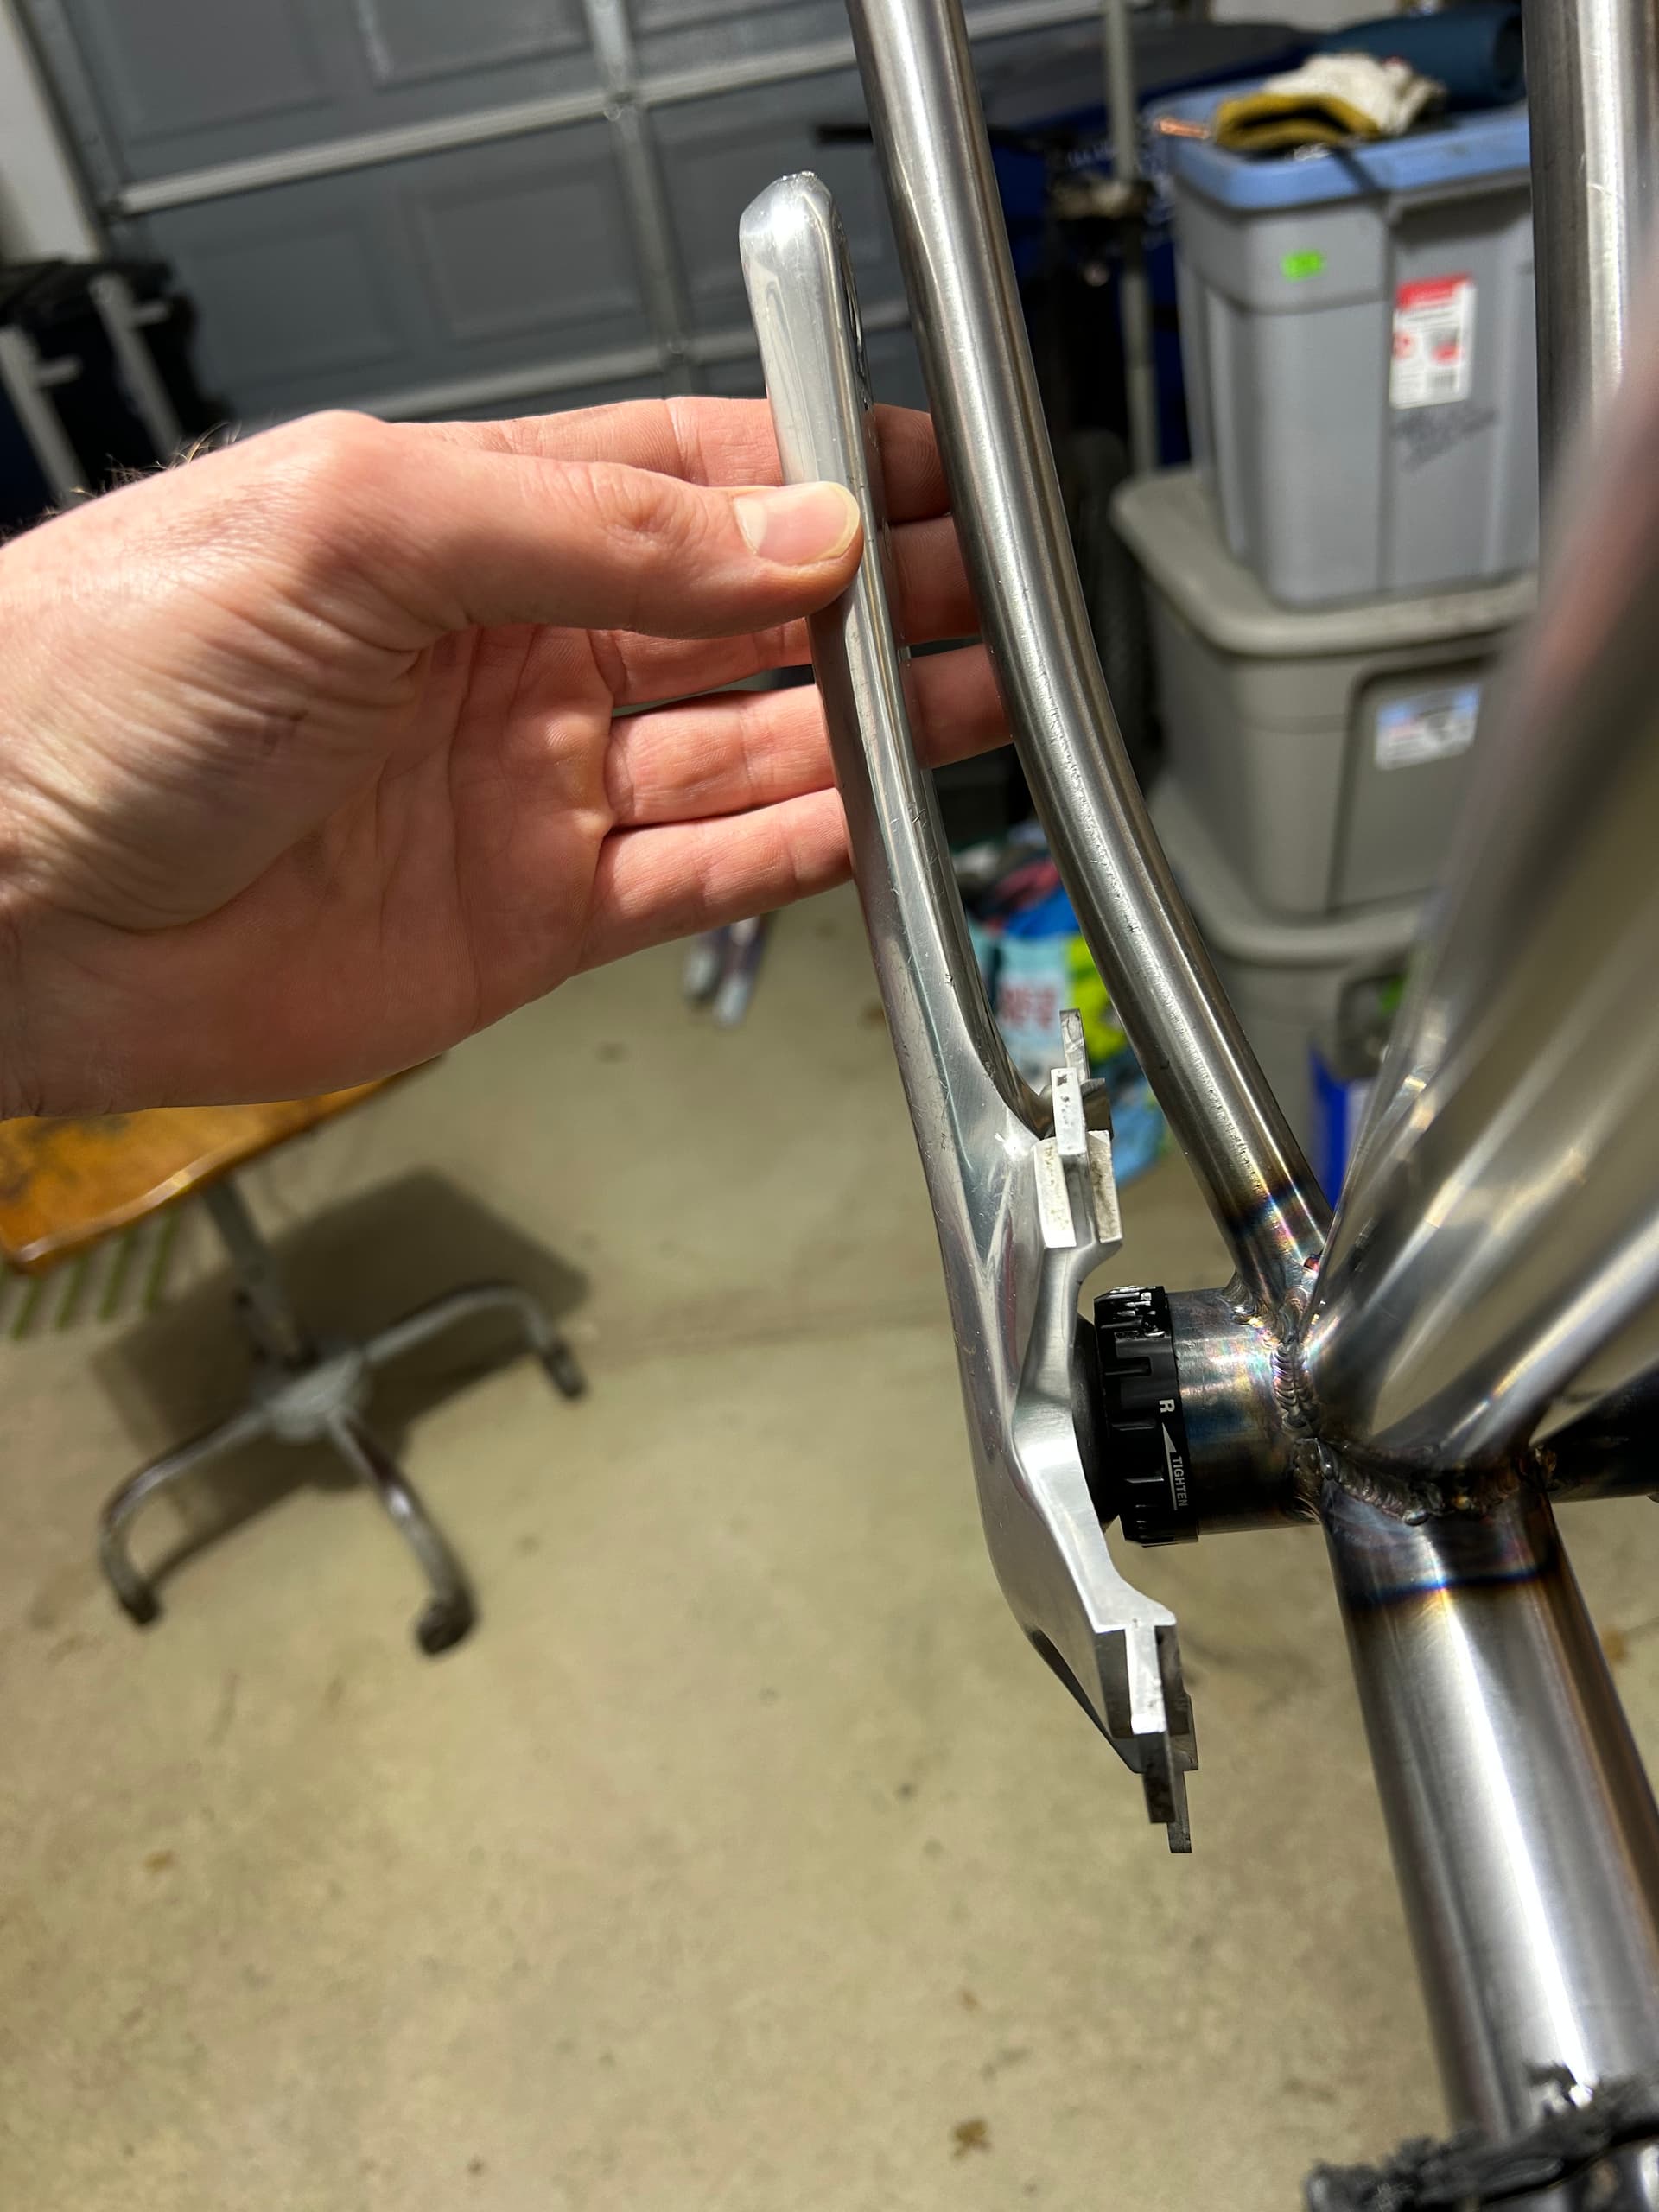
I was pleasantly surprised to find the bb threaded in by hand. Crank clearance seems good so far.
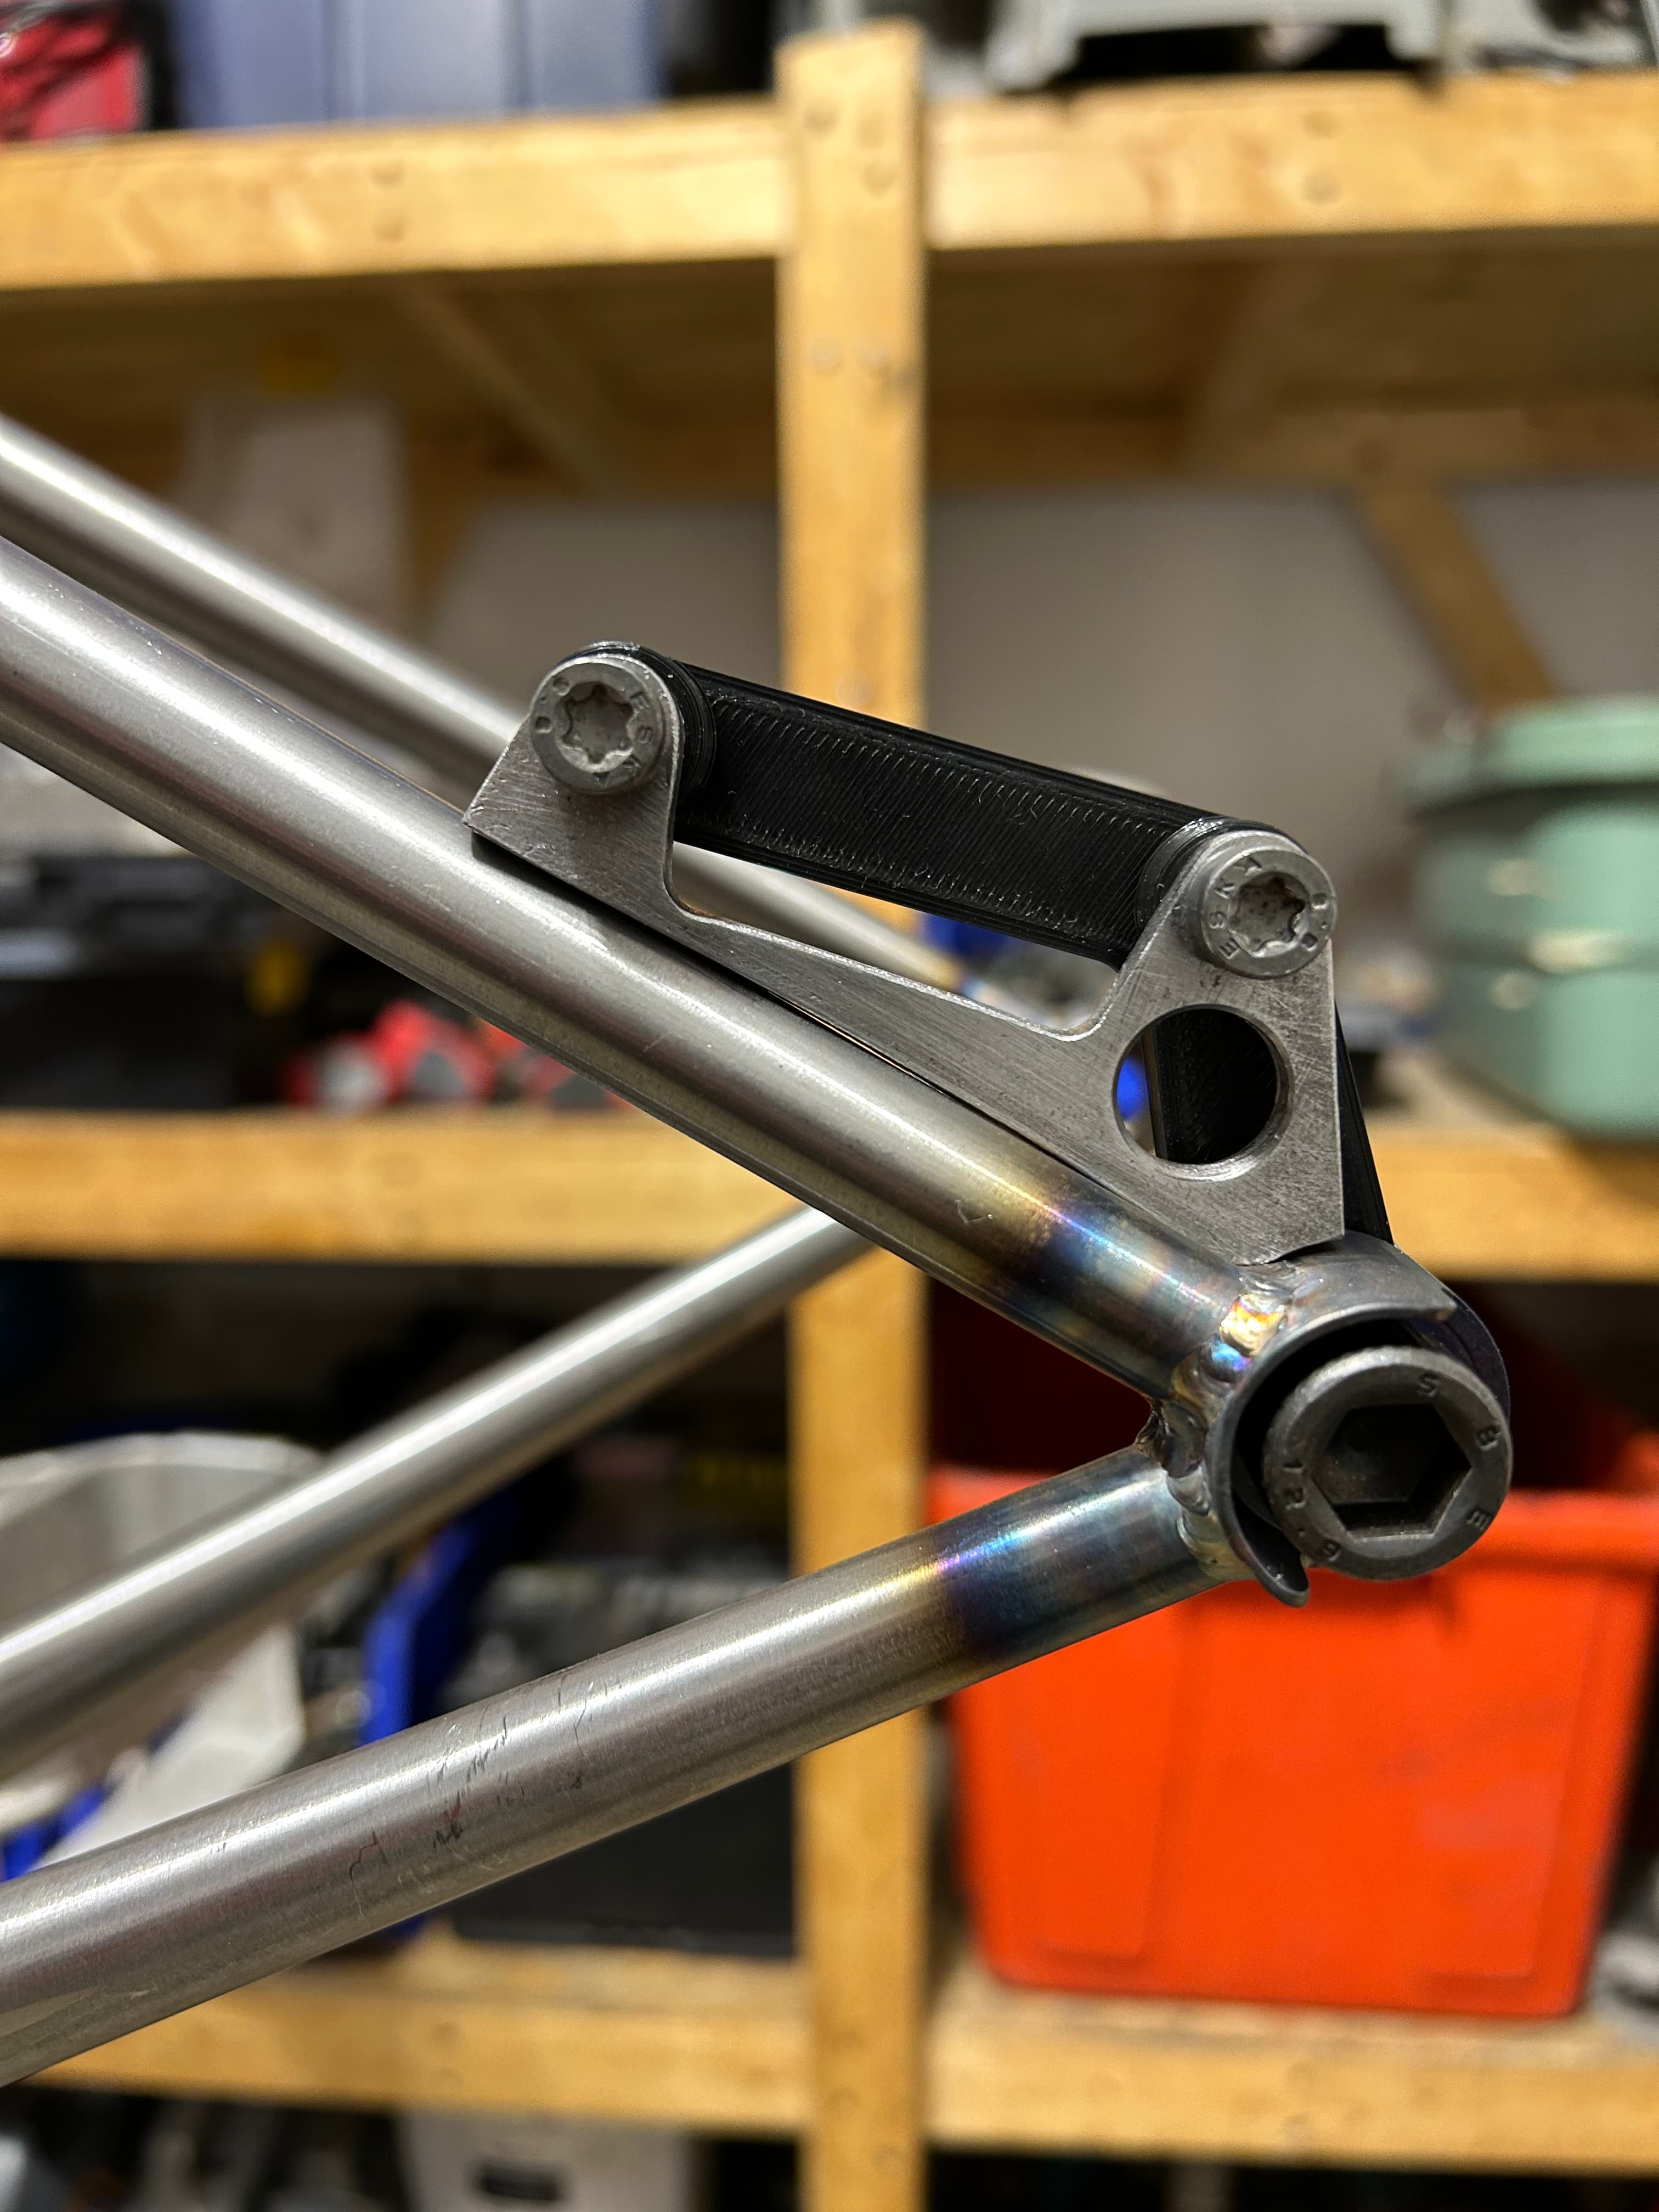
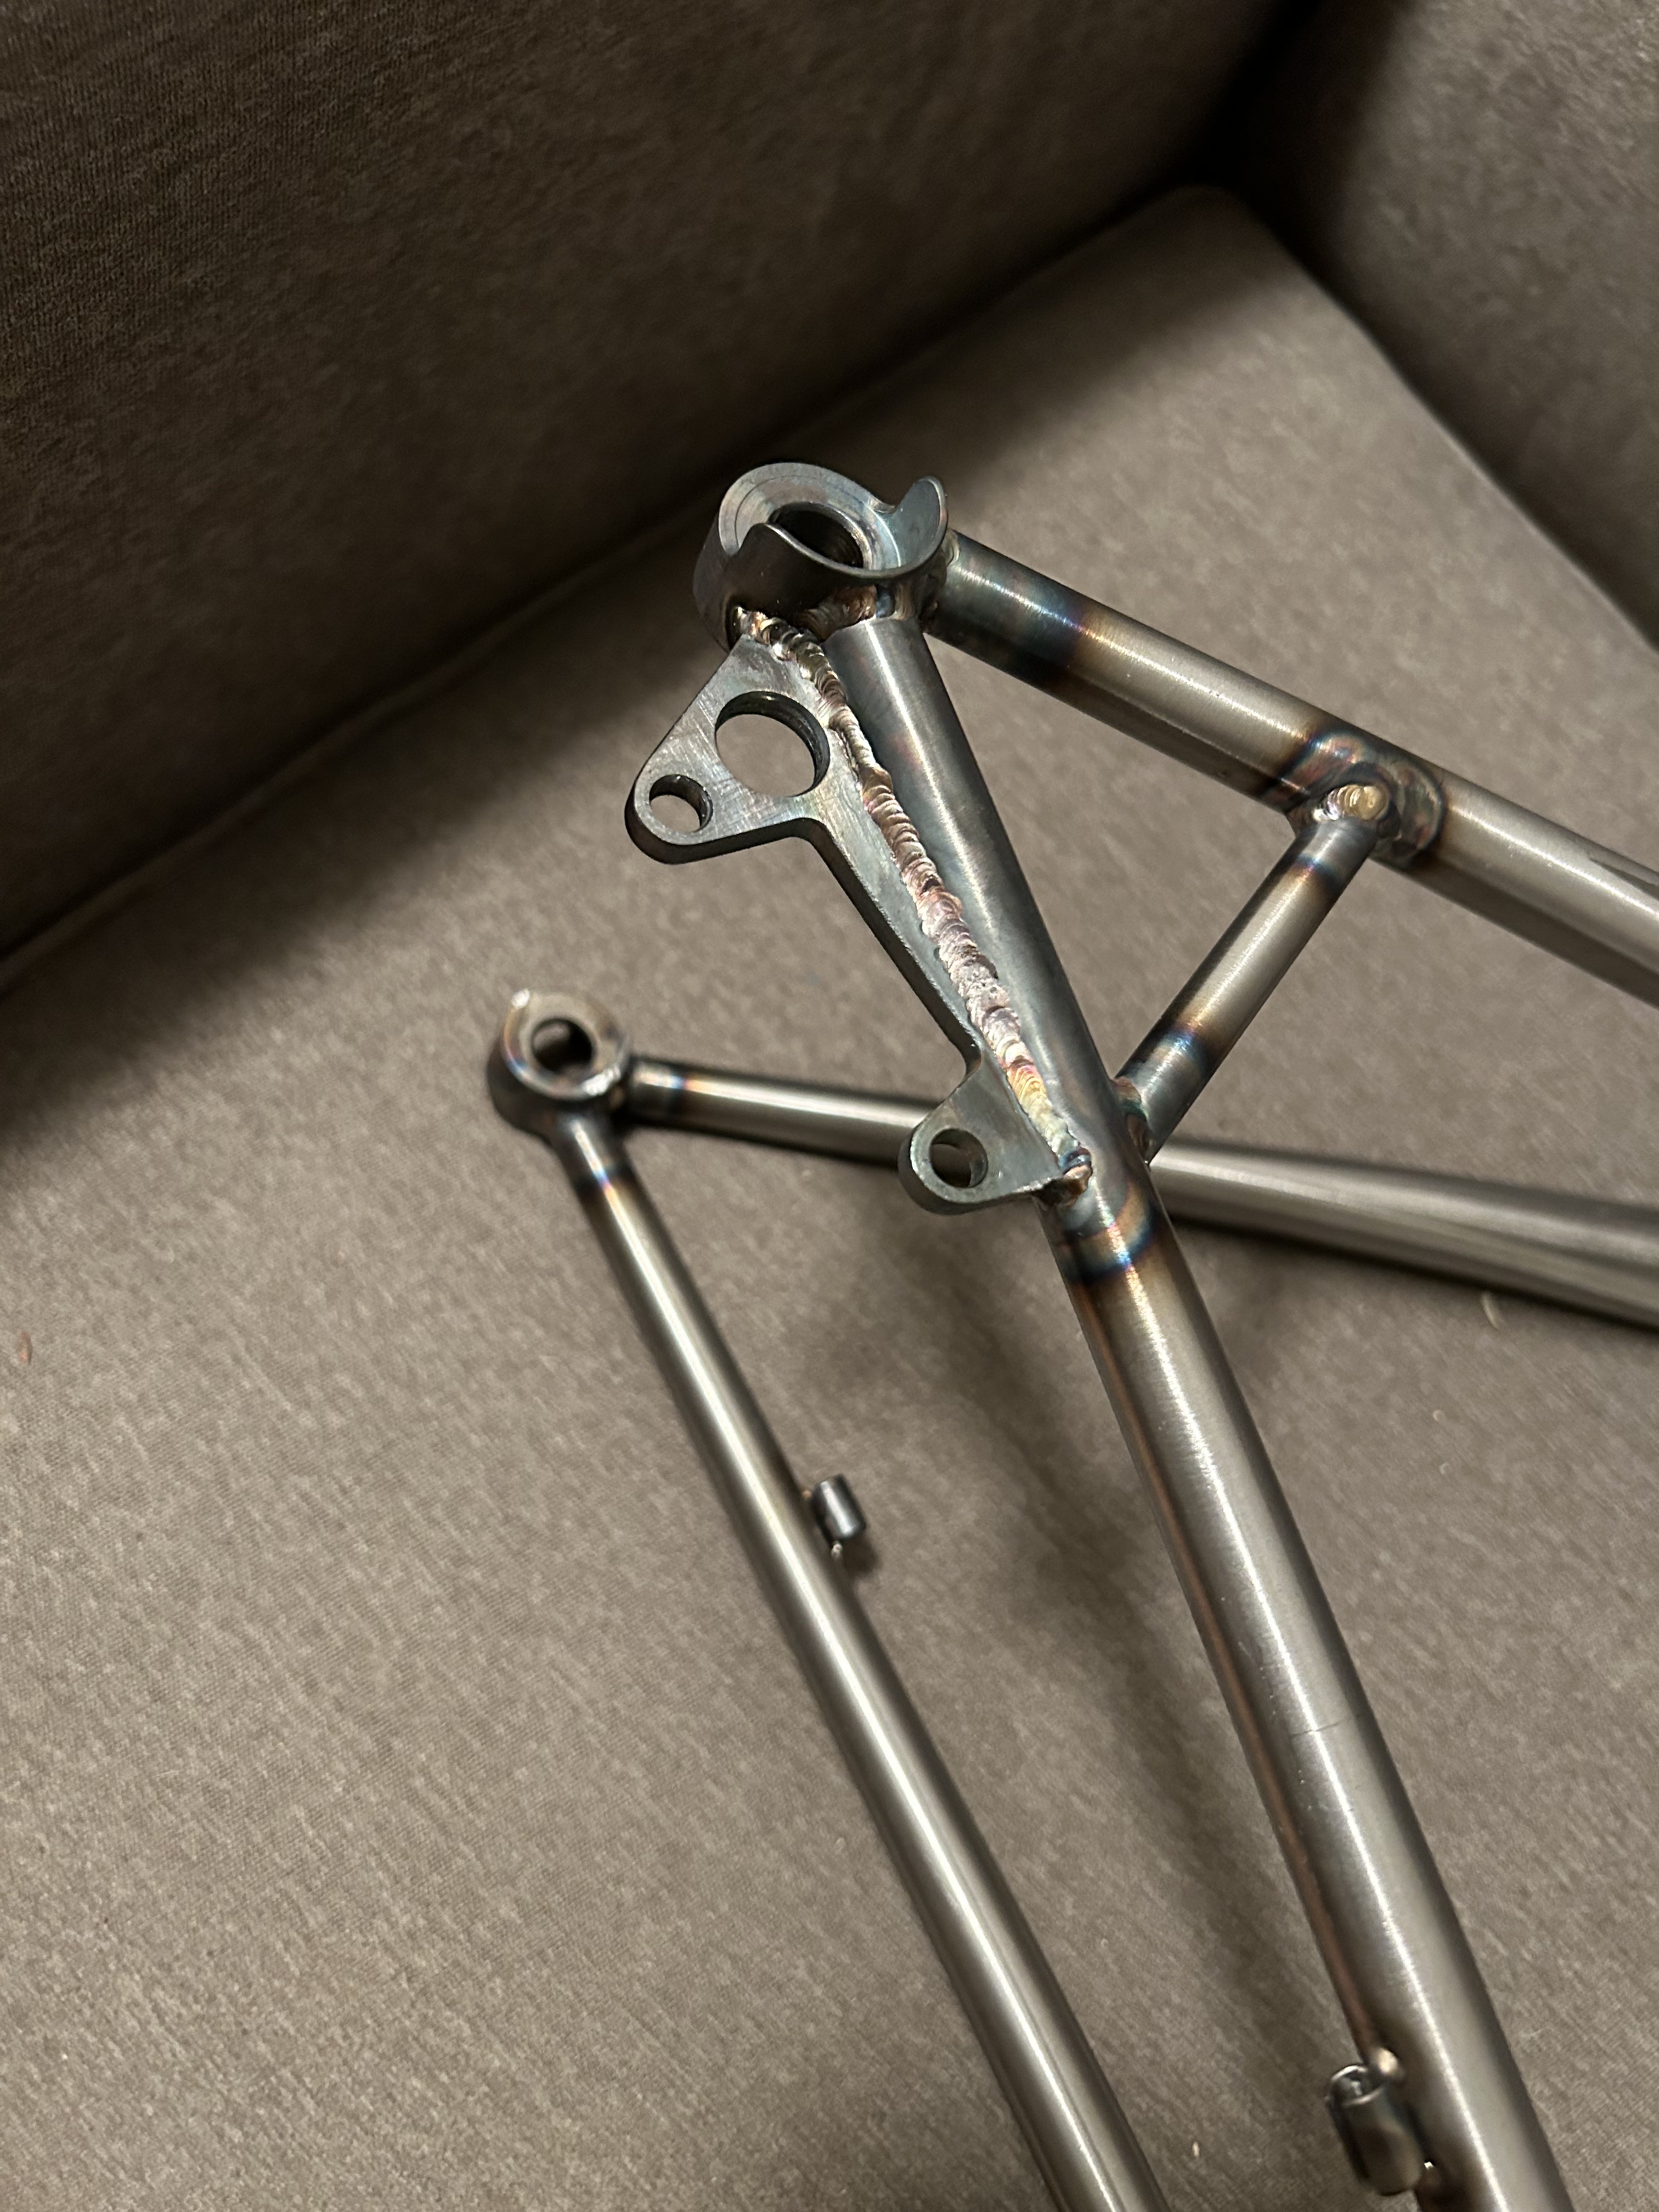
Made a brake tab and 3d printed a jig for tacking it on.
Had to order some material to make ss, cs, and brake bridges so once that comes in I’ll make the bridges, finish the rest of the welding, add cable stops, glue in the bottle bosses, facing the bb, reaming the HT, and we’ll be on to the next one!
5 Likes
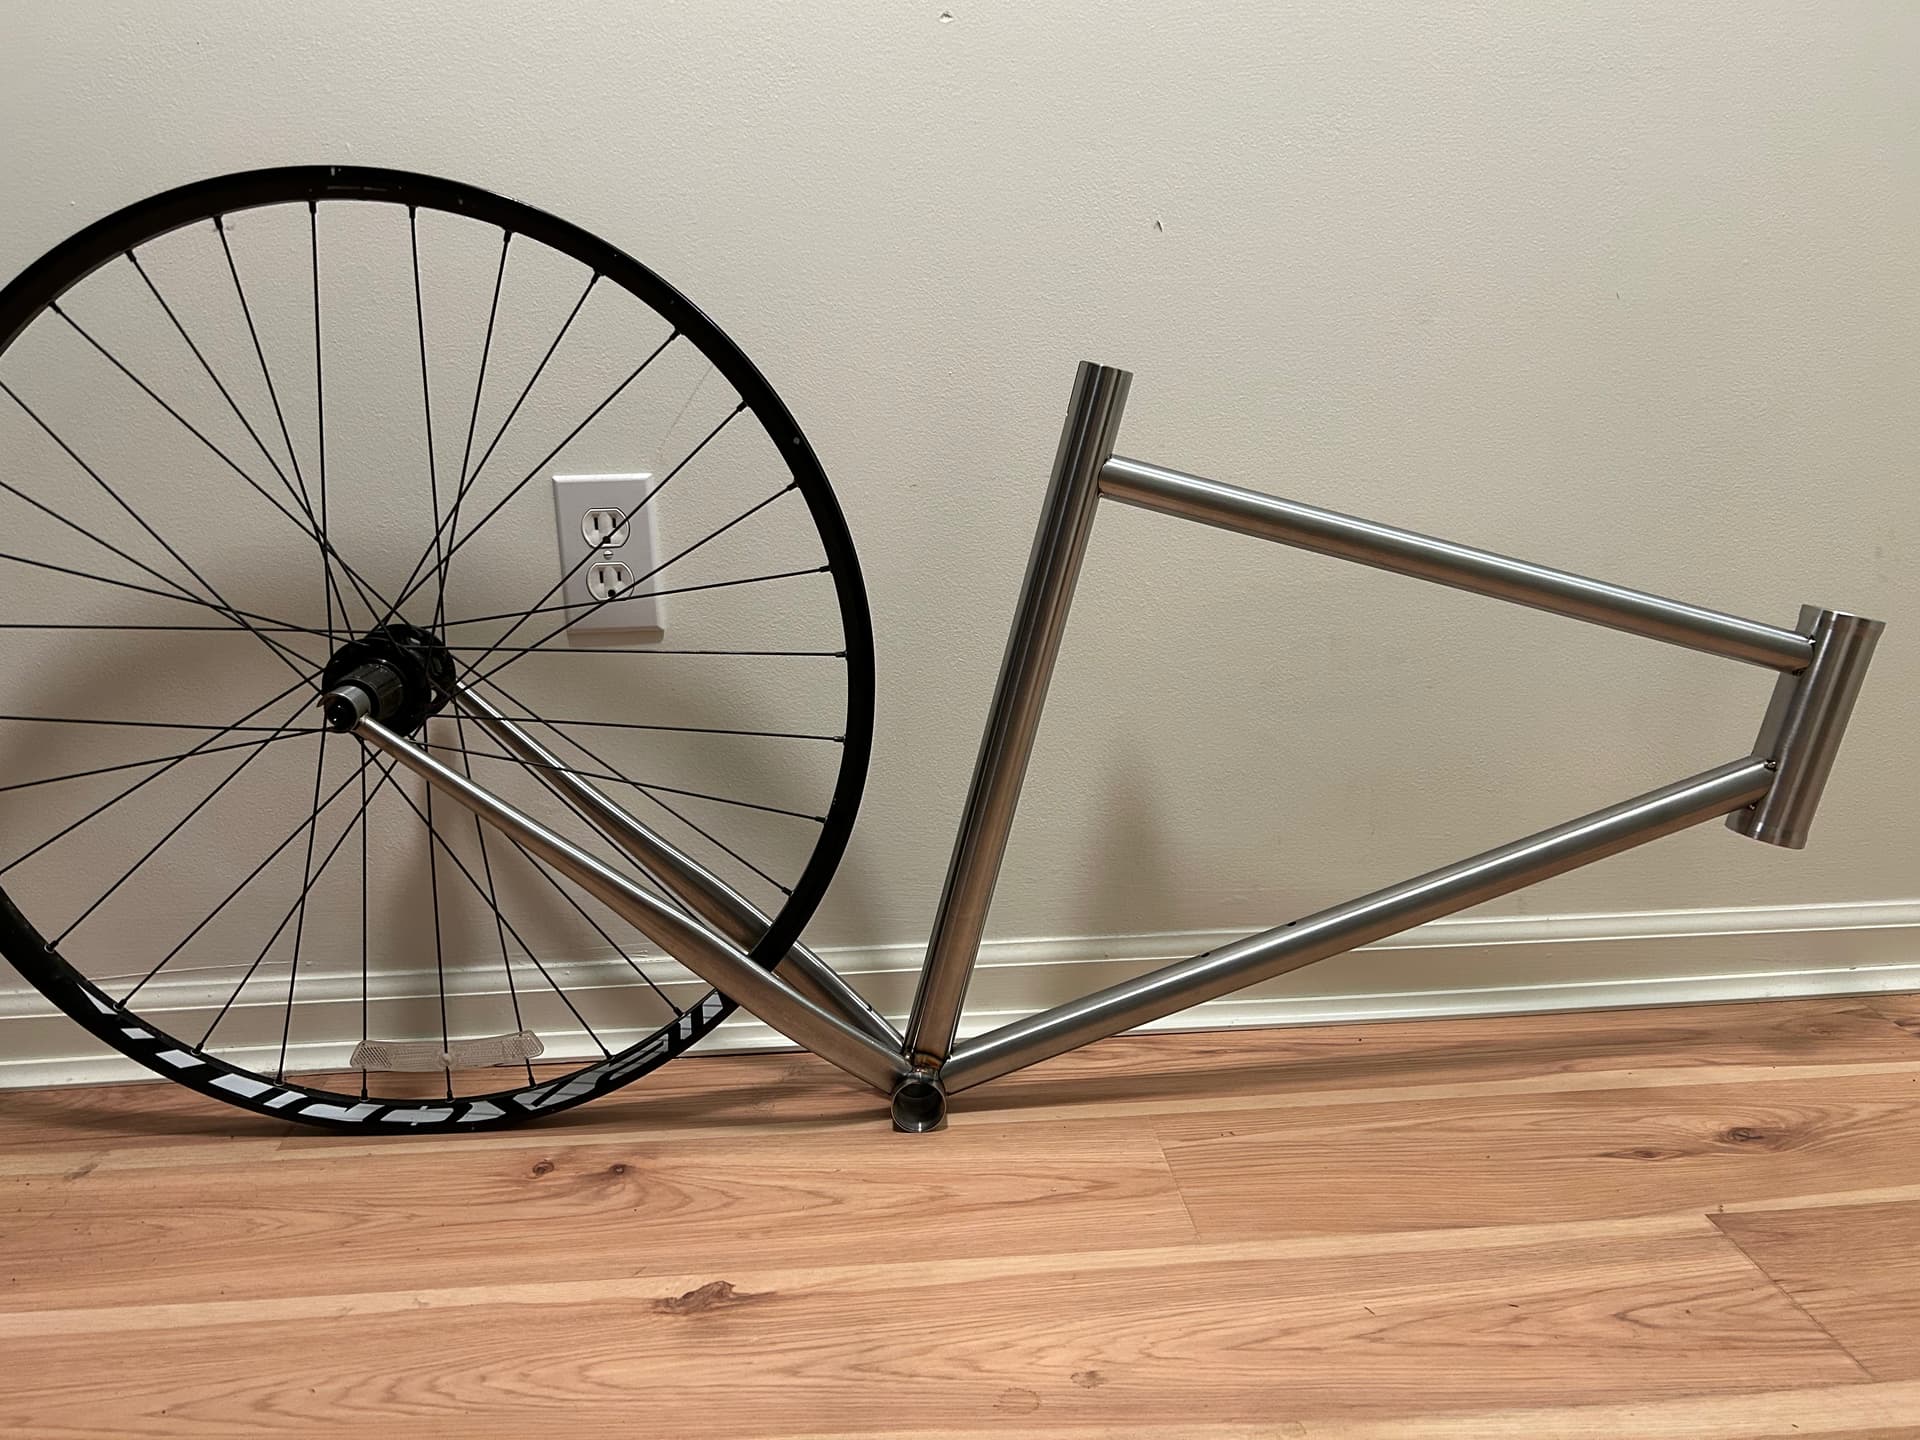
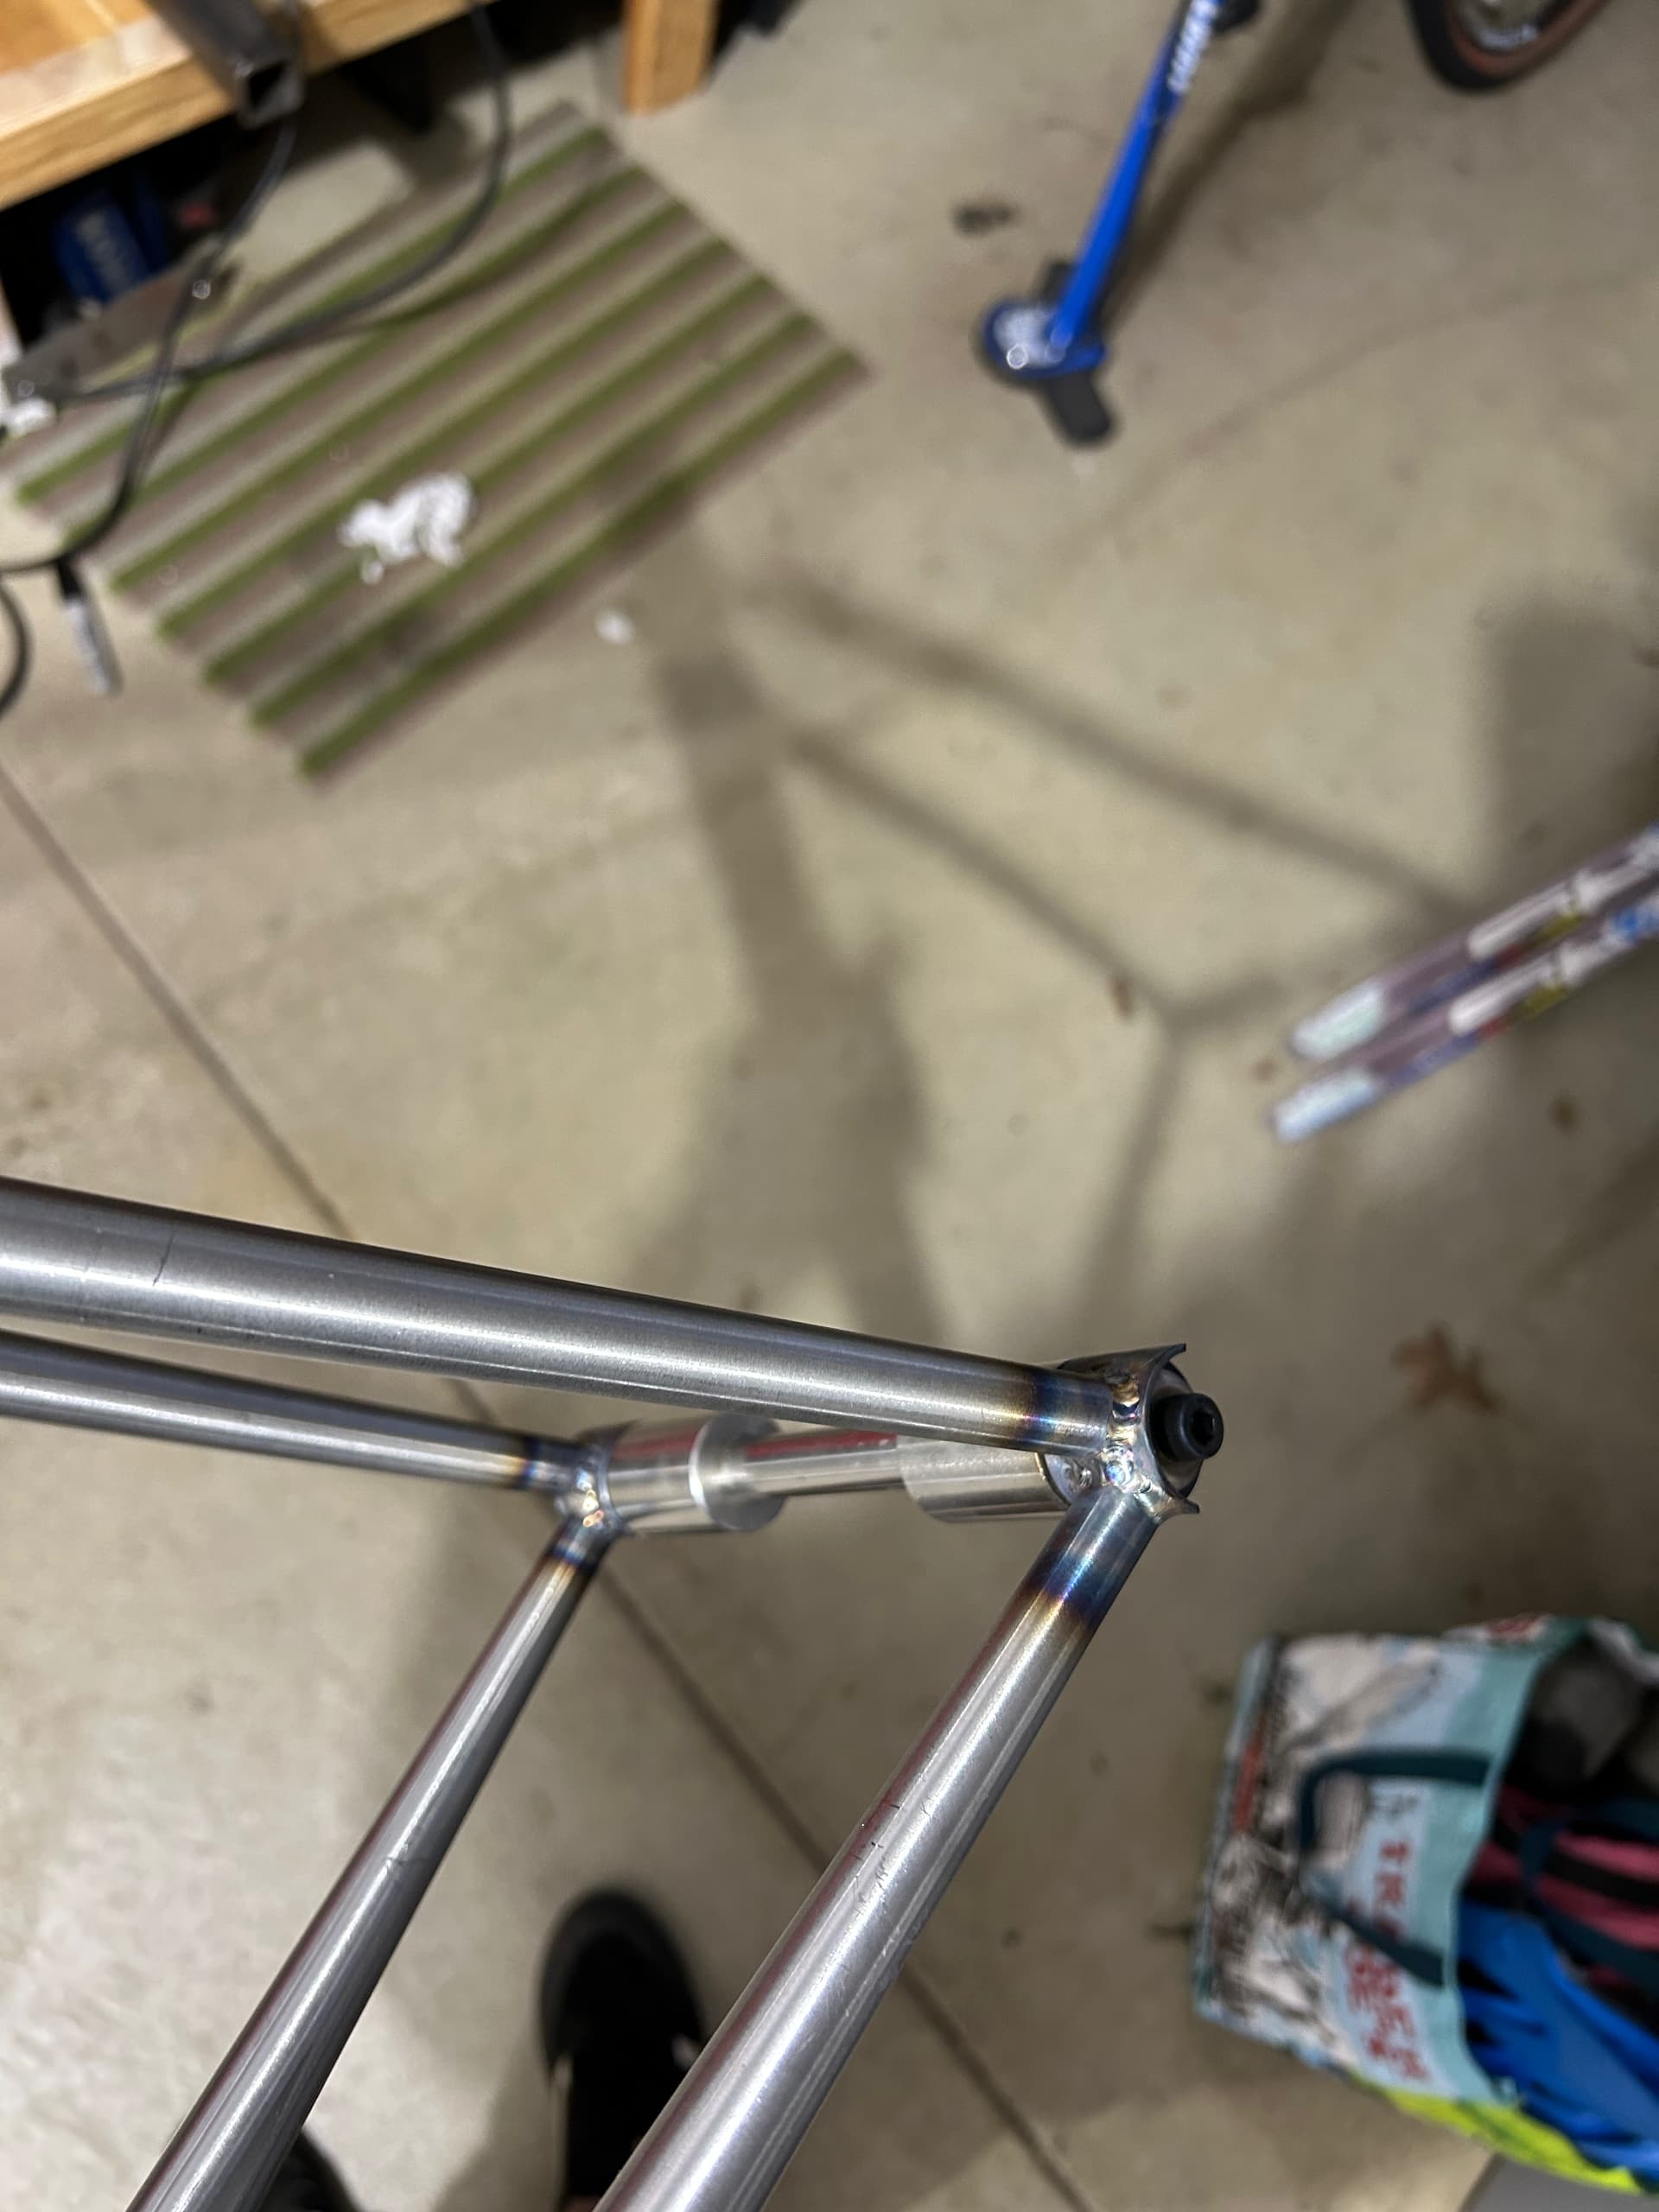
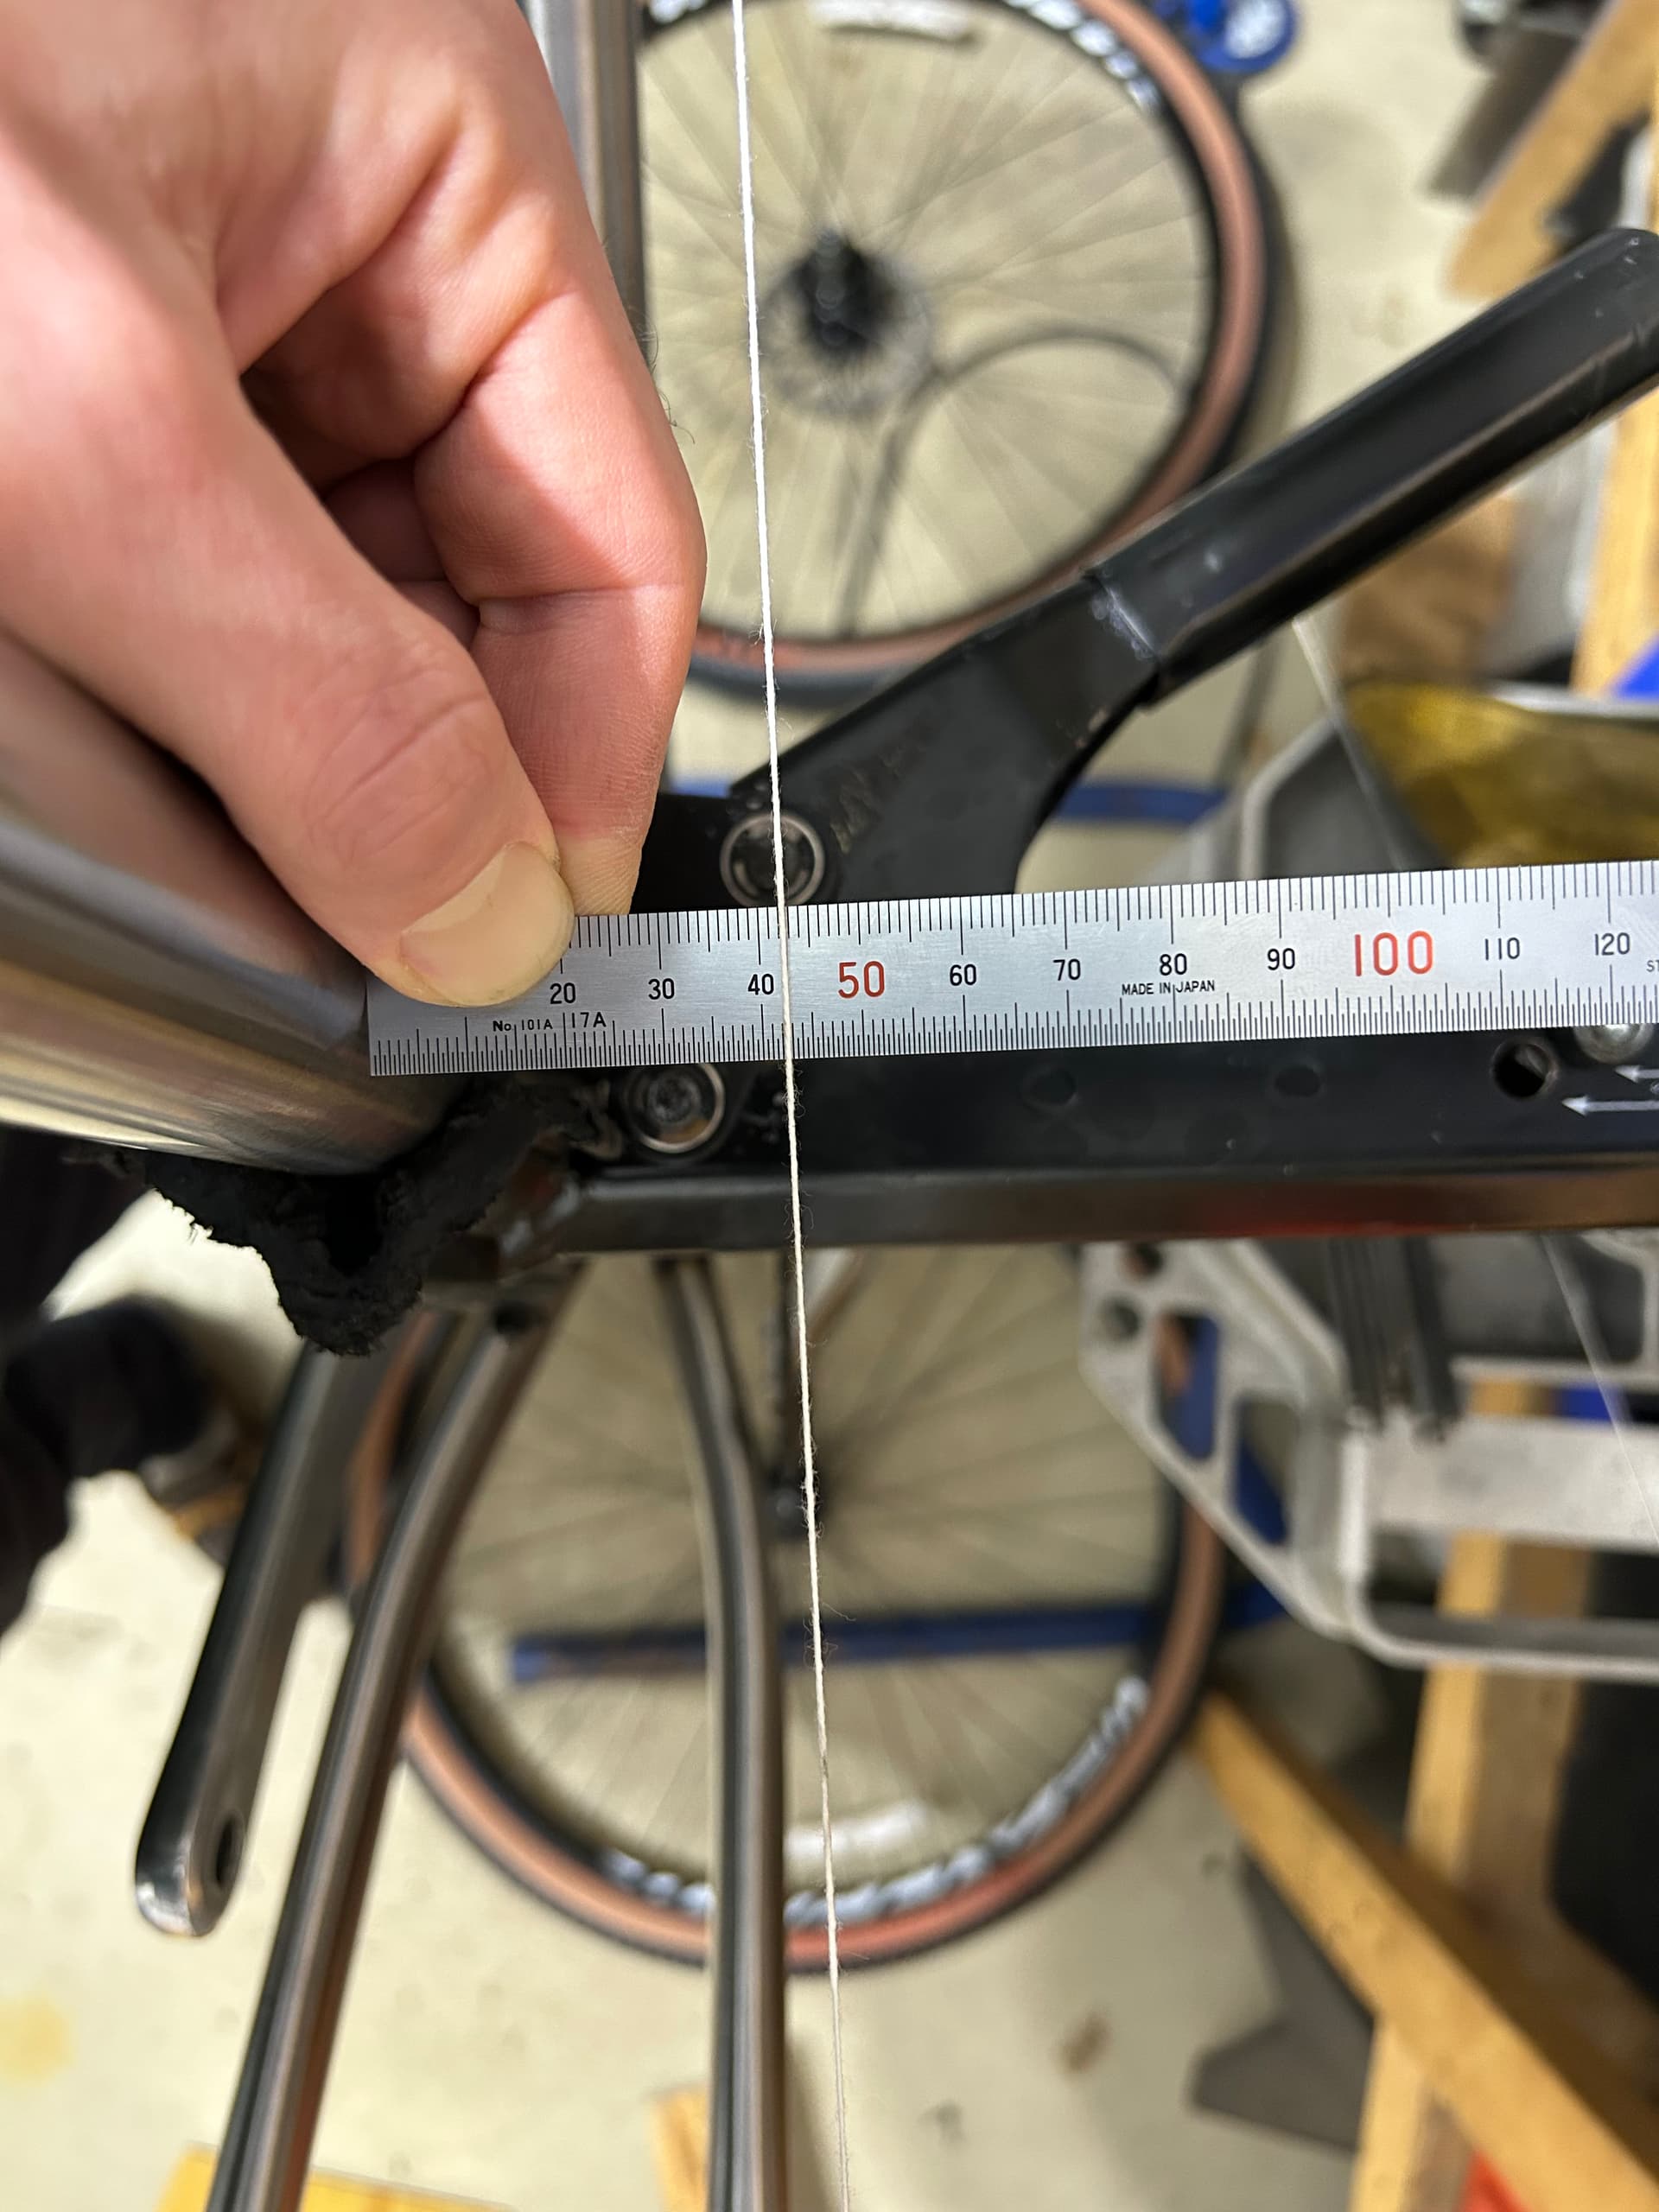
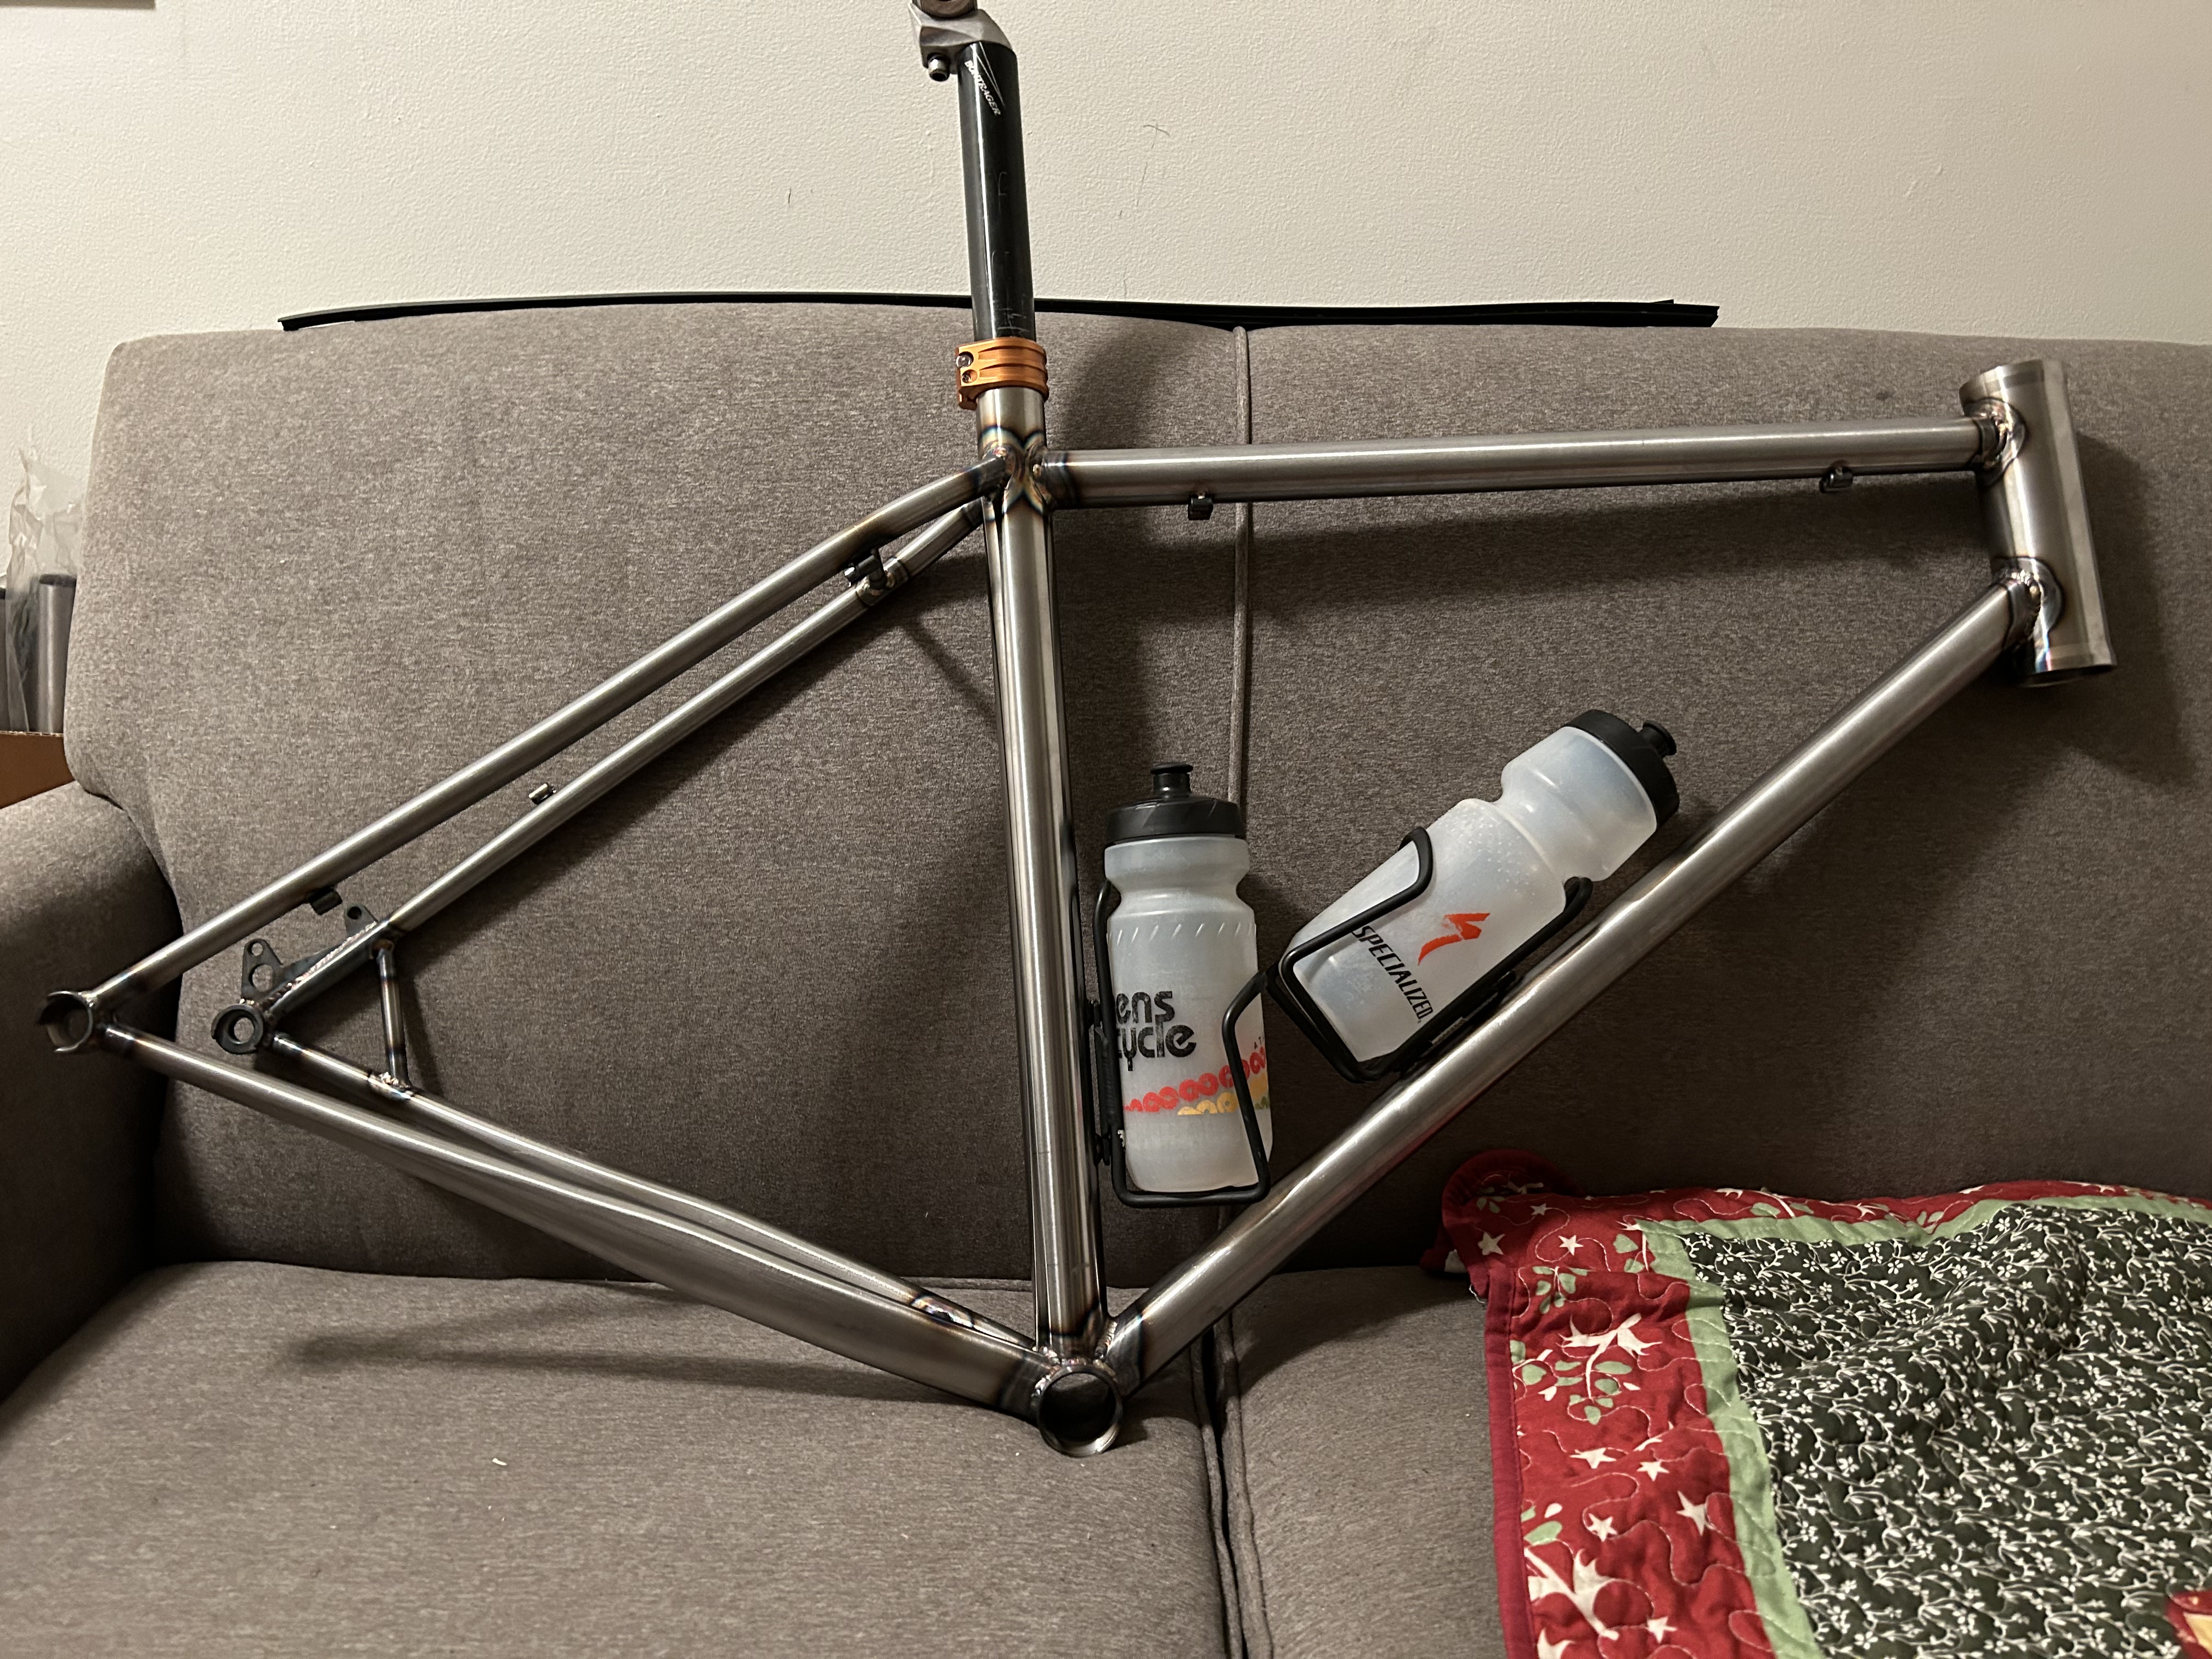
Not much of an update, tubing for bridges showed up today. I put a string around the frame to check how straight it came out. It seems to be pretty good. I’m satisfied with the results of the fixture and welding process so far.

4 Likes
That’s a smart way to check alignment!
4 Likes
There are a number of potential problems that string won’t identify, but the price is right and 95% of the time if the string says it’s straight you’re good to go.
-Walt
7 Likes
Hi Mikesbikester
Those printed chainstay miter cradle & nests look great super helpful for smaller framebuilding setups. Any chance you’d be willing to share the printer files with me?
Cheers
Happy to share, though the design is specific to this particular chainstay from @BikeFabSupply
I don’t mind sharing the template for the hand miter and the seat stay nest, but those are really specific to this particular frame, so I don’t think they’ll be very useful. I’m happy to help figure out some surfacing stuff if anyone needs help learning to design parts like these.
I will add the tubes that I used to the tube library thread.
Anyway here’s the chainstay nest:
BFS-24MM UNO S BEND CX CS NEST.STL (285.5 KB)
BFS-24MM UNO S BEND CX CS NEST.STEP (523.9 KB)
1 Like
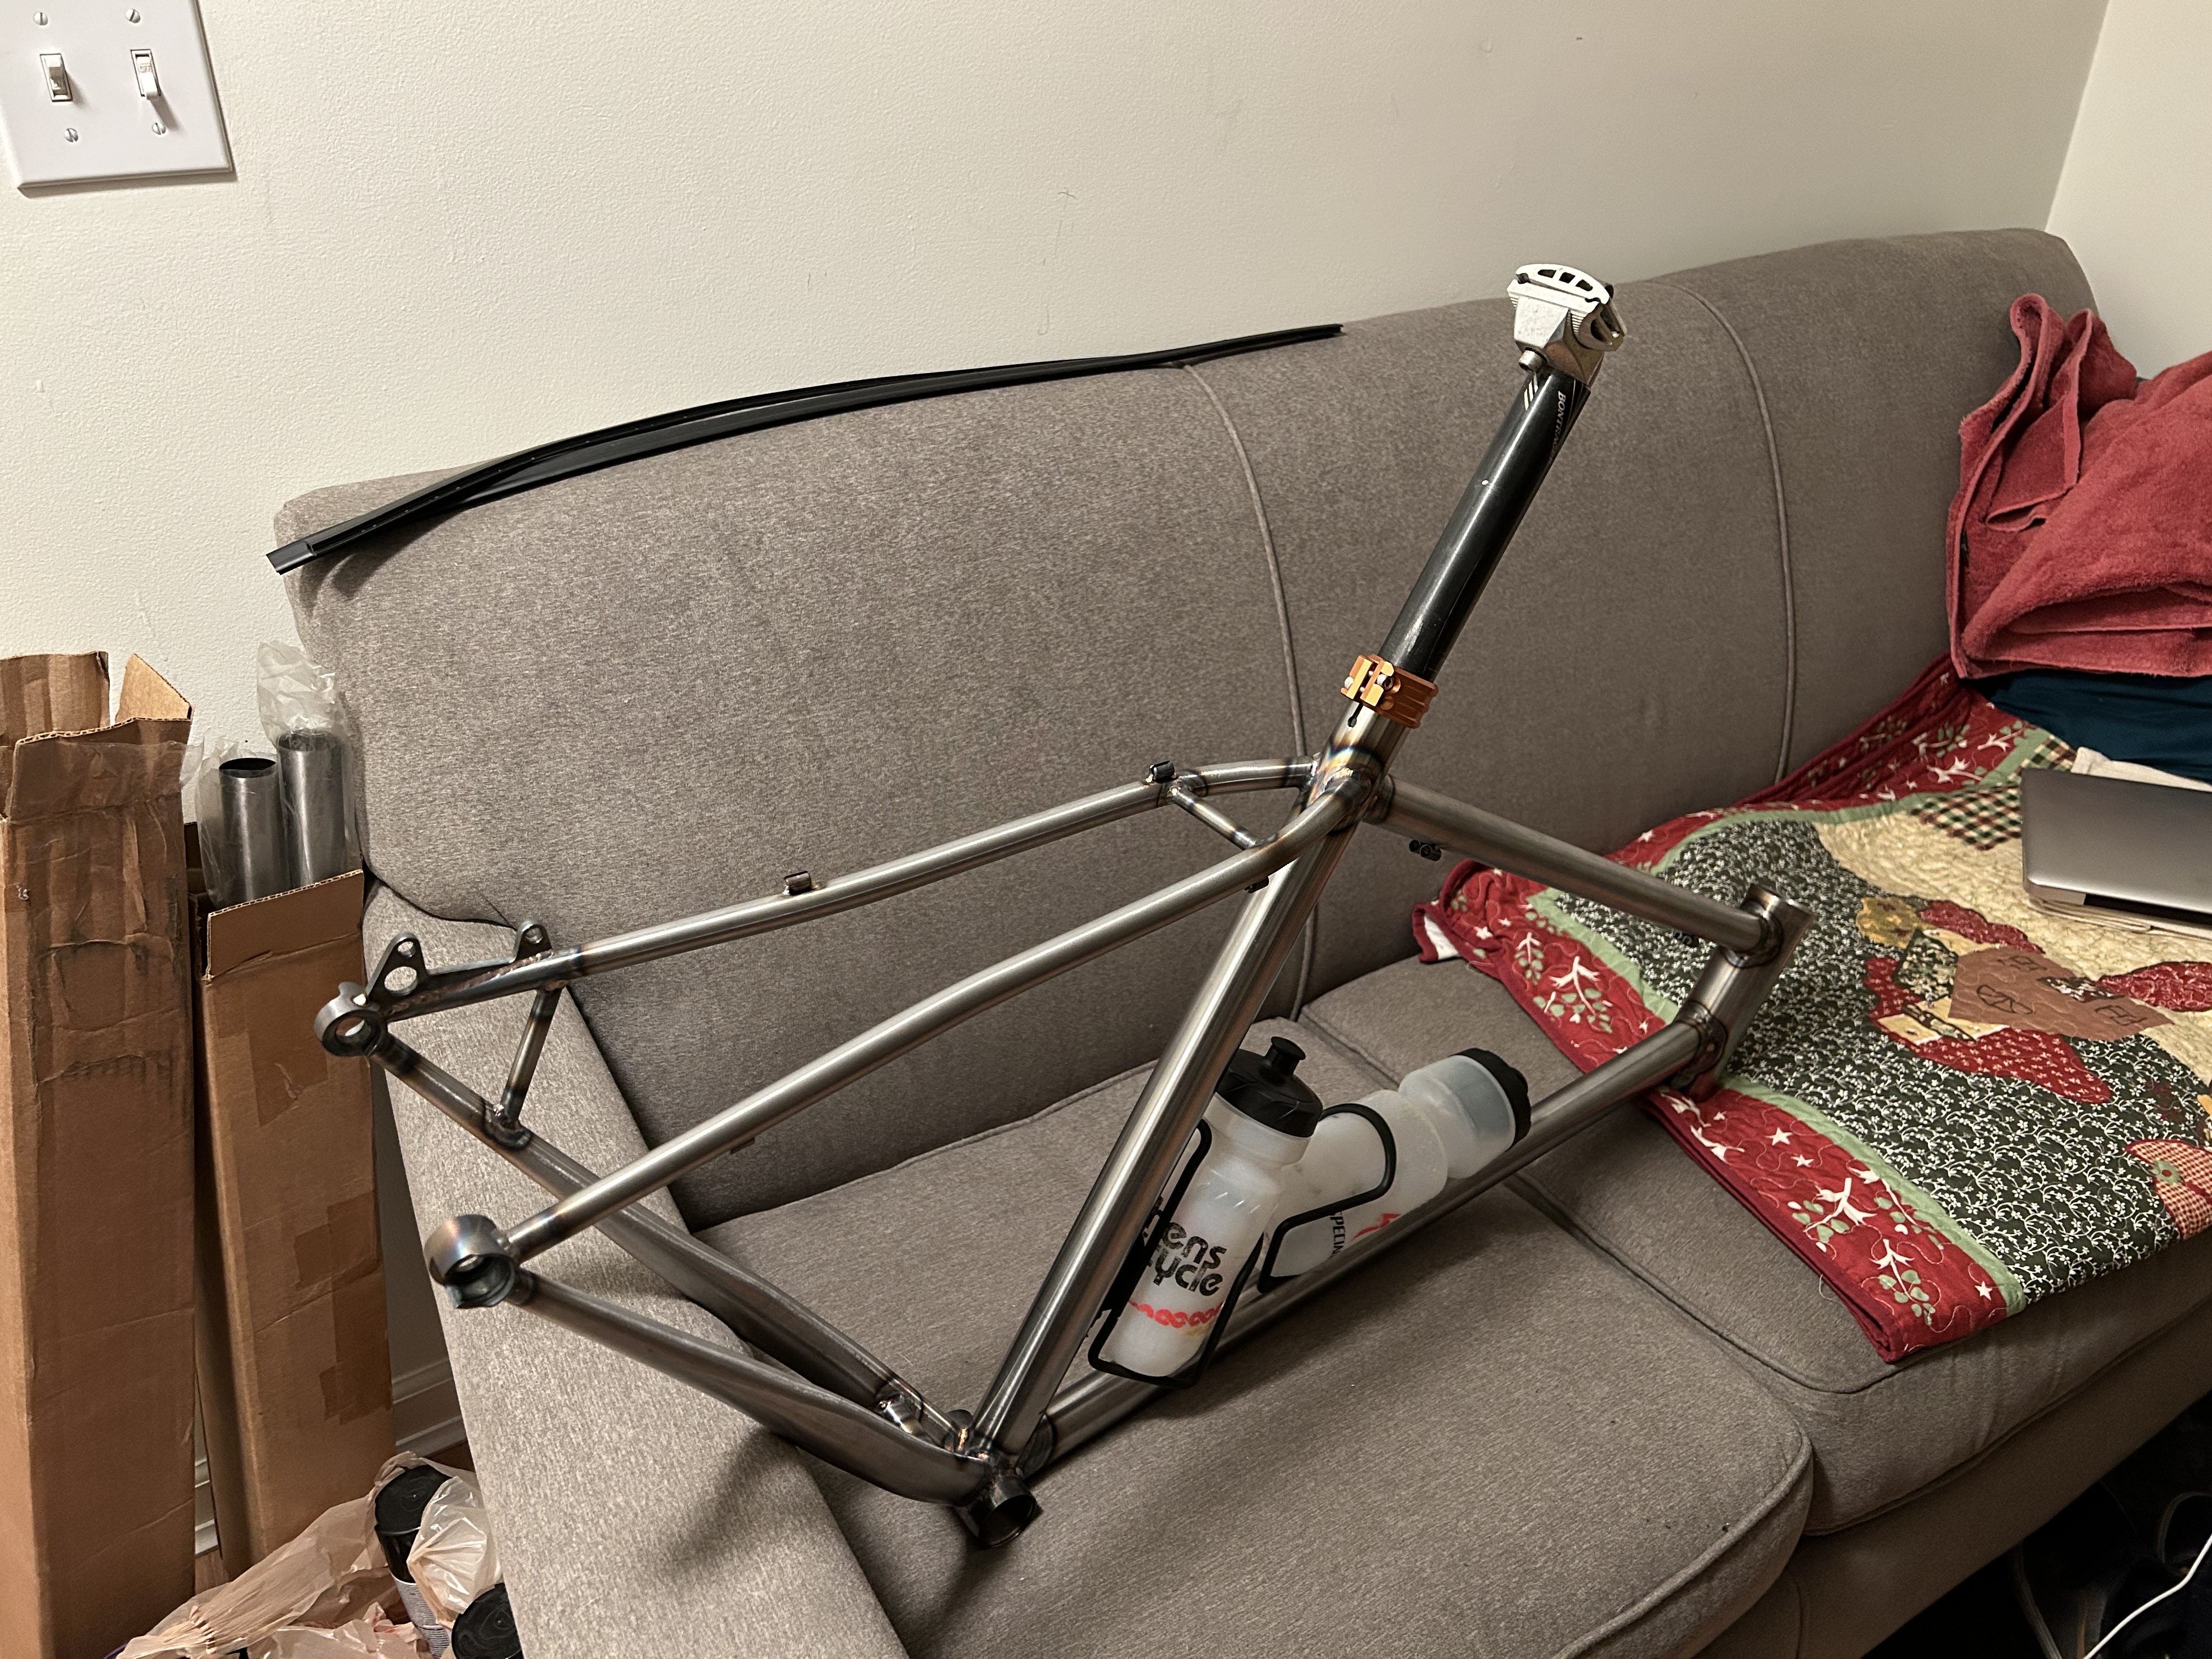
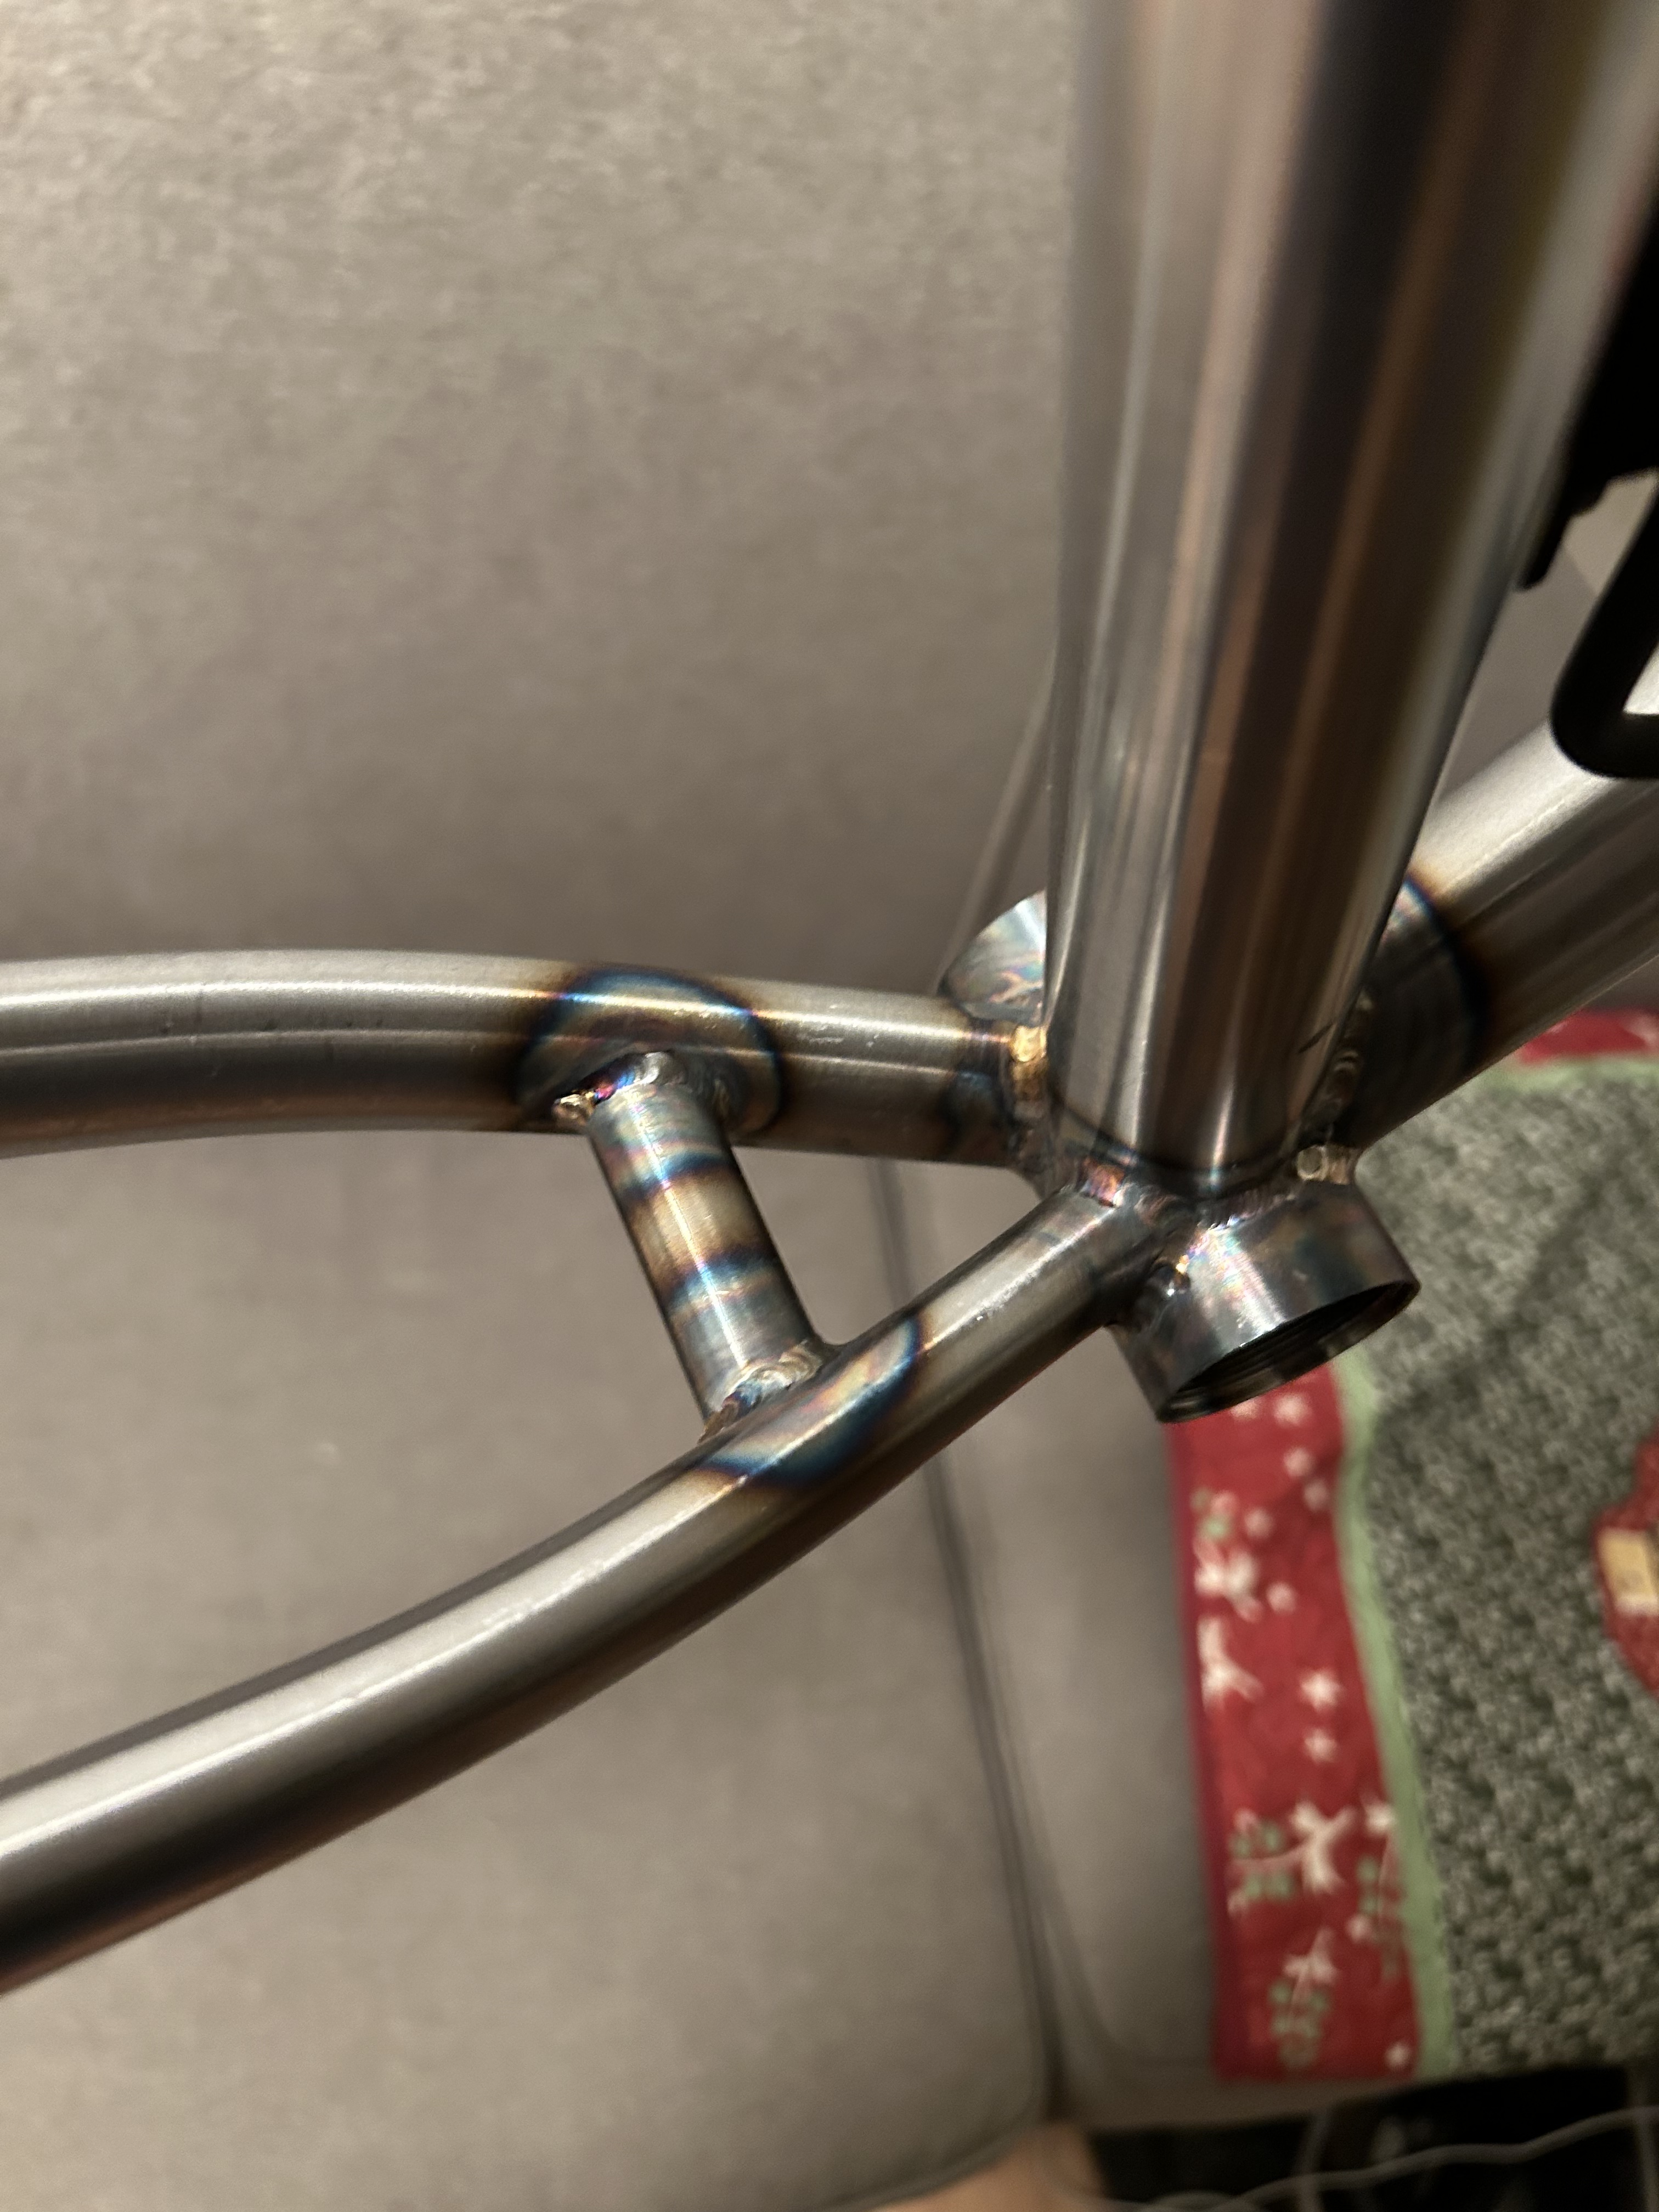
I forgot to update, added bridges, cable stops and a brake tab. Glued in the bottle bosses, just need to ream the head tube and face the bb, heading to do that at my friends shop next week. Still need to order some parts too. Hopefully will be rolling in a few weeks though! Probably going to hold off on paint until it gets warmer. No sense in painting it in the cold just to have to re do it. Or maybe I’ll have the local powder coat shop do it so that it’s done, not sure yet.
Brake tab weld was weird, I was in a hurry and it came out looking bad. It’s probably not going to fall off though.
6 Likes
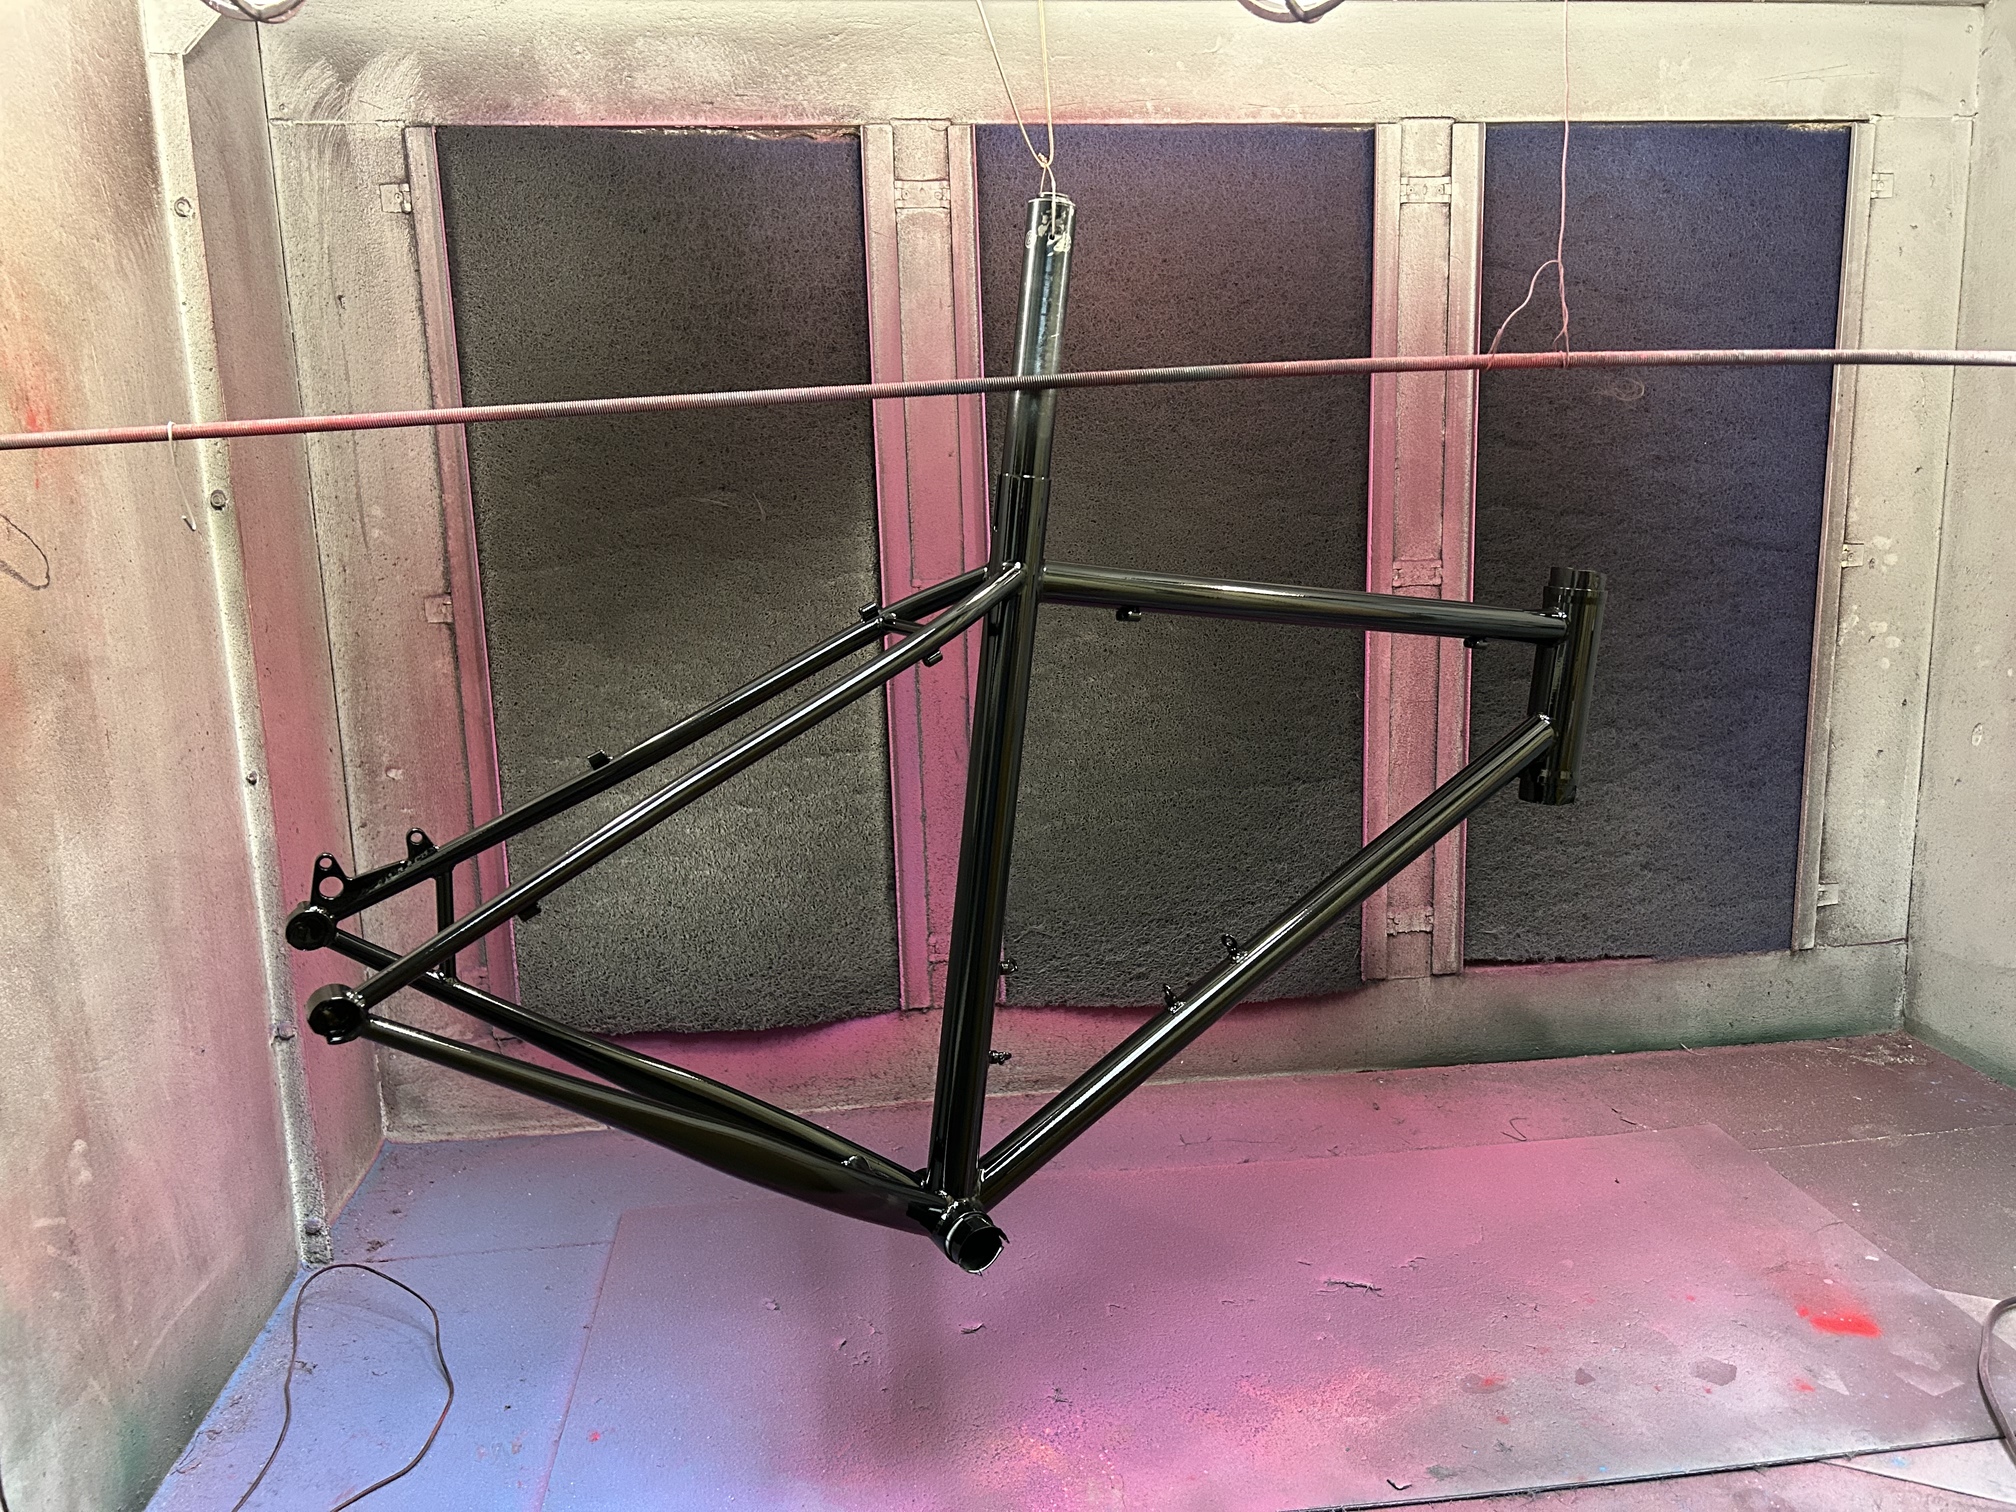
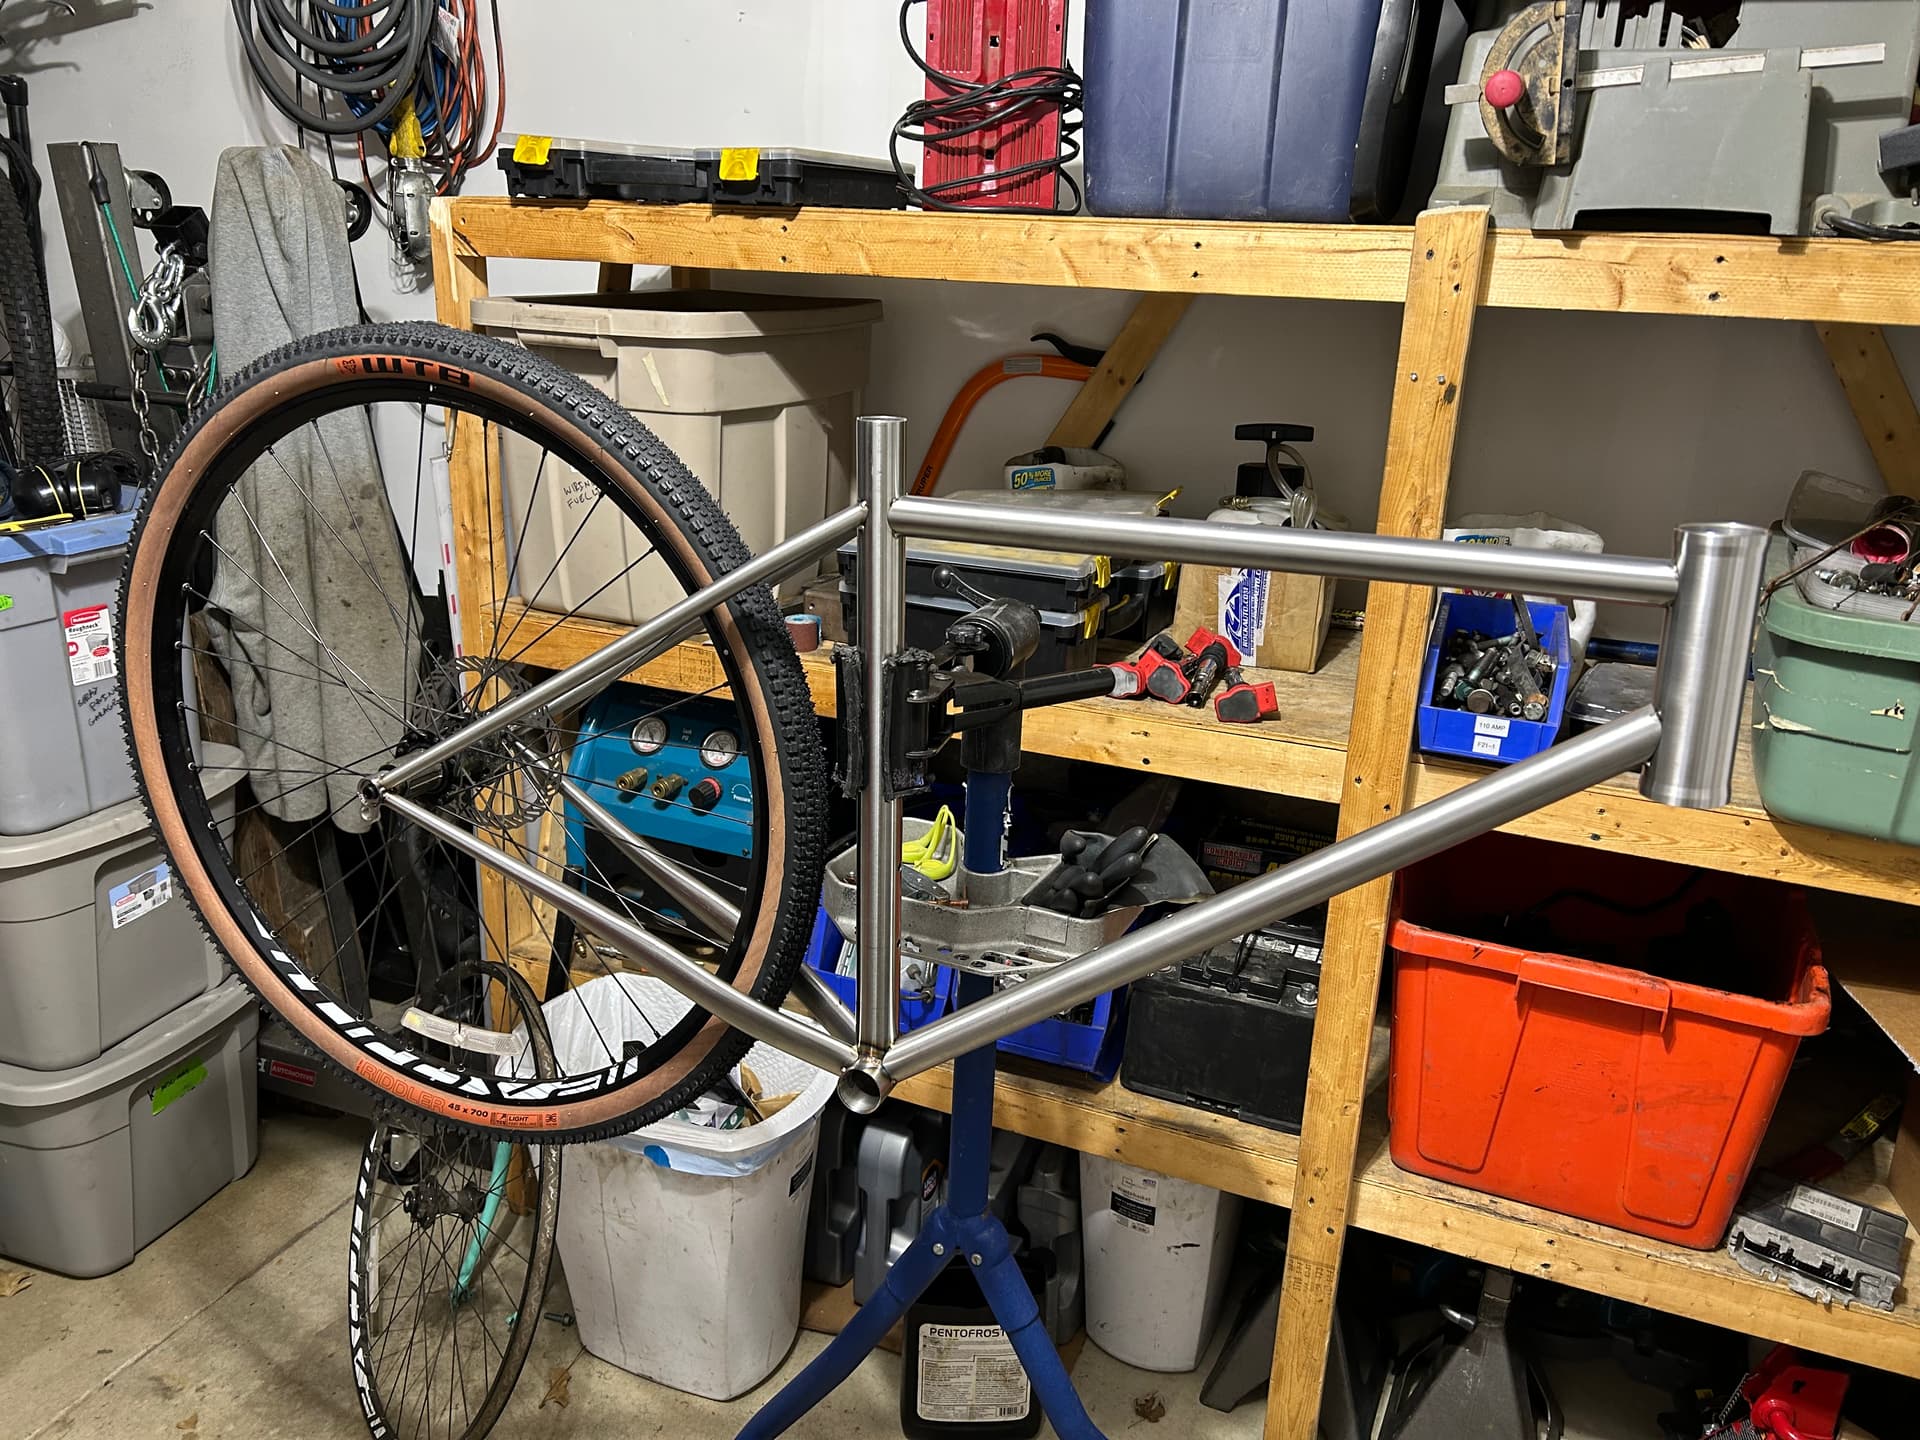
BB chased/faced, HT reamed/faced, and fogged with rattle can enamel and clear thanks to a visit to one of my buds. Waiting on bars to show up this week and should be able to finish assembling.
6 Likes
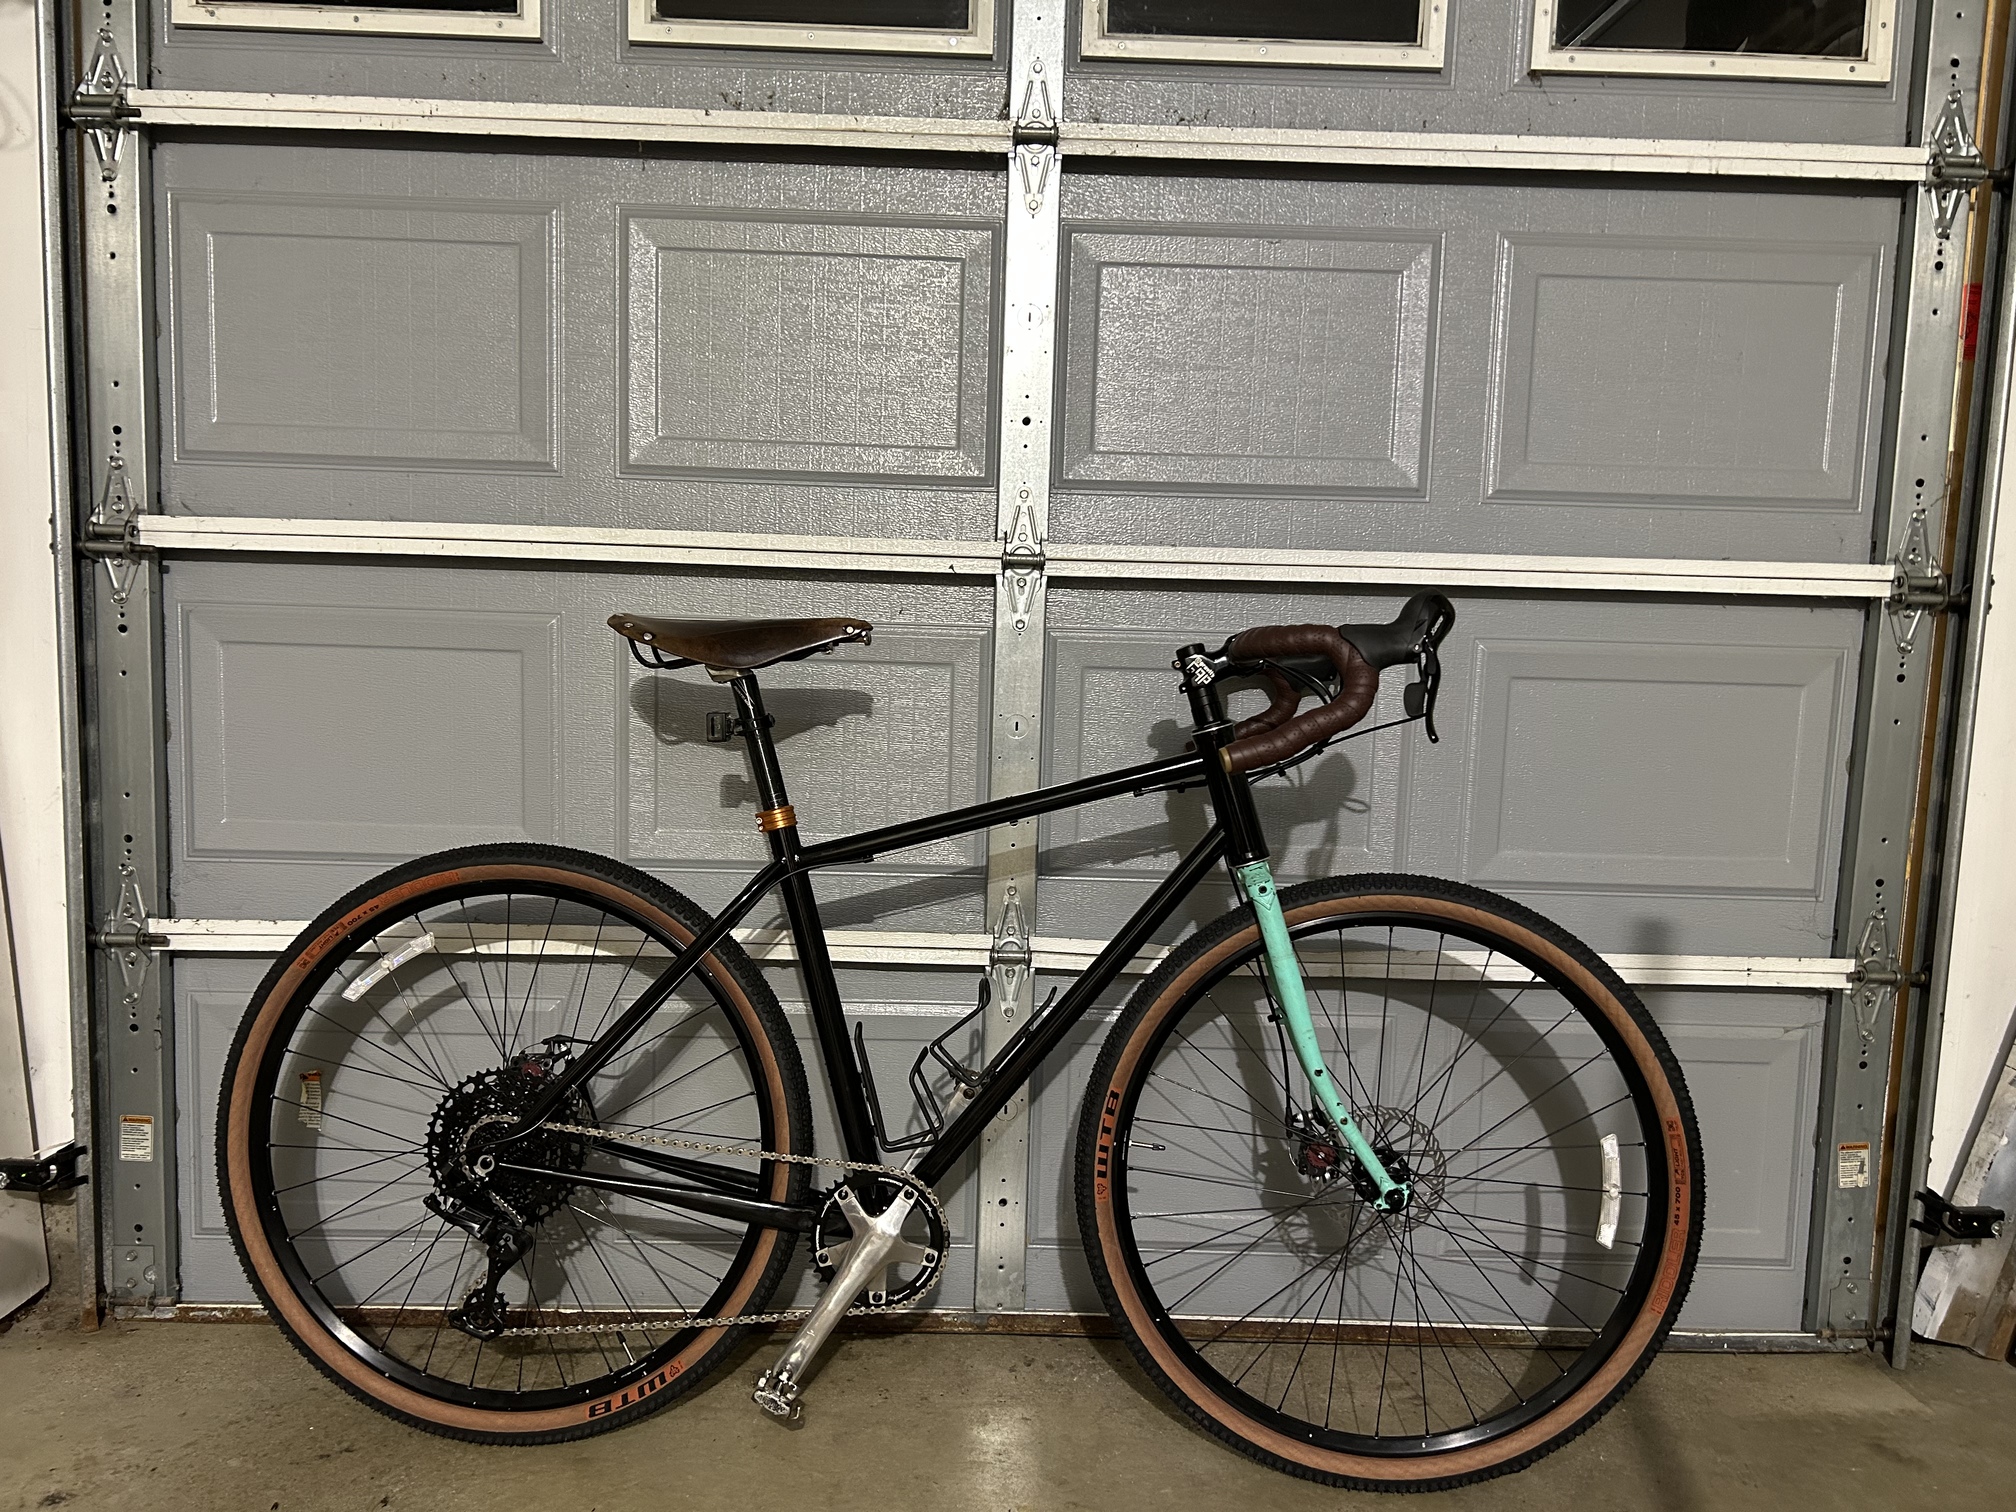
Gravel bike assembled, pedaled around the block once. Rides well, I’m super excited to get some miles on it! Need to change the bb7 mtb calipers out for bb7 road calipers. I think this about concludes this frame. I’m working on a full squish design to replace the twin top tube hard tail and have also started thinking about a replacement frame for my single speed (maybe even with a suspension fork and a belt drive).
8 Likes
Love it! Soon you would have built a horizontal mill from scratch!
But seriously, just like how the cobra toob bender opened up new workflows, I think a compact, well-designed tube mitering setup like this could enable the garage builder.
2 Likes
Haha no doubt! Hopefully I won’t be adding too much more onto it after this, maybe just improving 3d printed tube stay holders and such.
This tune notcher is great, for a while I was thinking would make some to sell as most of the parts are easy to make and can be laser cut. The tube clamping is the hardest part of the design and I never really came up with a good way to hold the tube that was affordable, which seems pretty consistent with various tube notchers on the market. I agree though, this type of tool seems to work well for a builder who doesn’t make a lot of bikes and has a small work space.
2 Likes
Awesome!
are you using a linear rail to control feed? how is the feed controlled?
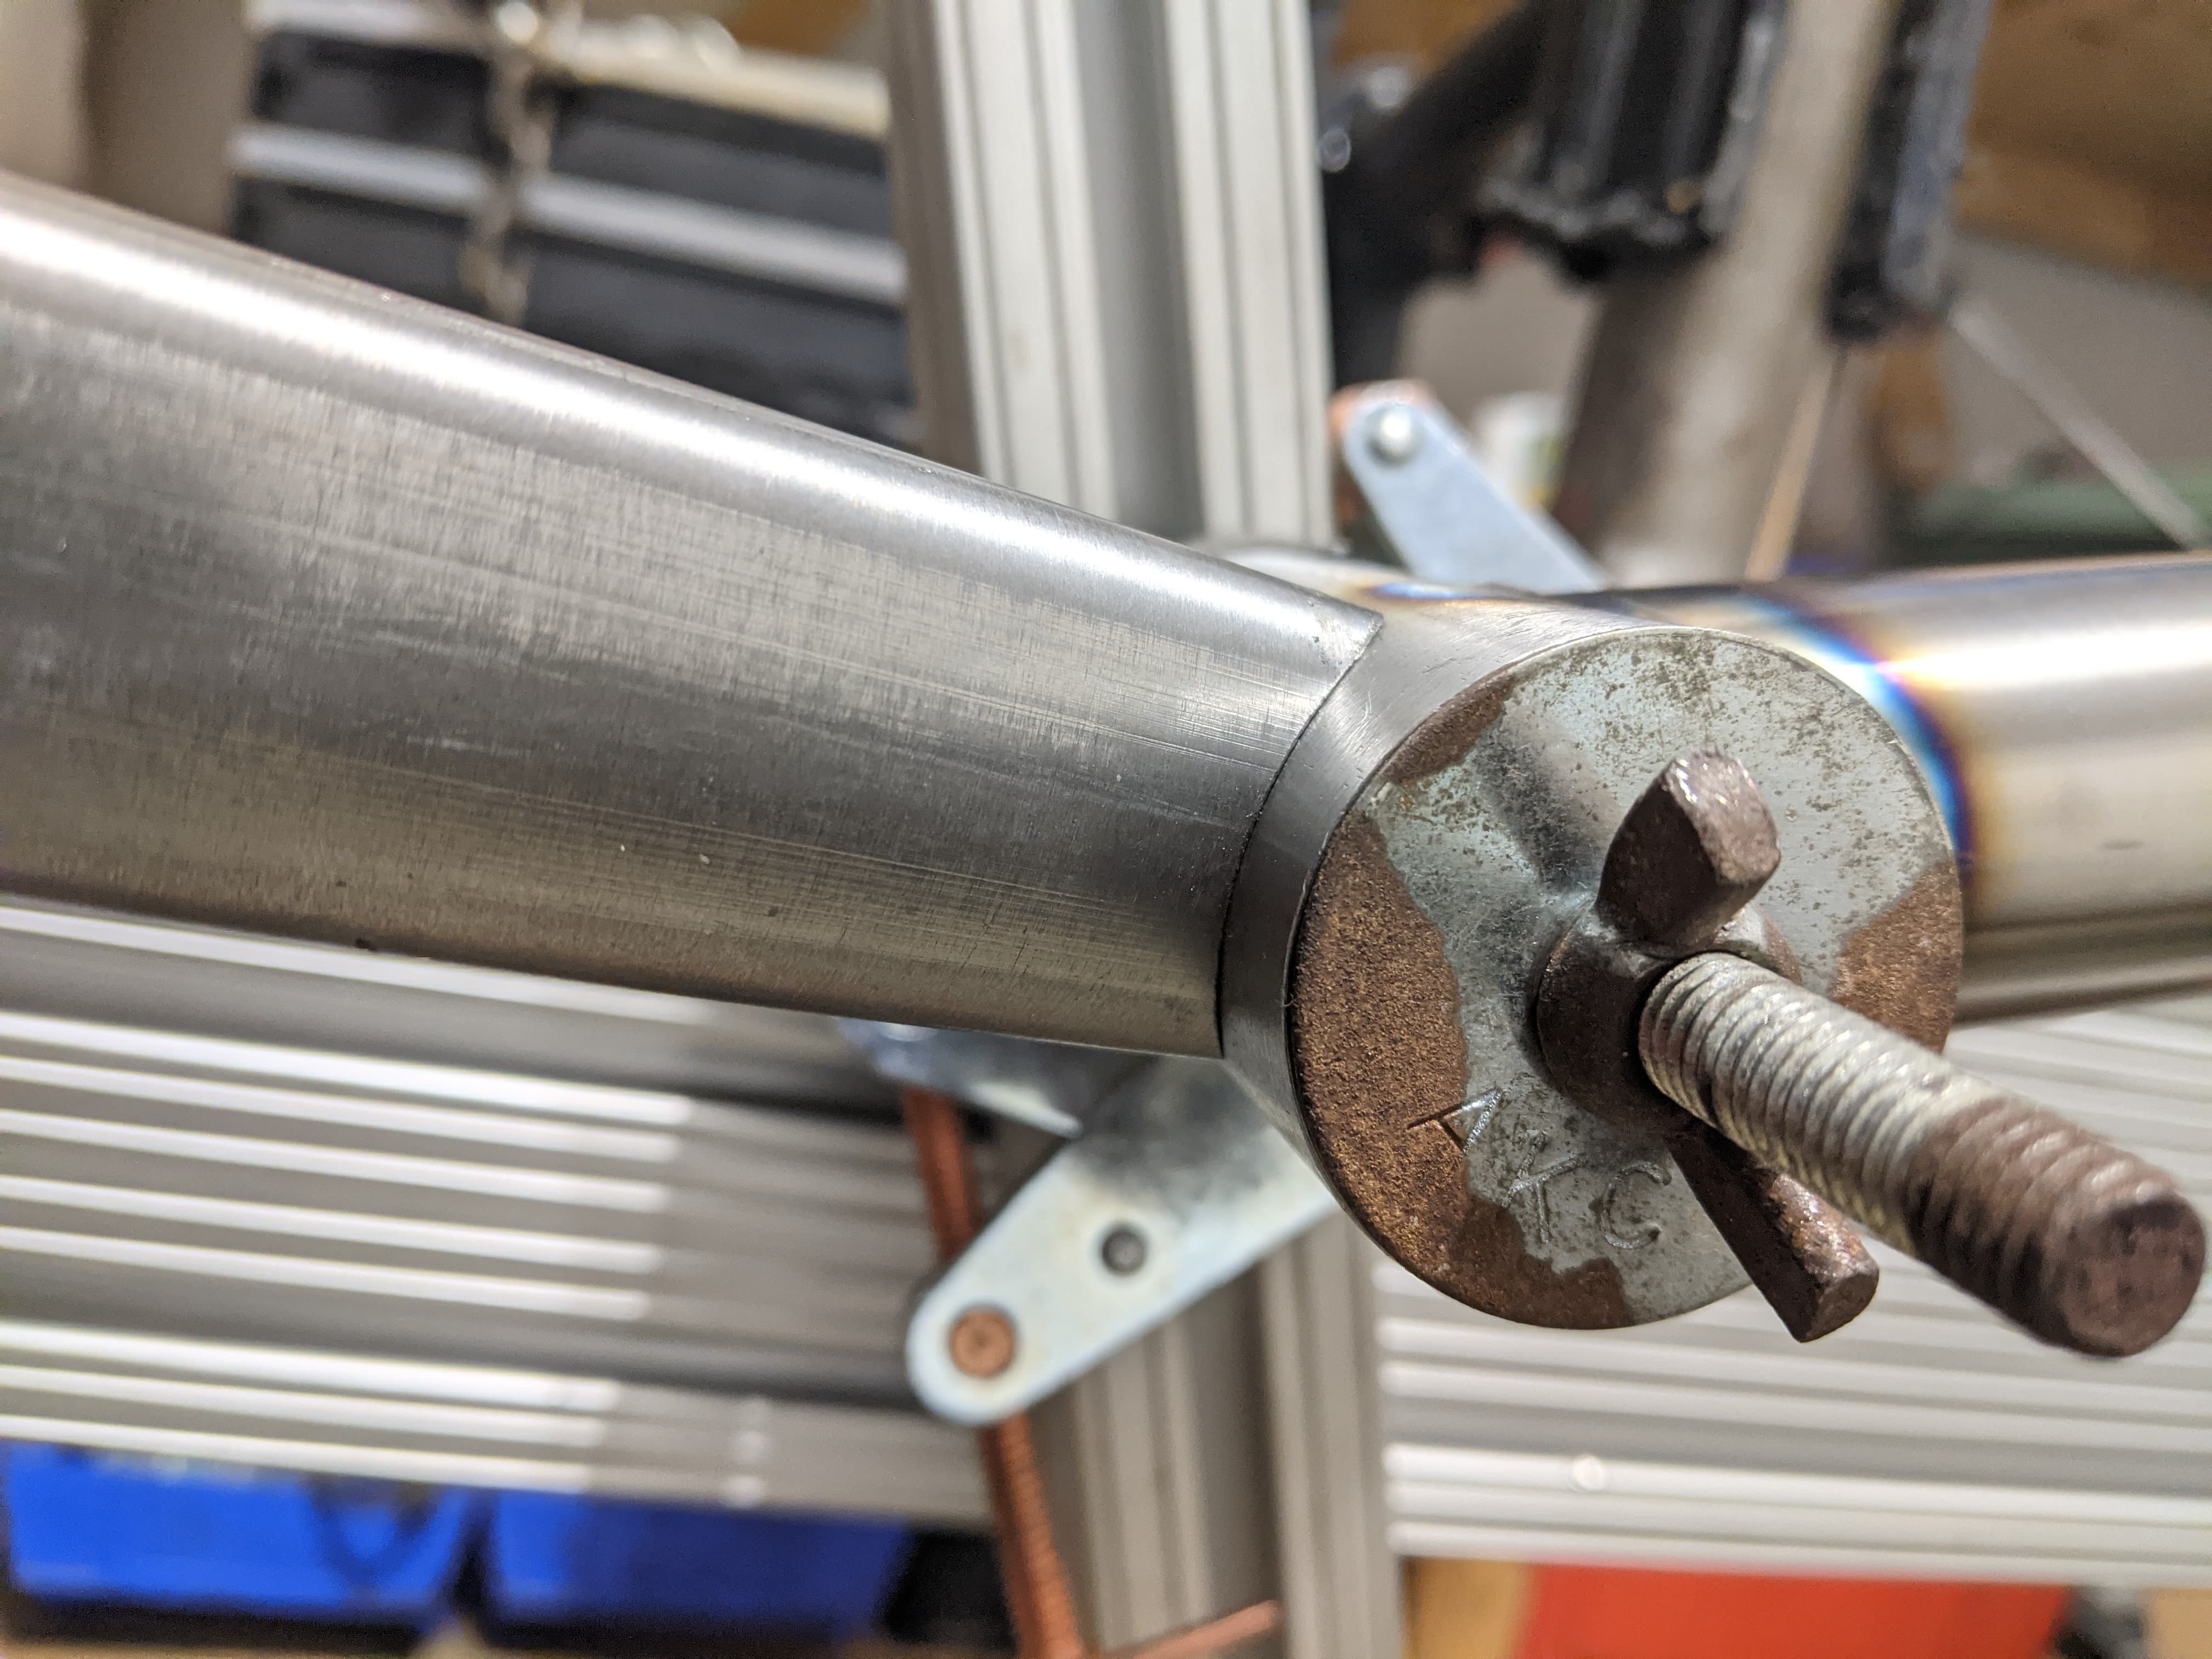
Thanks! The notcher does use a linear rail to guide the saw. Feed is controlled with a threaded rod that I used for a feed screw. There are some pictures of adding the feed screw up in post #6.
2 Likes