Nikomi v1 - part 1
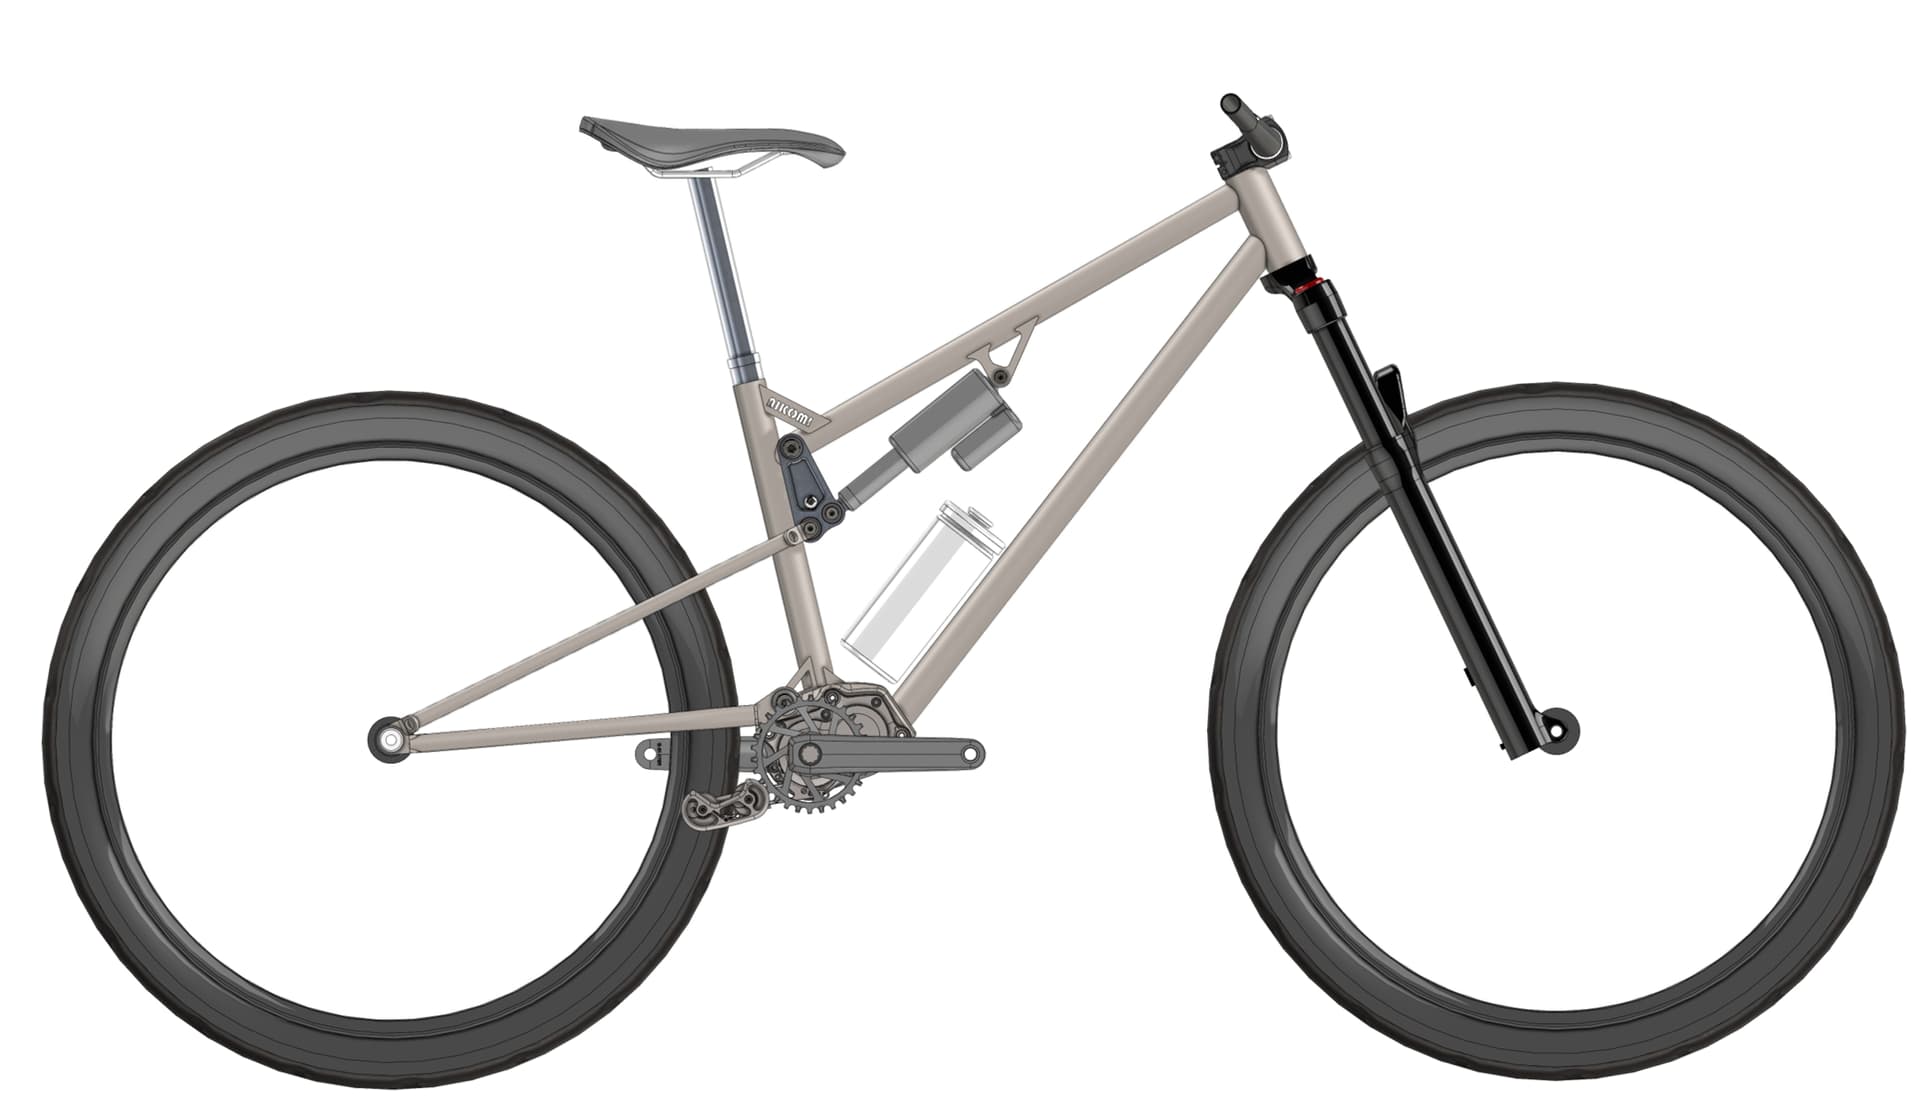
I’m not going to go through all the 101 iterations of designing the bike, you all know how that goes  But being the first bike, I tried to do things cheap (laser cut sheet metal). I used Solidworks from my school and Linkage X3. I have learned a lot about 3D-modelling since but this got me started
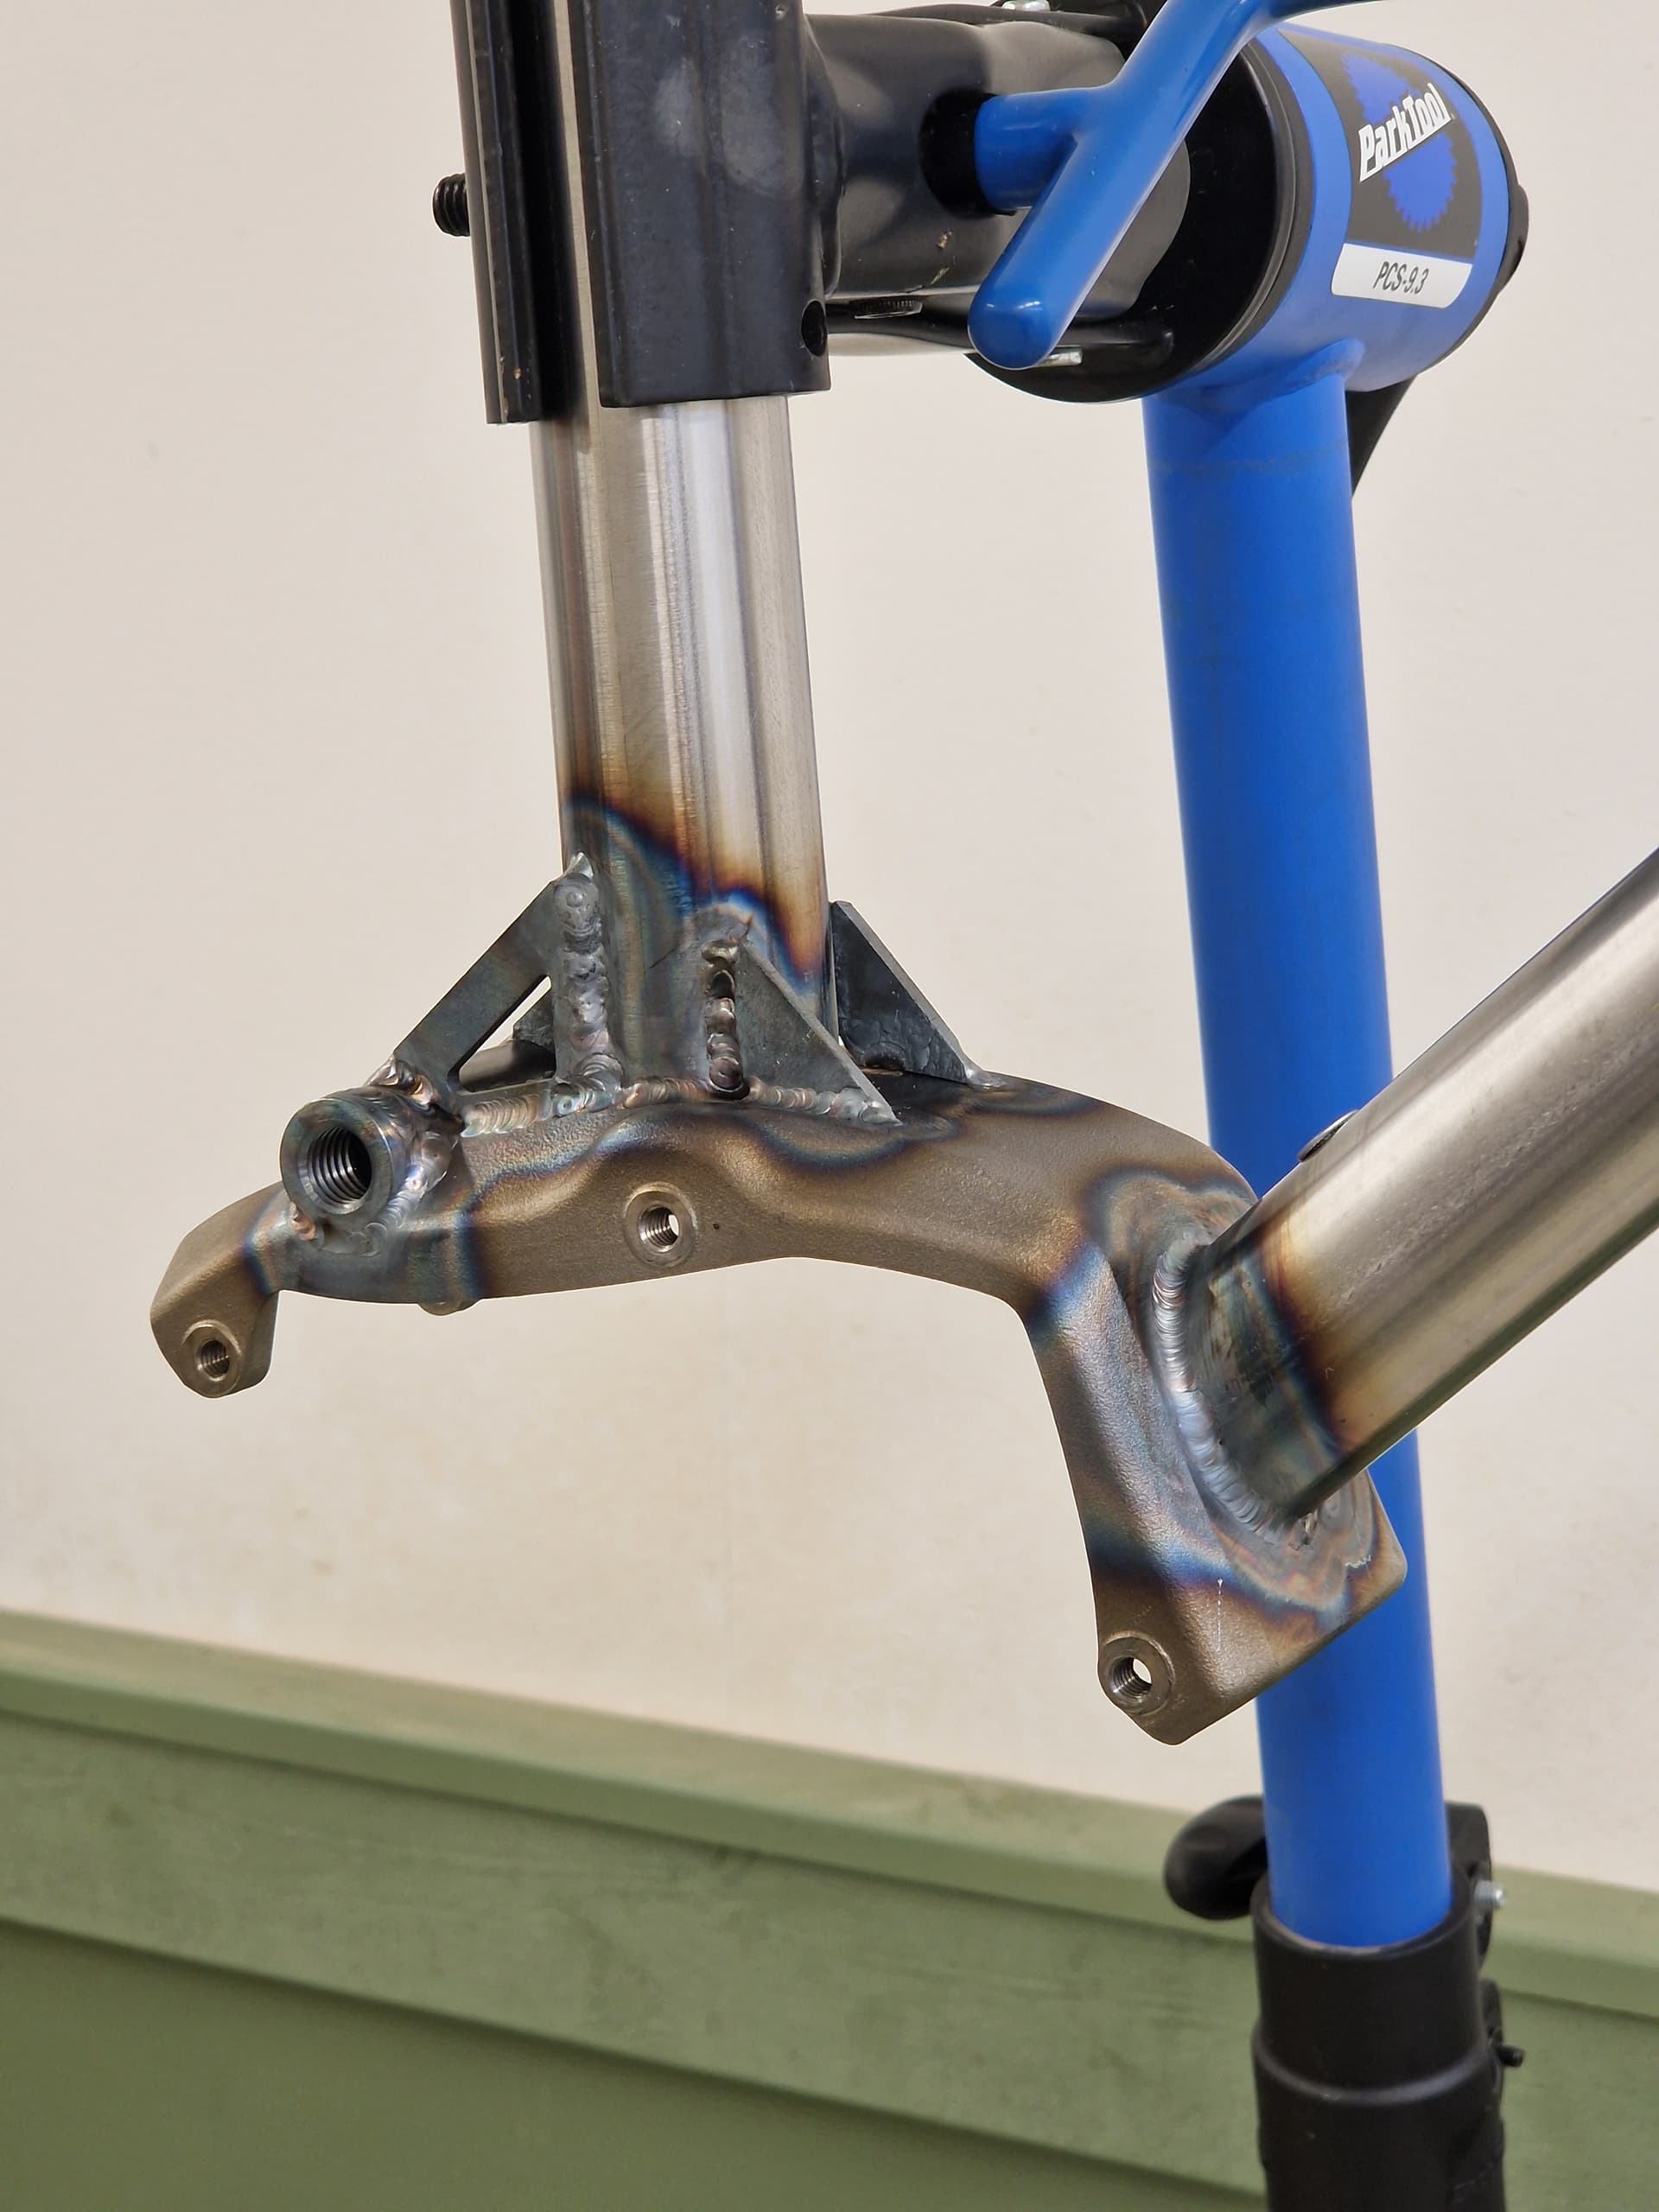
I did some FEA also, to optimize the shock mount, and also I realized I needed to add the gussets on the seat tube / gearbox bridge junction, for example. I used 6000N pushing down on the bottom bracket, and tried to iron out the points where excessive stress occurred. I’m 170cm and 65kg and this method has worked for me this far 

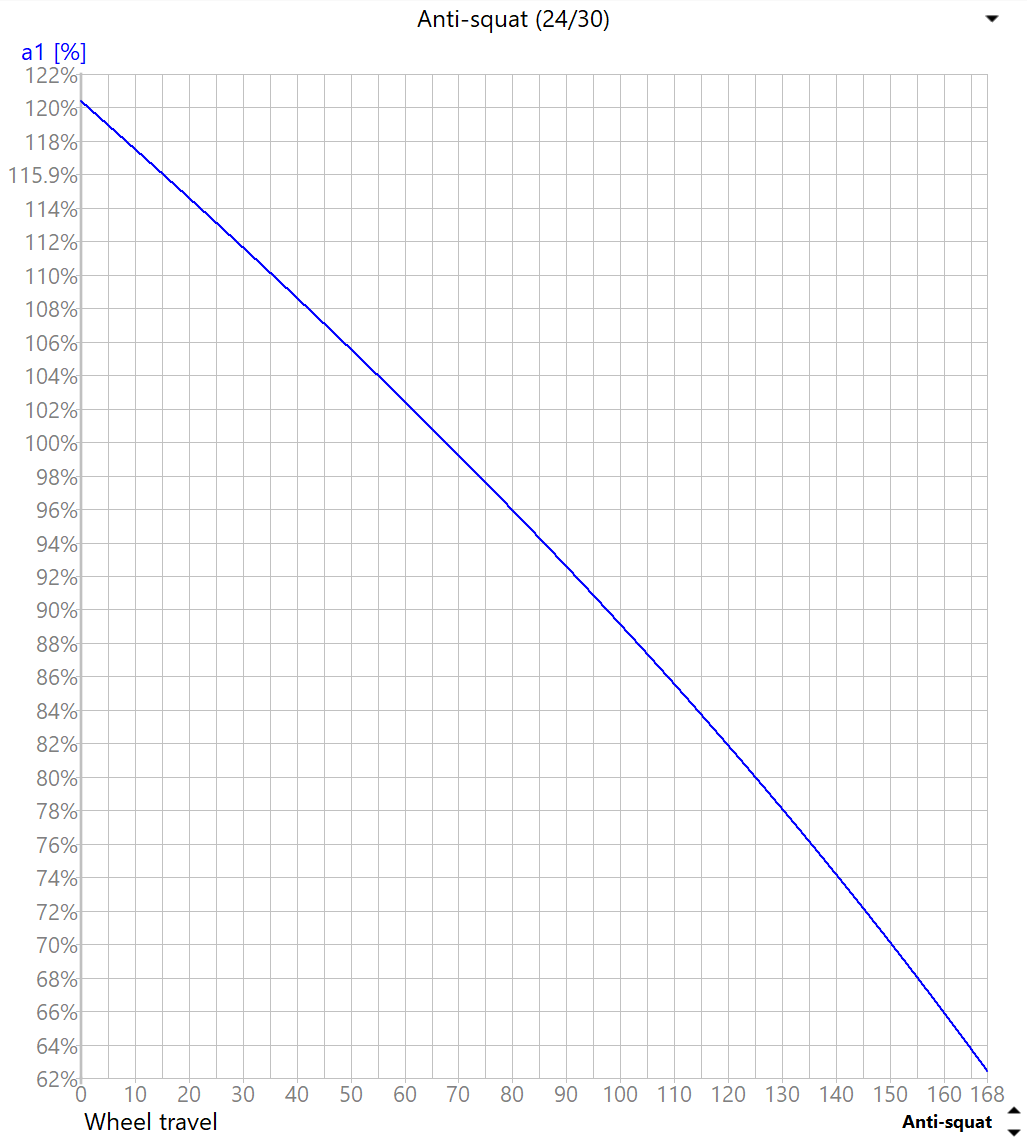
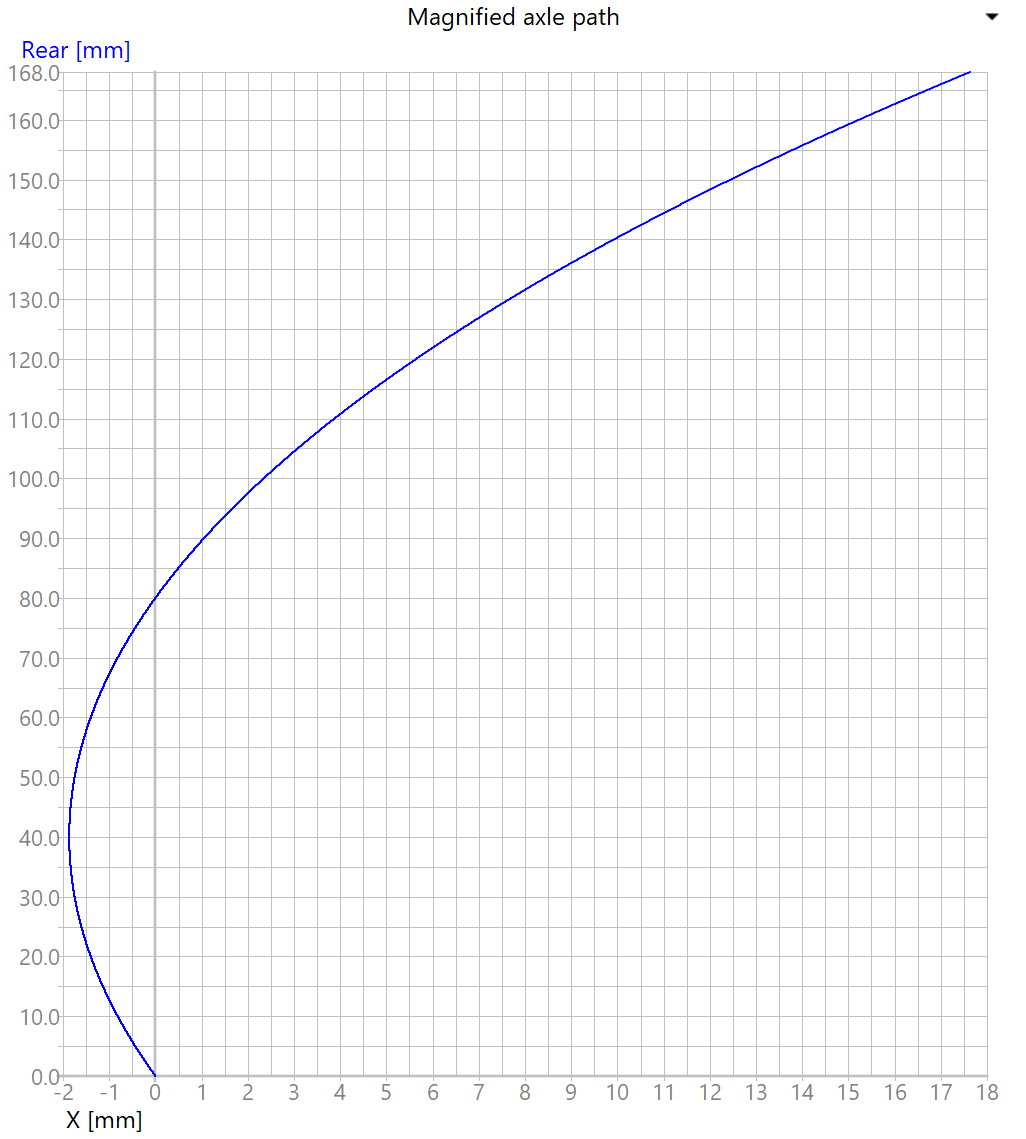
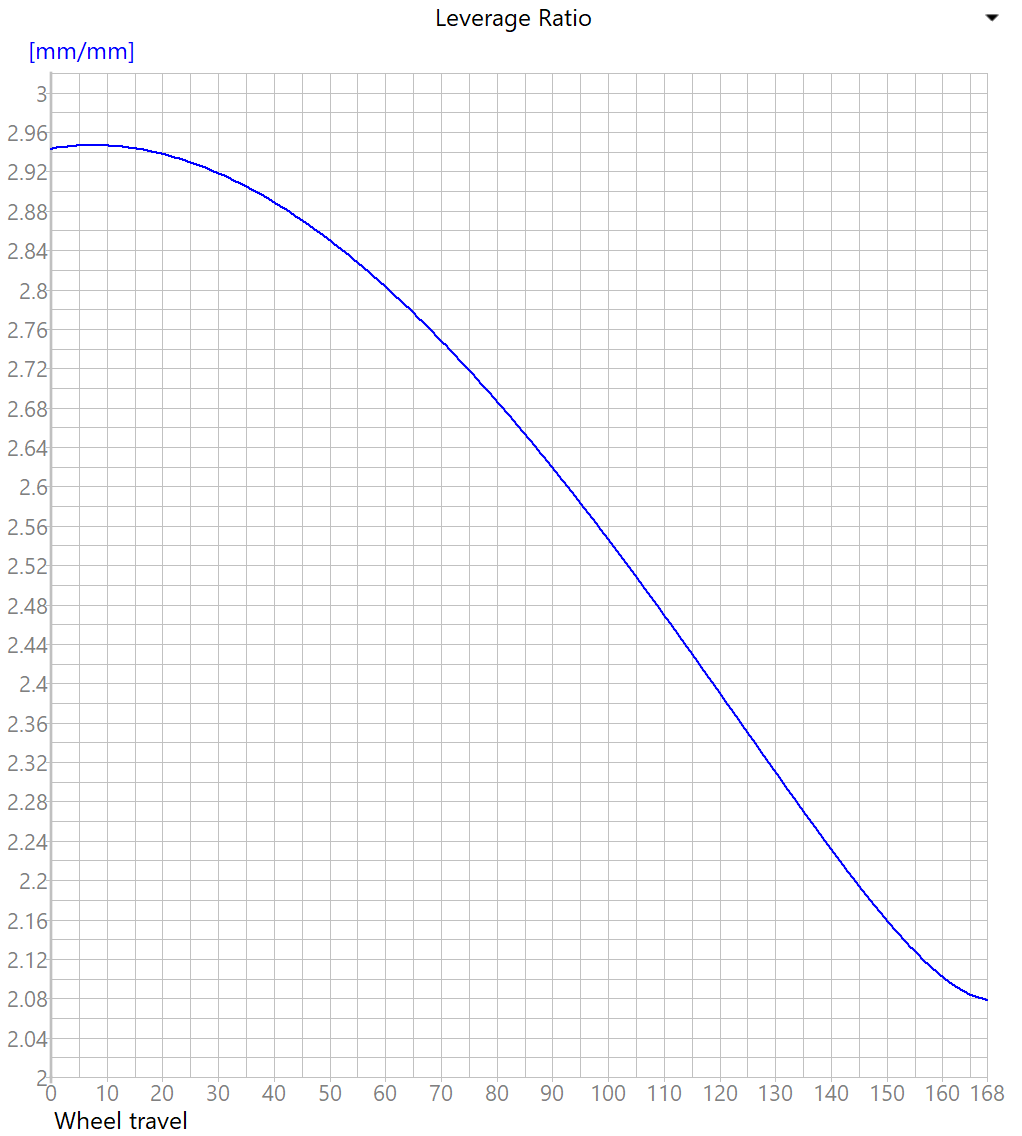
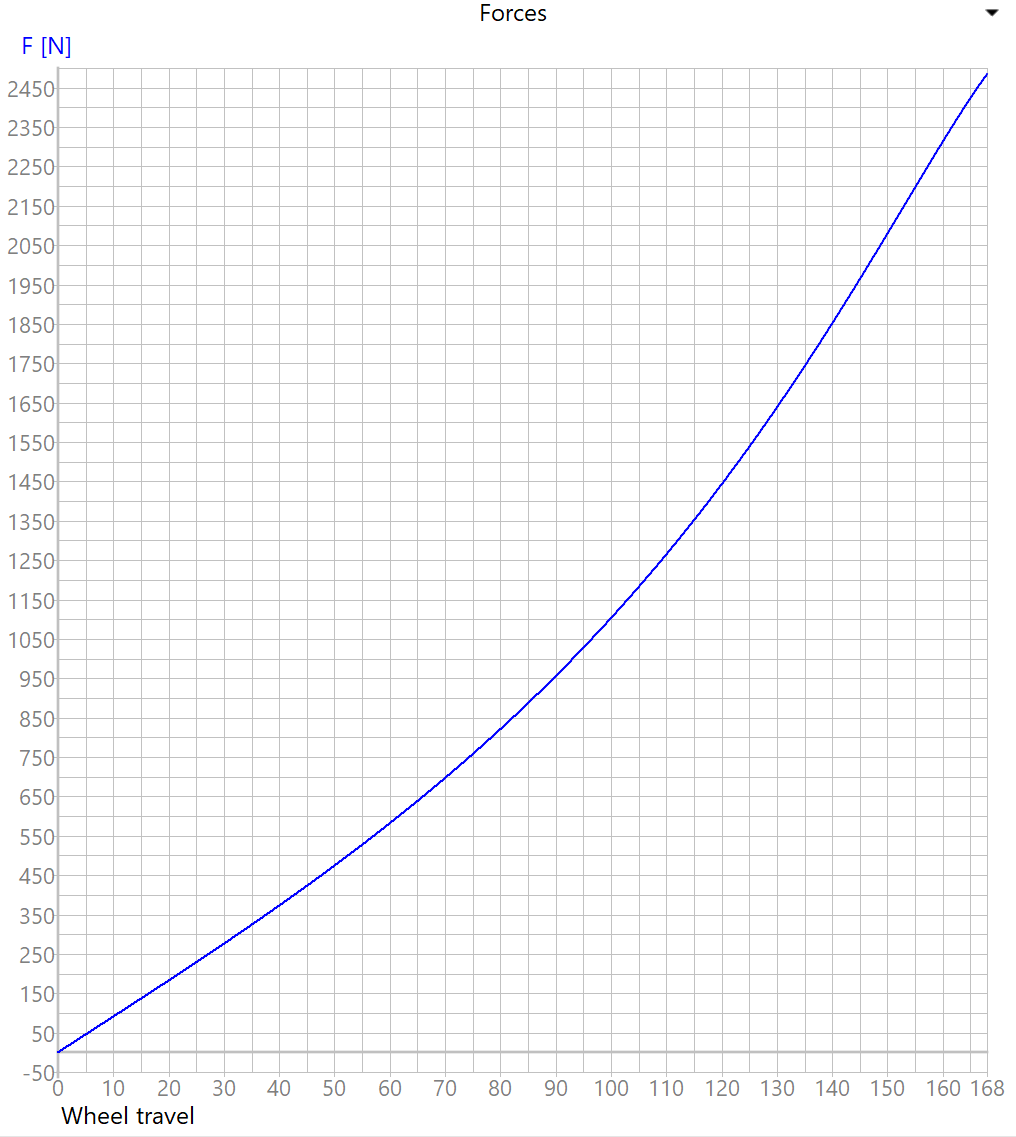
Basically the suspension design is Orbea chainstay and Rocky Mountain shock link. Maybe I’ll do the kinematics in another post…
At this point I want to say that I have paid for all the parts I have used in my bikes. No paid advertising here!!!
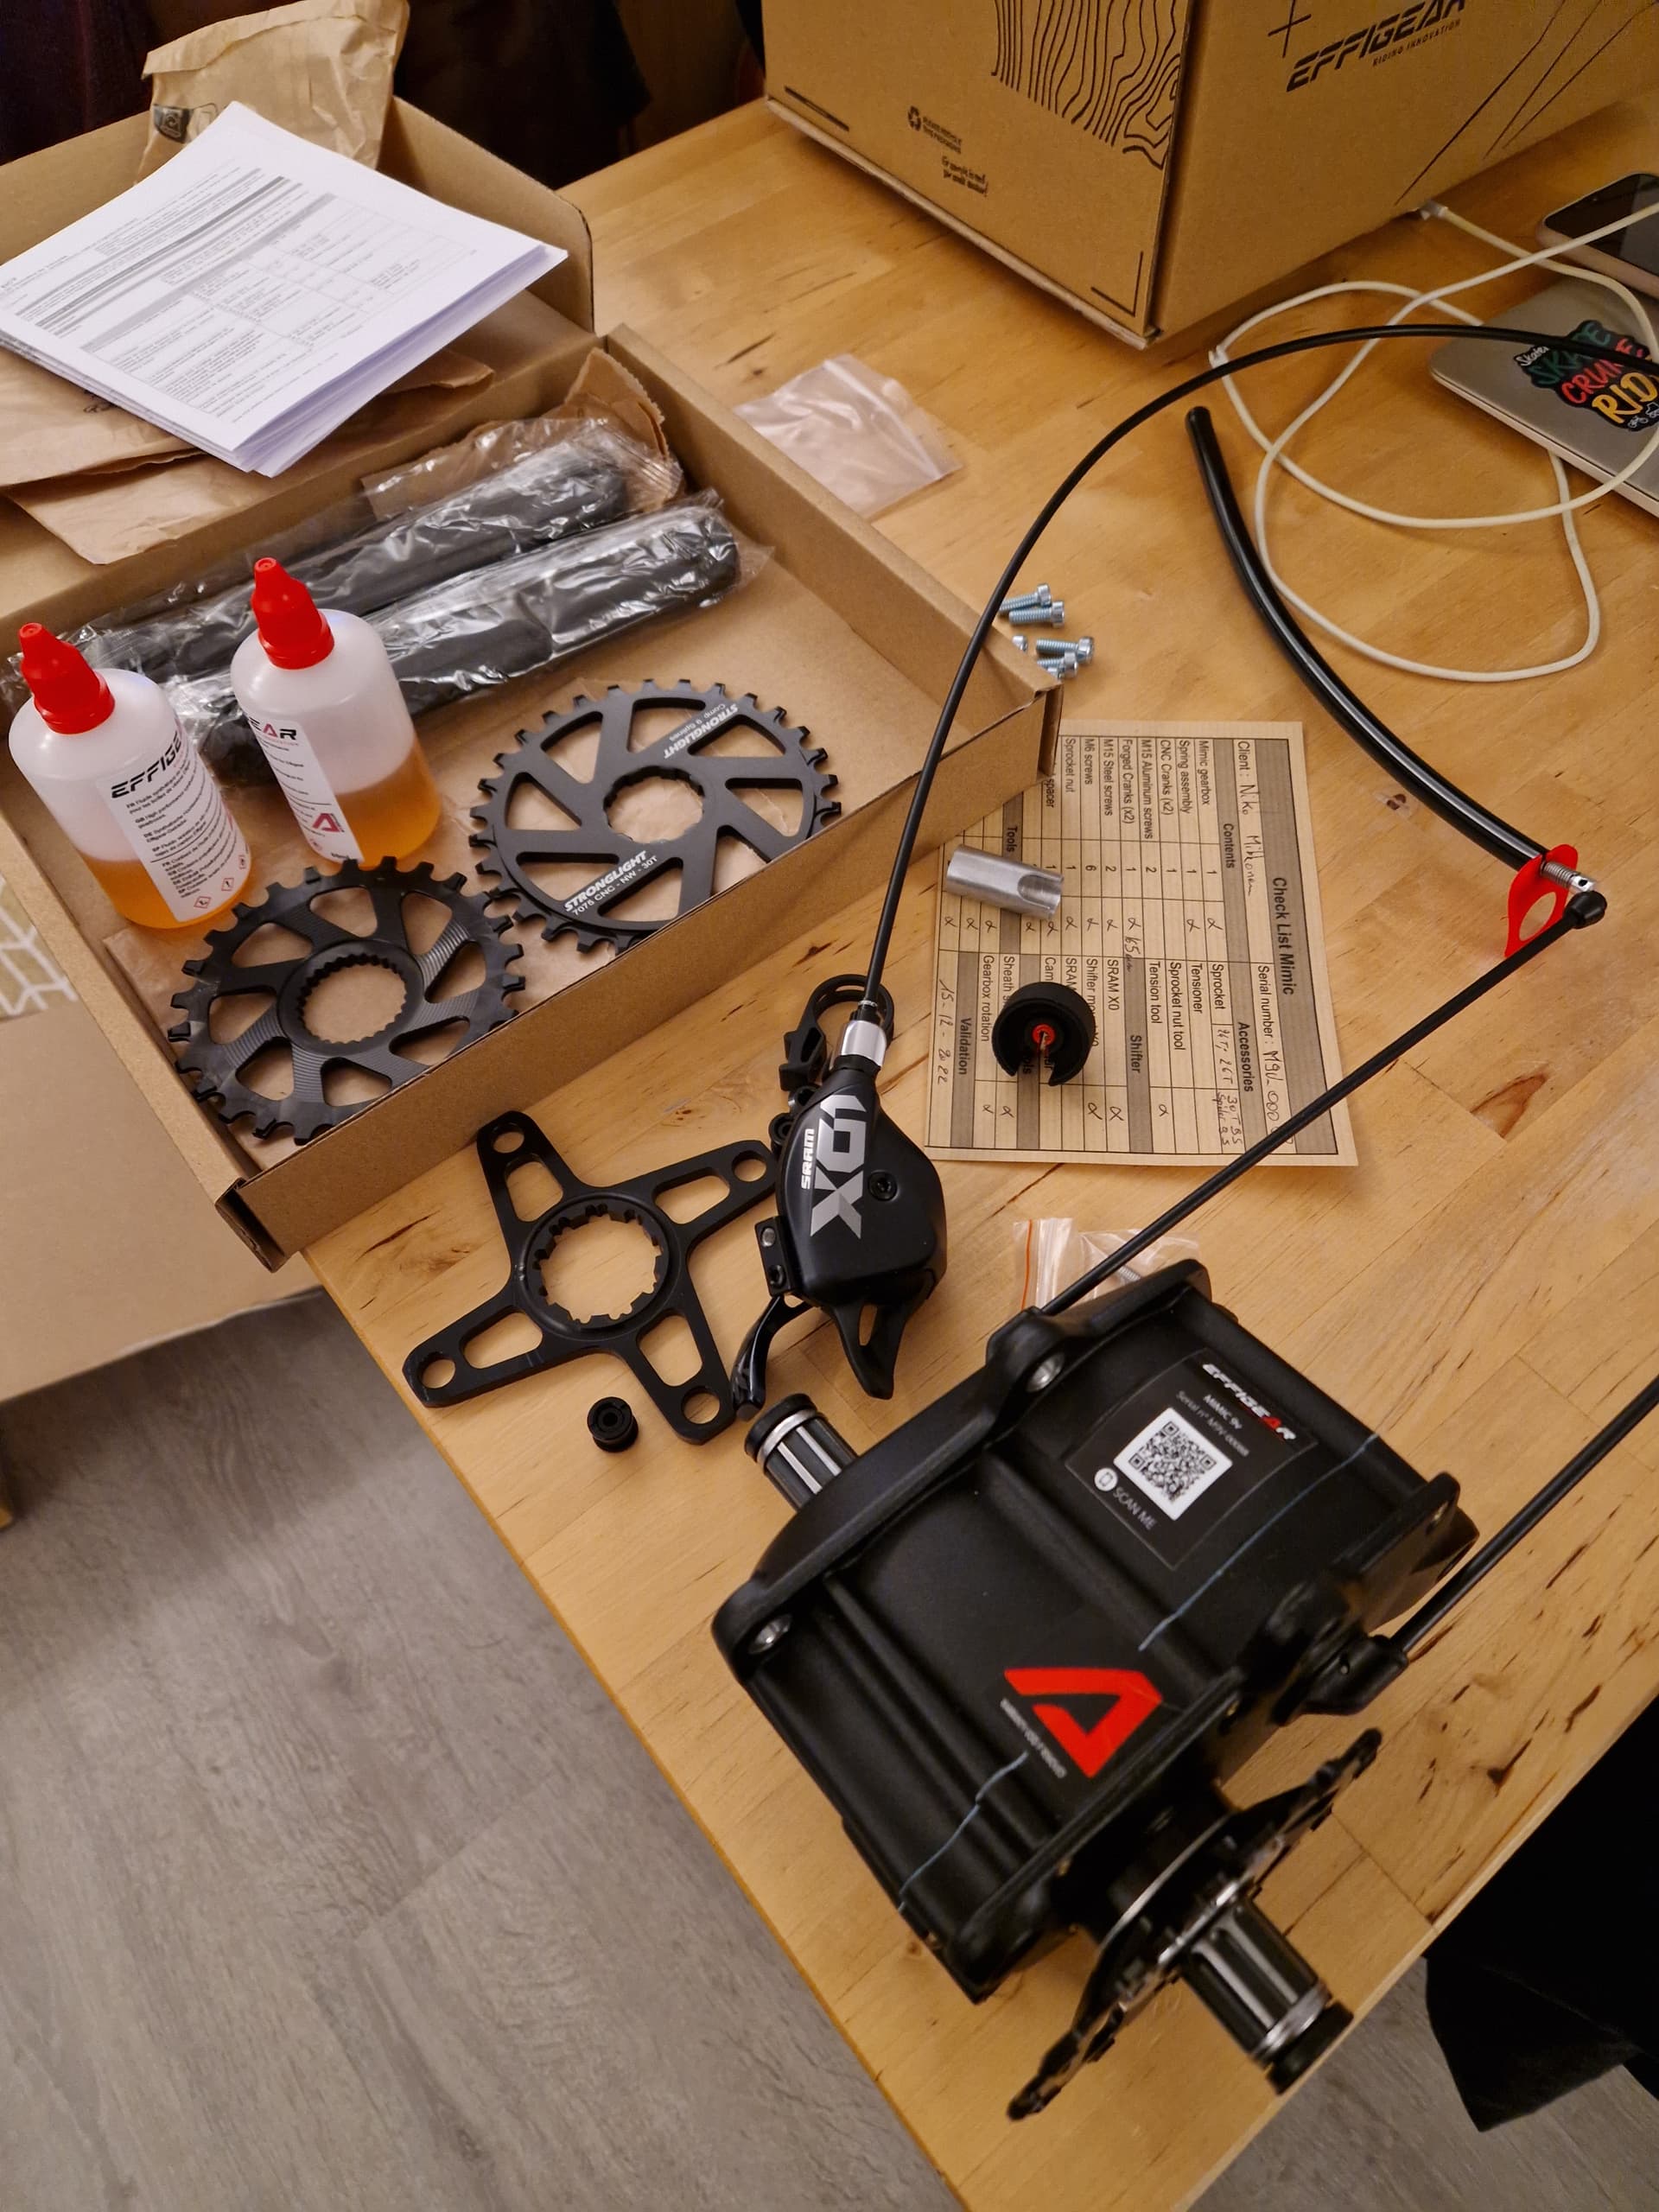
Goodies from Effigear to get me excited.
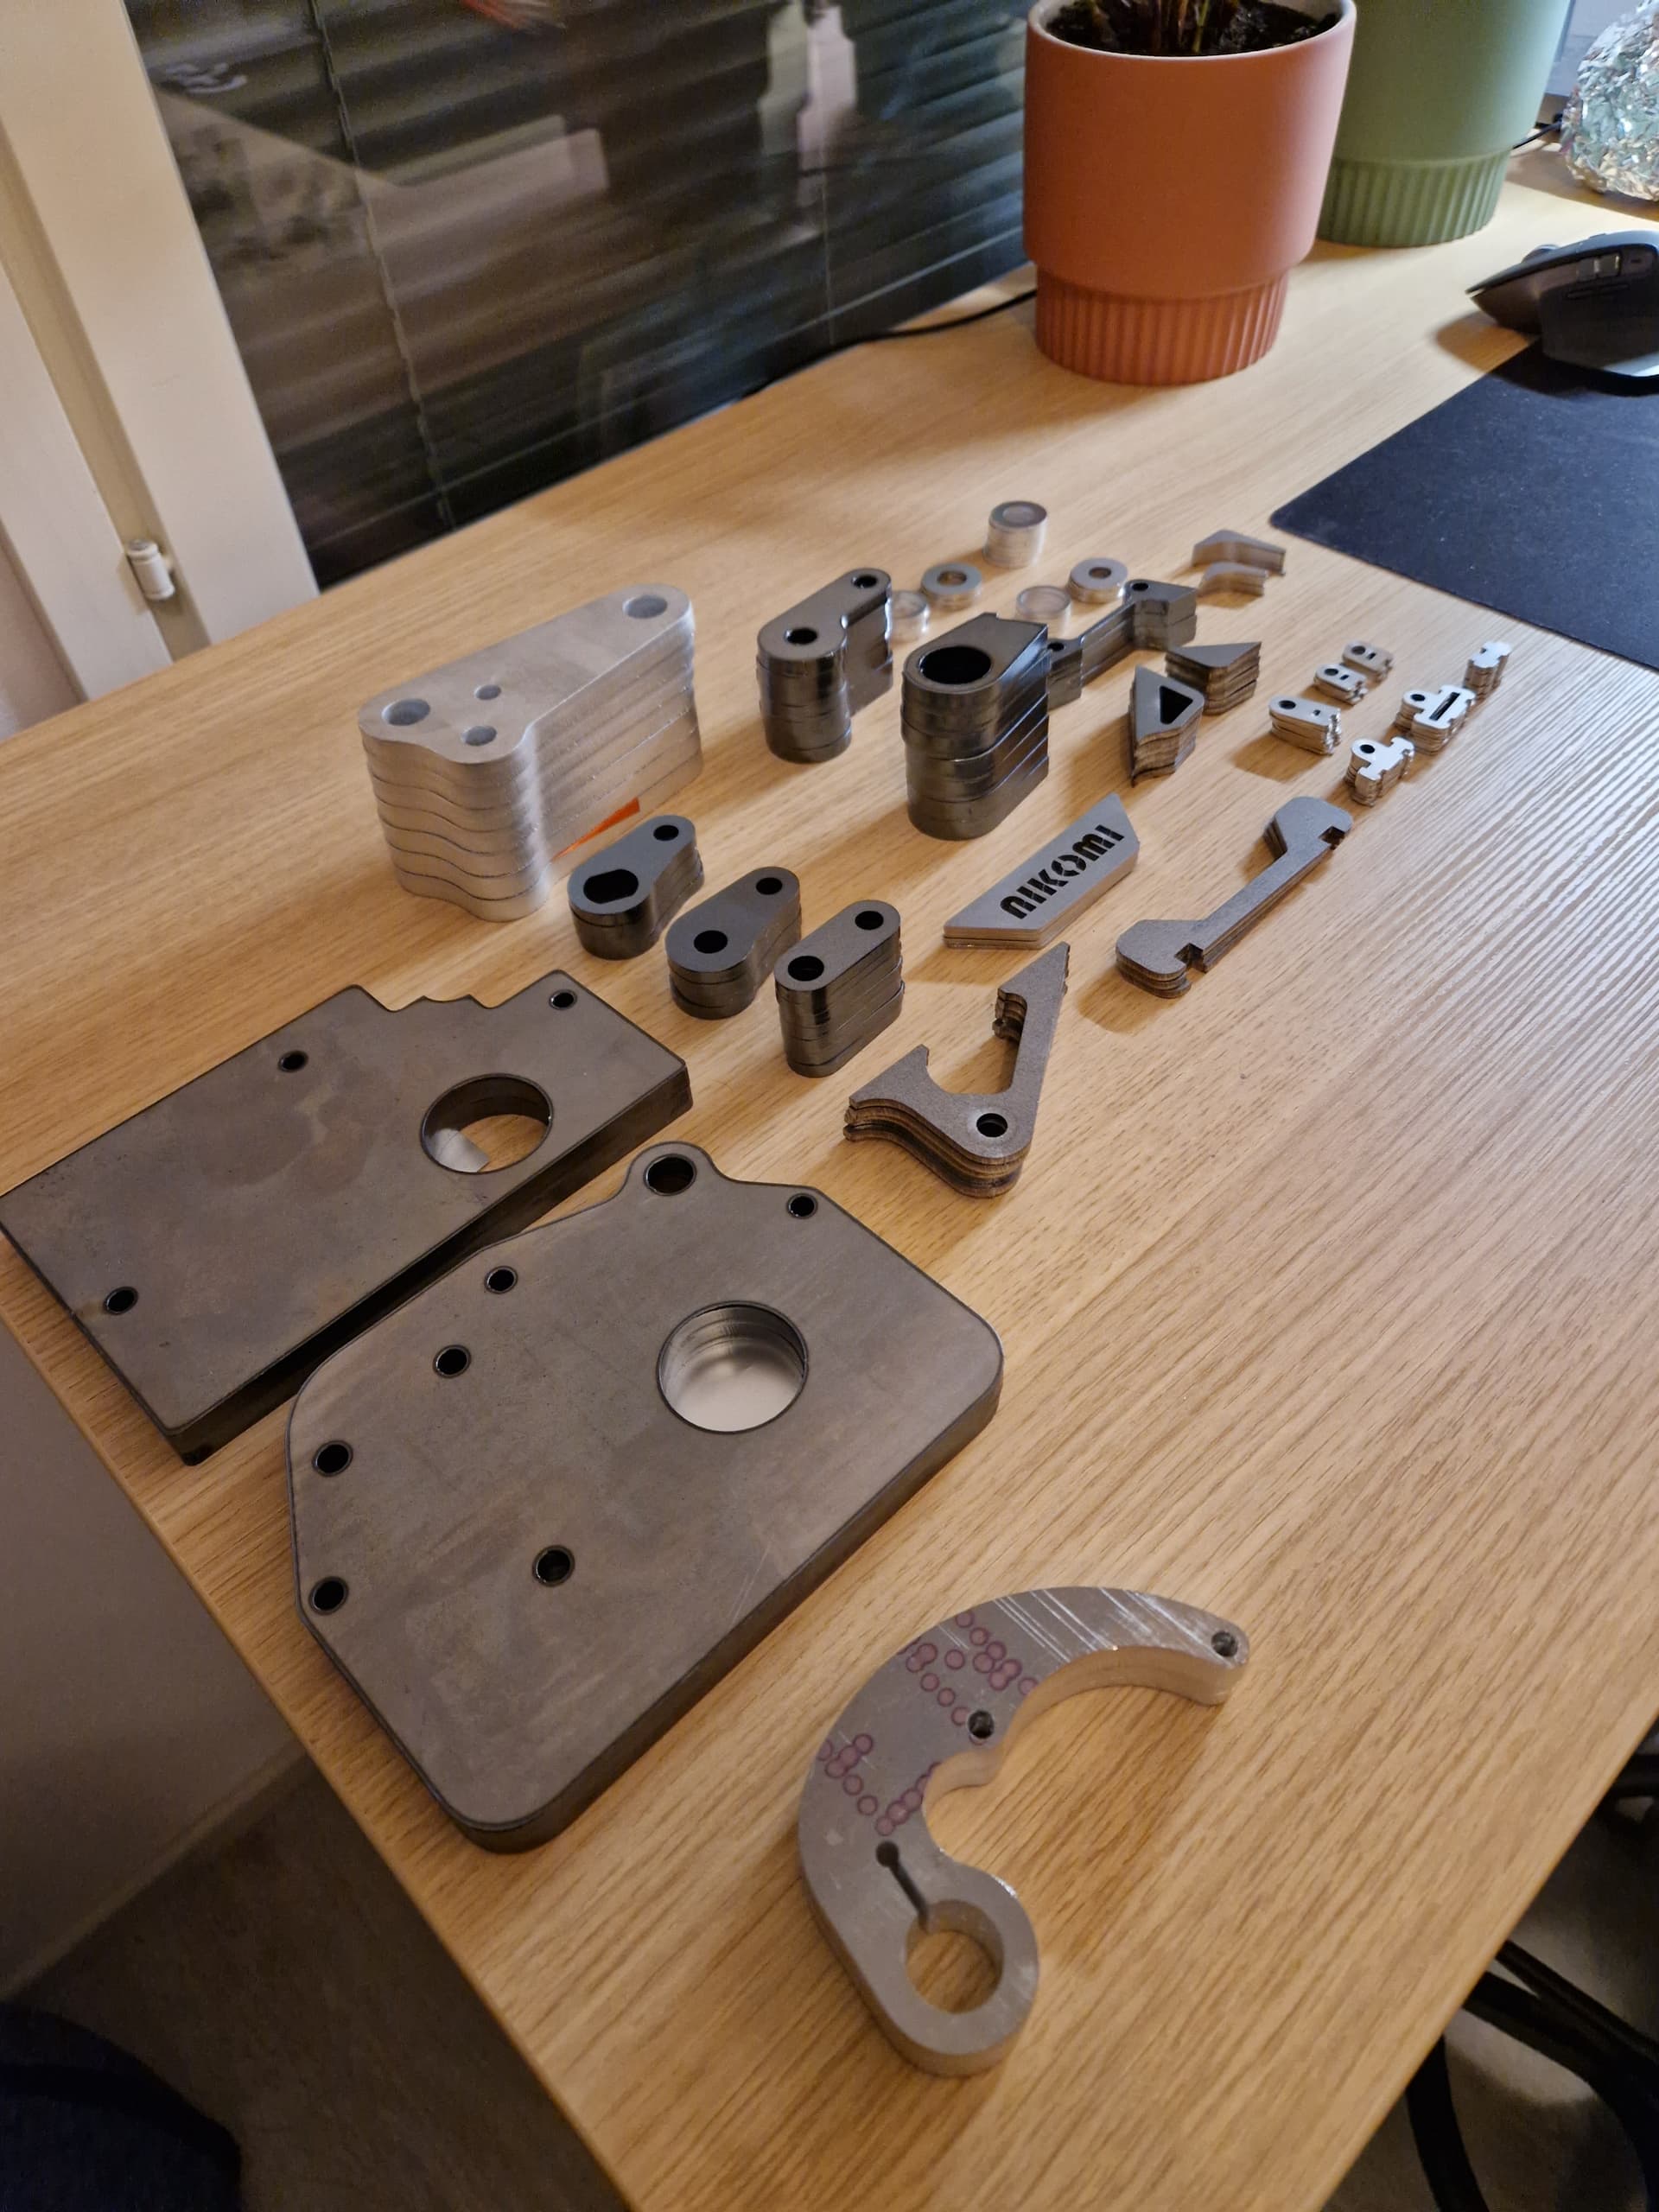
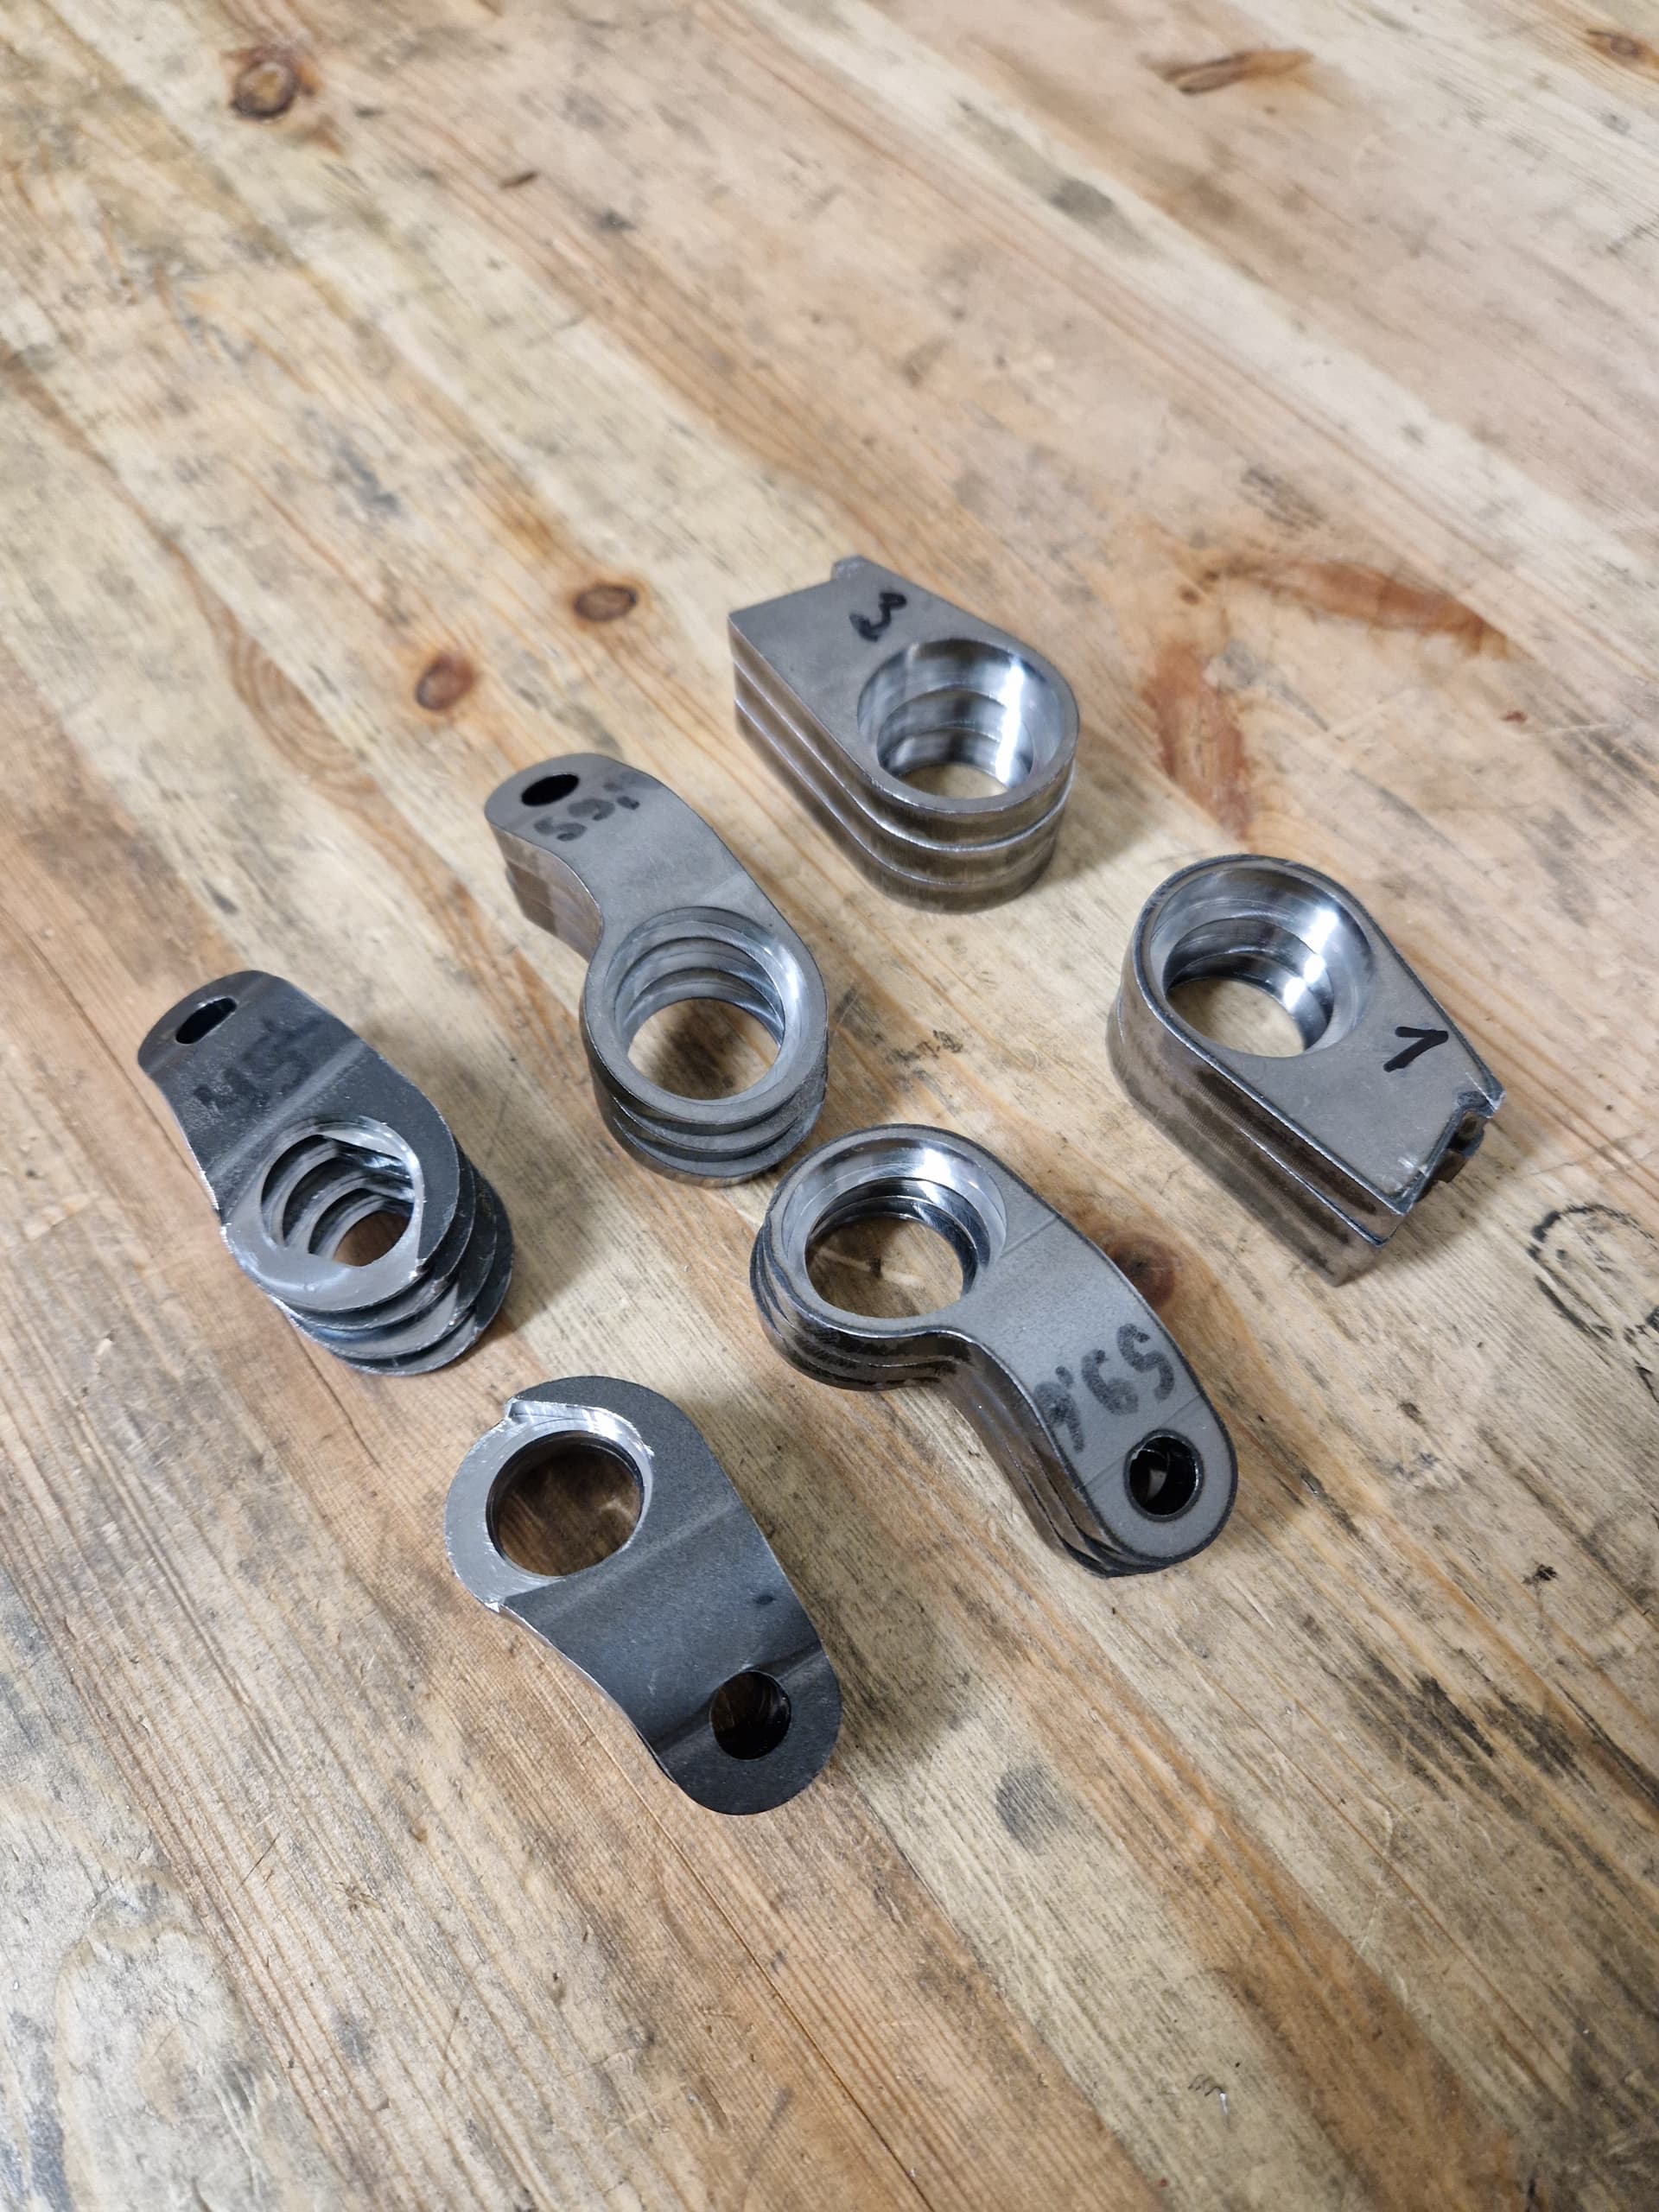
Laser cut parts. I didn’t end up making 3 bikes after all
If you only make stuff for yourself, why bother 
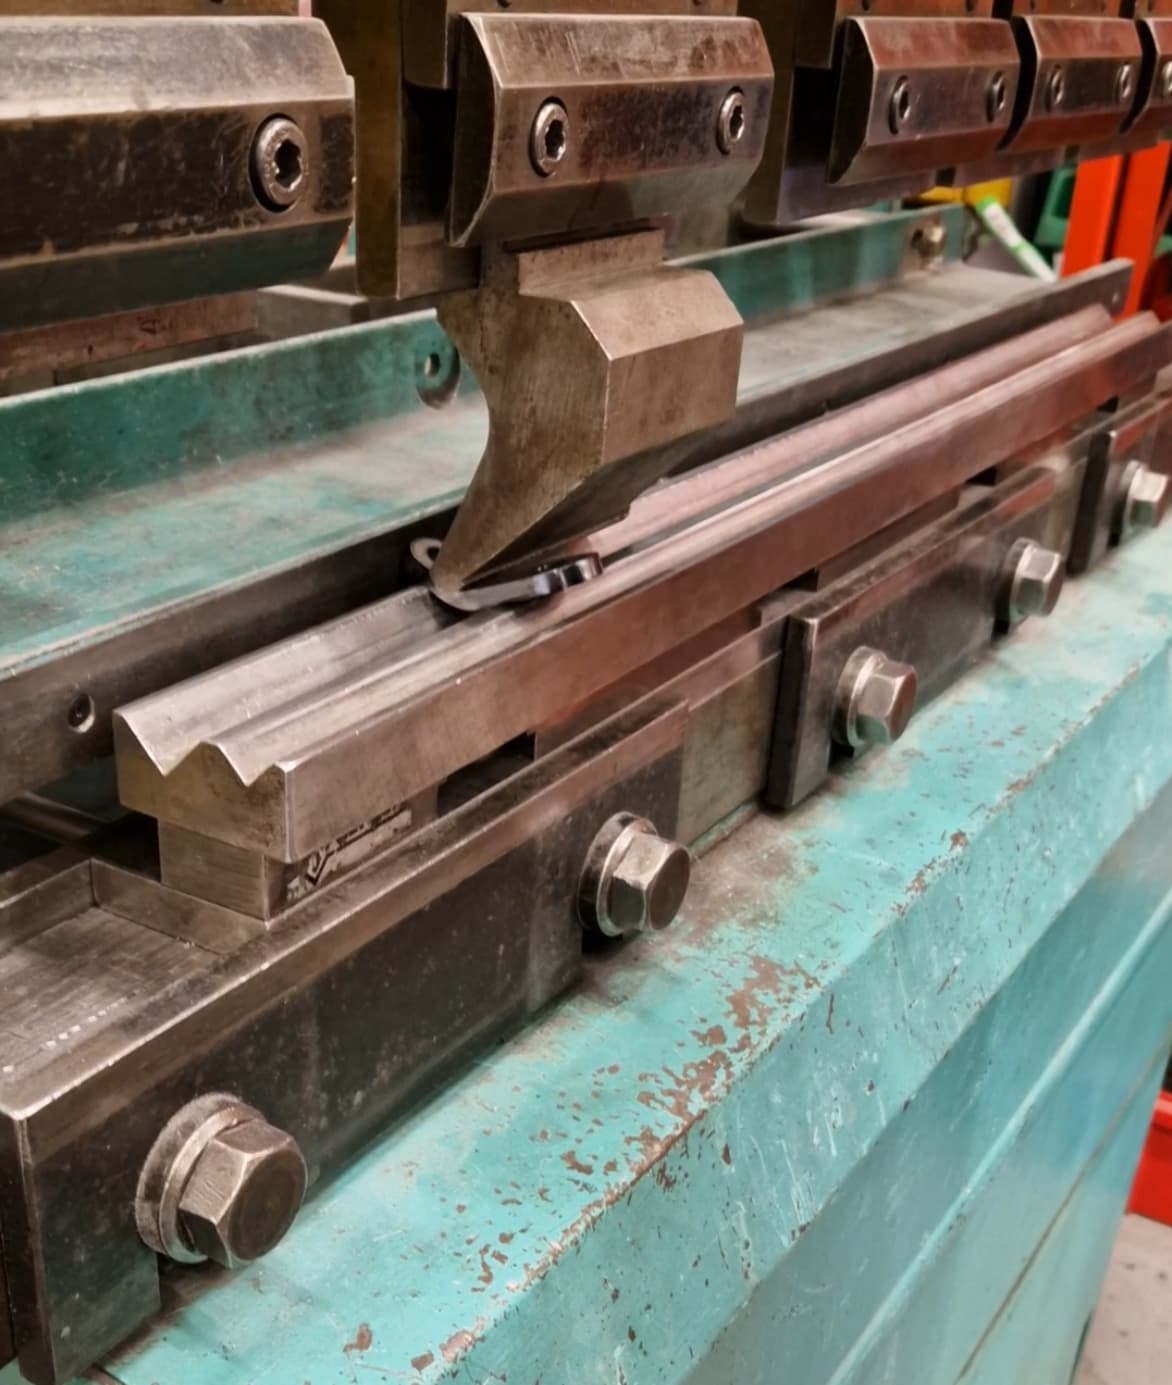
Press brake available in my day job’s proto lab.
Olli with his home-CNC. I got a Bambulab also during the project and it has proven to be invaluable!! If you missed, the jig is PETG.
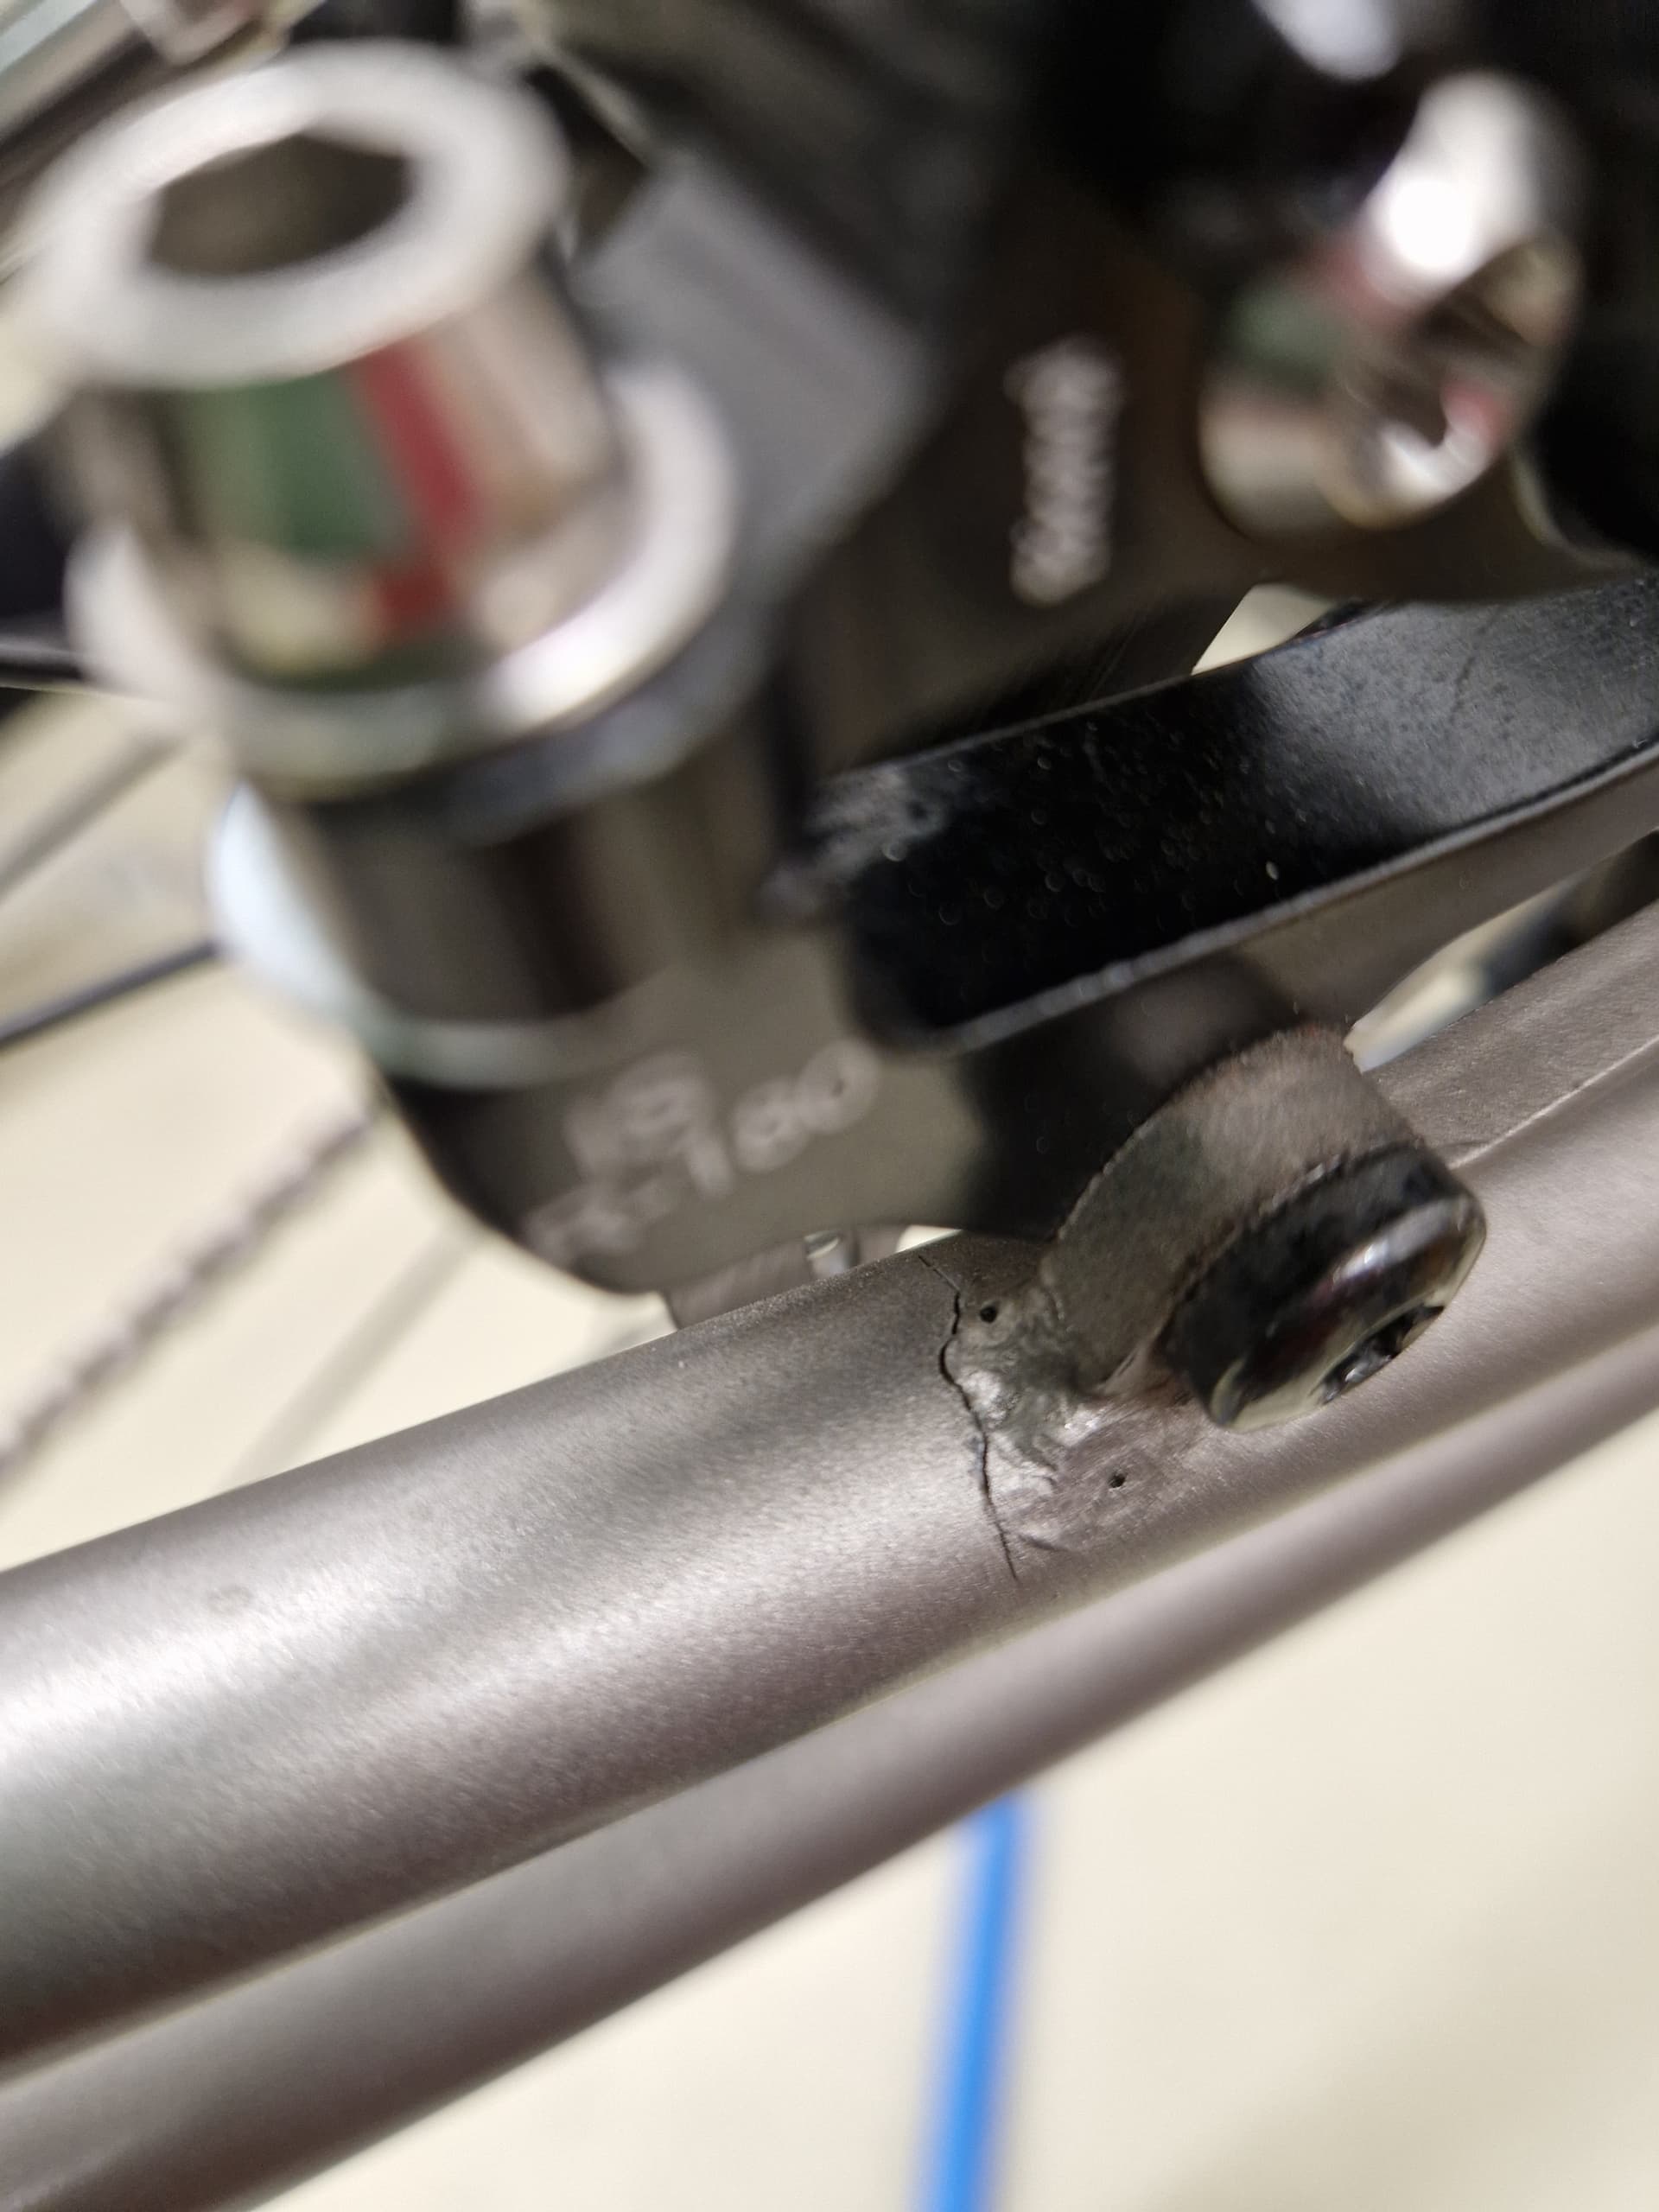
Patch done.
I’m pretty sure the laser cutting was unnecessary…
Experimenting with dust shielding. Went with the laser cut stainless steel ones.
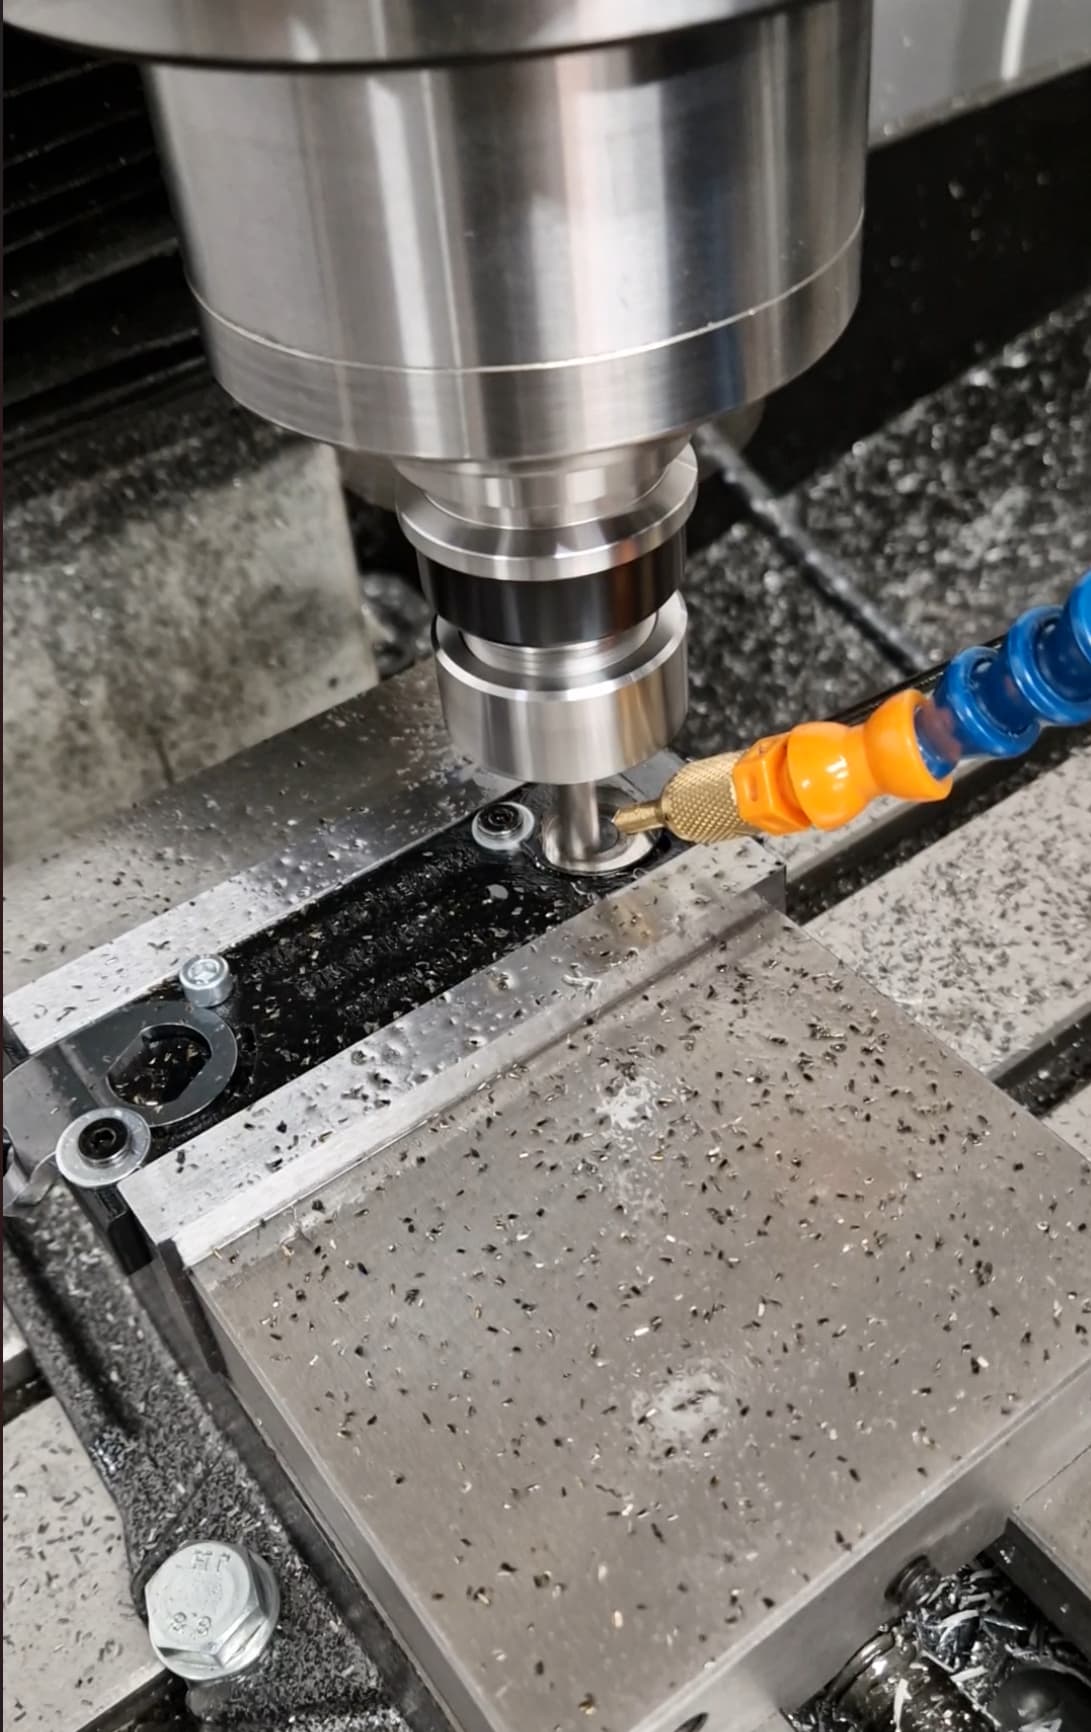
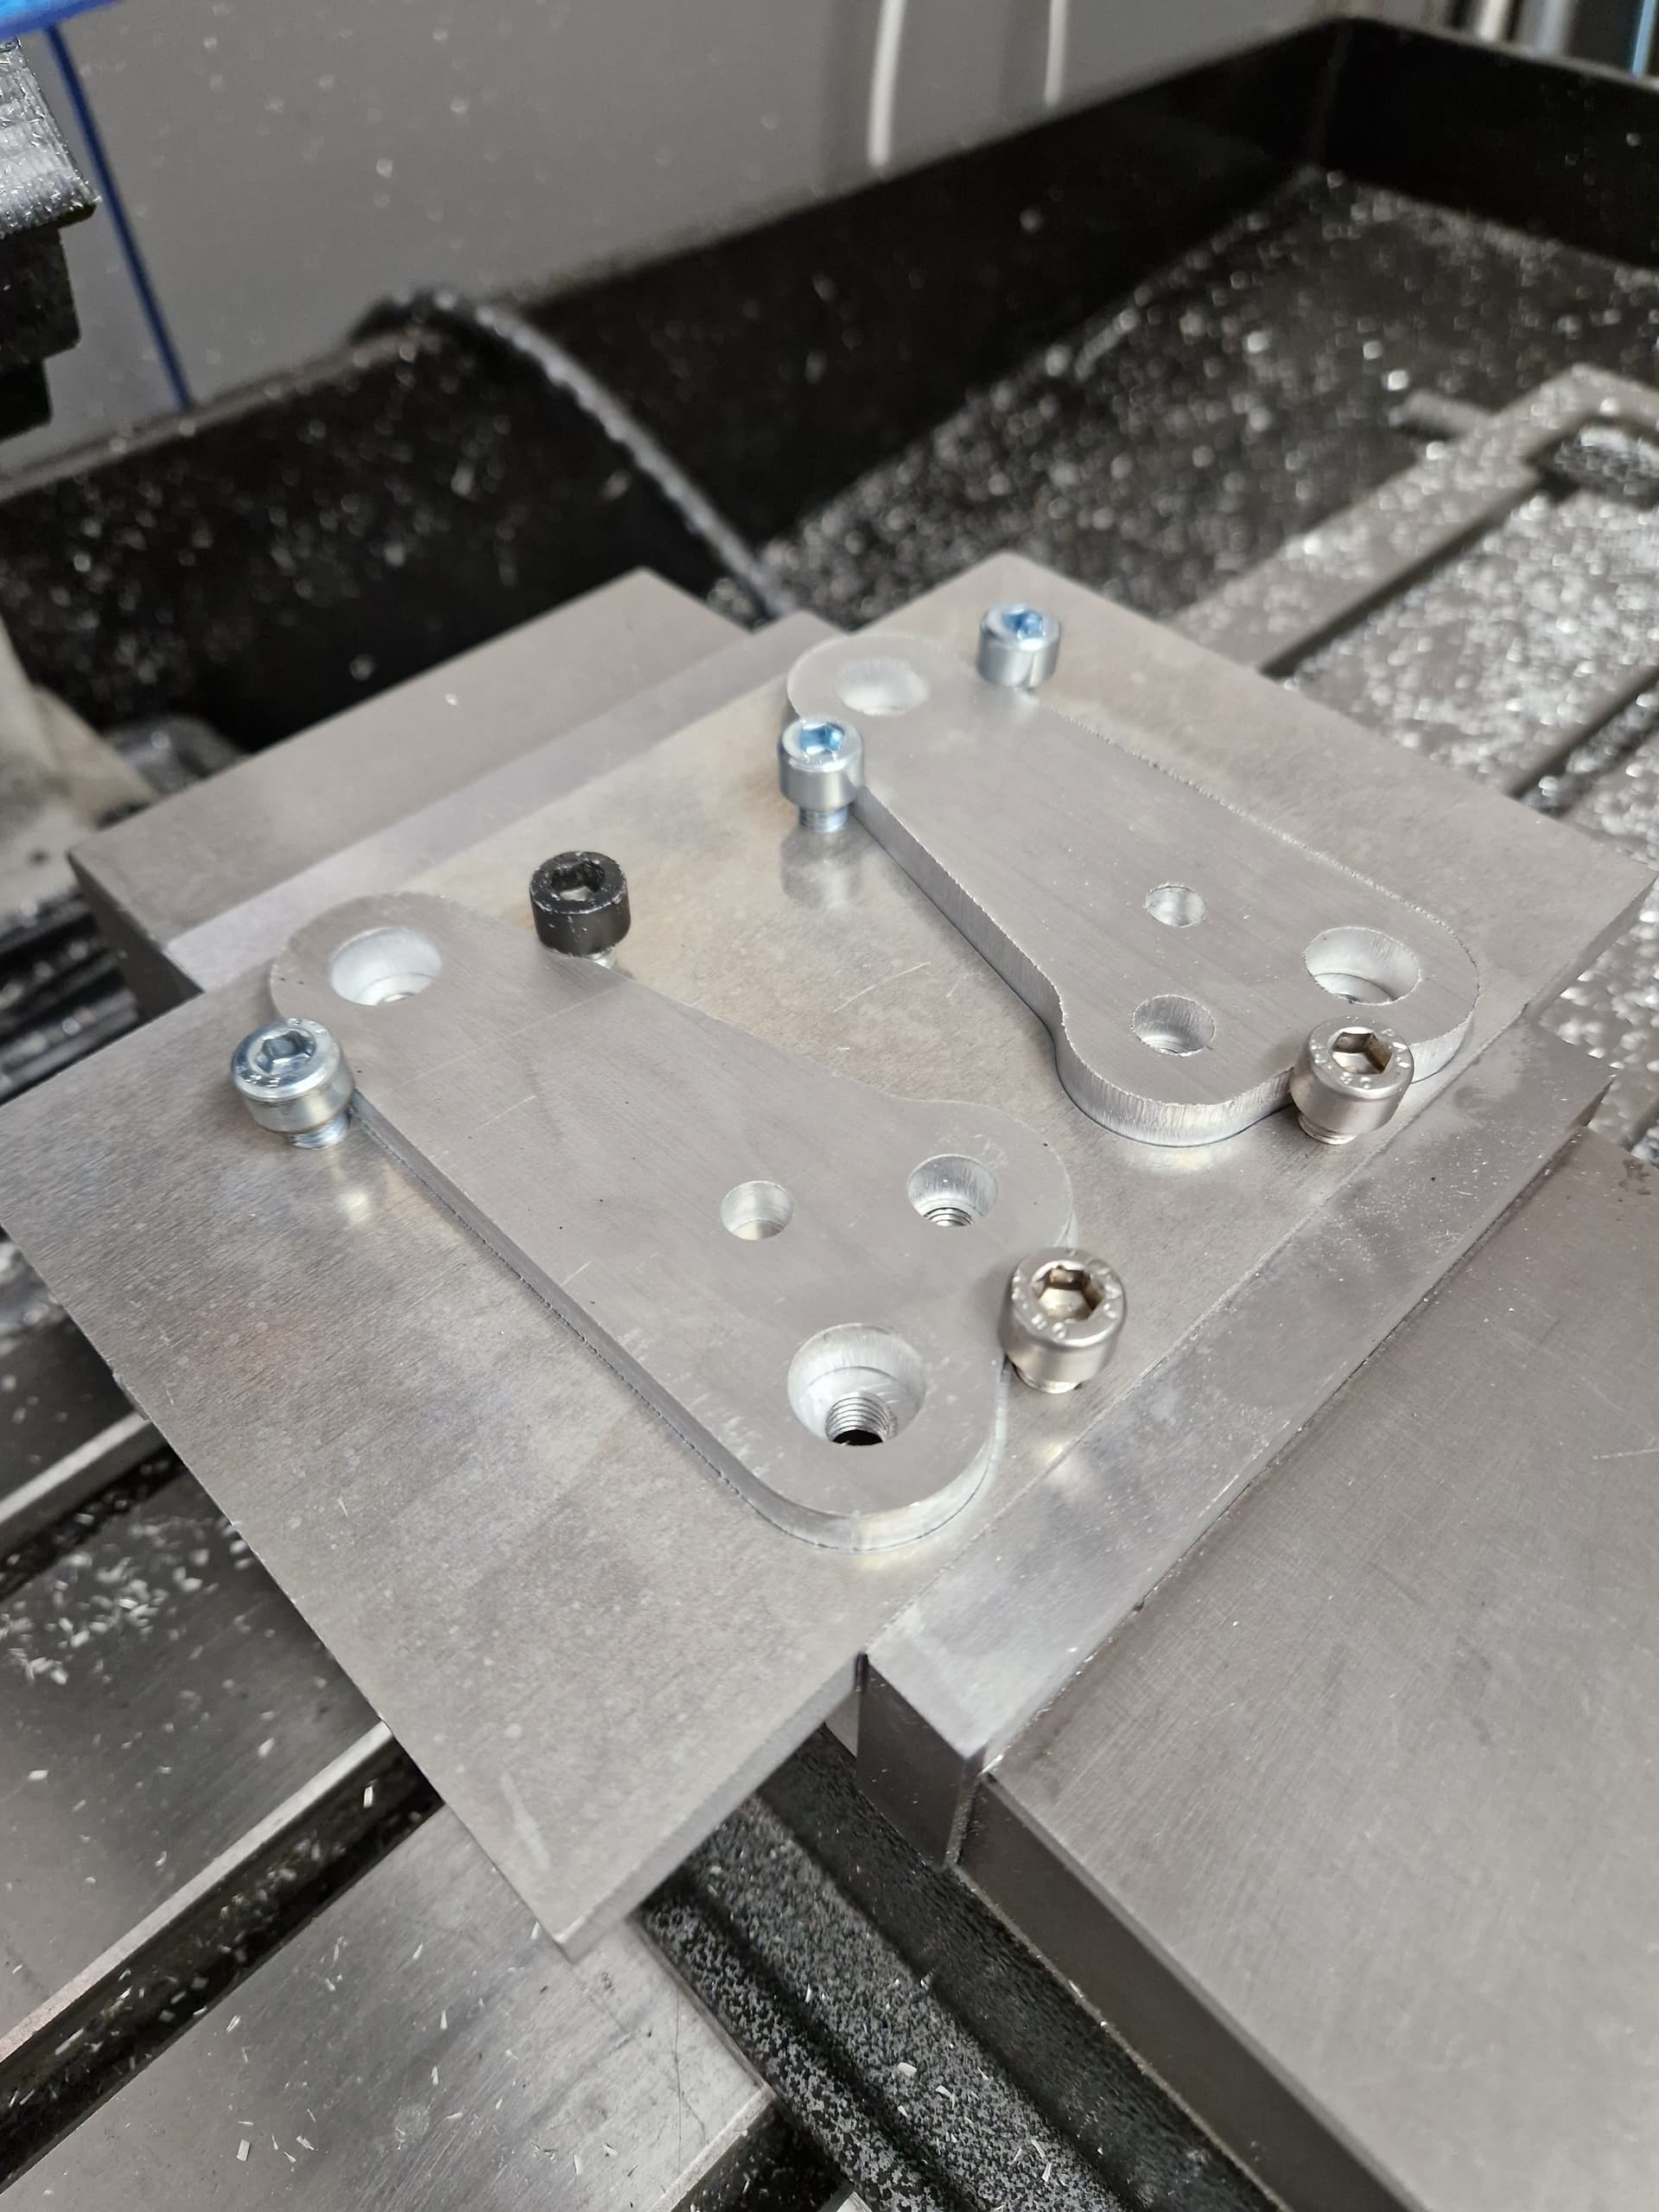
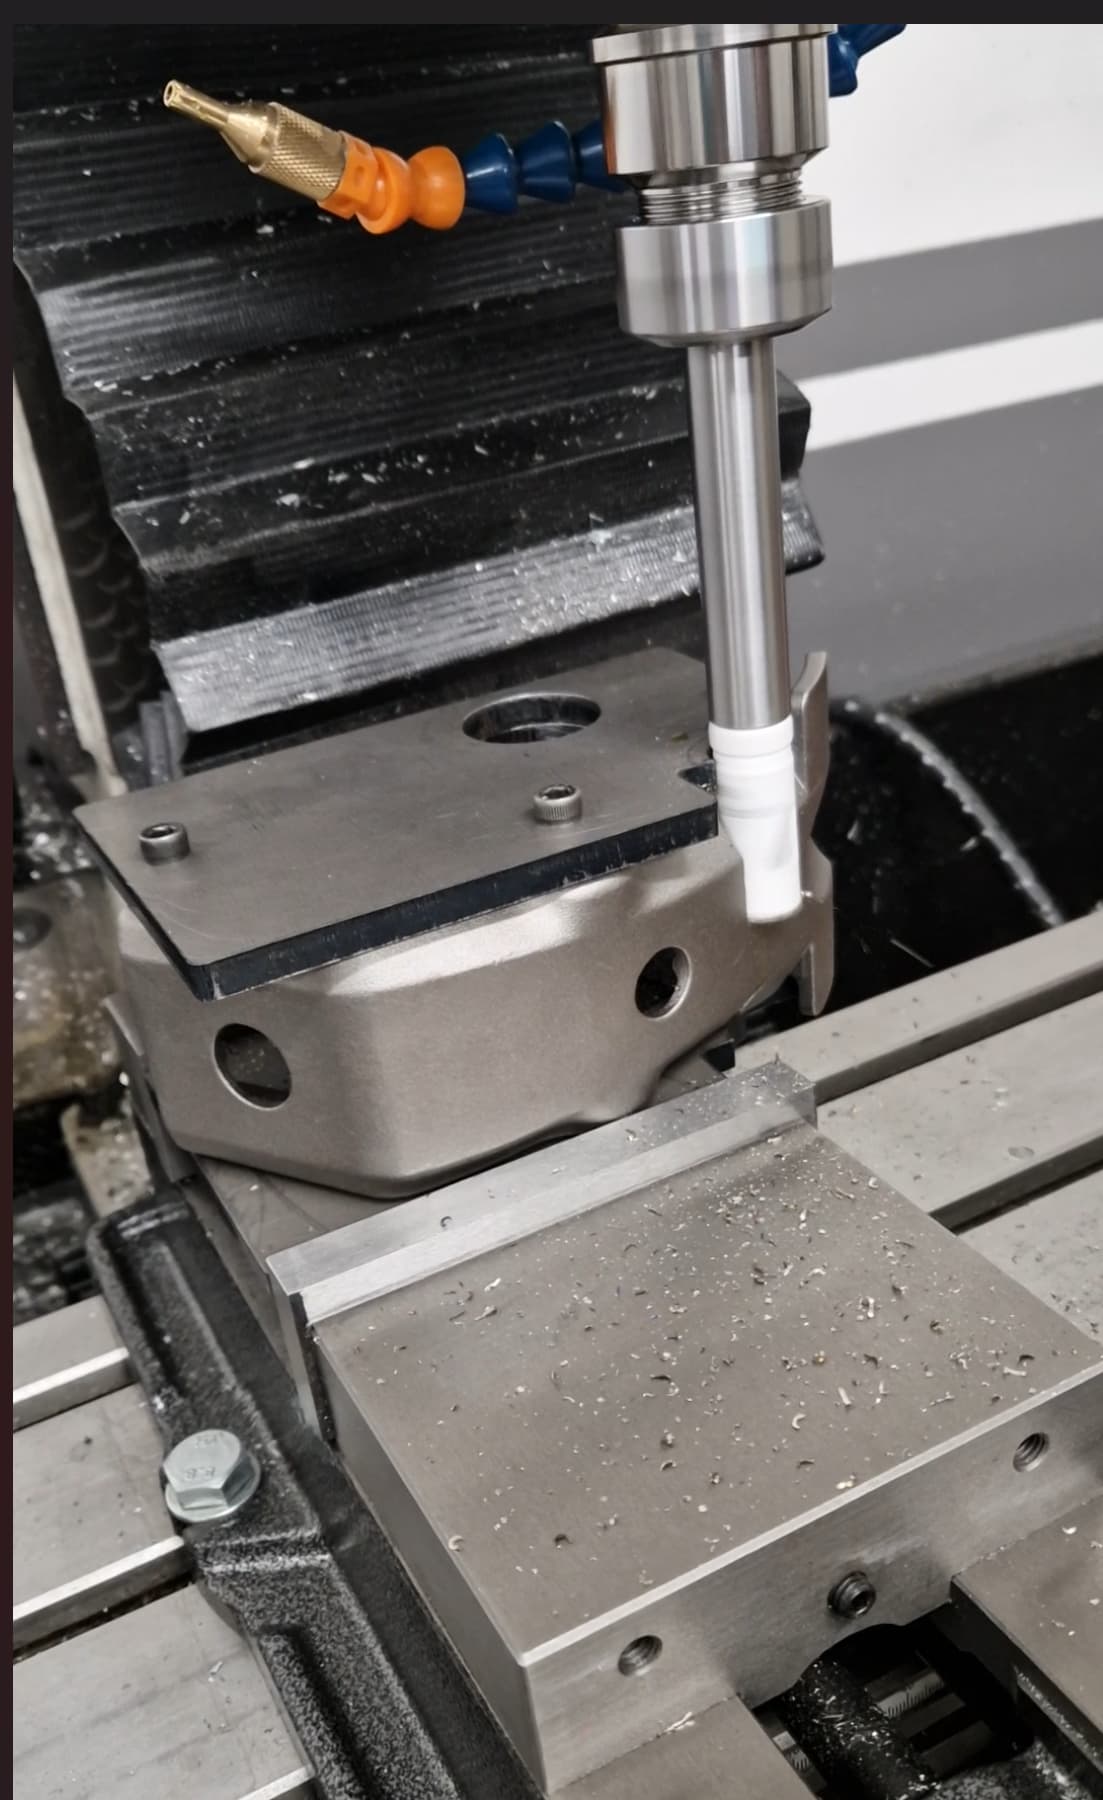
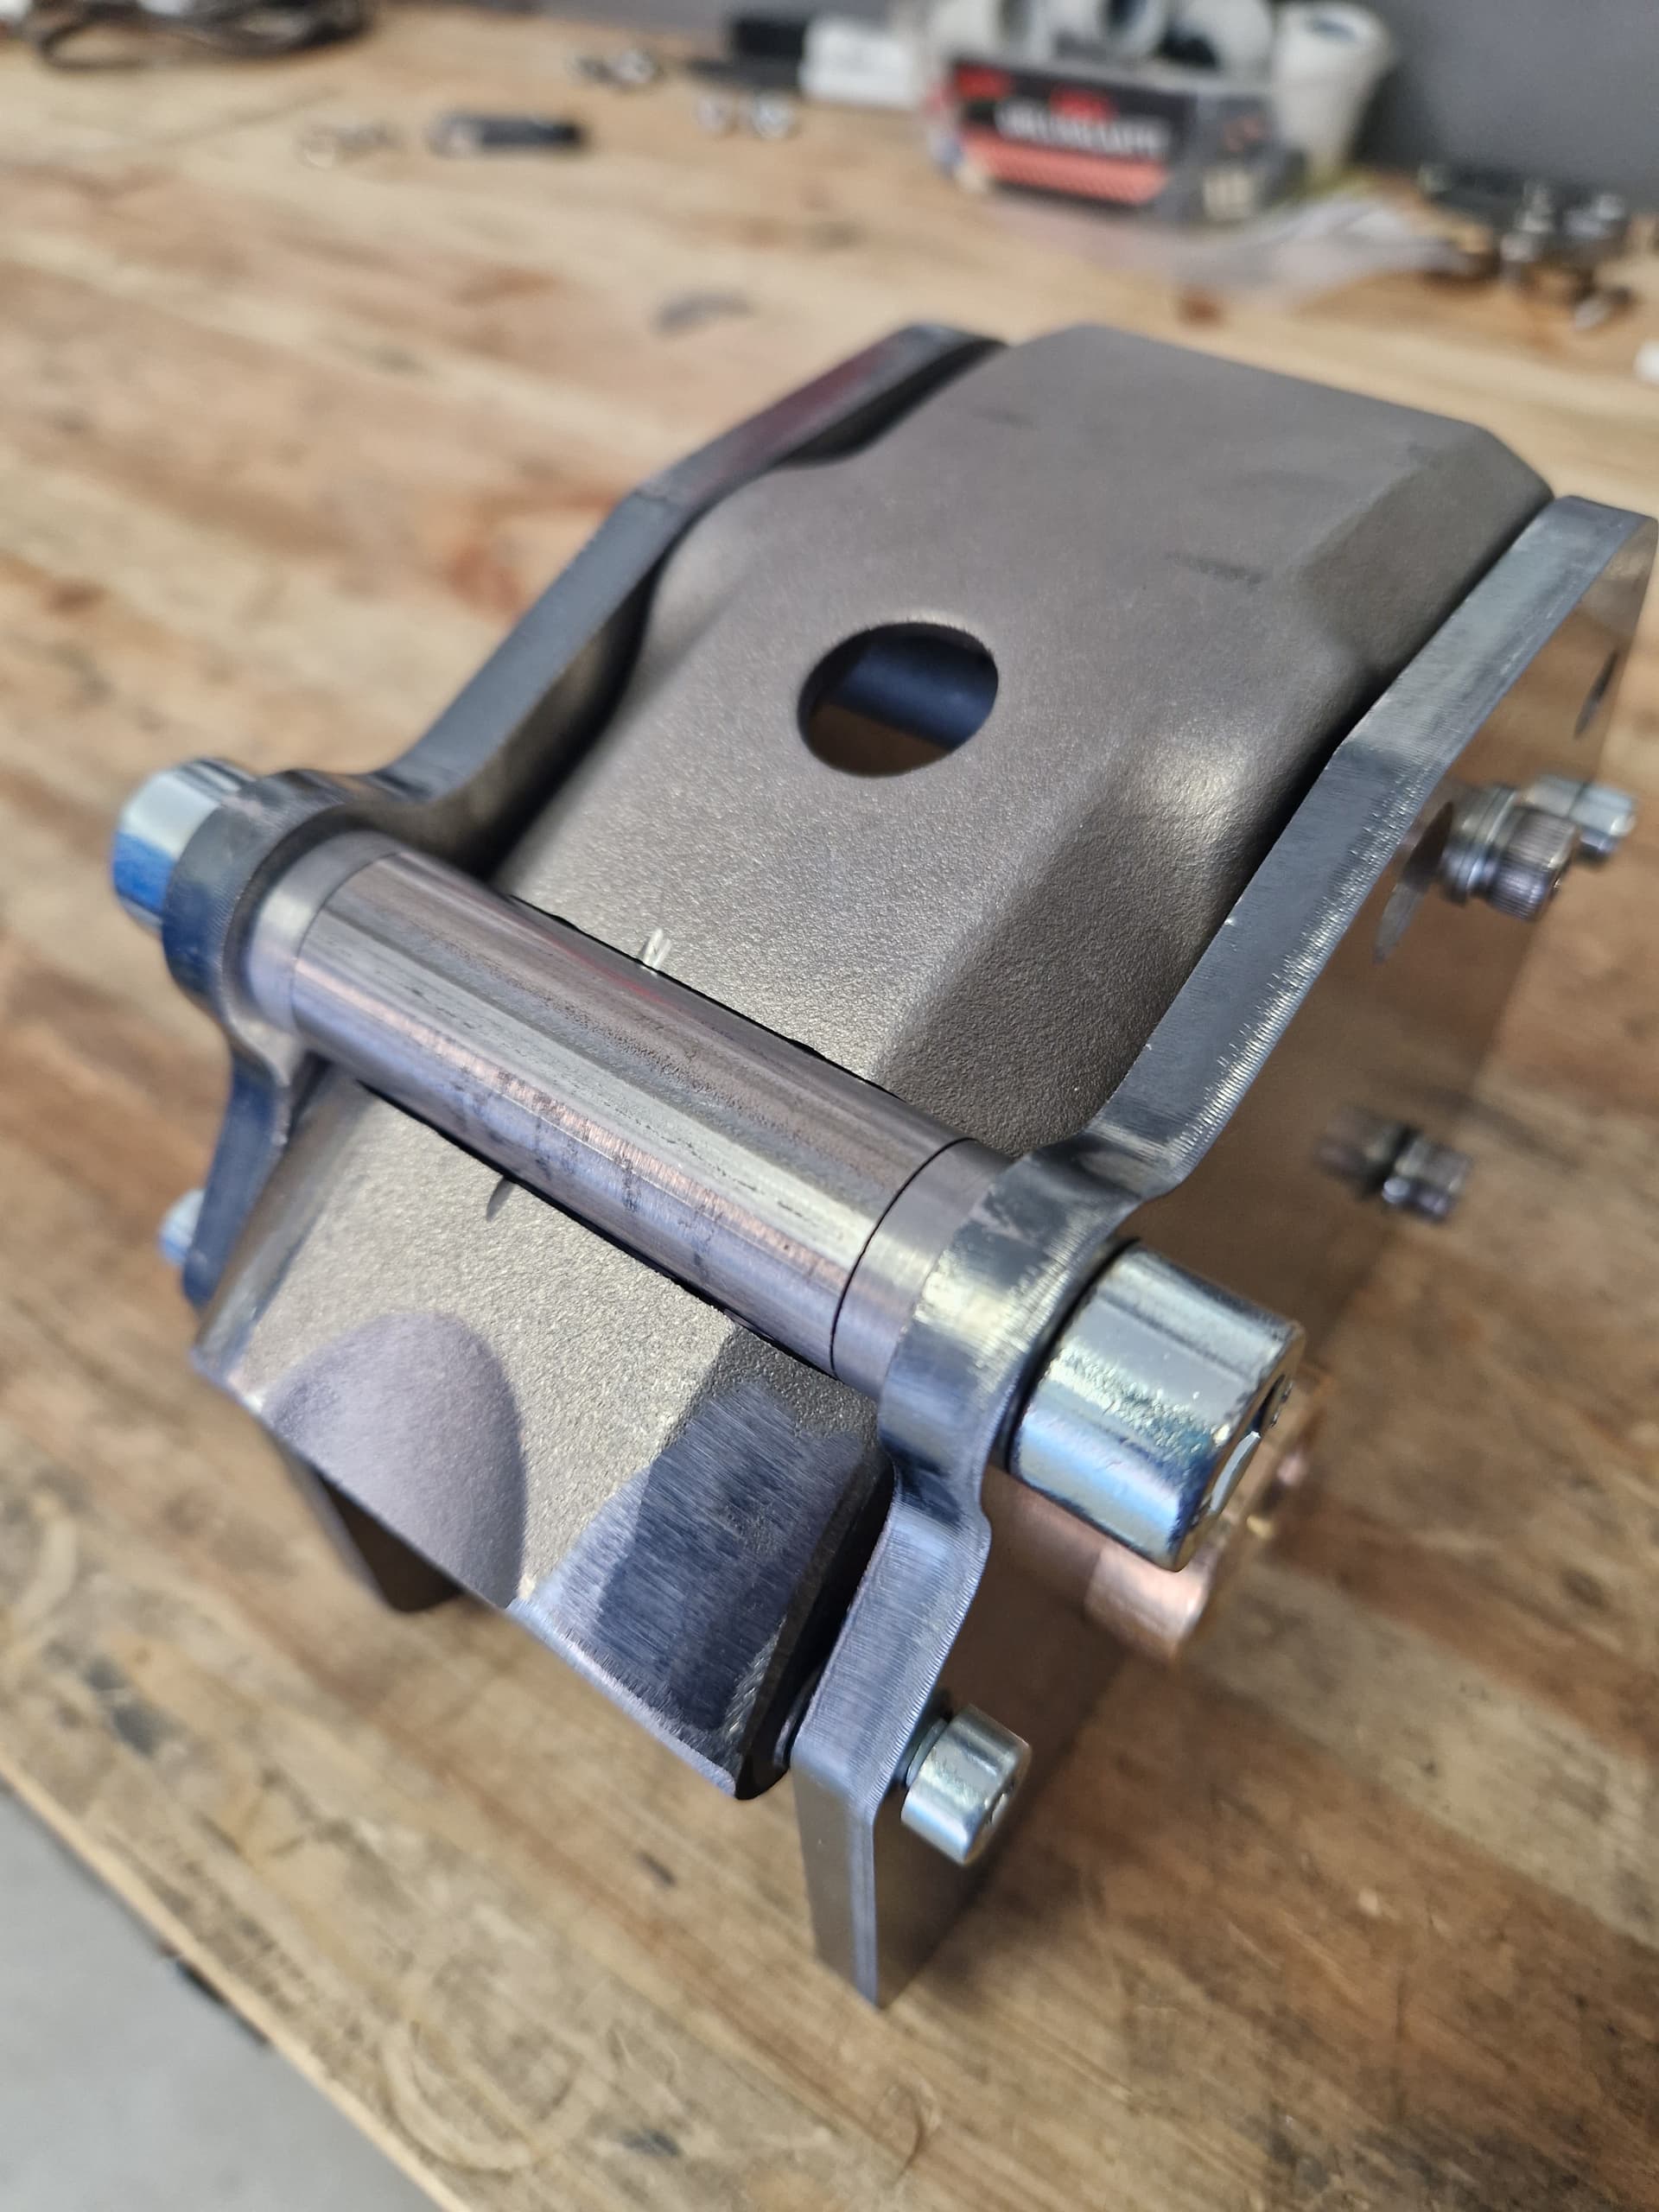
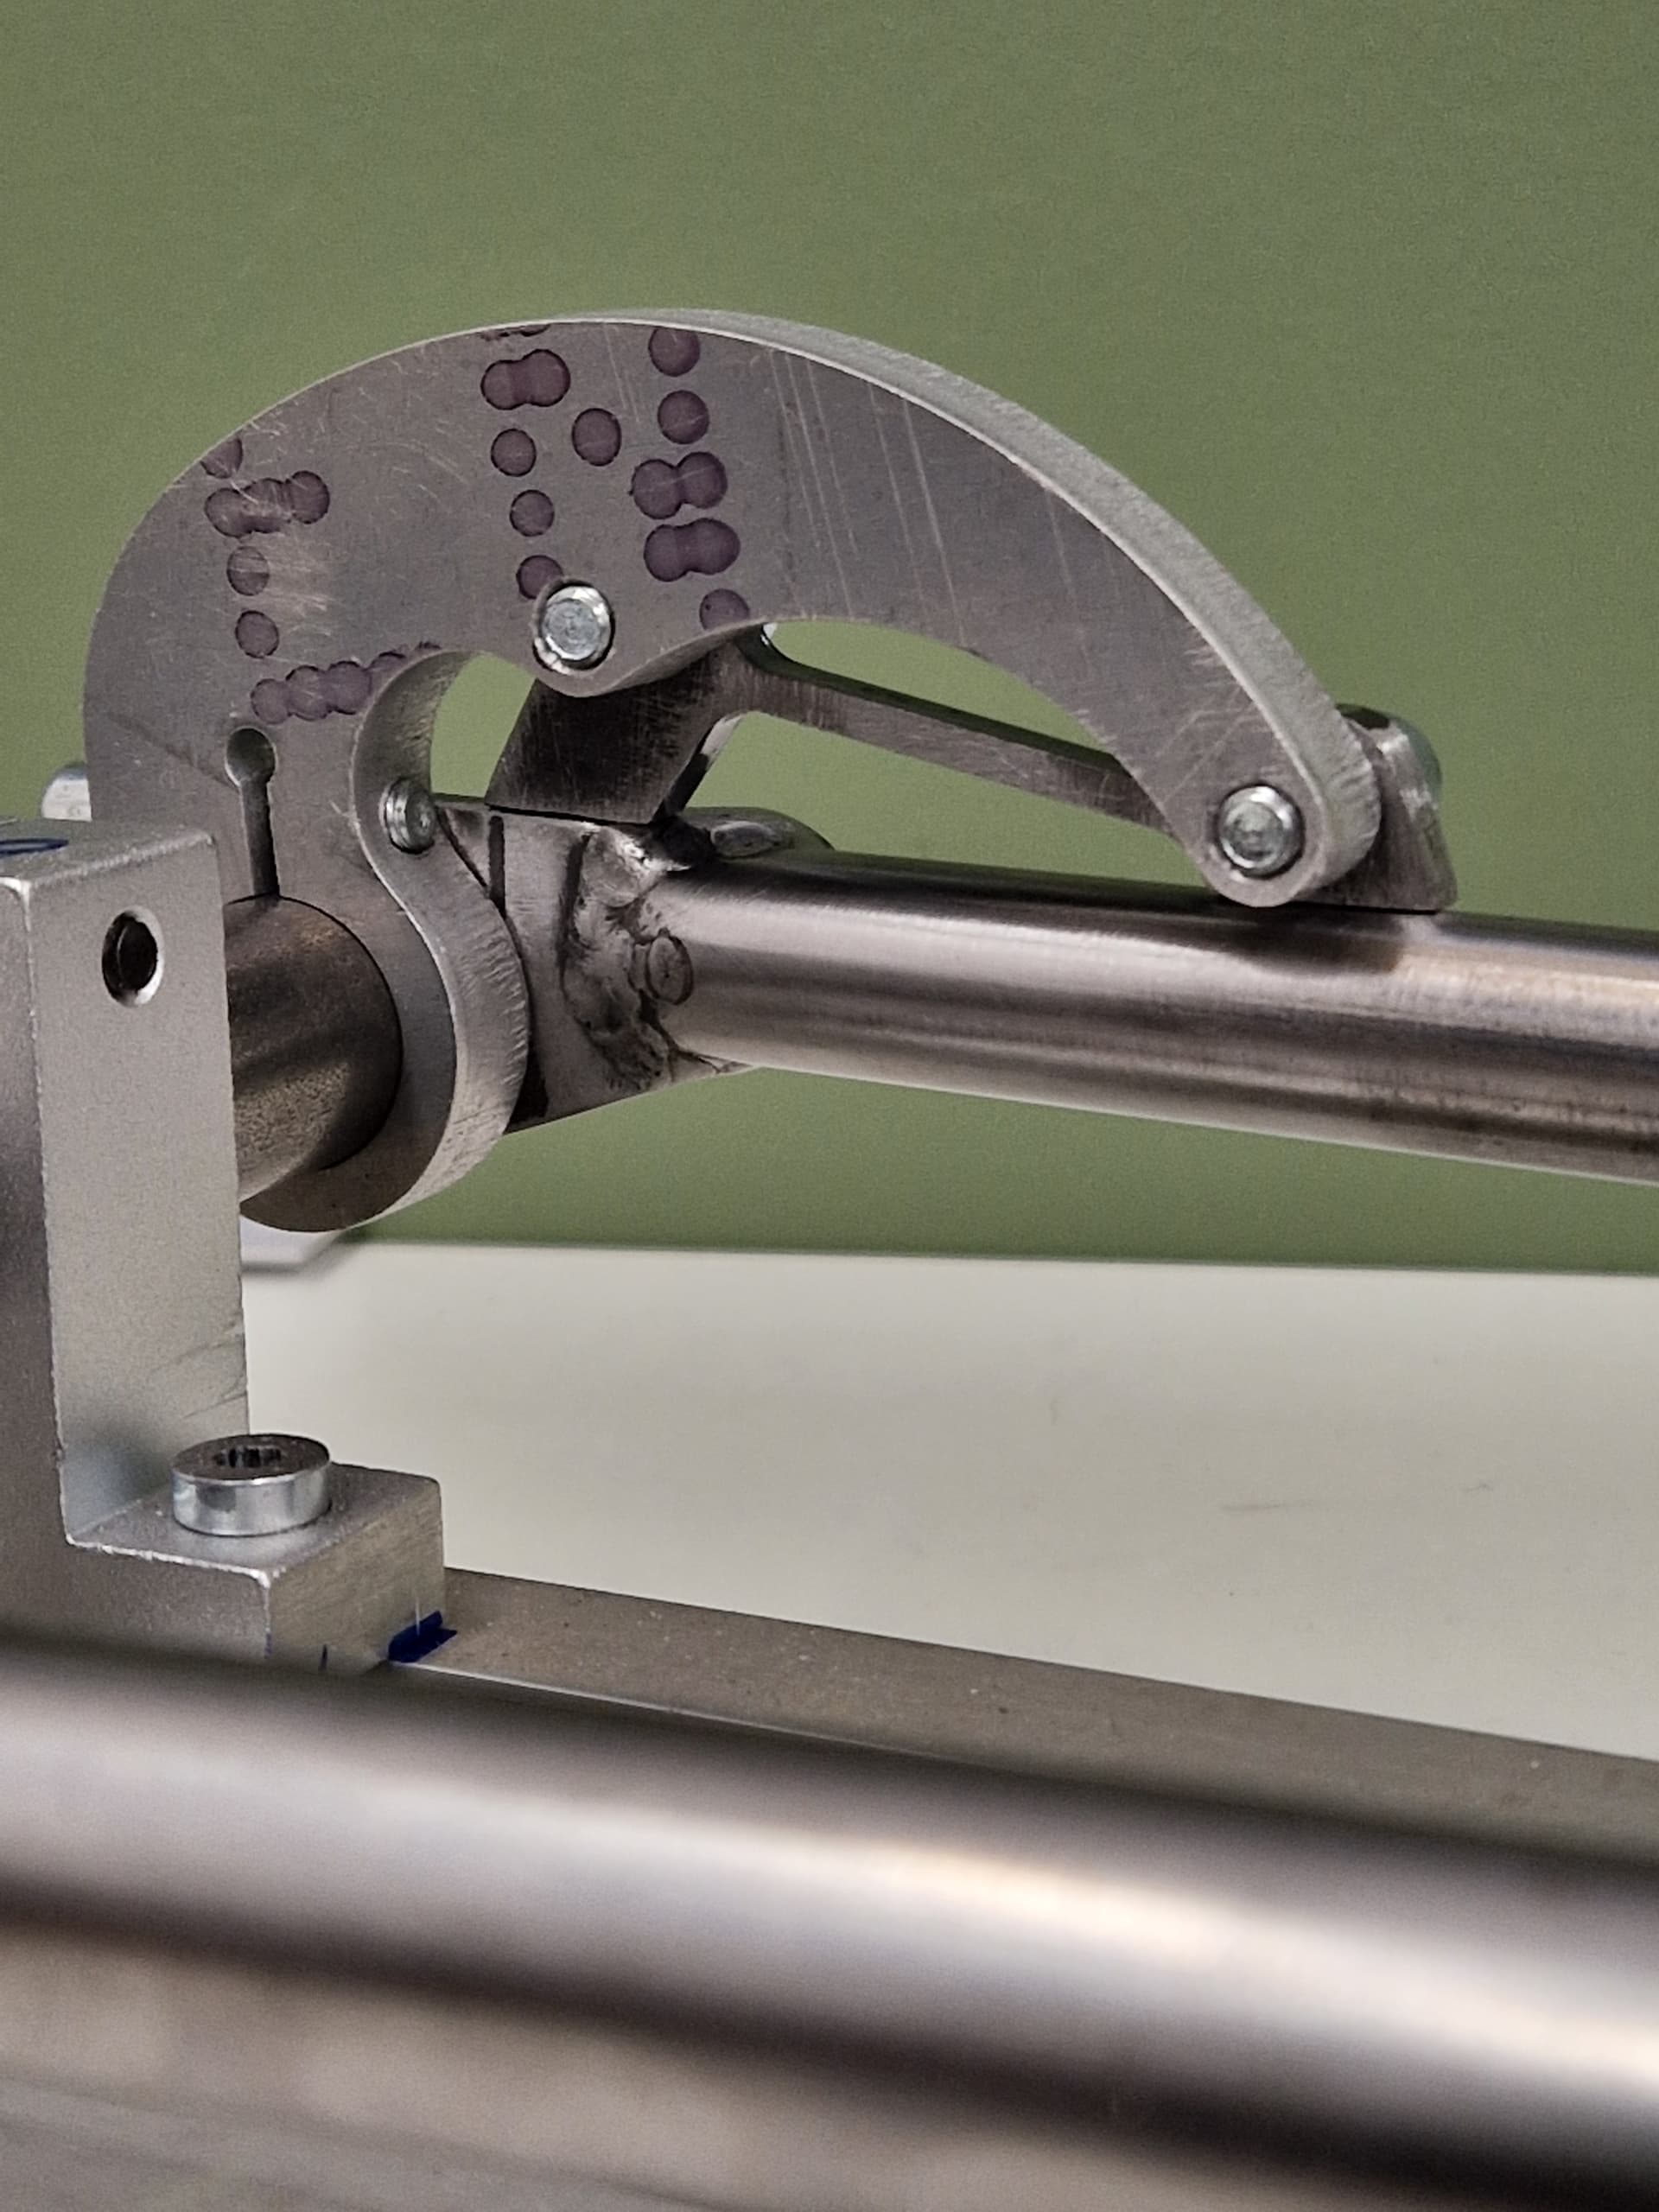
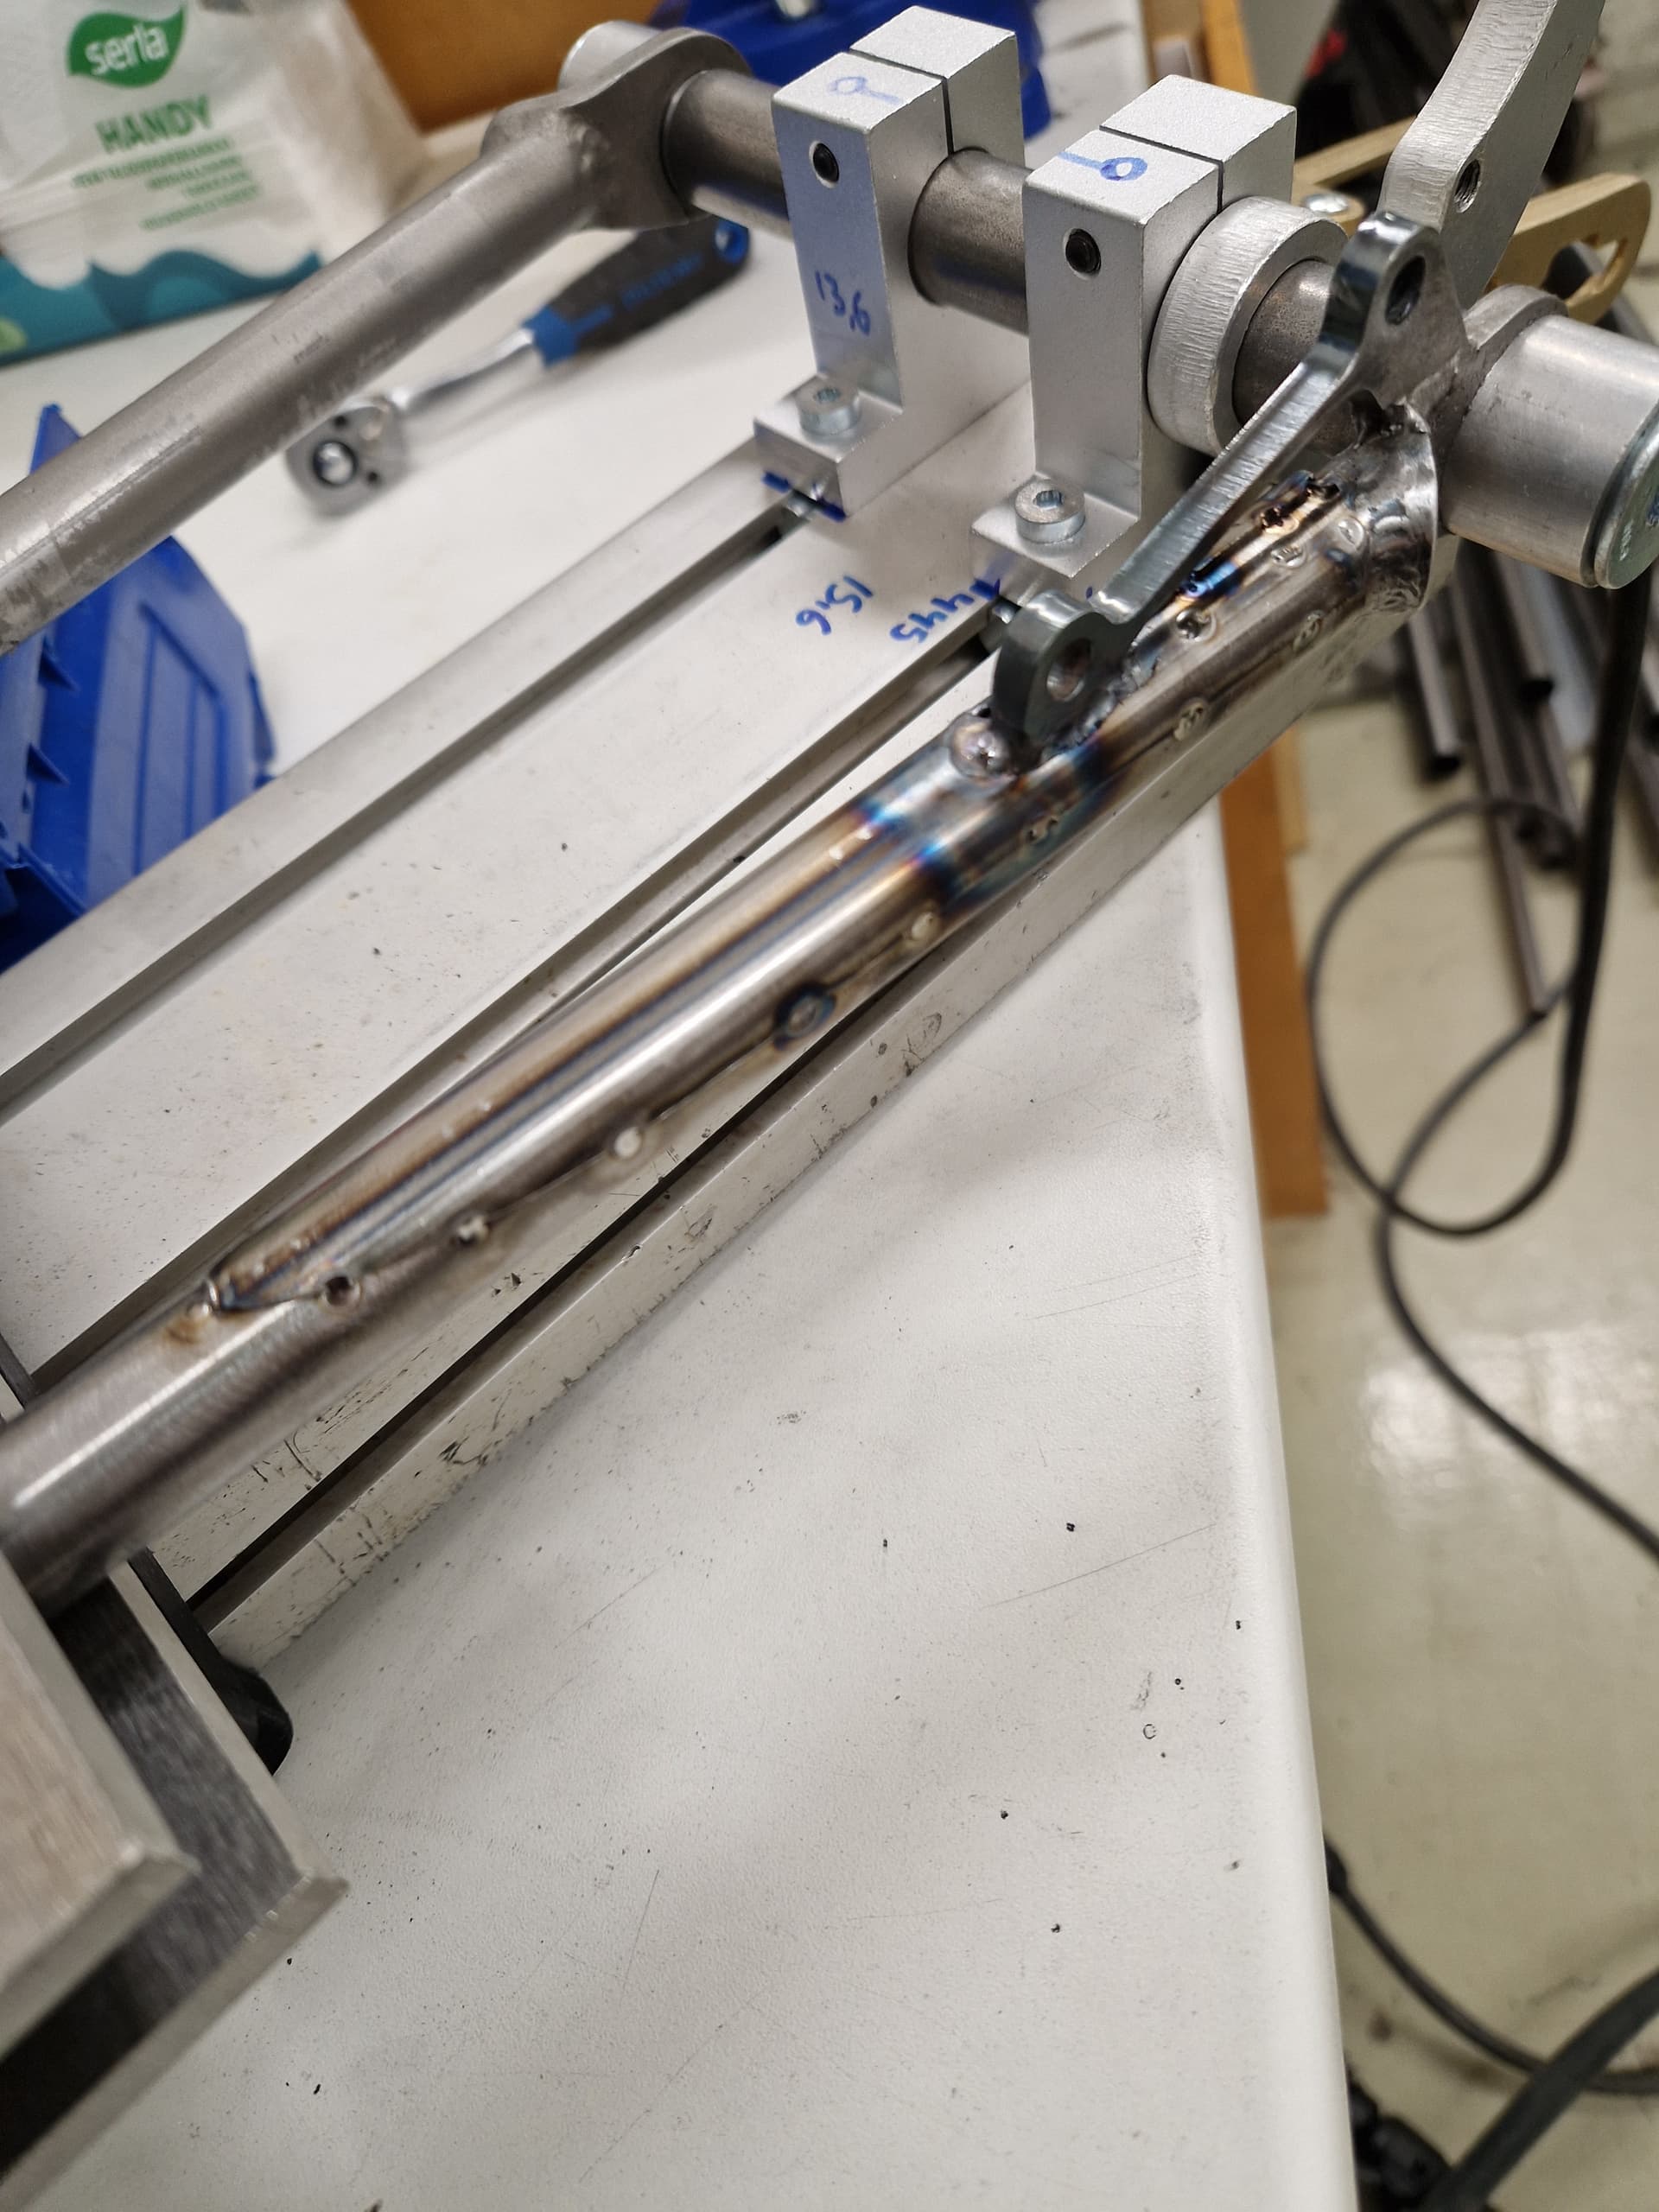
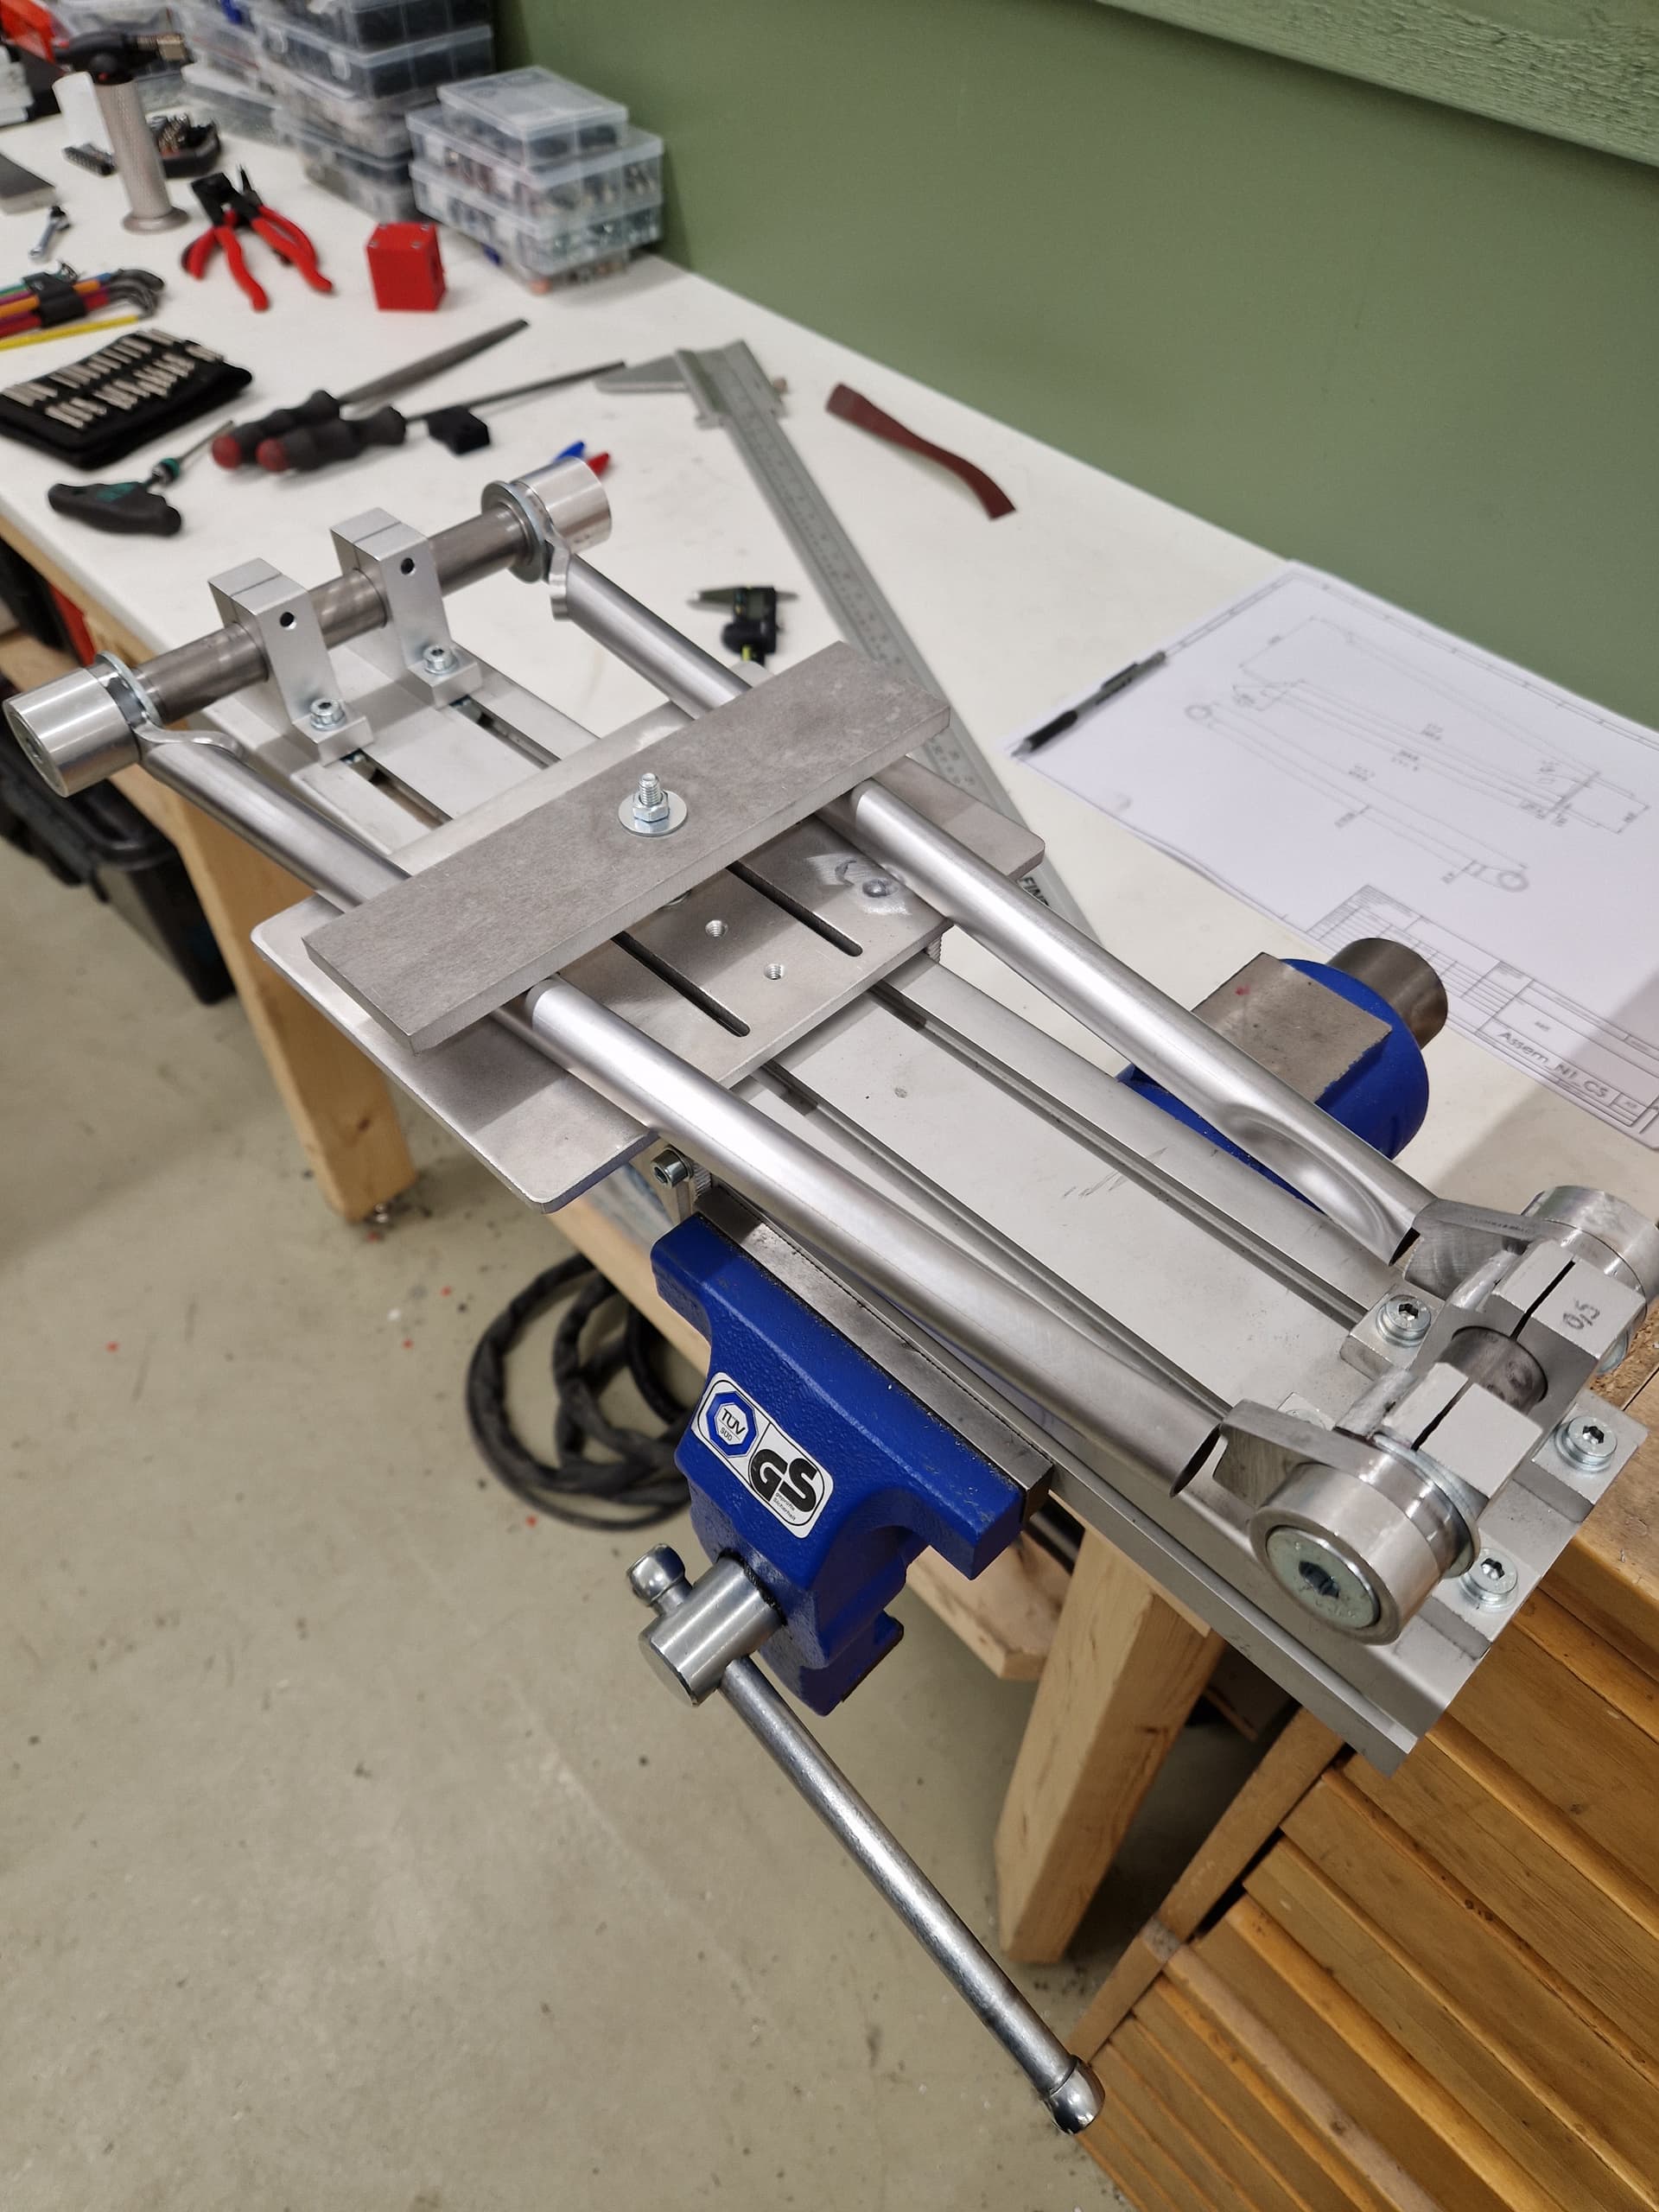
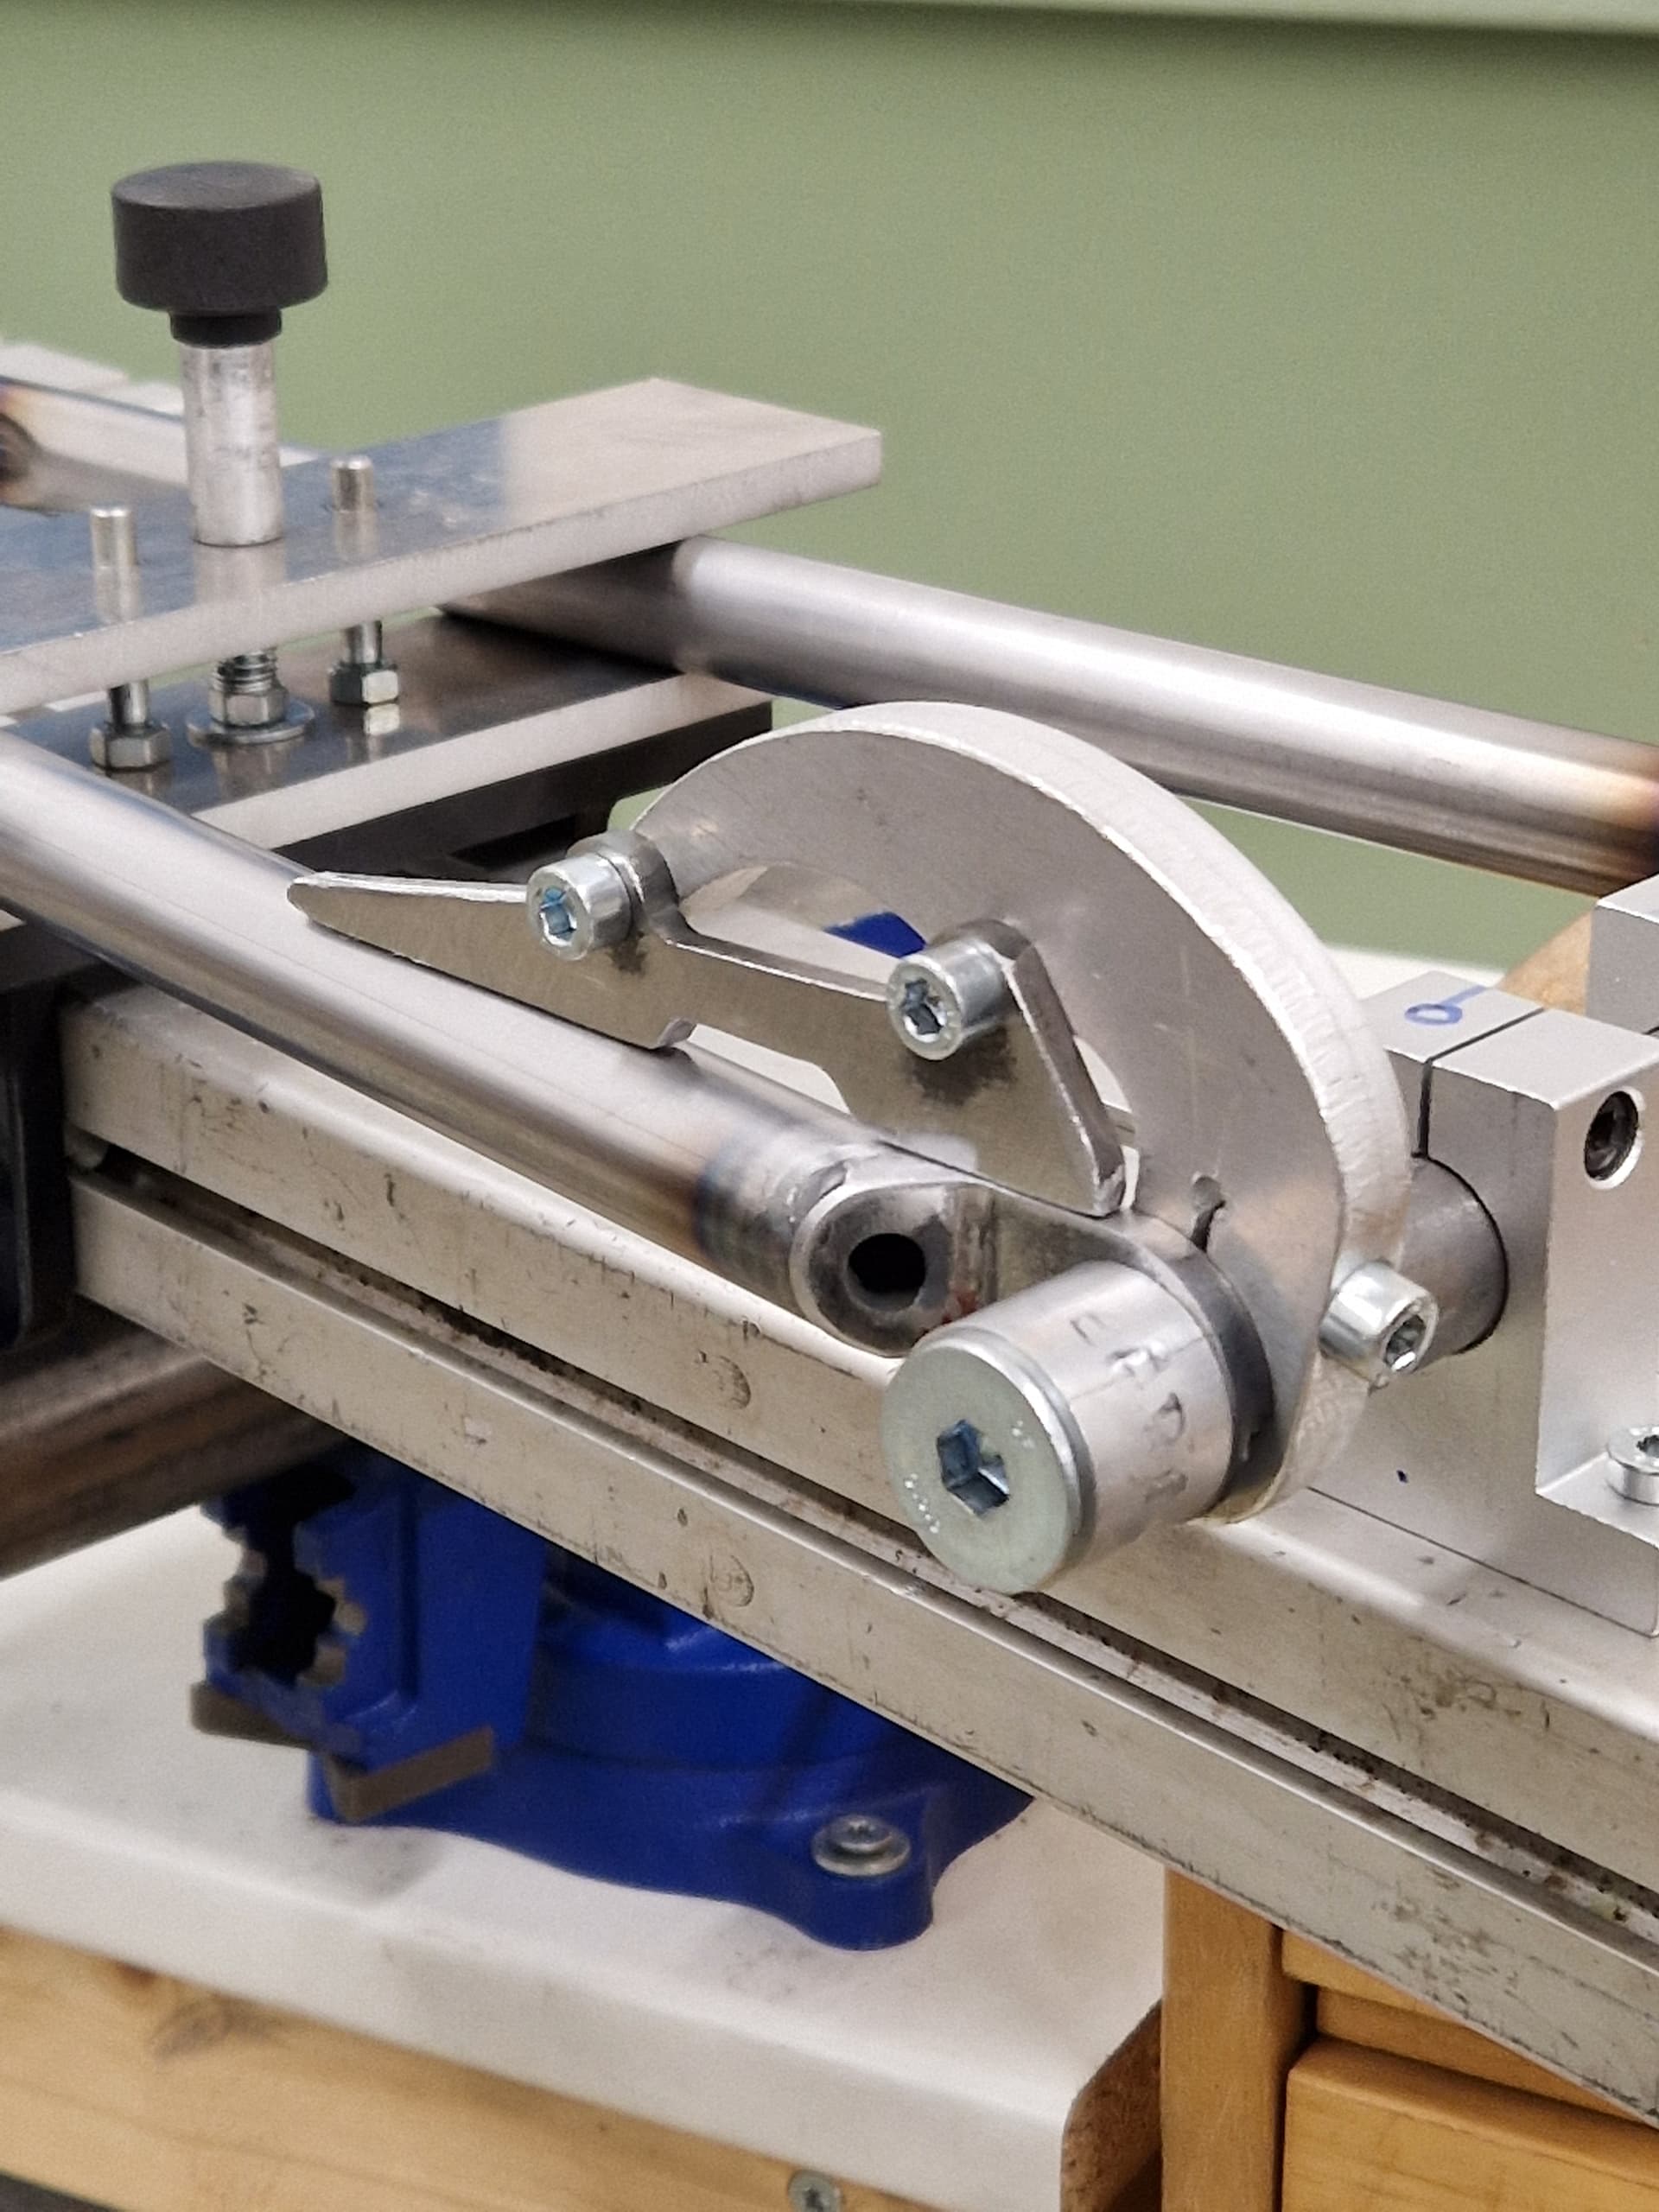
Cutting room for main pivot to the Pinion bridge in the cutting jig.
Fits with the welding jig.
Tools for welding the rear triangle.
Rear triangle jig was a PITA to set up. I ended up making two misaligned rear traingles with this one 
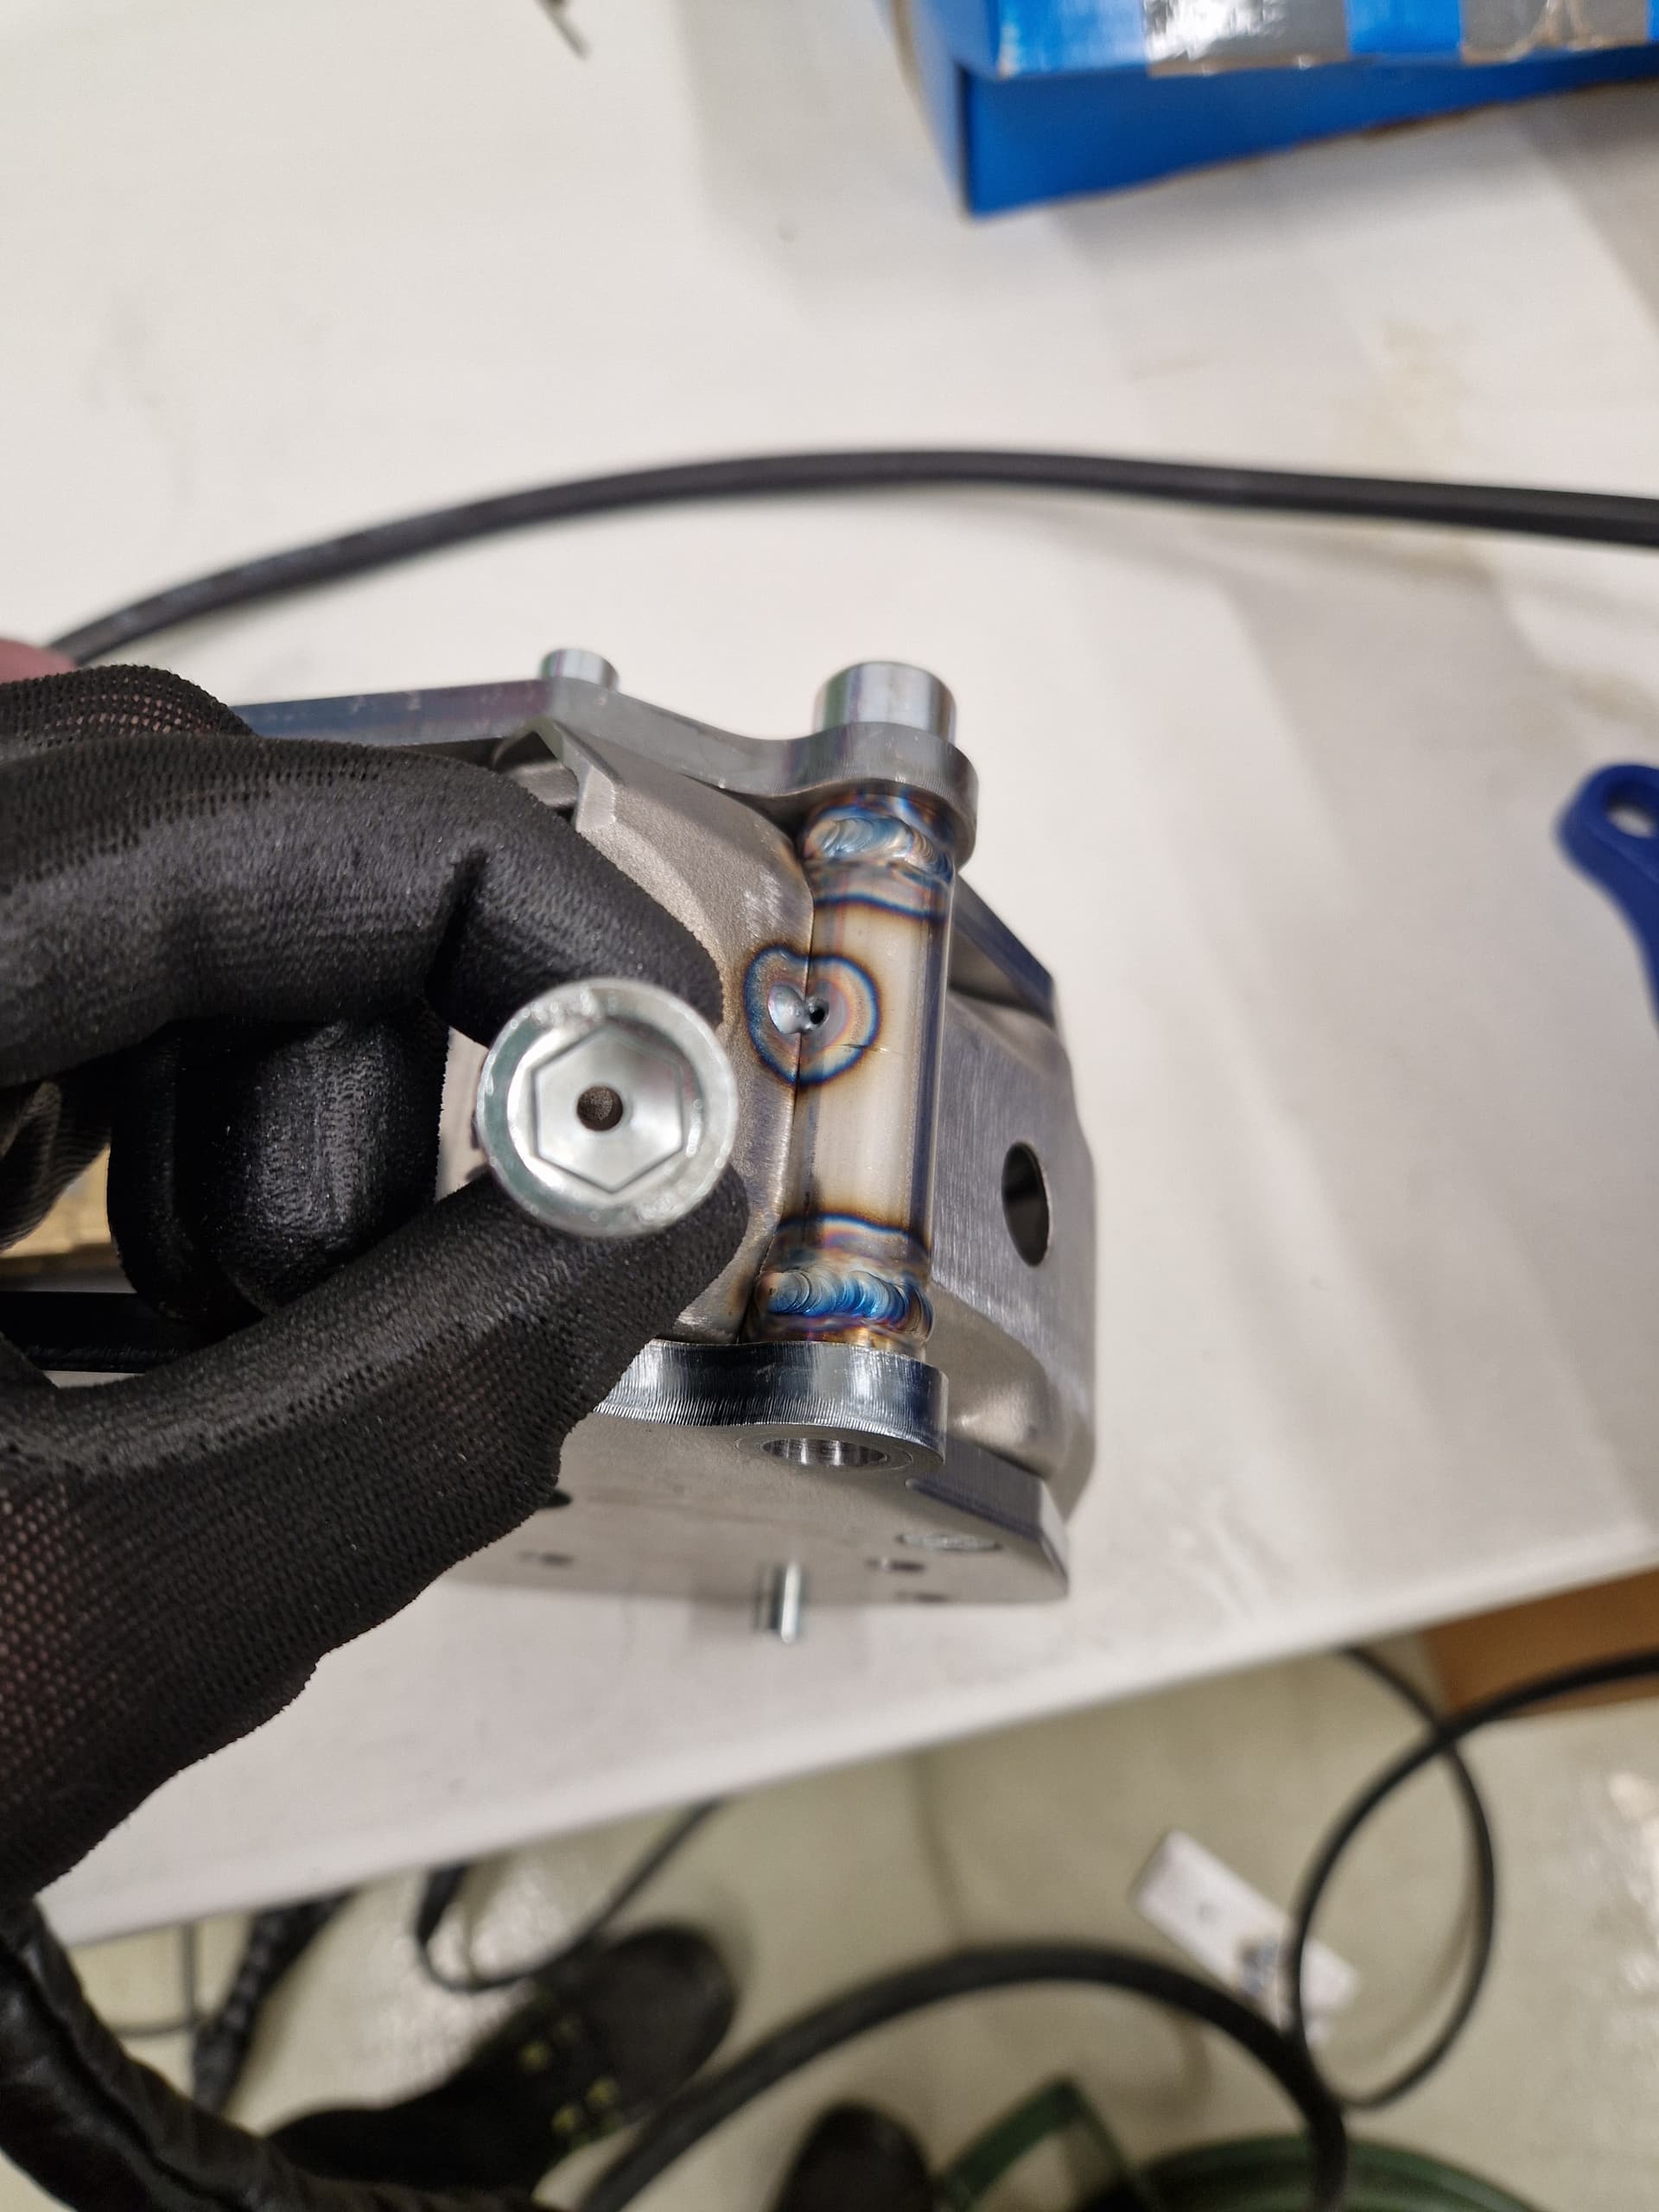
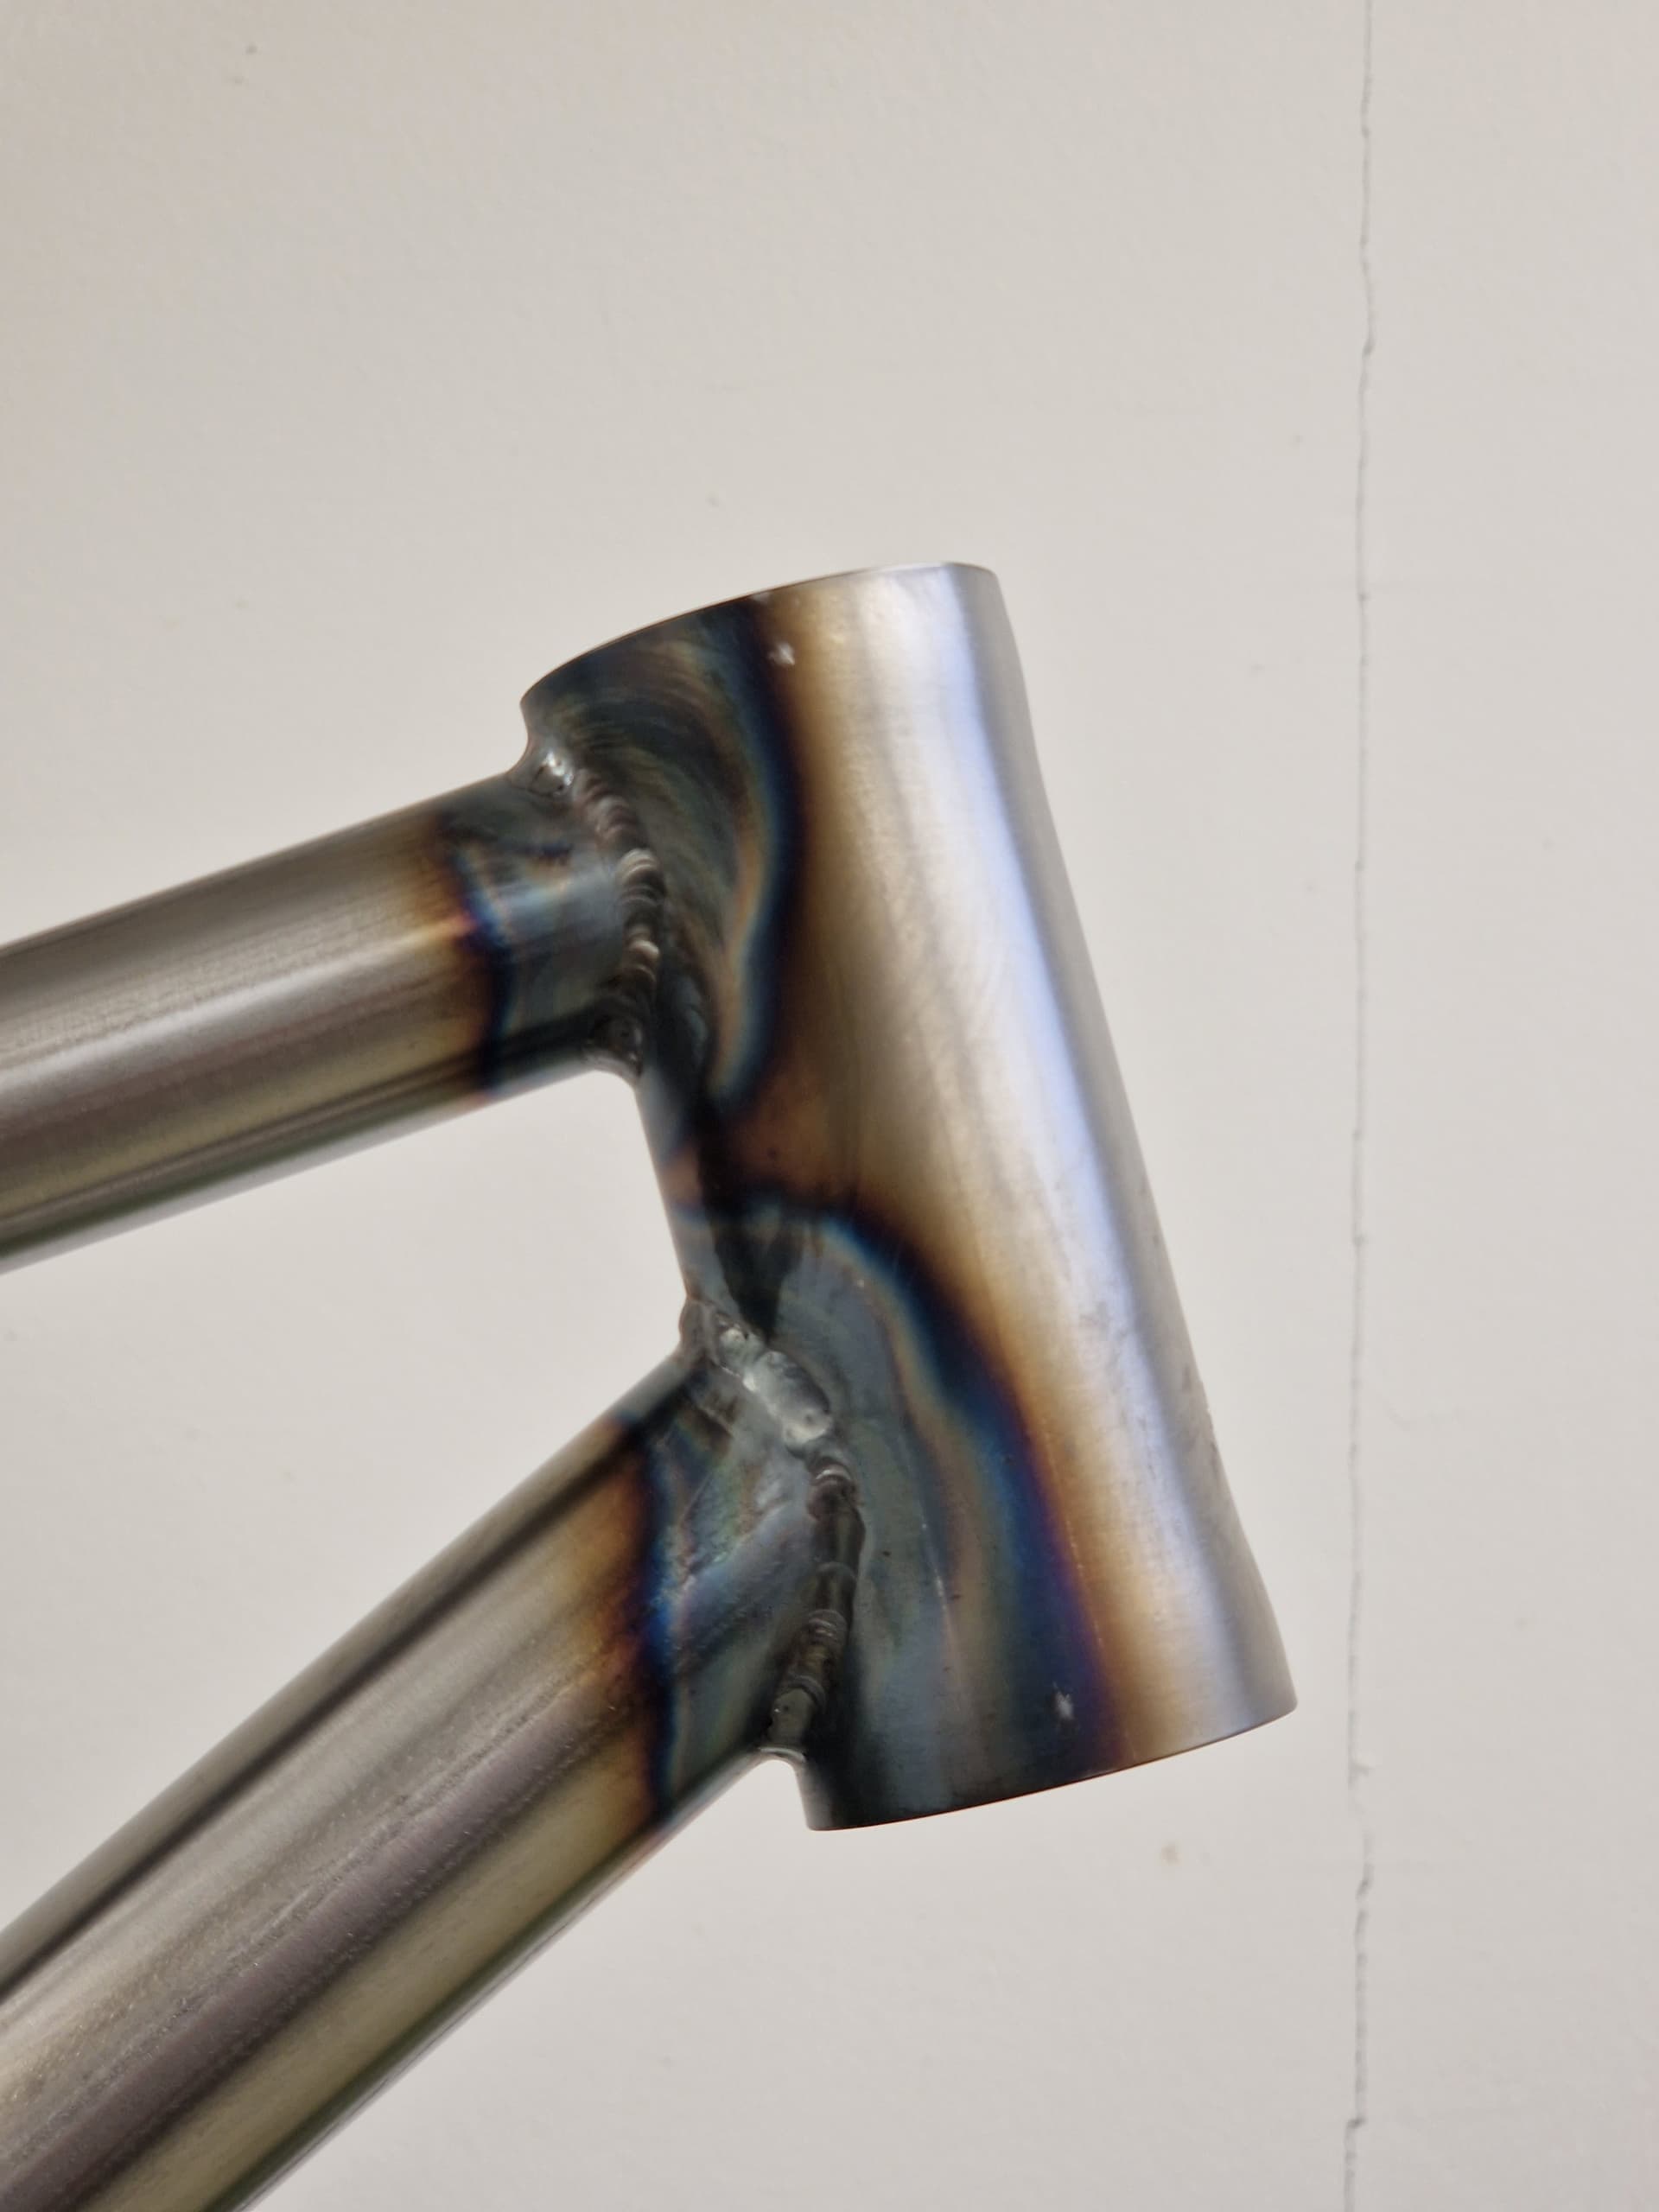
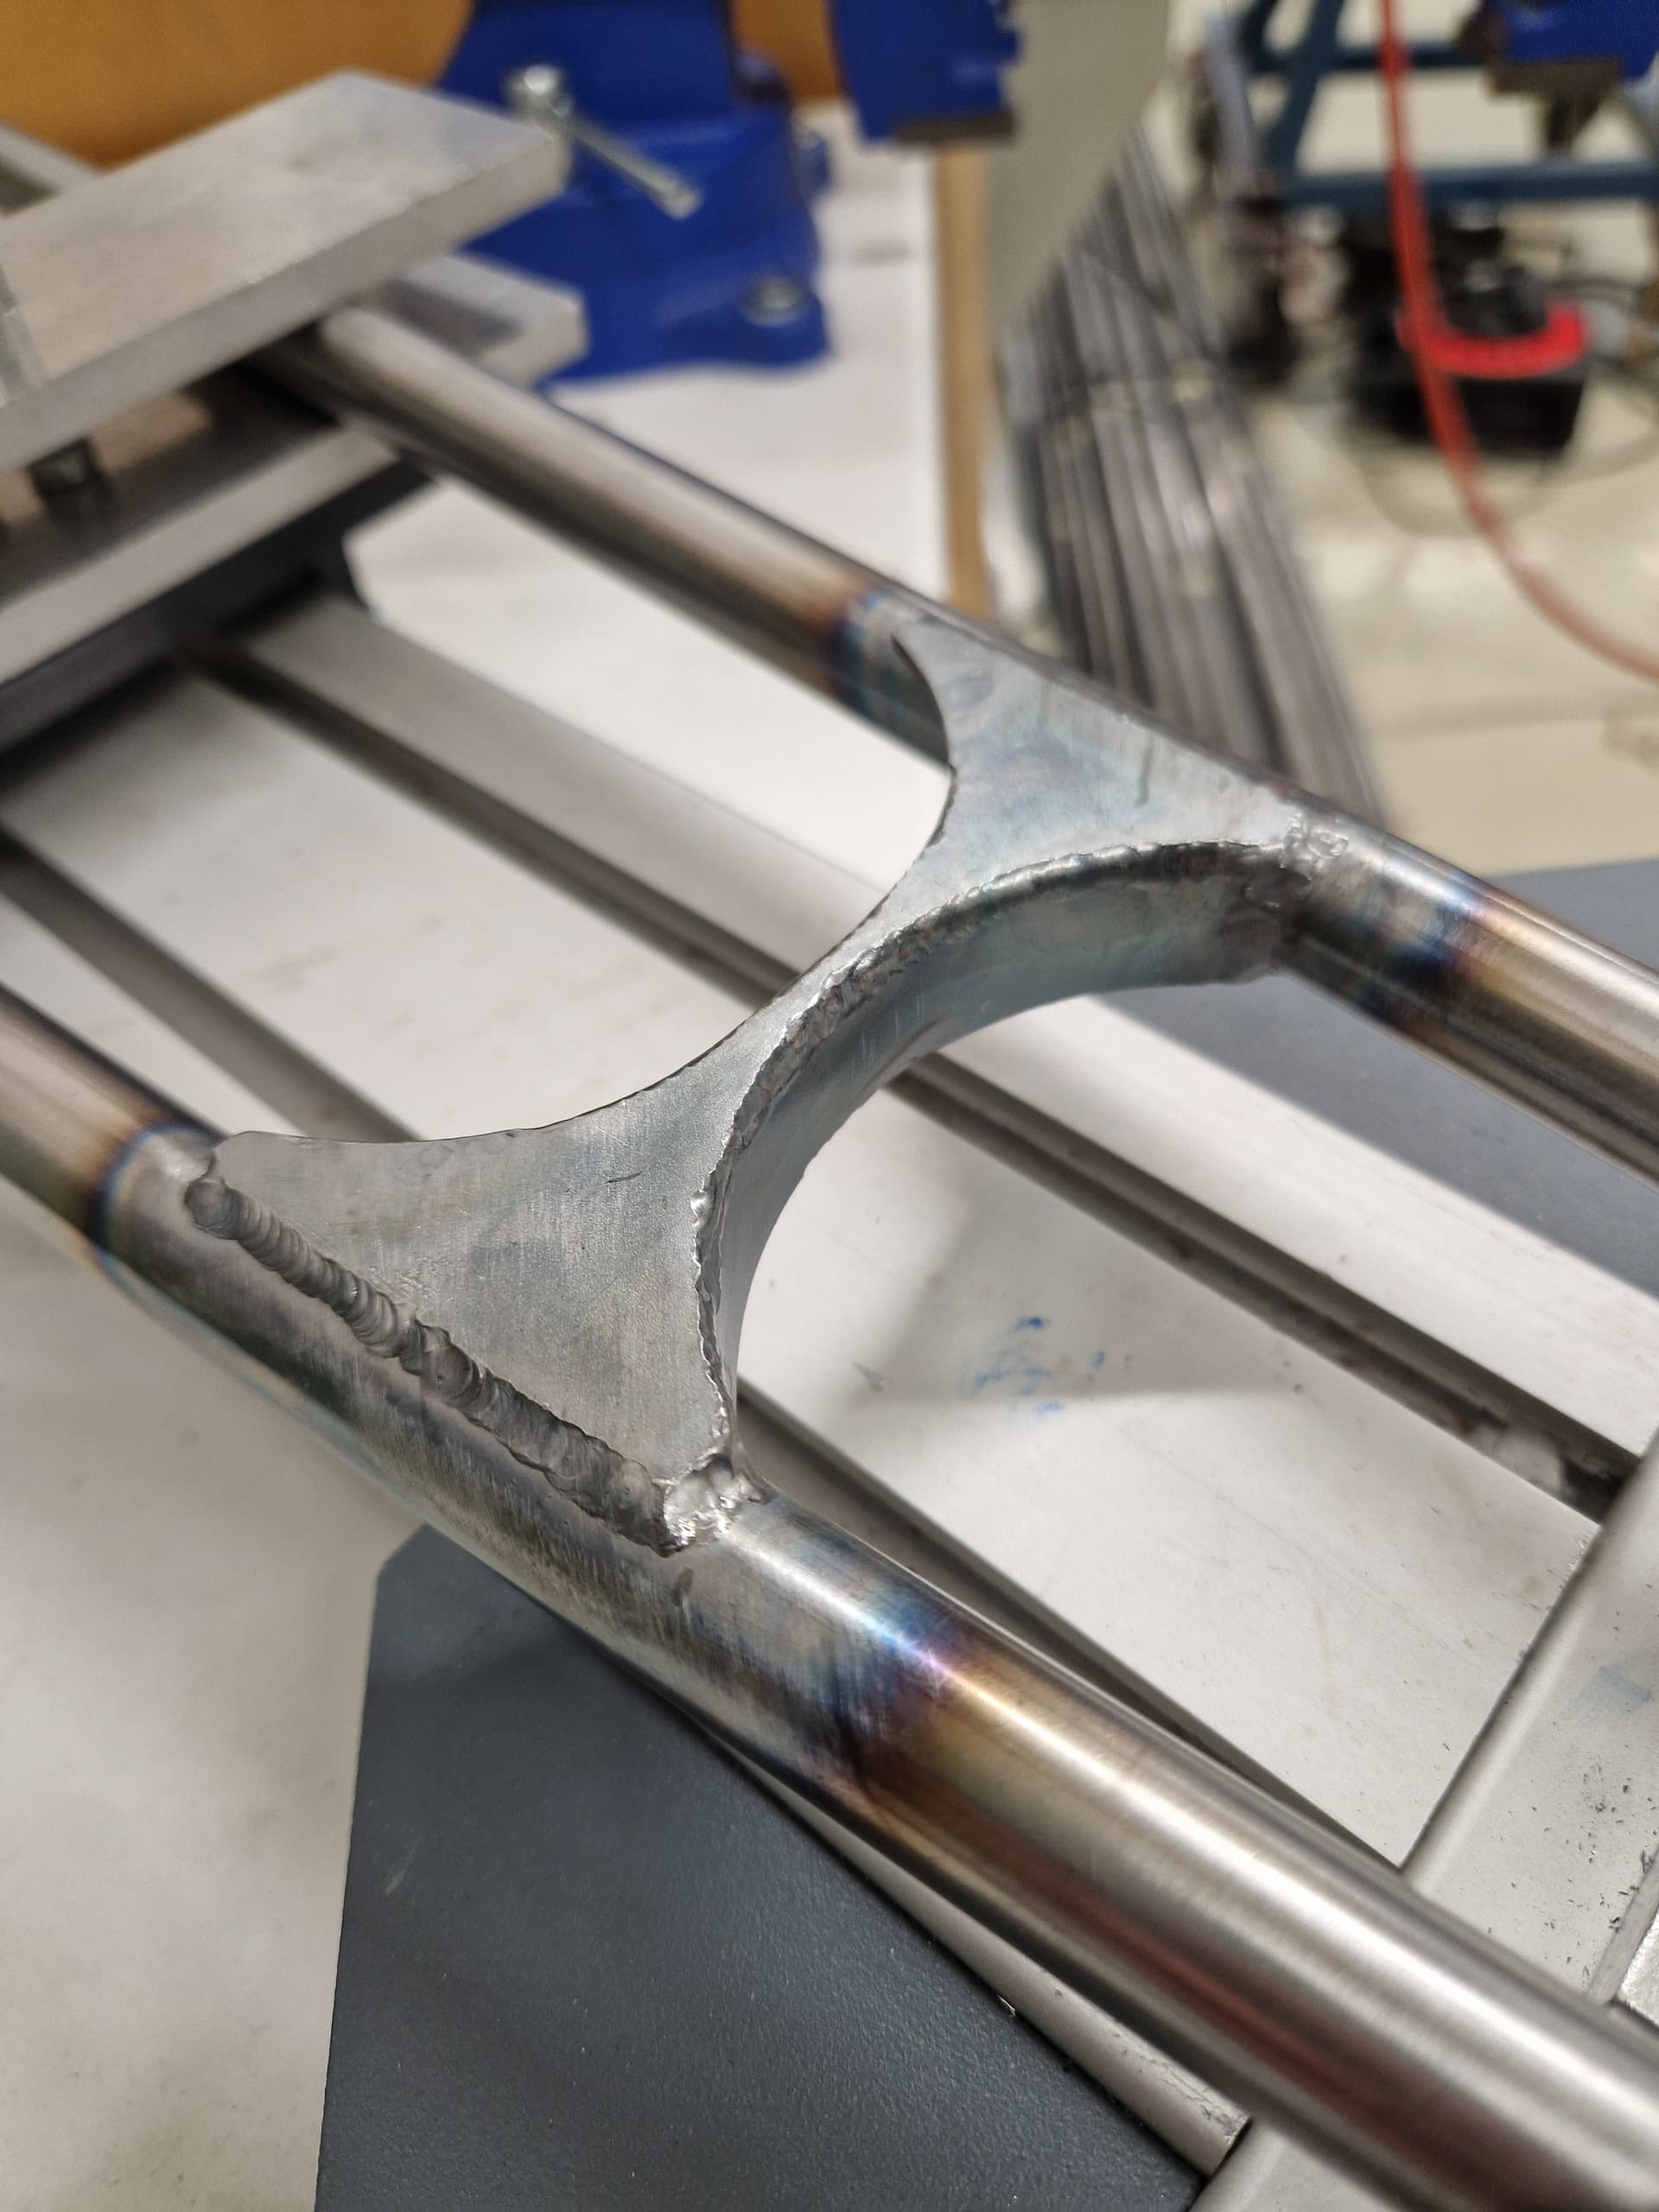
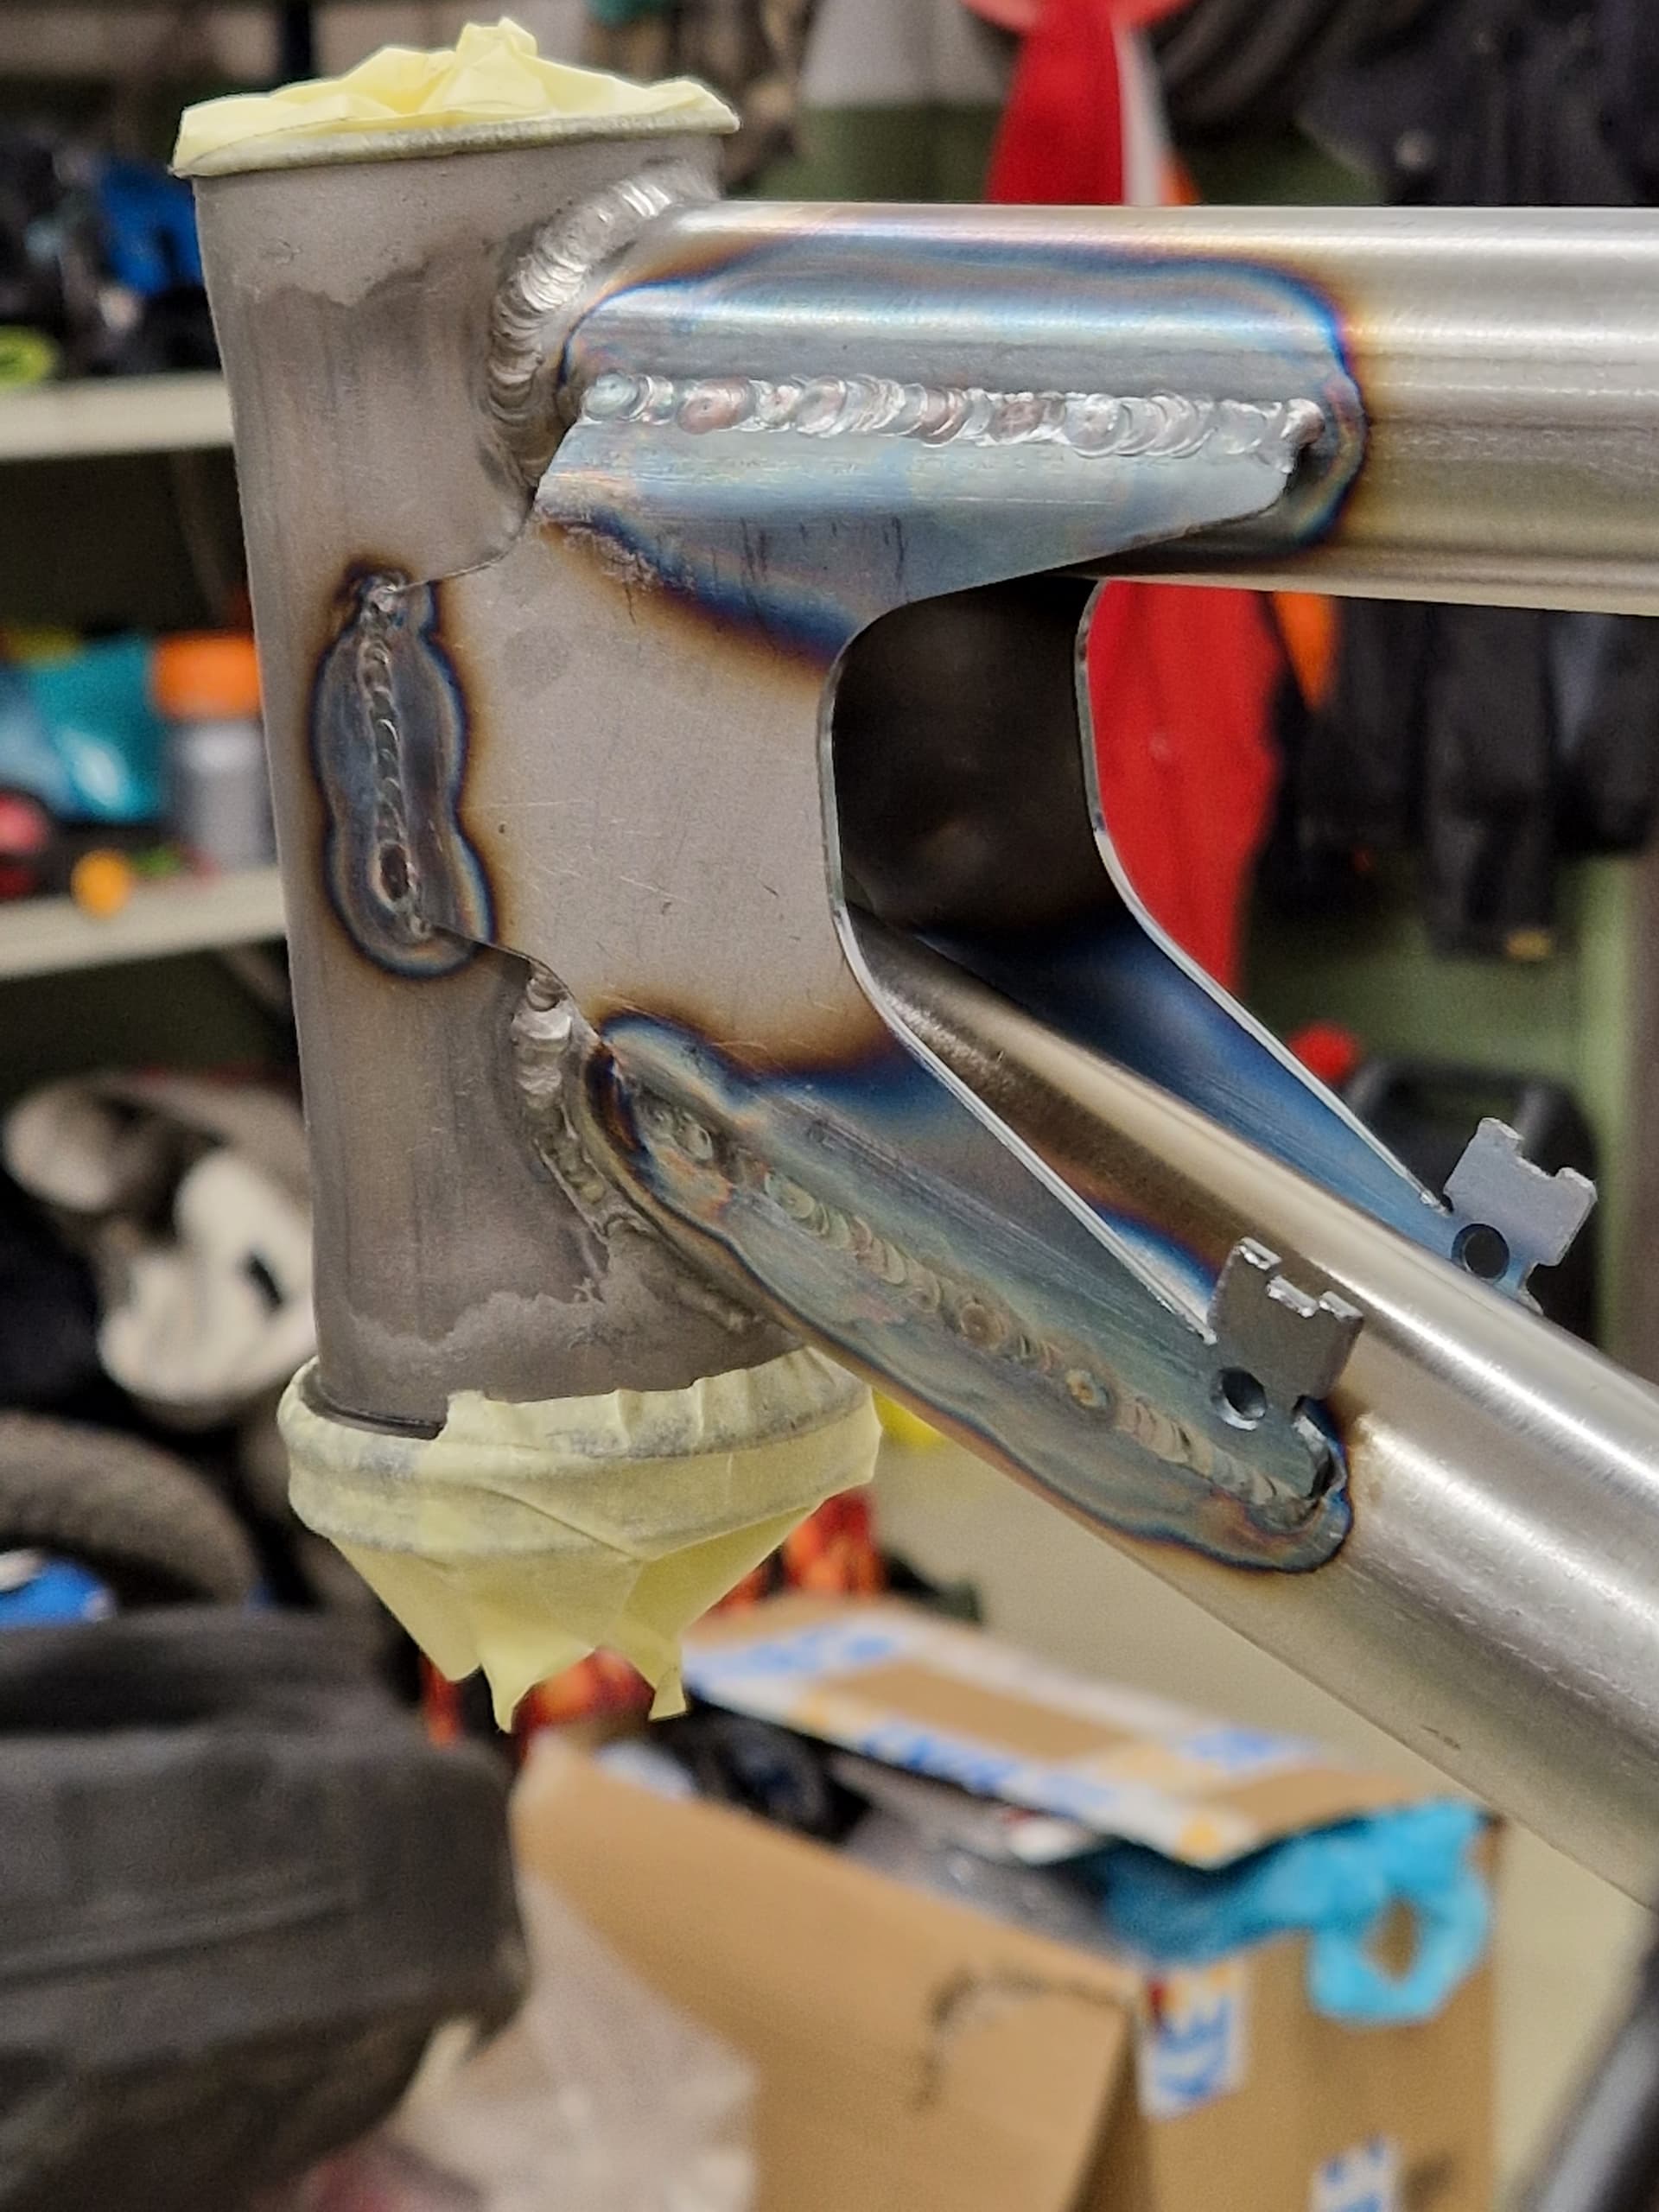
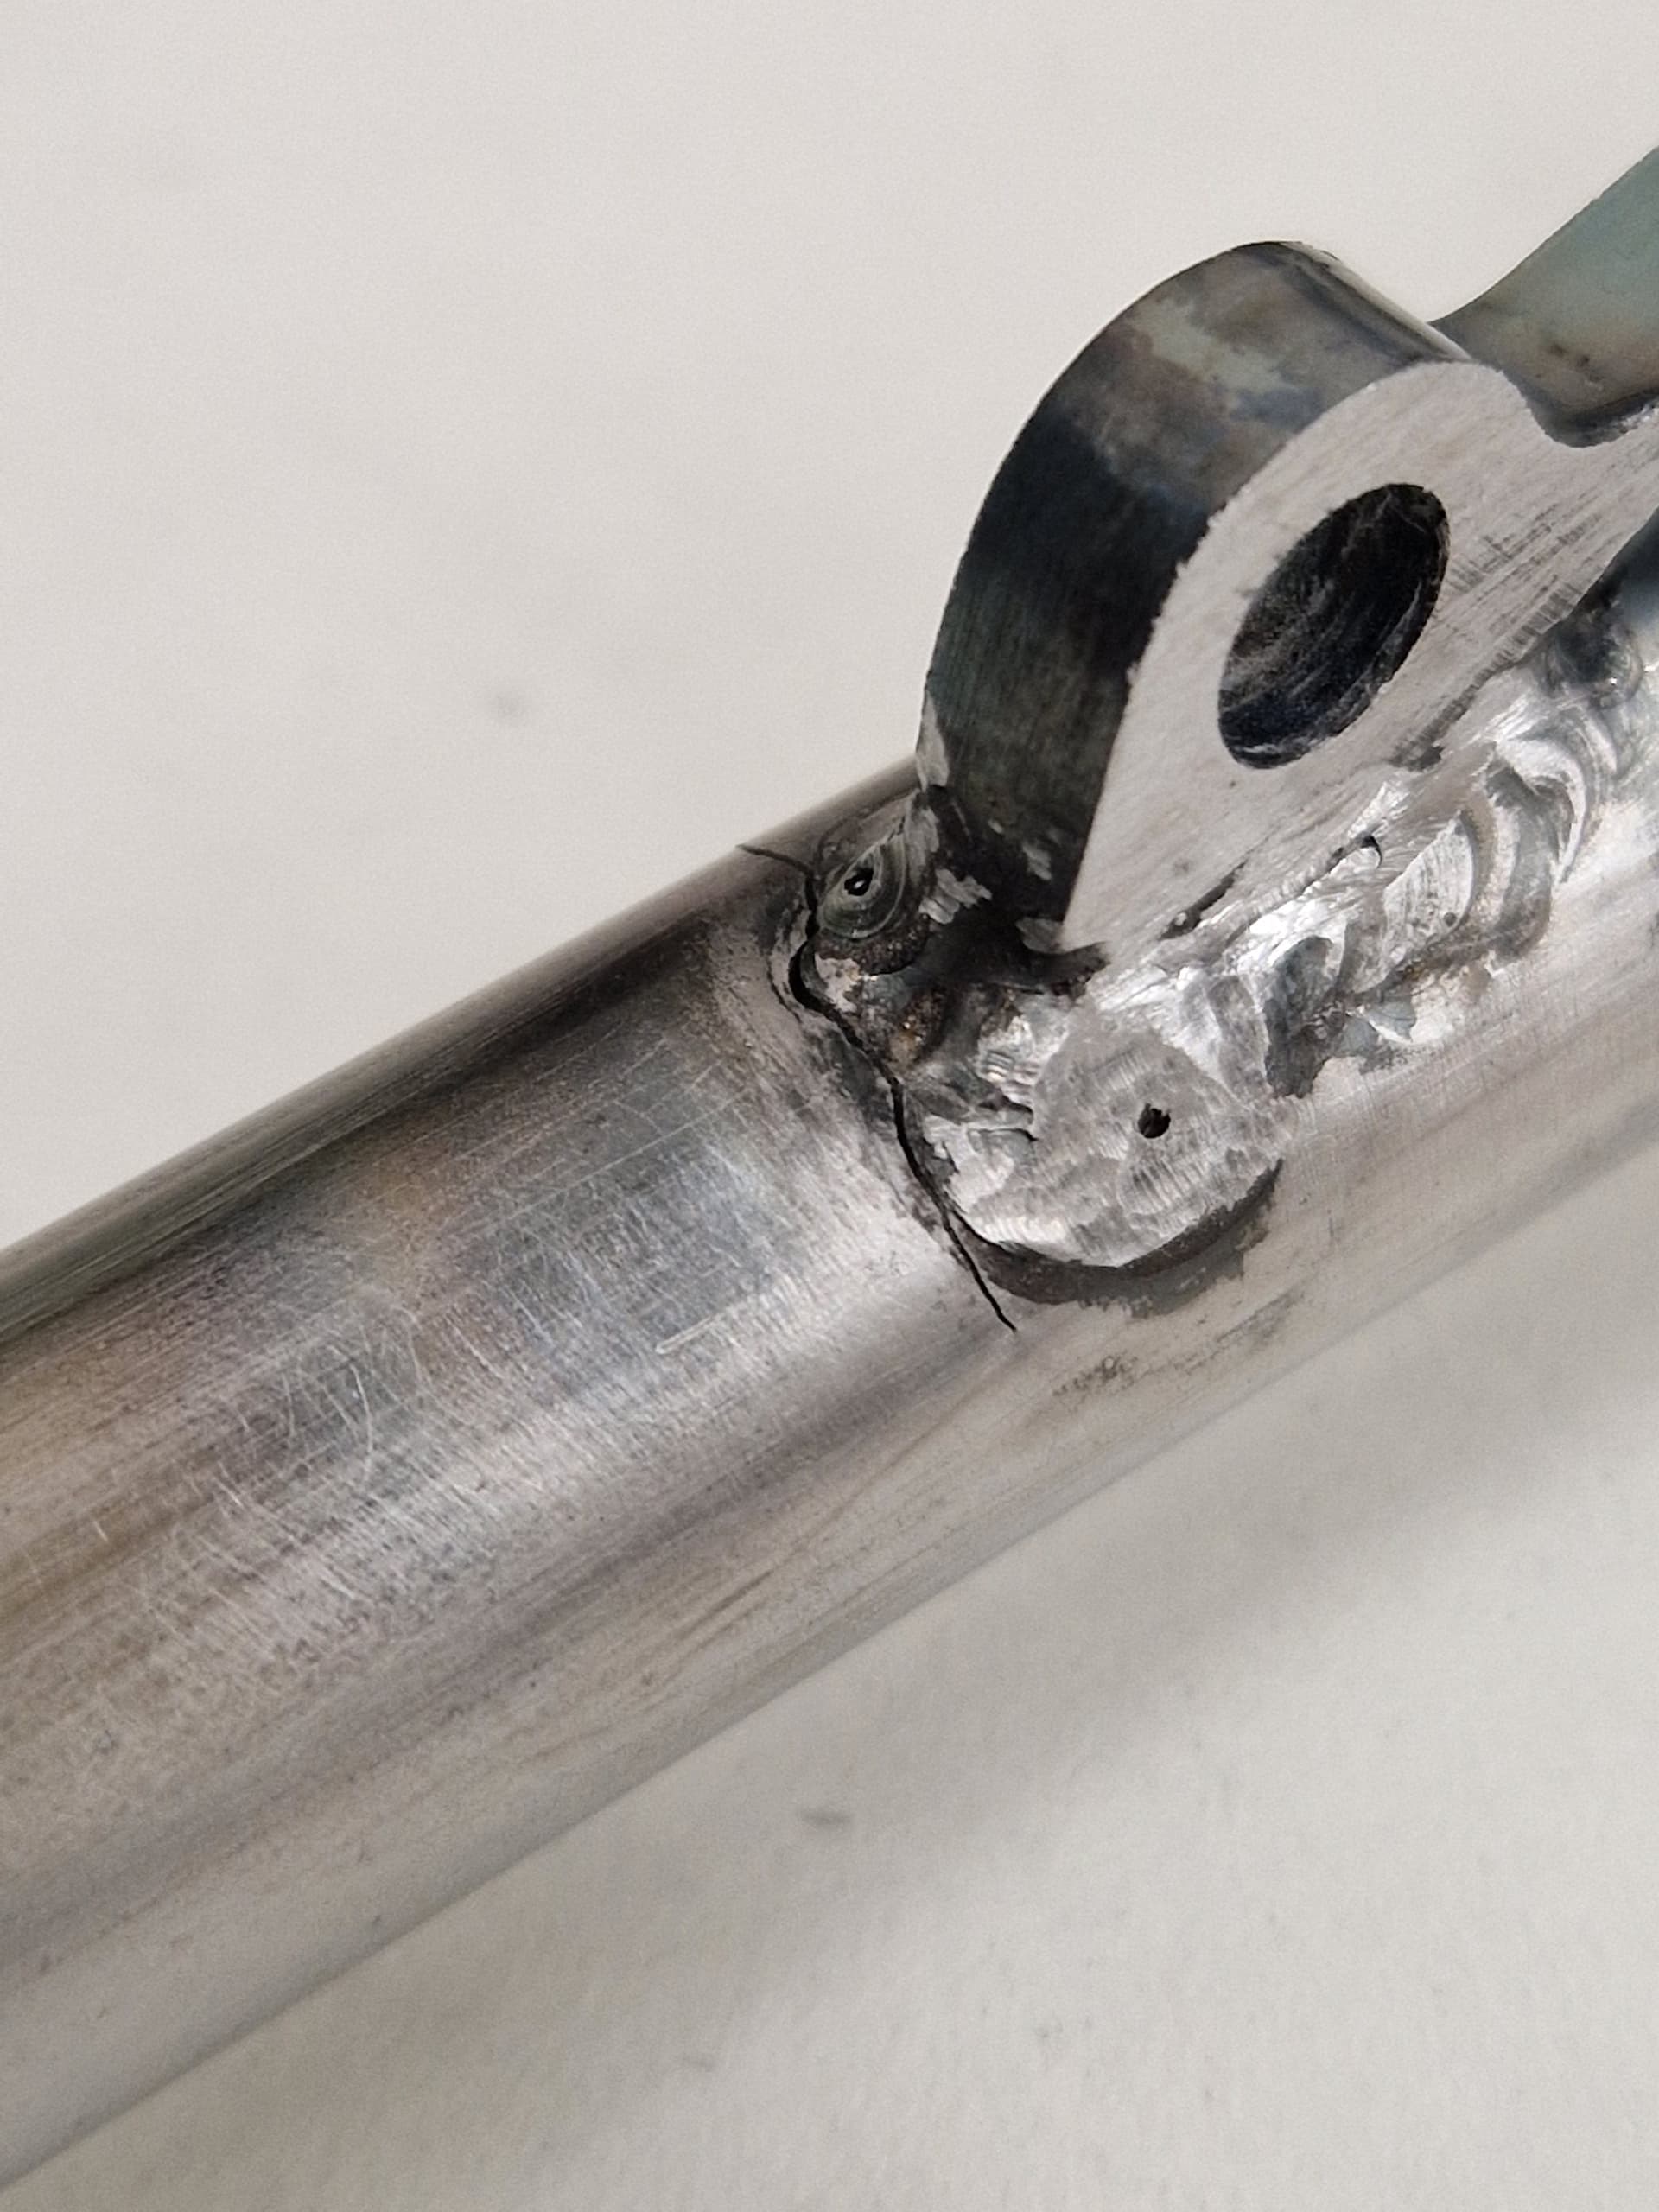
Welds were ok at best. Throughout my projects, I have wanted to weld mostly because I want to know how easy / hard the parts are to set up and weld, and how they keep the alignment. Not because I can make nice welds
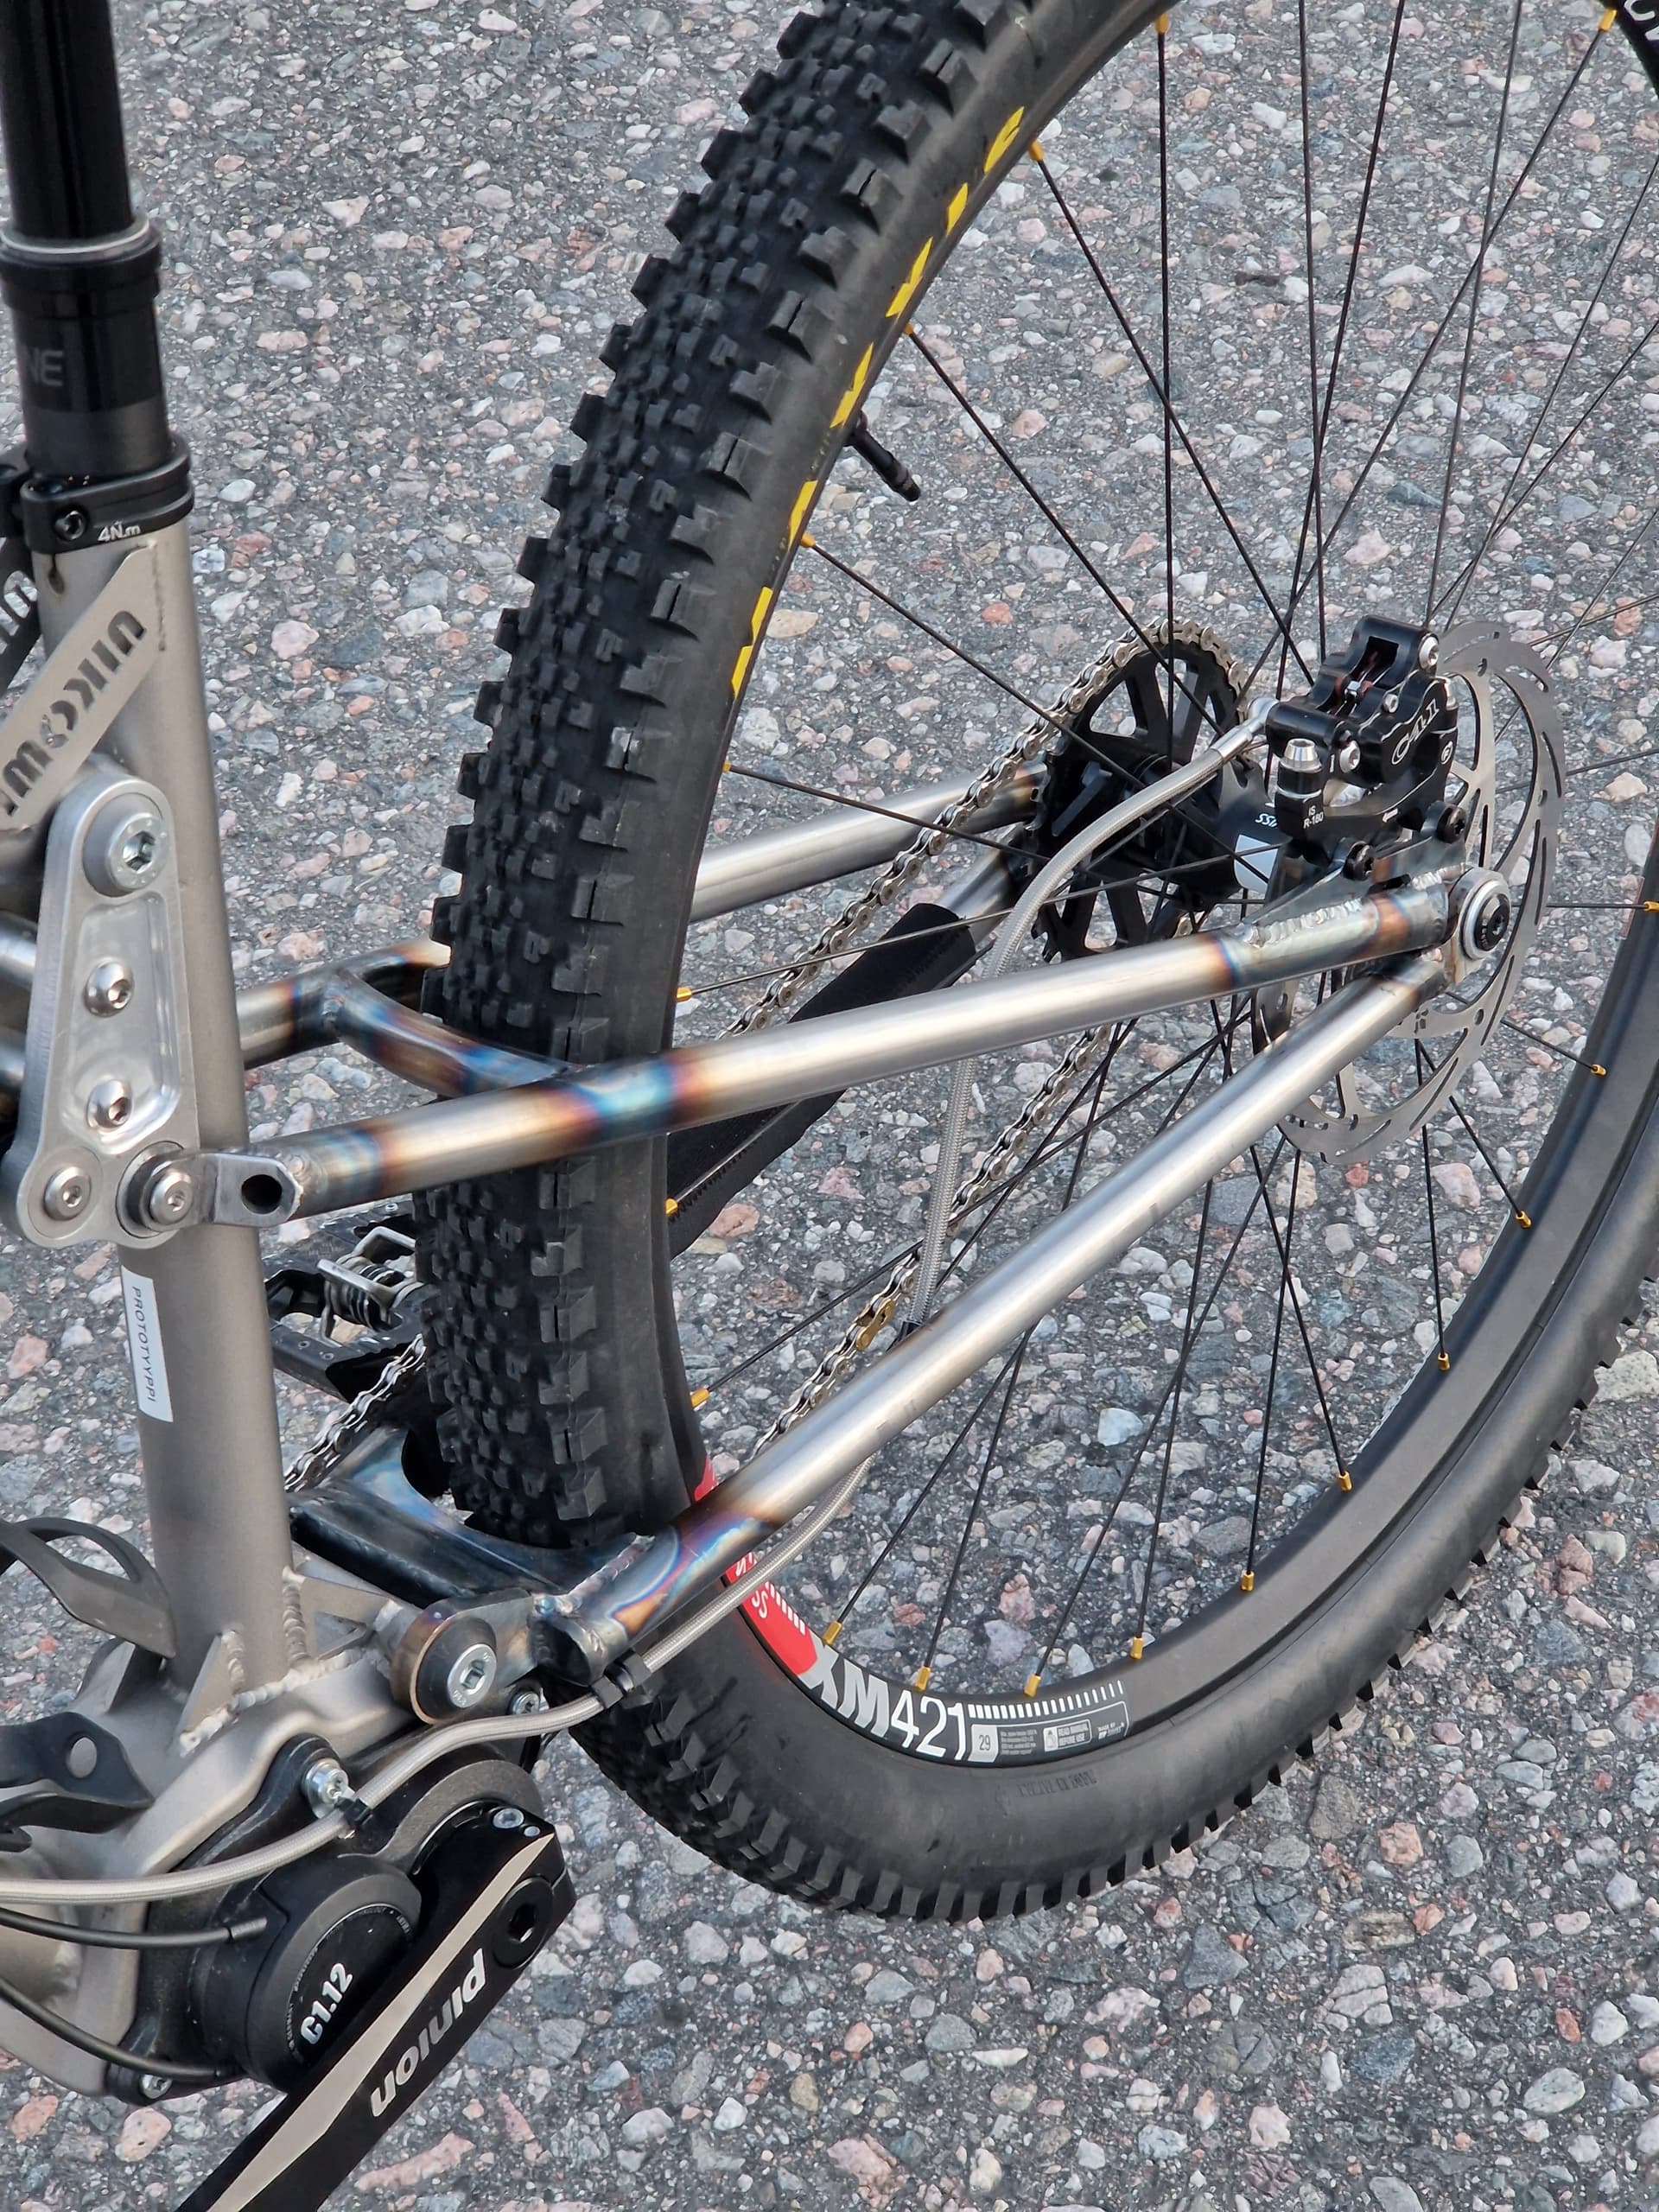
At this point I should say that the rear triangle of the v1 is FLEXY AS HELL! Not because the materials I’ve used but the design that allows the chainstay to rotate torsionally (wheel twists/flops side to side looking from back of the bike).
My initial thought was that the wider spaced main bearings would add stability, but no. If you have familiarised yourself with the design of the usual designs, the main pivot bearings are located in the front triangle. This design allows the main pivot bolt to have an interlocking feature of the chainstay, which very effectively resists this torsional rotation.
This is also not an issue with pure single pivots, since the rear triangle is solid, and will resist the twisting with the shock bolt and the usual gusset between shock mount and main pivot.
After the first test assembly, even before making the front triangle, I added some meat to help the flop issue. I had to ditch the Enduro Max bearings and replace them with regular ball bearings. With these “updates” I was able to move forwards.
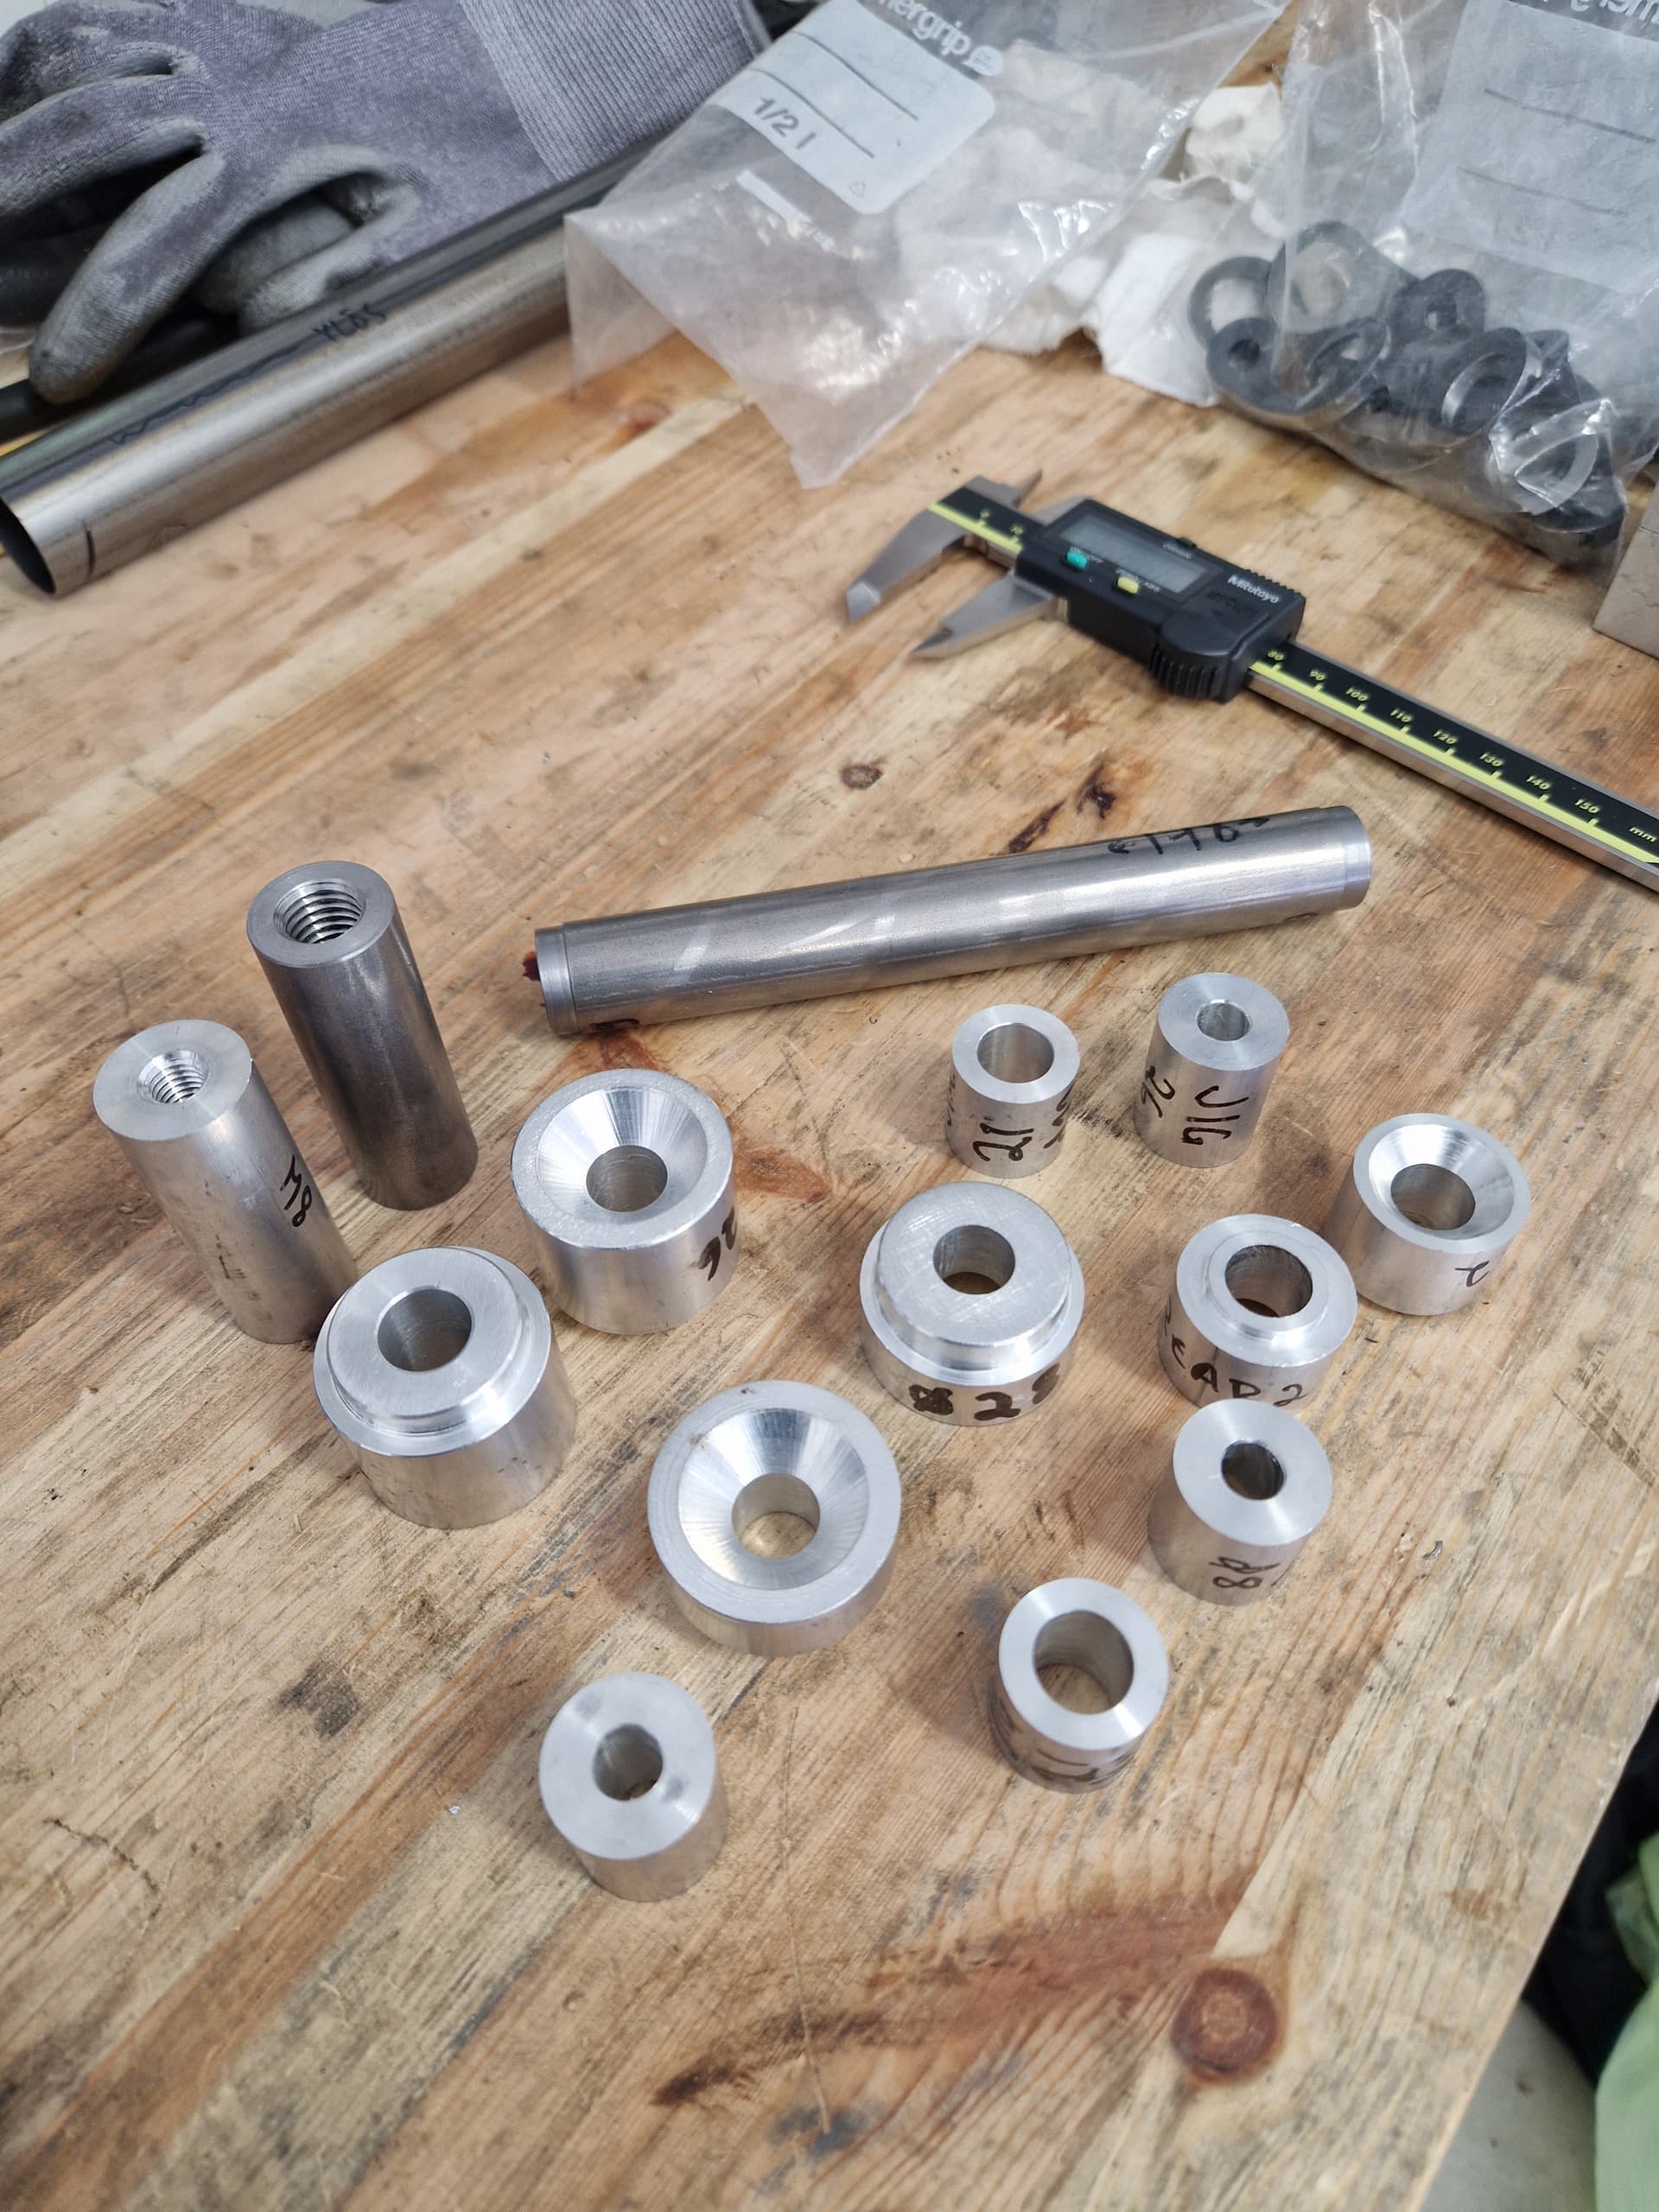
Did I tell we made ALL the tooling
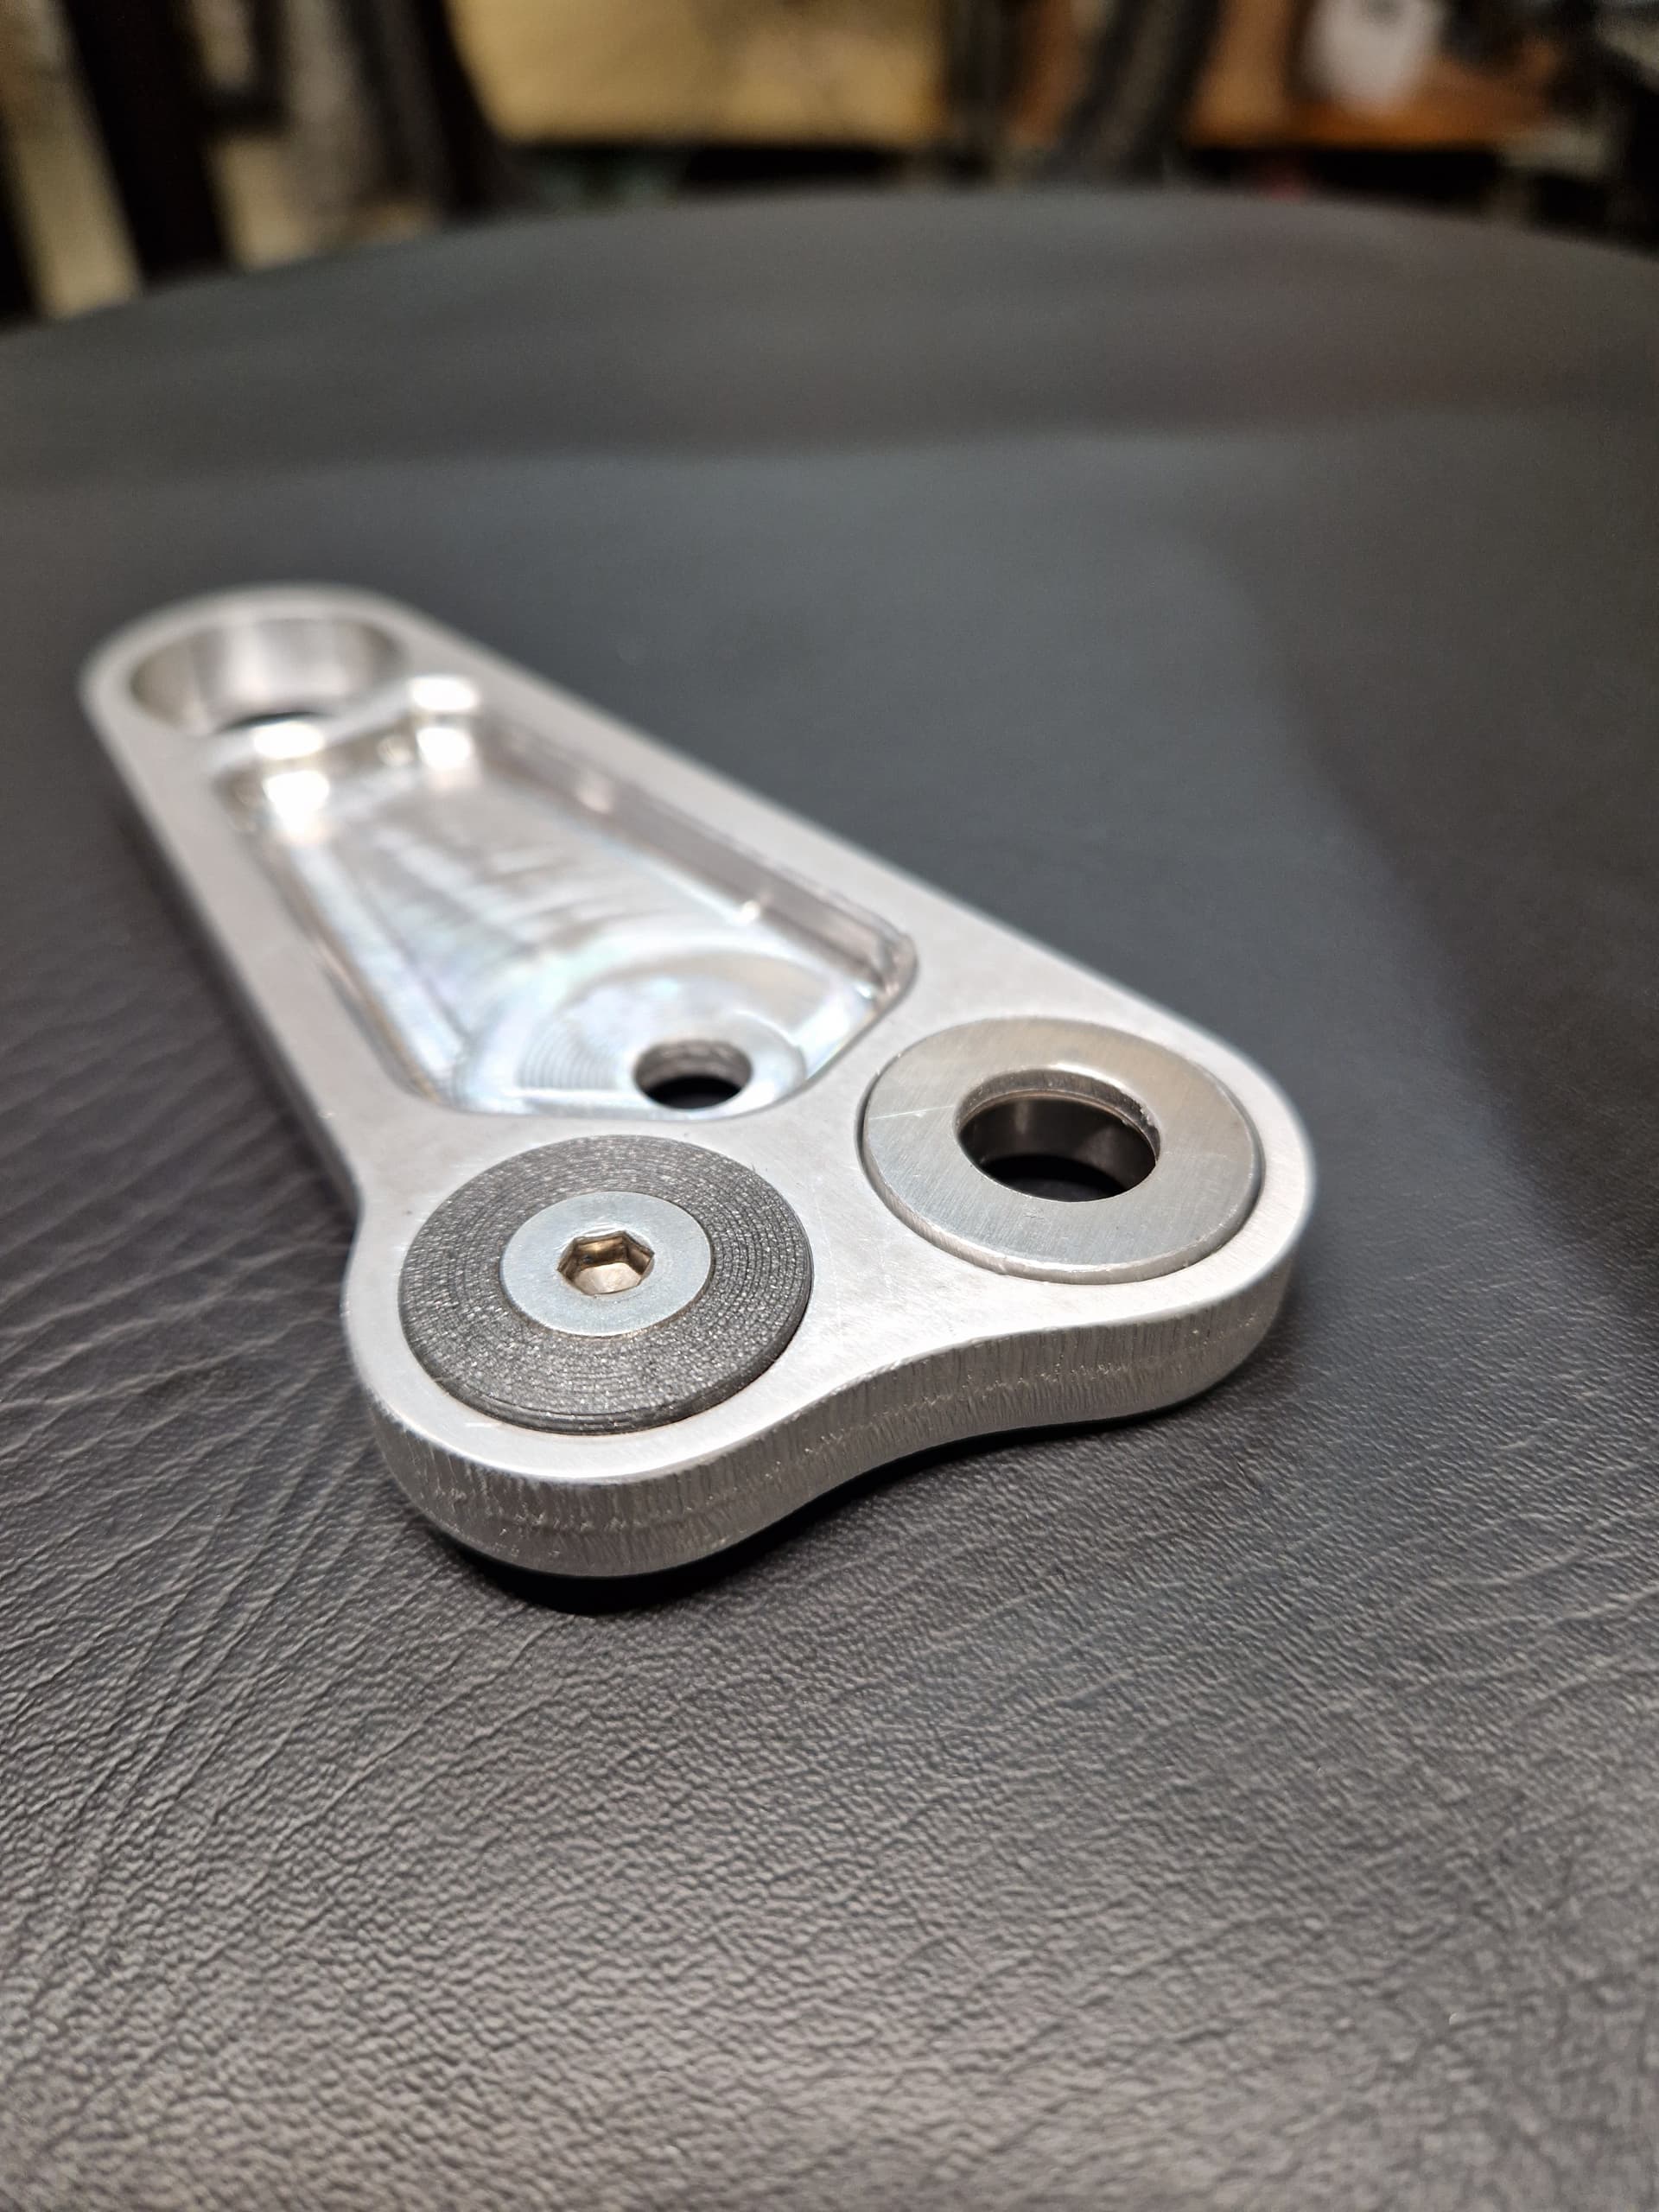
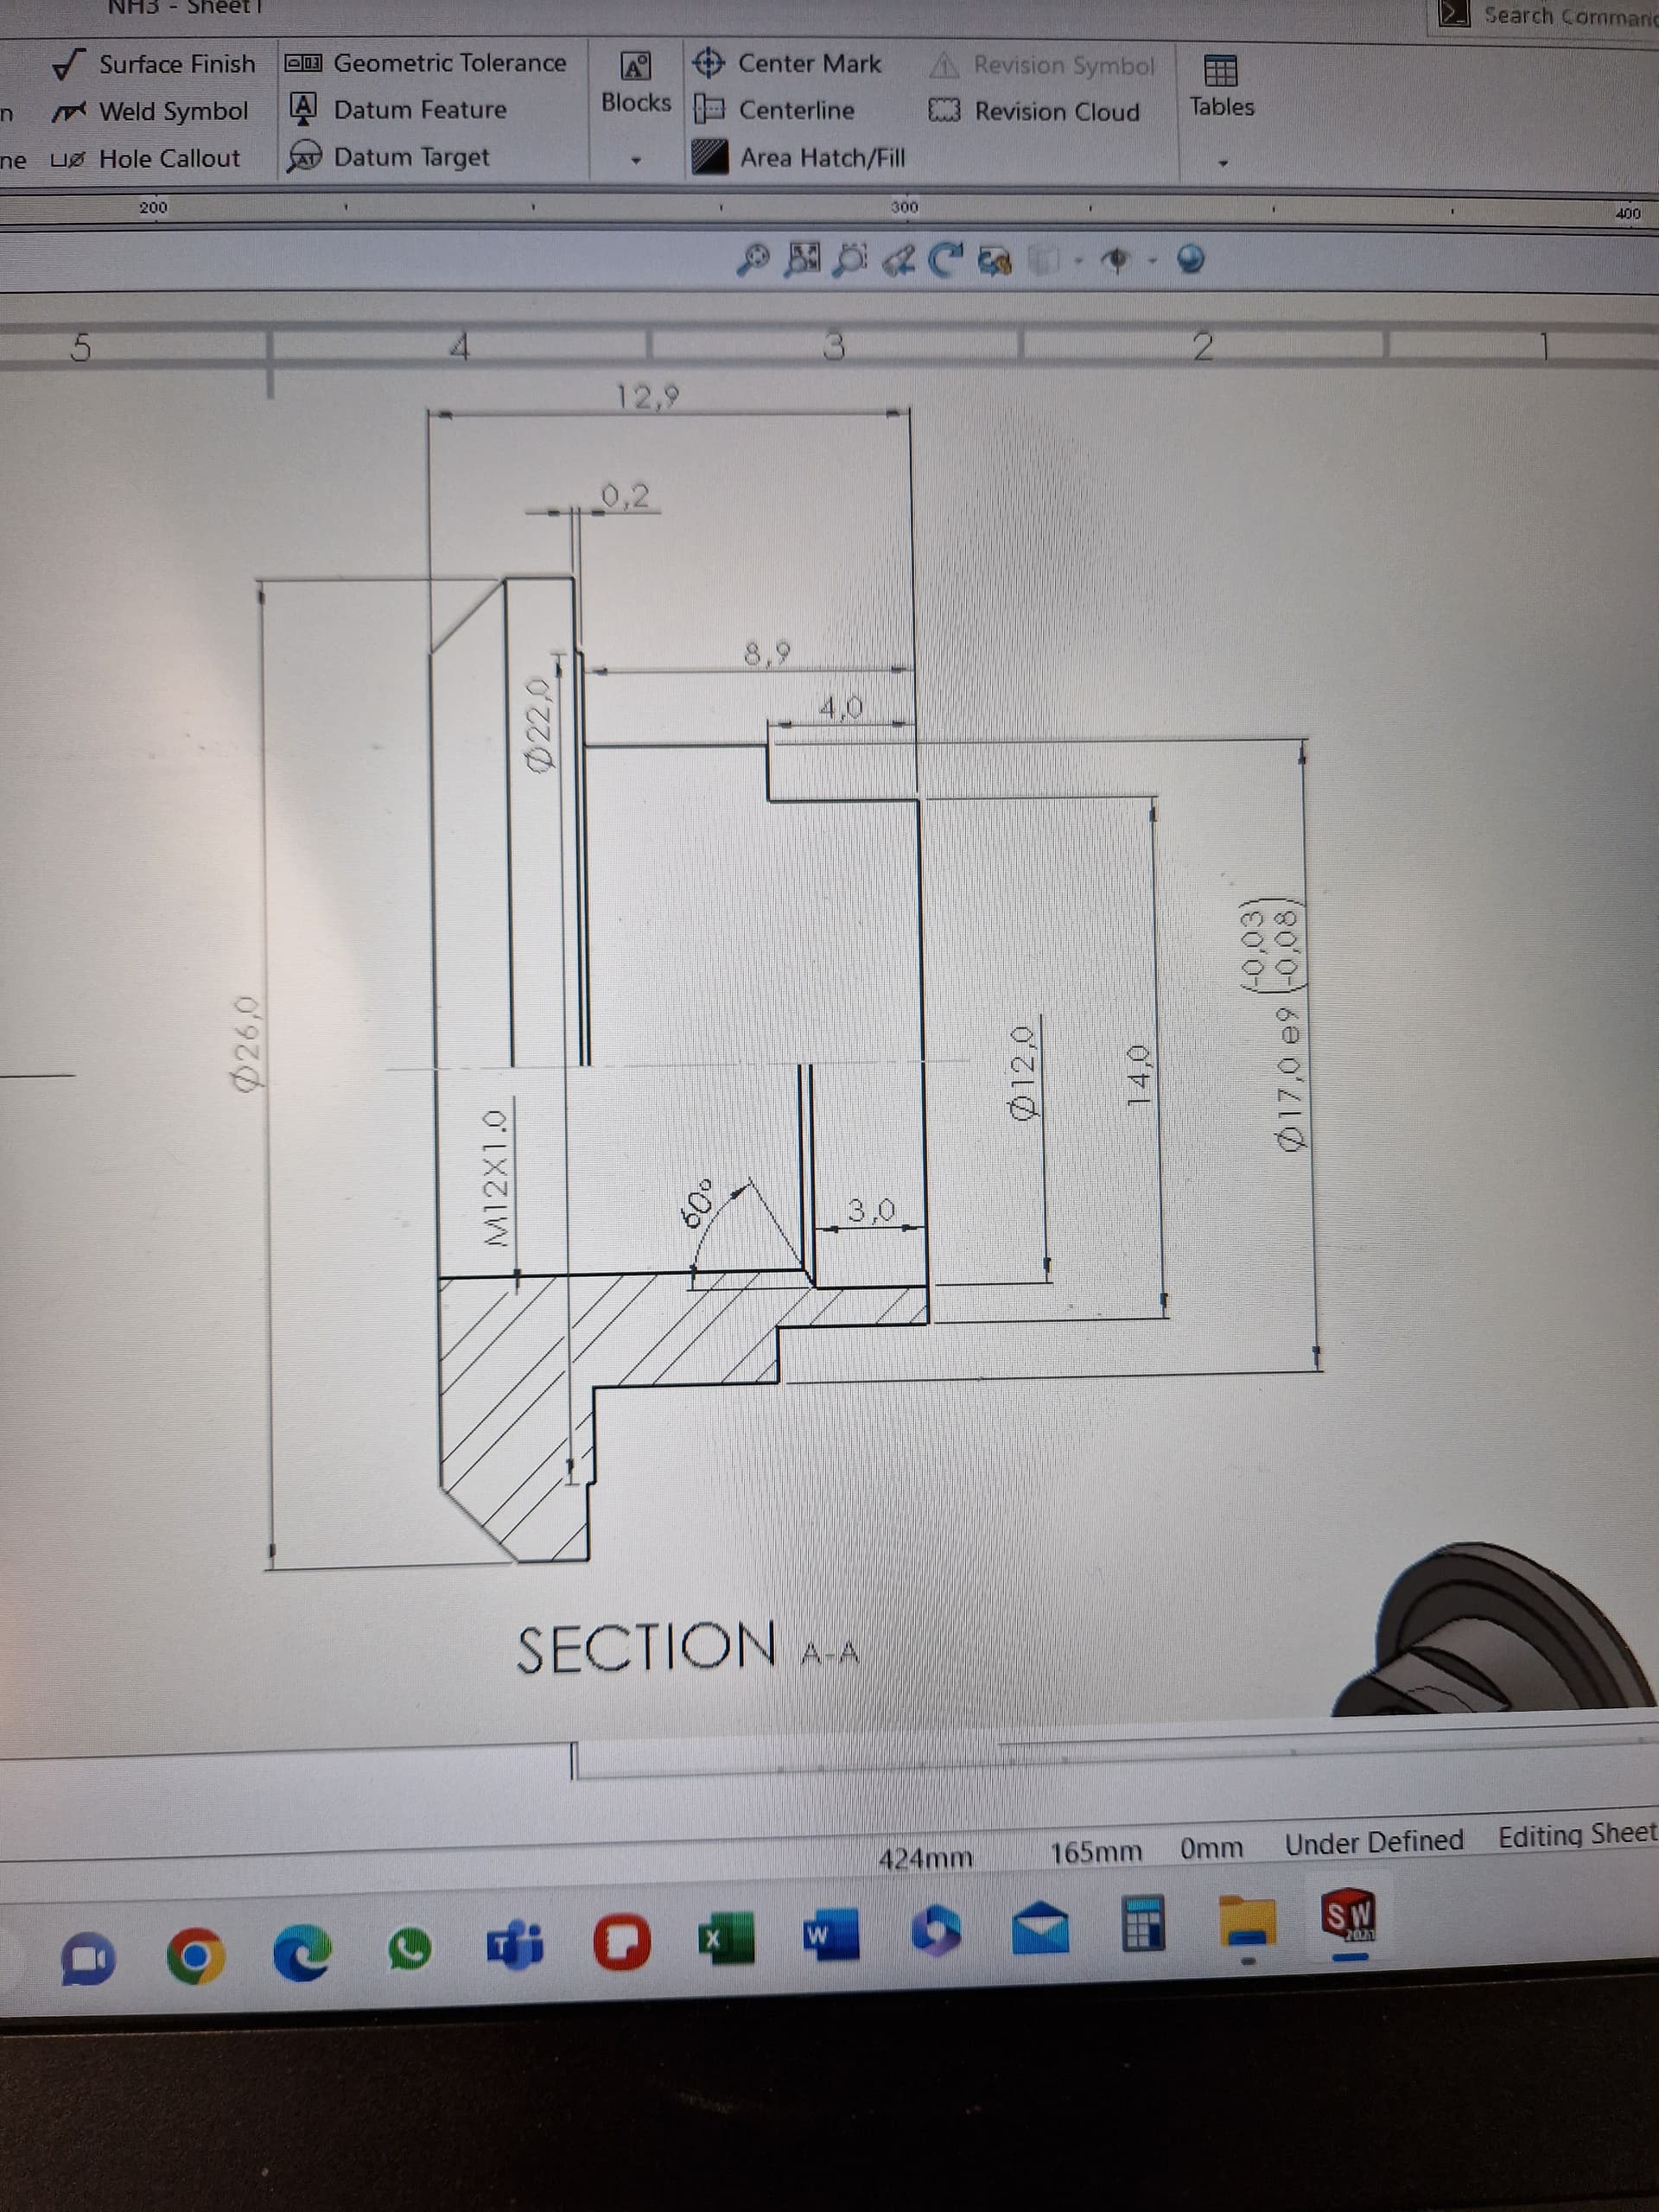
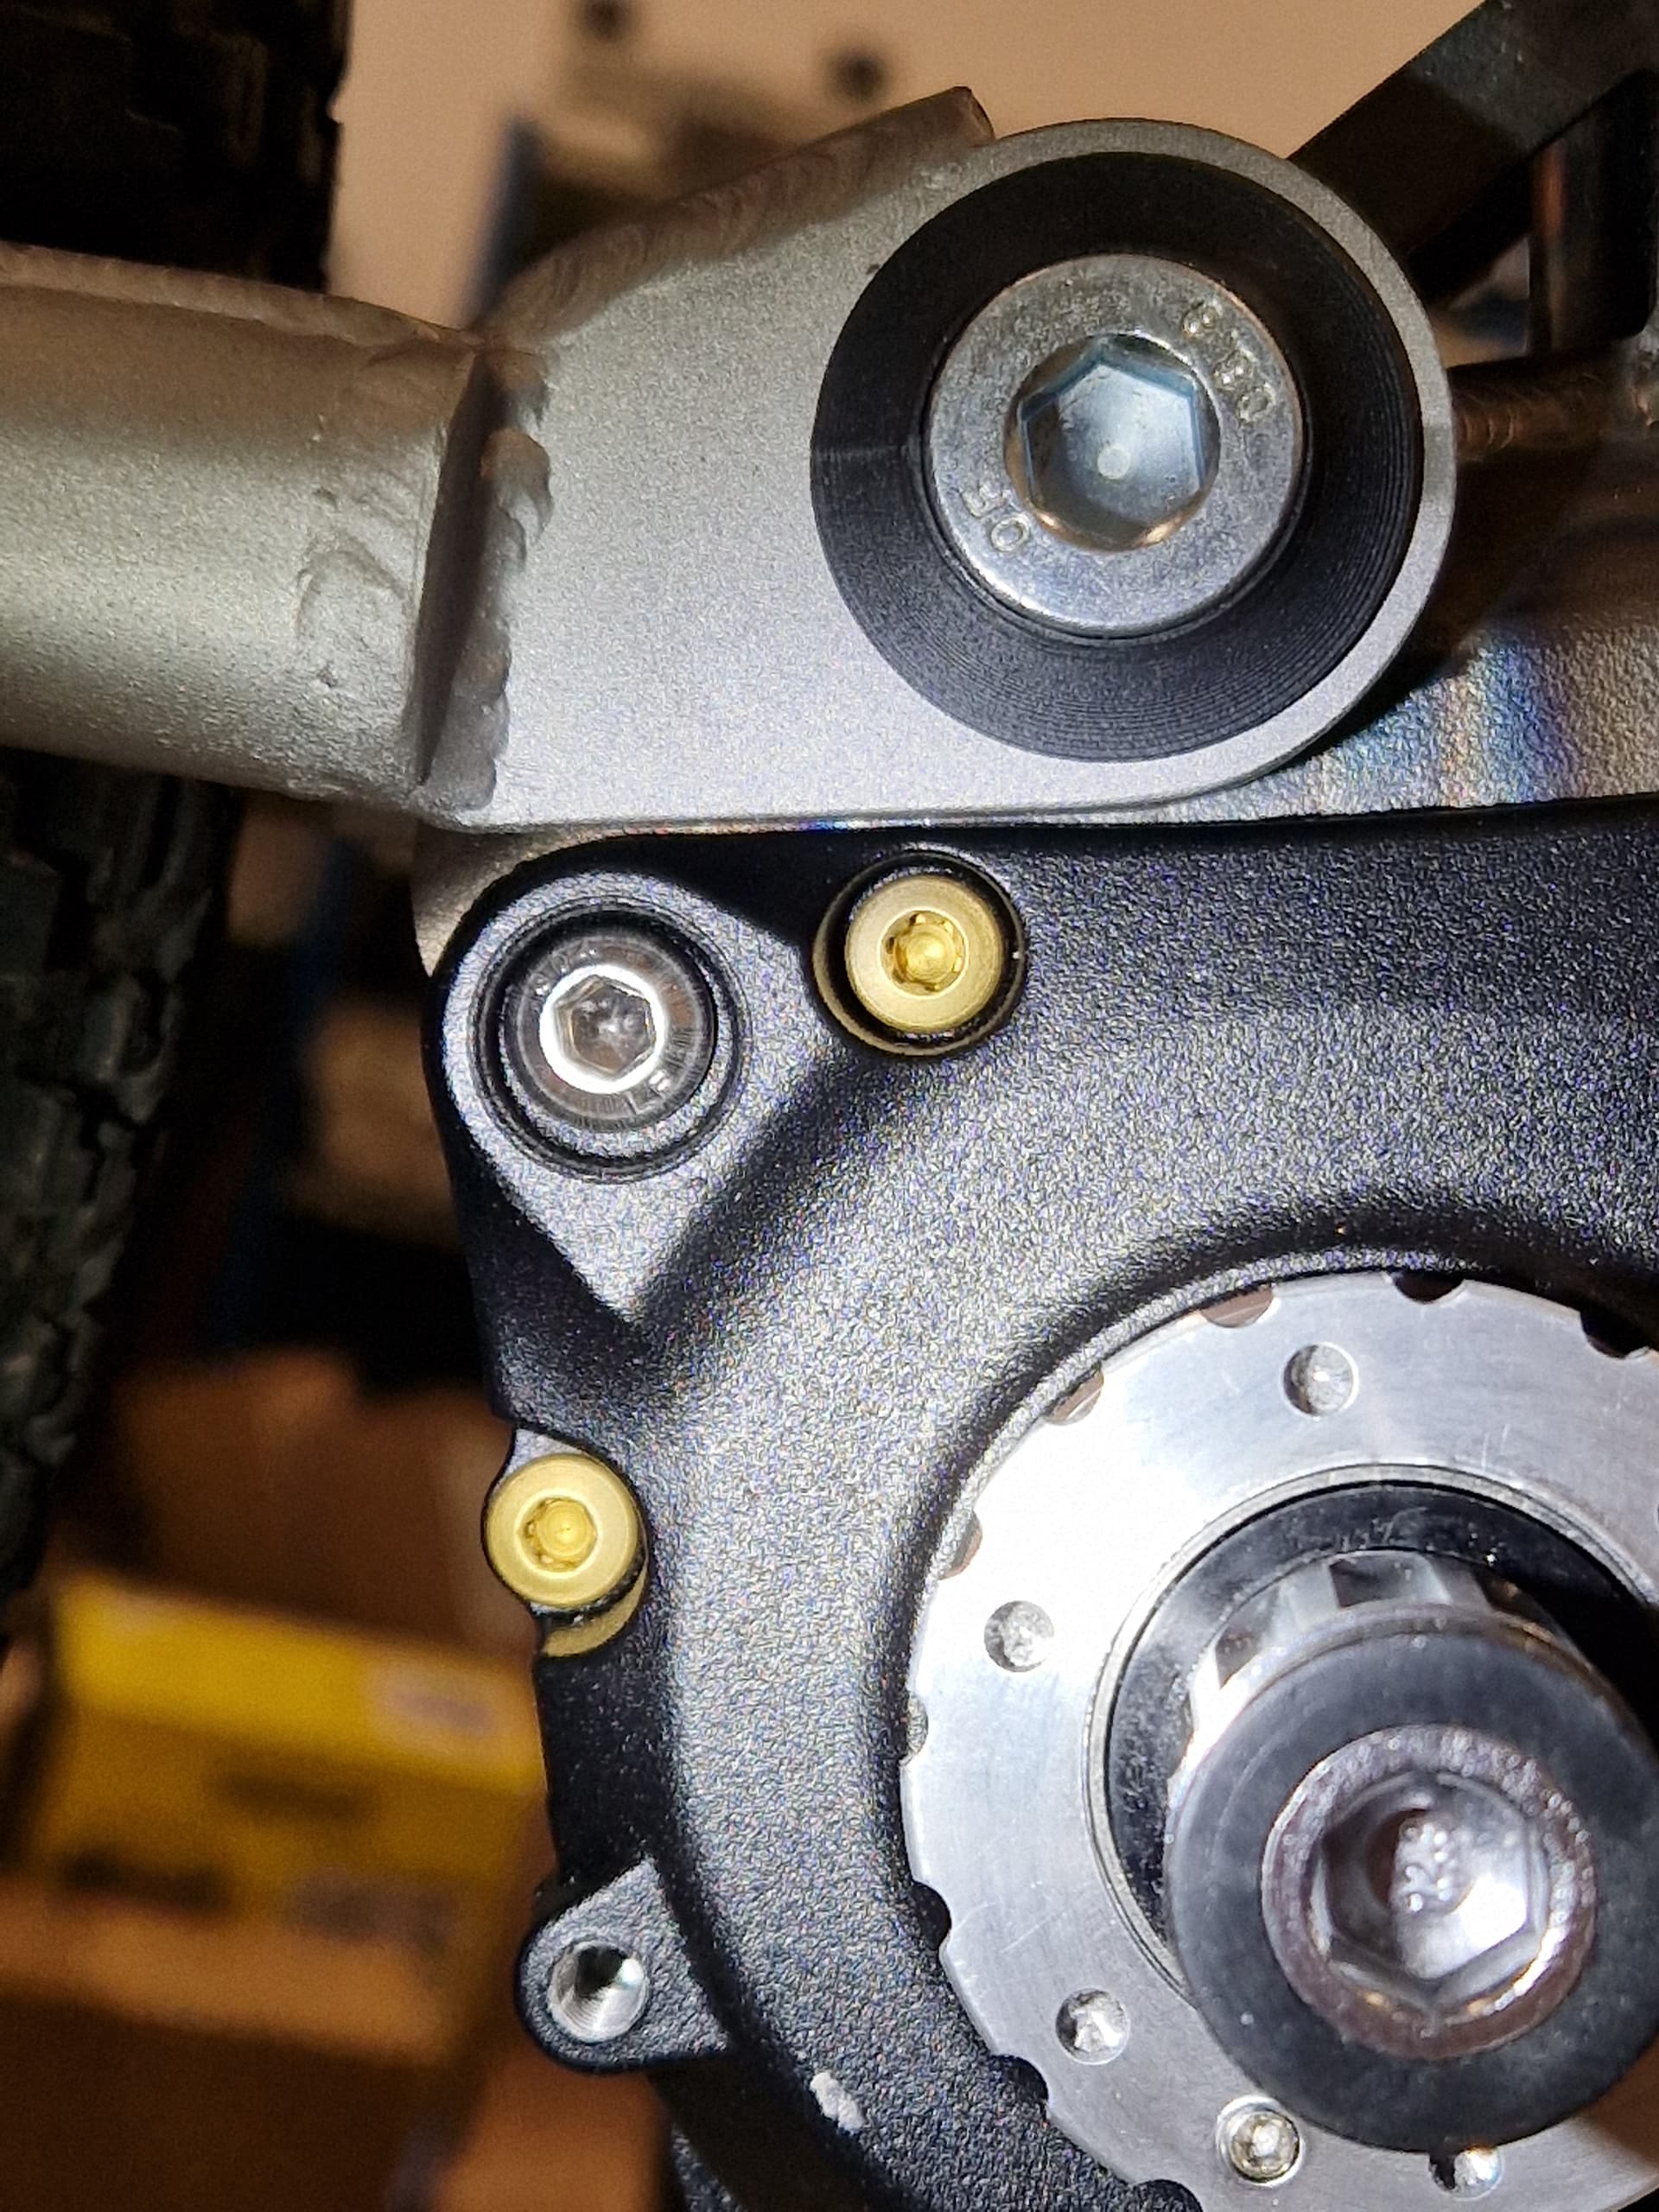
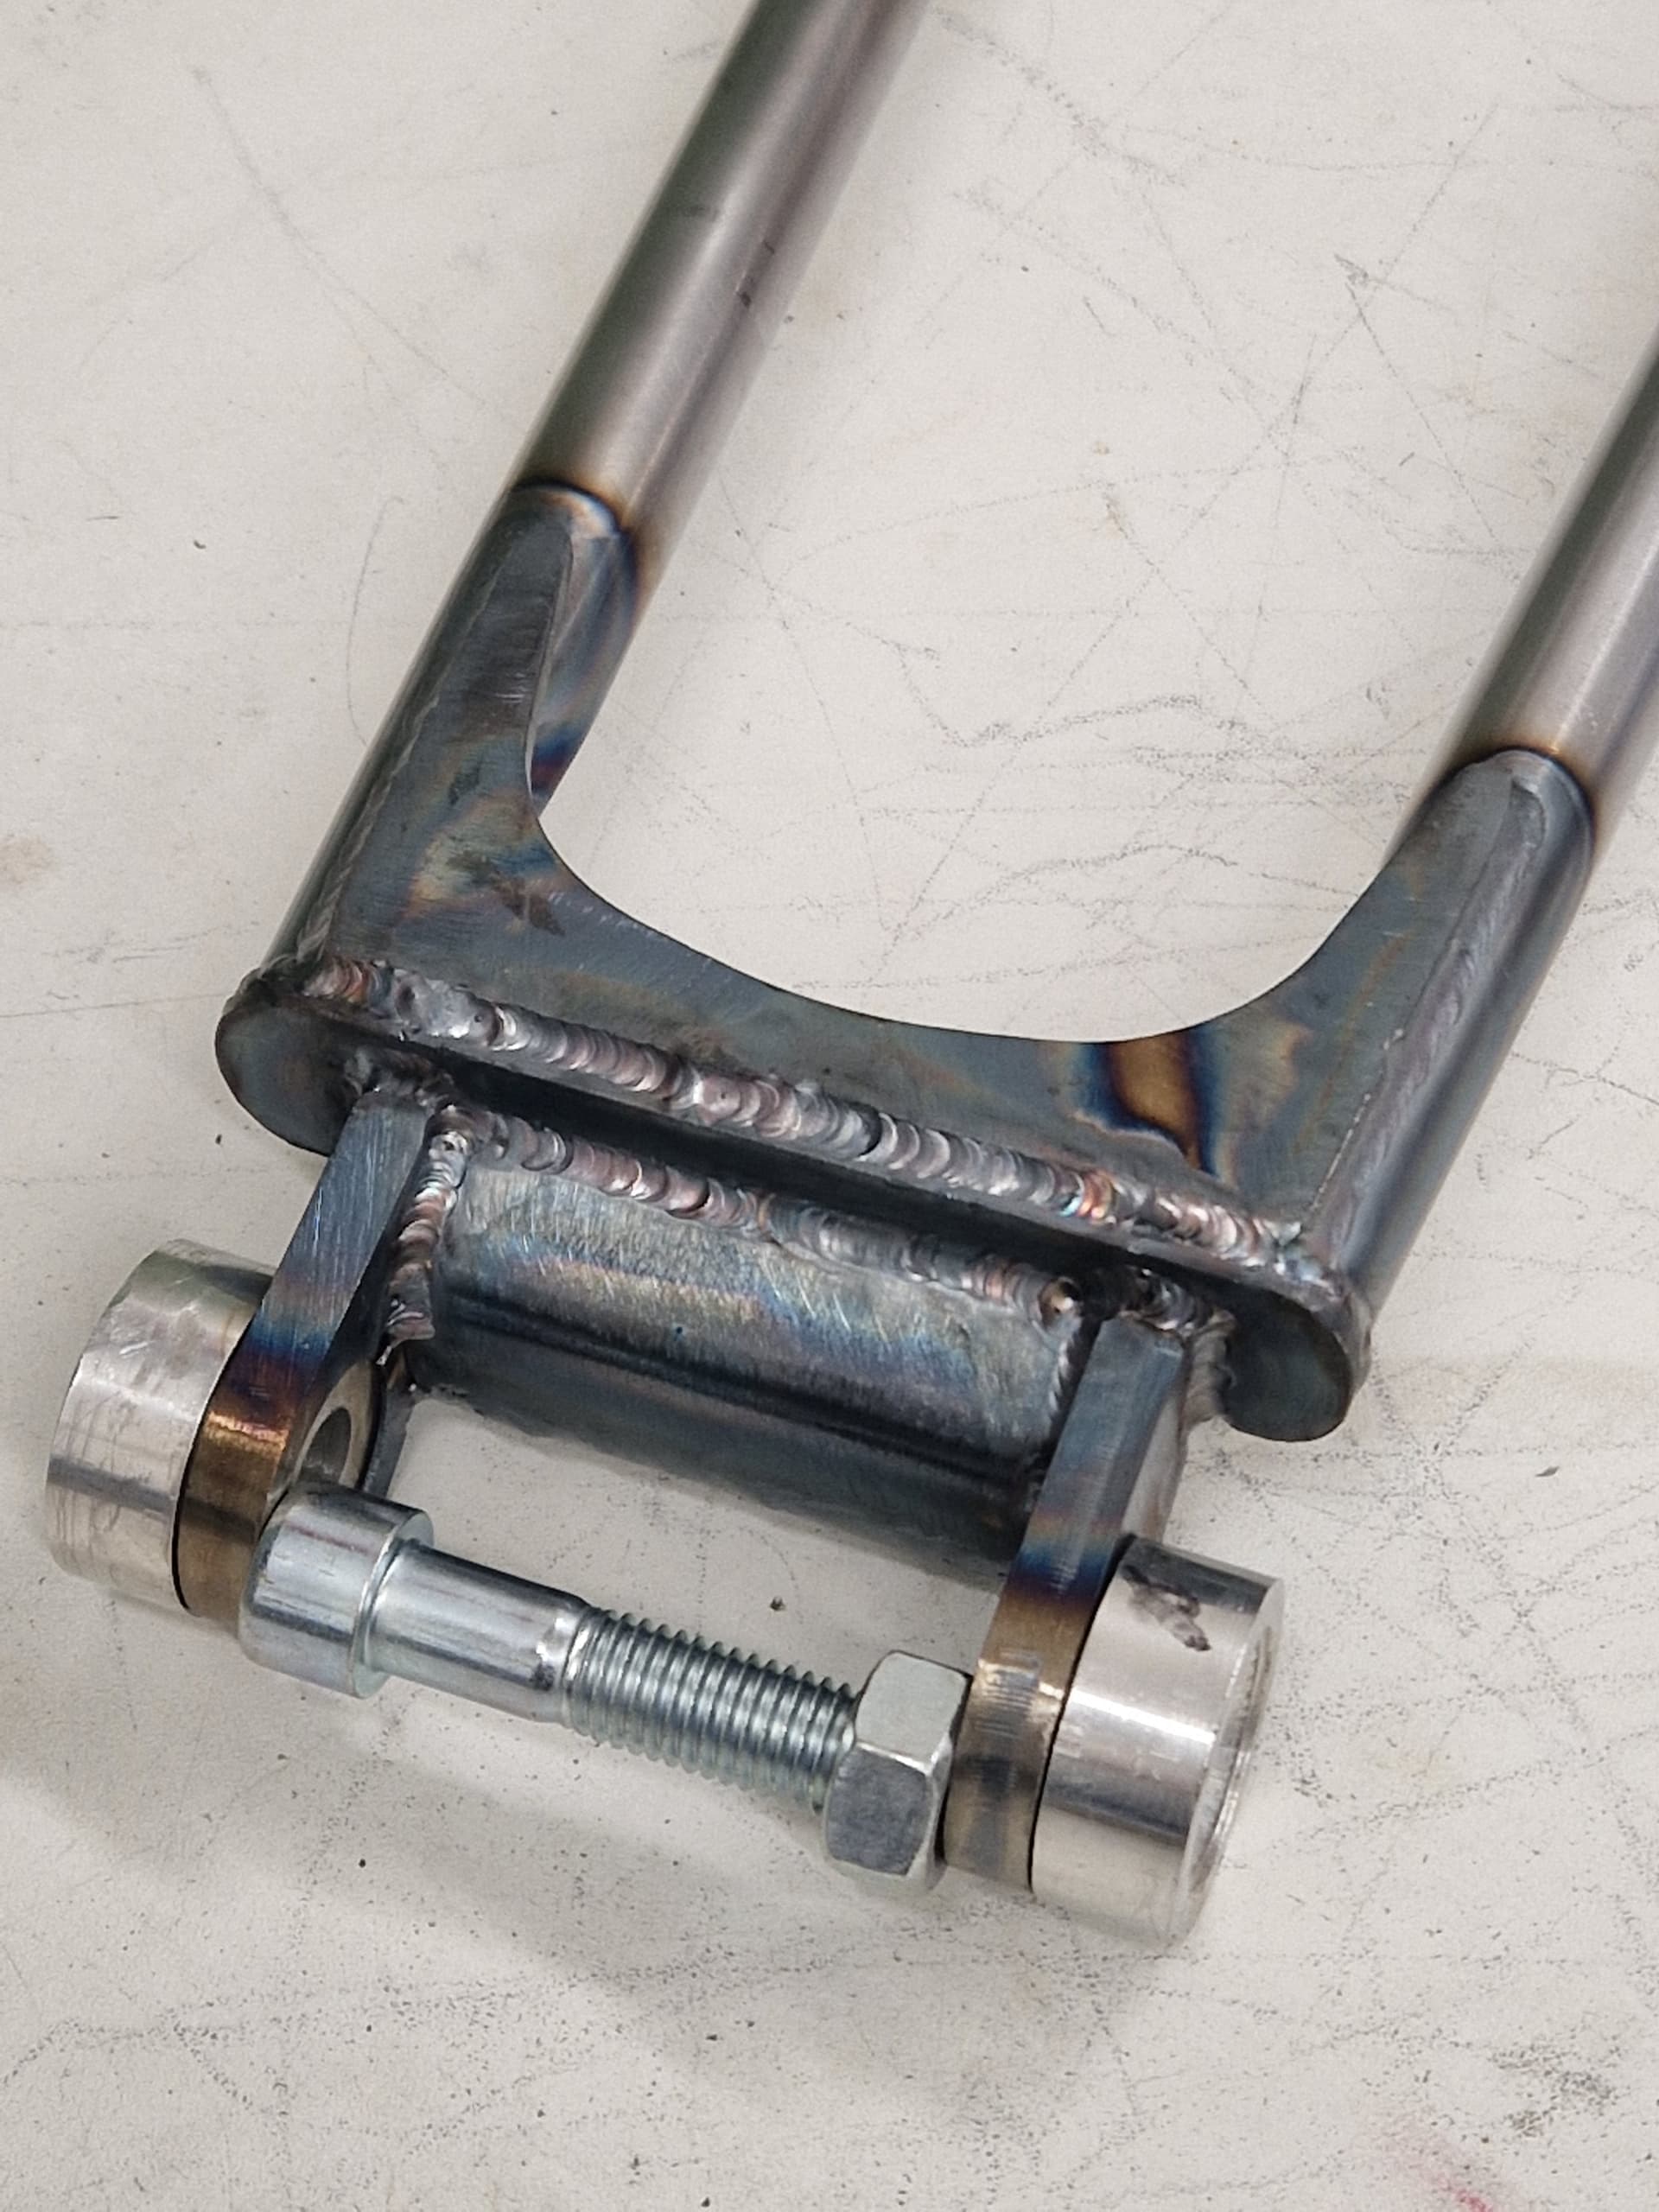
All turned parts for the v1 were done manually. This is the drive side rear wheel nut, which also doubles as the pivot.
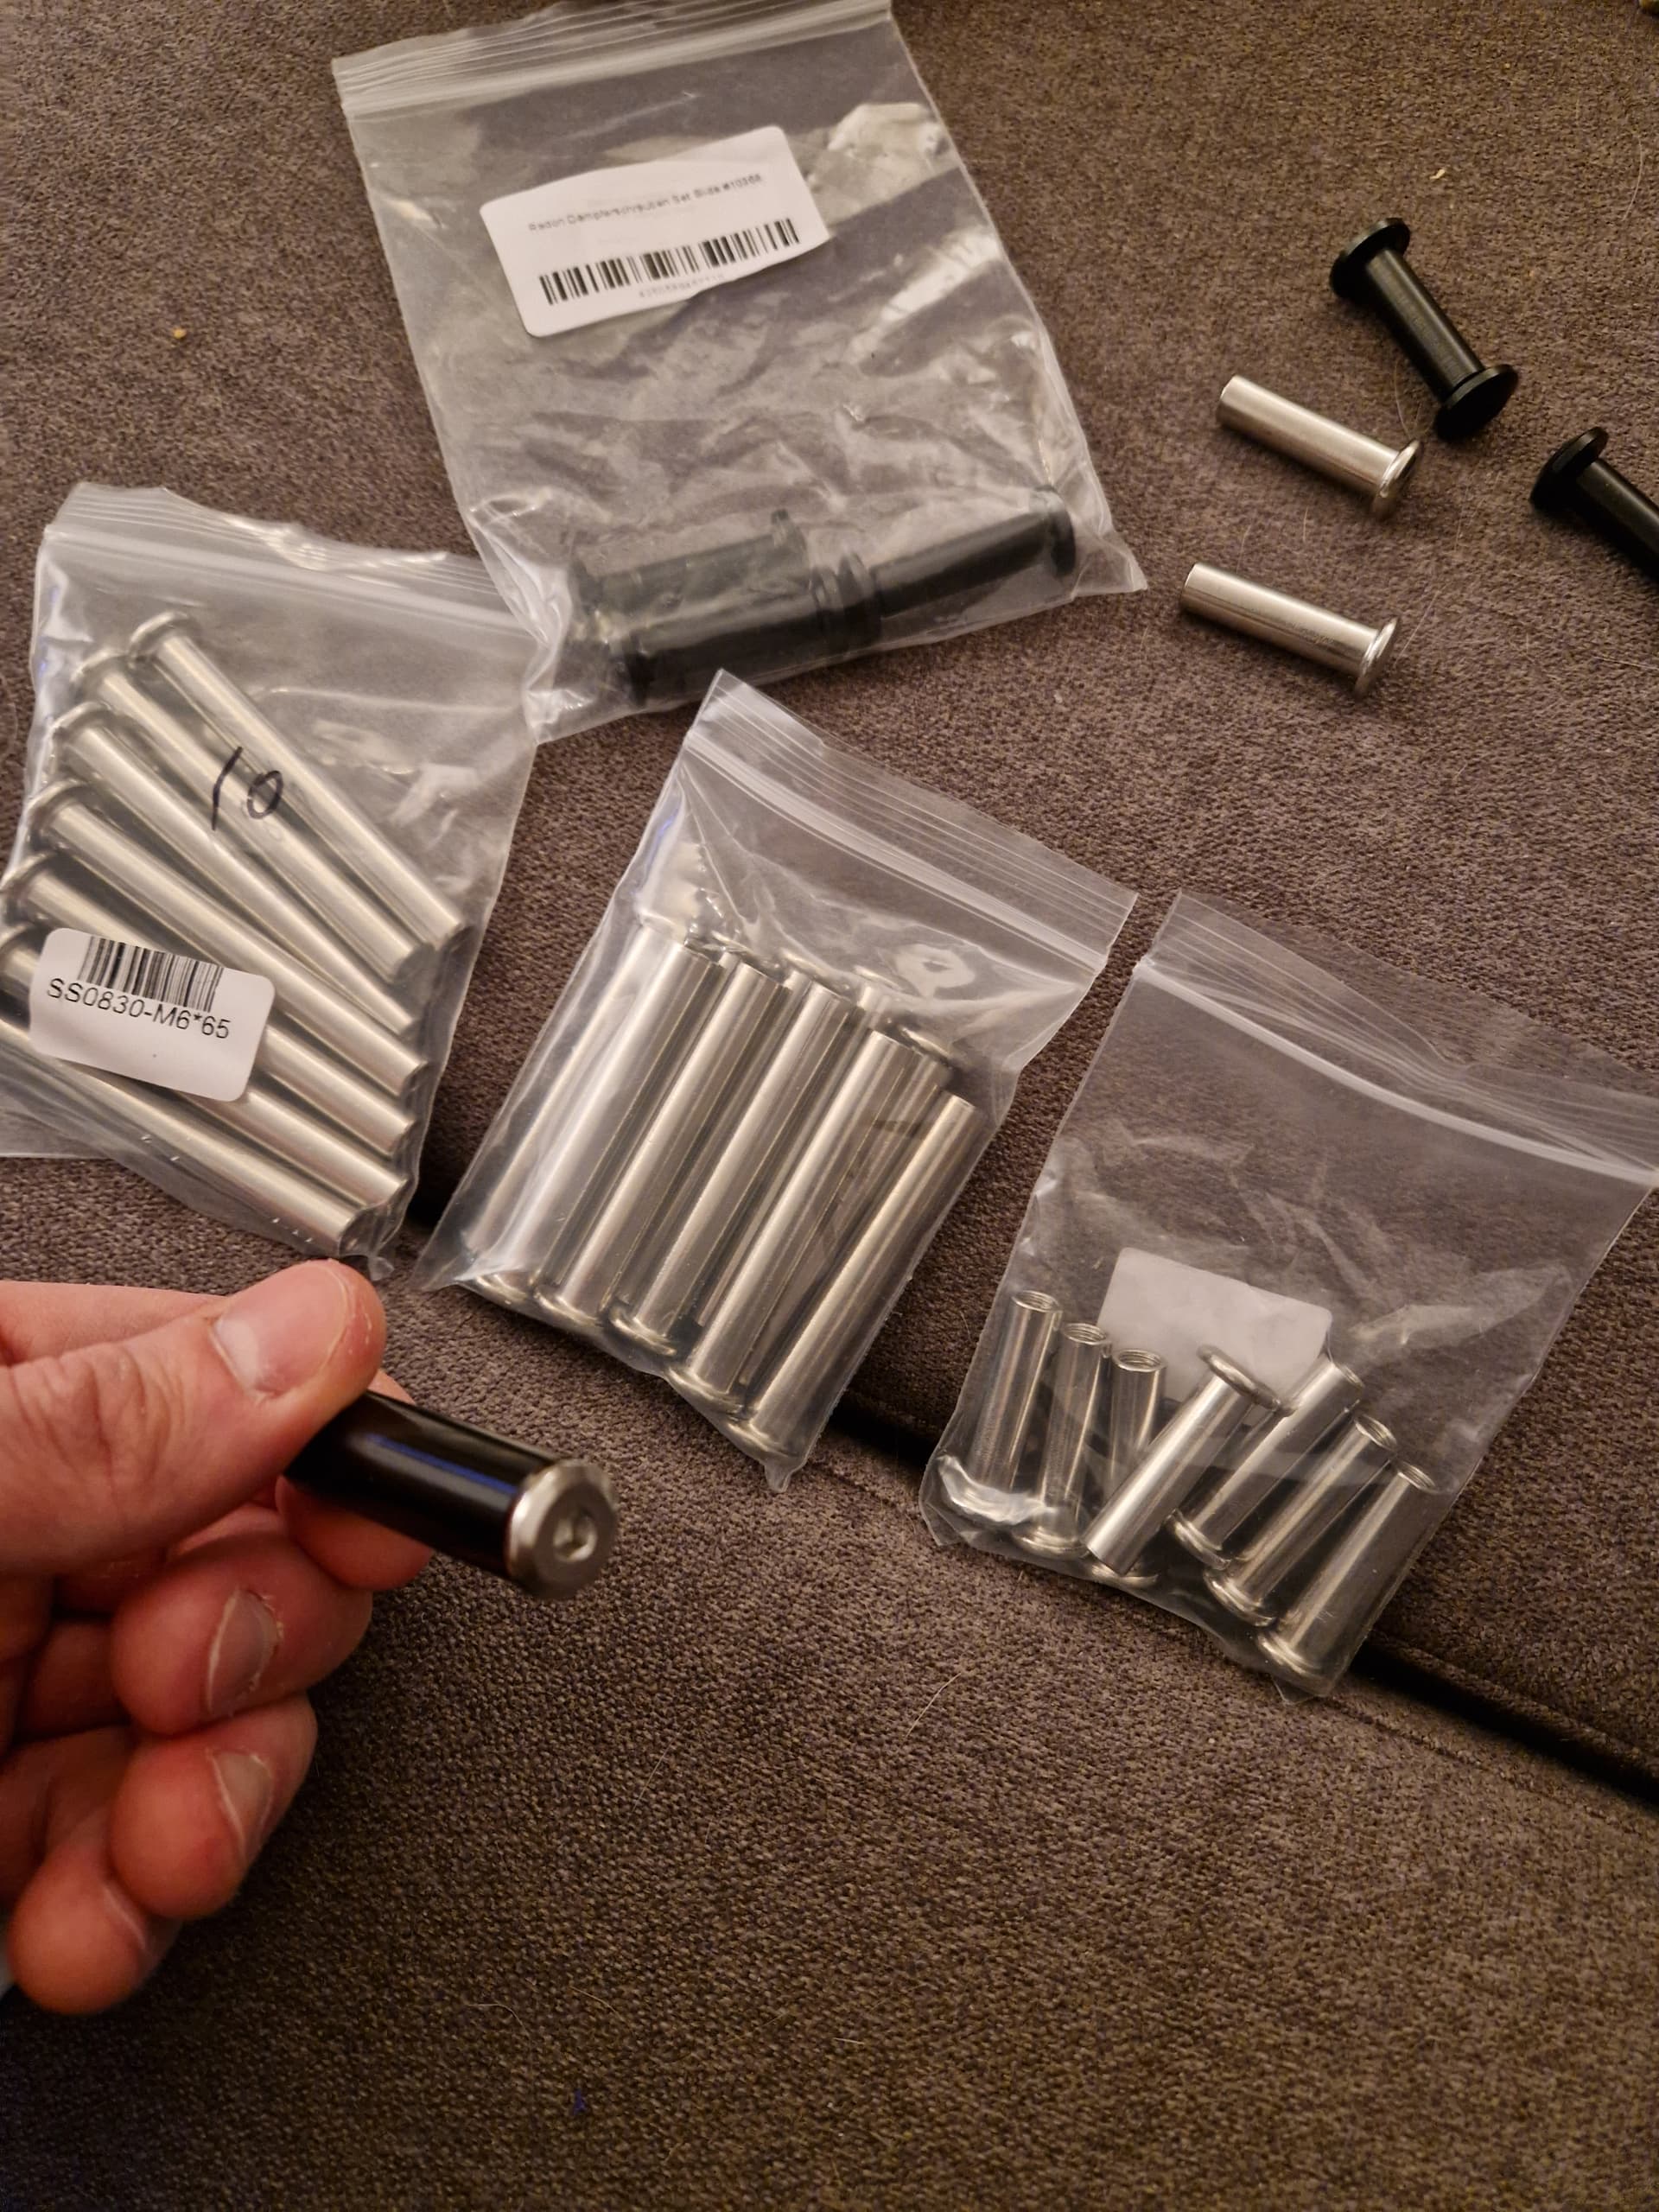
For the bolts I ordered some male/female bolts from Ali (stainless ones), which had pretty low standard for tolerance  The black ones are painted steel from Bike-Discount, for Radon bicycles. These were shortened to match the v1.
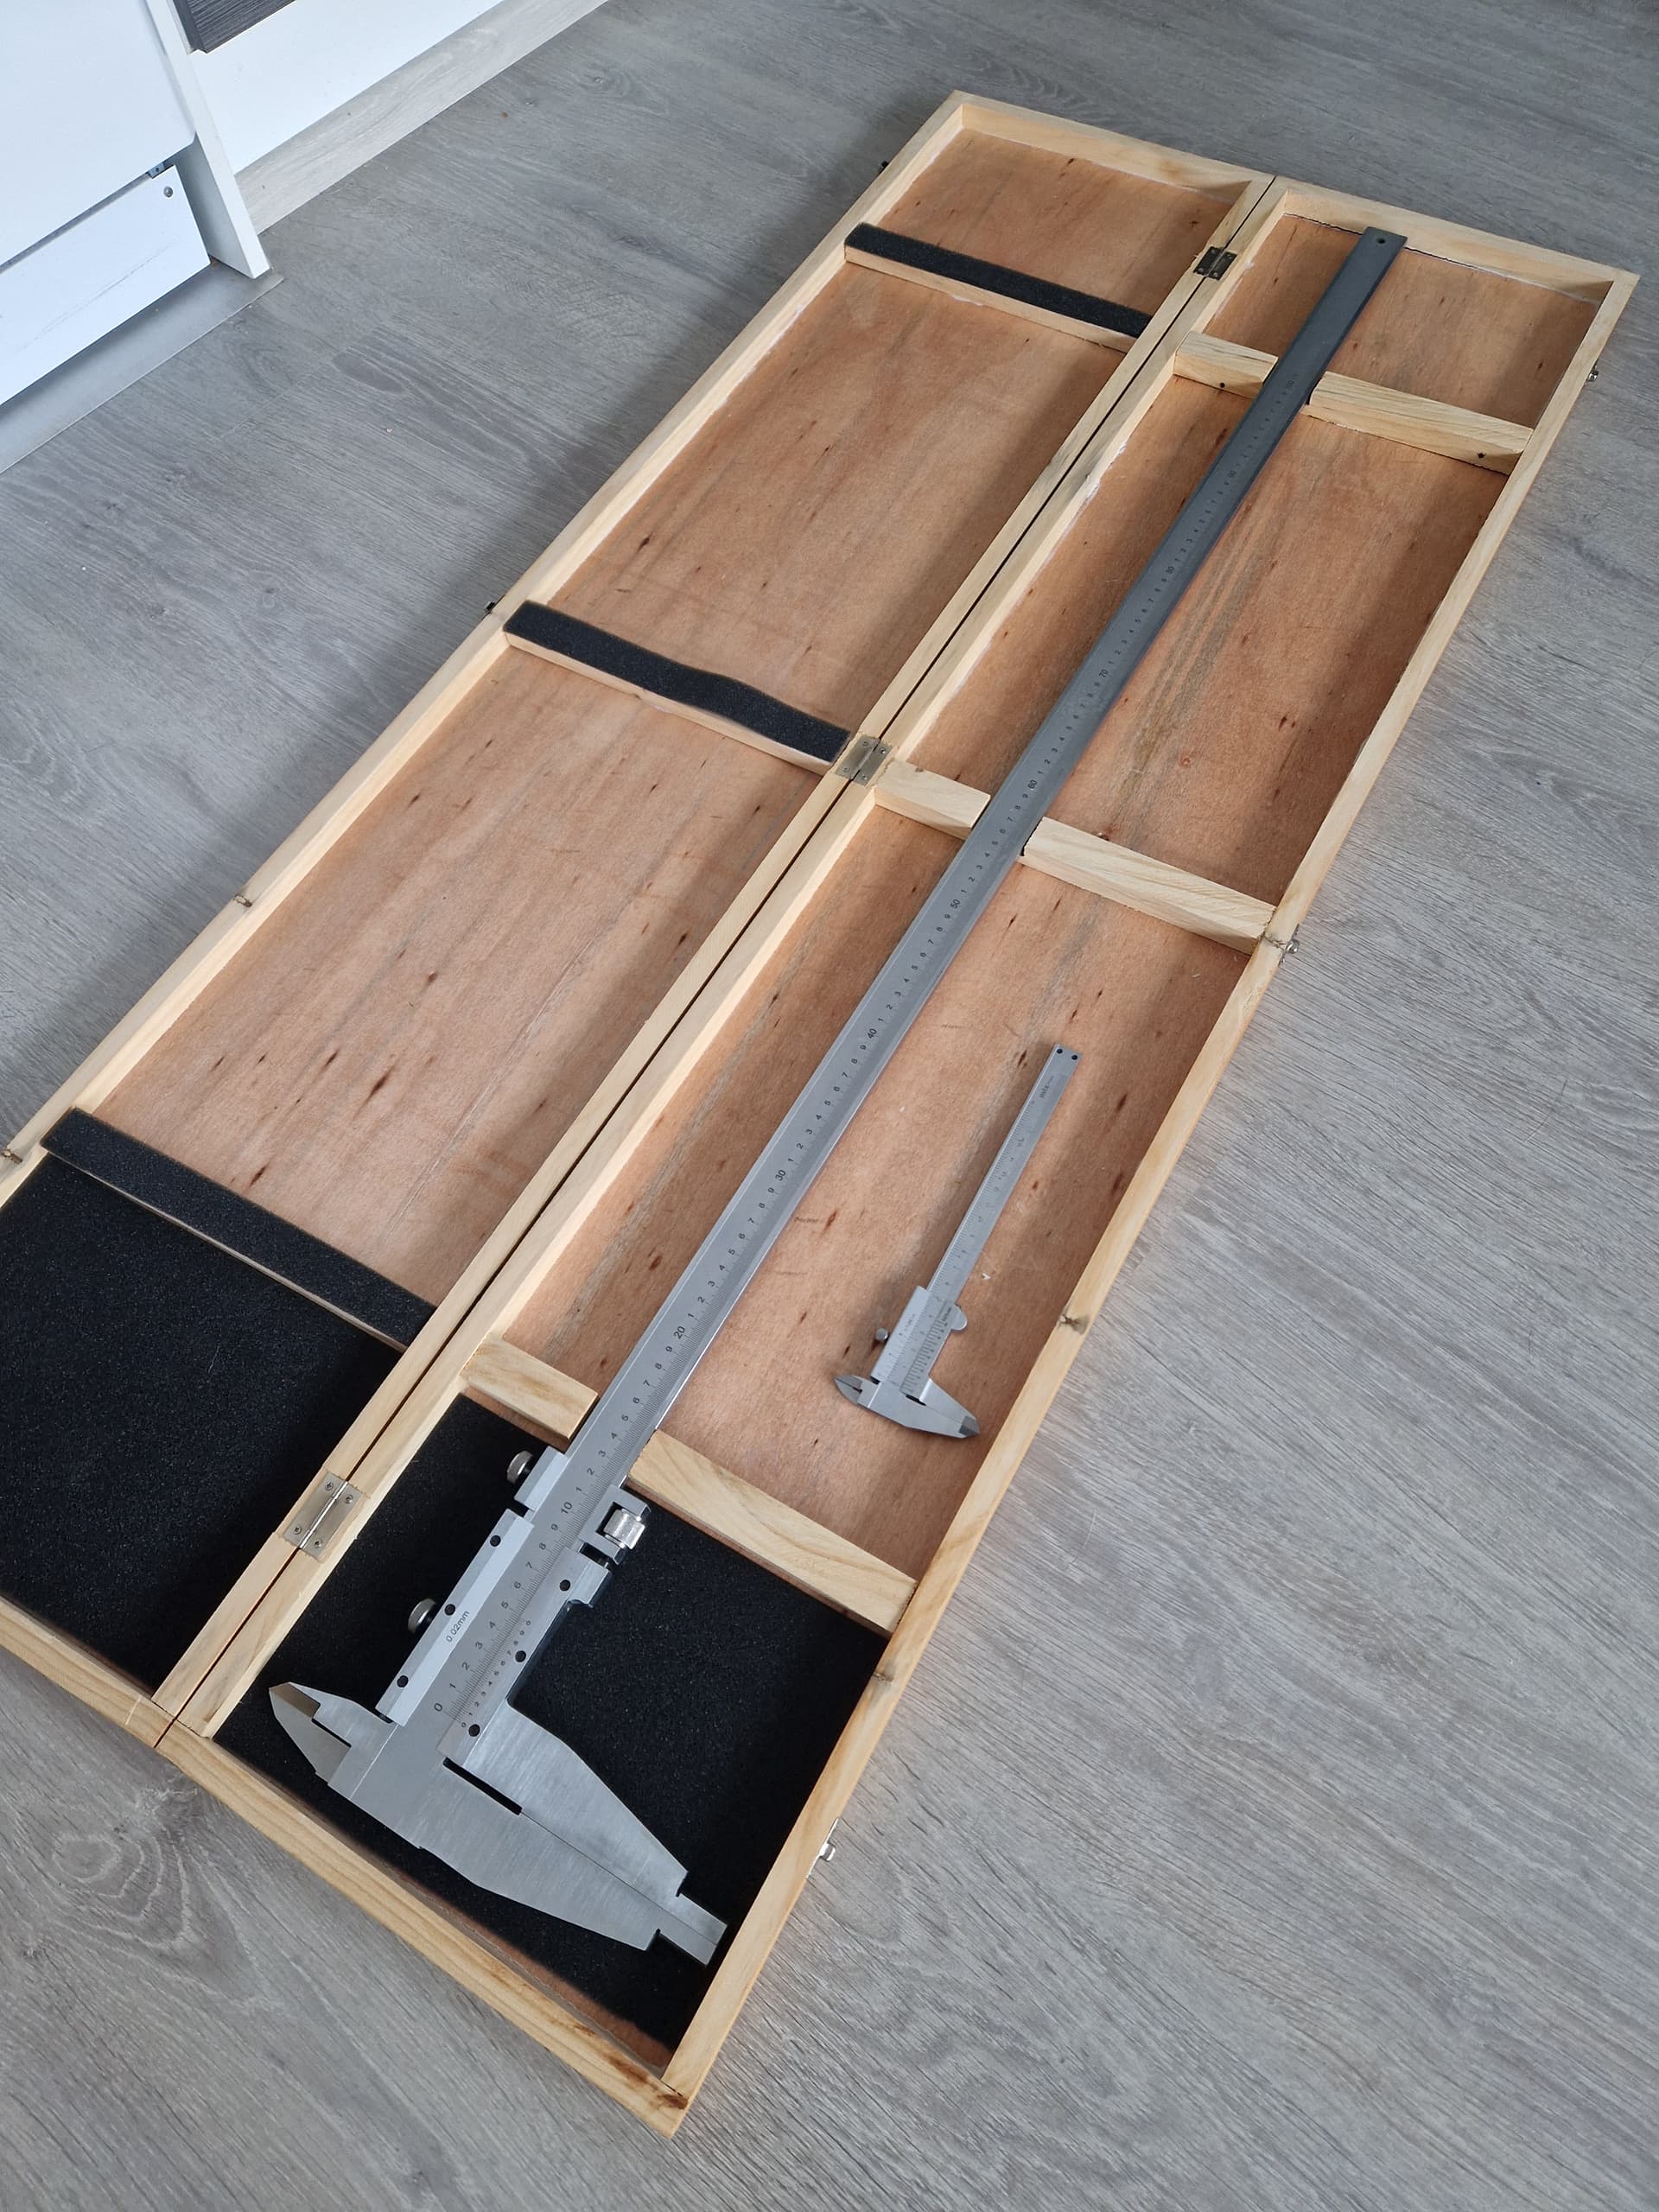
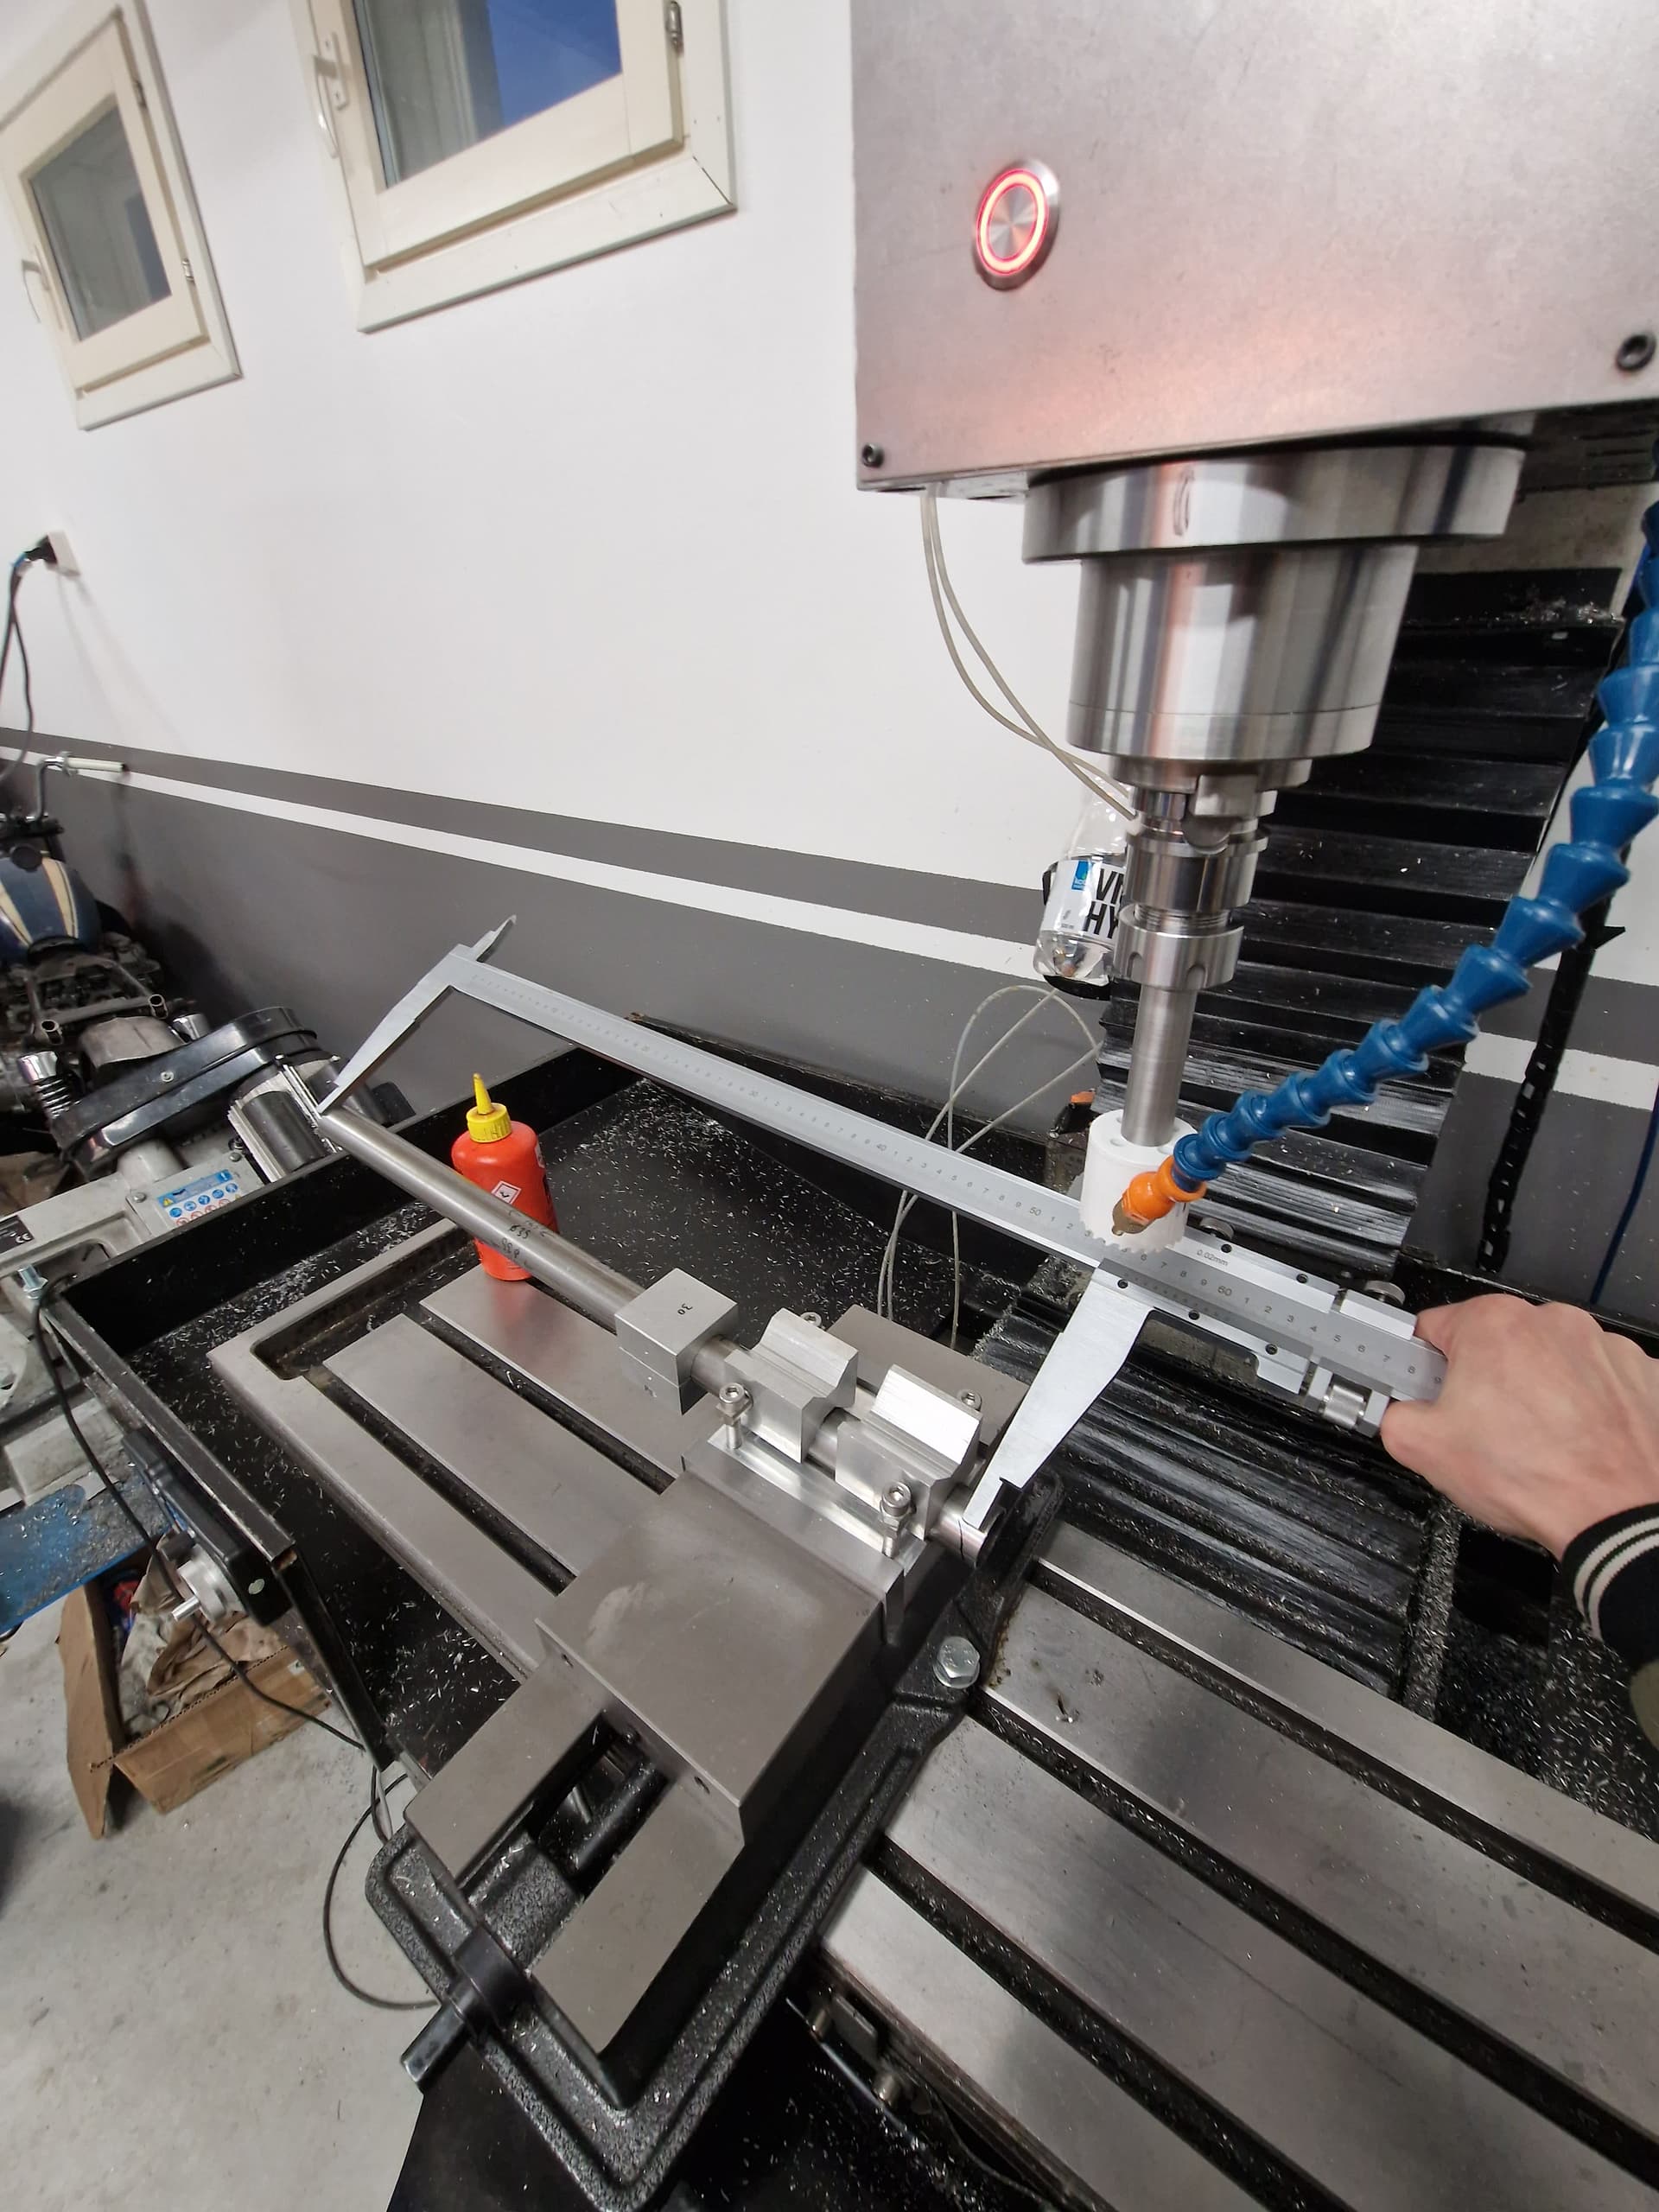
Got myself a 1000mm vernier for more accurate miter lengths.
It’s heavier than it looks
IFYKYK.
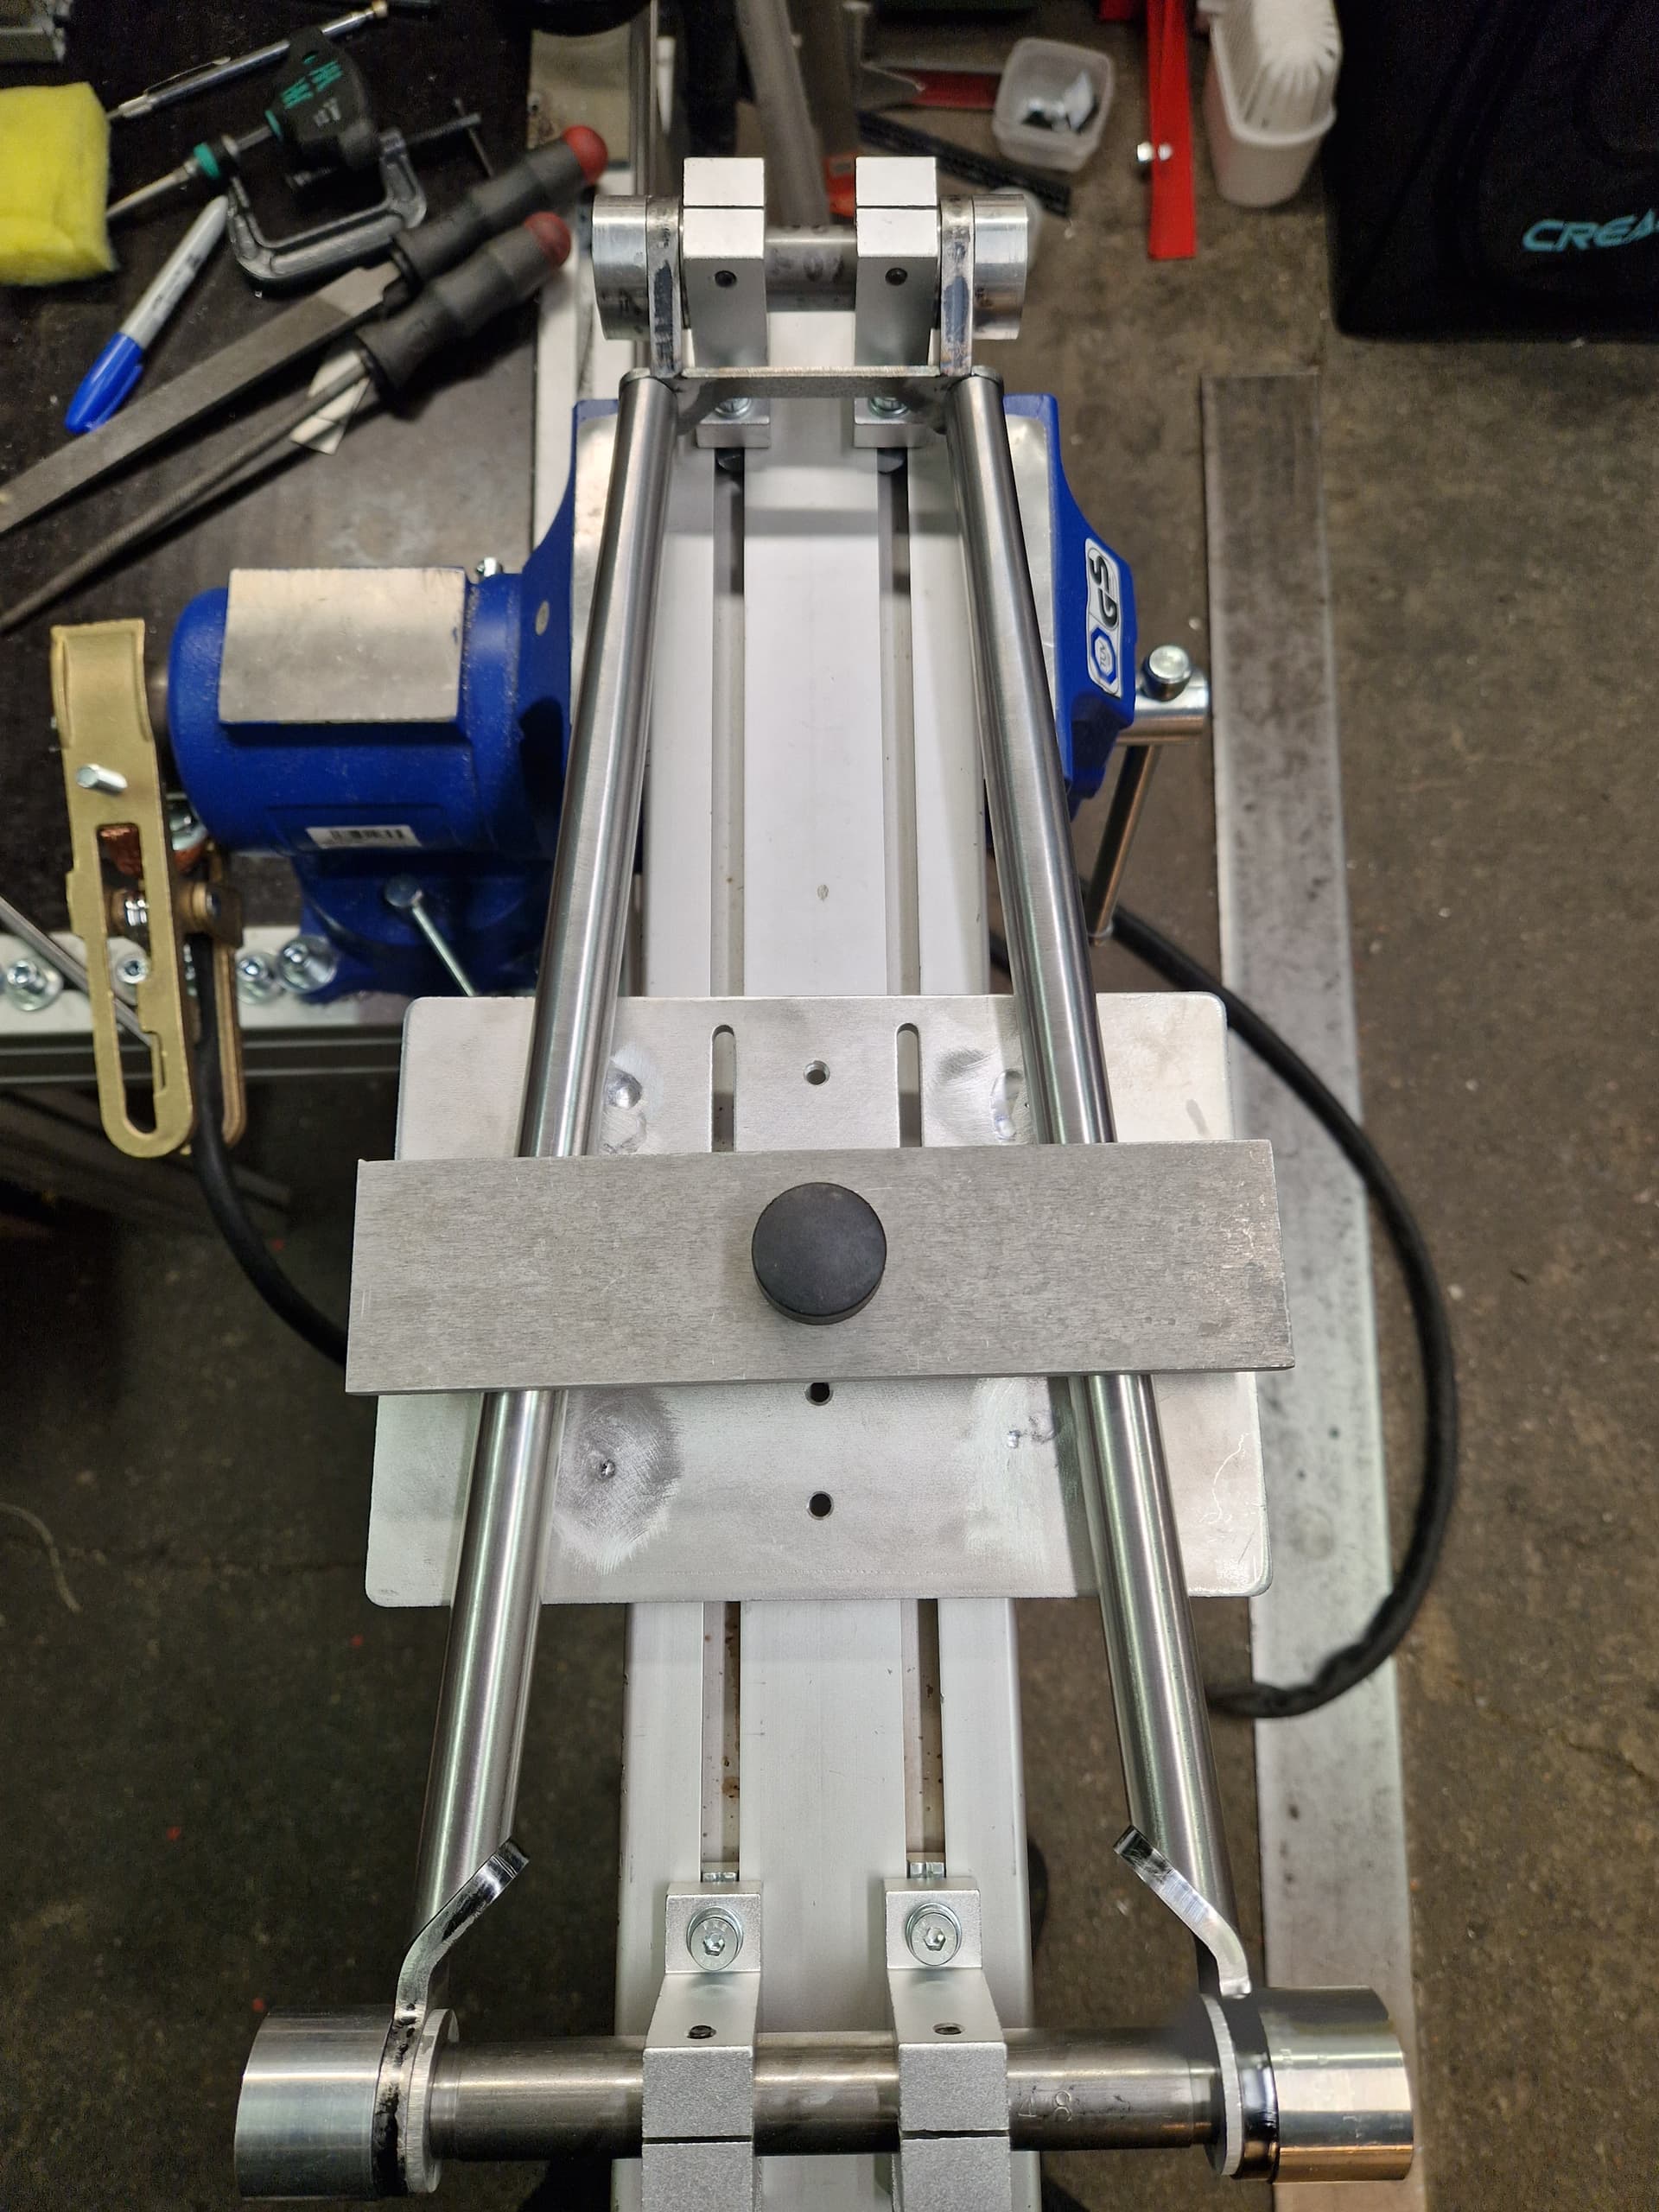
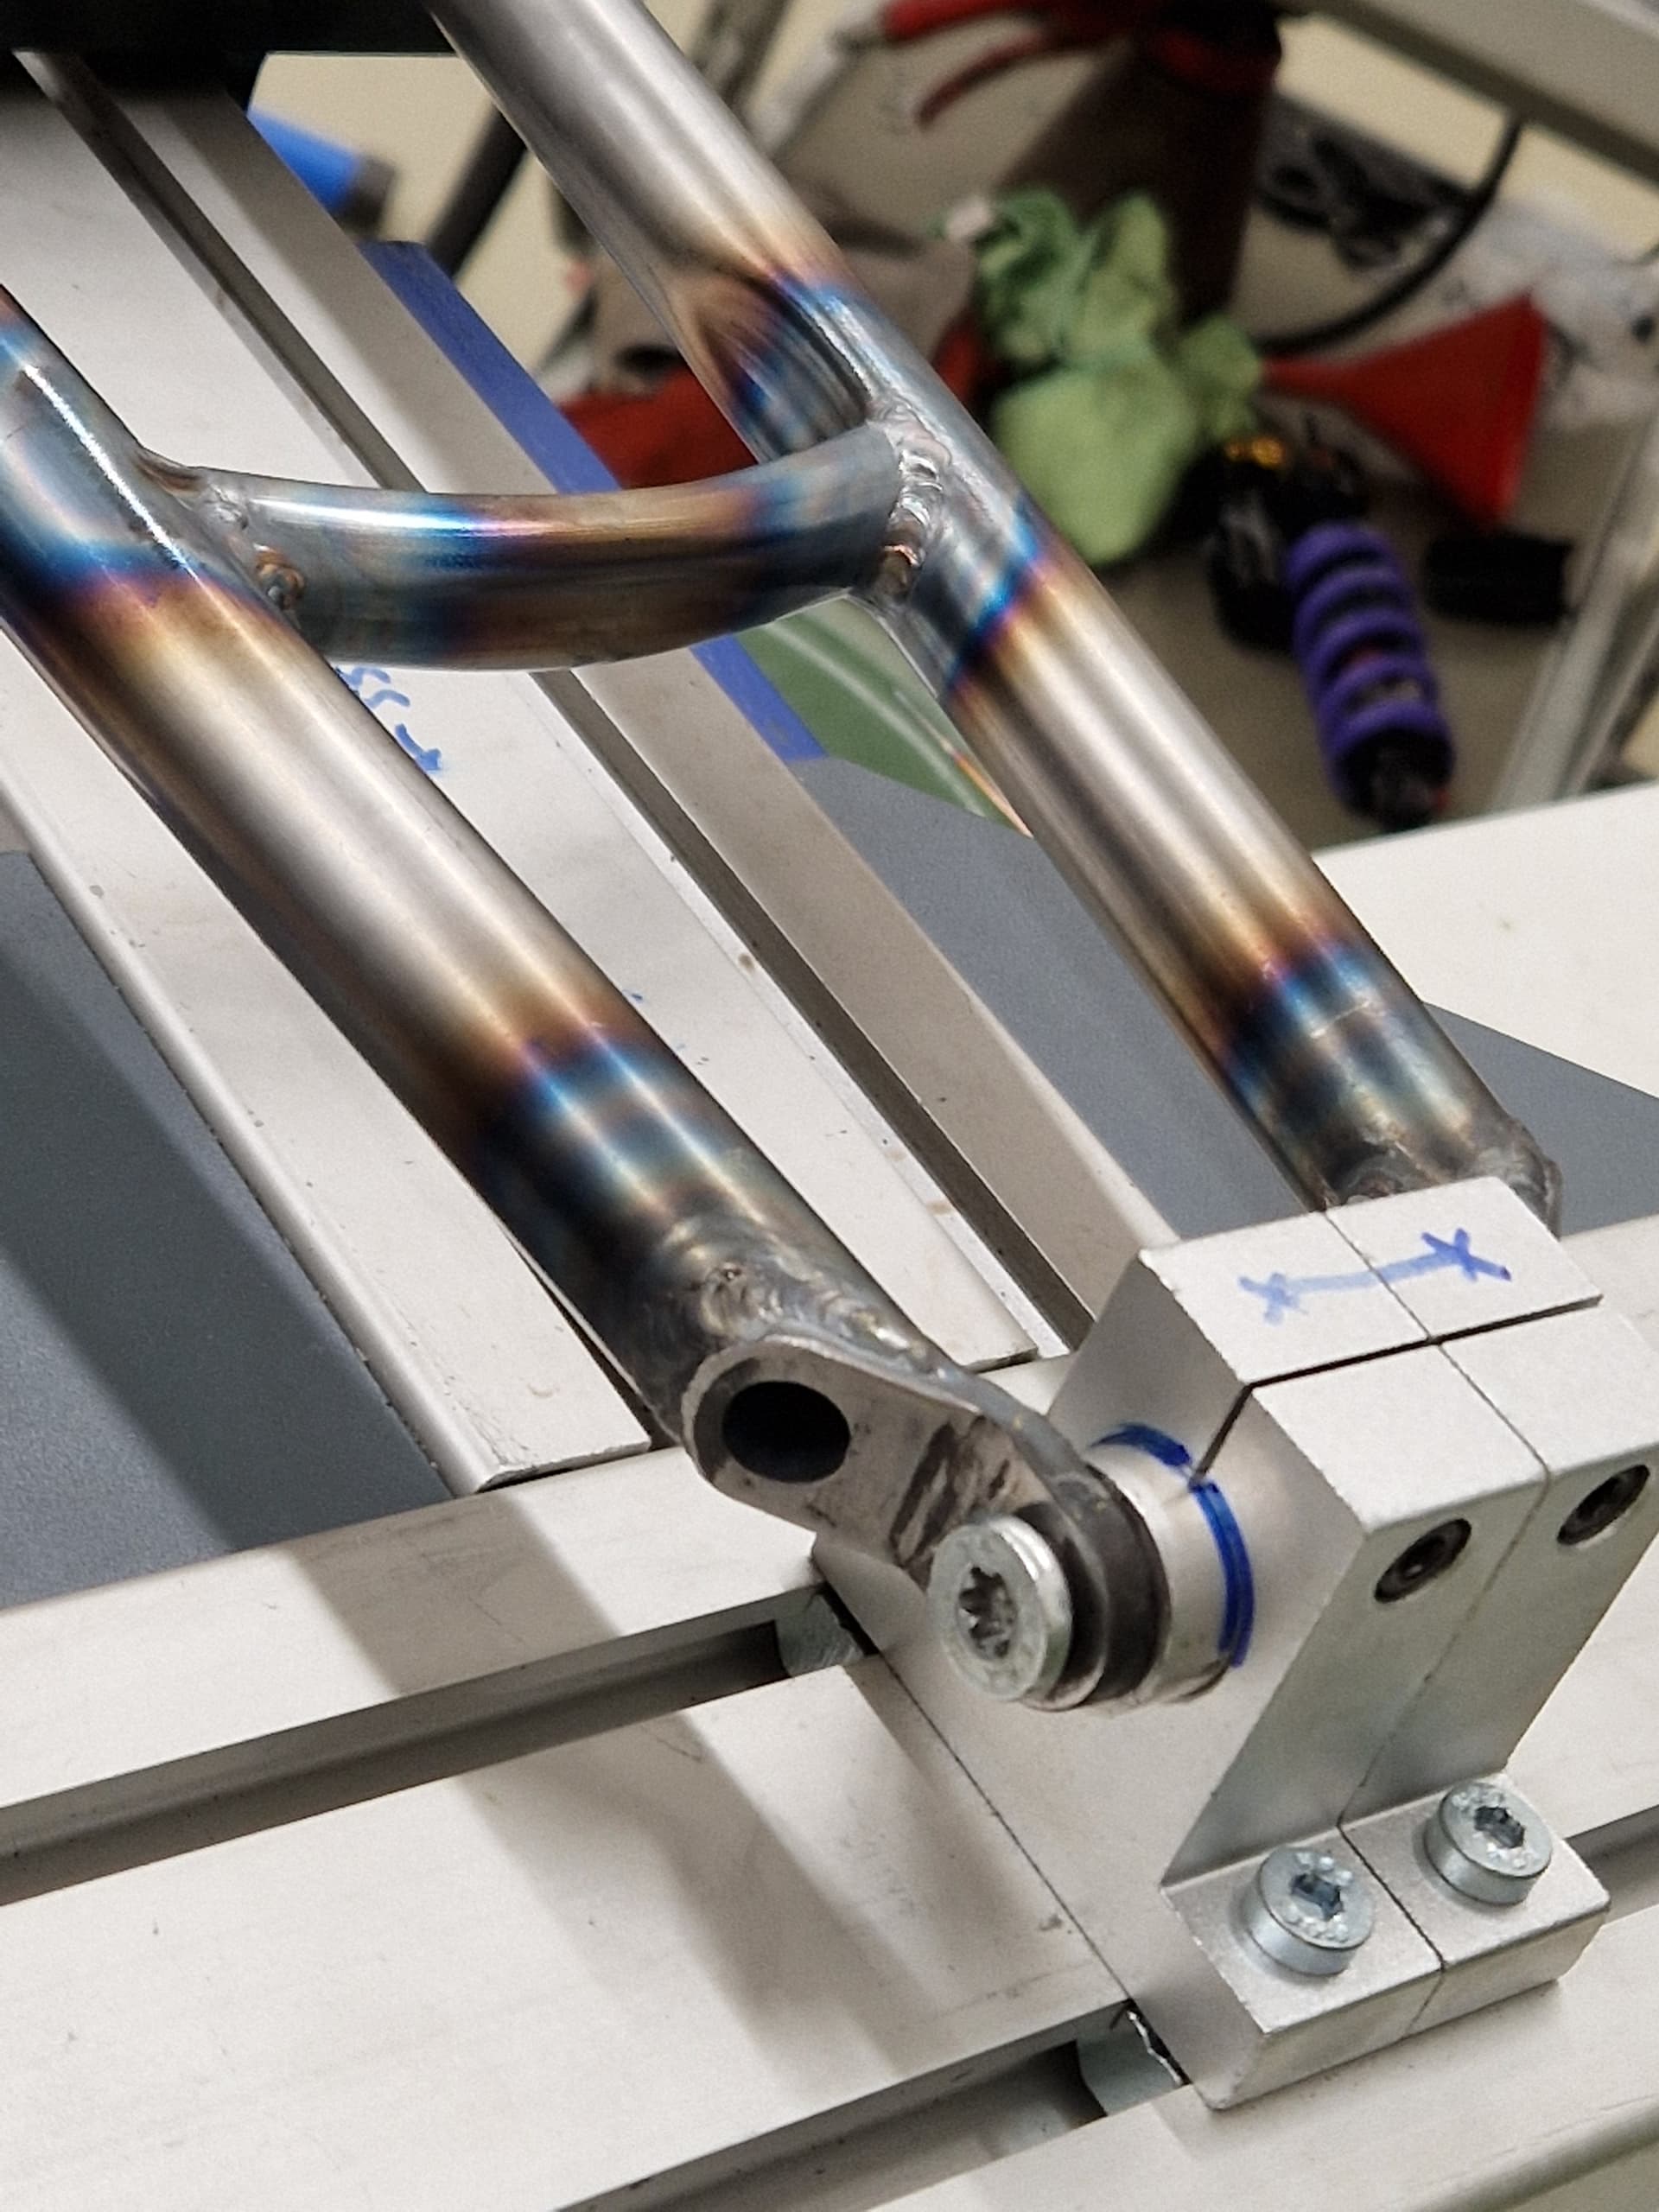
Here is the fixture Olli made, with my very special tooling for the pivot points.
Yay!
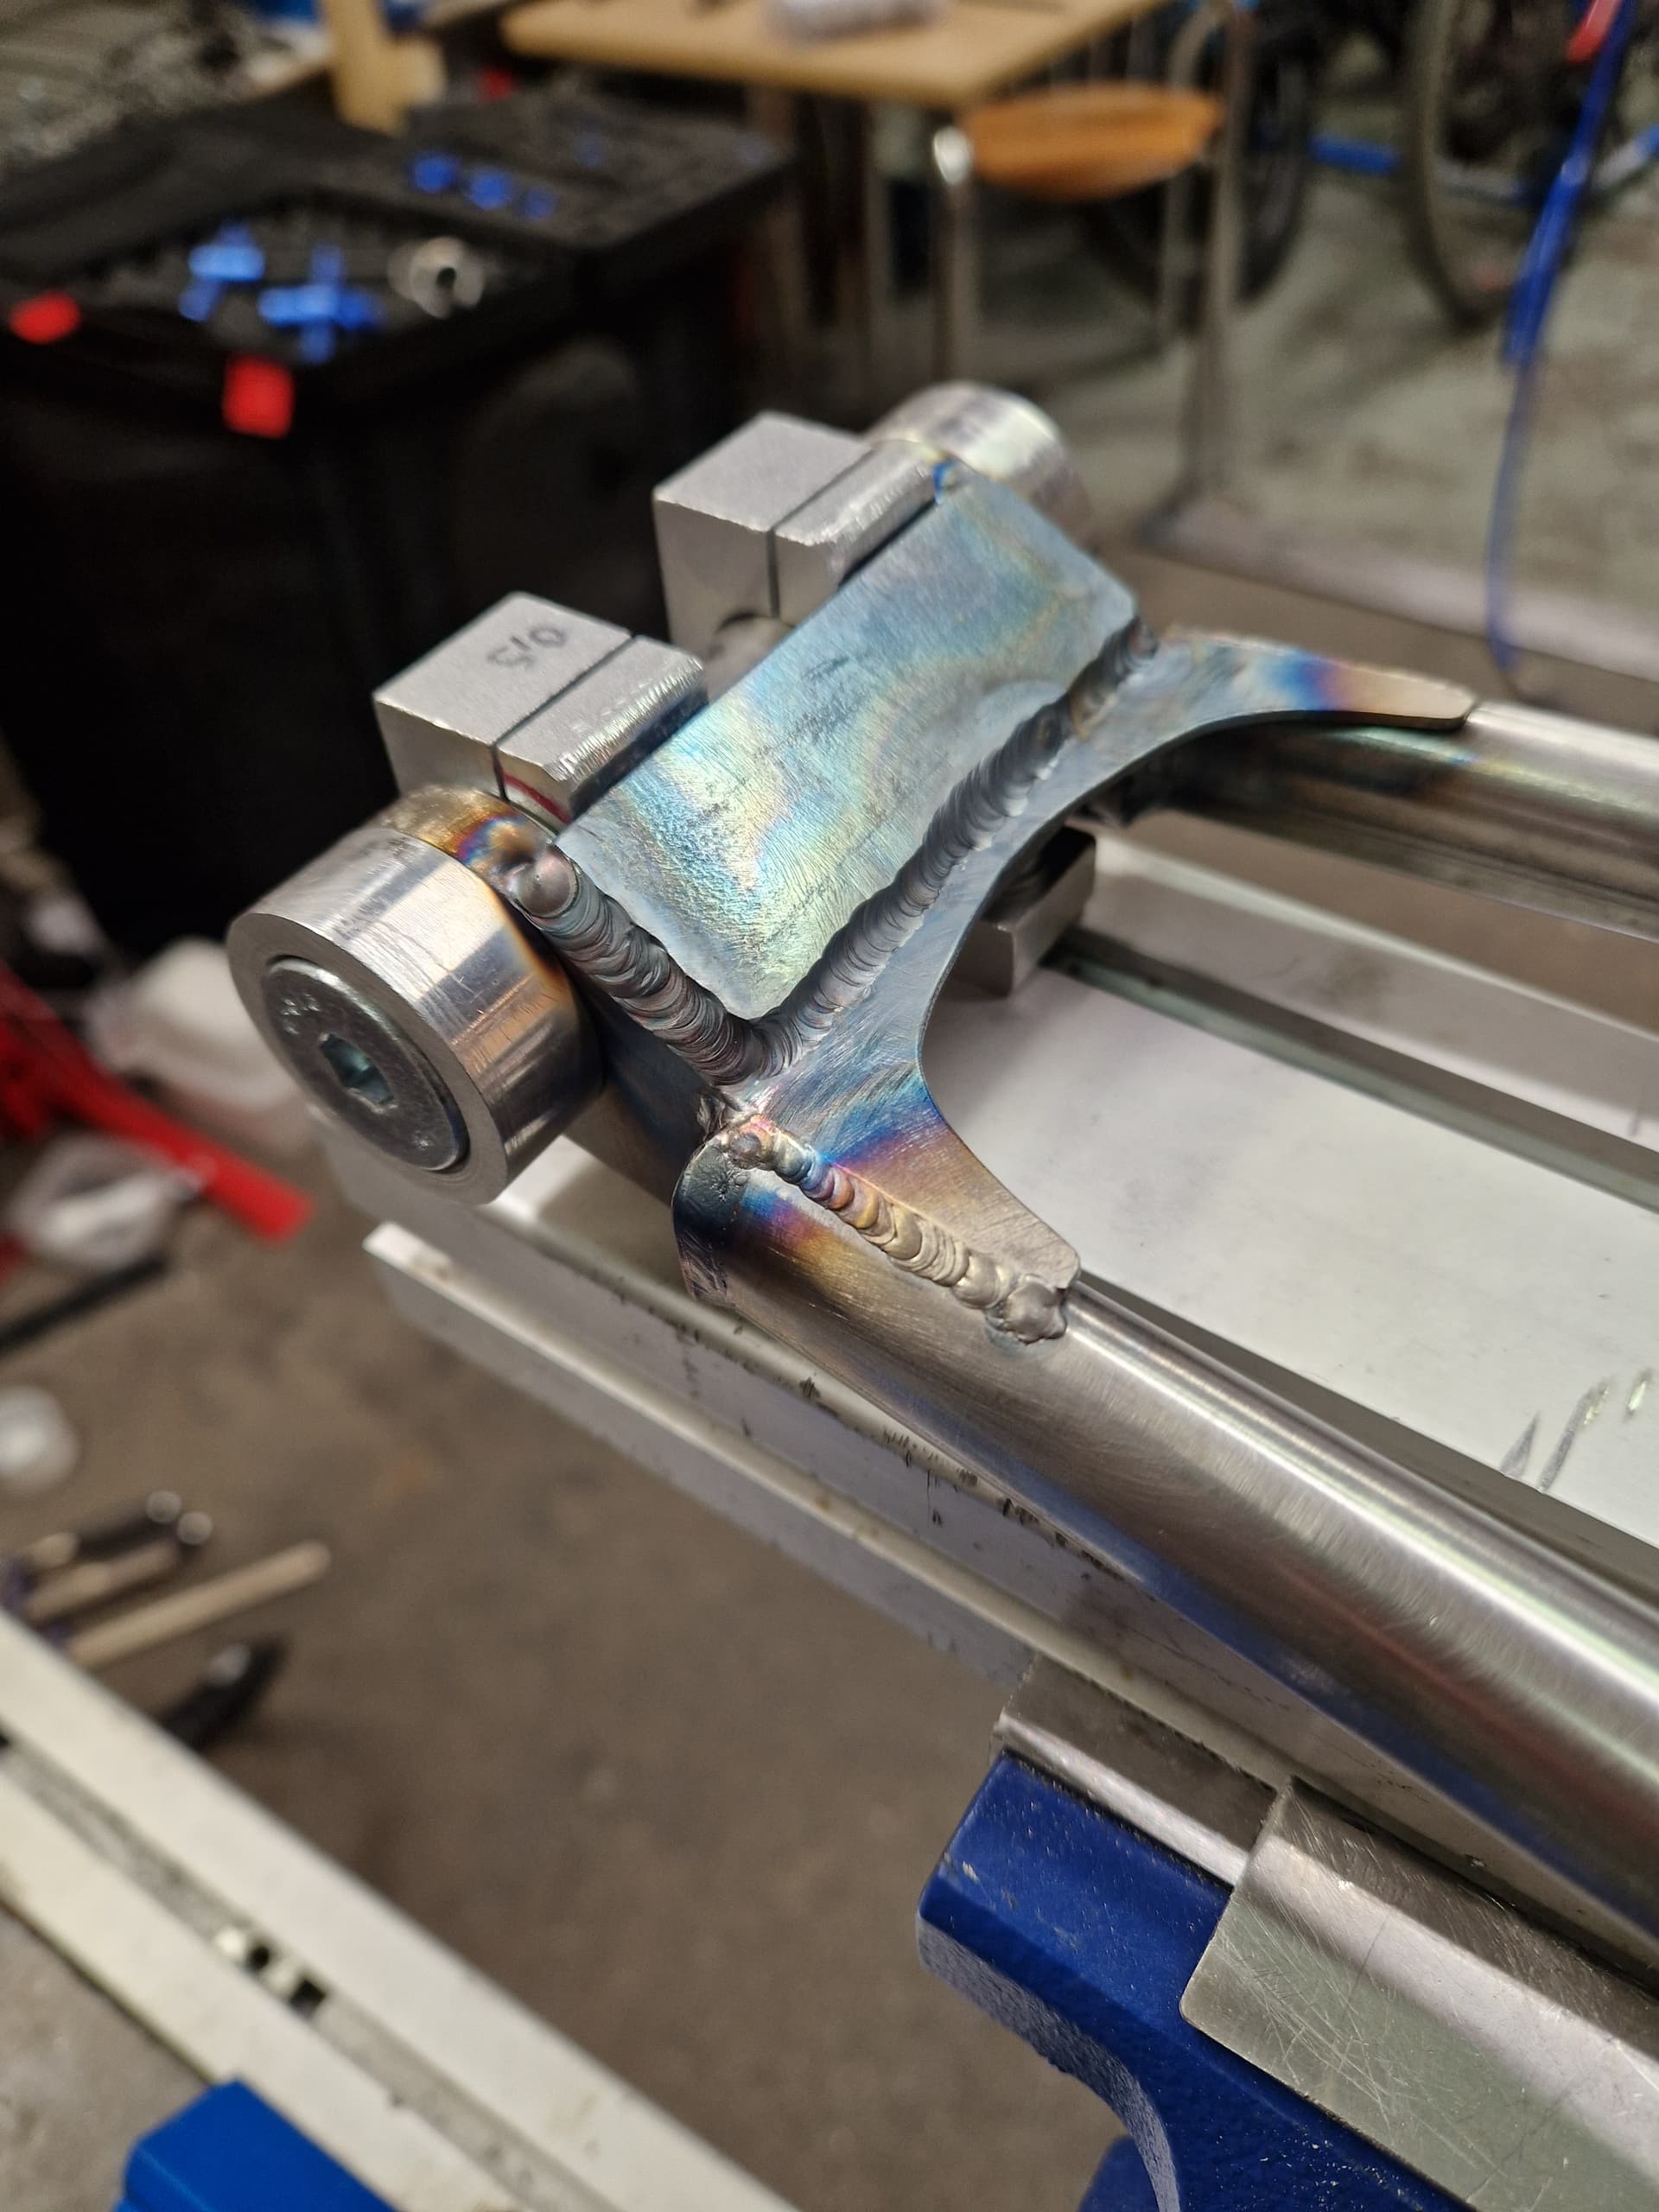
I tend to get a LOT of heat input This was all without a pedal though.
Of course I do not know how things would have been with CroMo, but the Docol R8 has been holding up great even with my garbage welds.
Basic stuff.
Rattle can paint job. Clearly I did not have great exceptations how long the frame would last
They call me Mr. Zero-Tolerance
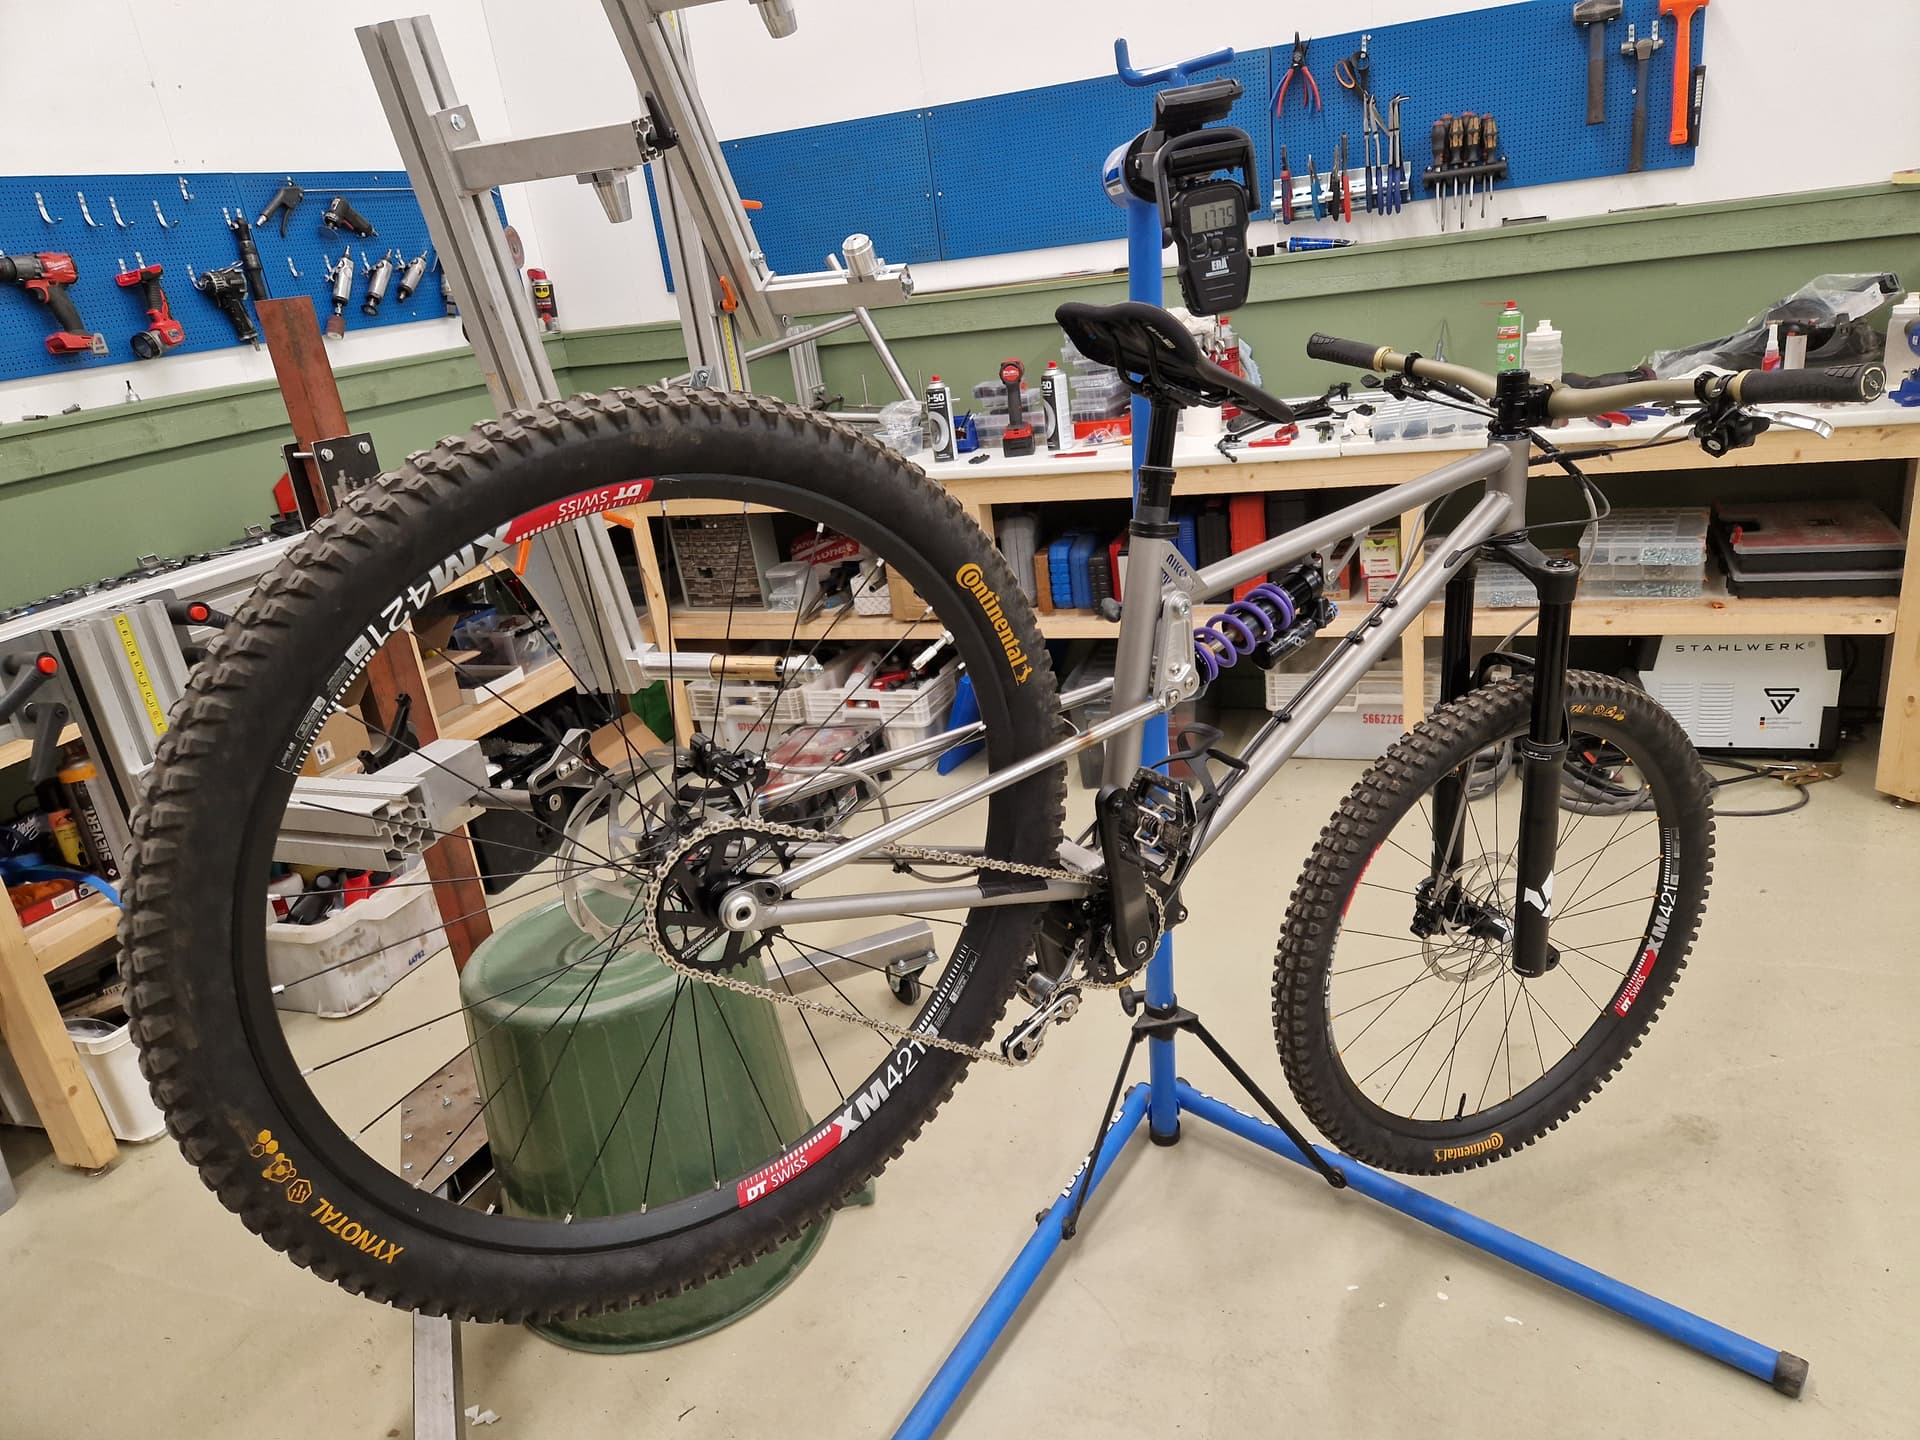
First (nervous) ride success!
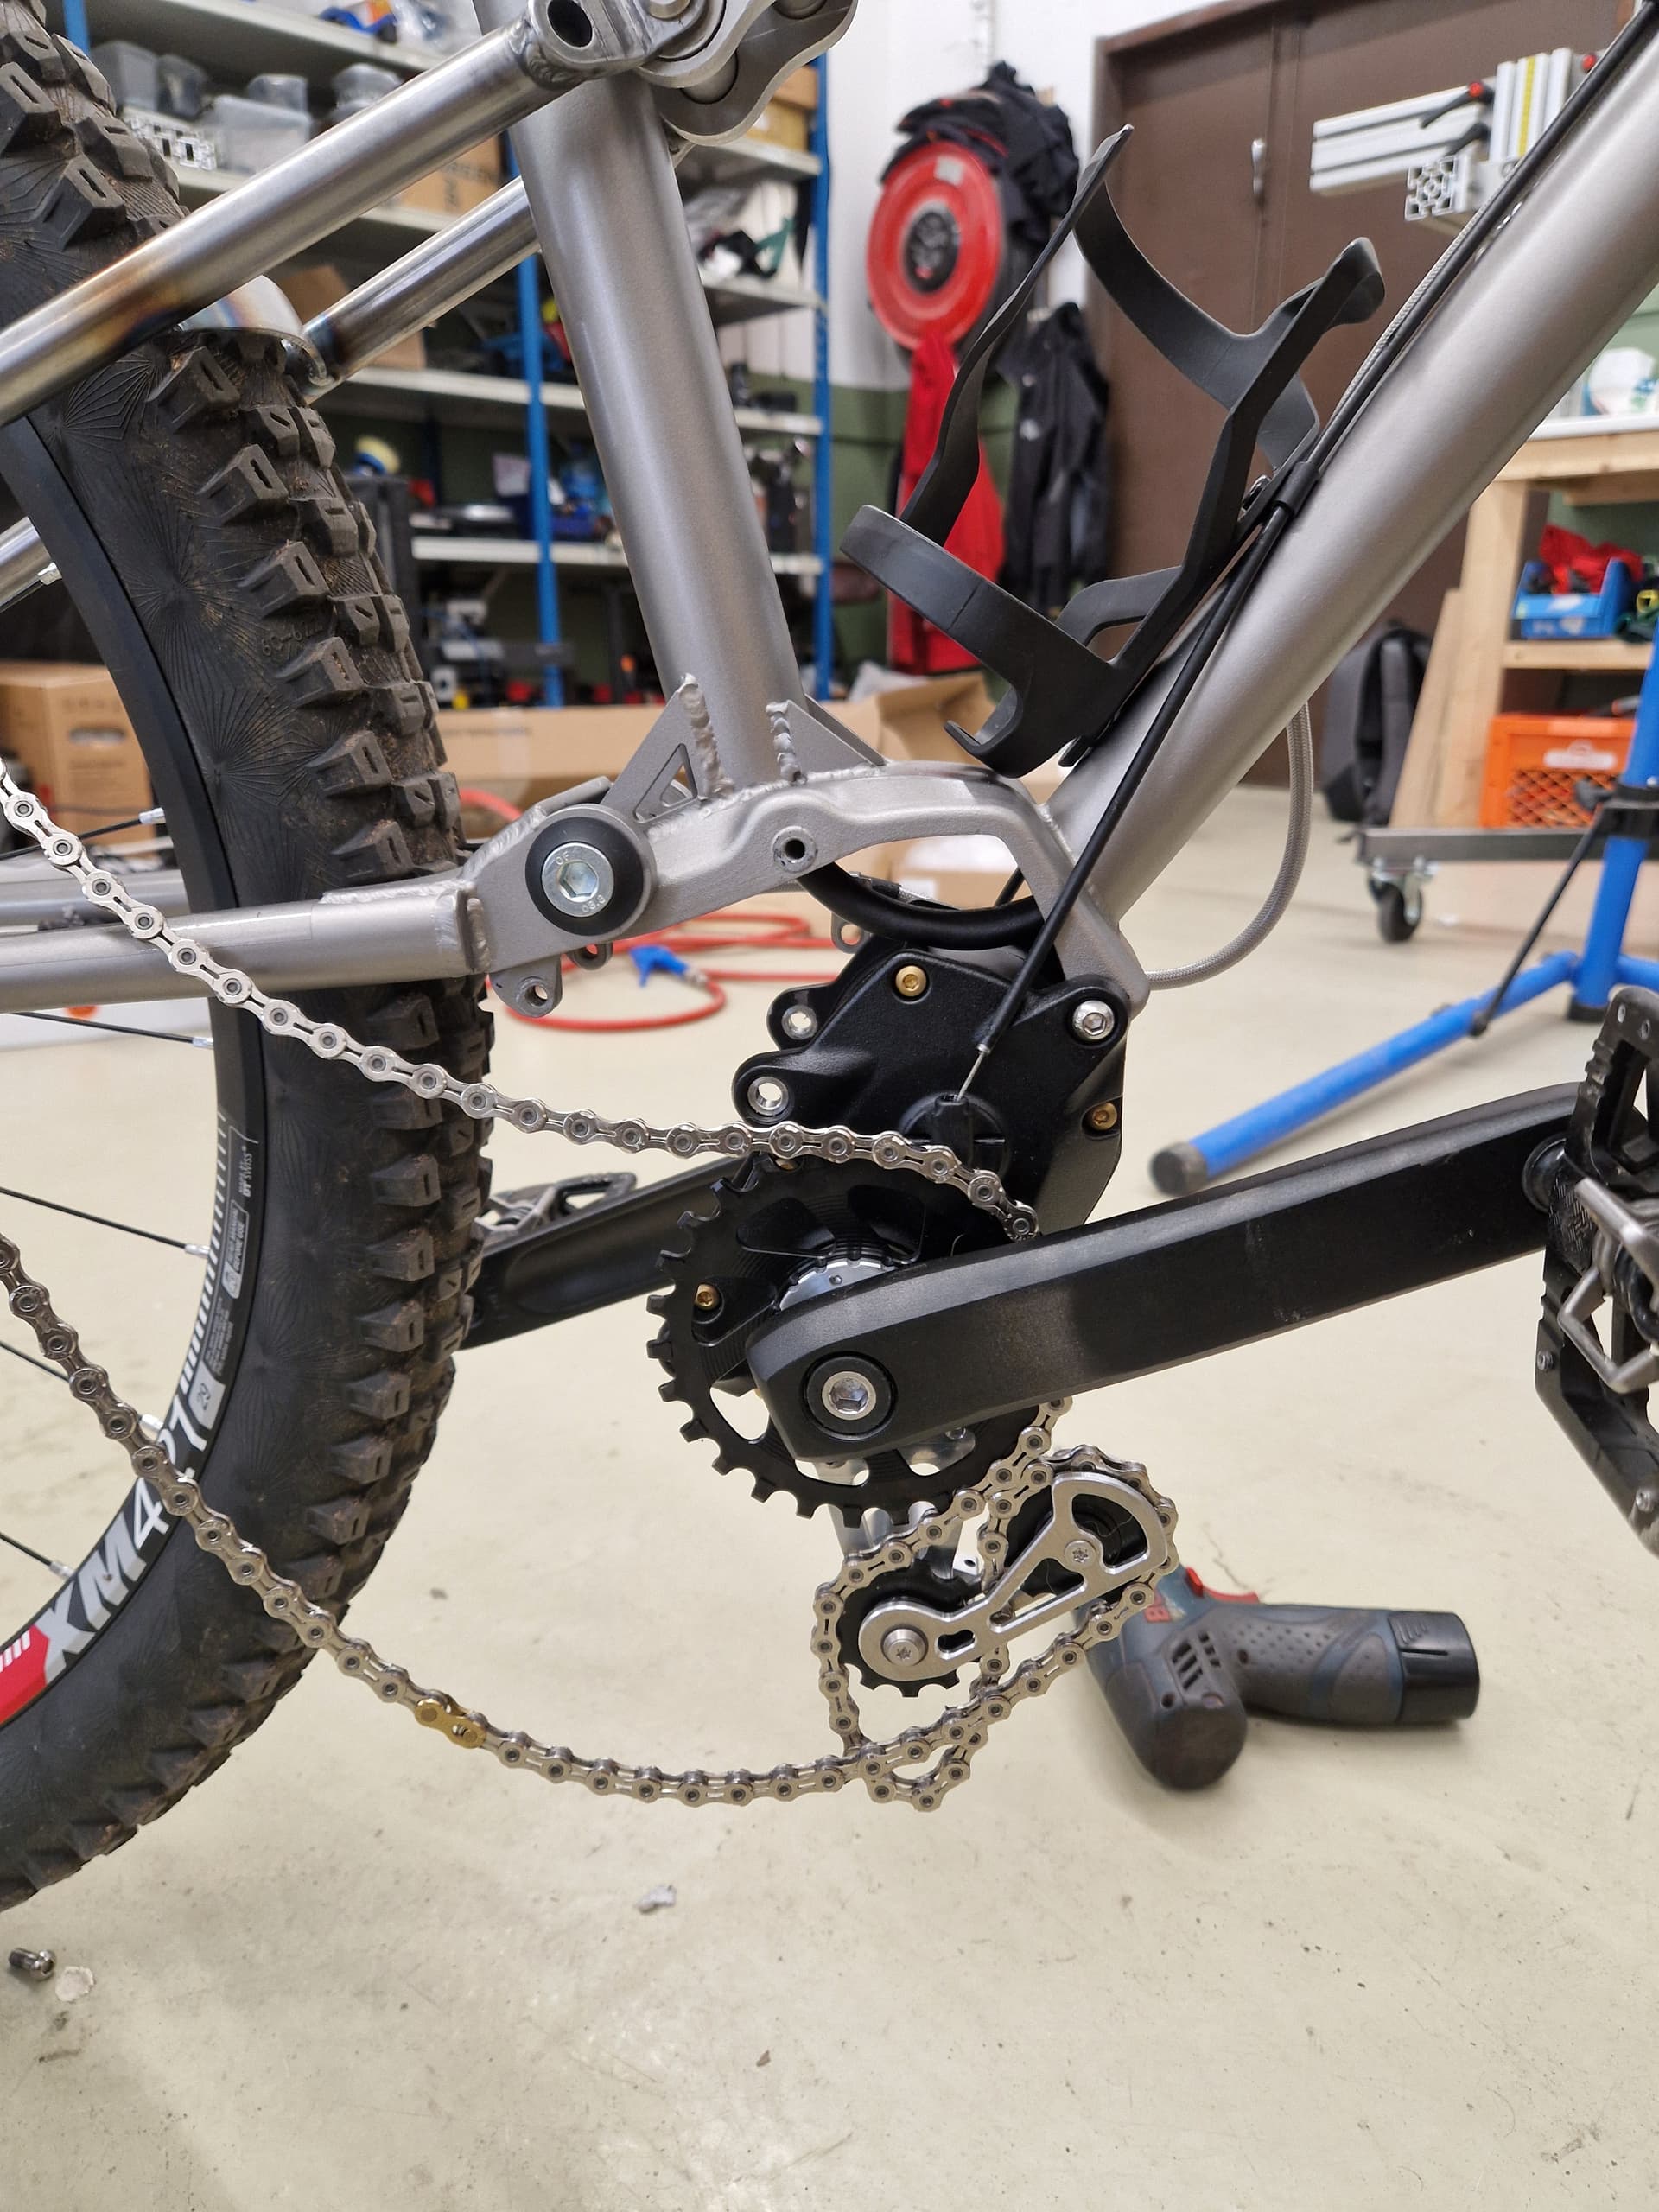
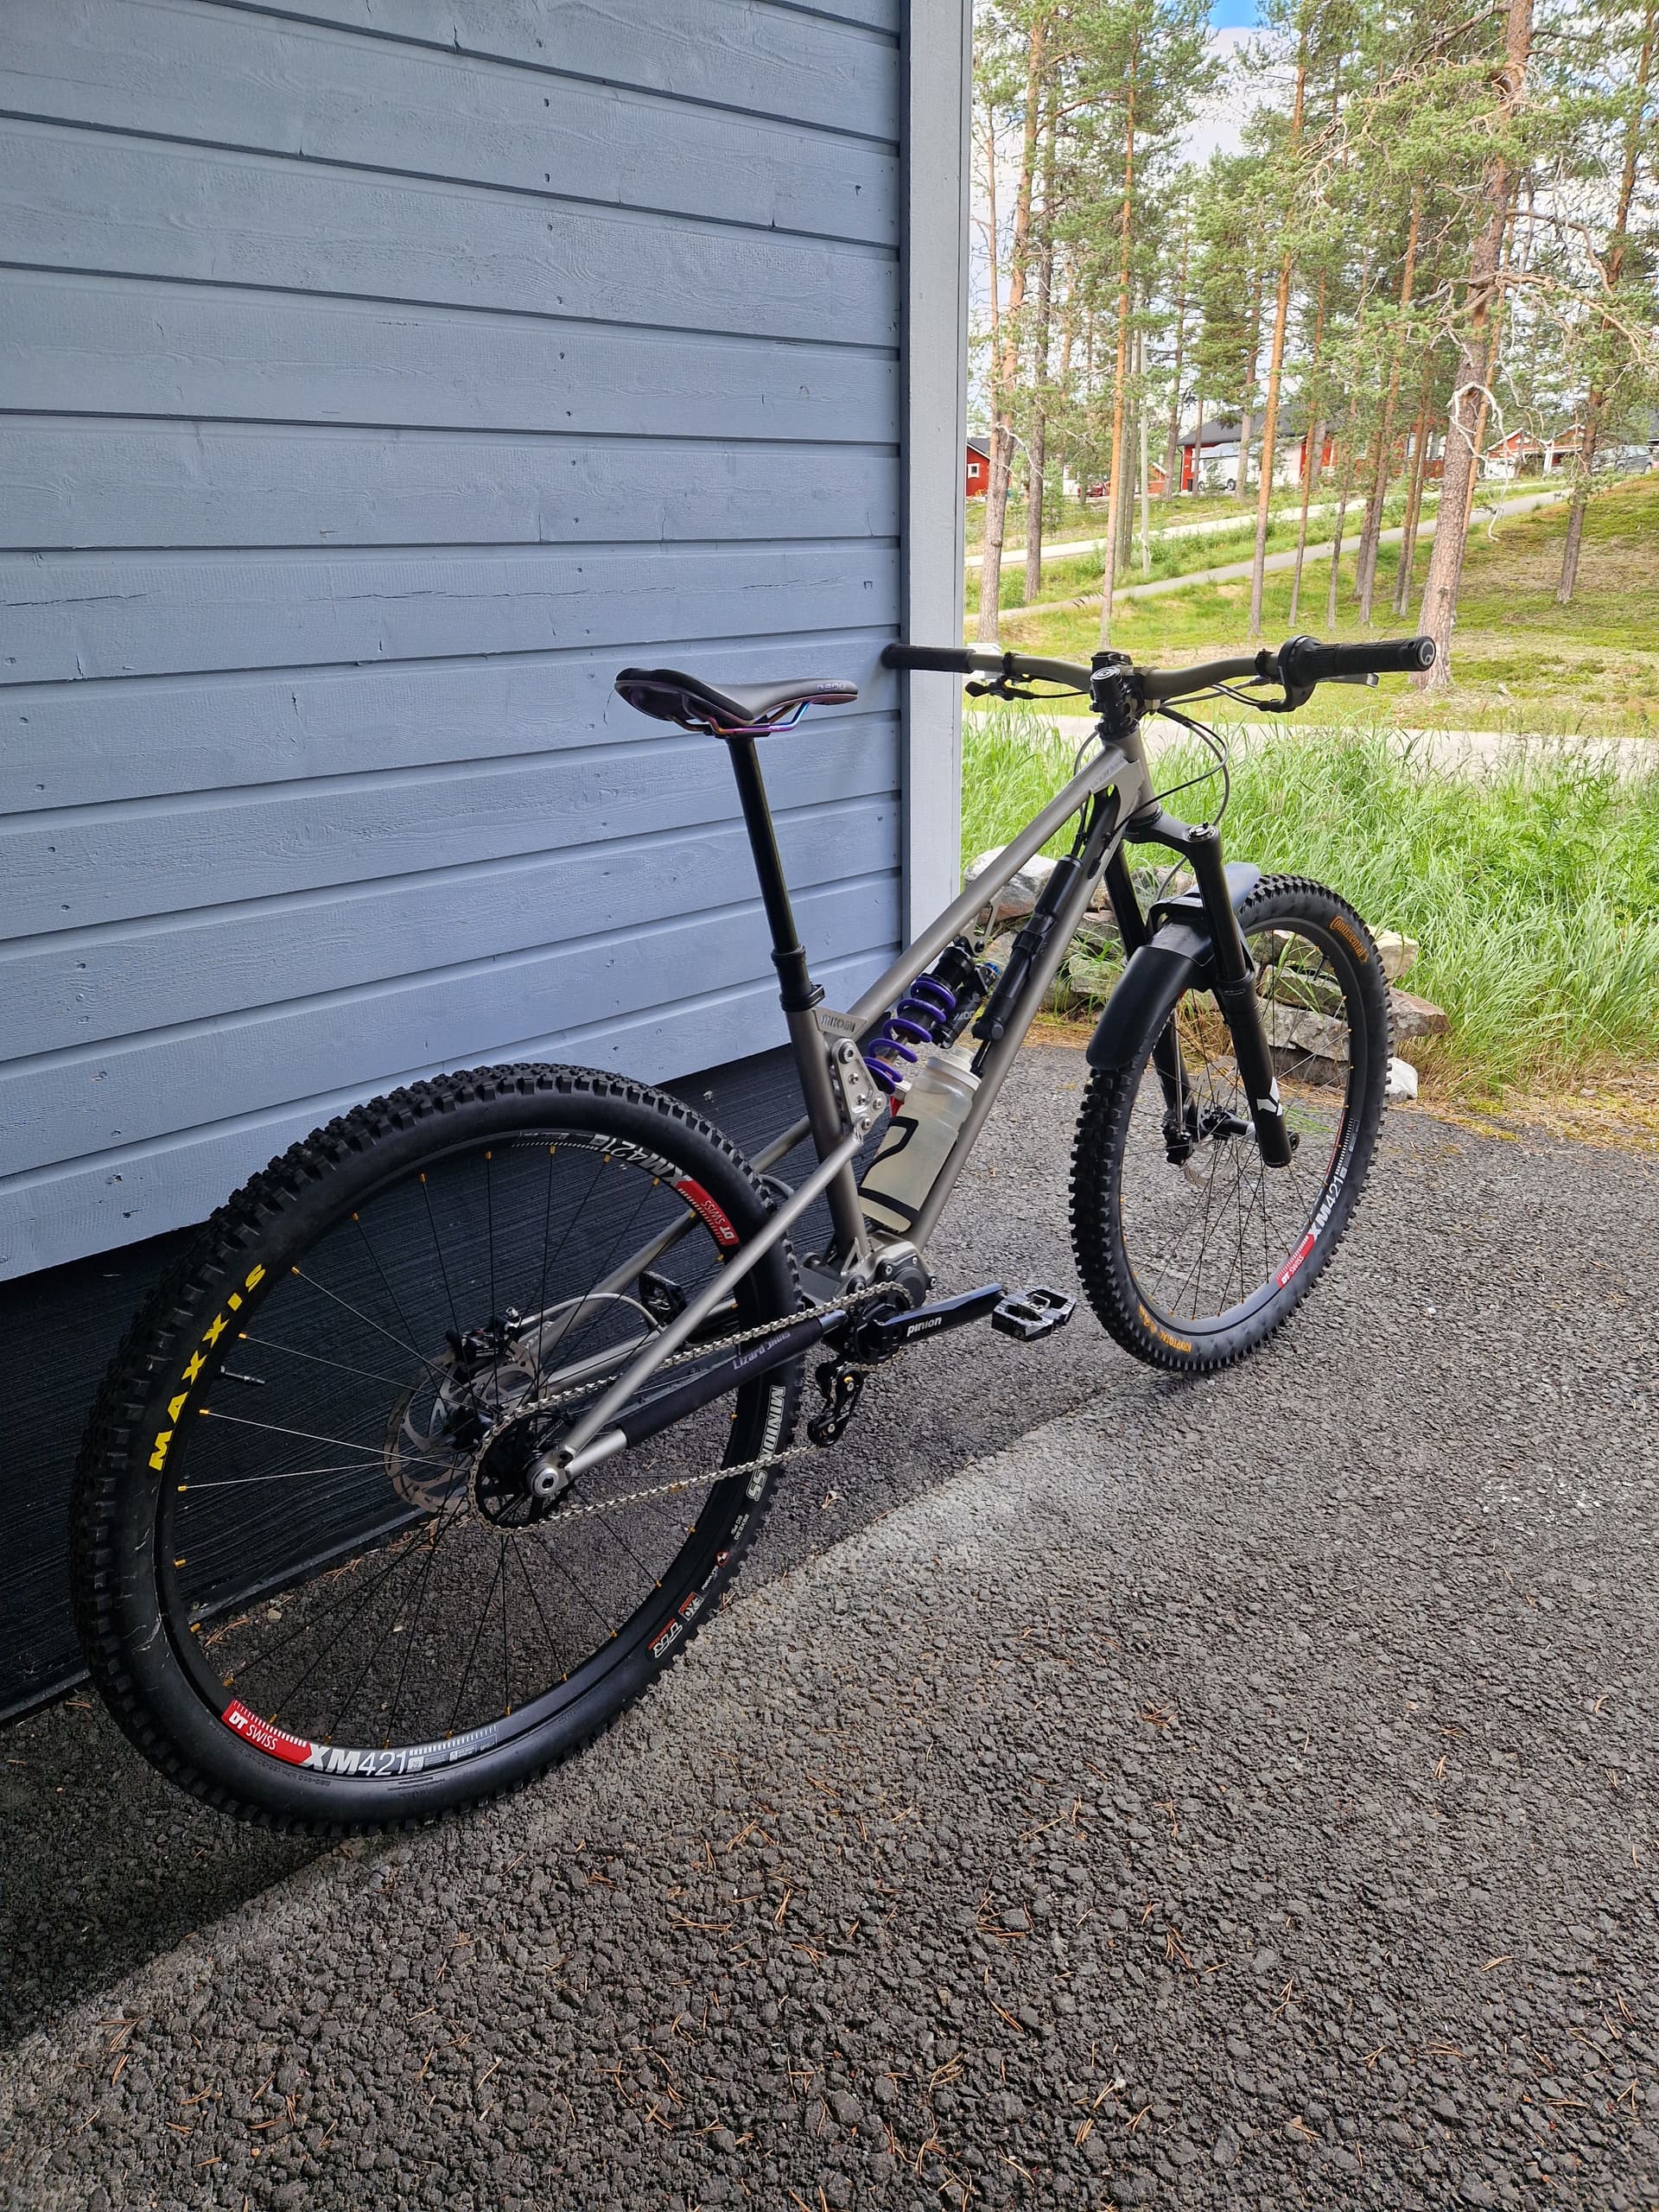
Fitting the dropper. The internal routing works, but it is impossible to adjust the seat height without partially removing the gearbox, because the cable makes such tight bend. Later I have used external routing for the dropper also.
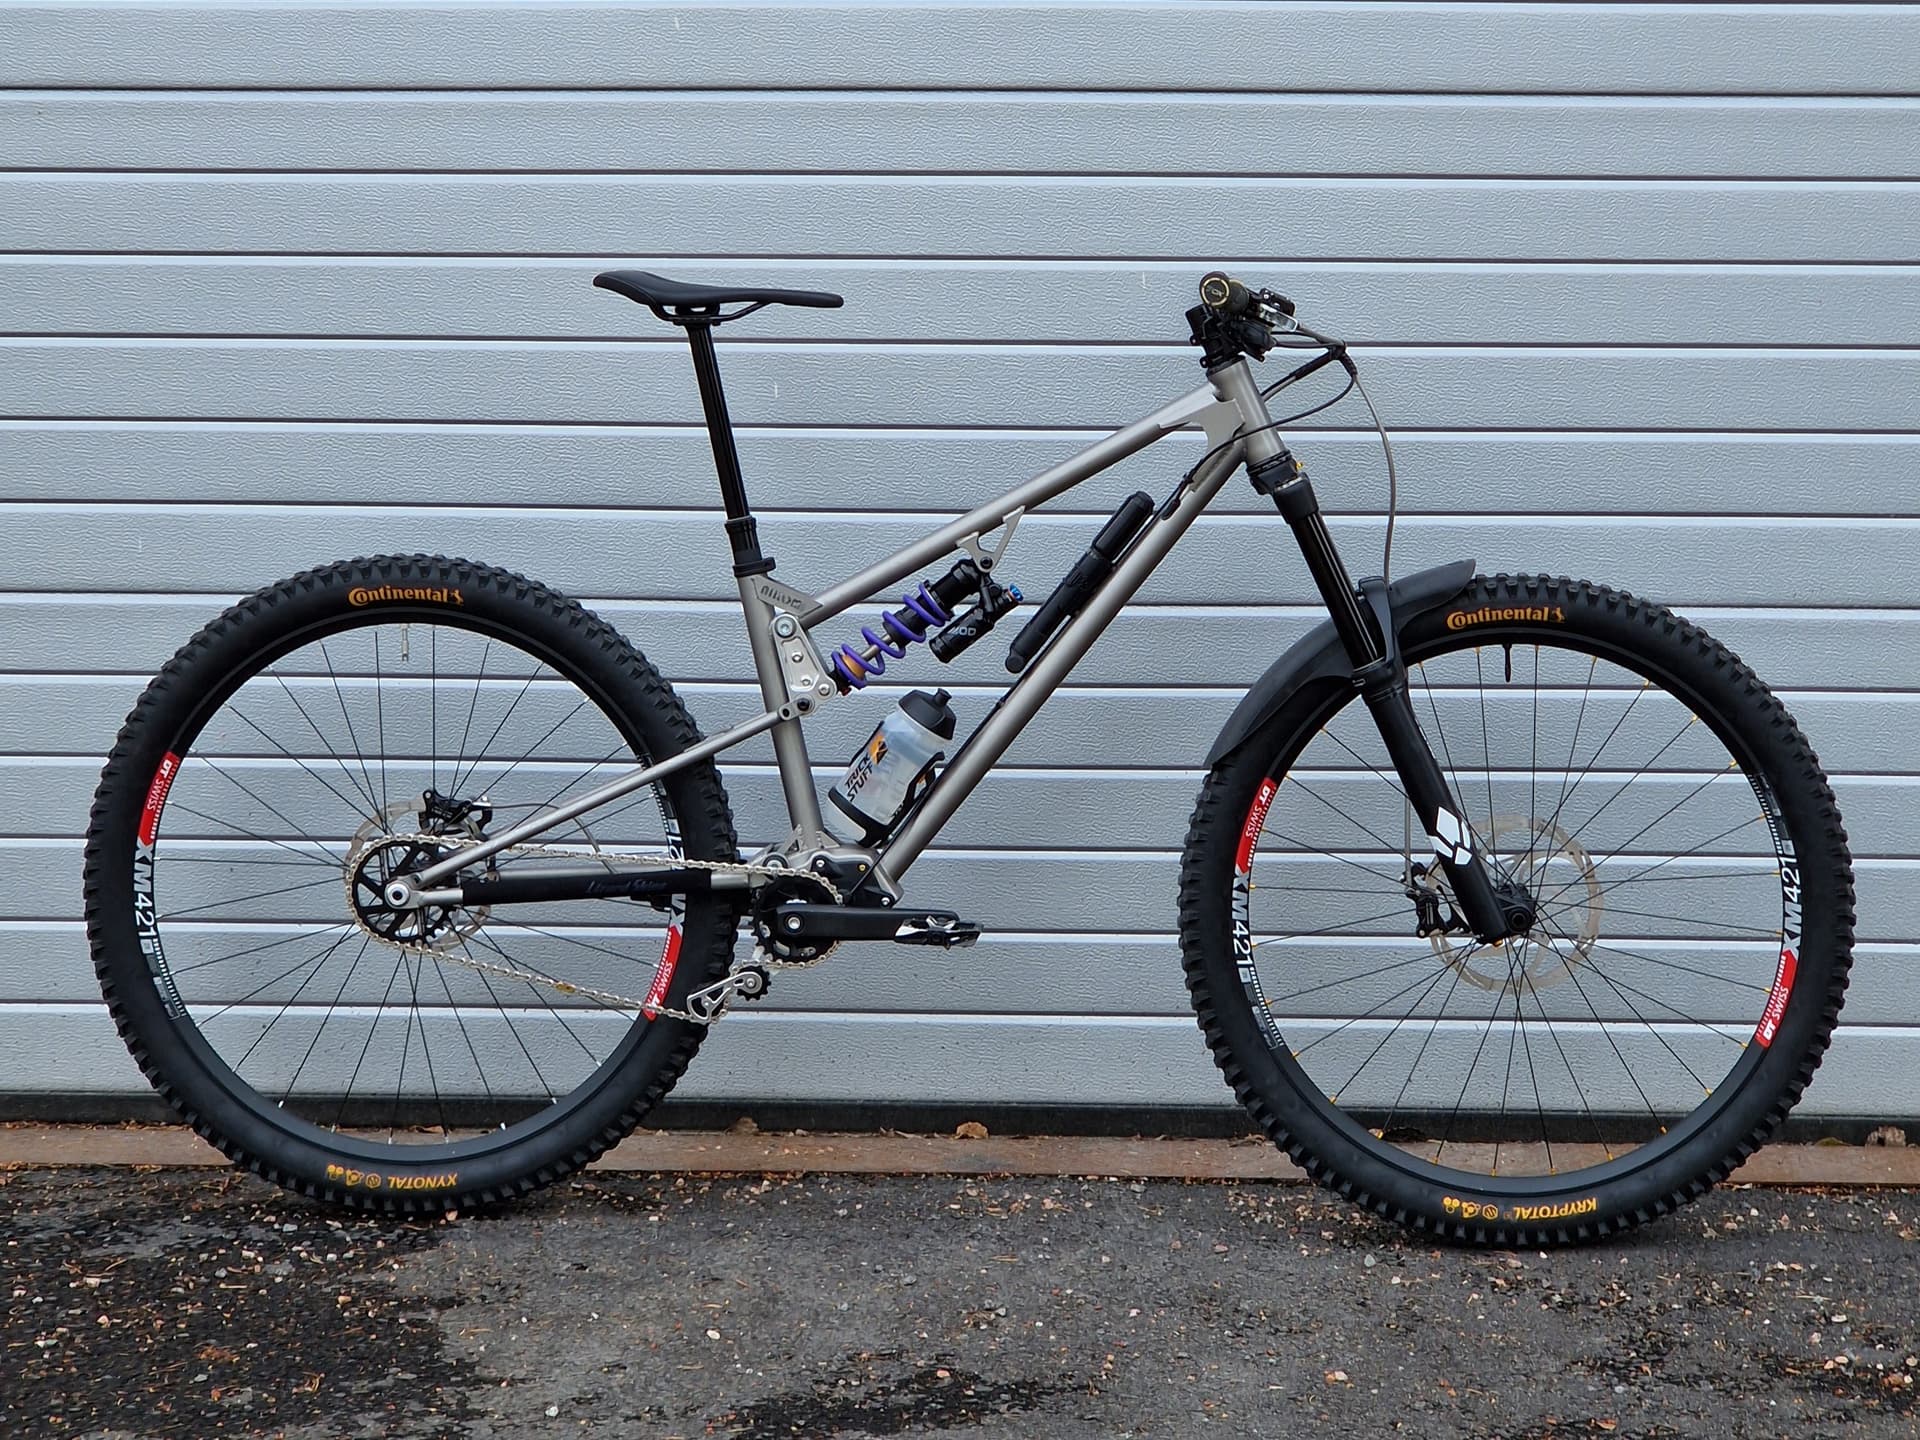
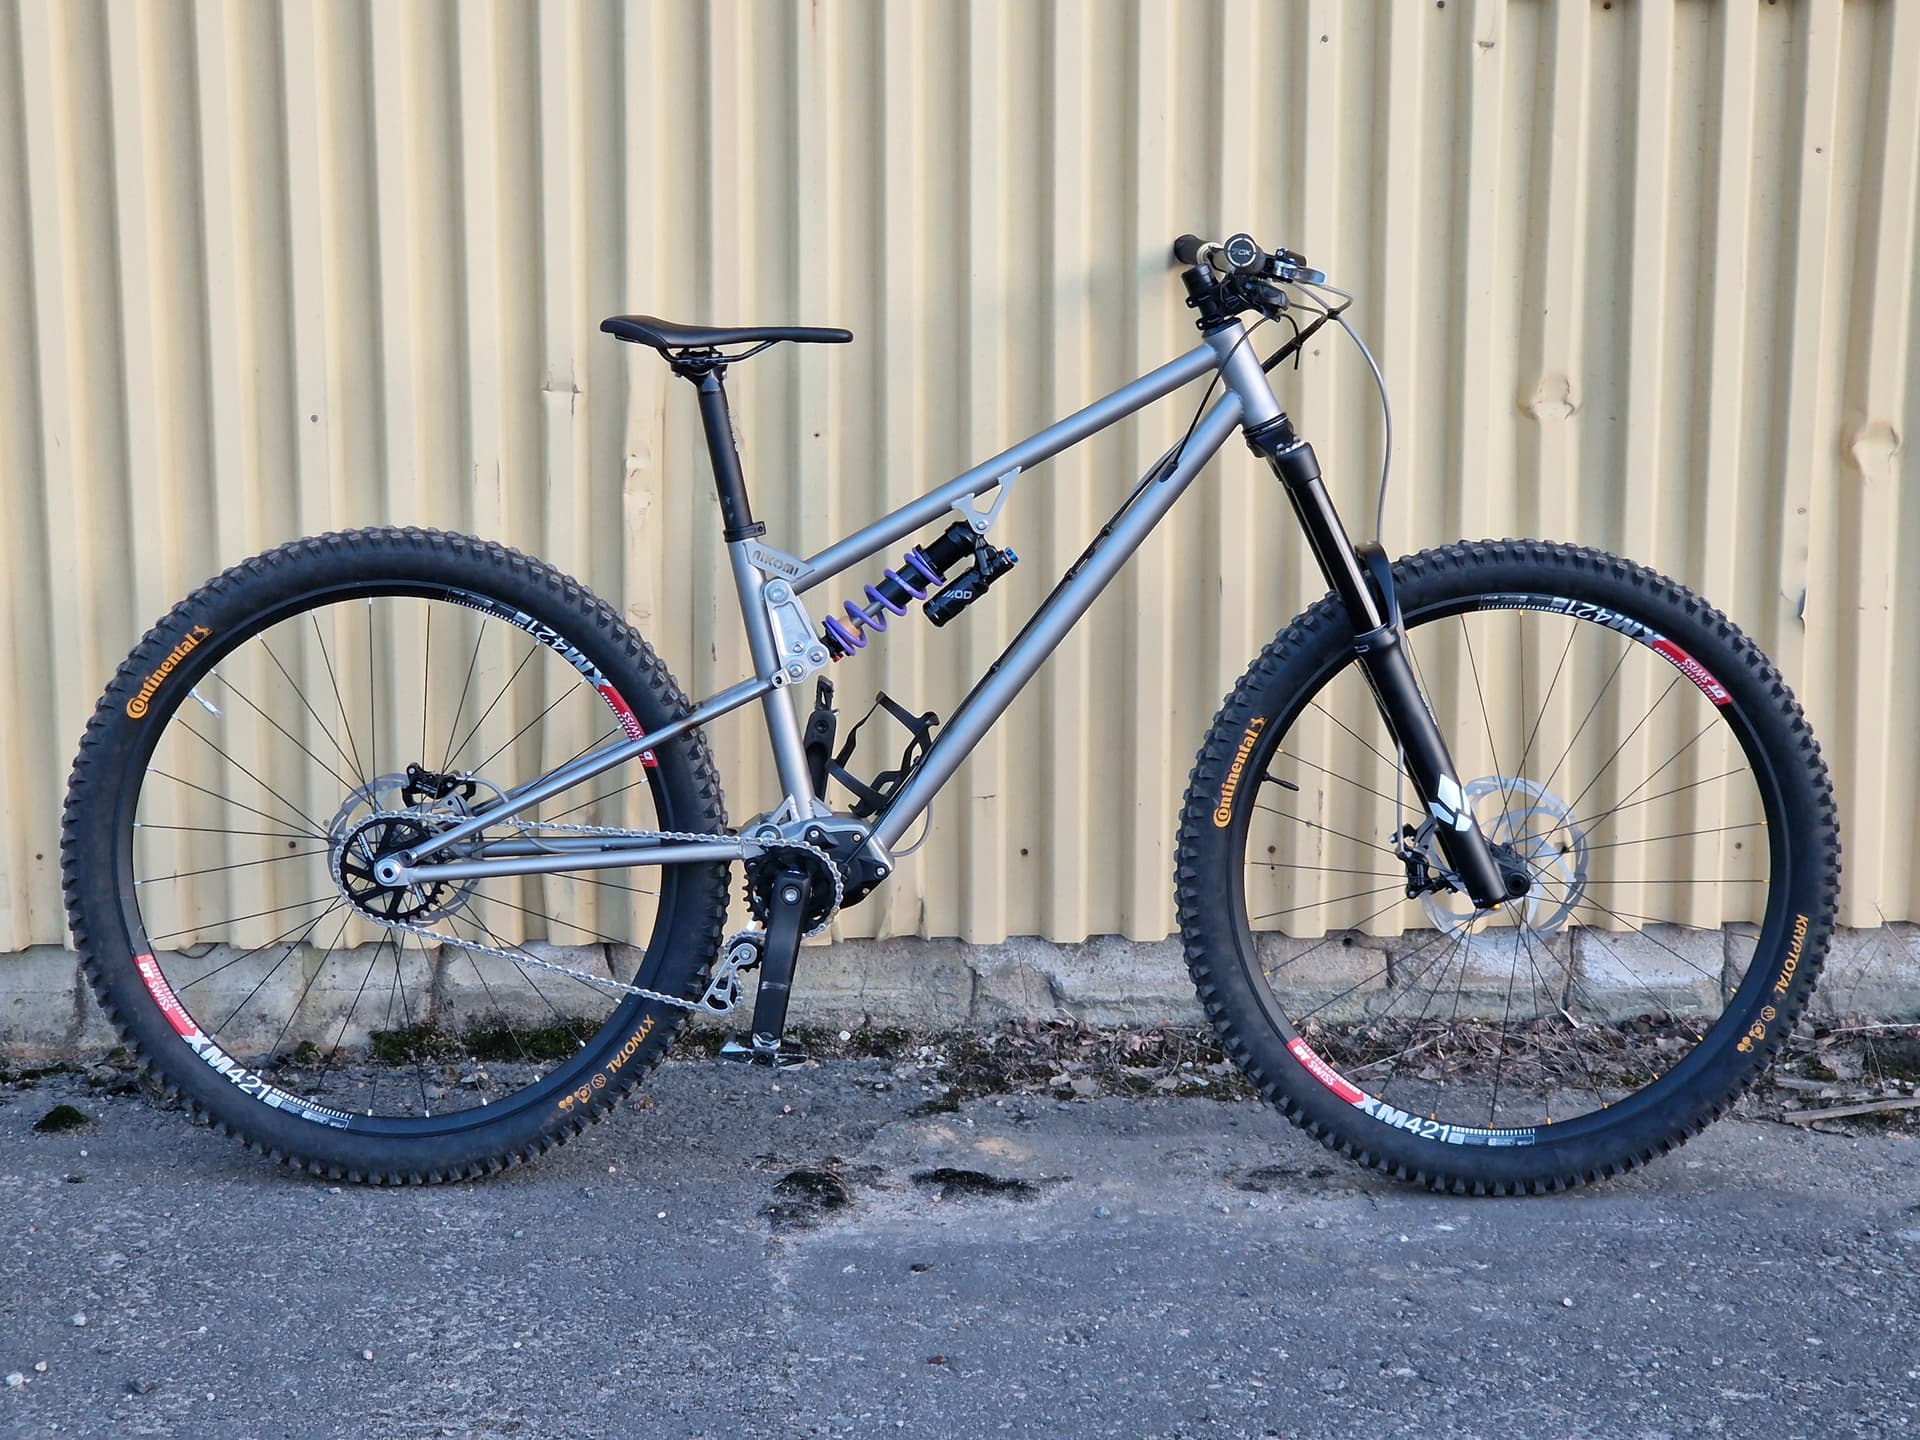
17,75kg with full-coil, full-steel, enduro casing tires and zero carbon fiber, not bad! Although, later I made a meatier rear triangle and added some gussets which added some weight.
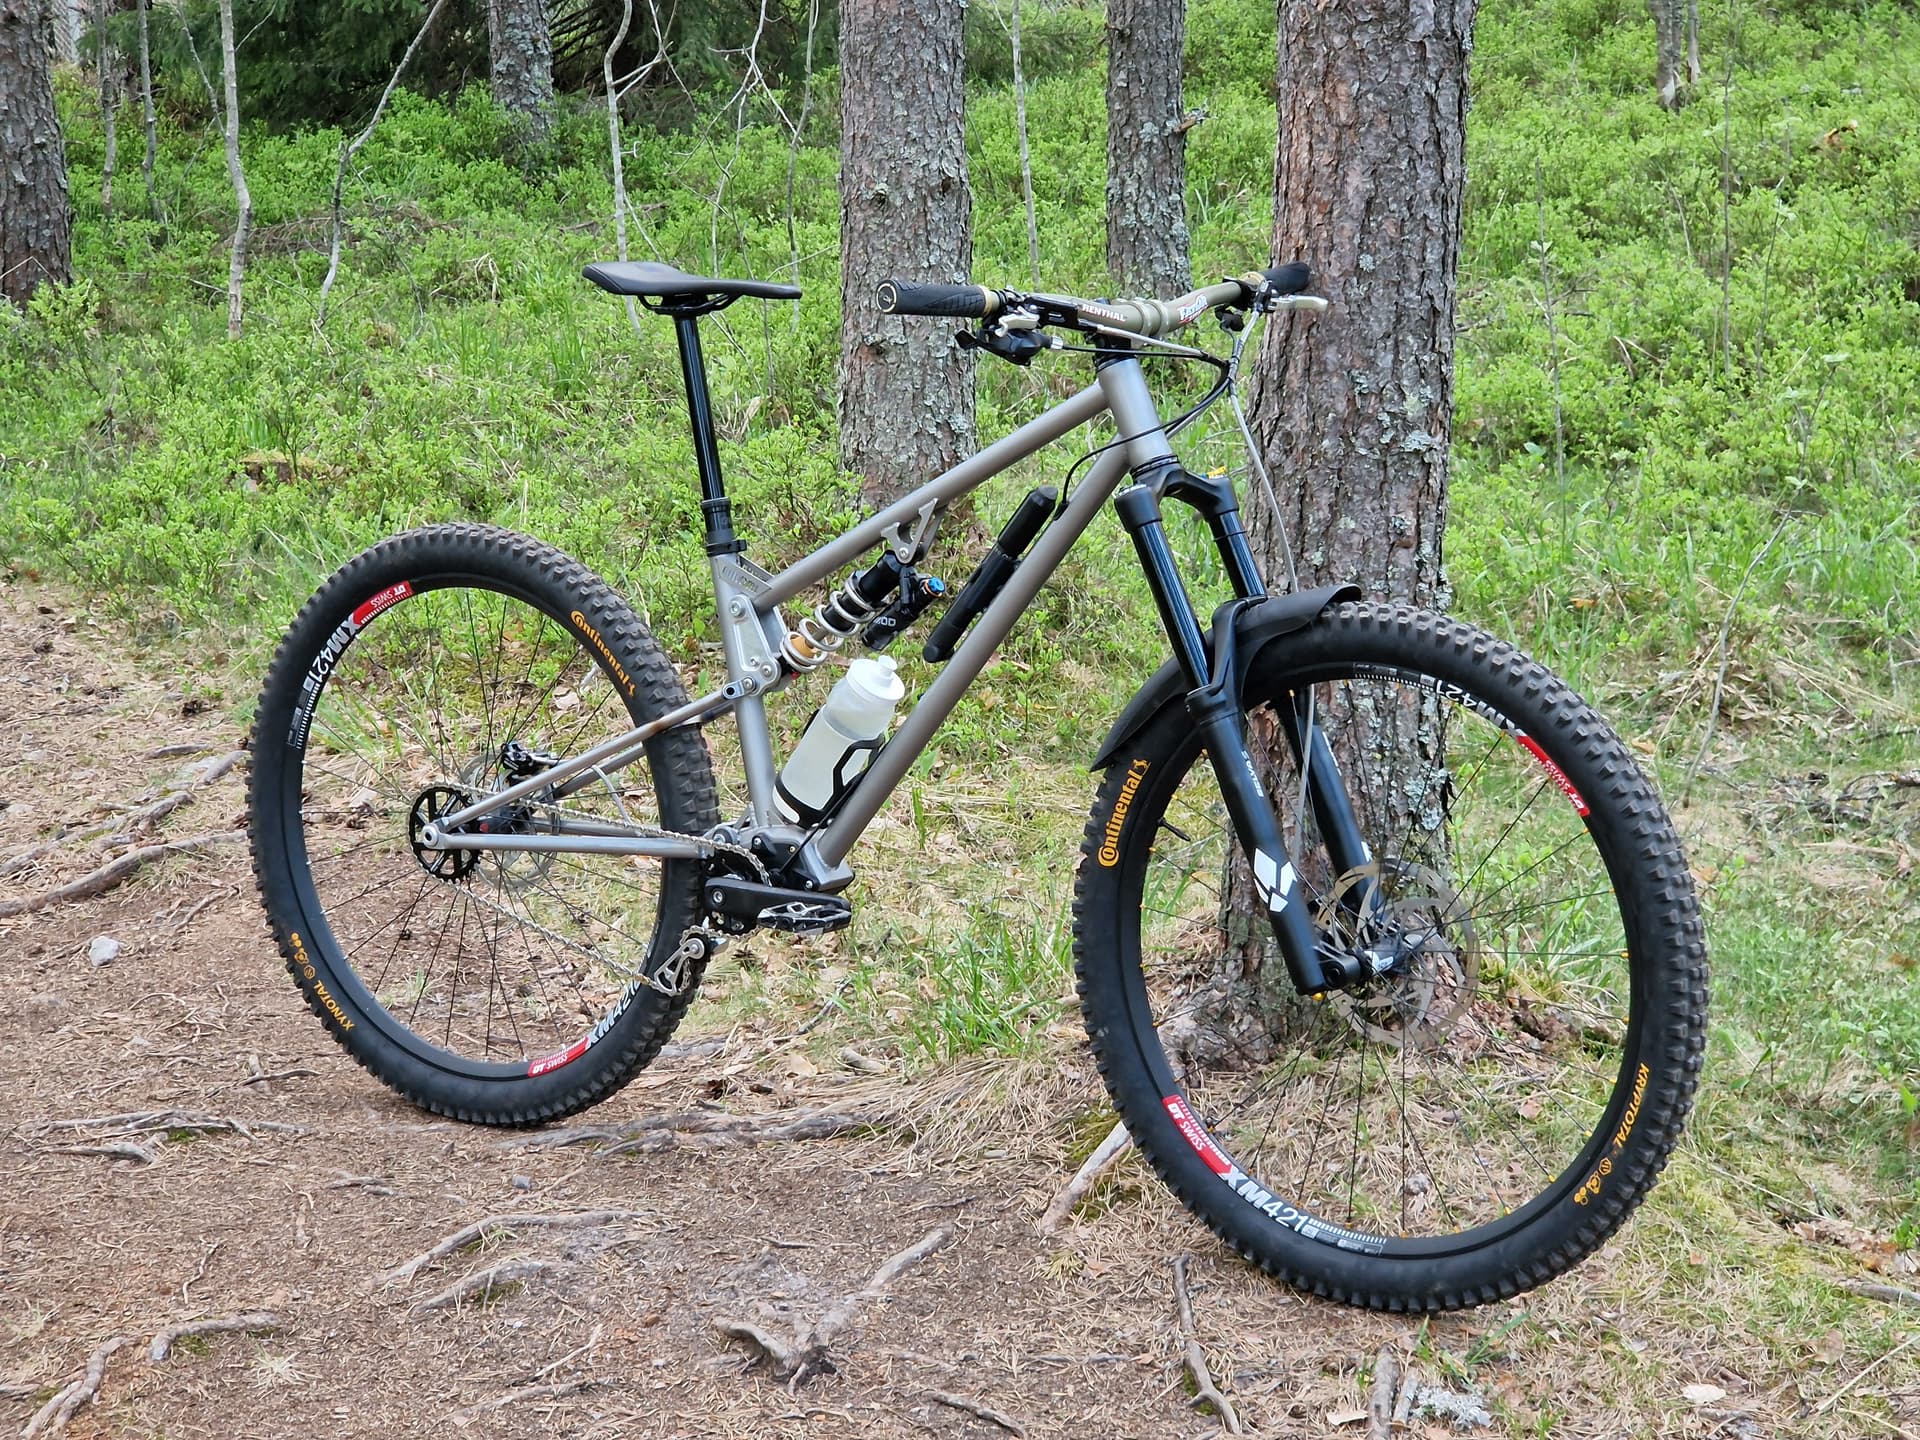
First trail rides. Yes, I was happy the first bike turned out to be at least rideable!
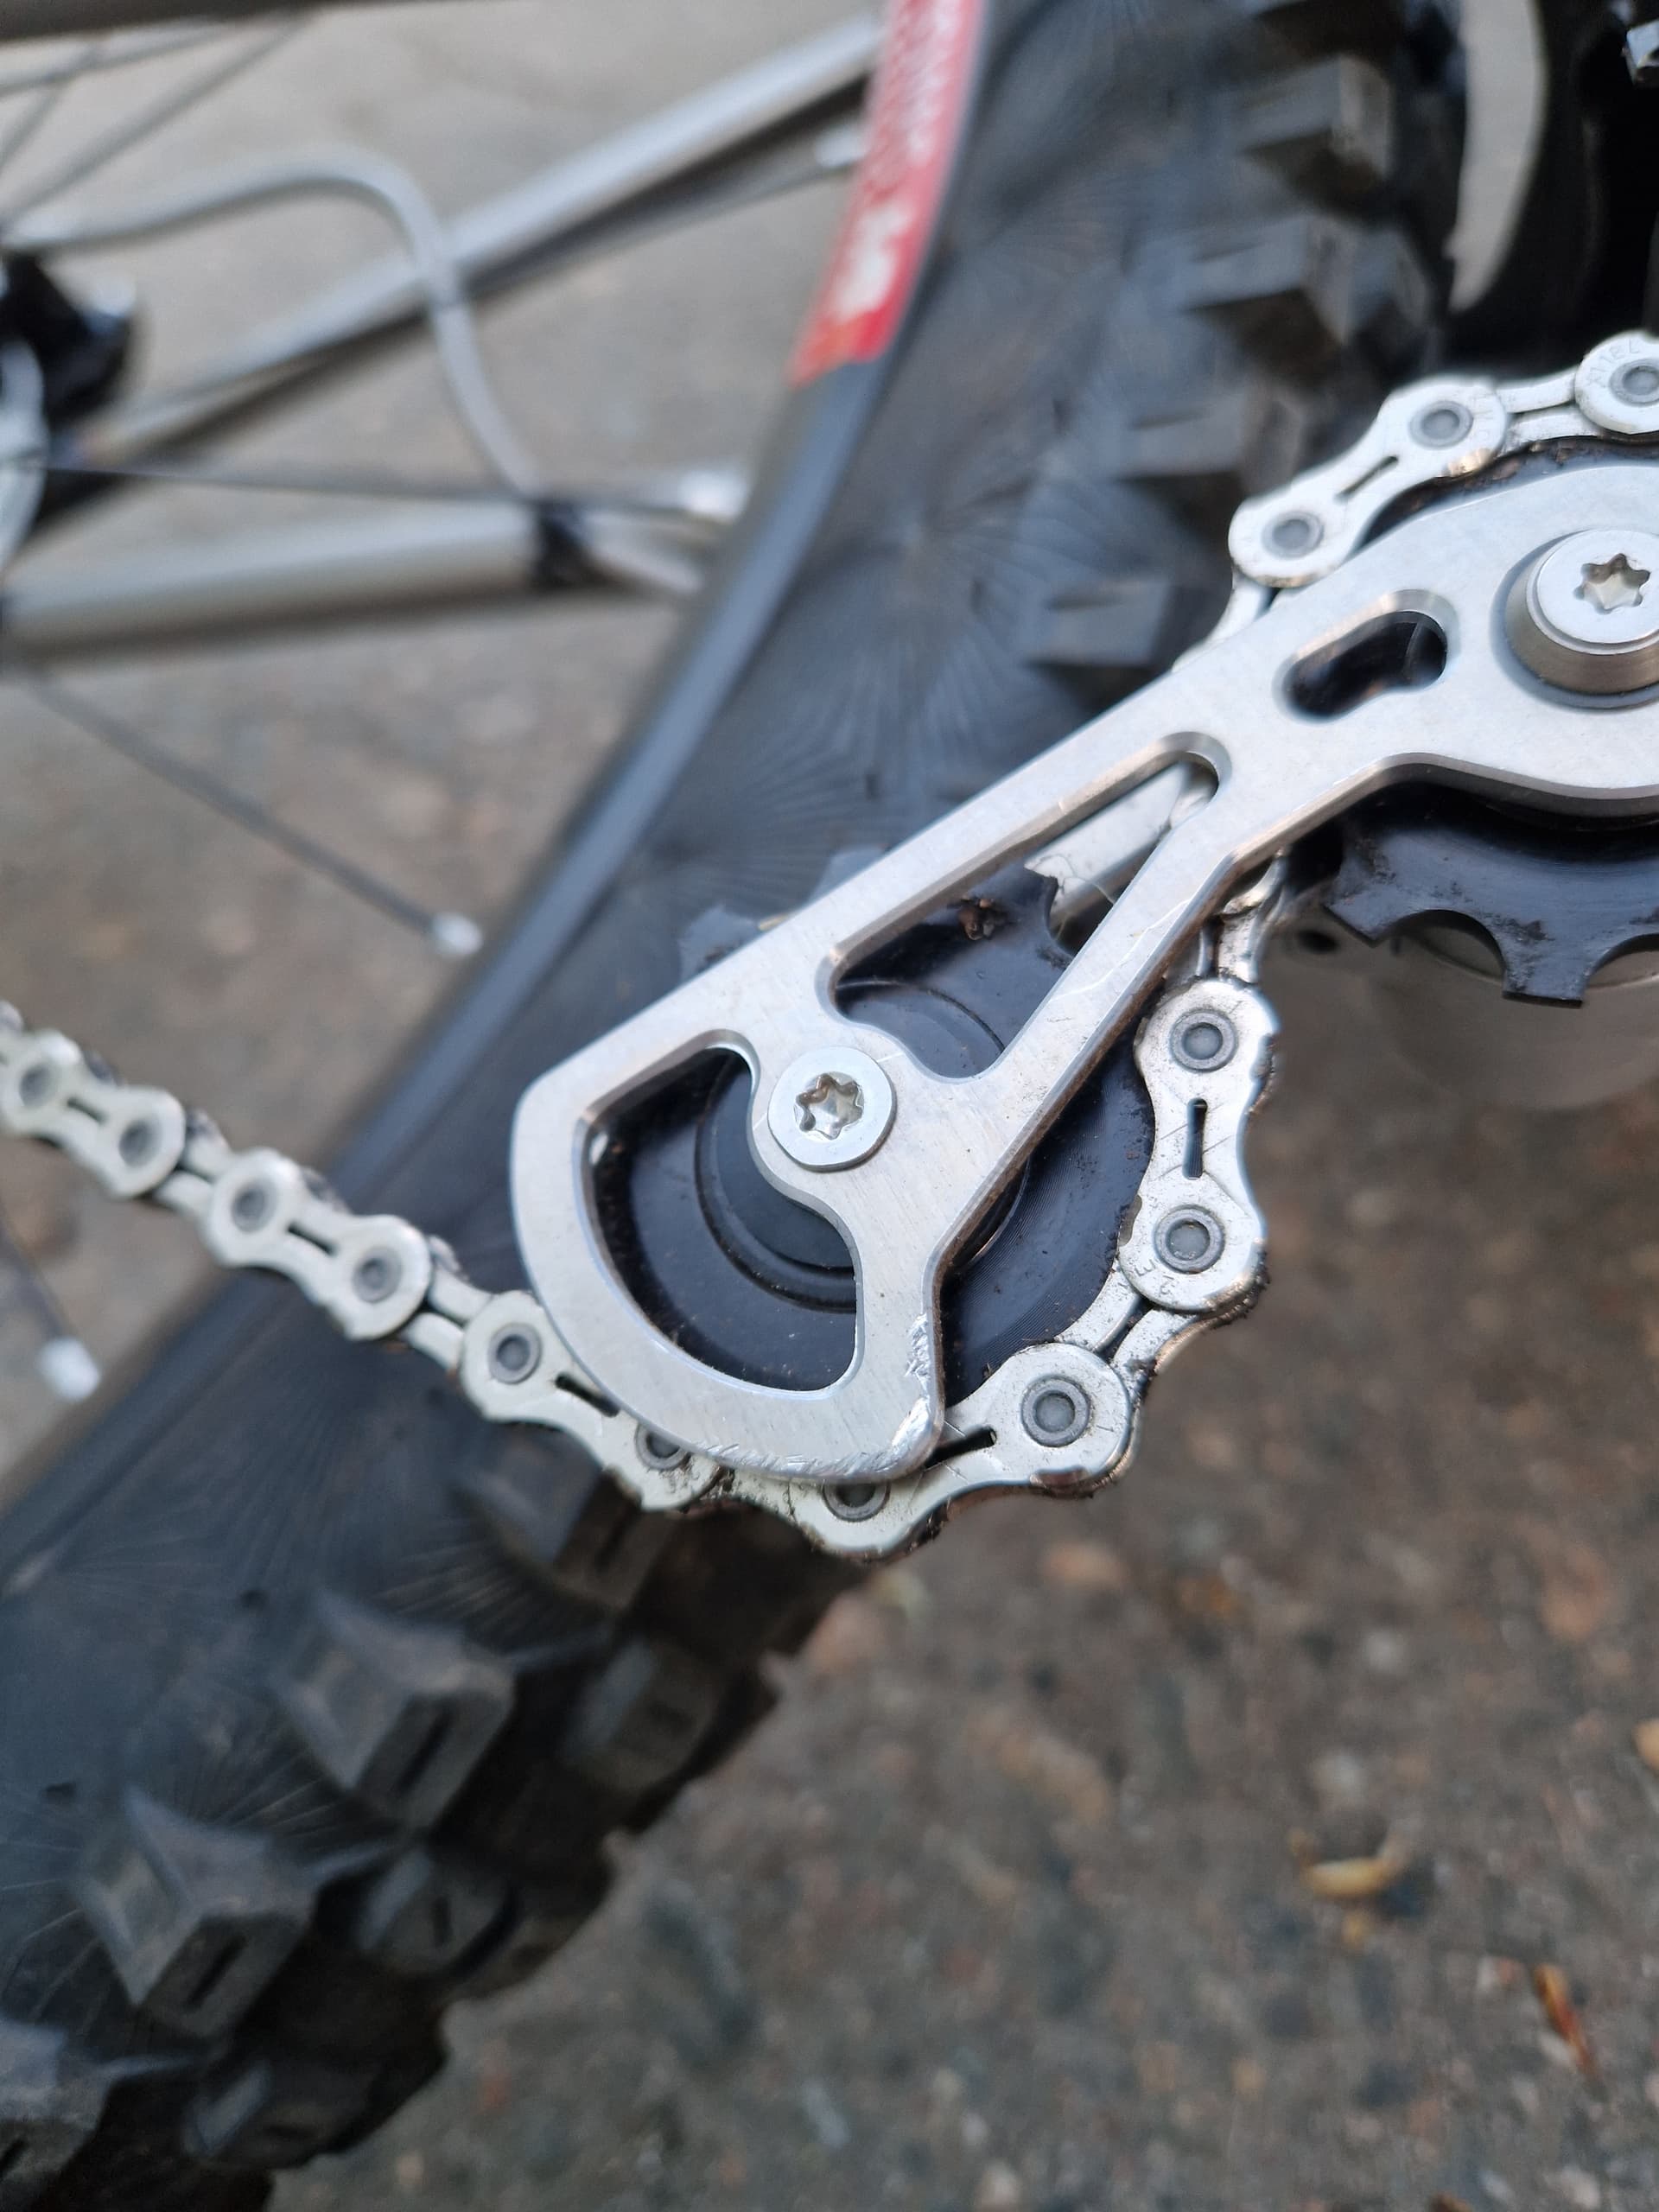
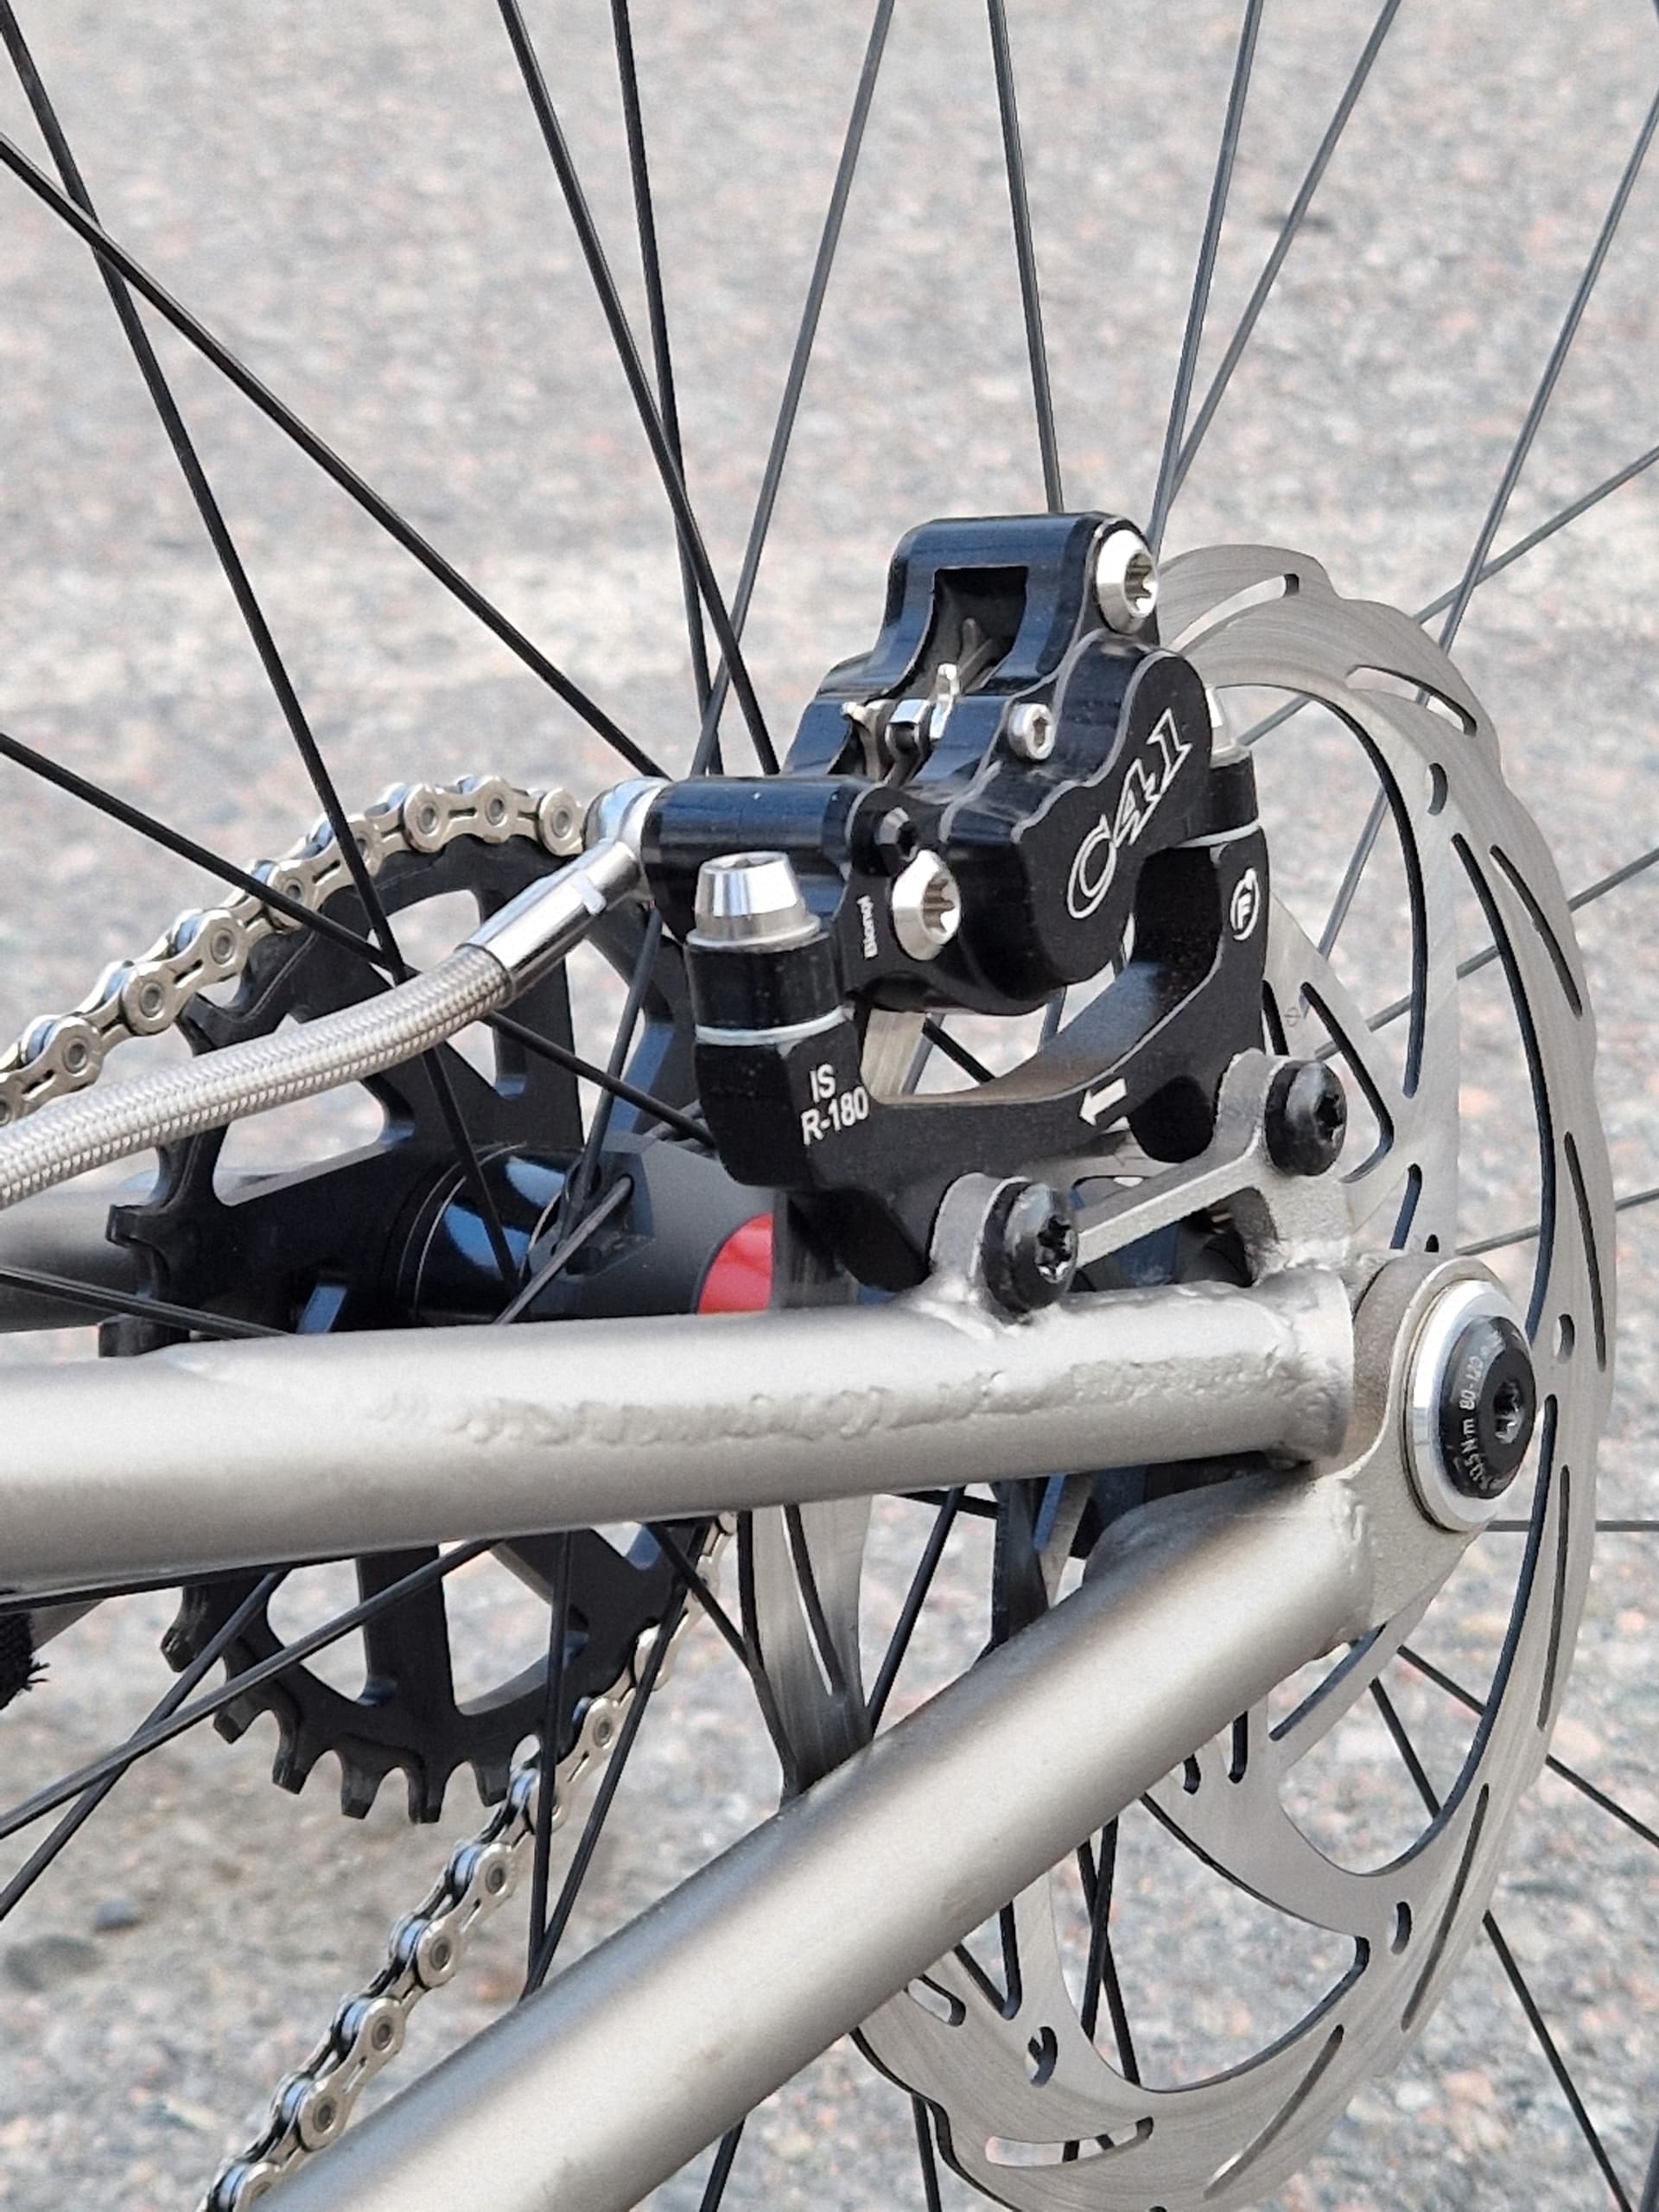
And yes, the Effigear chain tensioner is a “low-hanging fruit”.
Did I mention 3d-printing?
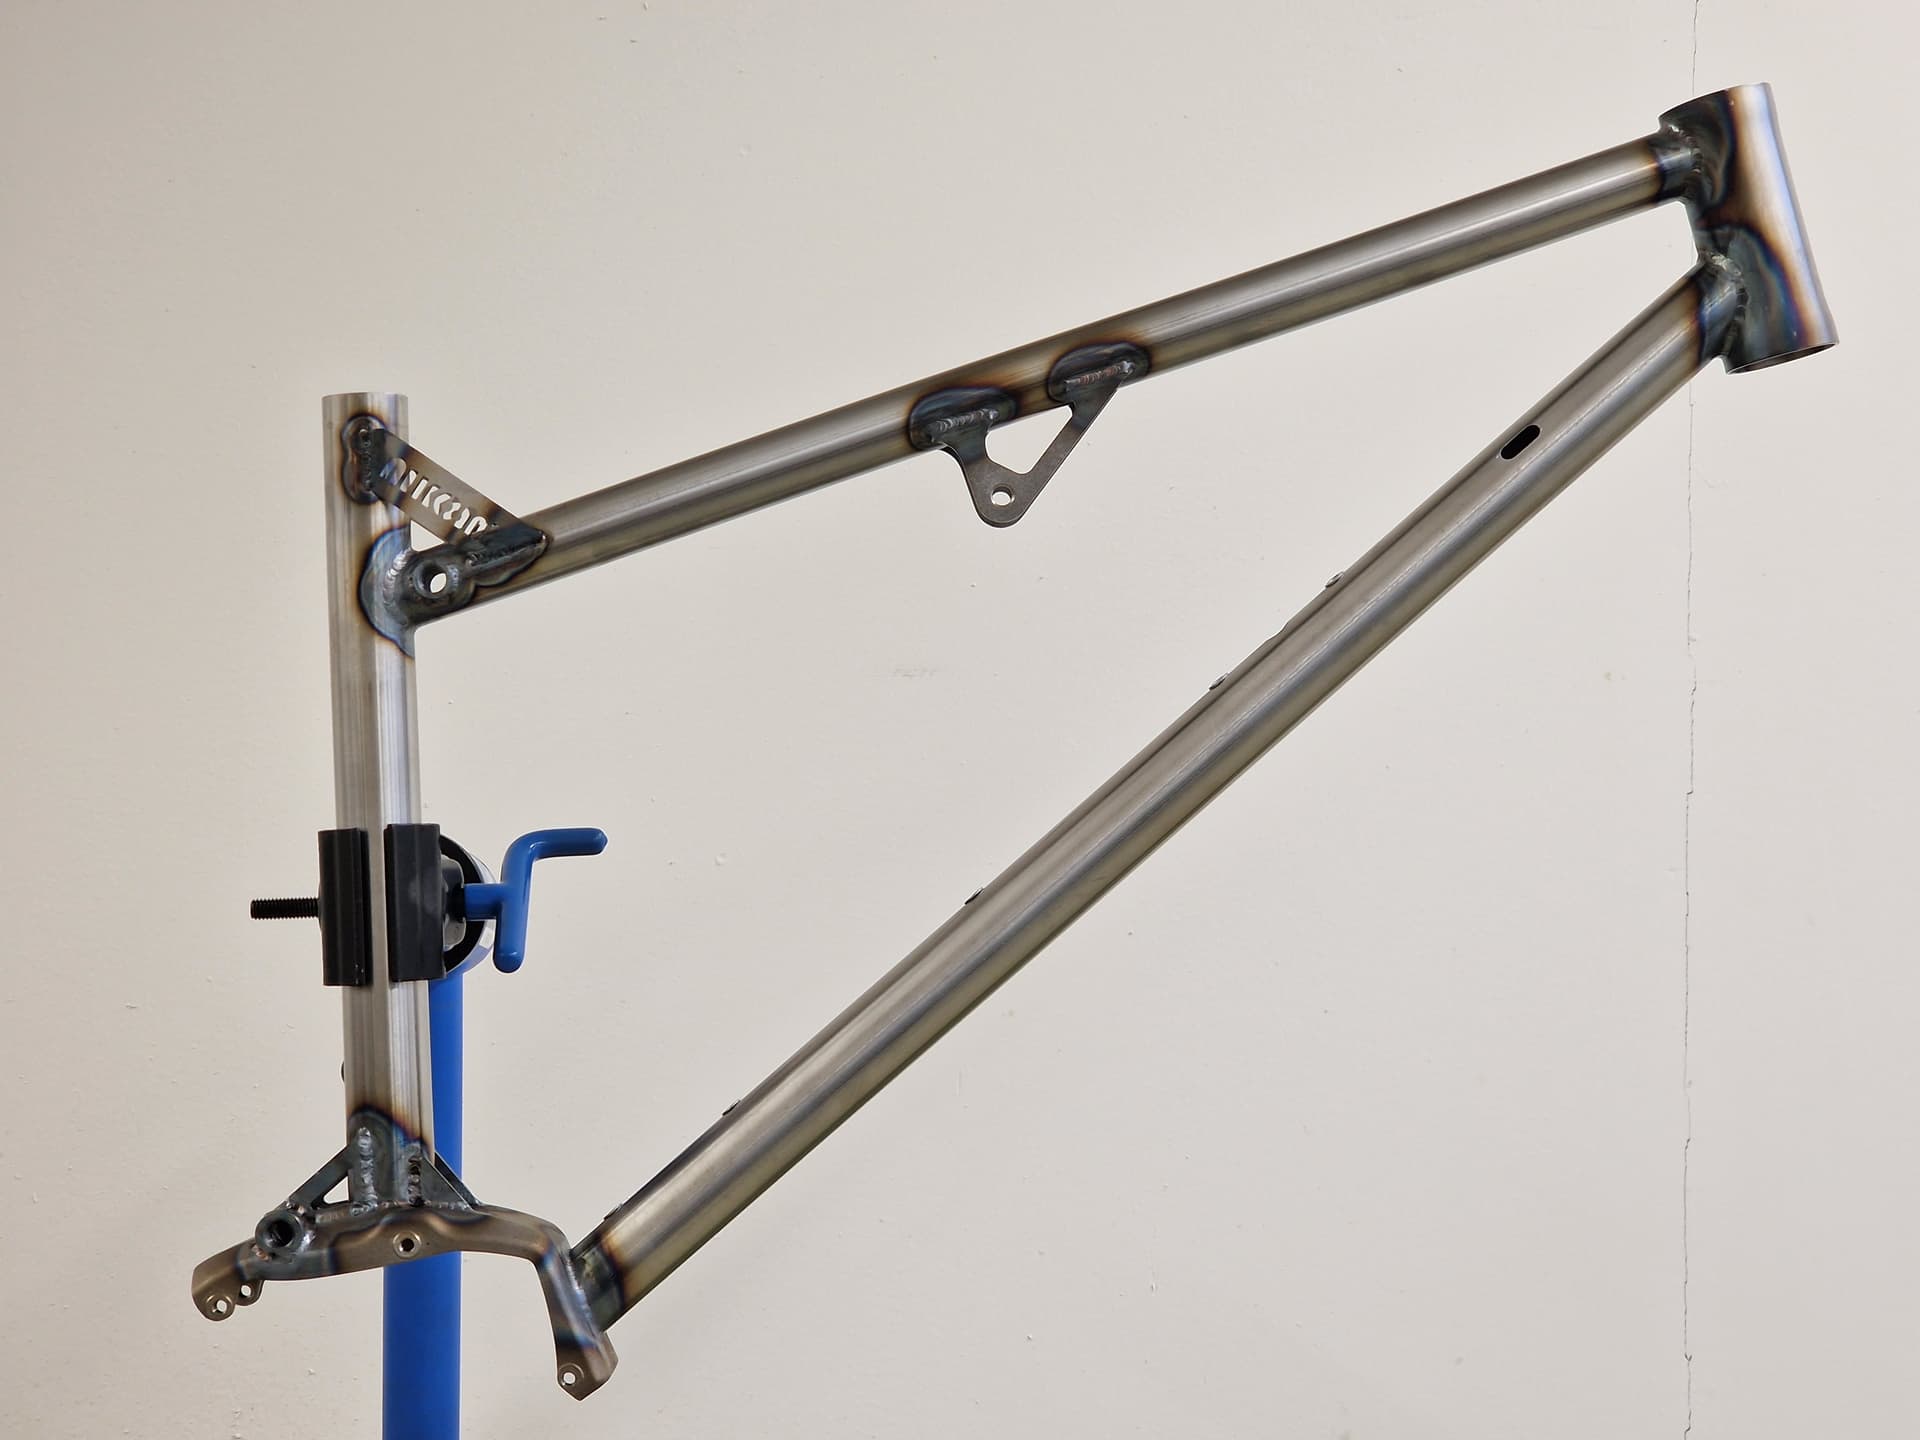
After the first rides, I added some sheet here and there.
For a “normal” trail bike it probably doesn’t matter that much, but when trying to ride through rock gardens, I felt that the front end twists from side hits, and I had to steer in order to gain back the balance. That of course is not that nice feeling, so I added this gusset. I guess it helps in some extent.
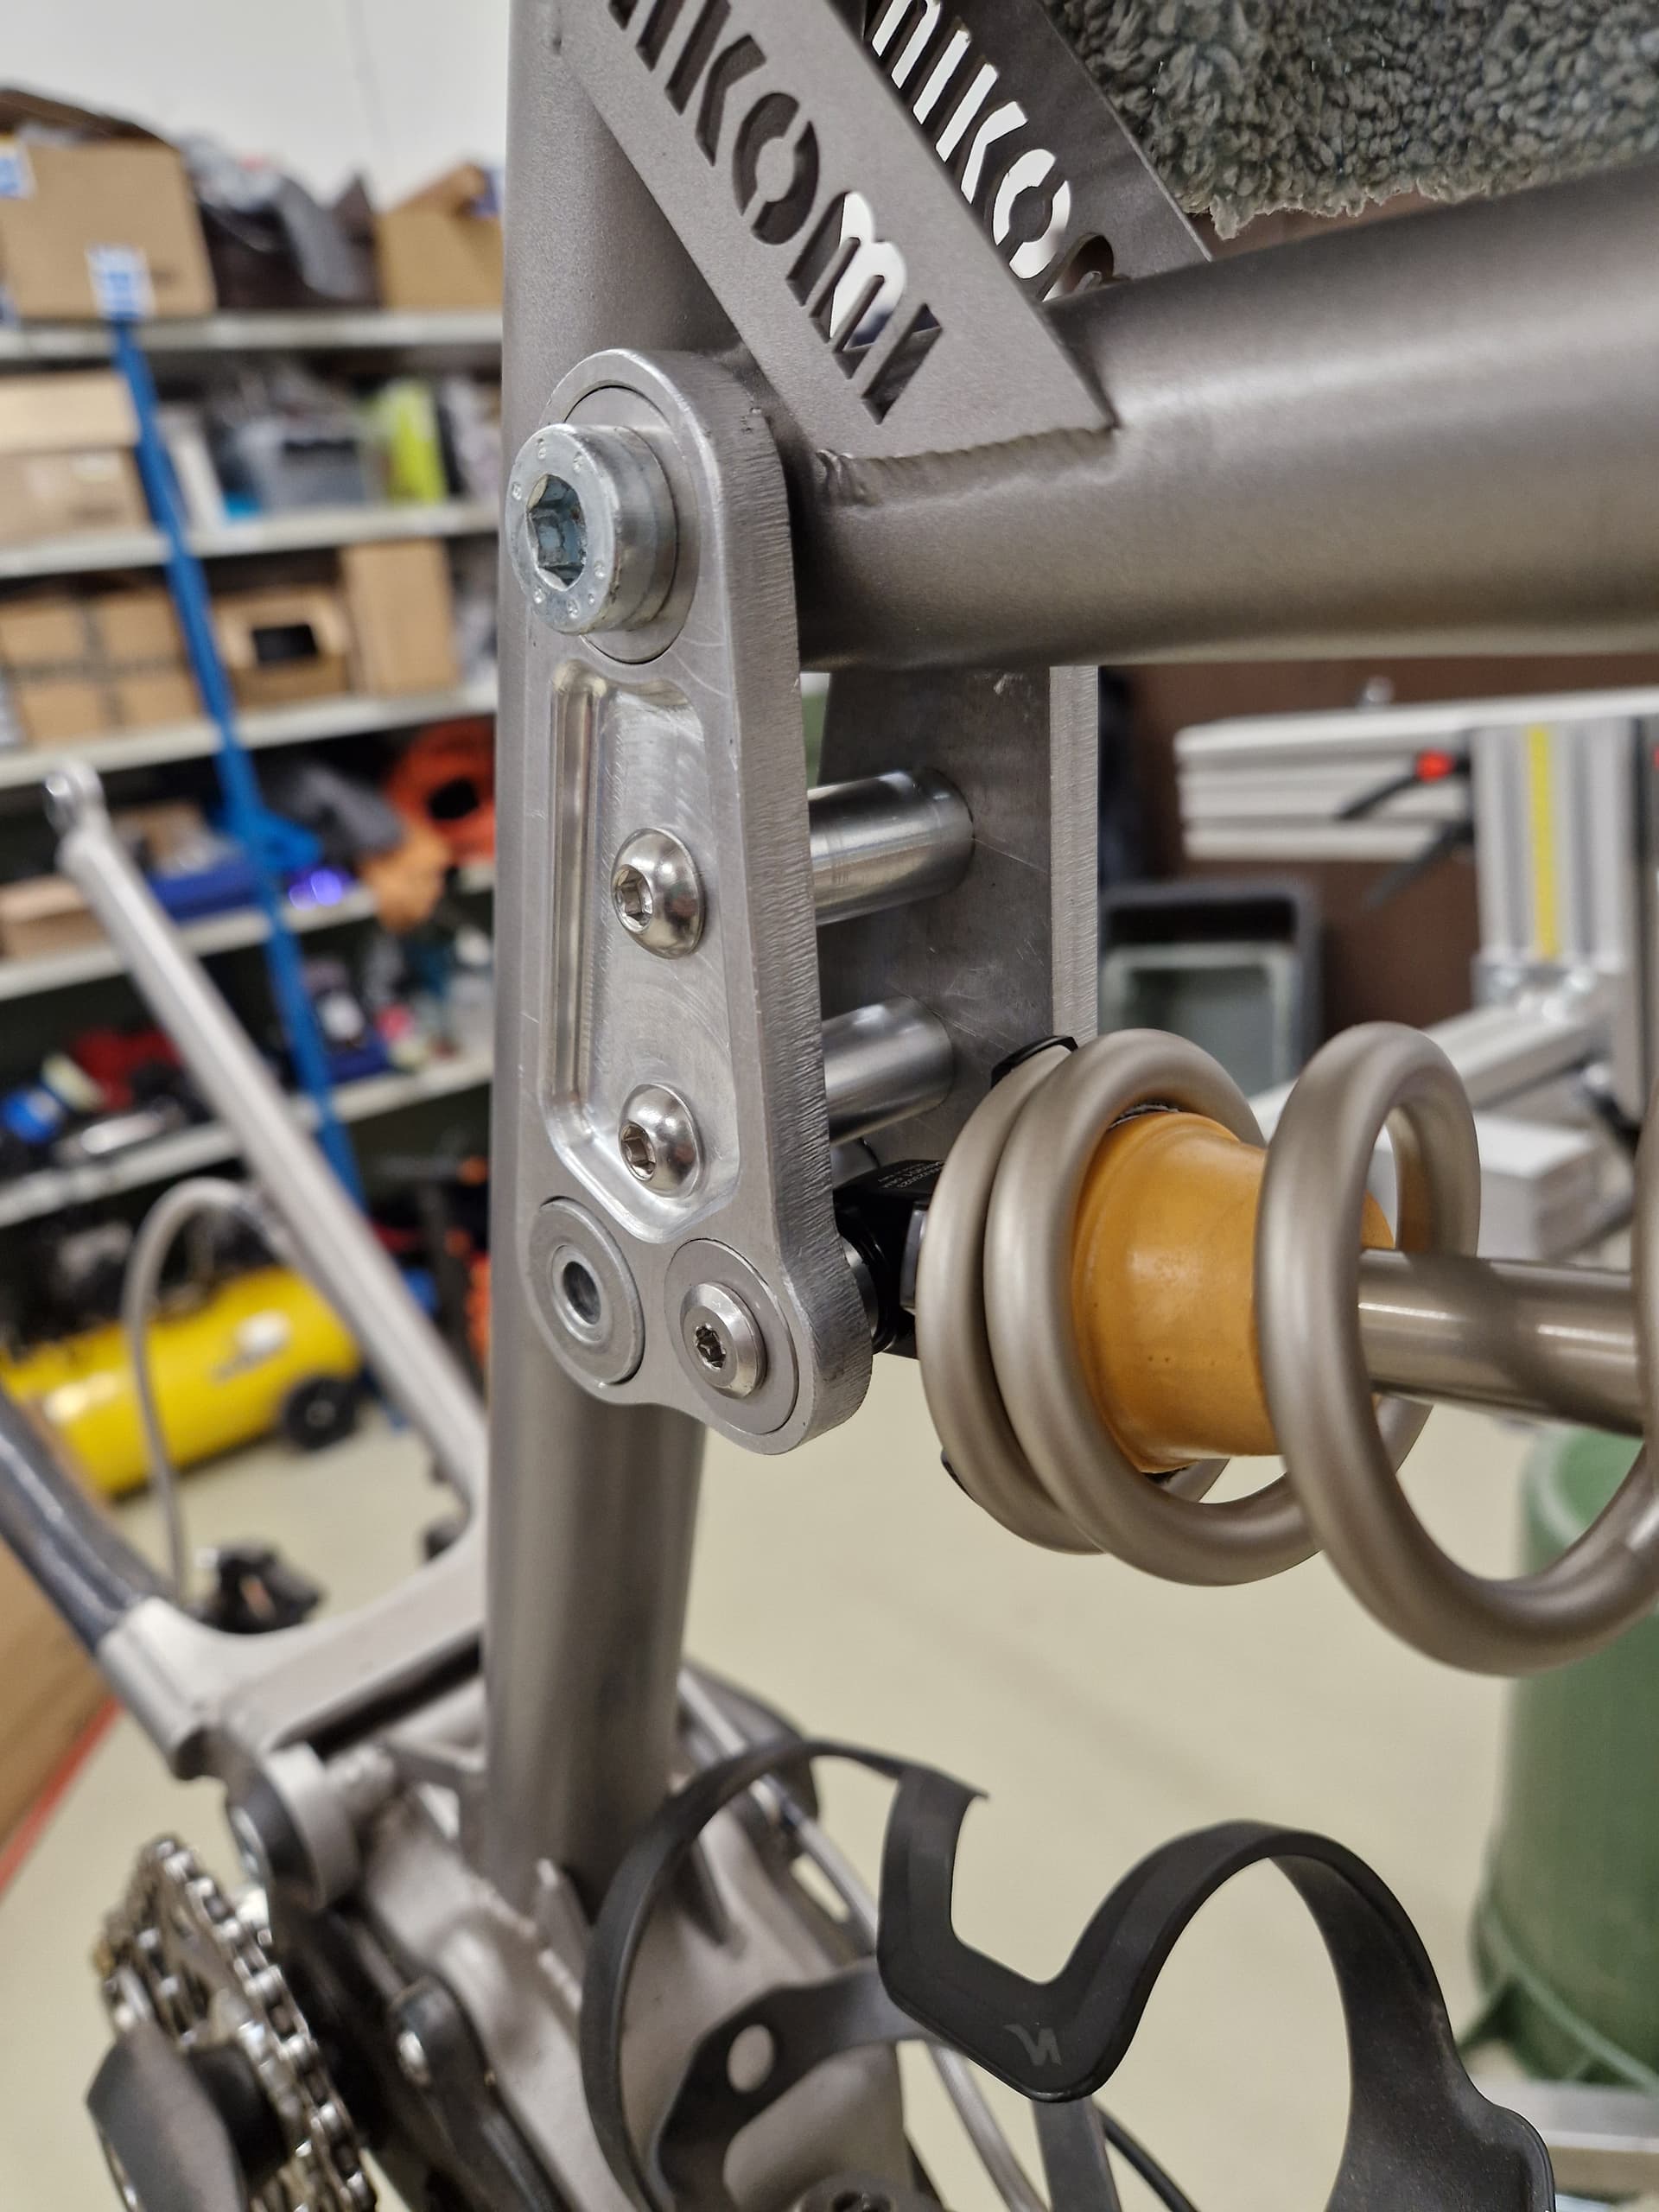
I also added another spacer to the shock link to increase stiffness. I what I’m trying to say is that you cannot make an enduro bike laterally too stiff, especially when the main tube diameters are lacking 
One could ask why I didn’t use FEA to design the lateral stiffness. Well, first of all, it is quite impossible to determine what are the lateral / twisting forces to start with. Secondly, how to fix the frame in 3D in this situation. While I did some studies, the results are quite useless. Thirdly, as you might suspect there was a lot of work already. So, some research was left to real-world testing…
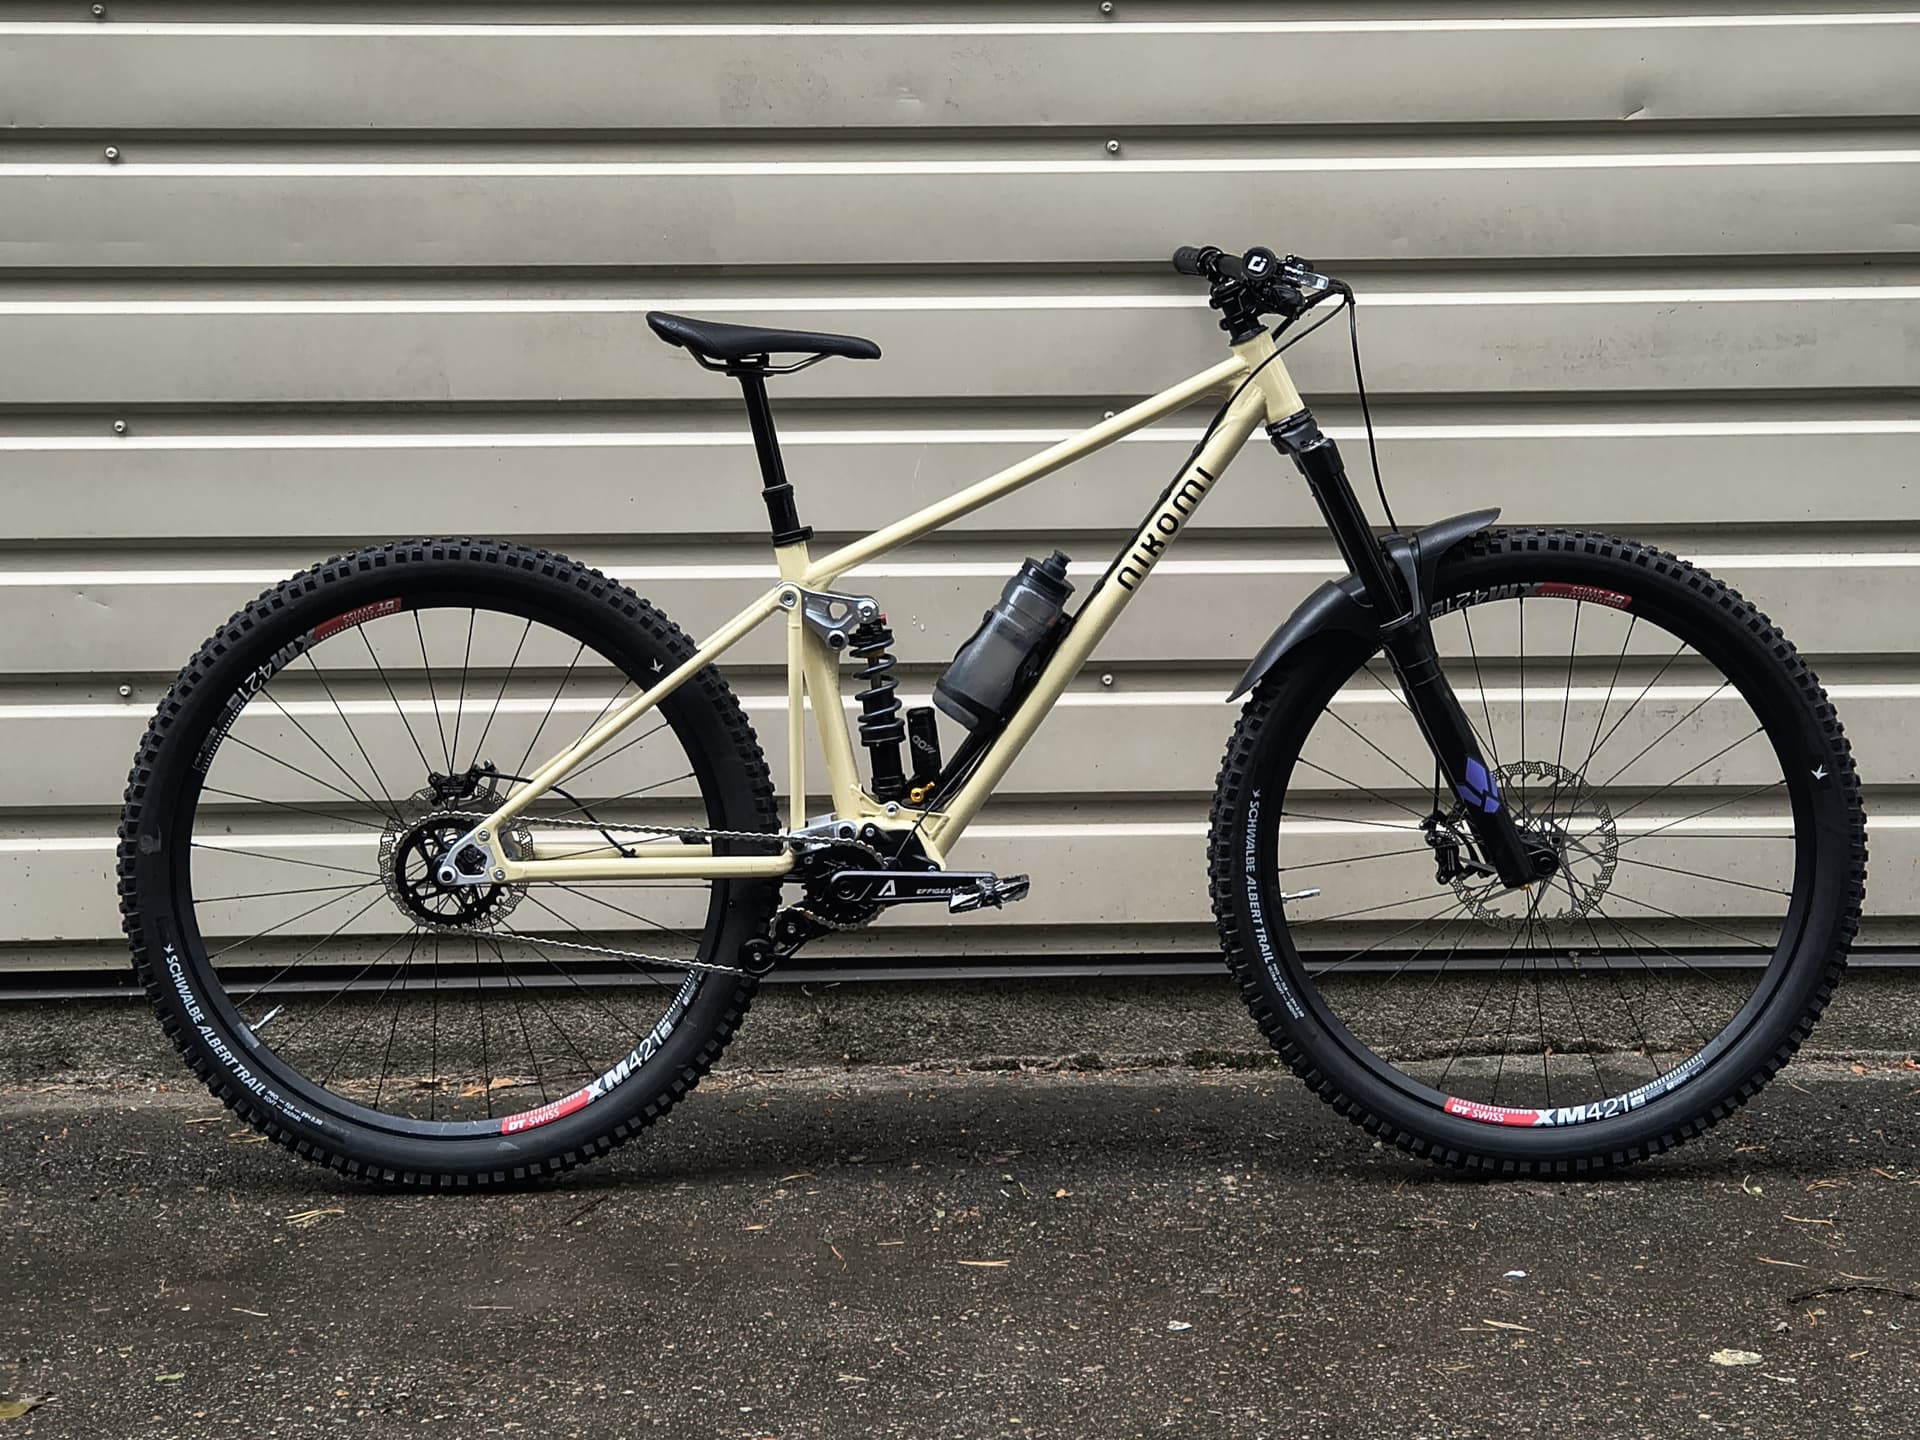
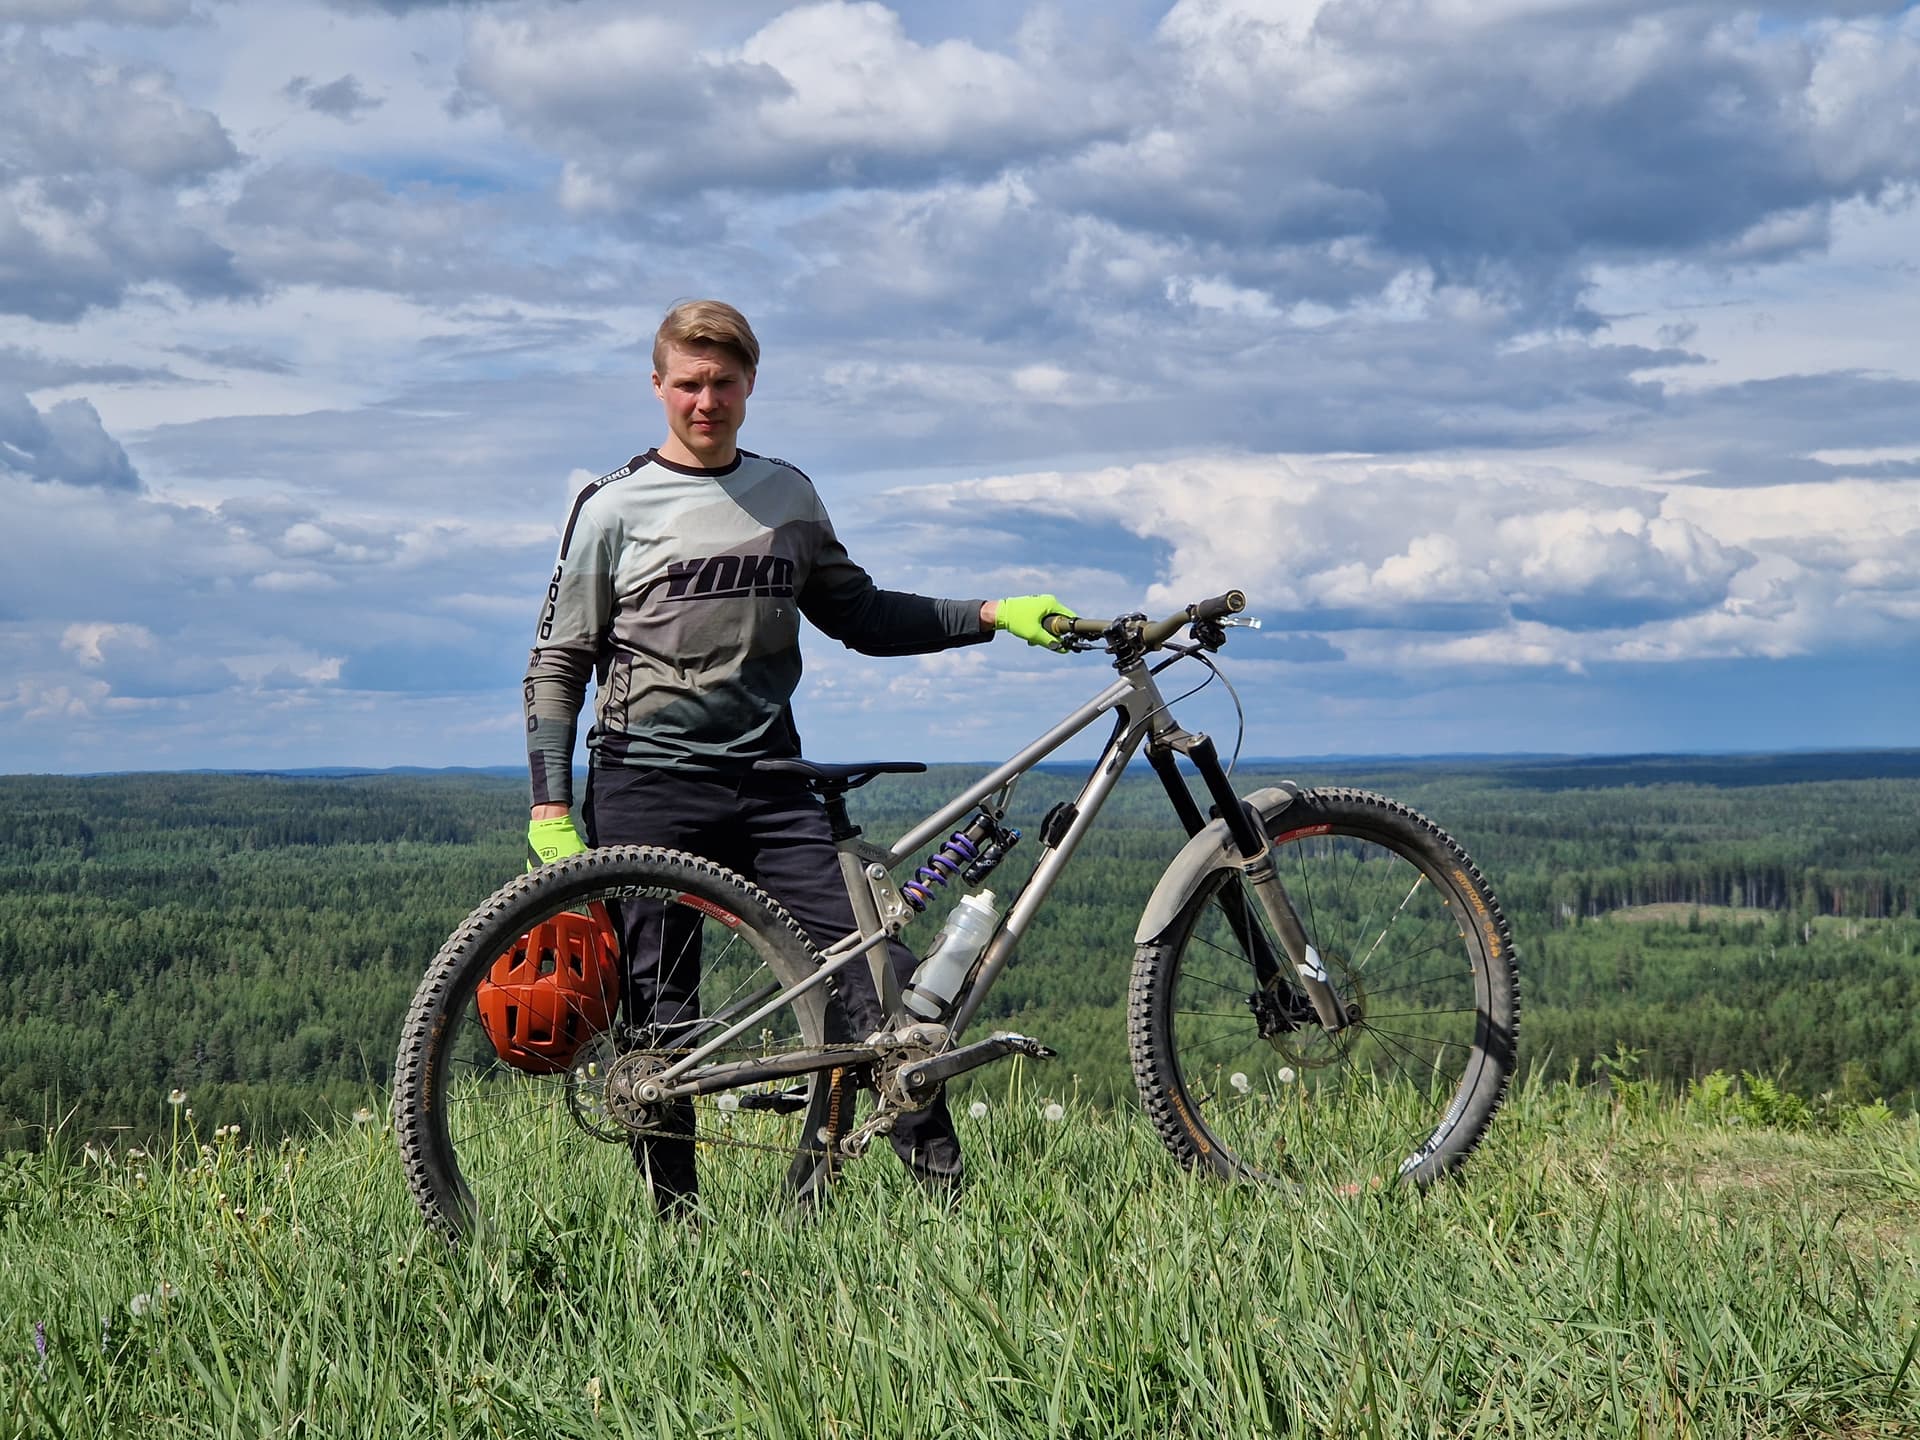
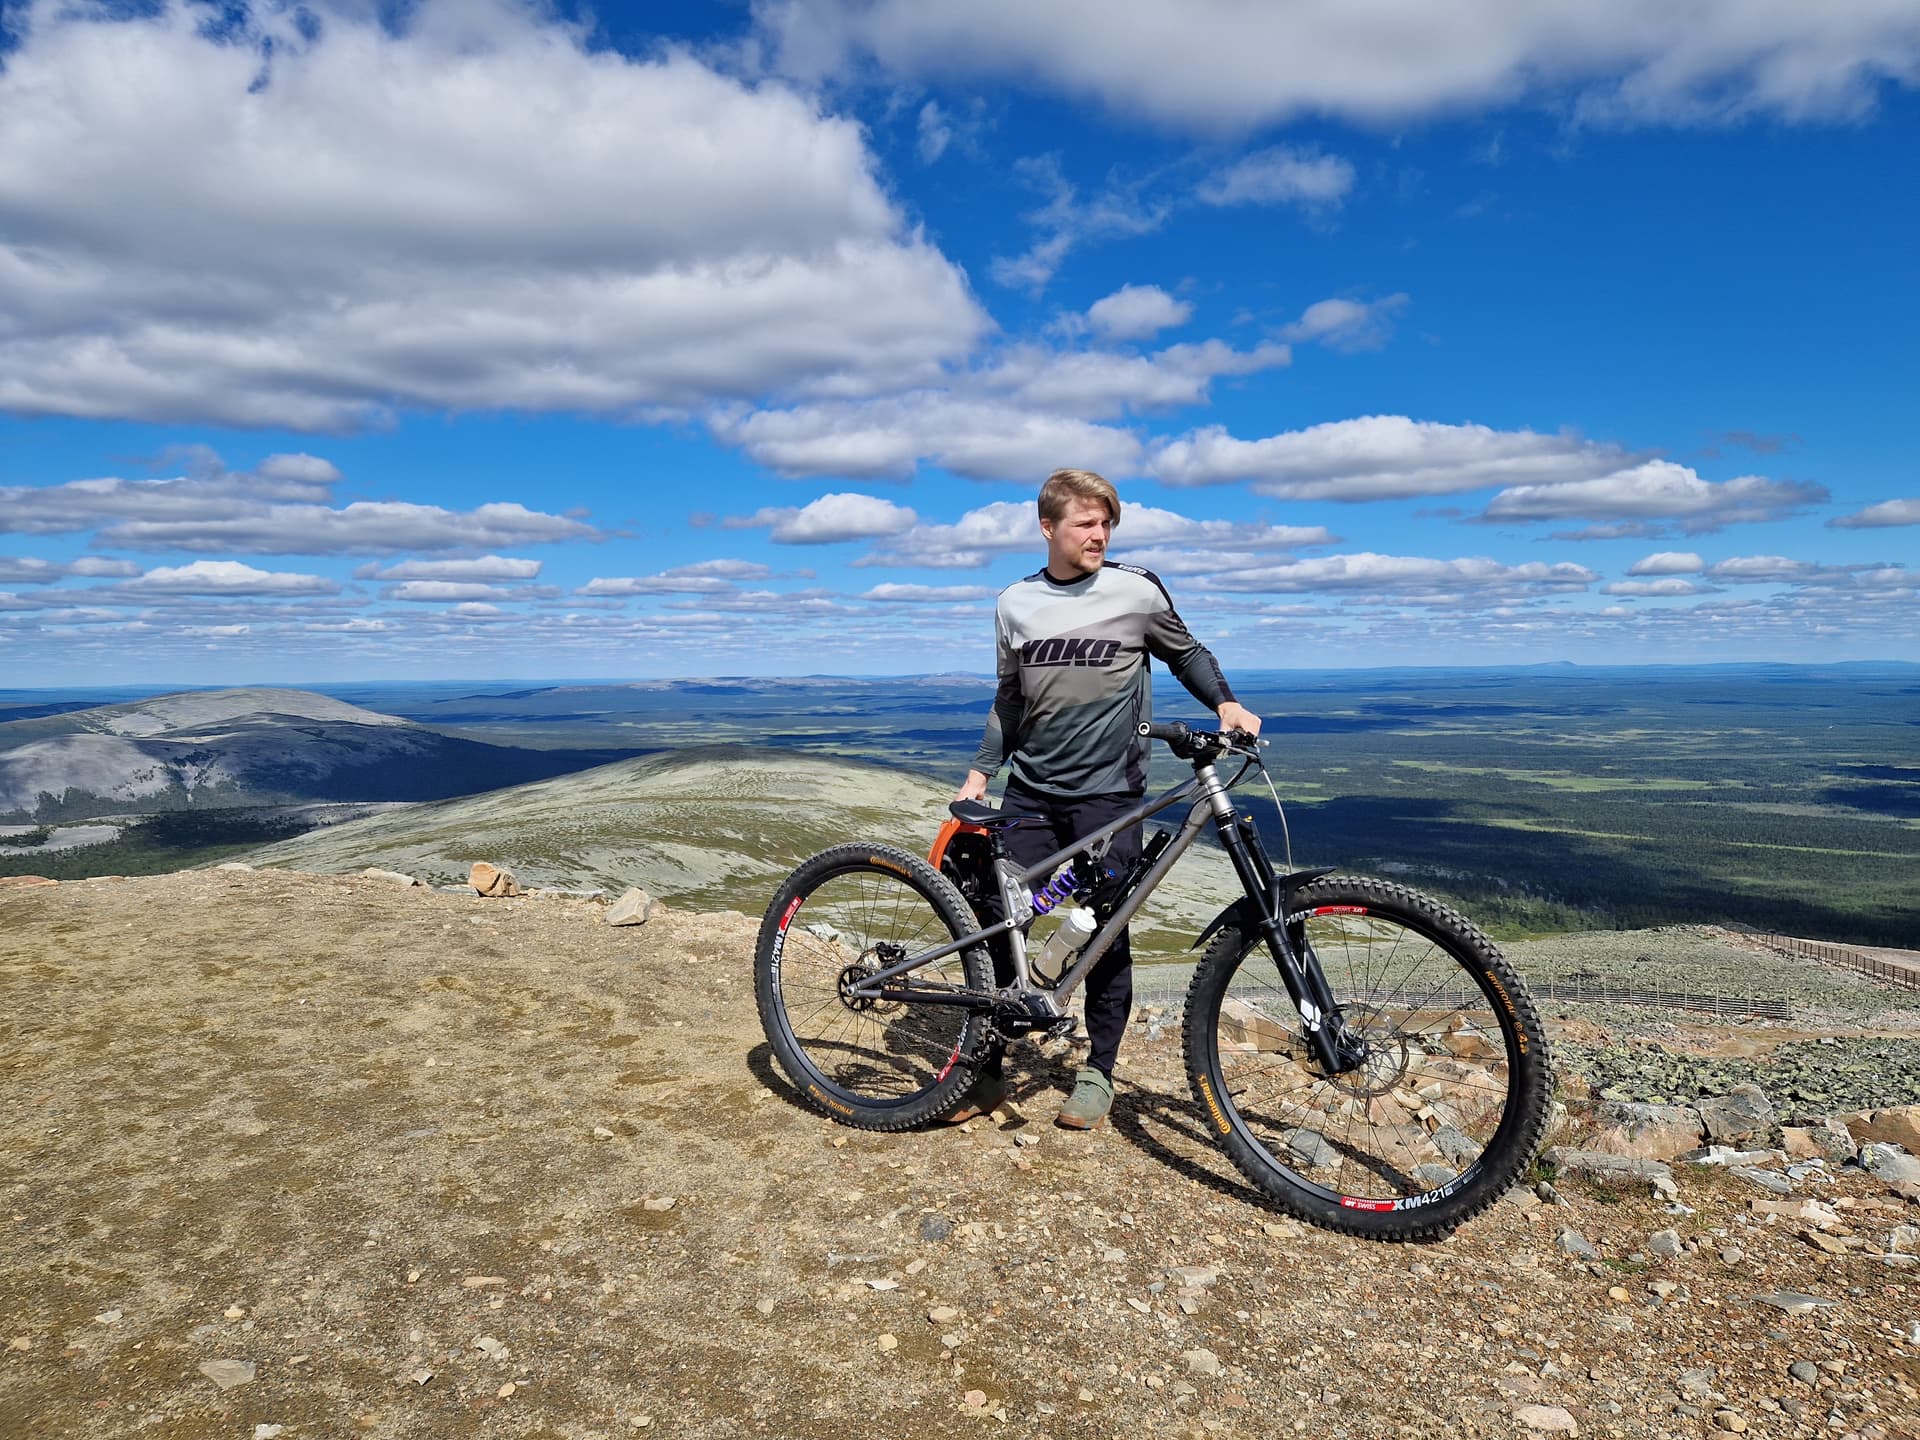
So roughly 2 years later, in June 2024, the bike was good enough for bike park 
To be continued…