I was going thru garage sales and used stores in Berkley when I found a couple of Trek bike frames for sale and I snatched them both, the first was built with some spare parts I had in the garage and found a new home but the other hang in my garage and was completely forgotten until recently.
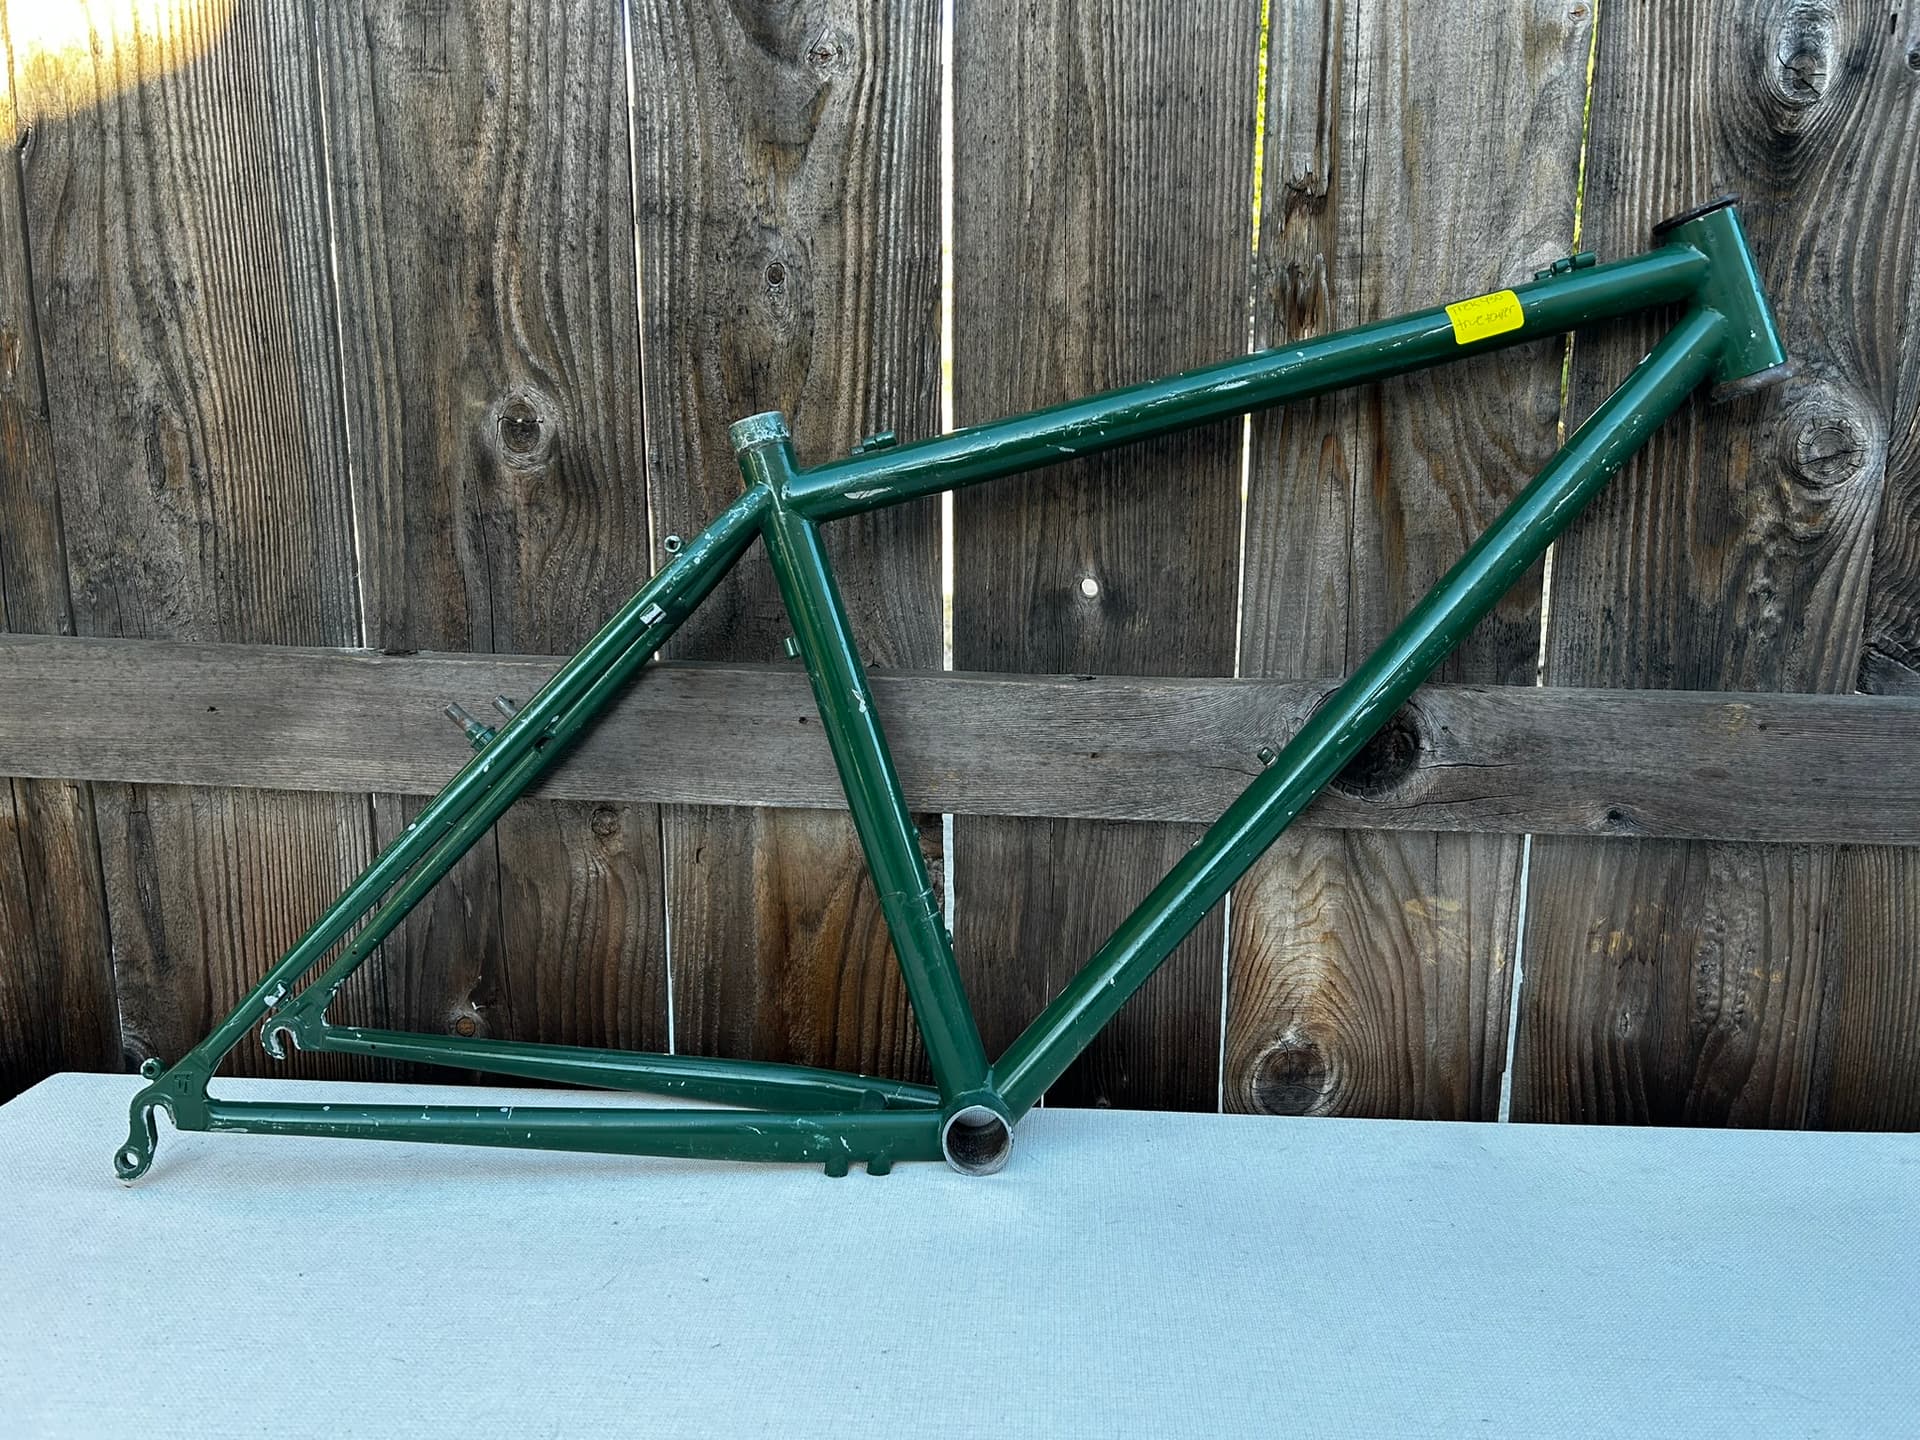
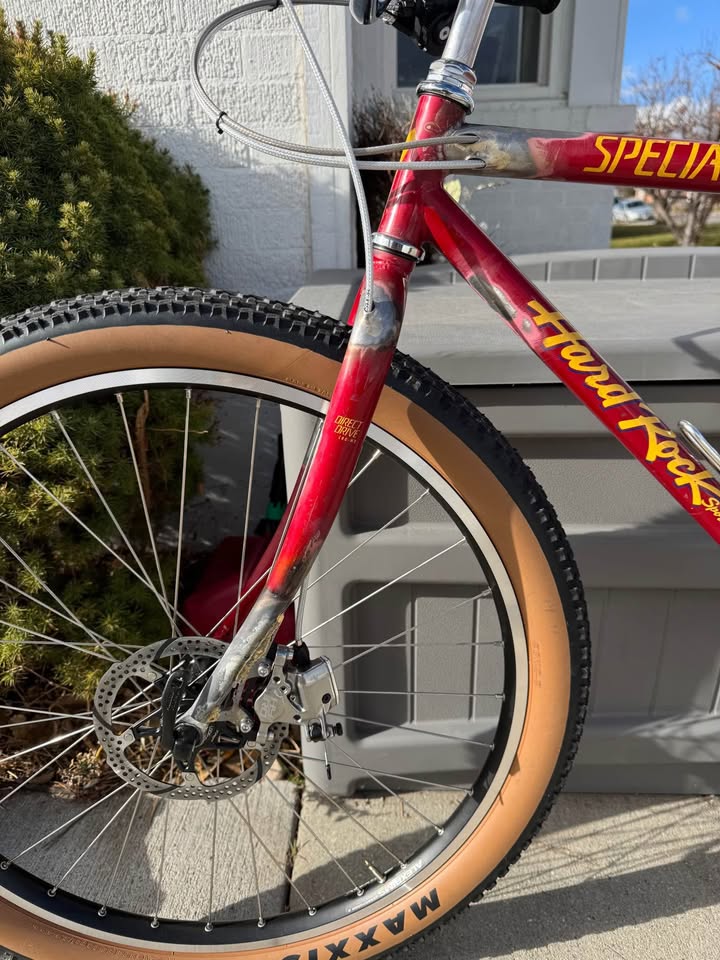
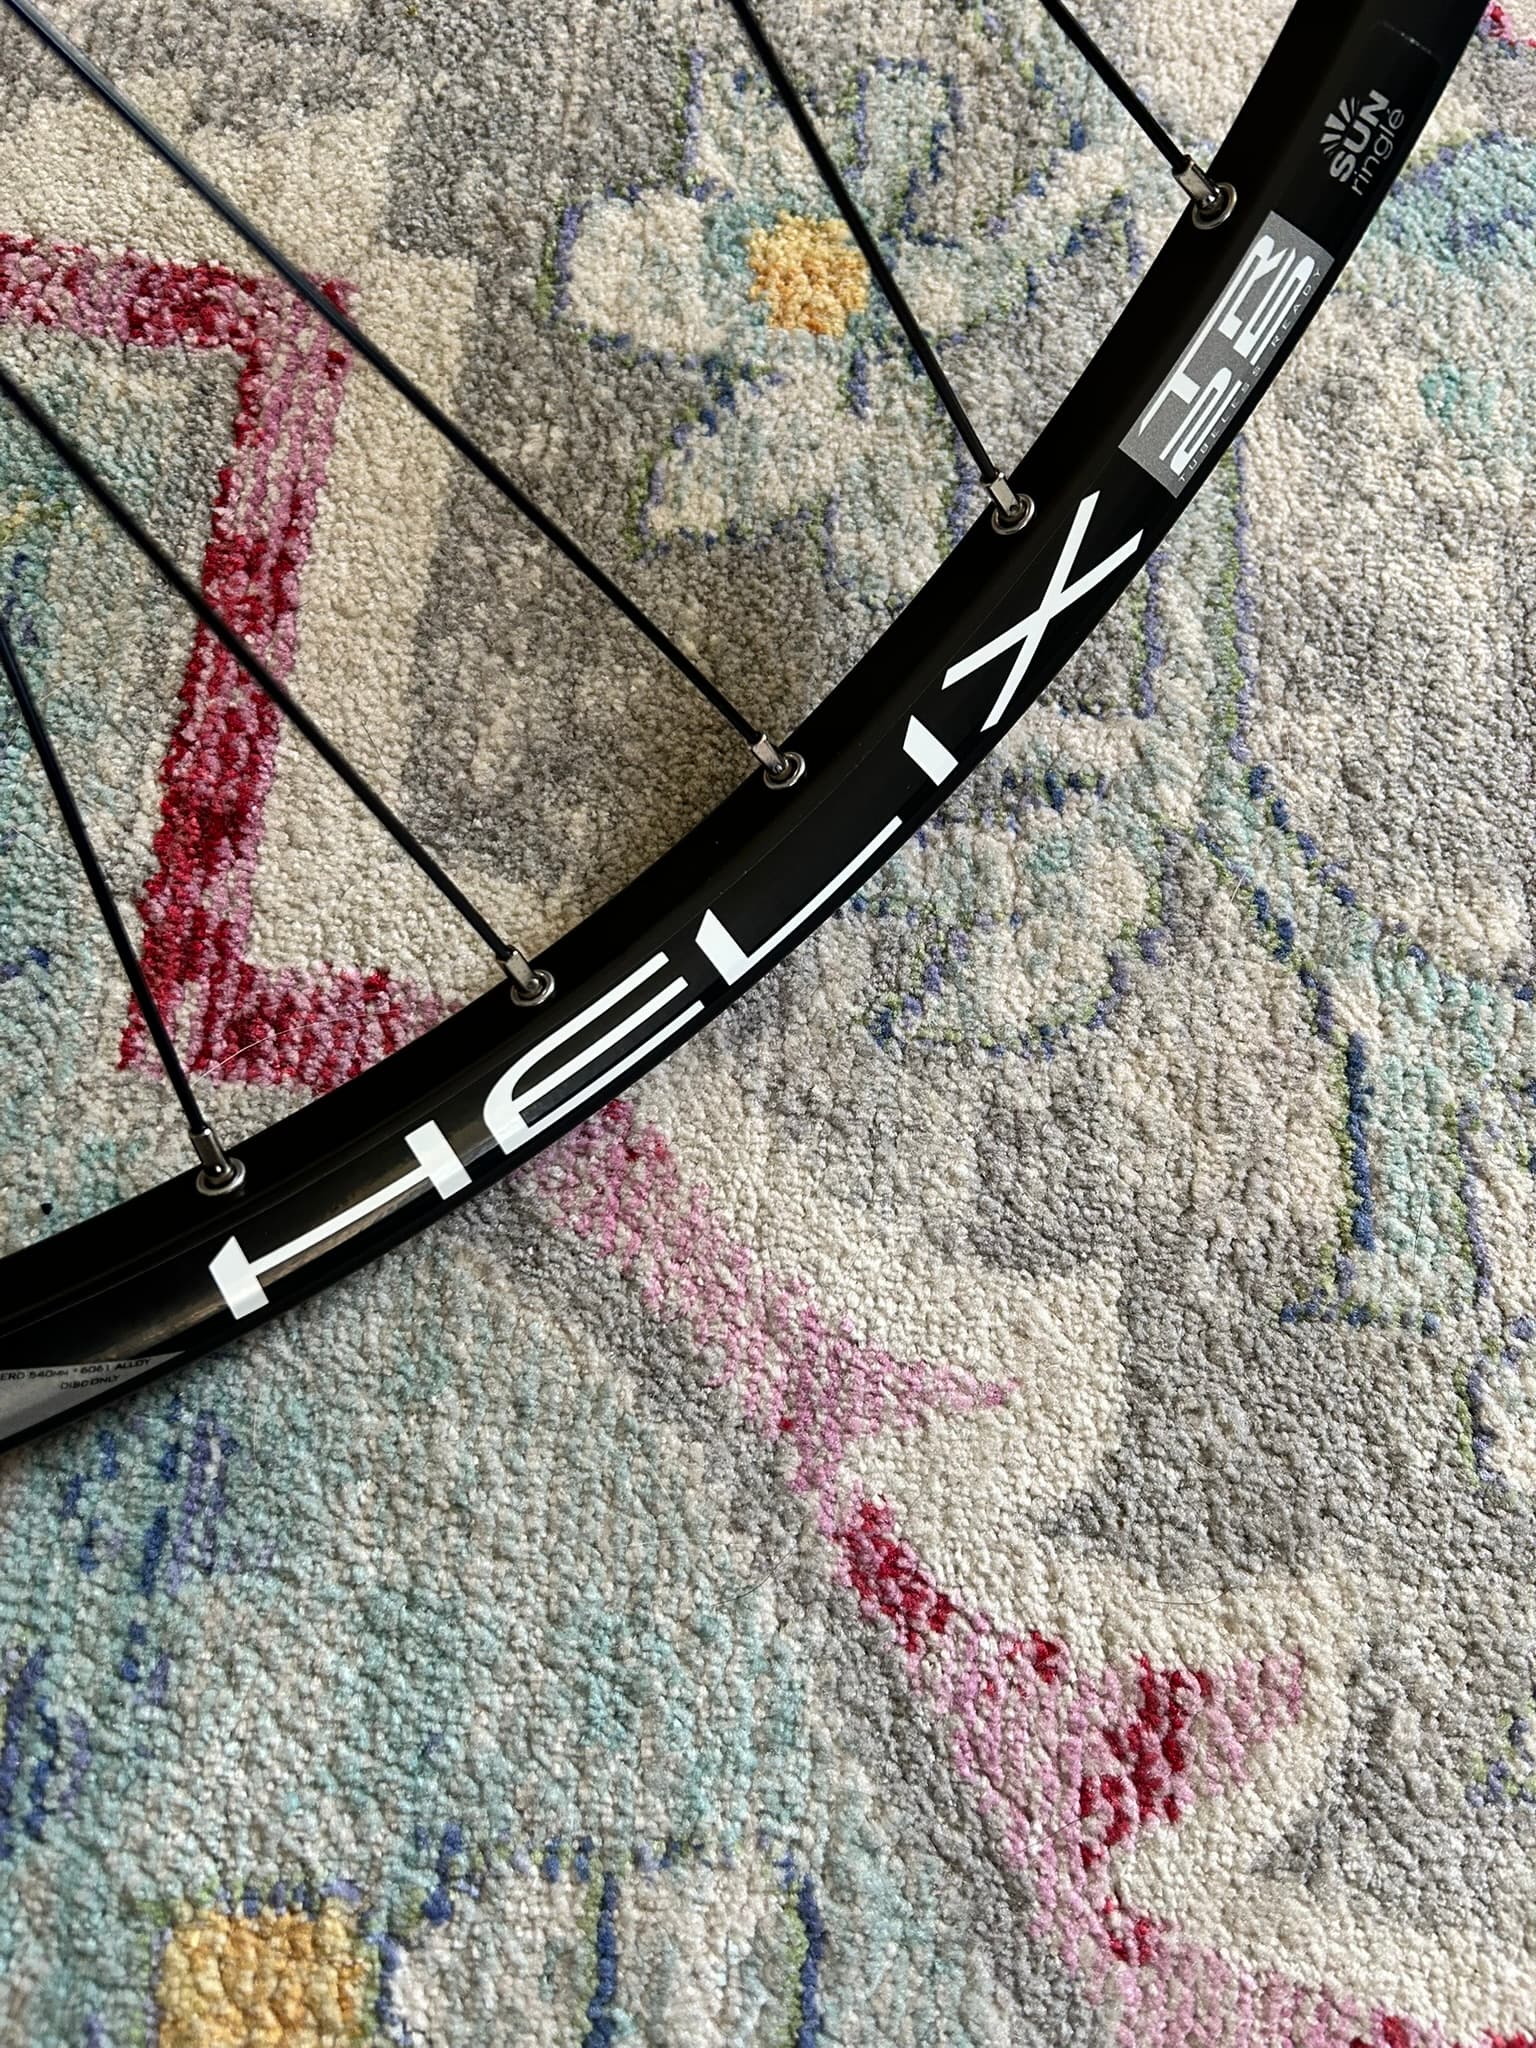
Paint is completely shot, the sticker says: Trek 930 Singletrack
Turns out it’s not a 930 but a 970 in 16.5in size, a good size for my wife so here it began.
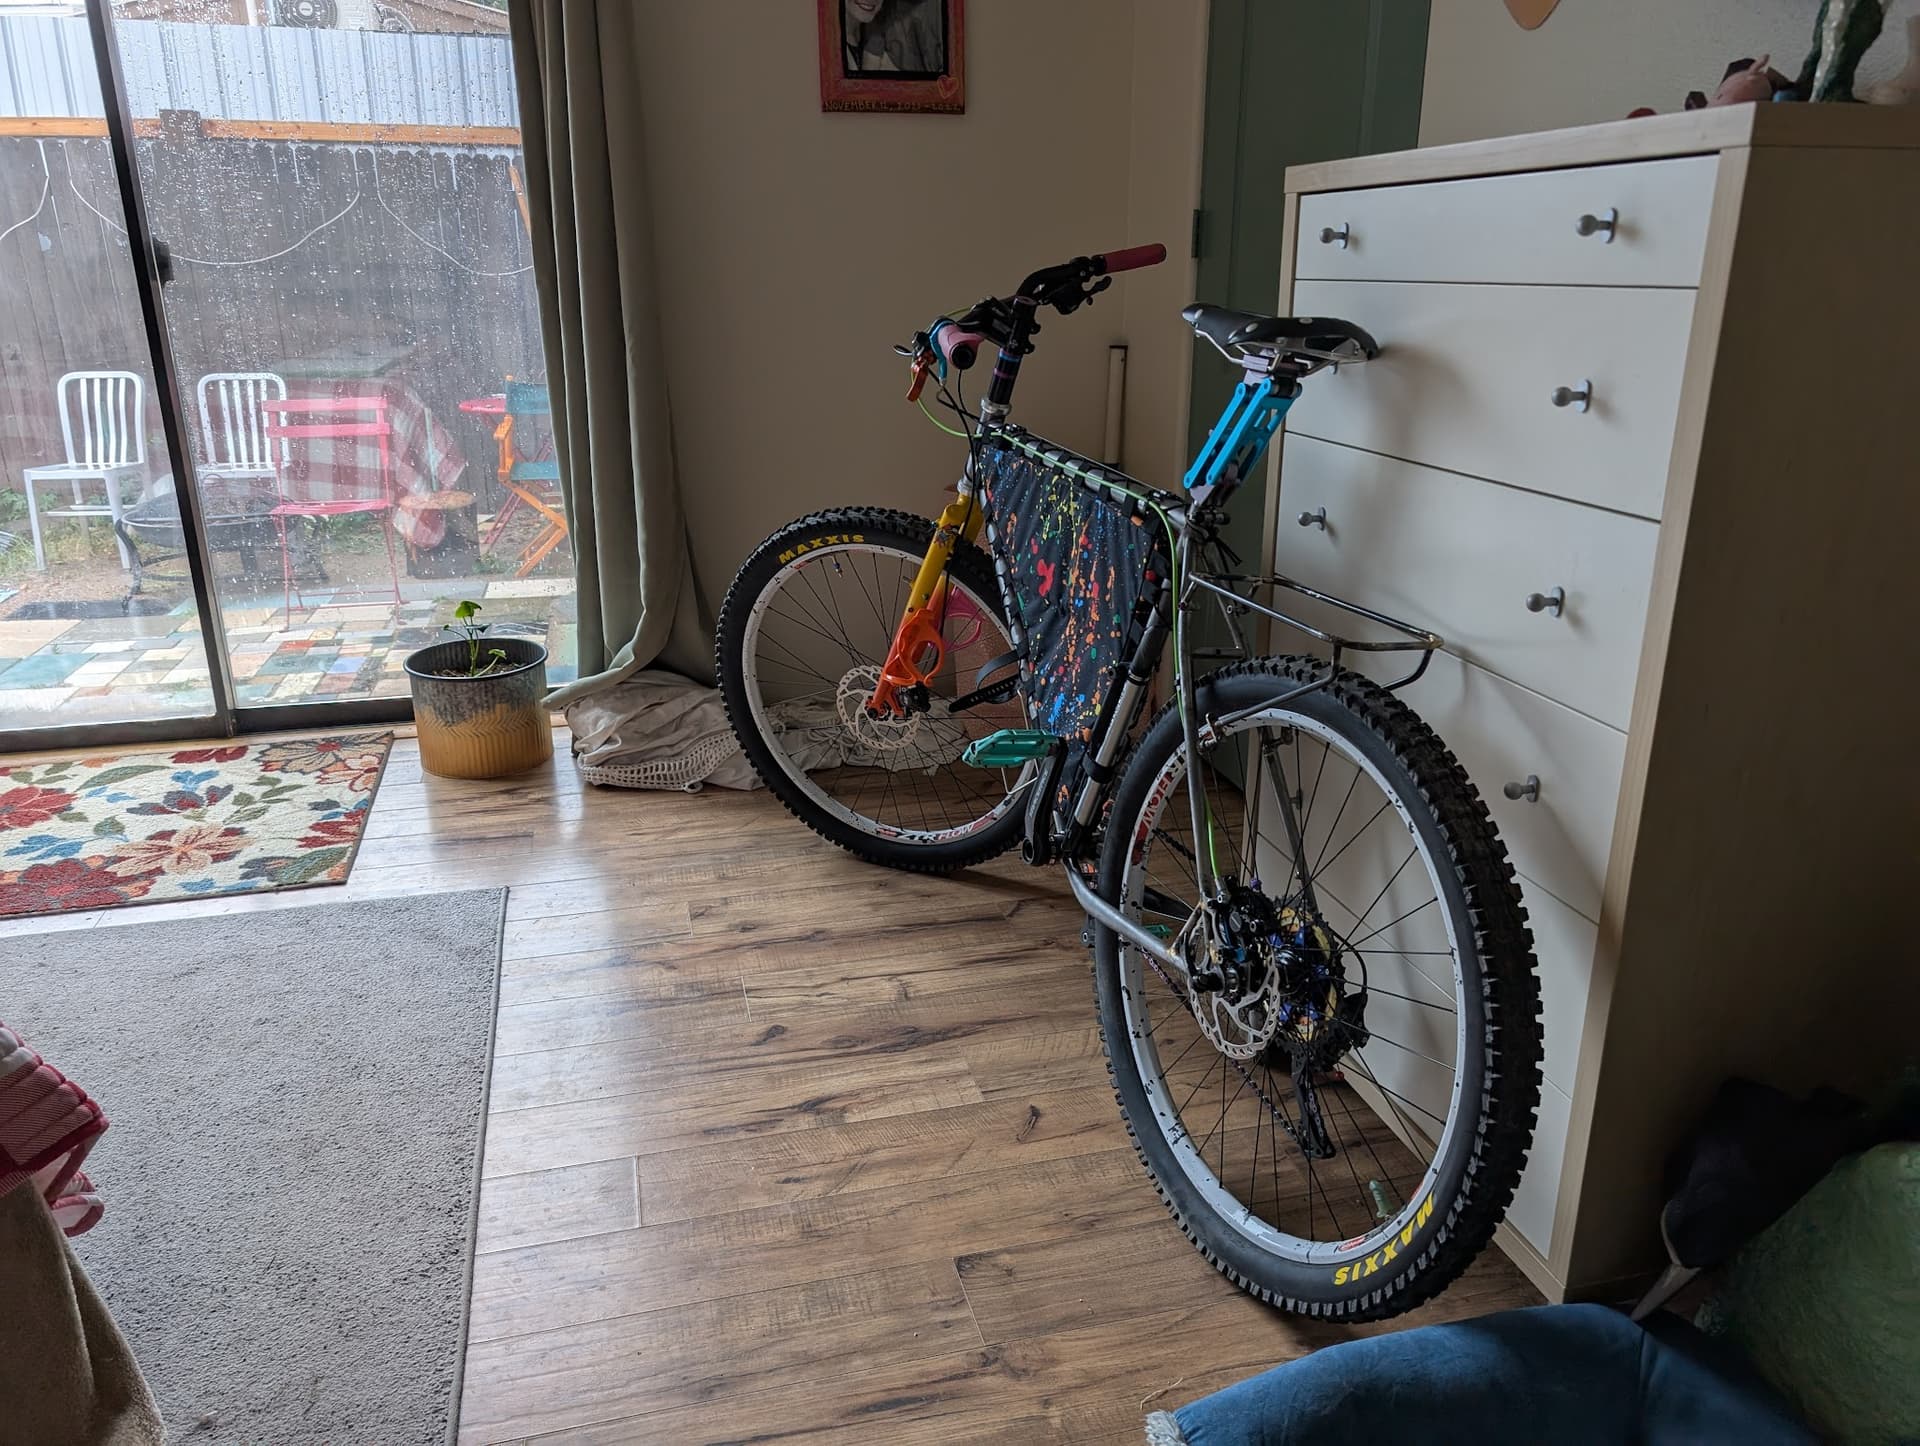
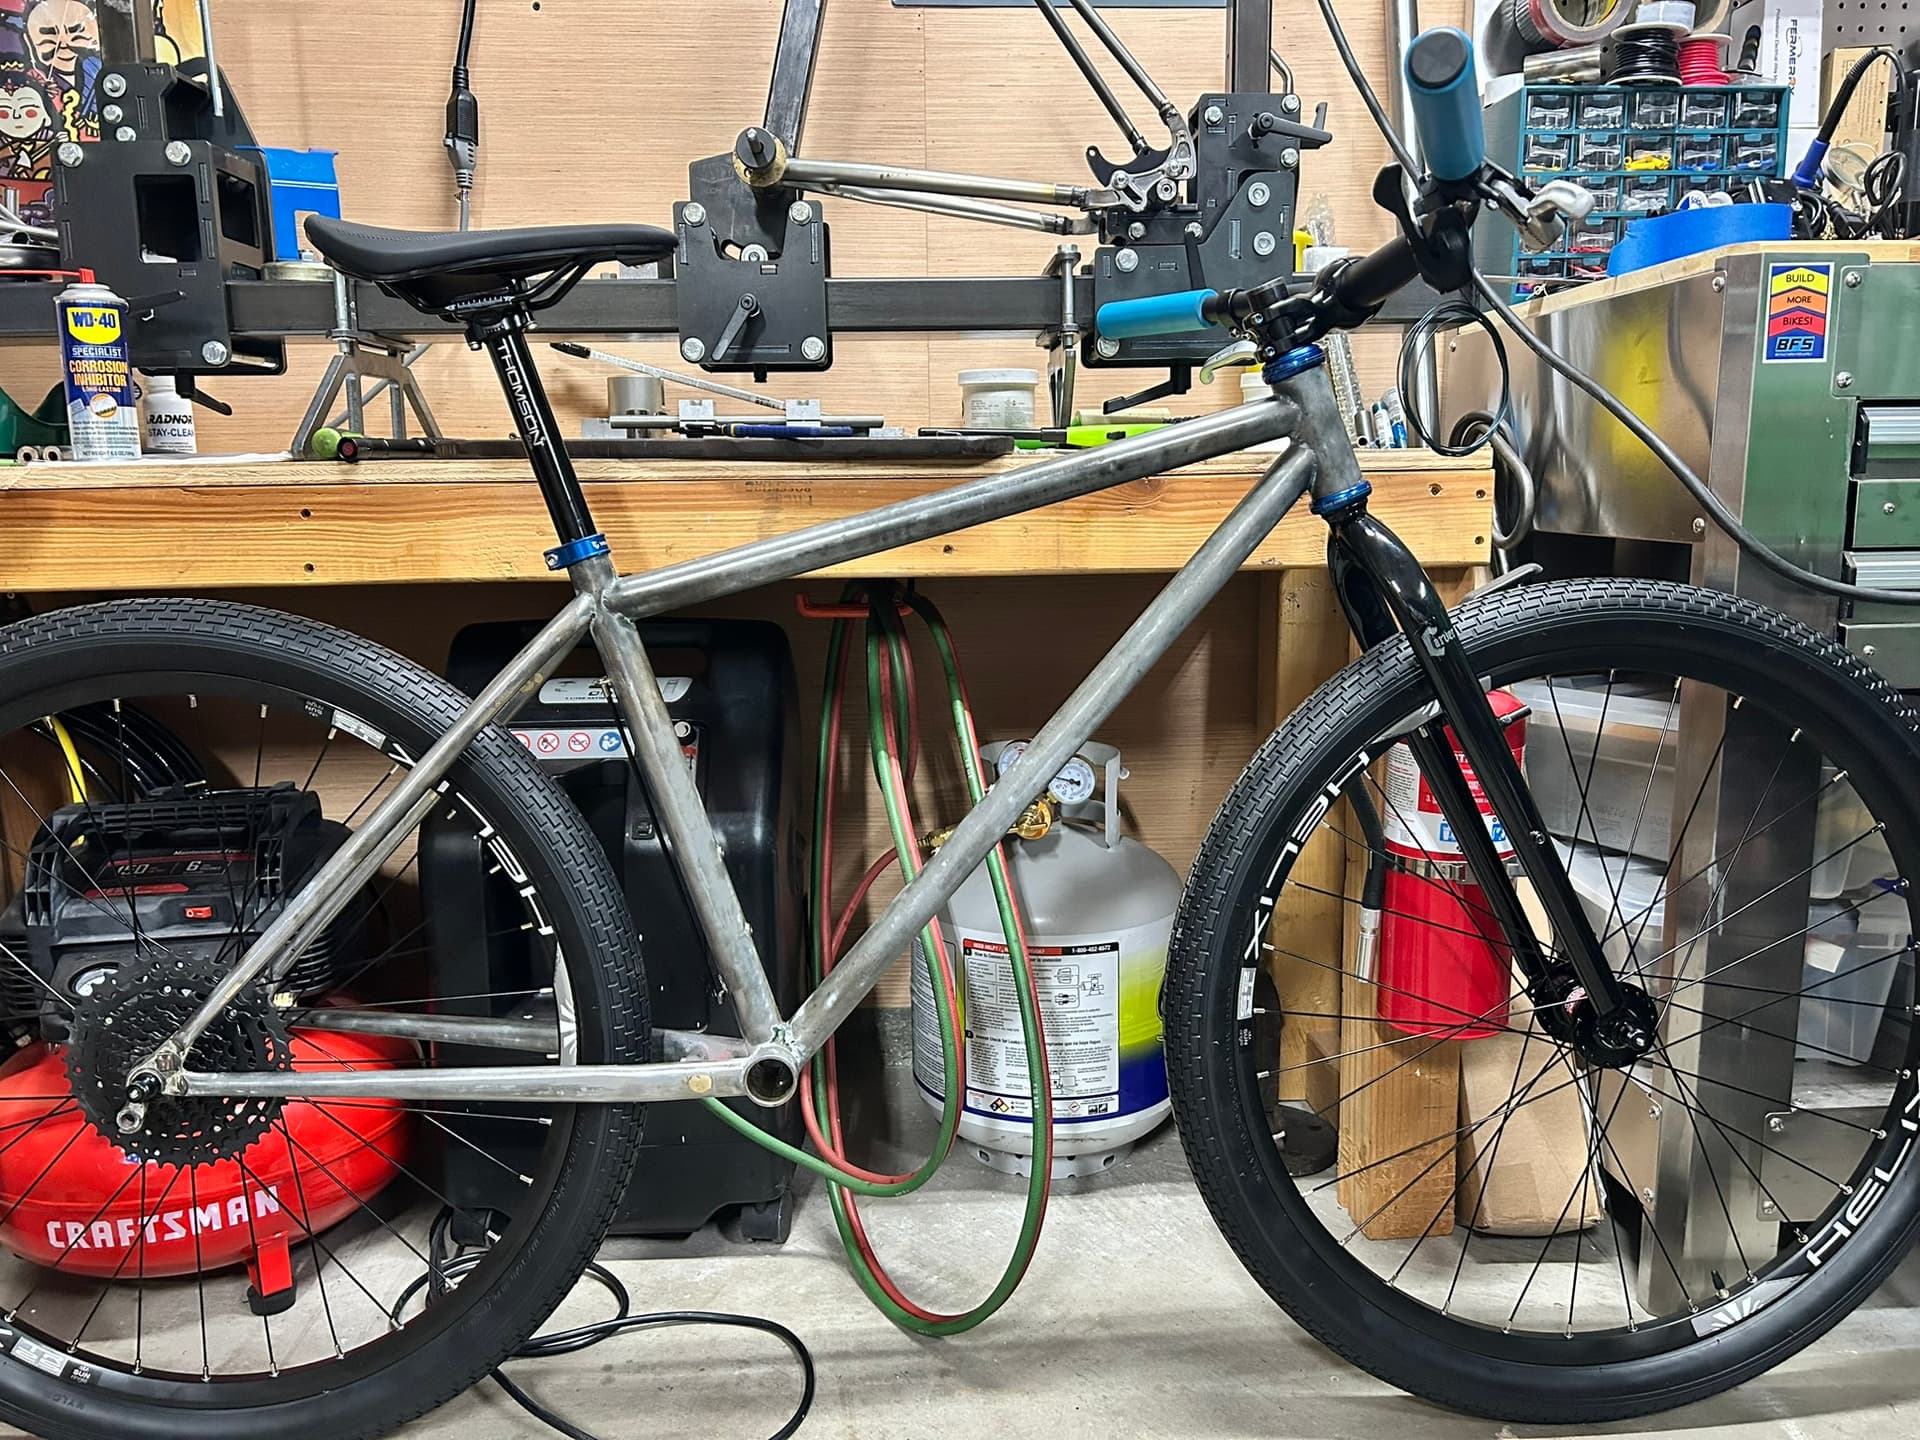
This is a budget project to turn 90s MTB into a comfortable bike packing rig.
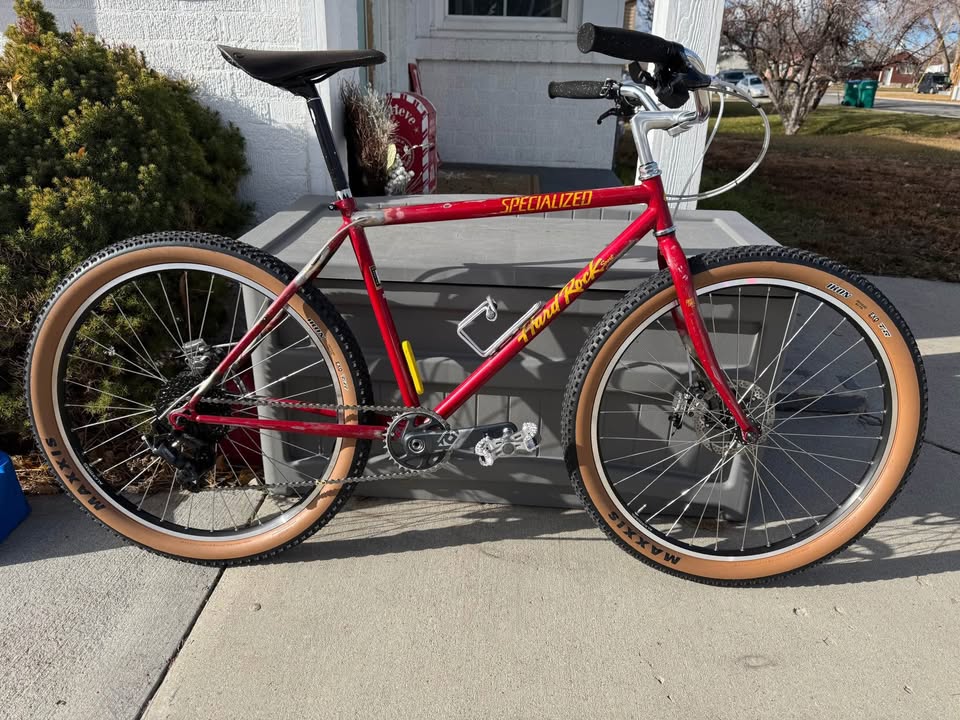
I did almost this exact thing for a friend. He still hasn’t repainted the bike, so it’s still partially red.
The internal routing was a pain in the butt. I learned some tricks but I still hated that part. But the hardest part was routing everything through the seat stays. Probably wasn’t a good idea, but I think it looks cool.
I really wish he would paint the bike because it looks so nice to have all the guides, mounts and brake posts removed. Good Luck! It’s a super fun project.
That’s a great job, I was thinking of only doing internal on DT or TT and not in the back, also not doing whole tube but only the entrances, but I am rethinking it now based on noise (don’t want a hose banging inside a tube) and how easy it would be to pass thru.
Question, given I am adding disc brake tabs, can I remove the seatstay bridge? I feel it would be safe to remove but wanted to check, I really want it gone
If you do internal routing I would do it with full guide tubes. That eliminates rattling and makes it a lot easier to build the bike too. And the tube that sticks out can be shaped into a nice shape as well.
Don’t you want the seatstay bridge to support fenders or a lightweight rear rack?
hell yeah, 90s mtbs make great bike packers! i have (had, just sold the frameset) a 94, i think, univega that i set up for bikepacking. the only frame mods i did were add a disc tab, external housing routing, and some extra bosses to the seat tube for a pump mount, but it didn’t really need much else.
i had marino in peru make me a fork for it and i had to use a lot of spacers since the stack is so short on these old mountain bikes, but it was great.
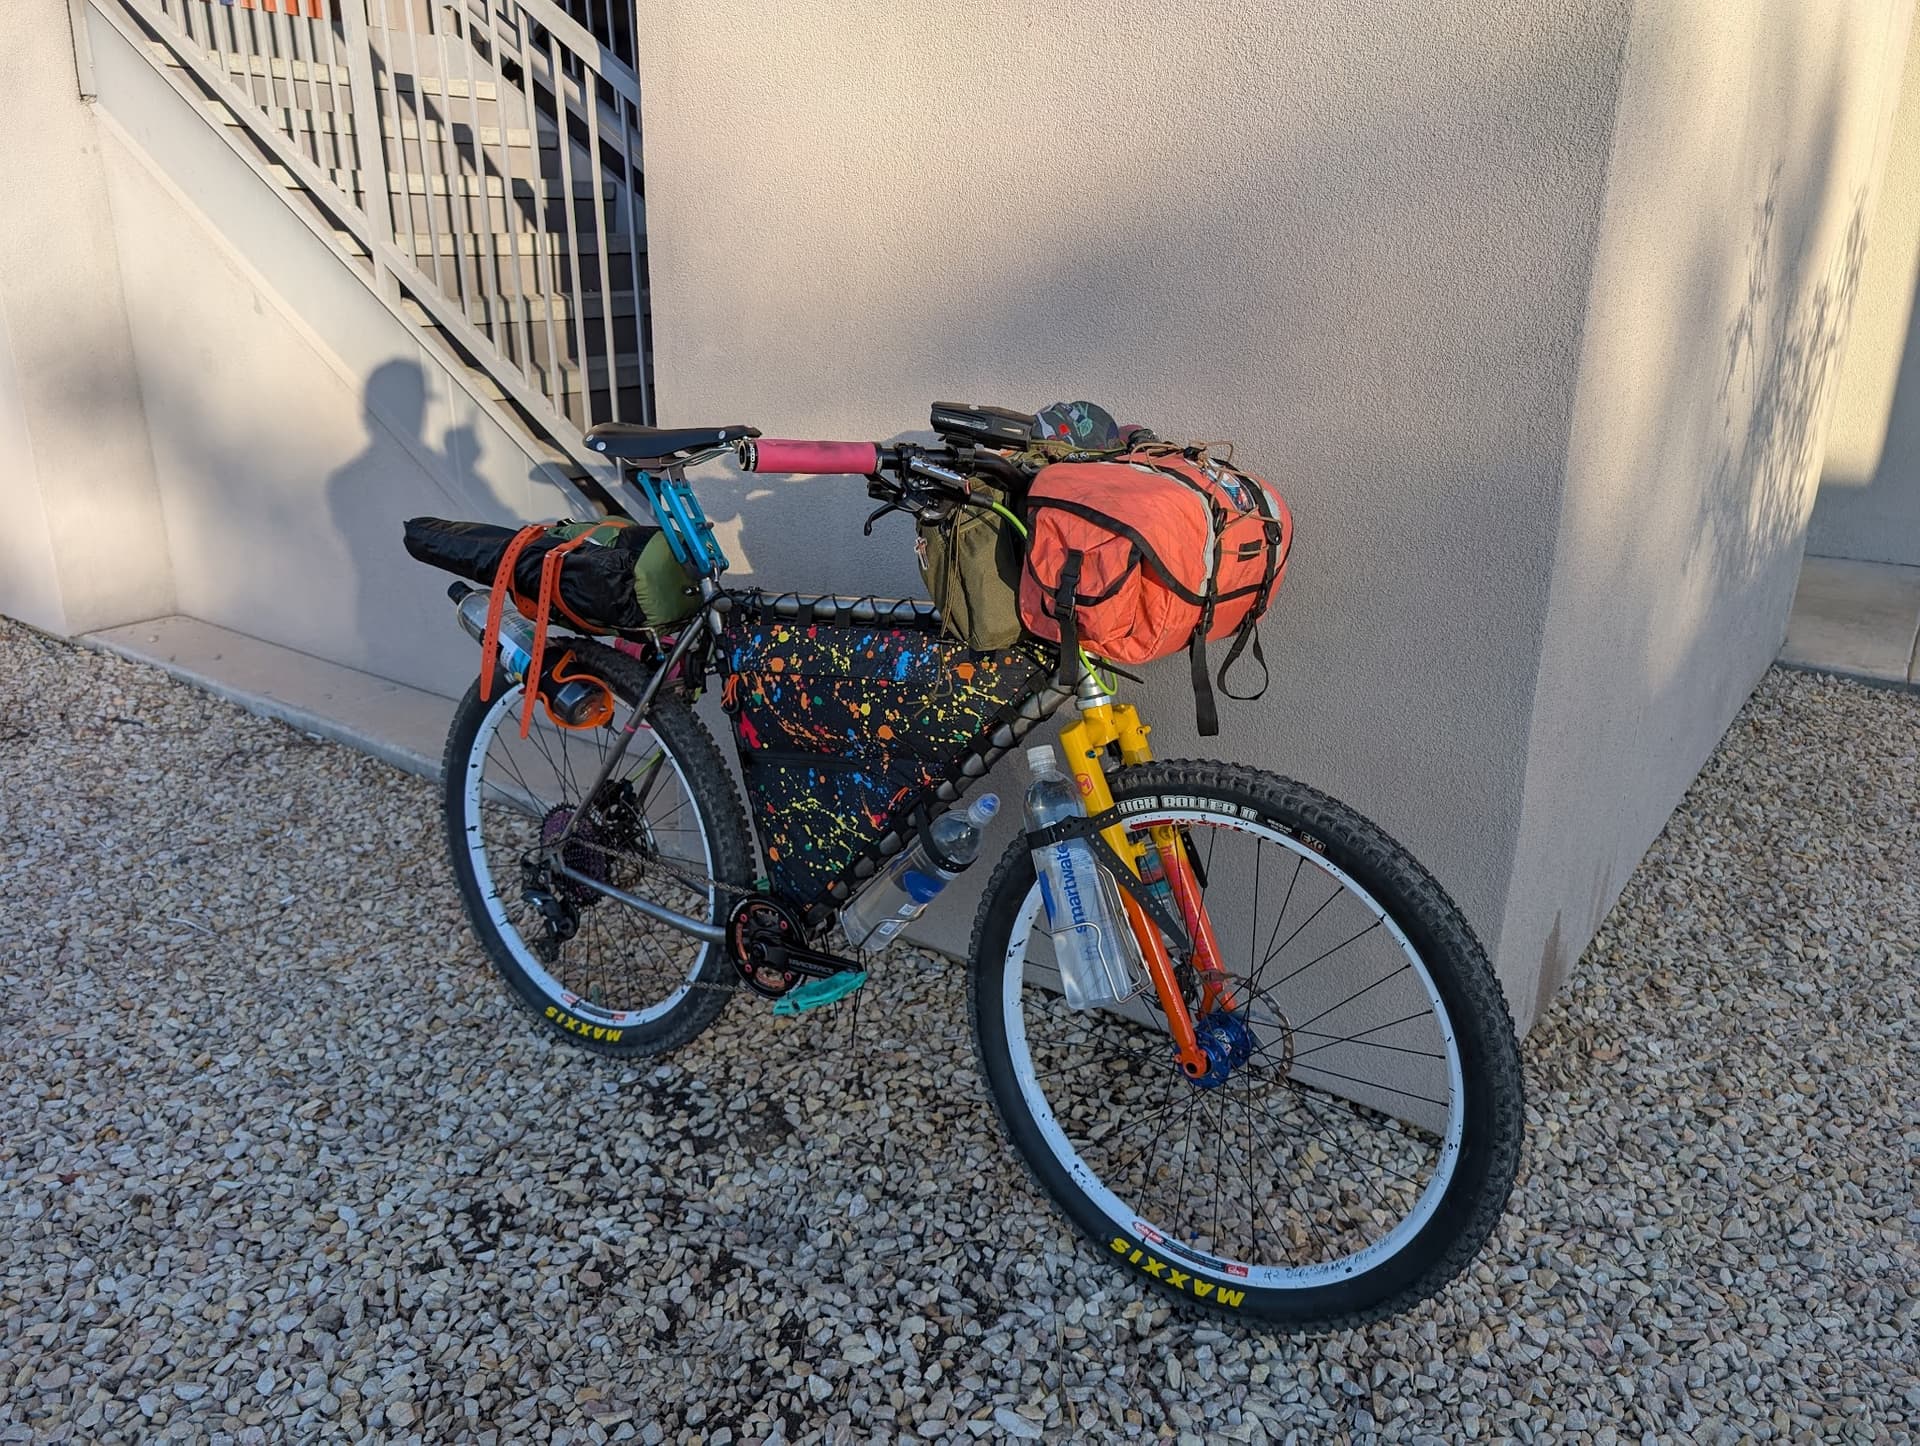
thanks! it’s a power post, 90s parallelogram dropper from before office chair tech became the standard with telescoping posts. it puts the seat down over the top tube in the low position, nice and out of the way
This bike will never have a rear rack or fenders, and if in the future I change my mind I can always add it back or make a custom rack.
Was the seatstay bridge only for those purposes? I know it helps with rigidity for rim brakes but now that I have decided to move to disc brakes I think I can go without, I simply like the look better.
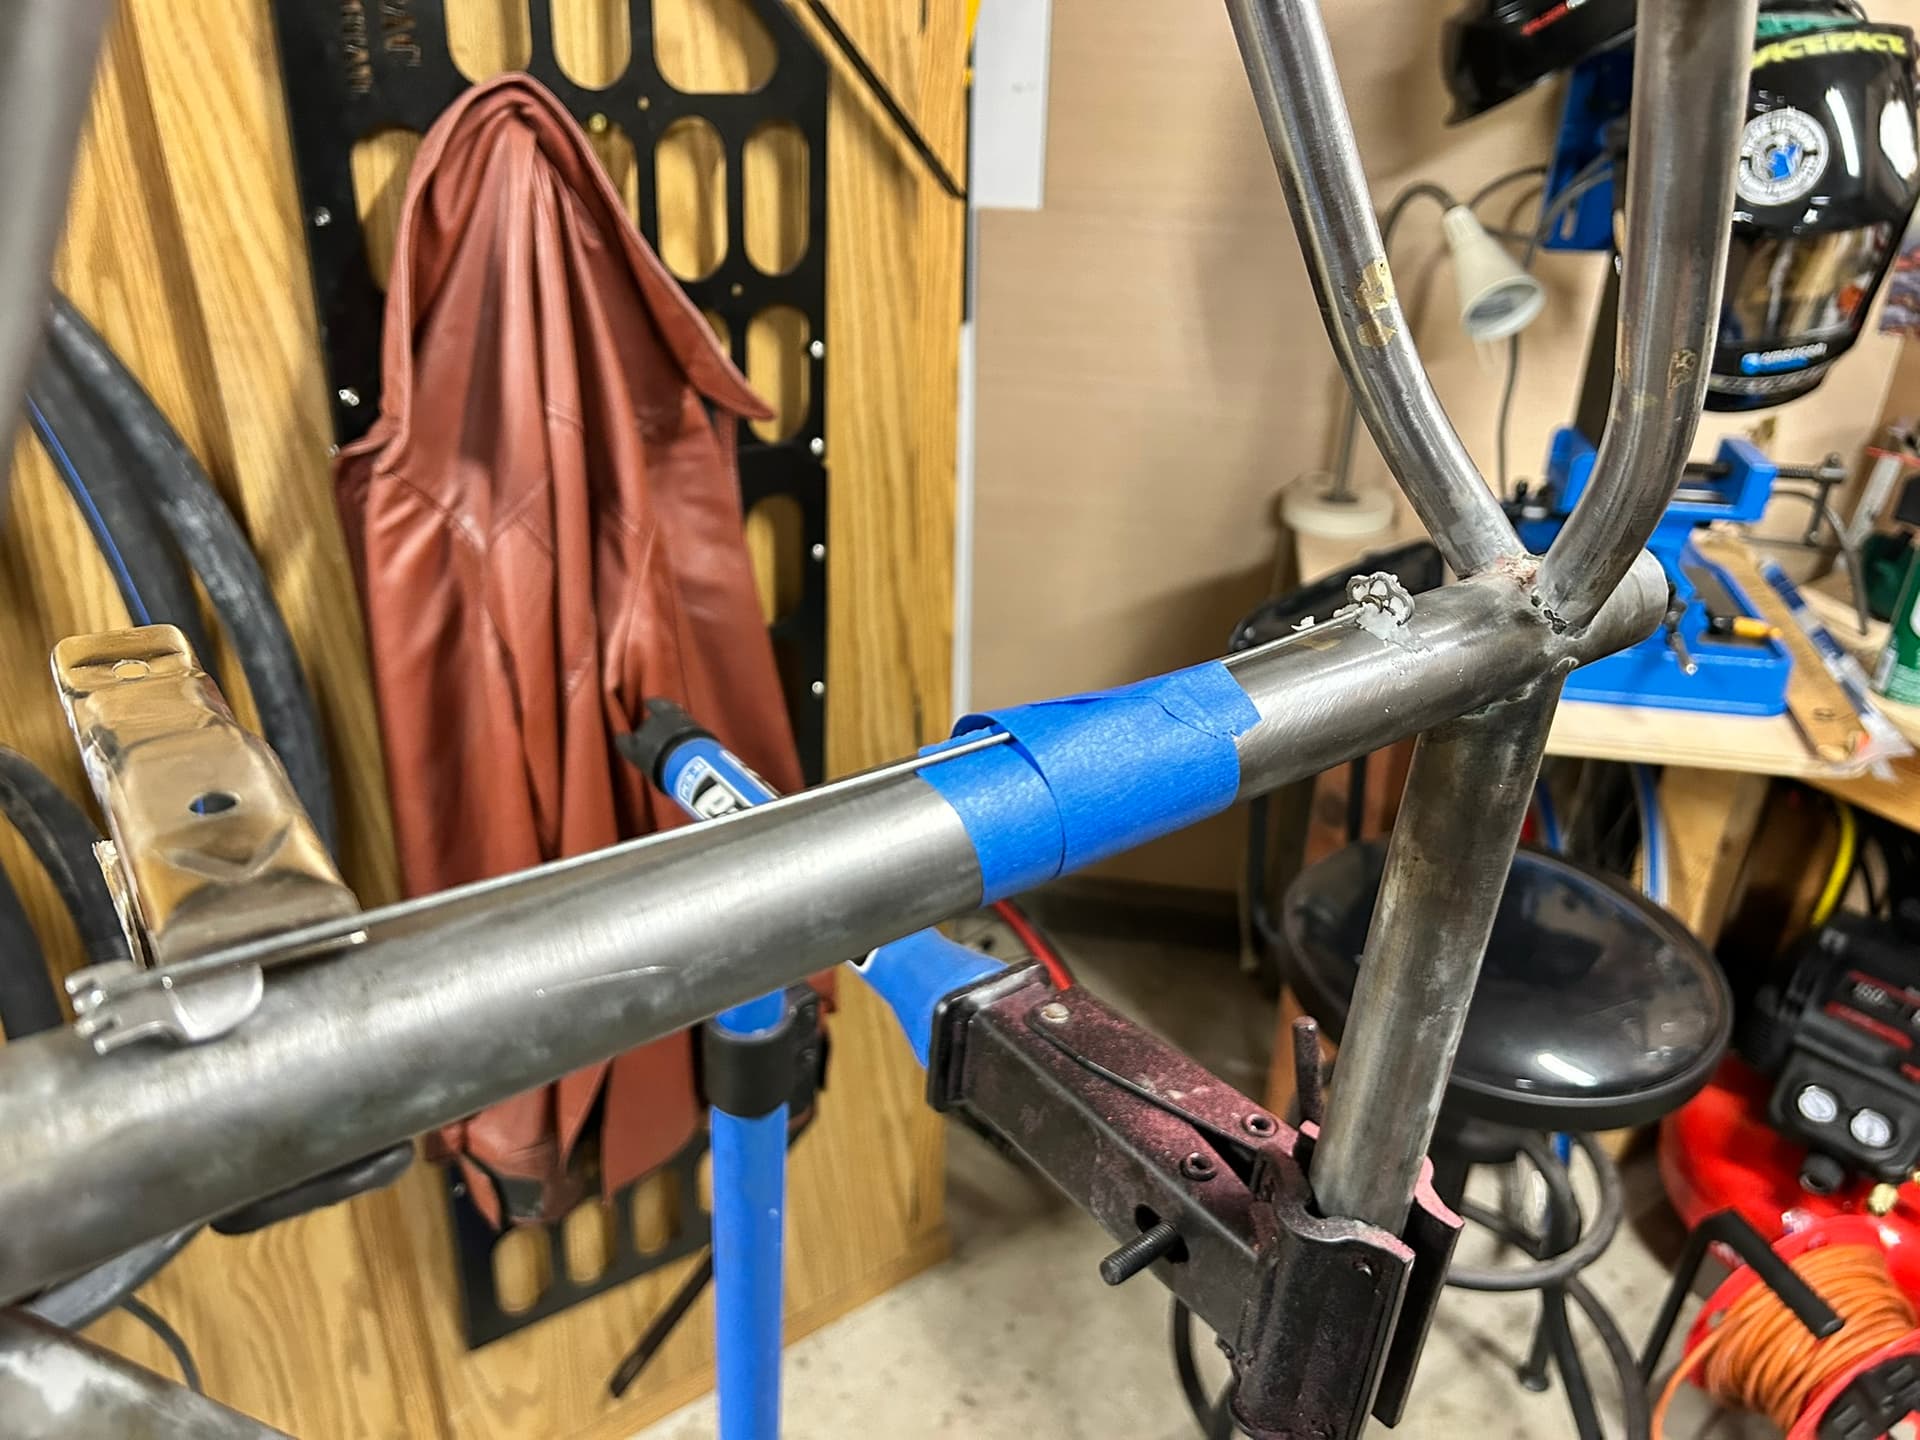
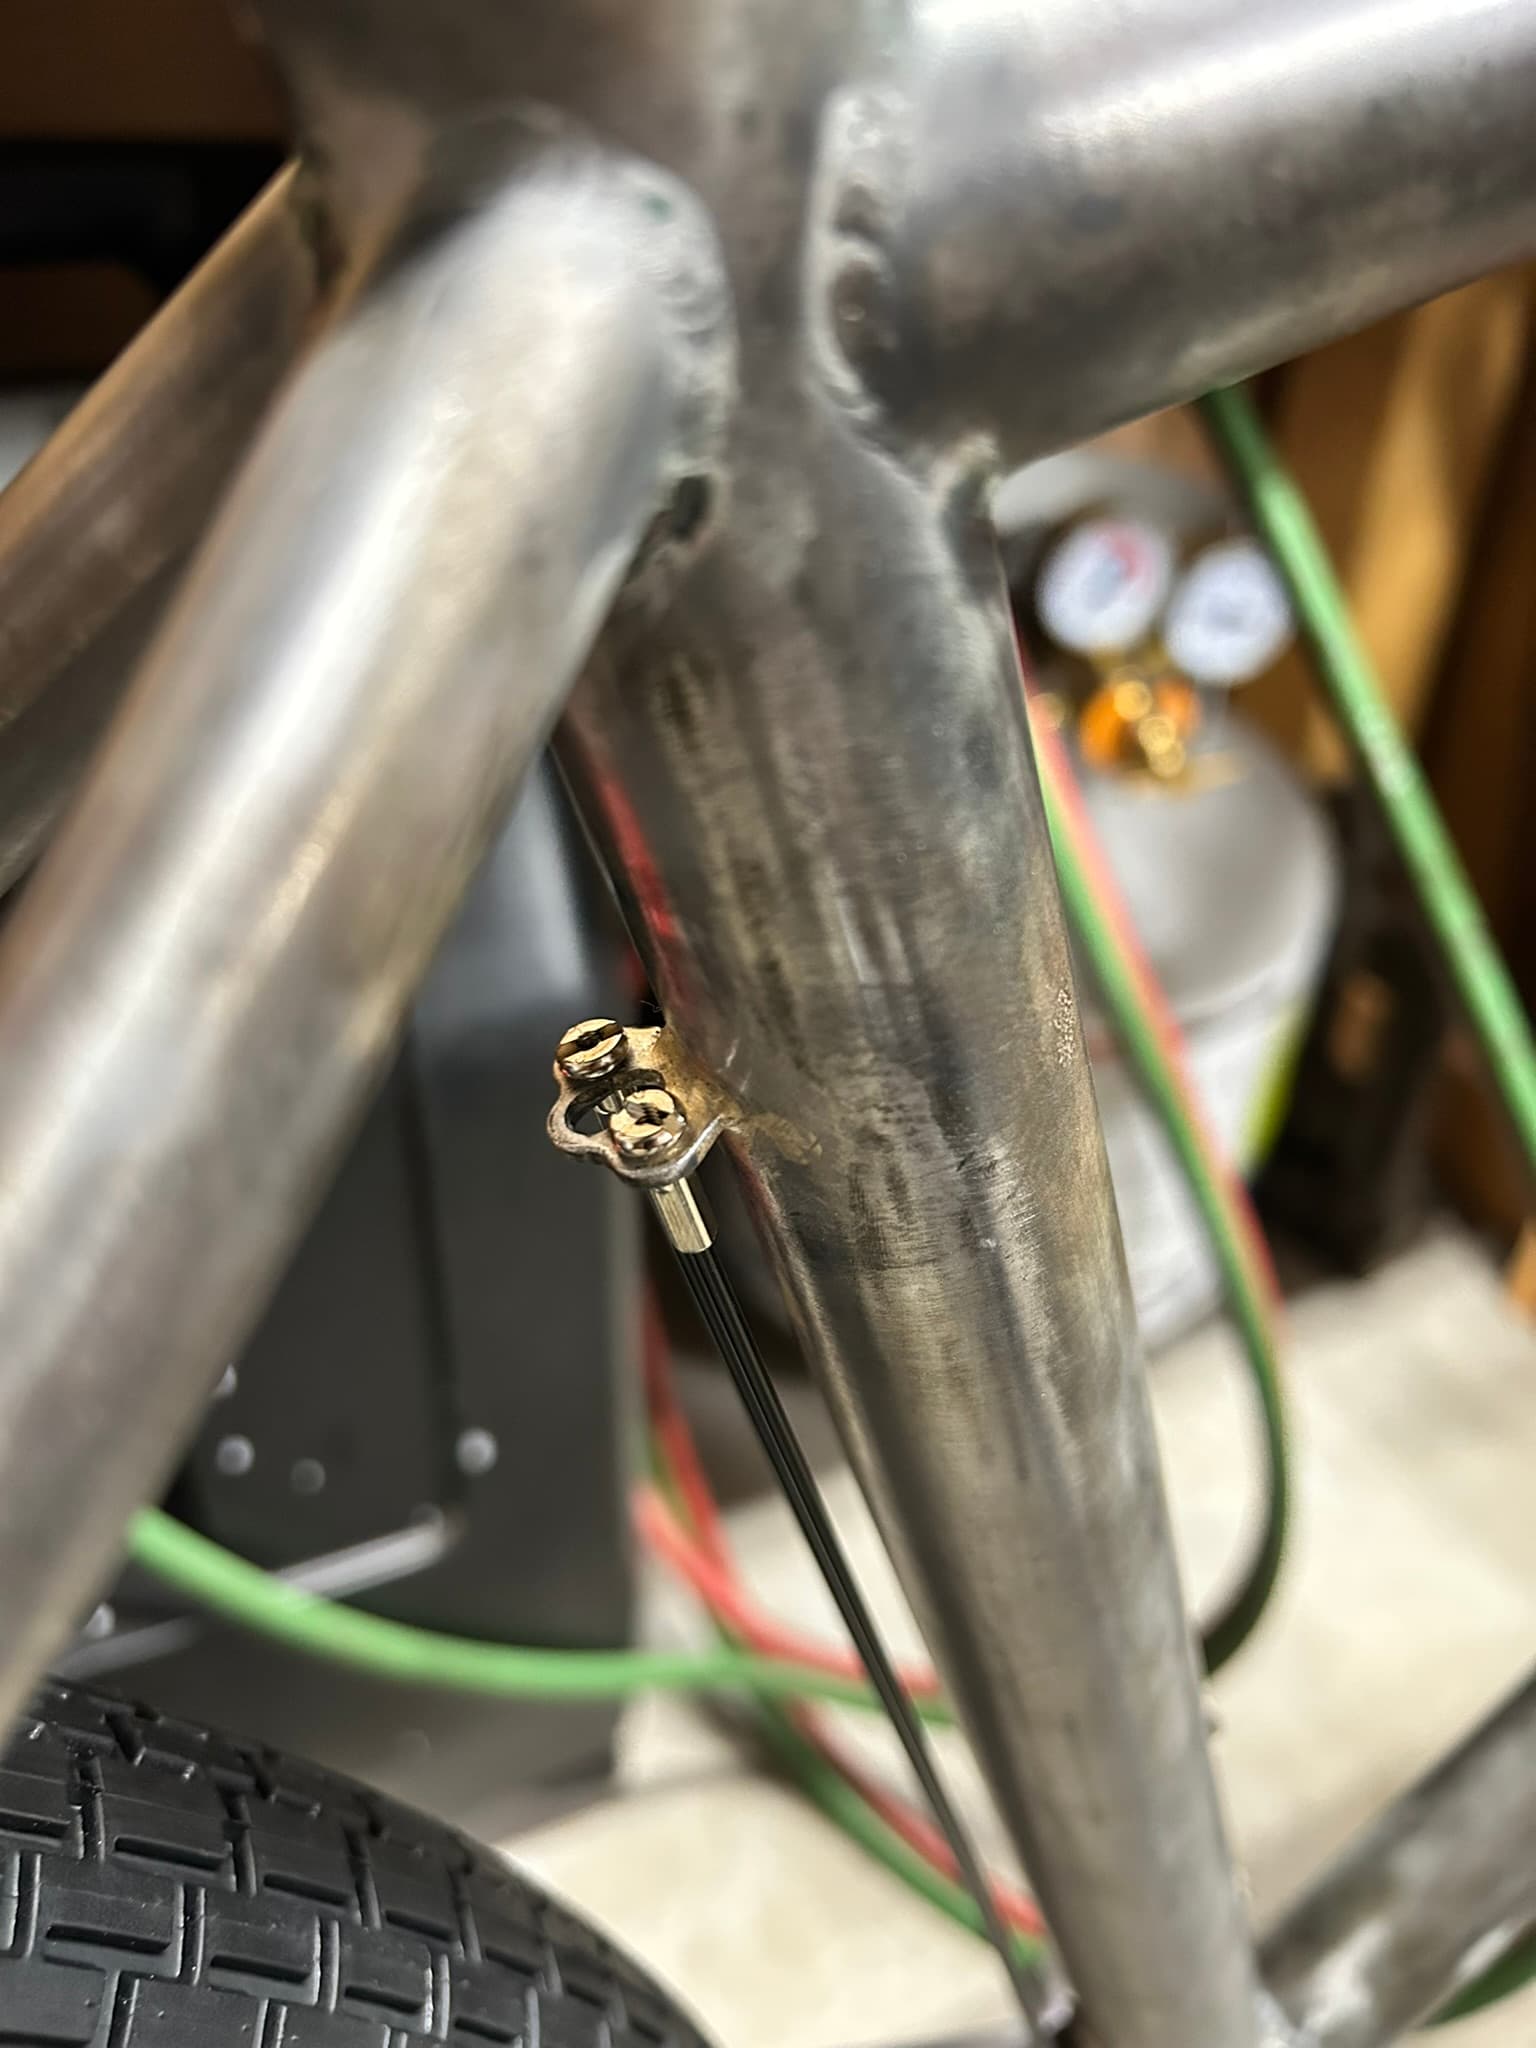
I have those aluminum removable cable guides that uses a bottle boss to hold, but my fear is that the tubes are very thin in the center where one of the bosses would end up going, from my research it seems the 970 was triple butted so I am unsure of the thickness of the tubing.
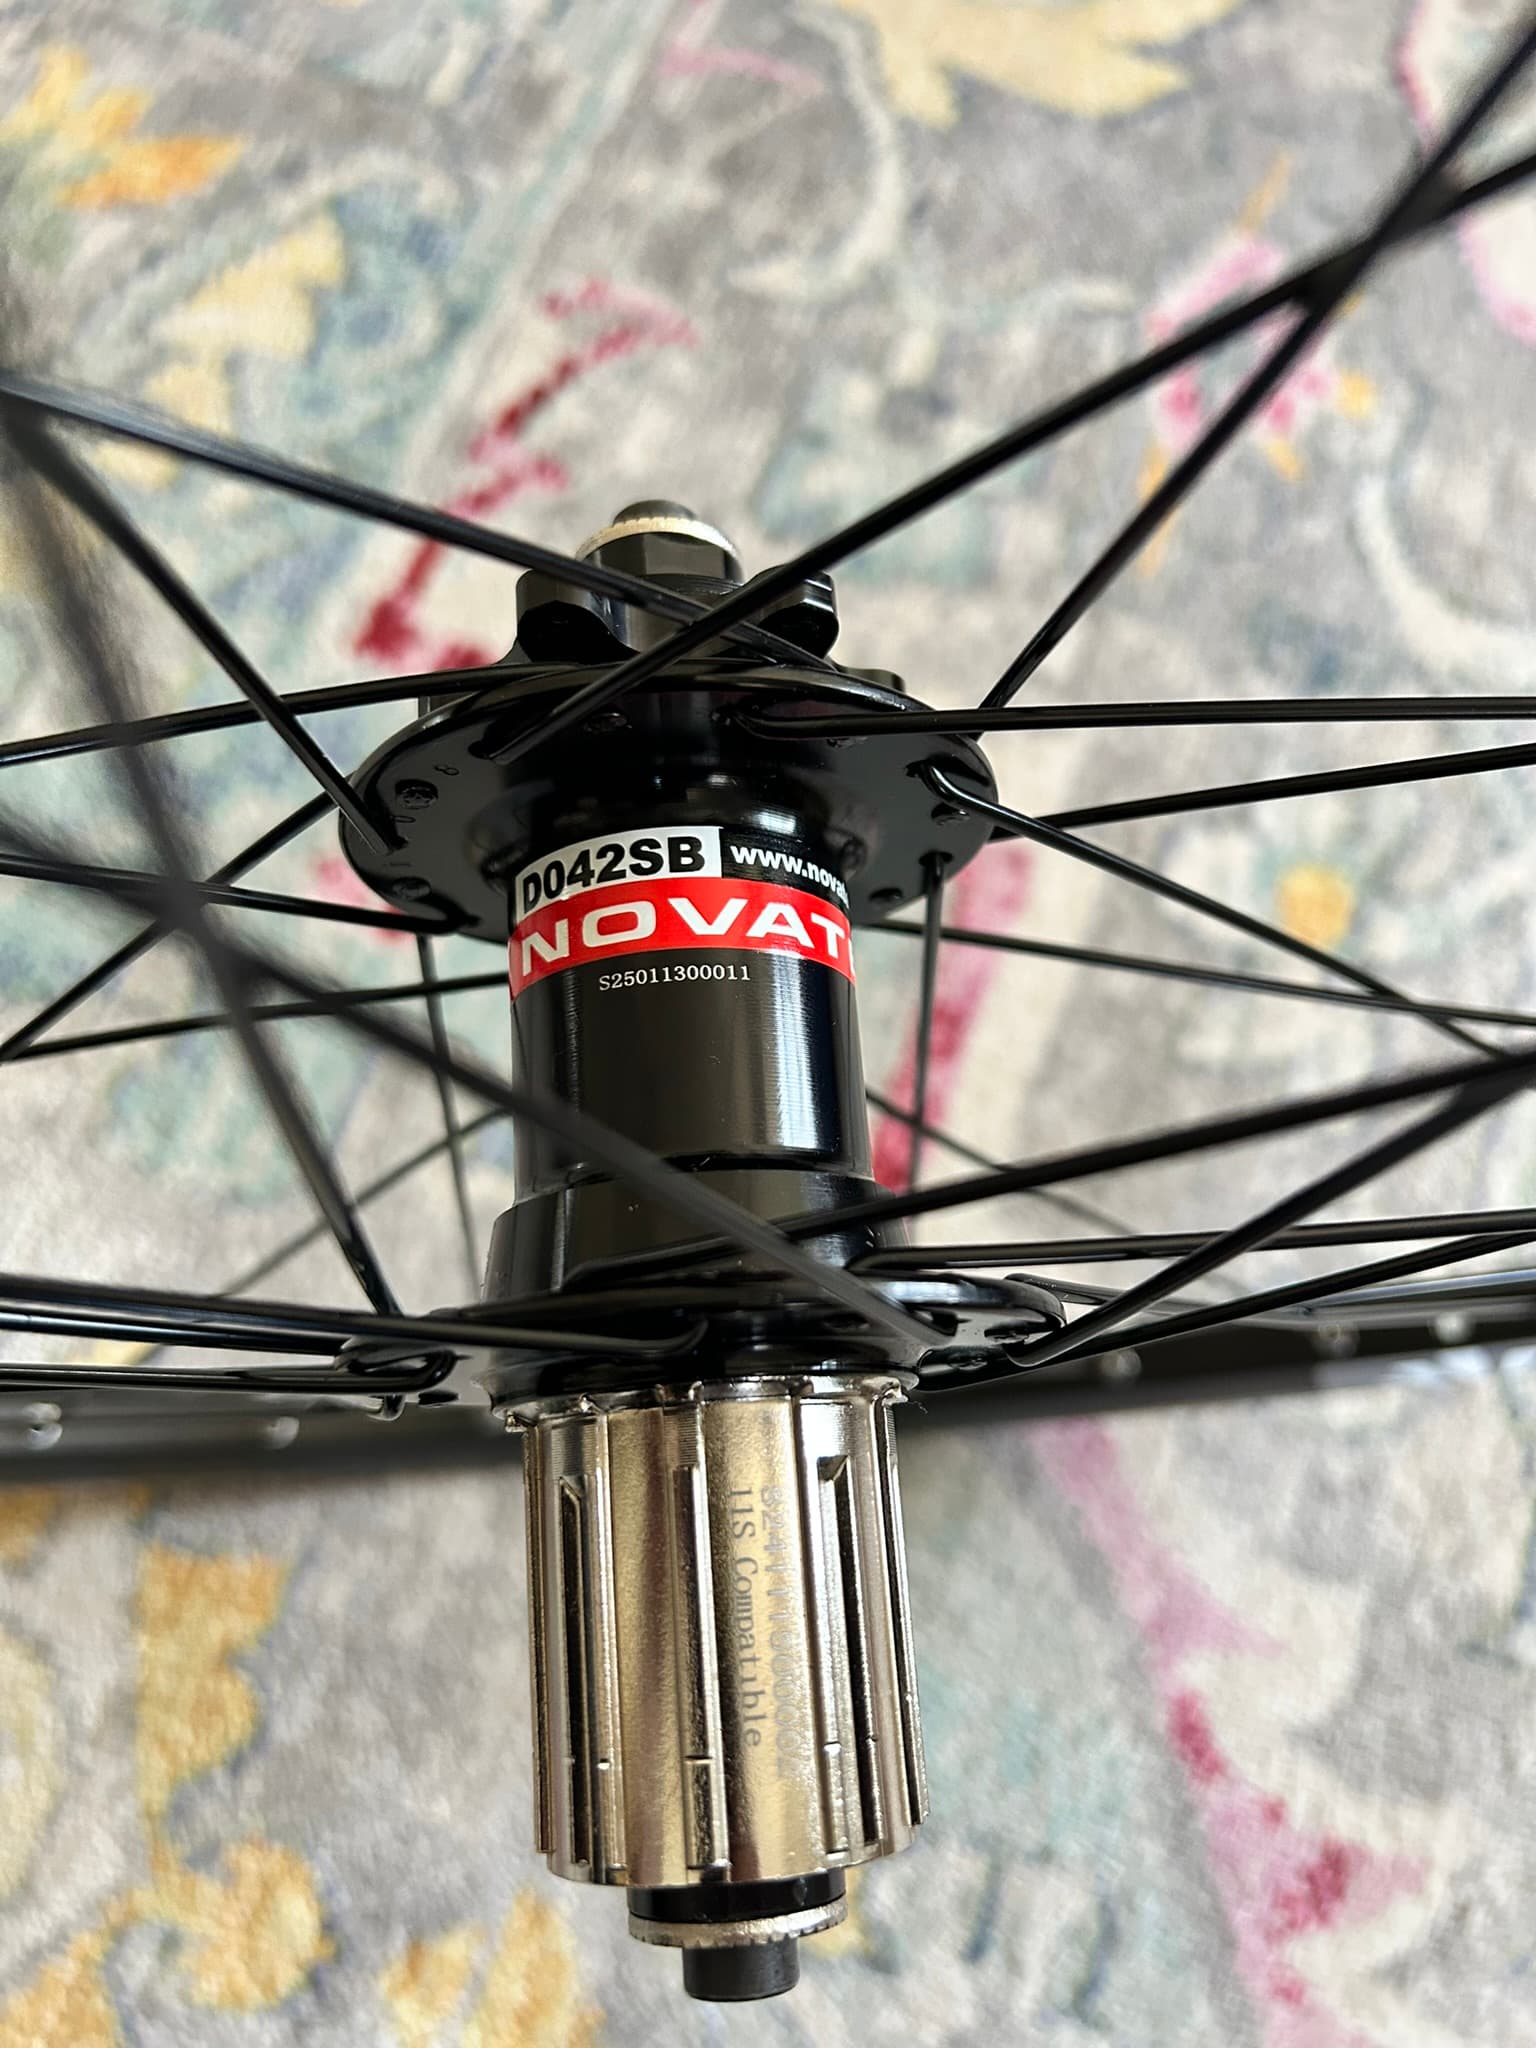
Alright, frame is stripped and most of the cable stops were removed, I stopped short of removing the rim brake bosses and the bridge because the disc wheelset that I had ordered took forever to arrive and I wasn’t even sure they would arrive given the new tariffs that were applied. Luckily my item made it pass customs before the “de minimis” exception was repealed and I didn’t pay extra…
I found a very reliable supplier in China, took exactly 1 month from order to have them in my hands and considering everything that is going on, I consider myself lucky - $109
Tomorrow I have a day off so the bridge and rim brake mounts are coming down!!
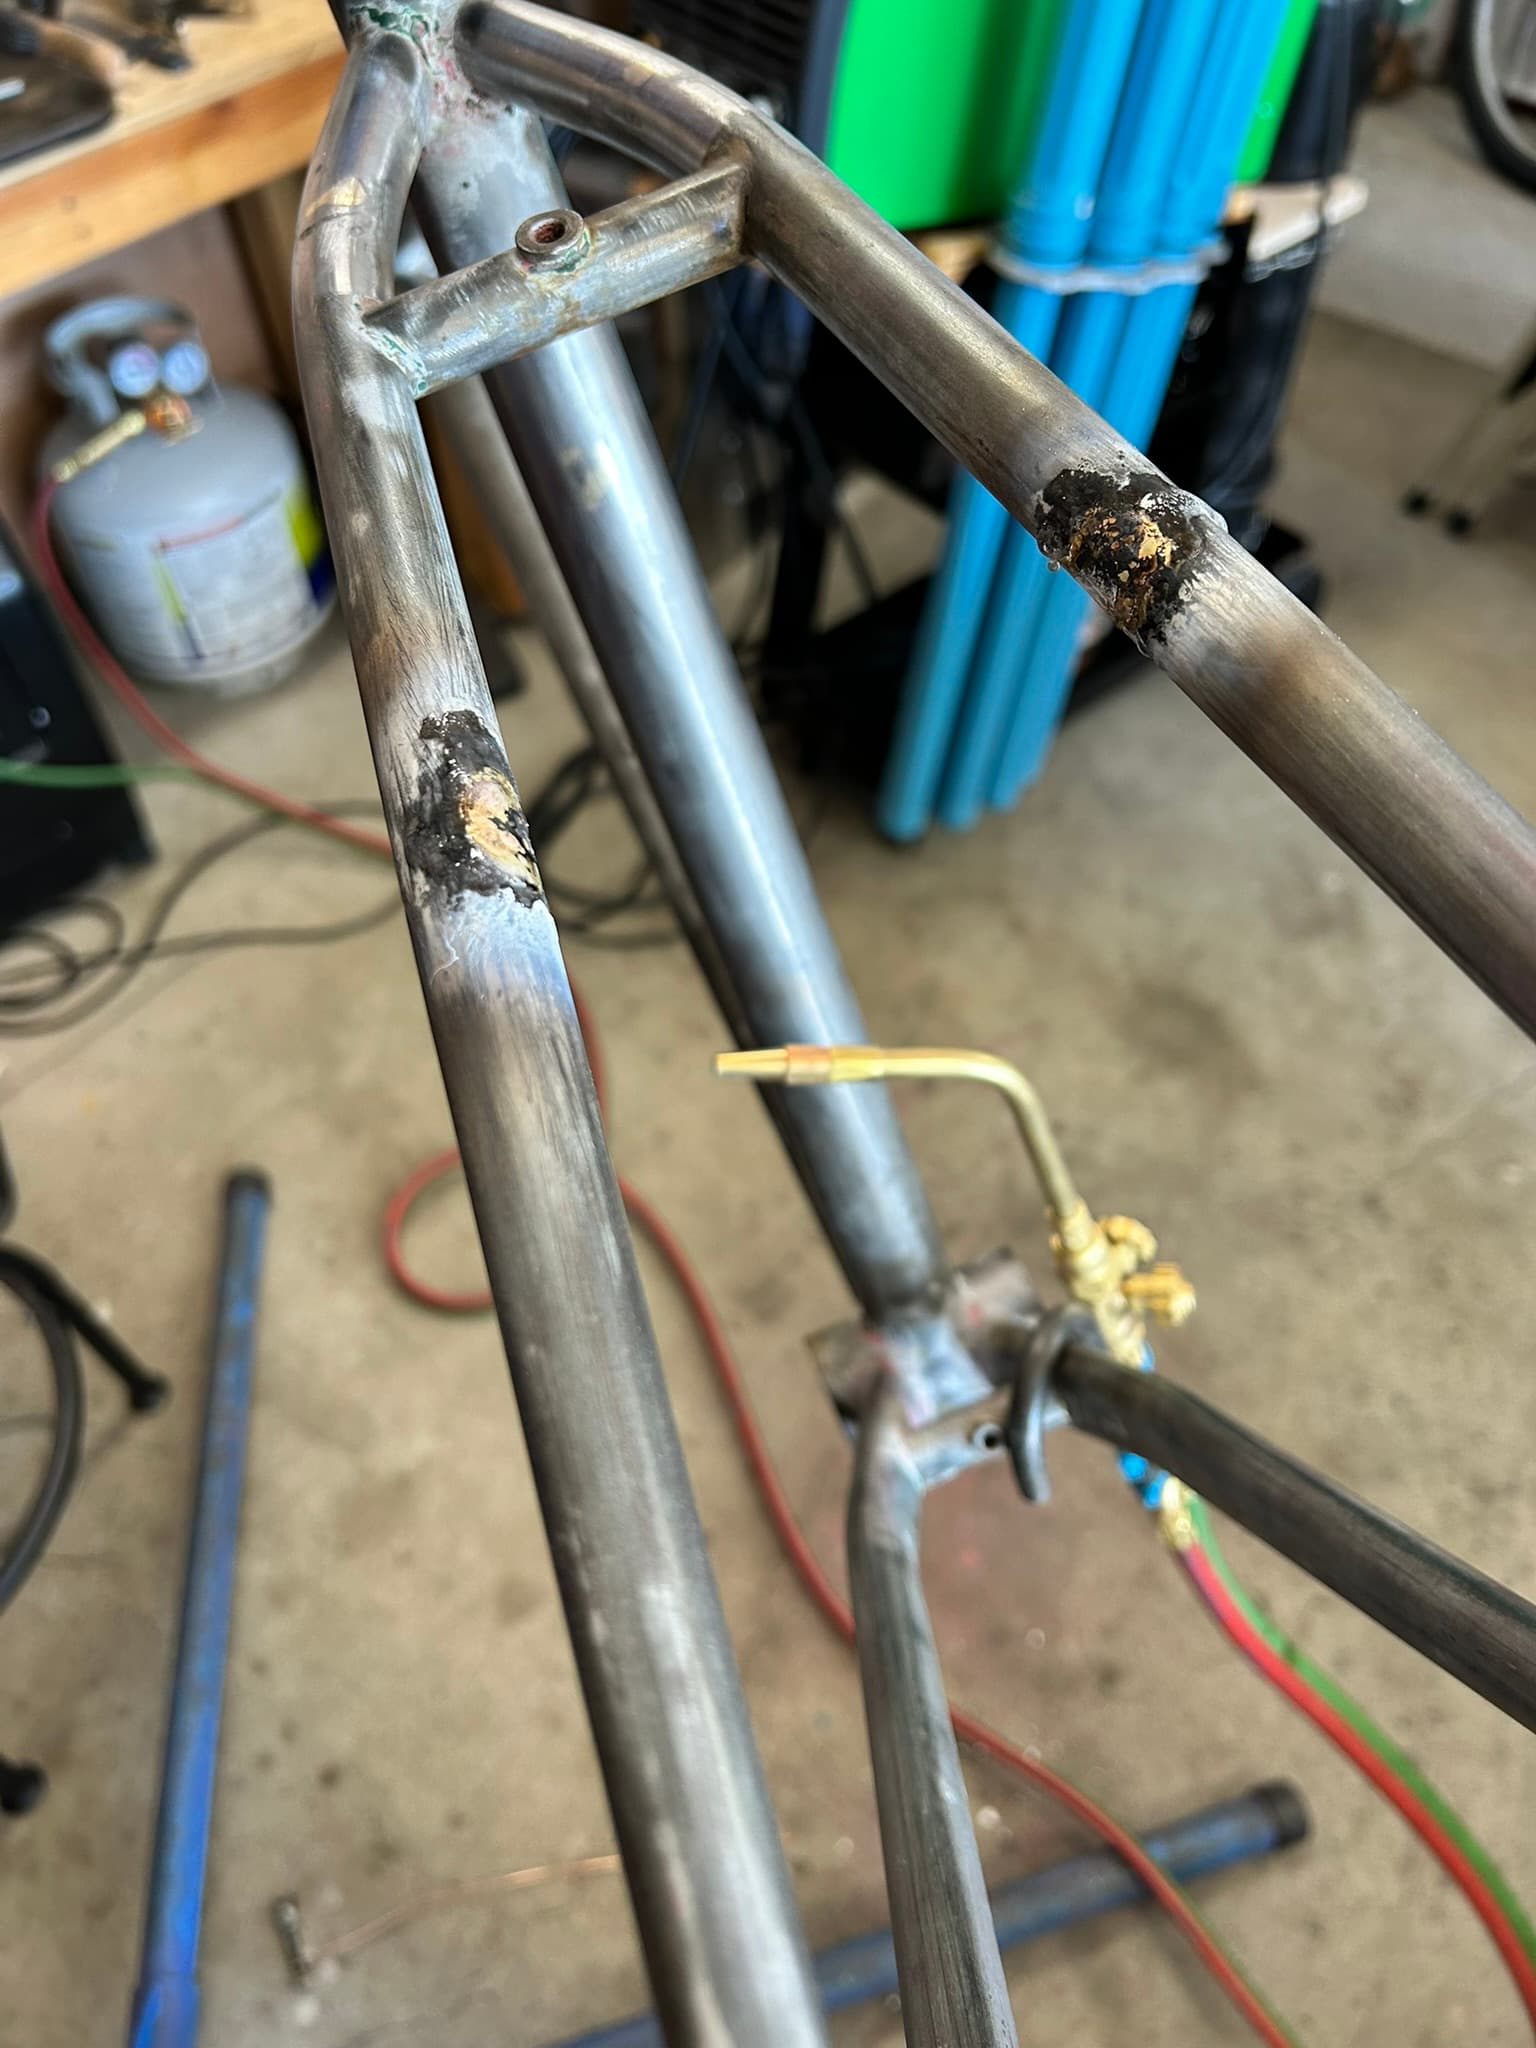
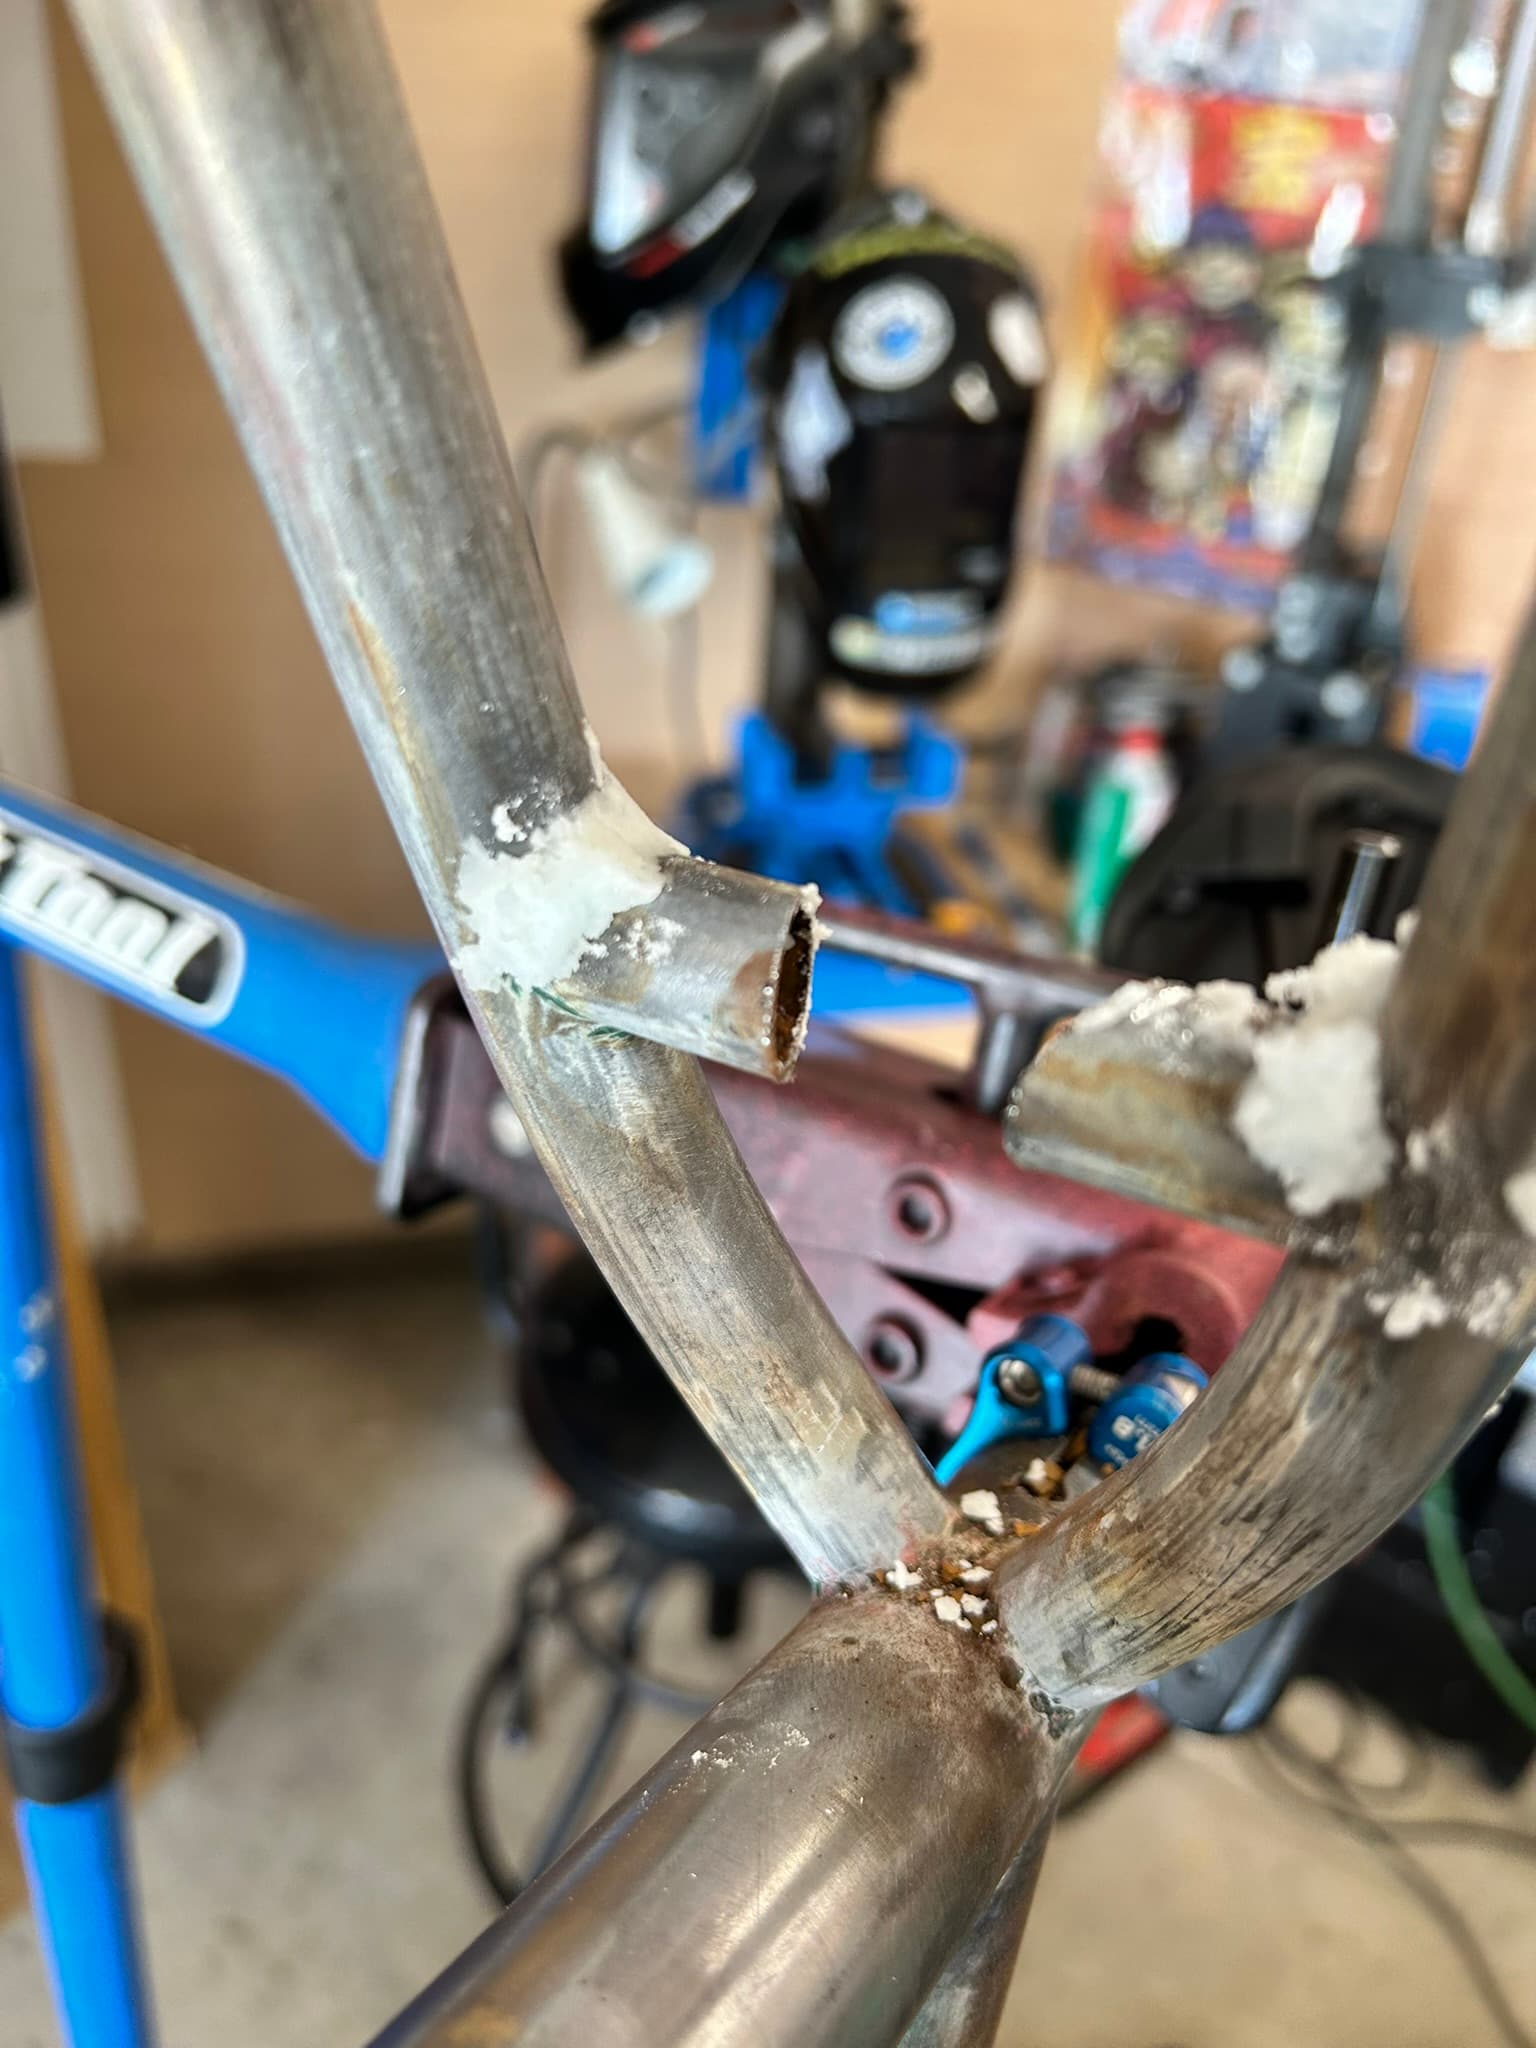
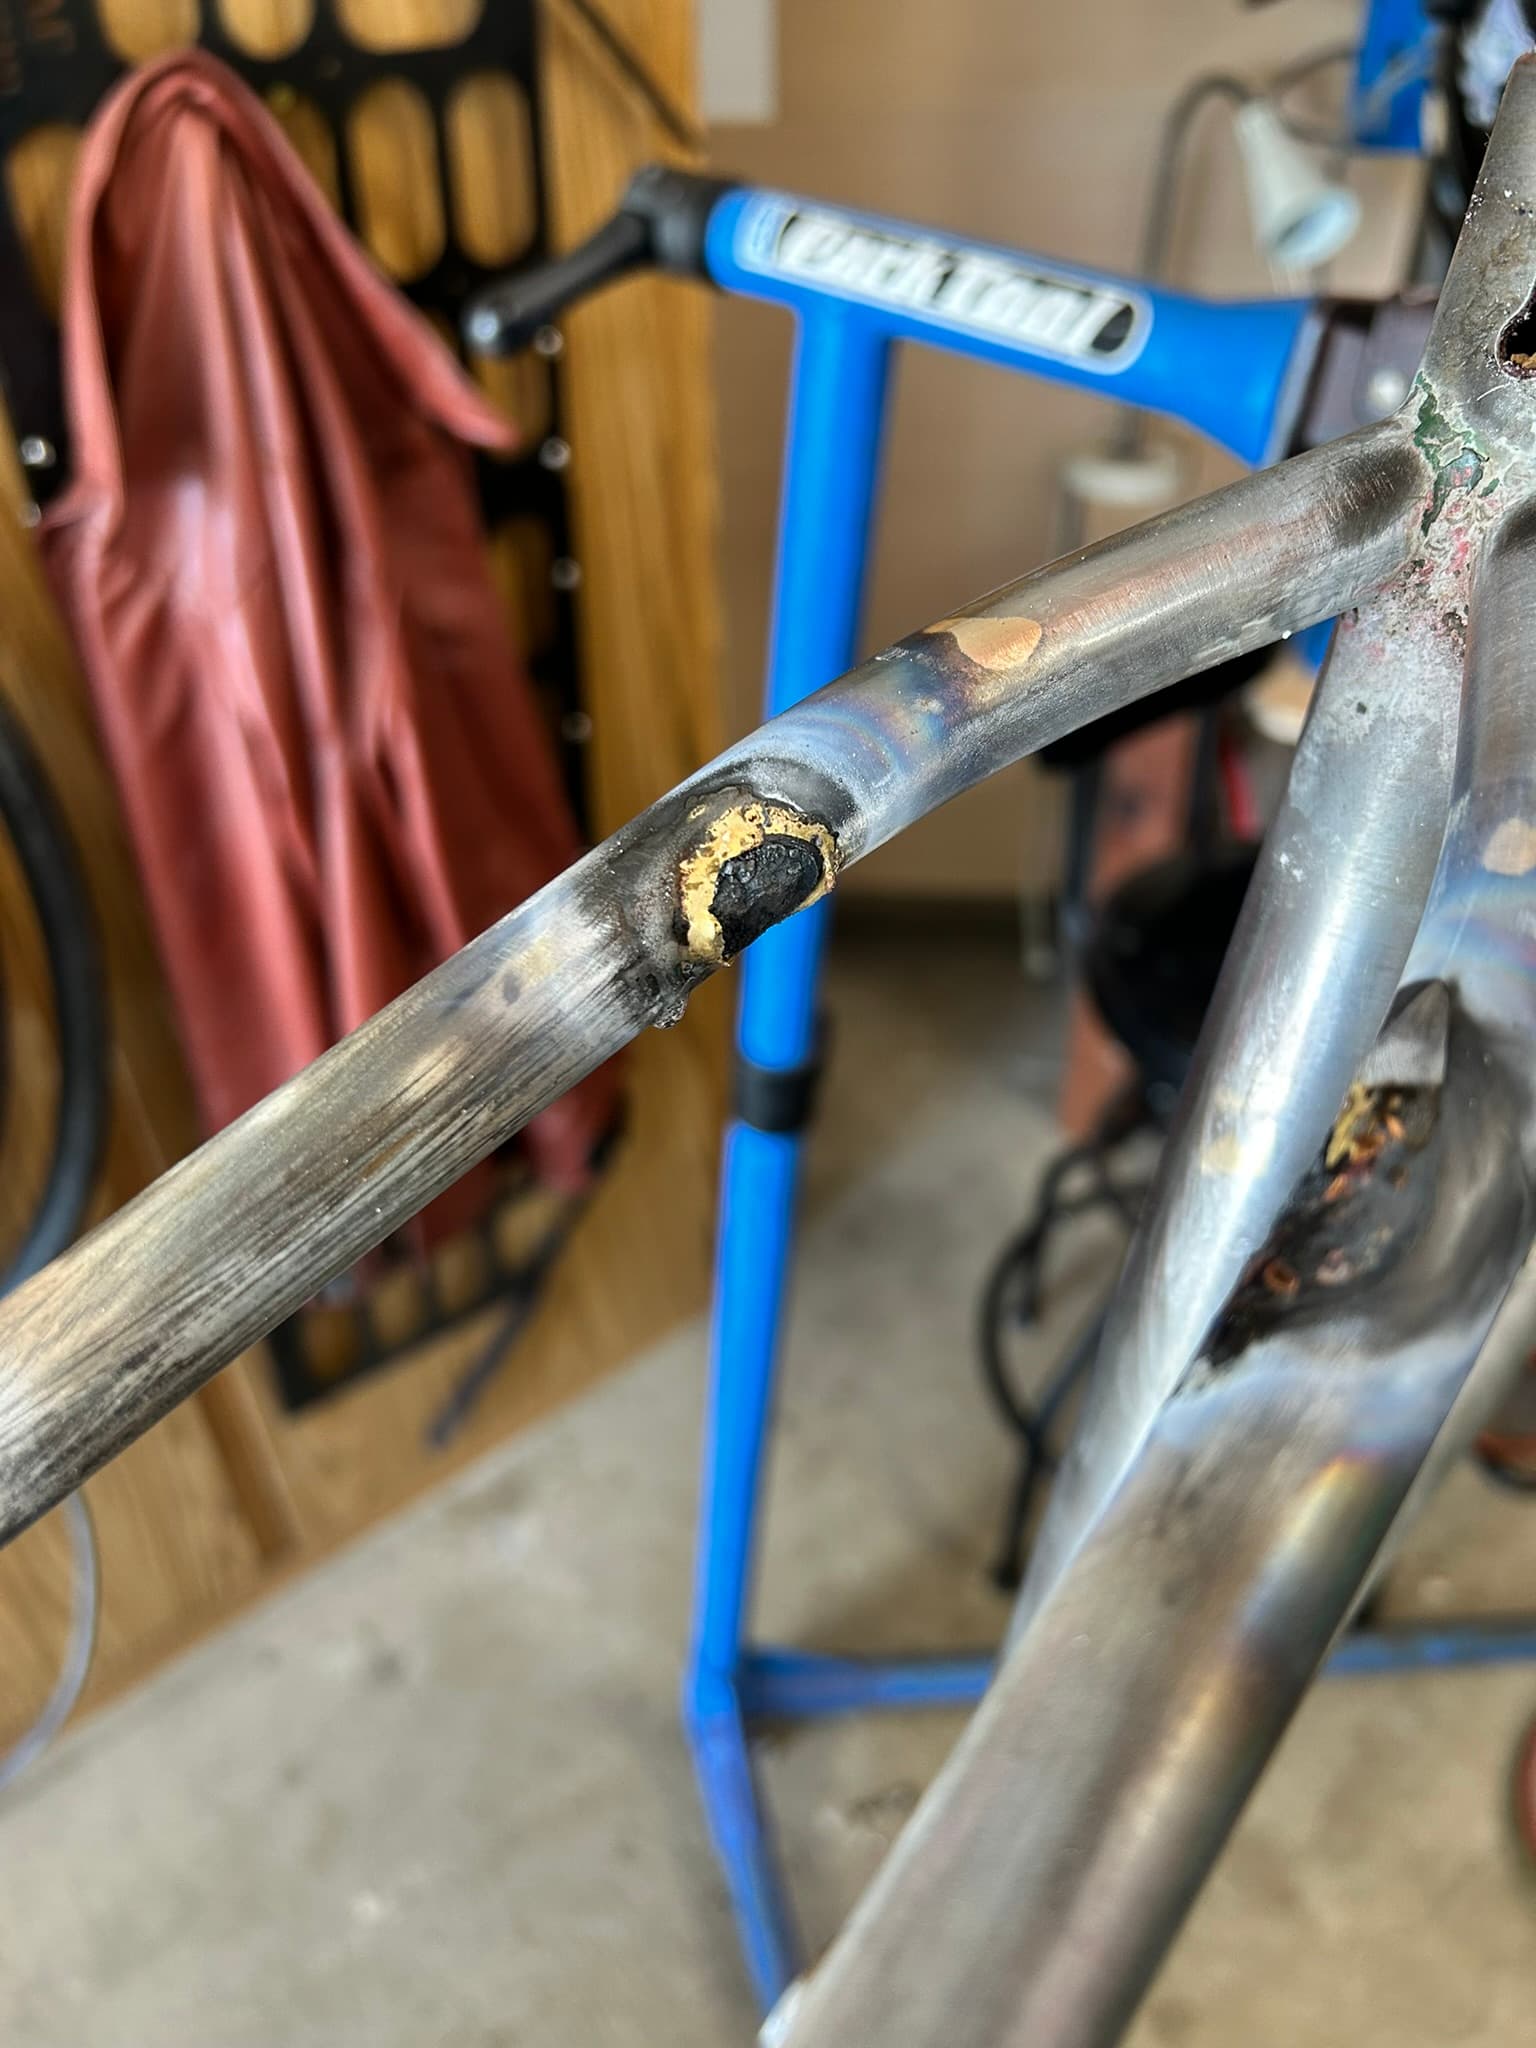
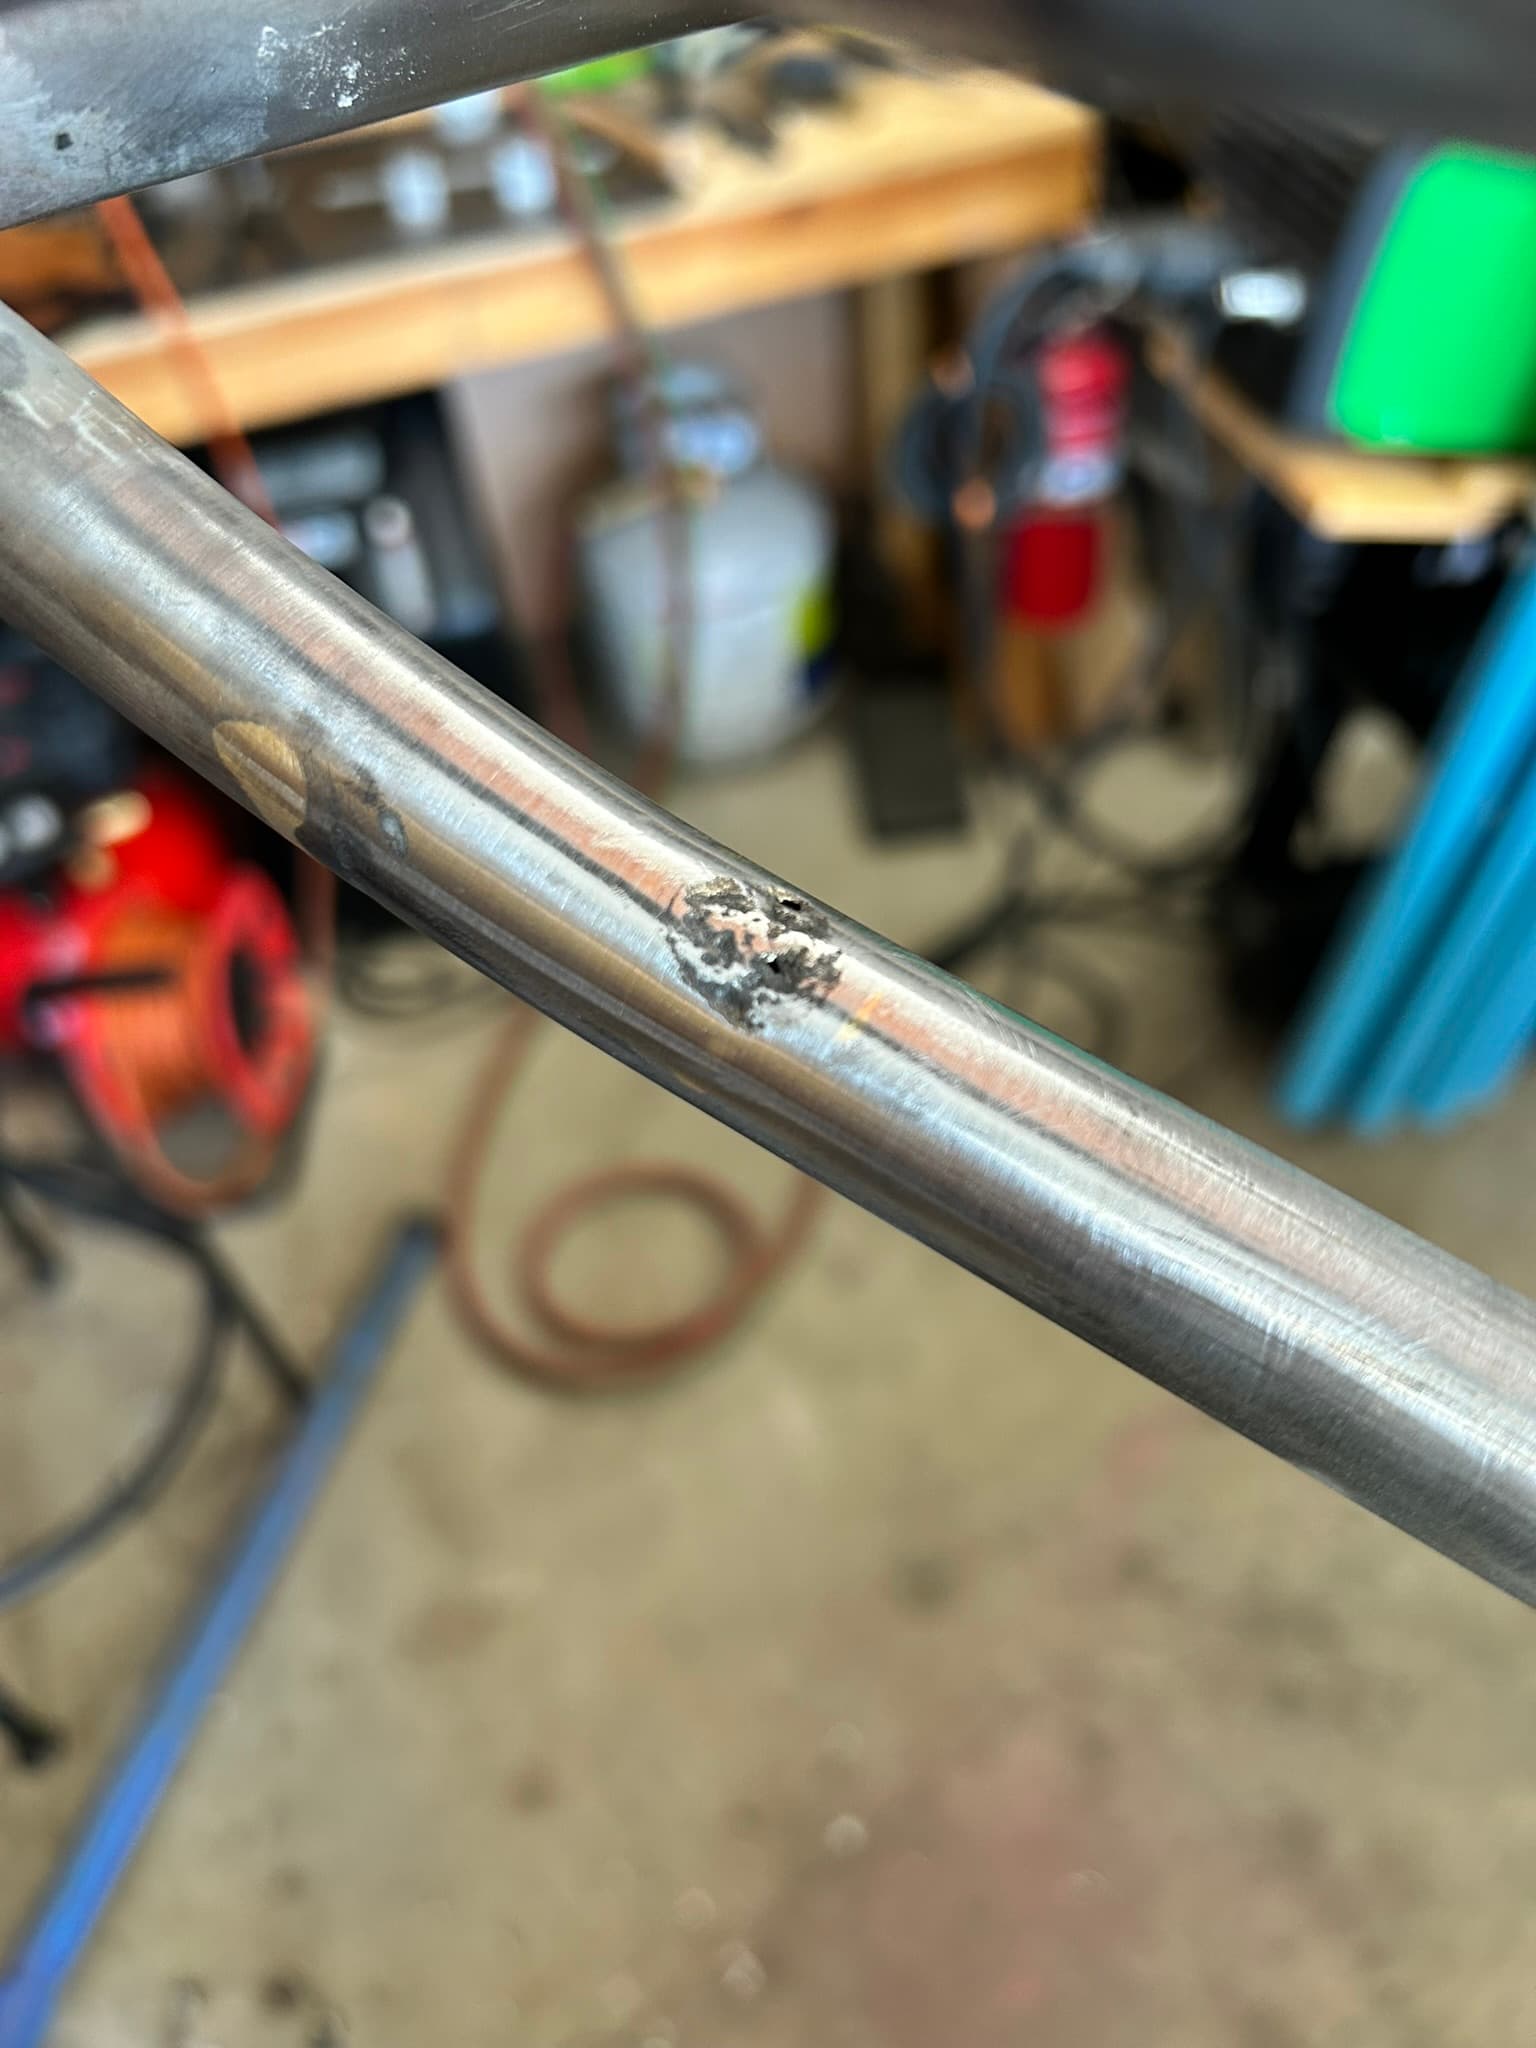
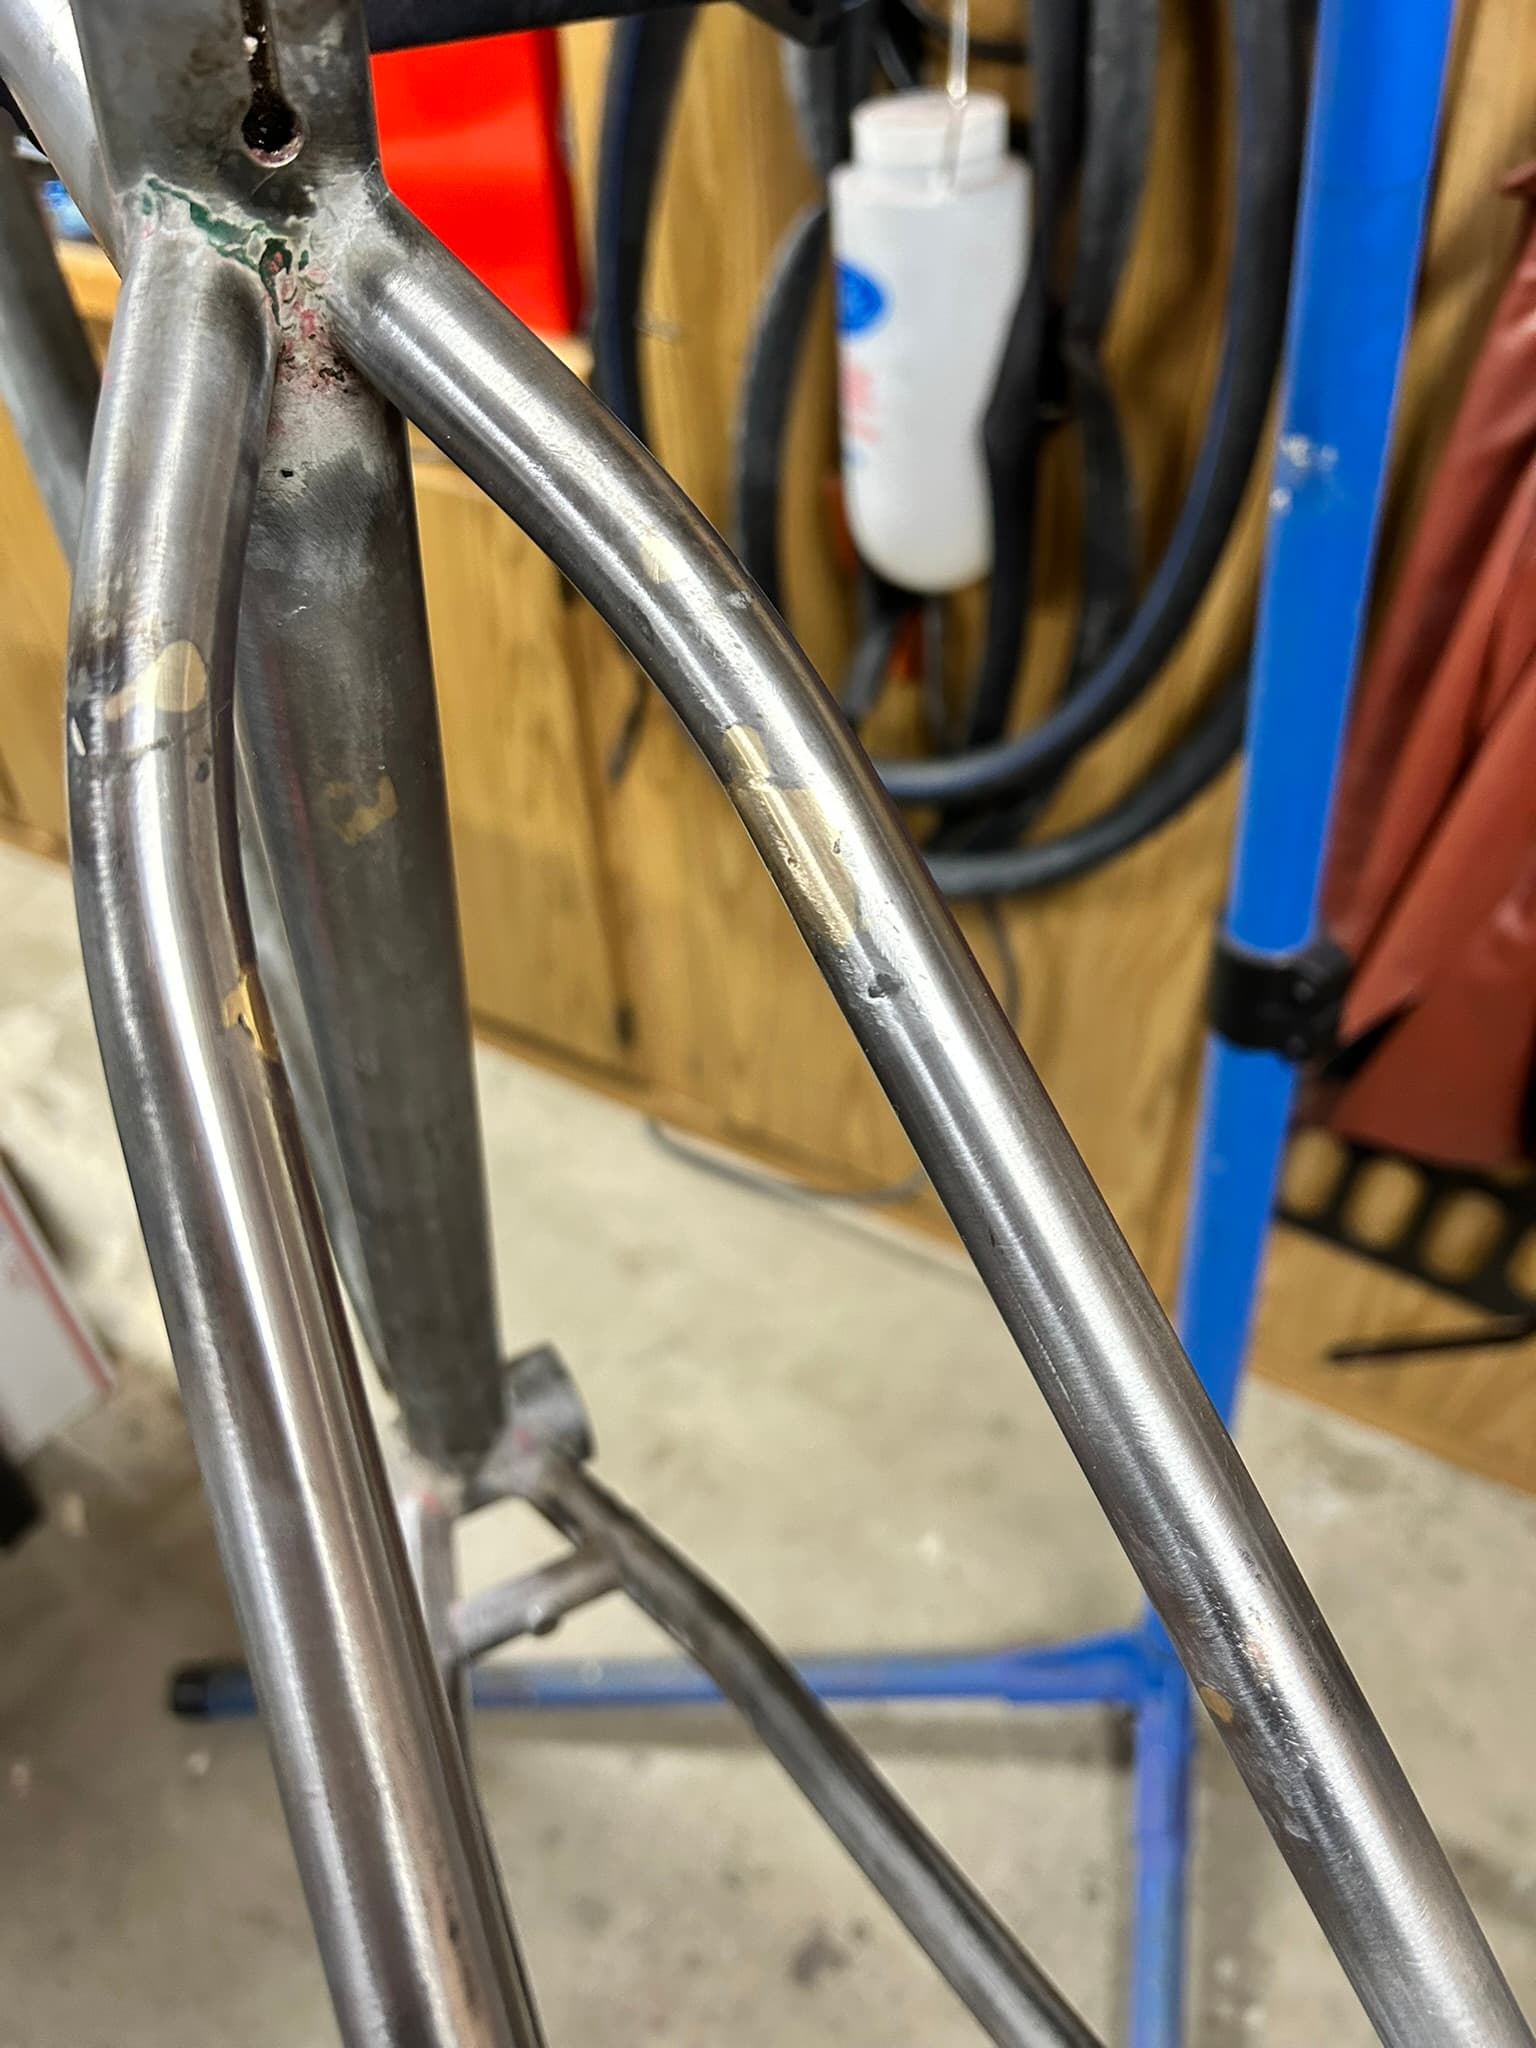
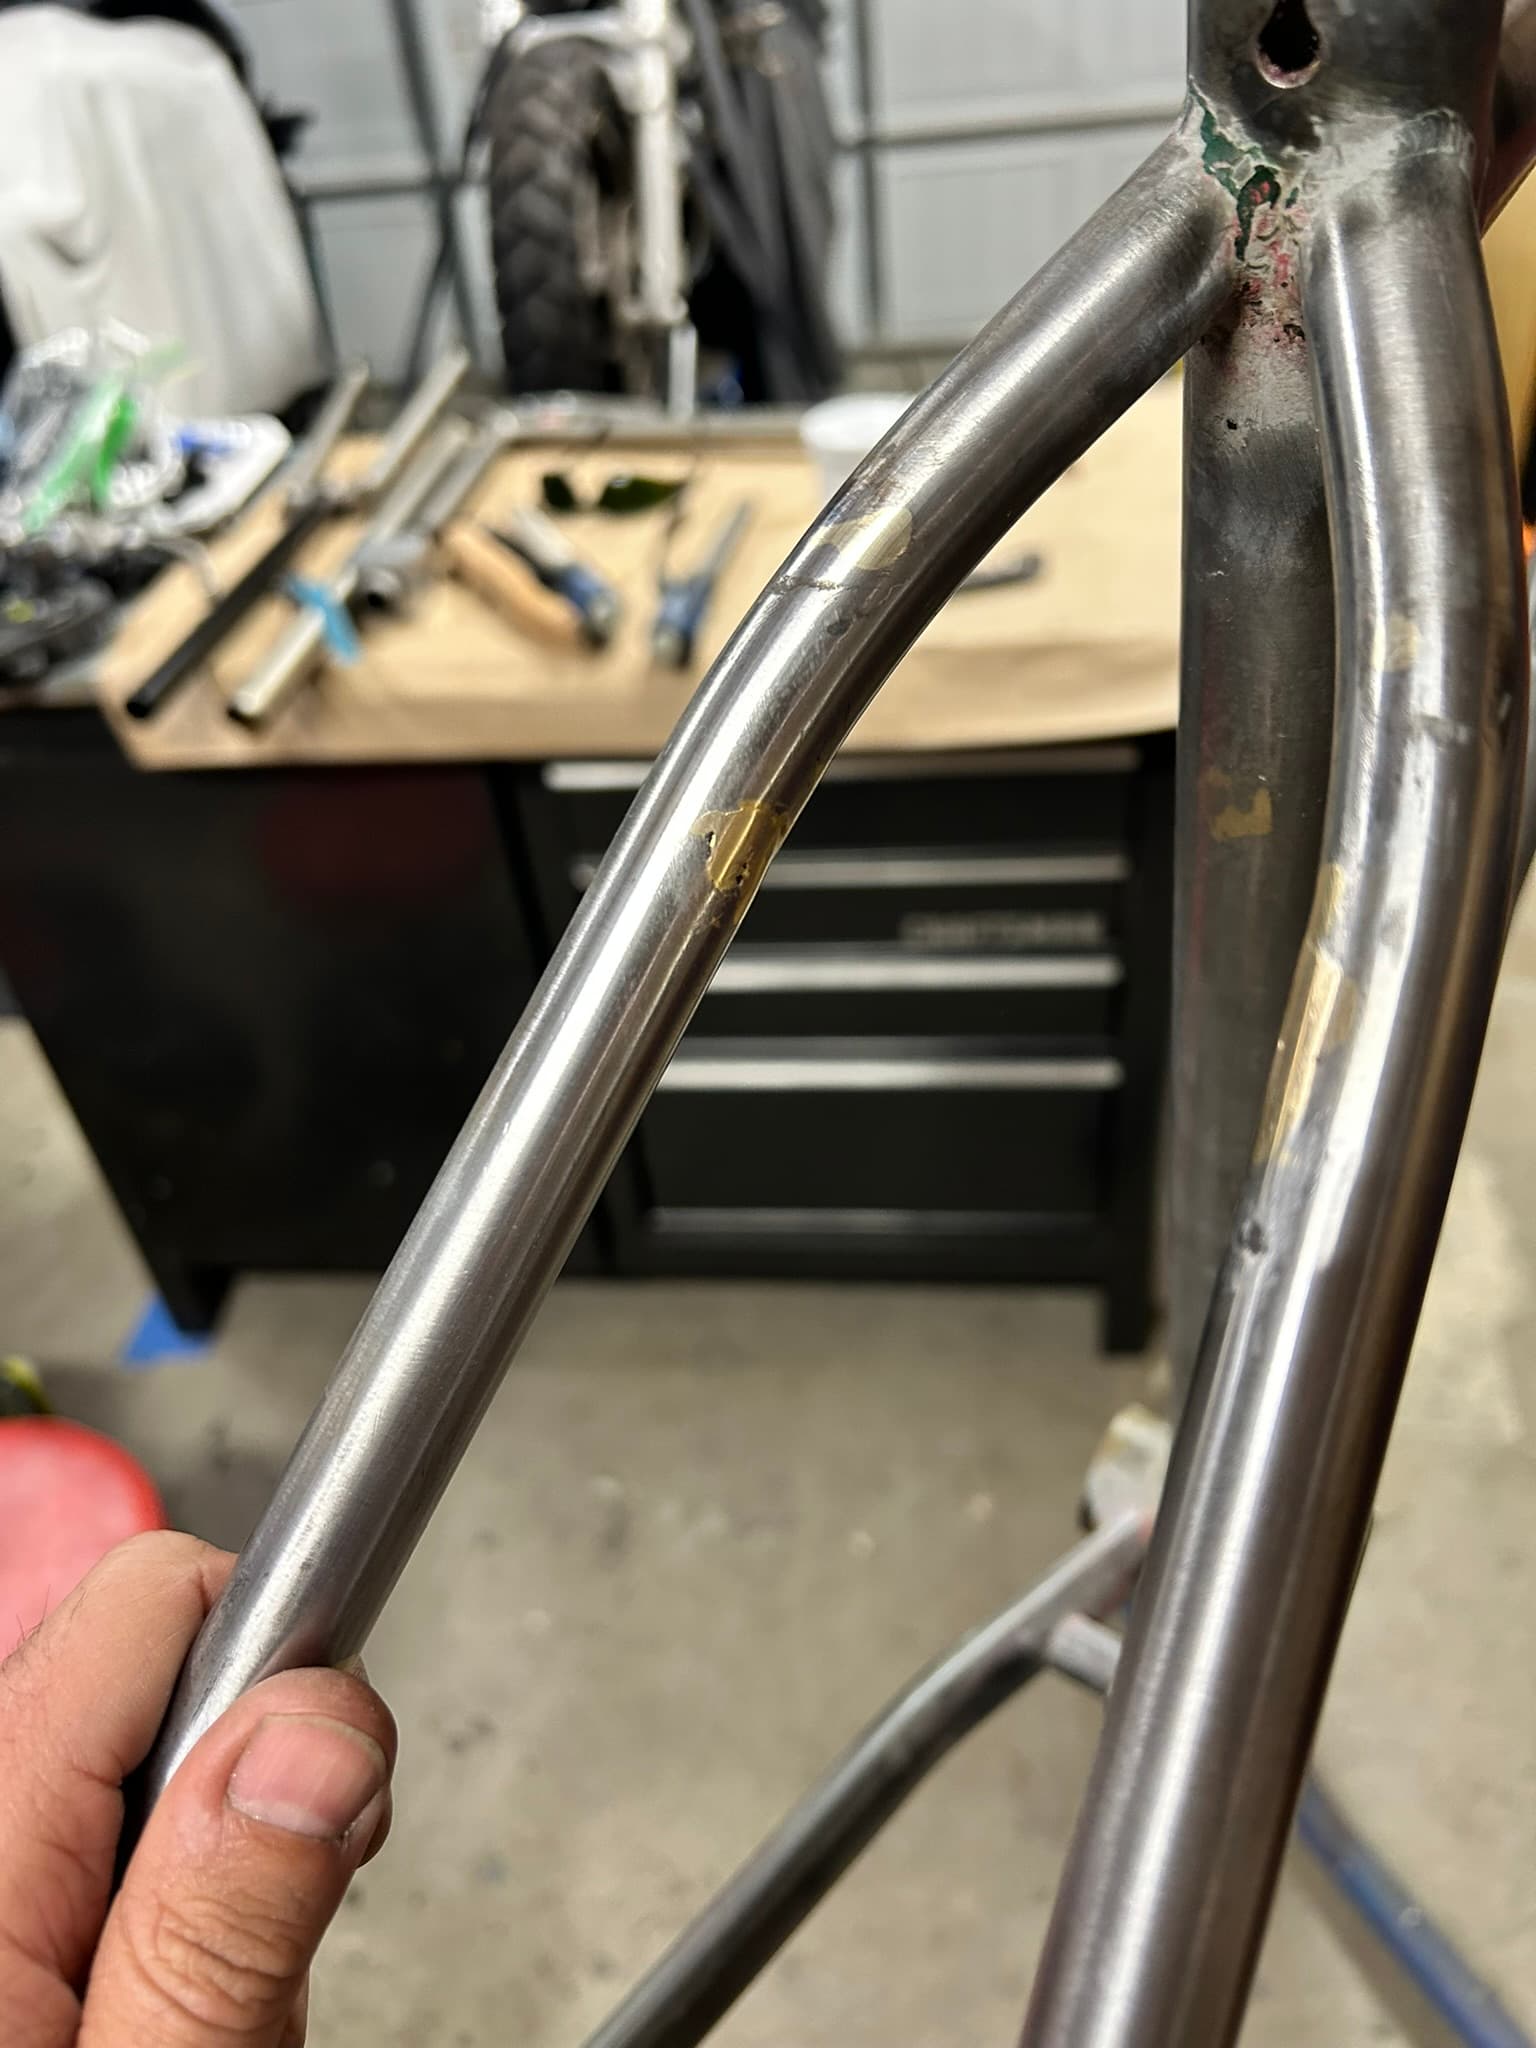
At the beginning I though that they drilled the seatstays, it was weirding me out but ok, instead nope, found a bunch of rust inside the brace and it had eaten away at the searstays.
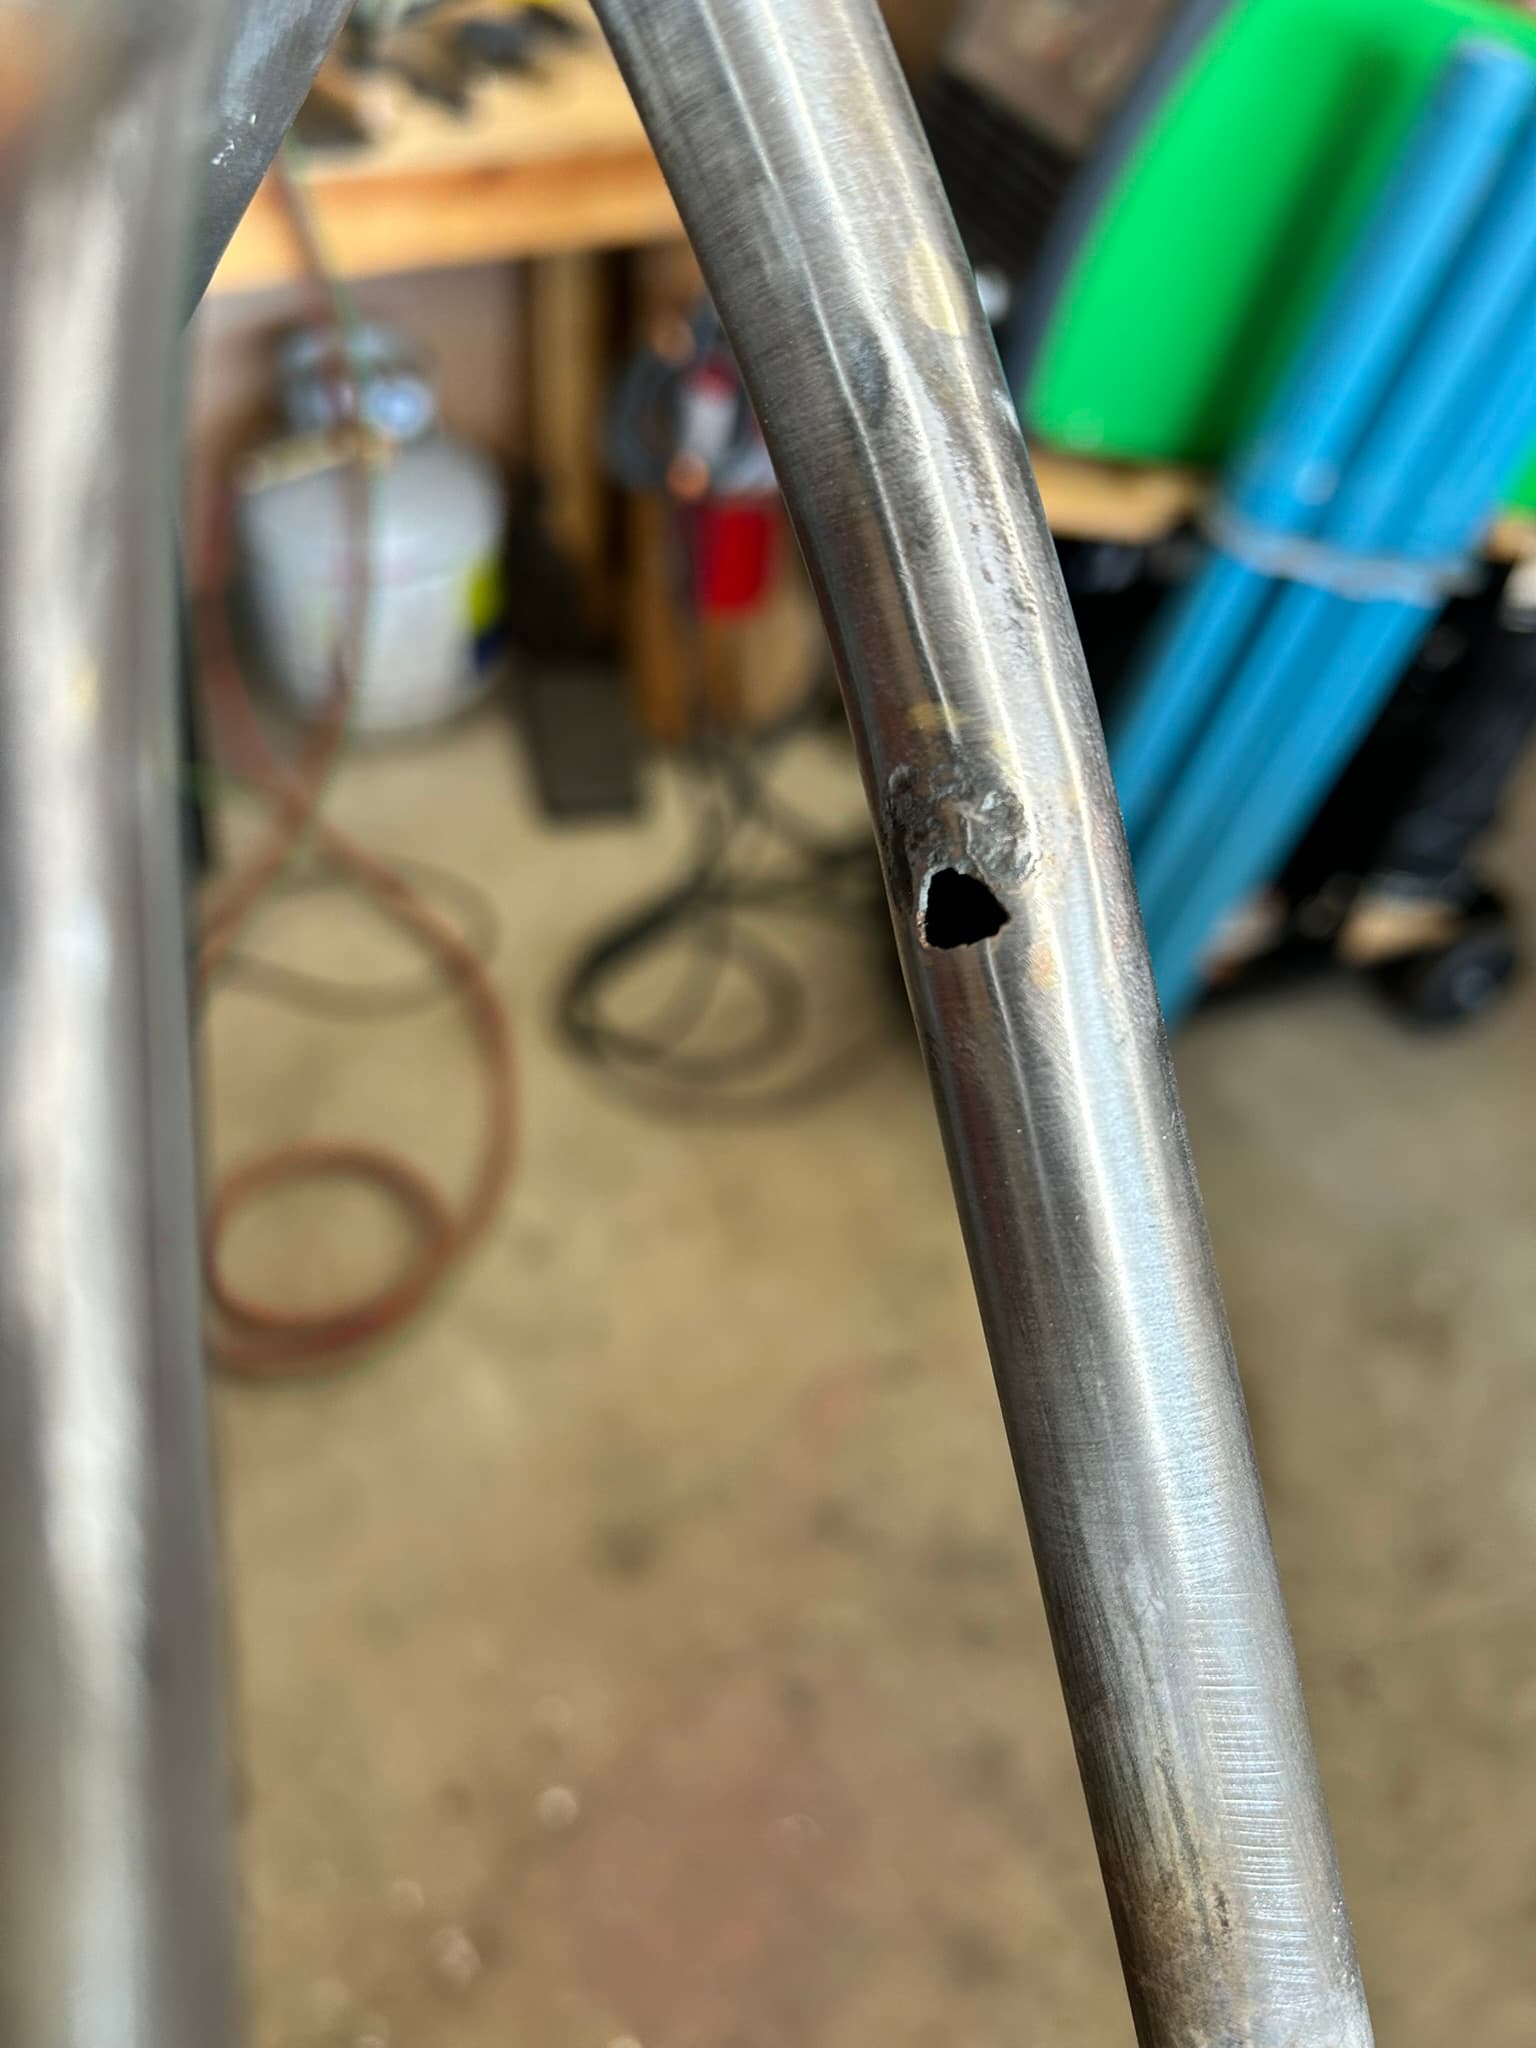
The left one has two pinholes, I could easily fix it, the right one has a giant hole, nearly 5mm in diameter!
An easy way to get mega tyre clearance if you don’t have a good way of bending tubes. I may do one of these on my next build. We will see how well things fit.
If you are tigging that hole shut I would try to fit a little piece of metal in there to at least take up some of the gap rather than just gobbing it over. And are you sure it’s all good on the backside now? You might have to remove more metal.
Alright, I had to sleep over it, I do really like the look of the seatstays without the brace so I came to the conclusion that I will just fix it for now and leave it be and move on to other parts of the build.
I figured I can always add a brace, add a reinforcement in the worse case move to a segmented seat stay like @guy153 suggested.
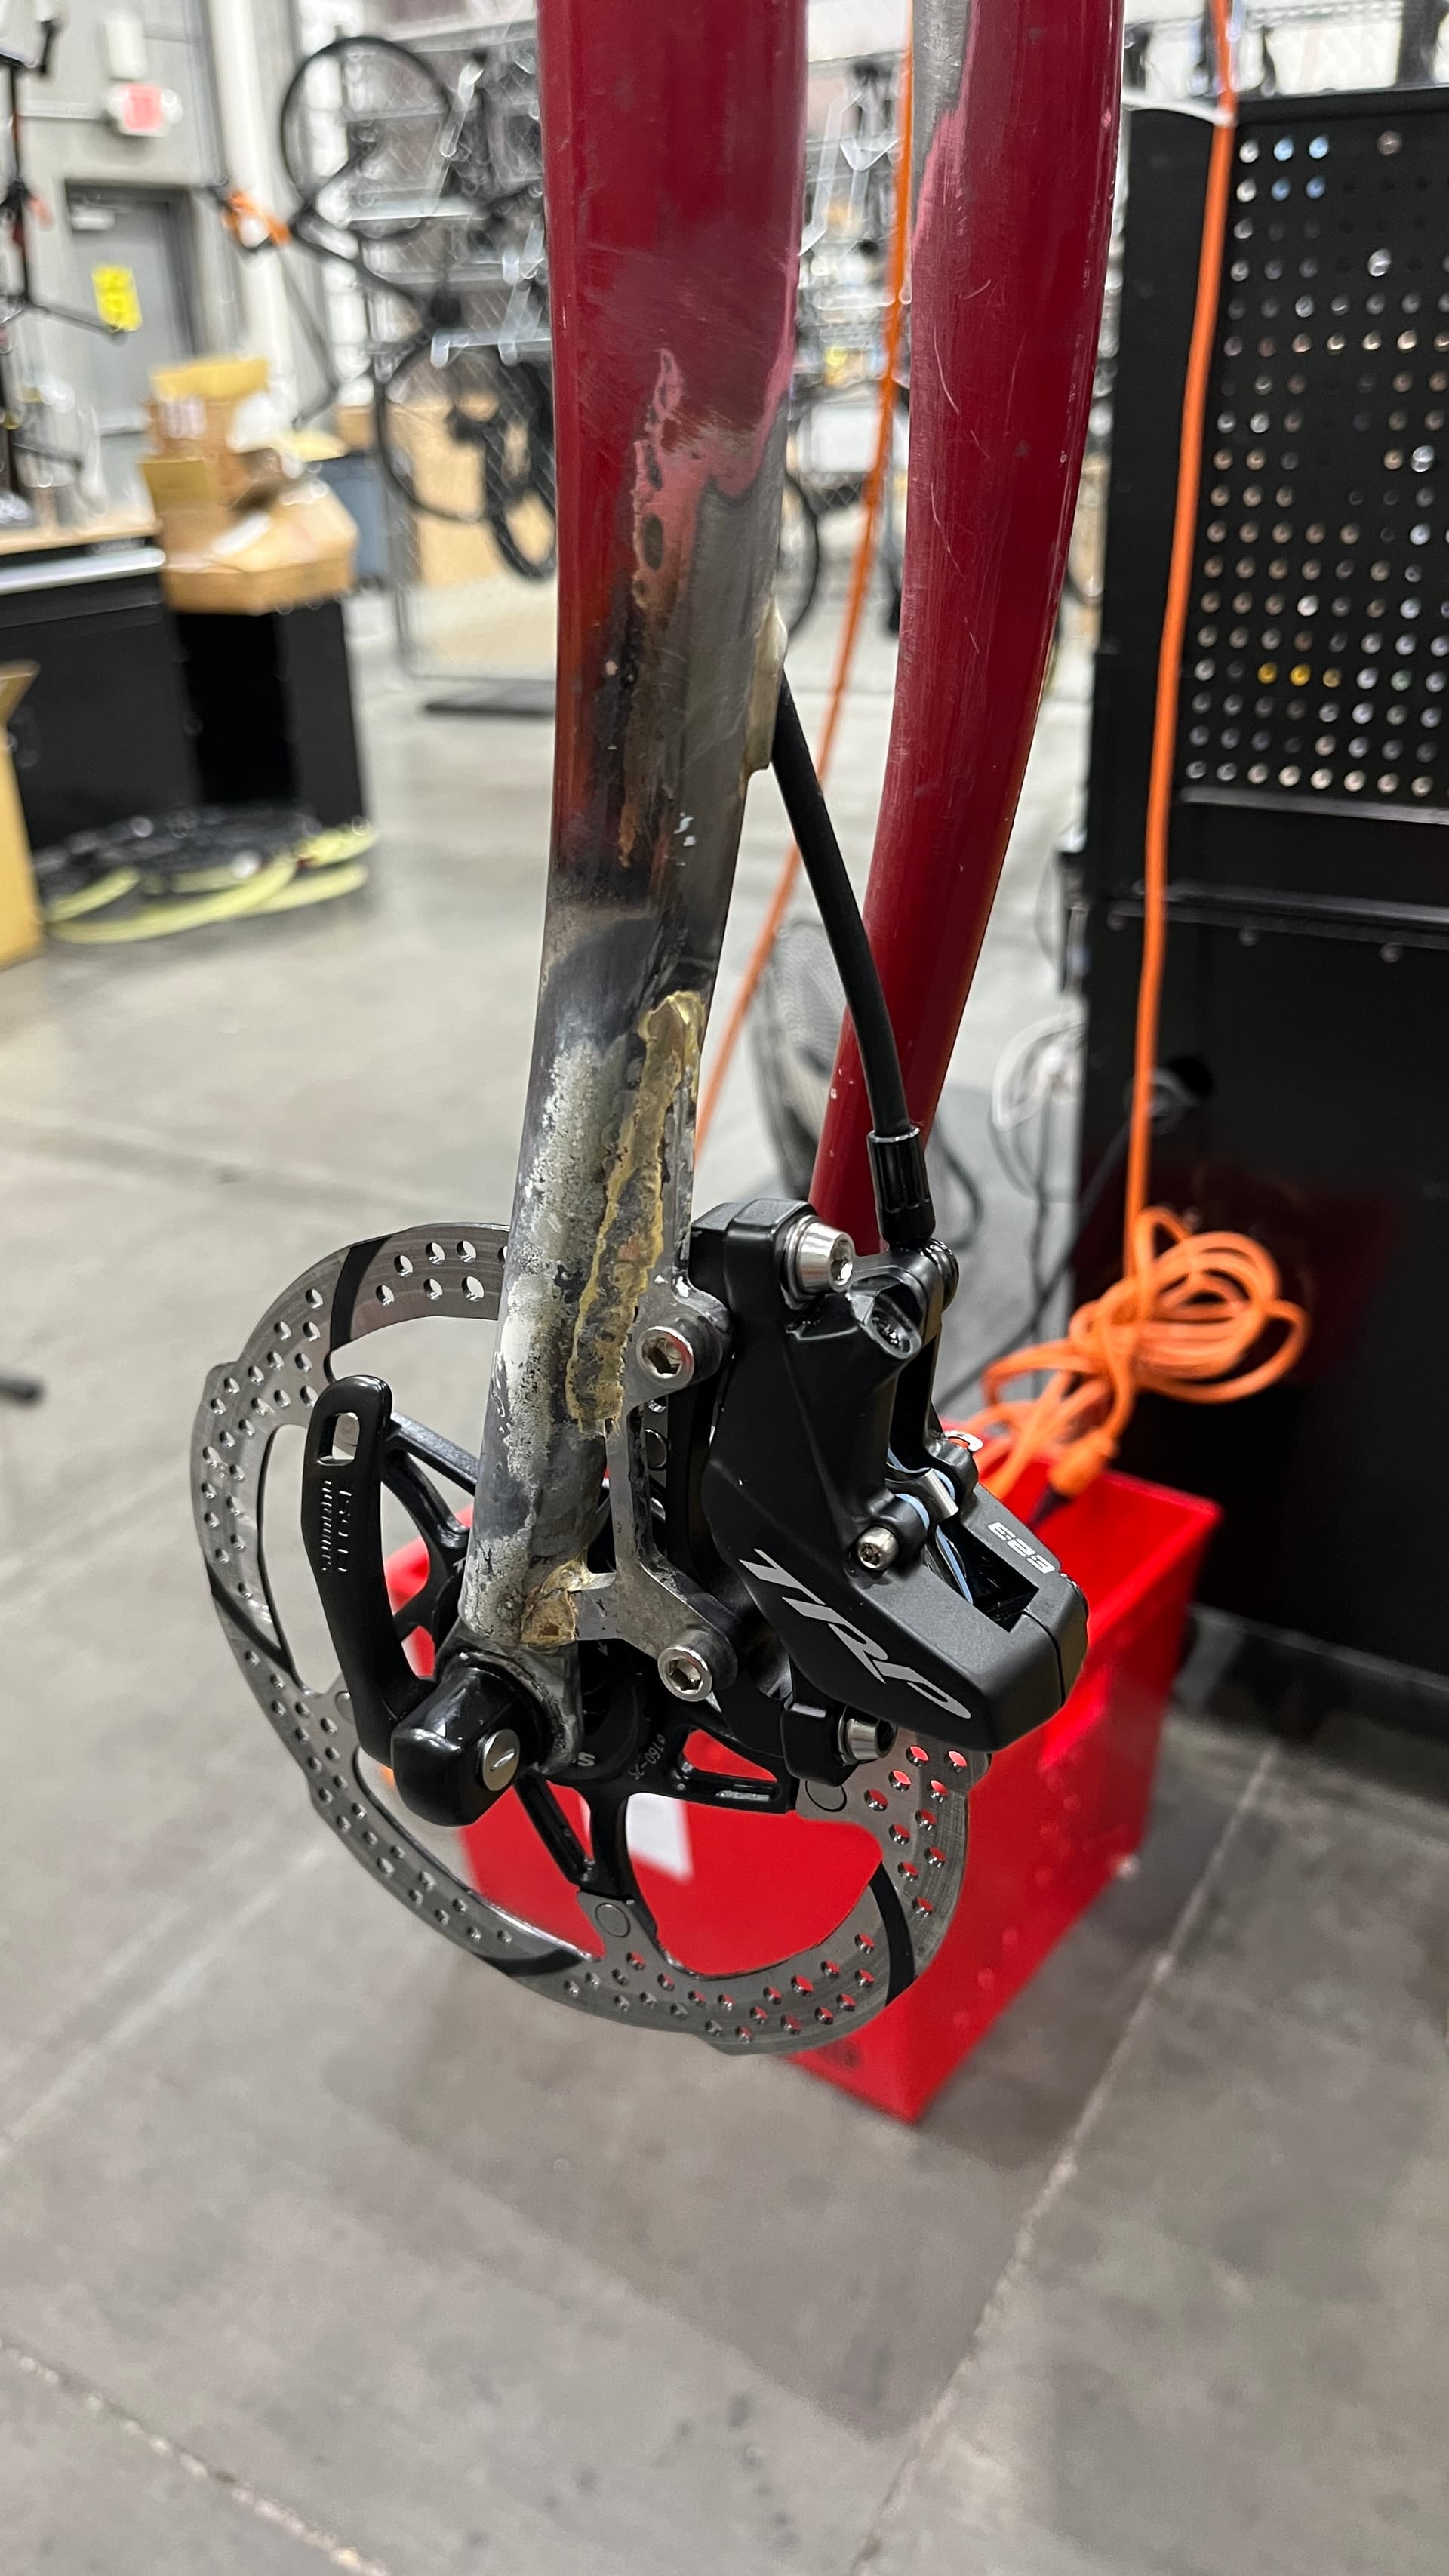
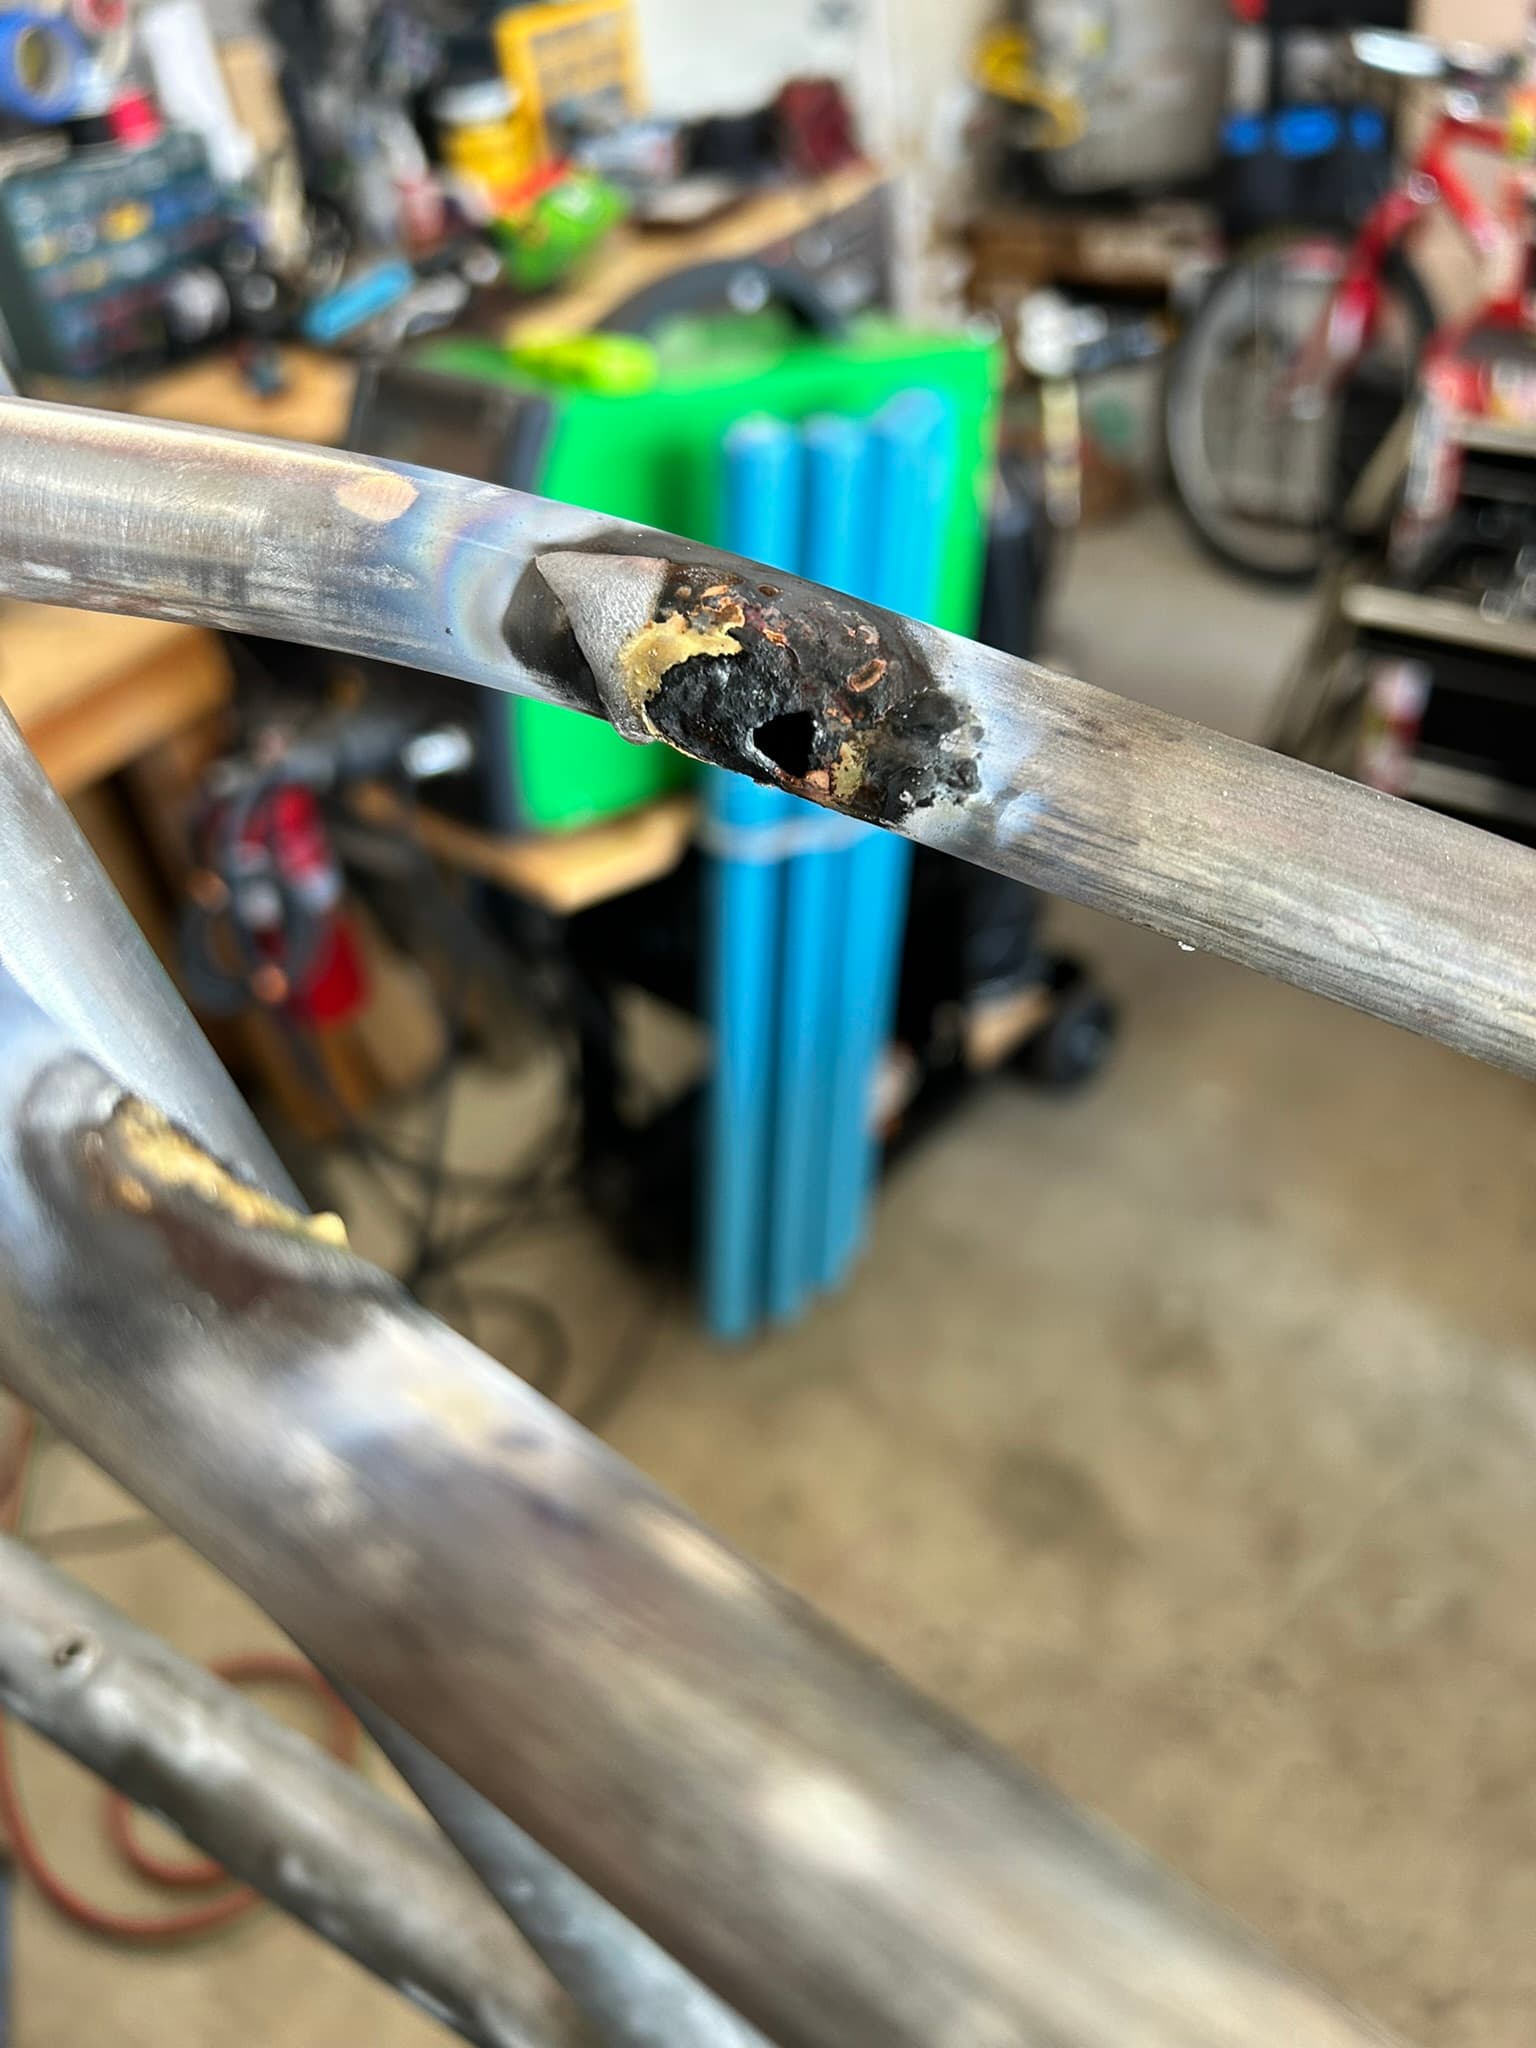
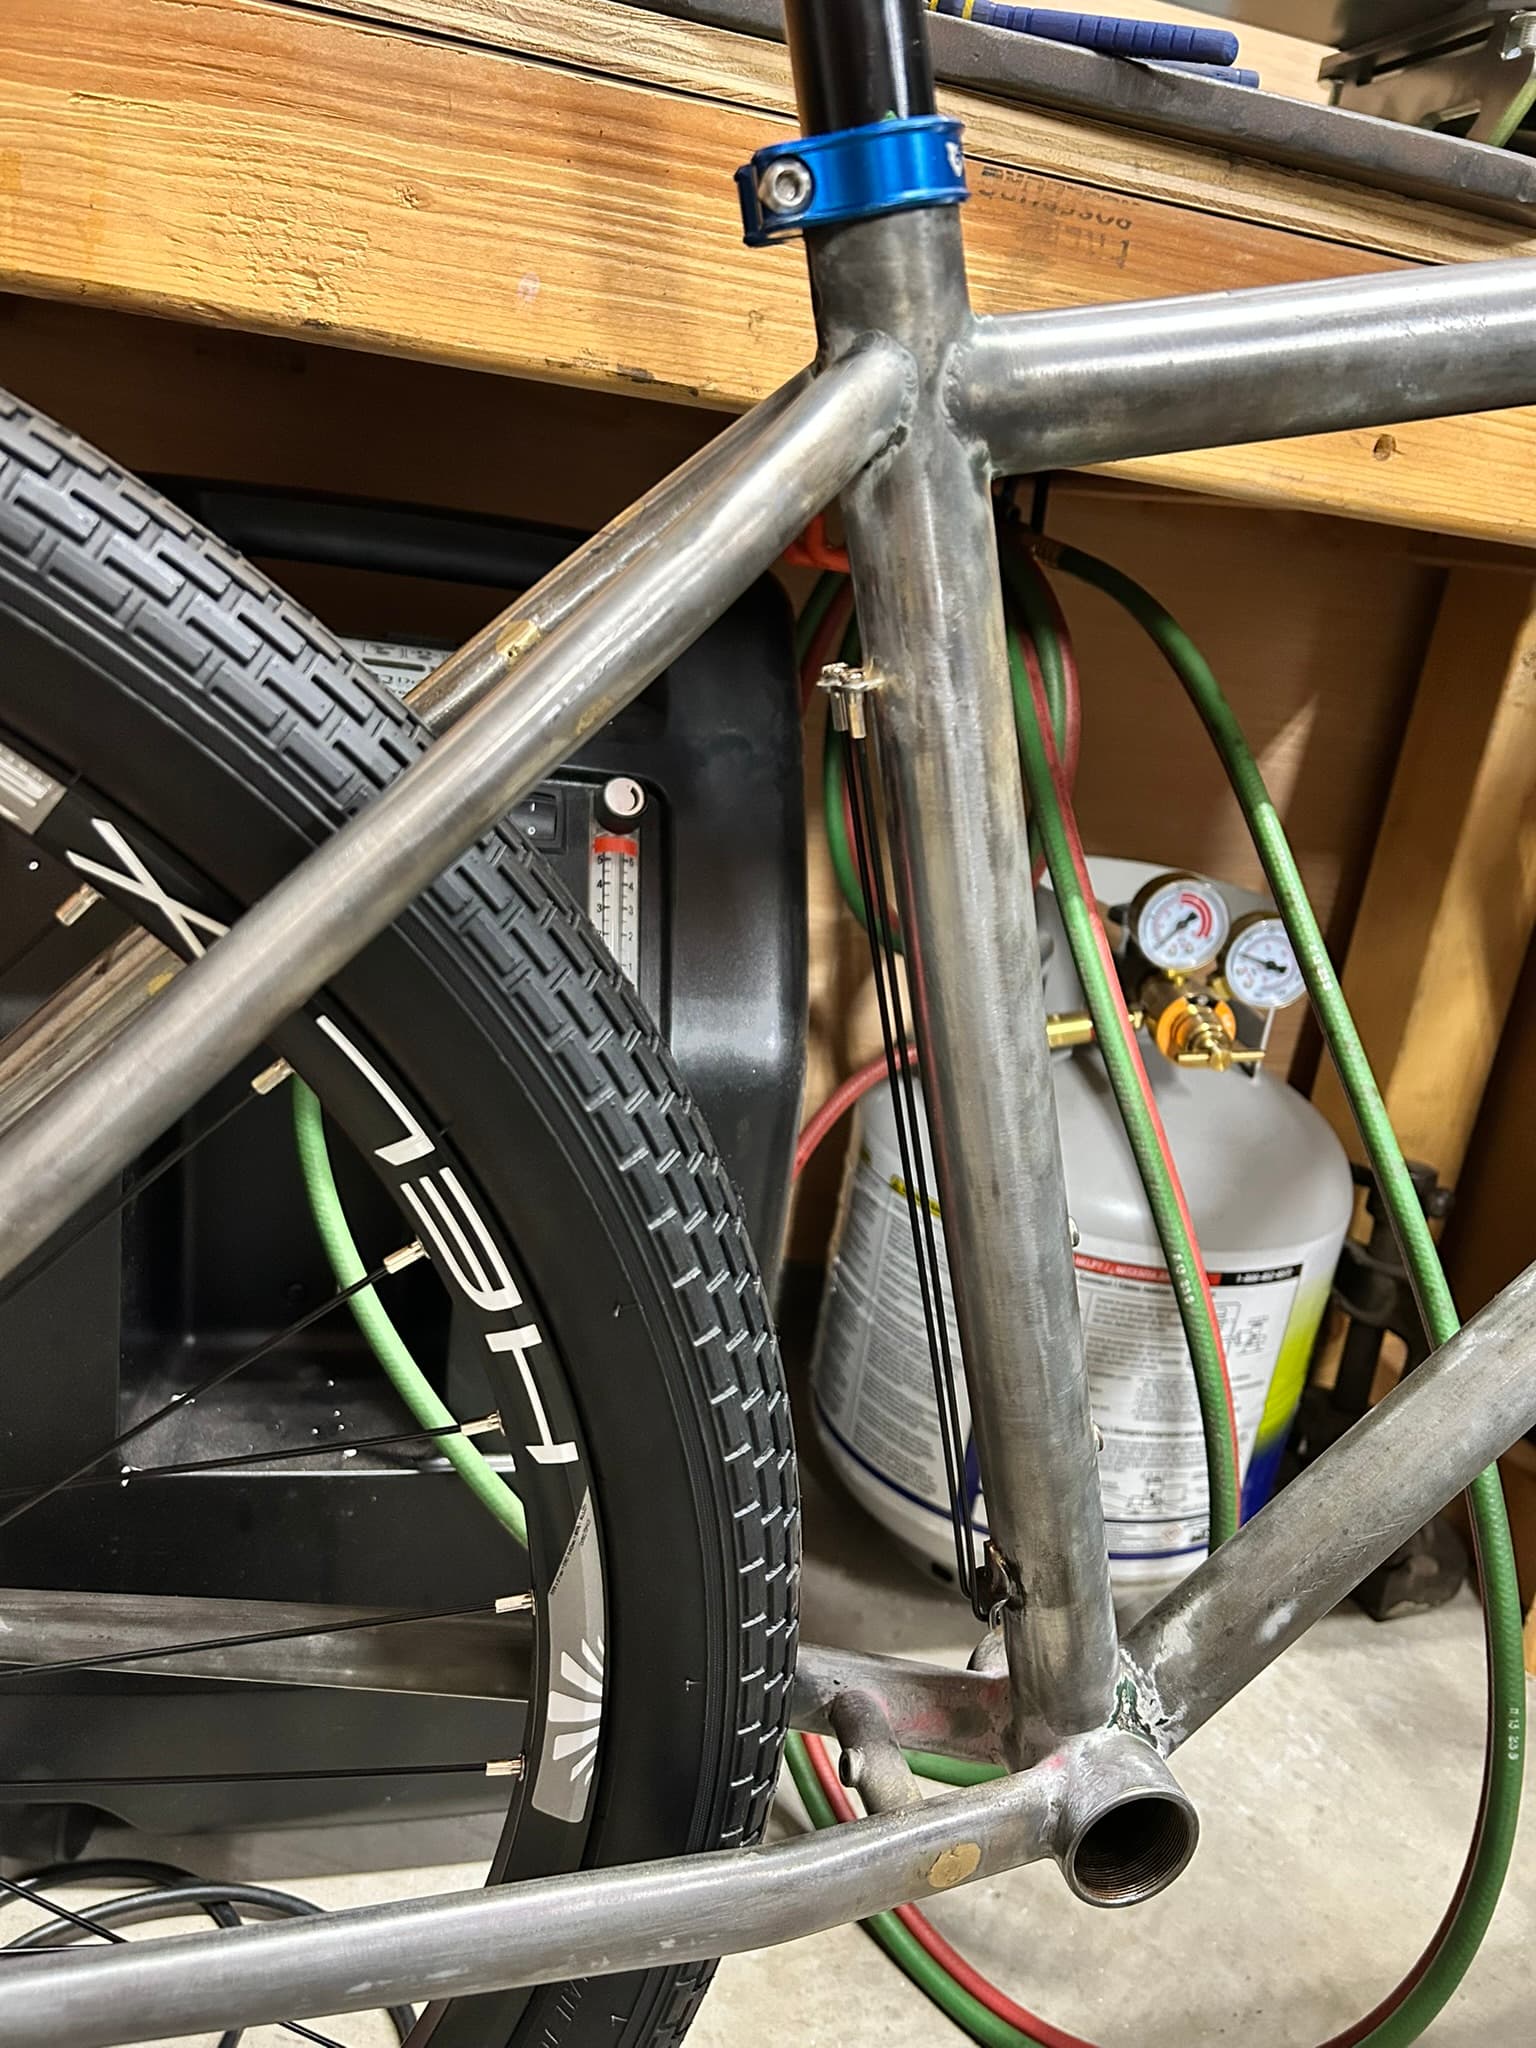
The tig was a bad idea, turns out that even with the tig set at 15A I still burned thru so, I removed a little extra material that was rusted and then added some brass, I have some extra thick rods that did the job “good enough”. I am going to leave it as is for now and move onto the disc brake tab and cable bosses.
Got a pair of 26x2.35 semi-slick, amazon-special they fit nicely, maybe I can push it to 2.5 on slick tires.
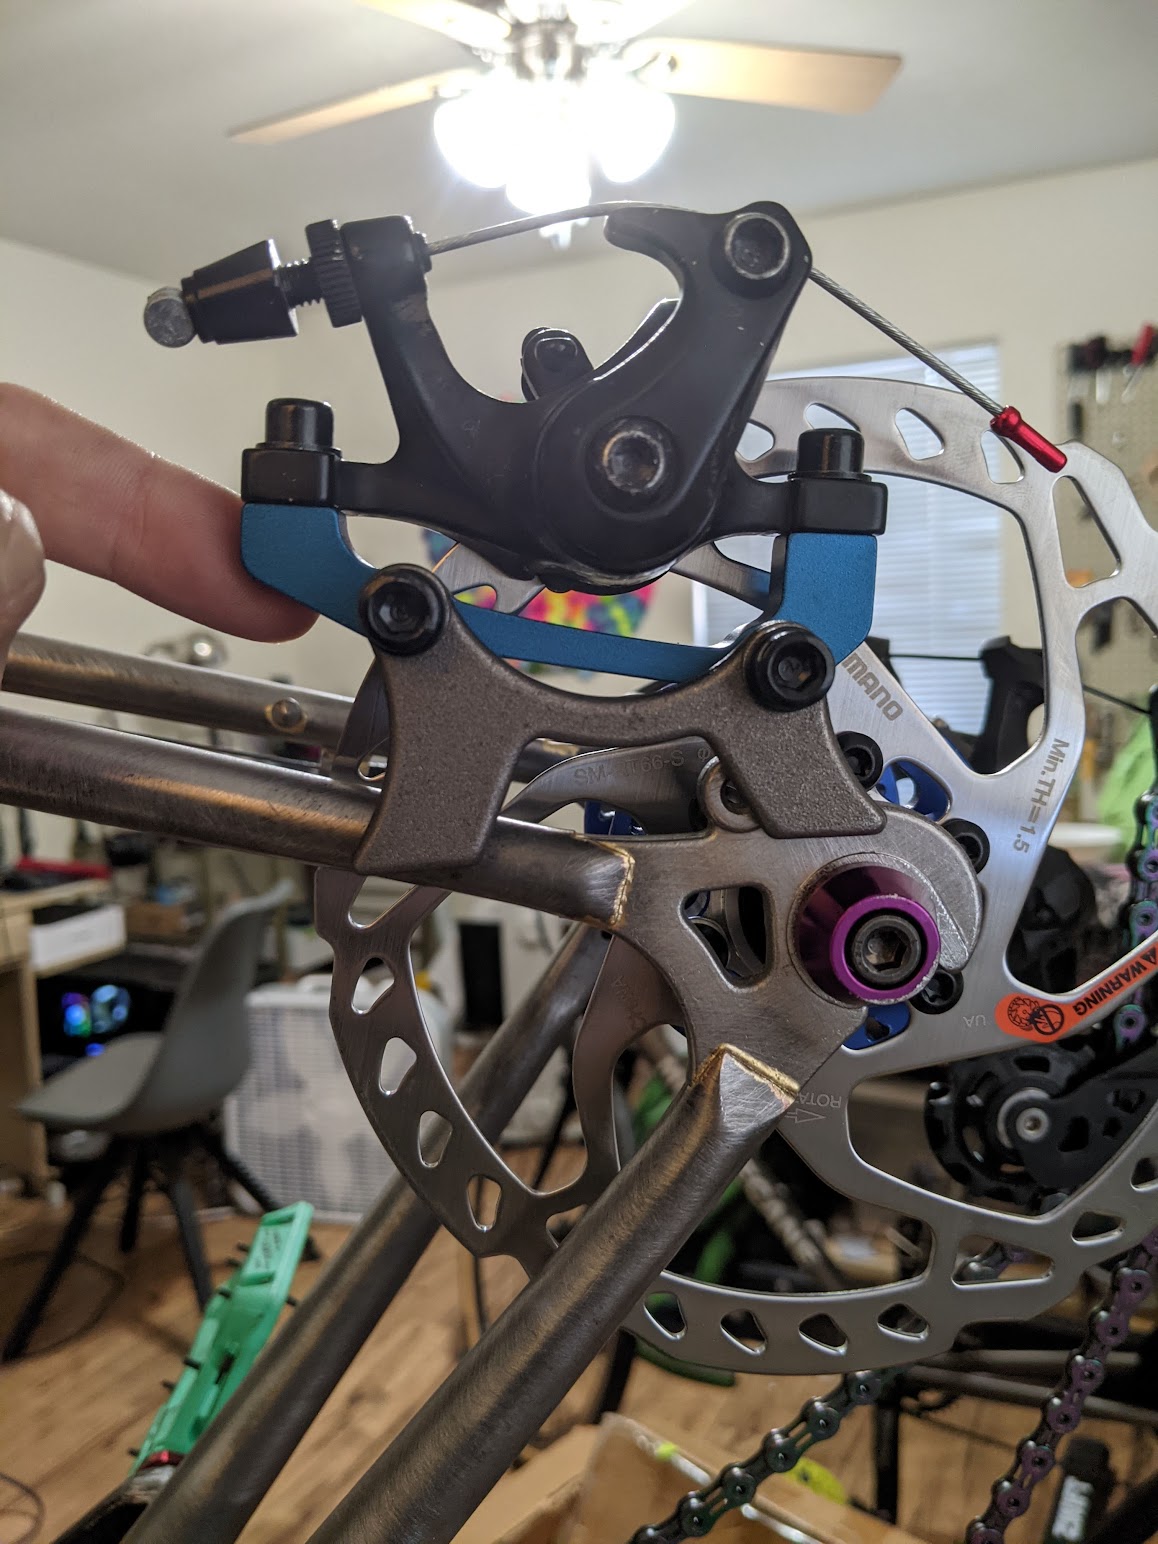
Let’s talk brakes now, I have a set of disc brakes coming next week, the idea was to add the mount in between the seat and chain stays if they fit, I don’t see any downsides to that, except that I won’t be able to add a brace between chain and seat stays, I always thought the brace was not needed, is it? Should I add one?
Also, I am thinking of adding a porteur handle - any reason not to?
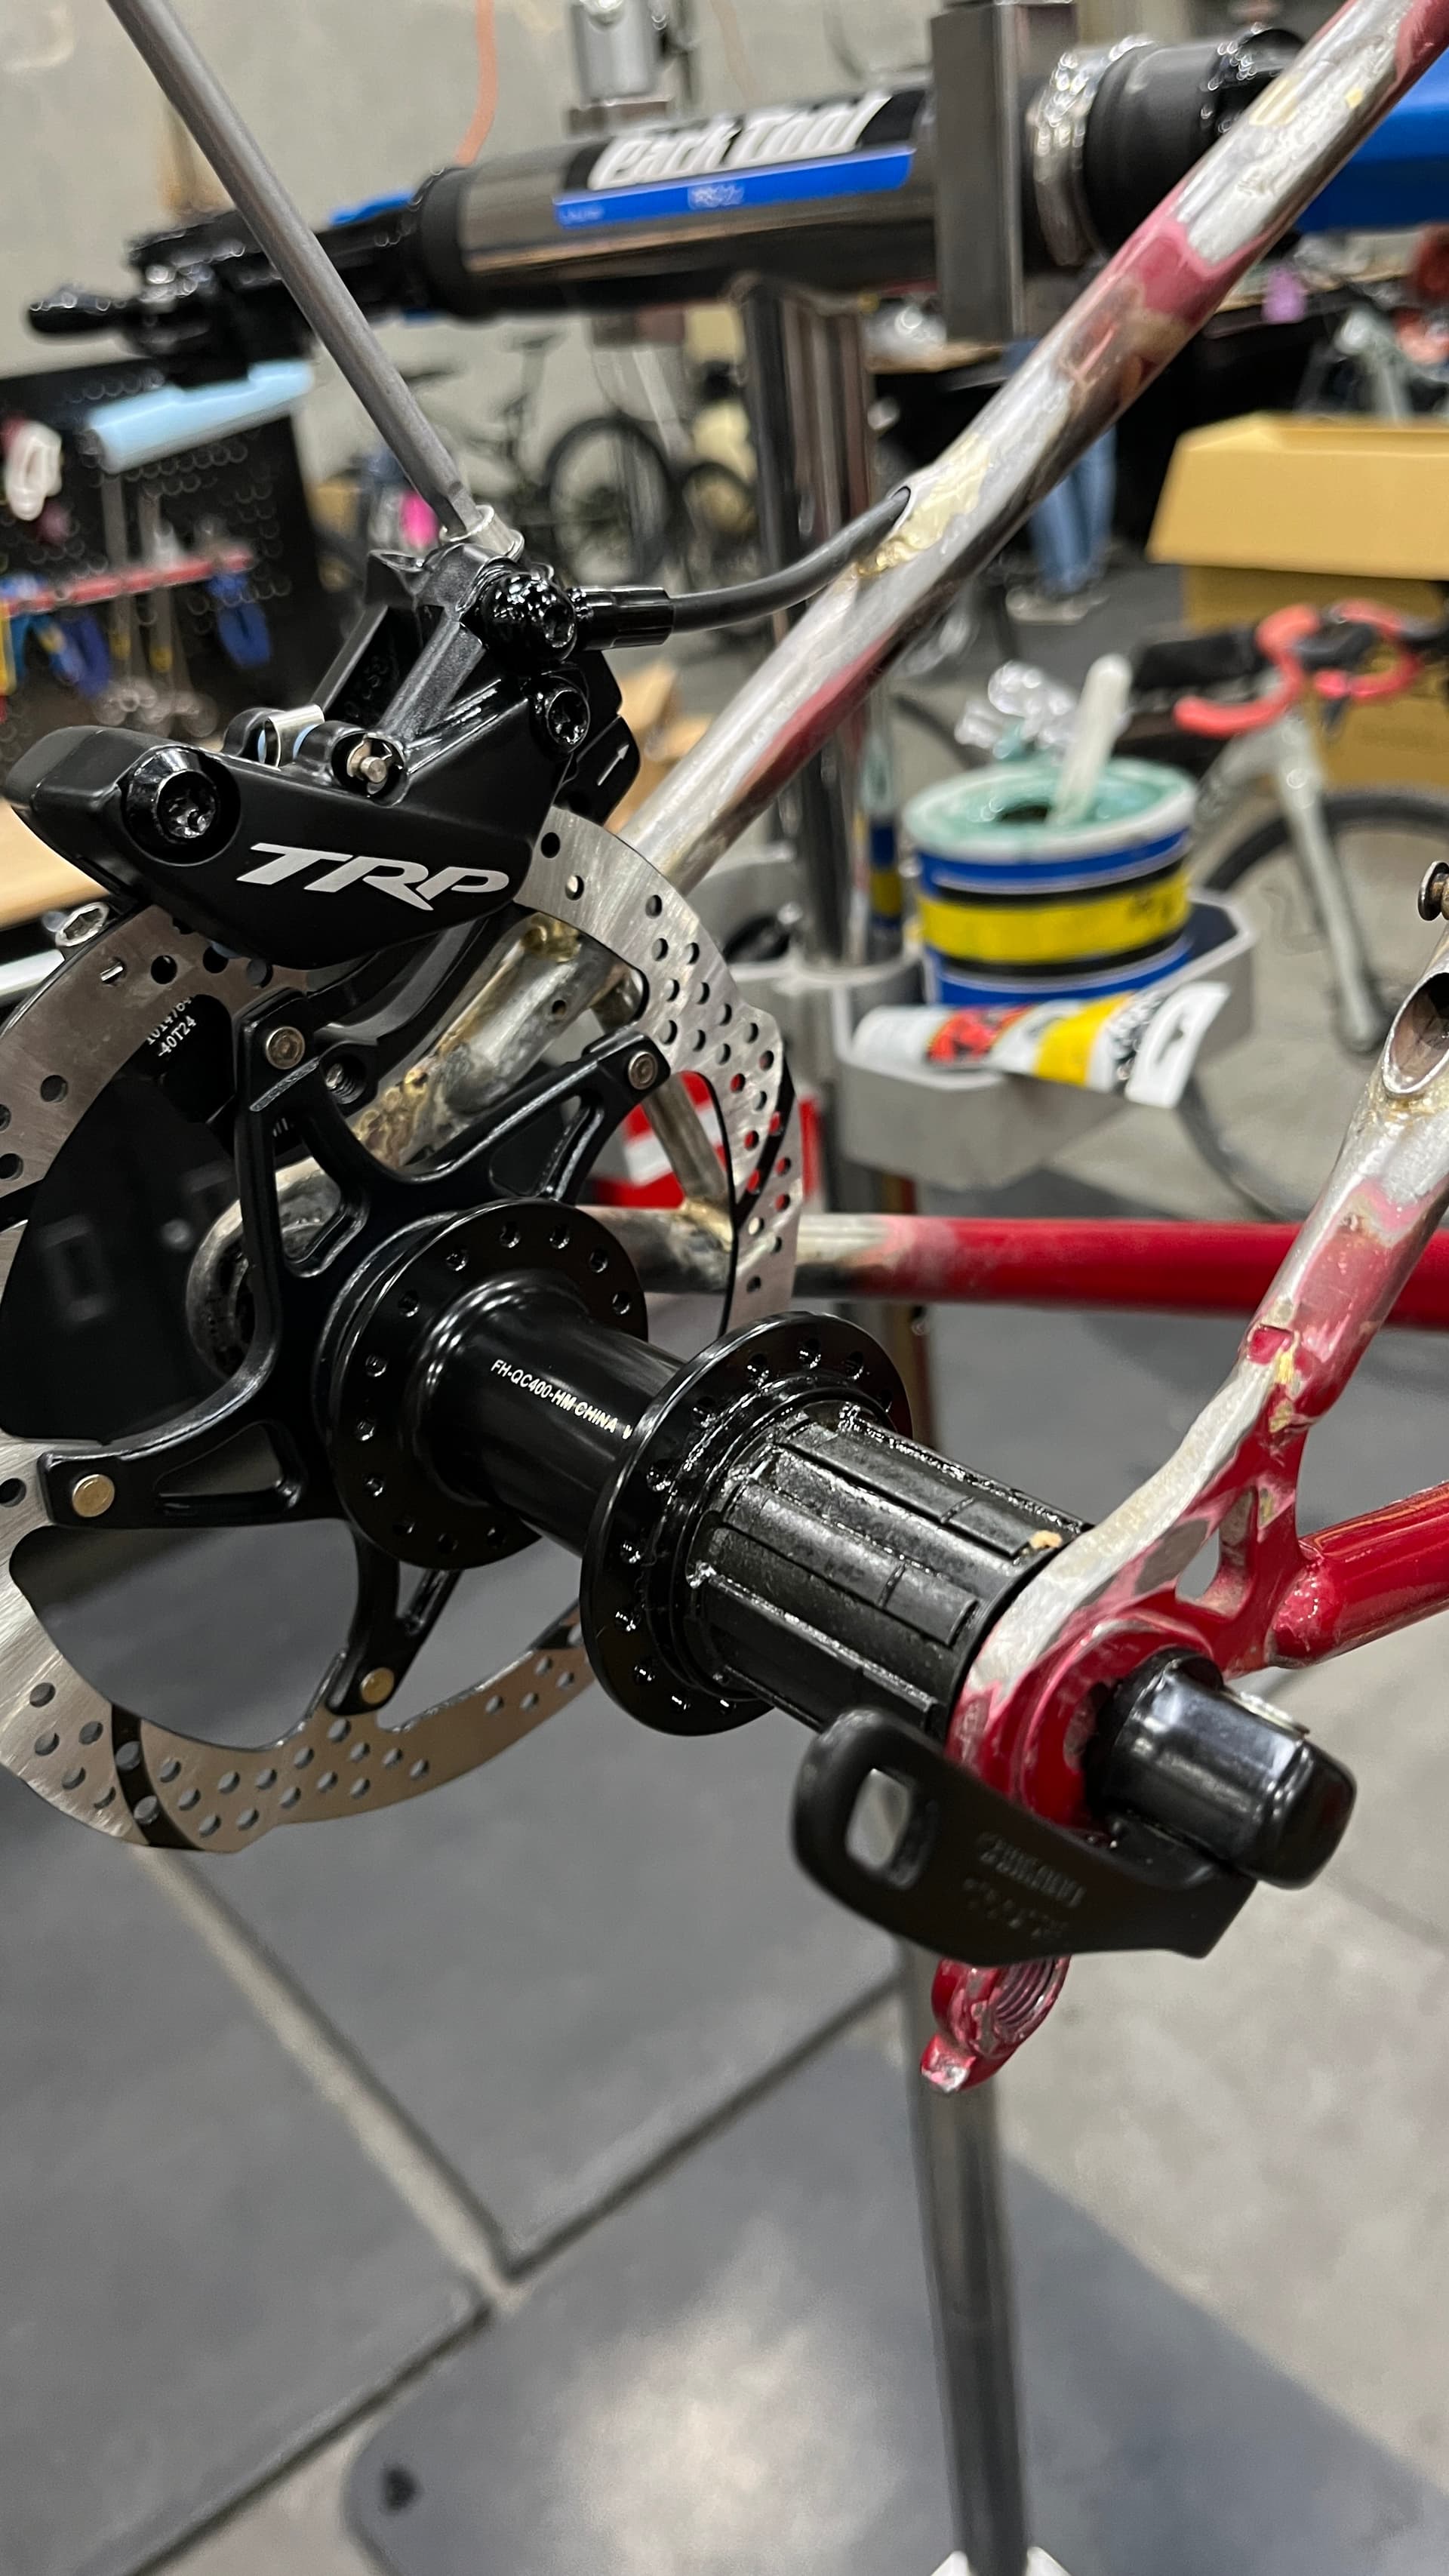
No need for jigs! Down here at Redneck Frameworks we (or rather I) attach a disk to a hub, put it in the dropout, bolt the caliper onto the post mount, perch everything in the right place, get a tack down, bend it a bit so the position is absolutely bob-on, and then put a couple more. Works fine. However IS is also fine. I think most calipers now are either PM or flat-mount but there are adaptors for at least PM->ISO.