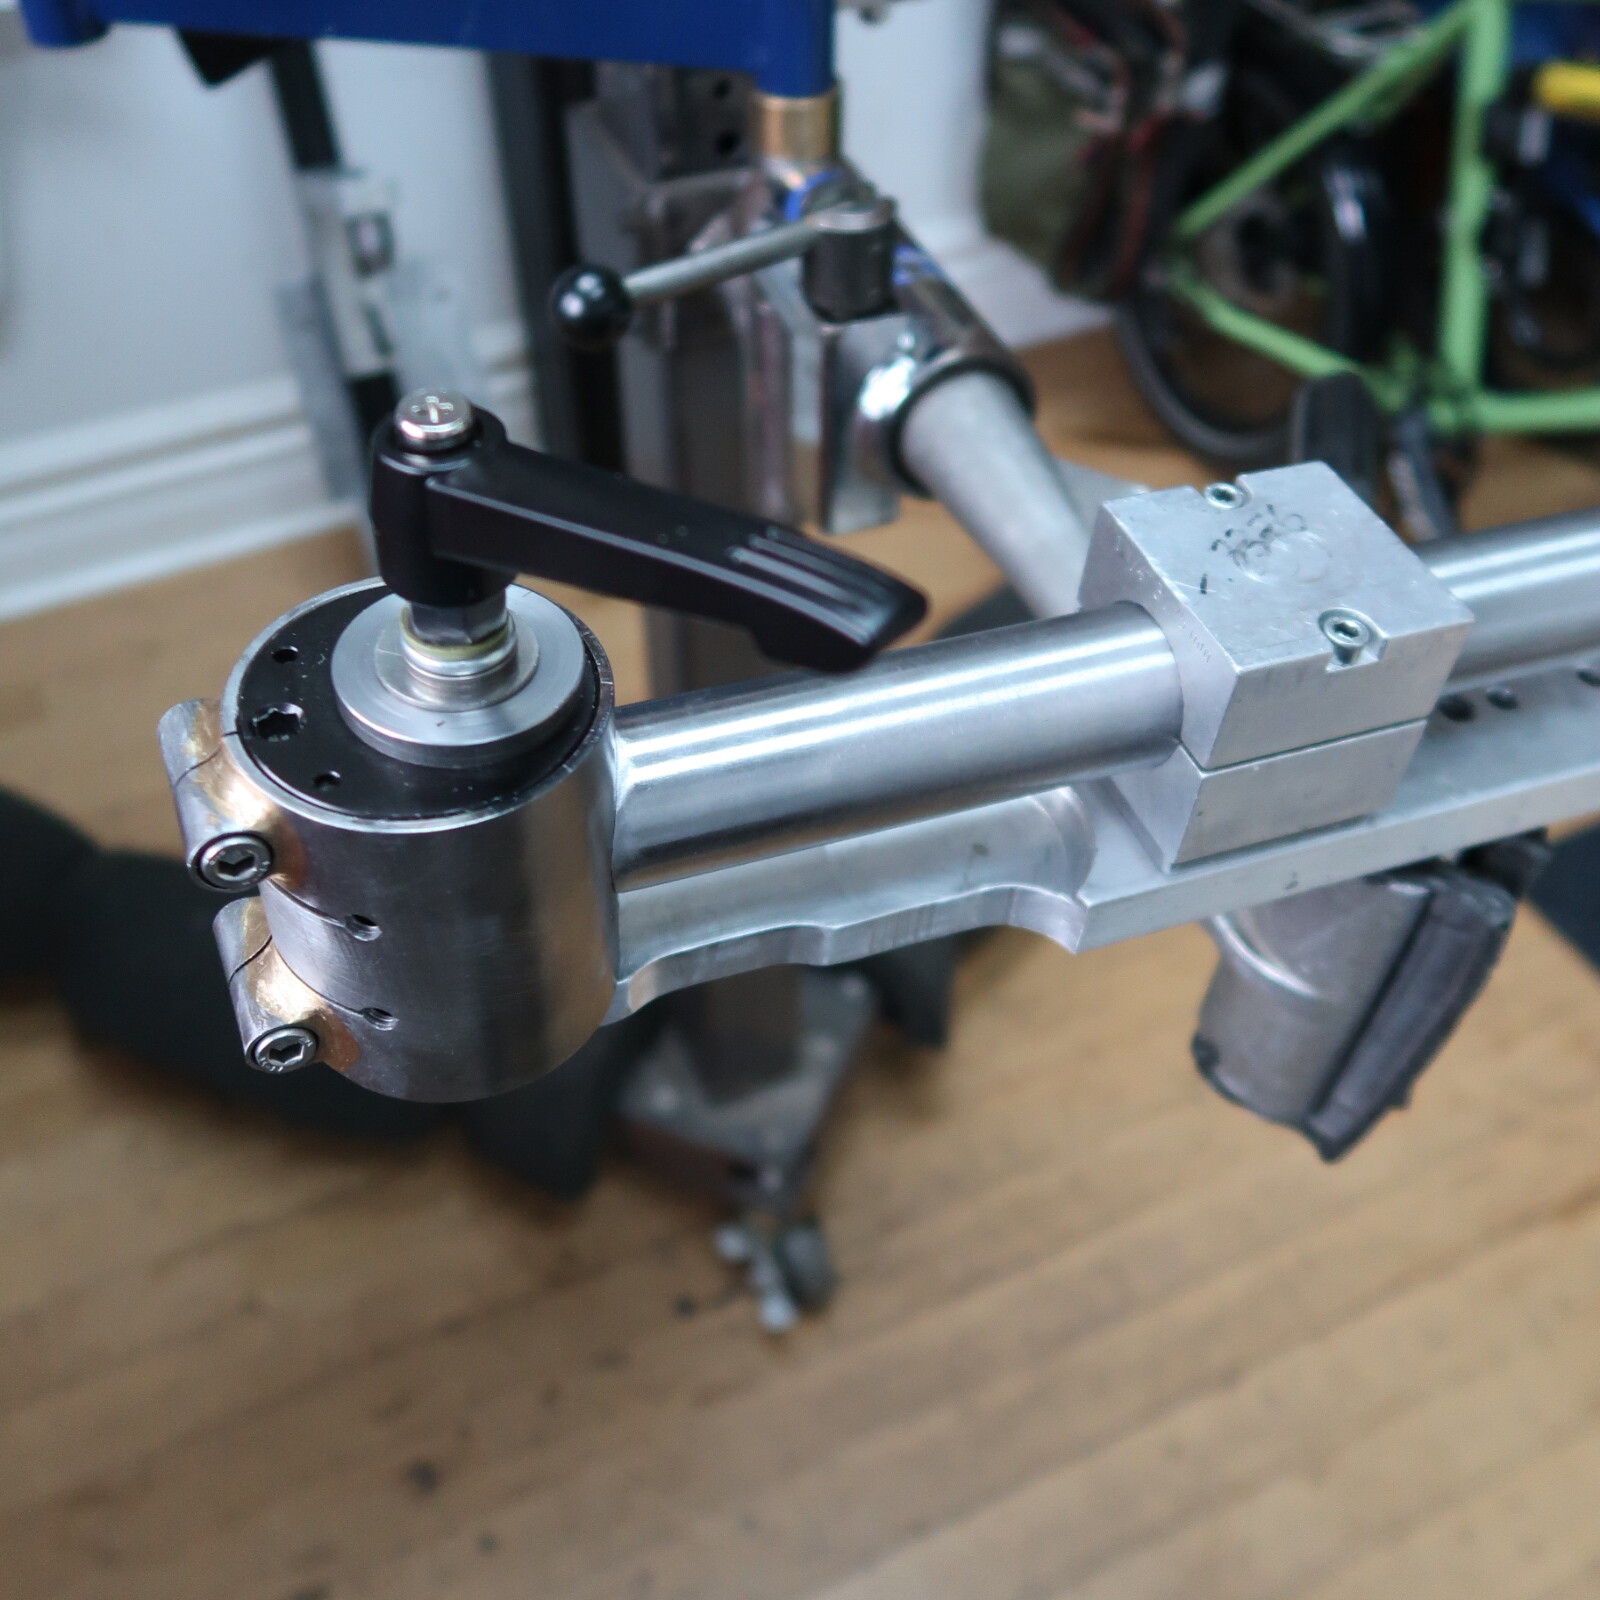
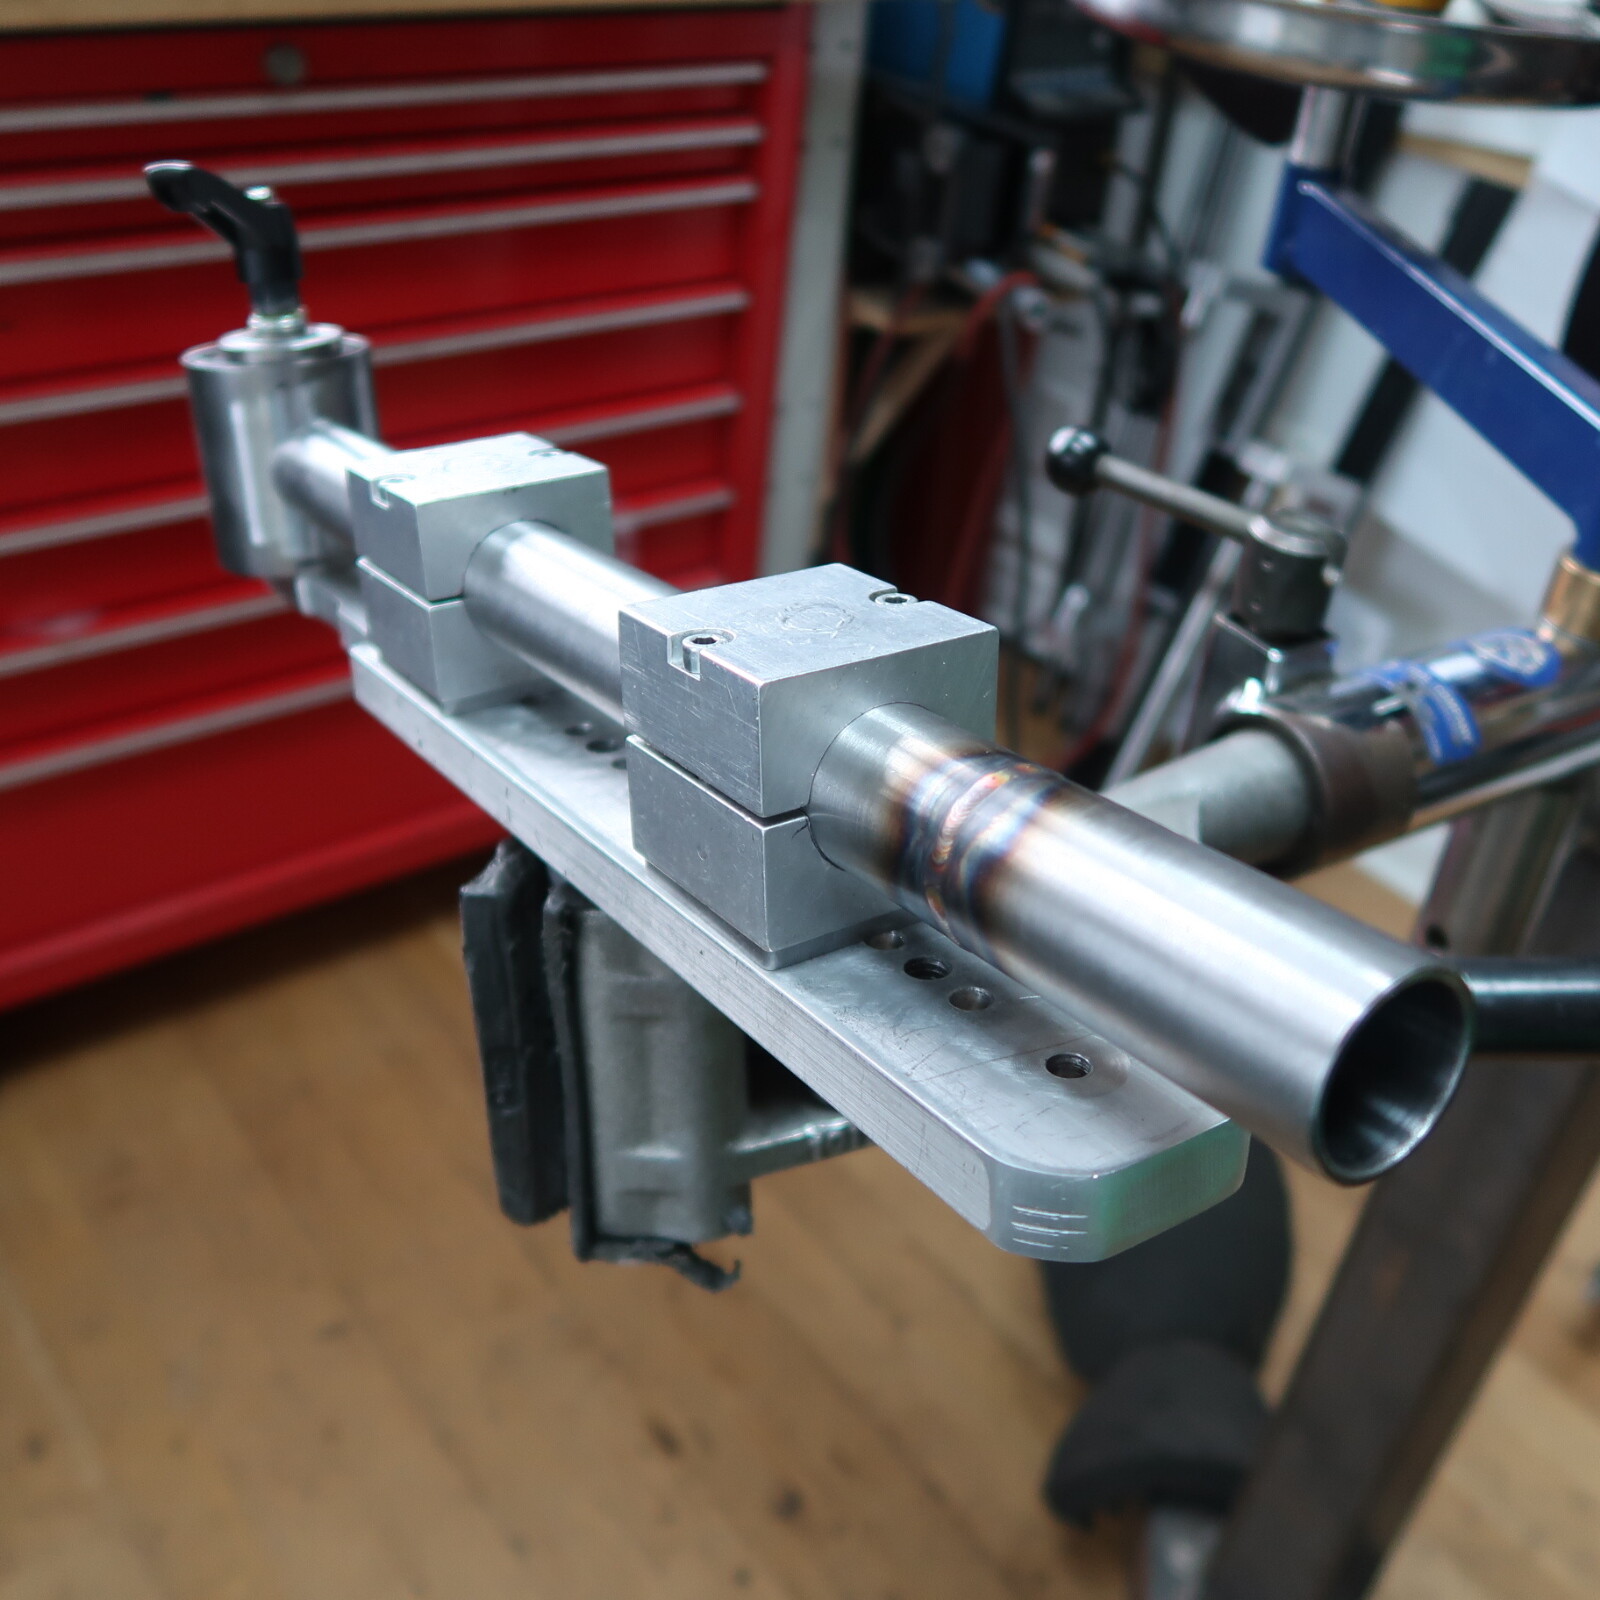
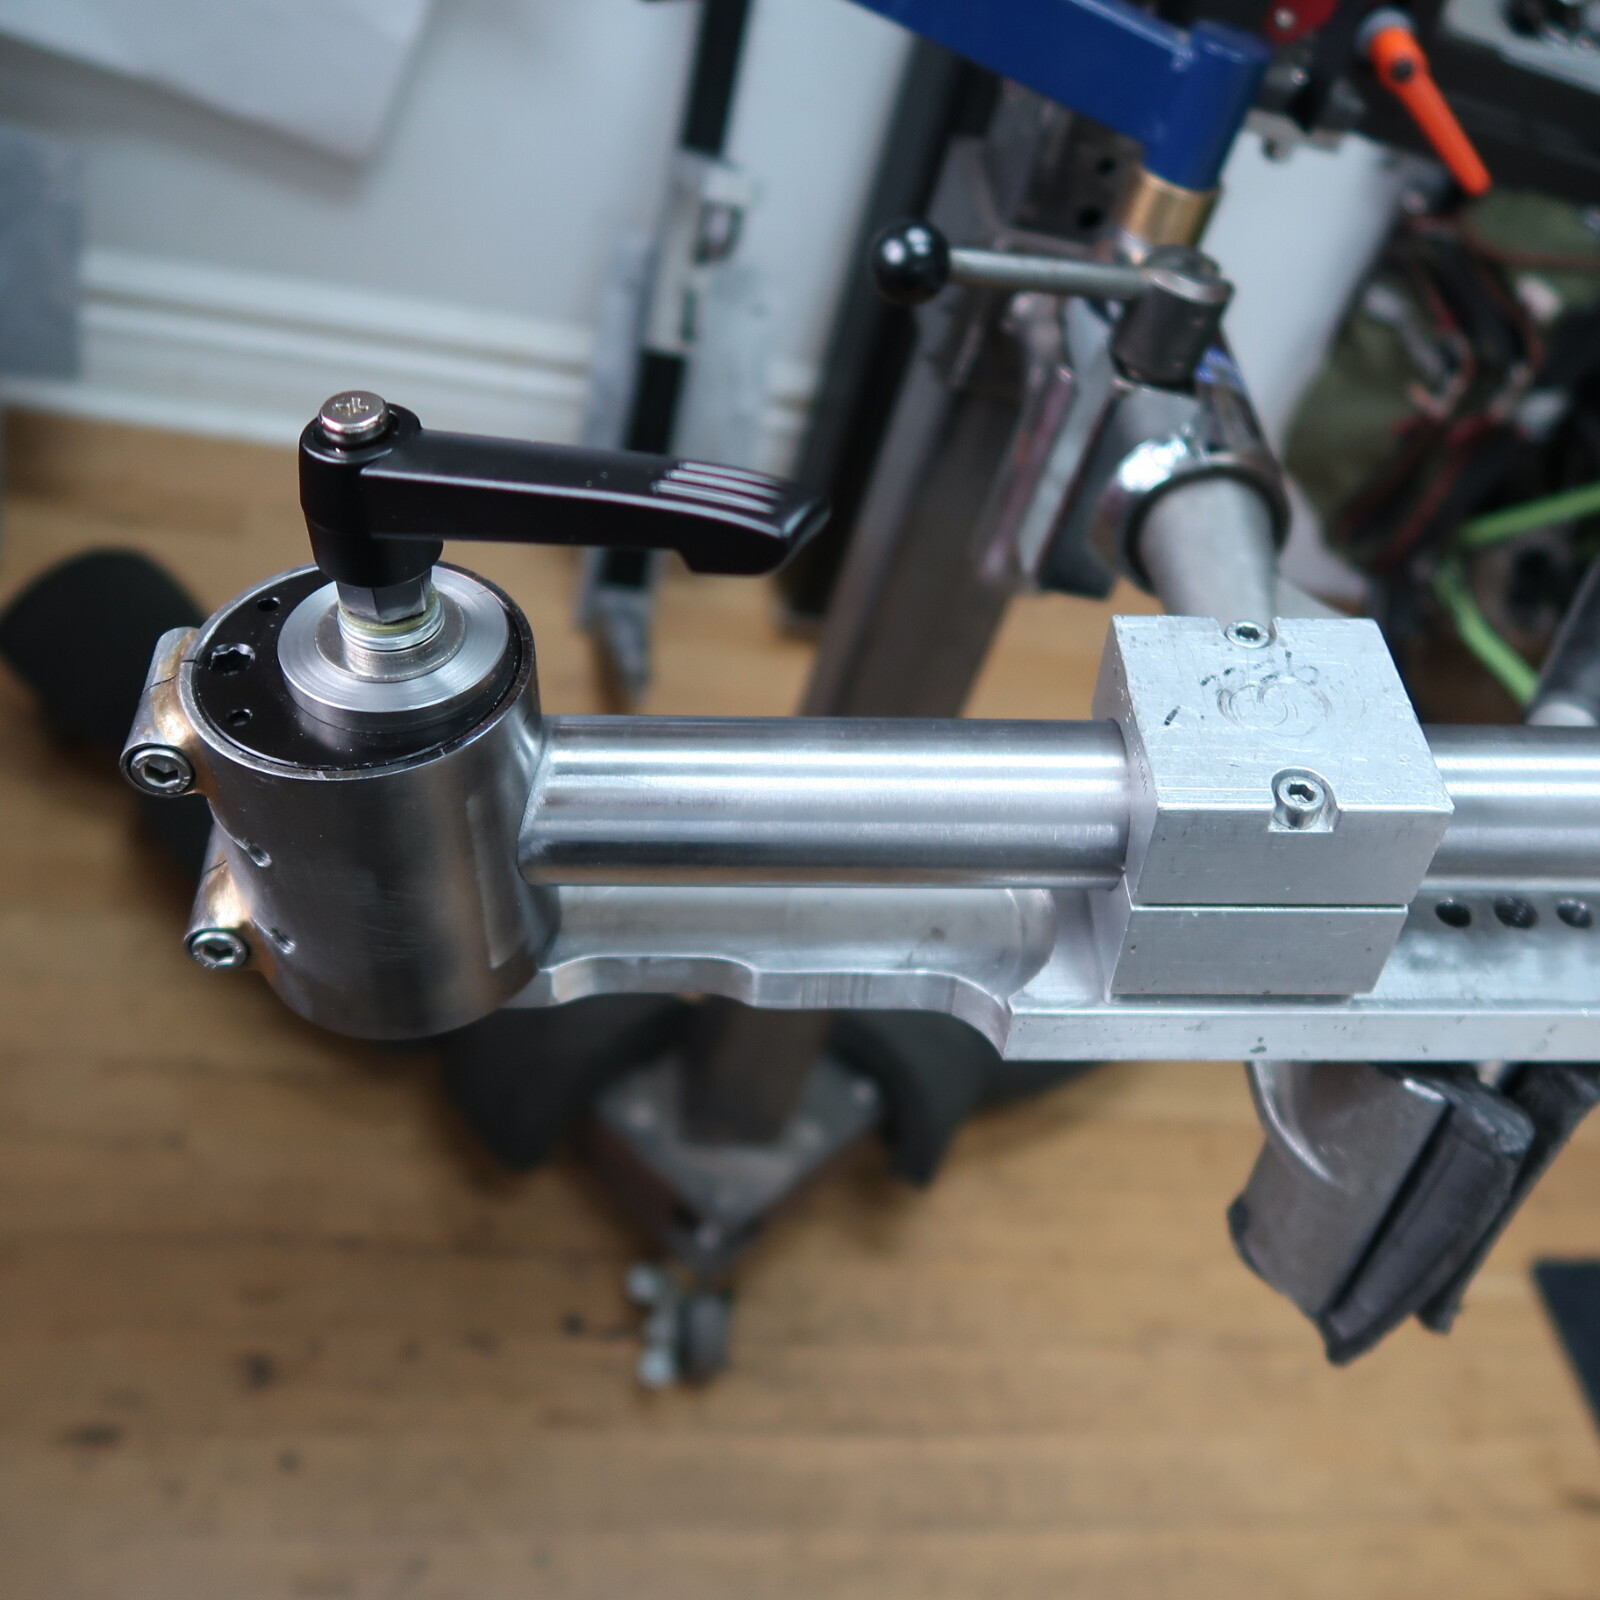
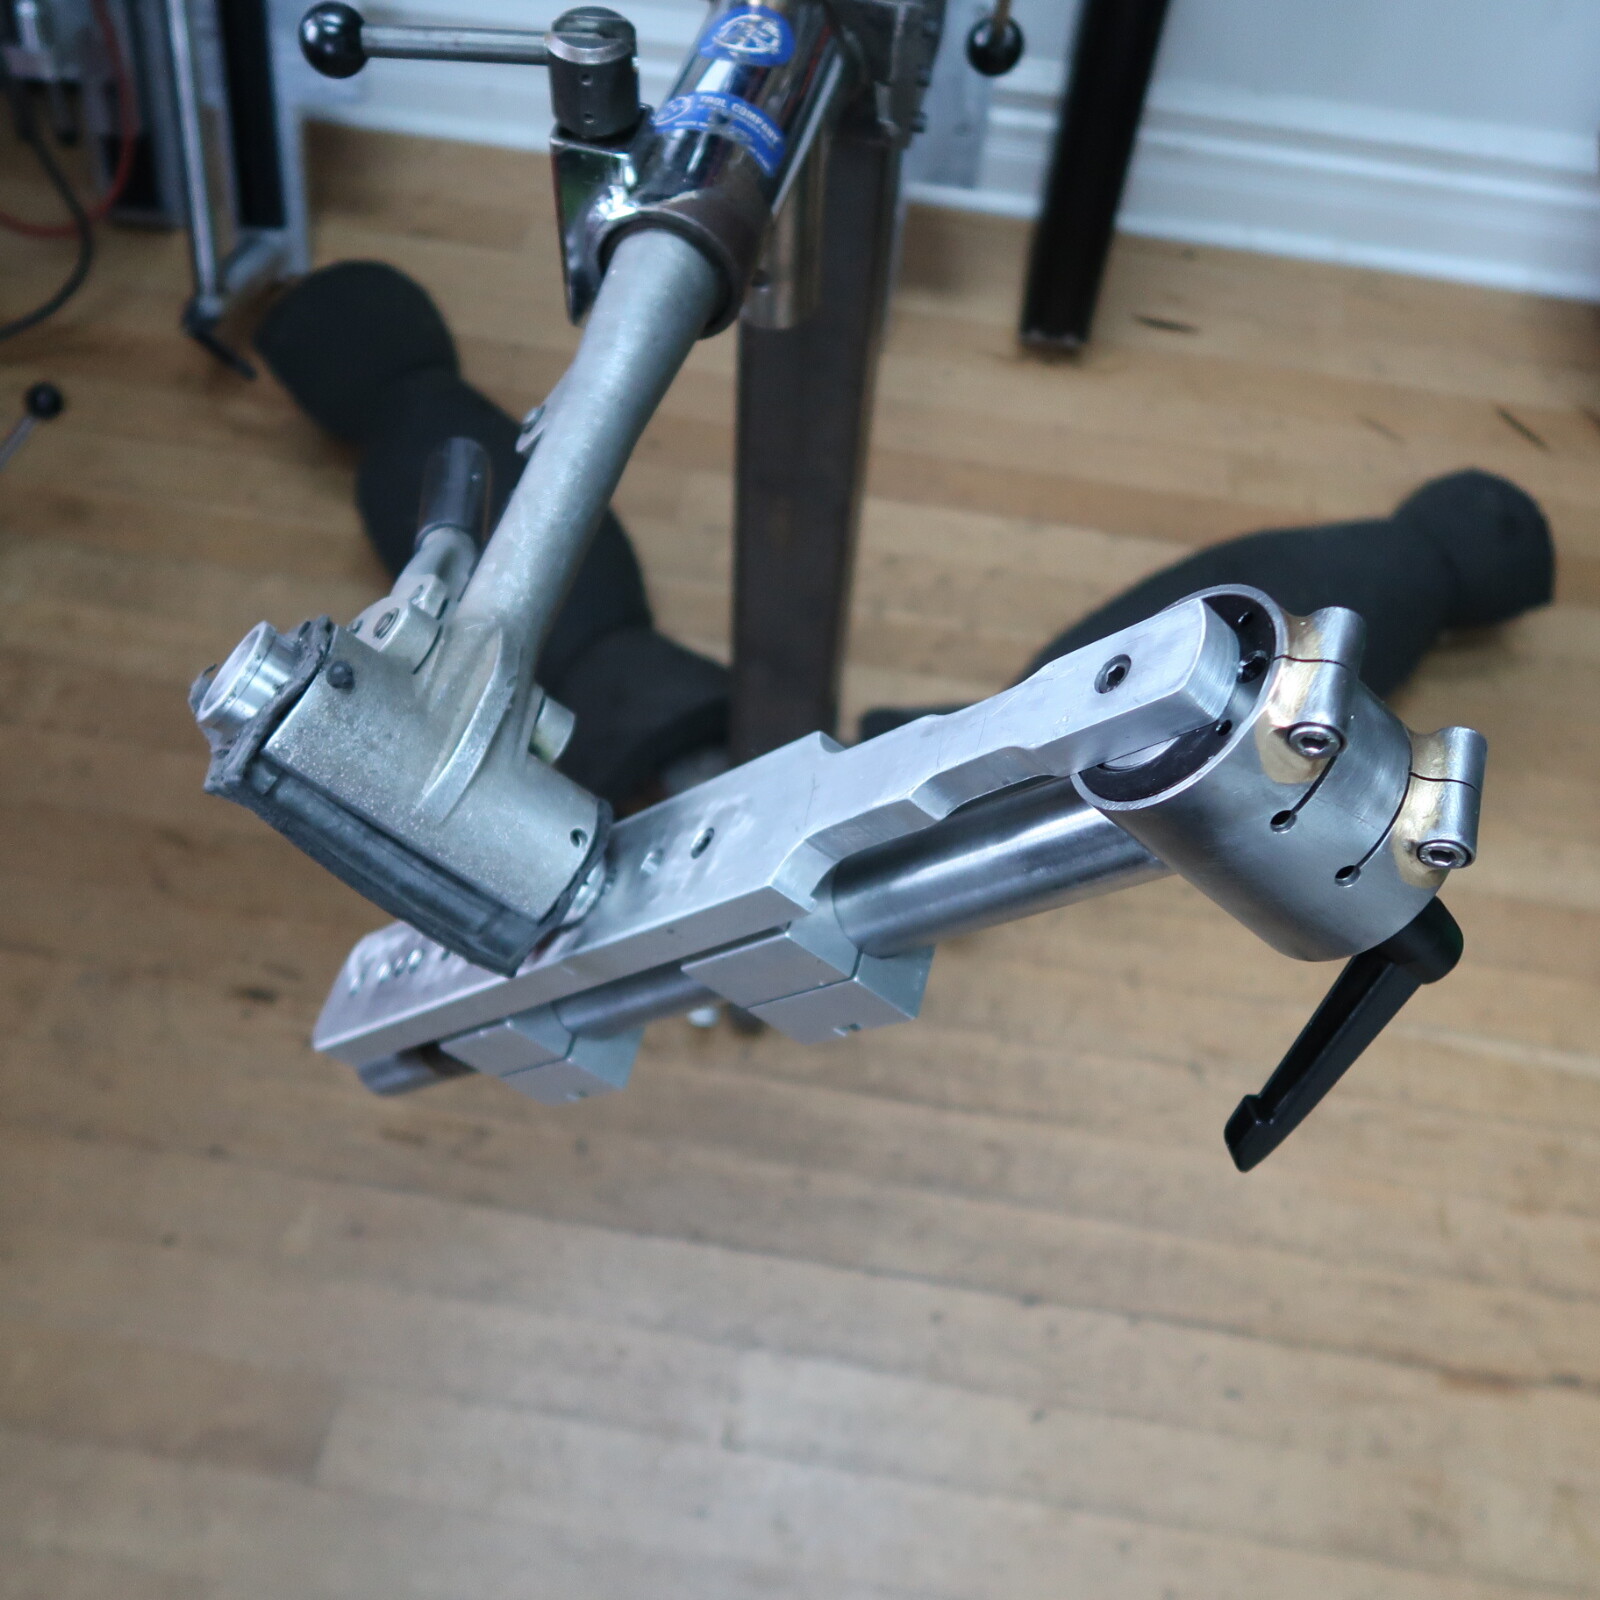
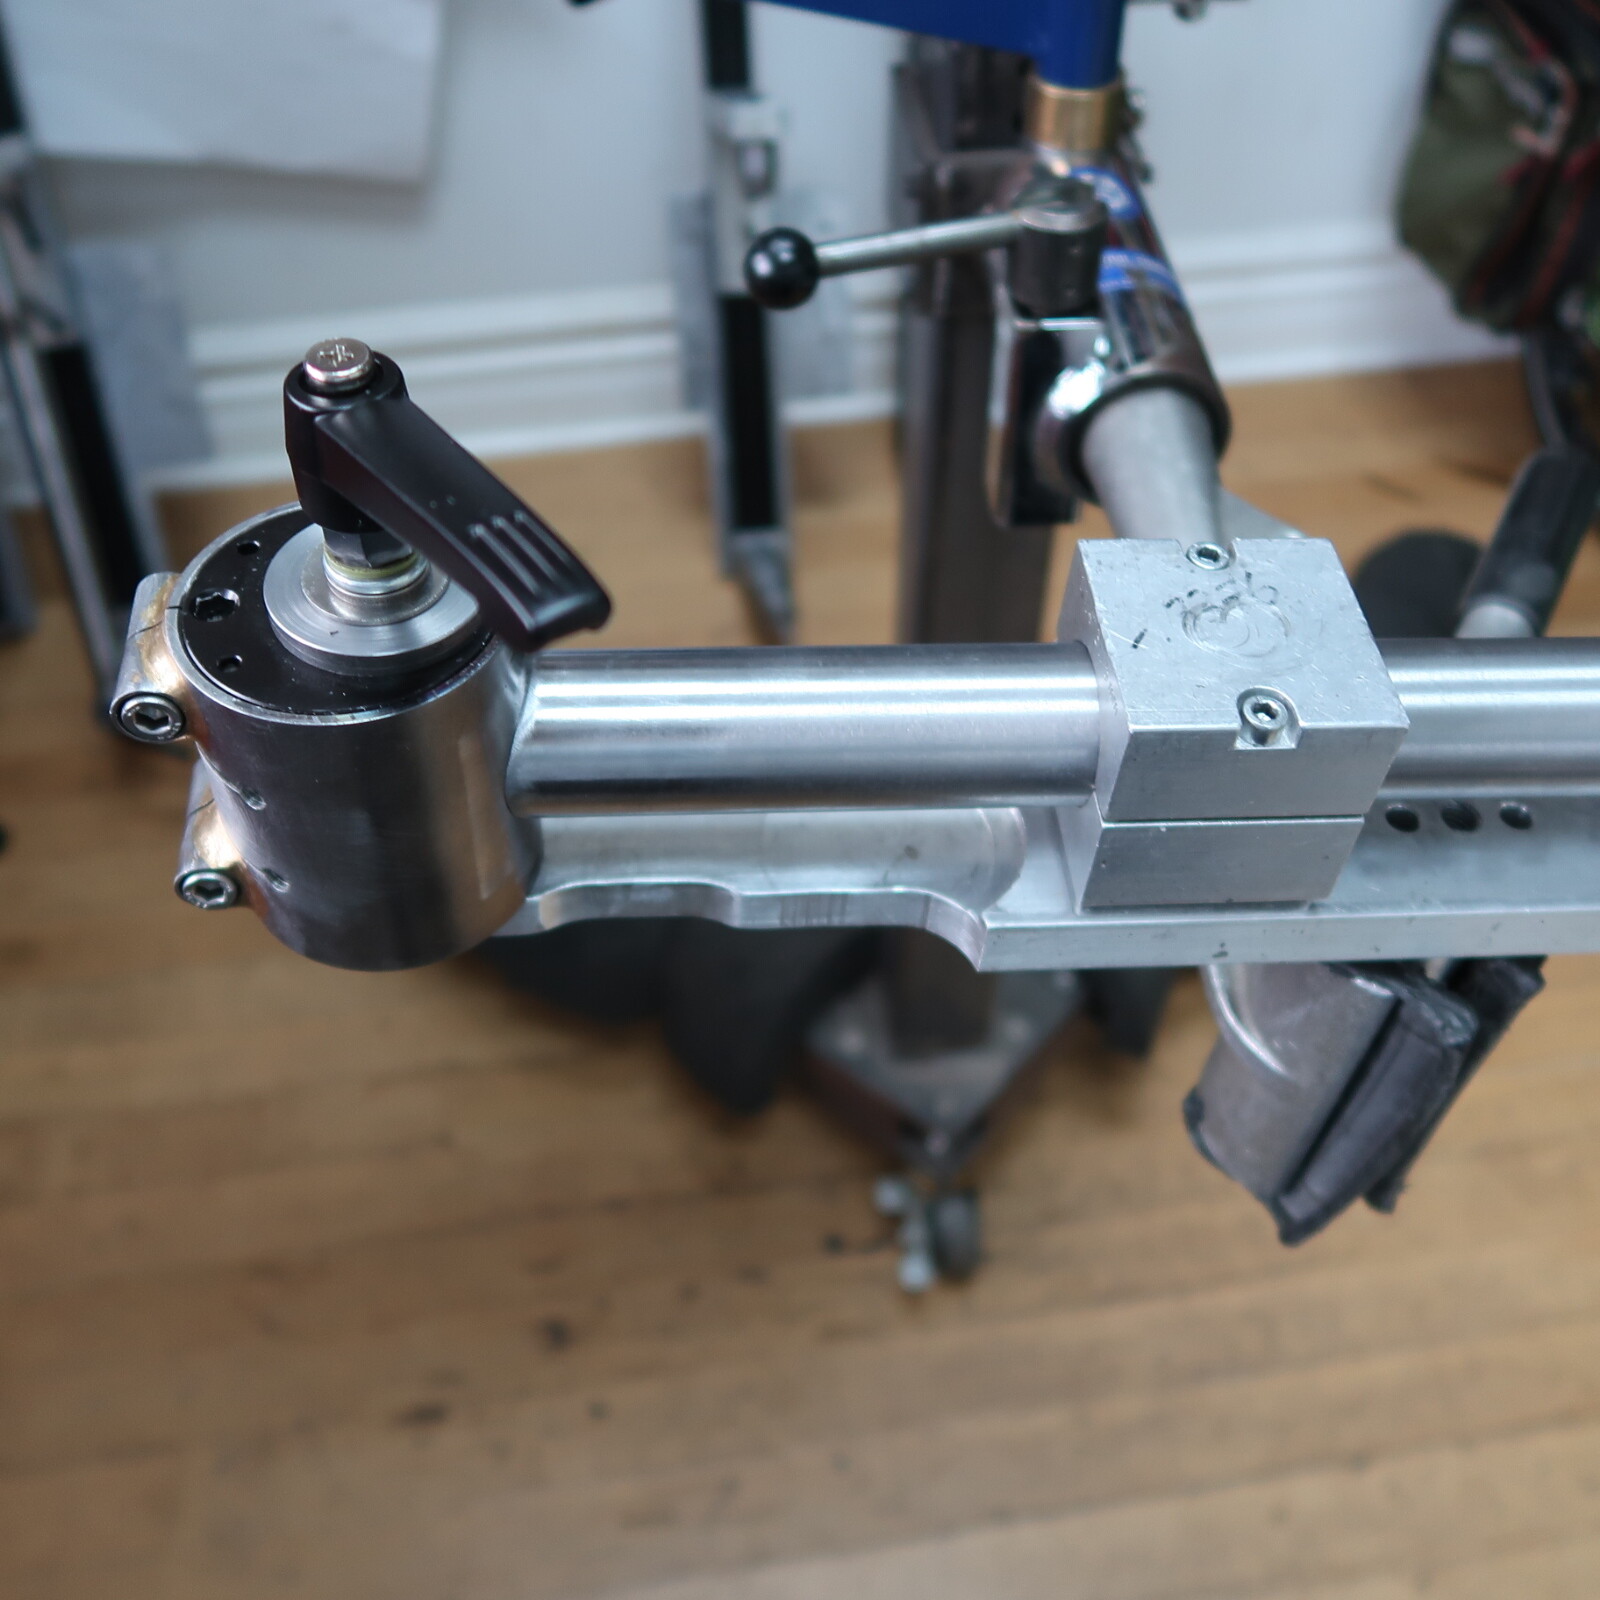
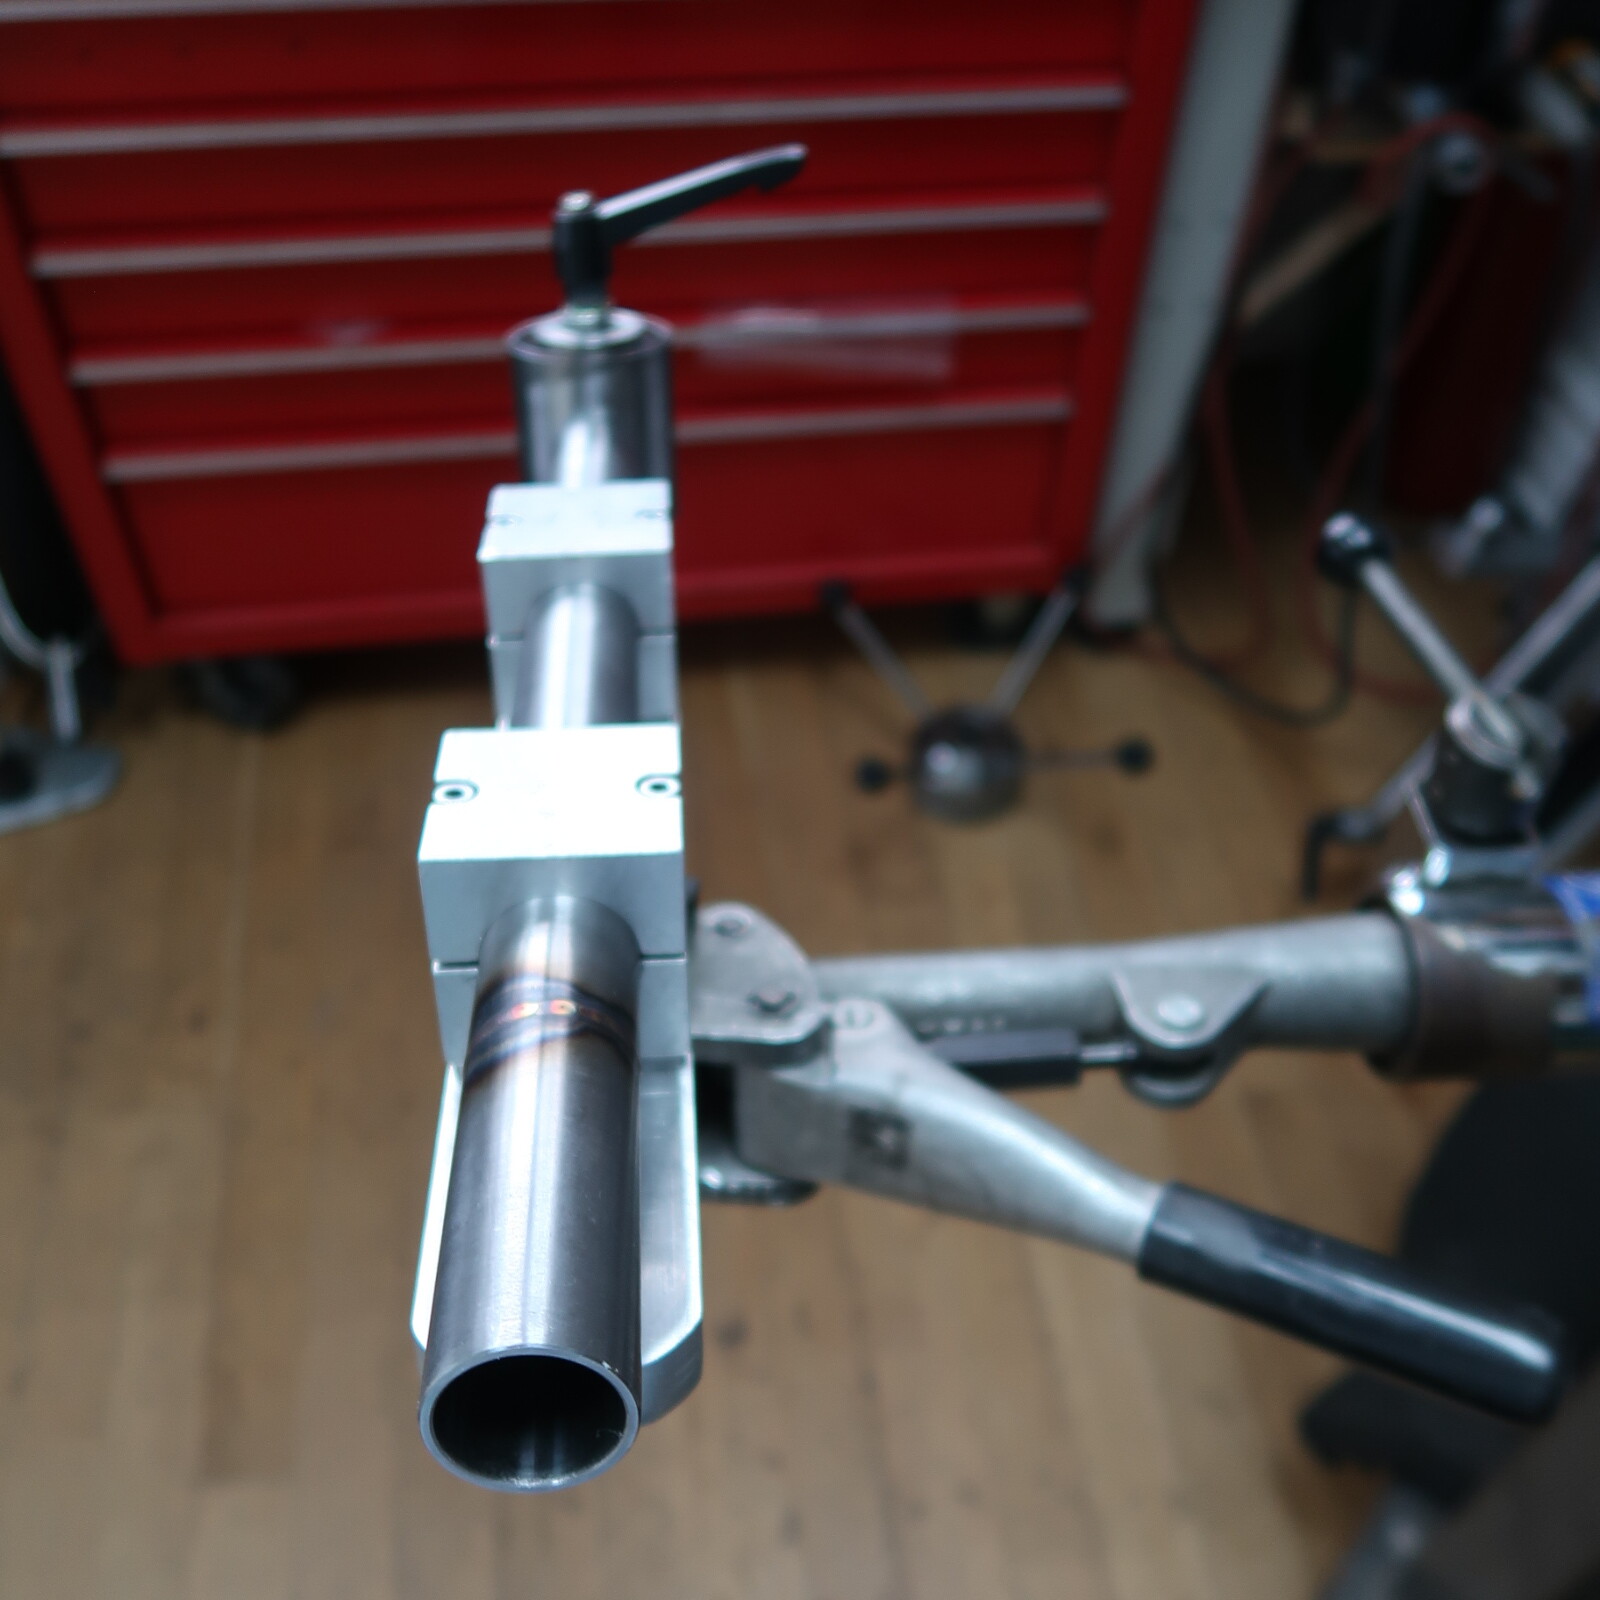
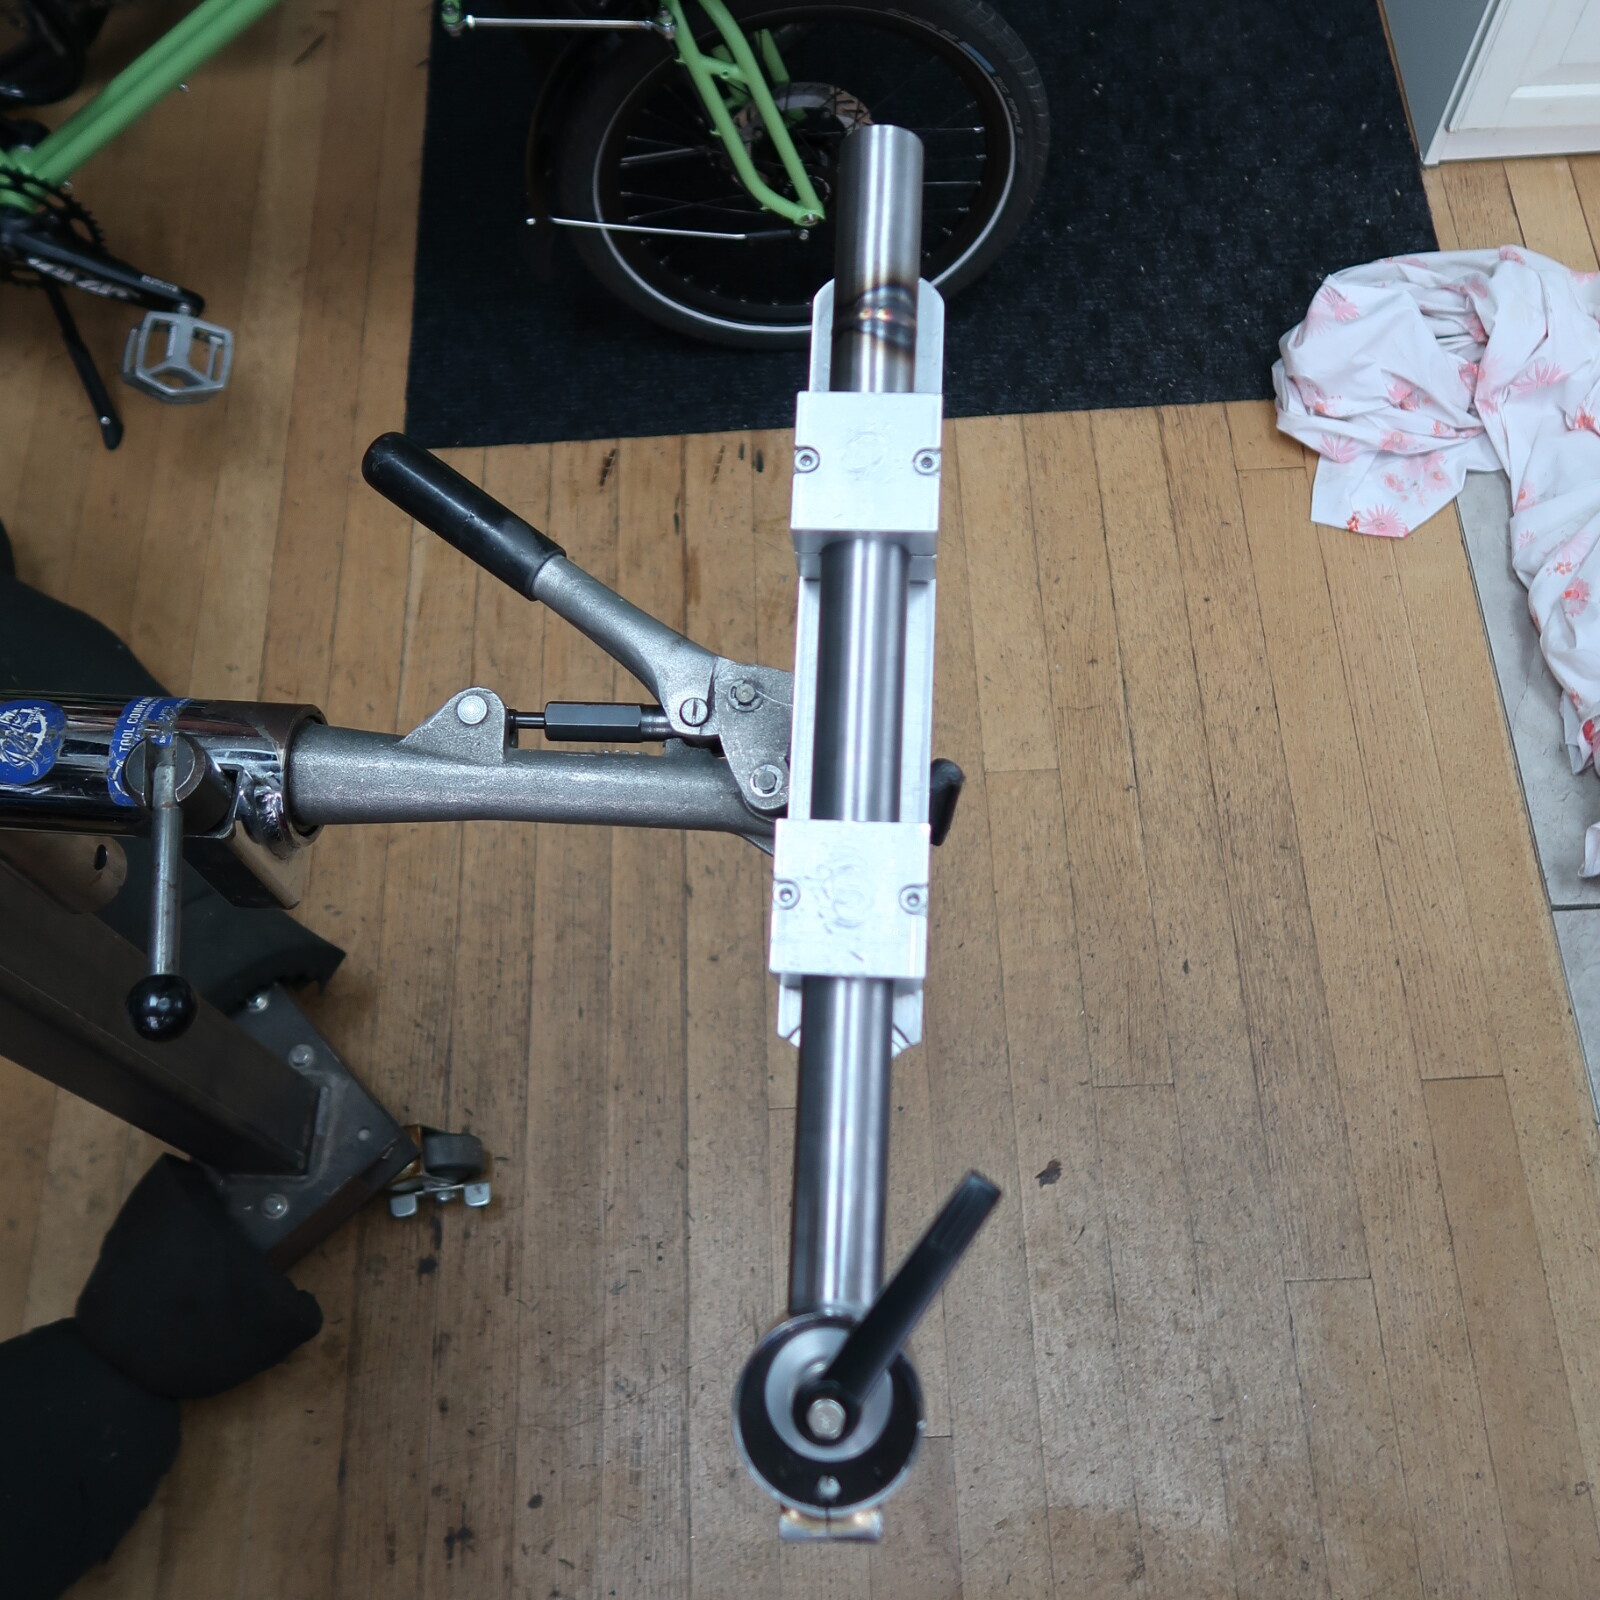
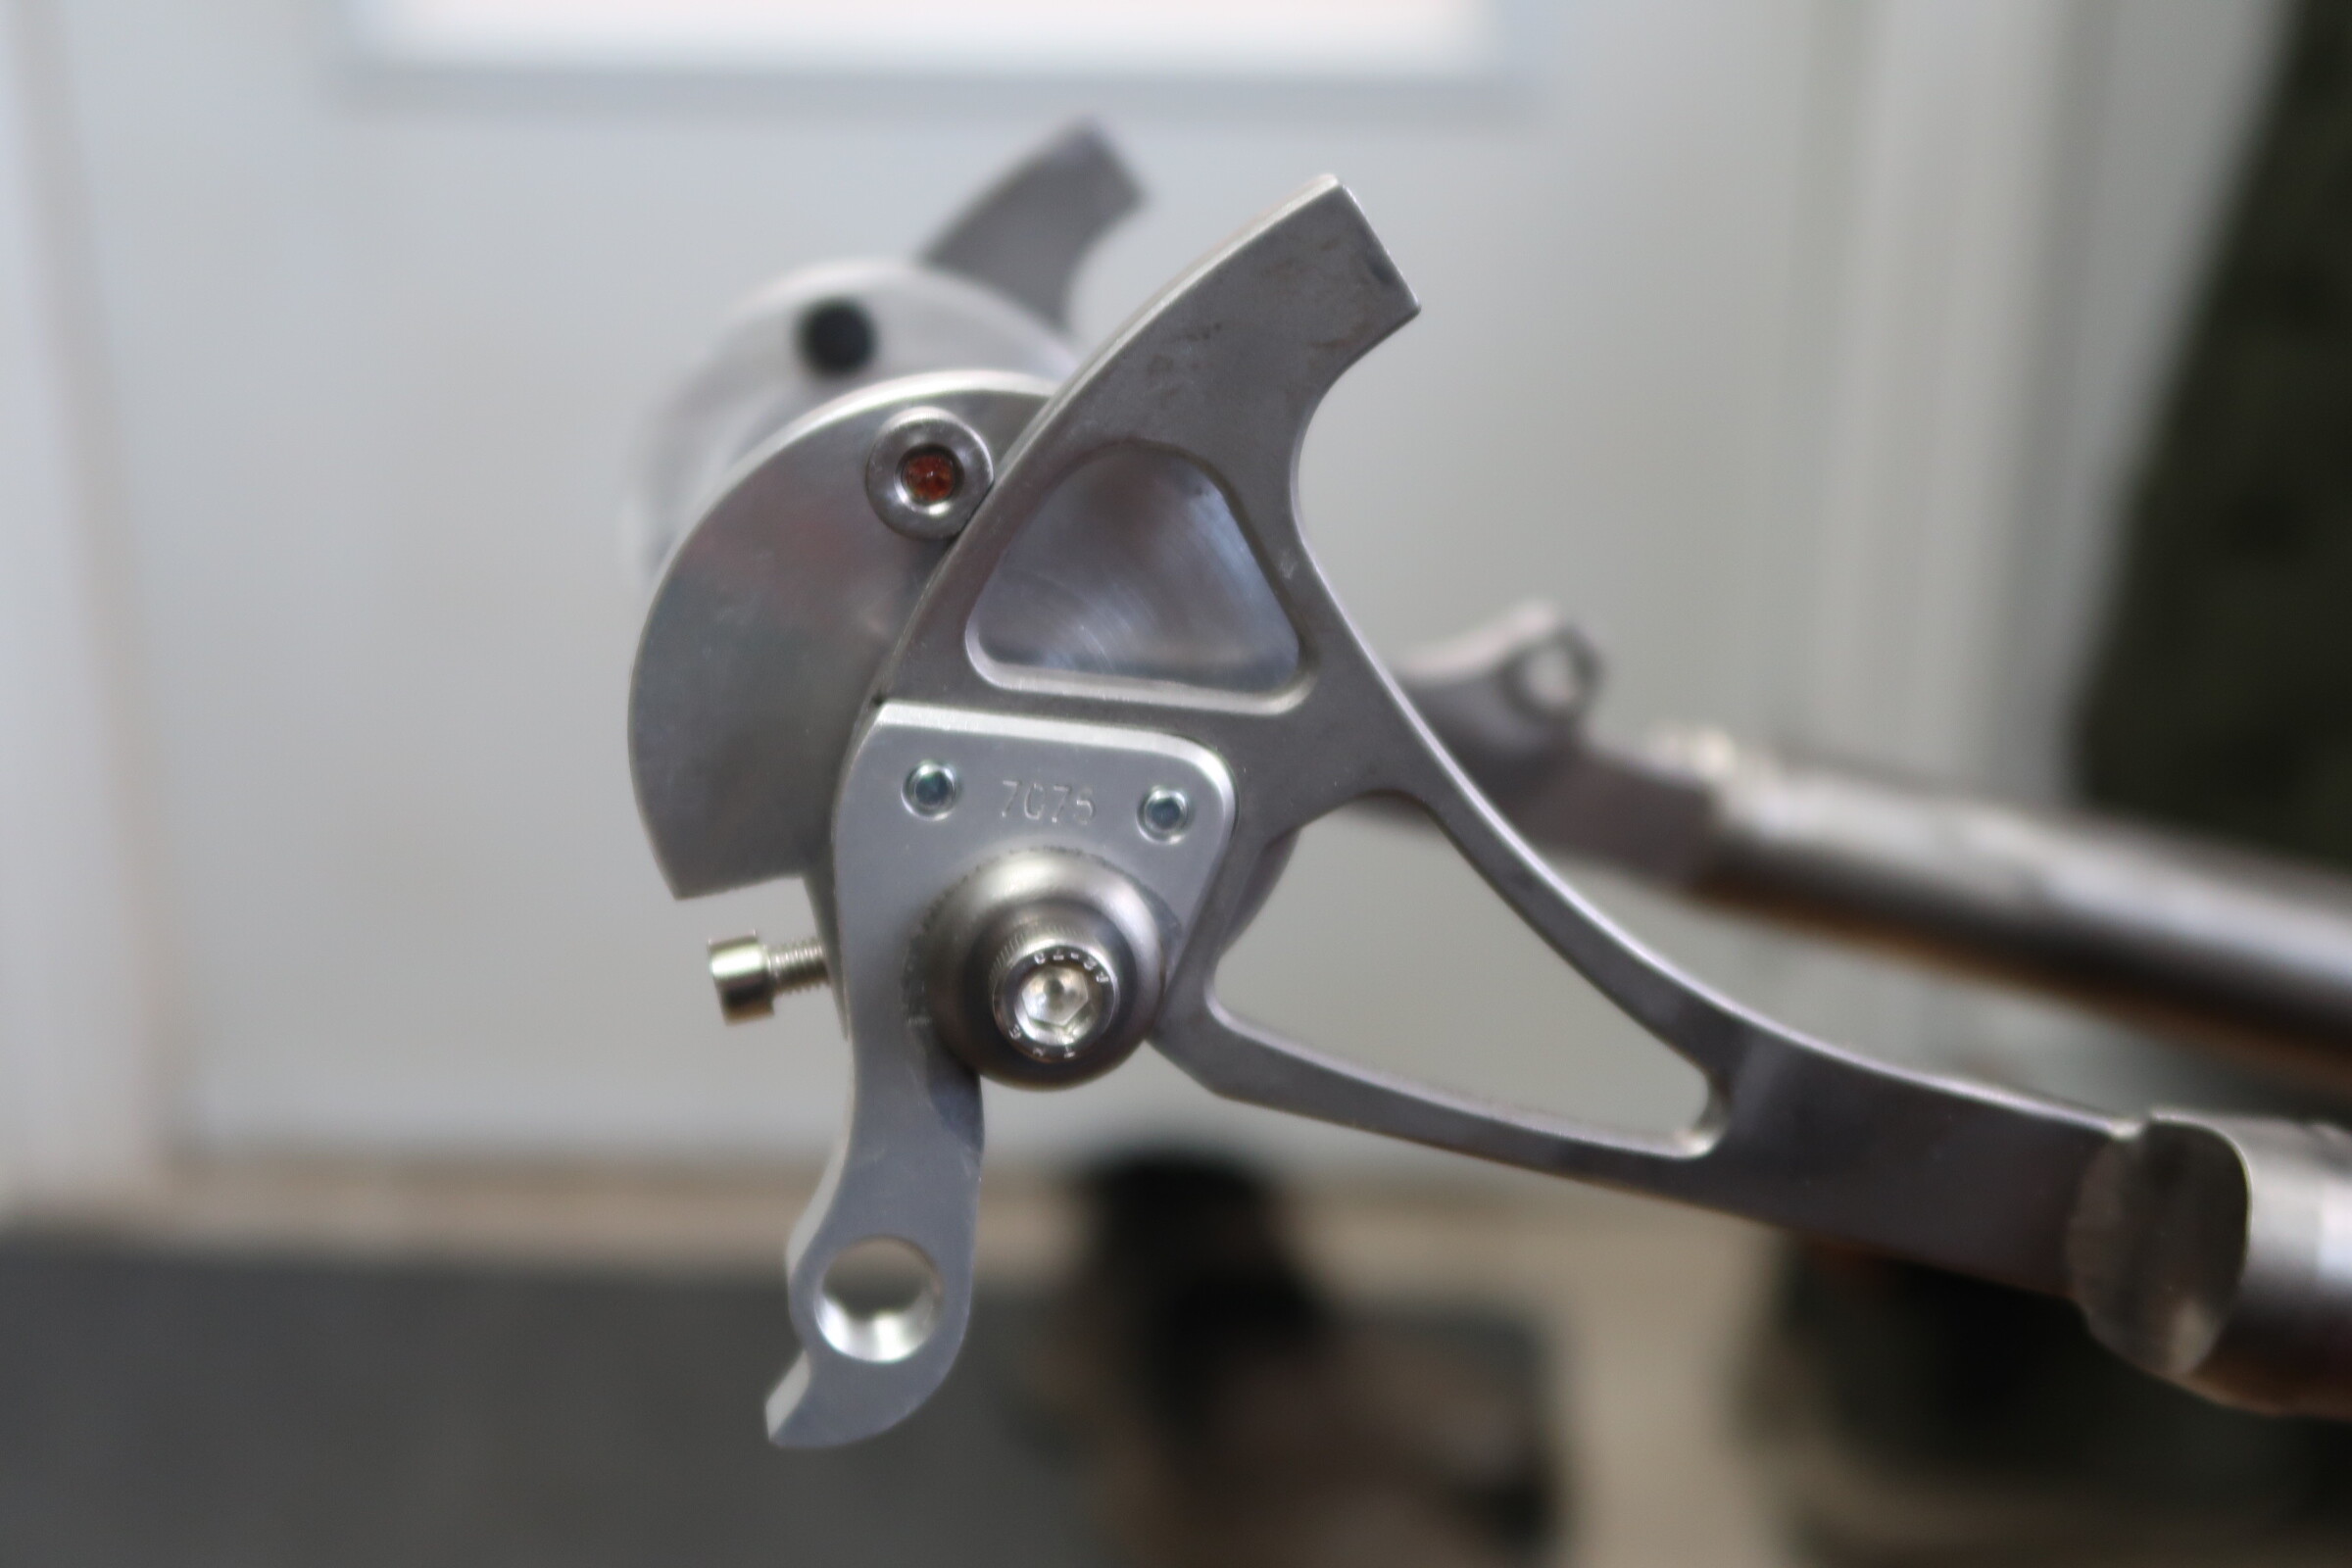
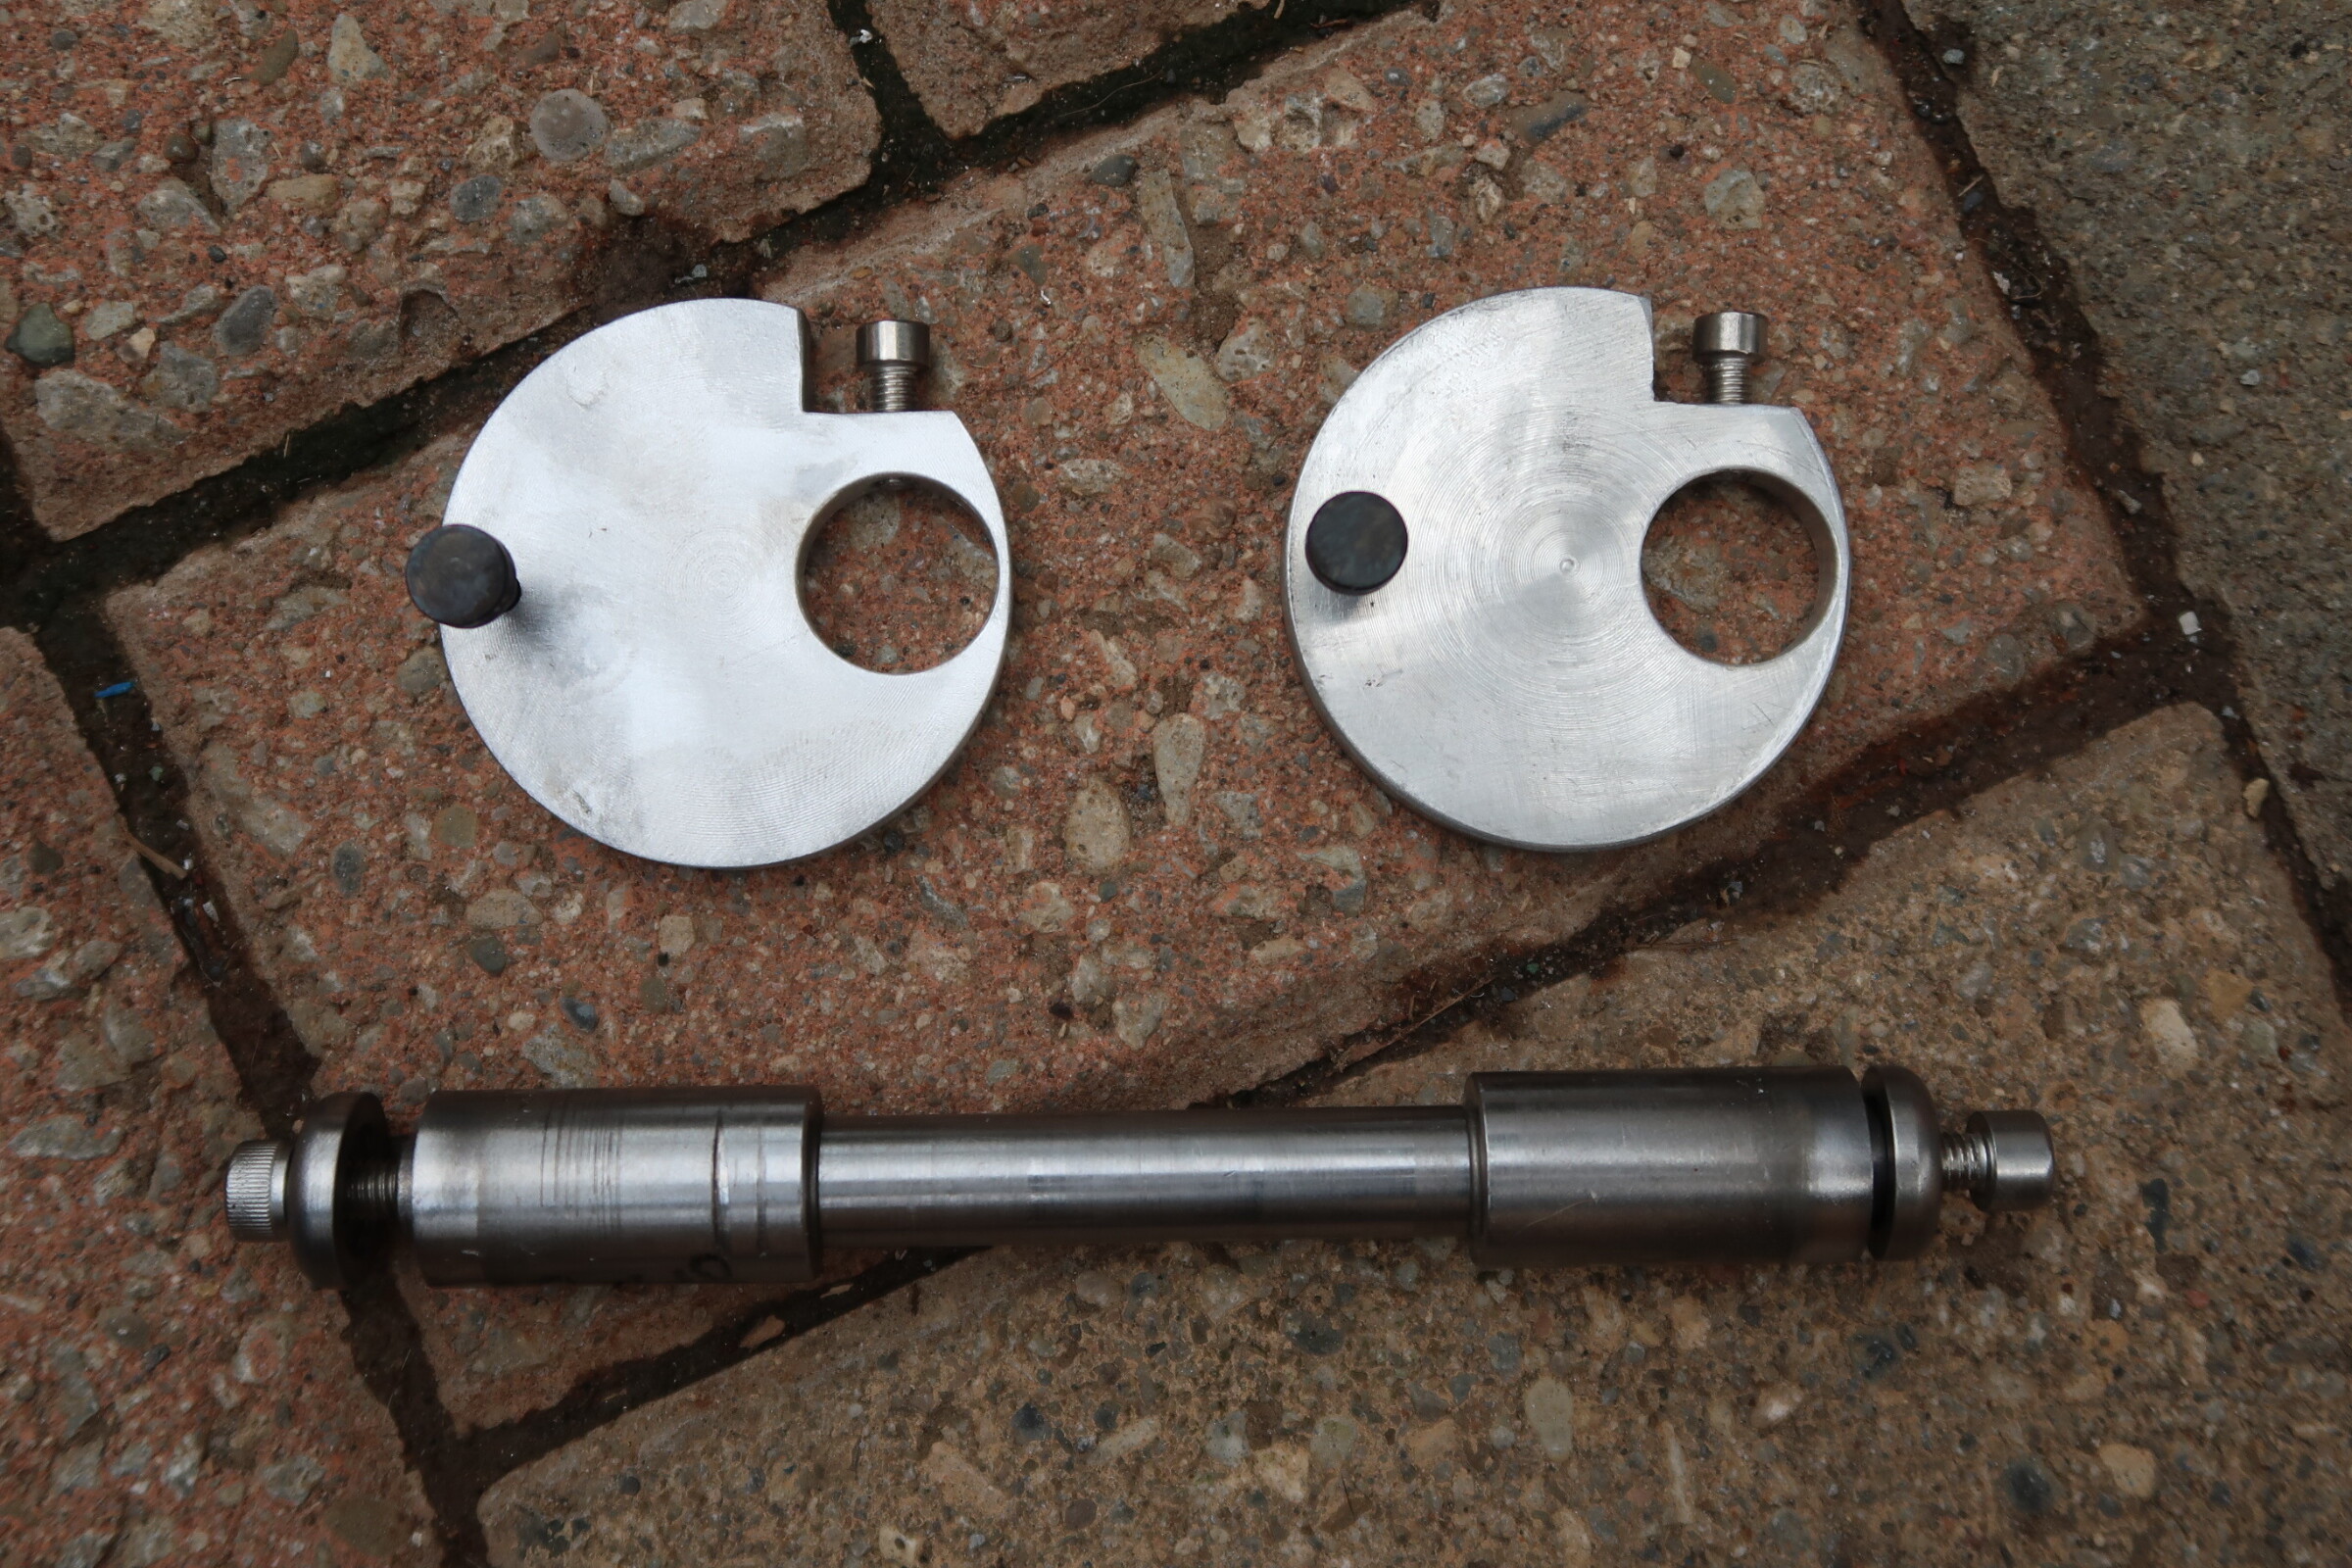
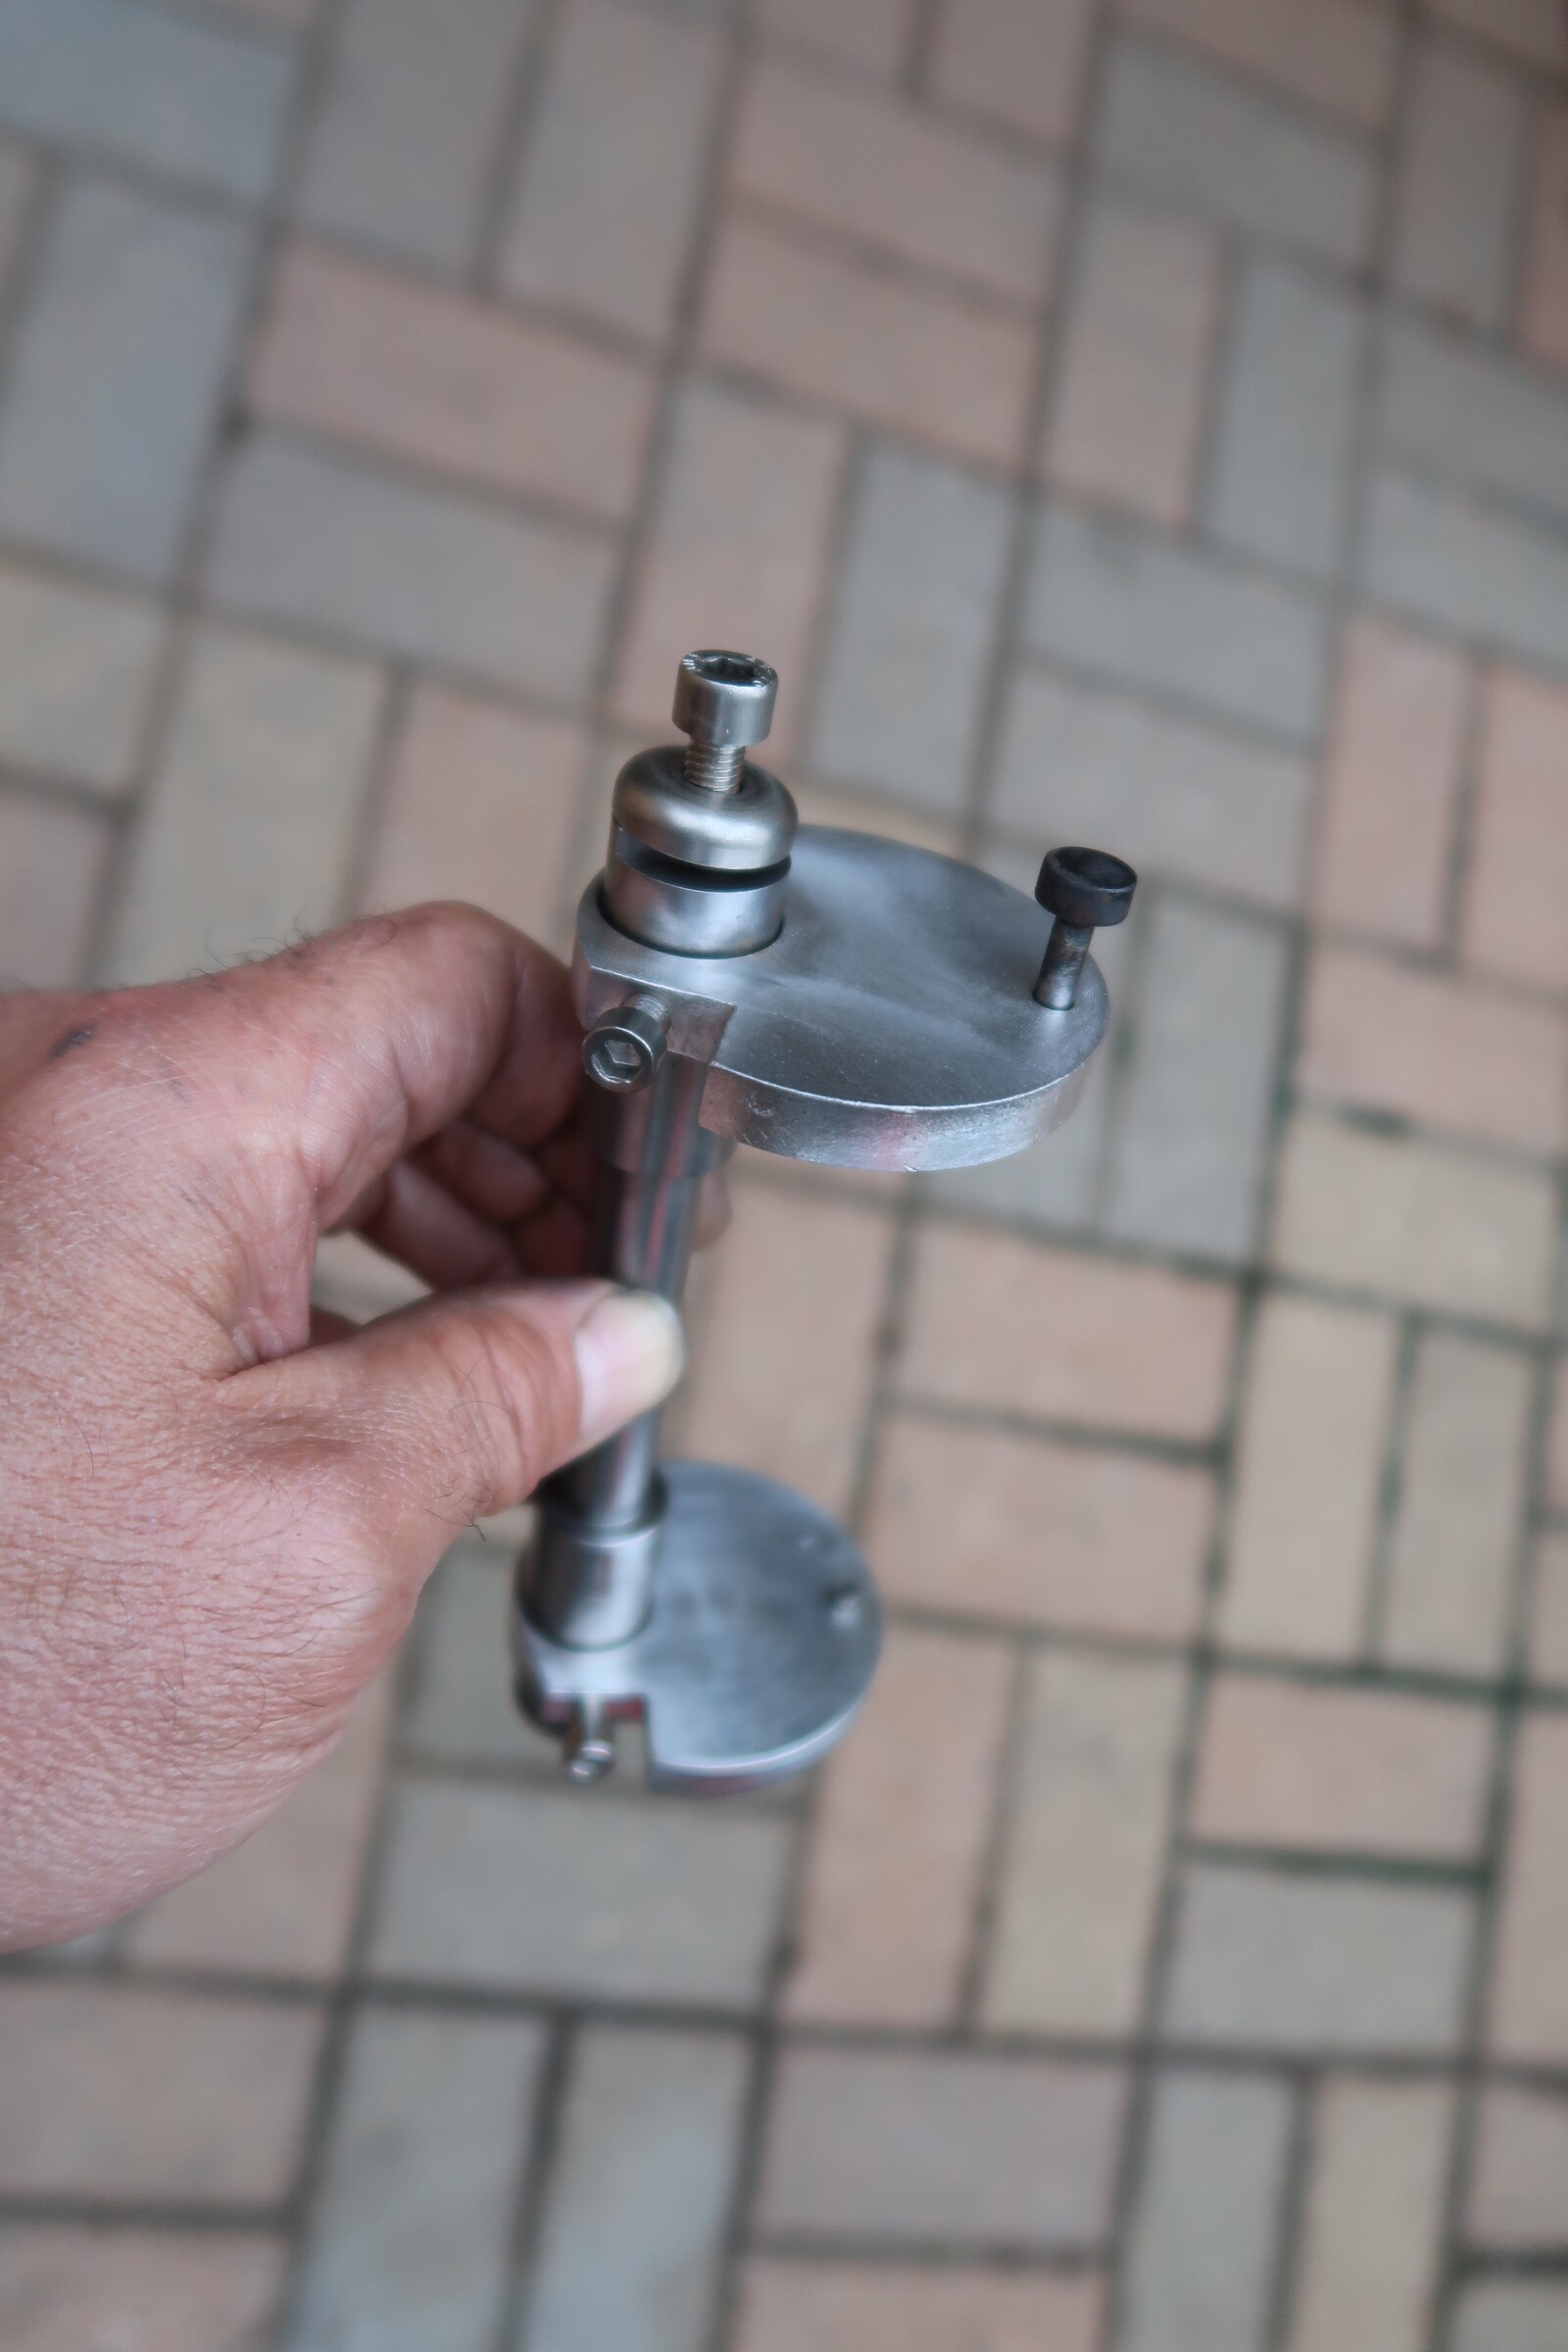
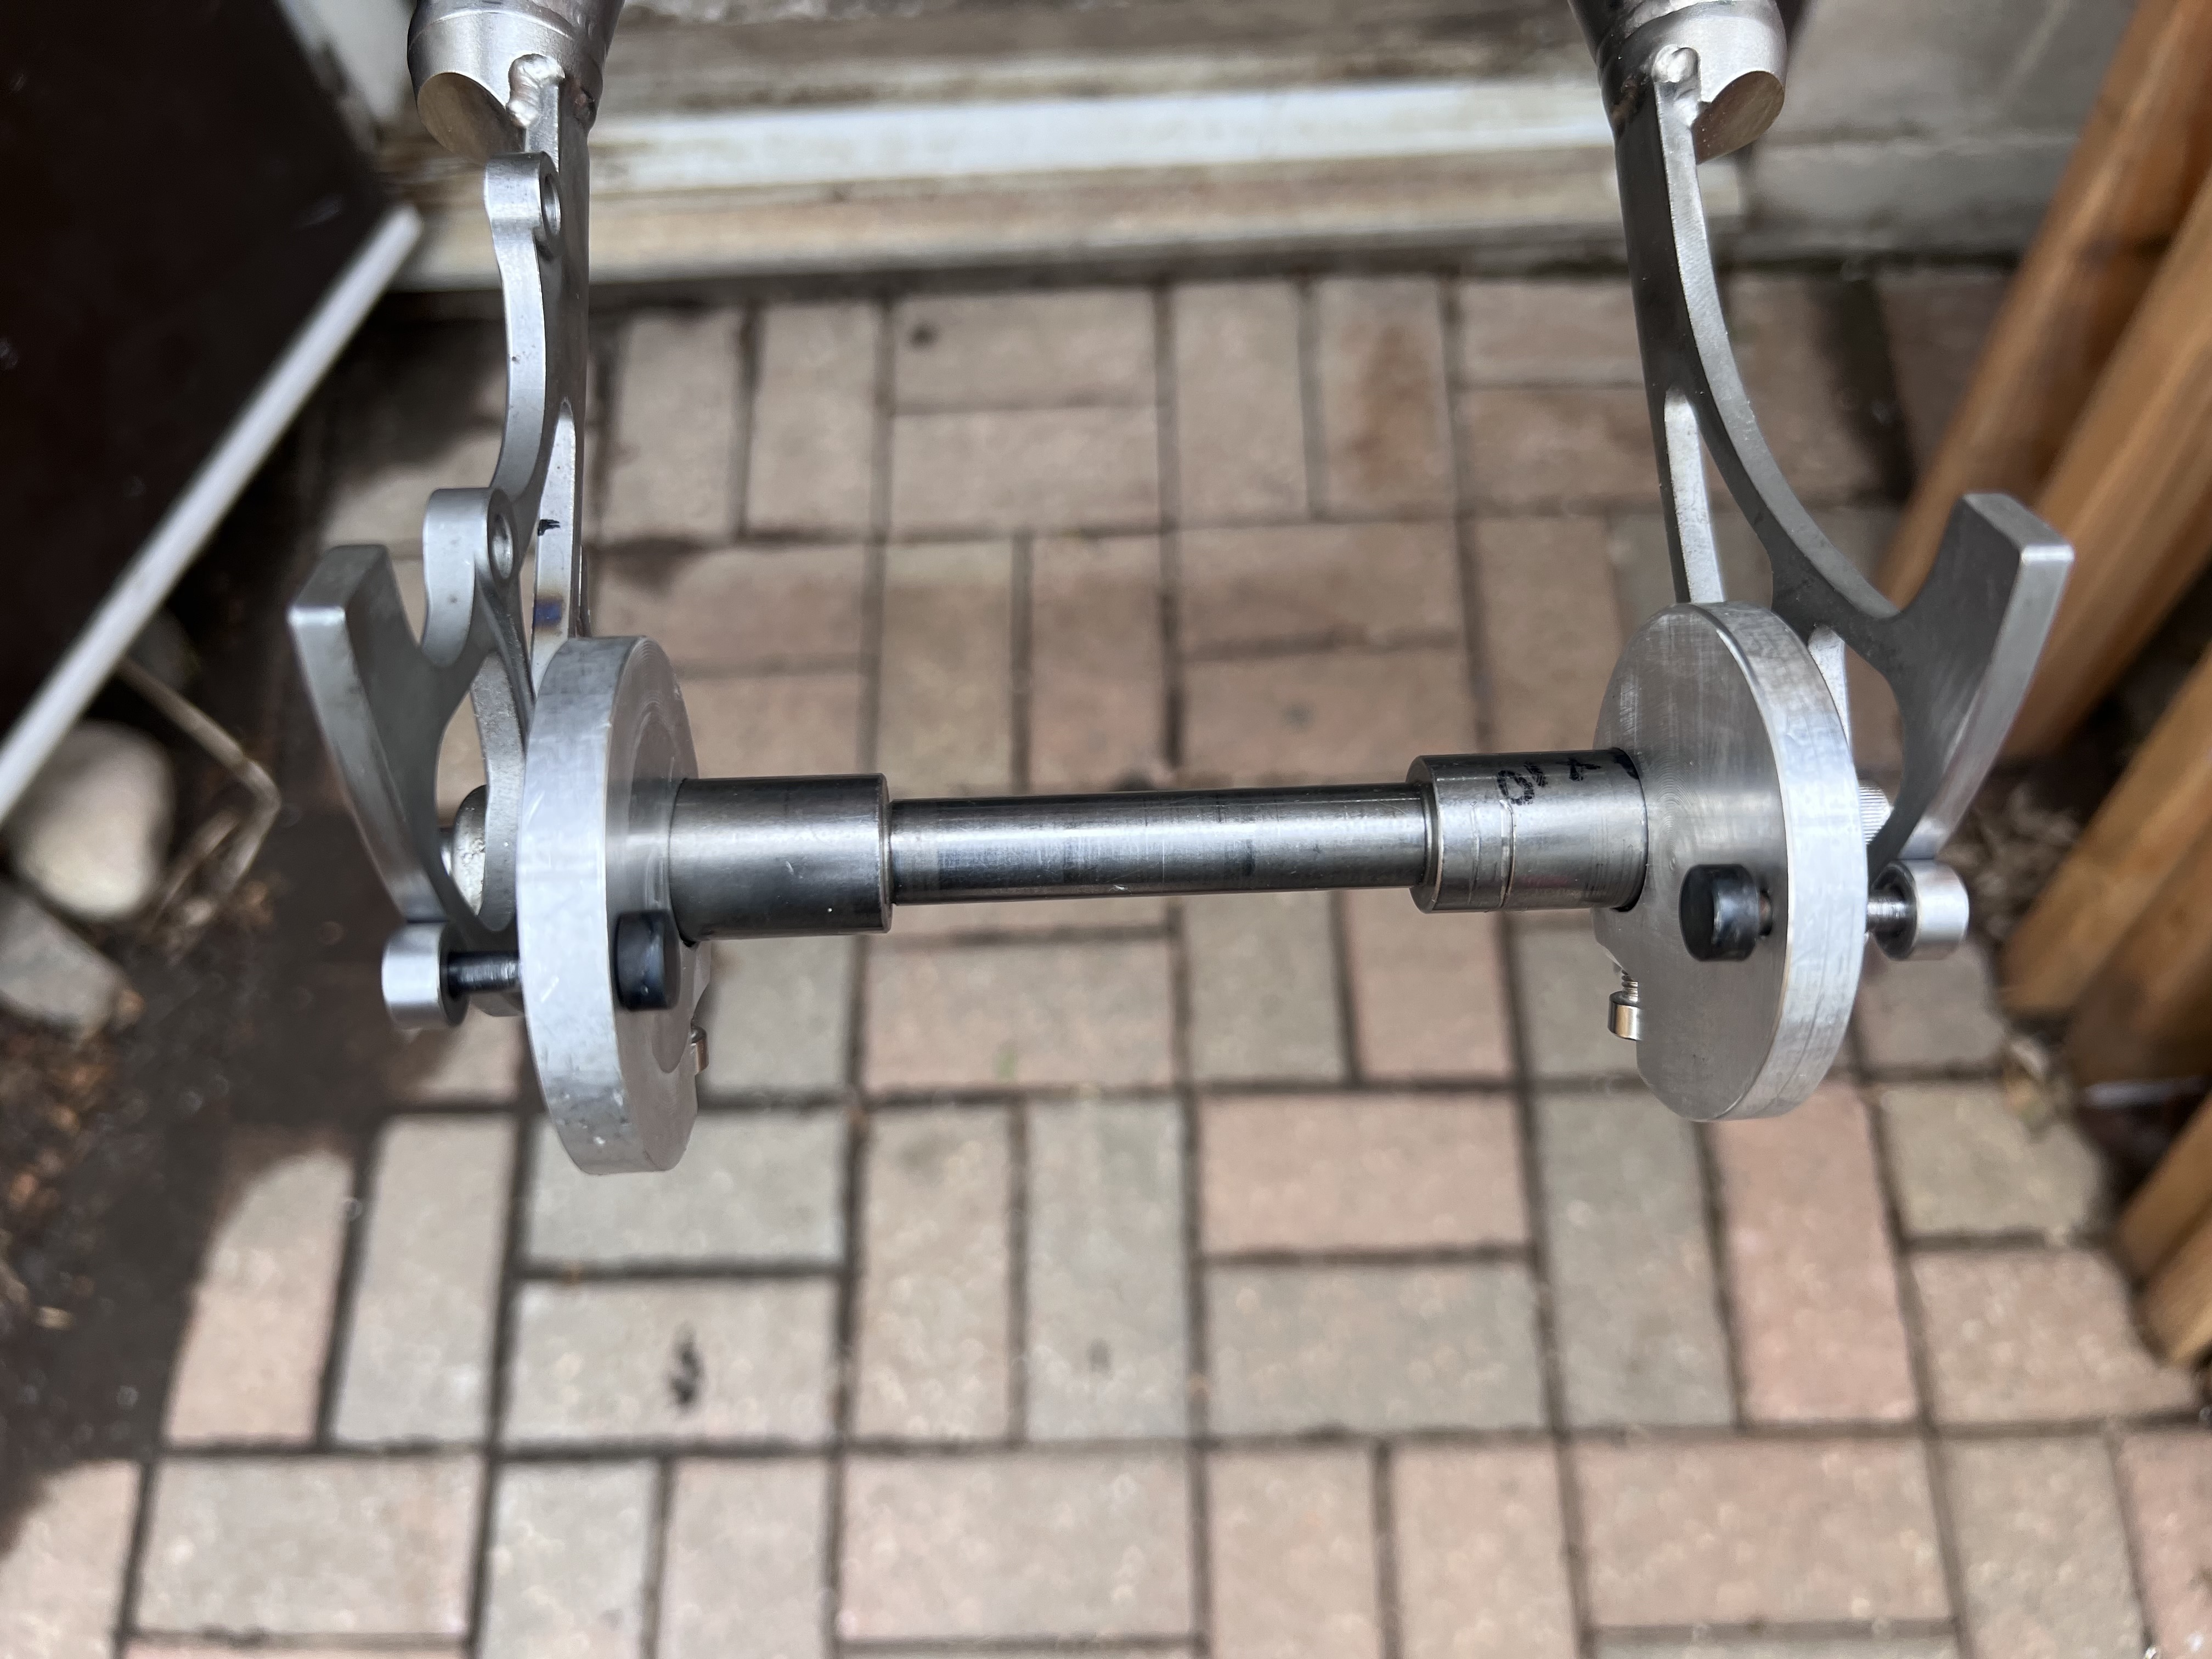
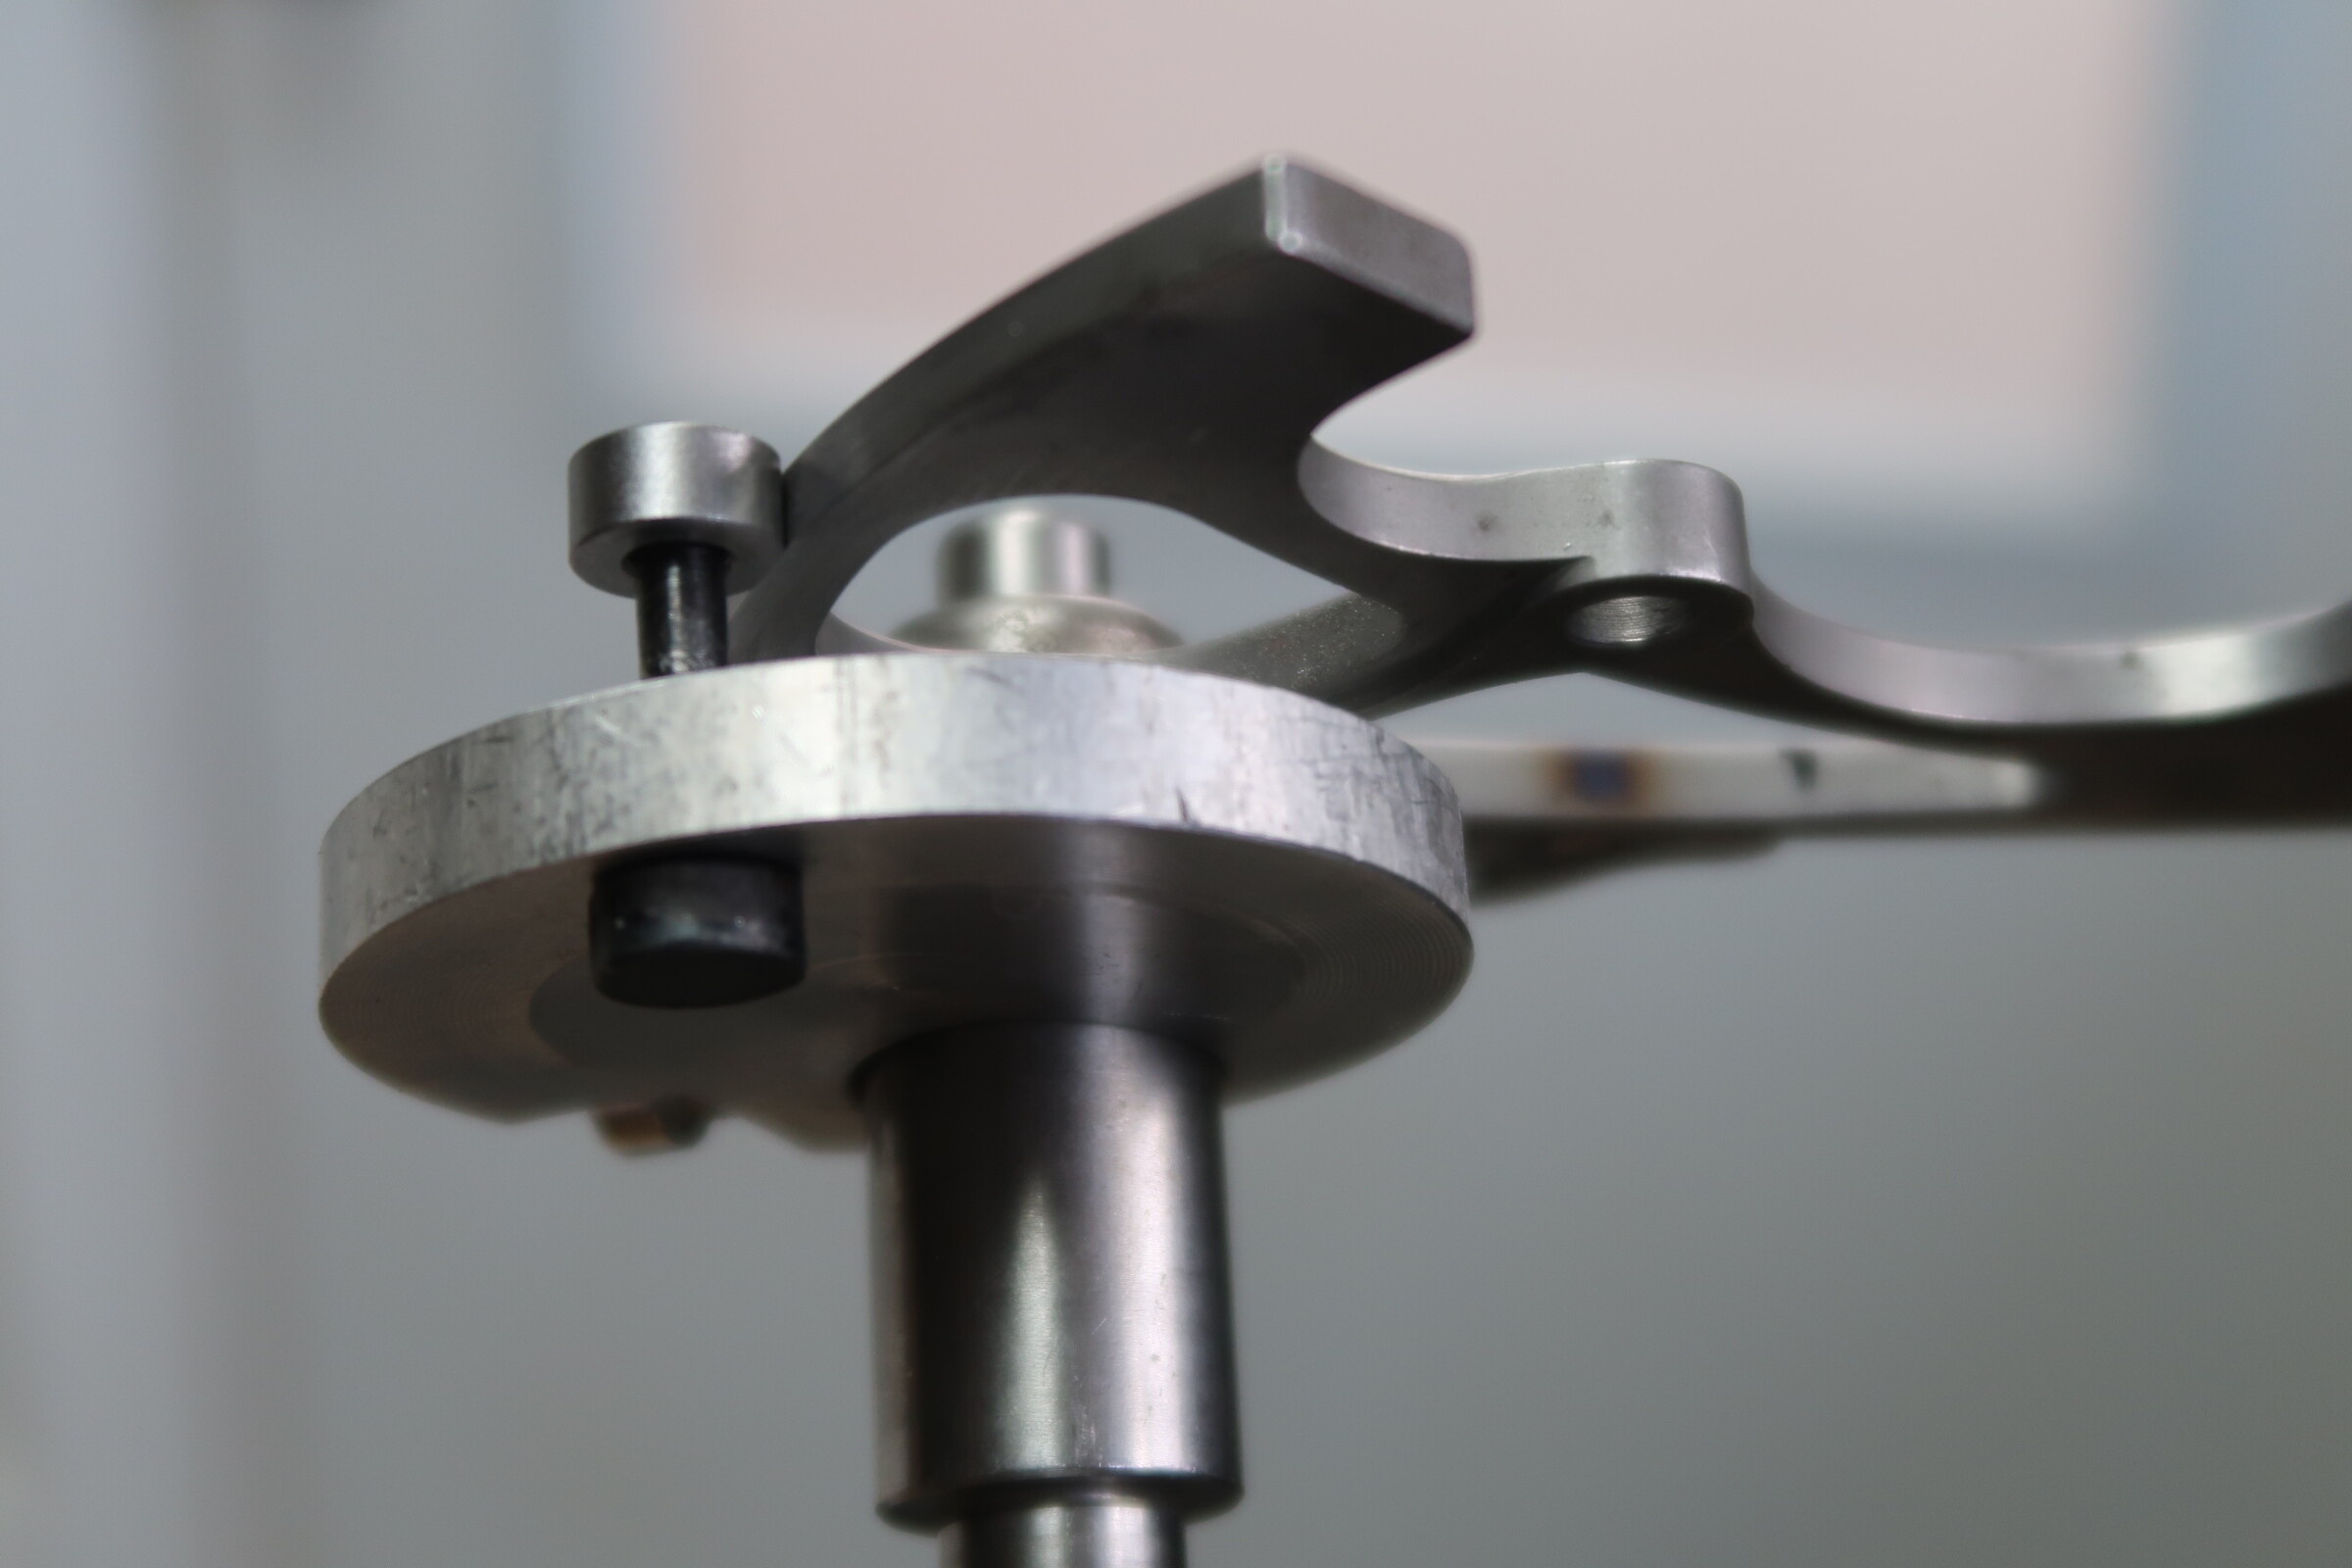
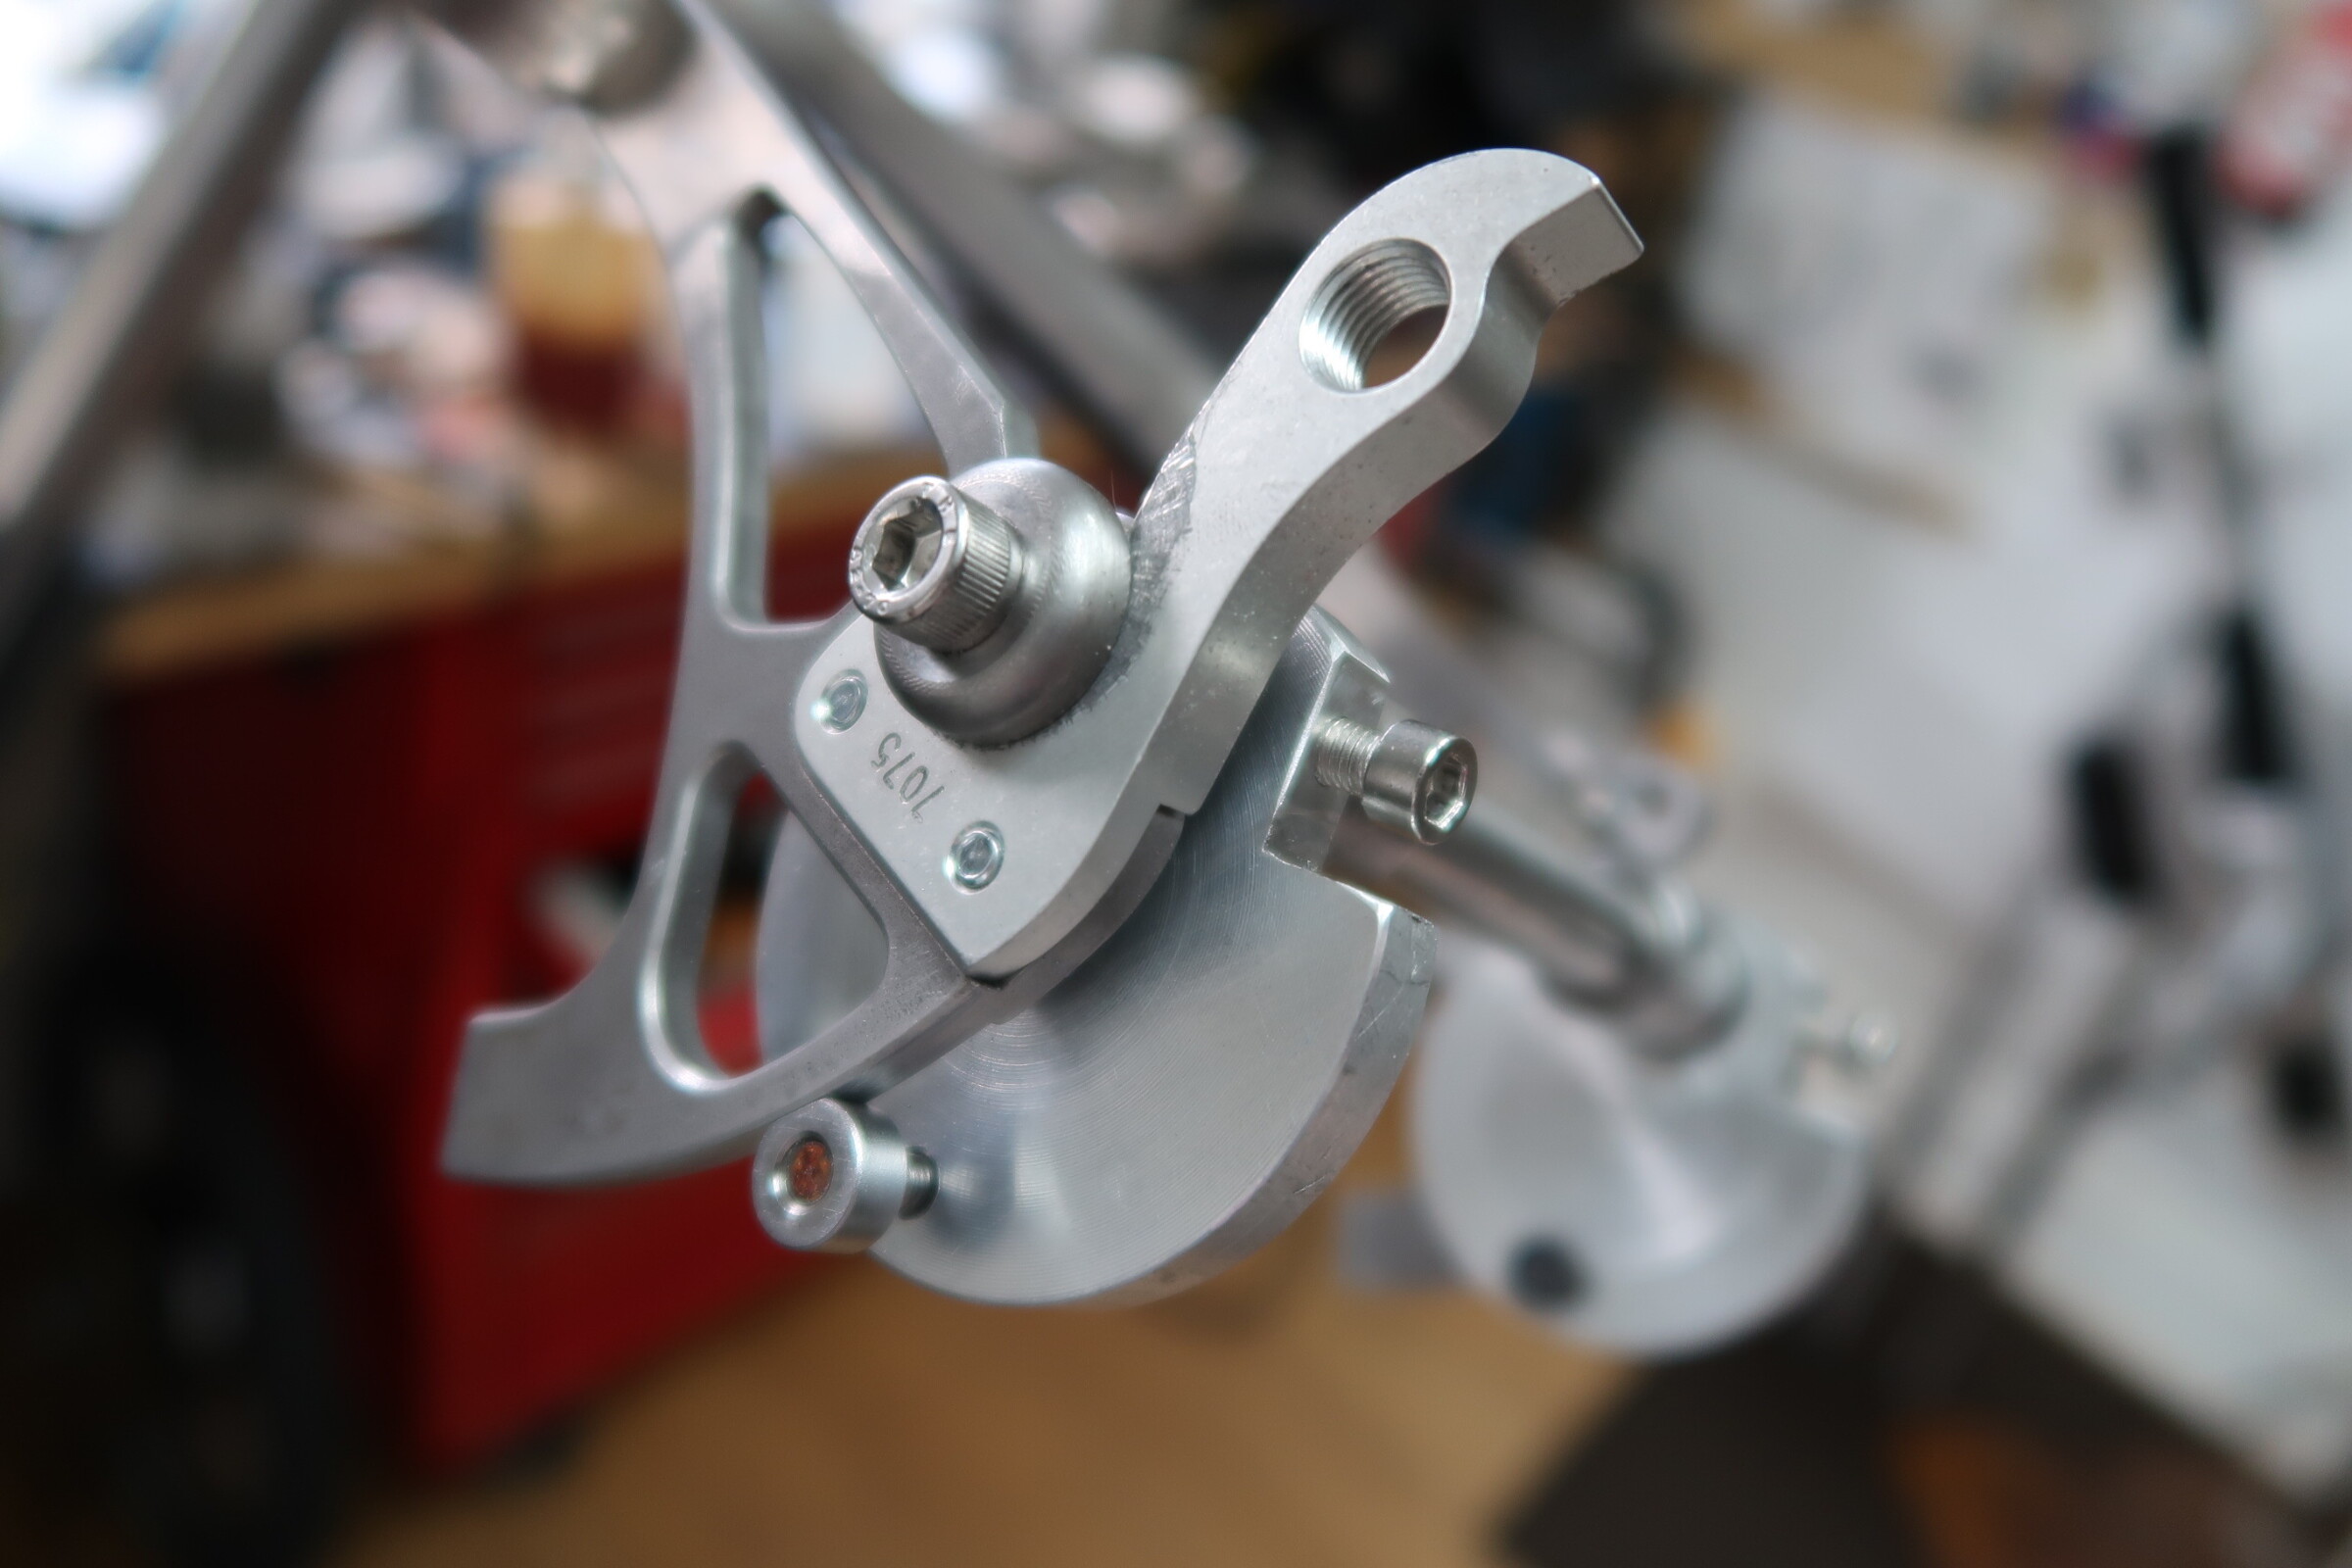
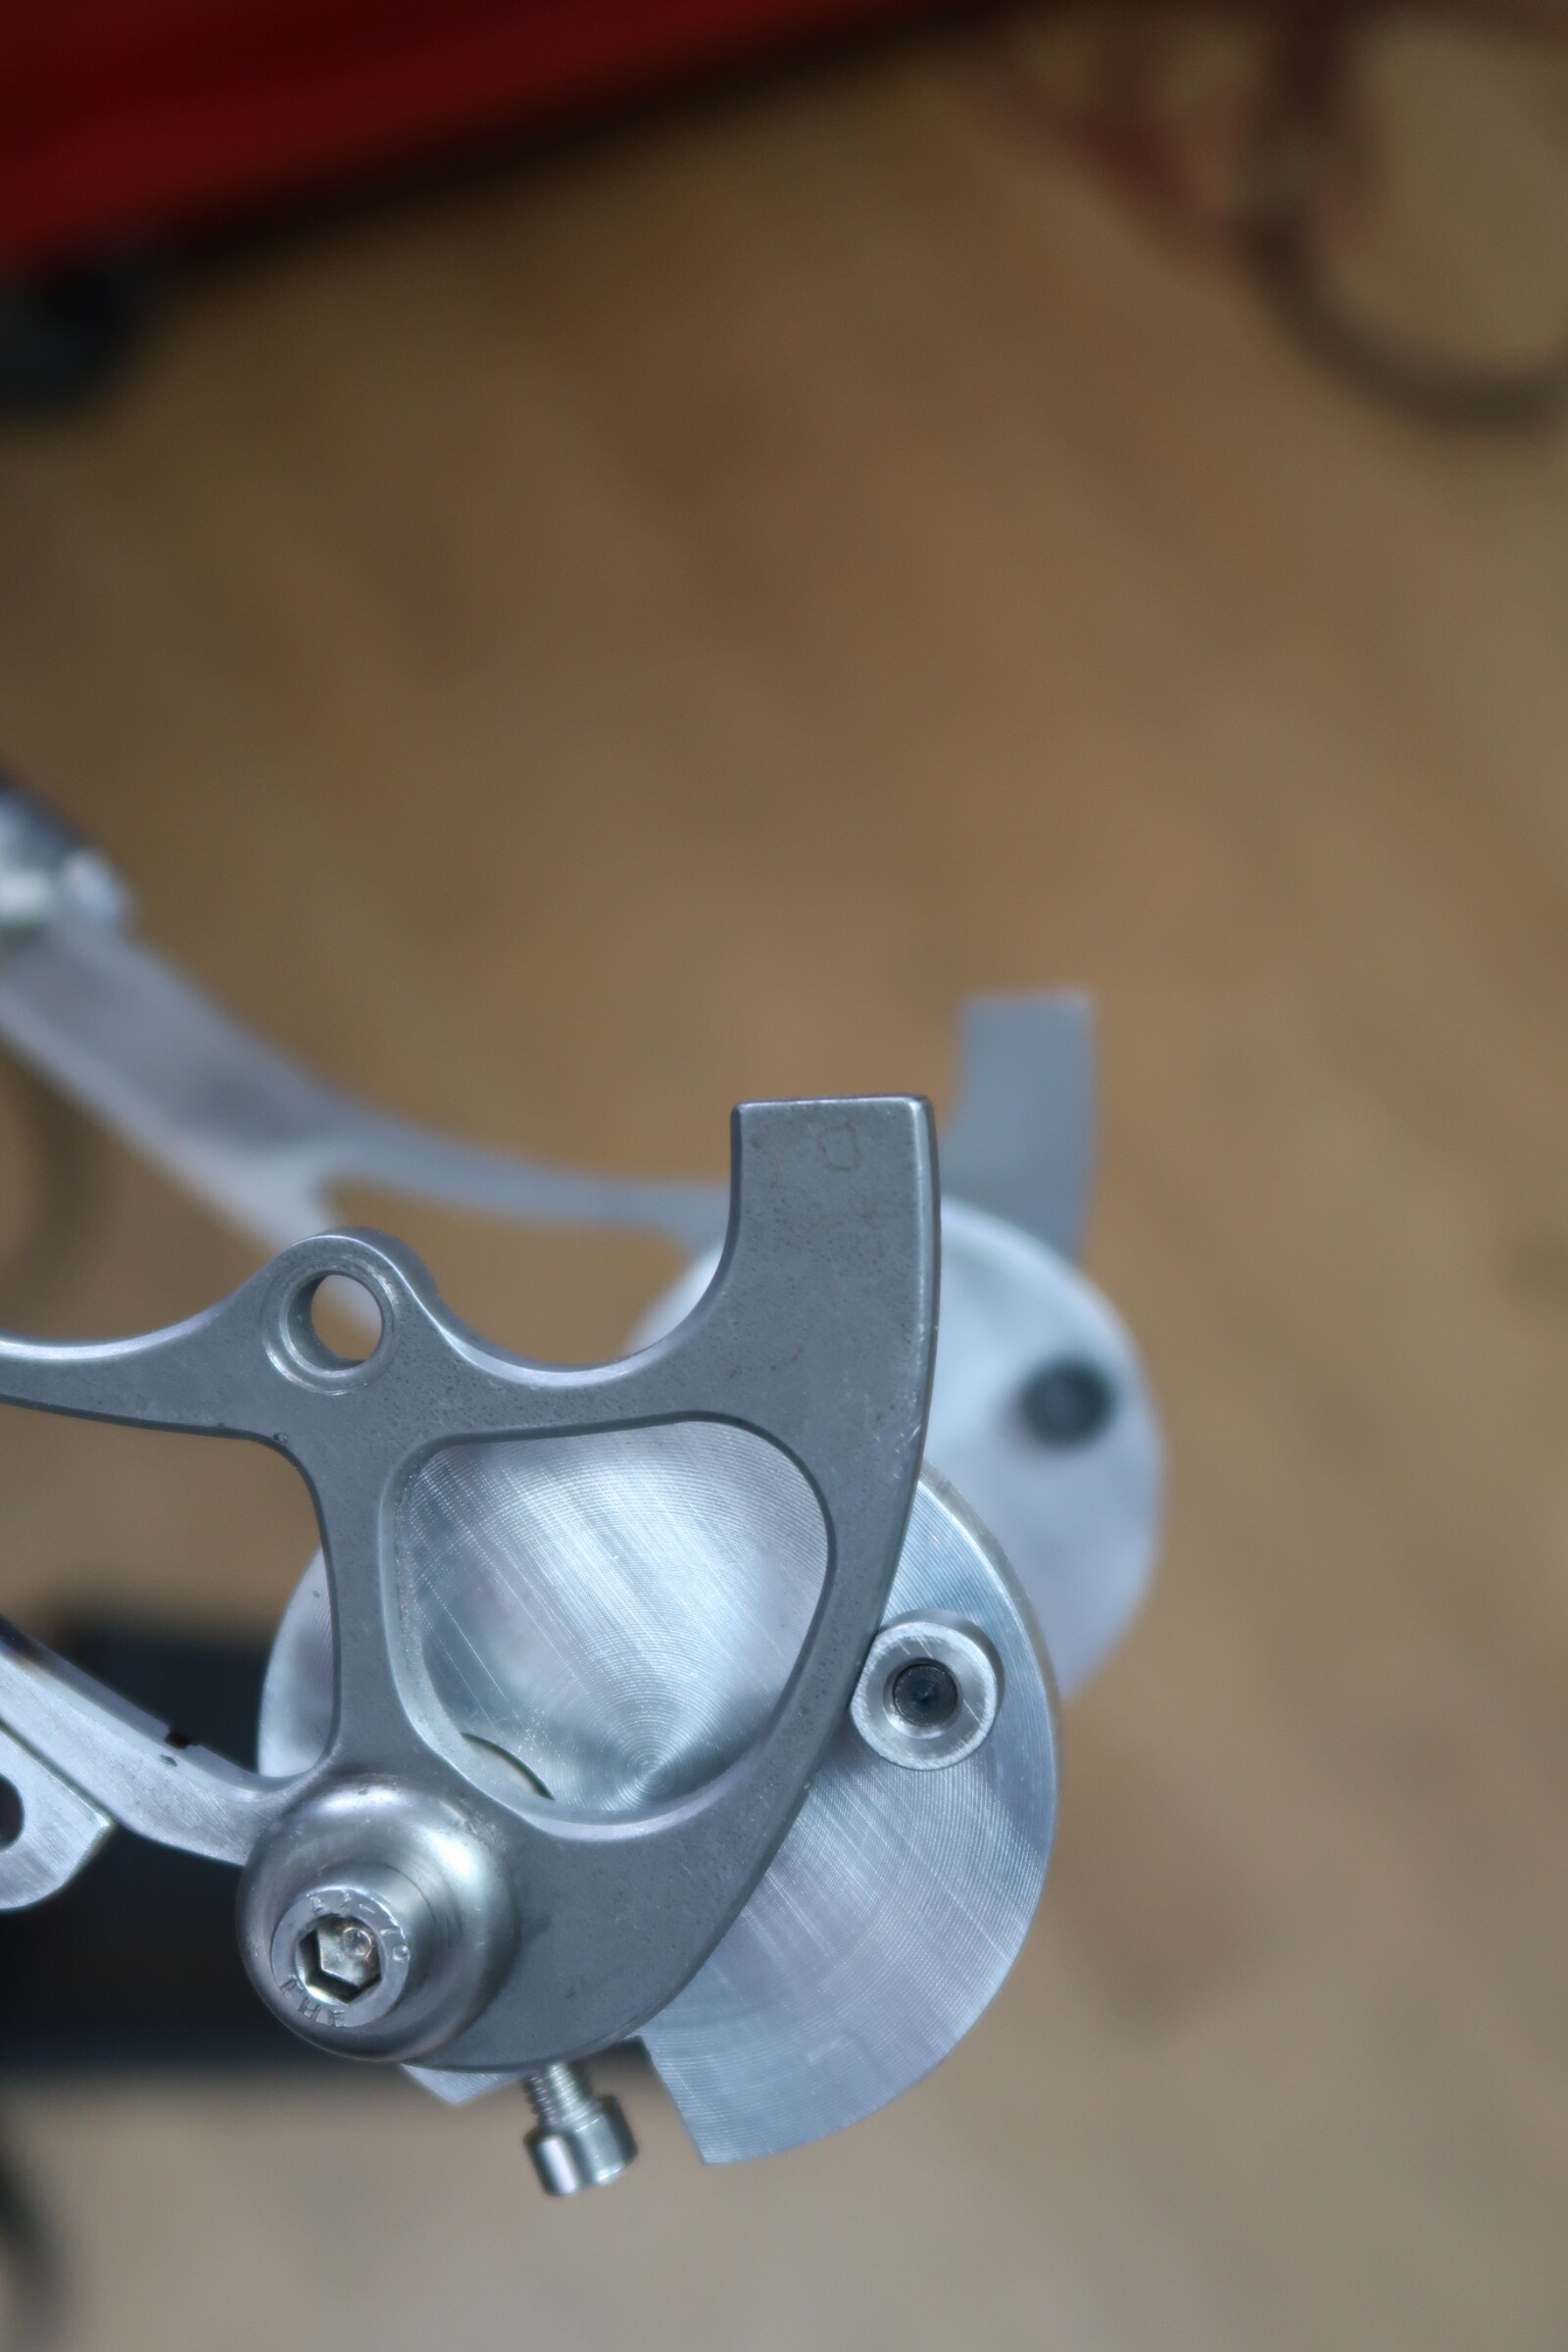
Well not really a tool I made but something I adapted to make my fork fixture more useful. I could have simply bolted a post the fixture and stuck it in my park stand but I found these Lane Carr positioners and spent about 10 hours making them function like I wanted and now I can spin my fork fixture around with ease. Brief side quest to make some knurled threaded knobs to secure it to my work plate. Ha!
Could you share something more on the fixture the tyre clearance tool is mounted to? I’ve been thinking a lot about DIY, 3D printed stay mitering fixtures, so happy to see examples (also from others if you have one!)
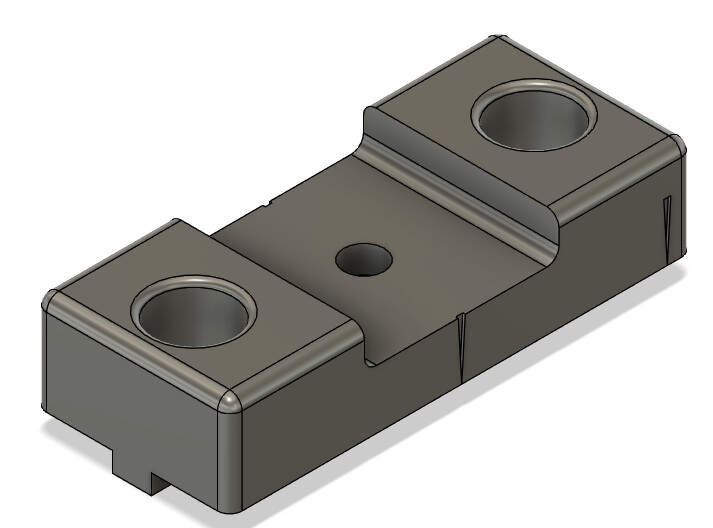
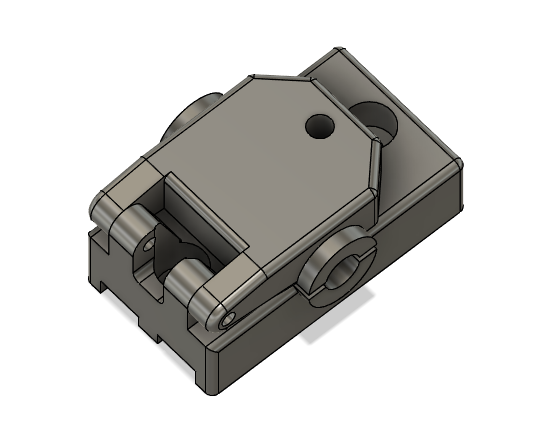
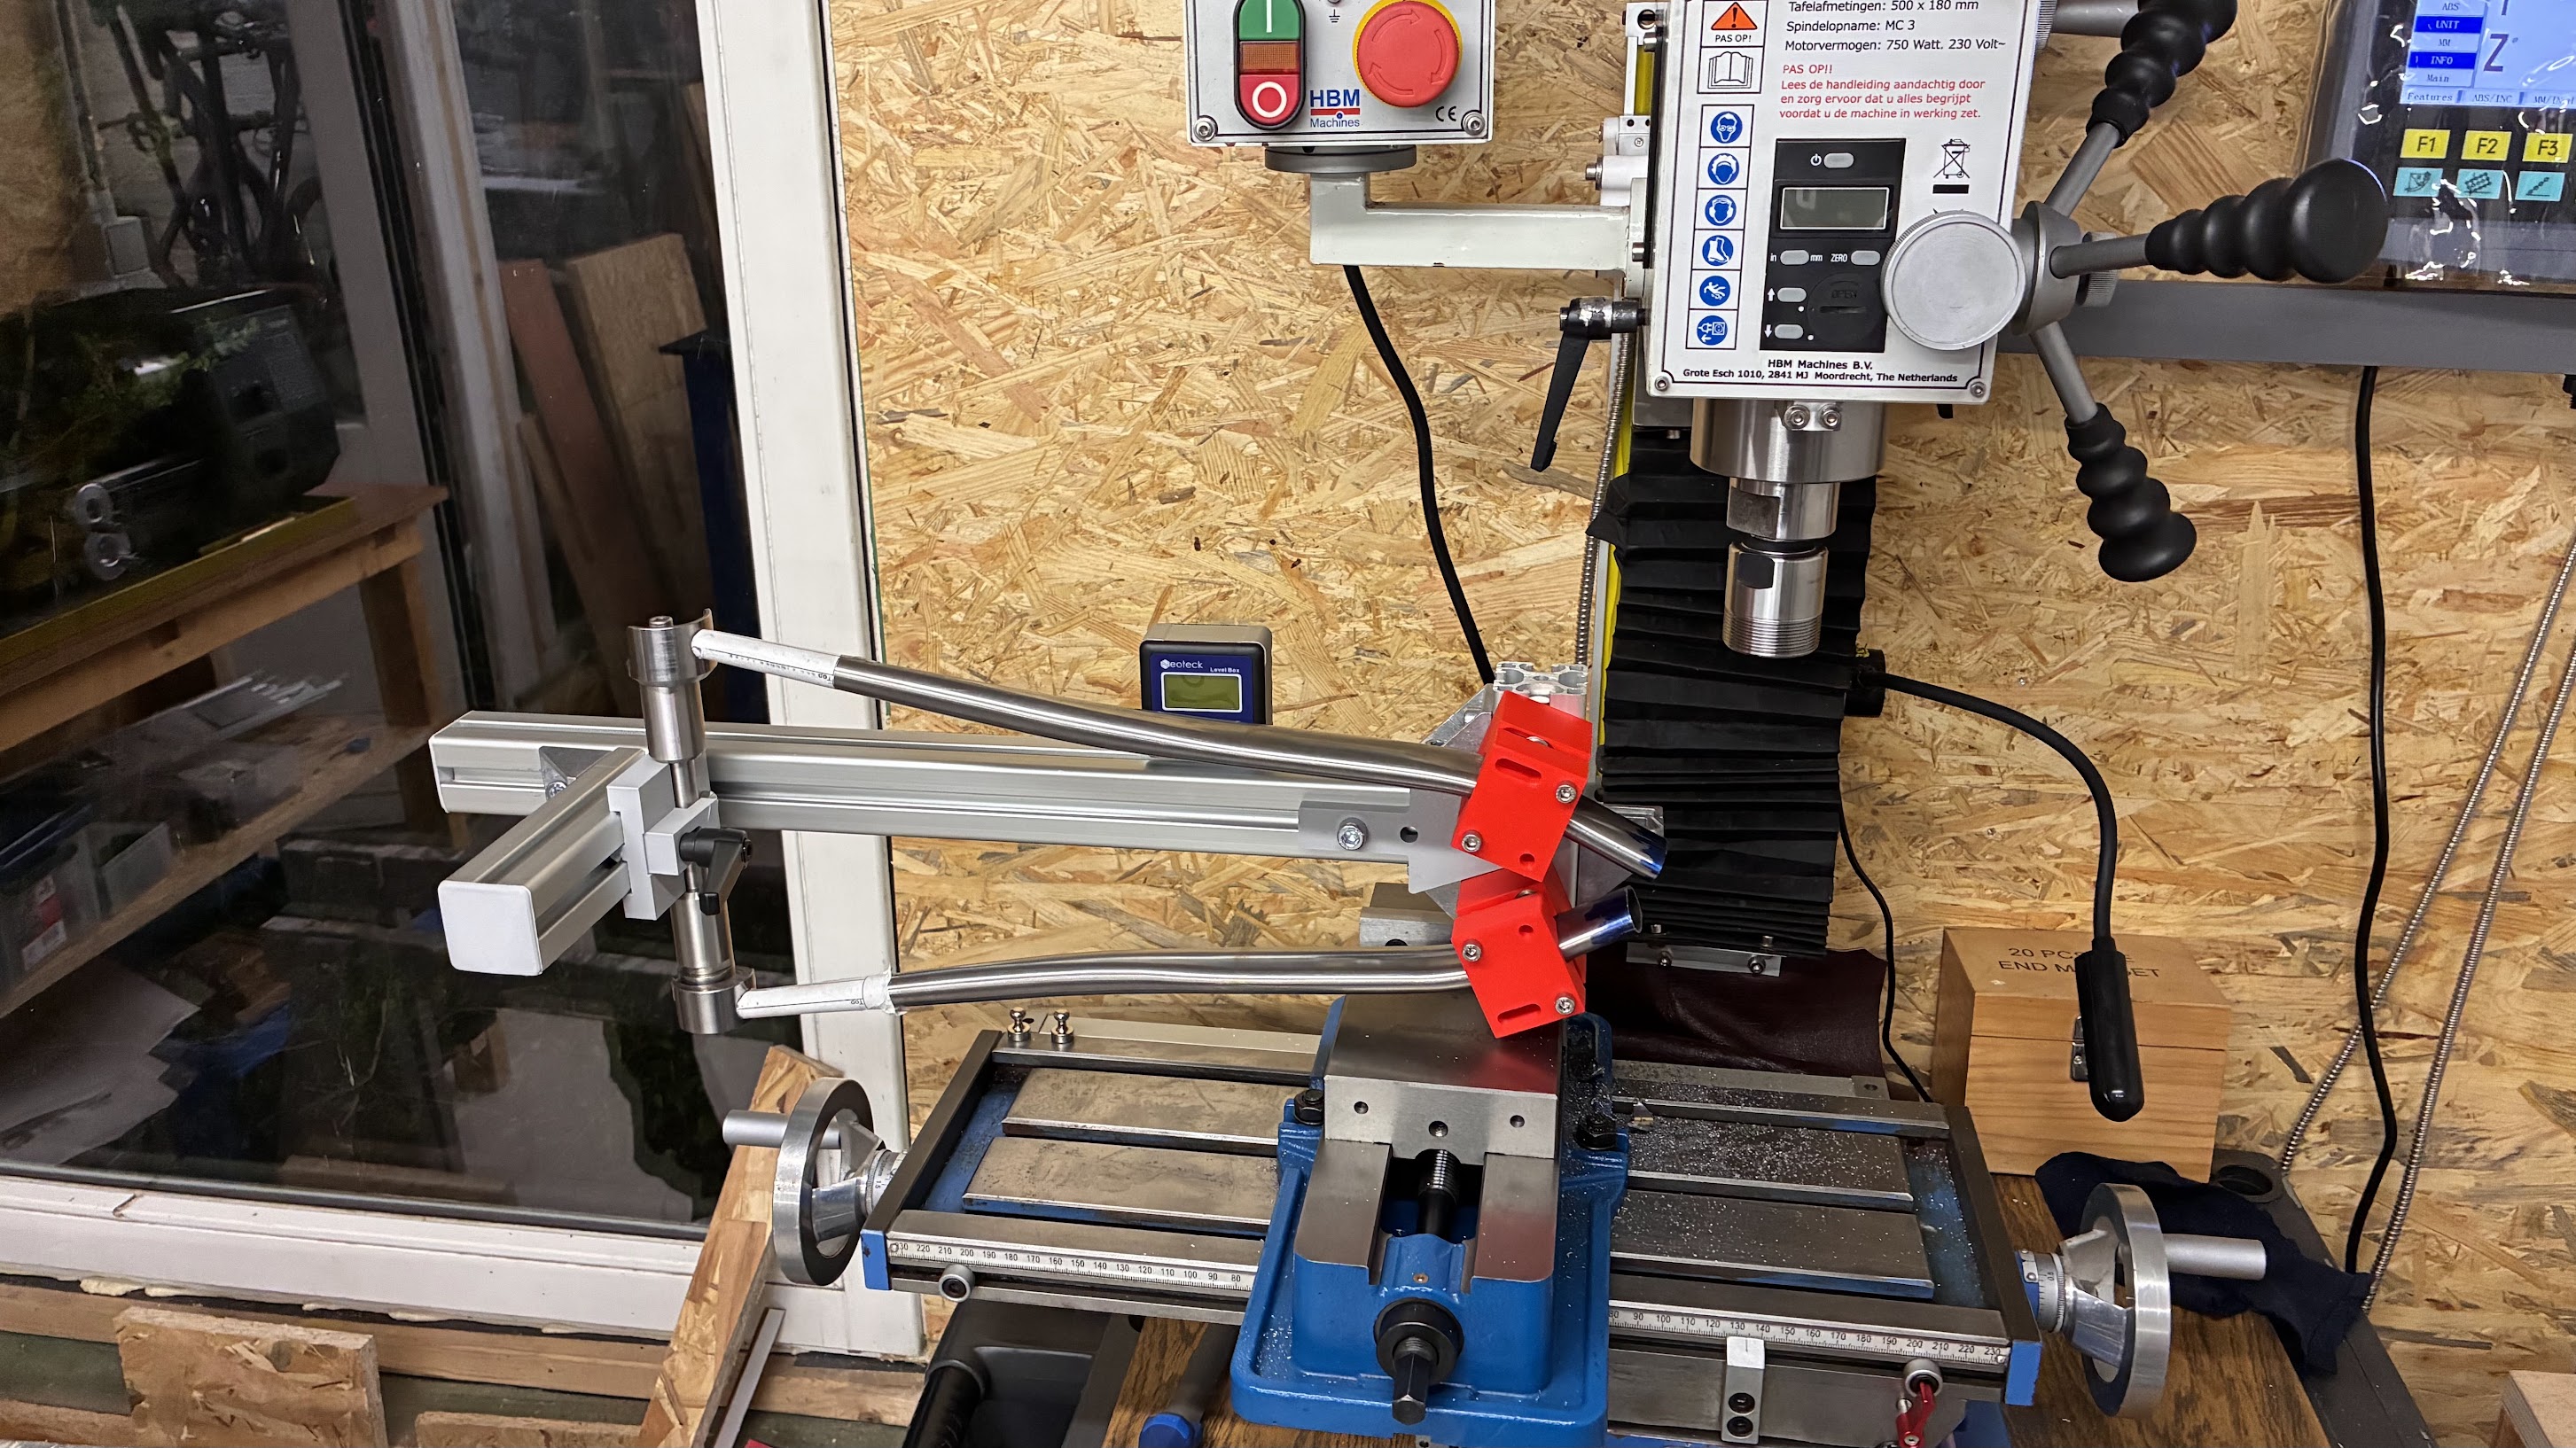
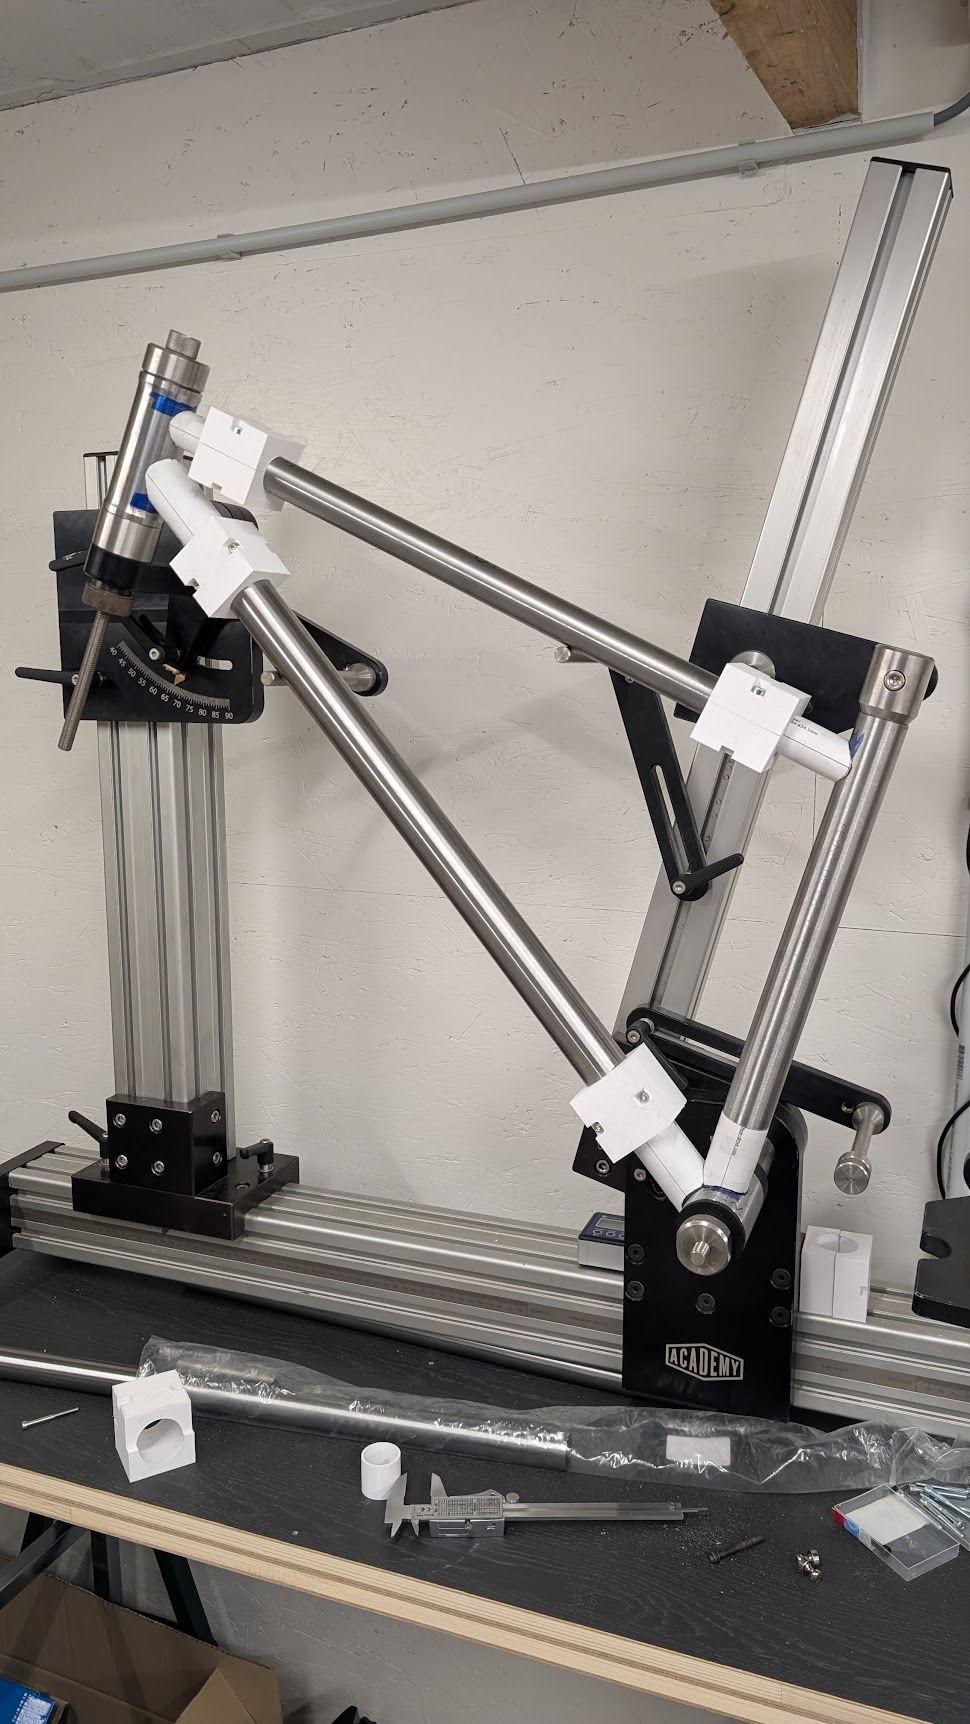
So the seatstay clamp in the fixture is a thing that I threw together from some 3D printed tubing blocks, and a sliding mount that holds the 80/20 at a right angle. (For the chainstays I use a dummy axle with a similar setup.) It got the job done, but is definitely a pain to set up and is not very rigid. Thankfully that didn’t matter much because the tube clamps near on the other end is more traditional, and made of made of metal. Unfortunately i don’t have more pictures right now, accept models of the 3d printed parts used. I imagine a fixed position, completely 3d printed SS fixture would work just fine, but I think with adjustability built in, it would become more challenging. Looking forward to seeing what you come up with!
Nice work! That’s my fave way of clamping an eccentric in the shell too.
I assume you’re not using a F.der braze-on (does anyone use F.der.s anymore?)
If you do use one, it’s wise to put them on before tacking the frame, because those BOs warp the tube off to the side. Since I come from the days of F.der. BOs, I prefer to grab the tube with a cone in from the top, that doesn’t care what the middle of the tube does.
Your tube sans-BO is probably straight enough not to care about being held in the middle. So carry on, and ignore everything I just wrote, after “Nice work!”
Thanks Mark! I copied your tandem BB from a pic that you posted a while back and made mine as close to yours as I could. It clamps the eccentric BB cartridge perfectly. I also took your advice and purchased a Problem Solvers BB blank instead of trying to turn my own.
This tandem is going to be electric with 20” wheels for my wife and I. More of a fun ride than a serious pedal bike. My wife has bad knees so biking is not her favorite activity. The electric motor should take load off of her and me!
I plan on using narrow wide chain rings, no need for a front derailleur braze on. The gearing will be simple and probably won’t get used much!
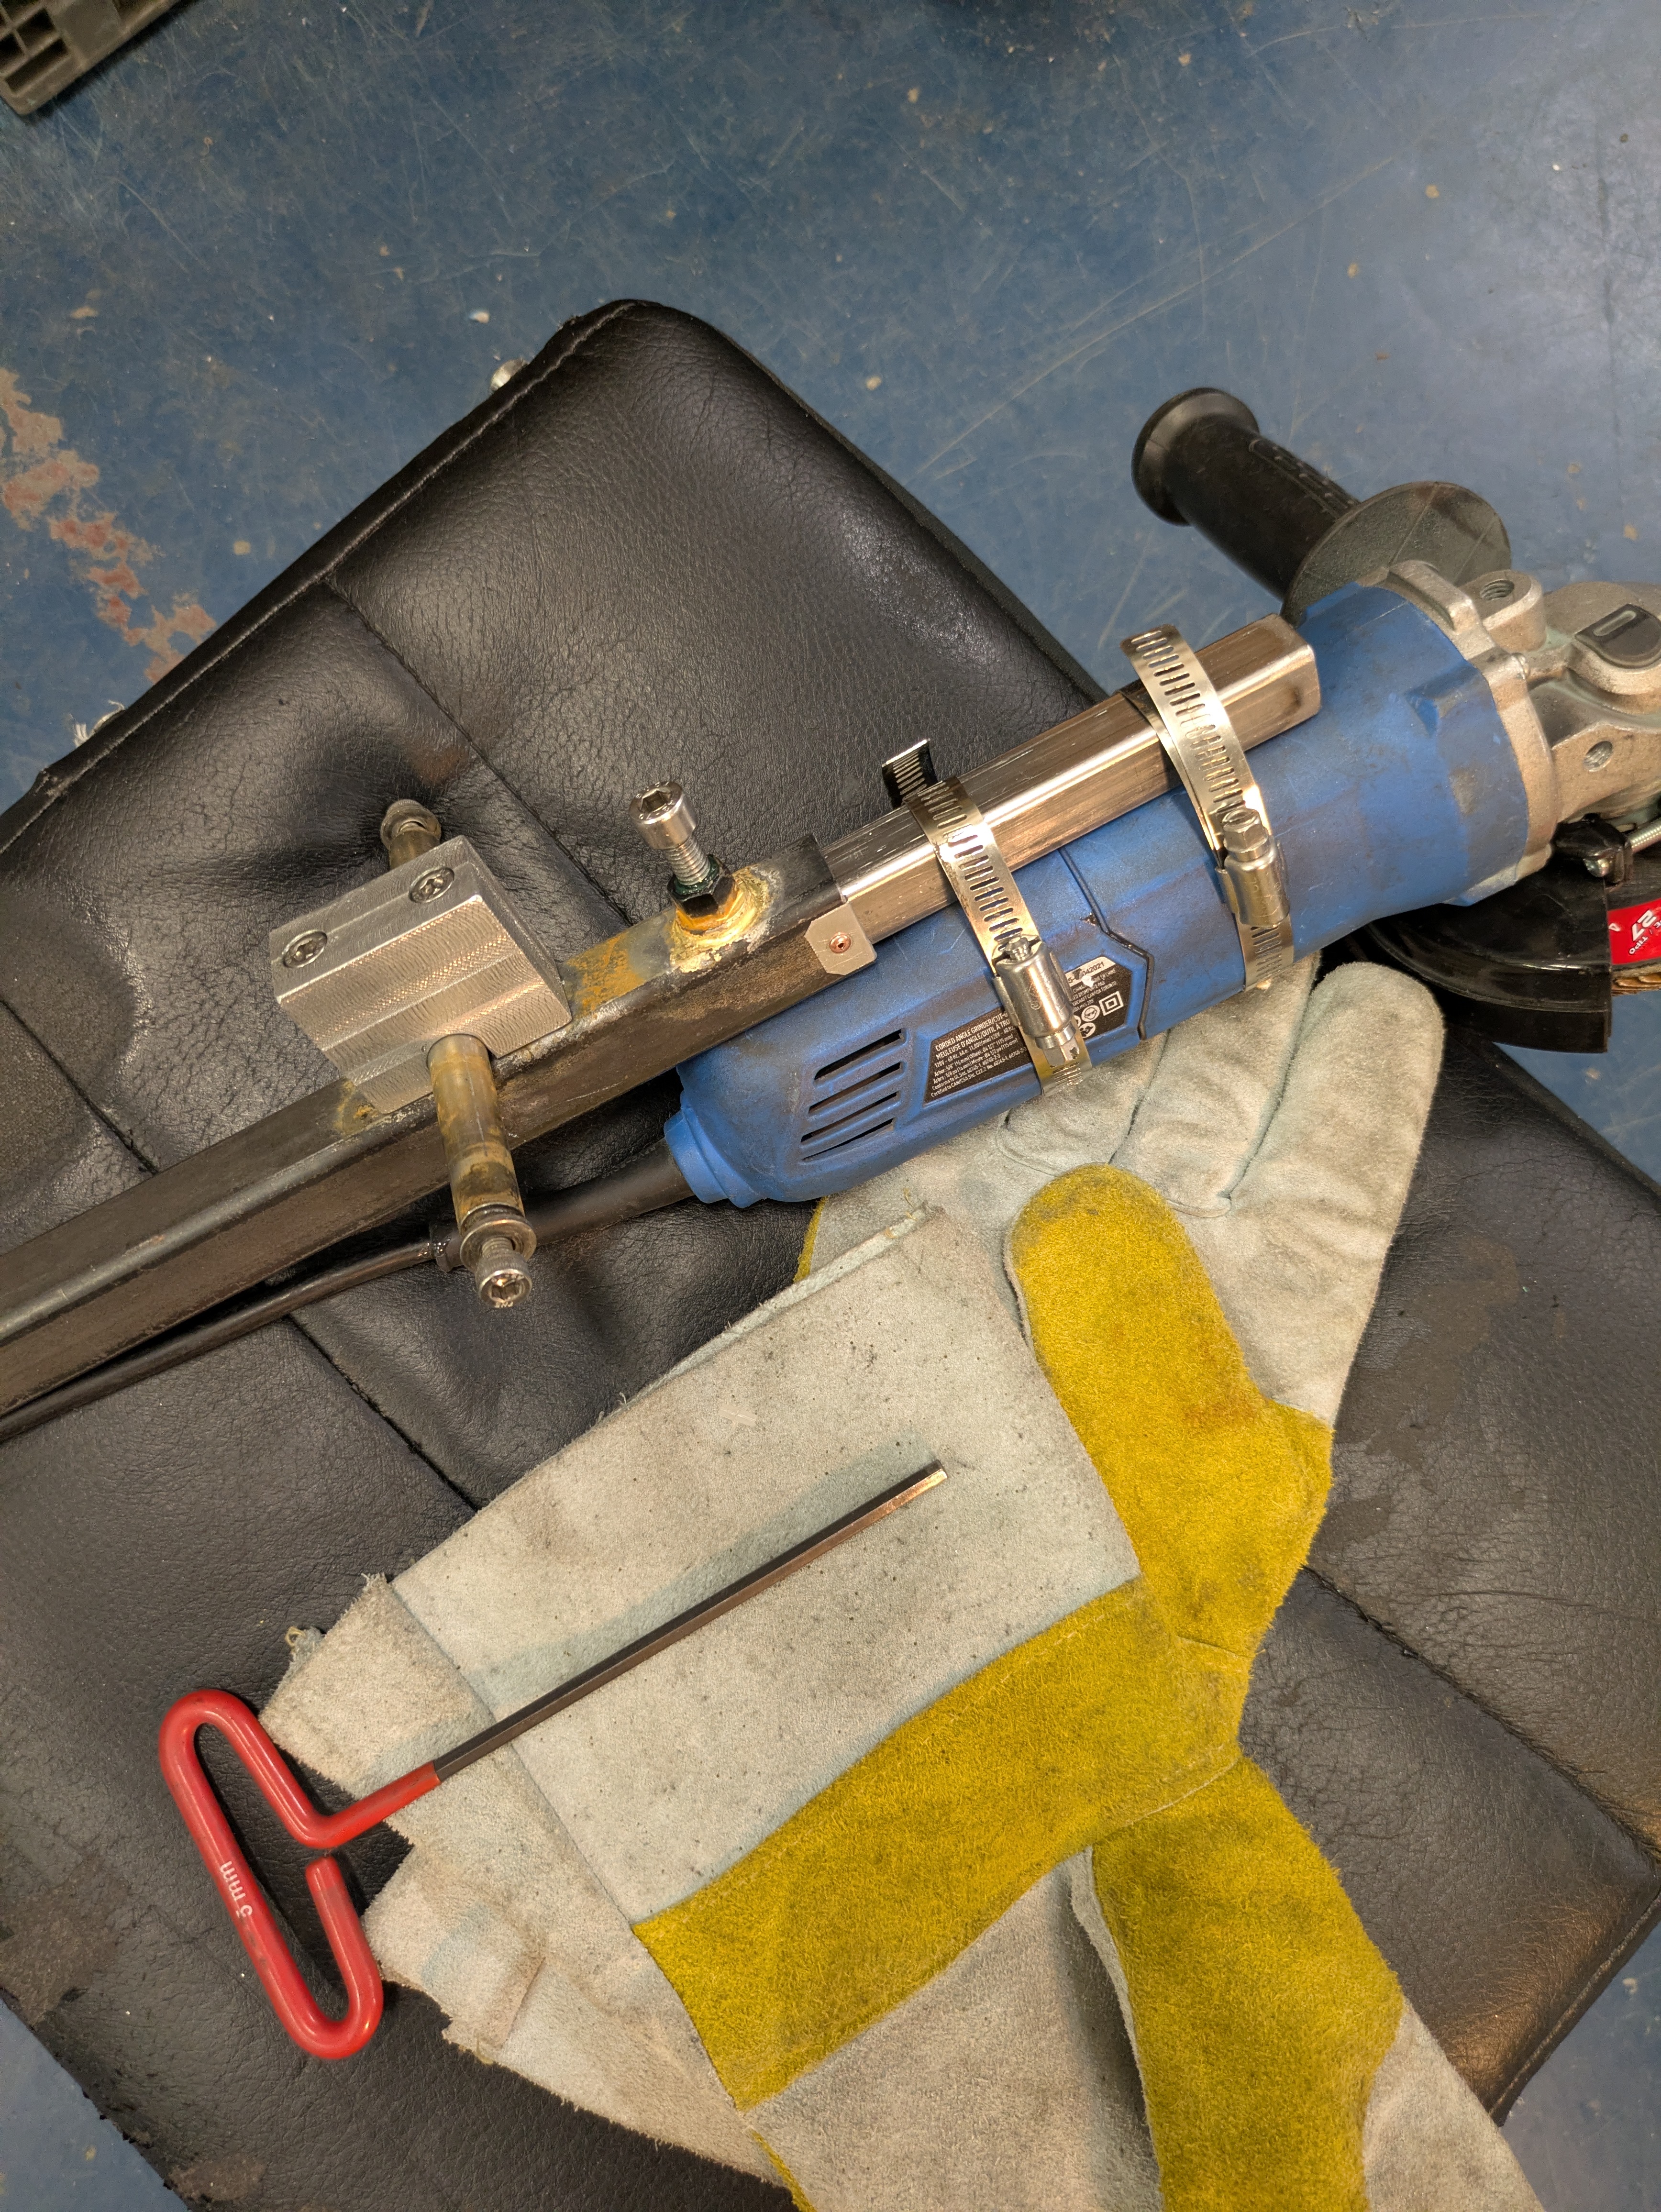
Seat tube notcher i made in january, takes the stress of doing it freehand away and the curve is properly concentric. Inspired by Rob English but i used a full size grinder and a 40 grit flap disc as my die grinder couldn’t cut it
Trying to keep my tool purchases within a reasonable budget, so a stay mitering fixture was not on the table right now, but I did have a 3D printer and some leftover 4040 extrusion Seems to work OK so far and feels rigid enough (after redesigning the clamping blocks) for mitering. However, I didn’t have the right arbor for the 51mm holesaw so waiting for that to come in before I can claim it a full success.
Have also used my 3D printer and some heat-set inserts for tube blocks too. Sure they won’t last as long as some nice Paragon ones, but I could print 6 of them within a couple of hours for a couple of euros
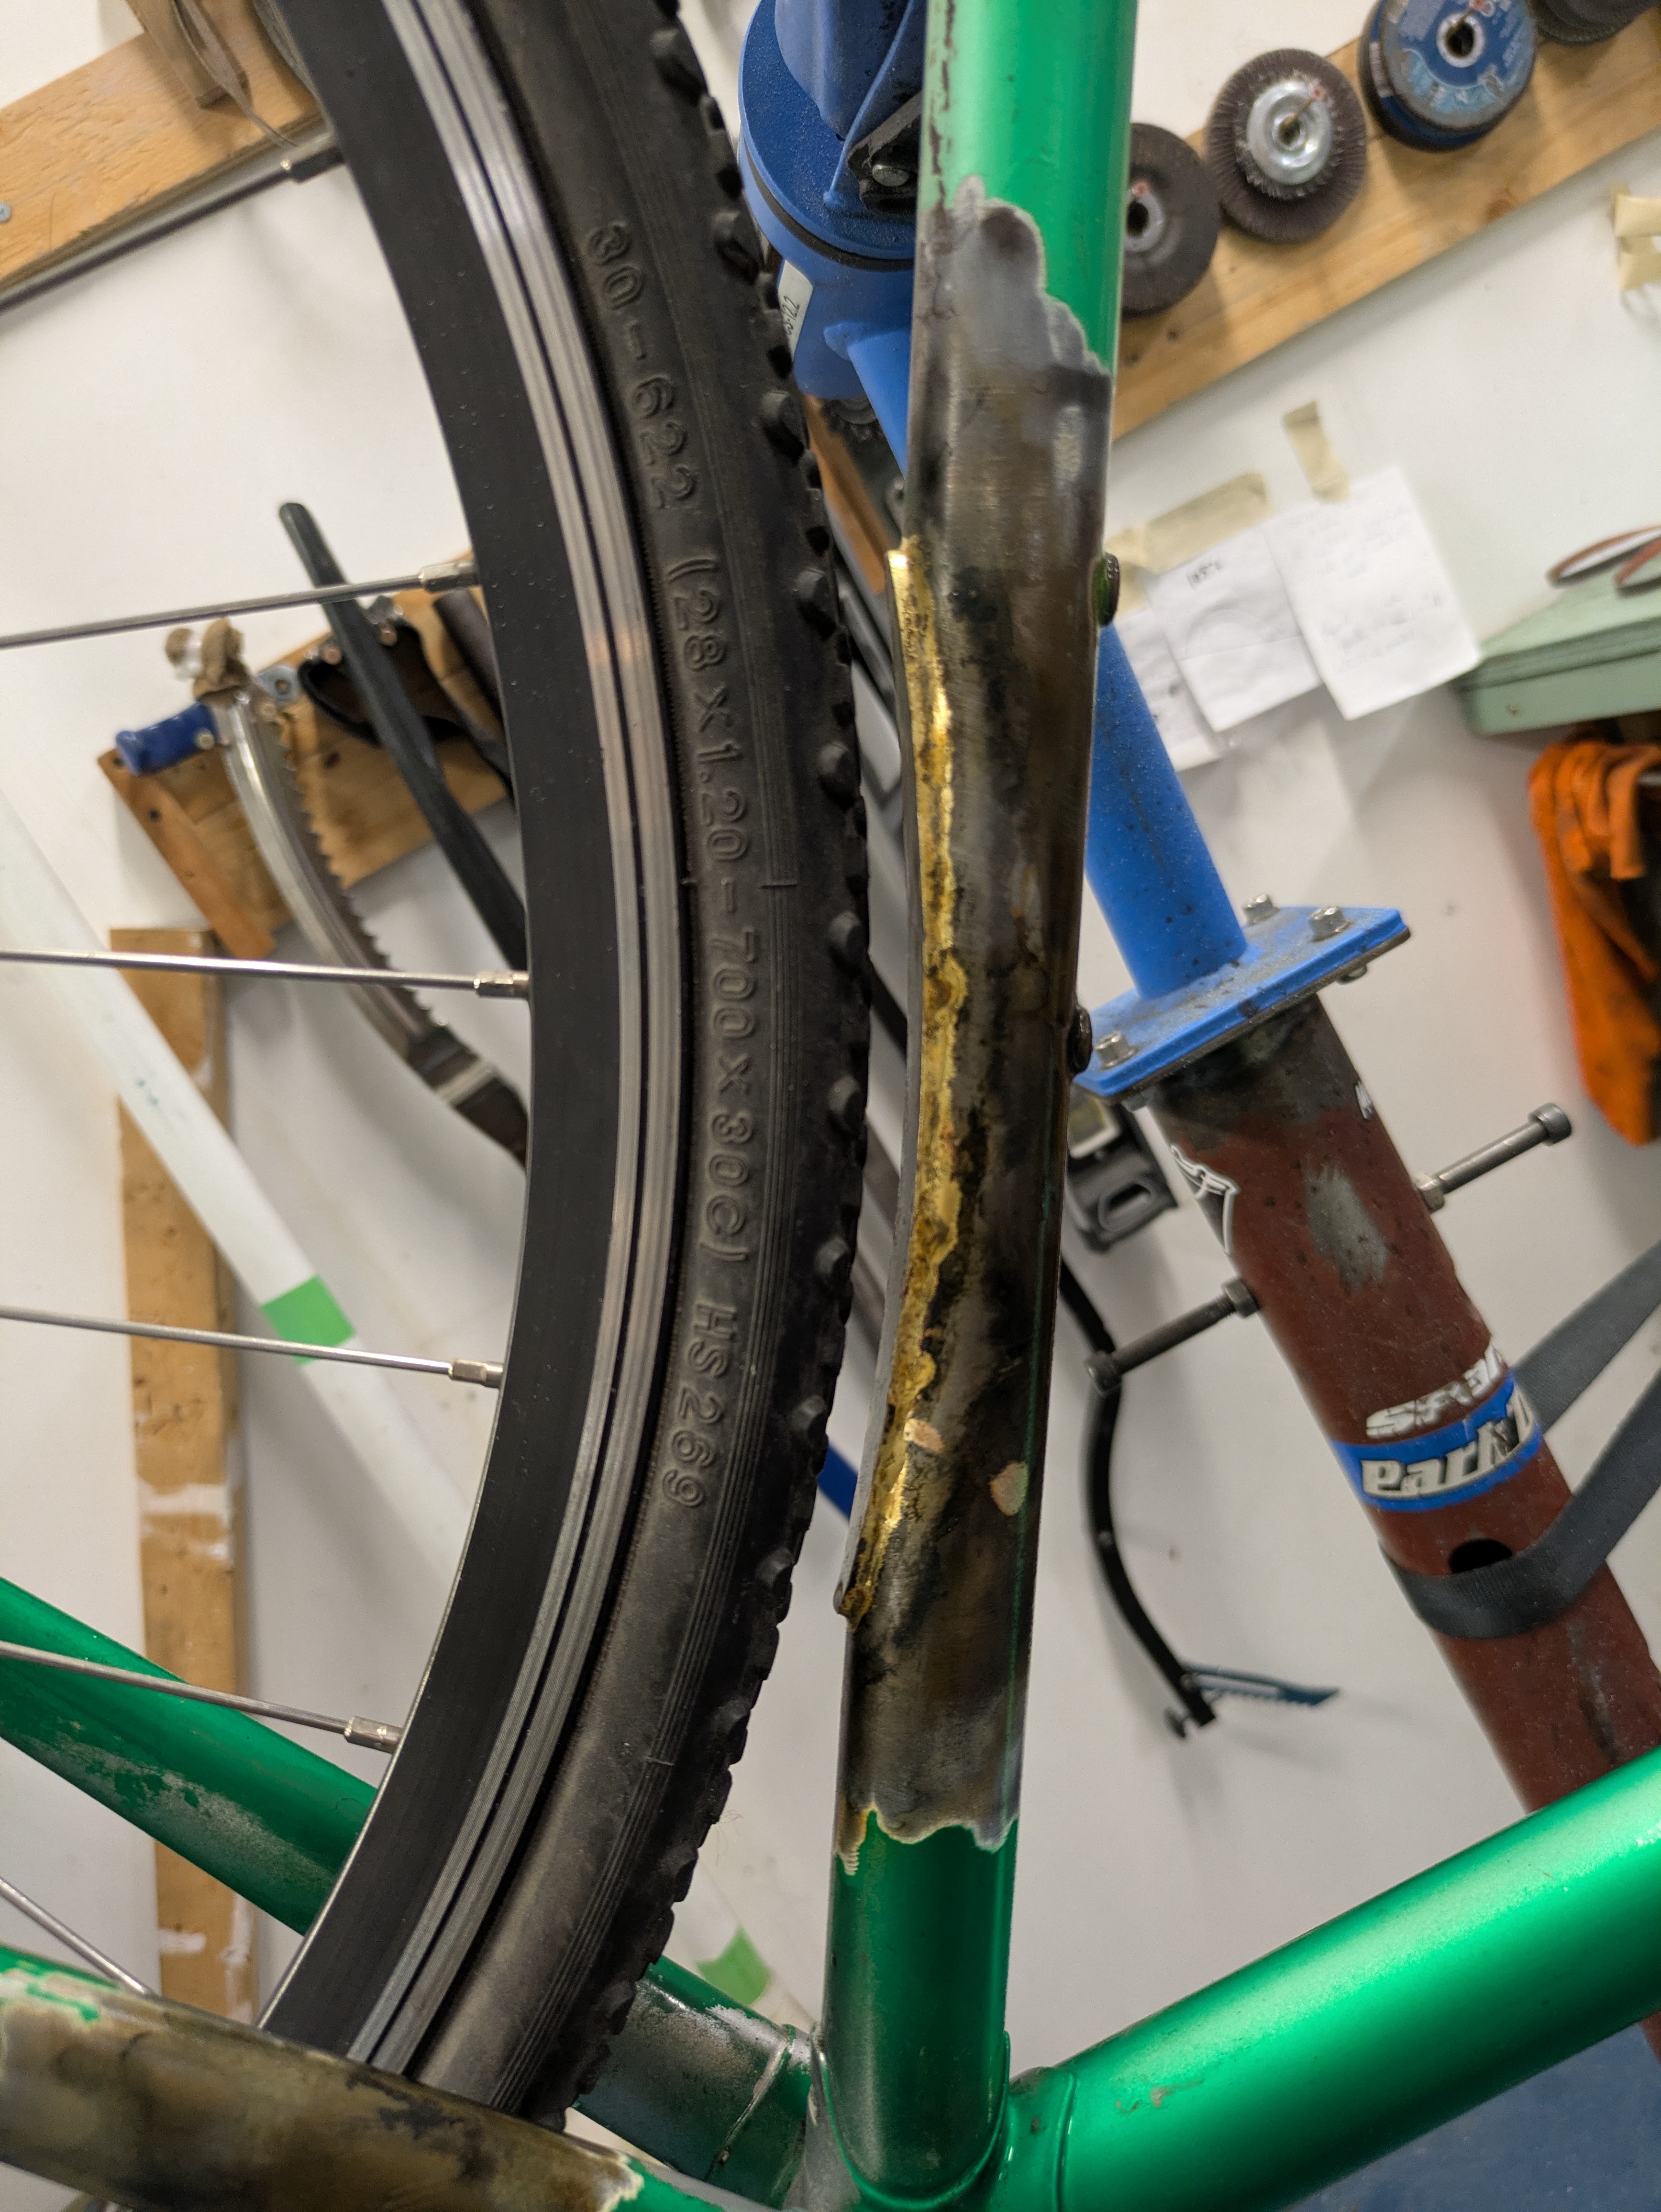
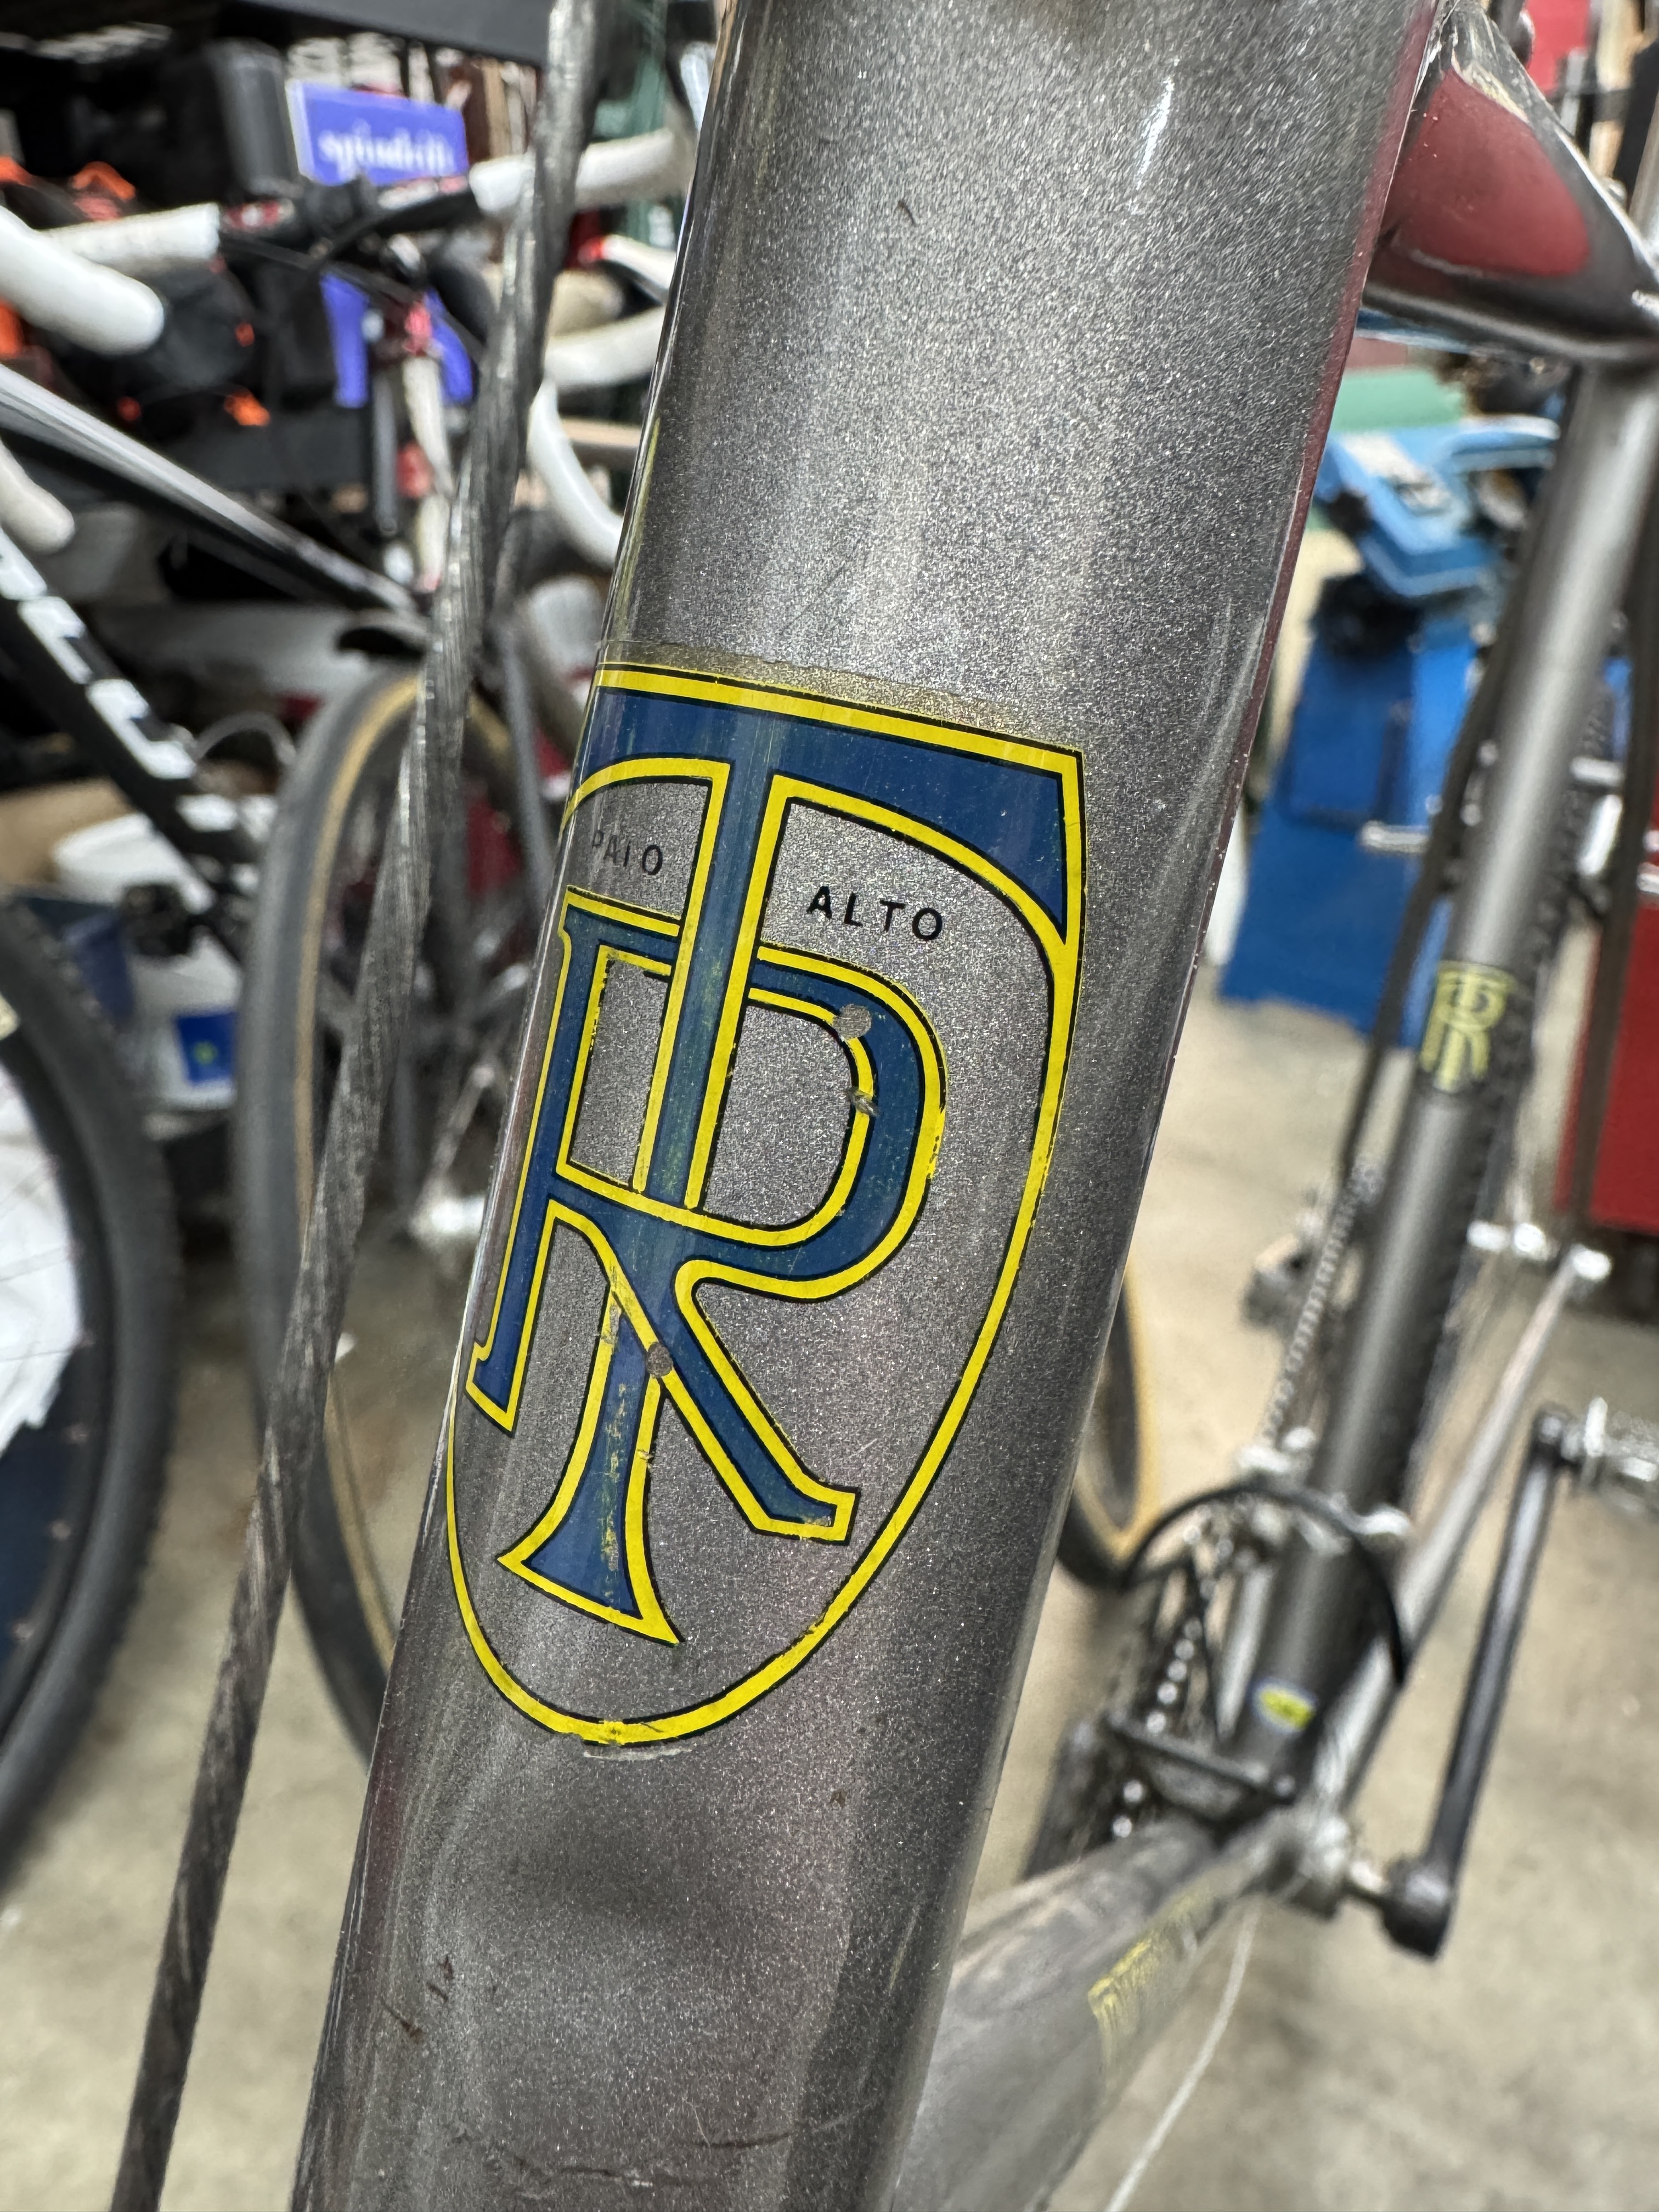
I have had some regular repair and fabrication work from a notable Ritchey collector (Tom interviewed him; interview is on Ritchey website).
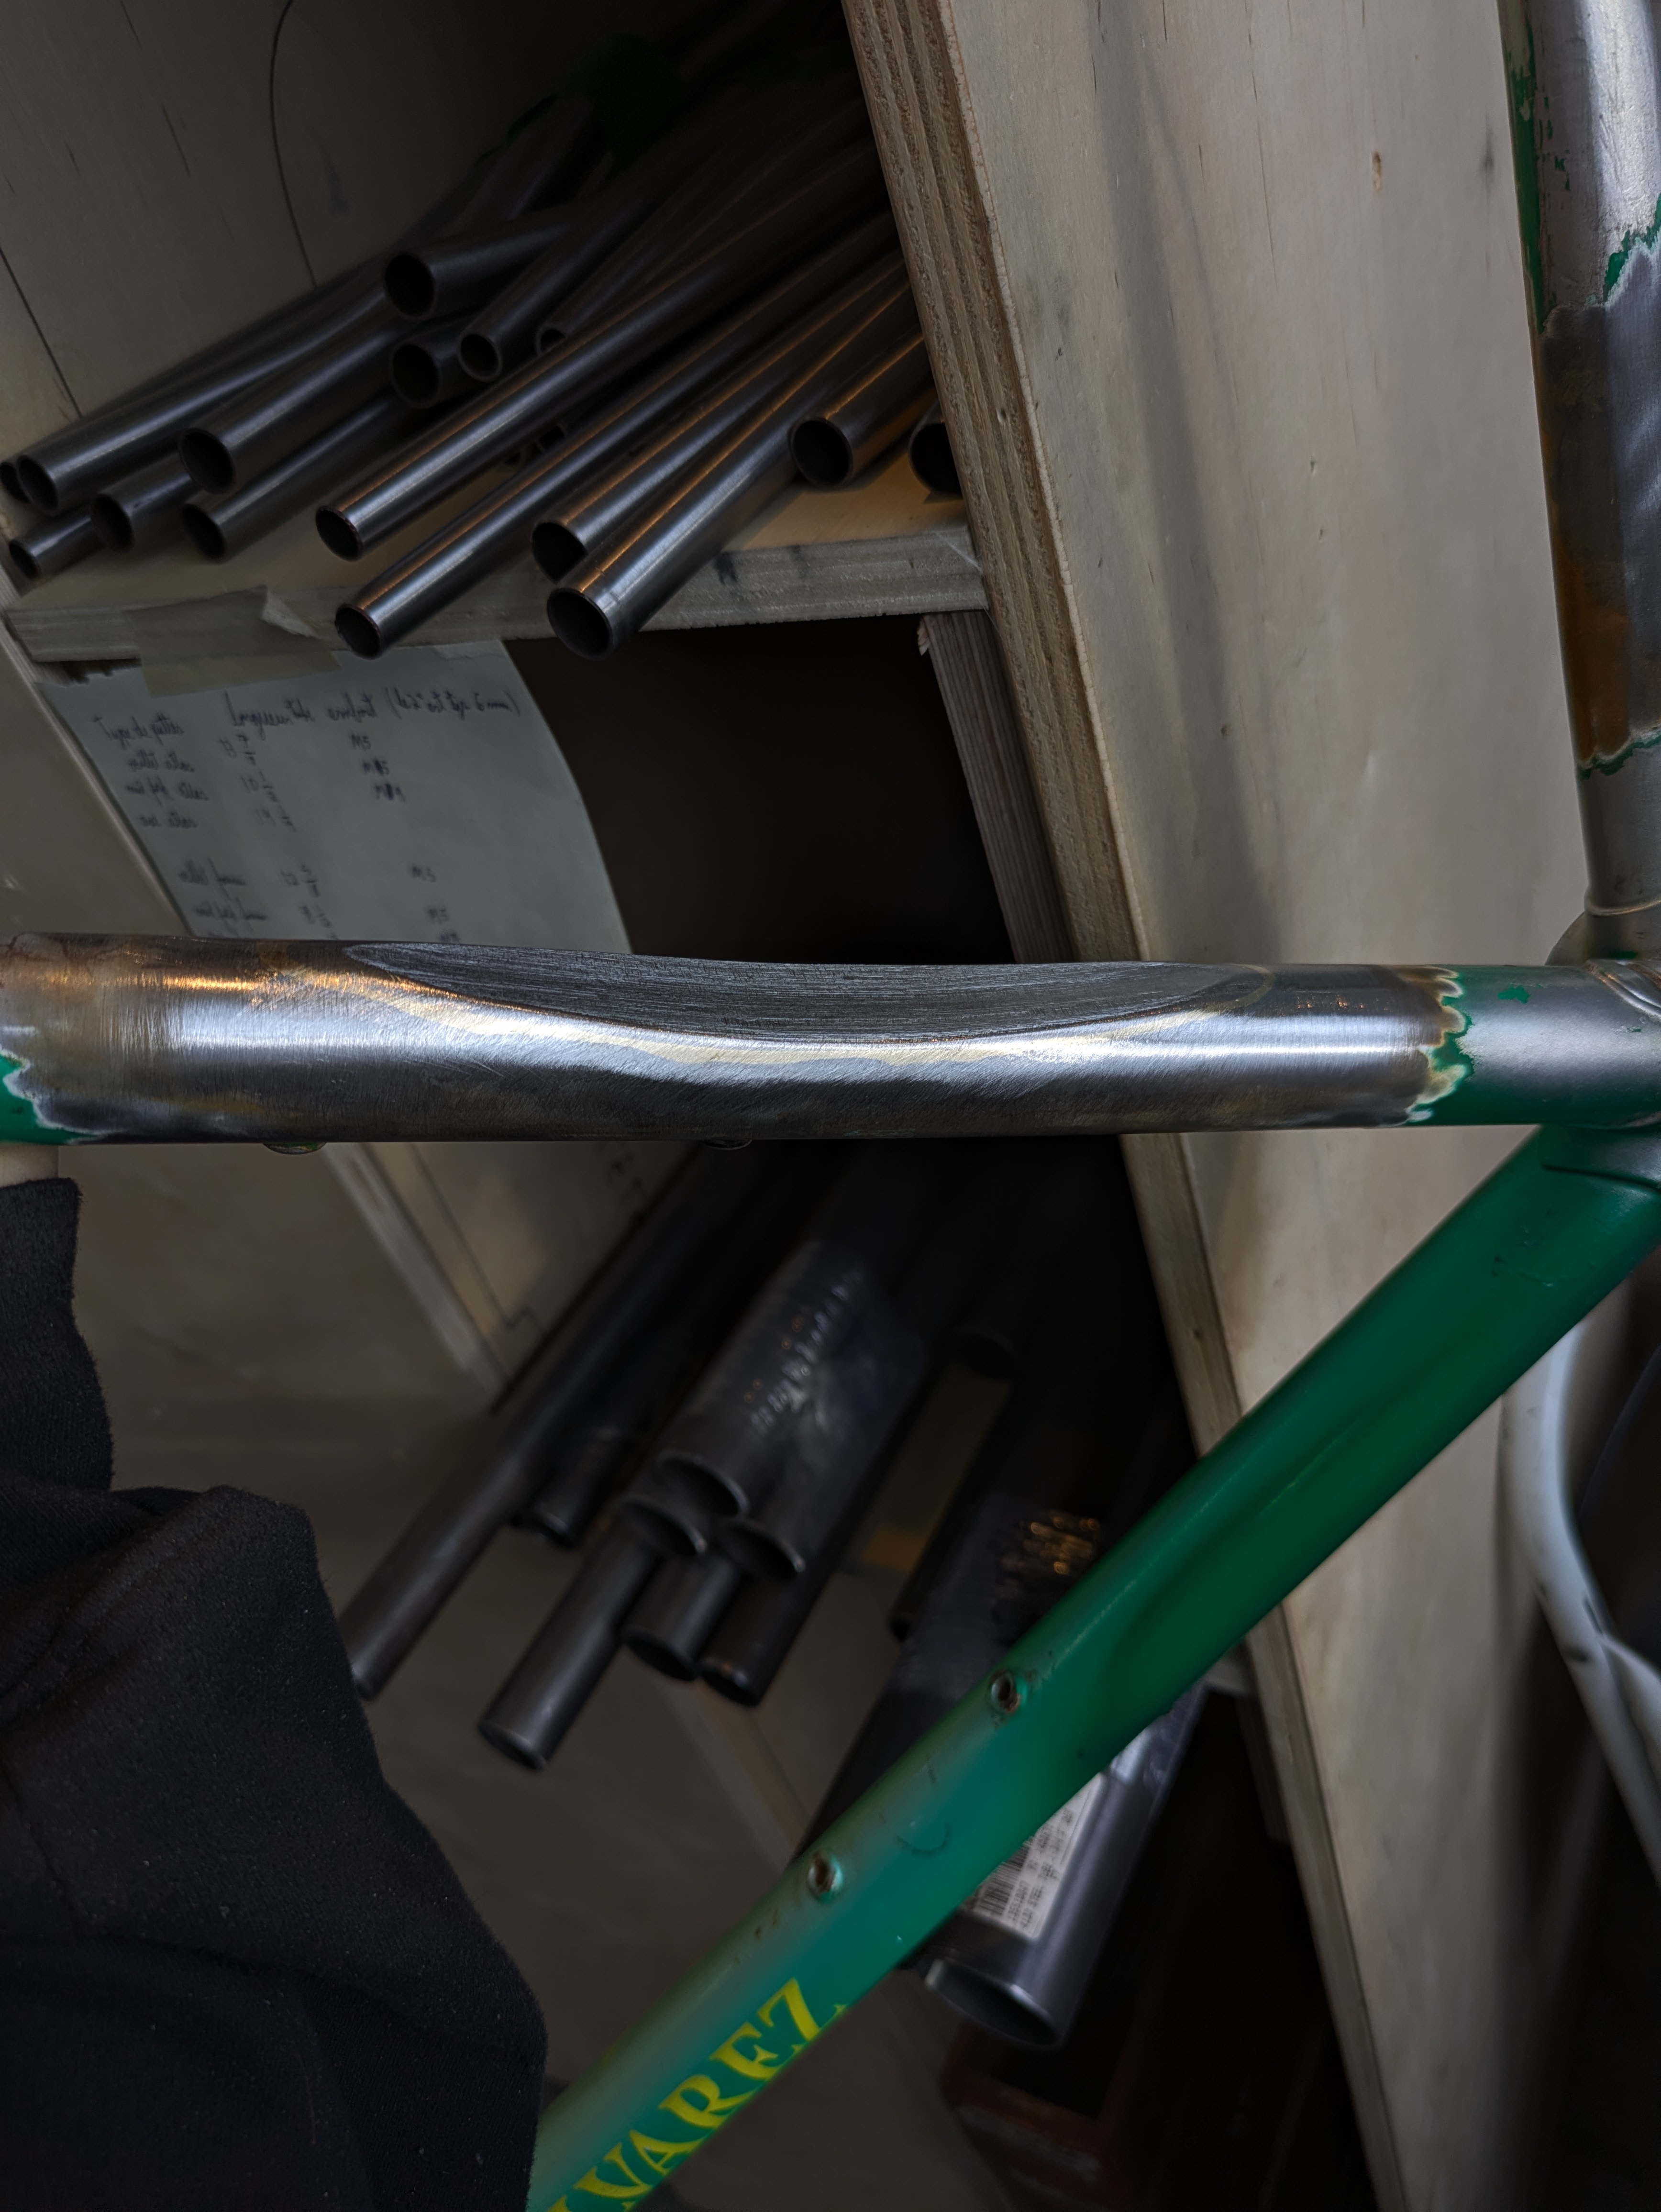
Anyway, he has a very rare ‘77 650b ‘gravel bike’ that had seen a little abuse and one problem was a dent in the head tube. I told him I’d look at it but no promises I would even try to fix it. Preserving the original paint and decals was the primary concern. After staring at it for a while, it occurred to me that tubes are butted by running a mandrel through them.
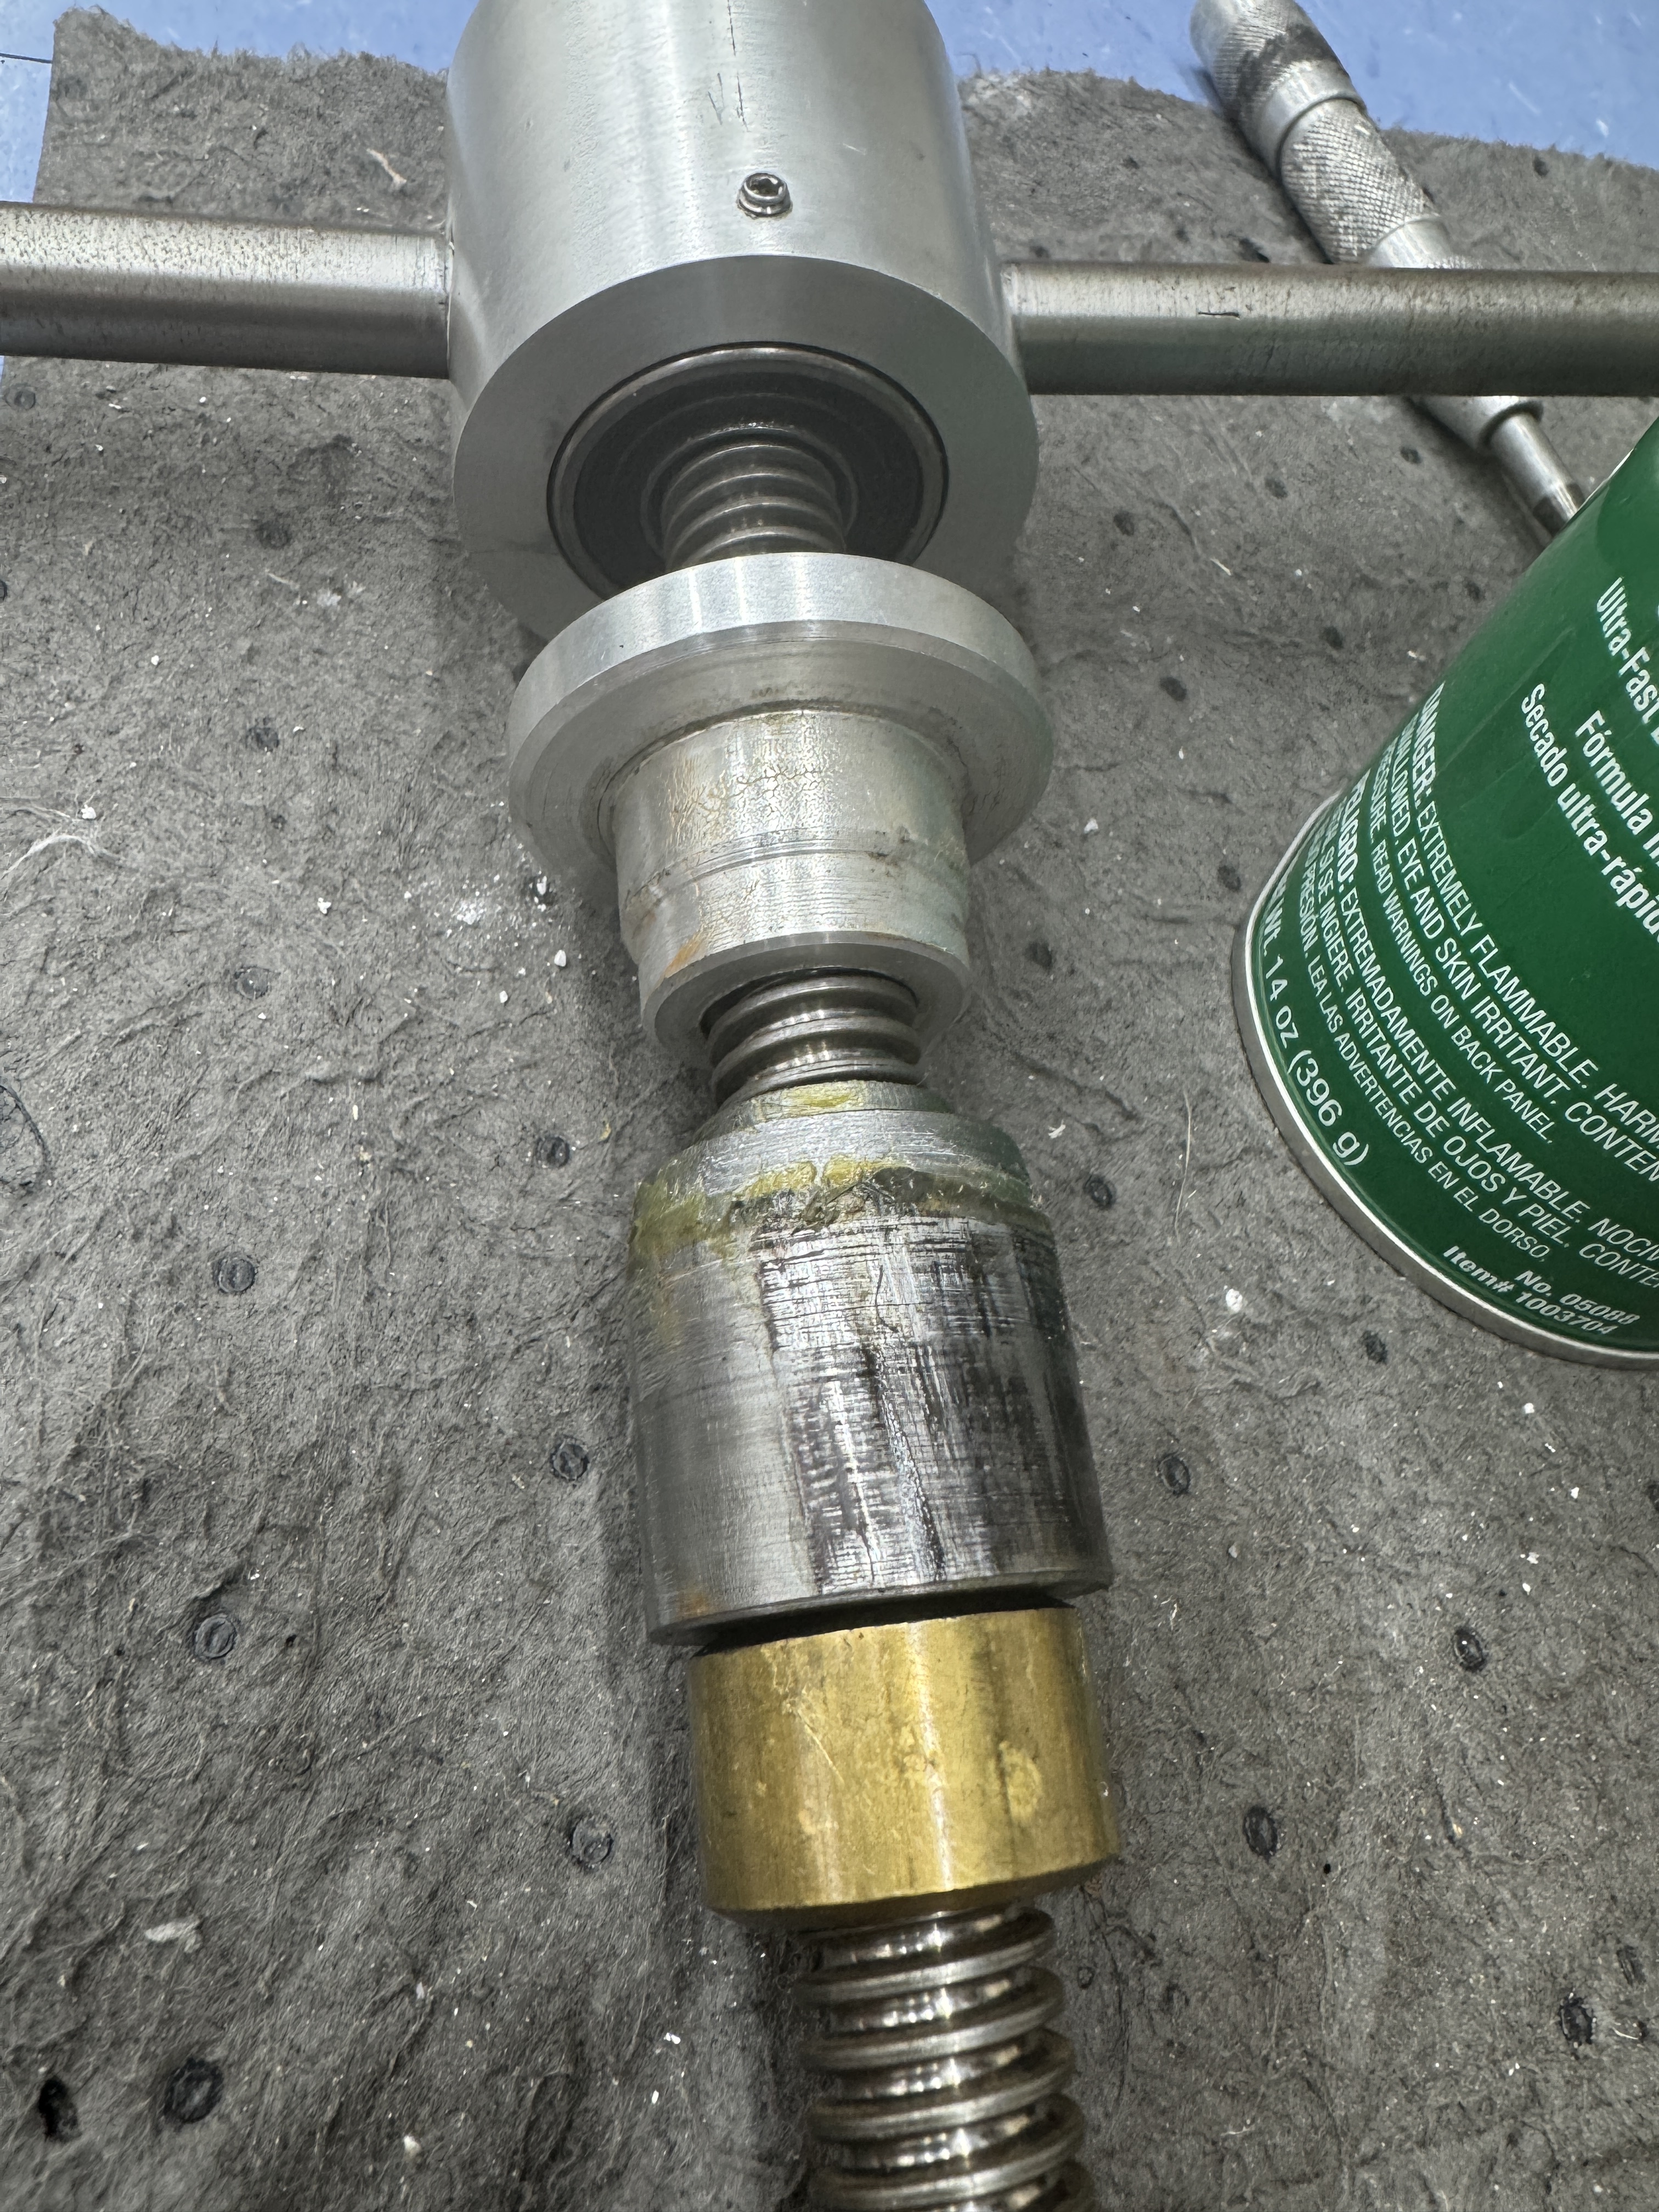
I machined a cone, that was the same size as the headtube ID and then made essentially a headset press with a thrust bearings, brass lead screw nuts and other bits to draw it up through the headtube. Voila! Dent is gone! Worked better than I expected and thankfully, no damage.
It didn’t spin at all. The cone wouldn’t spin and the brass sort of grabbed the bottom of the cone. I’m sure there was a pretty good amount of pressure - even though I could easy spin the handle because of the thrust bearing.
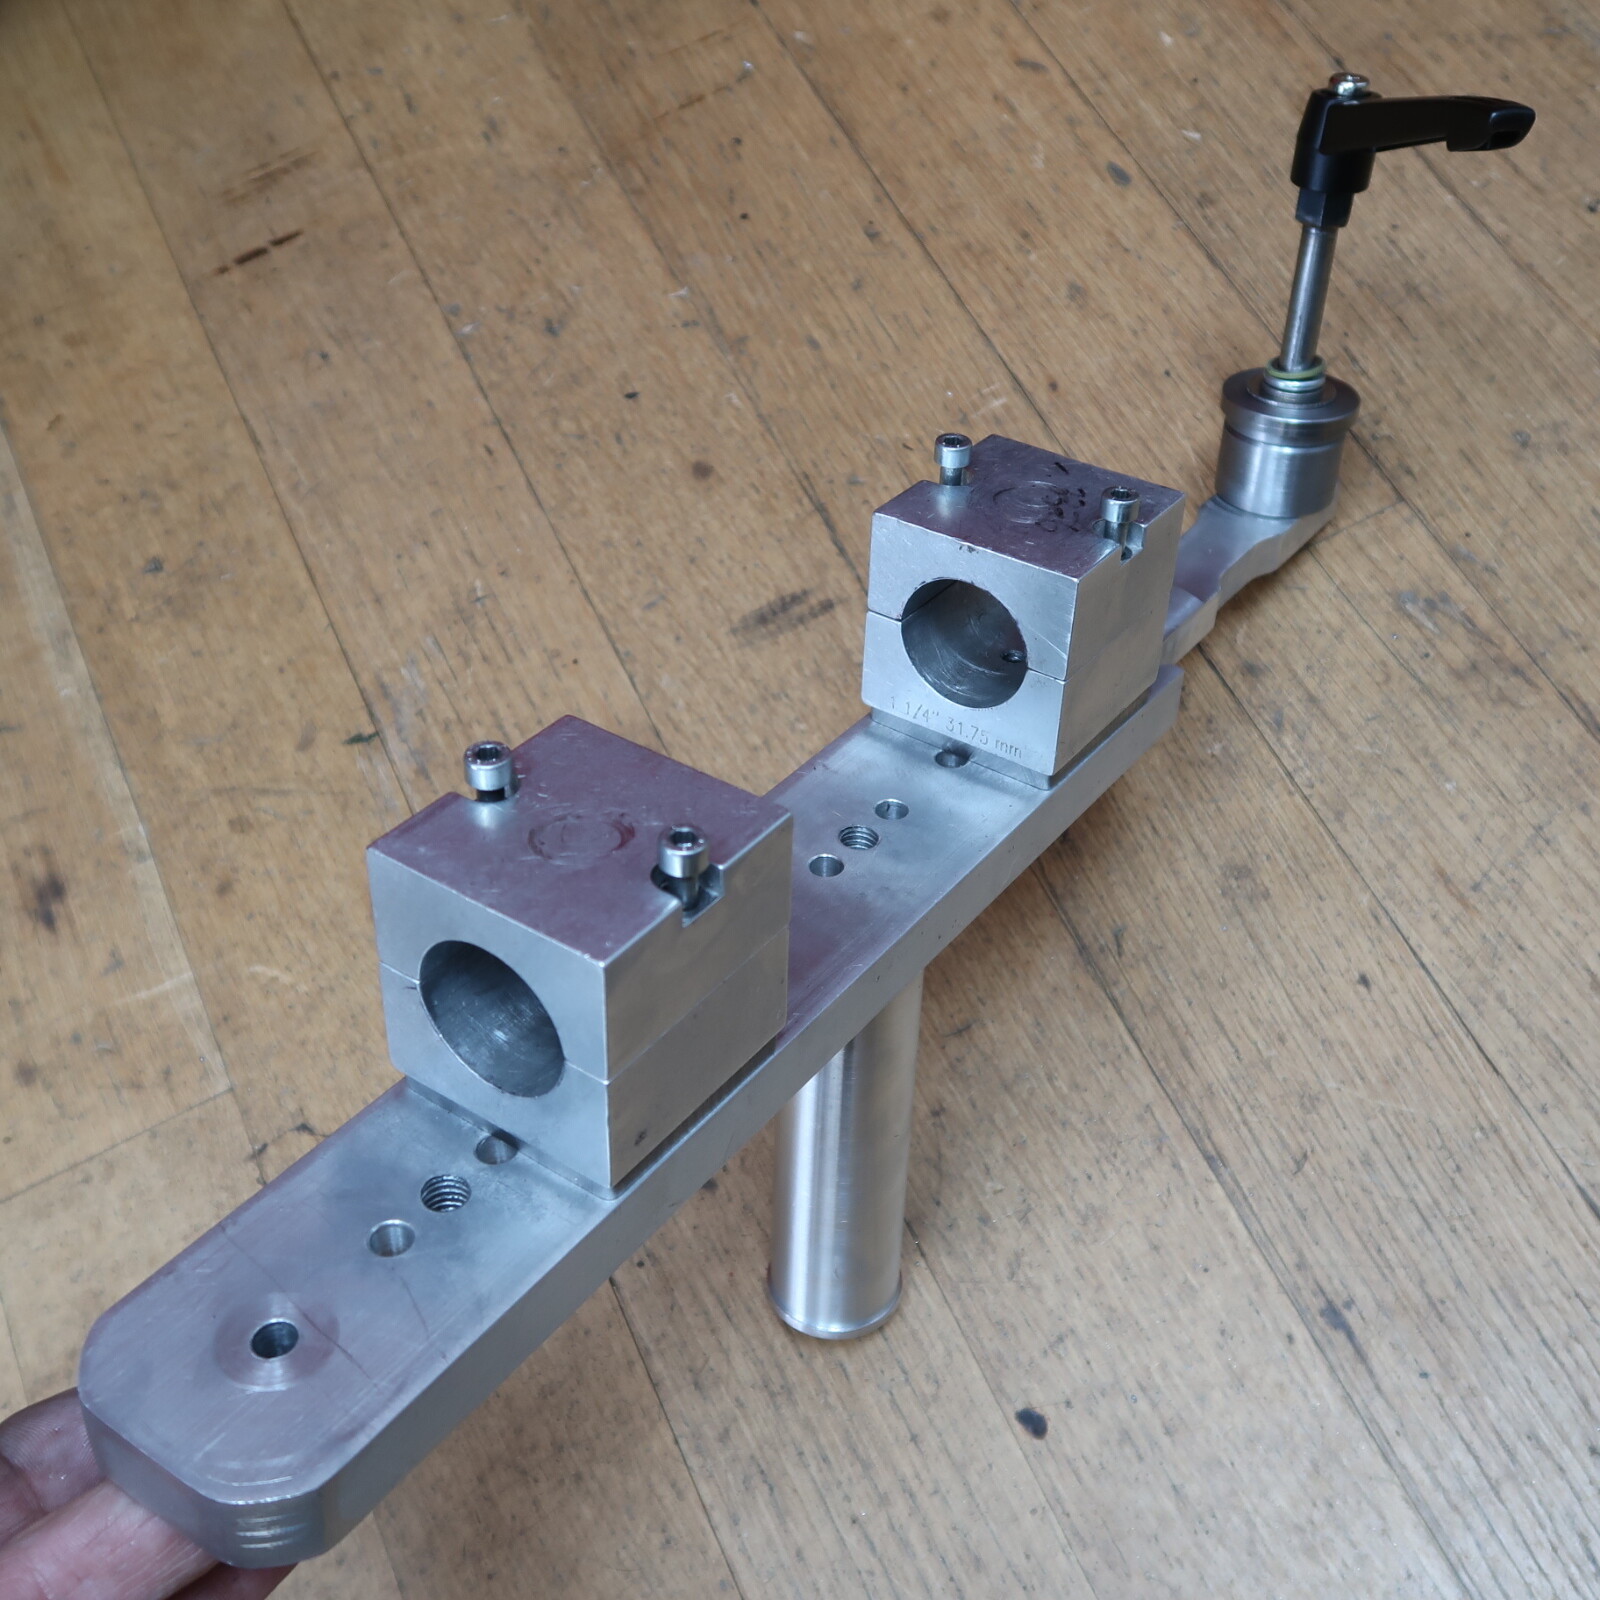
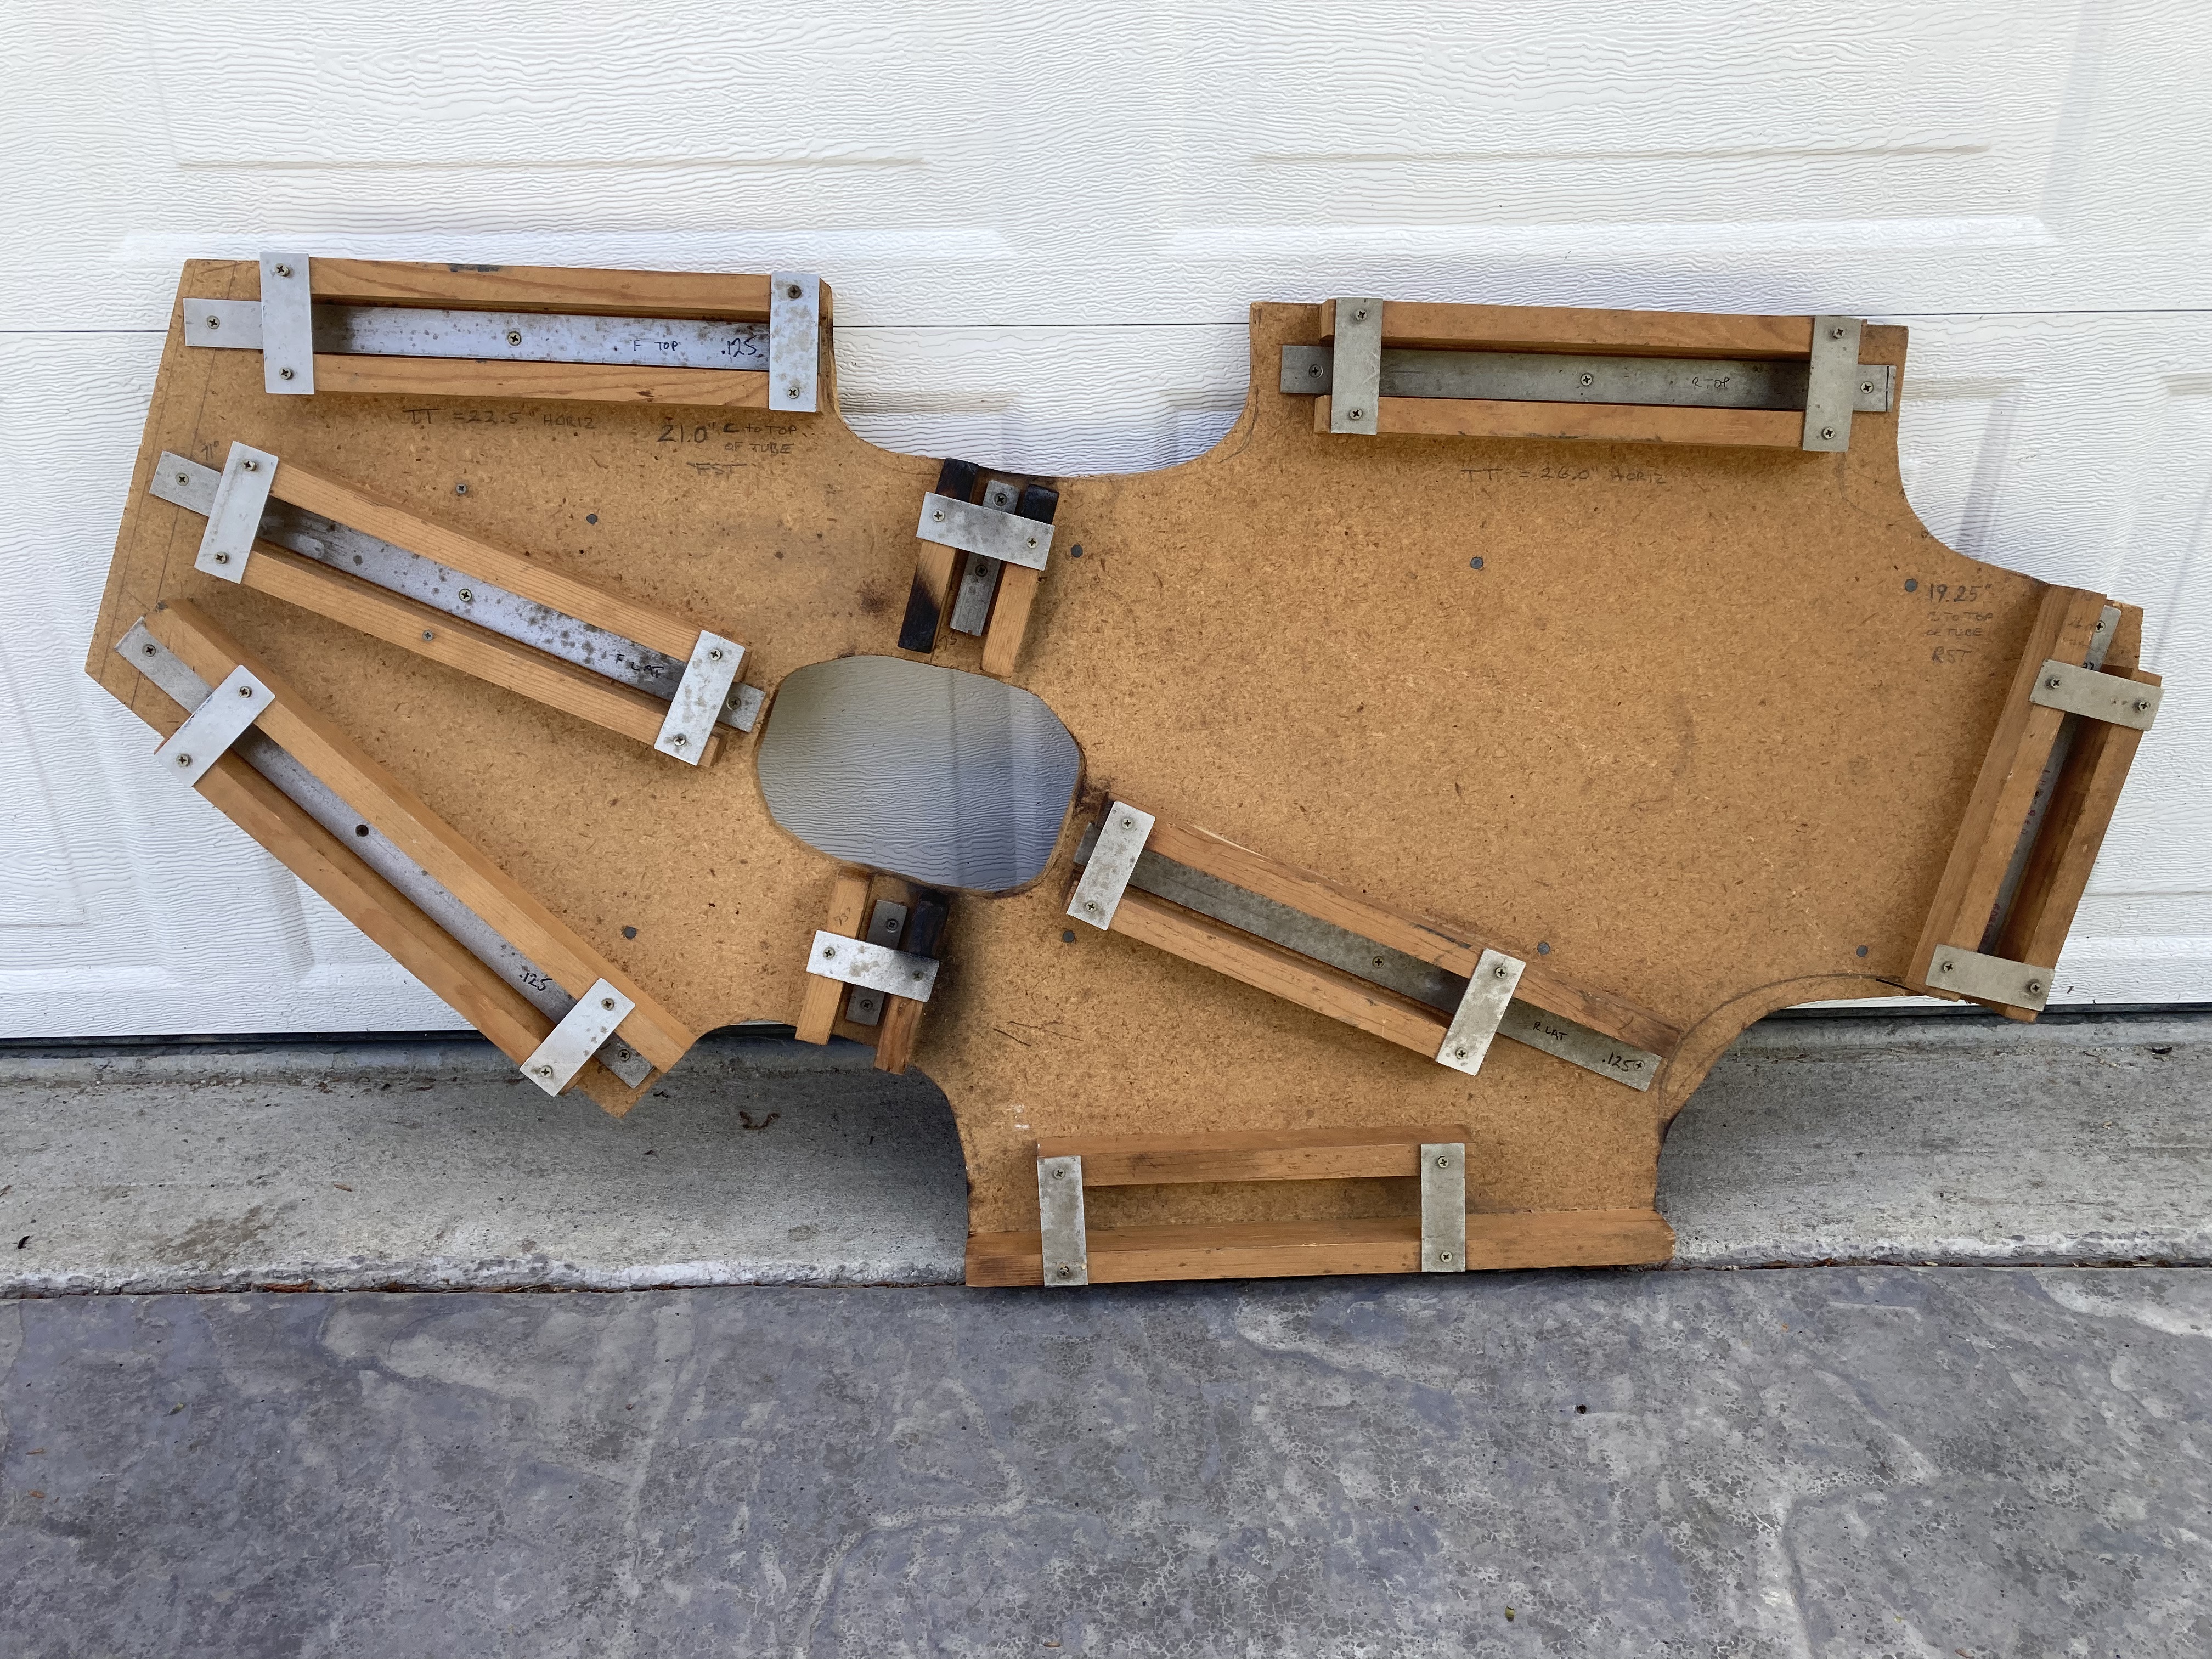
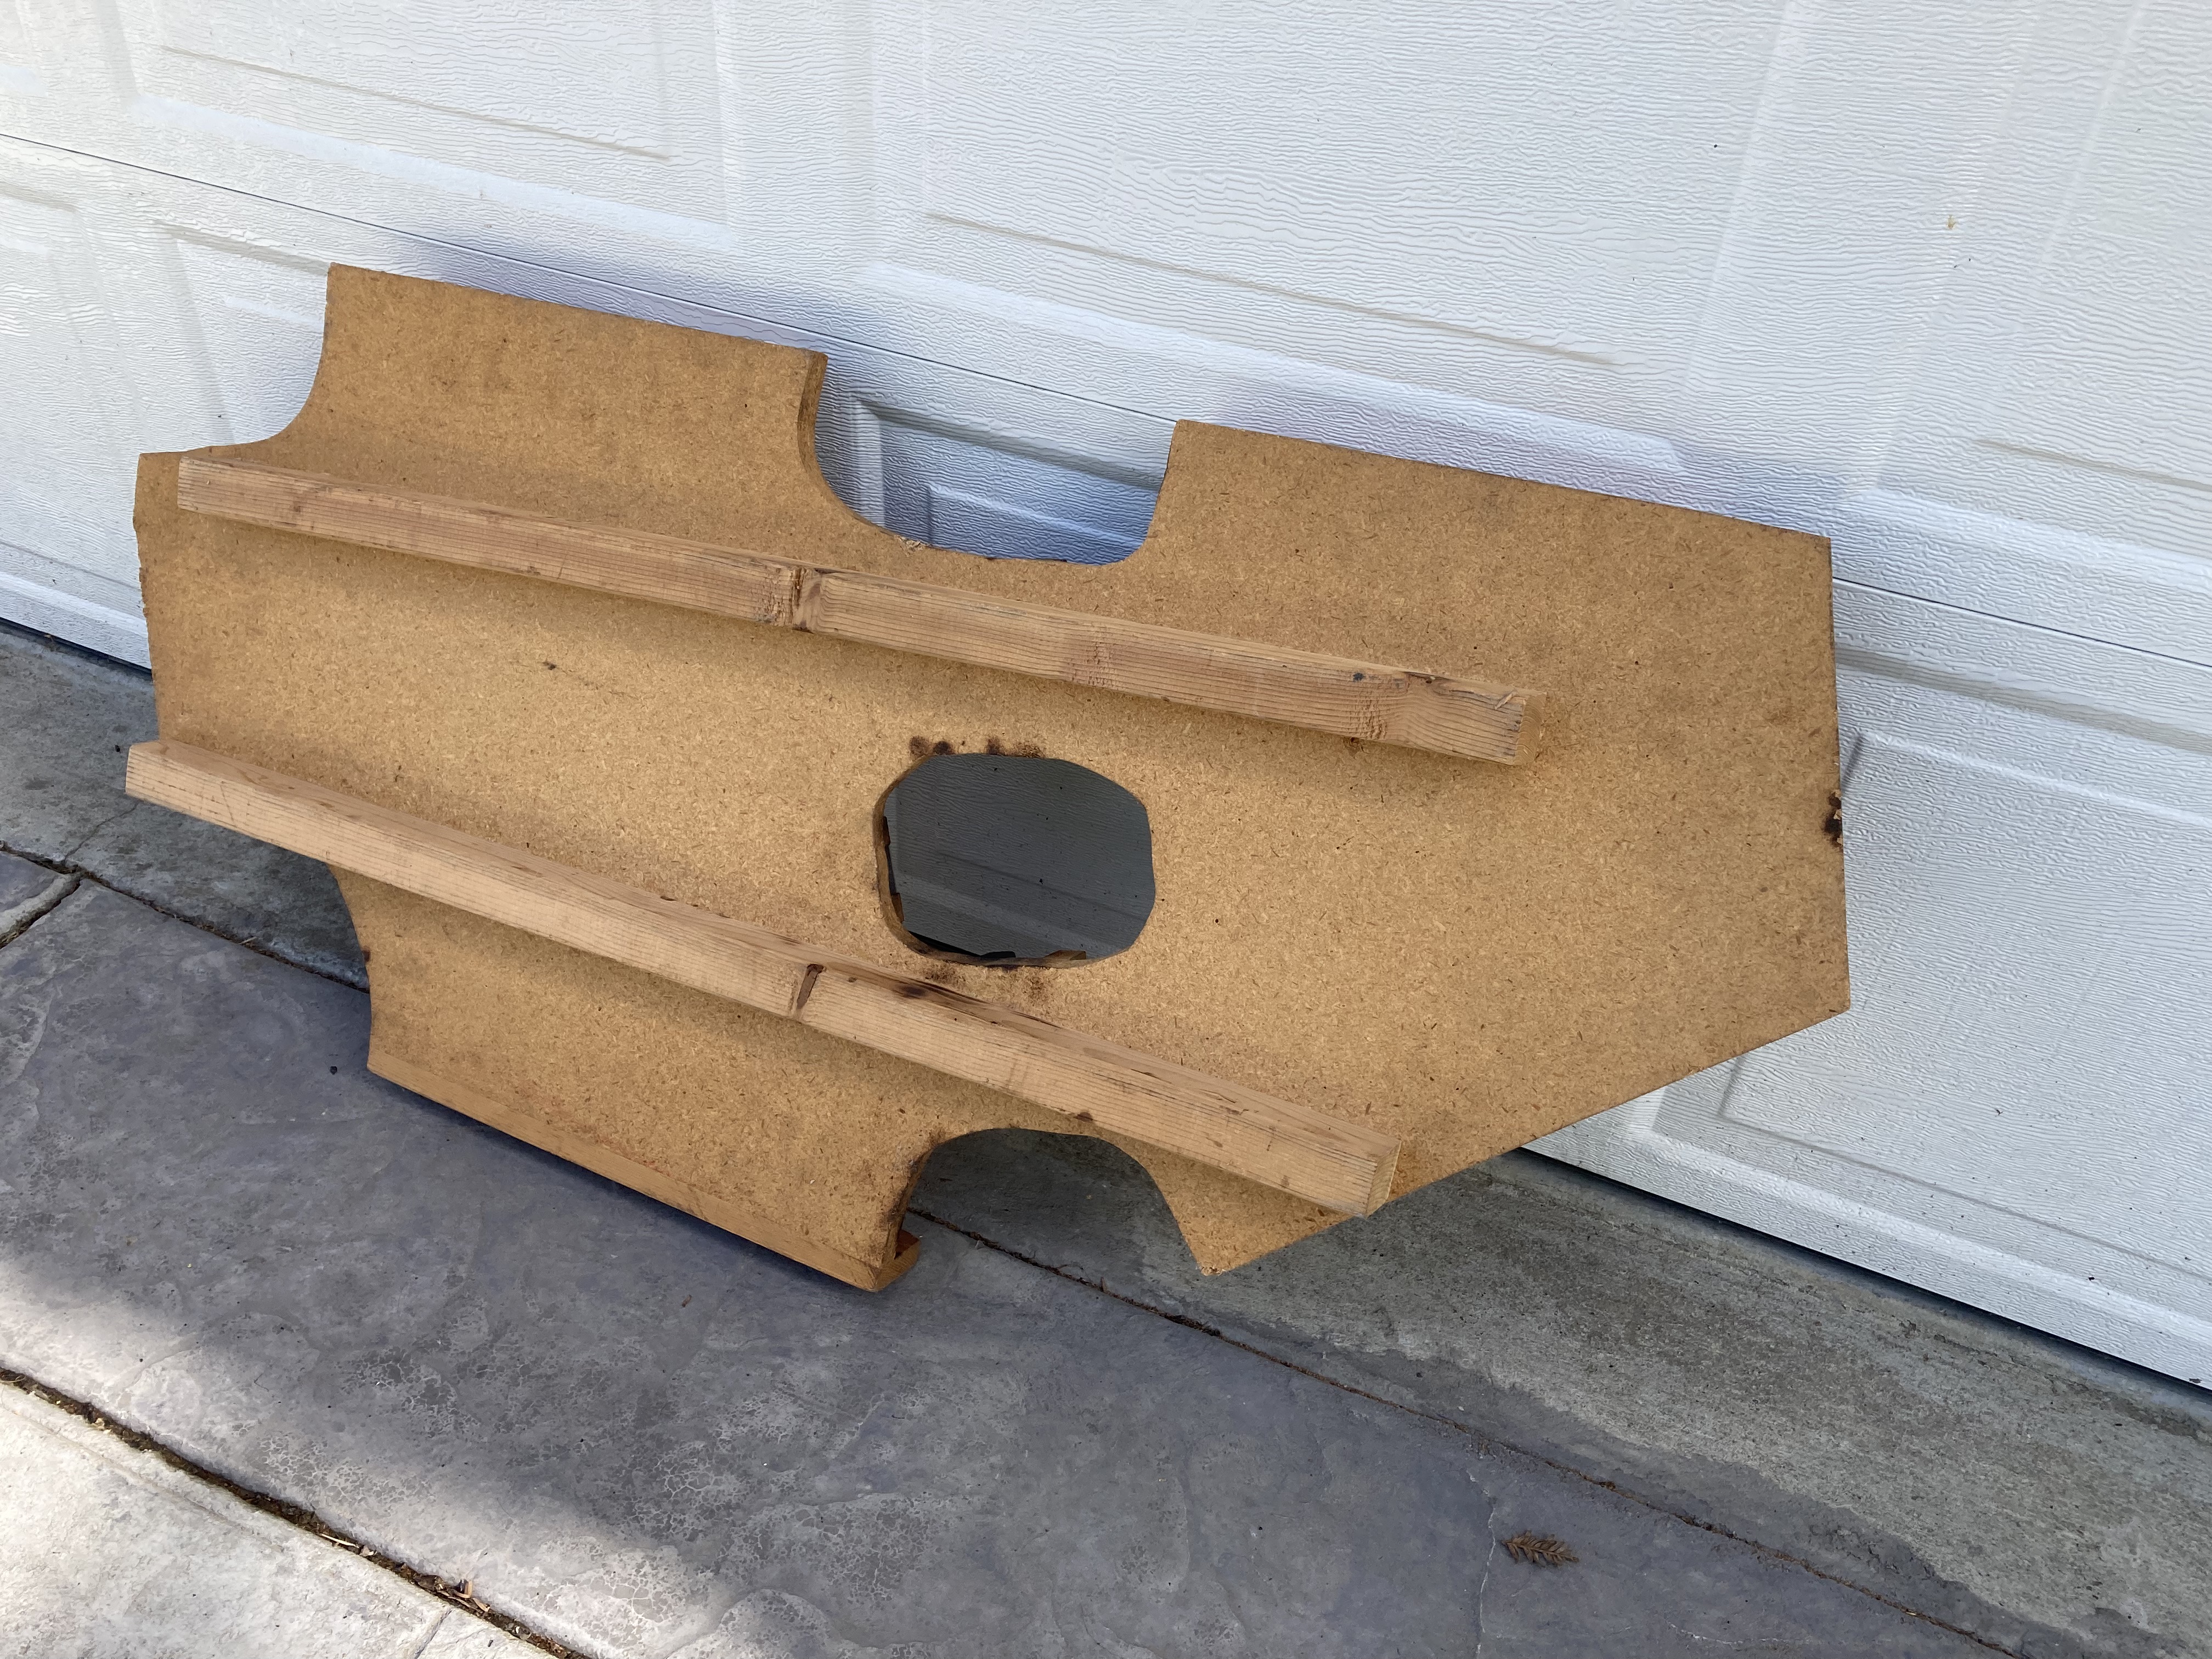
A recent move turned up this tandem frame jig I made in 1988. I built 3 frames on it, 2 of which I am still aware of, and both get used occasionally for bagel fetching or runs to the local farmer’s market. Straight gauge CroMo from Aircraft Spruce, boom tube is 1 1/2, top and down tubes 1 1/4, seat tubes stays and unicrown fork blades from Nova (when they were in a drafty warehouse behind a plumbing supply place in Santa Clara) and shop made eccentrics. The difference in tube diameters is made up by the aluminum shims /spacers shown in the grooves and simple straps are screwed down to hold things in place. This worked remarkably well.
A group of us were enamored of the Ritchey Skyliner and decided to give MTB tandems a try… soon to find out why it wasn’t/isn’t a more popular thing to do. All 3 were eventually converted to cruiser configuration. This was before digital pics, I’ll scan some photos of the finished bikes once they turn up.
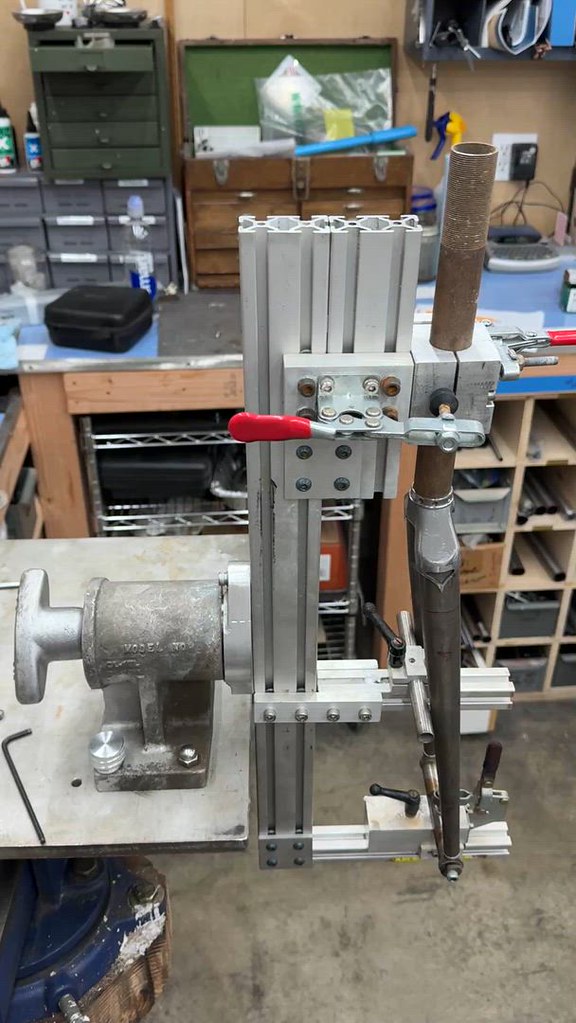 Fork Fixture Positioner by Duane Draper, on Flickr