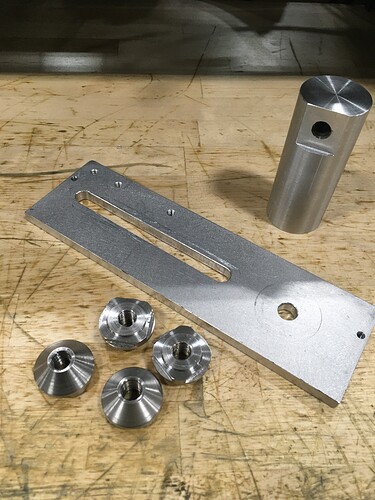
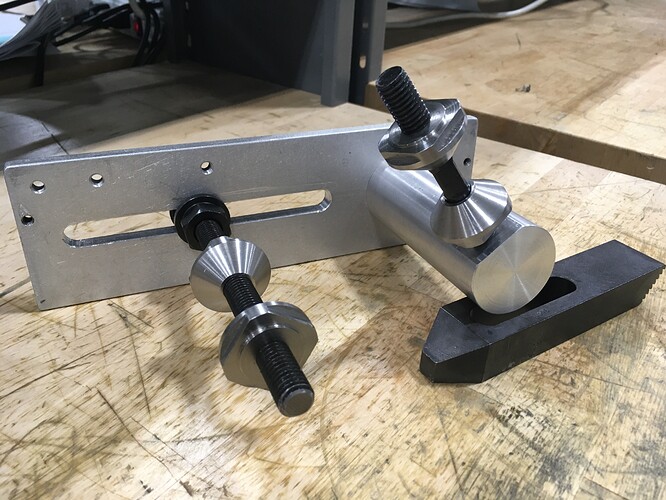
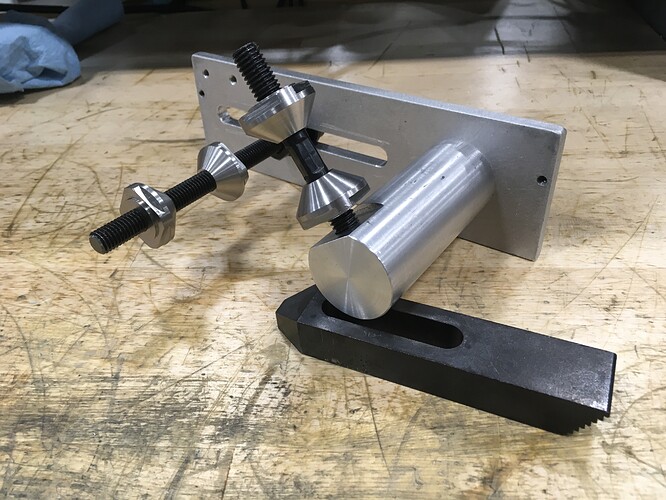
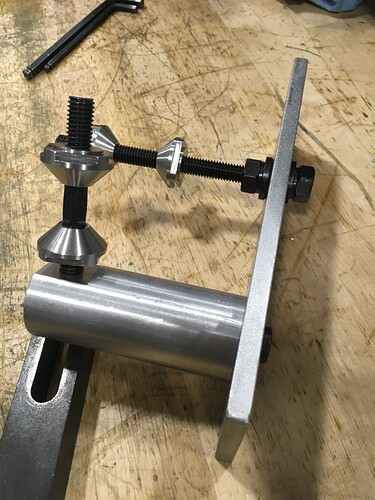
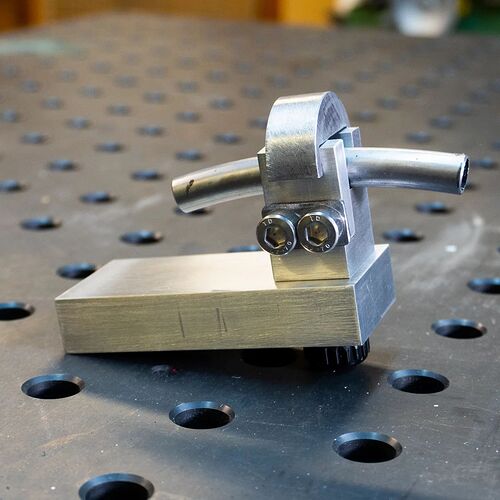
I like how your solution works with all standard parts, nothing is custom machined. It’s good to have lots of options documented.
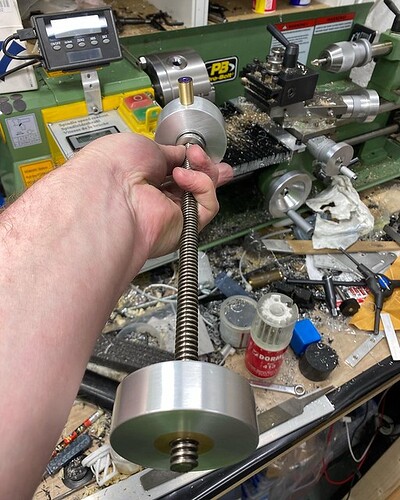
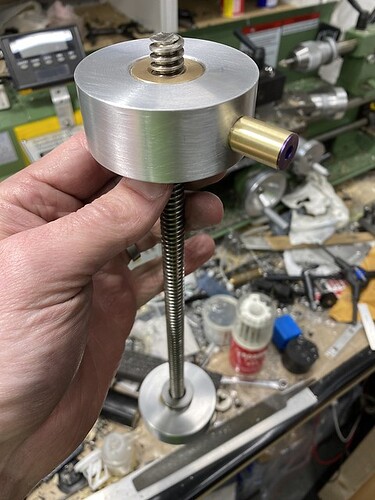
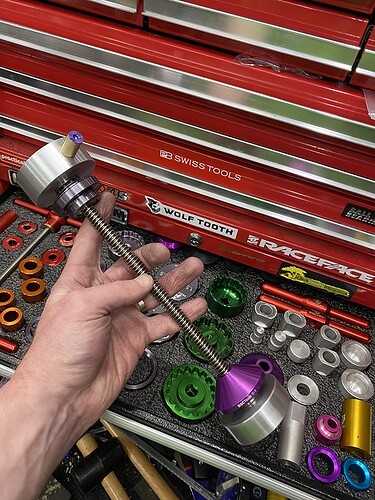
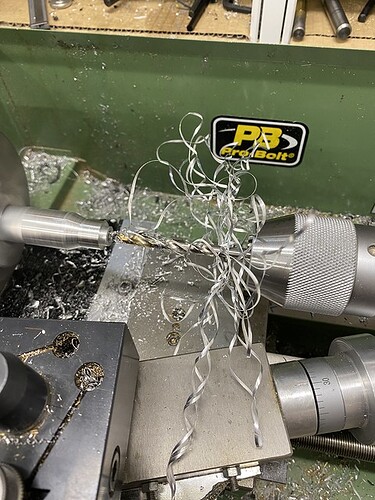
it may or may not class as a shop tool? but I made a bearing press using some trapezoidal threaded rod and brass nuts and thrust bearings. so far it has proven very smooth and light in action!
https://www.flickr.com/photos/drj0n/52040493055/in/dateposted/
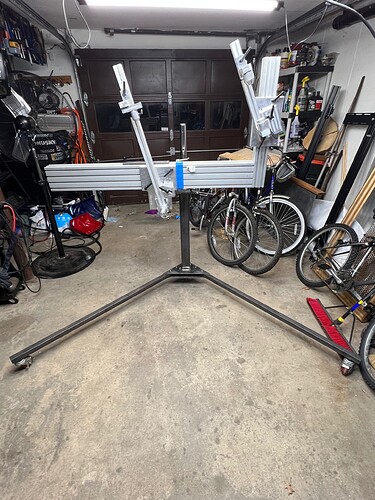
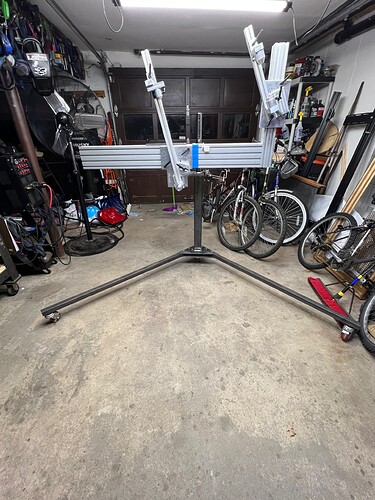
I built a stand for my jig. Will finish today and paint when it’s warmer. May shorten the legs and clean up the sharp edges before paint
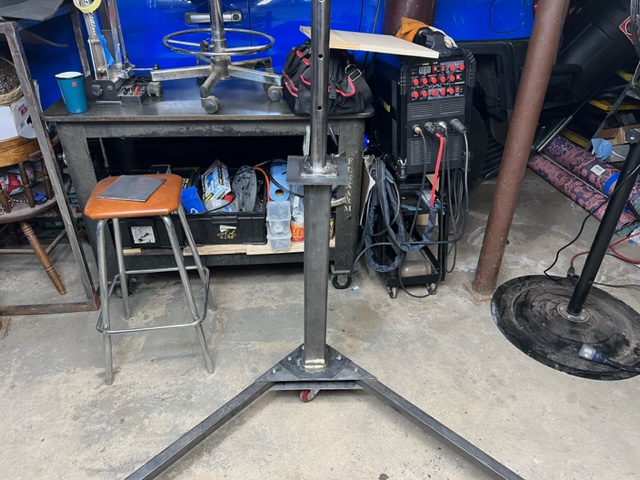
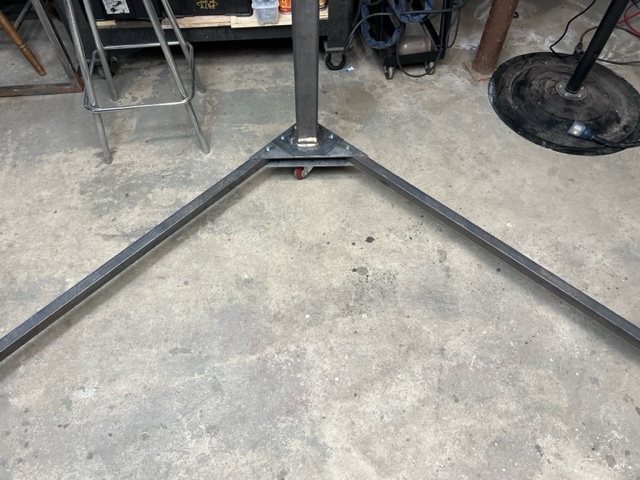
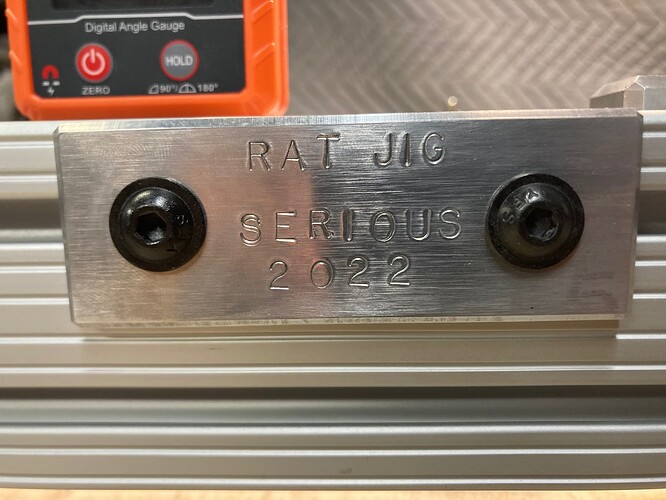
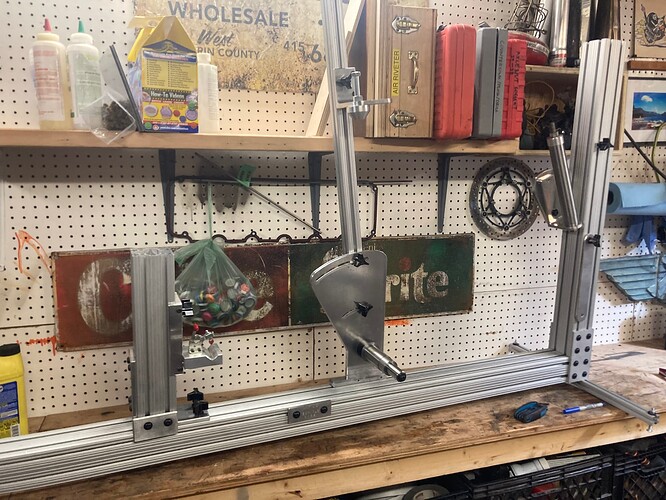
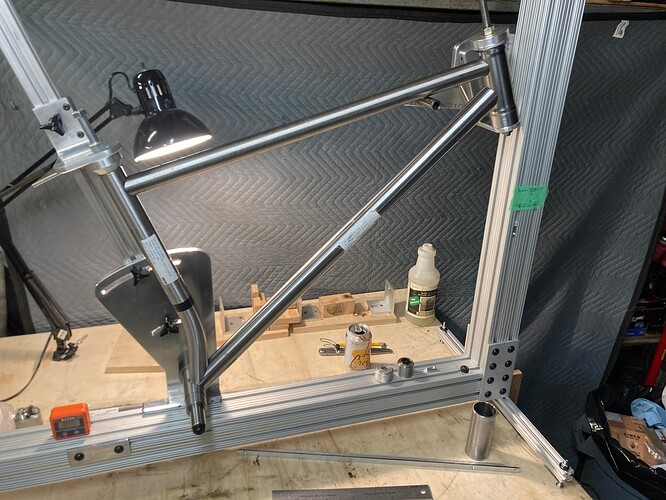
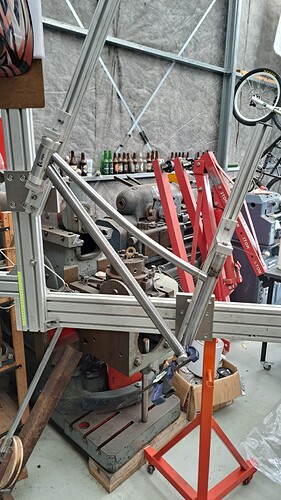
Enter: The R.A.T. Jig
Realworld
Acceptable
Tolerance
It starts with some inspiration from the awesome Konga bikes.
The main beam and tower are 4” square and the seat tube is 1.5”
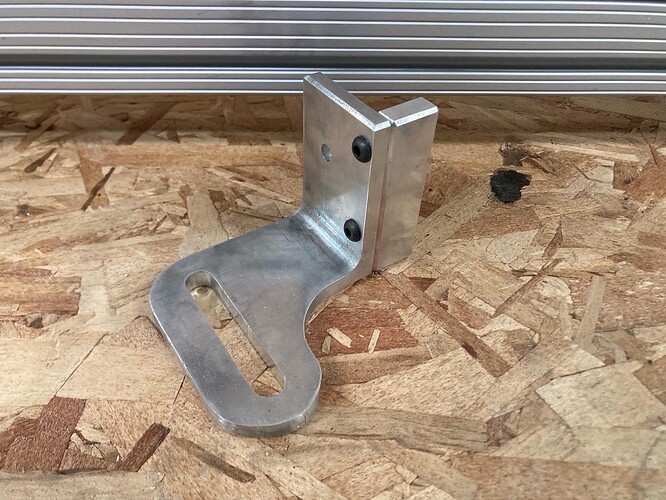
I “machined” all the aluminum with wood working tools (I’m a carpenter in real life) using mostly a big router and a table saw, and some mdf templates.
The angles for the seat/headtube are measured from set reference points on the Jig using trammel points and a digital calliper respectively.
Through some basic geometry, that’s in a spread sheet, I’m able to set the angles with some degree of precision.
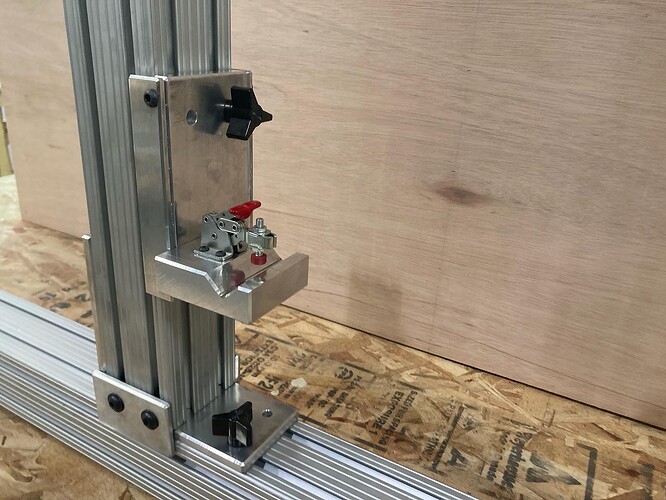
If I did it again, I’d have given more thought to being able to remove the bike with out altering the jig.
As it is right now I have to slide the head tube fixture down, I have a movable positive stop that should make it repeatable but not moving it would be better.
Admittedly I also make a lot of disposable fixtures out of ply wood because I have an endless supply of small high grade plywood from work.
I recently built a new fixture for coping tubing on my lathe. Again I set the angle using geometry and a digital calliper.
Here’s the set up I use for coping my yoke plates to the bb.
I’m going to be upgrading this much the way I did the tube notcher.
1/2x6x6 aluminum angle will replace the compound. I’m going to make a few removable plates that will mount to that with say 4 large bolts. These plates will be the basis for a several different set ups. One for seat stays, one for curved tubes, and so on…
No mill, no problem ![]()
Gawd do I really want a mill.
It’s cool that you’re having success setting angles with trig and measurements. I would screw that up so I use an angle finder or protractor when setting angles on my notcher. For me it is an affordable way to reduce the number of steps.
RAT fixture looks great, I like how everything stays centered to the middle of the extrusion, that seems like it would make it easy to work around.
Your new tube holder for the notcher looks awesome too!
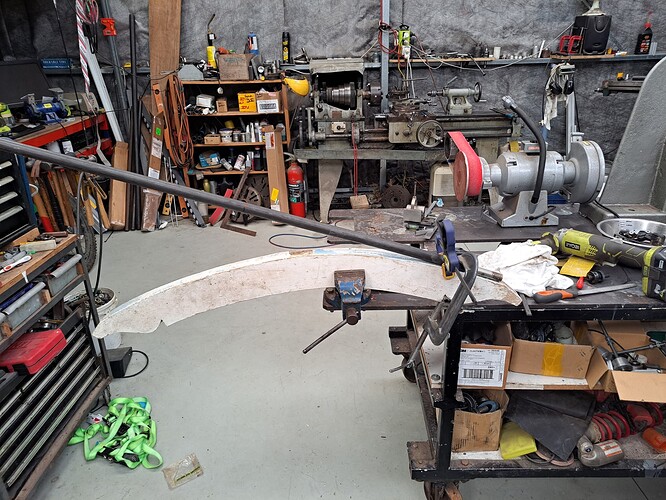
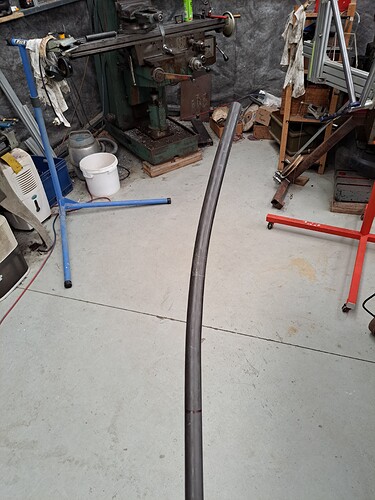
The other day I was at a friend’s house and he had some curved pieces of wood in his scrap pile. I realized later that I could probably use it to bend some tube so I grabbed it off the pile and gave it a whirl. Worked a charm!
Basically just put a plug in the end so I could clamp it down and bounced on the end like an overgrown ape until it was laid flat against the arc under tension.
No wrinkles, worked great. Material is 1"*035 4130. Might need to get a bit more clever next time when there isn’t such a long length of steel to lever on. Then again I can probably just weld a lever piece on the end past where I need to miter or something.
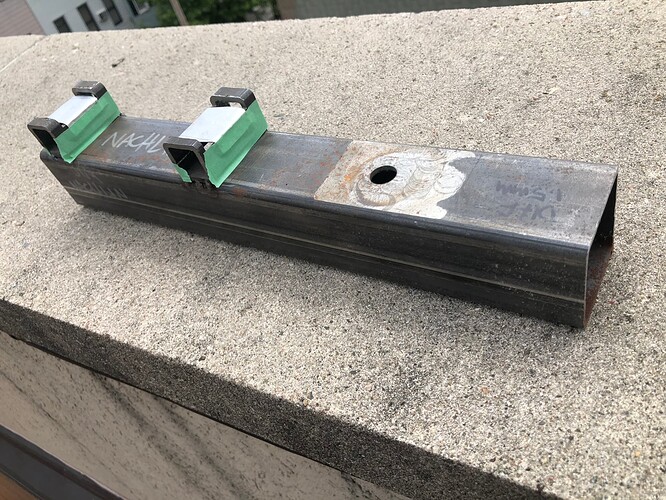
I made this tool this morning to braze on some down tube shifter bosses. The Paragon tube blocks are so useful! And I keep finding ways to use inner tube valve nuts.
Haha, we should create a thread with all the useful ways to use valve nuts.
They make the best fender spacers
I usually build one joint at a time, so I don’t have a frame fixture but just use simple tooling to ensure alignment at each step.
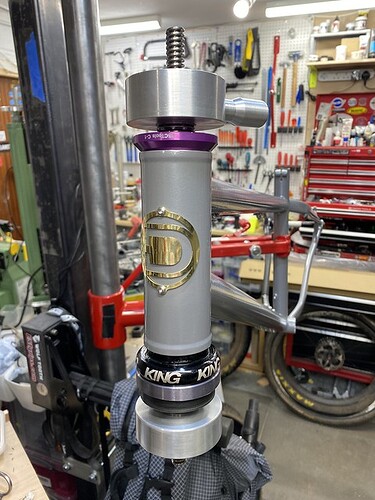
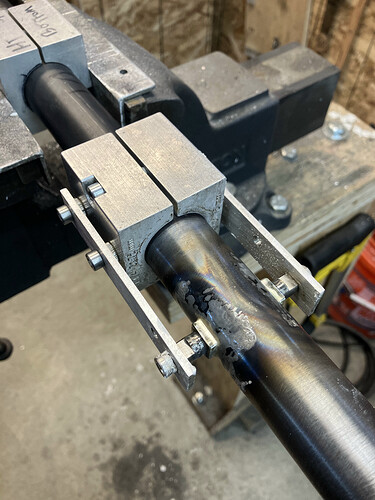
Here is a fixture to hold a 1-1/8 seat tube to a 68mm bb shell for brazing:
And here it is in action:
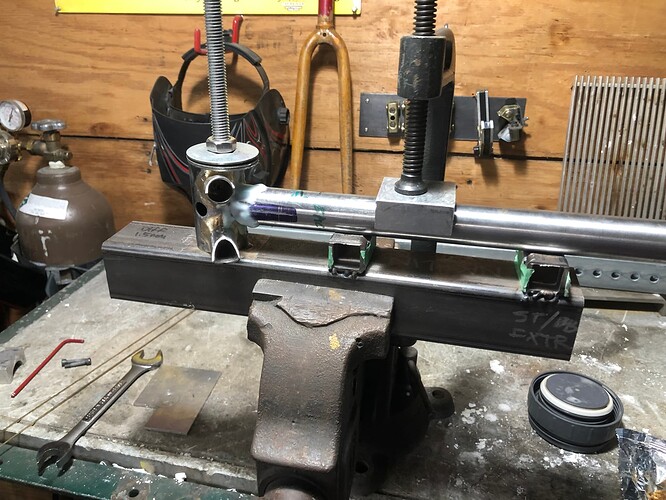
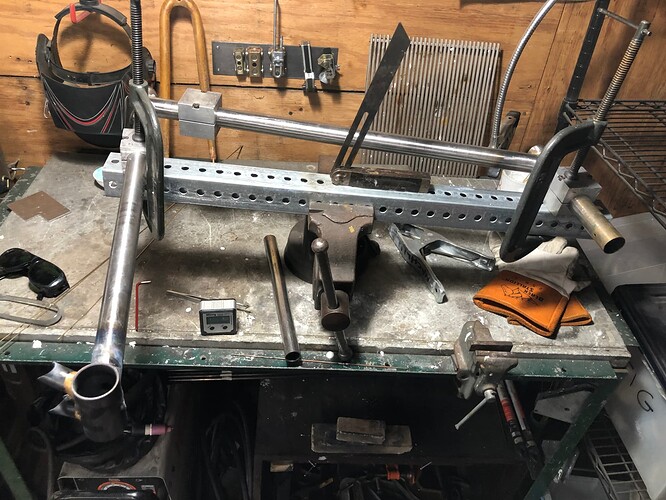
Here is how I built the front triangle on my most recent bike (aligned the head and seat tubes:
That is two tube blocks and a length of sign post, with a digital level as backup alignment checker.
A lot less sophisticated than what many of you have going on, but with limited time and money, and only building about one frame a year, it works.
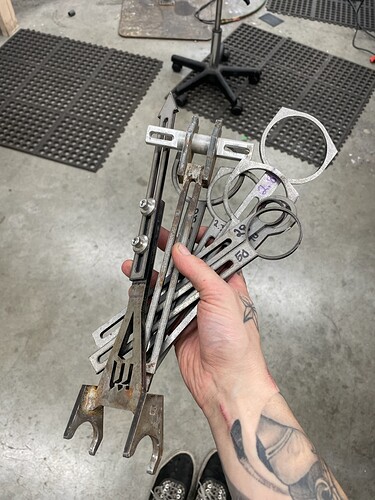
Here’s my laser cut tire dummy / canti boss tool.
I designed this two years ago and it’s been going strong since. I’ve got a new design in my head that’ll be easier to use, but I just haven’t converted into a cad file yet haha
I did almost the exact same thing with my Sputnik seat stay fixture. I think I used an identical nob from the local hardware store as well.
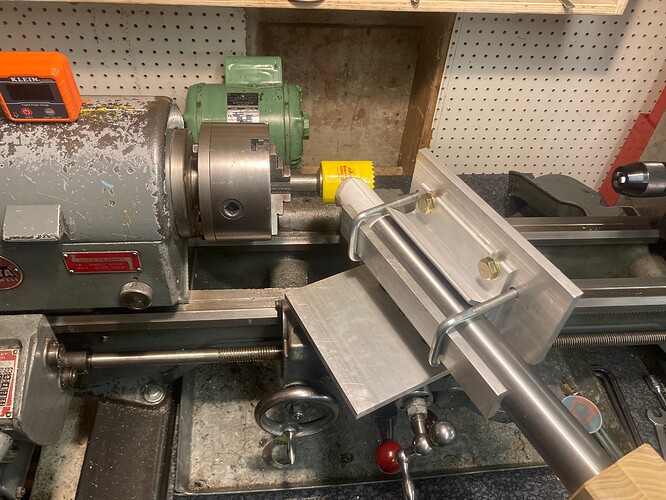
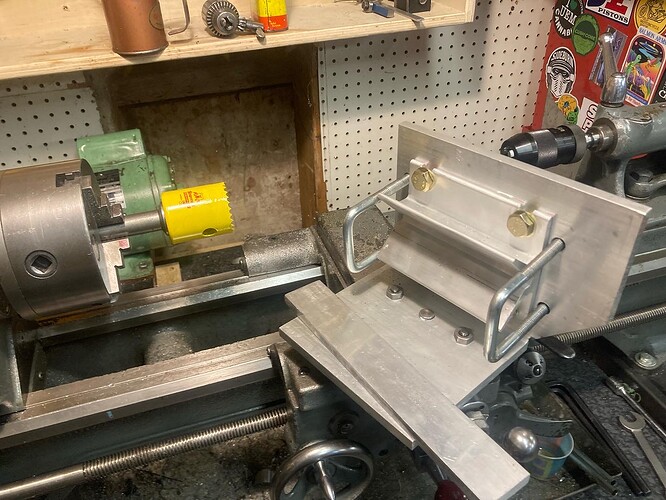
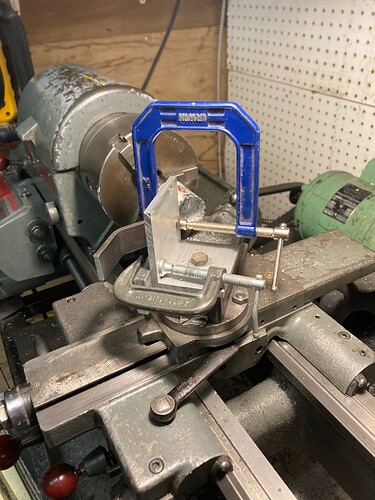
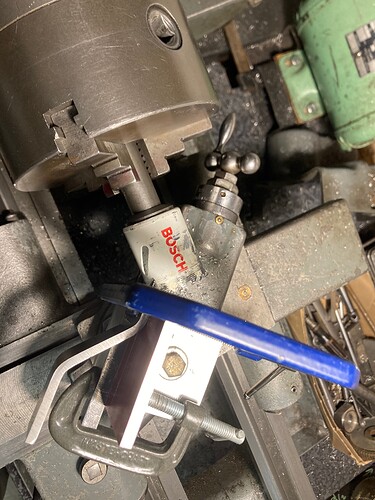
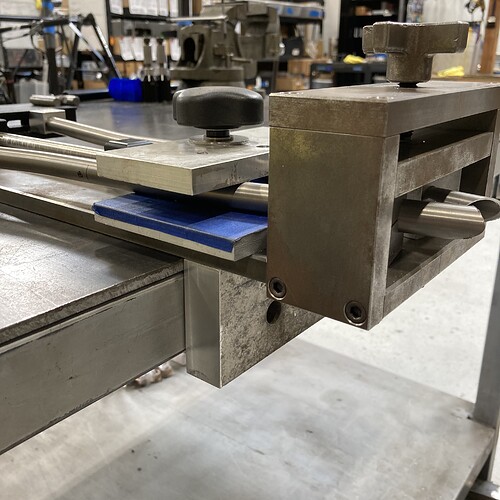
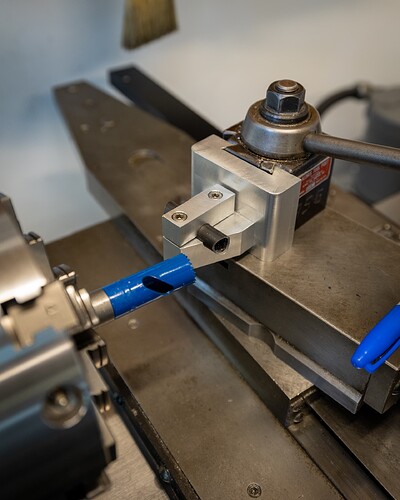
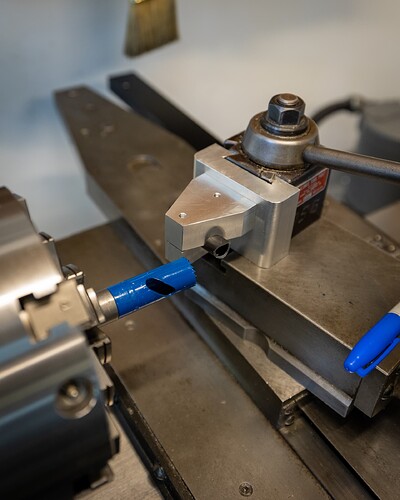
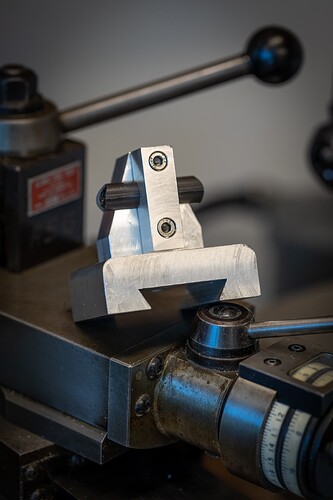
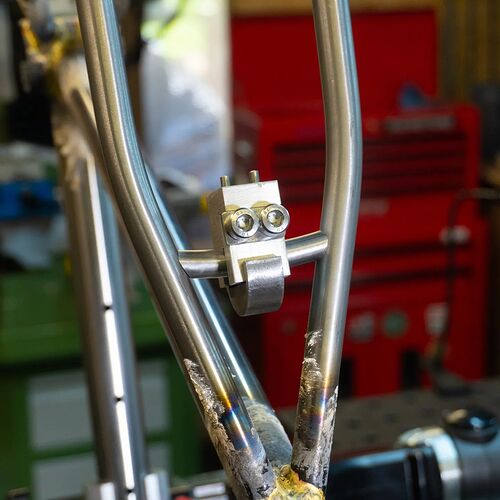
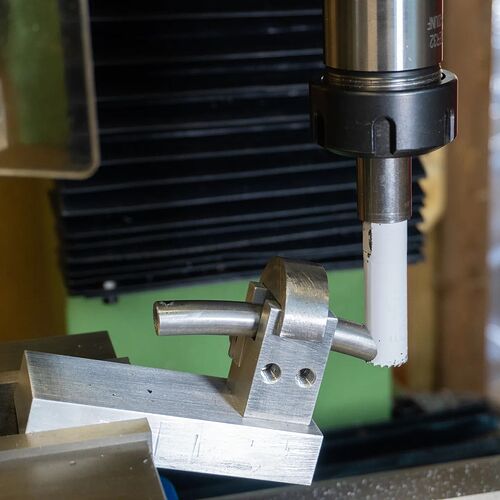
Made a bridge mitering fixture for the lathe. Set the angle on the compound, make the first cut, flip the whole thing over, and make the opposing cut. Length corrections can be made by dialing in the cross slide, and you can use the carriage feed on the lathe to make the cut. Pretty neat!
I thought this was an original idea, but Carl from MetalGuru sent me a photo of his 25-year-old version. It’s much better. Haha.
(Note: I should be cutting from the other side of the hole saw… I just slapped the thing on the tool post for photos and didn’t think much about it…)
-Chris
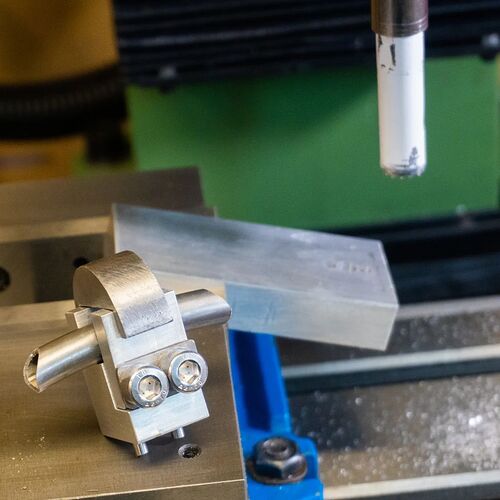
Great tool, similar design would work on a horizontal mill. I took some screen shots.
Cool to see your work again mr Blandford
I made something similar for my vertical milling machine. I use curved bridges so it was a bit fiddly.
