Interesting. Thank you. I assumed it would go with the Excel spreadsheet you used somehow.
A checklist means not you do it all or in the right order. You just can ignore the list. Don’t ask how I know.
2 Likes
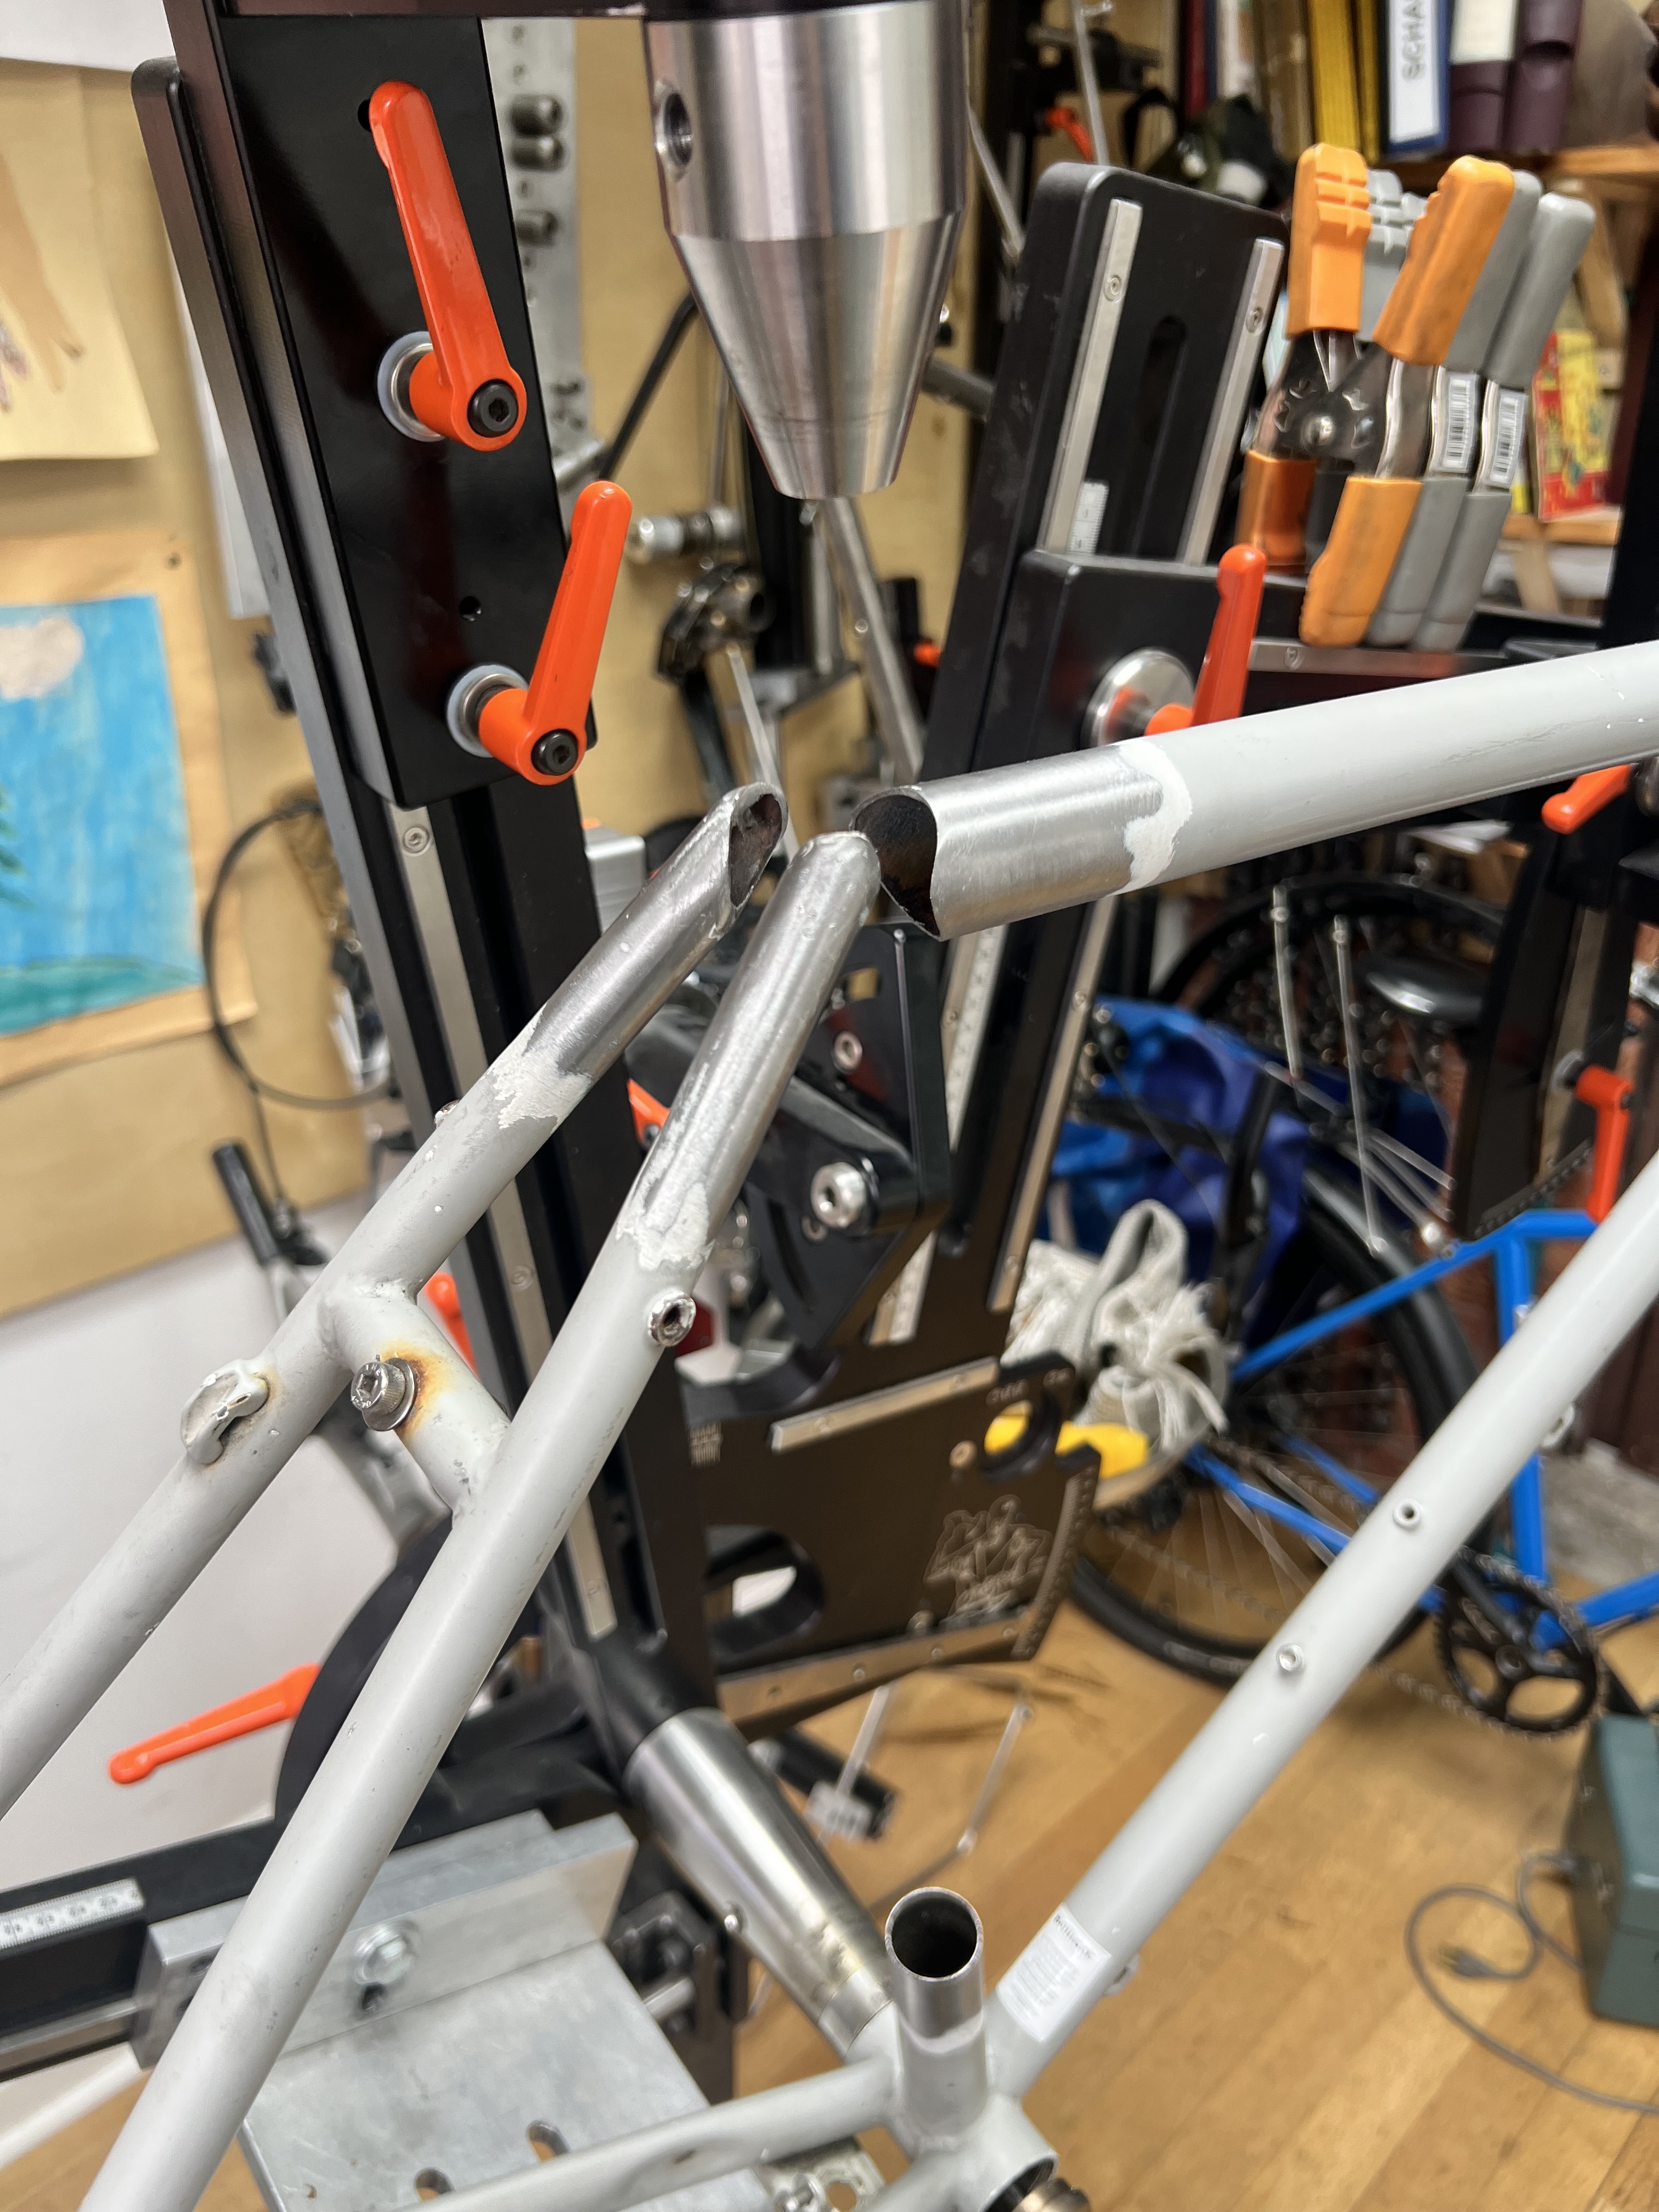
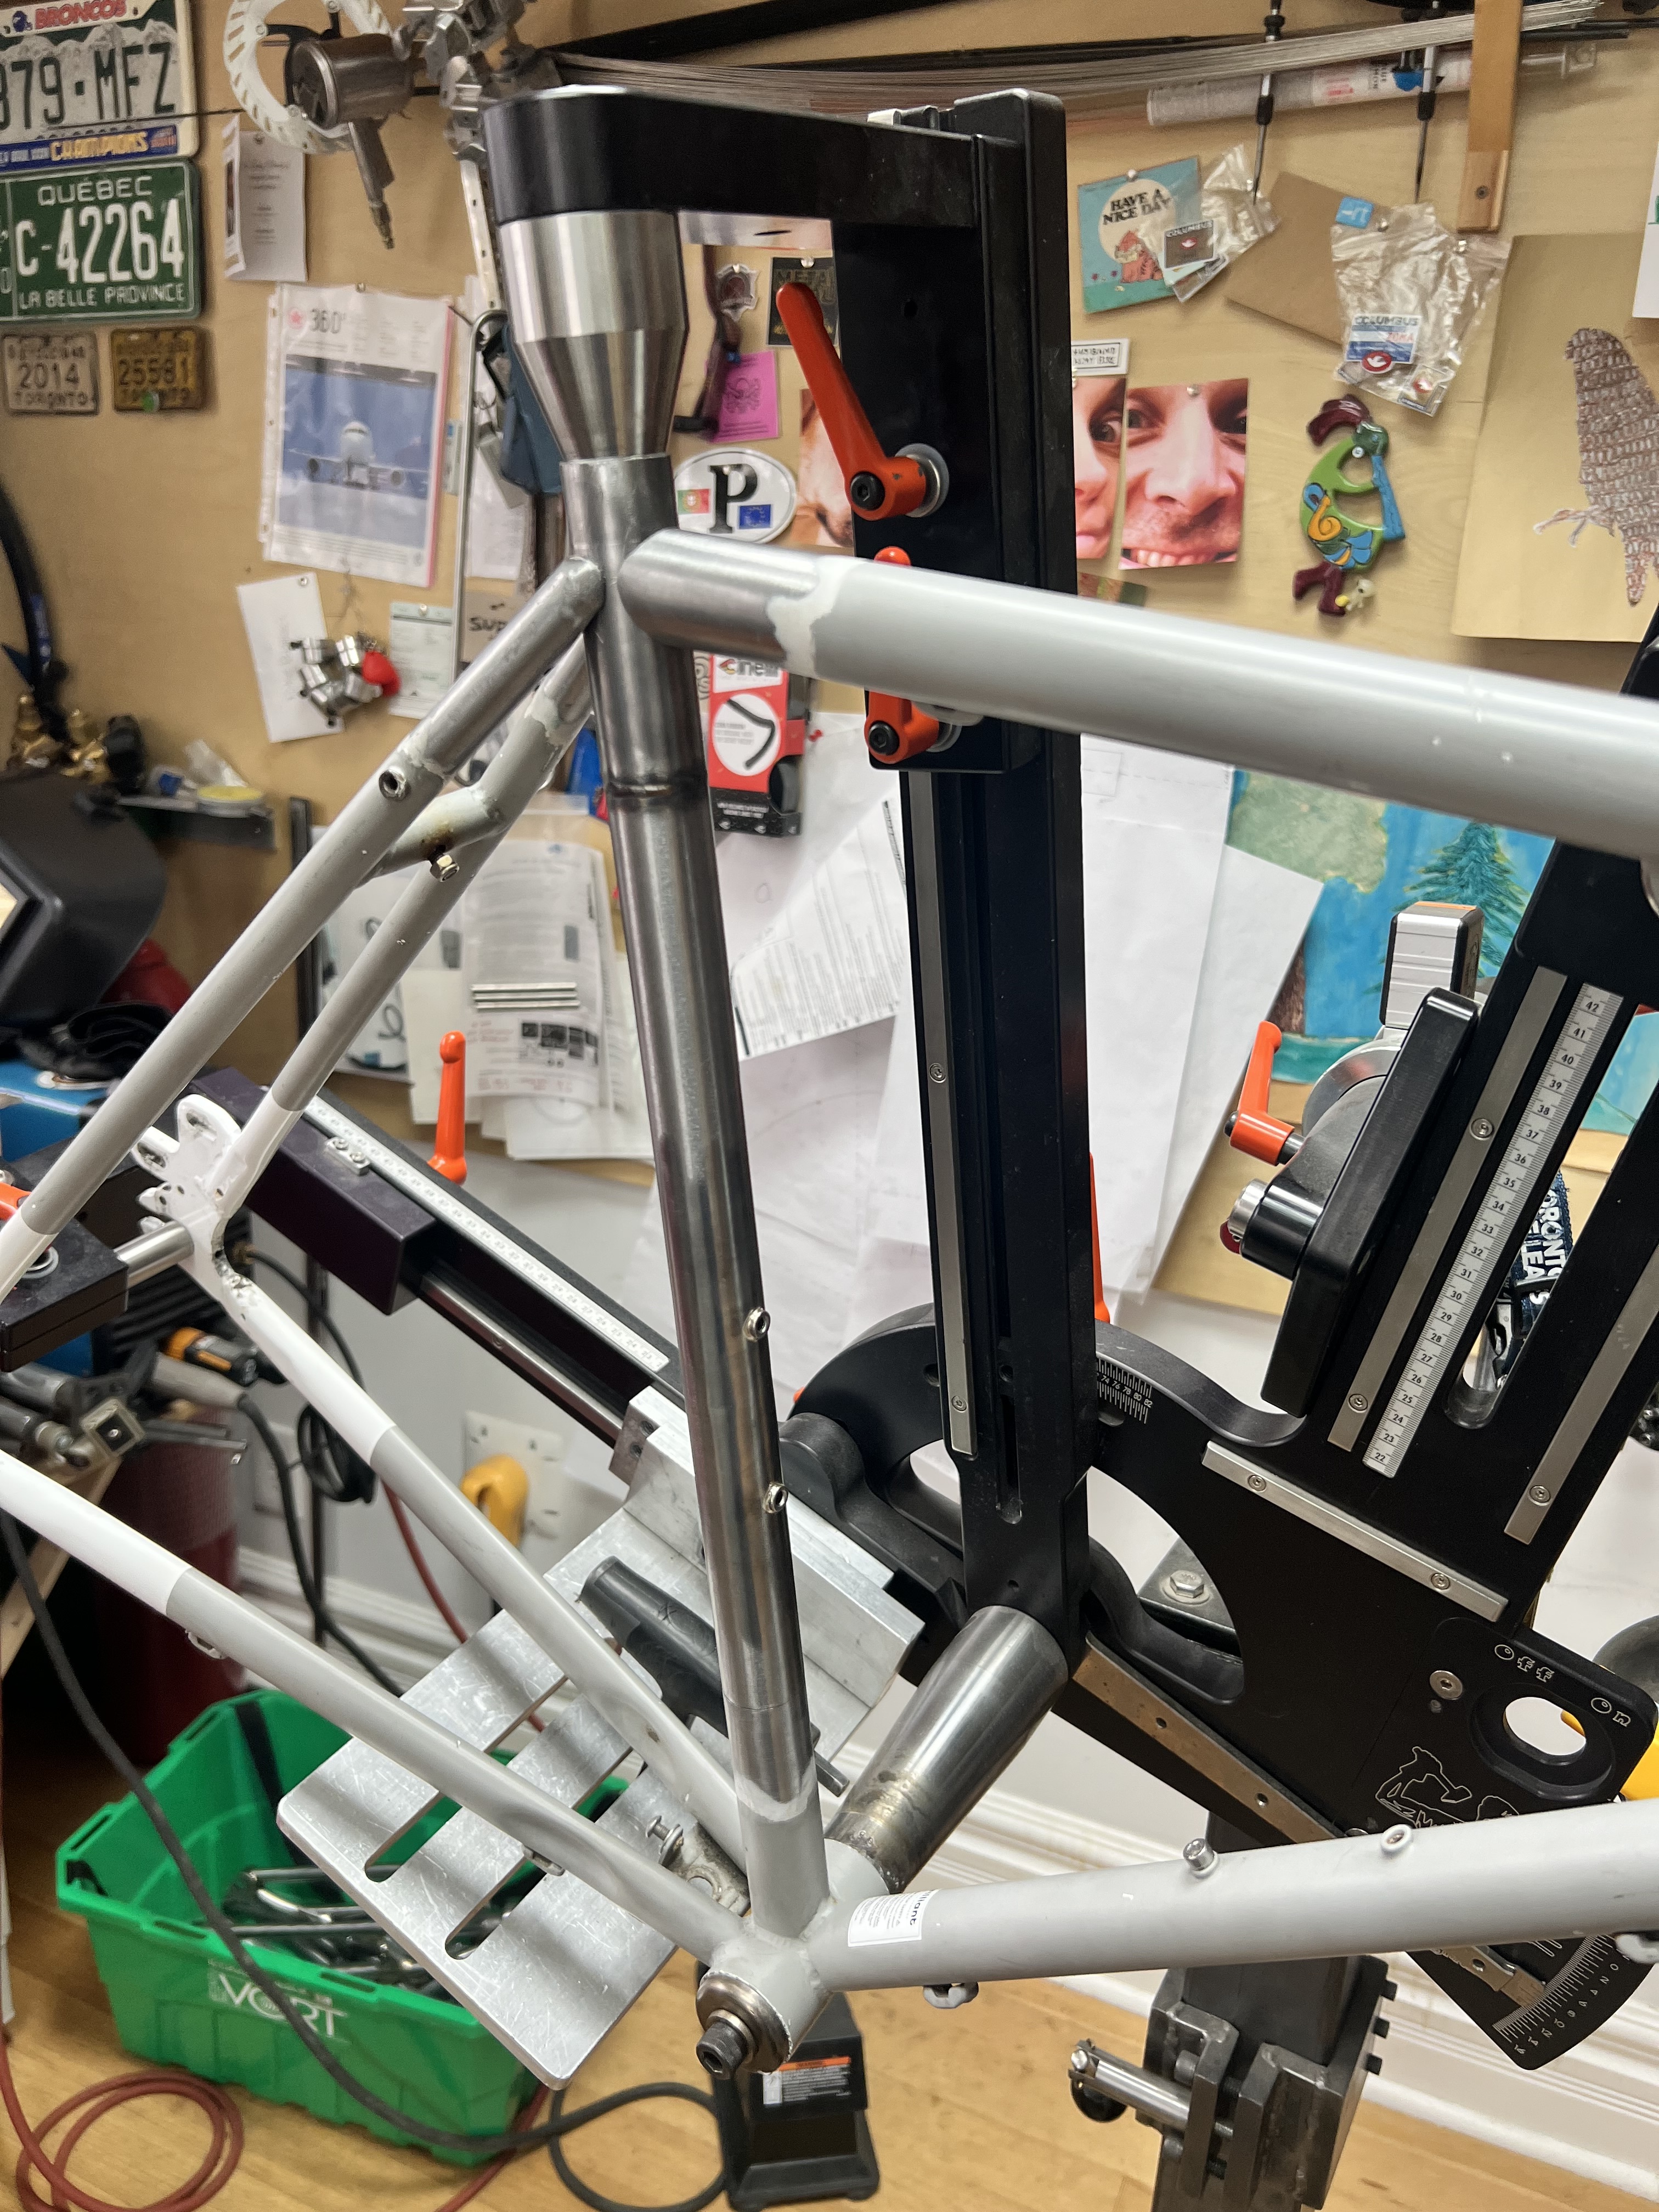
I really didn’t want to have to post in this thread again. But today I found out that a BMX head tube has a top and a bottom. I think I knew this on some level, but I forgot to check. I’ll just have to work out a spacer but it should be fine.

8 Likes
You can ream to size or add spacers to the top so the cover spacer is free spinning…lower bearing will most likely not be fully covered and not fully “seated” but shouldnt be an issue in the short term.
2 Likes
I did get the top figured out with a spacer. Because it’s an IS bearing on bottom, I figure it’ll be fine. The outer wall isn’t really touching the bearing. It’s only contacting the angled surface. I’m tempted to braze a little ring on there, but I also just wanna ride the bike now that it’s “done”
2 Likes
A few days ago, I finished my new trekking bike. I was a bit hectic during assembly and resorted to using a cordless screwdriver to clean the threads of excess paint. This really took its toll on the thread for the side stand. It snapped, broke, and is now firmly in place. This is a good opportunity to adjust the position of the side stand again and get a little more practice with smart repairs ![]()
2 Likes
You can probably get that out and if necessary just retap it to a slightly larger size?
1 Like
Can you start a screw from the other side? If so just keep tightening it against the backside of the broken bit and it should push it out.
Unfortunately, that doesn’t work because there are no threads available on the other side. The broken piece fills all the threads. No matter, I’ll just grind it off and weld on a new mount. Thanks for the tip anyway. I mainly wanted to show that it’s sometimes inconvenient when you can’t stop yourself at the end of a project. ![]()
1 Like
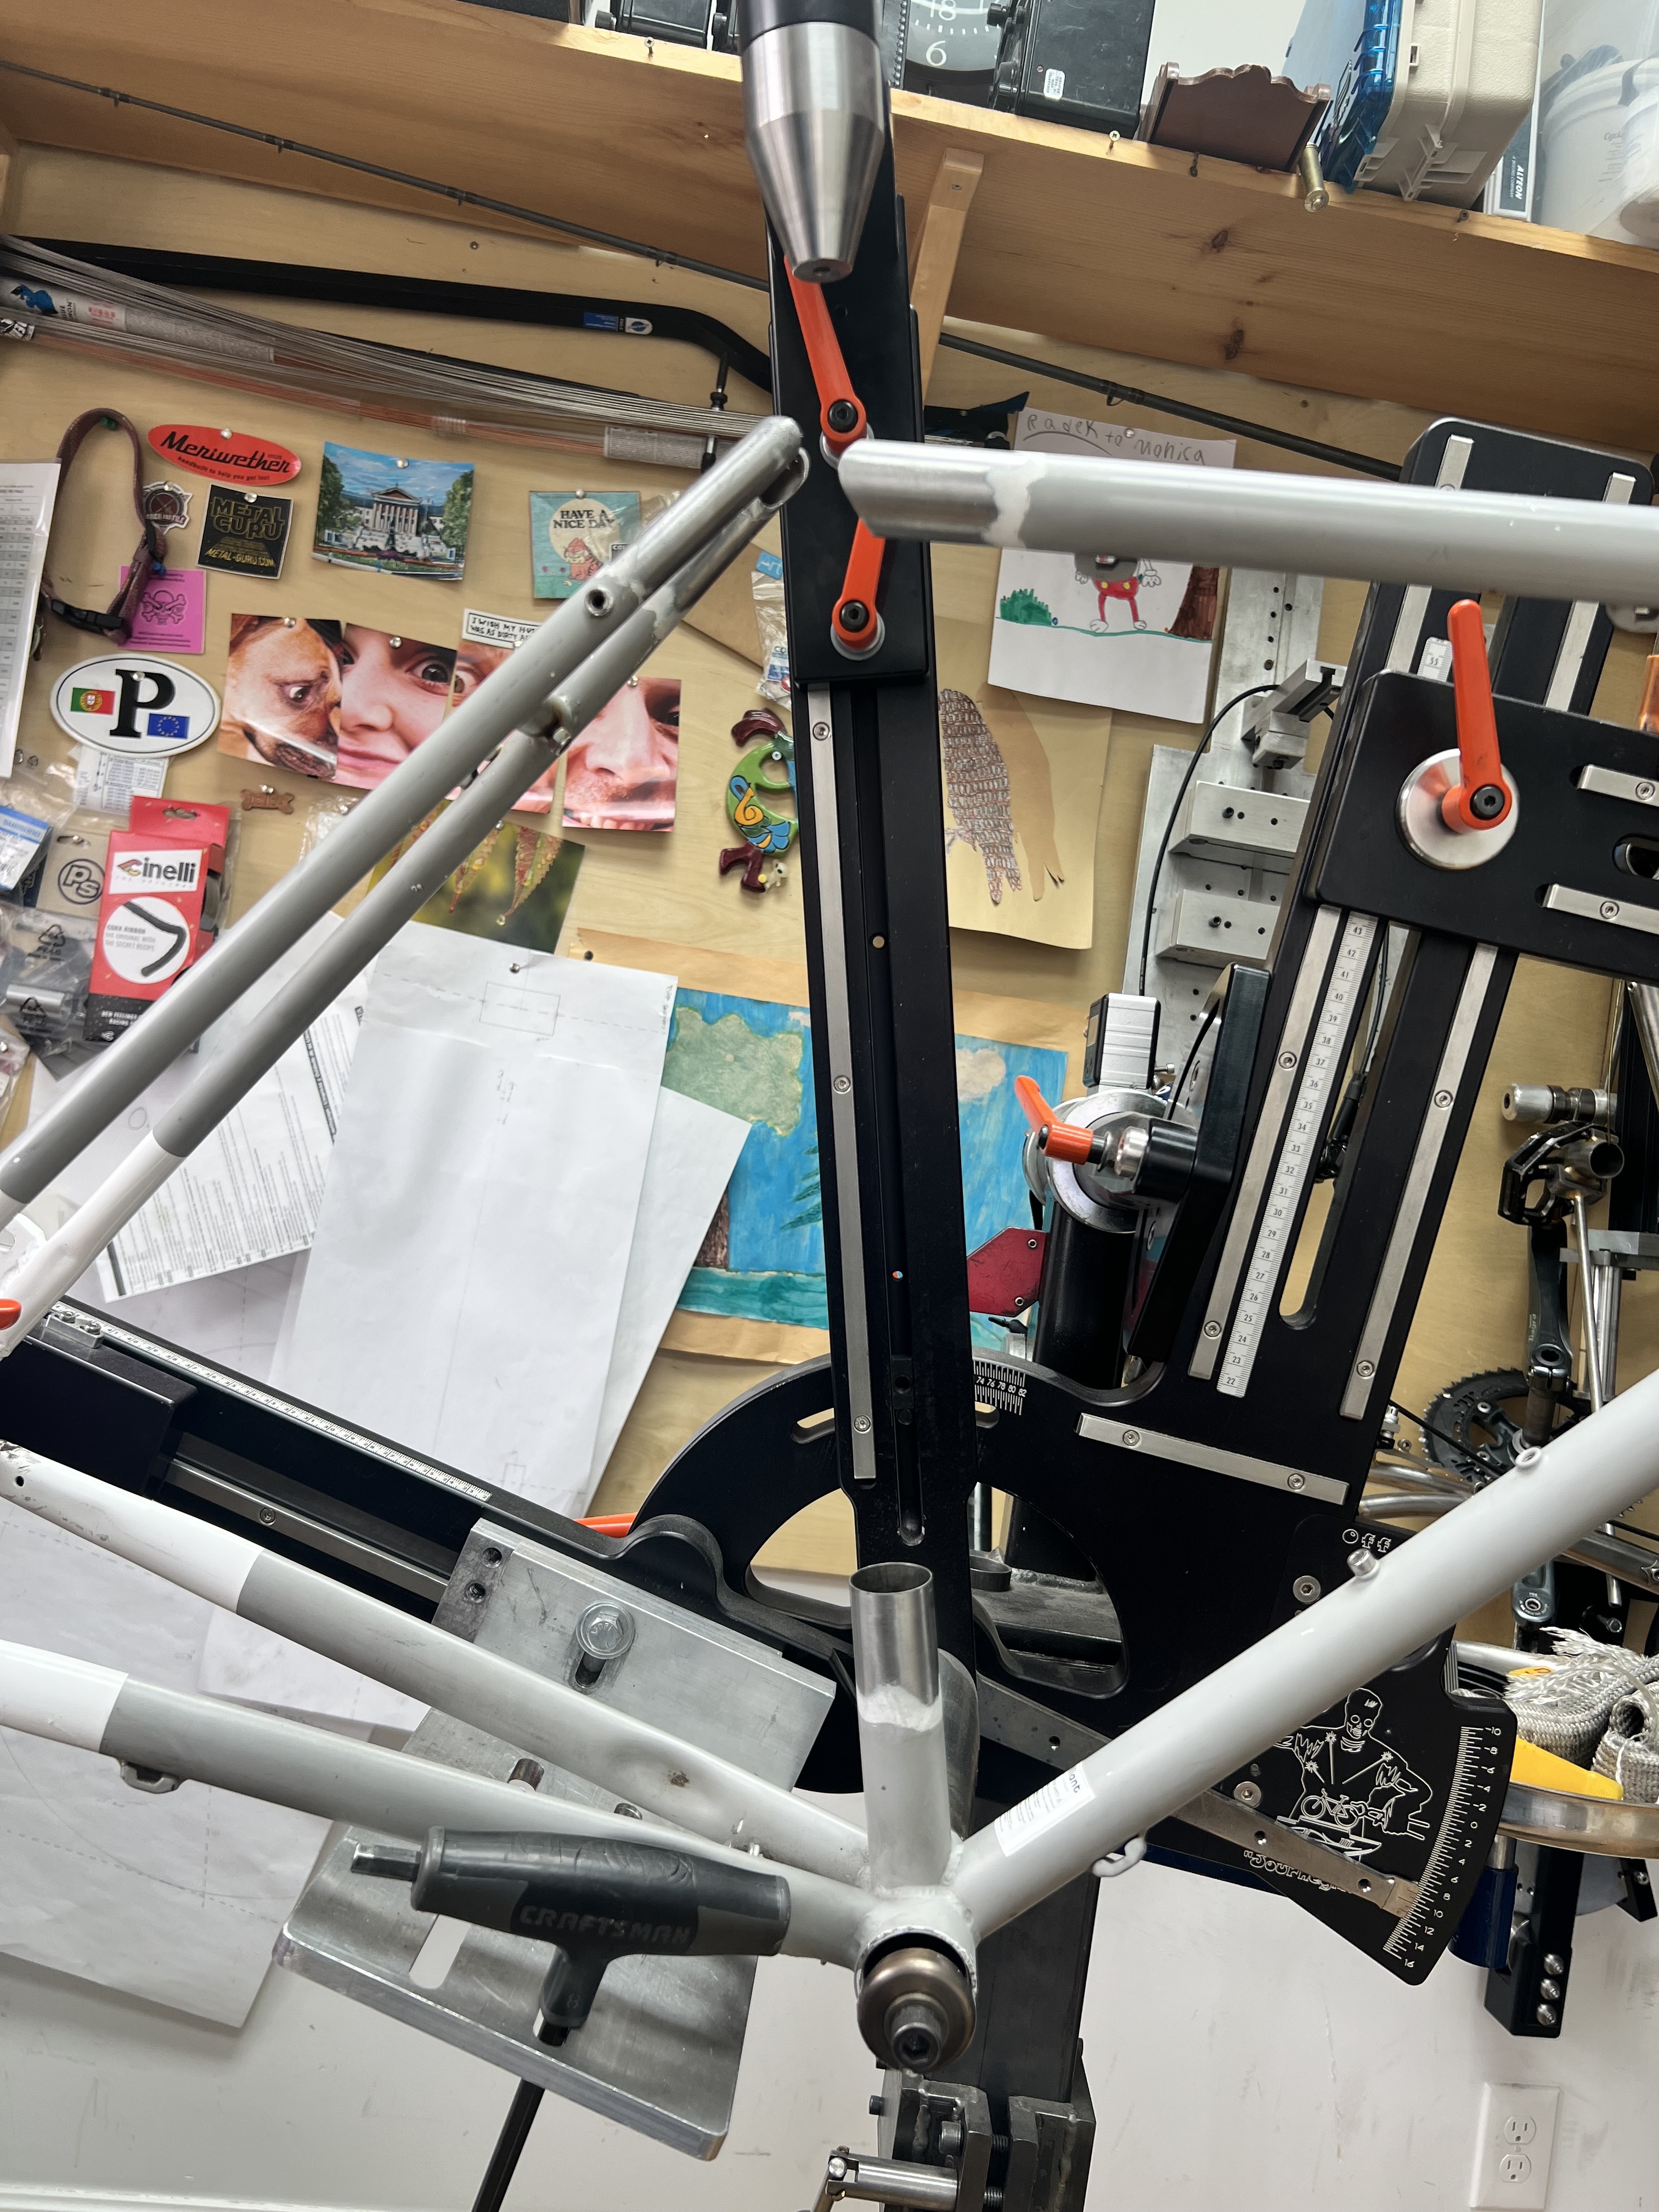
I just completed 2 road forks - one for me and another for a customer. As I was doing the final alignment and measurement checks on the customer fork, I noticed the rake wasn’t right. 41mm instead of 43. Mine was the same. sigh… How could this happen?! My fork fixture (Based on one Alex Wetmore did ages ago) has always made very straight and accurate forks. Over the past year, I have been doing a fair bit of construction in my shop and have moved everything in the shop several times. I started looking at my fixture and put it on my surface table and found that the 8020 brackets had loosened (probably from heat/cooling cycles over the years) and the steerer tube perch had tilted - probably from being bumped. Now I’m scrambling to find the crown but it seems only Ceeway has them. Ugh… Not looking forward to this customer call!
4 Likes
My bet is no one will ever notice a difference in handling from +/- 2mm of fork offset. I mean always good to be honest with ya customer but I doubt they’d care. Nice that you found the issue though!
6 Likes
I agree but I already raised the ATC a few mm to fit fatter tires, and that along with the different rake might lead to odd handling and I don’t want that.
1 Like
One man’s odd handling is another man’s dream ride. Rake and resulting trail vary over a wider range than that, from one brand to the next. So as long as you’re in the ballpark of accepted practice, it’s hard to say it’s “wrong”.
Plus you can just add rake now, which will also bring the A-C height down at the same time, especially if you put the additional curve as low as you can. Additional rake will still lower the A-C a little. Only way to not lower the A-C while increasing offset is by bending the blades forward right up at the crown.
4 Likes
If you decide to build another fork, show us what crown you need. I bet someone on the list would probably have what you need without the shipping from England.
Good Luck !
MF in SF
1 Like
It’s replacing a carbon 1" steerer fork on old Litespeed Ti bike and he wanted a straight blade. Otherwise, yes, I would have just added a bit (imperceptible?) of a curve. The rear will hand a 28mm and we wanted to get a 28 into the front so I needed the extra couple mms of A-C.
It’s all in the works at this point. Peter has shipped out new raked crowns and I’m hoping to have it over to R&E for 2 tone paint next weekend (Royal Mail and USPS willing).
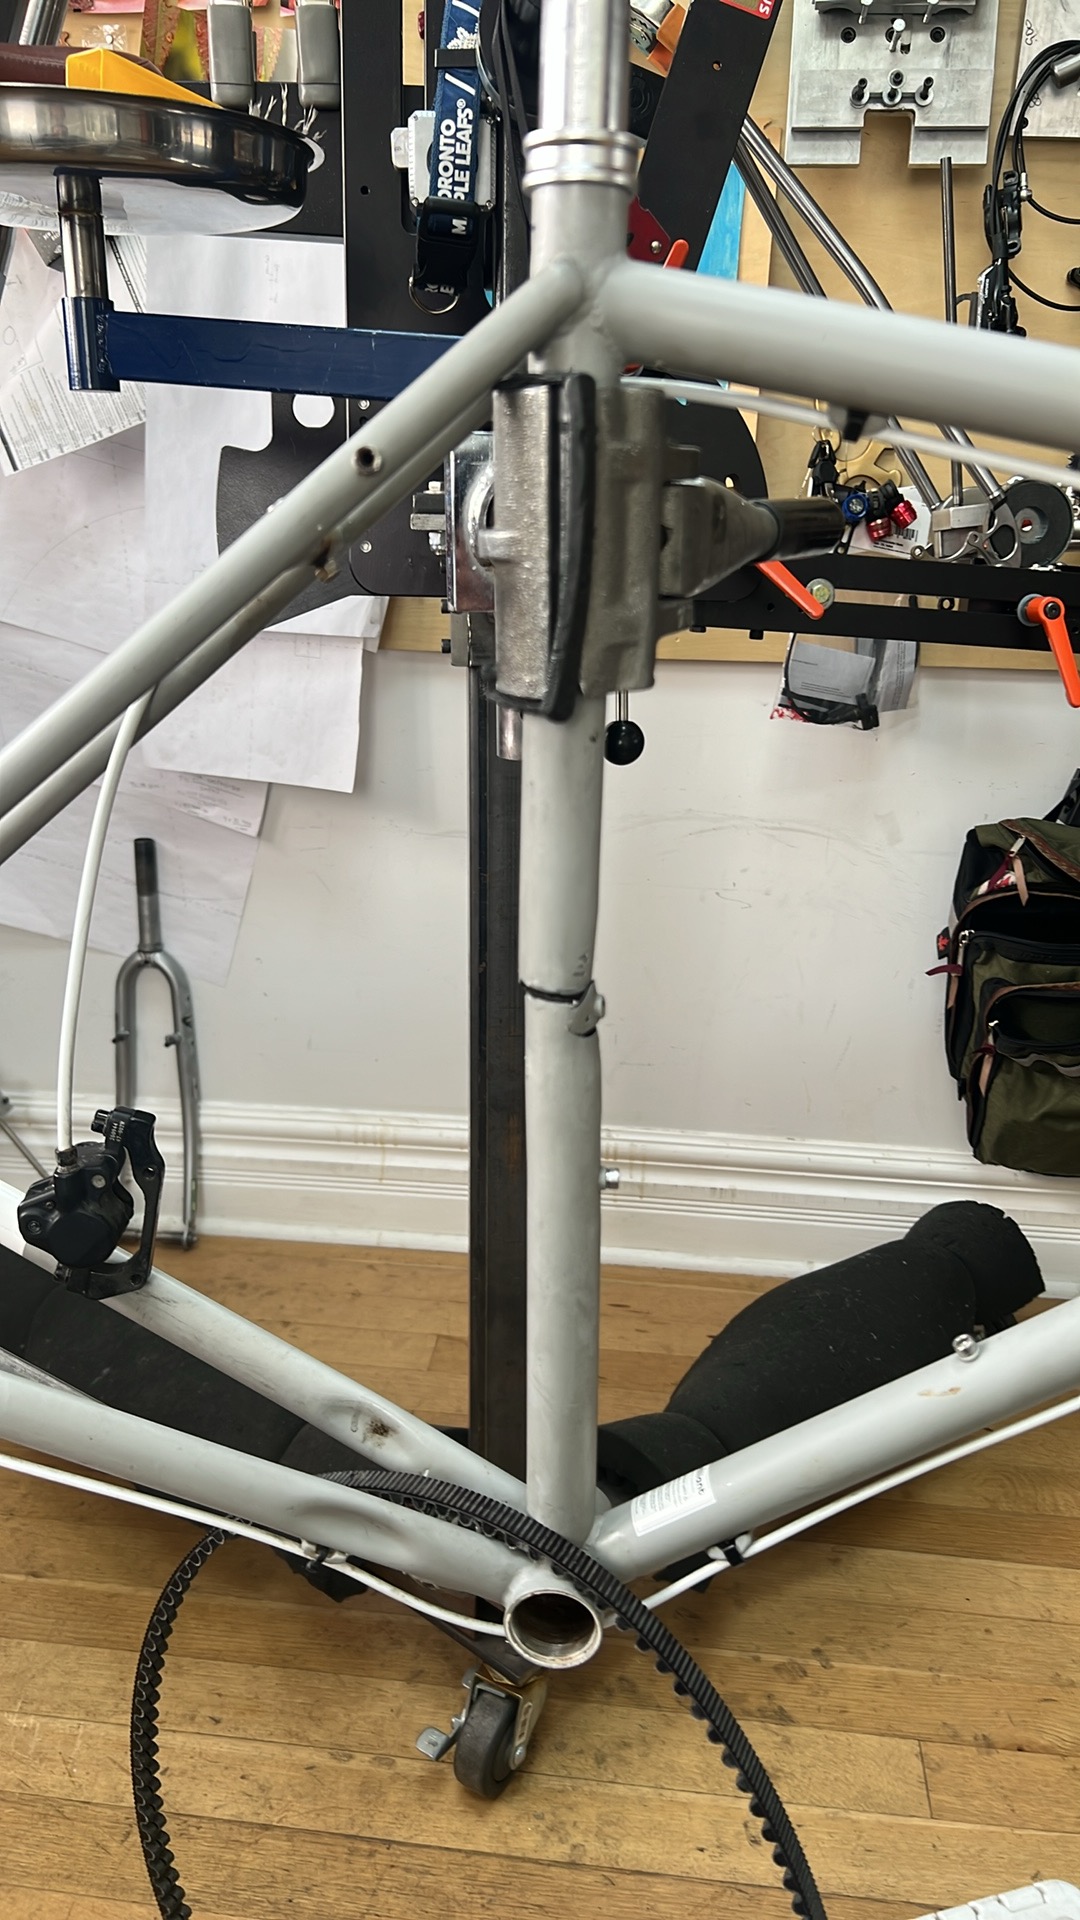
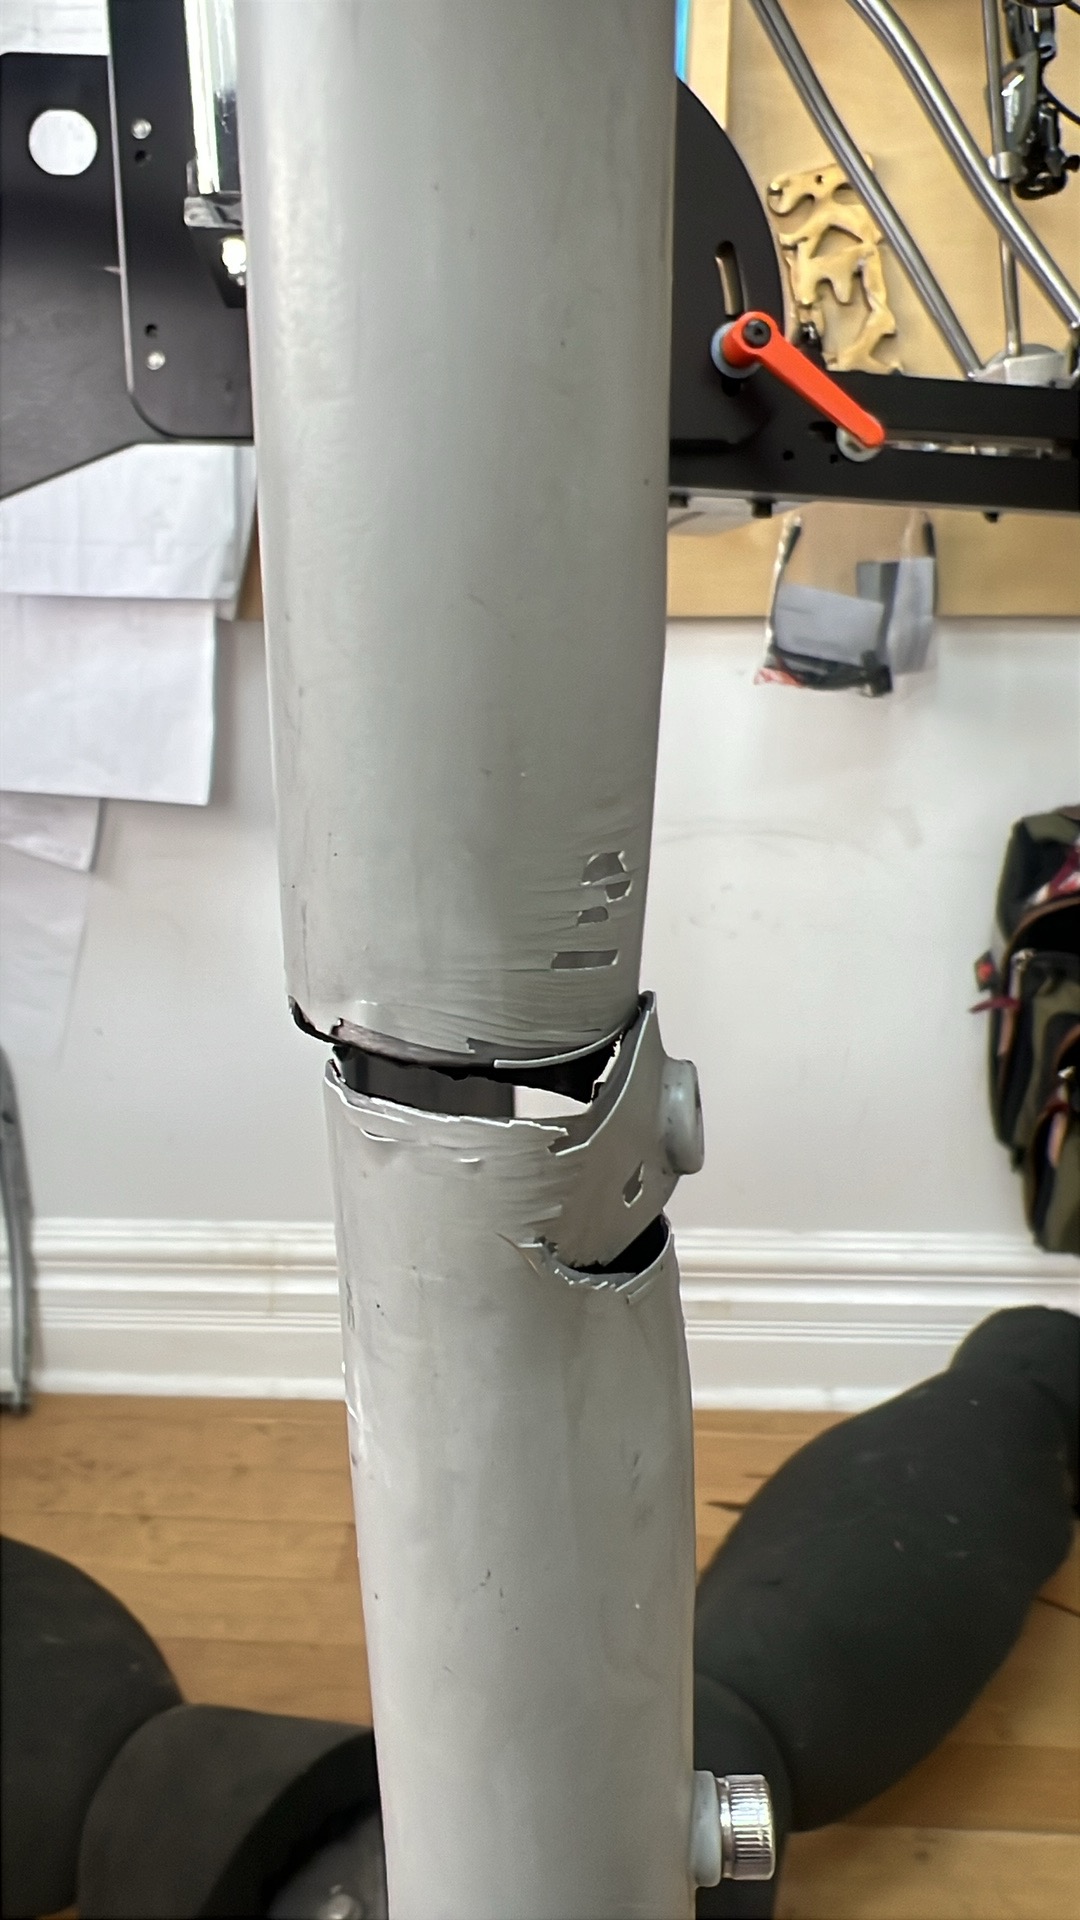
Not exactly a framebuilding fail but a fail nonetheless. The frame’s seat tube split apart during an attempt to extract a stuck post. The seat tube pulled apart at the top water bottle boss. The frame is hardly worth the effort but I said yes to the repair anyway.
13 Likes
Looking sharp!
1 Like
Wow that break is wild!
Did you consider splicing in a piece of ST, leaving the seat cluster and BB welds alone? Would need to be sleeved at the butt joint, but I’m sure it can be strong enough if done right.
I did that on this old PX-10 that rusted through from the inside, all the way around right where Peugeot in their infinite wisdom stuck a cork in it. Water puddled on top of the cork, probably for decades.
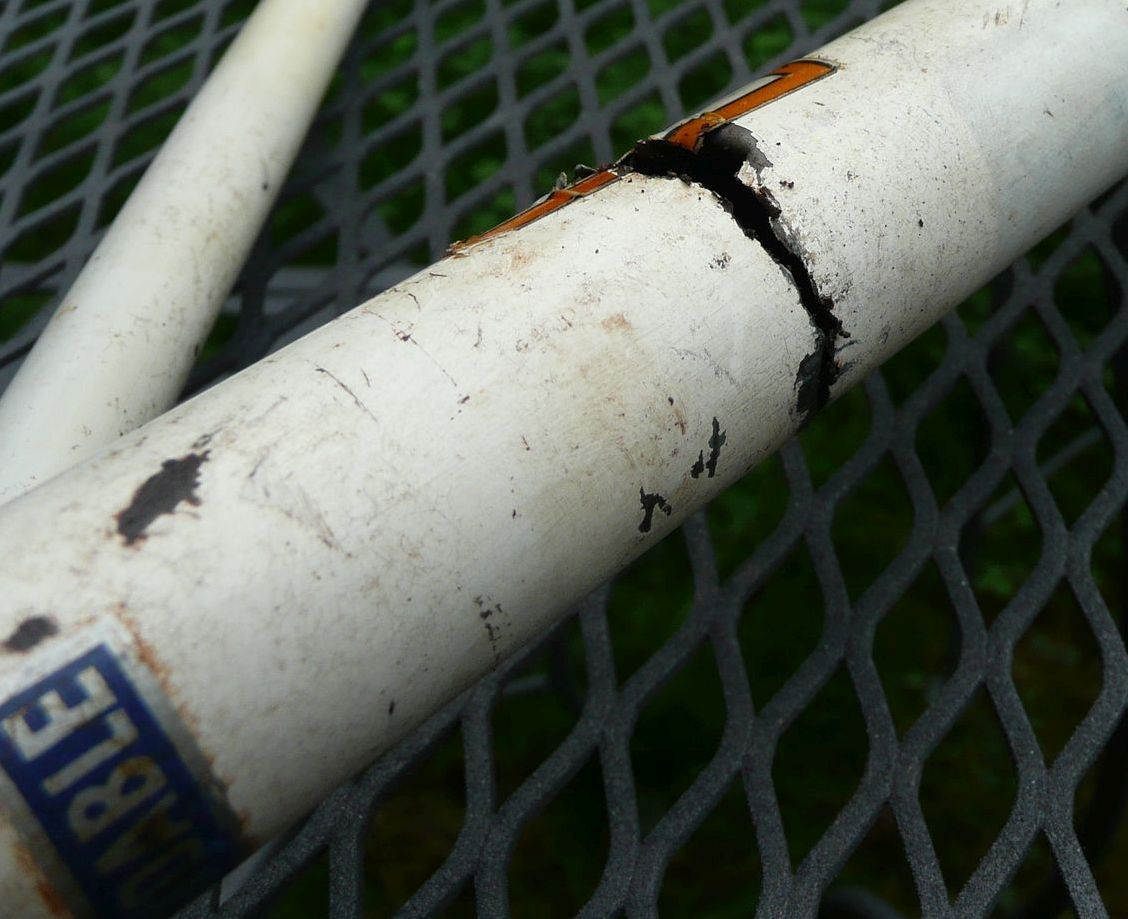
I love how it rusted through very close to the “inoxydable” decal, French for “un-rustable”
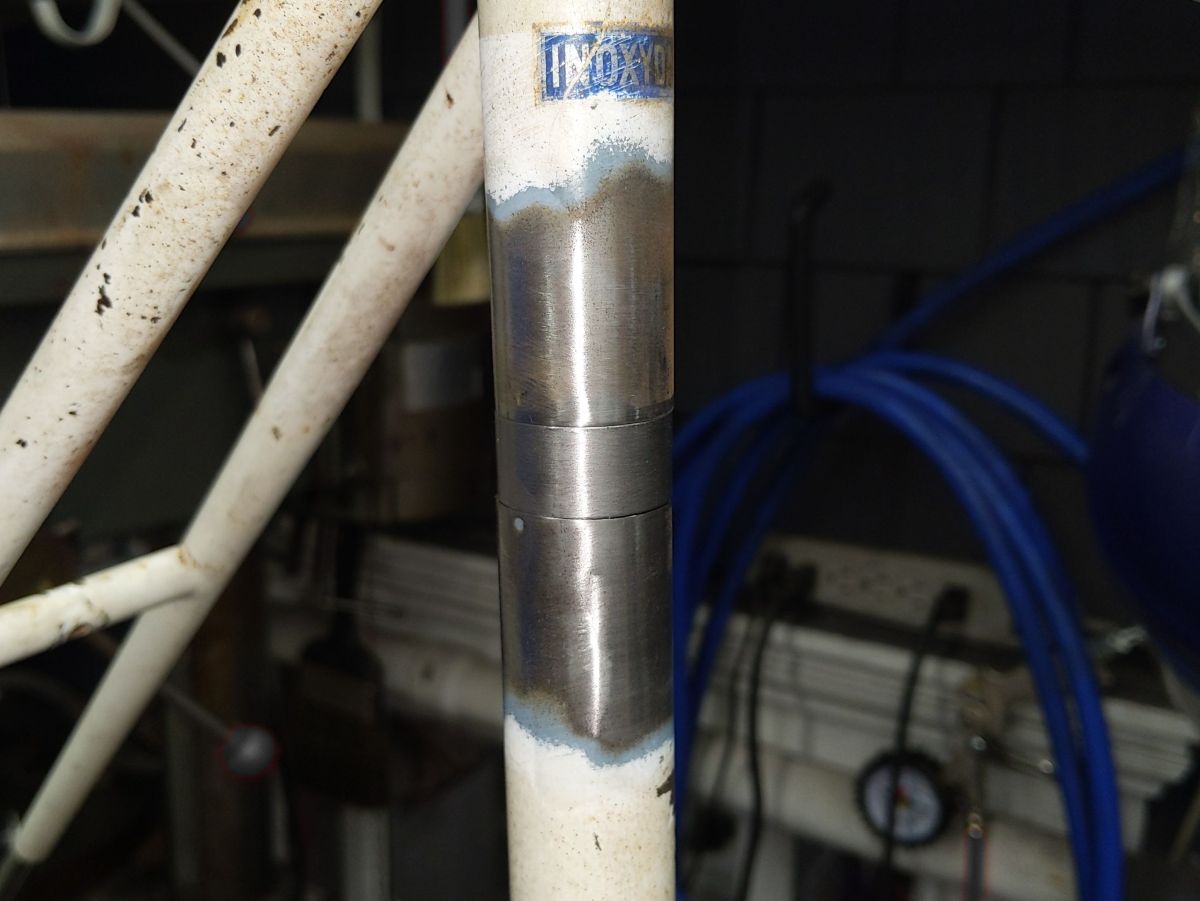
I turned a piece of CrMo tube to basically seatpost size, enough longer than the splice you see to have decent overlap above and below for brazing. Came out good, but now I’m stuck with this rusty old Frenchie that no one wants… oh well this is a hobby for me, doesn’t need to make $ sense.
8 Likes
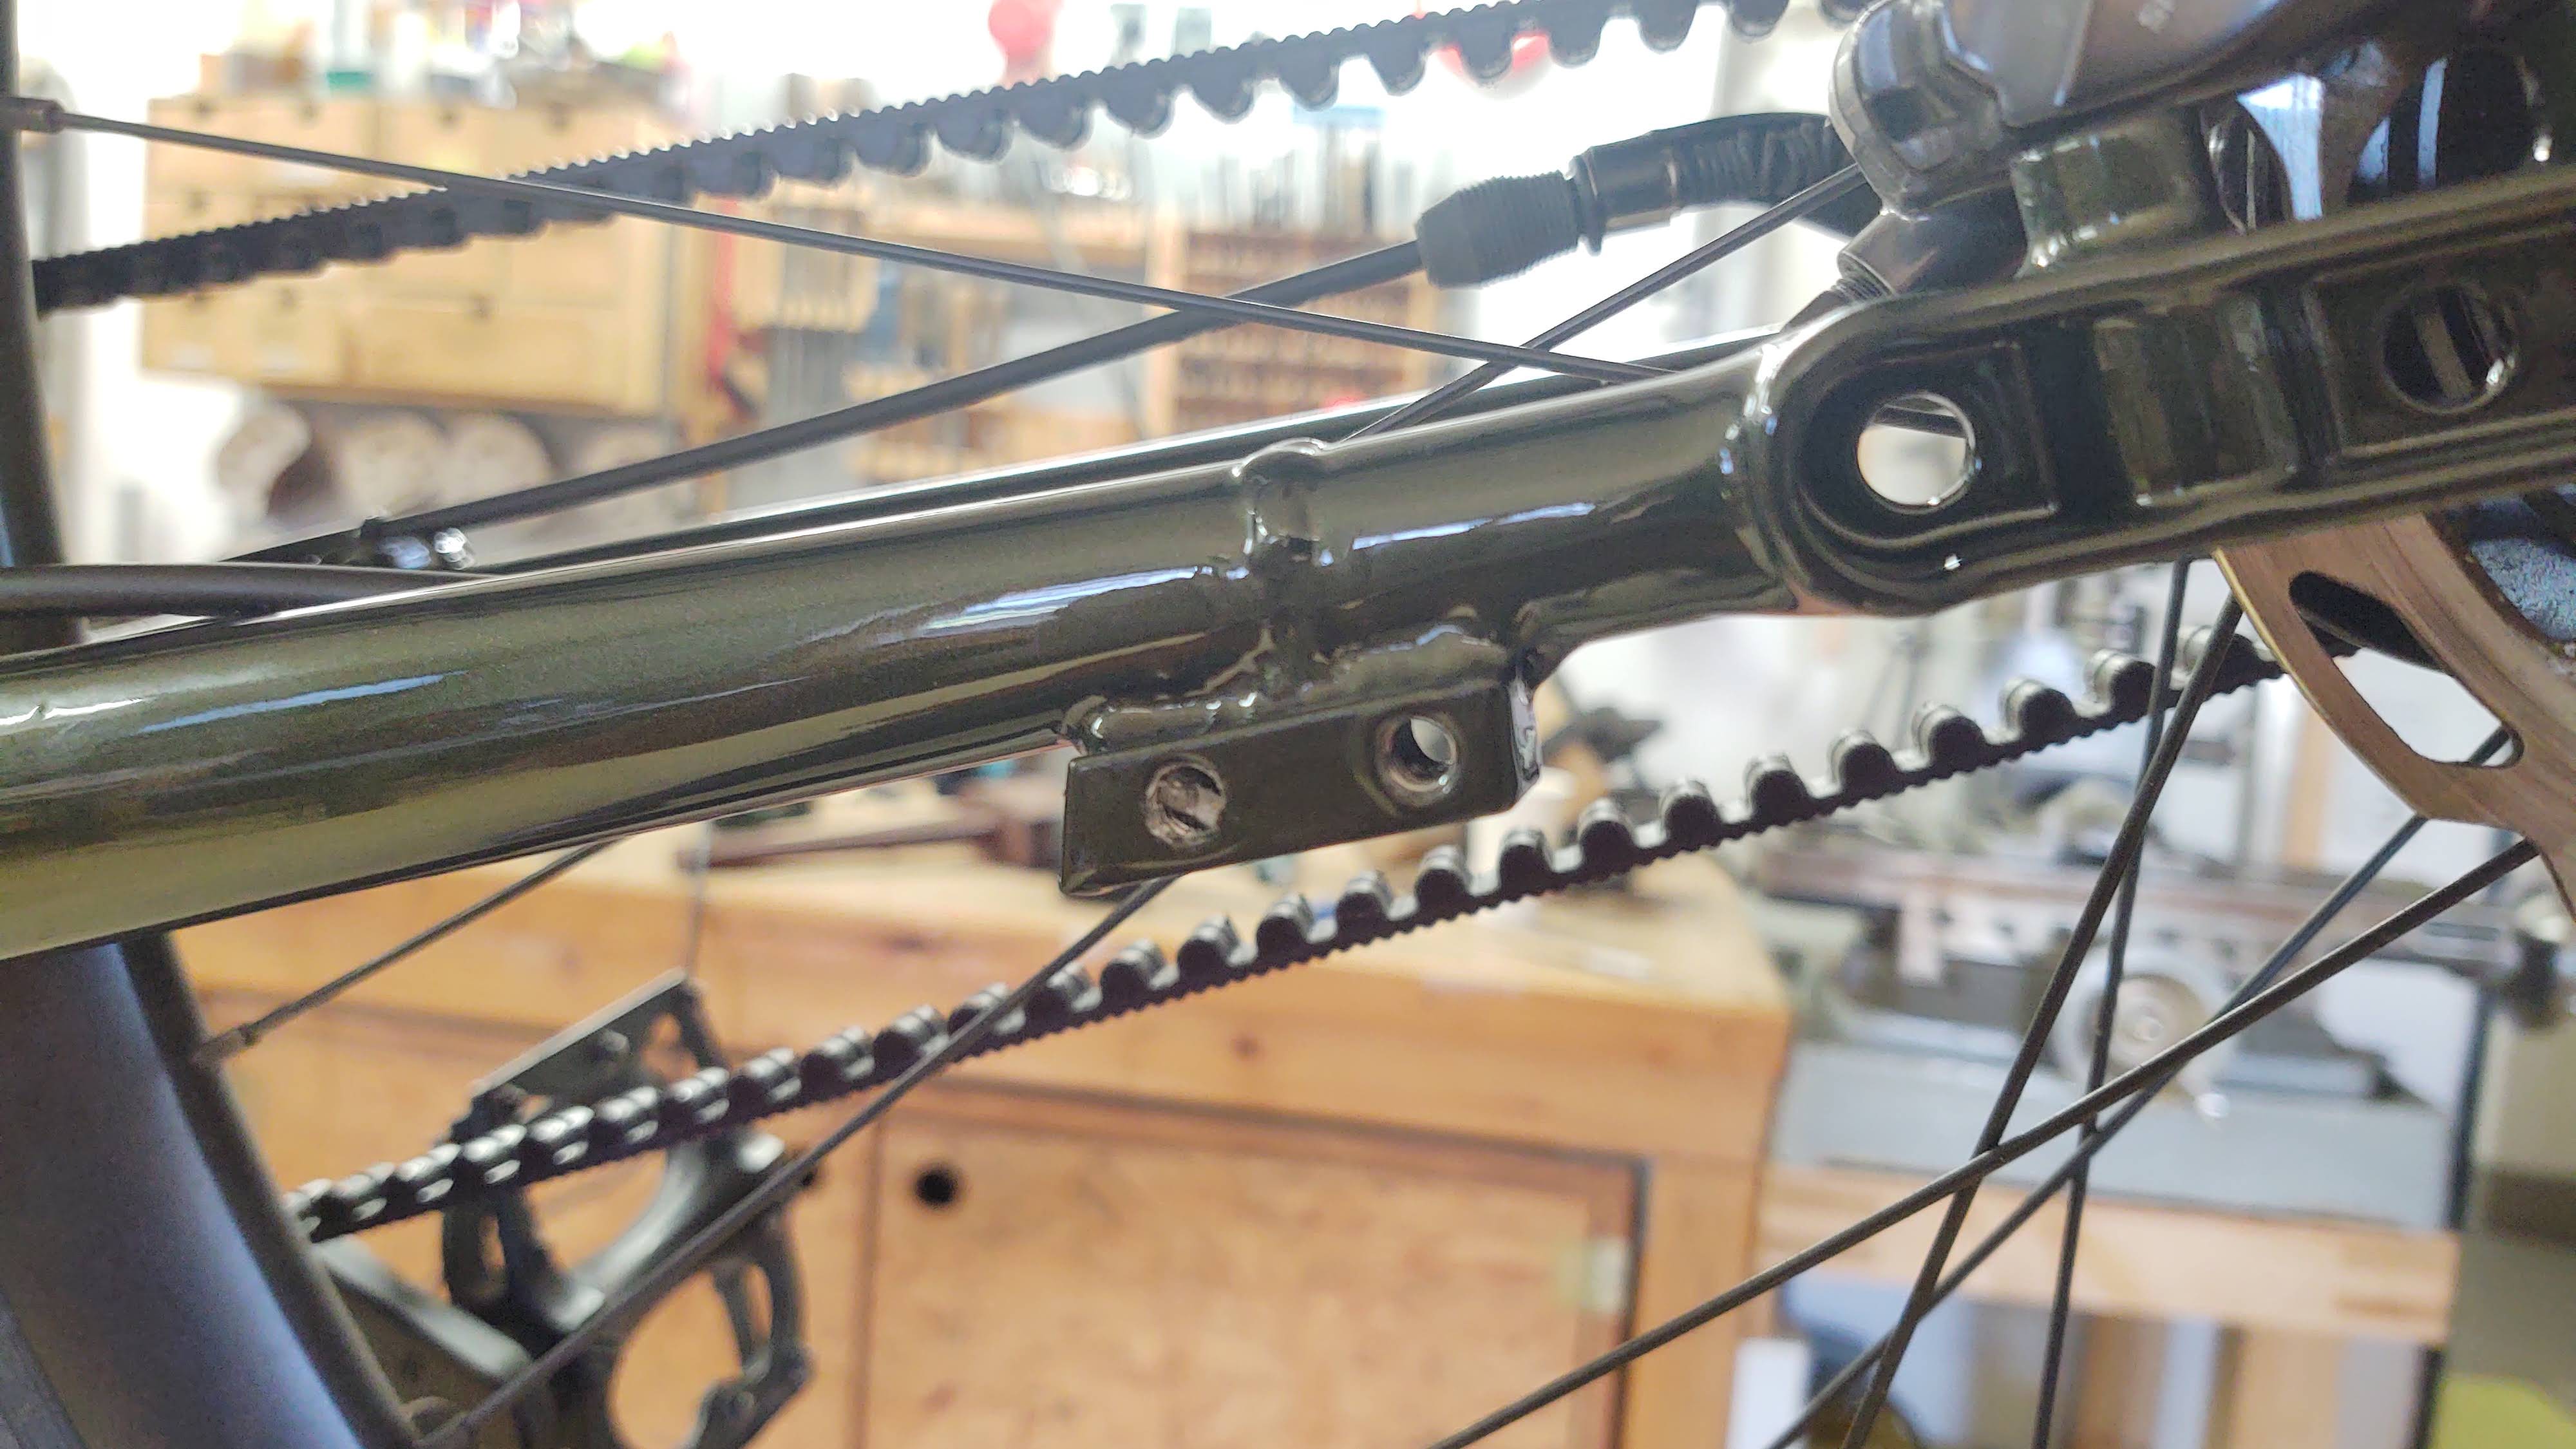
This repair did not make sense for such a cheap frame but I thought it would be a challenge so why not. The frame has a belt drive system so the owner did not want to try to find a cheap replacement.
The seat tube top was cut out because the seatpost was still stuck inside of it. Removing the seat tube top made the most sense.
I like your repair, I’ll keep it in mind if I am faced with the problem again.
2 Likes