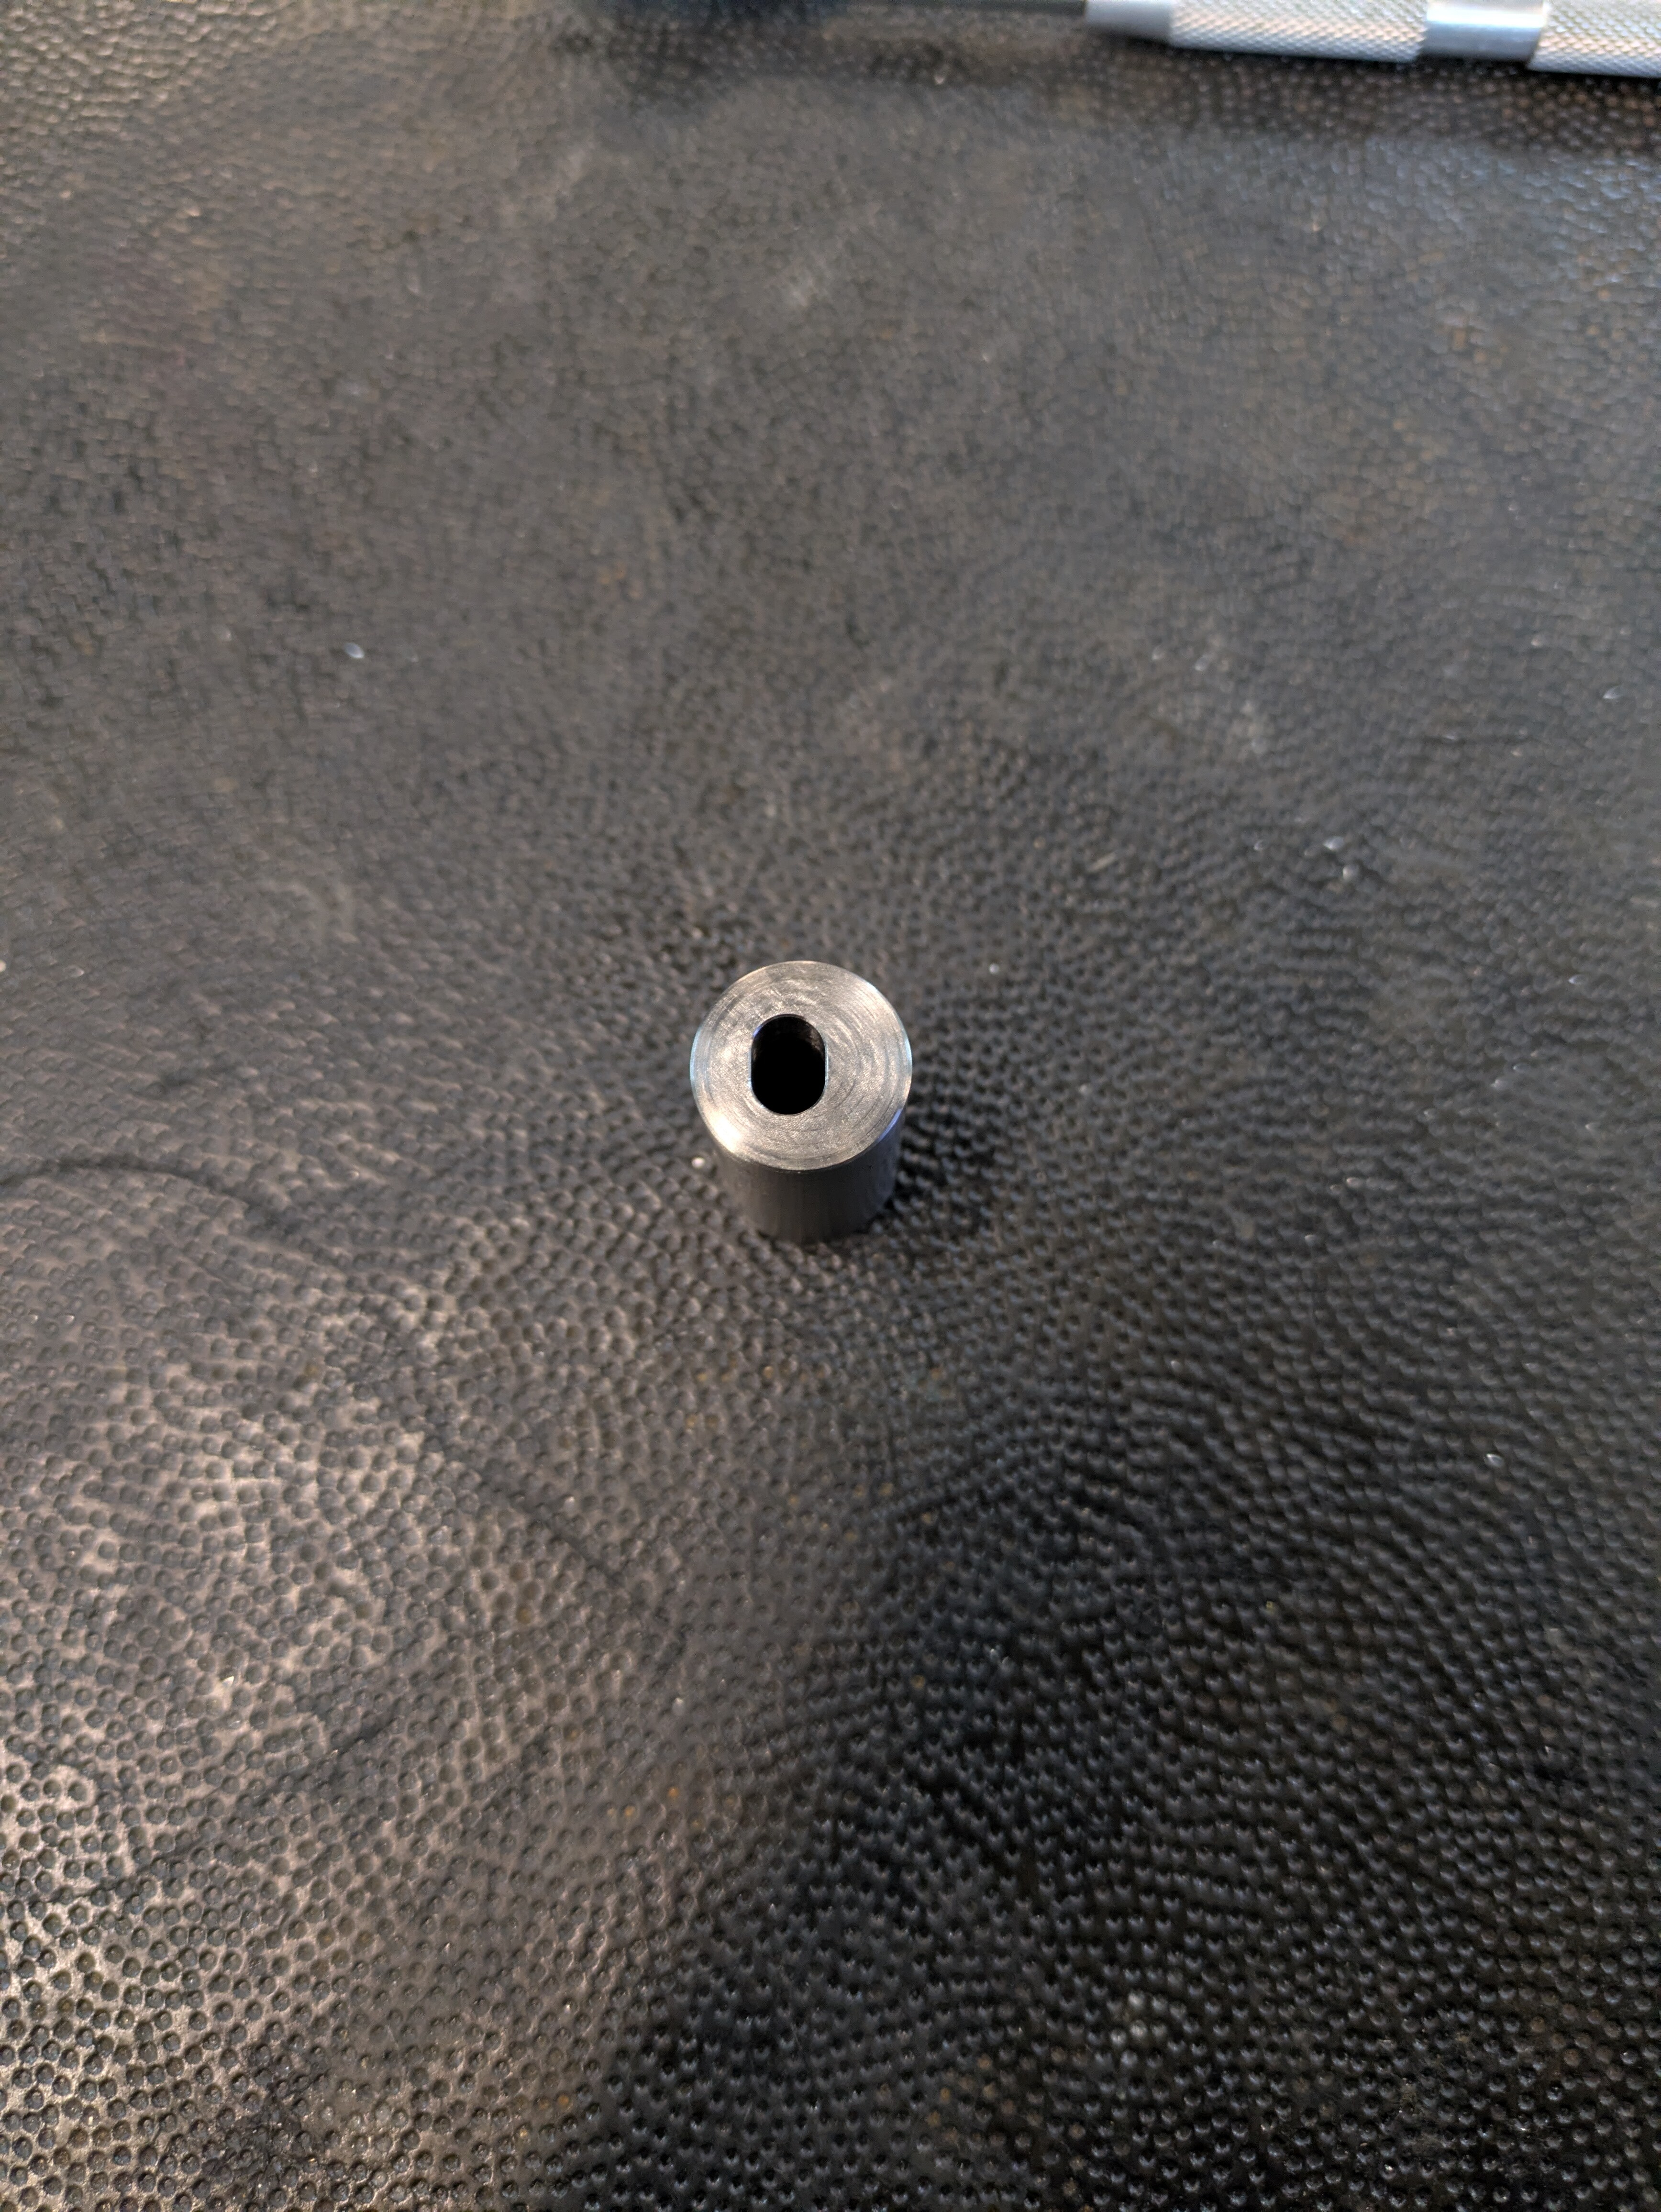
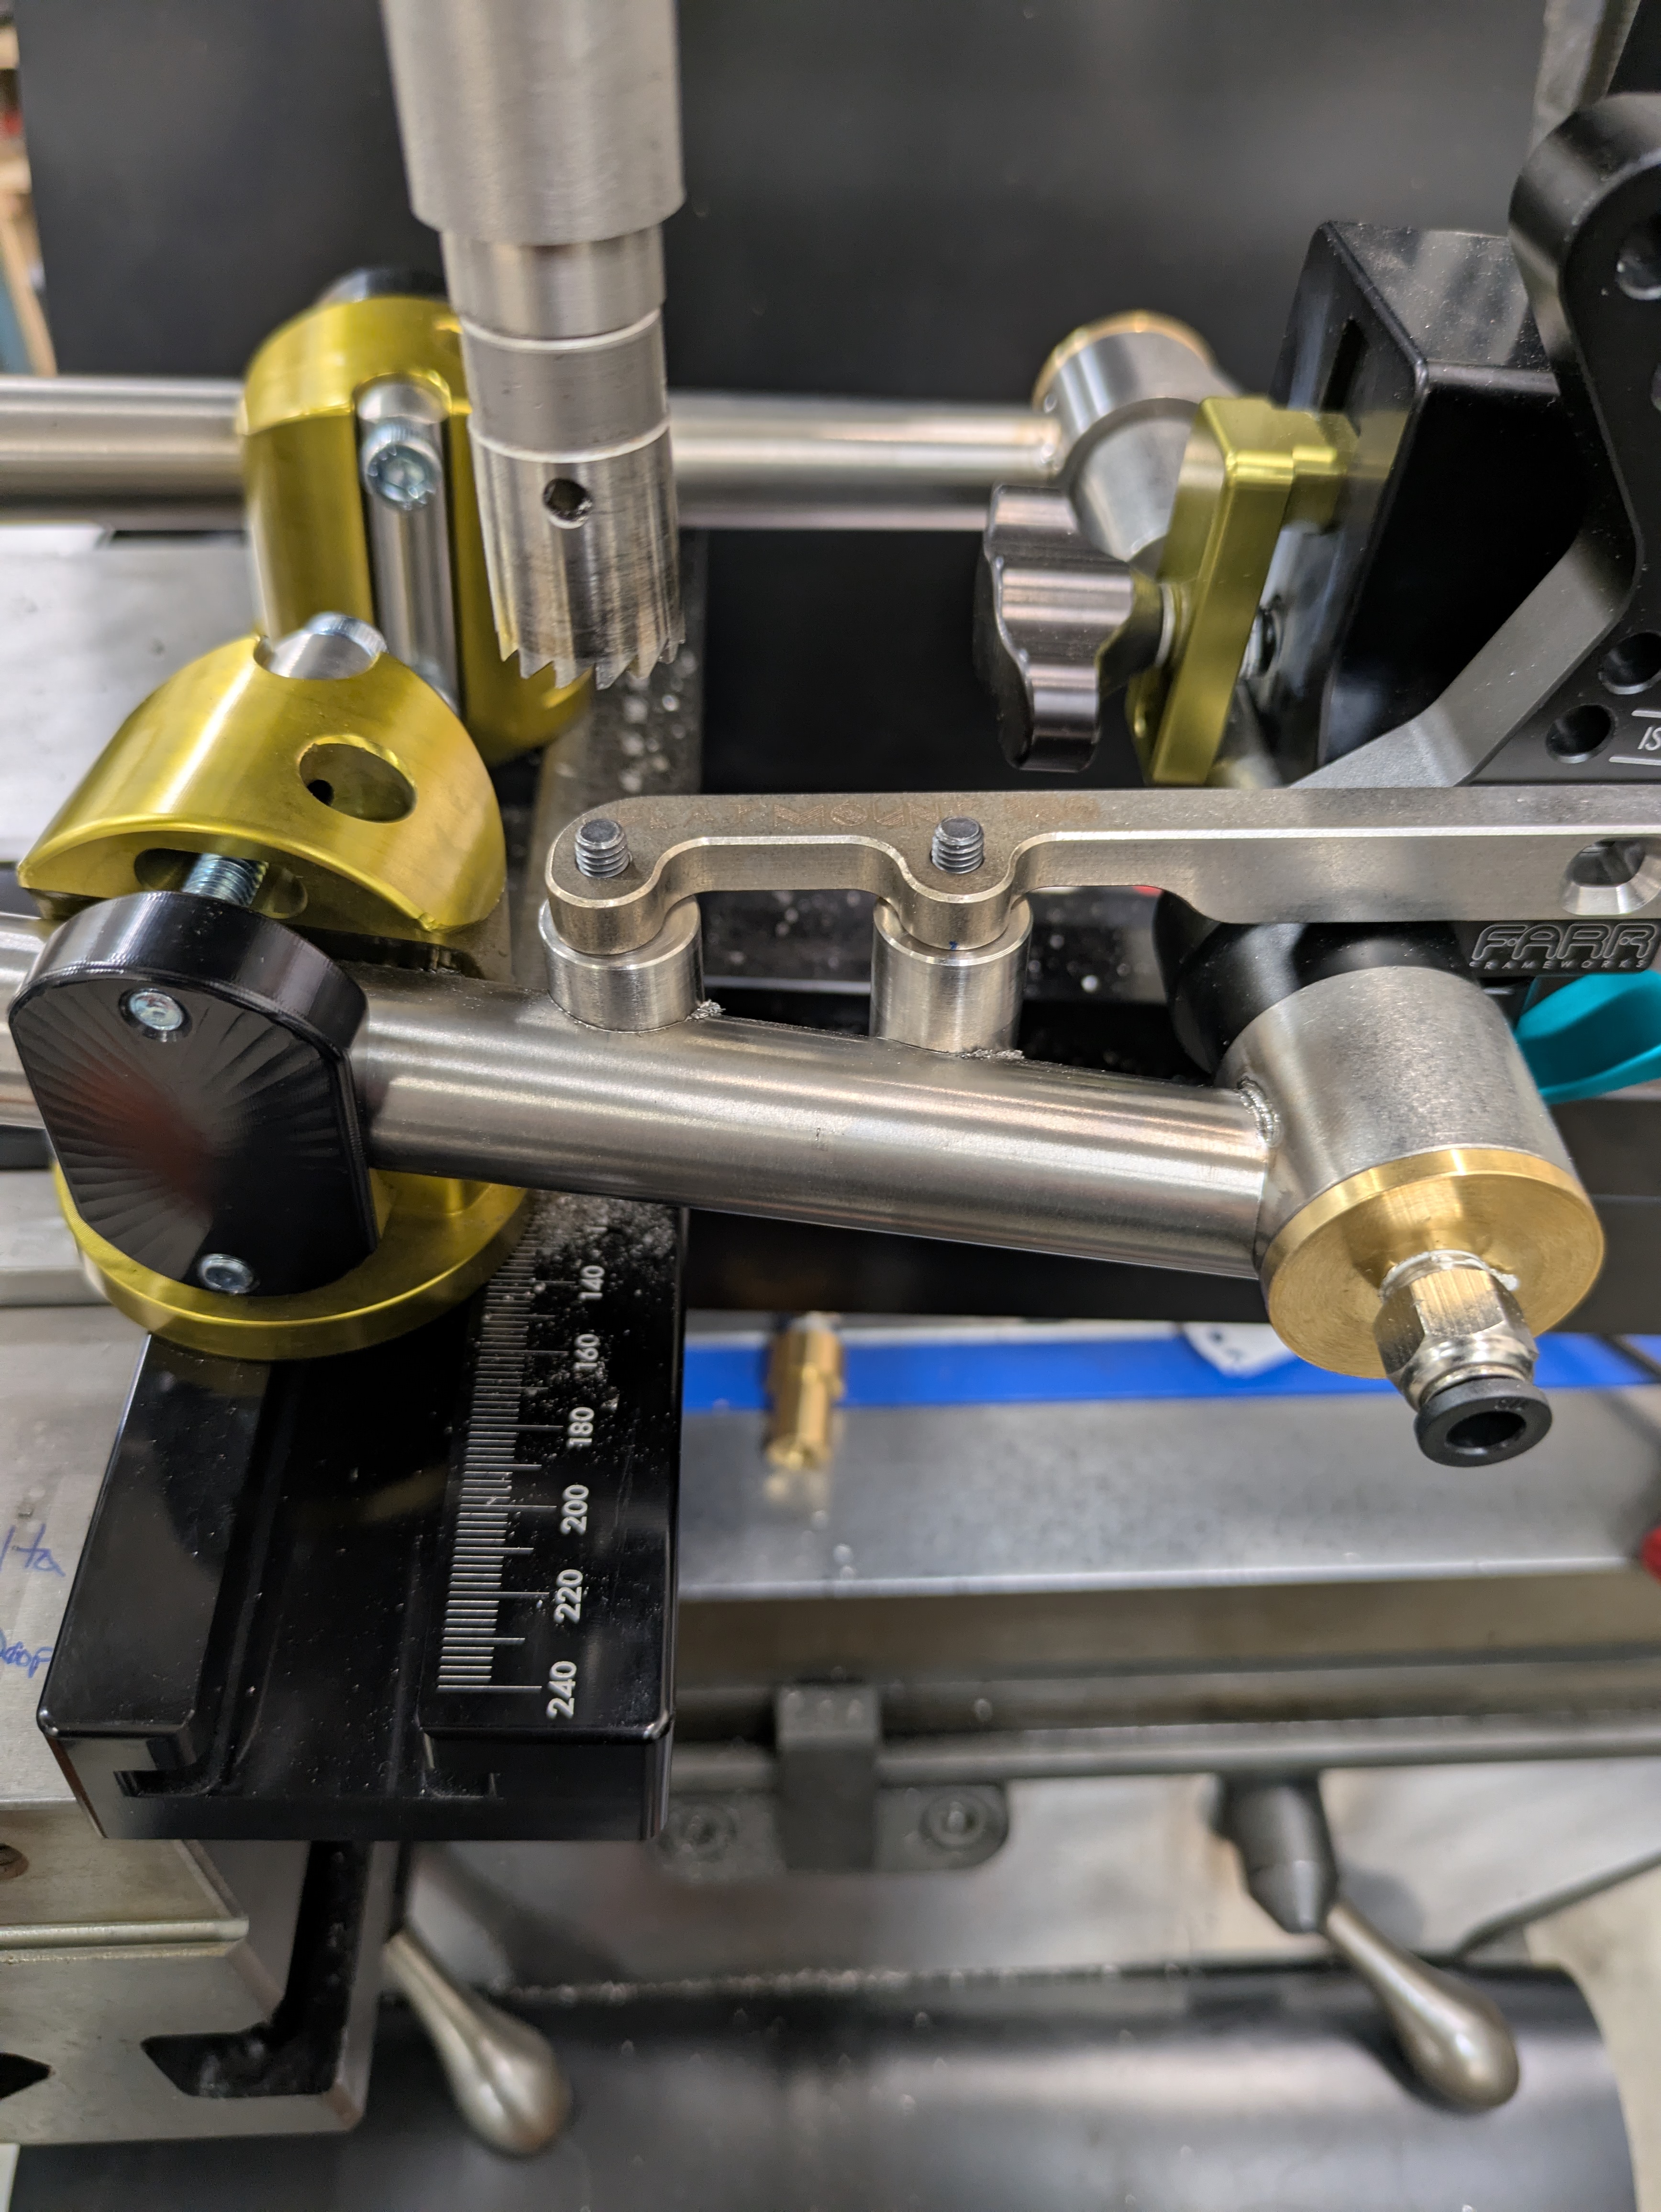
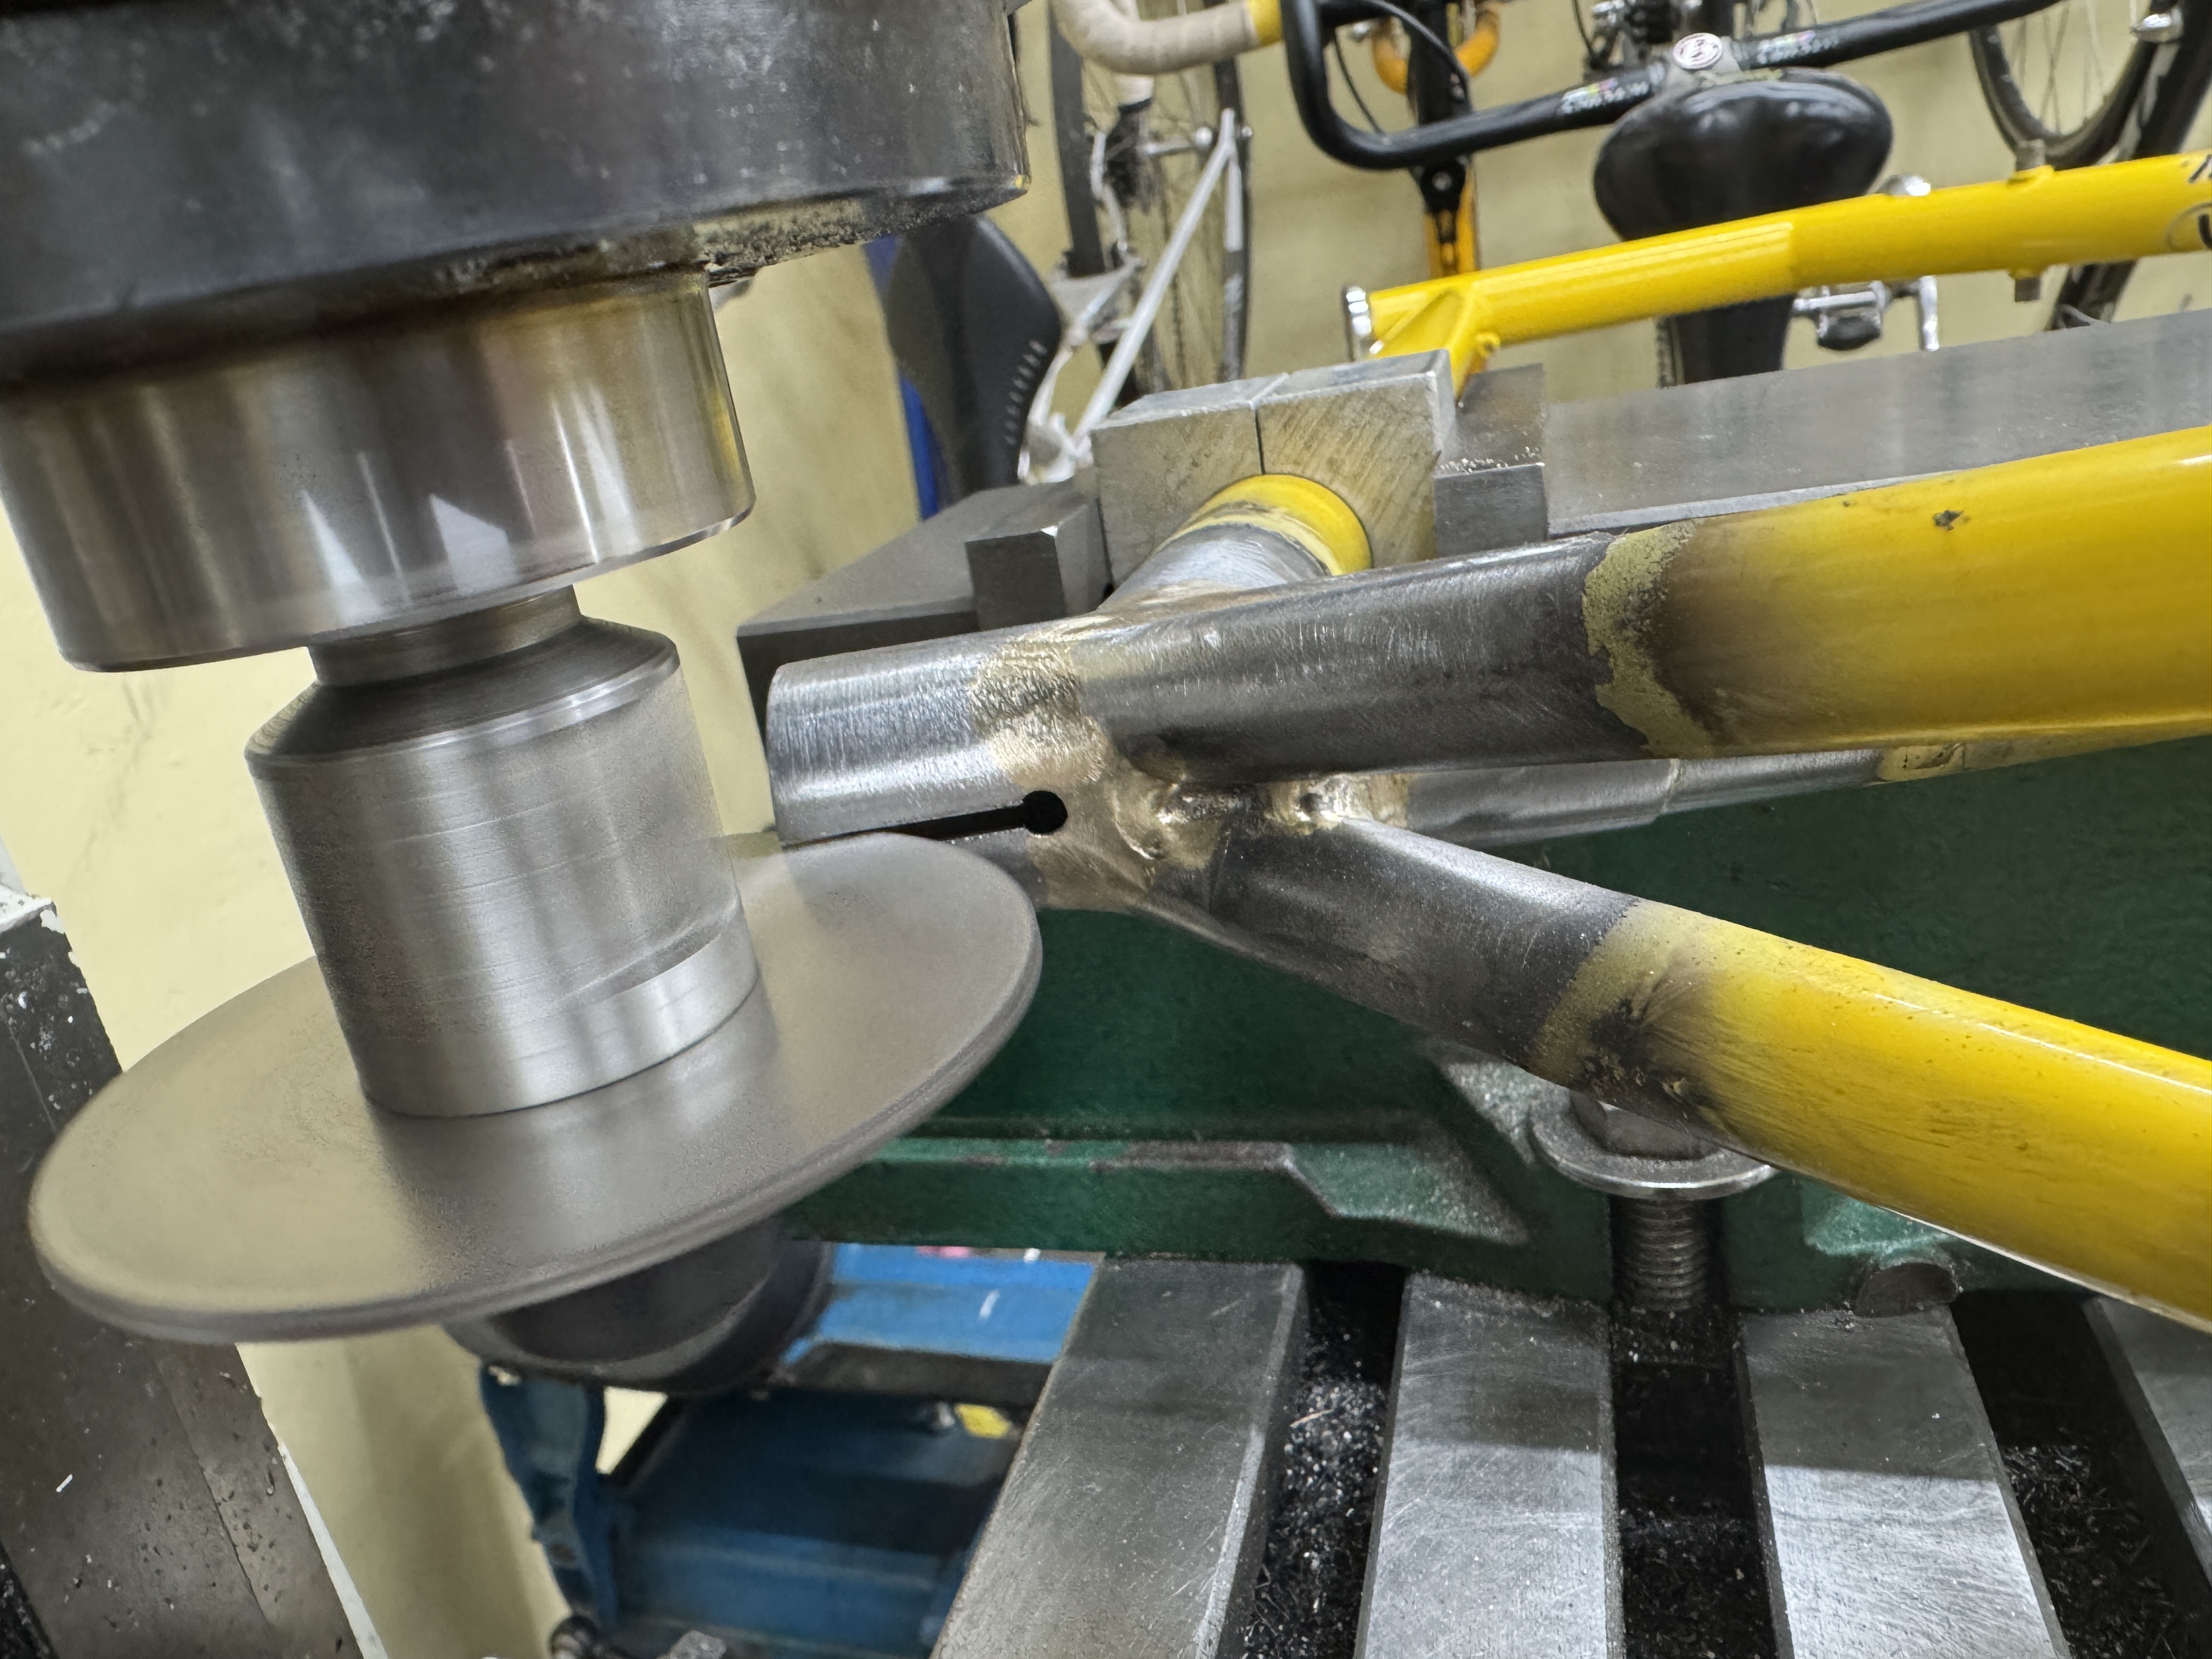
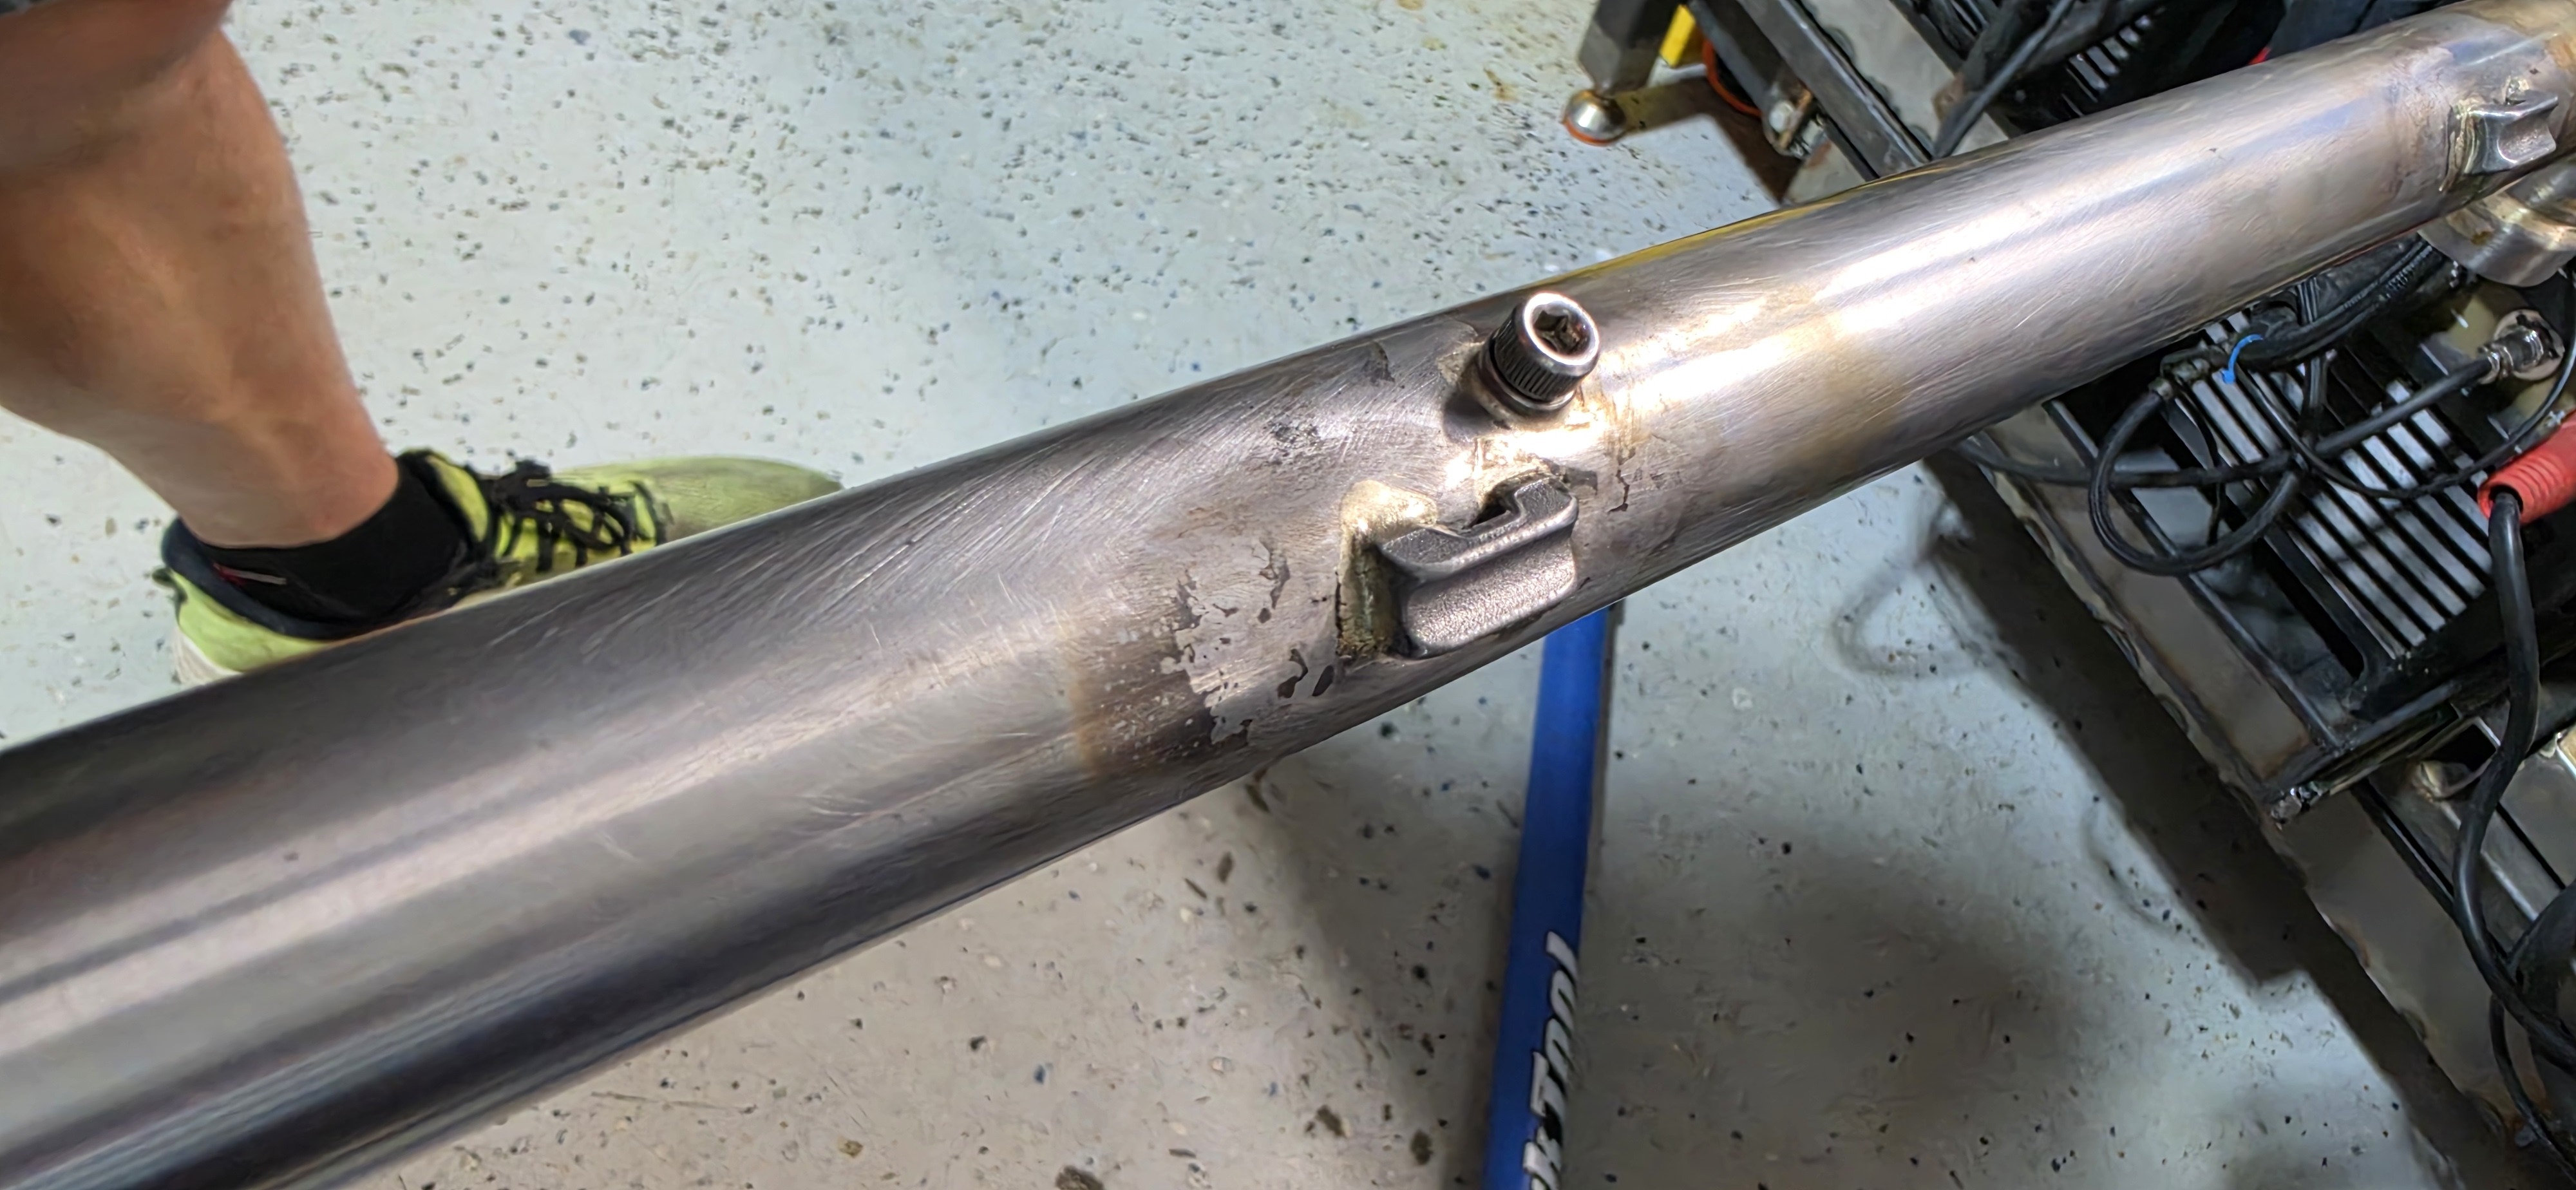
For when you mill a chainstay and you’re off by .035”.
Solution, a one-off offset brake boss 
Hi ! Need your help !
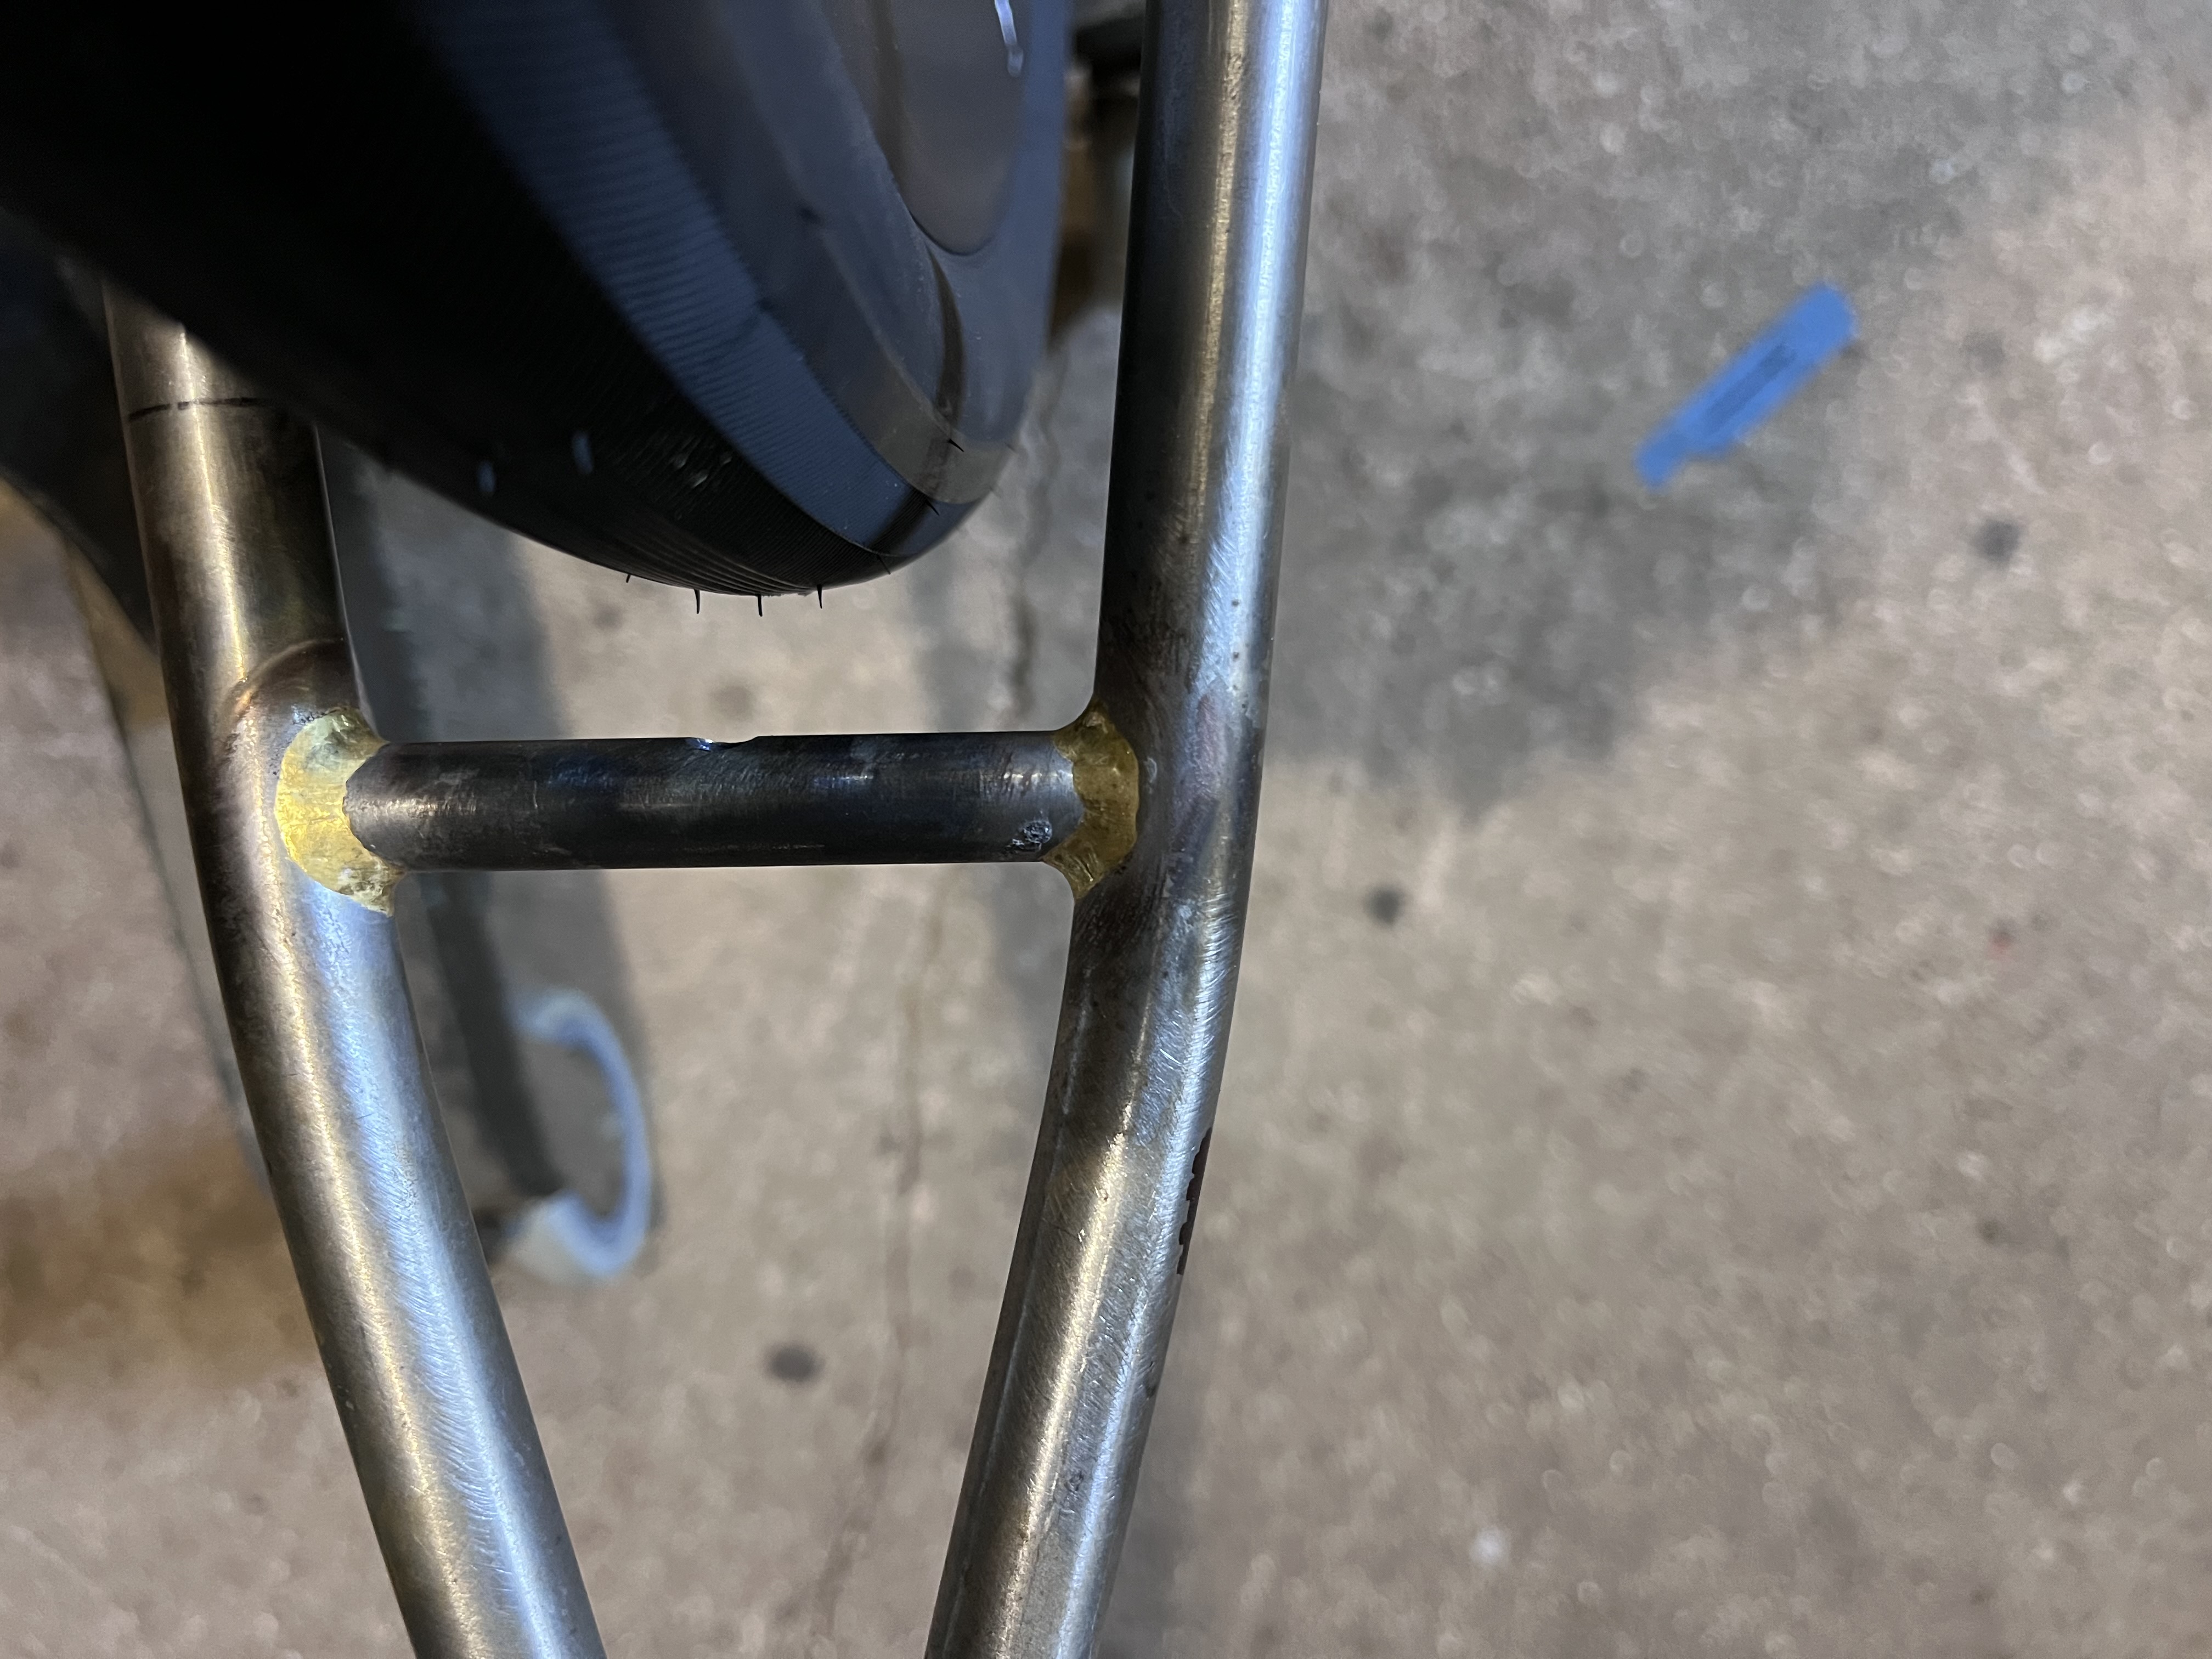
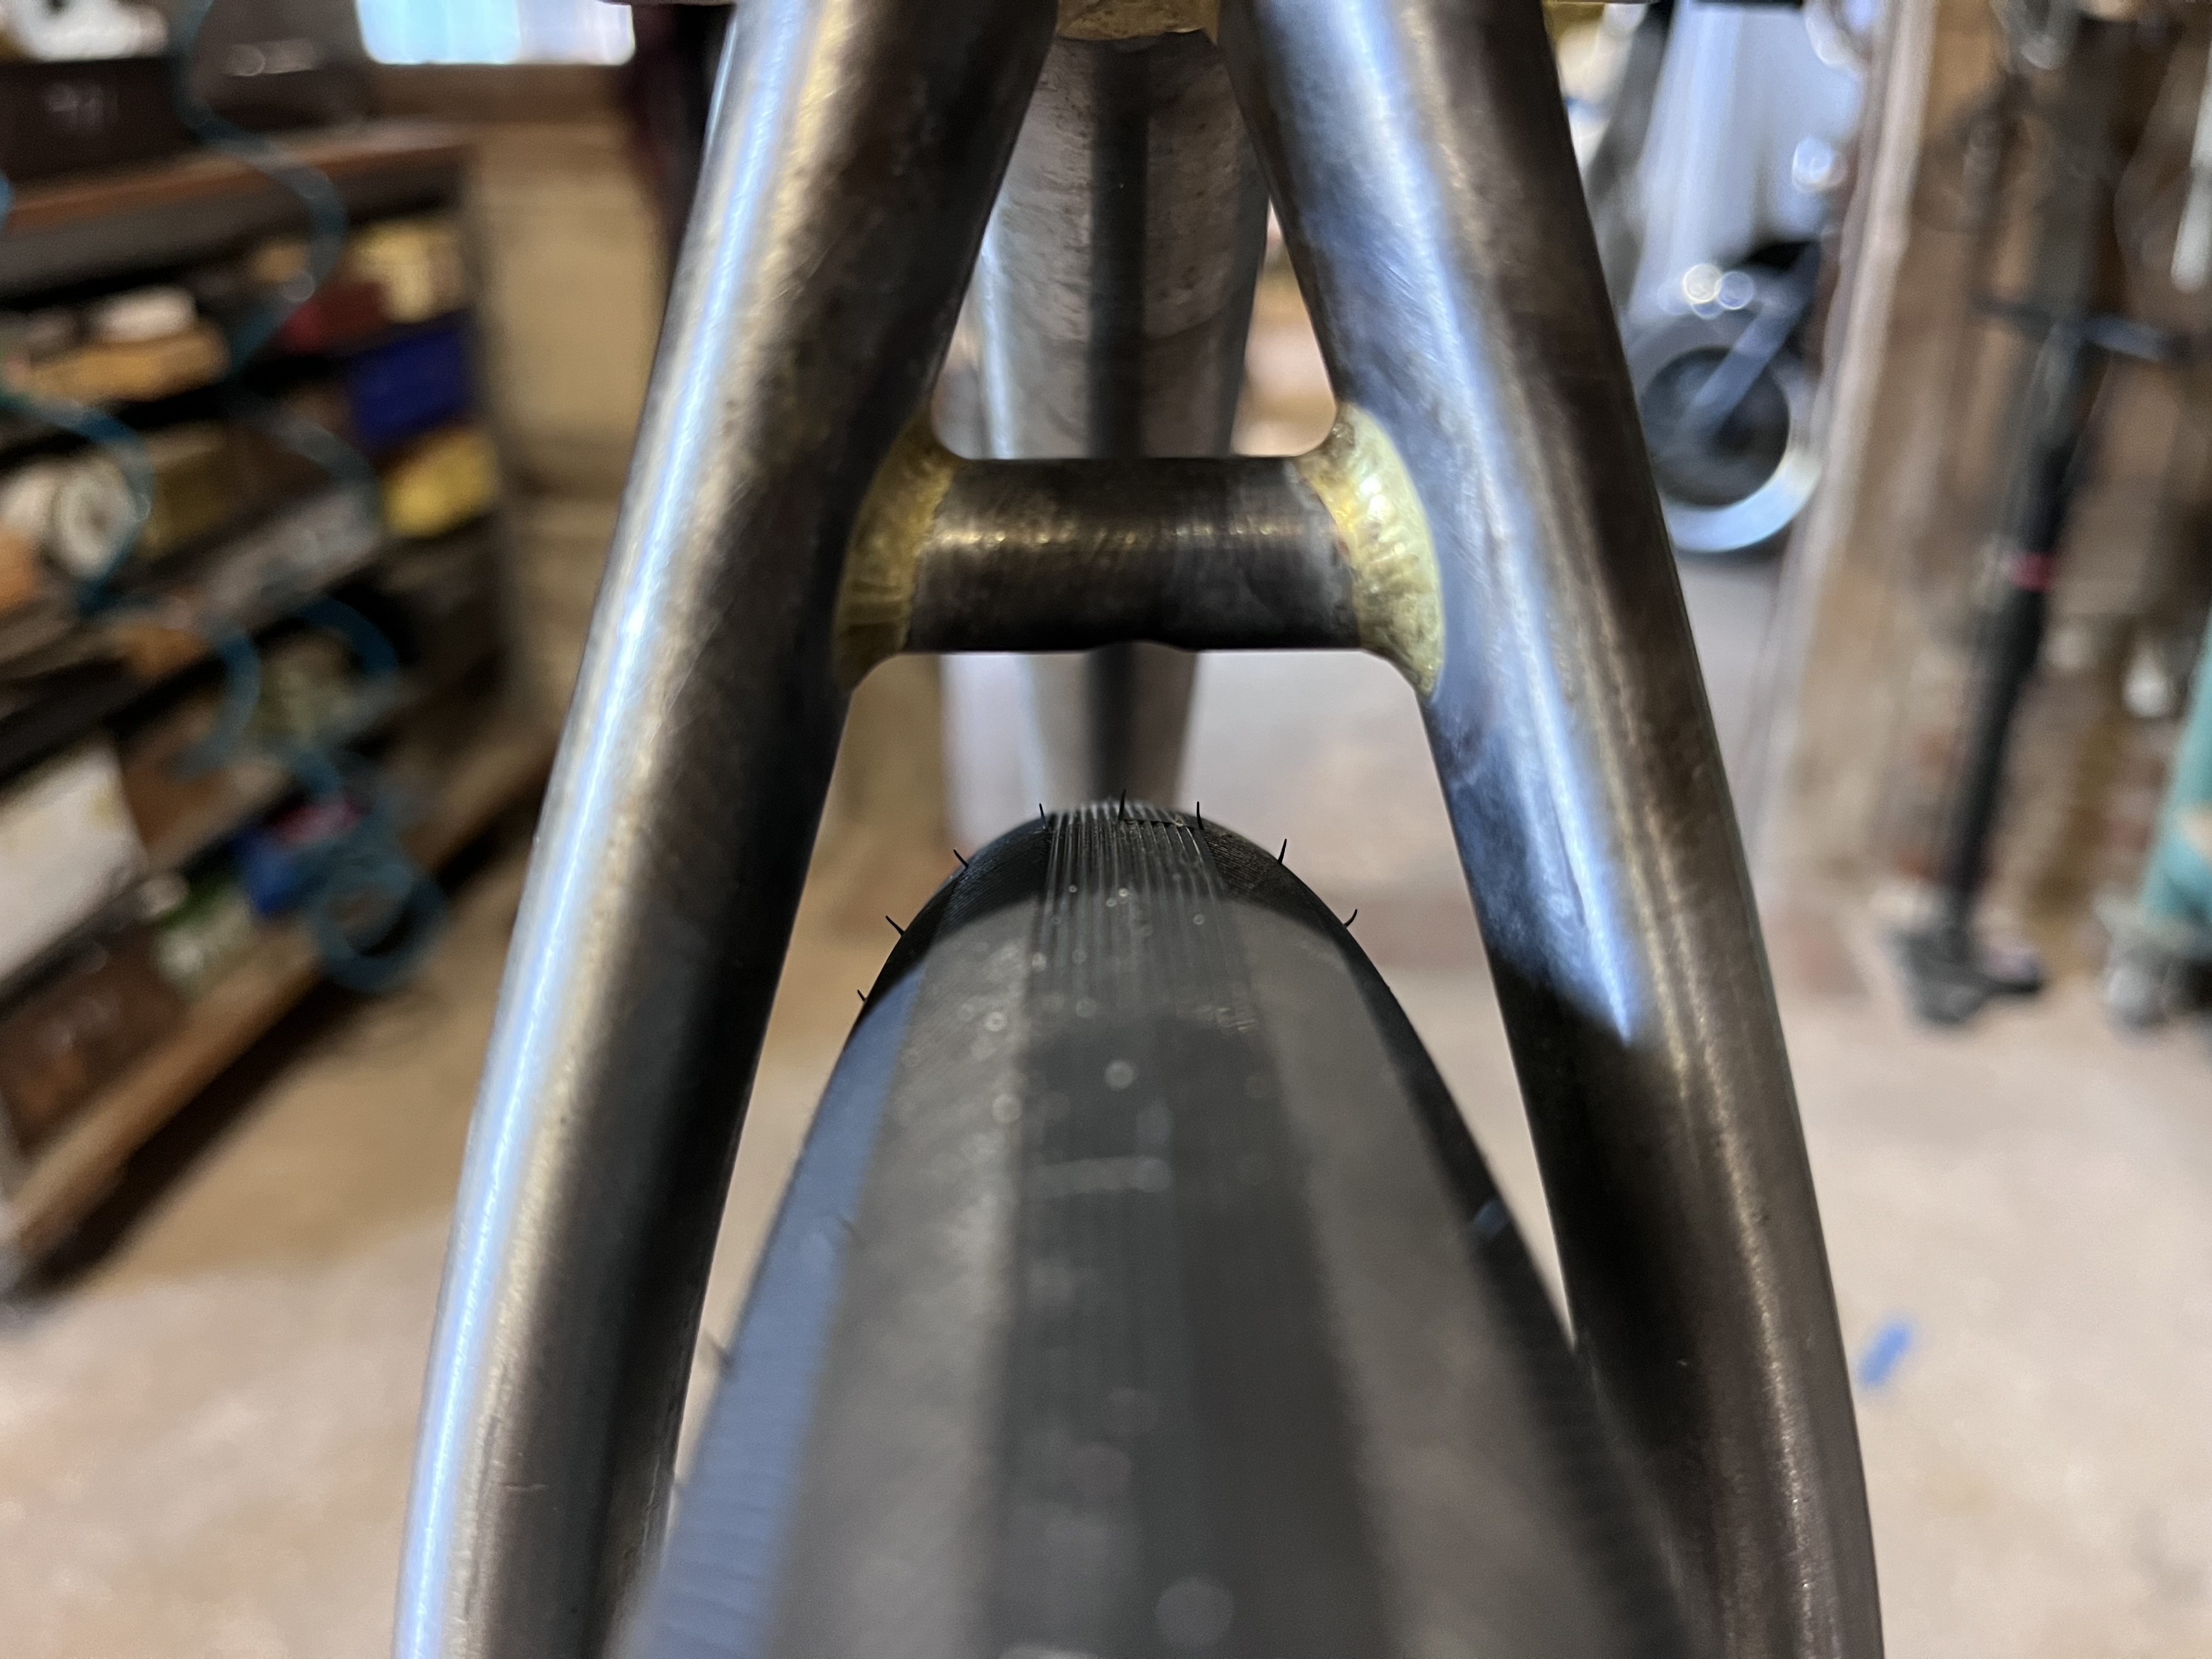
Build a frame without having the wheels. It ended that a 700x38 does not measure 698 but 711 mm here. So my bridges are only 14mm from the tyre at 369mm from the center. I was aiming for 19mm around 18mm from the boss.
I checked from rene herse and simworks. One says that the 700x51 fender should be a 362 one at 365. Berthouds fenders are 370 radius.
Should I stay like this and get the boss fluch to the bridge ?
Maybe I could mitter the bridge of 4mm and braze a bended piece of metal wich would fit the fender radius ?
Or should I remove the bridges and do it again ?
Also I believe I’ll have to crimp the chainstay in place.
Gonna work on something else for now.
Thanks for help !
I would get the fender first and go from there
Always best to have all the parts on hand if you’re doing custom work.
This was the first thing that came to mind when I saw the bridge. Then I saw that you had the same thought.
I’d say this seems to be the cleanest solution.
Tidy brazing btw!
I think I’ll go with pdw fenders ! Then I’d just do custom boss to sit flush the bridge.
Clearance is 5mm between chainstays and tyre so I believe it’s good ? I could go without crimping the chainstays ! Cool !
I measured the tyre width it’s 41mm. Far from 38 huhu.
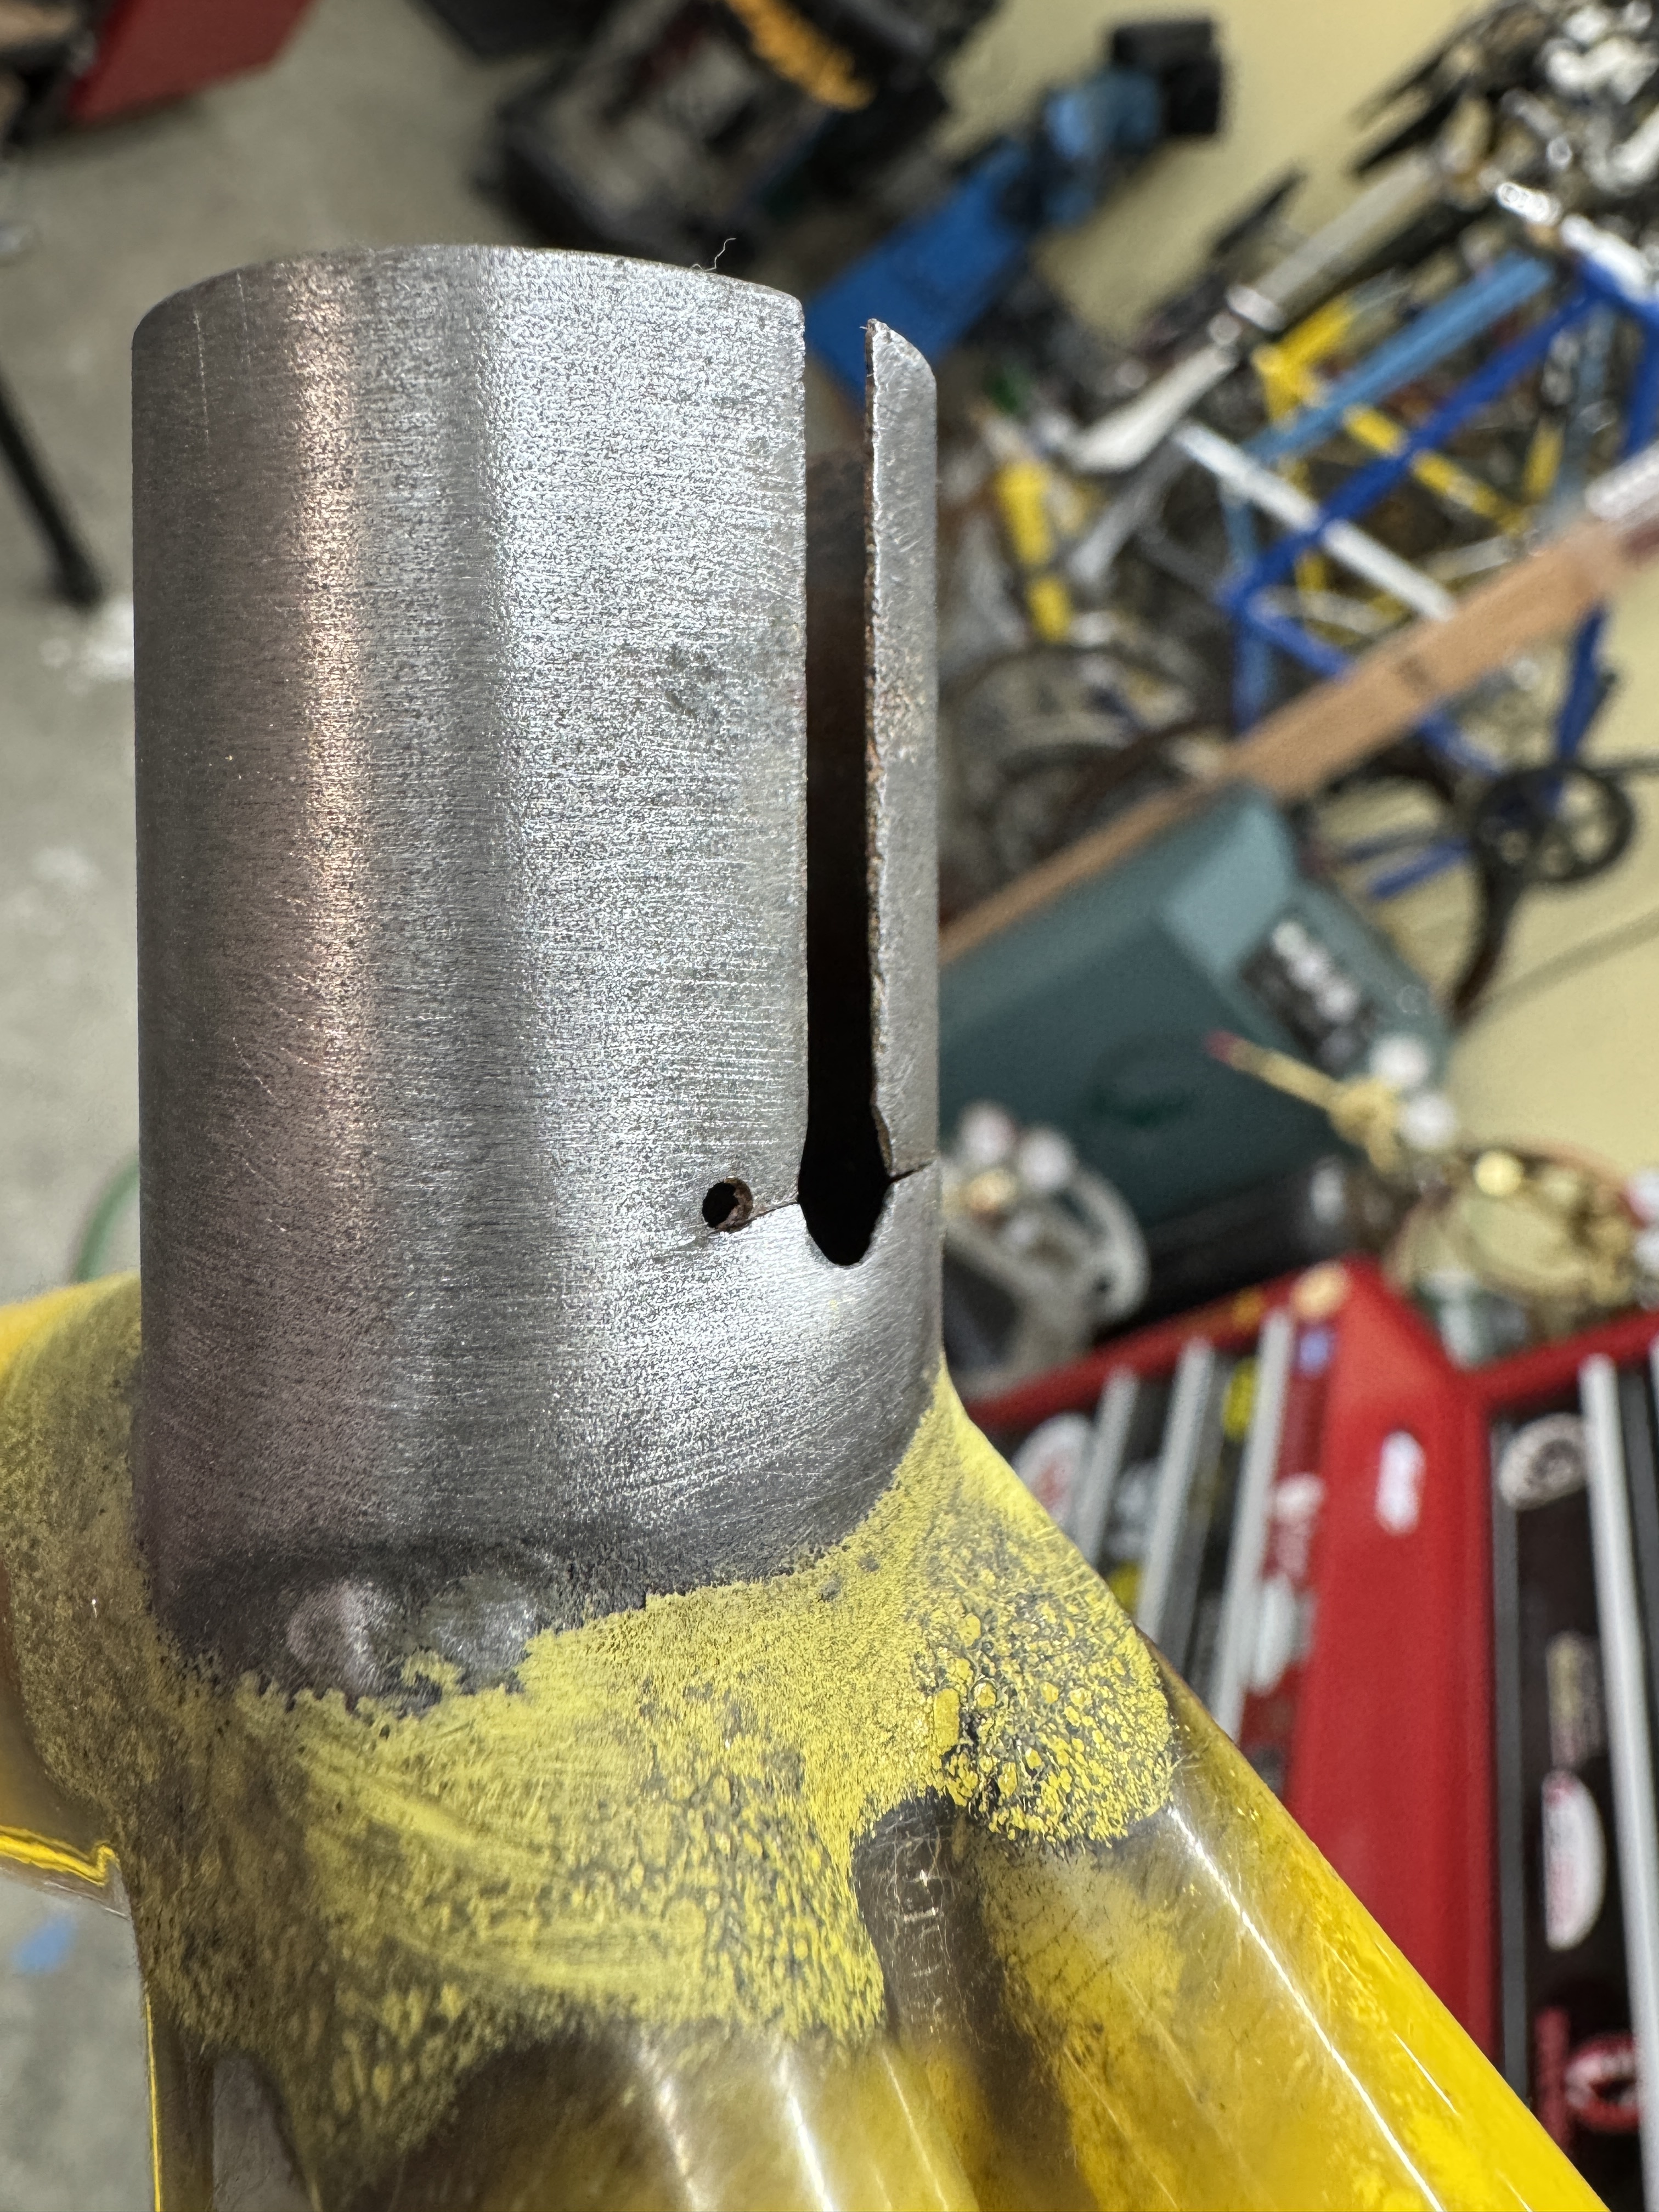
This is not my frame that failed but this is an excellent illustration of why I use an external sleeve on seat tubes at the top tube junction. This was brought to me for repair. After looking at it, it appears the builder used an externally butted seattube but put the externally butted part at the BB end. The wall thickness at the top was 0.5mm. Which would then use a 27.4mm seatpost (it came to me with a 27.2mm post which may have contributed to the failure). I added a turned piece of 4130 that overlapped the 0.5mm original tube and then fillet brazed the whole joint.
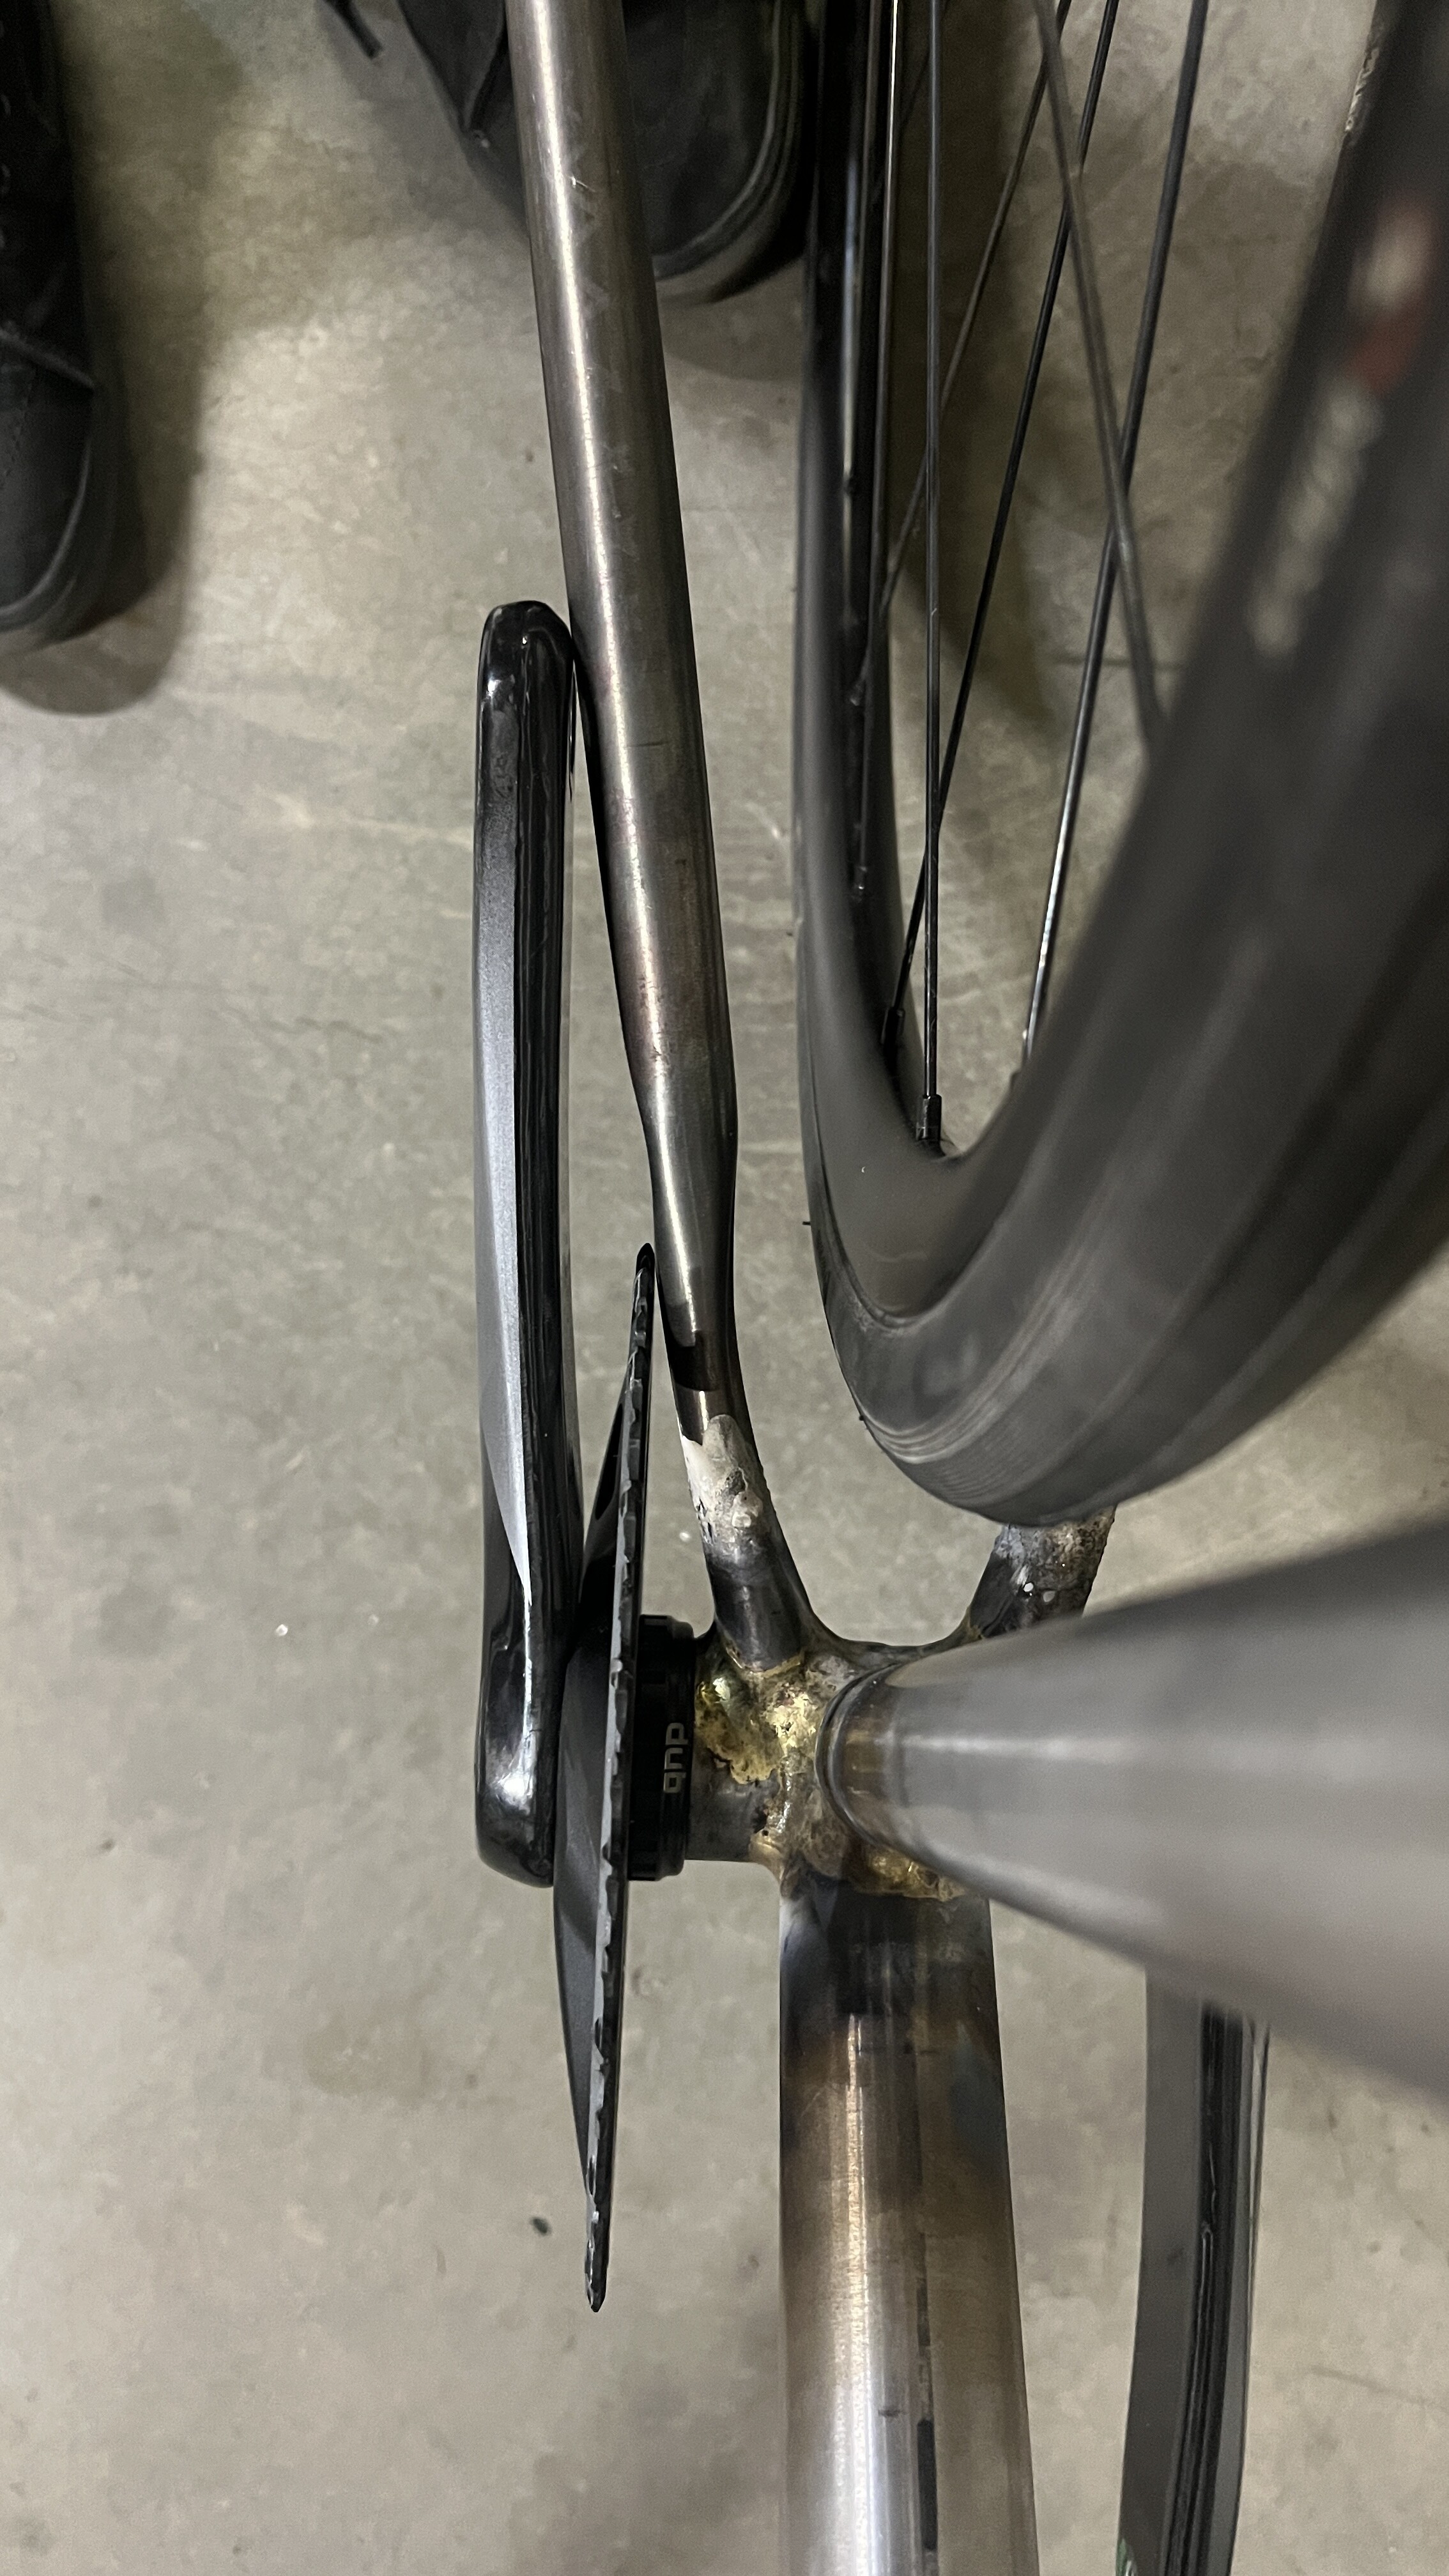
I really hate being in this thread, but alas, I have failed.
In some ways, I’m almost glad (almost, but not quite) because I had already accidentally cut too much material off of these chainstays at the dropout end, so the tire clearance dimples were slightly out of position. That was a small issue I fixed by lengthening the dimples, but this is a larger issue that will require new chainstays. I’ve got some round-oval-round chainstays I’ll try to massage into this design. Hope it works.
That really stinks.
It would drive me crazy but, if it’s for you, I would just add more dimples and get started on the next one. I keep telling myself, the next one will be perfect! 
I have seen worse on production frames that are out there and people apparently just accept it. It will also show you how much dimpling it takes to compromise the tube or ride.
I wish that was an option for this one. The cranks aren’t even tightened down. I’d need 3-4mm of dimples (likely more) for both the chainring and the crank arm. I should have noticed the error earlier, but paper doesn’t always translate to reality.
I don’t think I ever strive for perfect. As a good friend once said, “it’s good enough for who it’s for.”
That’ll be my goal, and I won’t be able to stand looking at this issue without knowing it could have been fixed. It’s all bikes for me anyway. Just gives me something to work on.
Had a very similar fail myself. I was using a road double, which is both quite narrow and large diameter. The situation was even worse than yours is. I did manage to “dimple” everything enough (actually cut chunks out and welded flat pieces in) that everything fit, and it probably would have been fine, but I wasn’t happy with it. So I cut the stays off and redid them.
I was just gifted a frame made by a famous builder (well, tool maker really) and it’s made of really light, shaped tubing. It’s very nicely done. The owner crashed it and the front caliper dented the downtube, after some miles, the DT cracked. Owner gave it to me to fix and do whatever I wanted with it. If i get around to replacing the DT, I’ll donate it to local co-op shop.
Anyway, the rear chainstays are triangle shaped and this is exactly what he did. He cut out the offending protrusions and welded plates over the area.
I know Dave Levy at Ti Cycles does this with his Ti frames instead of dimpling to get more tire clearance. He calls it the ‘potato chip’ technique.
Maybe Dave did the potato chip on one of his own frames from new, but I kinda doubt it, it’s more of a fix for frames that weren’t made right to begin with. If you know you want fatter tires and you haven’t built the frame yet, there are better ways.
But if you have a frame you love except for the tire clearance that the c-stays, then a potato chip repair is excellent.
clamped the guide a bit too hard and the tube got squished when it got hot. I don’t think it’s worth trying to undo, unless anybody has ideas that aren’t invasive.
Agree not necessary to undo. I guess you could hang it from a hook through the guide and heat it up again to see if you can pop it out. But there’s a good chance that would bend the tube which would be a much worse problem.
Been there, done that.
Did something similar on the first 29er I built. Had fashioned a nice decorative brass plate that was to be silvered in between the two bidon bosses on the DT. Put a clamp that was way too strong on the assembly while brazing the plate into place and put a sizeable dent in the tube when it all heated up.
I’ve clocked well over 10.000km on that bike. Everything from XC racing to bikepacking. I’ve also had my fair share of crashes on it. Still going strong.
How did you cut out the old seat tube? Looks like a really clean cut.
That’s a really good question!
I honestly can’t remember exactly how I did it.
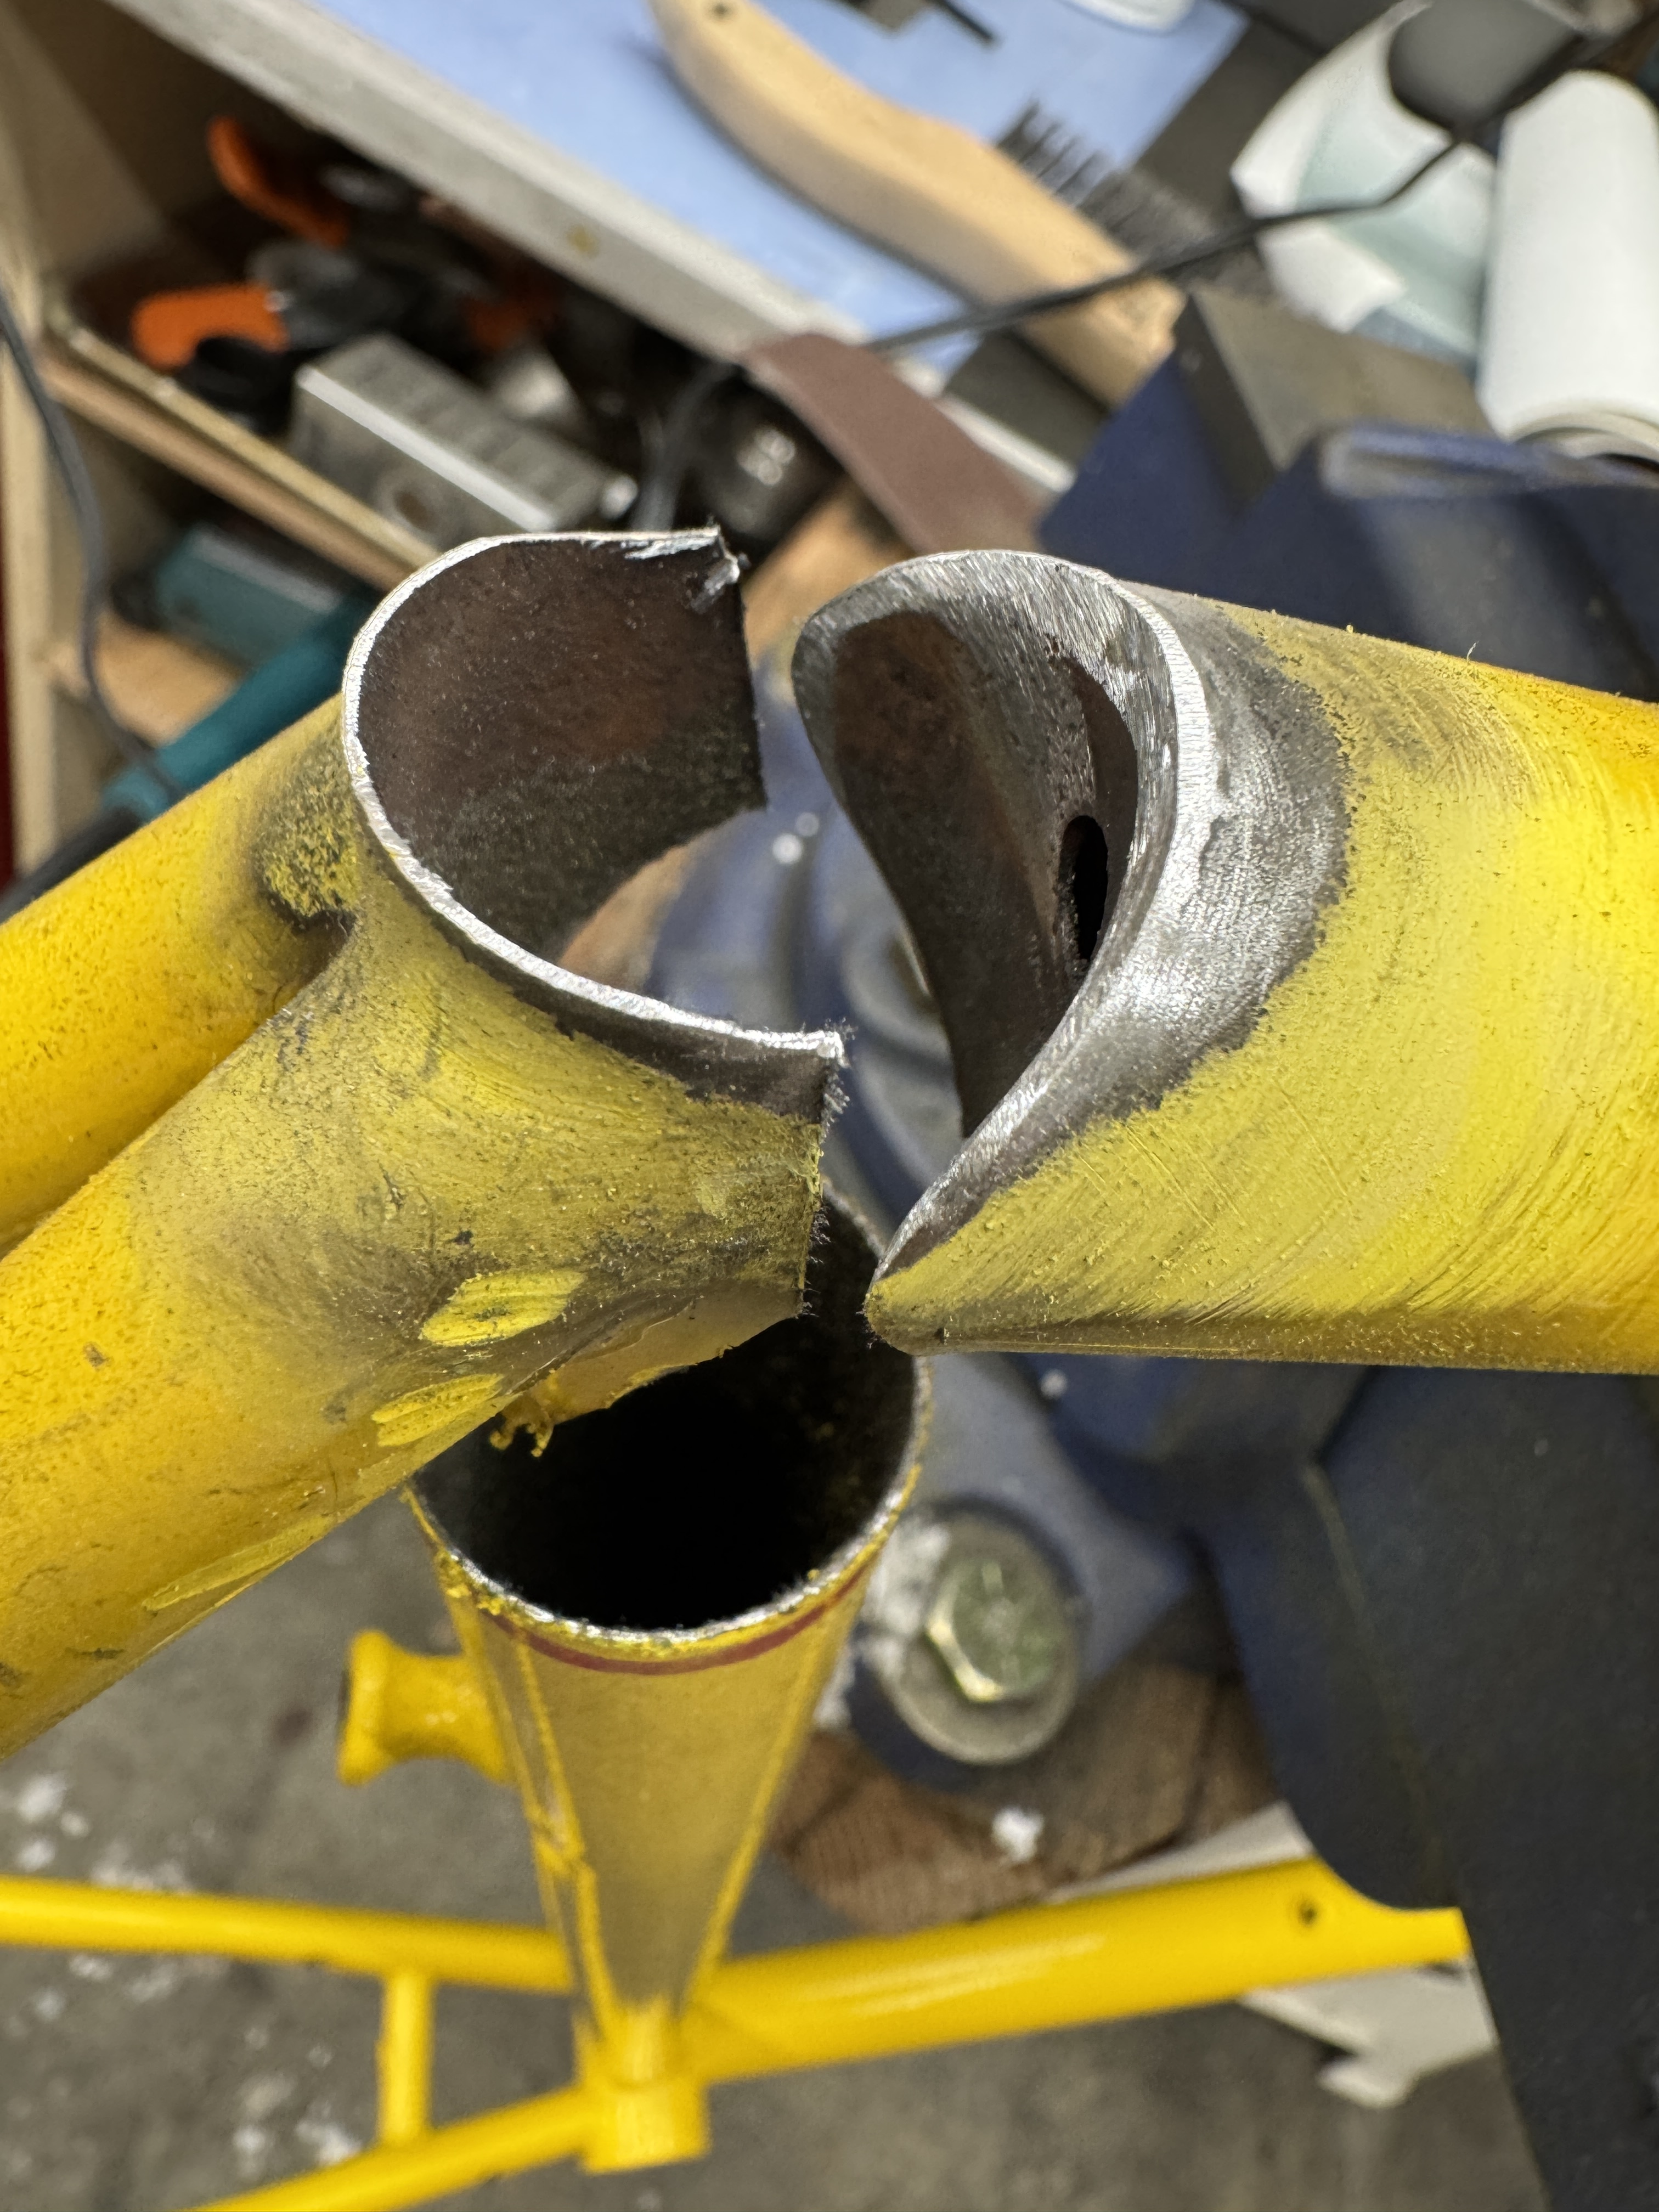
I believe I ended up cutting out a section of the ST so the junction would “float”, so to speak. Then I reckon I split the piece of the ST that was stuck to the top tube and seatstays into three so that they’d all be separate from each other.
After that, there would have been a lot of hand filing to remove the remainig parts of the ST and delete the fillets.
Being that the new sleeve I brazed in had a slightly larger diameter compared to the original ST, I had some room to shave material off the miters to make it all fit back together nicely.
You could just run a mtb crank? At 2.5mm spacers either side the bb shell and a non-boost chainring and you’ll probably be fine? I run this on gravel bikes all the time with a 142mm rear end.
It should be how gravel bikes were designed in the first place, 73mm shell and external bearings give you room for a 2.2-4 inch tire without the need for a yoke (my humble opinion:))