If I don’t want to break out the edge finder on my mill, I’ll use a ruler and a sharp drill bit. You balance the ruler along its center perpendicular to your tube and apply light pressure with the drill bit. When the ruler is level, you’re at the center of the tube. I’ve found this to be accurate within <0.5mm or so. Video explanation here.
That’s rookie talk…
Double down, never admit the mistake and make it part of your signature…
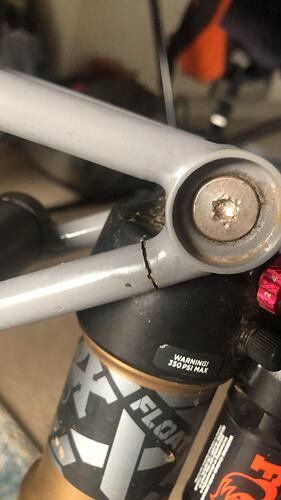
That’s how I am handling my screw…ehm details on the cargo bike… Oh that one? I worked 4h to make it look like that, very proud of how not on-purpose it looks - thank you for noticing!
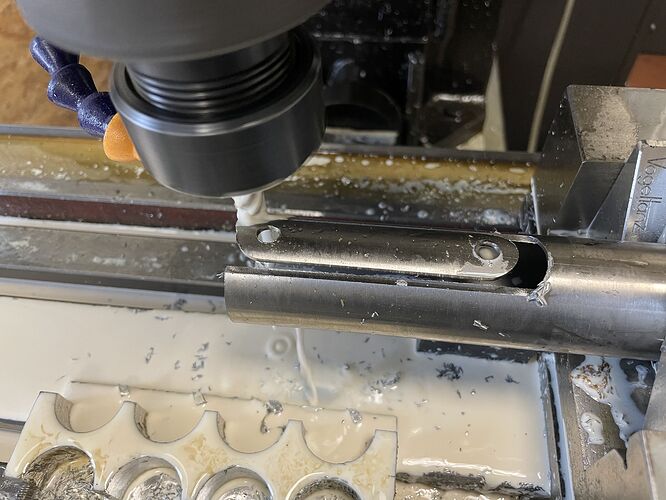
Those are made for use with a drill press and rarely do the lines ever actually line up anywhere near center. If you are going to go through the trouble of using a mill just get yourself an edge finder and count off those thousandths. Get in the habit of stepping back and looking at what you are about to do before you jump in and start cutting, I find that I can catch 99% of my errors by setting up then taking a minute to do something else before coming back and cutting.
It’s the 100mm that catch us here. Not too bad when you cut timber a 100mm too long. Not so good the other way round.
I just got one of these.
Will let you know how well it works soon
I made a couple kitchen knives in the past and learnt that knife makers don’t make mistakes. They only make shorter knifes. I think that also applies to seat tubes…
…and down tubes! ![]()
@Daniel_Y I’ve made pretty nice reinforcements by similar mistake. I wanted to cut them from a tube, but I was sure it will not work - they will fall off and the last few mm of the cut will be damaged. But I’ve somehow managed to make them off center by accident and also - by accident took a holder with another cutter that had different length than I had defined in the program. Result: one side nicely cut, and another had like 0,1mm left holding it altogether. I would have never ever calculated a cut like this if I wanted to.
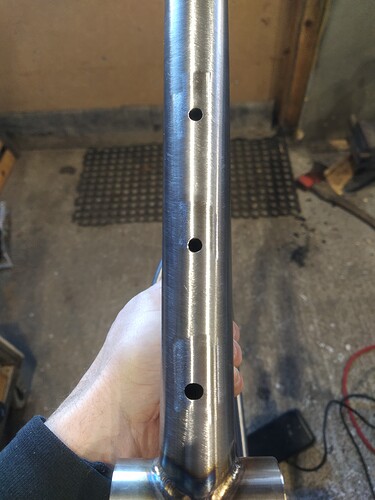
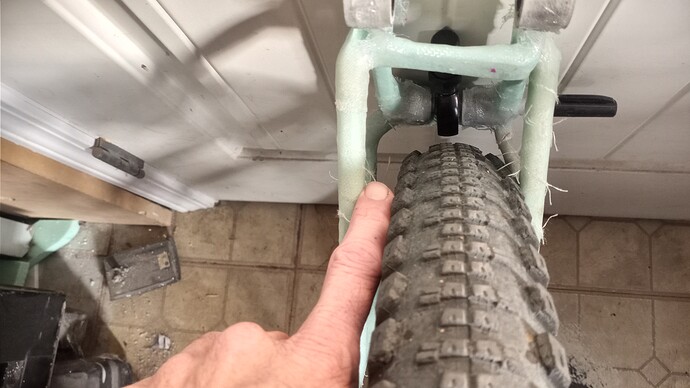
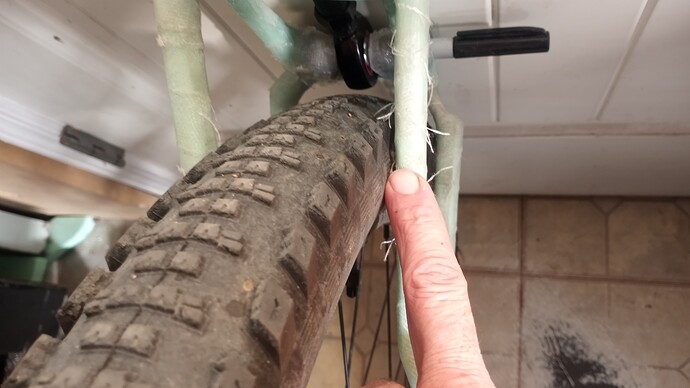
Minor fail I found out today, last hole for a triple mounts went wrong…
I use my main tube mitering fixture to keep everything in phase for mitering, drilling, slotting…but I must have not pay much attention on this one.
The frame is all welded and pretty good so I filed it back to pretty much centerline and will add some reinforcement ring .
Never a dull moment in framebuilding!
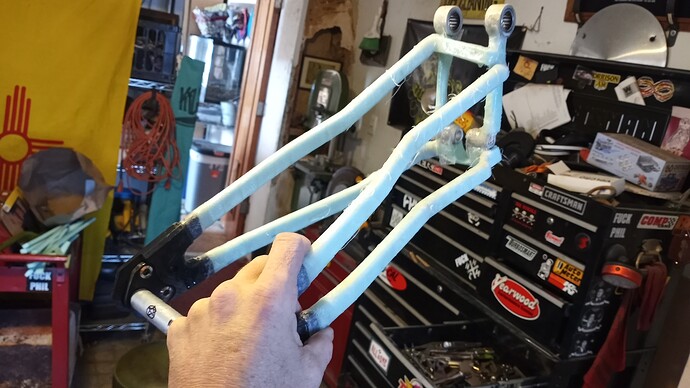
What tube is that? Looks like it’s formed near the BB?
Get a new bushing that fits the sharpie.
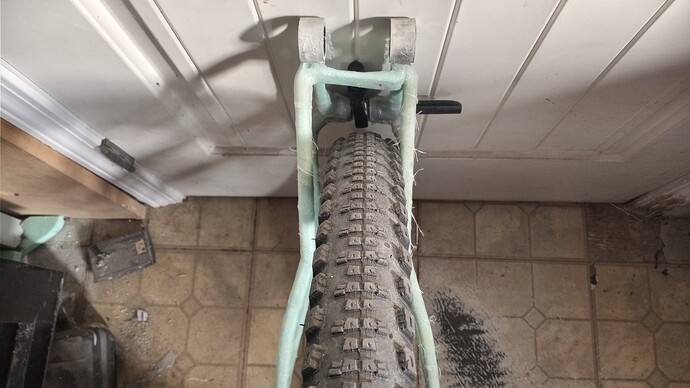
Which? The tire contacting one? It’s the ds seat stay, you’re looking at the top of the rear triangle.
Maybe this helps?
![]()
![]()
Sorry mate, was asking @Flav-CCW
Somehow missed that. Sorry.
Must be from the picture / lightning because we’re looking at some good old plain gauge chromoly here.
Yeah I thought it looked flared at the end too. I think it’s a combination of the light reflecting off your hand, the swirl marks on the tube and the edge of the seatstay (I think) on the right.
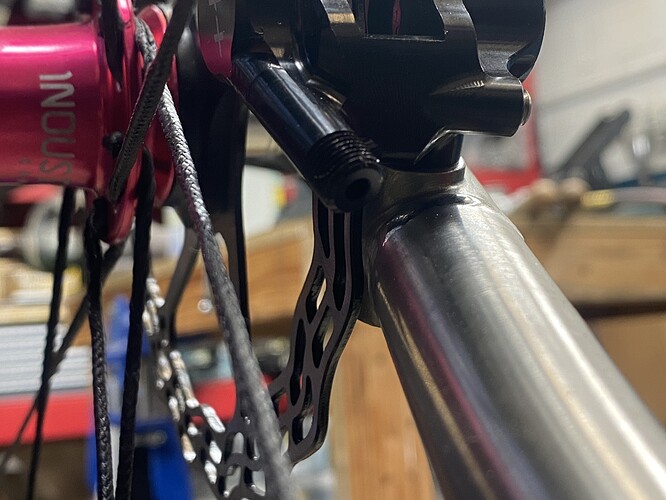
I drew up the rotor in my CAD model wrong and ended up with ~0.5mm clearance for 160mm rotors… guess I gotta go with 140mm ![]()
looks good to me haha. Shimano rotors are a bit thinner. You might be at .7mm clearance!
