Can you share why? It’s not obvious to me. I did the same thing years ago and got a dimple-free bend. Based on your photos I have a hunch that the dies were too short and you were trying to get too much bend angle out of one single squash, rather than creeping up on it with successive dies (yeah obnoxious process but such is life with a 3D printer and without a tube bender), but I’m not sure.
2 Likes
Exactly what you said. I created a bend that was too sharp with not enough steps in between. The first die was 10 degrees and the second was 15. I can’t remember the radius but it was too small. I don’t know if I’ll try this route again but good to know that you’ve had success with it just maybe I need to use smaller steps between dies.
3 Likes
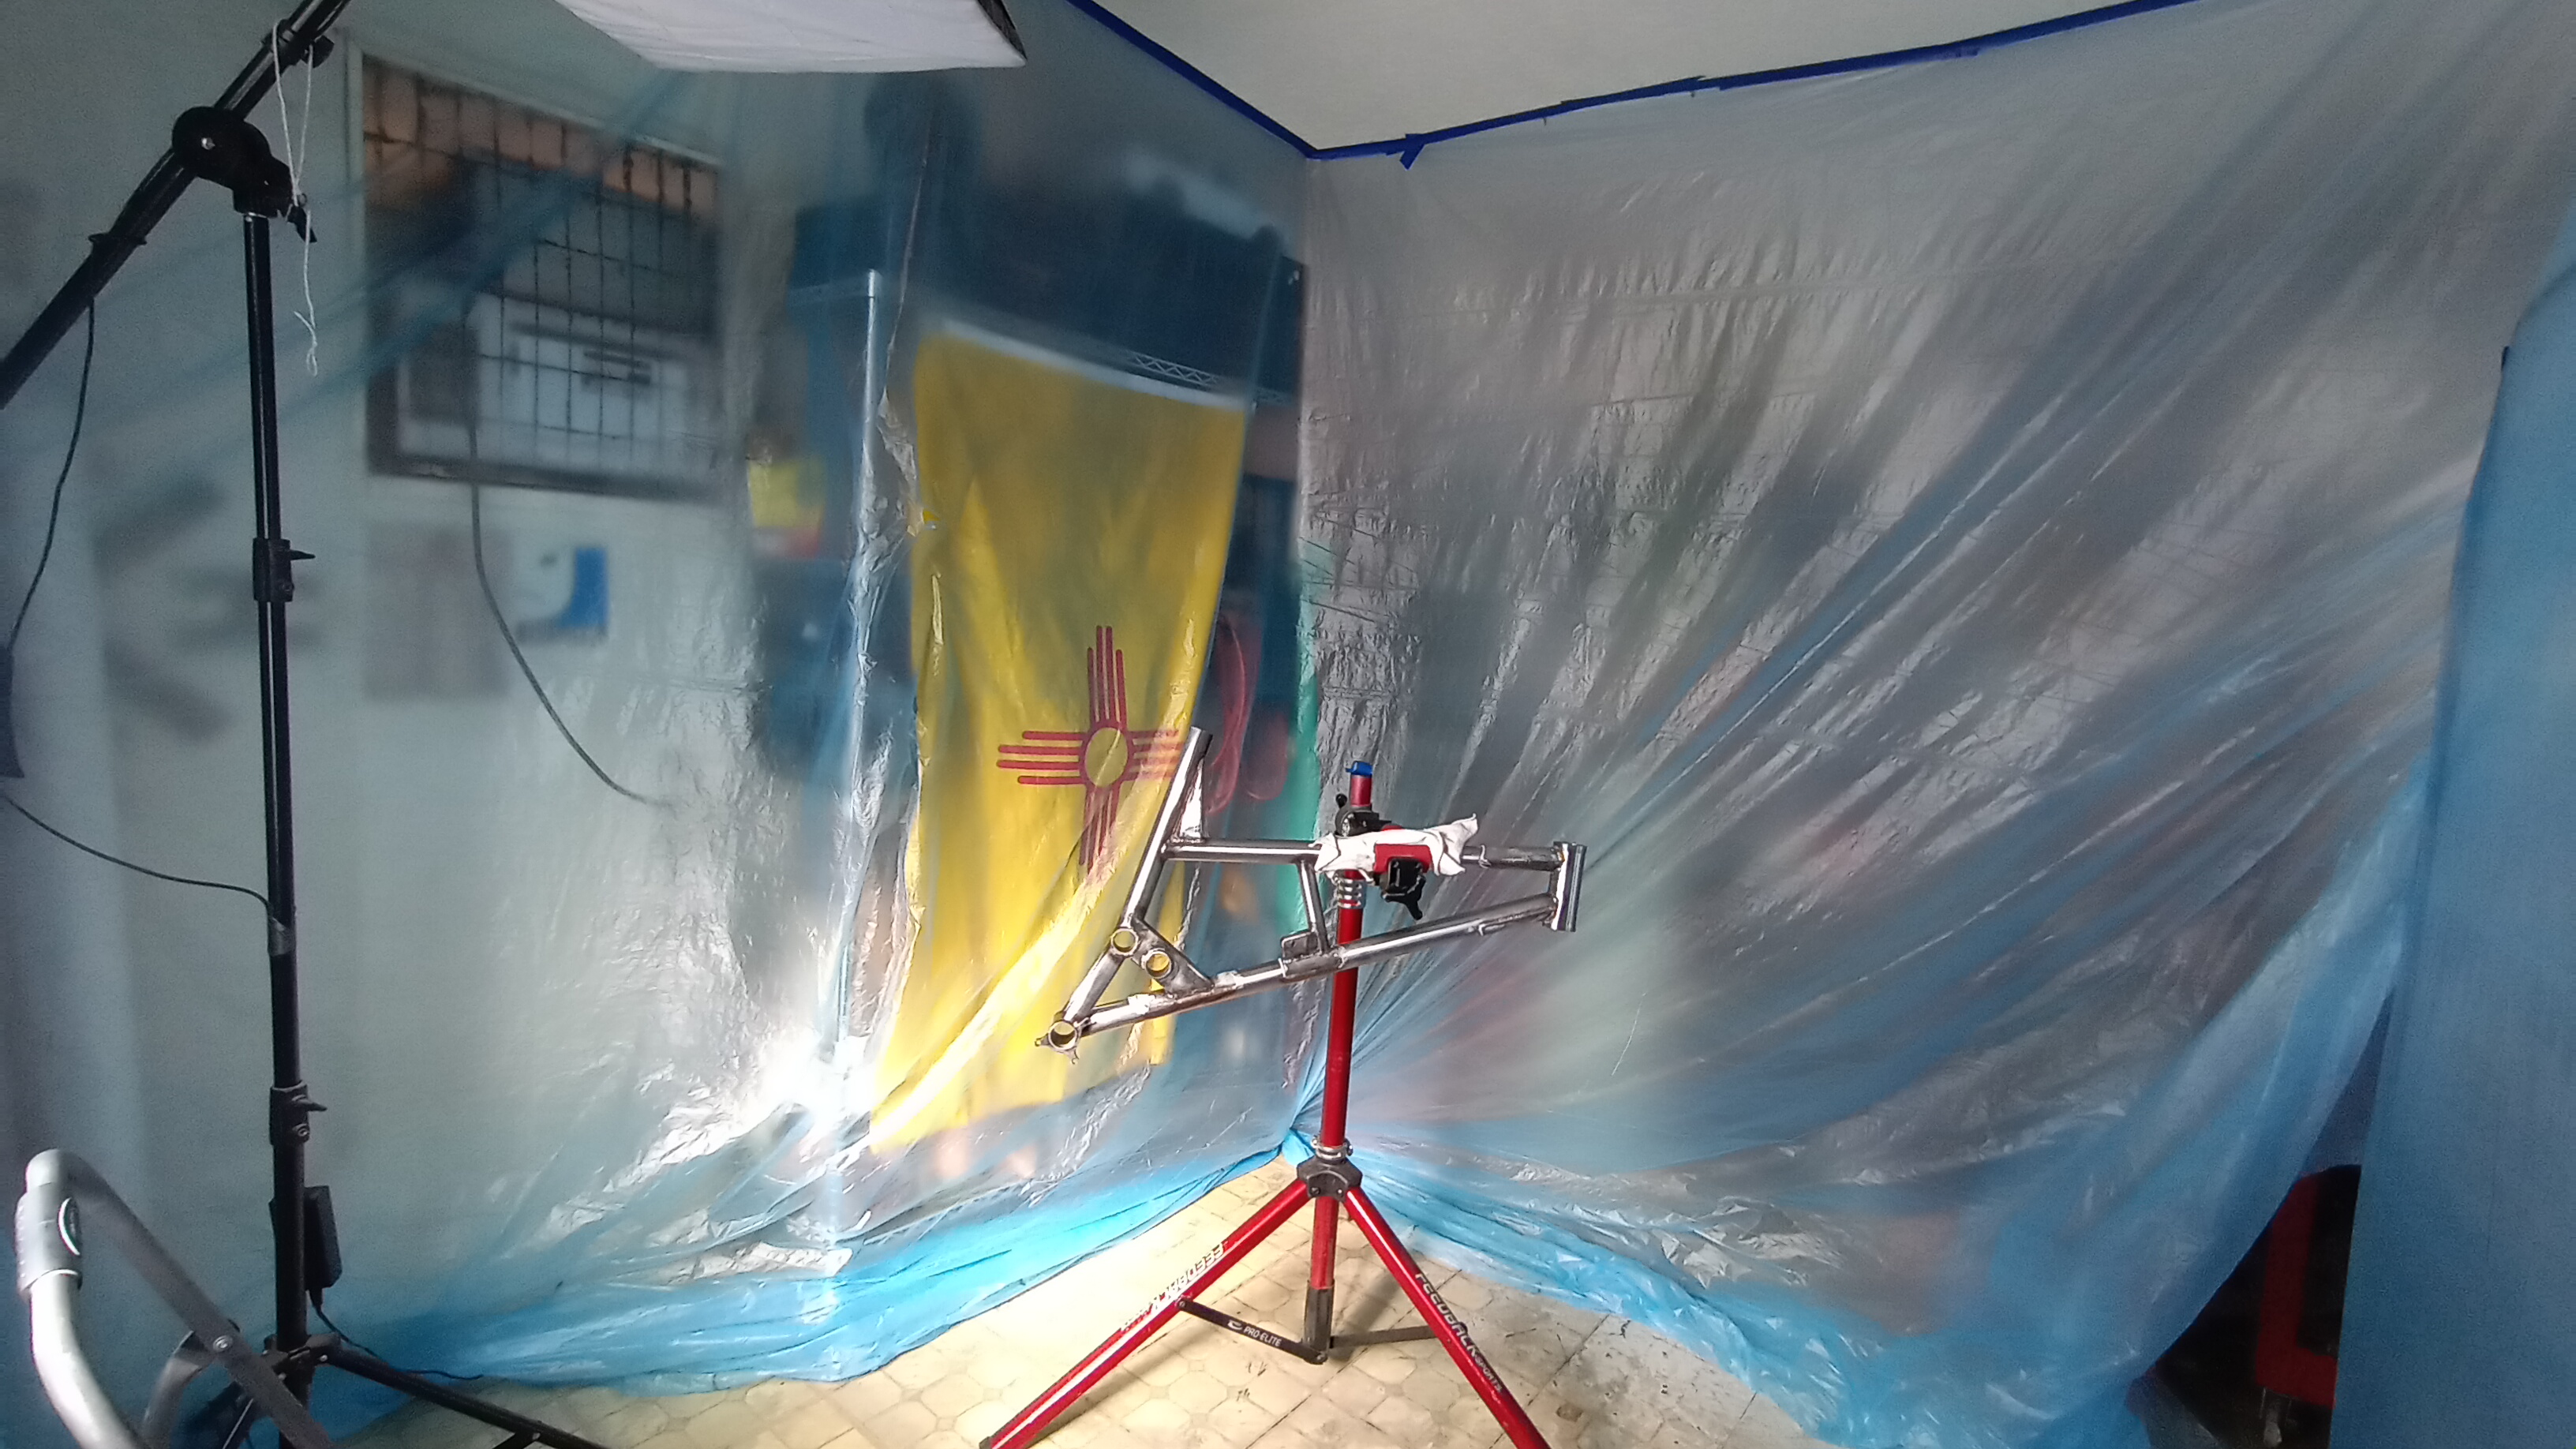
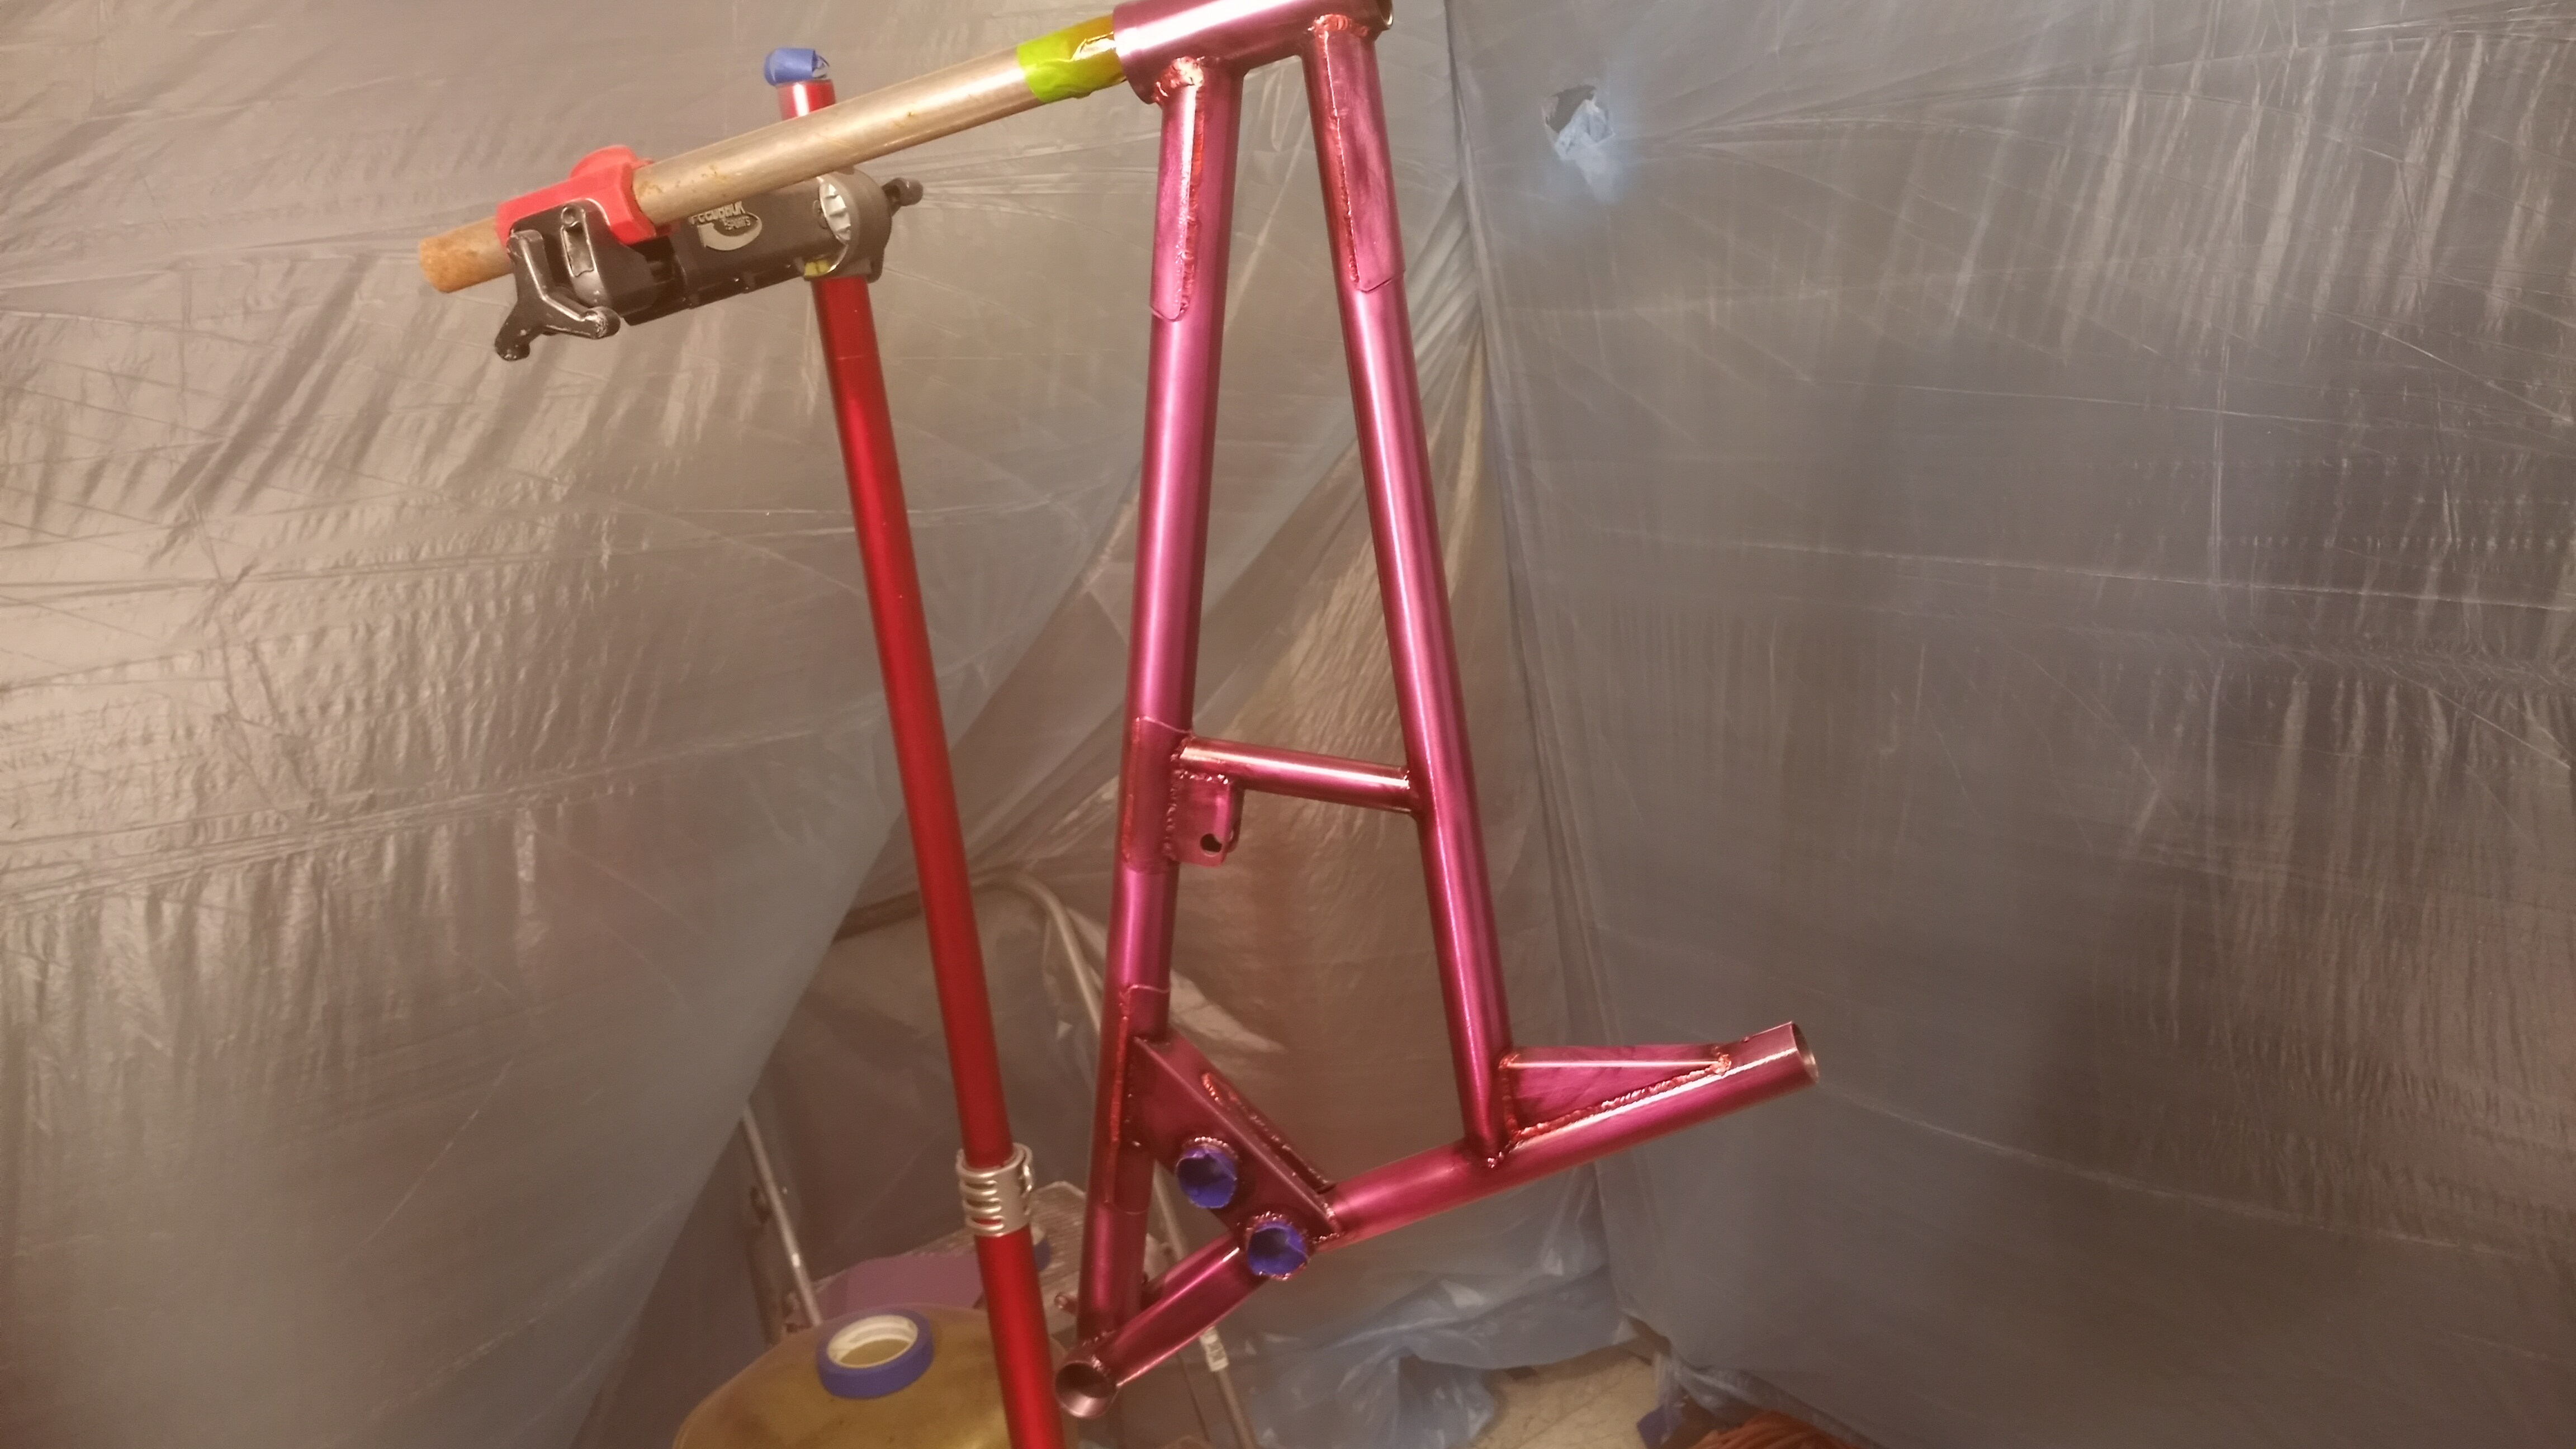
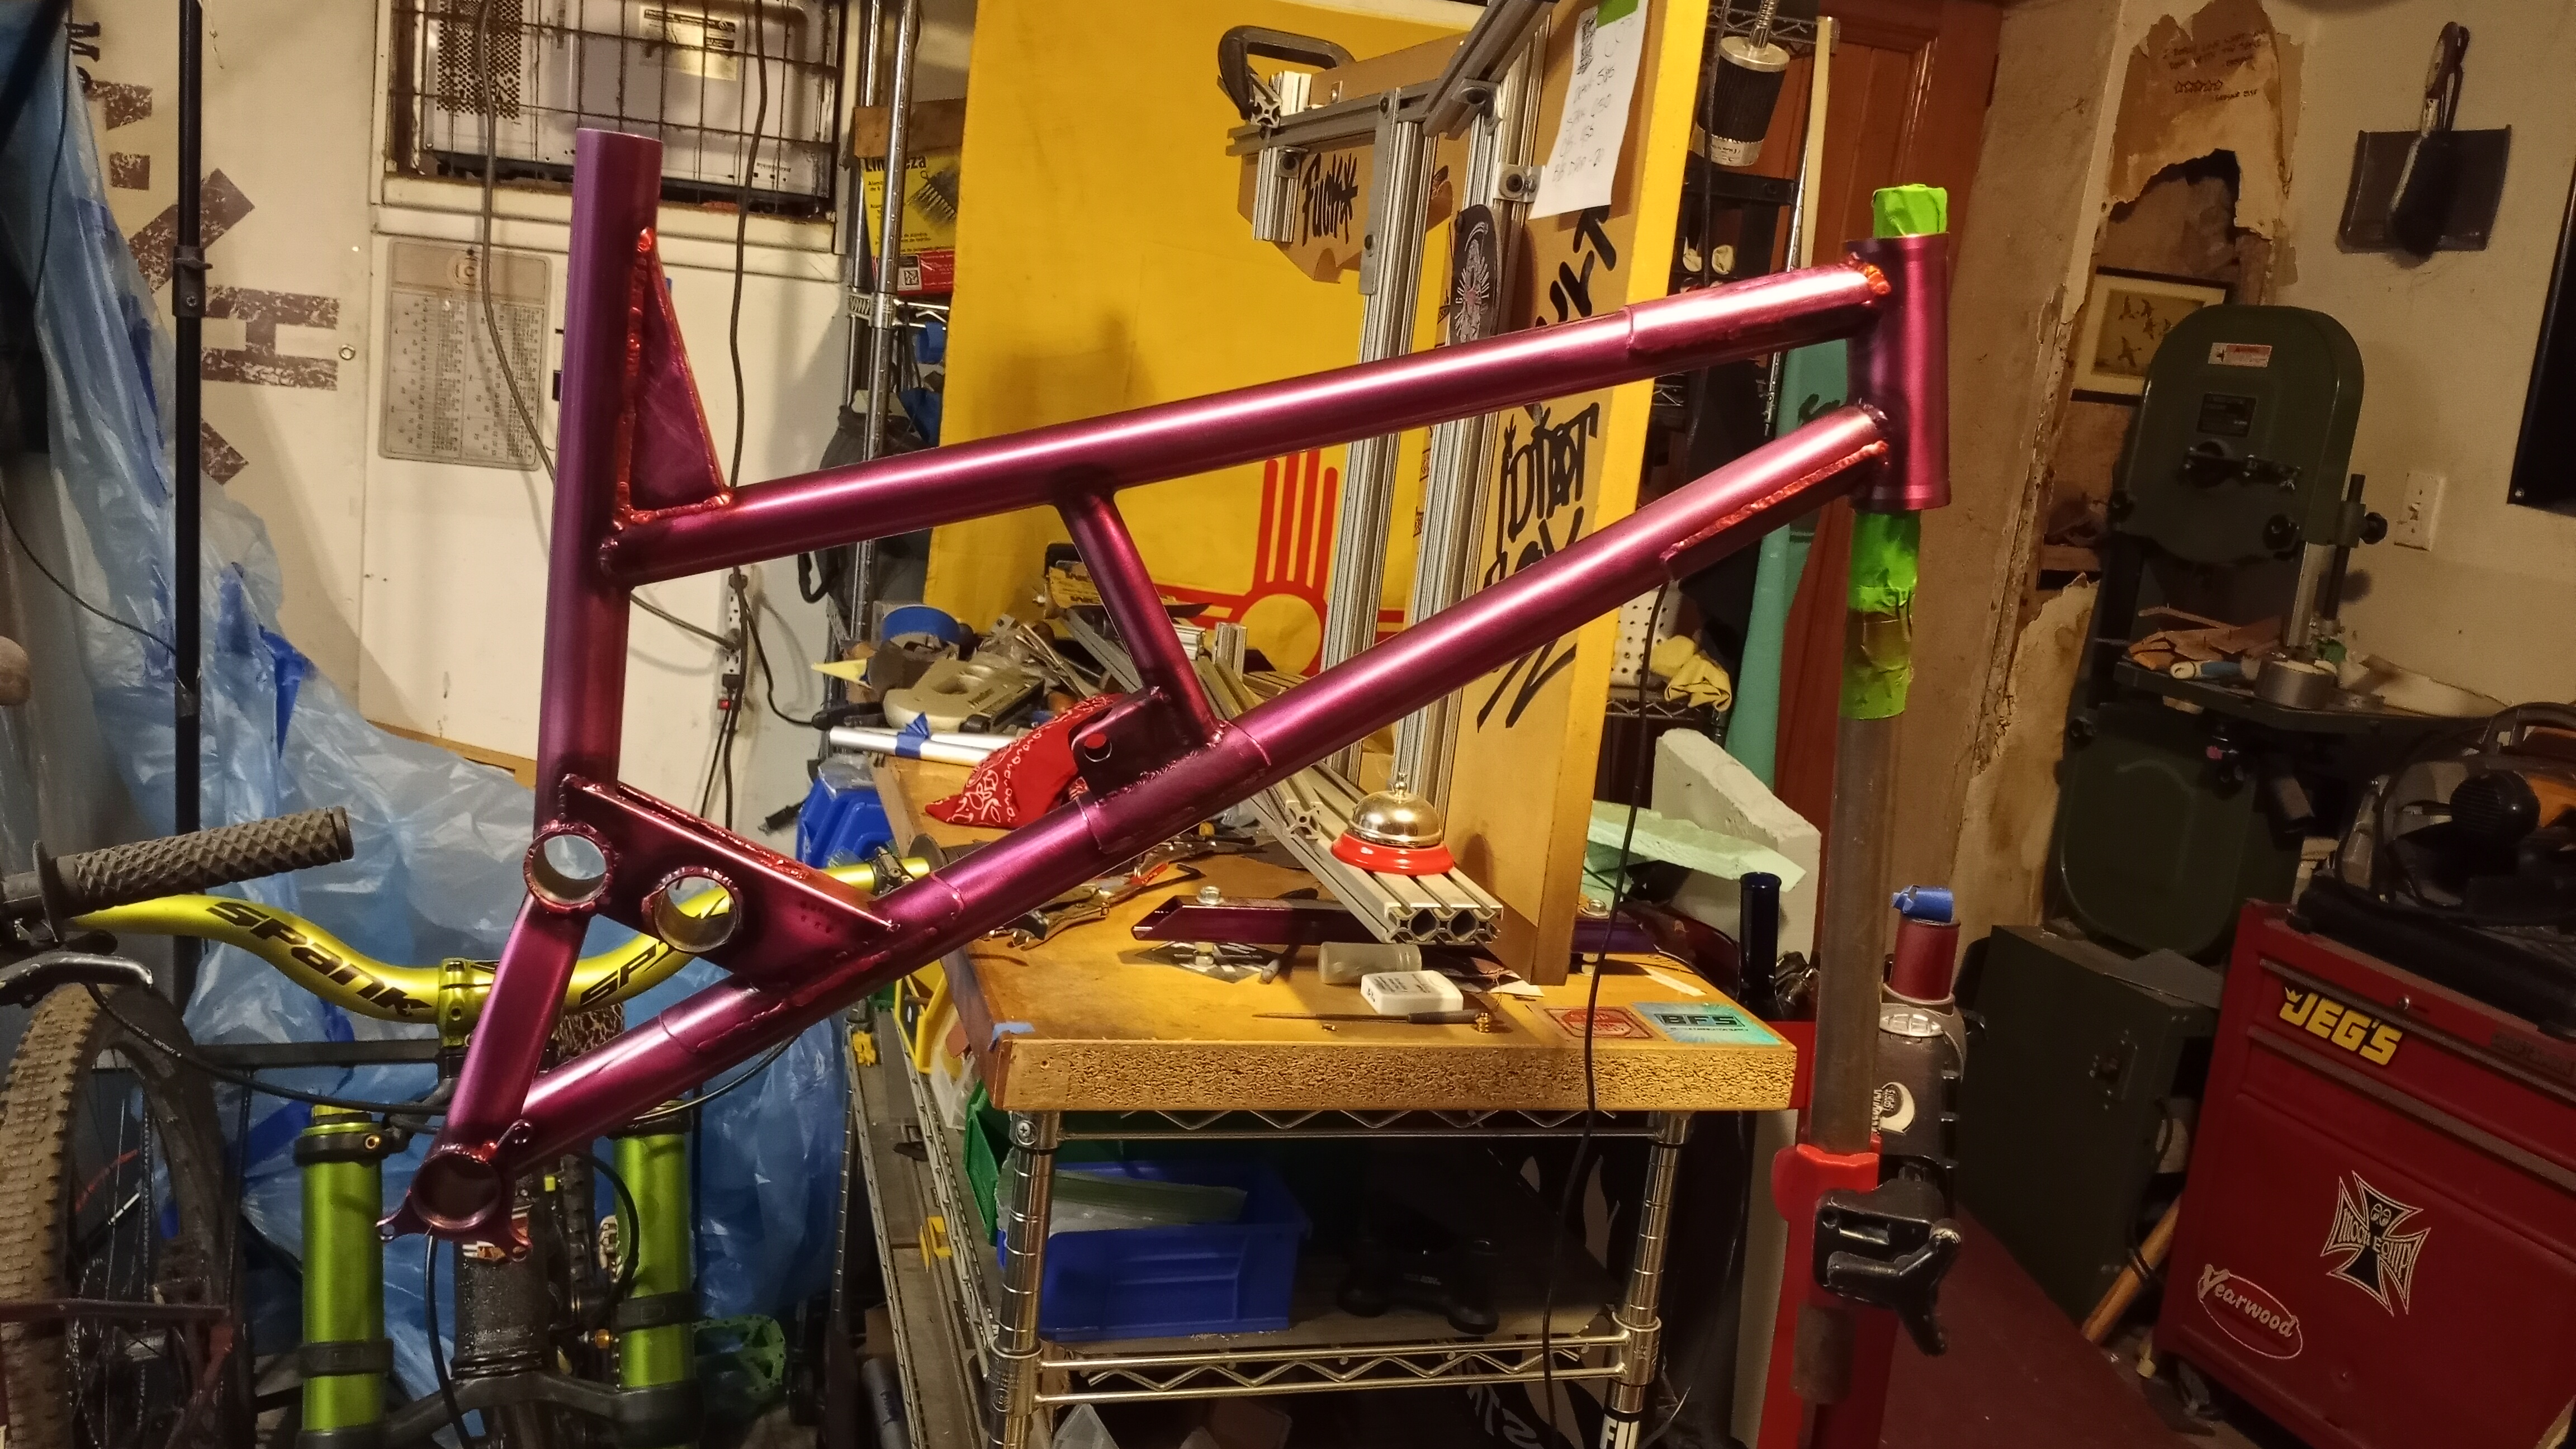
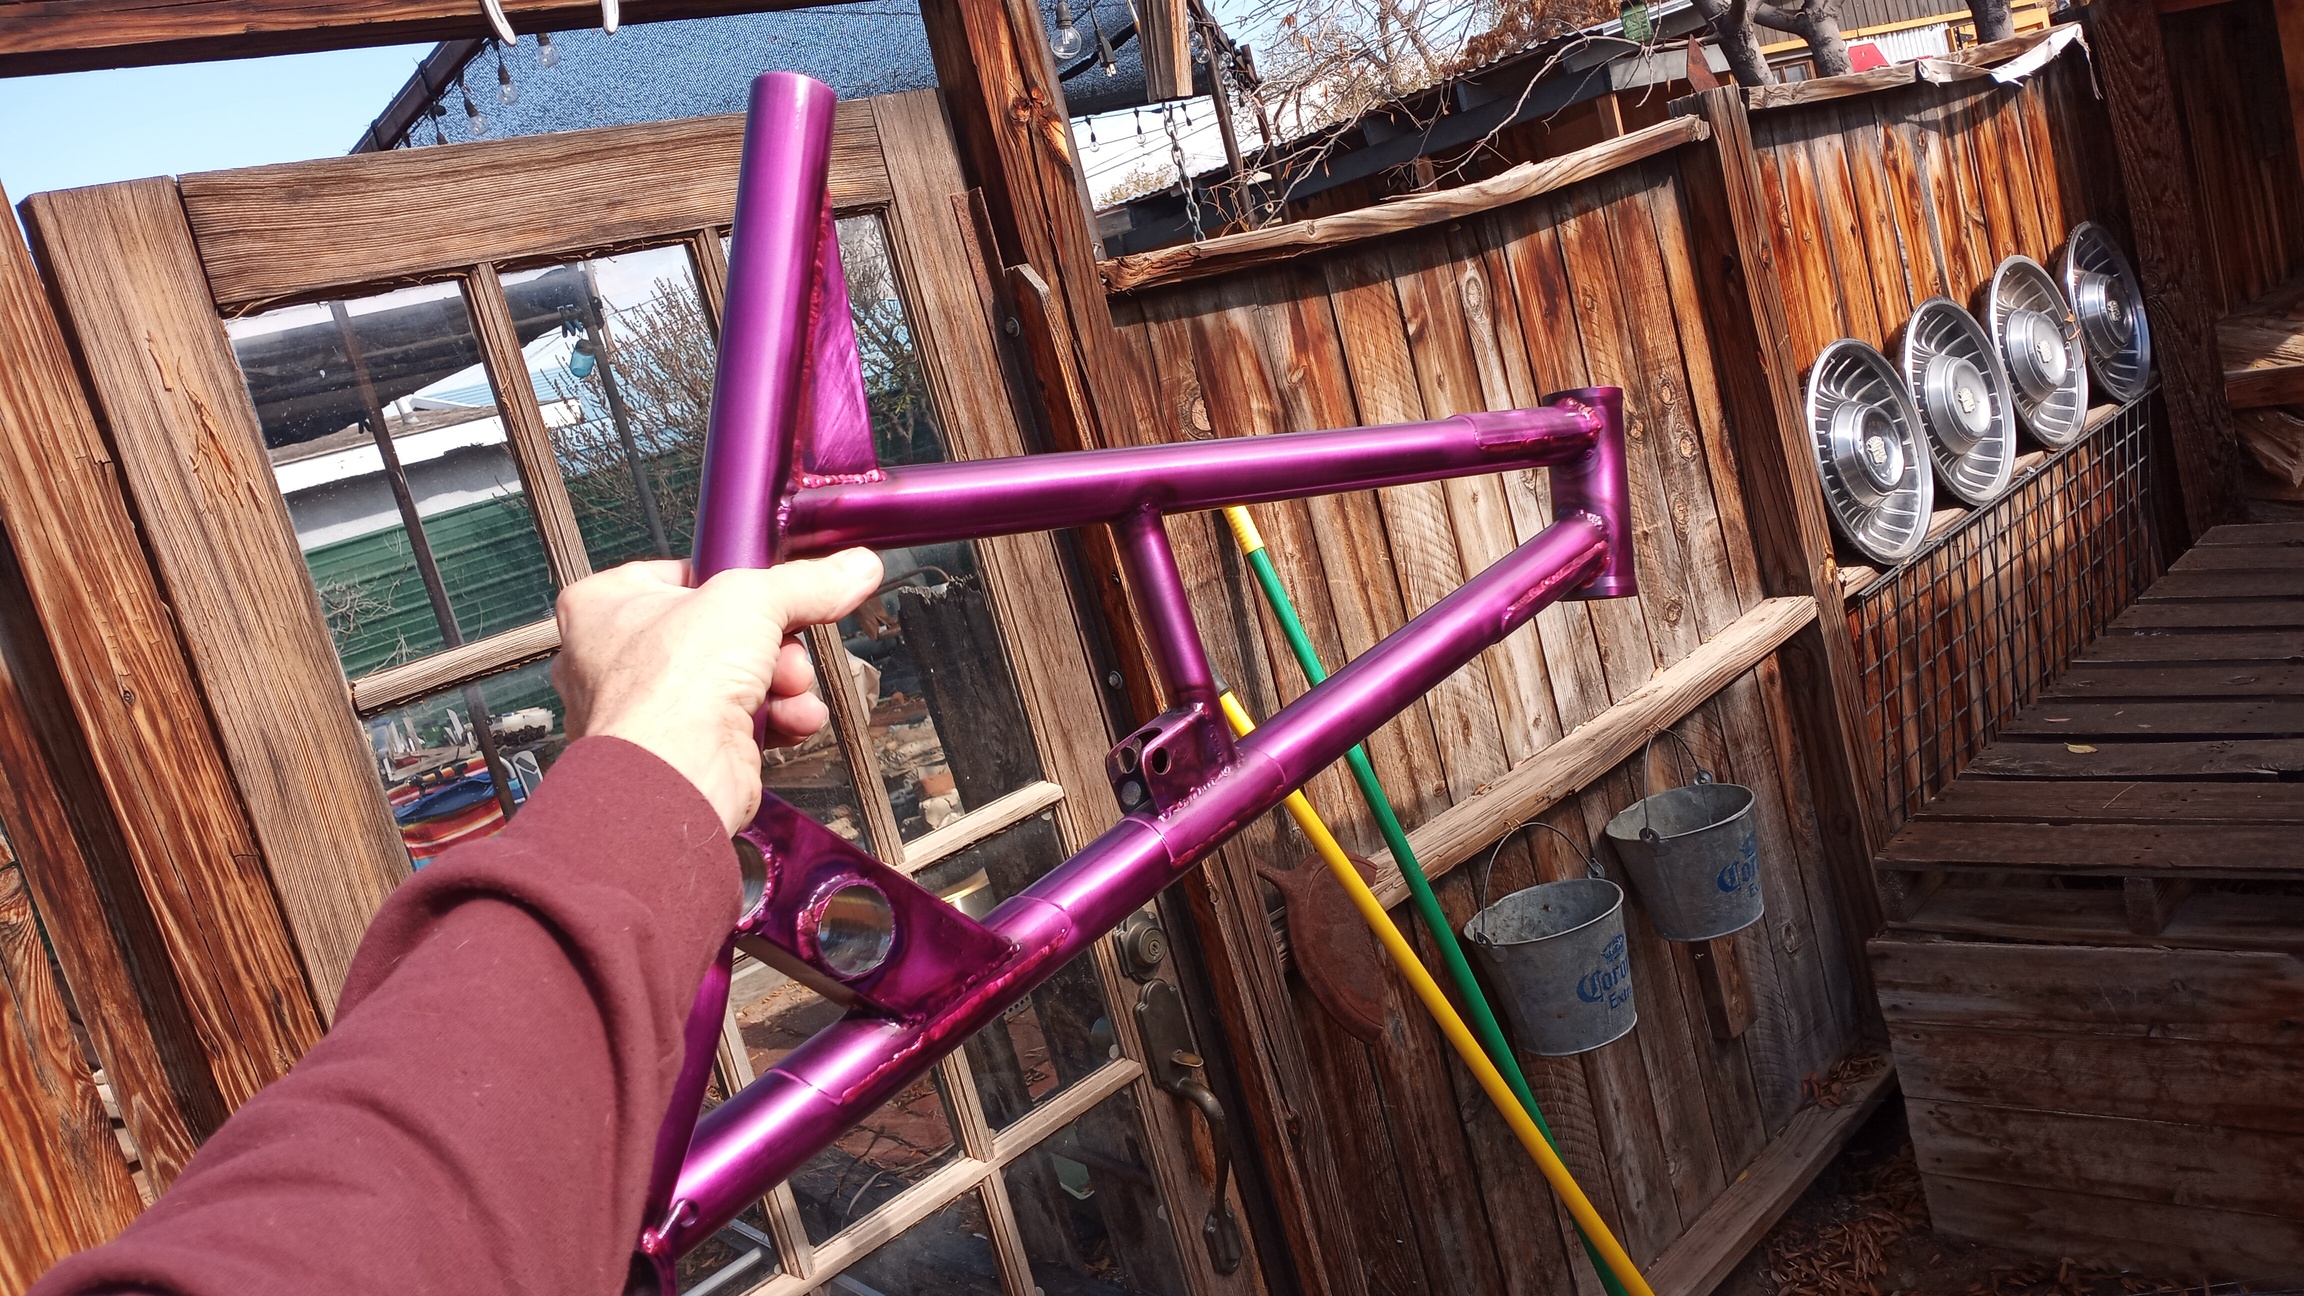
Oh hell yeah. Here’s a good one.
More than $100 in material and probably 15ish hours and I hate the color ![]()
![]()
It’s supposed to be candy pink but it’s just not. It’s this kinda fuchsia, too pink to be purple and too purple to be pink. I hate it. At least I didn’t clear it so It’ll just scrub off with laquer thinner and a scuff pad. Damn it.
6 Likes
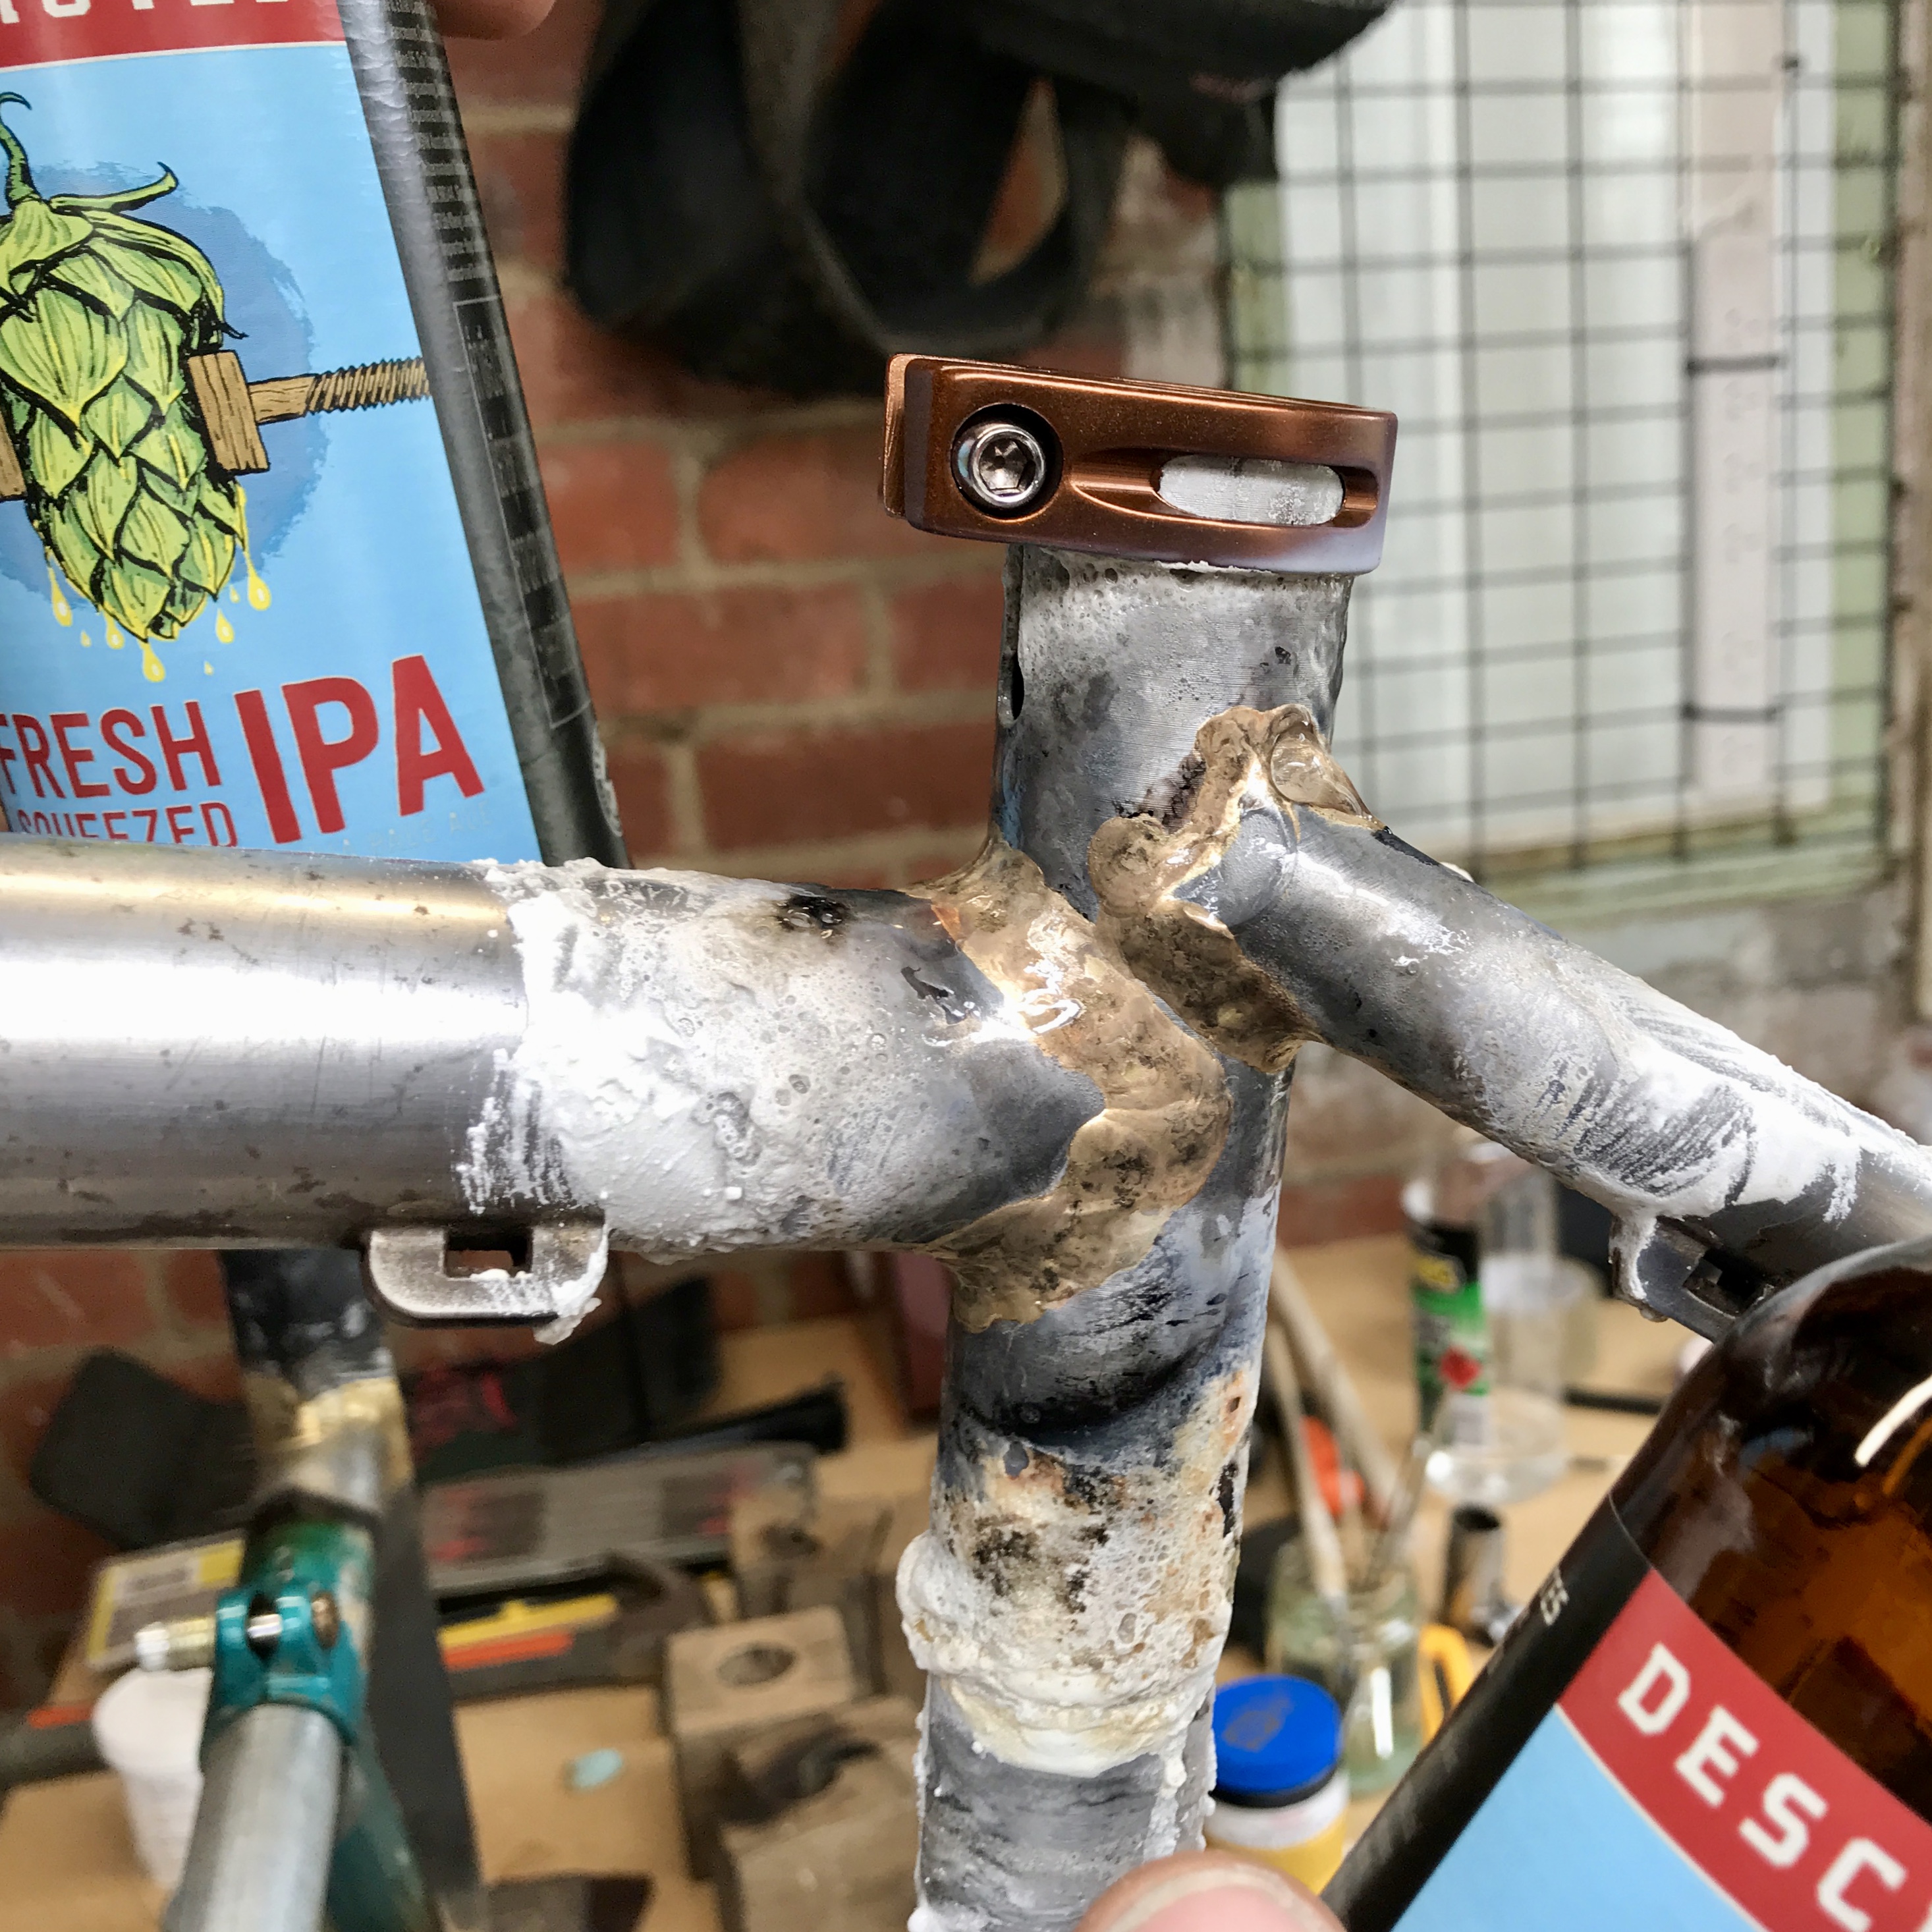
This one is pretty self explanatory
Not an ideal fix, but i think it will work until i get the chance to build a new frame
11 Likes
To be honest that makes me wince. Chop the whole seat stay out and put a new one in with a bend. Far better to have assymetirc stays than that multiple failure points.
5 Likes
damn, that sucks… Creative solution, but mechanically questionable I’d say ![]()
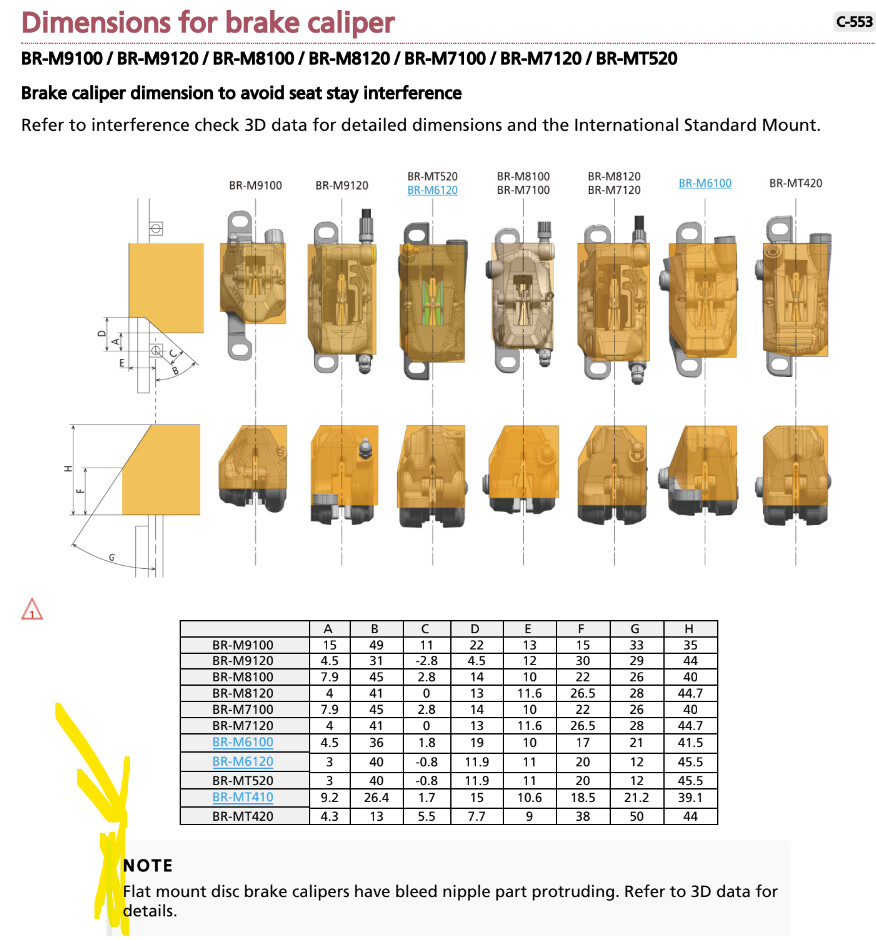
To prevent myself and others from falling into the same trap, does anyone have rough CAD models of shimano/magura/sram/avid… brake calipers that they can share?
the Shimano technical information just points to “3D data” which is not available to us mere mortals I guess…
3 Likes
Somebody has been kind enough to model a compete Rival groupset: https://grabcad.com/library/sram-rival-xplr-etap-axs-groupset-1
Dimensions seem to be pretty OK.
Page 86 of the SRAM road frame fit specifications has an envelope drawn out: https://www.sram.com/globalassets/document-hierarchy/frame-fit-specifications/road/2023-road-frame-fit-specifications-rev-c.pdf
If only Shimano was as nice as Sram to us framebuilders…
4 Likes
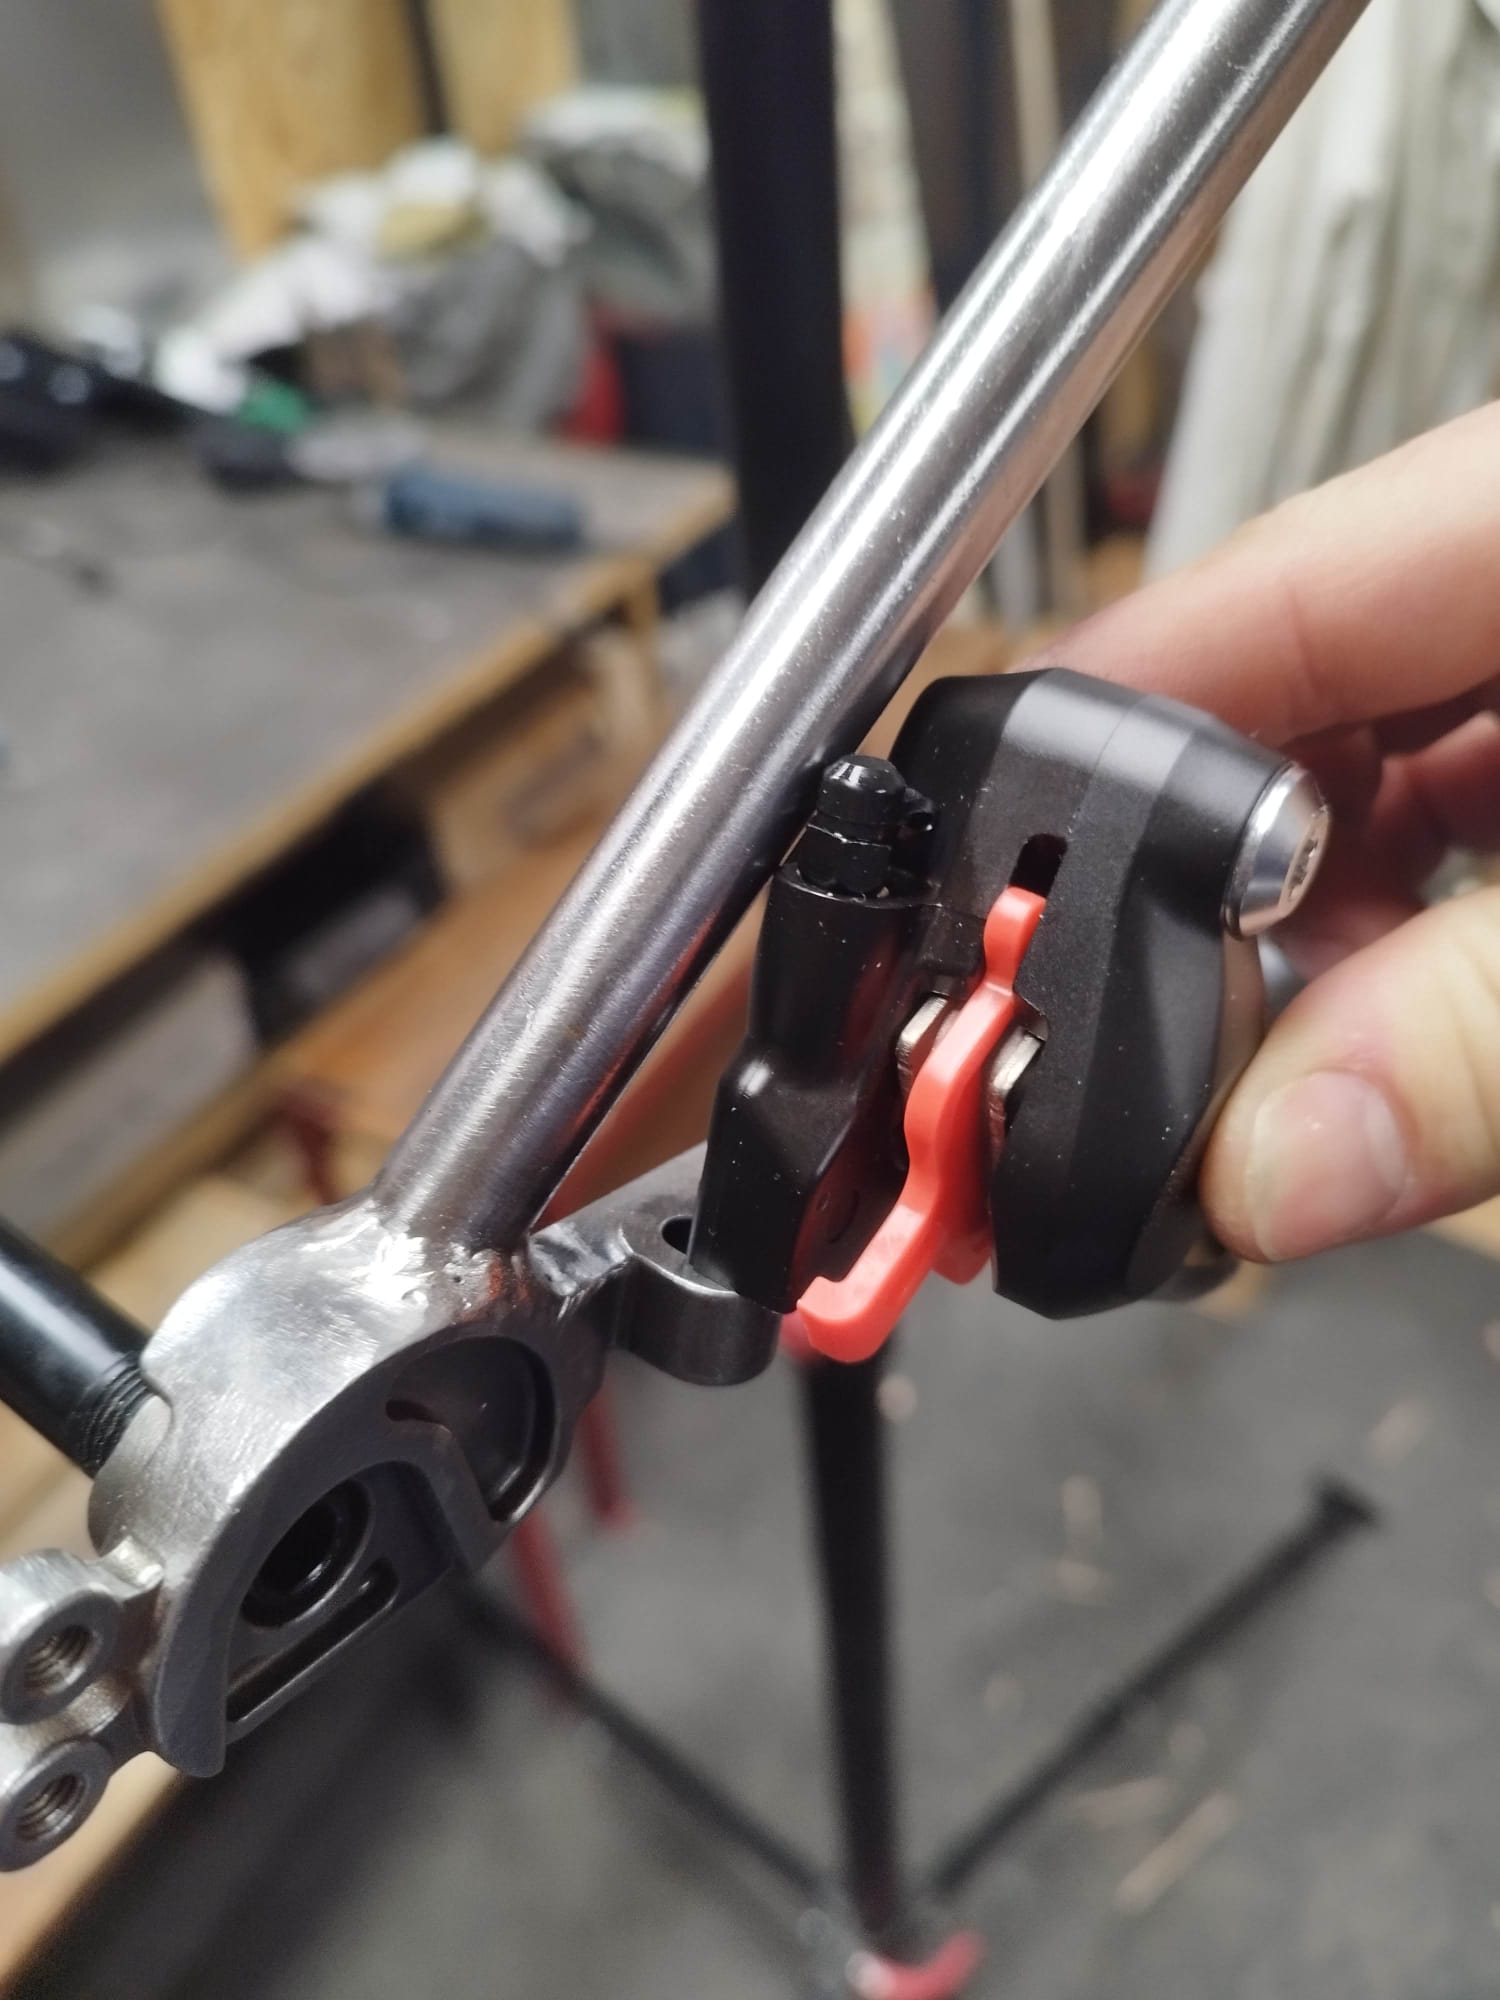
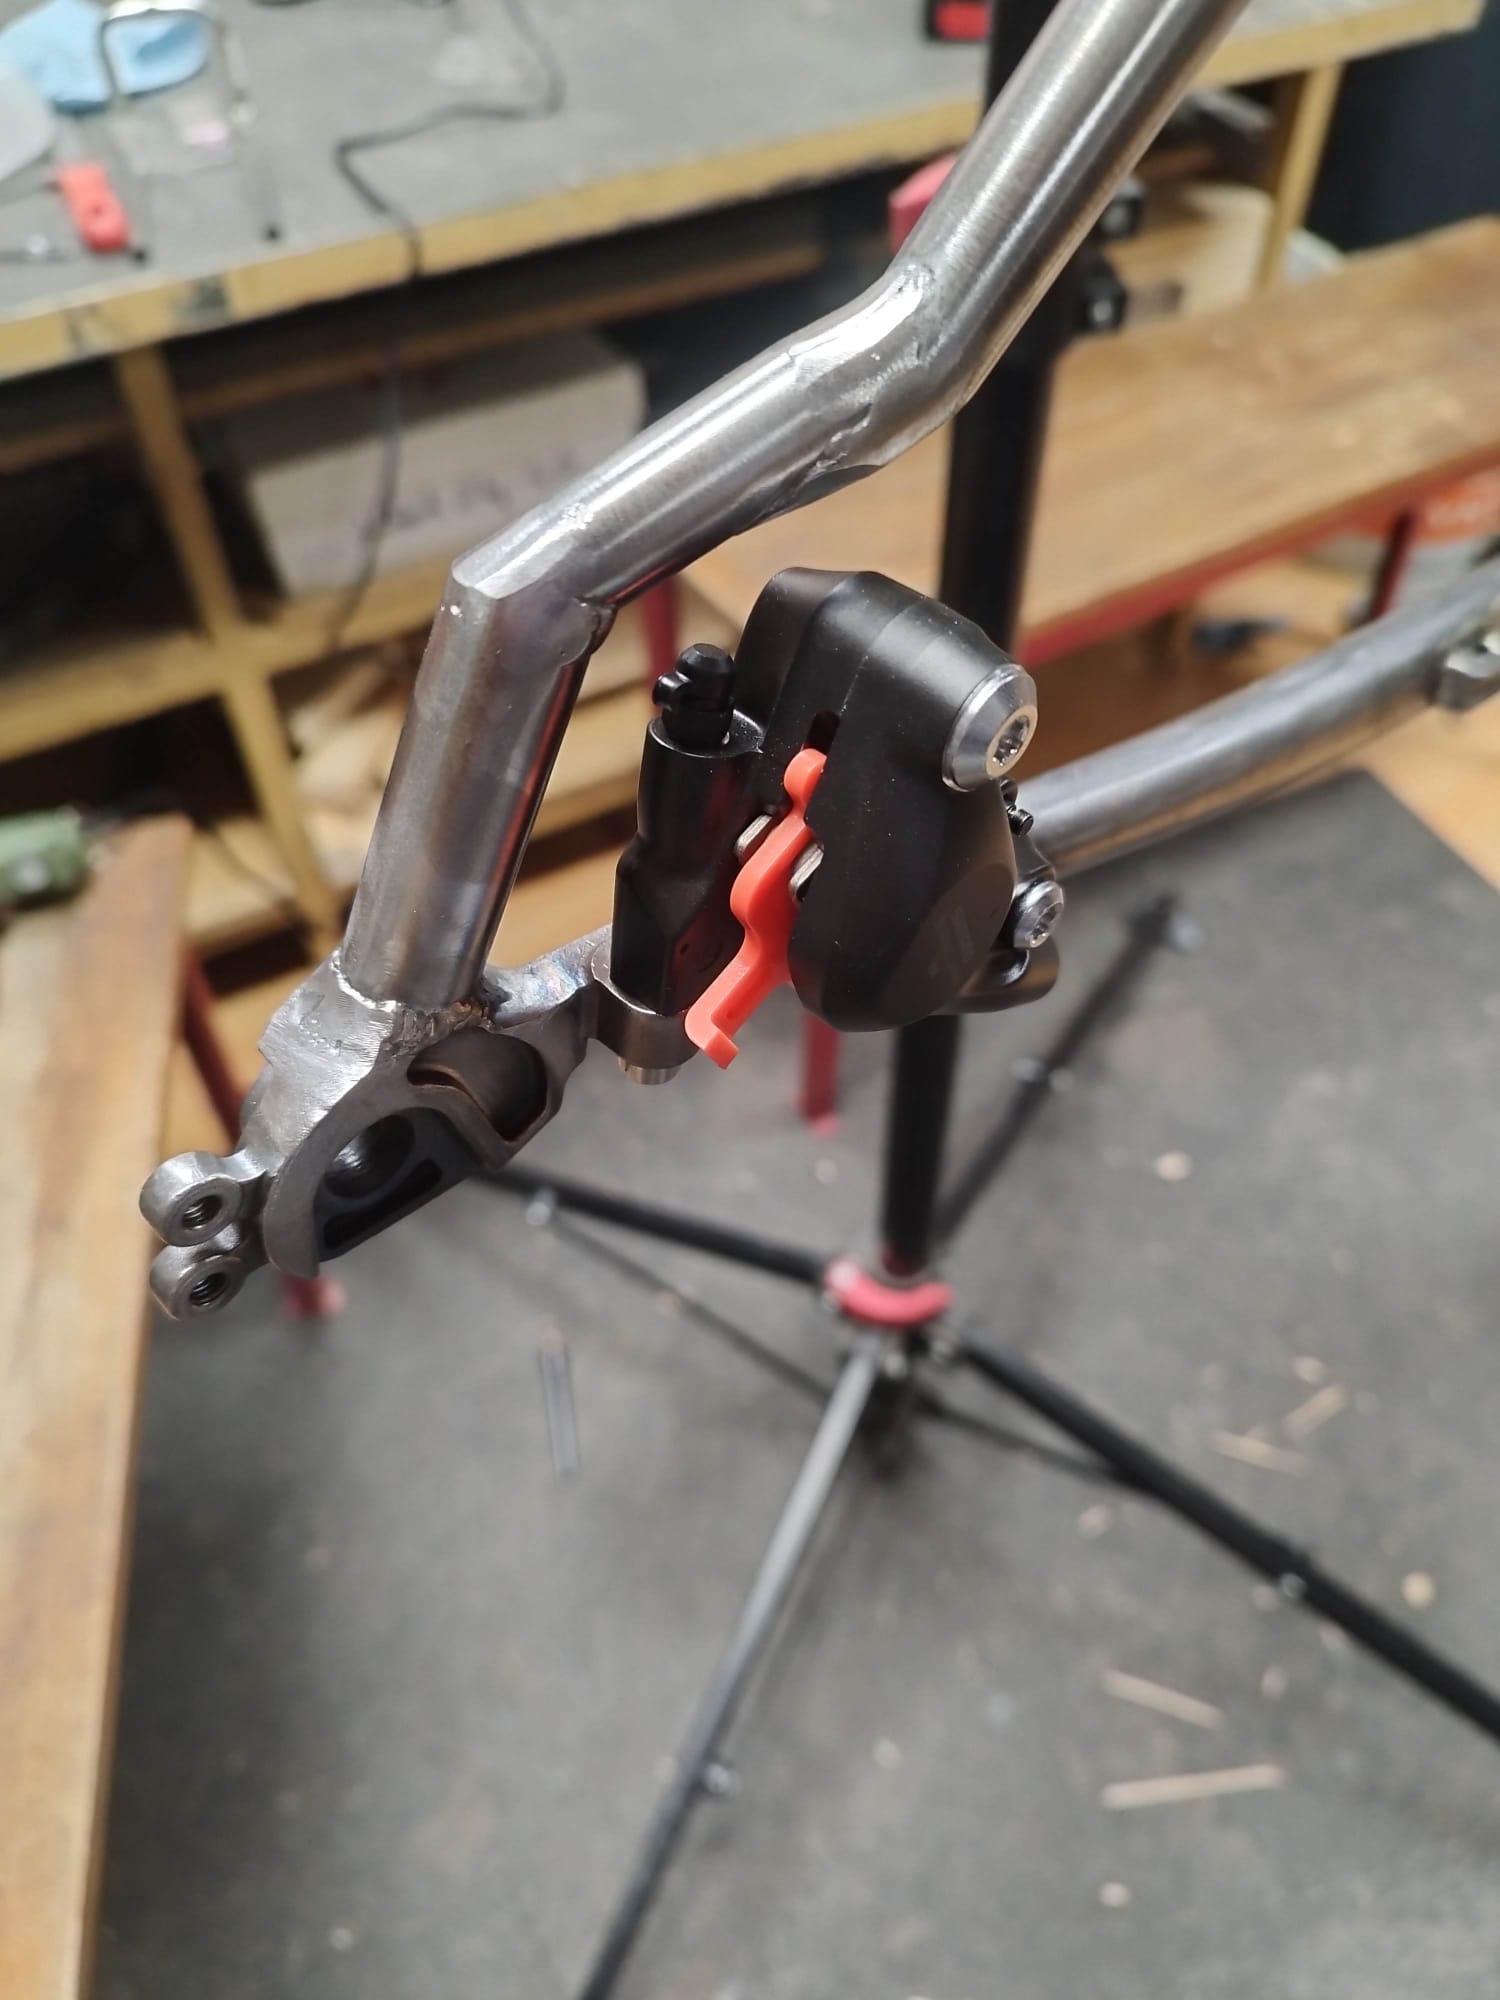
I actually made a CAD model for my frame, but i apparently just forgot to check if the brake would fit.
You’re right though, not having access to CAD files for components can be an inconvenience. For stuff like this you might not need a 100 % accurate model though.
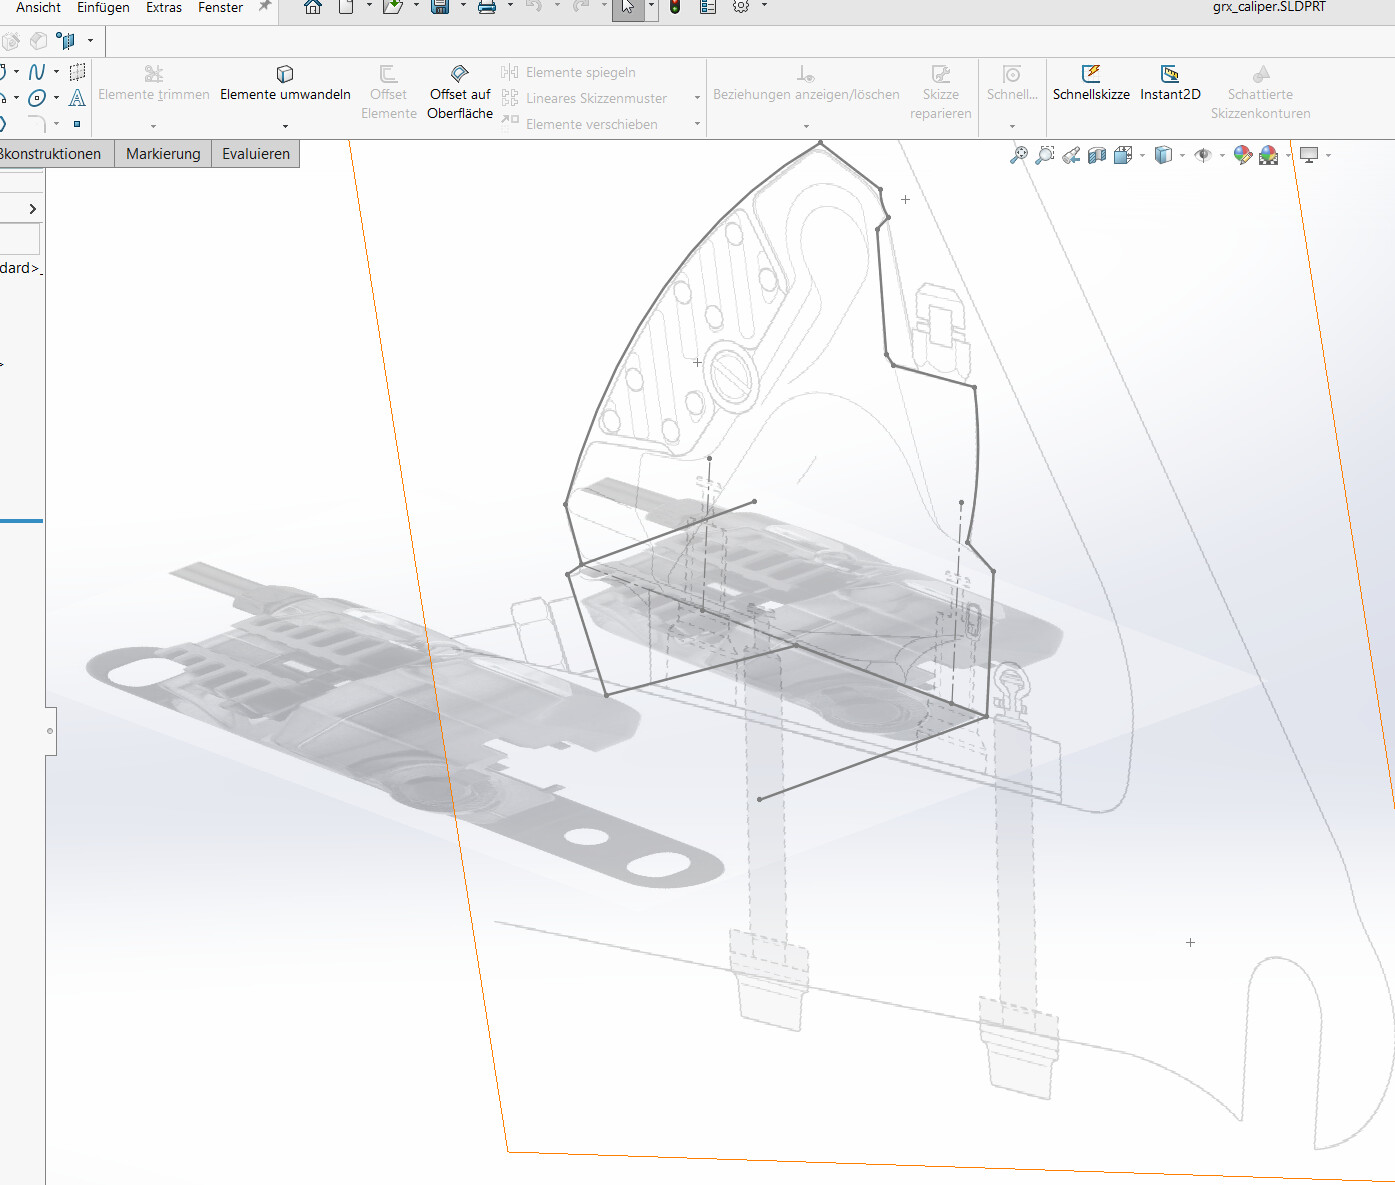
I tried one of those free apps to 3d scan the caliper using my phone and edited it a bit using blender, then checked it for scale in Inventor. This is the final model:
and i think it might be fine to just check for fitment. I needed to scale it, in order to have the right measurements, and i didnt do a great job of that. This might be worth exploring in another thread
1 Like
Another way is to take photos in elevation and plan, from a distance zoomed in, and you can reference them into your model space and build a model from there.
The Shimano page does have the info needed. Unfortunately they left off one dimension which would make life complete, but the inside face has to clear the rotor so it can only be so far inboard anyway and doesn’t affect the frame side of the caliper.
1 Like
At work, somebody may have hypothetically extracted a 3D model out from a PDF provided by a manufacturer. Super weird that it wasn’t an image and the actual model was embedded!
I’ll ask about the details, but I doubt that would work here.
I’ve already started to model a shimano-caliper-shaped lump in SW, will post it here (or in resources somehwere) when finished
2 Likes
I have a defective one of these brakes with a leaky piston just sitting in a box ![]()
3 Likes
GrabCAD is a great resource. Heaps of reverse engineered models there that seem close enough to the real deal for fit checking and mockups.
User Max Morozov has posted a huge amount of high-quality models, including full groupsets.
User Terho has also posted a few high quality parts.
I have a pretty accurate but stripped down Shimano Flat mount caliper I believe I got from GrabCAD as well quite a while back, but can’t find the model on there now so it may not be prudent of me to re-share it here.
[Edit:]
There’s what seems to be an extremely accurate FM caliper available in this complete DuraAce groupset mockup model.
4 Likes
Here’s a silly thing I did on the second frame I ever fillet brazed back in 2016.
I accidentally flipped the externally butted Zona seat tube upside down, so the thin wall section was at the TT/SS/ST cluster. That resulted in some heat distortion that I did not discover until I tried inserting a seat post. The offset TT/SS junction probably didn’t help either.
Reaming the tube was a risky proposition as it would have made the already thin tube even thinner, so I decided to just run it for as long as I could and deal with it later. I was unble to insert the post past the bottom of the TT. From memory, I think the post stopped somewhere just below the top edge of the TT.
And after a few thousand kilometres of mainly XC riding, sure enough the ST cracked.
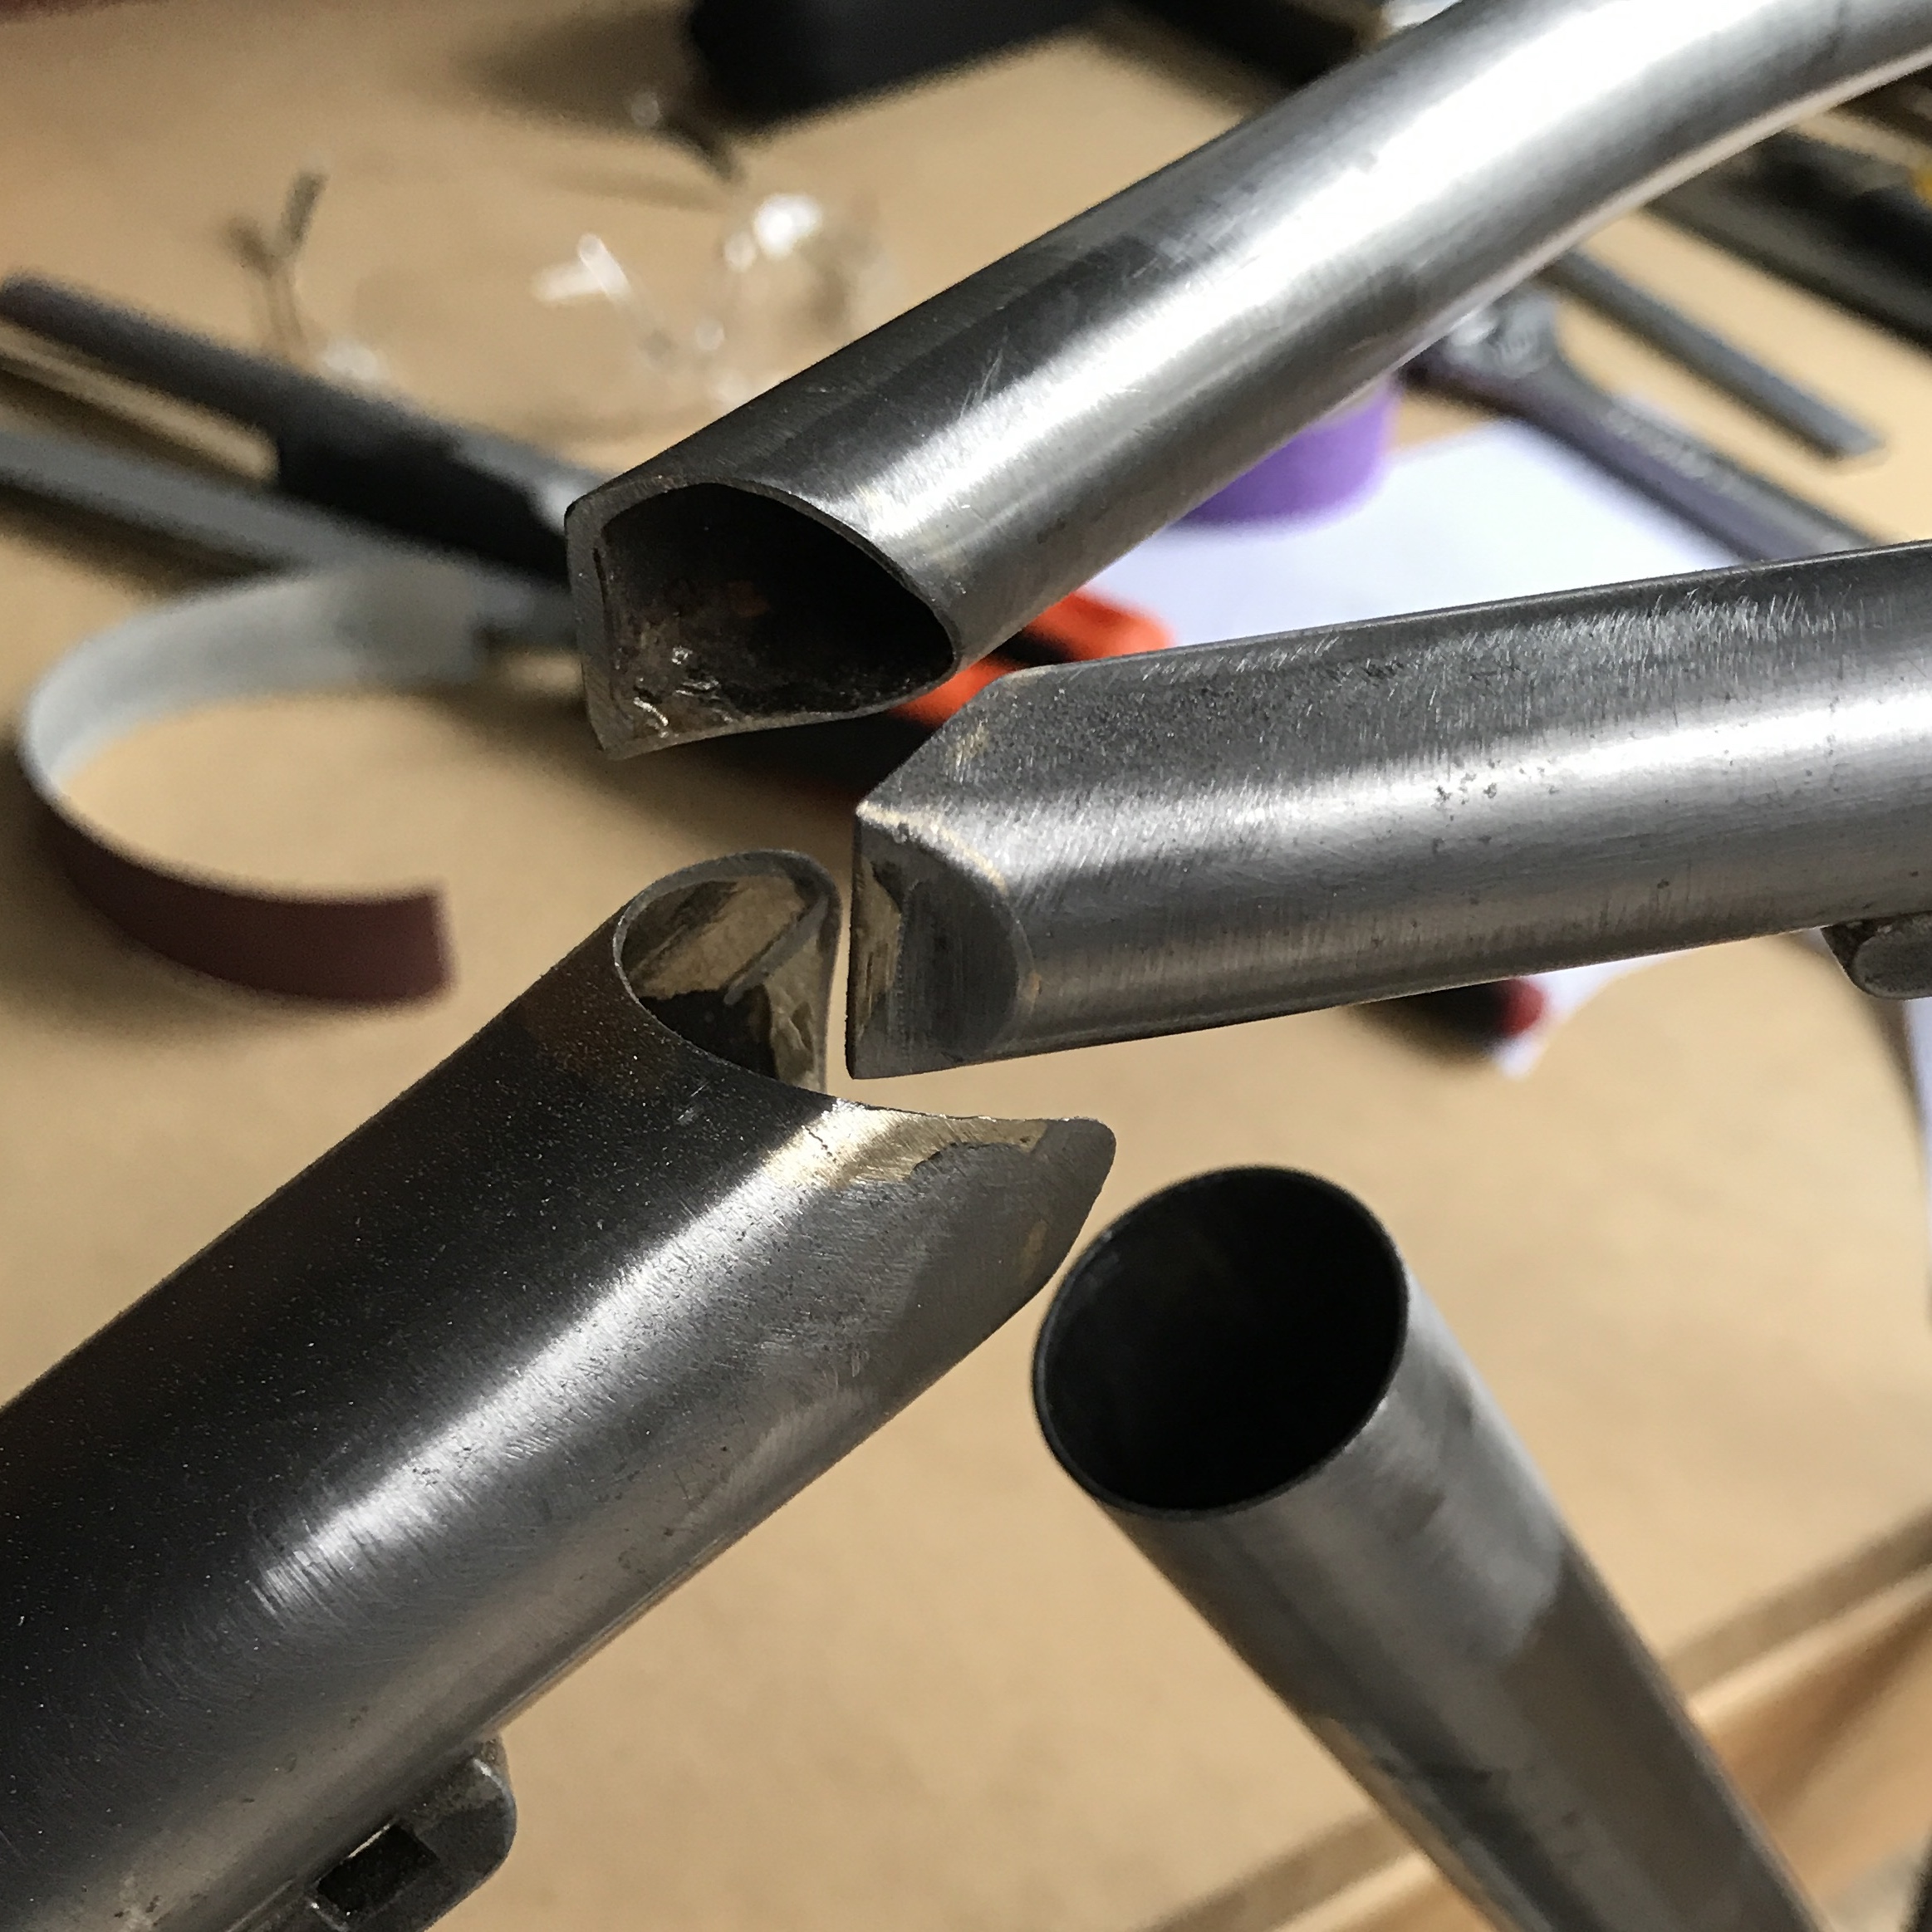
I came up with a plan and was able to repair it by cutting out the top section of the ST, cleaning up the existing tubes and miters, and braze a new top section in.
The tradeoff is that there’s now a step where the sleeve joins the ST, so I’ve had to cut the seat post as it won’t insert past that bit. But it’s well below the TT, and also a lot more insertion than I originally had.
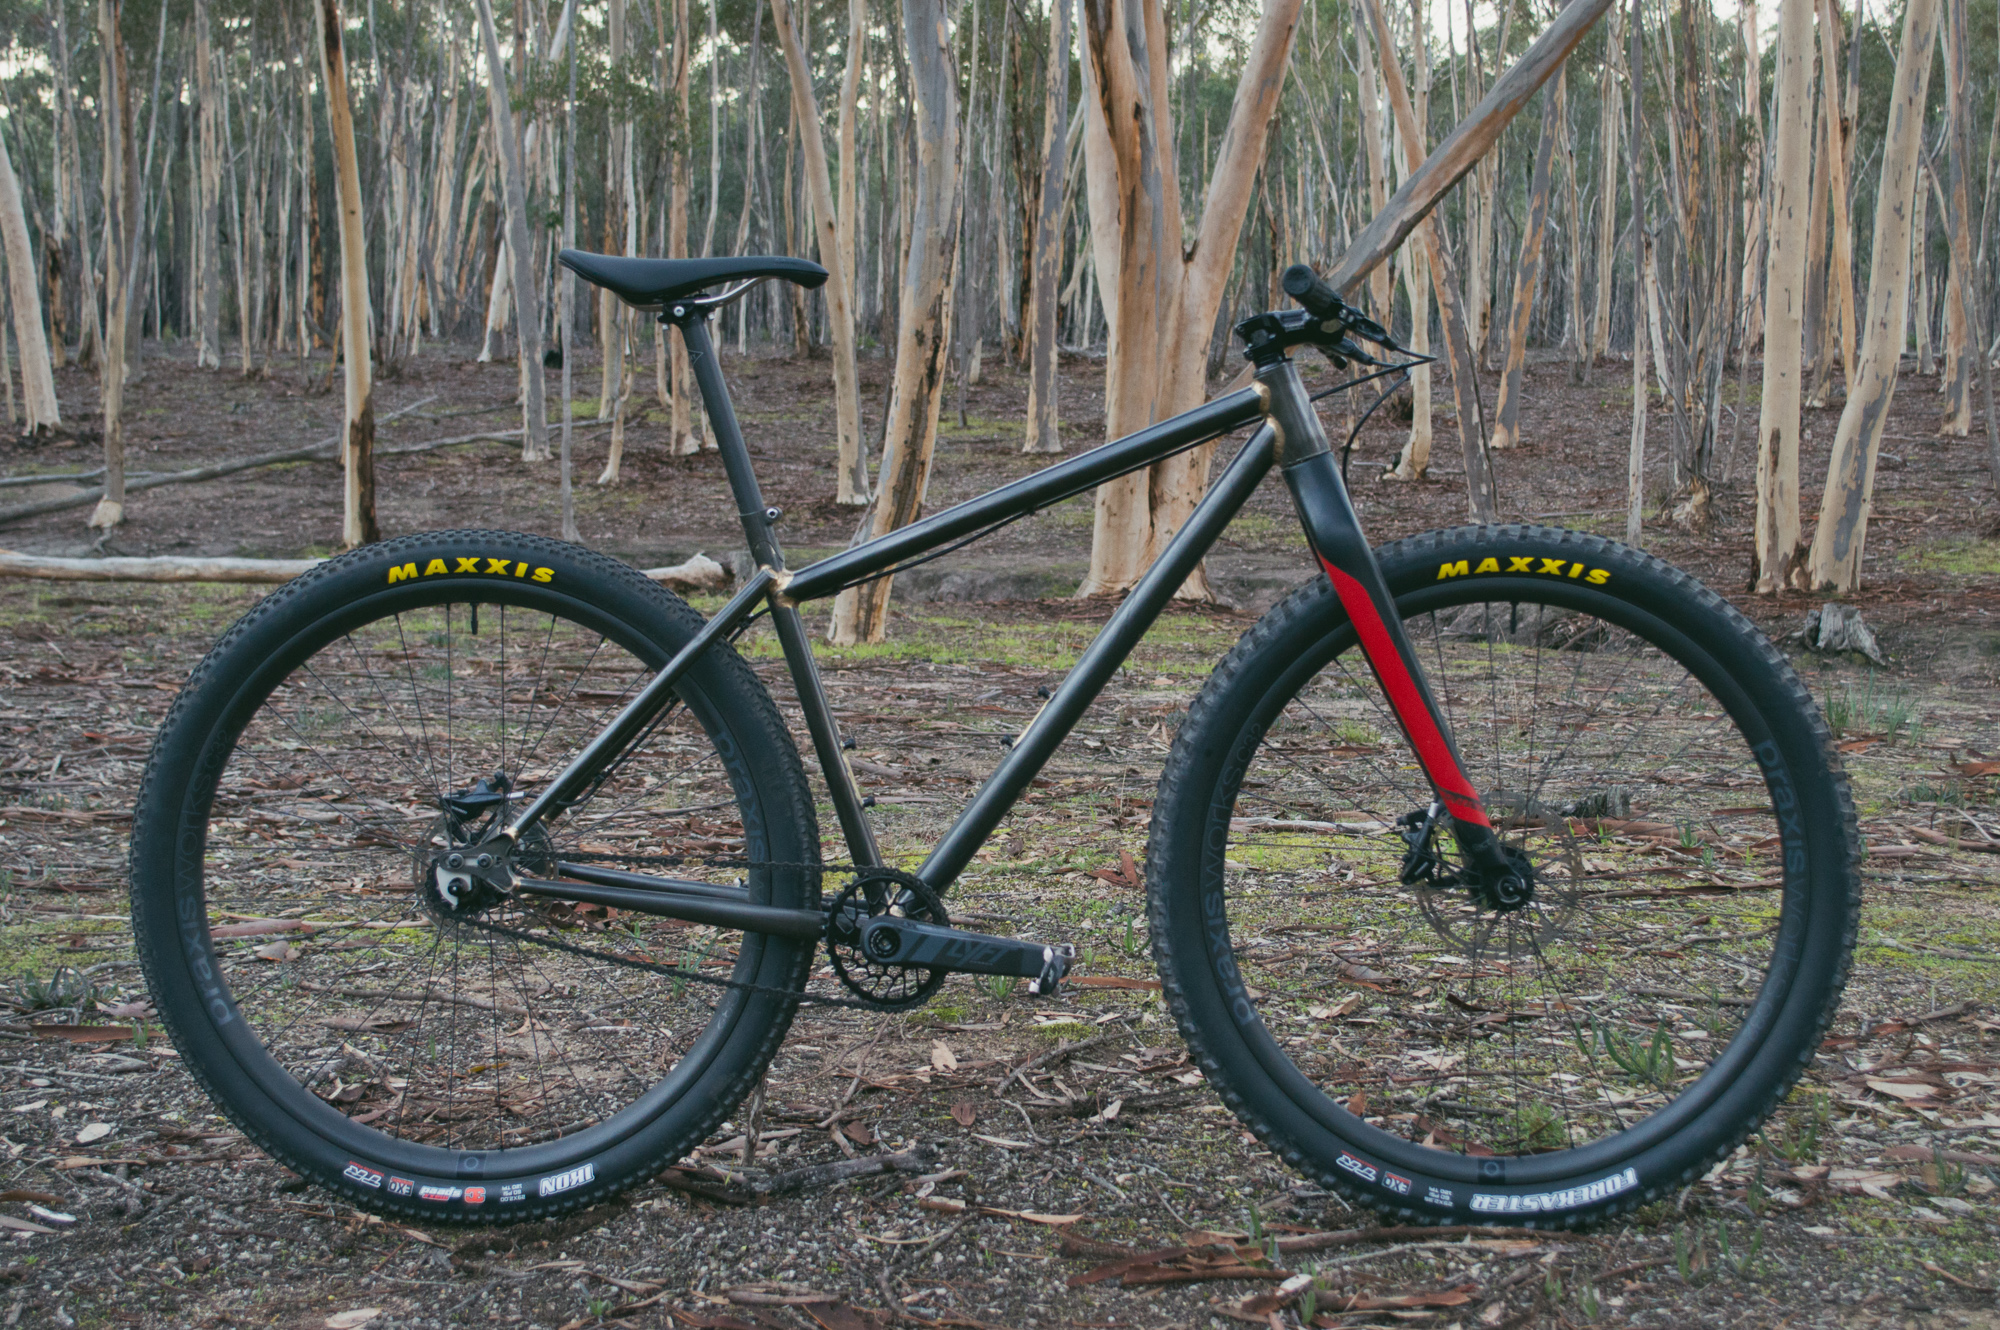
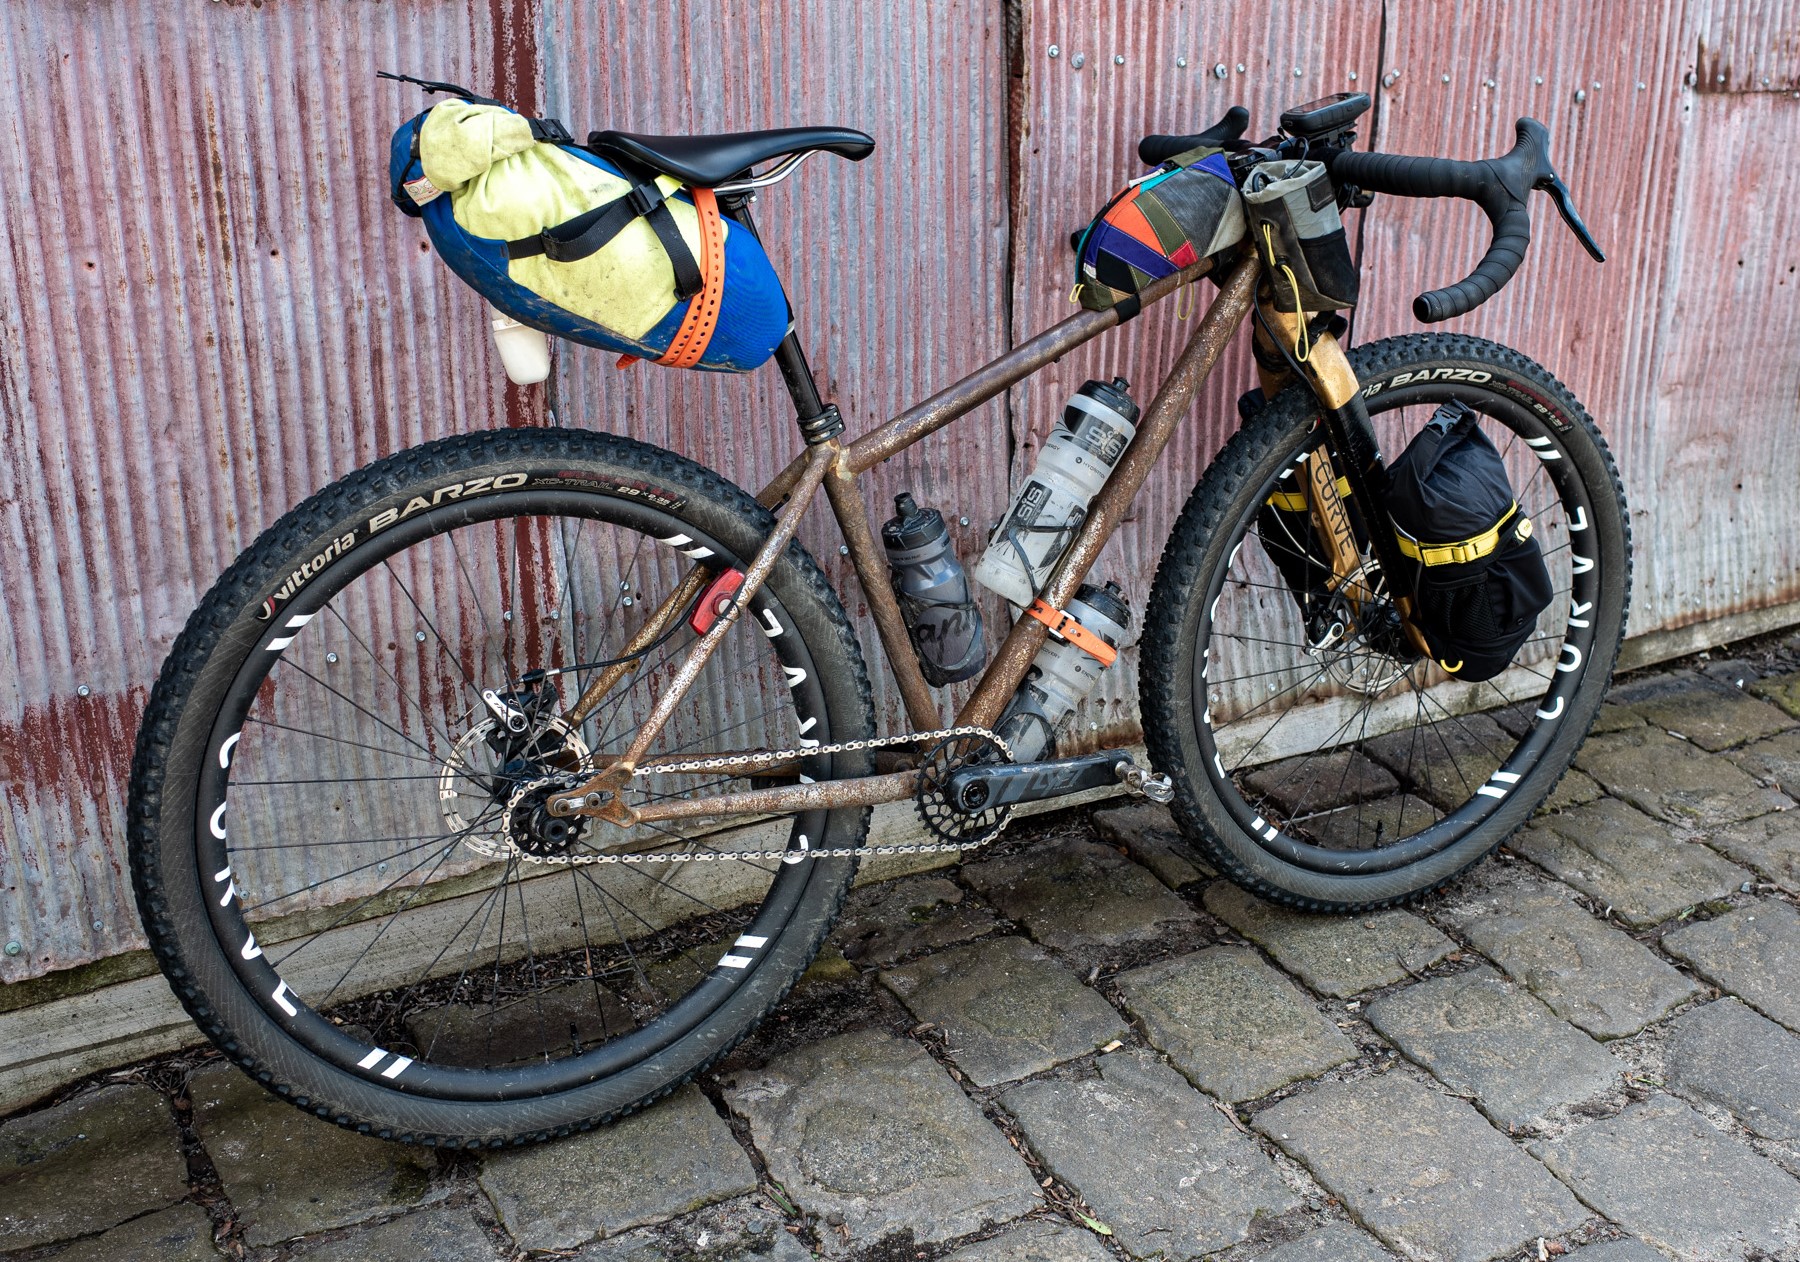
The bike has been going strong ever since and I’ve done some serious riding on it - including bikepacking with a decent size saddle bag. Since a couple of years back it’s gotten yet another makeover but it’s not seeing a lot of use as I have a few other bikes that are in my more regular rotation.
This is how it started.
The crack.
(Excuse the sloppy beginner fillet)
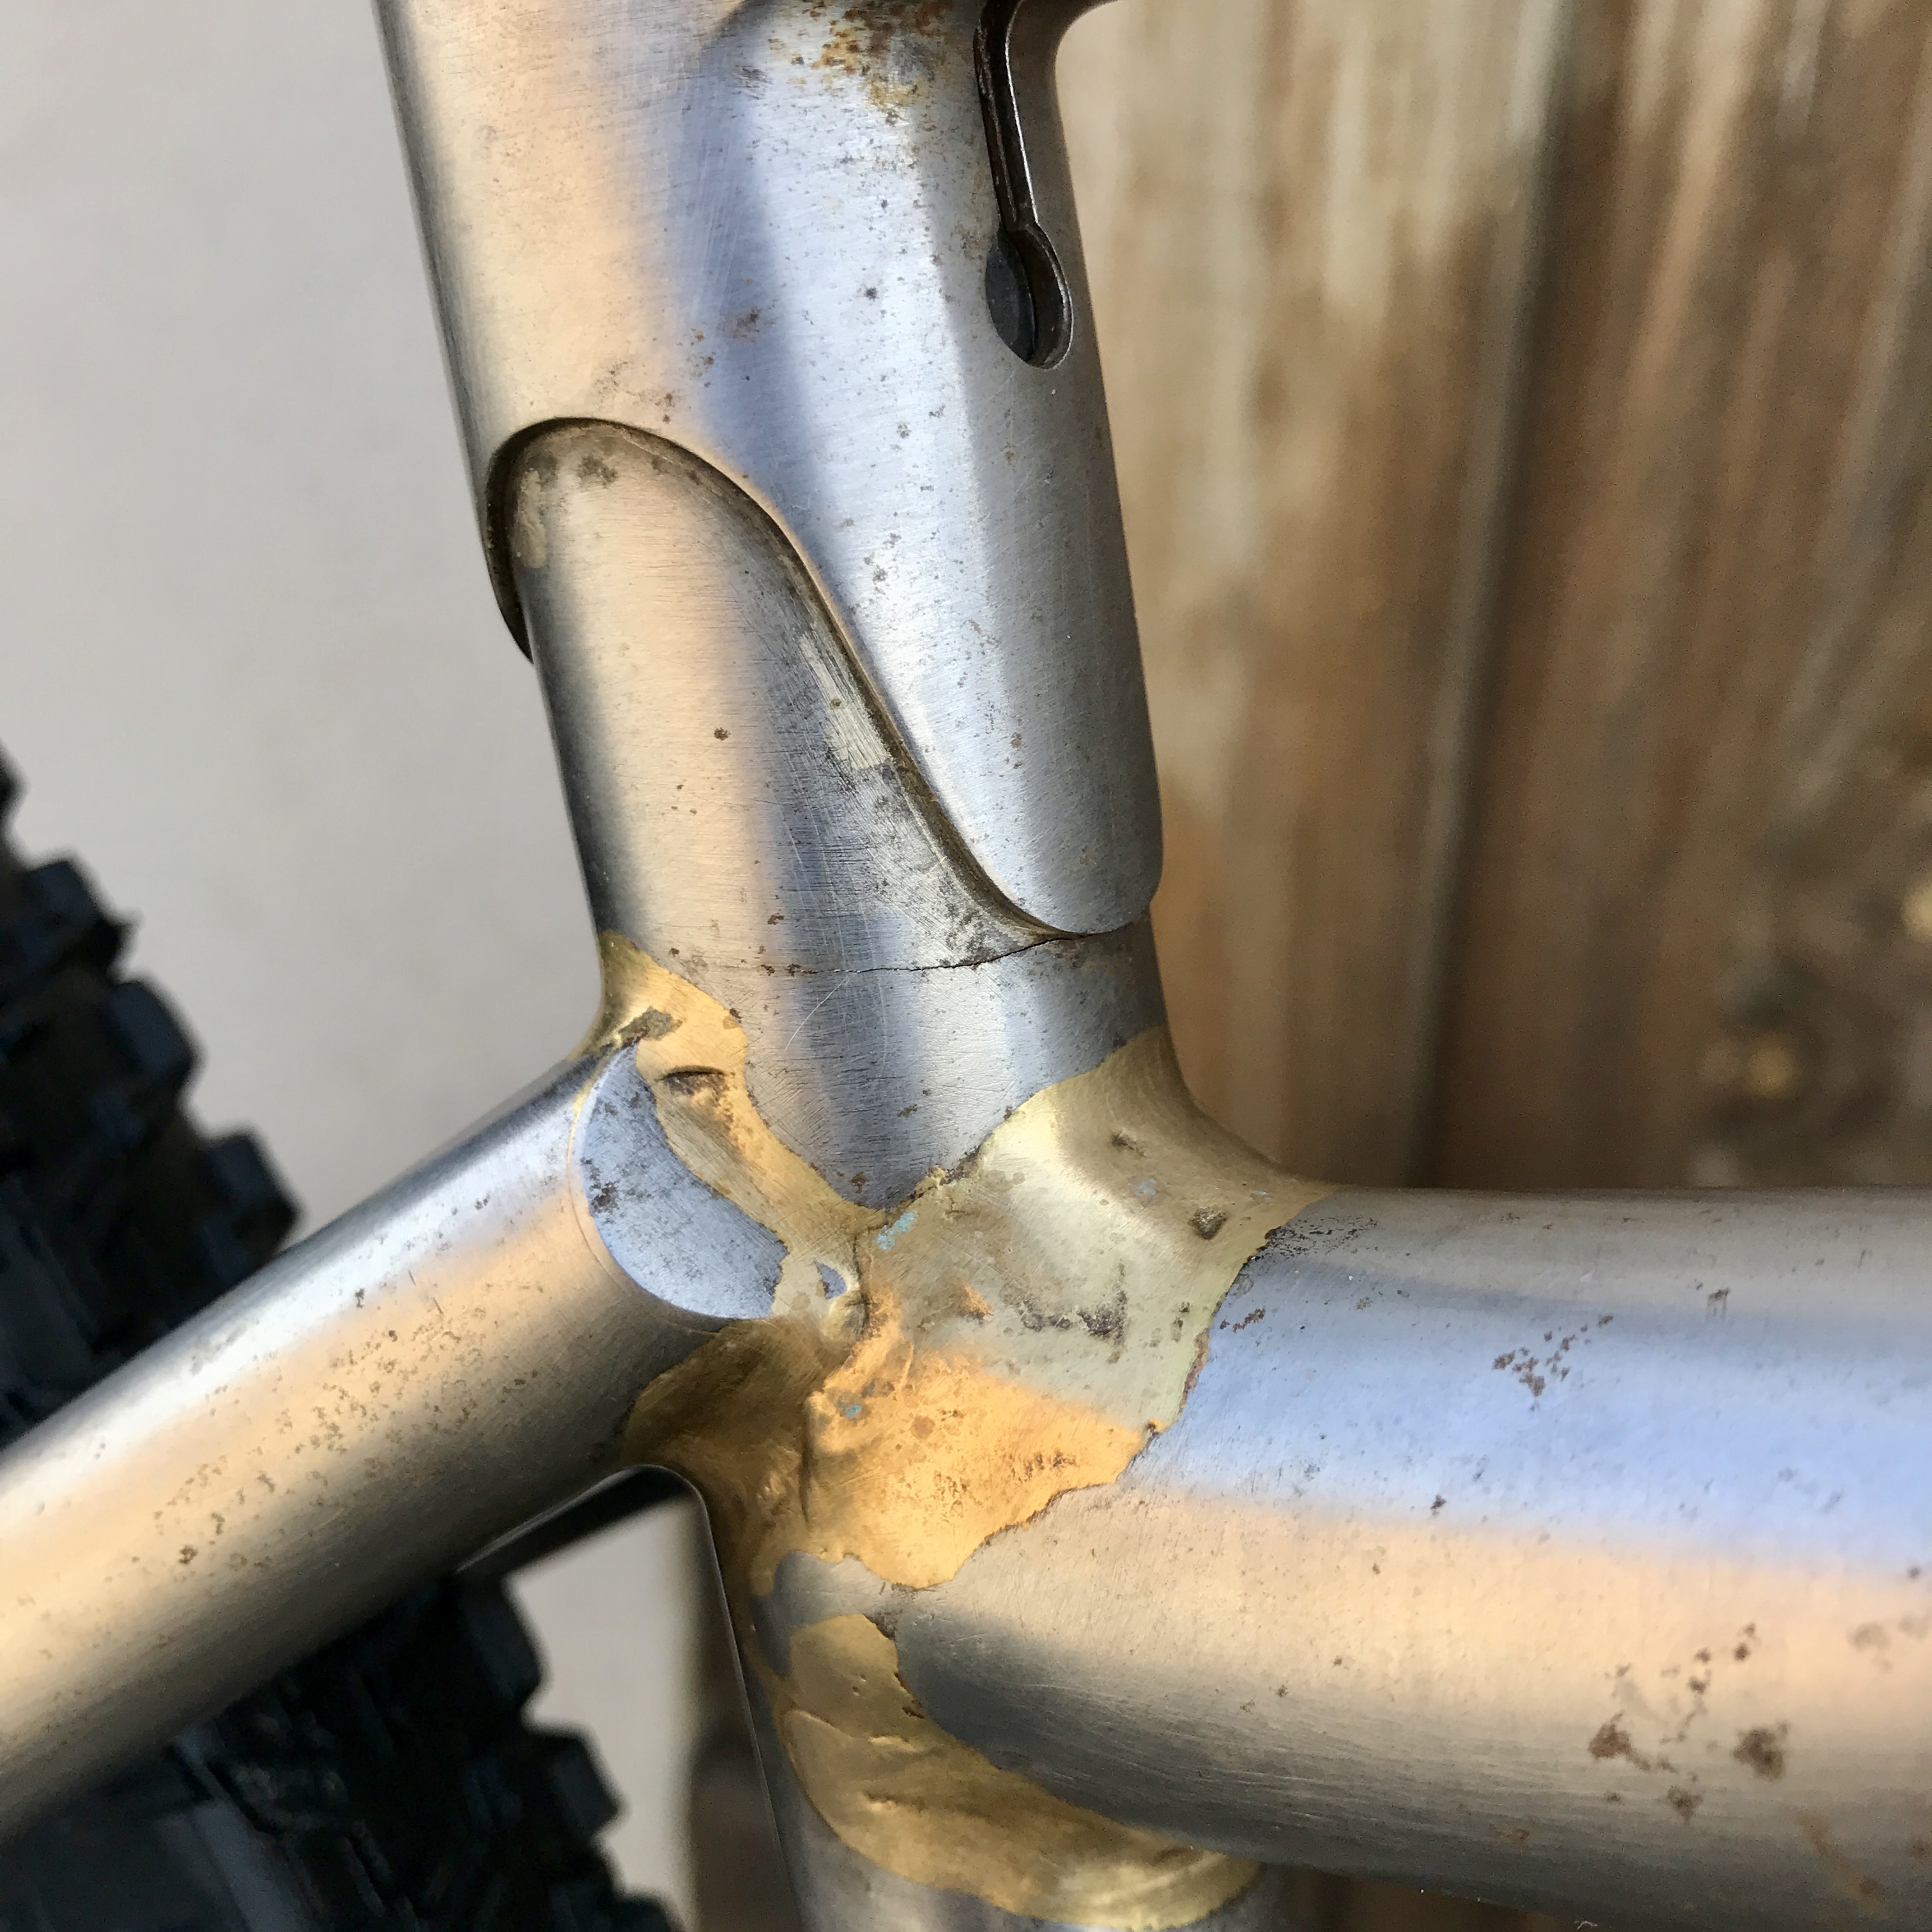
The fix.
The end result (after a bunch of riding and still no paint).
8 Likes
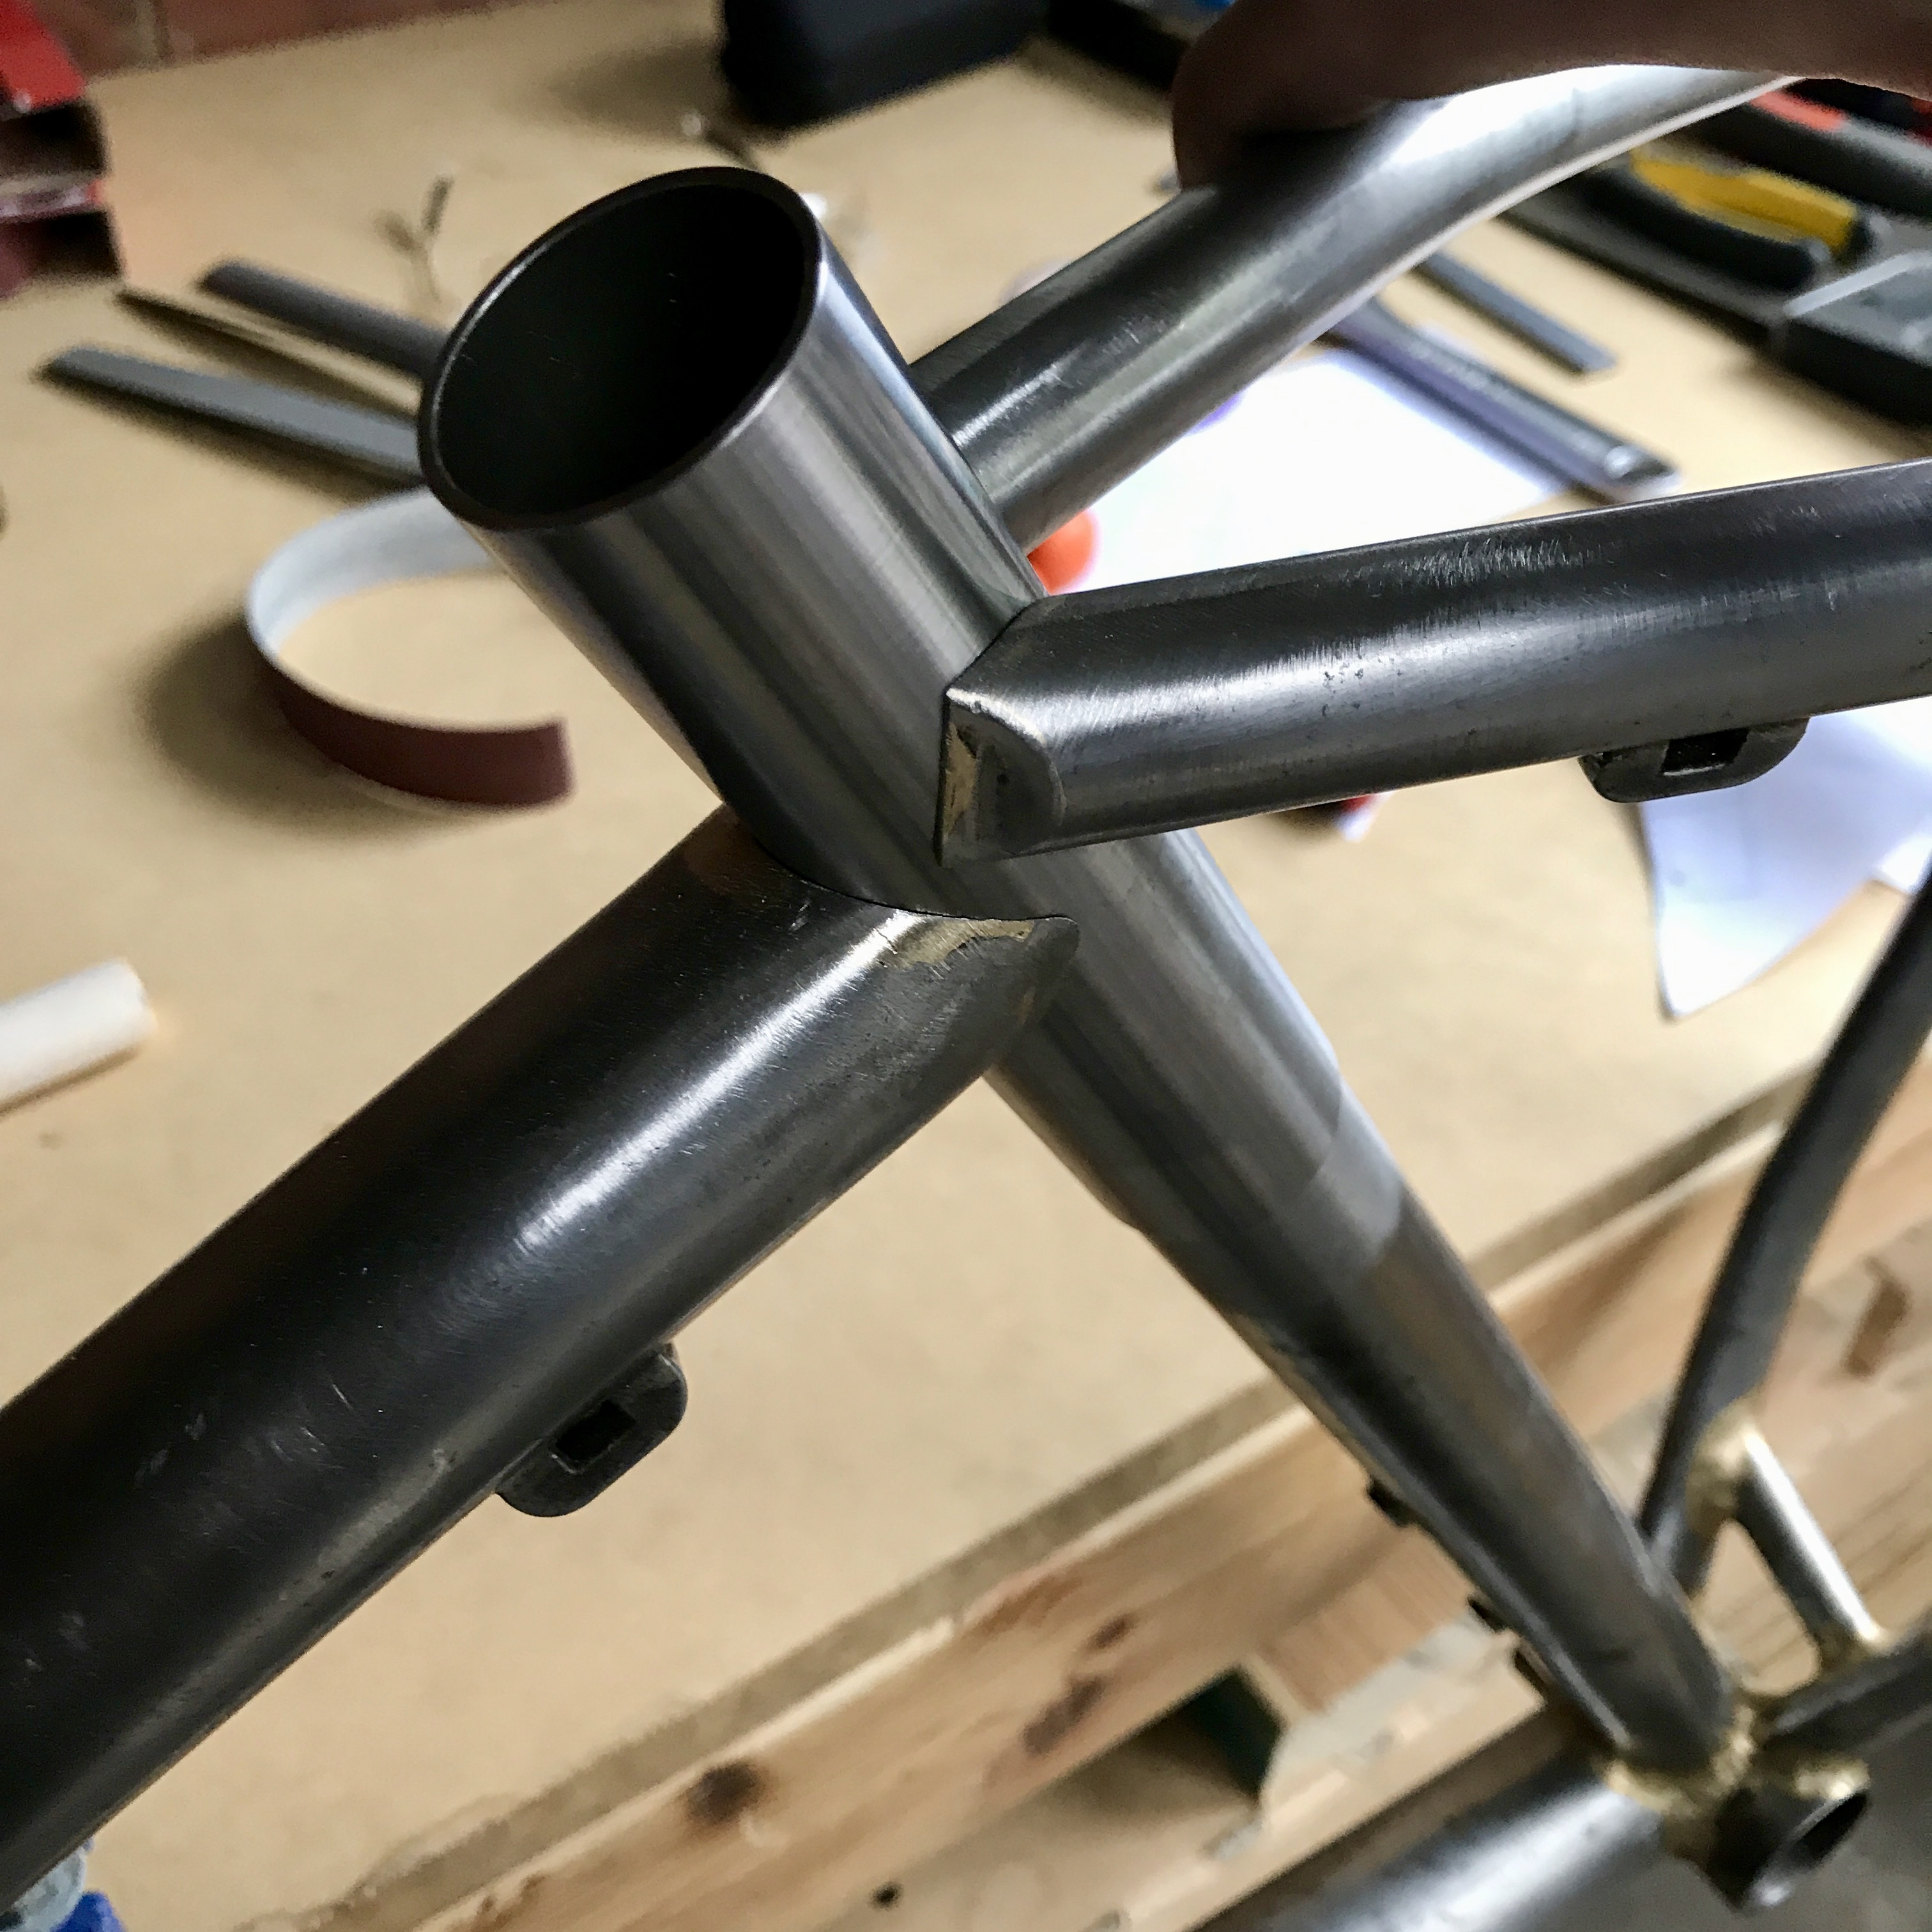
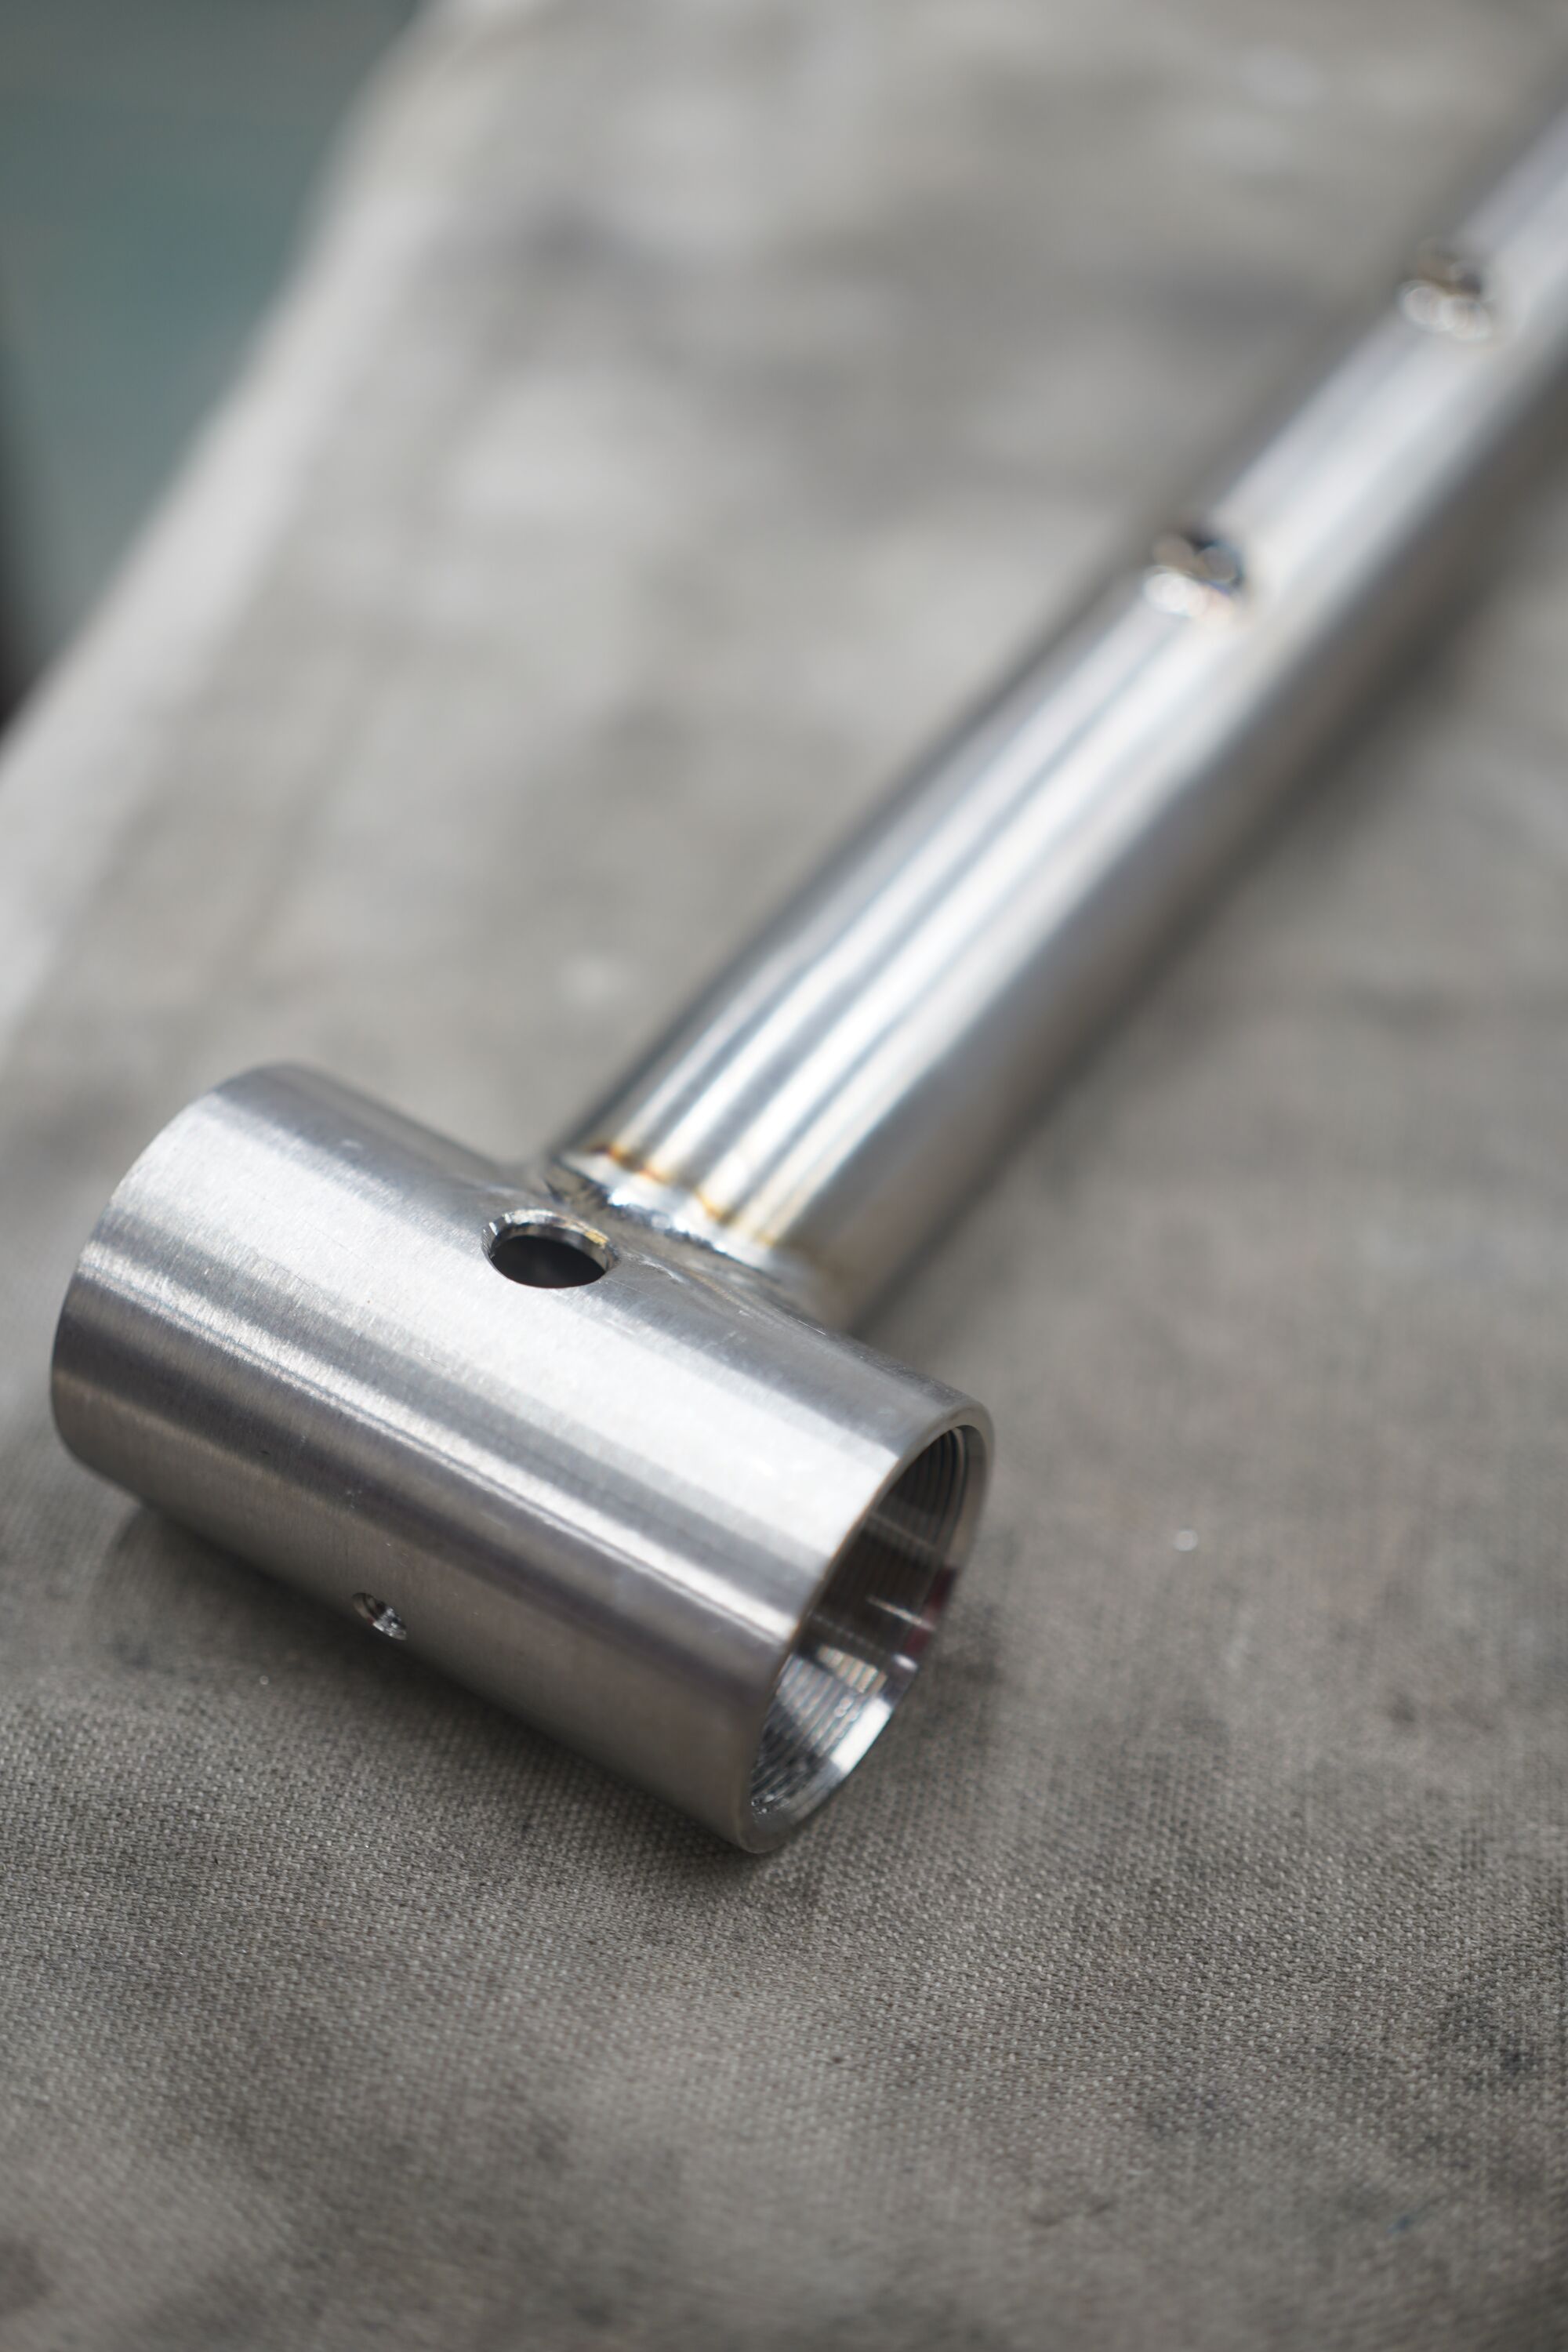
Check out this beautiful titanium seat tube sub-assembly:
- vent holes drilled
- cable guide tapped
- bosses welded
- BB-ST welded
- Collar welded
All ready to go into a frame.
The last thing to do: mill the ST slot. I got too excited and turned the dial an extra .100in ![]() Off-center enough to be ashamed, not off-center enough to make it look intentional.
Off-center enough to be ashamed, not off-center enough to make it look intentional.
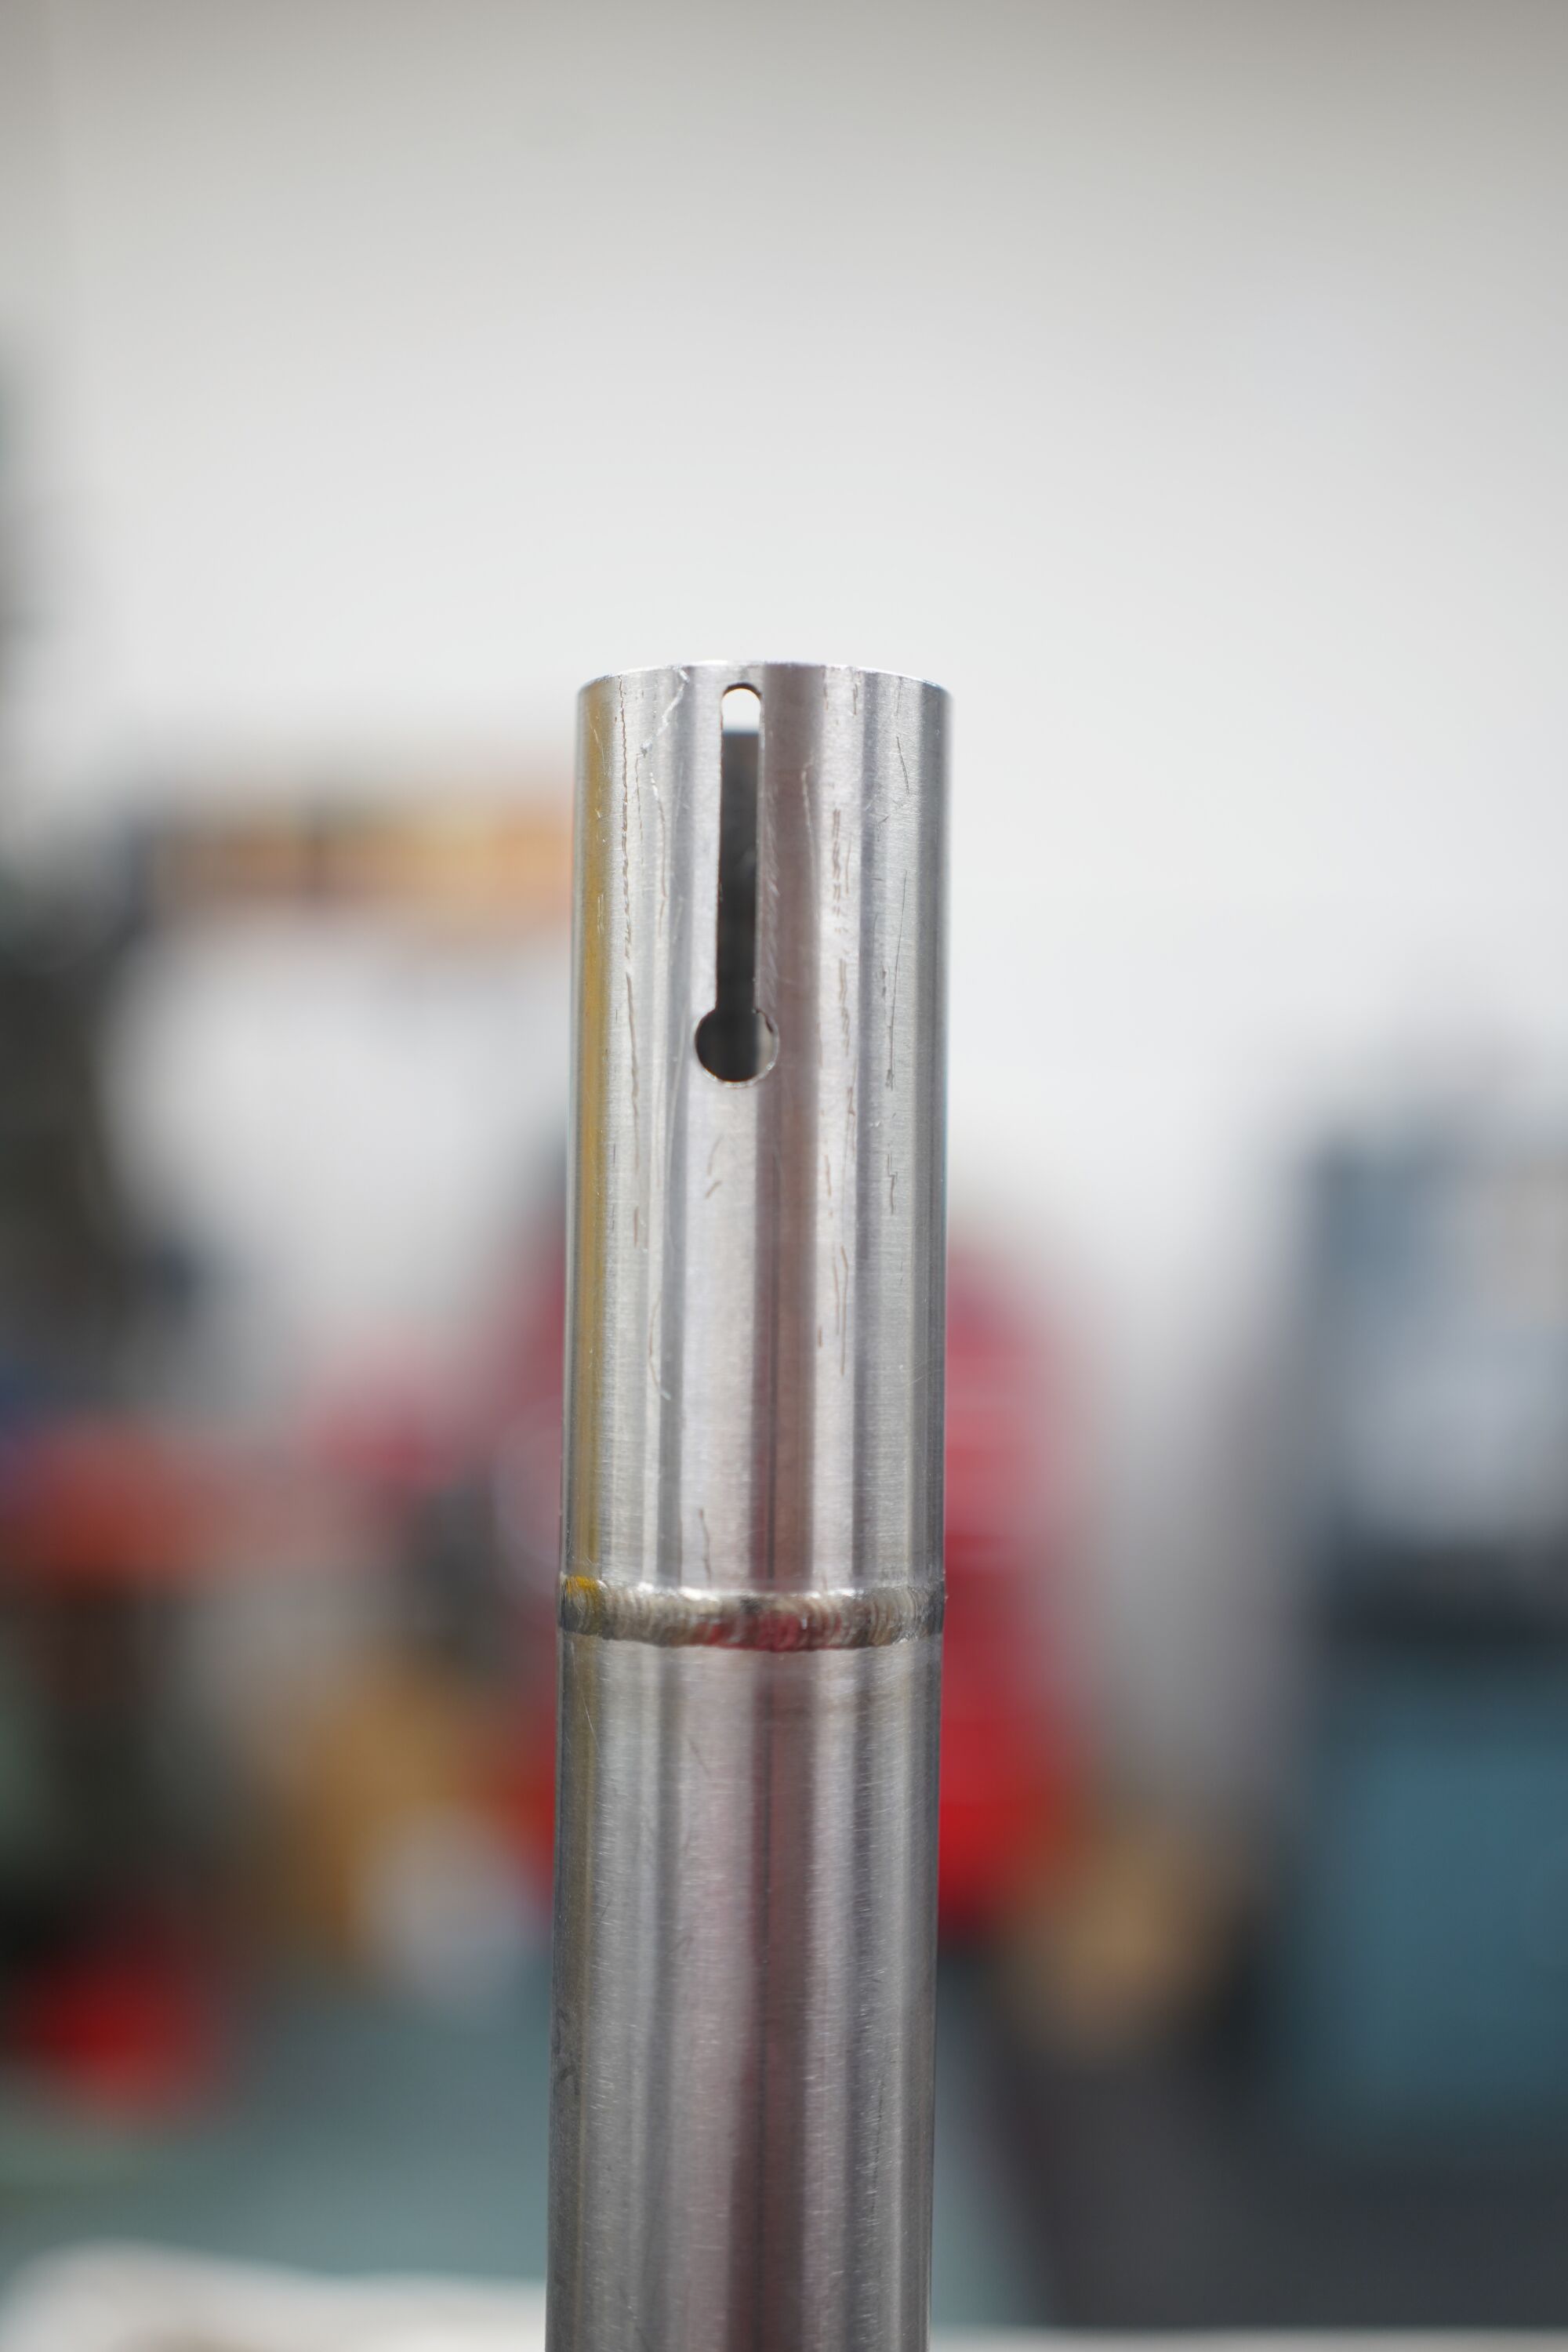
Luckily this was a tall seat tube, so we can cut off the mistake and re-use it on a shorter bike.
lessons learned:
- XY handles are .200in/revolution, not .100in/rev!
- have spare parts on hand when meeting a tight deadline
11 Likes
The .100" bandit strikes again! He does the same to carpenters, but it’s a full inch.
1 Like

4 Likes
OOF that’s a rough one! This is how I justify having a DRO for my mill… although I still find creative ways to make mistakes.
3 Likes
I’m really going to appreciate a DRO some day! I make far fewer mistakes now that count handle revolutions aloud.
