BikeCAD Pro will export G-code for tube miters. See: bikecad.ca/cnc for more info.
5 Likes

Just saw the video from path less pedaled, pretty cool! I hope it can help bring on a new era of in-house bike shop built frames.
IMO the best way people can get more out of a bicycle is by going custom made. Made to measure frames are the future if you ask me.
What kind of price tag would a system like that be? Not that I will probably ever be in a situation where I could use one, just curious.
3 Likes
I saw the video as well, and it is super-cool, but mitring with paper templates and an angle grinder now probably takes me less time than setting that machine up would ![]()
Maybe nice for Ti though, which is what they were using it on.
2 Likes
I bet it doesn’t… ![]()
![]()
![]() Printing, cutting and setting up the template on the tube takes longer. we have been doing that for more than a decade… But anyway, we are now working mainly as B2B on small batches. The savings are huge and precision has increased.
Printing, cutting and setting up the template on the tube takes longer. we have been doing that for more than a decade… But anyway, we are now working mainly as B2B on small batches. The savings are huge and precision has increased.
As an example, one of our DT of a Gravel bike took 5 different setups and 5 different operations on our mill with hle saws and drills. We now do it in 1 setup and 1 operation. And we remove accumulated errors from switching setup to setup…
3 Likes
Yes setting up hole saws can be time-consuming. I’m saying doing it by hand is only a few minutes. Maybe I’ll time it on the next one ![]()
1 Like
Yeah… but as I said, we work mainly on B2B on batches. Repetition is key here.
4 Likes
Ah I see yes, if you’re doing a whole batch the same, then it would make sense. But for custom frames you may have subtly different angles on each frame.
Well I just mitred a little bridge tube, and it took 3 minutes to cut and mitre both ends by hand ![]()
1 Like
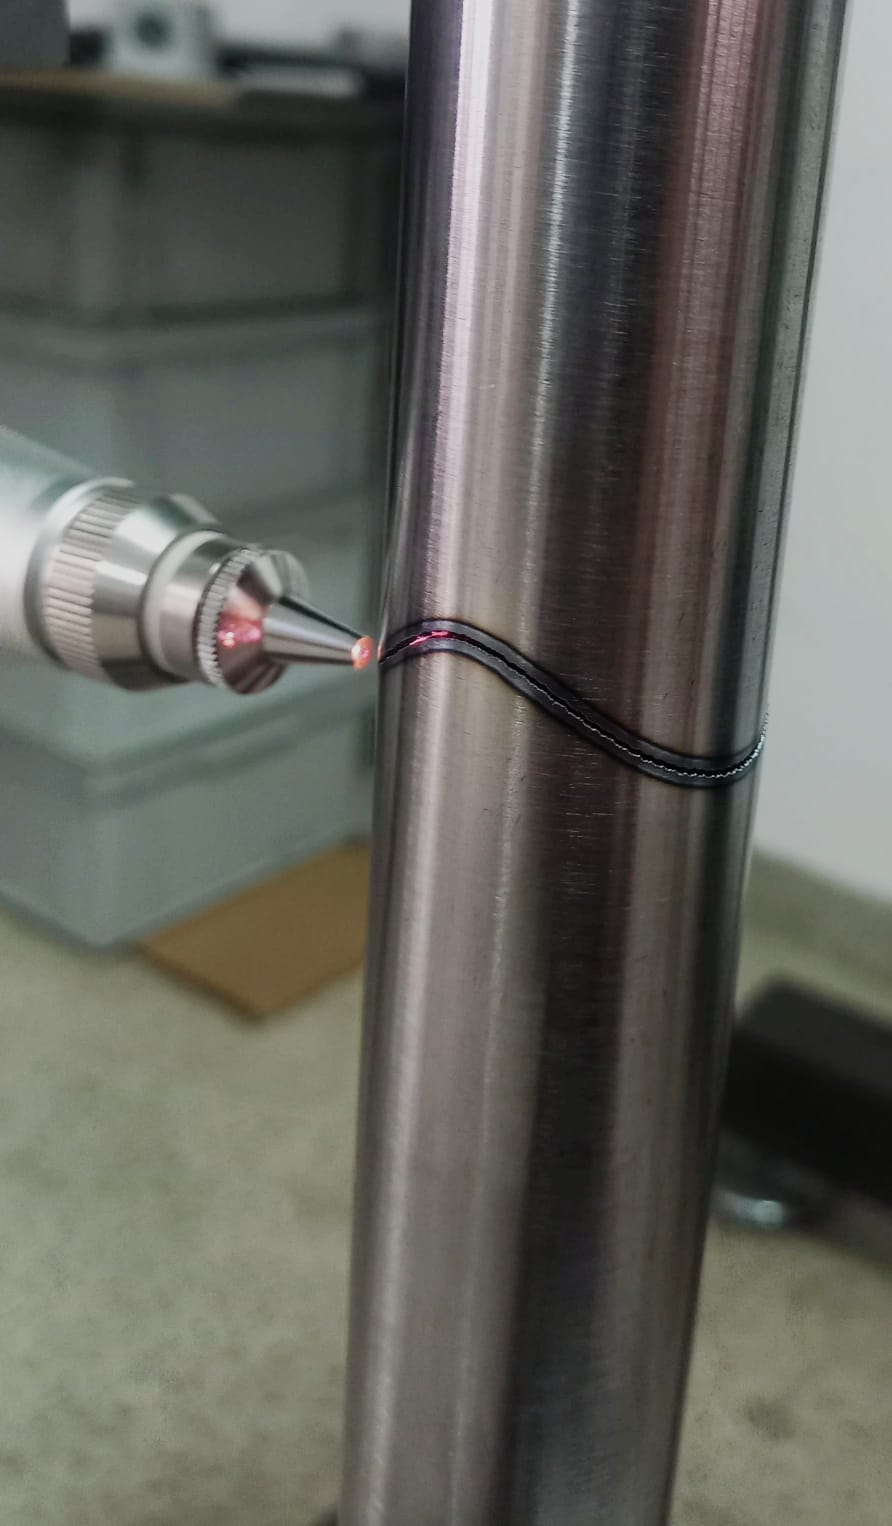
I agree that the Path Less Pedaled video somewhat overstated mitering times. However they were also lasering the seatpost compression slot and water bottle bosses and the combined savings are probably pretty good.
I know @hahn_rossman and Russ (path less pedaled) know each other and live nearby, I hope next time Russ brings Hahn along for framebuilding shop visits because I think we’ll get better questions from a fabricator’s perspective (nothing against Russ, he’s just not a framebuilder).
I haven’t finished it yet, but the Tritao video also shows some pretty interesting fabrication: https://www.youtube.com/watch?v=RIDAp_U6P18
I like how clean the e-bike at the start is. It see it as a modern/high-end take on the Faraday (RIP – but a good well integrated ebike company from a decade or so ago).
2 Likes
Yes that e-bike was beautiful. Using the almost invisible Mahle system you can also now get from Reynolds as a small builder.
2 Likes
For instance, on DT we have replaced a 5 setup and 5 operation (DT-HT Mitre, ST-BB mitre, DT-ST mitre, above and below water bottles) with a 1 setup and 1 operation. This is time saving while increasing precision. And after the code is done (quite fast with our software) we can repeat it when we need without any more calculations.
2 Likes
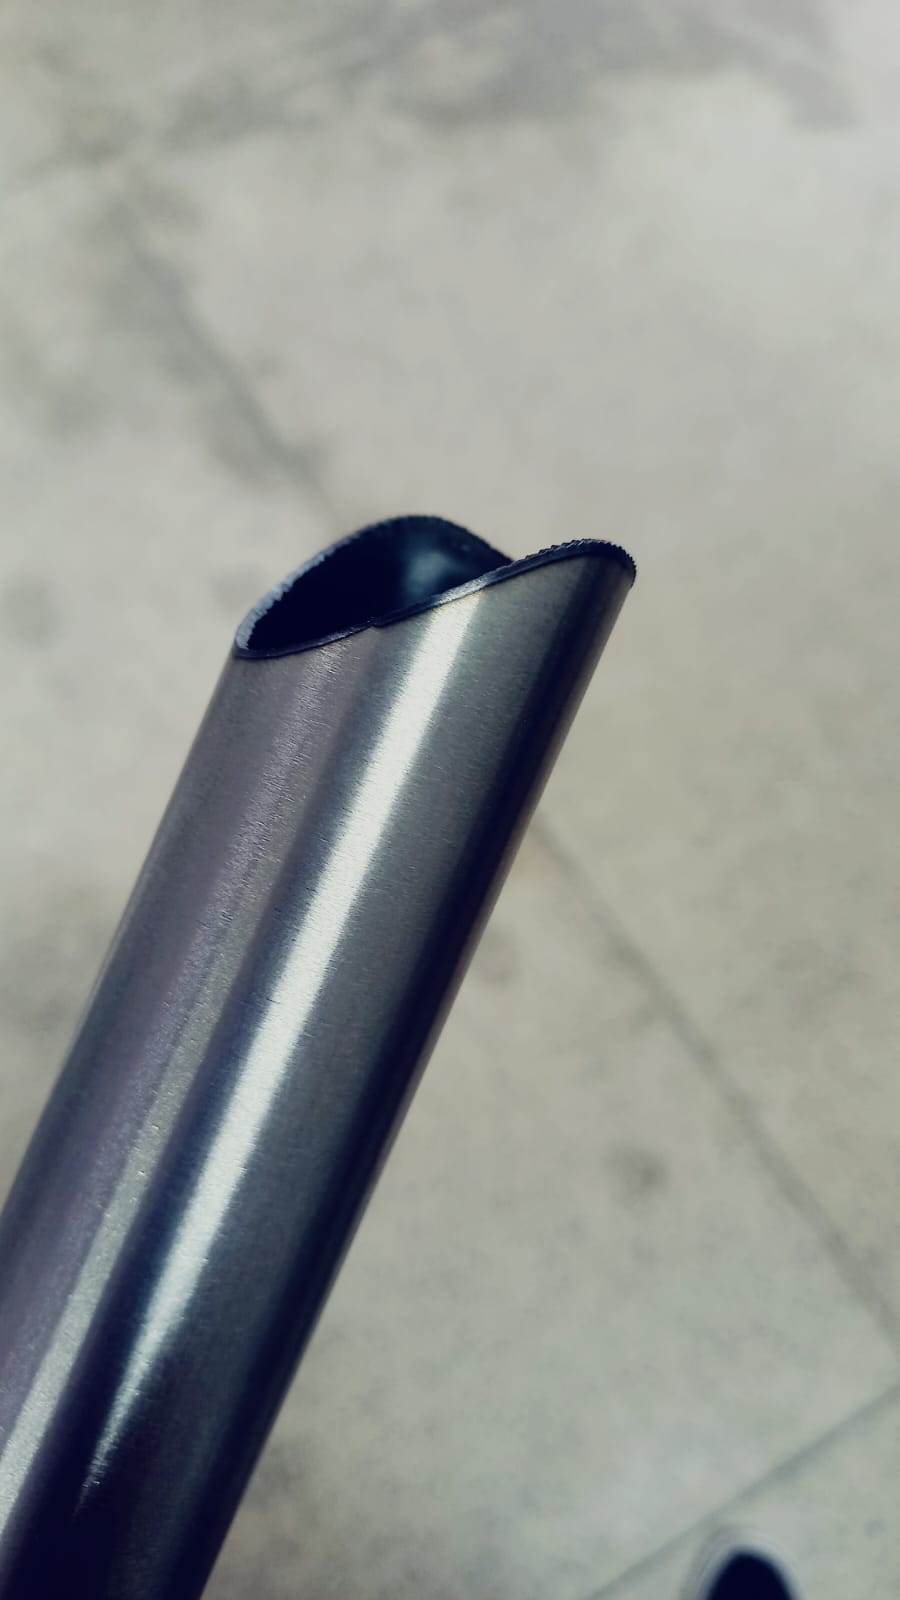
Yes DT has the most operations. The one mitre that is more or less impossible to do by hand (I find anyway) is unicrown fork blades. Because the tube is curved, you can’t wrap the paper template around it!
There is one mitre which is impossible to do with a hole-saw, and that’s DT into tapered HT. This works very well with paper and would also be nicely done by your laser.
1 Like
Mitering a downtube to a tapered headtube with a hole saw is far from impossible. There are a few ways to approach it, some are very reliably repeatable
3 Likes
So how do you do it? You obviously can’t use a tapered hole-saw. Cut some of the way through from each end with different sized hole-saws and then interpolate between them with a file?
Check out this post from Daniel - Tapered Headtube Secrets: how to slay the tapered headtube
2 Likes
That’s really interesting! I make the error more like 2mm though (but I may well have worked it out wrong).
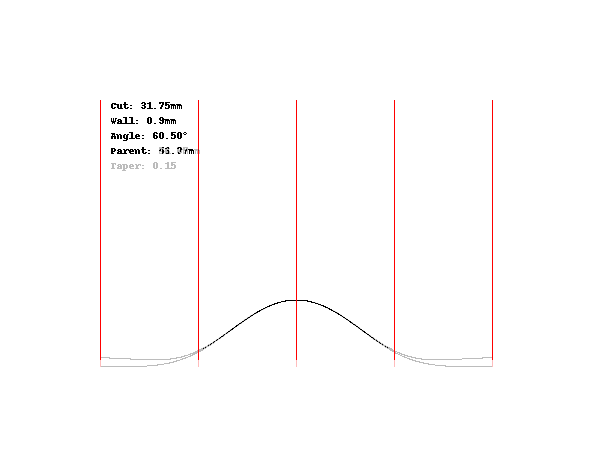
This is a template for a “0.15 taper” (by which I mean the ratio of diameter to length change-- in the case of a Columbus tapered HT you gain about 10mm over 64mm of length) superposed over that for if you had a 51.78mm HT (which is my estimate of “theta*” in this case).
The image is at a resolution of 100px per inch, and I make the discrepancy 9 pixels at the edges, which is 2.29mm.
But the good news is that the one based on 51.78 is the one that’s too big. So you could easily adjust it.
1 Like
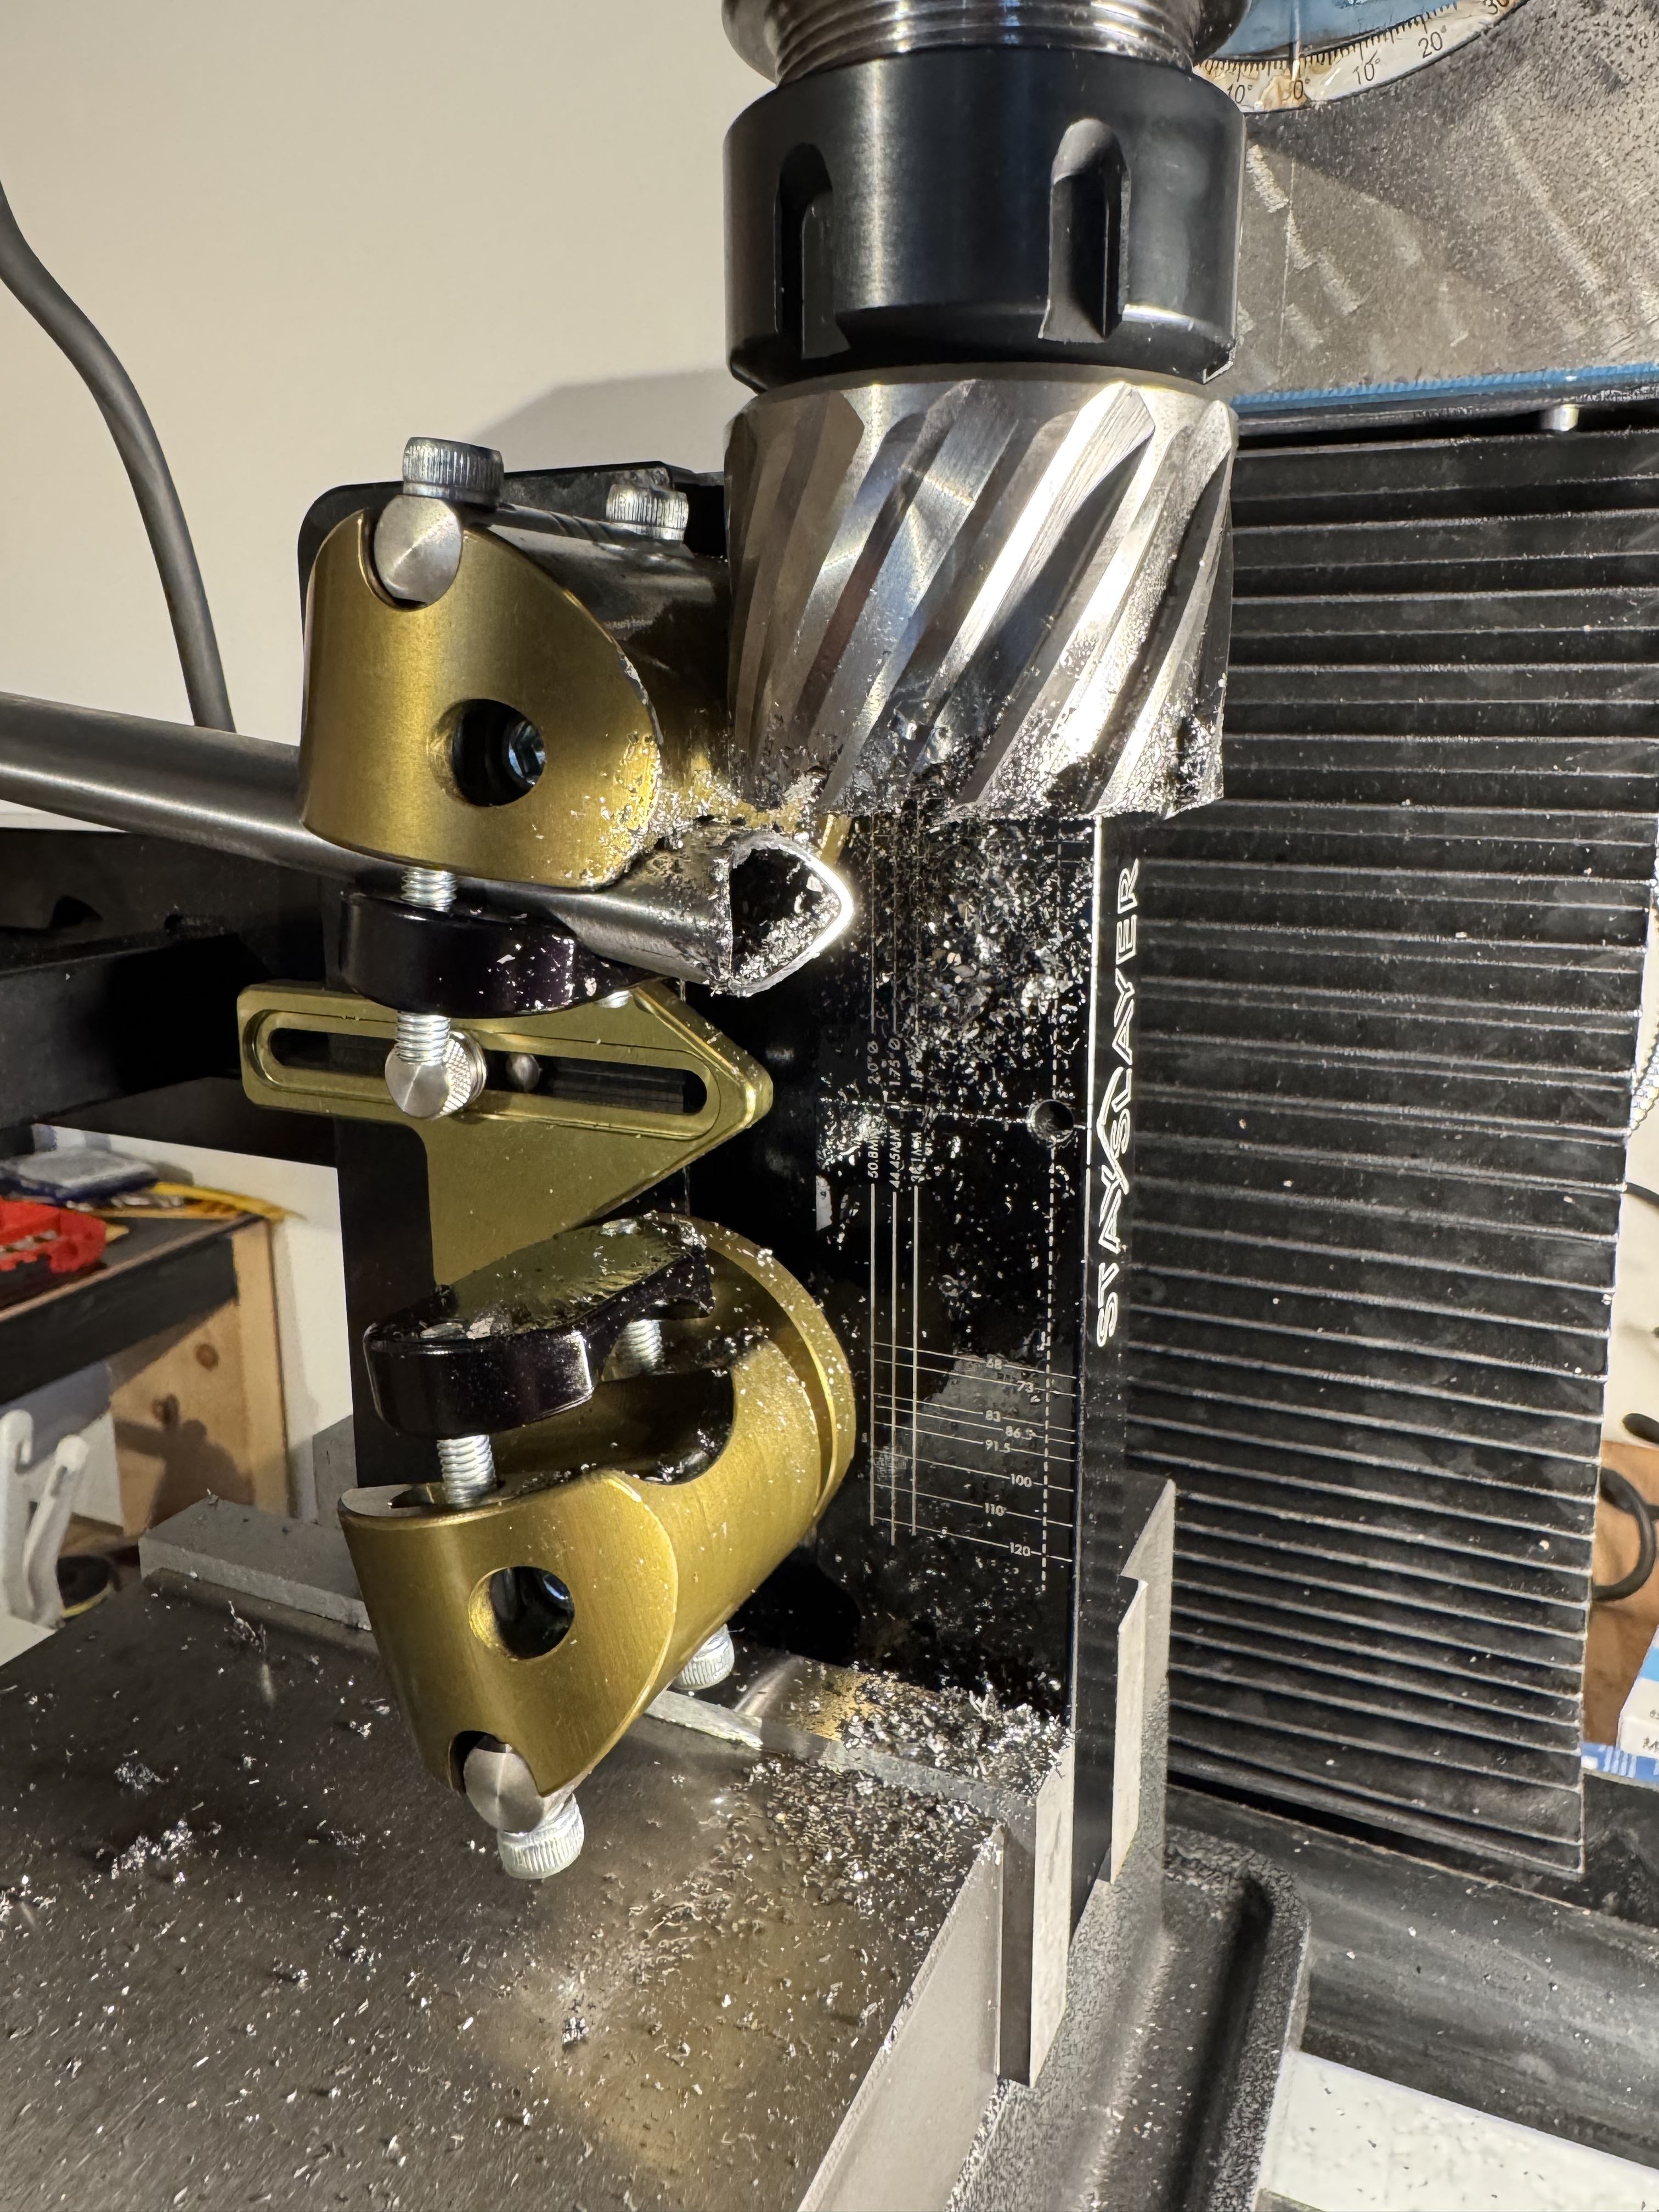
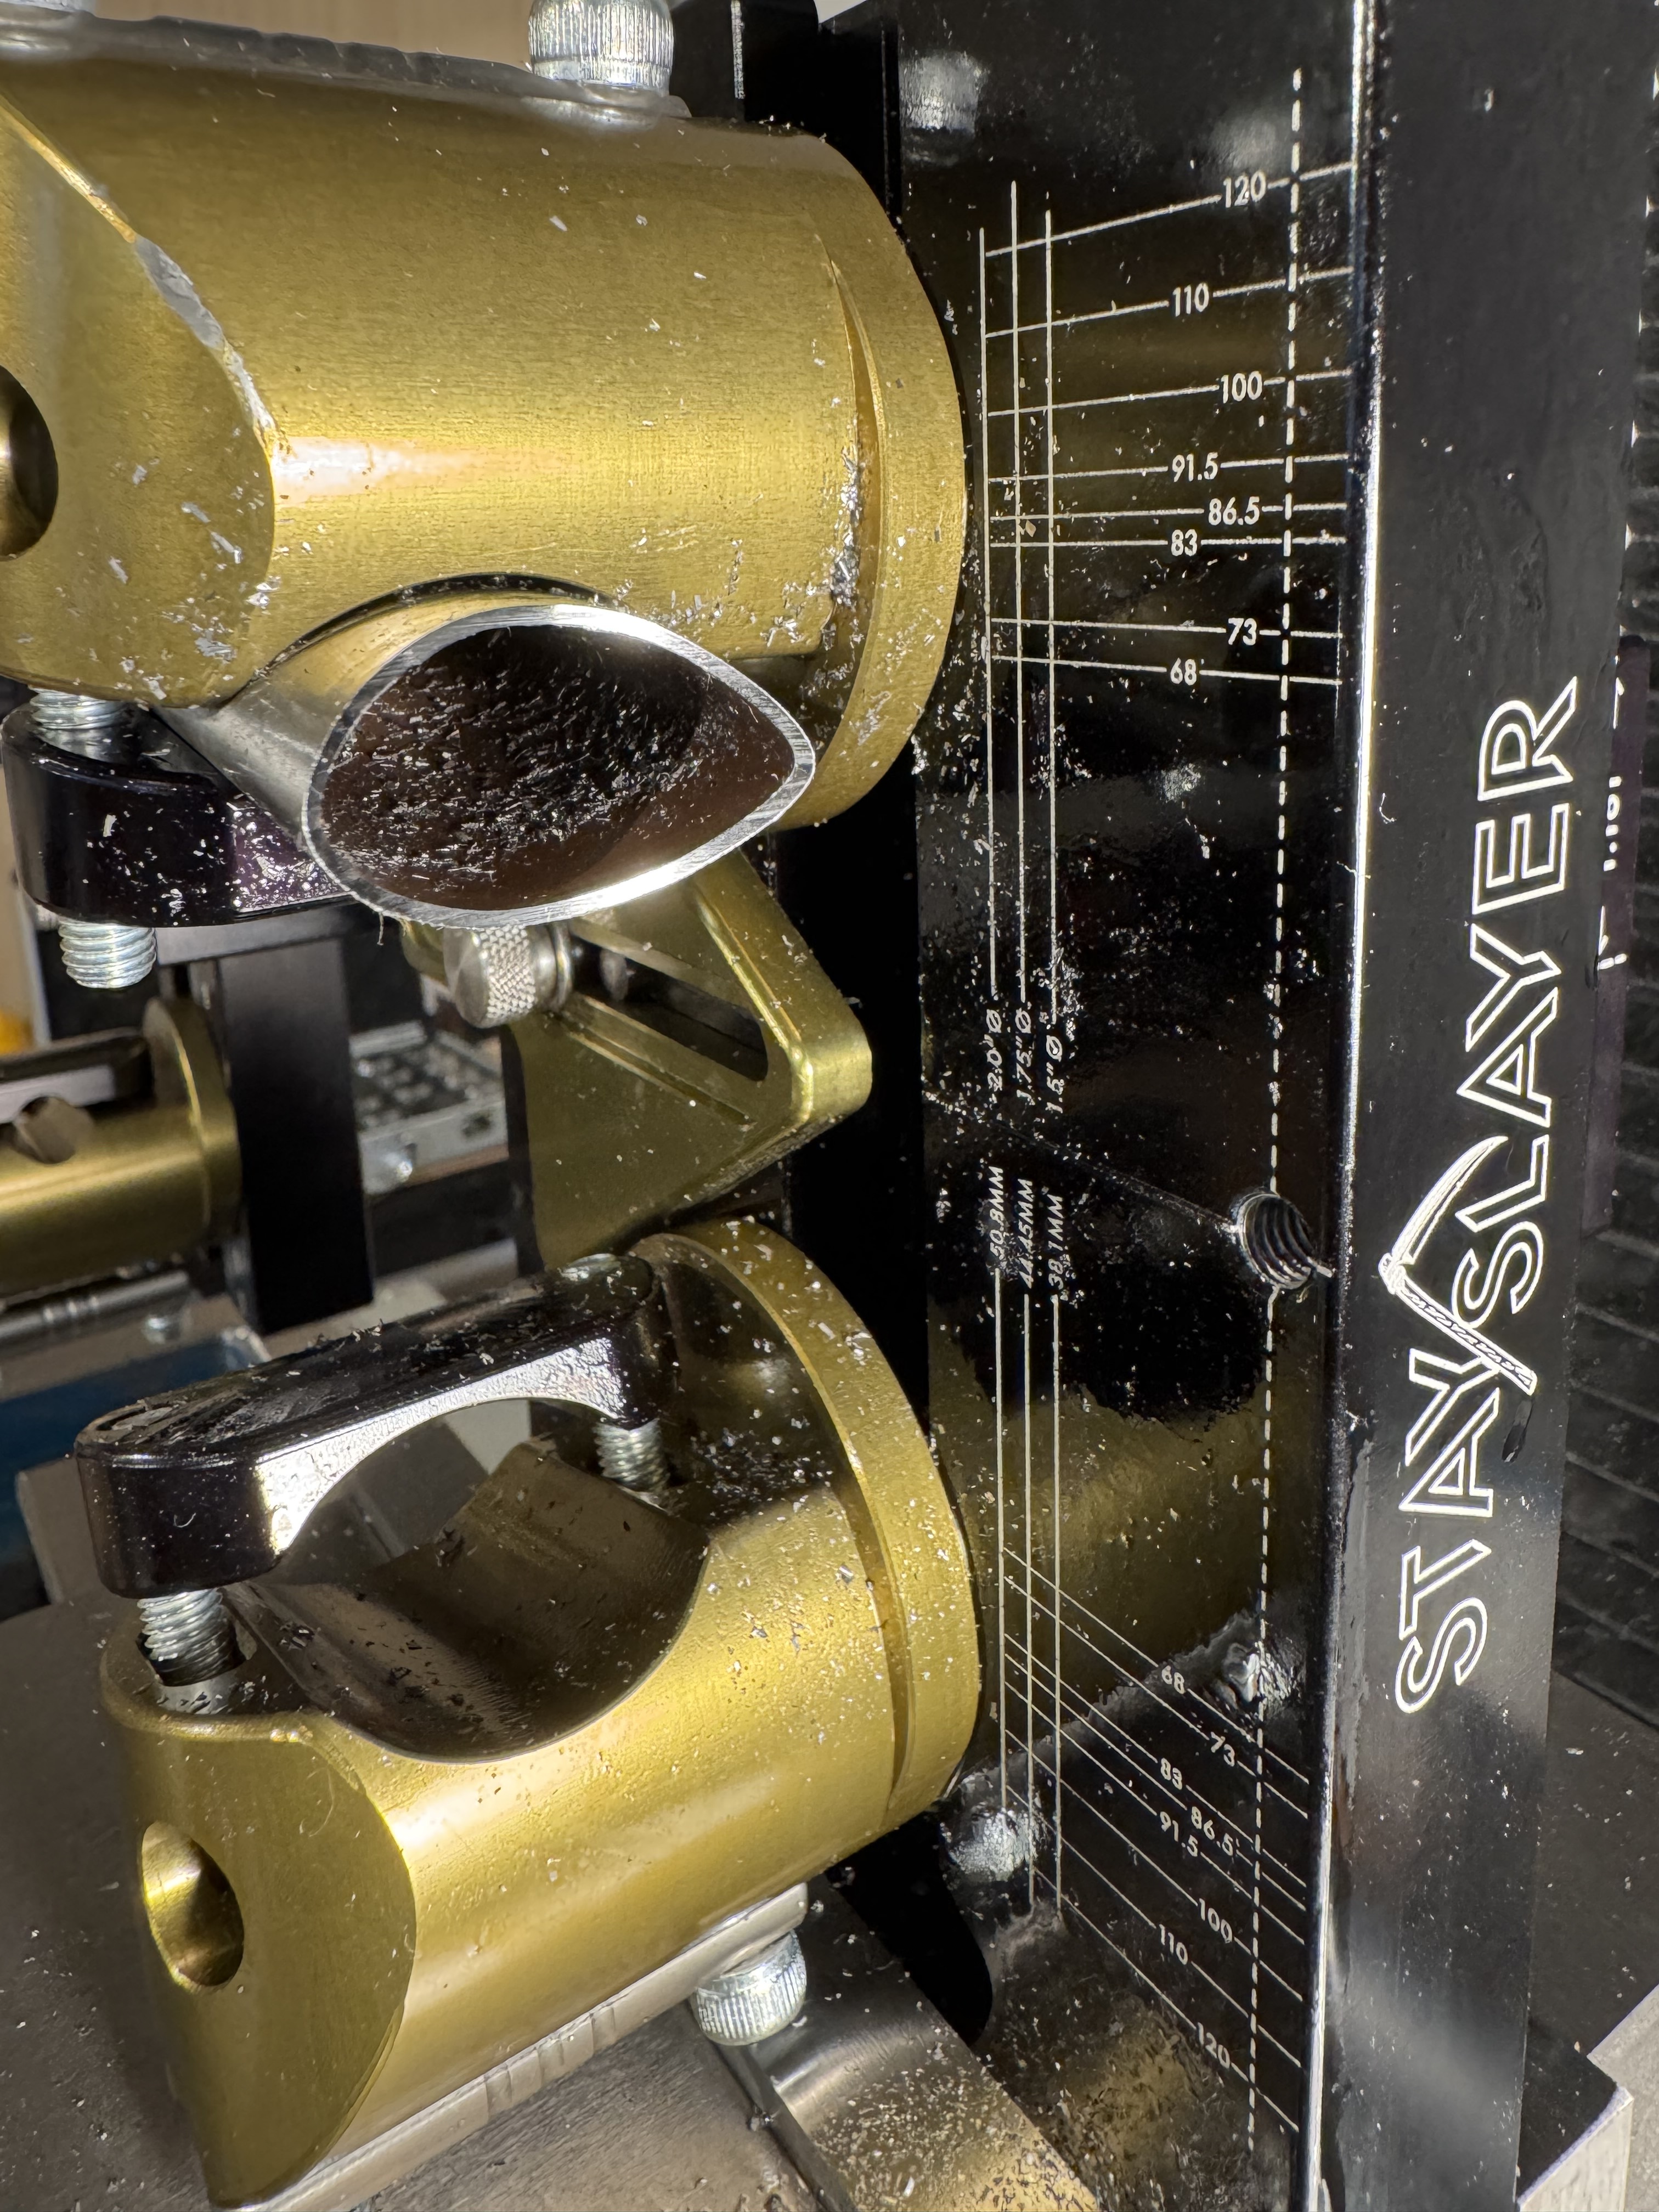
Thought I’d maybe bring this thread back to life as it contains a wealth of info on the old miter.
Have a question regarding milling rpm and runout on hole saws and annular cutters.
I’ve been using a wobbly tube notcher and templates, but recently got an ok (ish) 250kg bench to mill. Really wasn’t loving the tube notcher (made by stronghand) as it had terrible runout and, as other said previously, had to be run at pretty high speeds to get a cut without it catching.
The mills has a runout about 0.01mm with just the arbor, but jumps to 0.5mm with the hole saw. But i’m getting pretty reasonable miters with the 8-12tpi hole saw around 100rpm (slow feed) with a 51mm cutter in reynolds 525 CS, but had to run at much higher (450 rpm) to get a good cut on 863 (air hardened) as it would catch at a more normal rpm.
Any tips on reducing runout on the holesaw? I don’t have lathe…
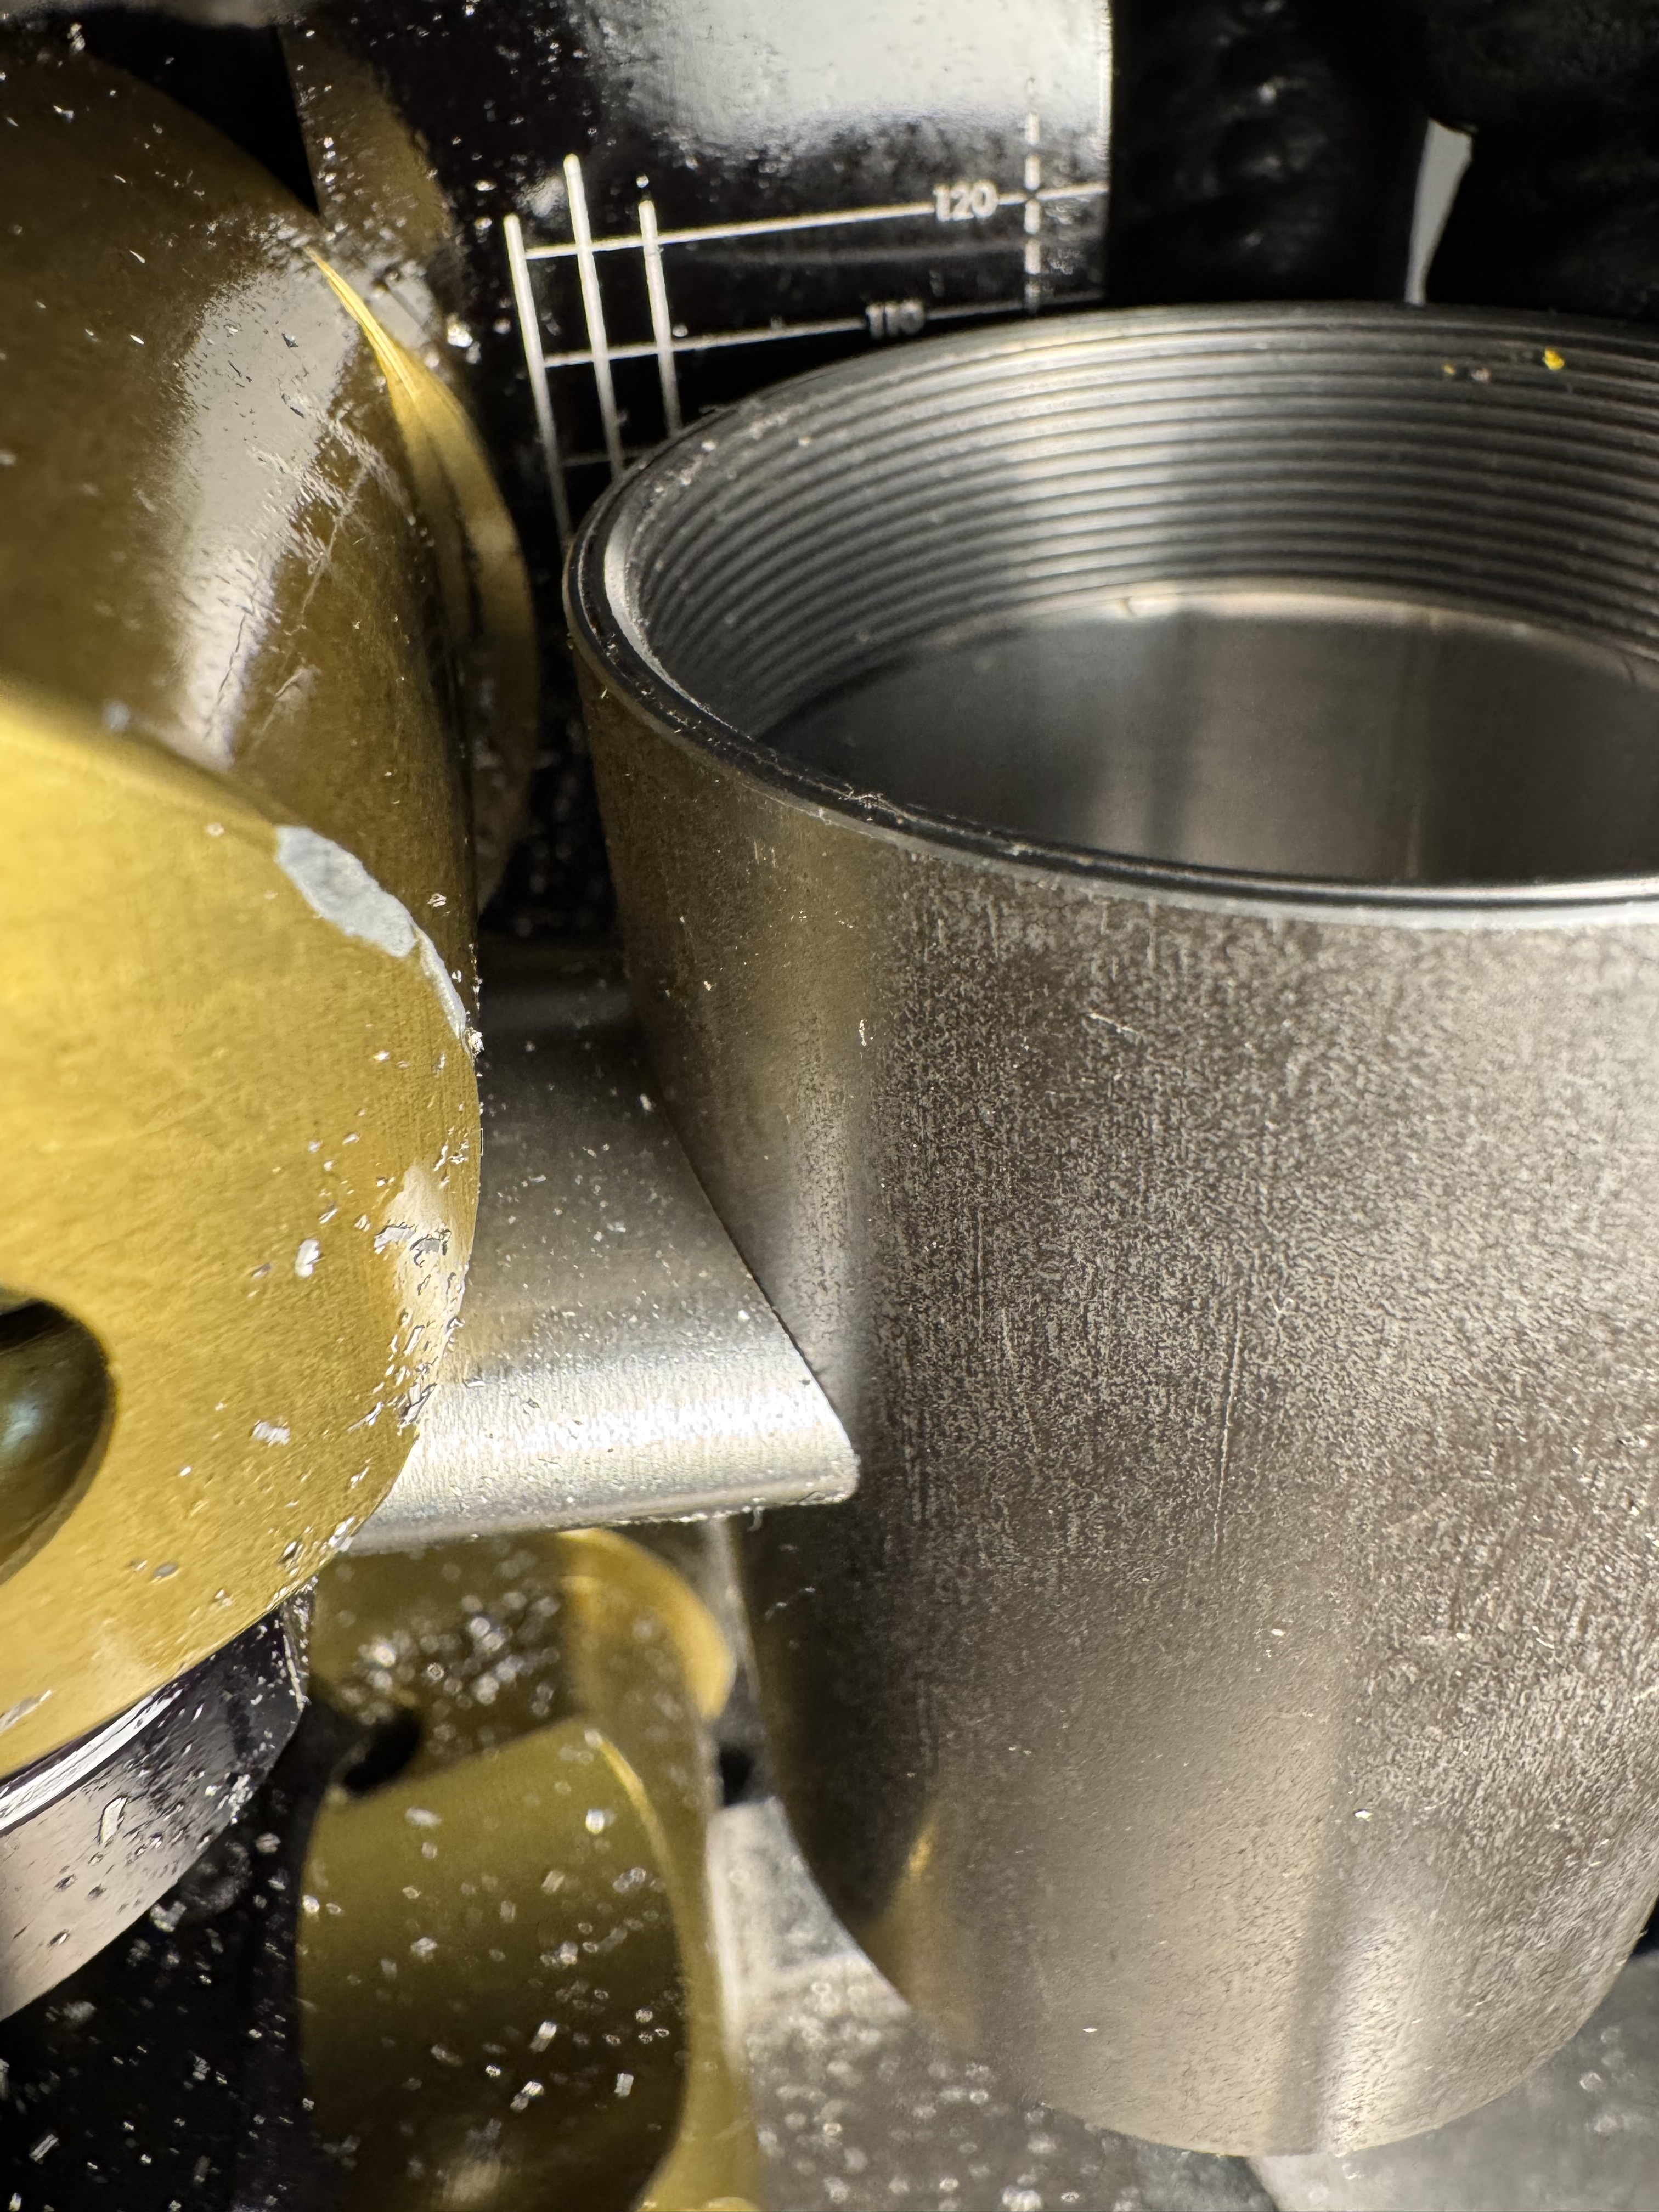
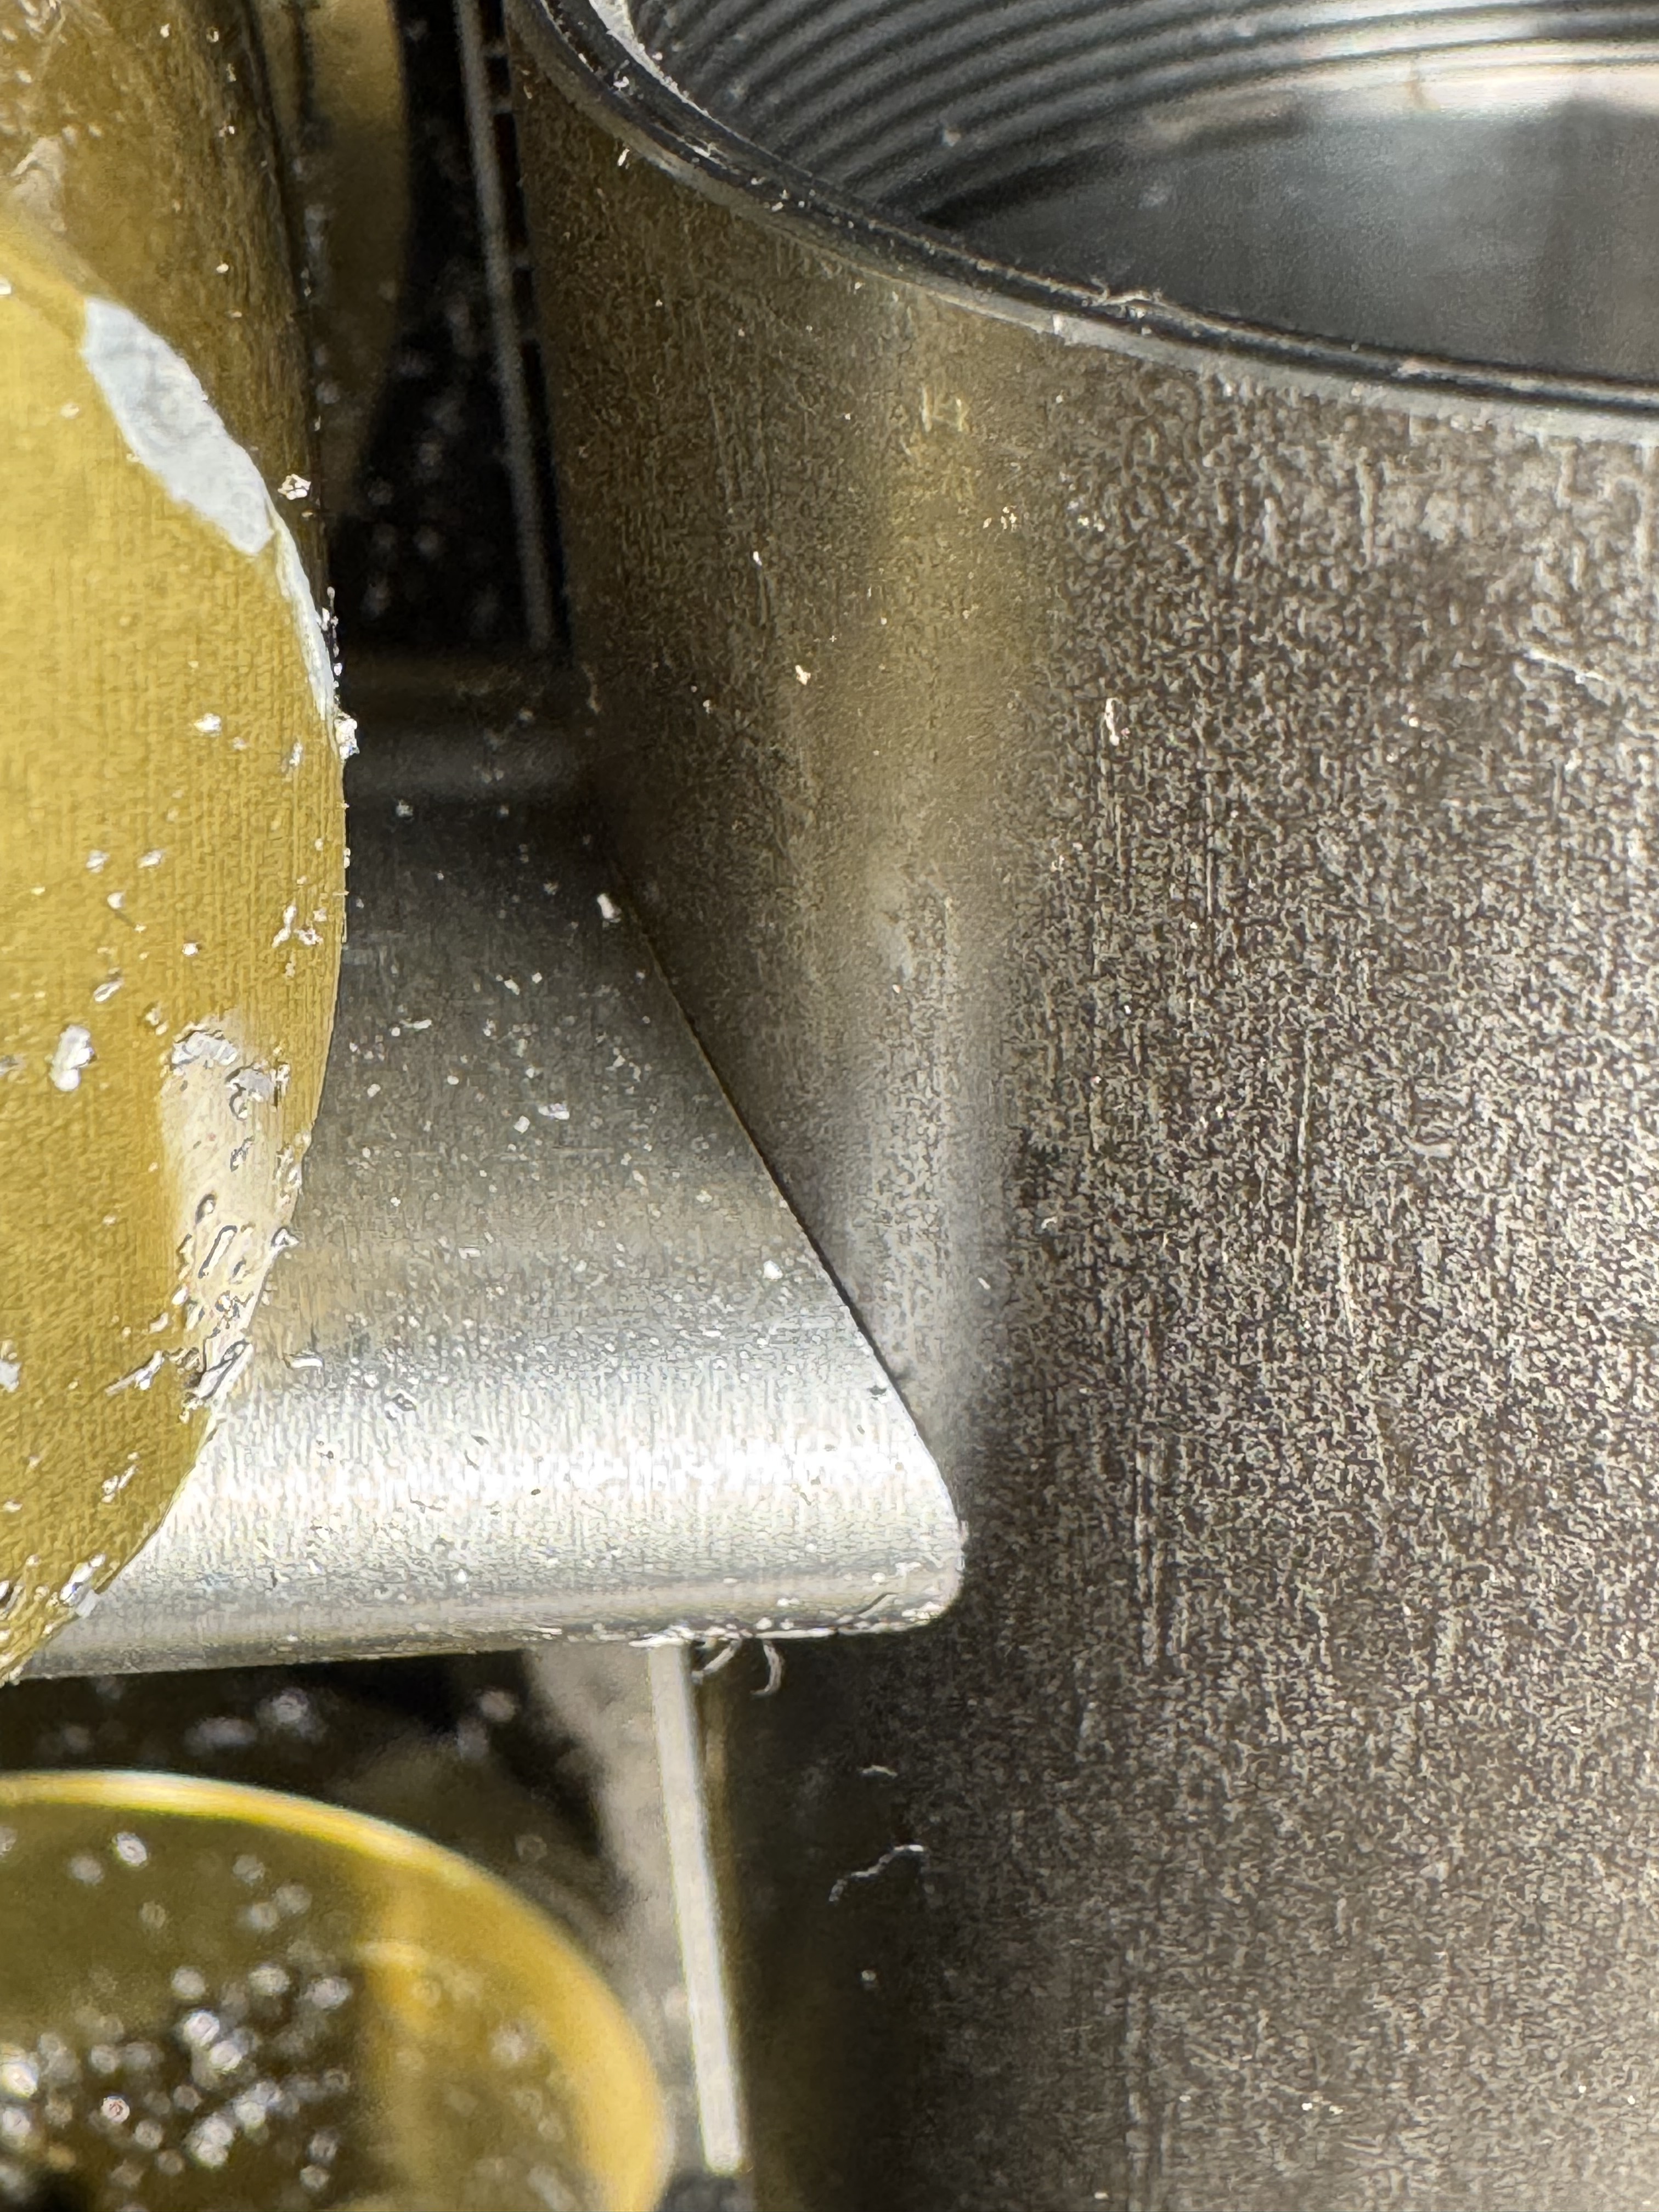
Thought i’d try the same with a 51mm HSS annular cutter, the sort typically used with magnetic drills. This gives virtually the same runout as the machine (0.01mm ish), but has less teeth and a much thicker cutting surface. It starts off cutting nicely at circa 100 rpm and a very slow feed, but as soon as the cutter penetrates the tube wall it catches. Did some experiments and the only way was to increase to 500 rpm.
Anyone got any pears of wisdom or are annular cutter not that common for a good reason?
Cheers
Dan
Try the fine-tooth holesaws from RockHard, if you aren’t already. I hope your arbors are Paragon or equivalent, not the hardware store type, which are too wimpy. Paragons have a 3/4” shank, plenty rigid. Now that PMW is out of business, we might have to make our own. Well, not me, I stocked up with a lifetime supply of PMW arbors. ![]()
One place I worked, the boss welded each holesaw to its arbor, then trued them on the lathe. The welding seemed overkill to me but they did cut well. (At a previous shop, I did true them on the lathe, but without the welding.)
Since they aren’t especially round, the runout is in effect just one tooth or a small number of teeth that need to be knocked back a bit. You can do it in the mill by clamping a carbide lathe bit in the mill vise. Or even marking the high spot with a sharpie and taking that spot down on a bench grinder or belt-sander, good enough for jazz.
I loved the power downfeed on the Bridgeport, with a depth stop that clicks the PDF off after it finishes the cut, but your benchtop mill probably doesn’t have that. But if you have a slow ‘precision’ downfeed option, that might be better than the drill-press style downfeed, which can make it too easy to advance fast, and catch. With practice you learn (maybe you have already) what part of the cut is likely to catch, and reduce the downfeed pressure/speed there, so even the drillpress style downfeed can work OK. The slow/precision downfeed on mini-mills means a lot of twiddling that little handwheel — that gets old after a while.
I never tried annulars for tube mitering. The coarse tooth-pitch looks scary, but being carbide I guess you can up the rpm, so maybe they can cut OK? Dunno.
1 Like
Yeah, i’ve been using the paragon arbors and Coba-Tech 8-12tpi hole saws. But no auto feed…beyond my budget just now. Will go back to the precision feed though
Good tip on checking the teeth! Will give than go too, did seem to have a wobble on the saw body too. Maybe the rock hard ones are a bit better quality?
Think the annulars might have been a waste of money…will give them another few runs.
Thanks!