For the past few months, I have been thinking of doing a build log for my first build but have been so busy with my thesis and work that I haven’t had time for it. I also thought that if I don’t have time for regular updates, it isn’t worth it. Now I decided it is time to post it even though I don’t have the perfect photos or the perfect summary of my project. So here we go.
The purpose of the project was to get familiar with different manufacturing methods and to get some hands-on experience of machining. I also made my thesis from this project.
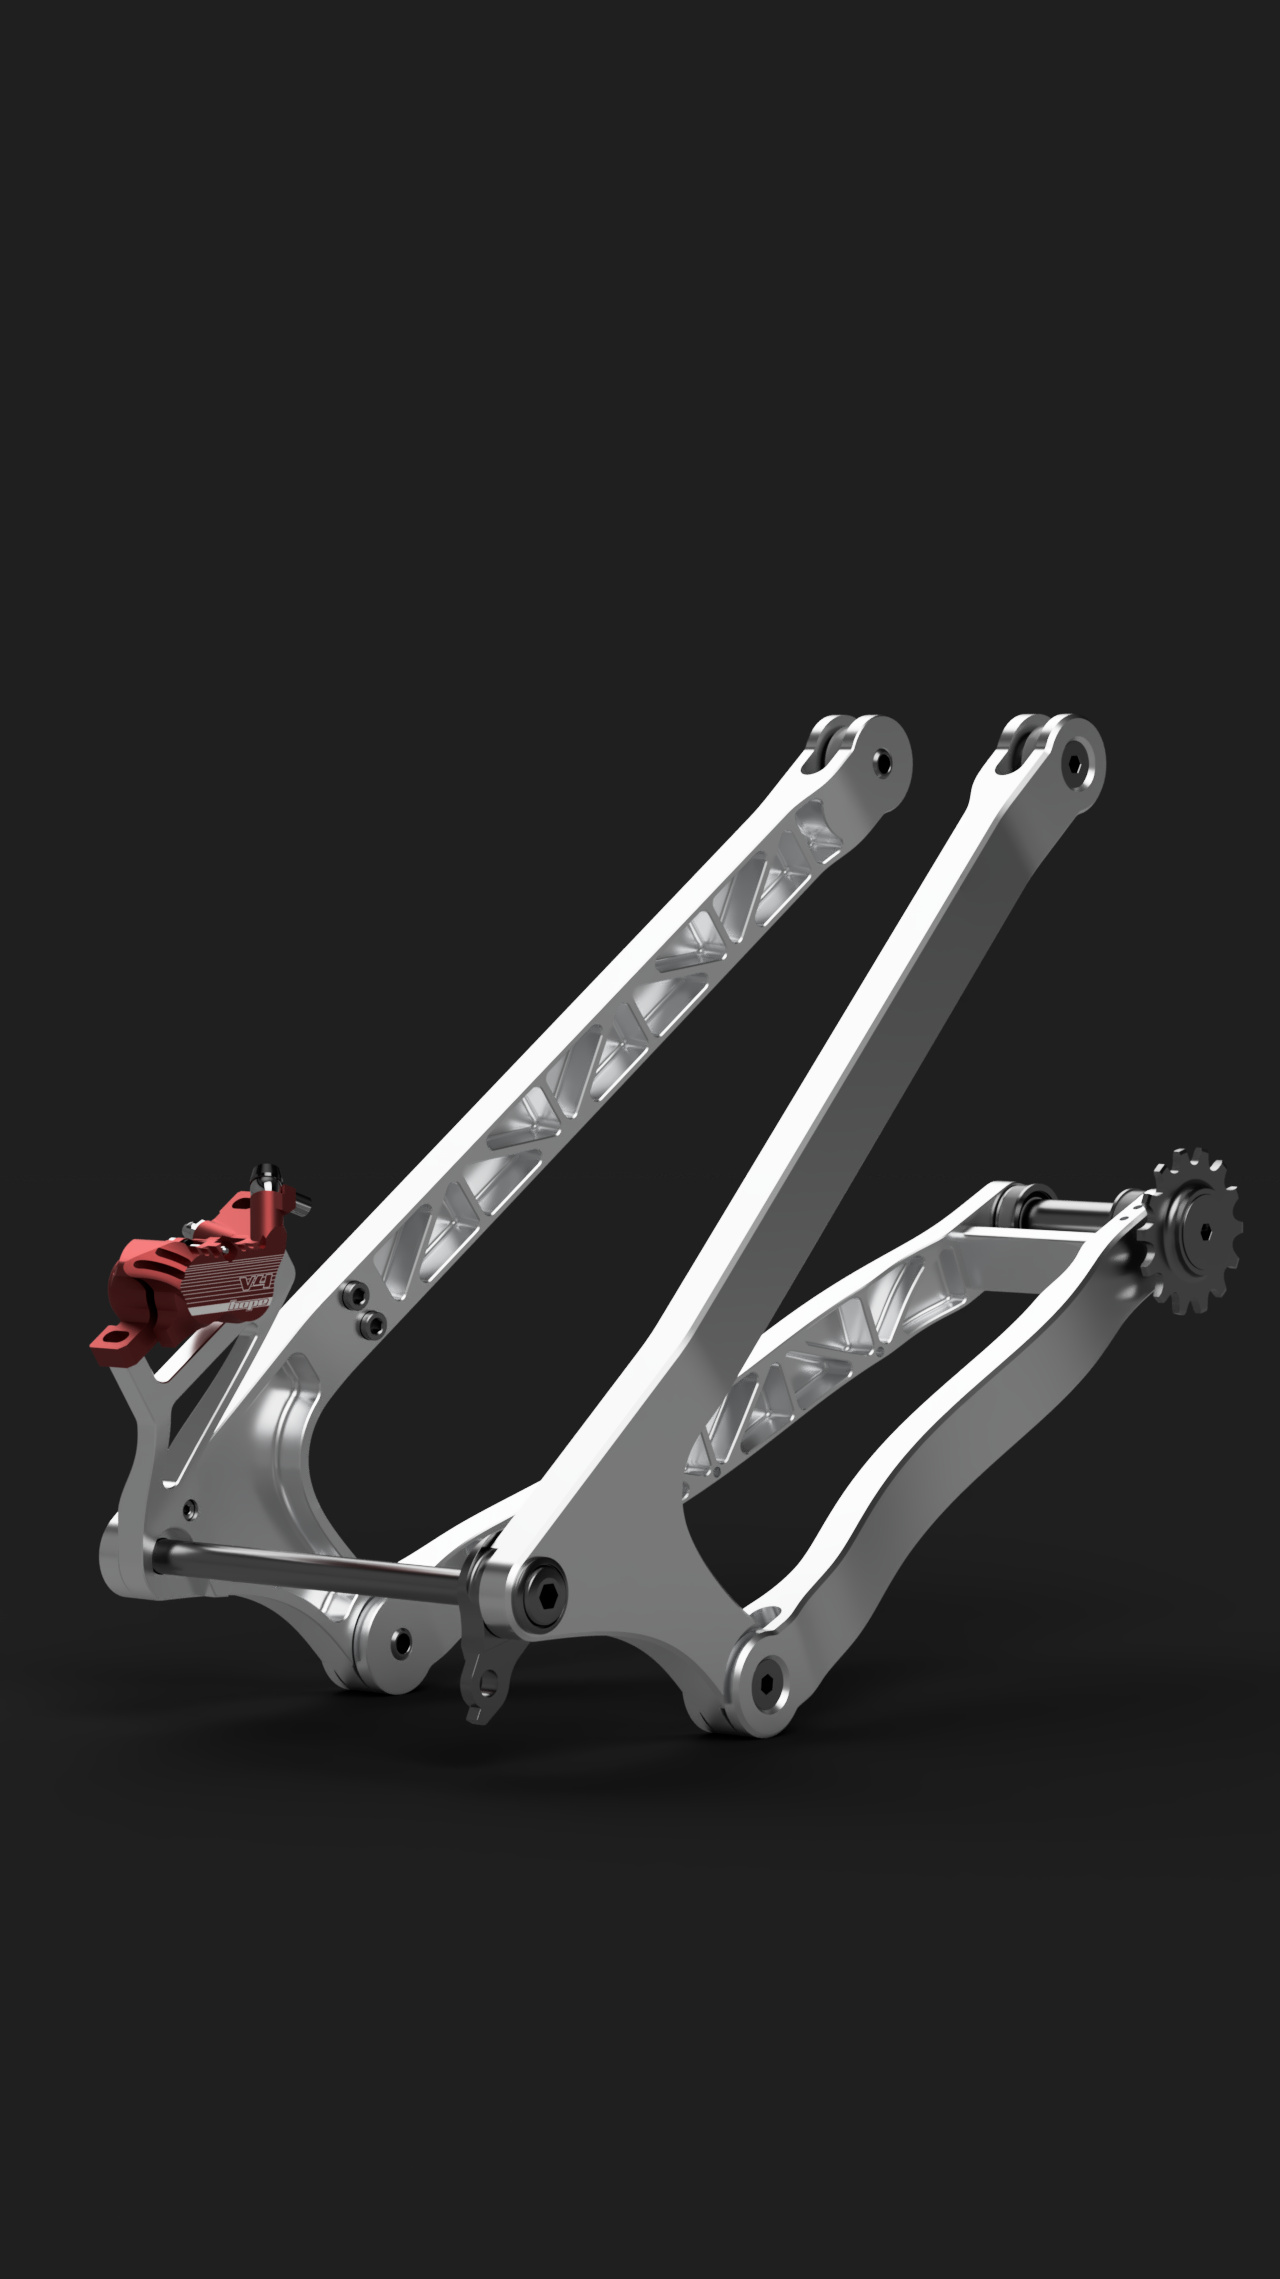
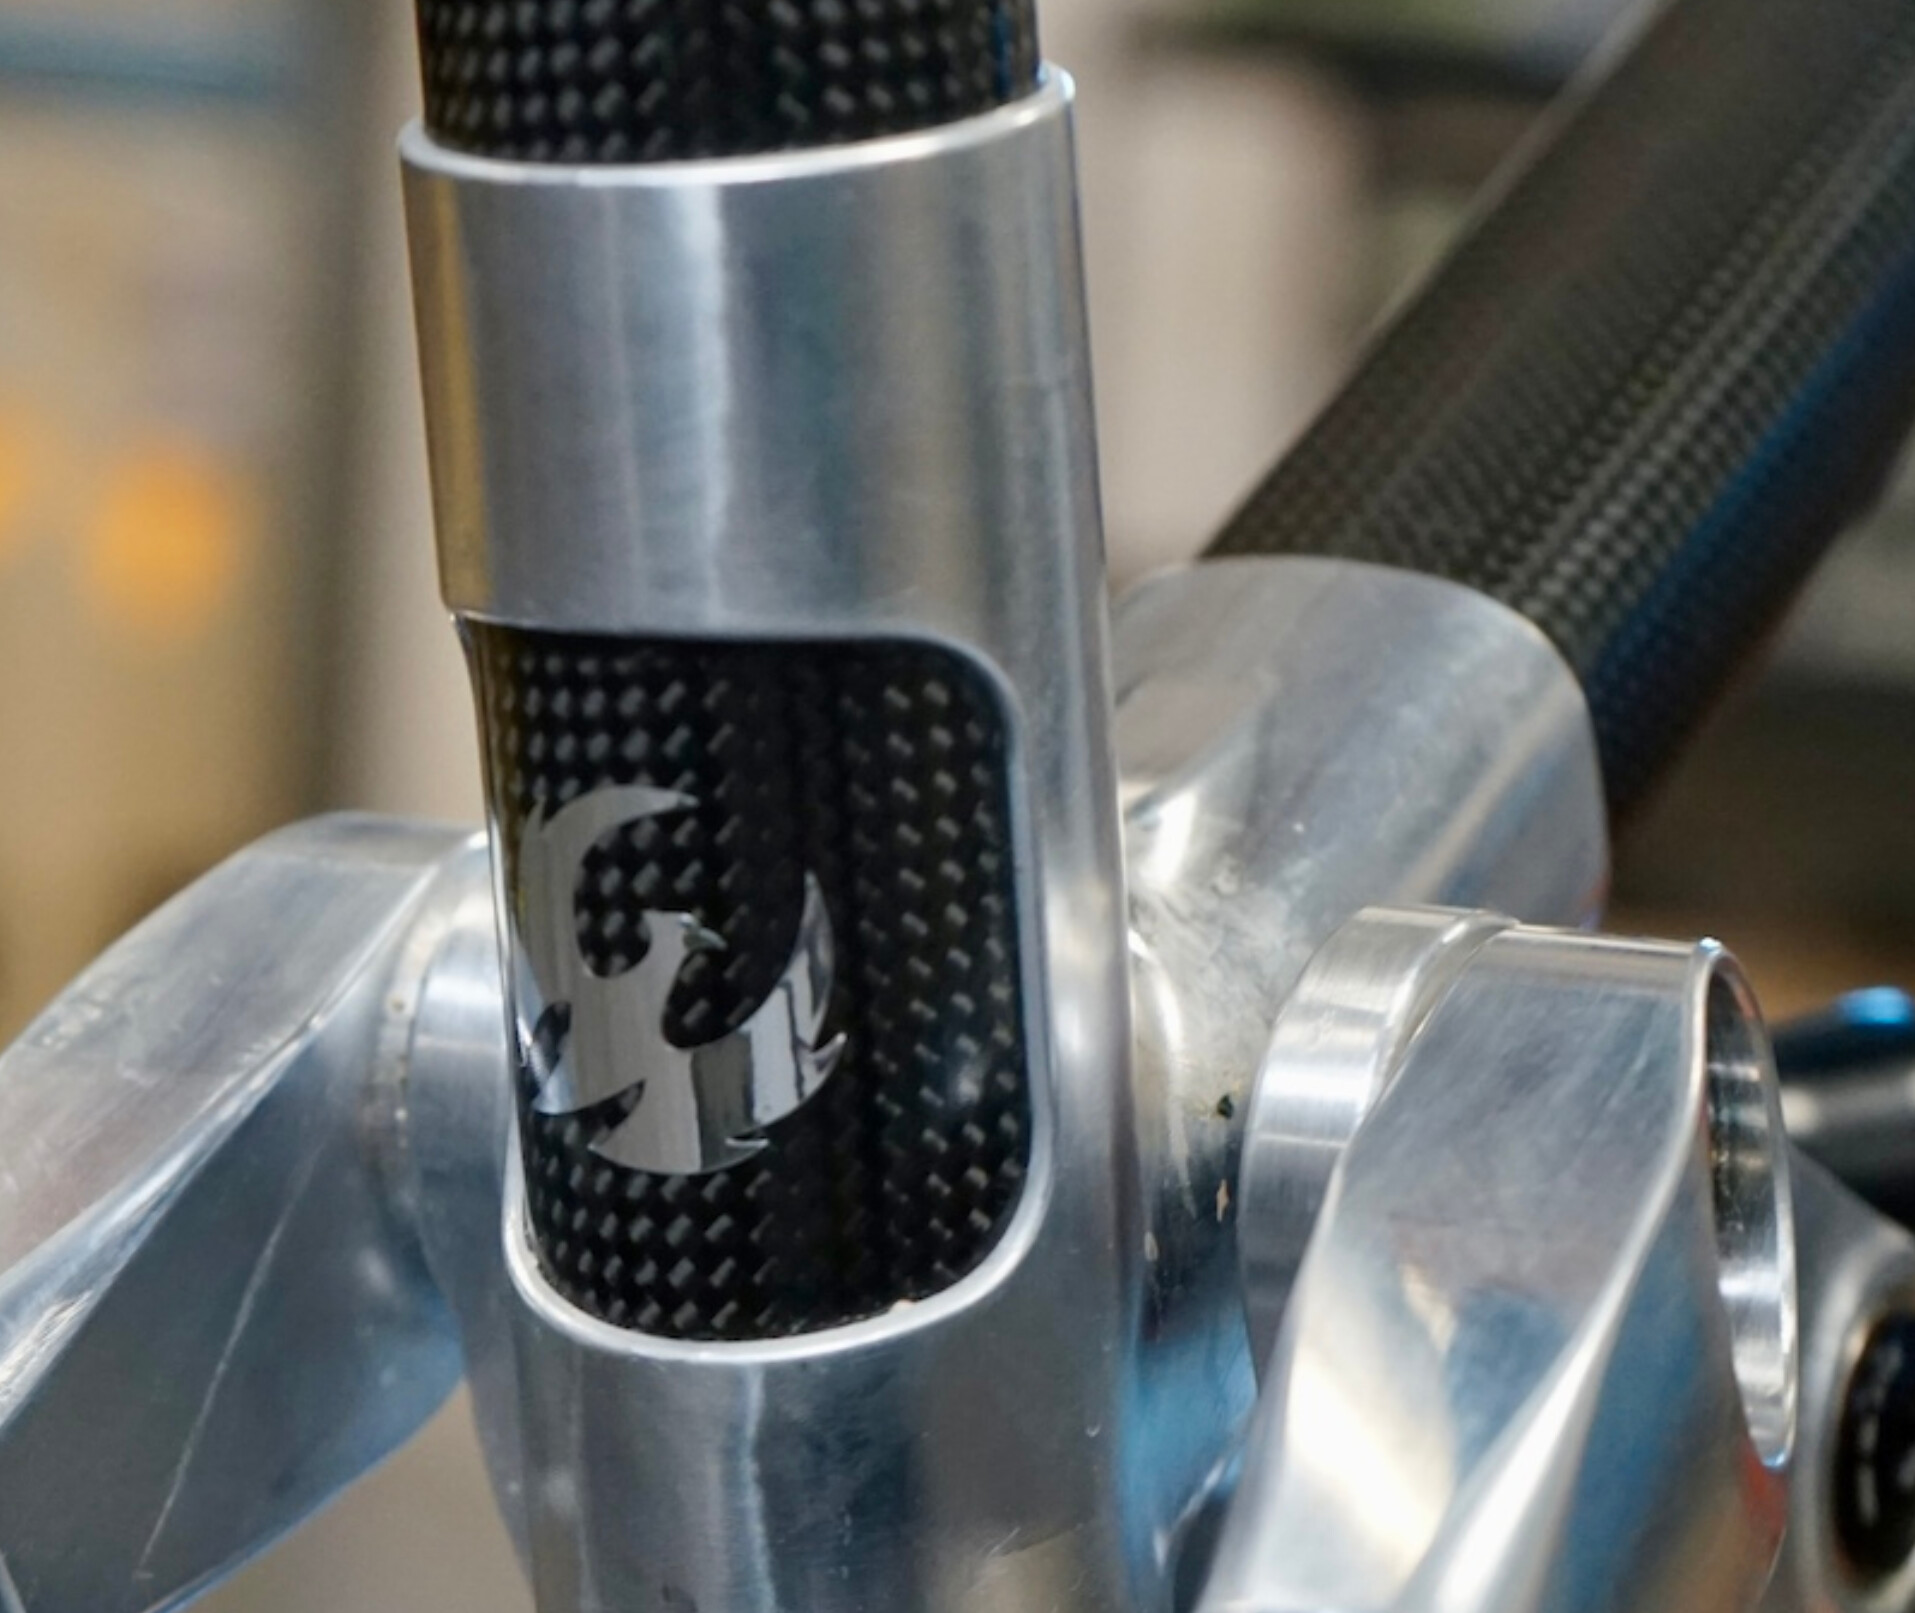
The front triangle is made of machined lugs and carbon tubes, but I will start the build log with the rear triangle as that is currently being manufactured. The rear triangle will be machined from 7075-T6, and it will be based on a high pivot horst link design. The kinematics are highly inspired by Kavenz vhp so all the credit to Giaco and everyone else from Kavenz! Seat stay will be a separate part from the dropouts to get some adjustability with changing the dropouts and maybe to tune the stiffness of the seat stay, who knows.
Dropouts are UDH compatible, and the brake mount is removable. The rocker will be made of two halves that are connected currently with bolts, but gluing is also a possibility. That’s a very brief introduction but I guess it’s better than nothing! I’m sure I forgot something.
I have no prior experience in CNC machining, so it’s been a bit of progress. Hoping to have the first prototype ready by the end of the year and I hope I have time to do some follow up posts soon!
Here’s some pictures I have taken, I probably should take better ones if I start to post more of these.
I had one course during my studies where I did like 4 setups and had probably 15 minutes of machine time so basically no experience. But I was instantly hooked from the first press of that magical cycle start button!
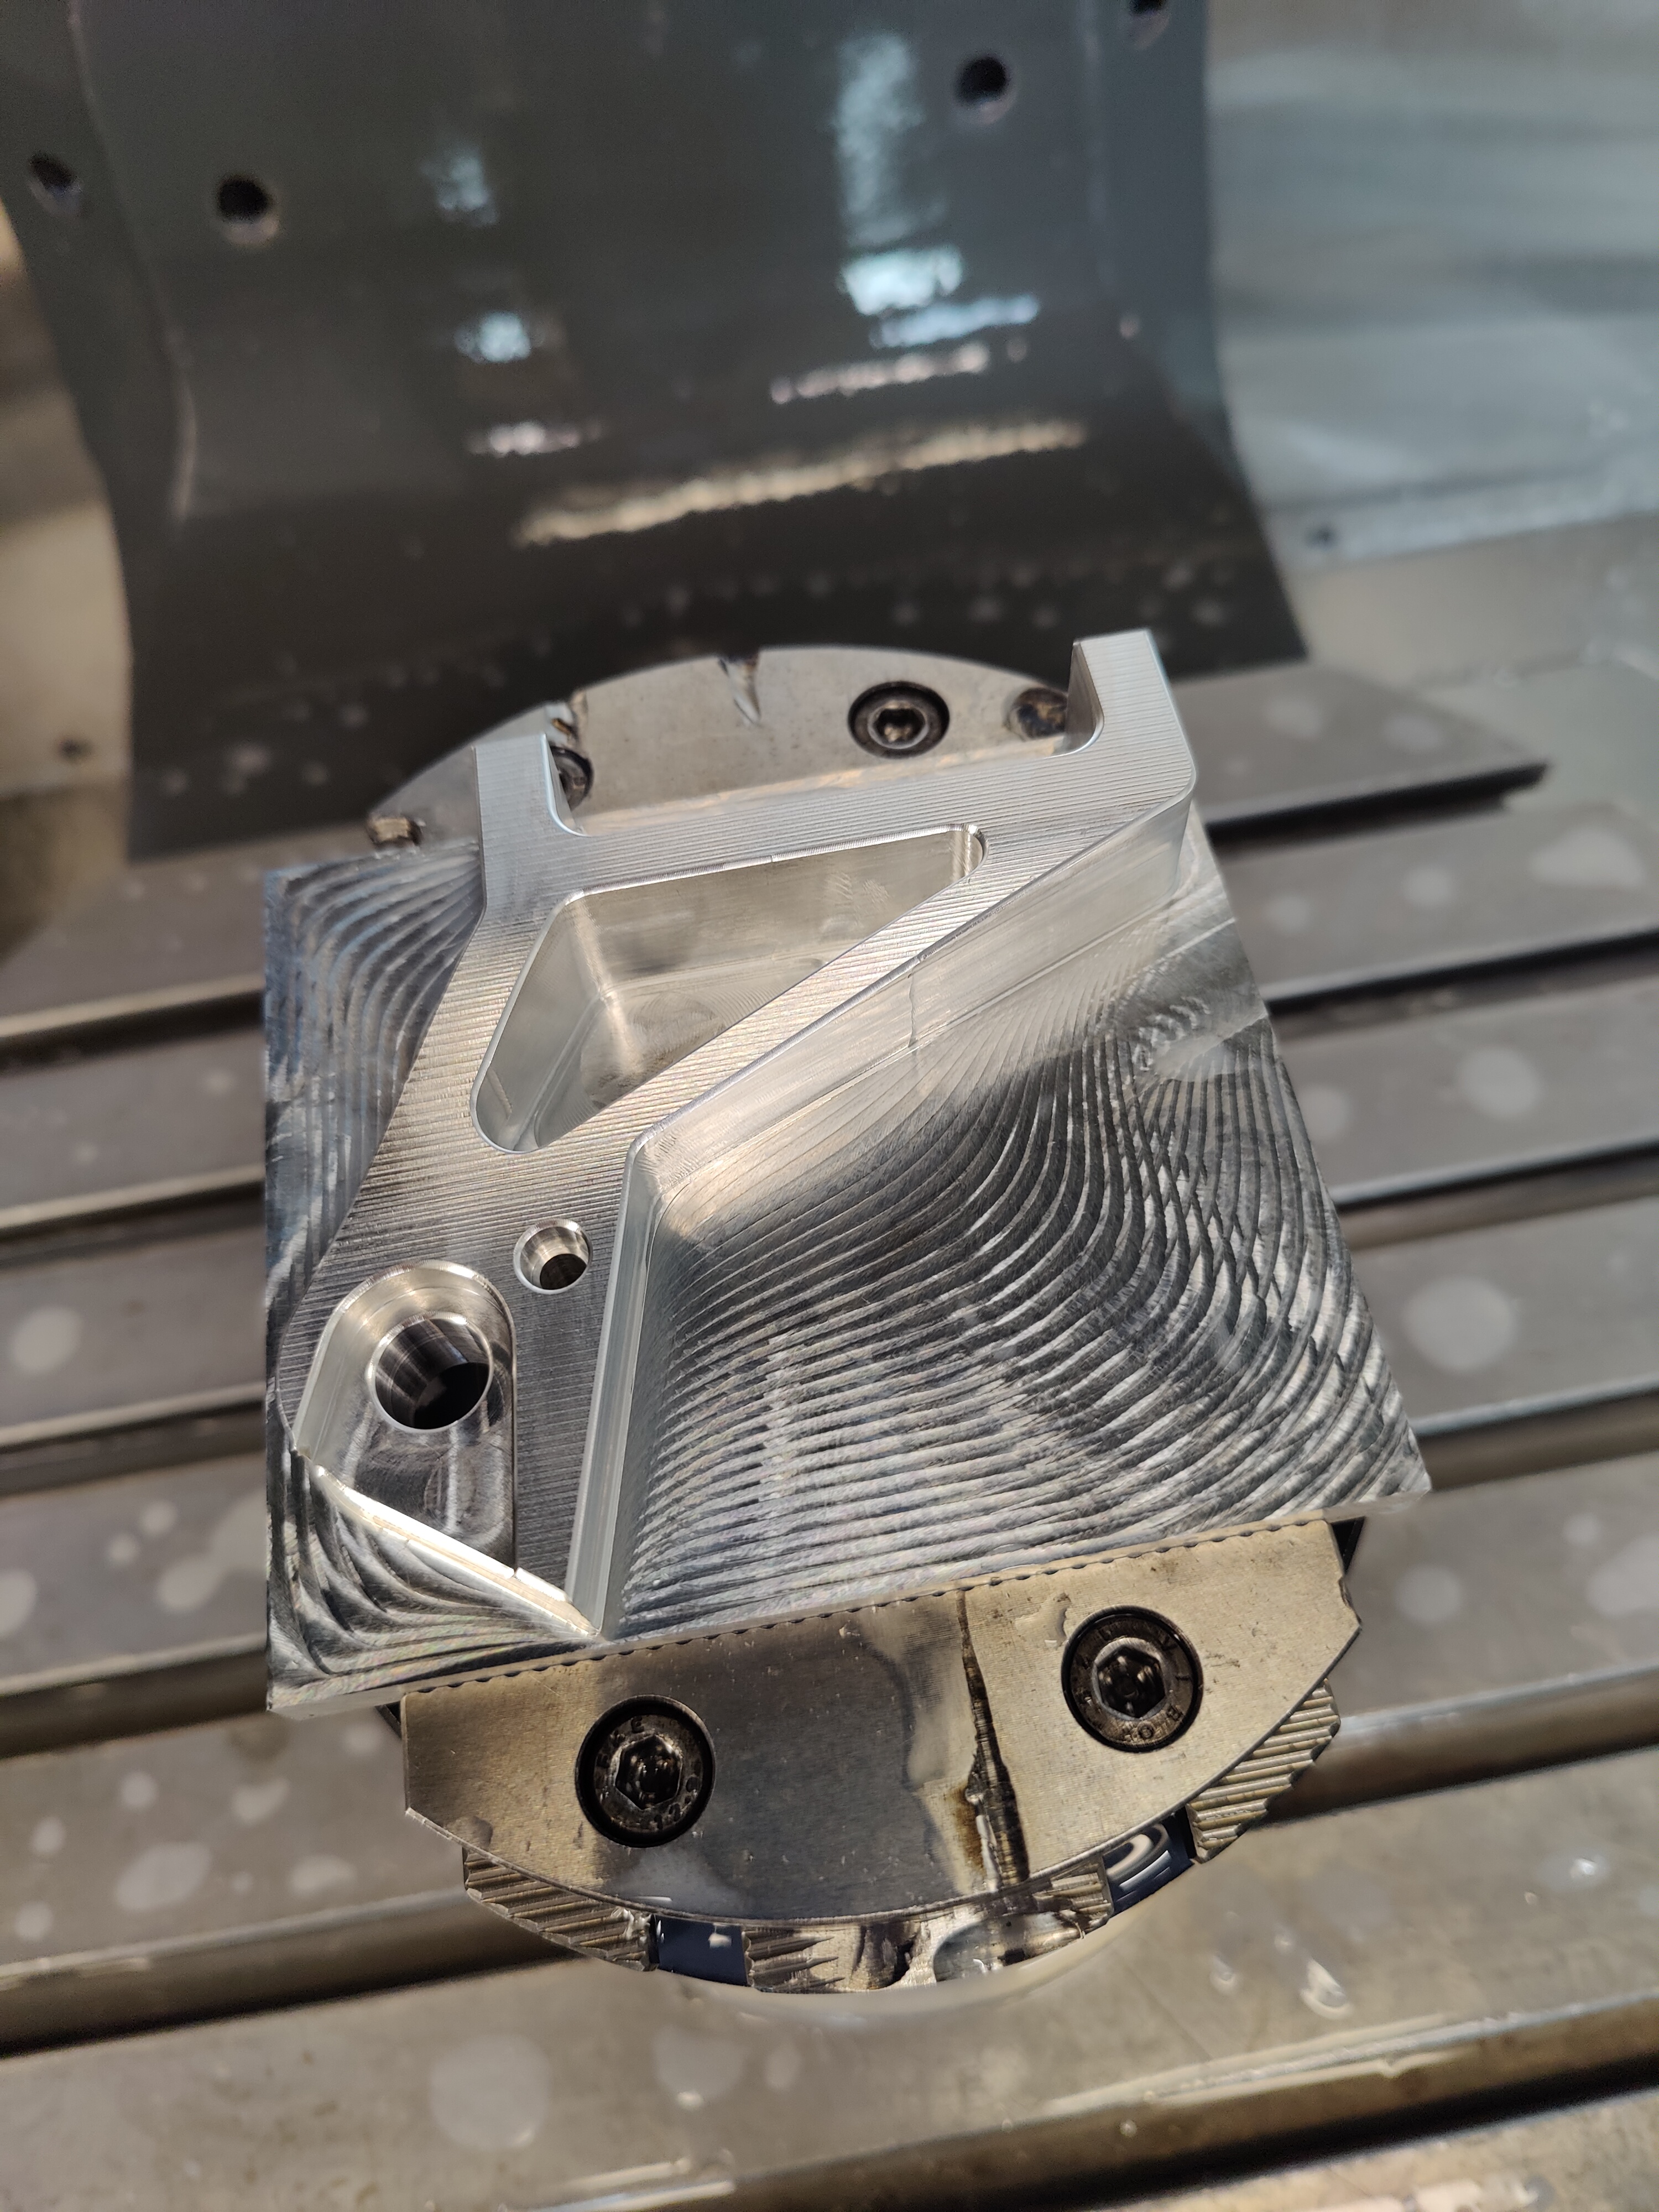
The hardest part for sure will be the bottom bracket lug. With the high pivot design, it’s quite a big part and the main struggle has been making it decently good looking but manufacturable. I could make it from two halves and bond it to get some design freedom on the inner and outer shapes, but I probably don’t have time to do enough testing with that method.
Also, the bonding of the carbon tubes to the lugs and the assembly phase is bit of a concern but I’m probably just overthinking all the bonding gap control methods etc. and the whole bonding process. Planning on doing some test bonds in the upcoming weeks. I have done plastic printed prototype from the whole rear and front triangle assembly but still a bit worried I might have missed something. We’ll see soon how it goes and will keep you updated!
Just returned my thesis for review and if everything goes smoothly, I’ll have plenty of more time to build the bike.
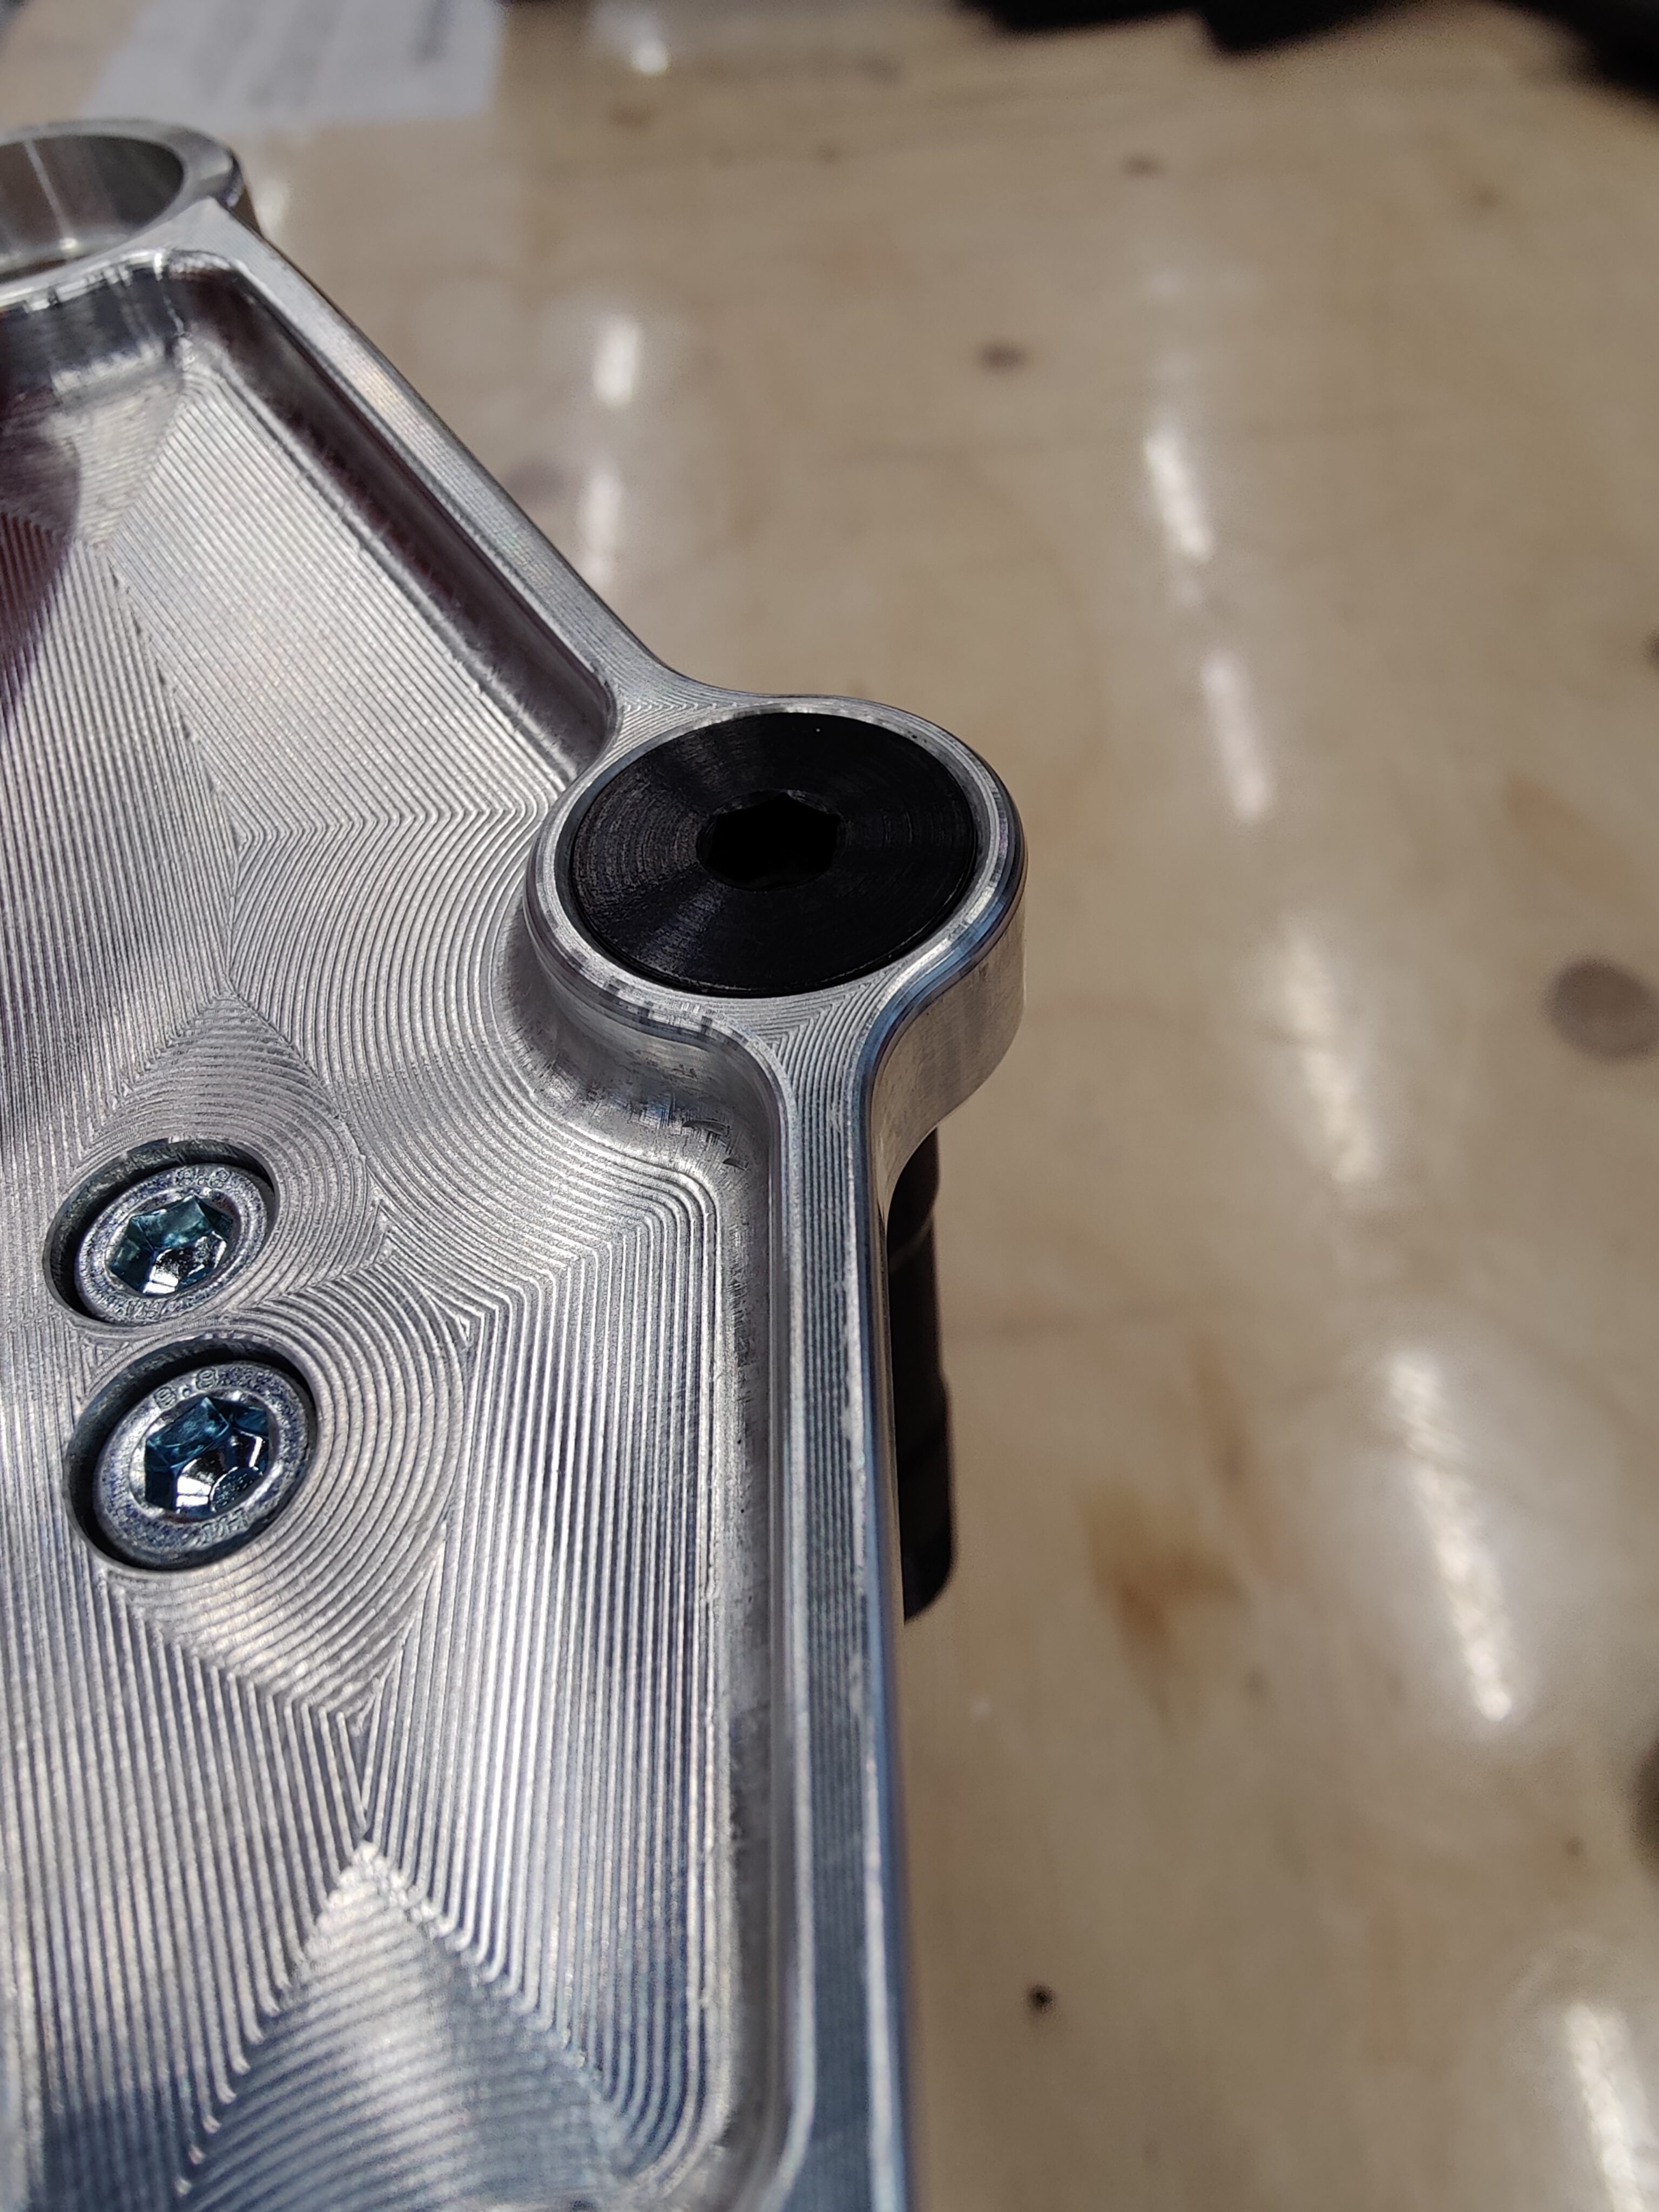
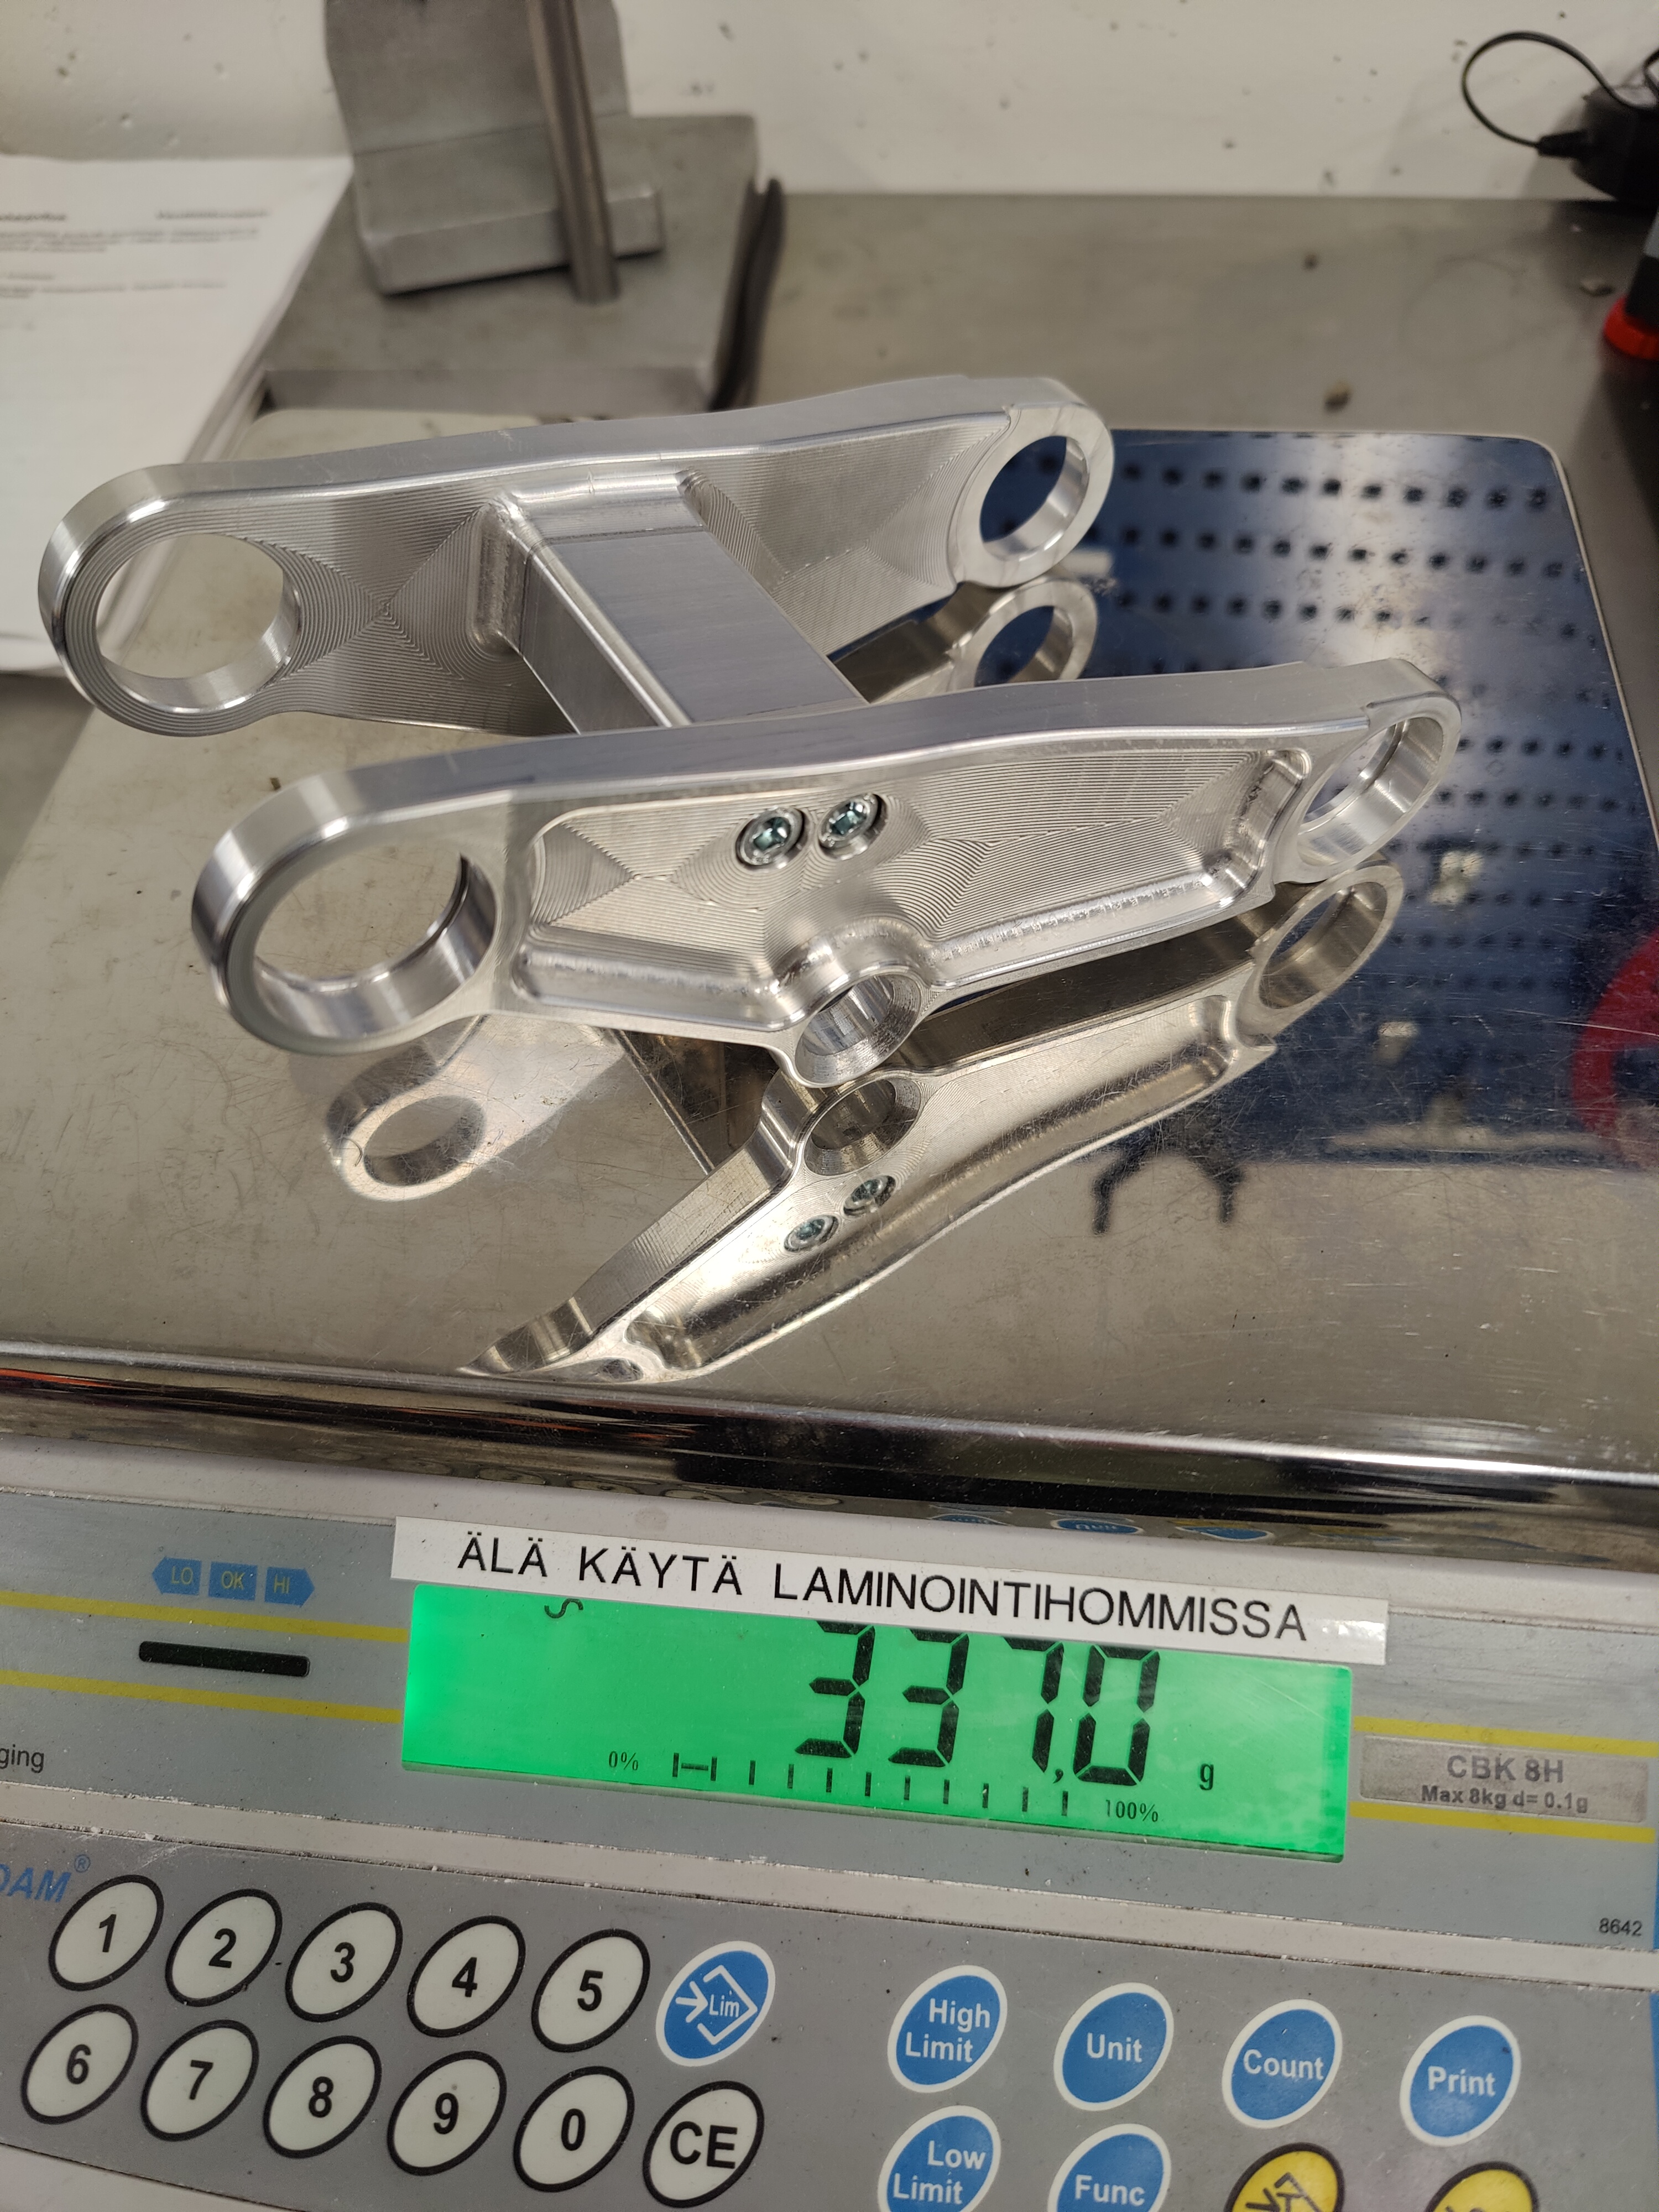
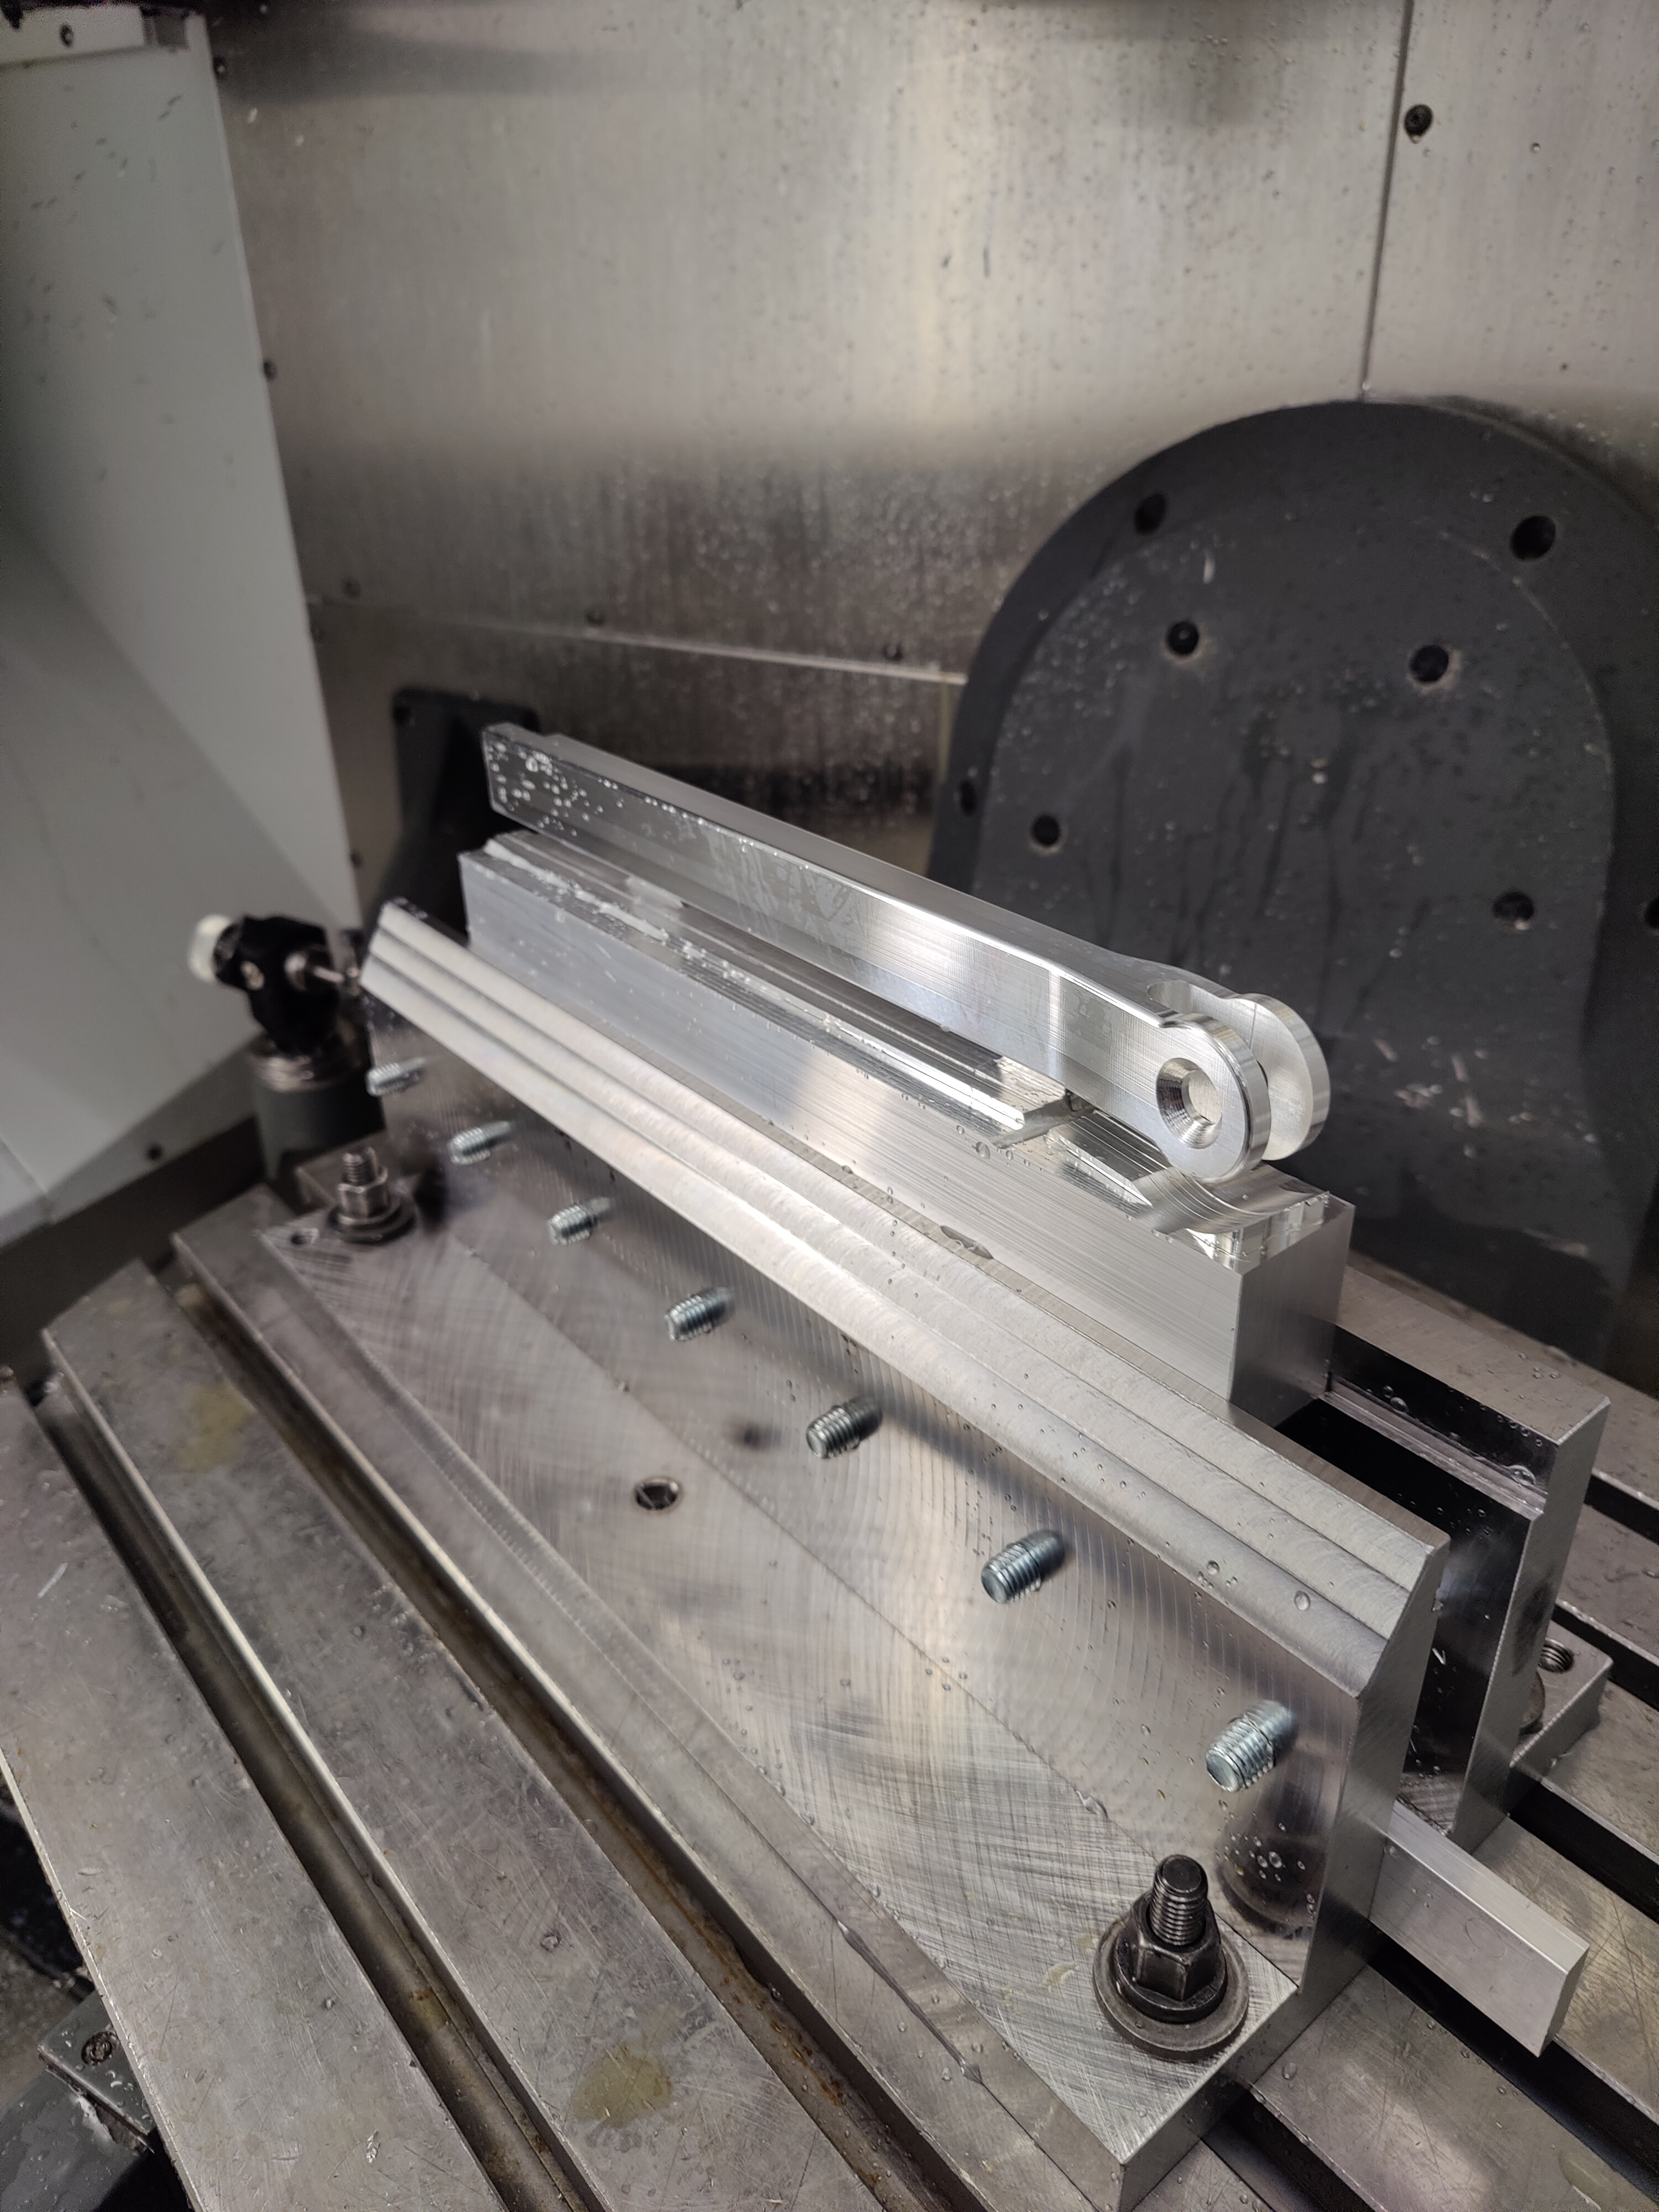
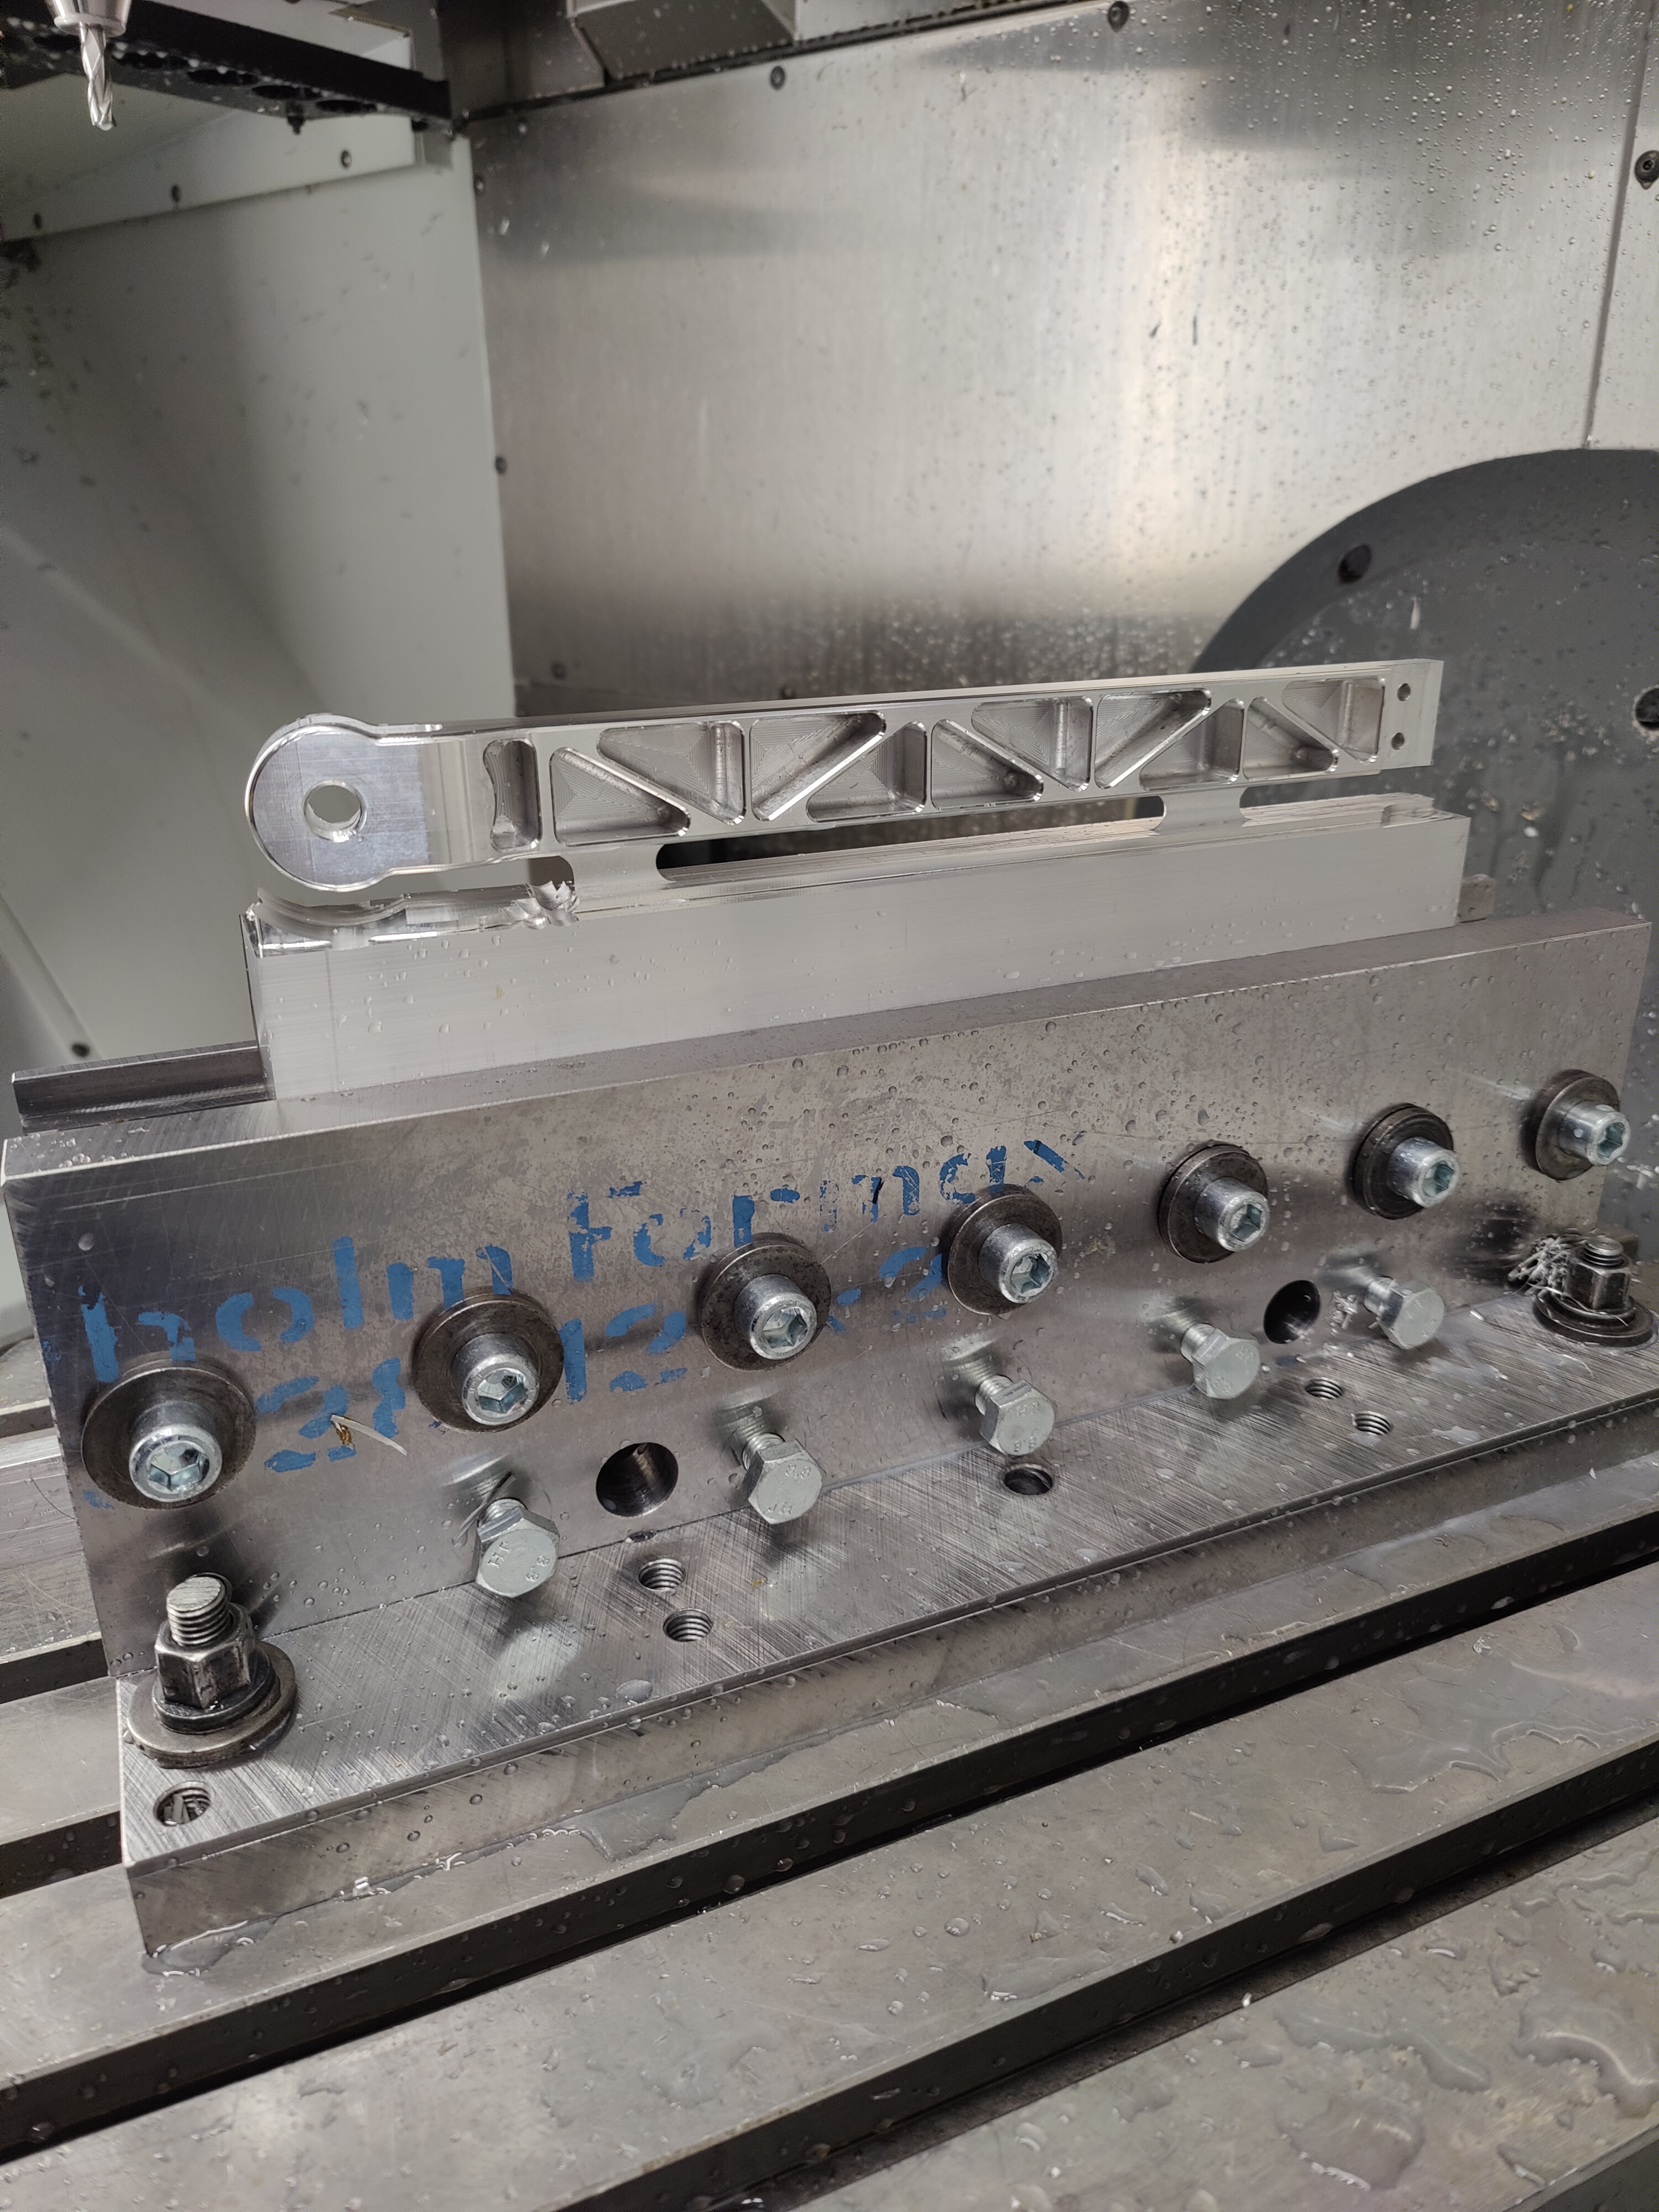
Just got the other half and the middle piece of the rocker done. Not the lightest one but acceptable for the first version.The middle piece turned out pretty good as there’s no gap visible. Next up is the seat stay and the chain stay but need a fixture for those first.
I’m curious what methods you’re planning to ensure good bond penetration between the lug and tubes? I’ve seen plenty of ‘smear and stick’ applications lose most of the epoxy when the tube is inserted to the lug.
I was planning on making 2 small holes on the lug around the bonding area and squeeze more epoxy trough those. But that’s something I still need to do some research on and do plenty of test bonds. I’m open to any suggestions if anyone has experience on that.
It’d be cool if you could make a path for the epoxy to travel around the diameter. Injecting epoxy in one of the drill holes suggest and when it exits the second hole you would know epoxy has traveled the total diameter of the tube.
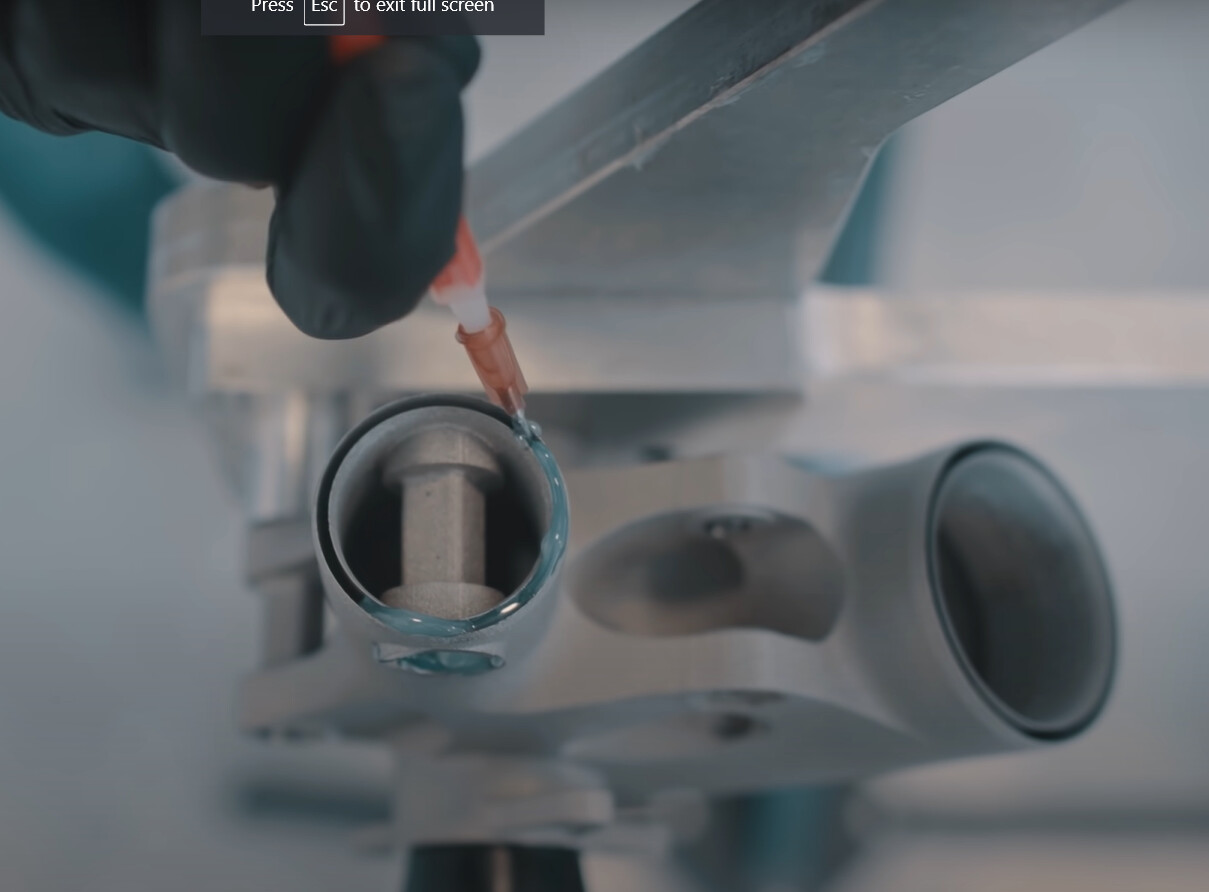
Yeah that was my plan with the injection holes. Atherton has a double lap joint so it’s a closed space for the tubes. They just fill the groove full of epoxy and all the excess will squeeze out.Those geometries are kind of limited to AM parts. You can see the bonding process in this video if you are interested: https://youtu.be/qsuHi_XdH8Y?t=843
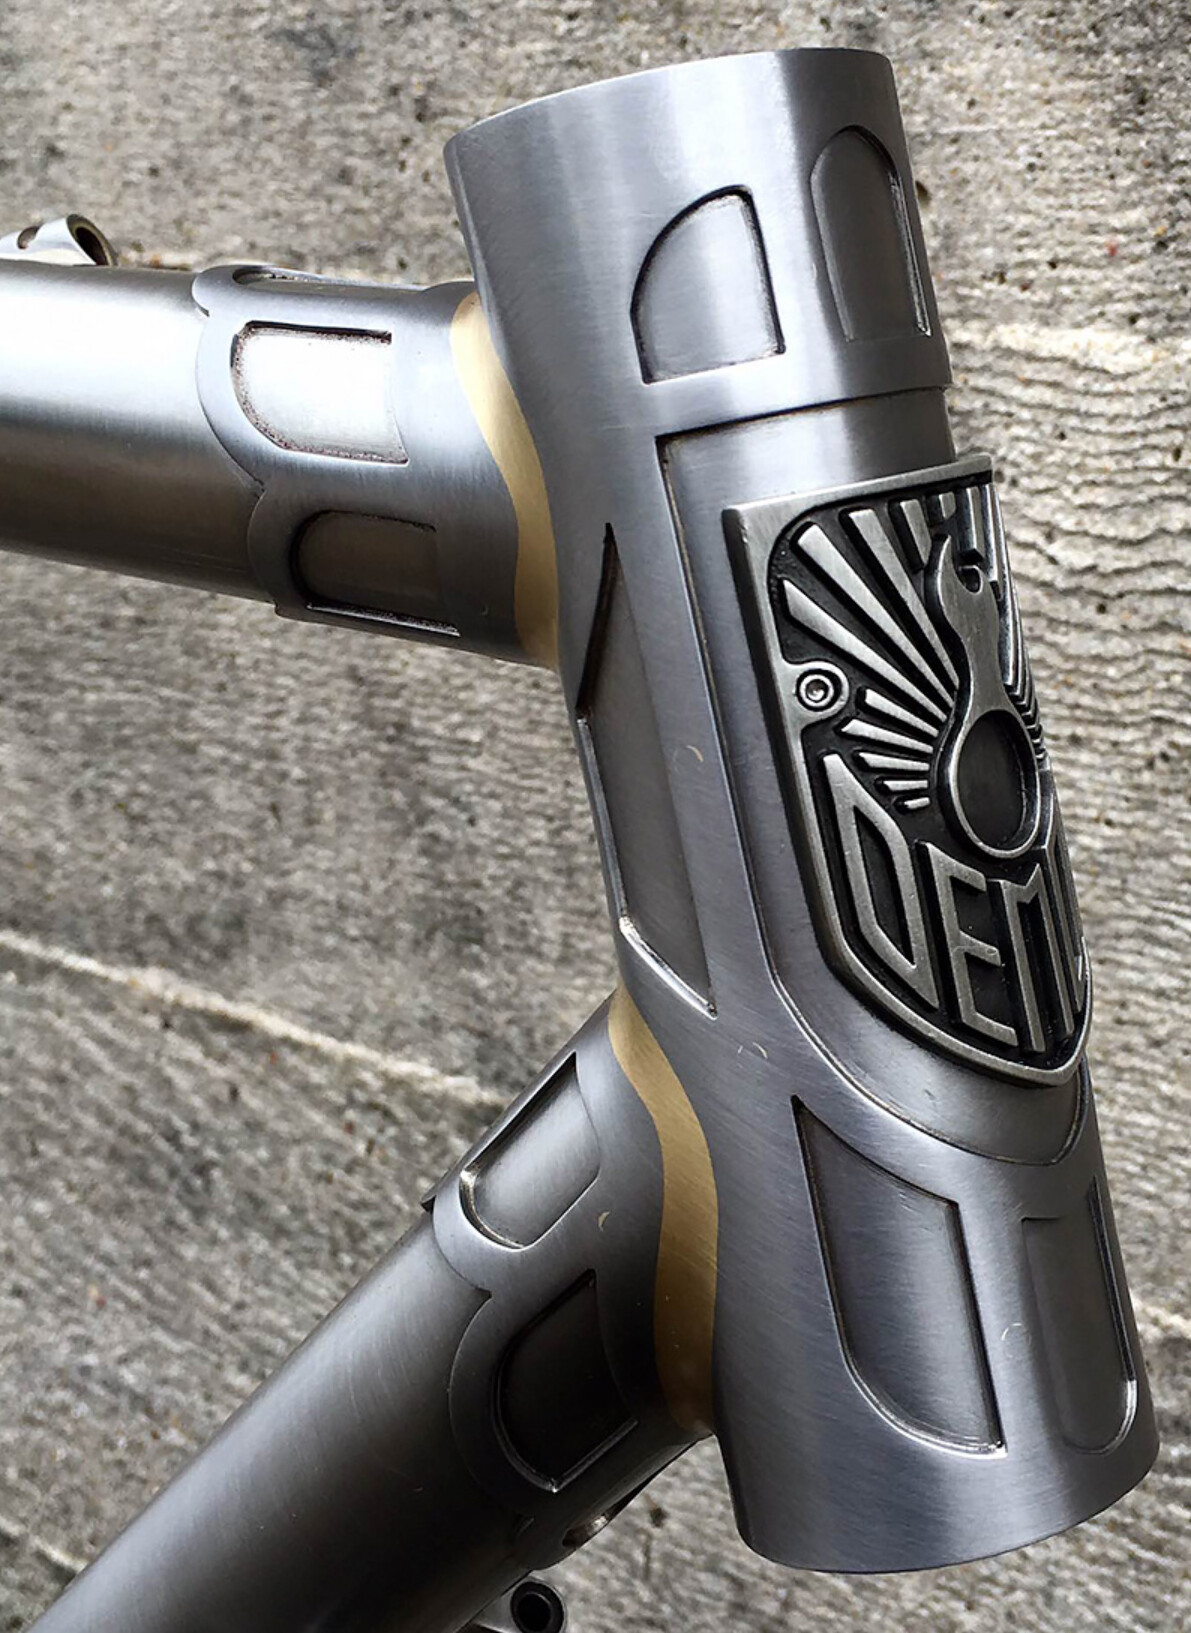
Dig into the stuff that https://www.instagram.com/frameworkbikes/ has posted on bonding his lugged joints. He has shared lots in stories, not sure if they are saved or not.
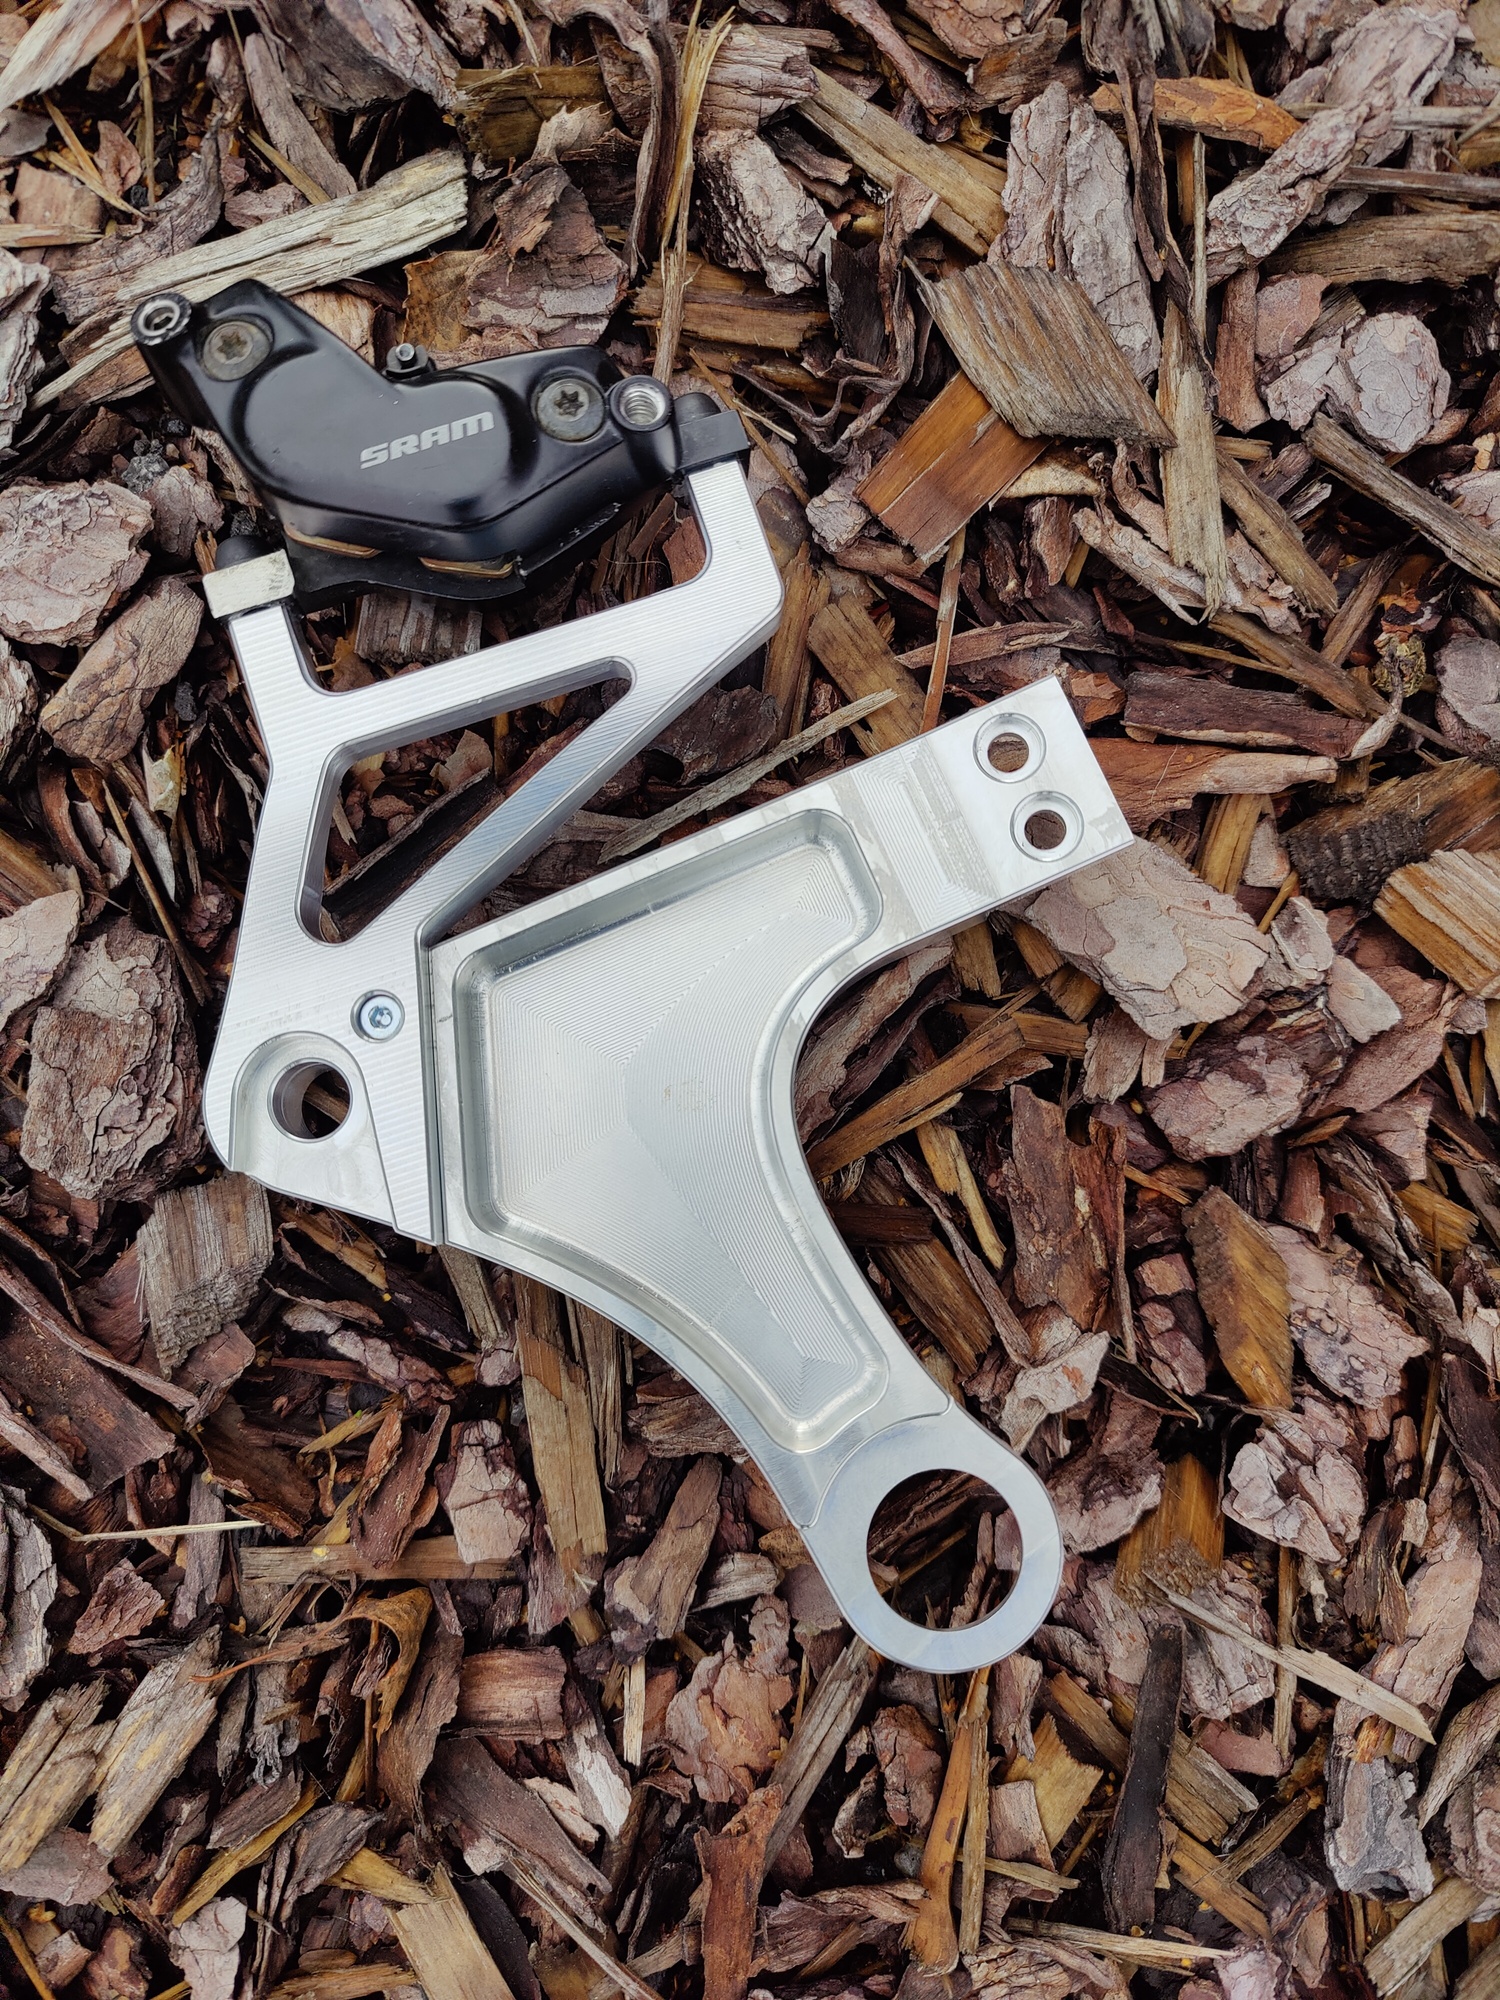
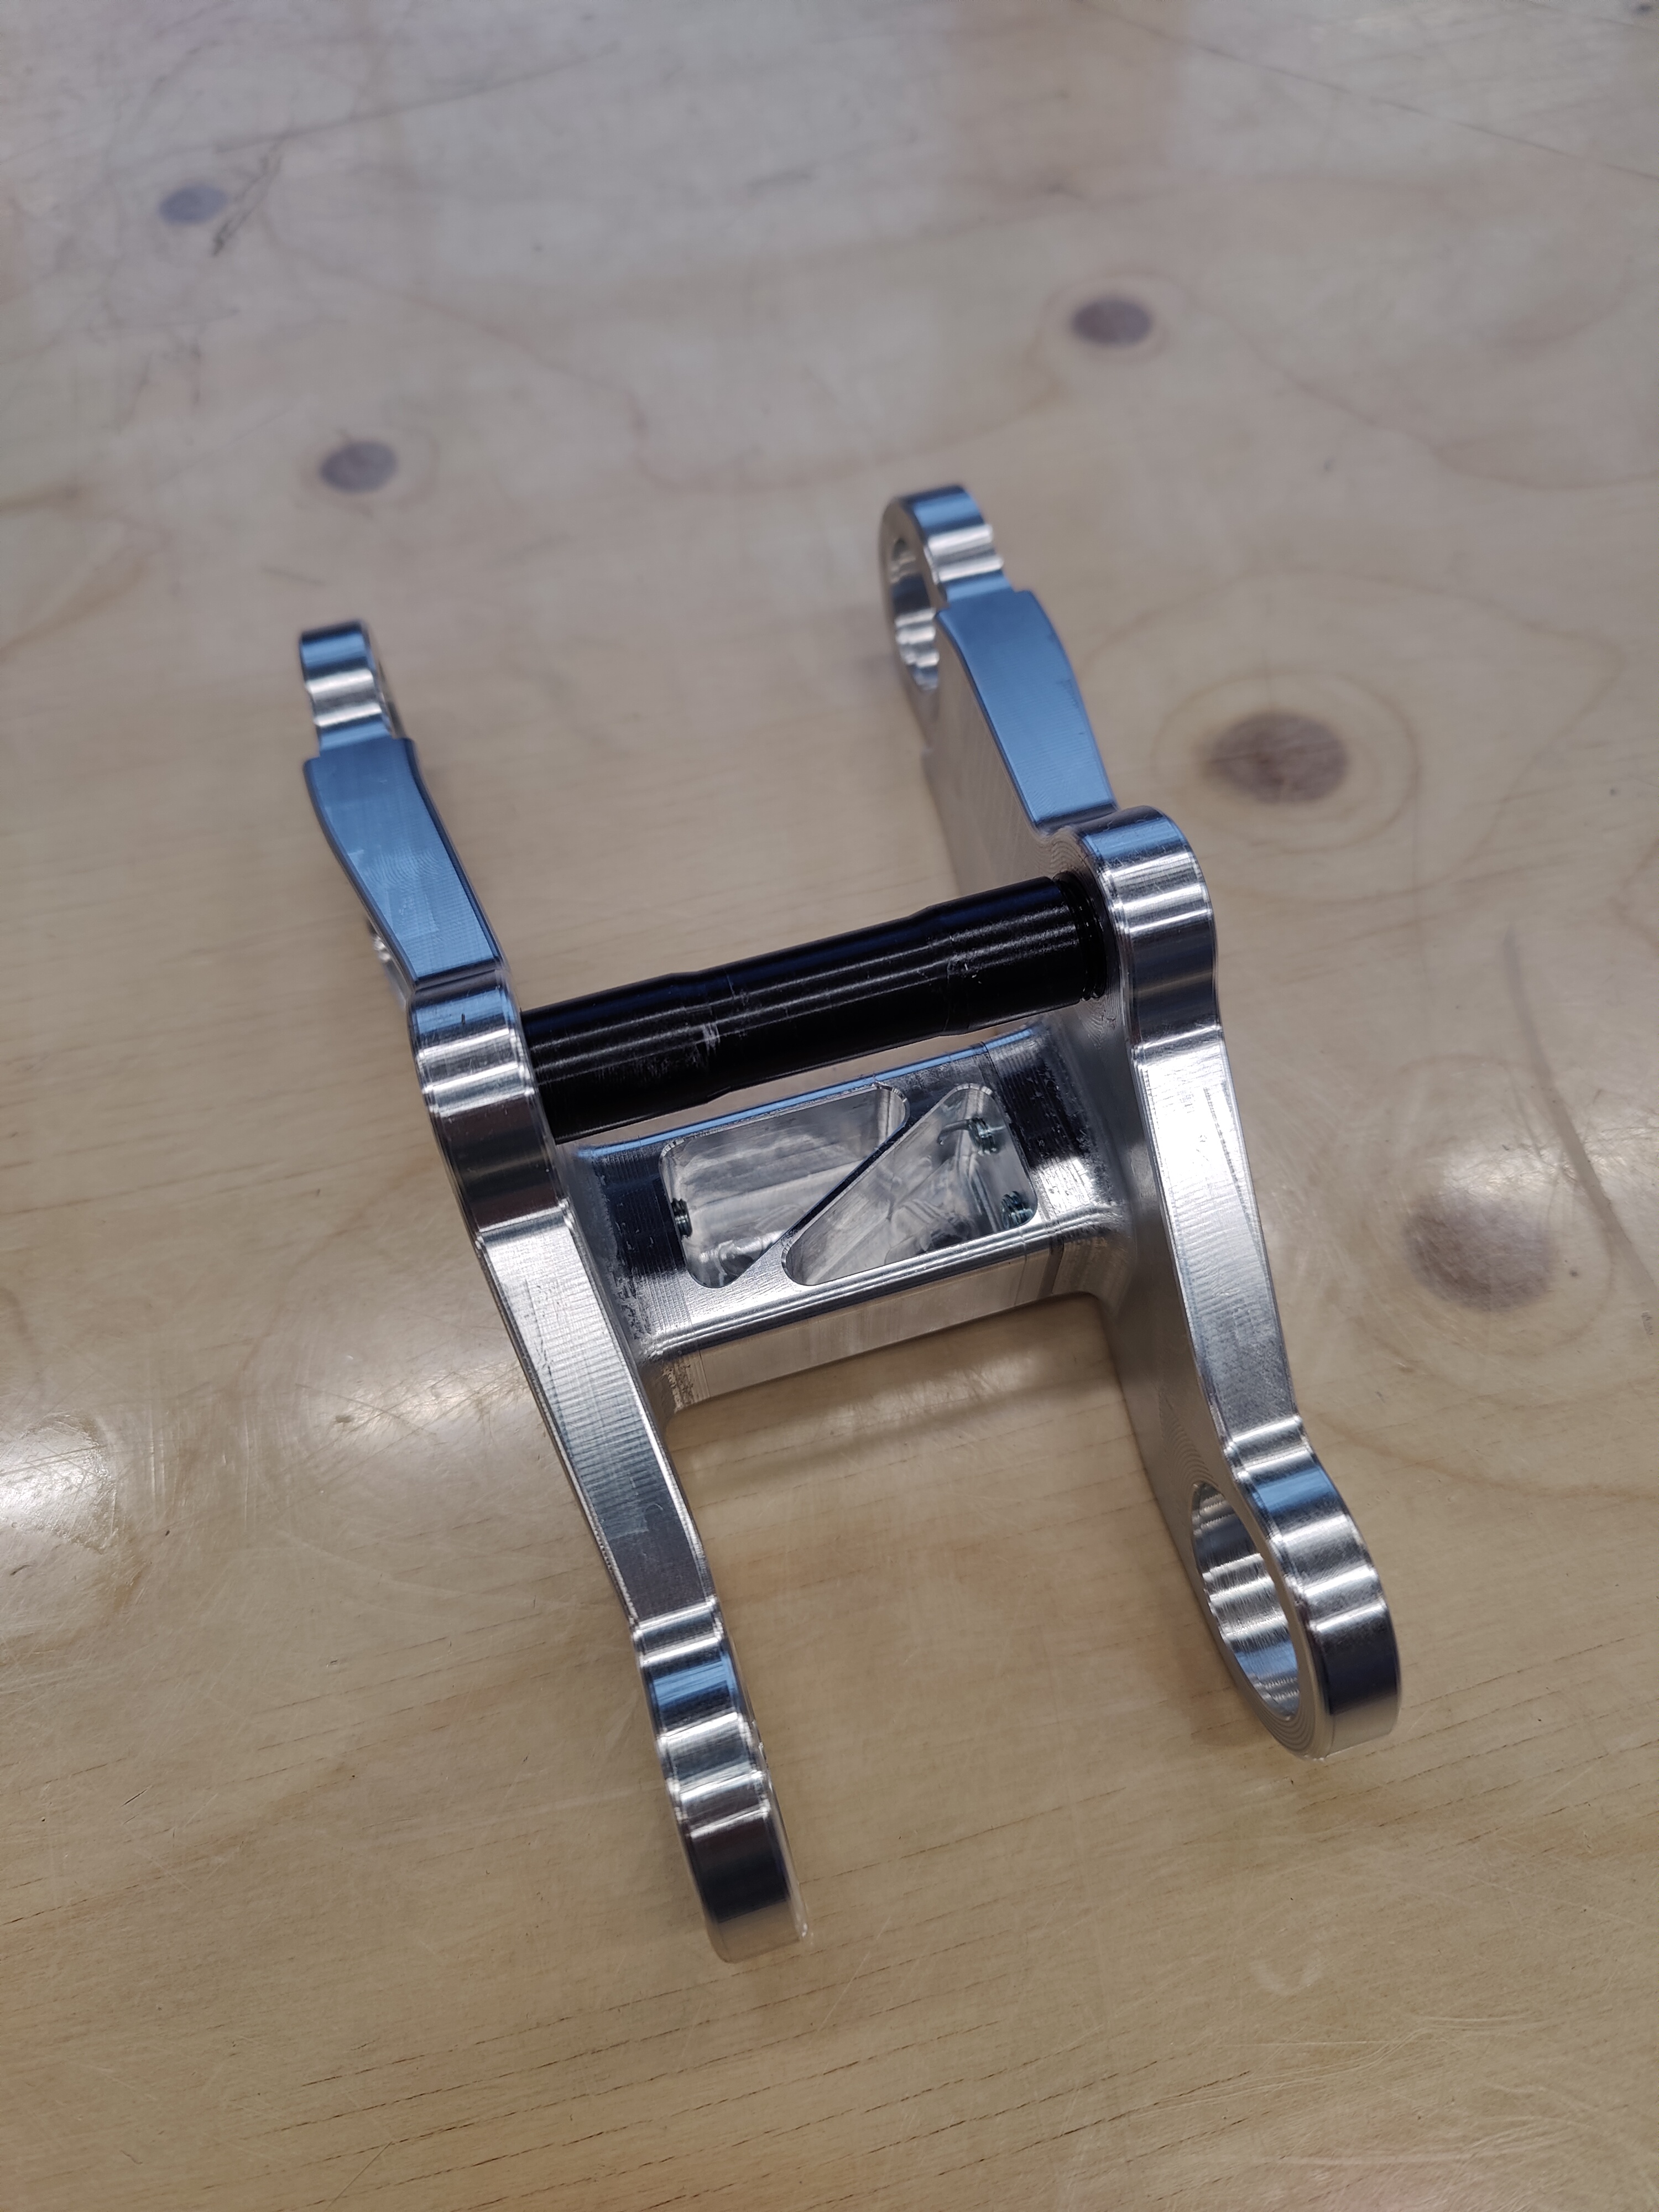
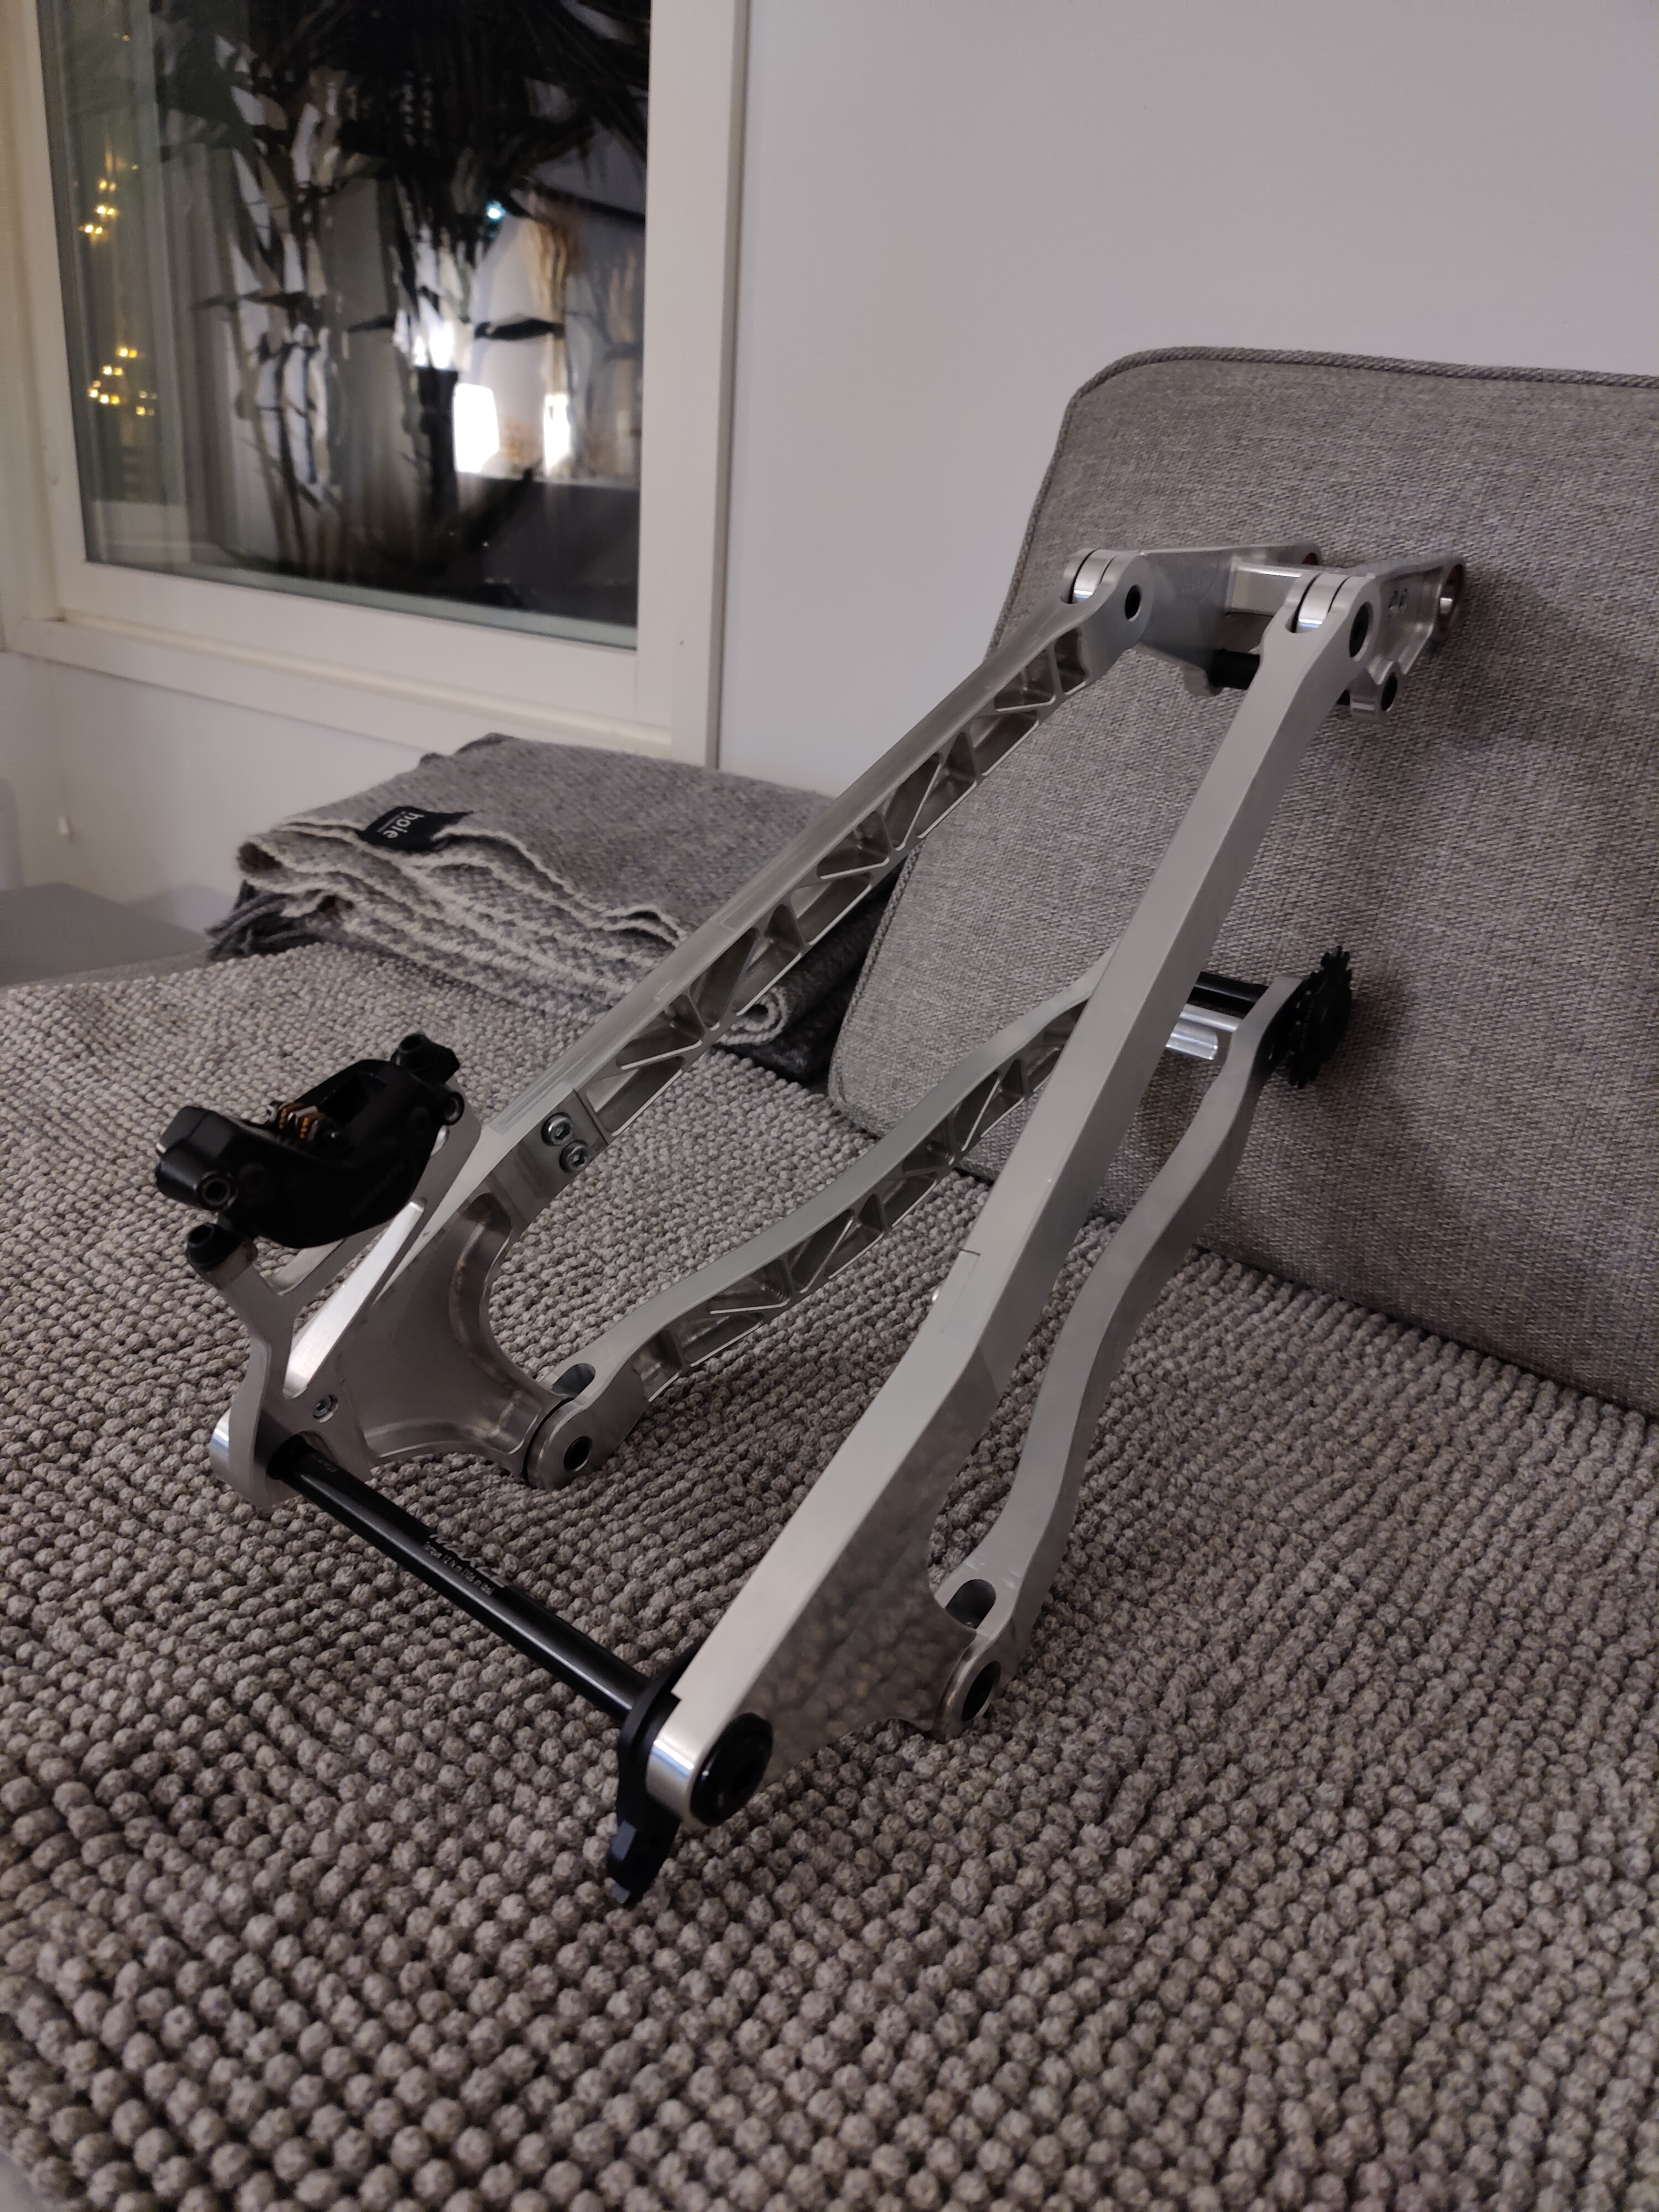
All the parts for the prototype rear triangle are now ready! They turned out pretty good. Just a small gap visible on the bolted joints as the dropouts shifted a little bit on the jig. New jig has been made and that fixes the issue for the next version. This should be fine to verify the concept.
One thing about the brake adapter. I know it’s due to the removable dropout design. I feel that it is not well supported on the front side and will cause vibrations and noise. Fsr bikes are kinda finicky compared to a closed rear triangle design in regards to vibrations, in my experience. I would consider supporting the front side of the brake adapter.
What about separating the brake adapter from the dropout? PM makes for less vibration noise than IS on a fsr rear end in my opinion.