I decided to write up a summary / guide to some of the topics specific to welding bicycle frames together. I got started, and then this ended up being a beast of a post. Hopefully this is useful to some of you! I know I didn’t cover every possible thing here, but I can always add more. I’ve been in the welding industry my whole professional career, so I’d like to think I’m somewhere on the down-slope of the dunning-kruger curve (maybe that means I’m actually on the up-slope?)
Anyways, Here goes.
This guide is intended to give an overview of welding bicycle frames using the GTAW (Tig) process. It assumes the reader already has a basic understanding and some experience with the process, since welding thin-wall tubing is most certainly an advanced niche of Tig welding.
If you’ve never touched a Tig welder before, this may not be the best place to start, but can certainly act as a reference or overview of some of the tools & techniques.
If Tig welding was mountain biking, welding a bicycle frame is dropping into a black diamond trail.
I will note in this guide I typically just say “4130” as a general term for bicycle tubing. Some tube sets will differ in their exact composition, but for the scope of this guide we can group them into 4130 somewhat safely. High-spec tube sets may differ. Some dropouts, headtubes, etc. are made from mild steel. It’s also safe to group them into 4130 here.
I also put my own preferences in here, and tried to note wherever I did.
There are many ways to weld a bike frame together that won’t fall apart. But a few extra steps here and there can help make sure it doesn’t explode as soon as you huck it off a big drop or two.
Machine:
Any machine capable of High-Frequency start DC Tig welding is adequate. A foot-pedal control will make the process much easier. It is possible to do without a foot pedal control, but I don’t recommend it.
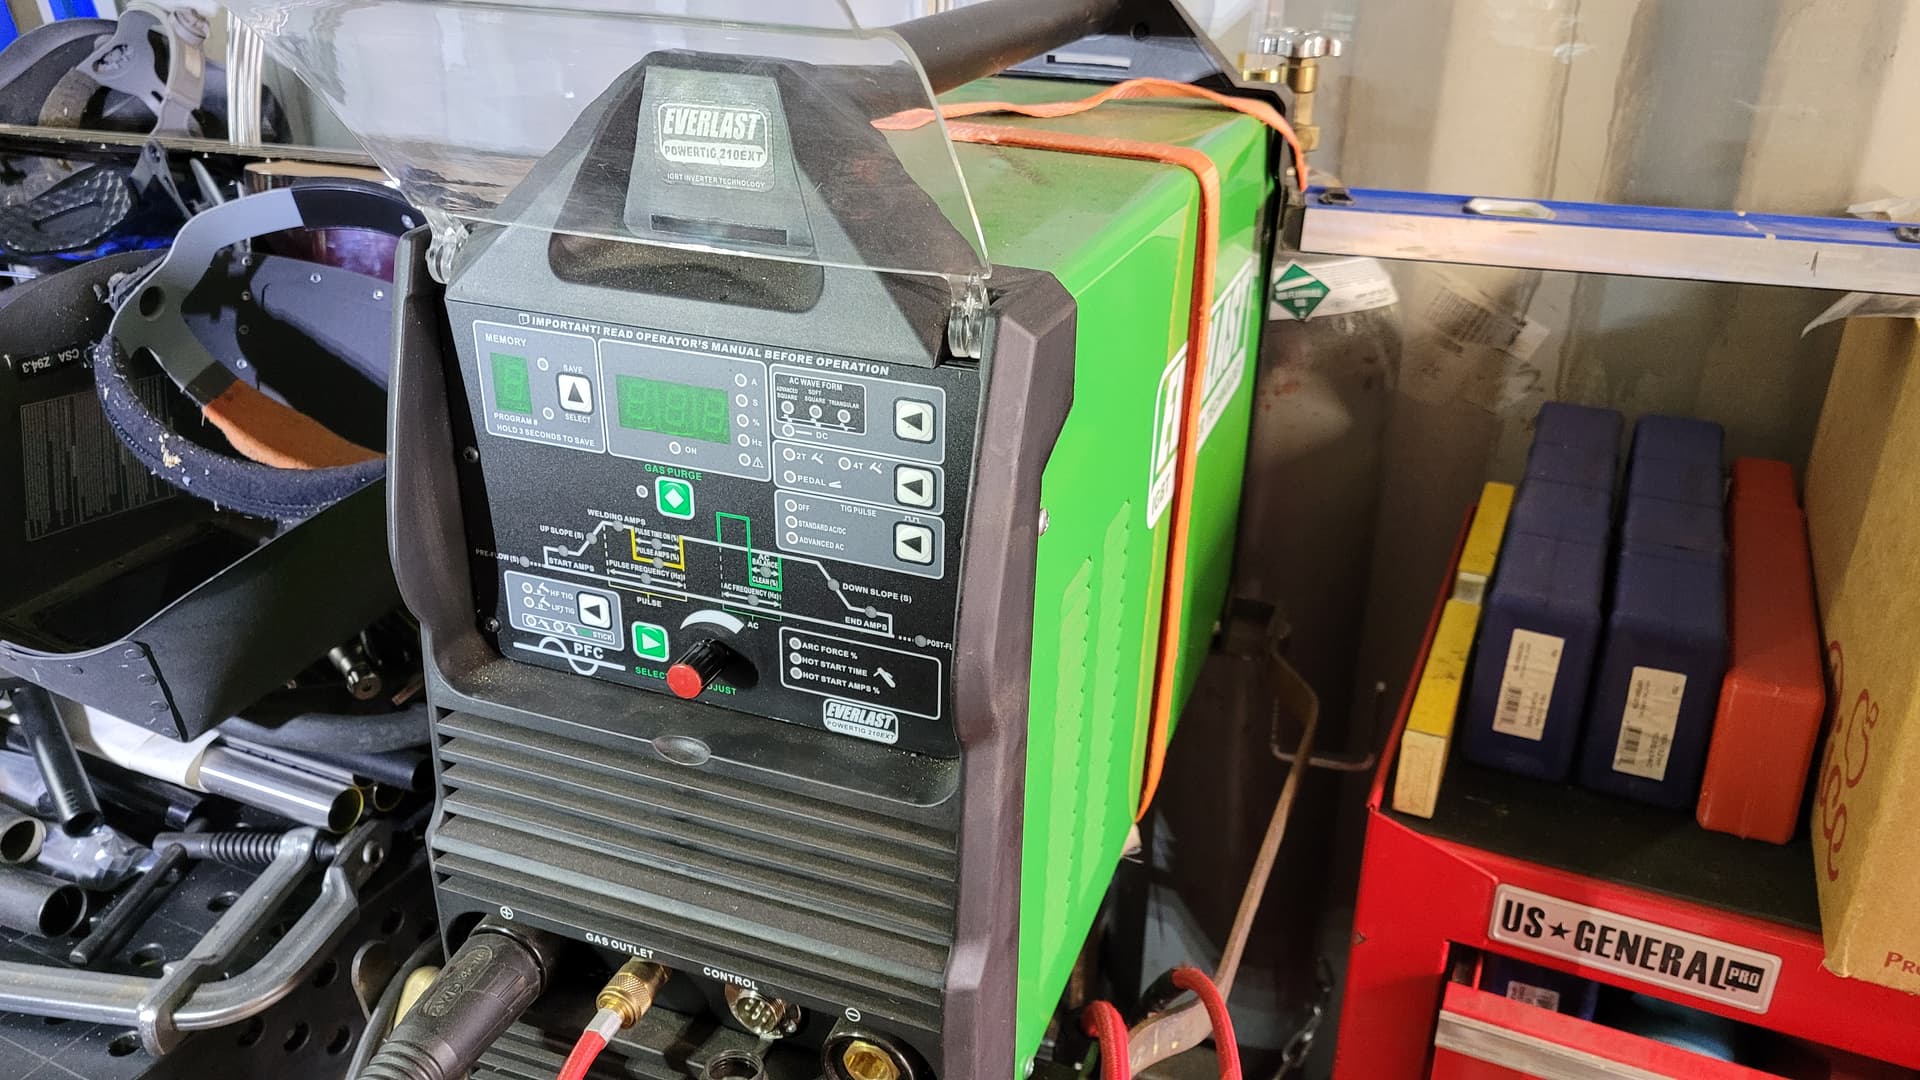
I have an Everlast Powertig 210EXT. This particular model is way overkill for welding bicycle frames, but I need the extra bells and whistles for some of the other welding I do.
I’ve been happy with mine, Everlast seems to be a great value for the home-gamer.
They do have cheaper models that would work great. Just look for one that has high-frequency start, and a foot pedal.
Torch:
A #9 Air-cooled torch is my preferred. It’s nice and small, and fits into tight places well. The max rated amperage is 150, so it is adequate for bicycle welding. You could theoretically go with a #24 air-cooled, (which maxes out at 80 amps) But then you will end up having to wait for it to cool down between welds. Their amperage rating is typically based on a %20 duty cycle, so you cannot run the rated amperage continuously.
Water-cooled torches do exist, but in my opinion they are just not worth it for bicycle welding. The added cost and complexity don’t make sense for the home-gamer like me welding the occasional thing. If you are a production welder, that’s a different story. Different tools for different applications.
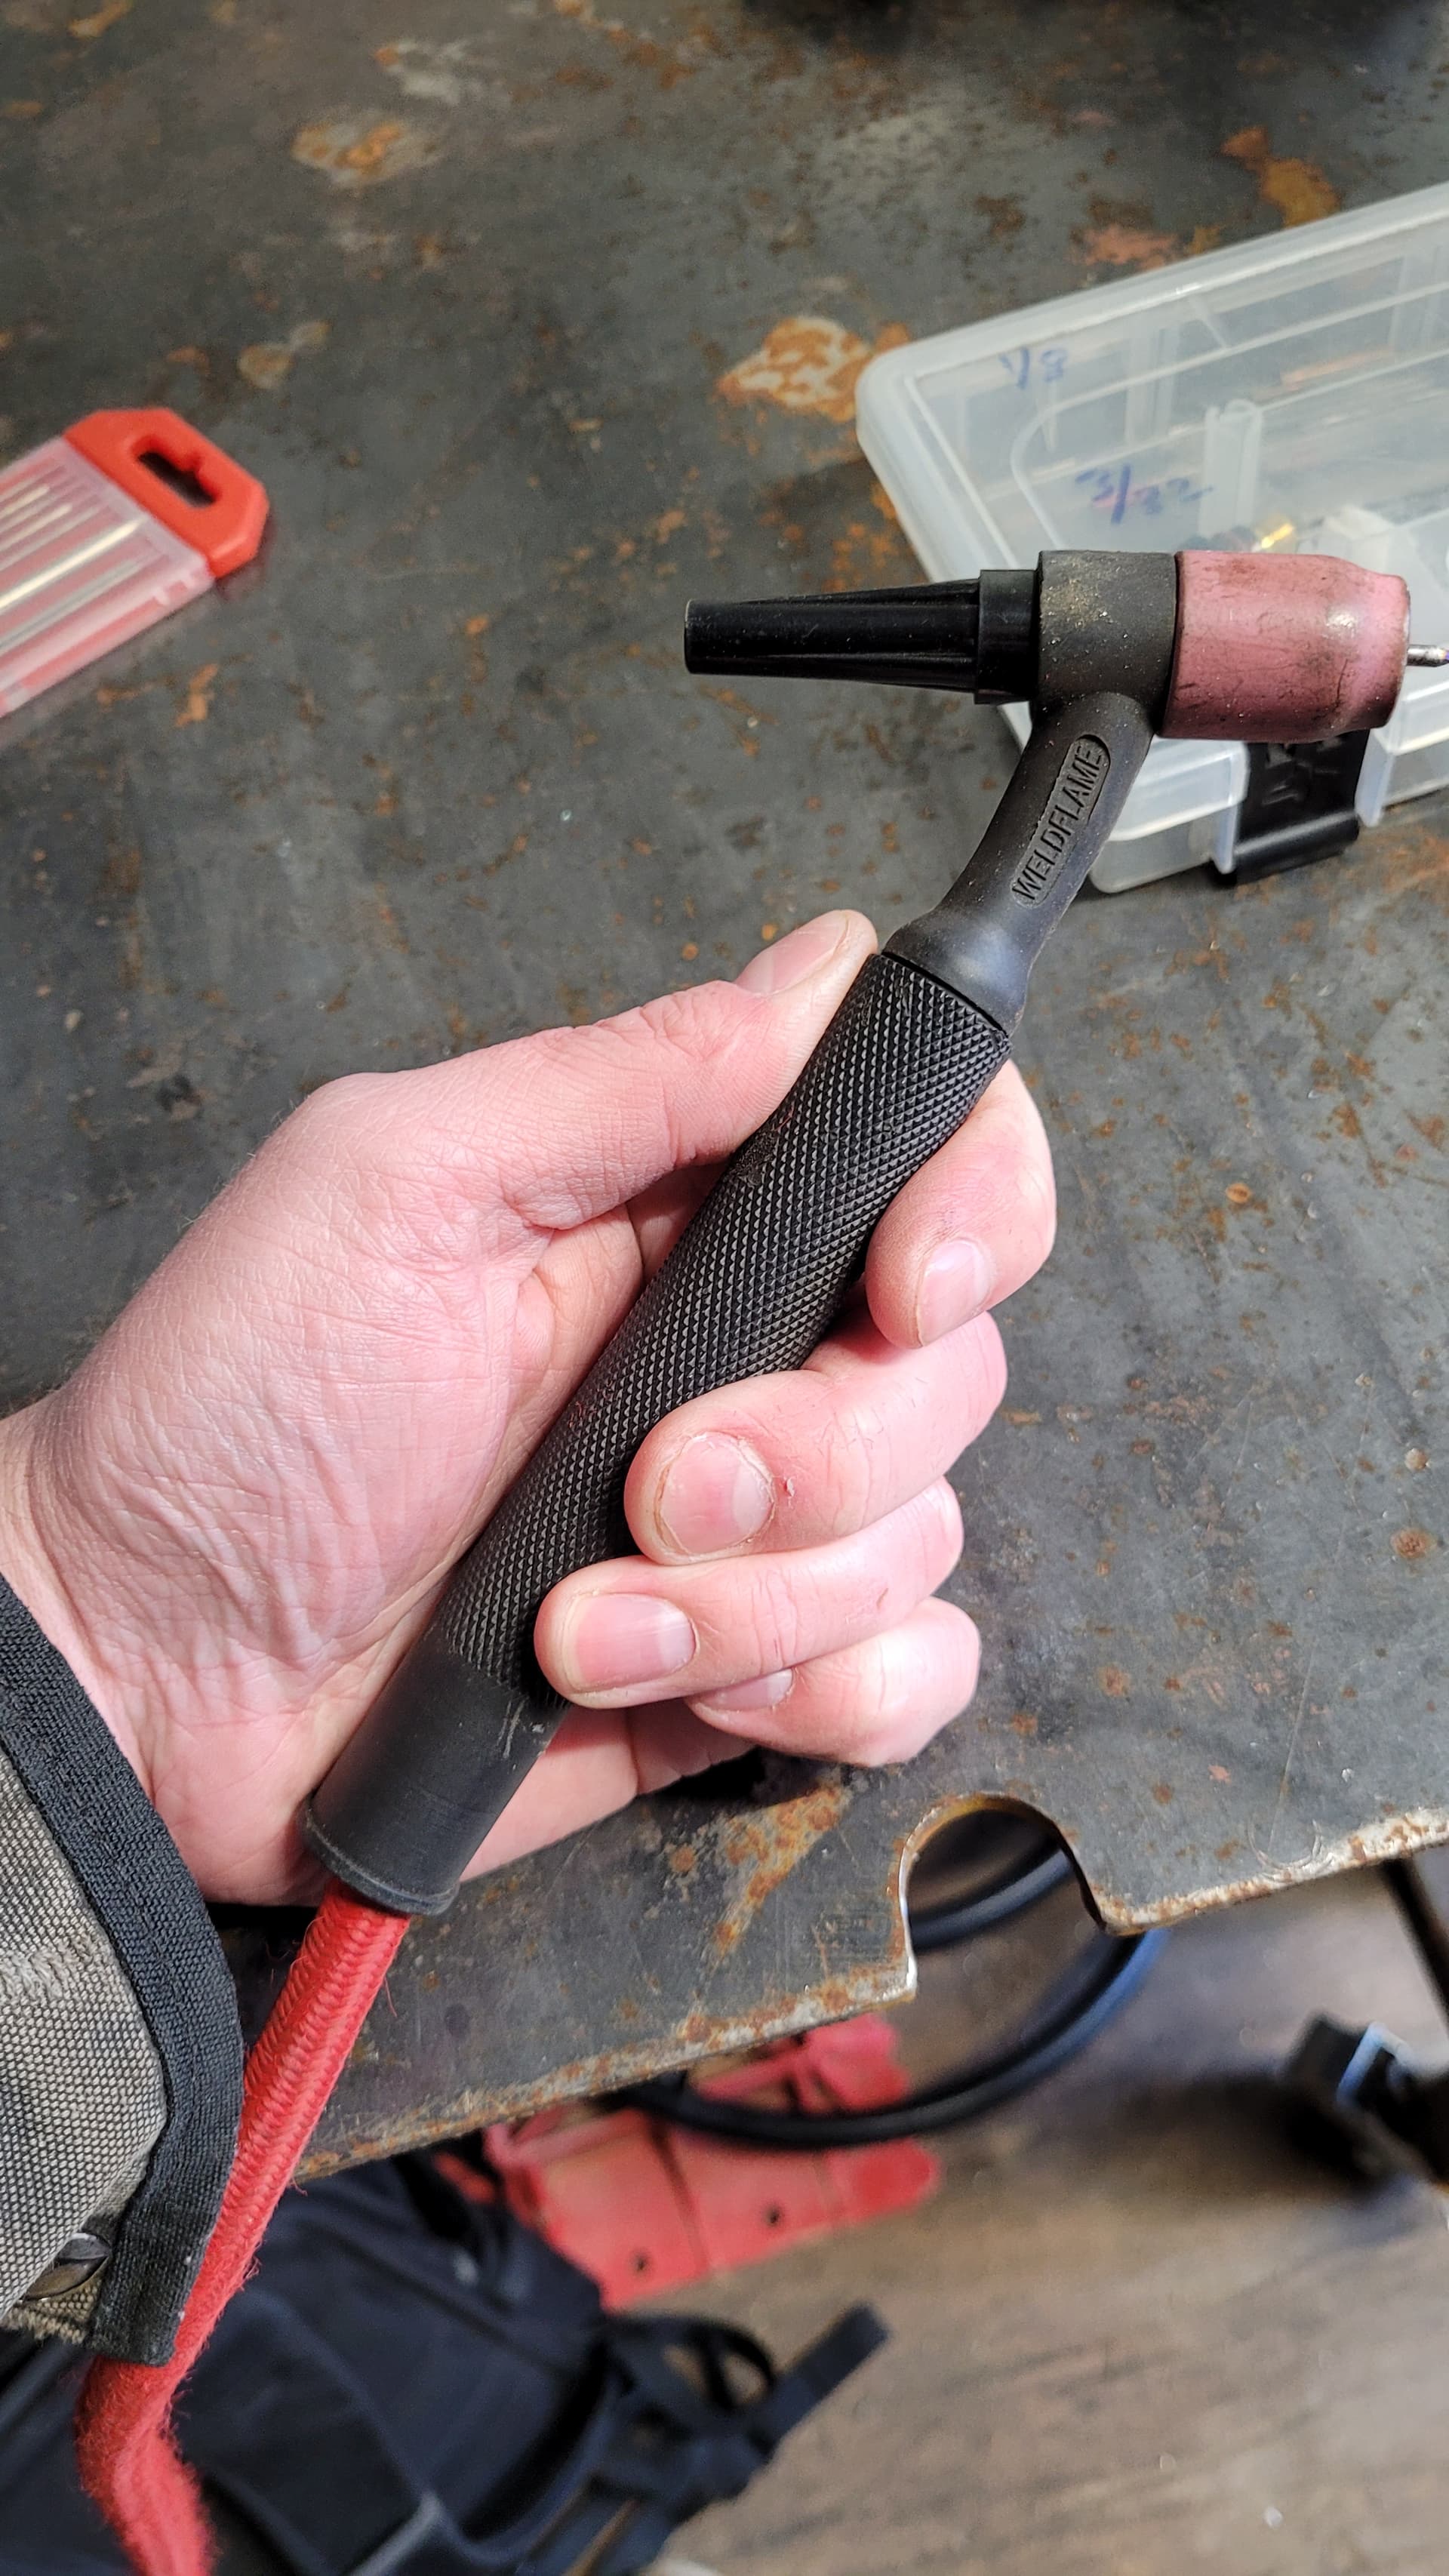
A very nice torch to have is what’s known as a Flex-head torch. This allows you to bend the head around whichever way you like, and it’s definitely nice for welding bicycle frames. Their cost is not much more than a ‘regular’ non-flexible torch. I highly recommend them.
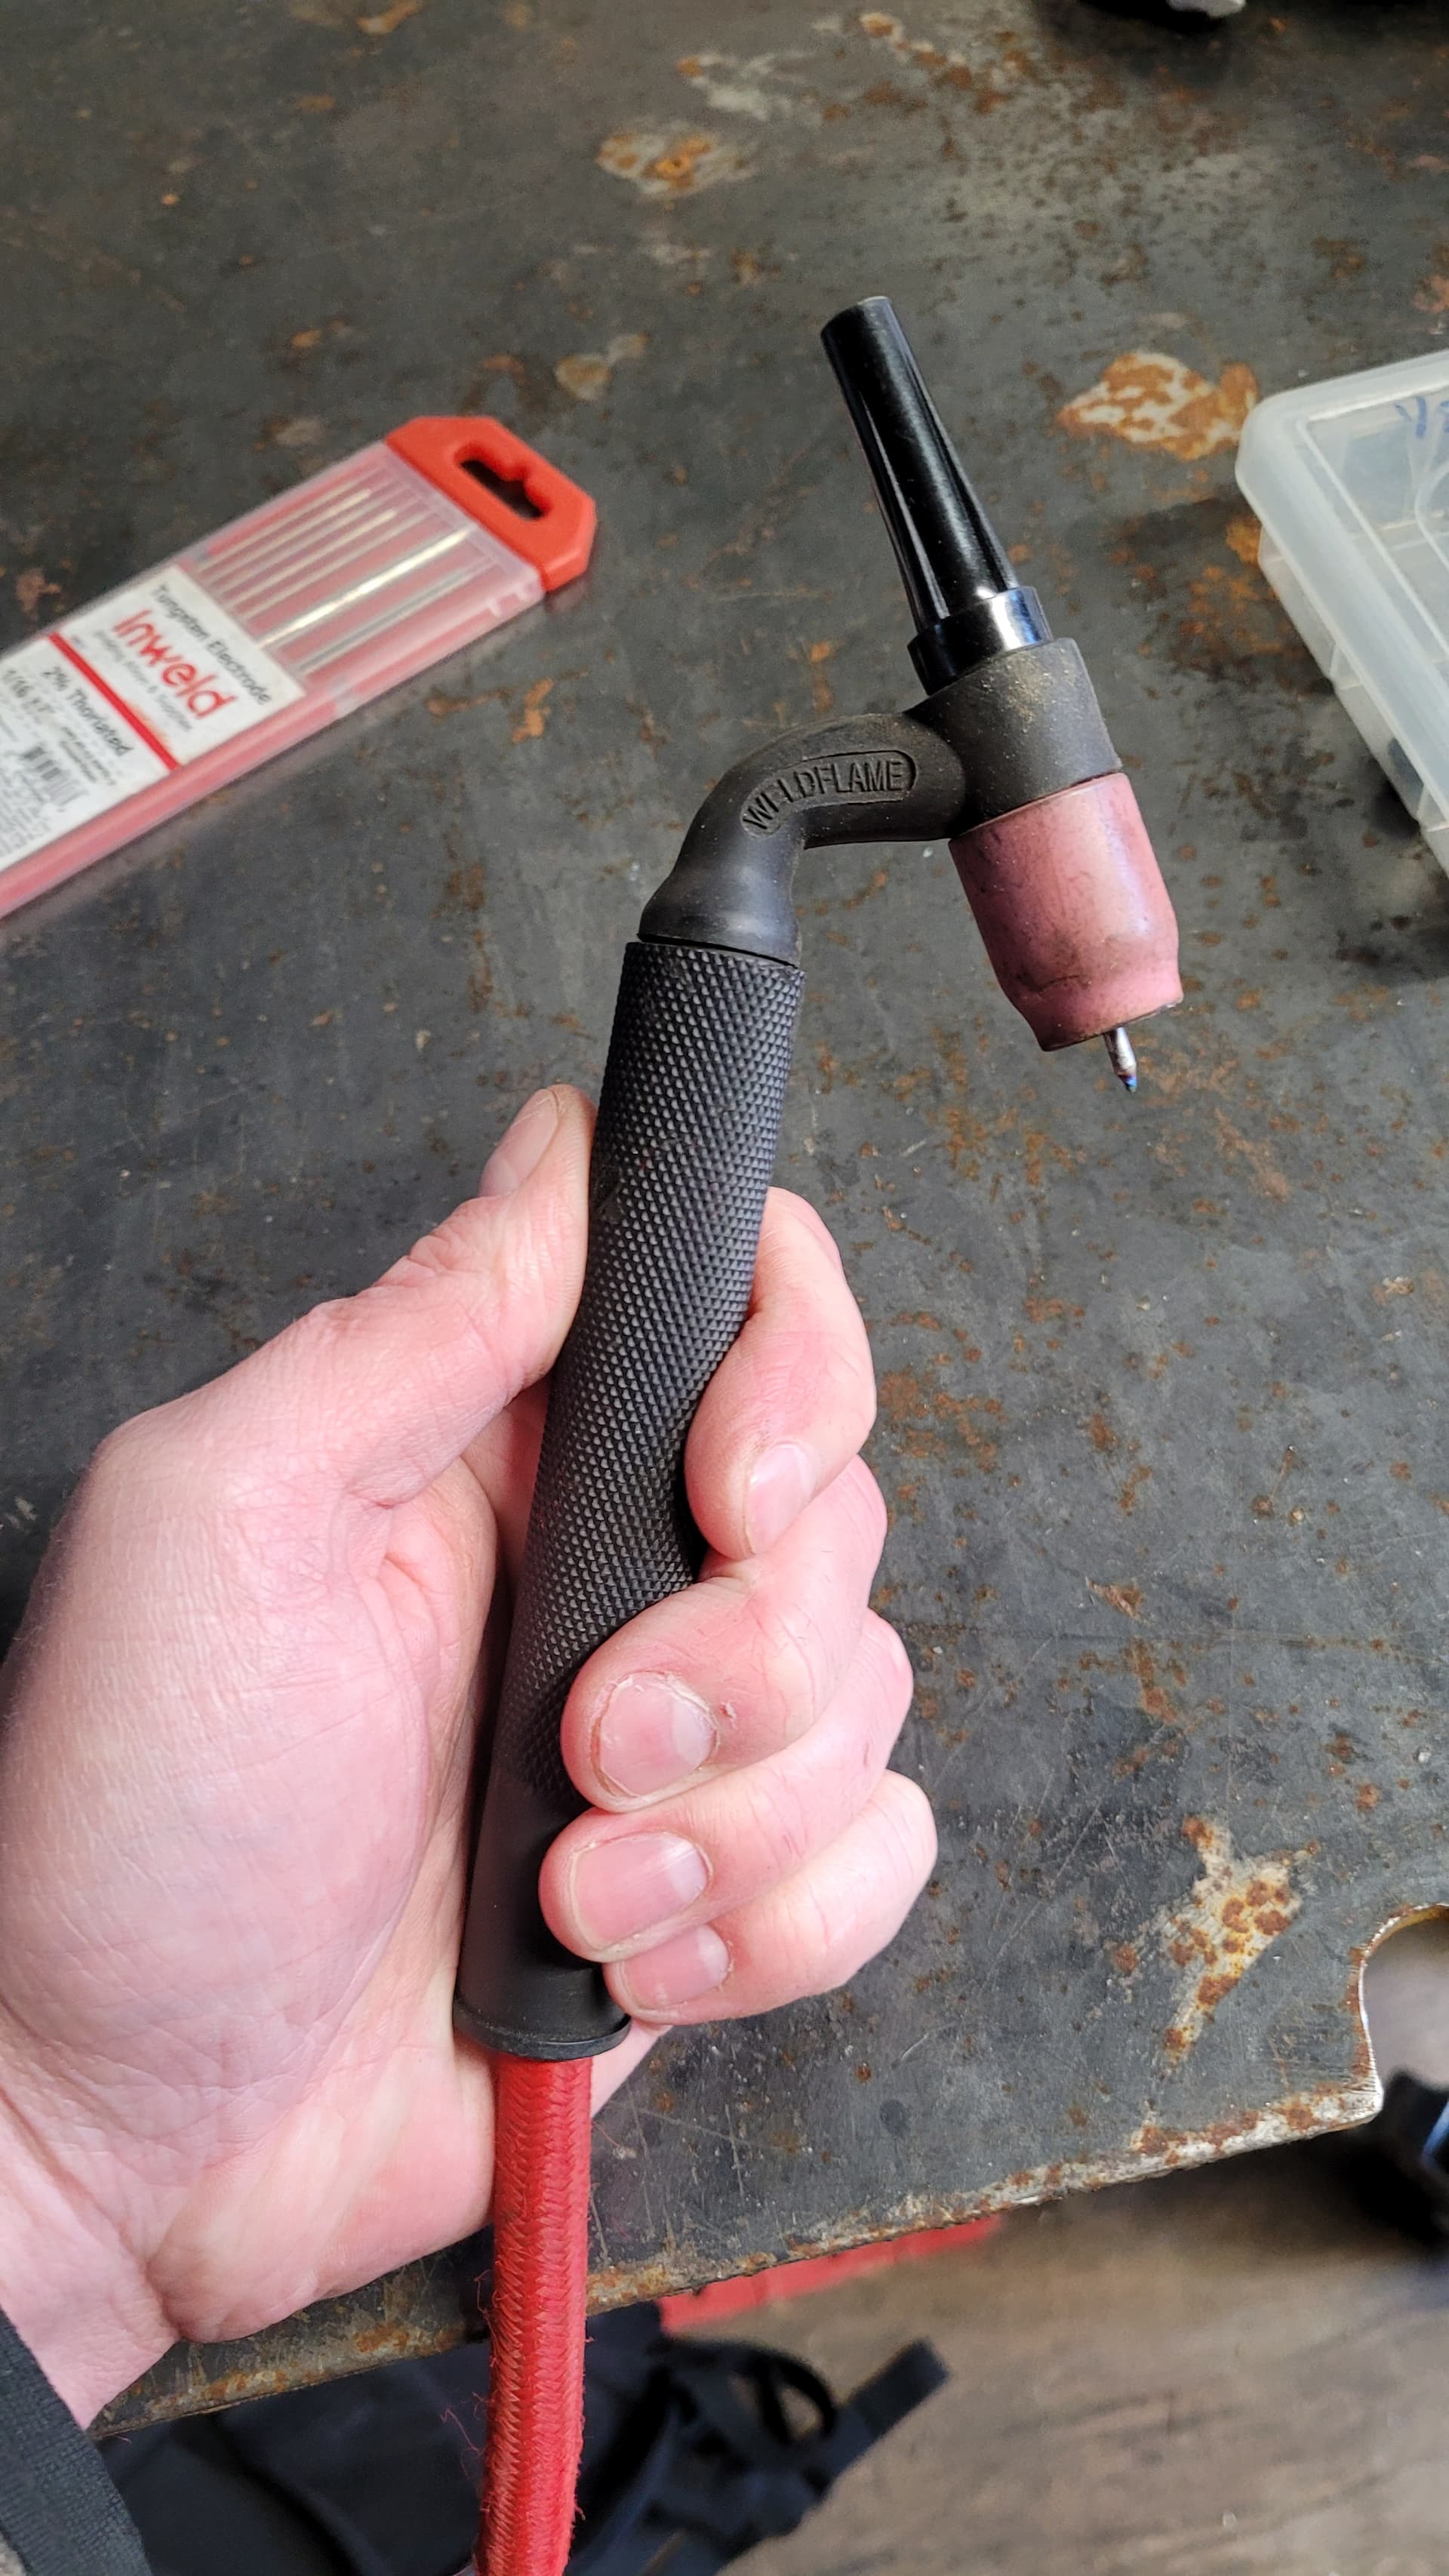
(don’t try this at home with a non-flexible torch
Another nice thing to have are the super-flexible hoses. Not required of course, but definitely nice.
Cups / Gas lenses:
The ‘standard’ (also read: cheap) setup is what is known as a collet body. These have a few small holes where the Argon shielding gas comes out, and then the purpose of the cup is to redirect it onto the weld and tungsten. They do work, but gas lenses are much better at this. They have a (or sometimes multiple) screens to help diffuse the gas and provide a much smoother flow and weld coverage.
I typically use a gas lens and a standard #8 alumina cup. They are relatively cheap, and can accomplish every weld on a bicycle frame (most of the time). If you’re just starting out, this is my recommendation.
A small back-cap is also highly recommended. I typically use the mid-length style, that way I don’t waste as much tungsten. The small button-caps do come in handy though.
The oversized cups, and the pyrex cups can be nice, but definitely not a requirement. In fact, the glass pyrex cups offer little to no practical benefit over their alumina counterparts. They look pretty though.
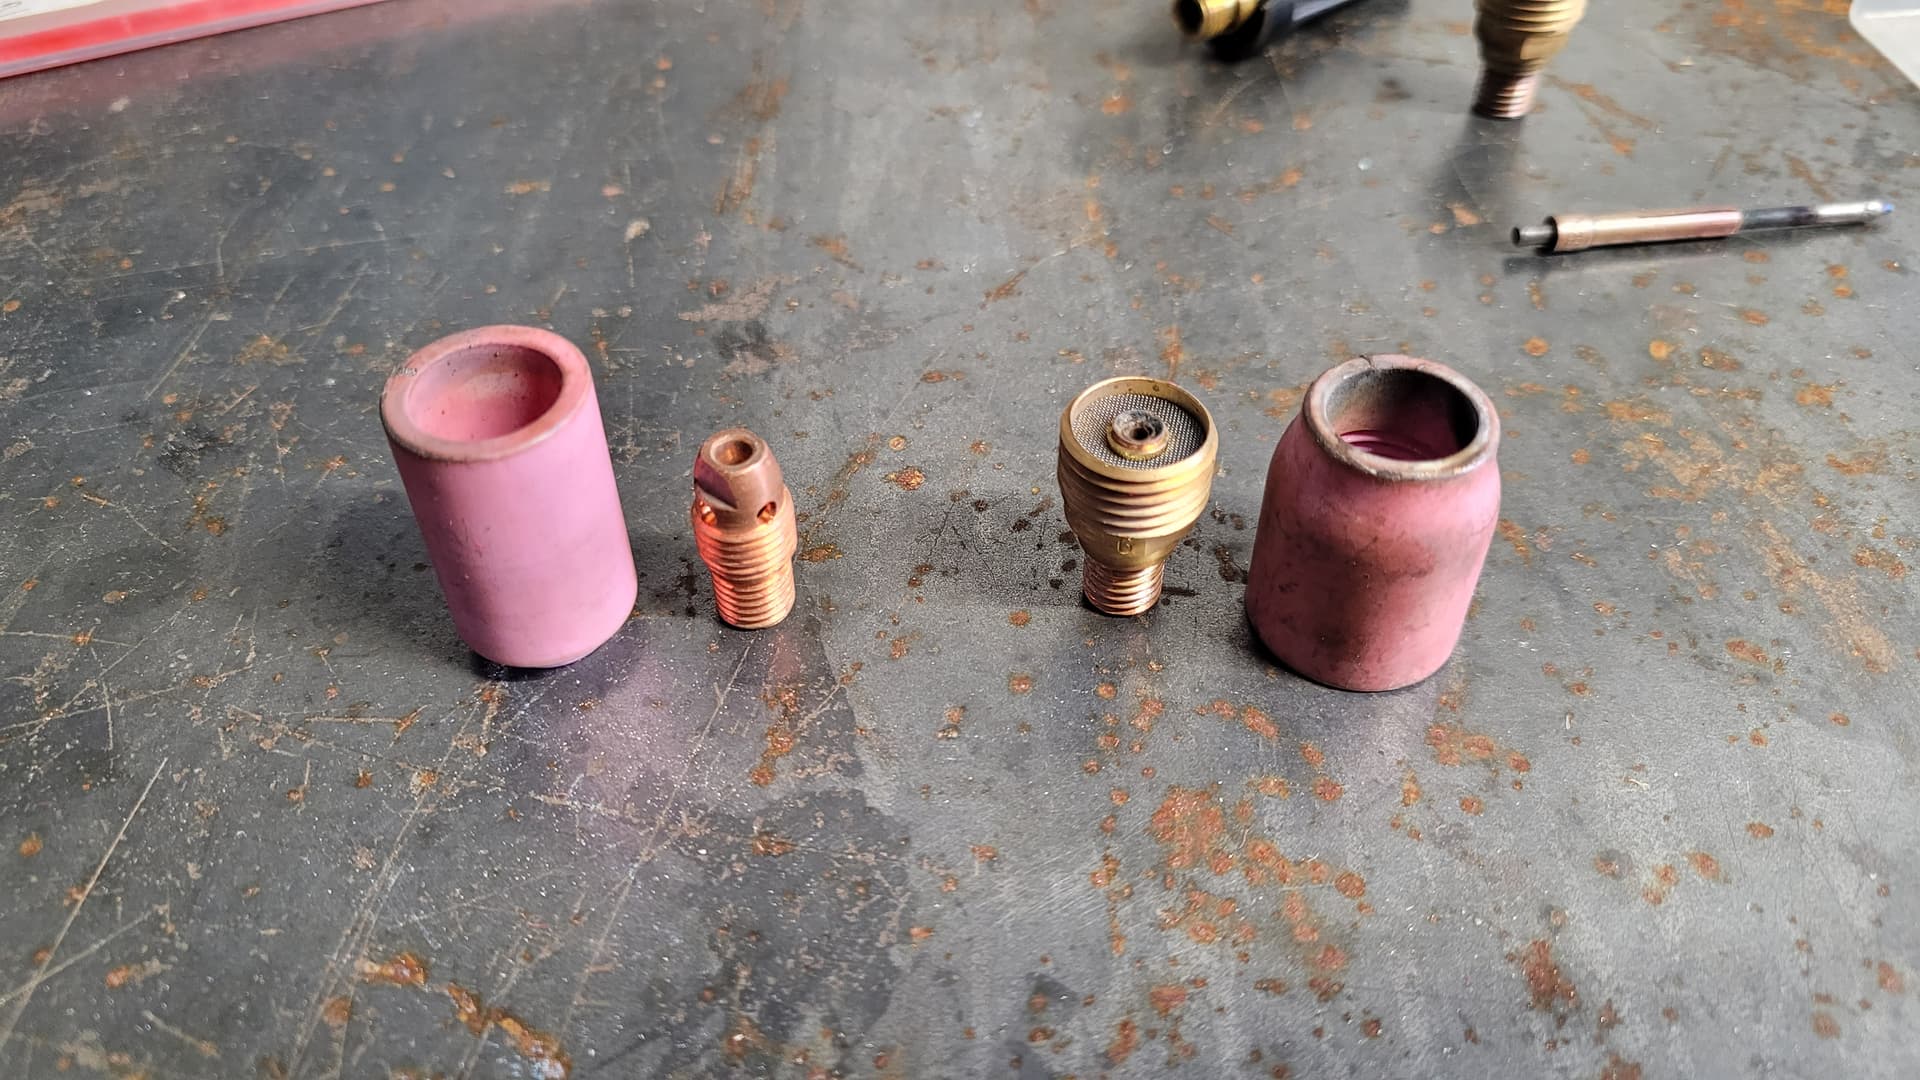
‘standard’ collet body & cup vs. gas lens and #8 alumina cup
Tungsten:
Don’t get too caught up in the different types of tungsten. If you are a robot, you may notice differences in arc stability and tungsten longevity. But if you’re anything like me, you’ll end up contaminating your tungsten and re-grinding it long before any benefits can be realized.
The old-school preferred is %2 Thoriated (Red). It is being phased out though, breathing in grinding dust from the thorium is not good for you!
A great alternative to thoriated is %2 Lanthanated (Blue). It will do everything you need it to, including aluminum on an inverter machine.
1/16” is a good size for the amperage ranges we need. 3/32” or 0.040” will work, but 1/16” is a good goldilocks. 0.040” can be hard to find sometimes.
Filler Metal:
0.040” ER70s-2 is my recommendation.
Smaller diameters can be nice, but they’re also hard to find sometimes.
I’ve used 1/16” on bicycles before, but that’s because I’m a sucker for punishment. I don’t recommend it if you want your welds to look good. A rule of thumb is that your filler diameter should be the same, or smaller than the material thickness you are welding.
The type of filler is a big can of worms though, so if you want to know why keep reading. Otherwise skip this bit and just get some ER70s-2.
Strength, Ductility, Toughness, (and all the others) are different material properties we often refer to. It’s important to be a bit pedantic though. If you say “I want my welds to be as strong as possible”, what exactly do you mean?
I won’t type out an entire materials science class here, but generally speaking, Toughness and ductility are much more desirable for a bicycle frame than ultimate yield strength.
Ductile things bend before breaking, brittle things break without warning (also see: carbon fiber).
The definition of toughness is the ability of a material to absorb energy and deform plastically without fracturing (also see: not-carbon fiber)
(Note: I’m making fun of carbon fiber here, but just realize that carbon composites are indeed very strong, they just typically do not have much toughness or ductility)
But, ER70s-2 is weaker than 4130?!?
Yes. This is okay for a couple reasons.
One, we are gaining ductility in the weld by having an under-matched filler. So if your weld is not perfect, that ductility can help make sure a crack does not propagate.
Also, weld size. Essentially all the welds you will do on a bicycle frame will be over-sized. This is good. It essentially means the tensile strength of the filler is irrelevant, since we have more of it.
Another gross over-simplification rule-of-thumb is to have fillet welds be the same size as the material thickness. Now, with bicycle tubing being roughly 0.035” in some cases, that means a 1/16” (or larger) fillet is way overkill. Again, this is a good thing for us.
What about ER70s-6?
This one is also fine. It’s the most common out there, and it’ll work just dandy for bicycle frames. Mechanically, it’s essentially the same as ER70s-2.
The benefit of the -2 variant is that it has more elements added to the filler that help clean and de-oxidize the weld.
ER-70s-6 relies on Silicon only. It works, but -2 works better.
This is especially nice for welding without back-purge. After all, ER70s-2 was originally designed for welding open-root carbon steel pipe with no purge.
In an effort to provide some references / further reading, Miller Electric has a great write-up here:
https://www.millerwelds.com/resources/article-library/best-practices-for-tig-welding-of-4130-chrome-moly-tubing-in-general-motorsports-and-aerospace-applications
They also have a nice sort of WPS (welding procedure specification) in there that is handy if you’re just starting out.
So in short, ER80s-D2, and the Weldmold variants are not the best choice for the vast majority of bicycle applications. (And they’re more expensive!)
(Also a bit of a rant / tangent. Weldmold doesn’t provide the chemical composition of their fillers. Or at least I can’t find it on their webpage. That alone is enough for me to make sure I never touch the stuff!)
Welding Stainless to 4130
I try to avoid buying dropouts and such made from stainless, but they do have their purpose.
In this case, it is best practice to use a 309L filler to join the stainless to the 4130.
This is not ideal, but it does work. Pay close attention to the heat and keep it as cool as possible while welding. Carbide precipitation will happen if it remains hot for too long.
It’s also a growing trend in the community to use 3D printed (metal) parts on bicycle frames. They are typically stainless, and this is a new and emerging technology. I’m gonna wait a few years before I weld any 4130 to 3D printed stainless. Some builders have had good experiences with it, and others have had very bad experiences with it. We don’t know what we don’t know (yet).
I will also stick my foot in my mouth here and say that Weldmold 880 might be better for this application. It is allegedly similar to 309L, but since it’s proprietary we really have no idea what it is.
Machine Settings:
Amperage / Foot-Pedal Control:
1 amp per thousandth of material thickness is a general rule that works well. For example, 0.035” tubing would be 35 amps. Note that in bicycle welding we are typically joining thin tubing to thicker other stuff.
With a foot-pedal control, I typically set the machine to 80 amps, and then rely on the foot-pedal to control the actual amps during the weld. Somewhere around 50-60 amps is where most of my bicycle welding ends up being. Having the machine set higher allows for more headroom, but having it too high will reduce your fine-control.
For those that don’t know, the foot-pedal control is 0% to %100 of the setting on the machine. So for example, let’s say our target amperage is 50.
If we set the machine to 50, then we mash the pedal to the floor and get 50 amps.
If we set the machine to 100, then we press the pedal halfway to get to 50.
If we set the machine to 200, then we would only press the pedal a quarter of the way to get to our desired amperage.
With that last example if we’re clumsy on the pedal, we can very easily overshoot that and then blow holes in our tubing.
Unless I’m welding aluminum, I typically just add roughly 20 amps to what I think I will need and set the machine to that. A little extra headroom is nice sometimes.
Pulsing:
Pulsing is definitely not a requirement for good welds, but it can be nice in some cases.
I generally group pulsing for Tig into two types. Low-speed and High-speed.
Low-speed pulse is what I refer to as roughly 2 pulses per second (PPS) or less.
This can be nice for getting super-consistent ripples (stack of dimes) in your weld bead. It can also lower your heat input when done correctly.
High-Speed pulse is what I would consider roughly 20 PPS and up.
The biggest benefits are lower heat input, and control of the puddle. The high speed pulse tends to agitate the puddle and keep that molten metal ‘stuck’ to exactly where you tell it to. This is nice for welding thin tubing, but I actually rarely use this. Old habits and such.
If the price of a Tig welder is a concern, don’t feel bad about skimping on a pulse feature. If mine magically got taken off my machine I wouldn’t really care. I never use it.
Gas Shielding:
The biggest thing about gas shielding is making sure you have enough. Not enough means you will have porosity, and other issues that will lead to a bad weld. Too much simply means you’re wasting Argon. Waaaaaay too much can actually cause enough turbulence to draw in ambient air and can cause the same thing as too little.
With a #8 gas lens, I typically run 15-20 CFH.
A little pre-flow is nice if your machine has that setting. Typically 0.5 seconds is sufficient.
And enough post-flow to let things cool down while still shielded. 10 seconds is typically just fine.
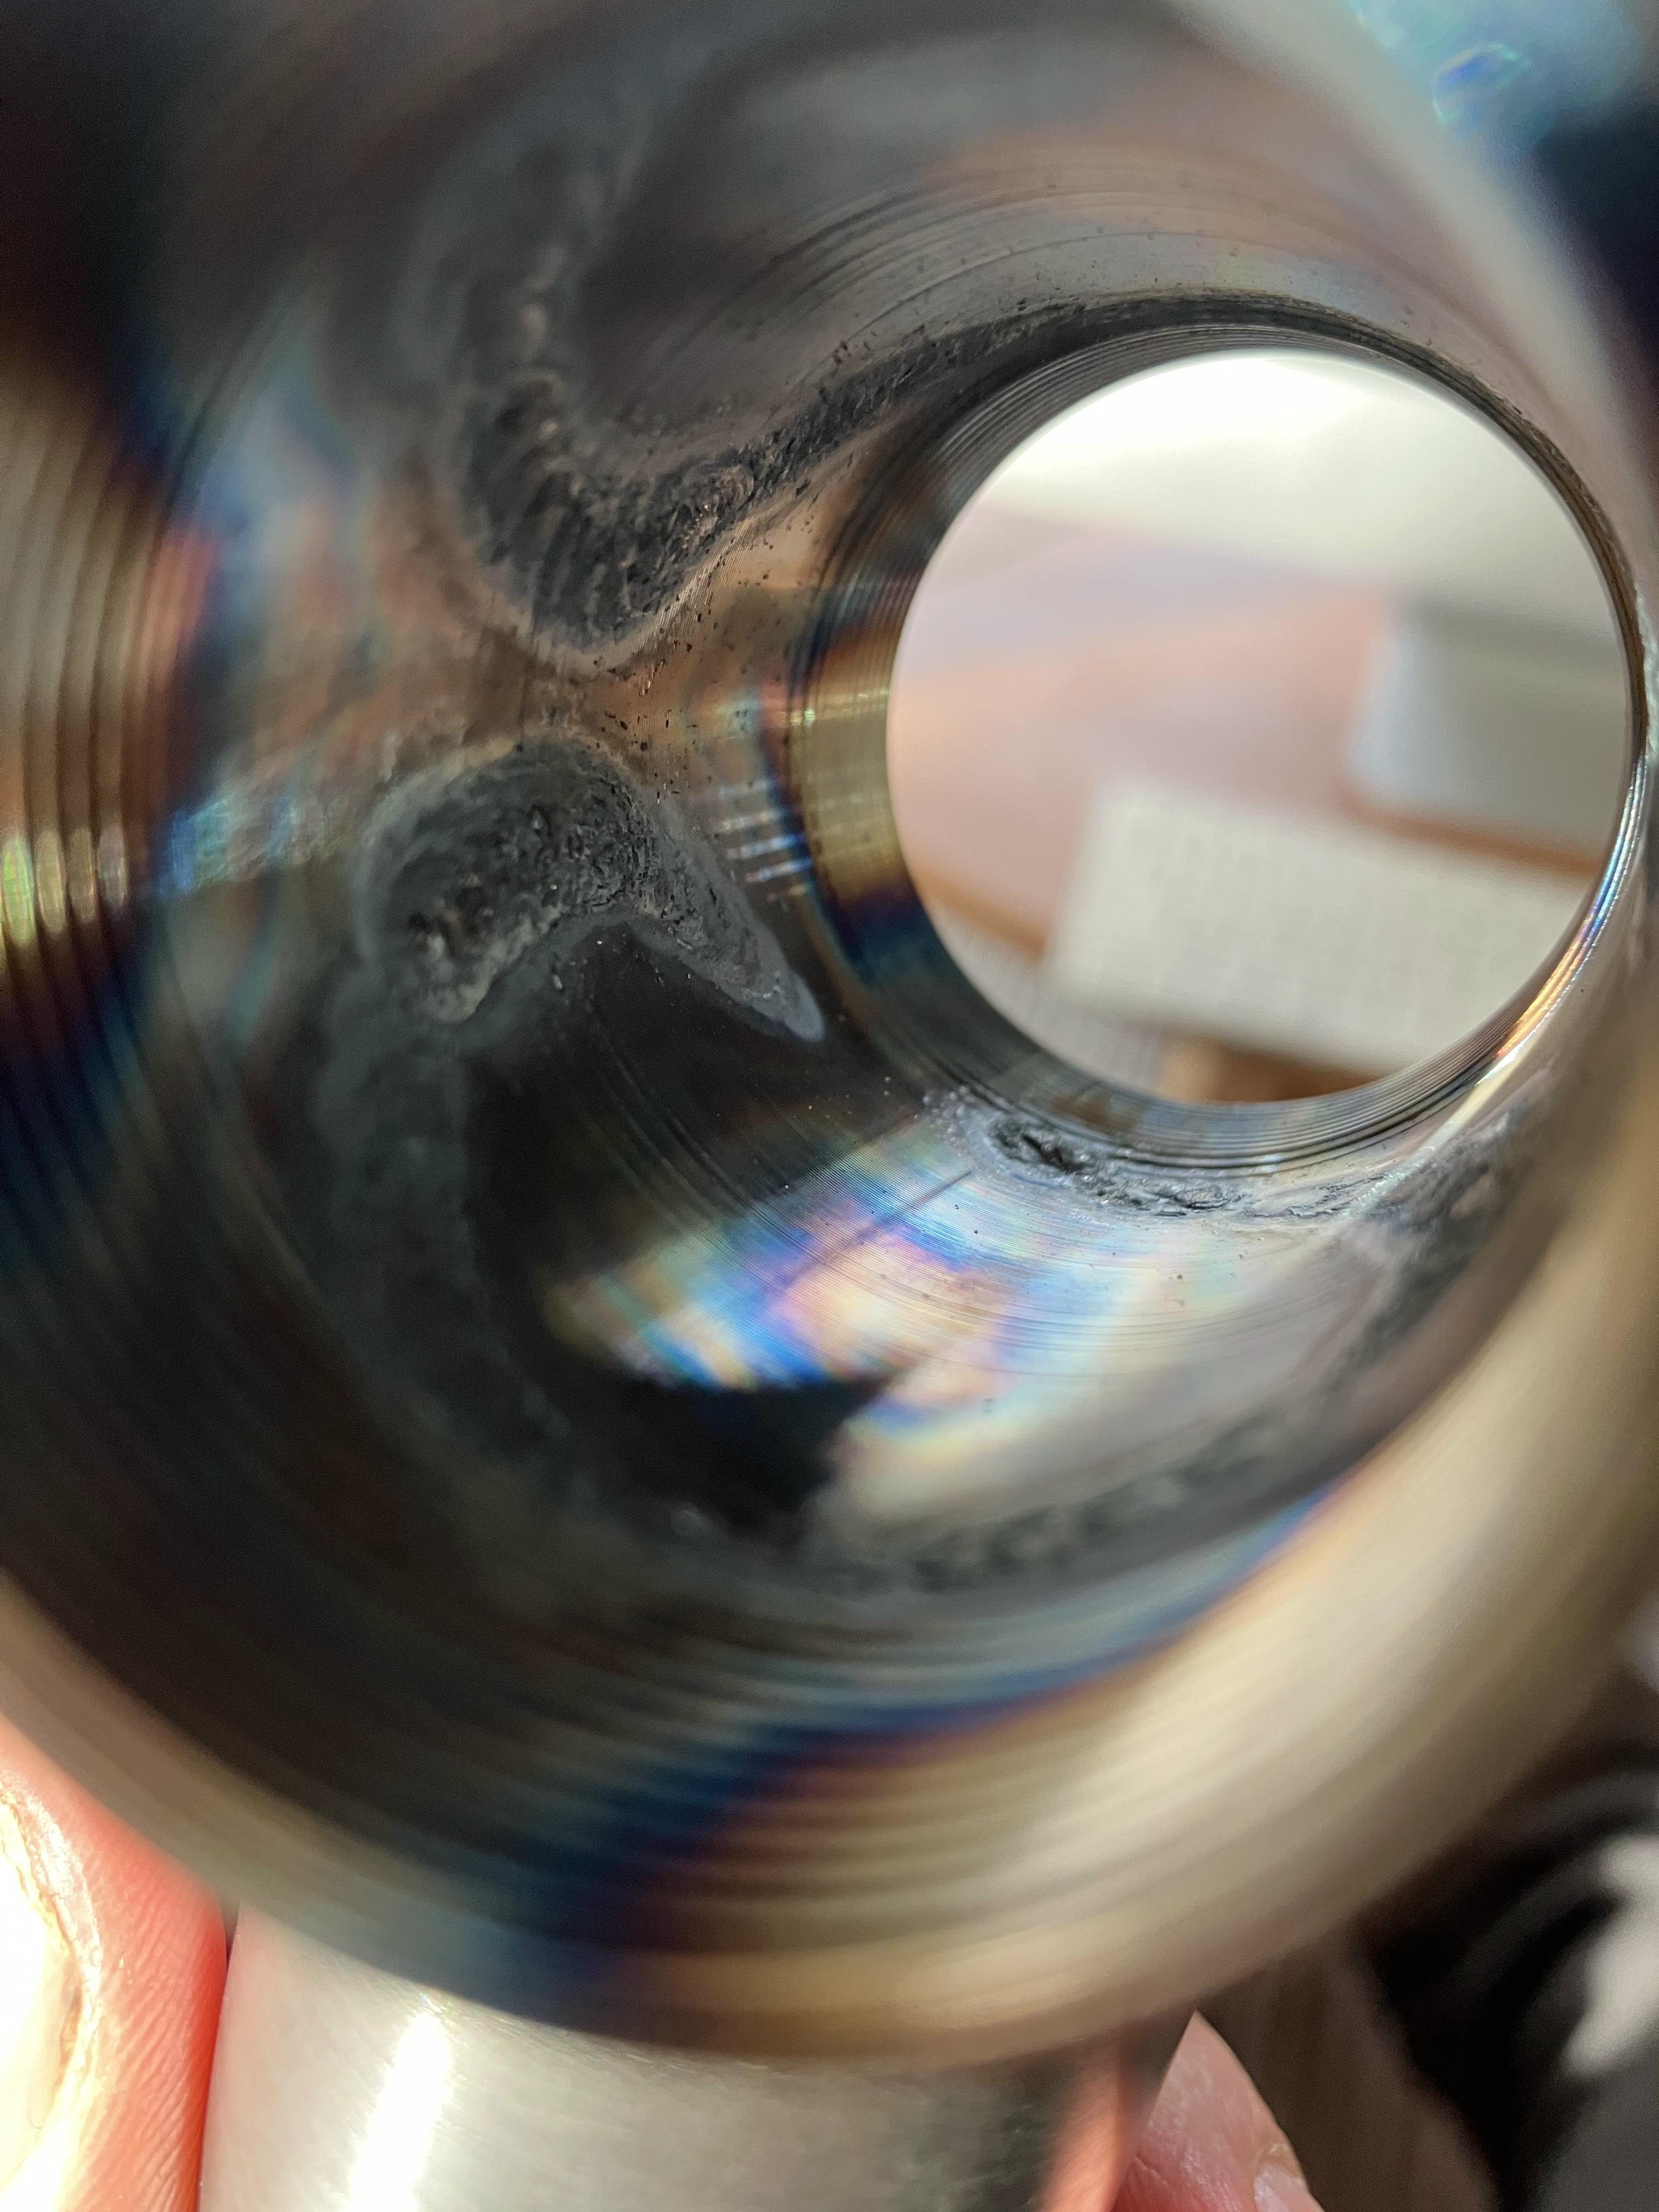
There’s another can of worms with this one, and I will link a post I made a while back on IG. The summary though, don’t get too caught up with the pretty colors. They don’t tell you anything without more information.
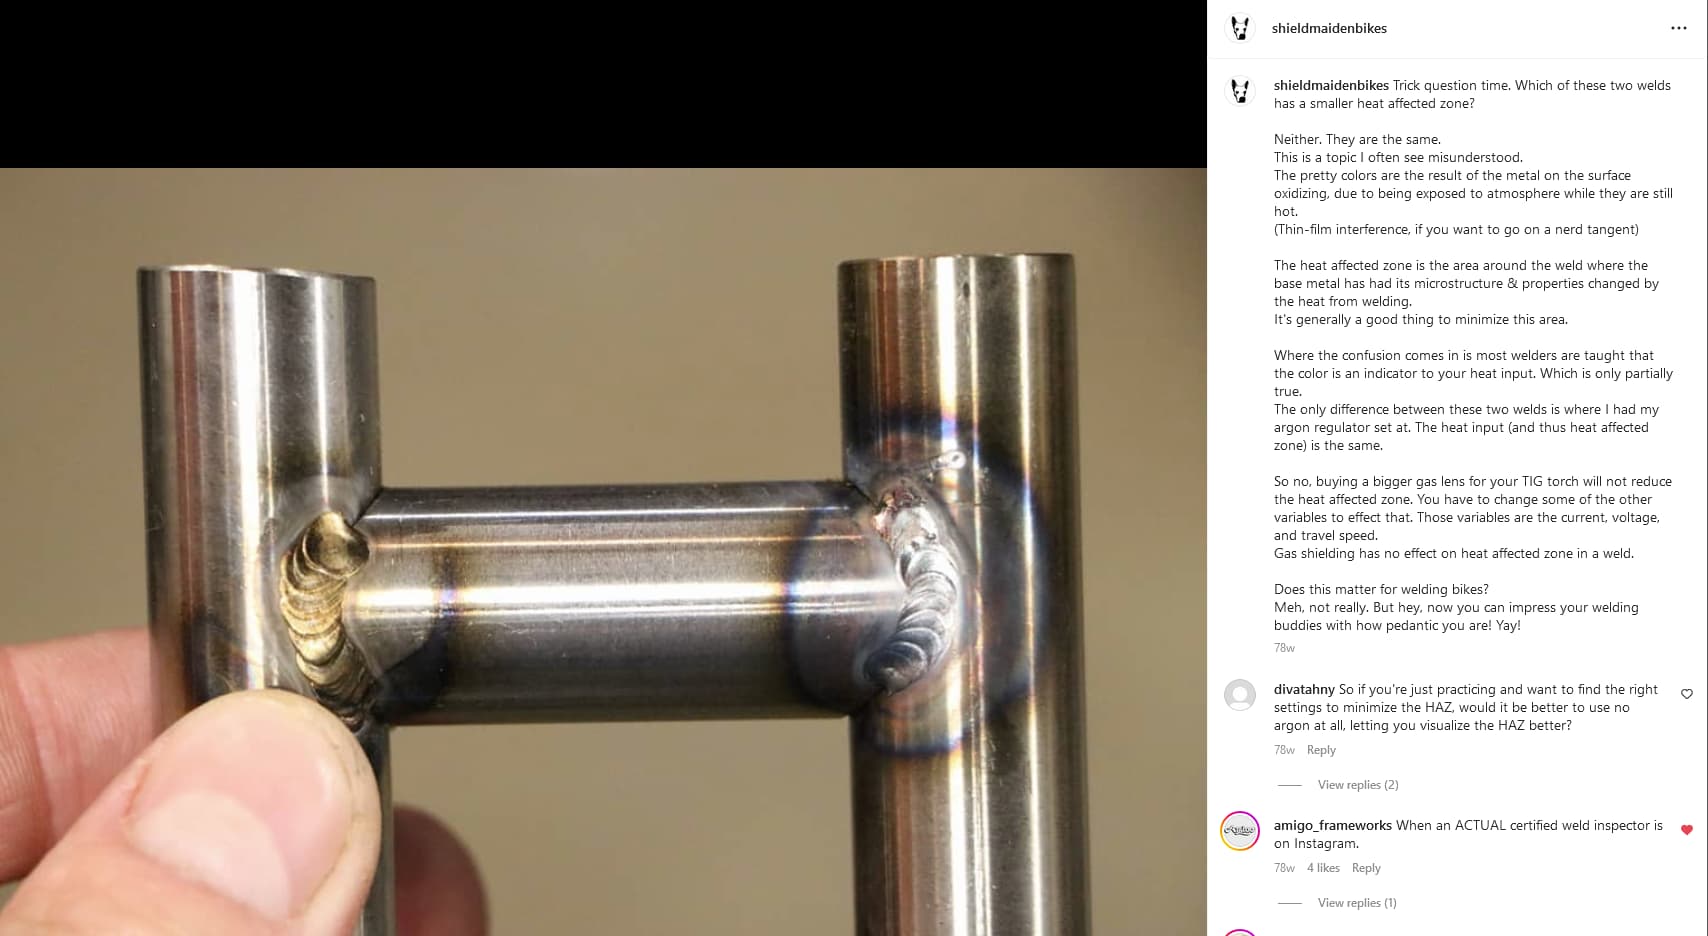
https://www.instagram.com/p/CQV_3T8BS6d/?utm_source=ig_web_copy_link
Back-Purging
For those that don’t know, back-purging (or just ‘purging’) means adding shielding gas to the inside of the tubes as you weld.
The short version is that it’s simply not necessary, unless you’re working with stainless or titanium. But titanium is way outside the scope of this guide.
I will note though, purging your tubes can have a nice benefit if you’re not as experienced at welding, and / or your fit-up is not great. Basically if you way over-heat your welds, or have bad fitup, you can draw in oxides from the backside of the unshielded metal into the molten weld metal. This is bad. Having a purge on the backside helps prevent those oxides from forming in the first place.
My recommendation is to not worry about purging for 4130.
Heat Sinks
Heat sinks are great. Bicycle tubing is very thin, and welding is very hot. That heat has to dissipate away from the welded area somehow.
In practice, the heat tends to stay in the welded area, and will contribute to distortion and other issues. So large pieces of copper, aluminum, bronze, or any of the other copper alloys make great heat sinks. I won’t go into those in detail here, because I don’t use them for bicycles. I’ll let the more experienced folks share how they make their heat sinks.
In short, you can get perfectly acceptable welds without worrying about heat sinks. Proper weld sequencing, patience, and good technique are vastly more important than using heat sinks.
I think that’s enough for now. This kind of turned into a brain-dump, and trying to demerit some of the rumors / misconceptions I tend to hear about welding thin-wall tubing. I hope this helps some of you all! Let me know if you have any questions or other things I should add.
(Edit: the title of this post was a joke on the “for dummies” books that are so popular. I can of course change that if it’s inappropriate)