Apologies upfront if this has been covered, but I couldn’t find a description in searches.
What’s a good workflow for ensuring your mitres are aligned on e.g. a top tube?
I’ve been using a straight edge on a flat surface to draw a centreline and then using BikeCad mitre templates to ensure things line up and make sure I cut the right side of the tube…which I’ve got wrong
Someone just showed me this trick yesterday! (Requires a tube block from PMW or similar)
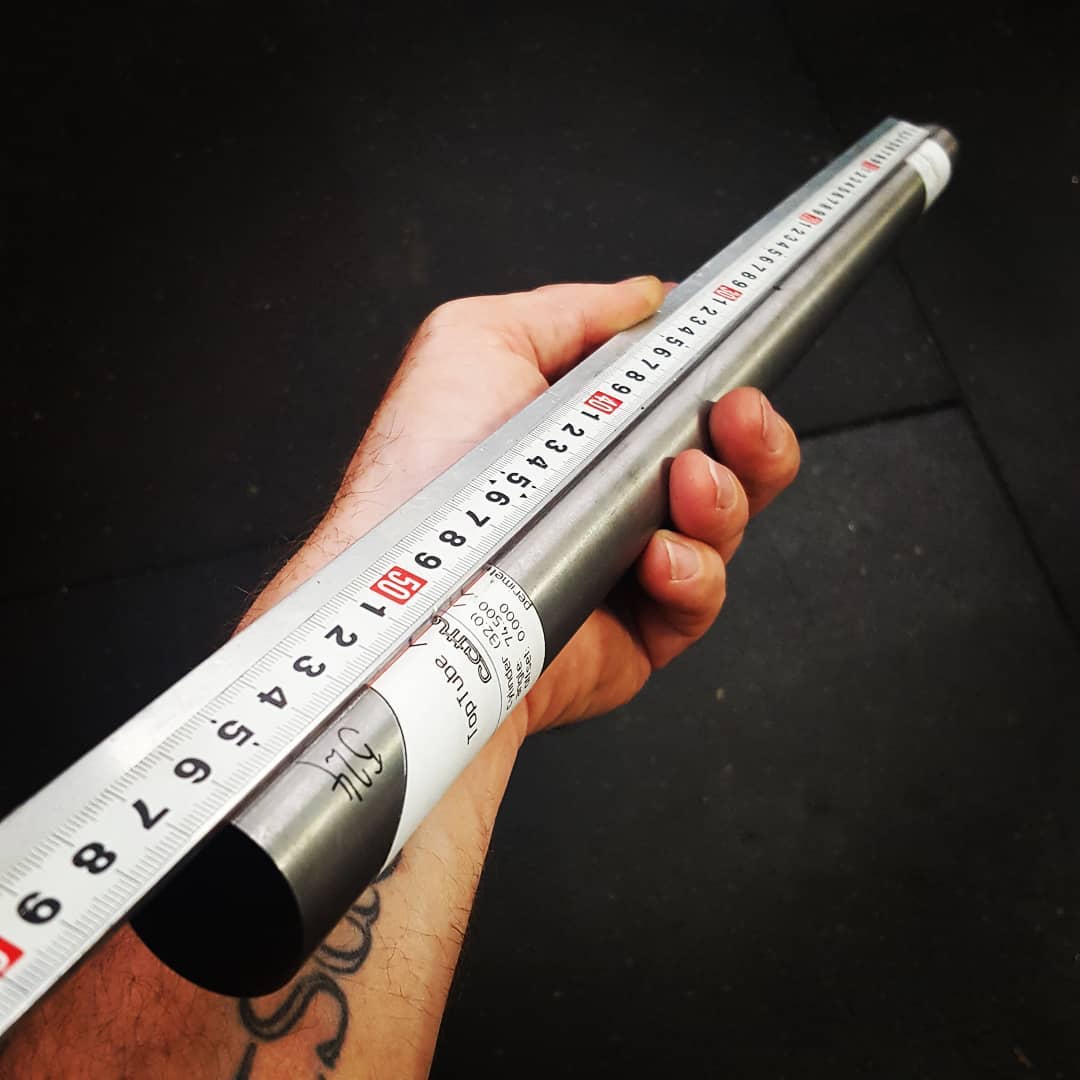
Clamp your tube in a tube block, tighten each half evenly and verify gap on tube block is even using caliper tool
establish/create a center line on the tube by marking a line down the middle using another tube as a straighline guide
put the “drawn” or marked center line in the middle of your PMW tube
now when you rotate the paragon block over 90 degrees the “clamp” line on the block becomes your reference point for where the centerline of the other axis is
Two identical aluminium tube blocks. The Paragon ones work great. Clamp them both on the tube, preferably on a very flat surface. Then you can move them around all you want as long as you don’t loosen them both at the same time, and you tighten them back on the flat surface. You can spin one round 90º if you need to. Just make sure you keep one of them tight so you don’t lose the reference.
I do this for all the main tubes on the frame. I use tube blocks that are all the same outer dimensions. Once my vice on the mill table is set up and centered, then I know all my cuts are going to be centered and in phase. It also makes drilling bottle bosses etc on the centreline a no brainer too.
For tapered or oval tubing, I have 3d printed inserts that go inside my tube blocks so I can do the same thing.
If you need to find a 45º angle for whatever reason (I do this for internal routing ports) then you can use a 90º v-block on the flat surface to locate one of the tube blocks while keeping the other flat on the surface.
If you need to mark a line on the side of the tube (at 90º). then with the tube in the blocks on a flat surface, just run a (not precision!) square along the tube, and you’ll be able to mark a line on the side at 90º.
I have mostly PMW blocks and they’re great, but also look at the ones Alex Meade makes. They’re a couple bucks cheaper but the main difference is they’re shorter in length, which in certain situations makes them fit where a longer one wouldn’t.
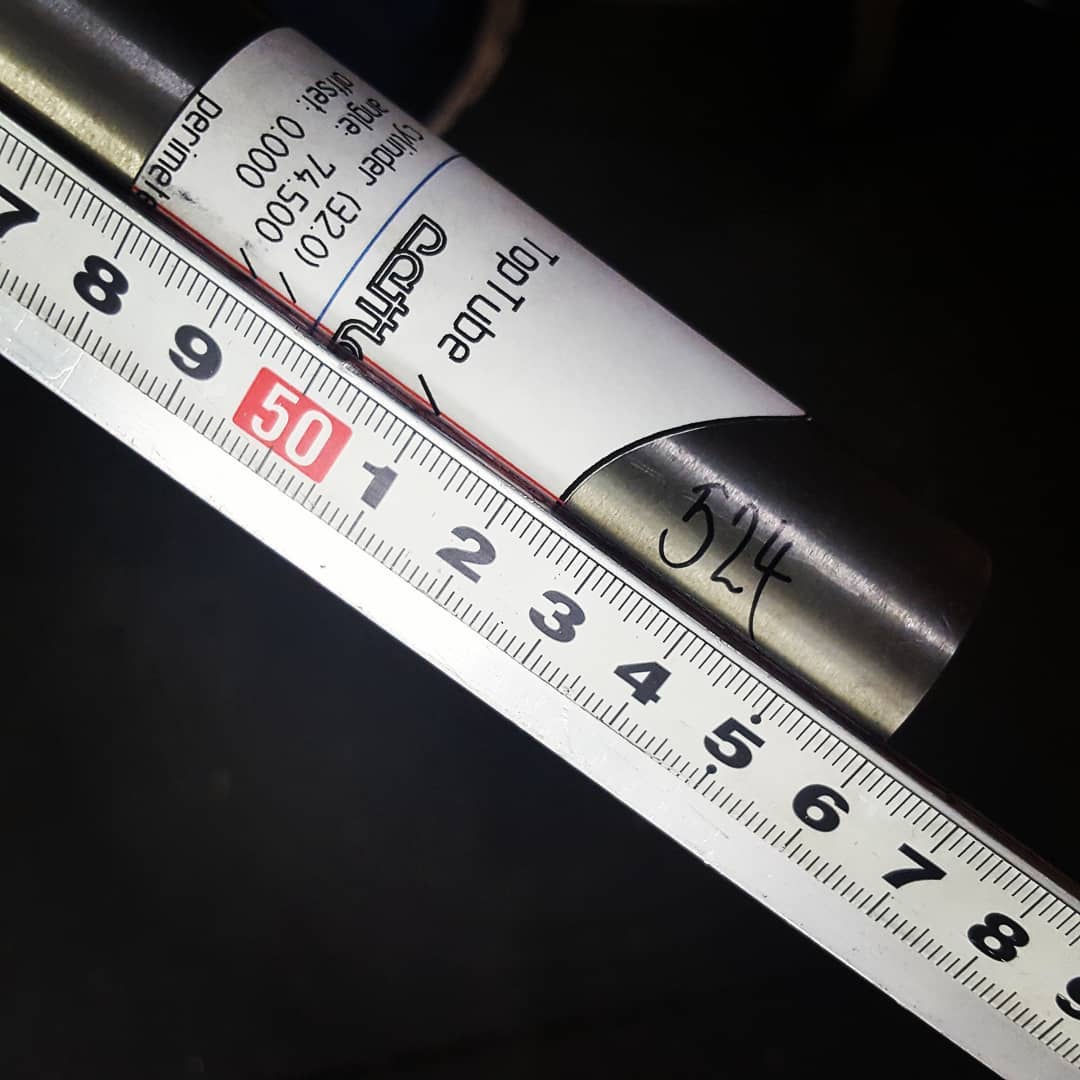
The easiest method tp draw a line is with a length of aluminium angle 25 x 25 x 3 mm works great. You can also buy the stick on meausring tape and you can use that to mark out lengths.
Interesting about the pros and cons about narrow tube blocks (Sputnik, Alex Meade) vs wider tube blocks (PMW, Bicycle Research, home made wood blocks). I always thought the wider blocks were more favorable because the clamping force is spread across a bigger tube block area. But then, if narrower ones have an advantage for some cuts, maybe I ought to consider that. I’m soon to be in need to of bigger diameter blocks for an upcoming project. What are some of the cuts that are easier to make with the narrower blocks? Is it just milling cuts?
The only situation I can think of was a curved tube. I gently curved the toptube on a cargo bike for crotch clearance, with a Harbor Freight ring roller. There was enough curve that the longer blocks wouldn’t fit, but the Meade blocks didn’t care about the curve. I used 3 blocks, all tightened on a flat surface, one in the middle to make the curve lie in the centerplane of the bike.
Oh another would be an extension tube for a stem. There, the length of the block would limit how short a stem you can make without cutting into the block. I have little to no qualms with cutting into the block BTW, they’re cheap and expendable IMHO. Customize ‘em.
I don’t detect any difference between PMW and Meade in how tightly they hold the tube, they’re both adequate whether you mill (as I do) or hand-file.
For milling, it’s advantageous to have all your blocks the same width so you don’t have to re-center the vise between cuts. (Length of the blocks doesn’t matter)
I have a Cobra Miter Buddy. It’s useful for tapered tubes or non-round tubes, but for everything else, an aluminium tube block (actually 2) is much better for mitering on a mill.
Huh, I must be missing something because I can’t see how that could be used to miter both ends of a DT, or stem extension, with the ends clocked 90° to each other. Or the second miter on a seat tube, the little notch to clear the DT at the BB, trivially easy with square blocks like PMW or Meade.
The Cobra dude seems smart, so I’m going to assume that I’m just missing some key point. Don’t bother explaining for my sake though, there’s no way I’d pay that kinda money for a tube mitering gizmo, no matter how good it is, when I have so many ways to get the job done already in my shop.
When I worked in production shops, we had various ways to quickly run through 50 of a given tube with no measuring after the first one, but most readers of this forum have no need for tooling with that degree of complexity or cost. One place I worked had a dedicated mill that only made downtubes, with four automated spindles with power downfeed, that mitered both ends and drilled the water bottle boss holes all at the same time, and then retracted back to the home position, all with a single press of one button. And other mills to do TTs, seatstays etc. Of course that place went bankrupt, no doubt at least partly from how much was spent on those ridiculously complex mitering machines. They were cool though!
As a general rule, I advise fighting that tendency to buy expensive tools because they’re cool. Oh wait, I have lots of tools I bought for the coolness, so do as I say not as I do…
I use angle iron down the side of the tube. As for getting them the right way up, that can be tricky! Especially as the angle can often end up something like 89 degrees if you have a sloping TT. Just need to check the diagram very carefully.
I agree that in almost all situations, the aluminium blocks are the best solution. The Cobra tool however, works great for tapered stays. For slotting ends for example. Or mitering the ends for a hooded dropout. I find it useful when doing a short run of something, I can set the tool up on the mill, get all the angles dialled in, then load and unload tubes pretty quickly to get the job done, knowing they’ll all be the same. You’re right, there’s nothing on there to help with keeping miters in phase. I wouldn’t use it for main tube mitering. I do find it useful, but it’s not something that would be top of my list when outfitting a shop.
I use the Miter Daddy for main tube mitering. I put a PMW tube block roughly in the center of the tube and then use a machinist’s square on the mill table to clock it into position for both cuts on TTs and DTs. Works a treat.
If I’m cutting a bent tube then I usually just put the tube block in the vise, but I prefer to do all tubes in the Miter Daddy because I can zero the Y-axis once and take care of business.
If I bought the mitre daddy I’d put it in the mill and put a centre mark on it and then use the line scribed/marked on the tube to reference against it.