So that paint situation kinda took the wind out of my sails for a minute. I also got real distracted building wood and steel shelves and playing aquarium, there’s also a new 20" BMX in the mix so I’ve been busy with other stuff.
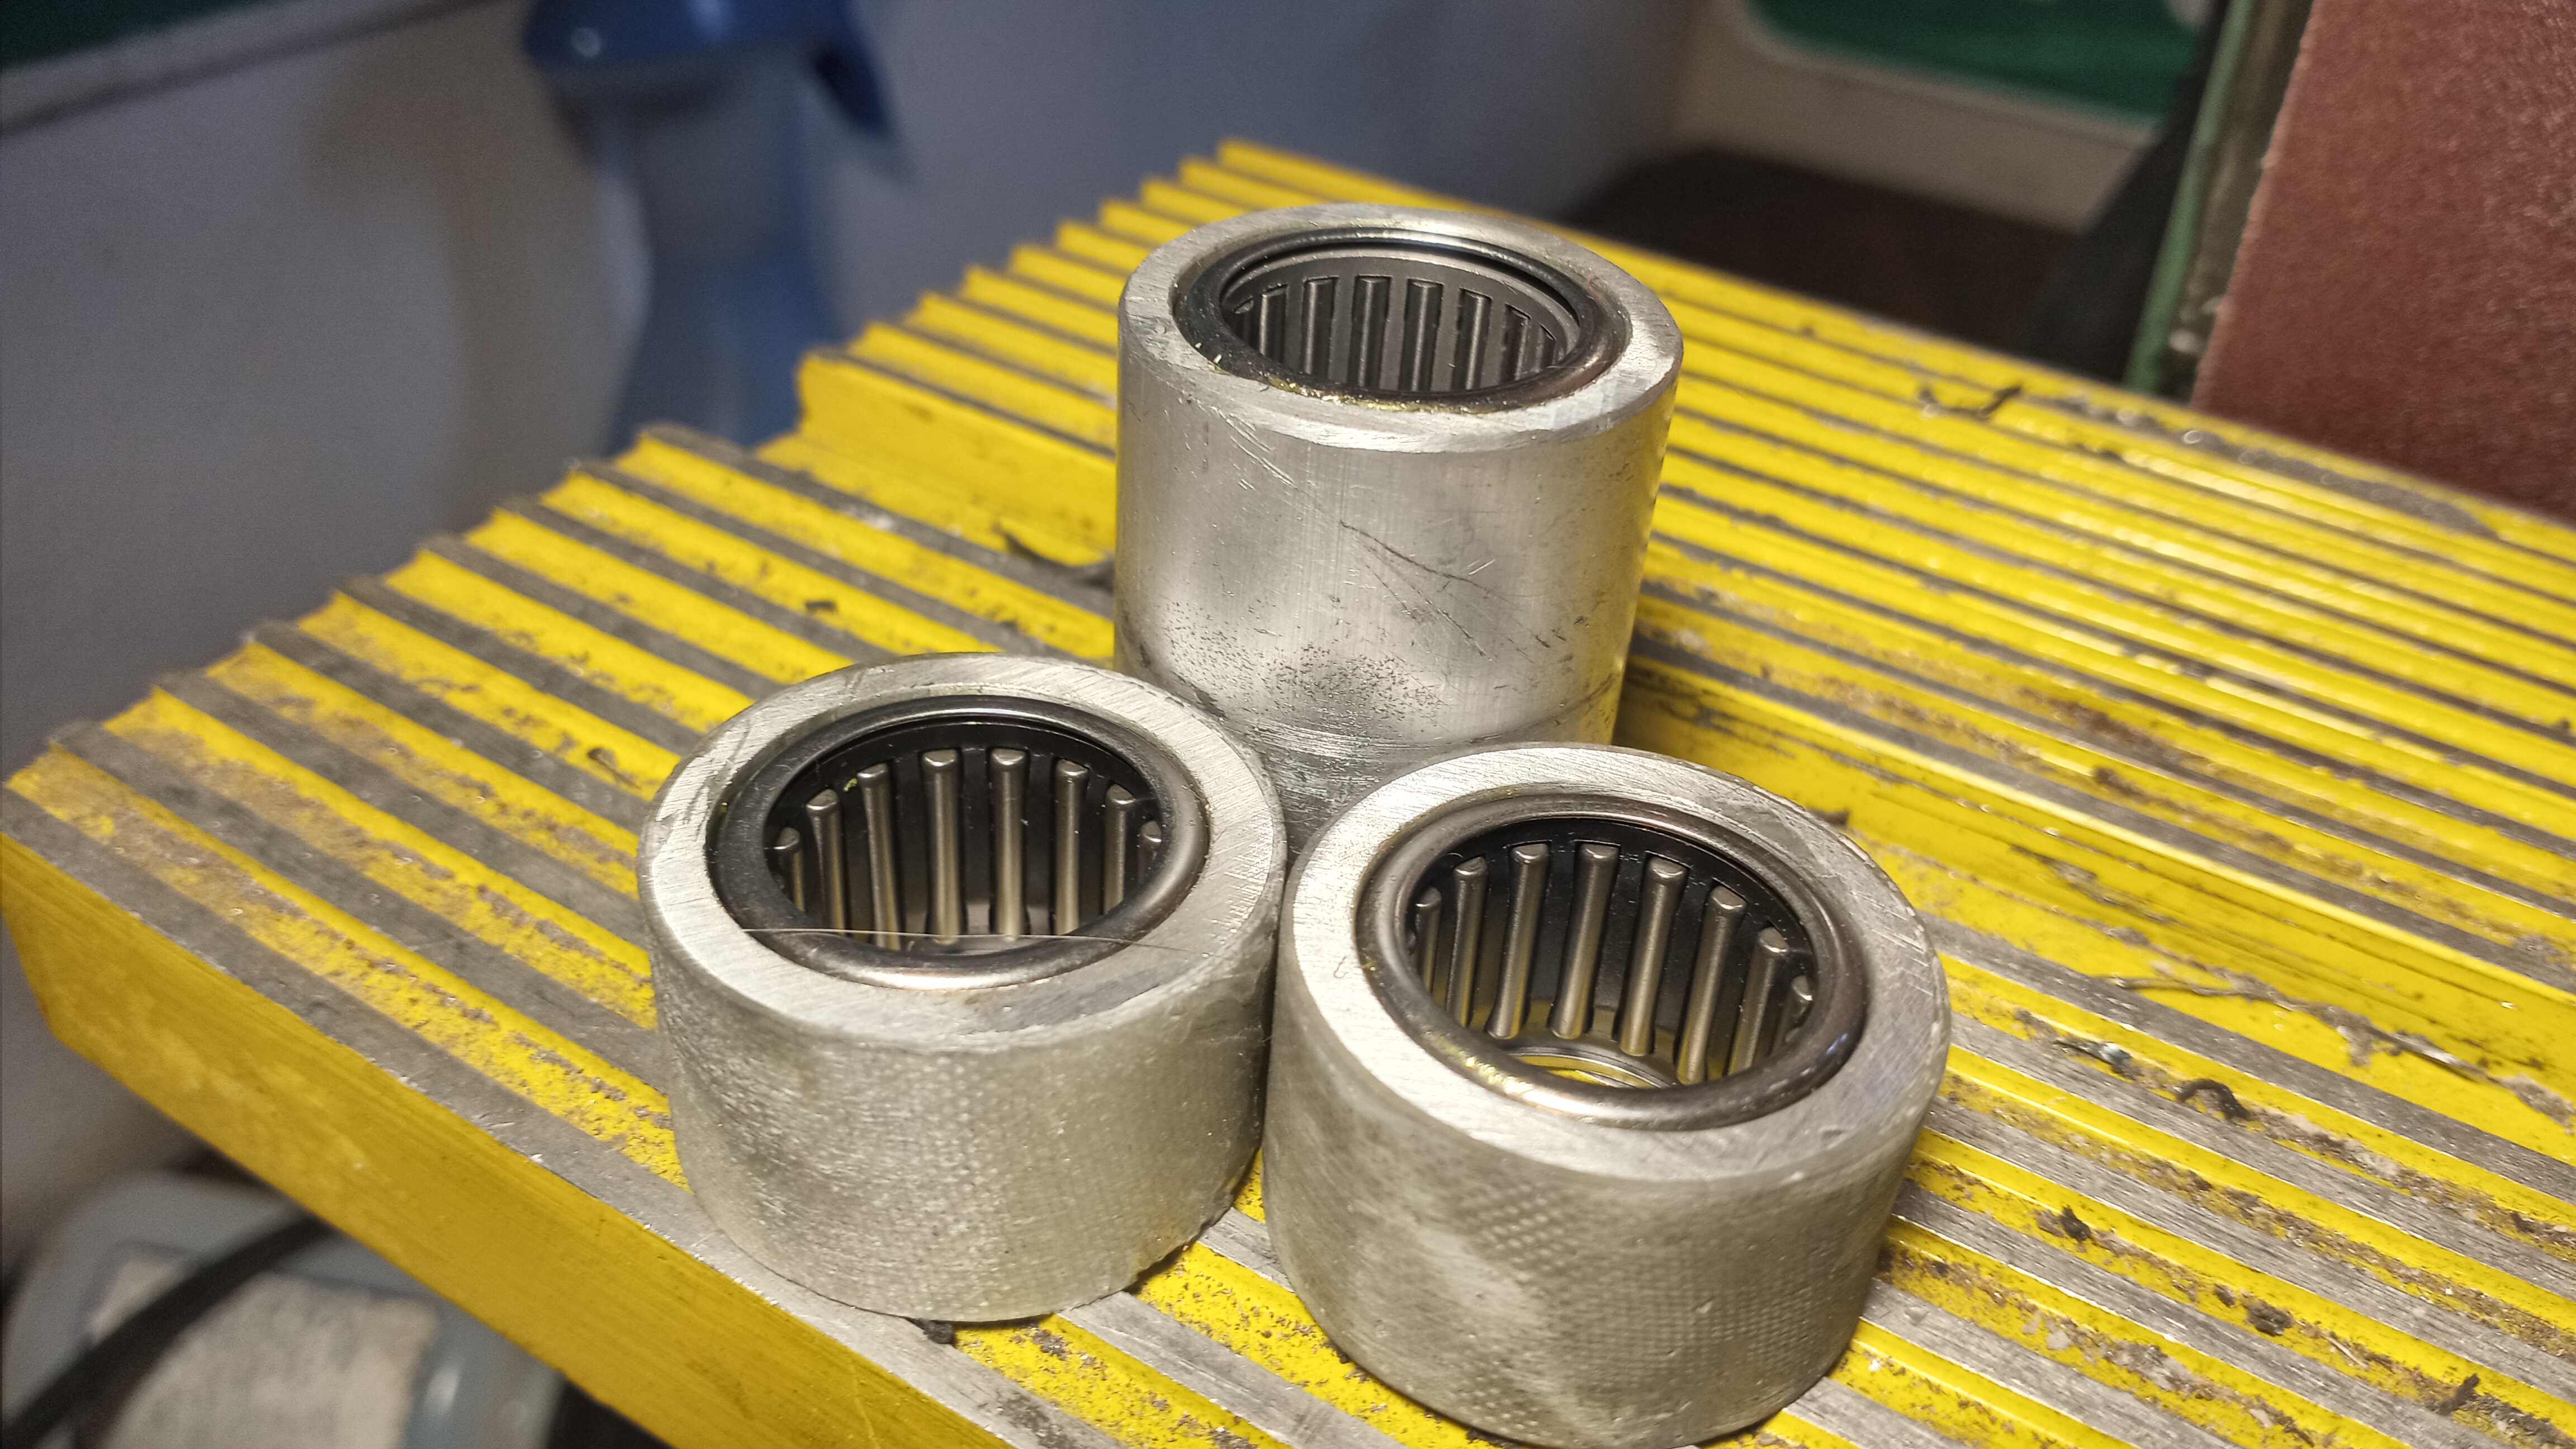
I finally talked myself into reaming these aluminum sleeves. Reaming 6061 by hand with an adjustable reamer was…emotional, but I got it done. Needle bearings all press in and still spin, so that’s an improvement from last time.
The double stacked one is an adapter, sorta. The main pivot was all set to use wheelbarrow bearings (haha) with an 1 3/8" od, all the needle bearings are 1" od. So I welded a piece of seat tube (35mm .065") into the original pivot (38mm .065") sleeve, bringing that id down to 31.6mm (1.25") The aluminum tubing has a 1.25" od and a .125" wall, some light reaming action and bingo was his name-o.
It’s got thrust washers everywhere anything touches so I can snug it up and it’ll all still spin.
I had an idea about getting the frame repainted real quick, I was gonna get it done with fancy aircraft paint and get a picture of it in a huge paint booth next to the private jet that it was sharing pigment with. That didn’t work out, so you’ll just have to settle for the plane by itself.
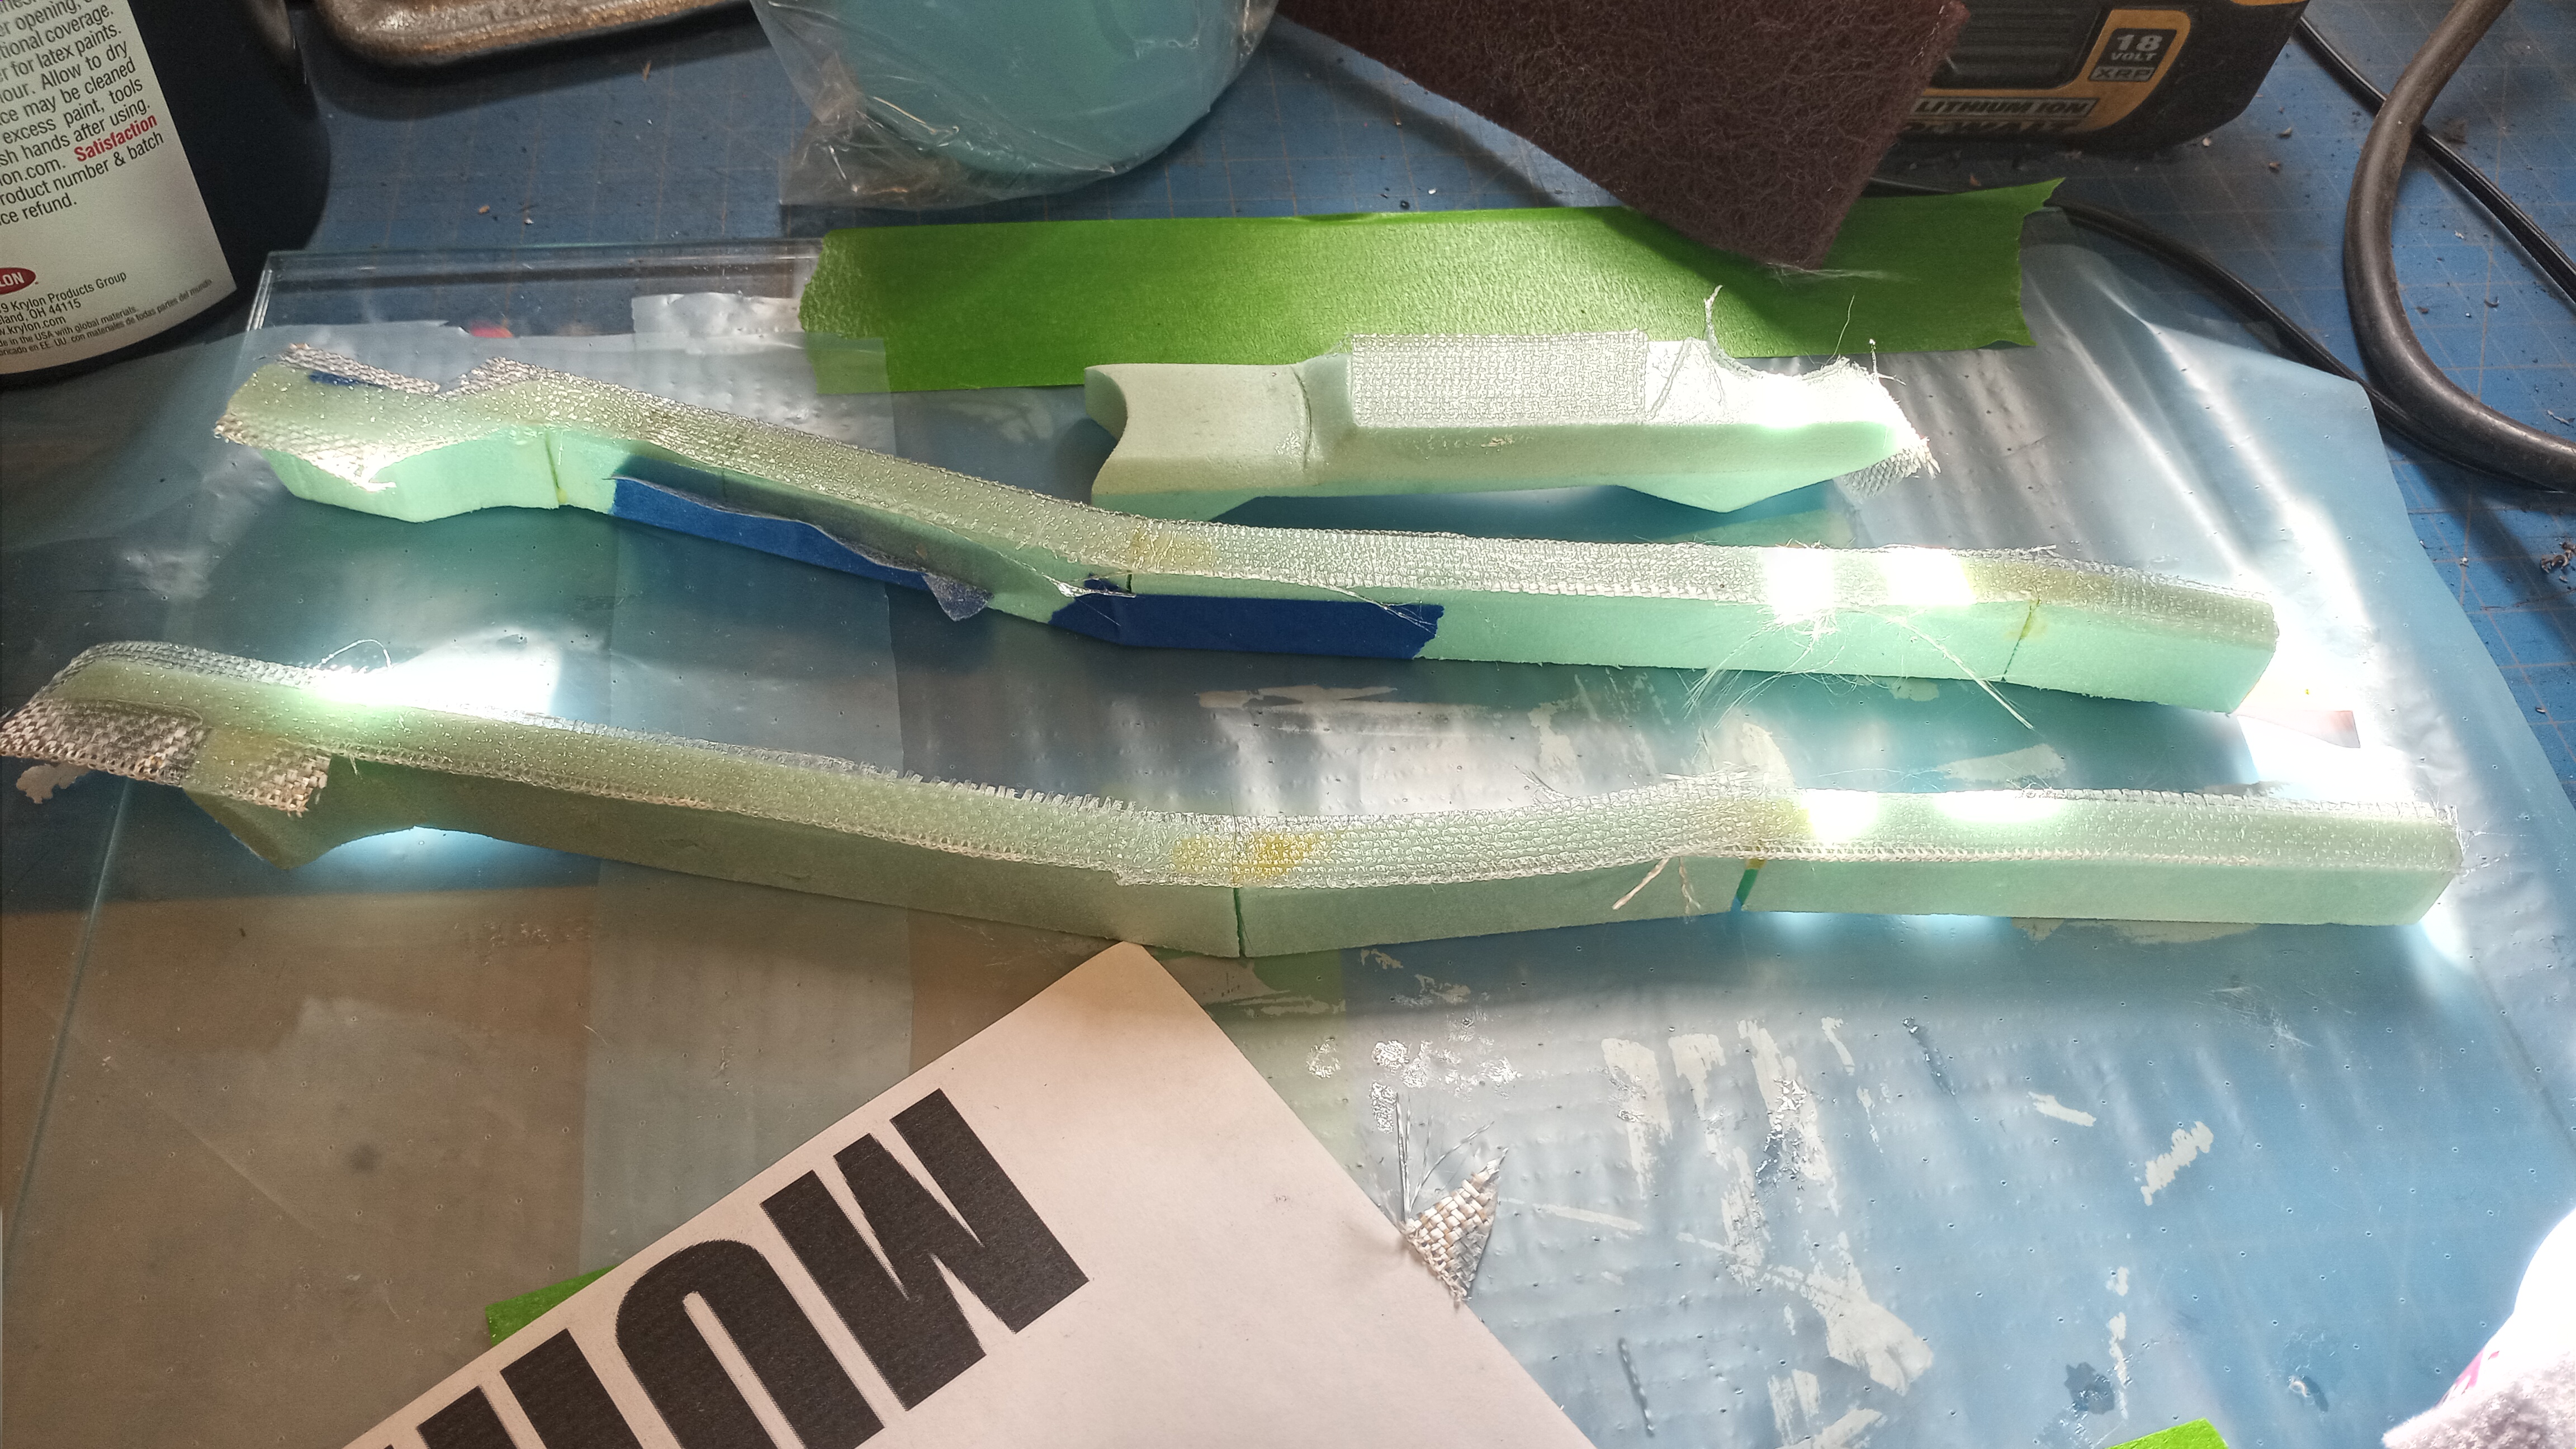
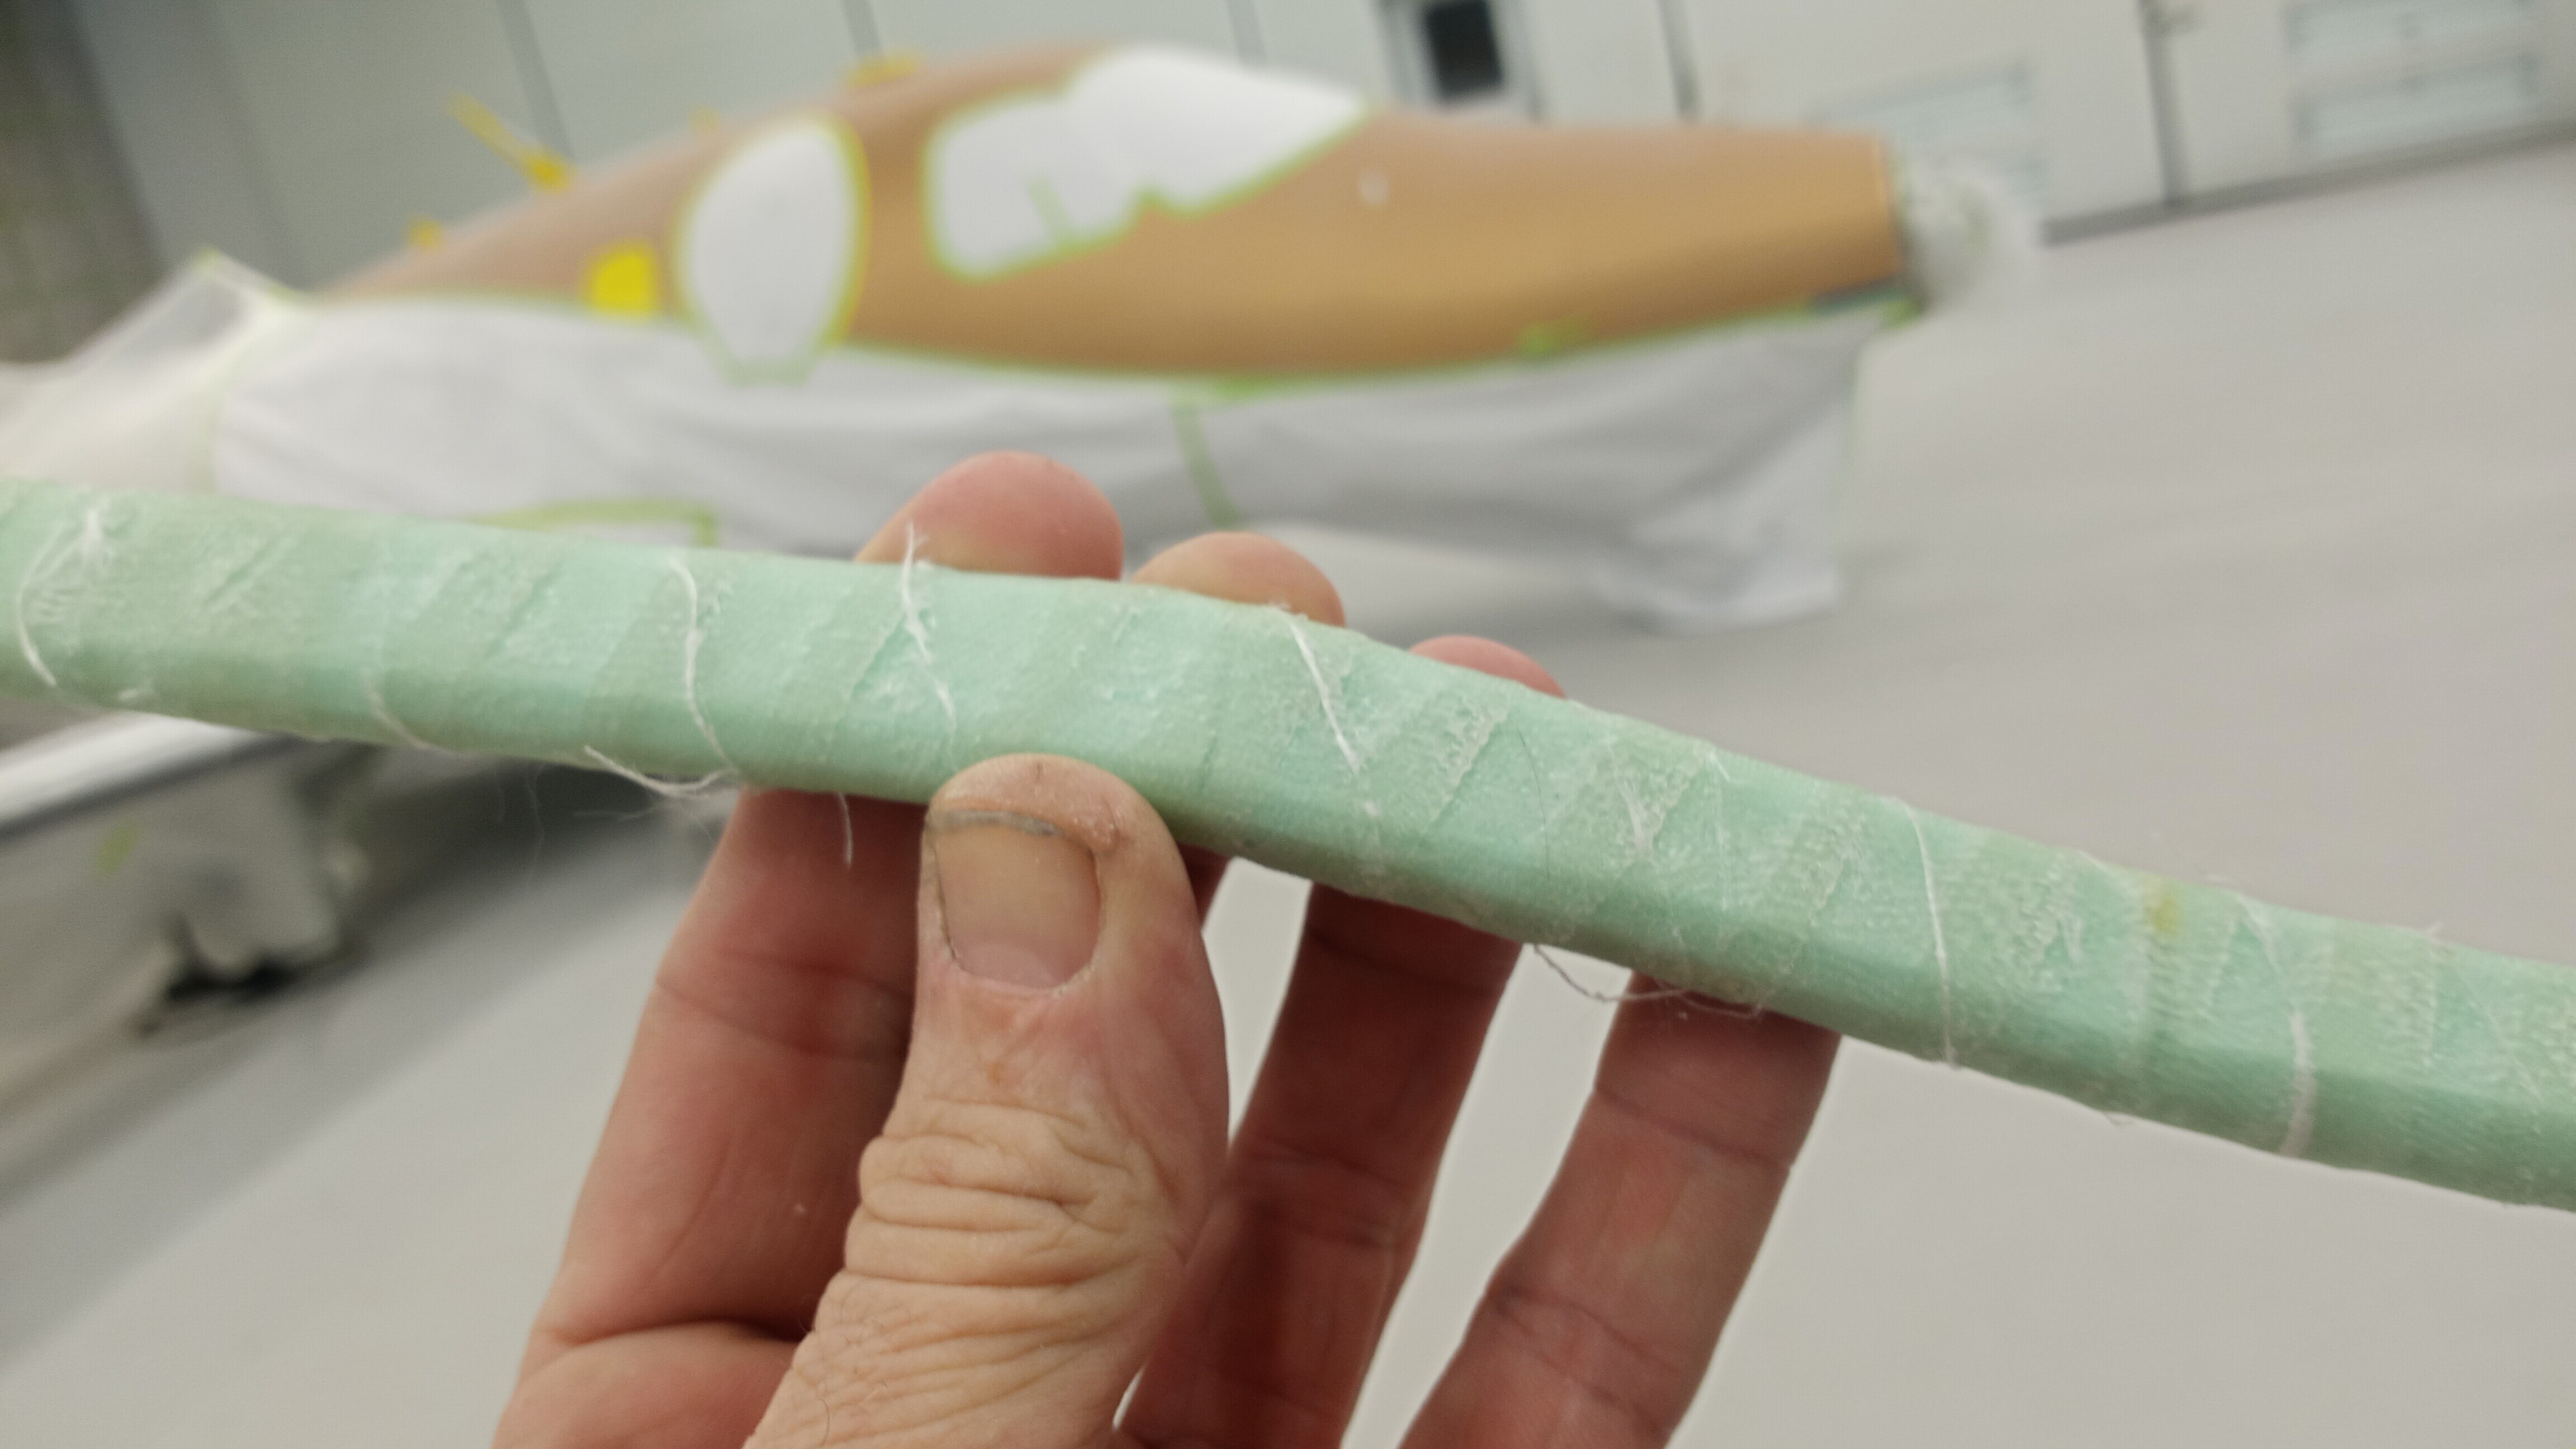
I seem to gravitate back toward a kinda swoopy, s-bendy guy, less organic looking that the 1st try but still kinda swoopy. It looks pretty thin in that one plane (about 10mm) but I plan to go heavy with the glass and the UD tape there and get my strength back. That’s the cool shit about composites, right? I might retrace them as one piece and make the whole thing a little fatter. Who can say what the future holds?
I’m probably going to trim some height off them, I’d like the finished height to be about where the foam is now. Width should be good with 3 or more mm of carbon on it.
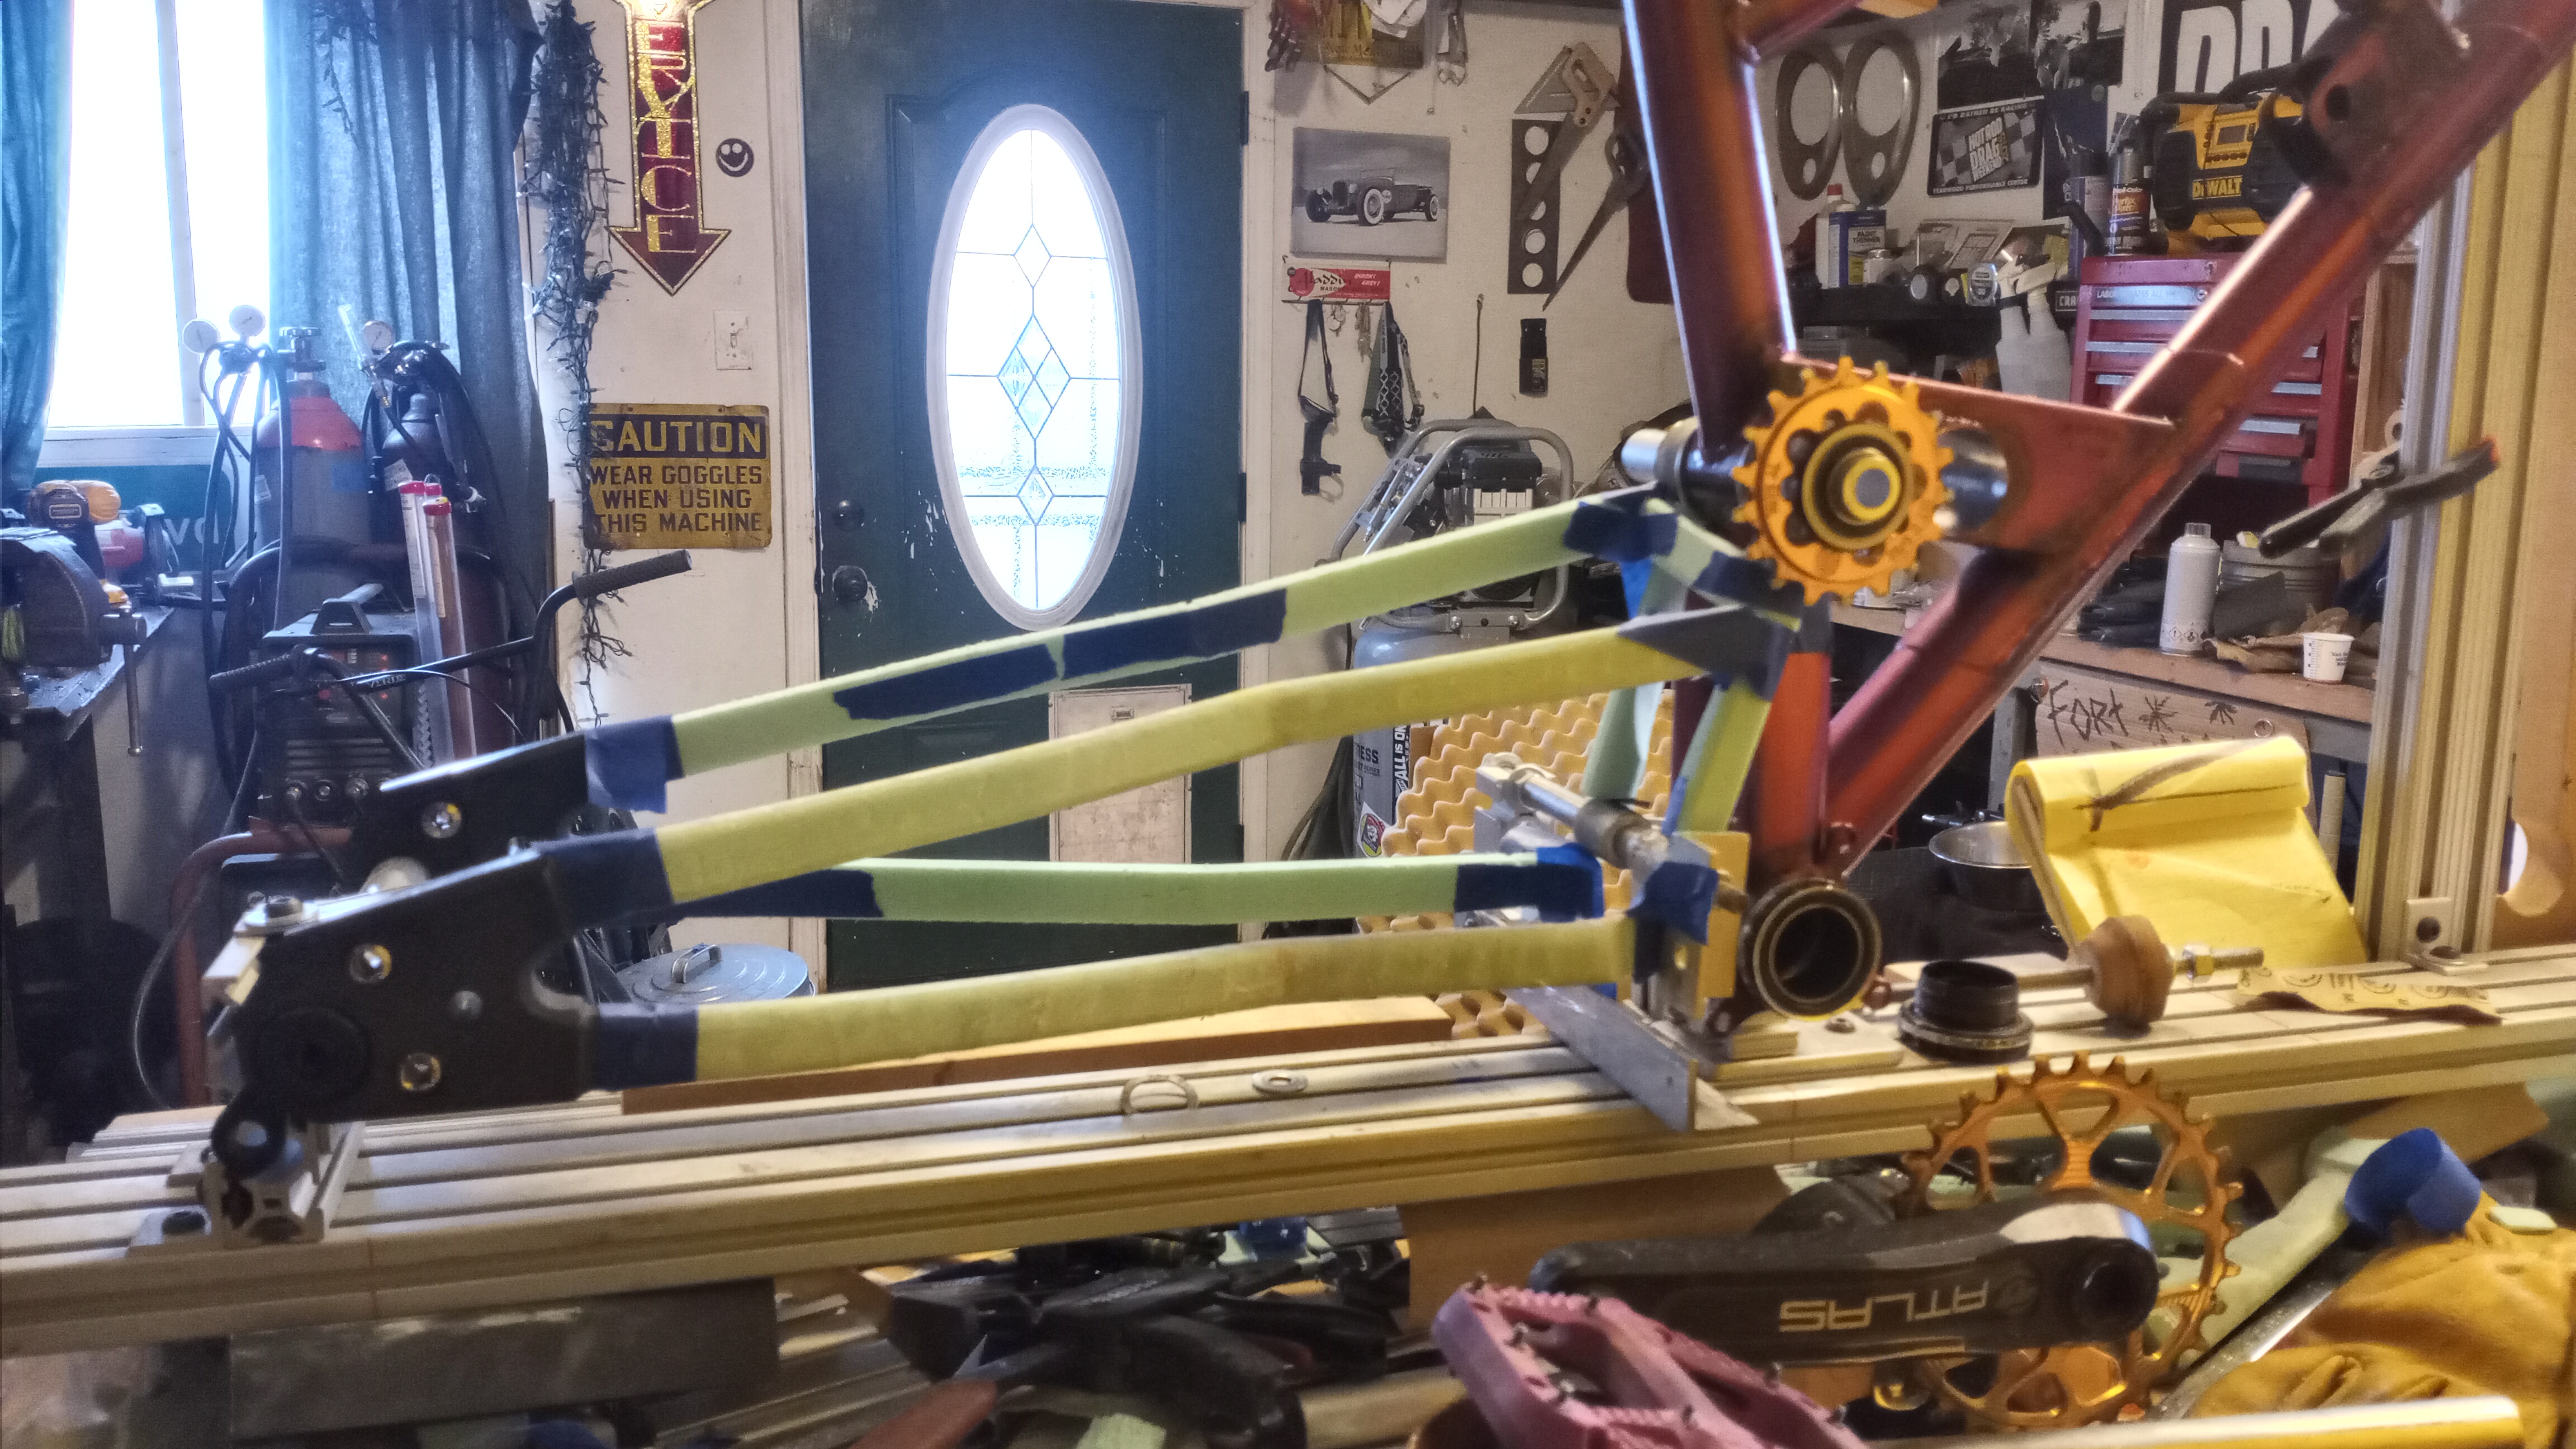
Serious question, should I make the non-drive seat stay dropped to match the drive side or make the whole deal asymmetrical and put the nds stay right into the center of the pivot bearing?
Hi! I saw that you did that. I have read your thread. A lot. Honestly, I’m not sure who I blame more, you or @Lester or @Bucko for getting me into this particular pickle, but I know your picture of the stays baking on the dash board was the final nudge over the edge. I also borrowed your carbon plate/replaceable dropouts idea, thanks for that too
I’m going to do my first layer or 2 in fiberglass, enough that I can sand it smooth before I do any carbon laminating . I think that will be enough to hold the shape in a vacuum bag. We’ll find out.
That is, of course, after I make these again (time number 4) because I’m dumb and they won’t work this way. 4th time’s the charm? Doubtful, for me, 6 times will probably be the charm. Good thing styrofoam is cheap and my time is pretty much worthless
I’ve done things like that in the past where i laminated a thin layer at first just to get it stiff enough, then overwrapped it and got the bulk of the laminate done in vacuum infusion. I don’t see a problem with this. I’d probably already add a tube or a carbon wrapped silicone cord for the cable routing now tho.
Other than that I am approaching iteration #6 woth my frame as well. So i know how that goes…
I mainly mean support your shape against unneeded bend because laying your first layers of glass could bend it. It was main reason why I use balsa frame as protection against bend. But it was really hard work to remove it. I needed some extra beers to support my work during removing blue foam/balsa core:).
But @Lester is much more experienced so his opinion has more weight and he achieve nice results. So go ahead as I am looking forward your final work! BTW nice progress.
Get out of here with that internal cable routing nonsense
My rules are; No internal cables, no water bottle bosses and you do not talk about fight club.
I can’t immagine how annoying that has to be. I’m annoyed for you. I’m sorry it’s fighting you so hard but I believe you’ll win eventually and it will be amazing.
Gotcha! That makes all the sense and I had not considered them weight of the glass and resin to be enough to deflect those stays, but I’m sure it is. Thank you!
Definitely. I’m now thinking about doing it in a couple steps, maybe just “tack” the places where it comes together, let those harden up then cover the whole thing? I’ll think on it some more.
I was gonna save this for later, but as far as removing the foam, I was gonna leave it in there and make some really loose comparisons to Spanks’ vibro-core handle bars or bird bones or something equally stupid to justify not taking it out. For my money, I don’t think it would hurt anything to leave the foam core in place. Seems like it would make the entire process easier too, so that’s my plan.
If the foam by itself is too wobbly, you can also stiffen it up with a tape on each side. This will make a big difference. The composites won’t adhere to the foam anymore, but a light EPS foam in a beefy chainstay will not do anything structurally anyway.
Yes! I did it also. But I put tape also on hardened fiberglass and used it for simplifying of removing unneeded blue foam with fiberglass support. As I said it already…it was annoying job but I got pure carbon fibre chainstays.
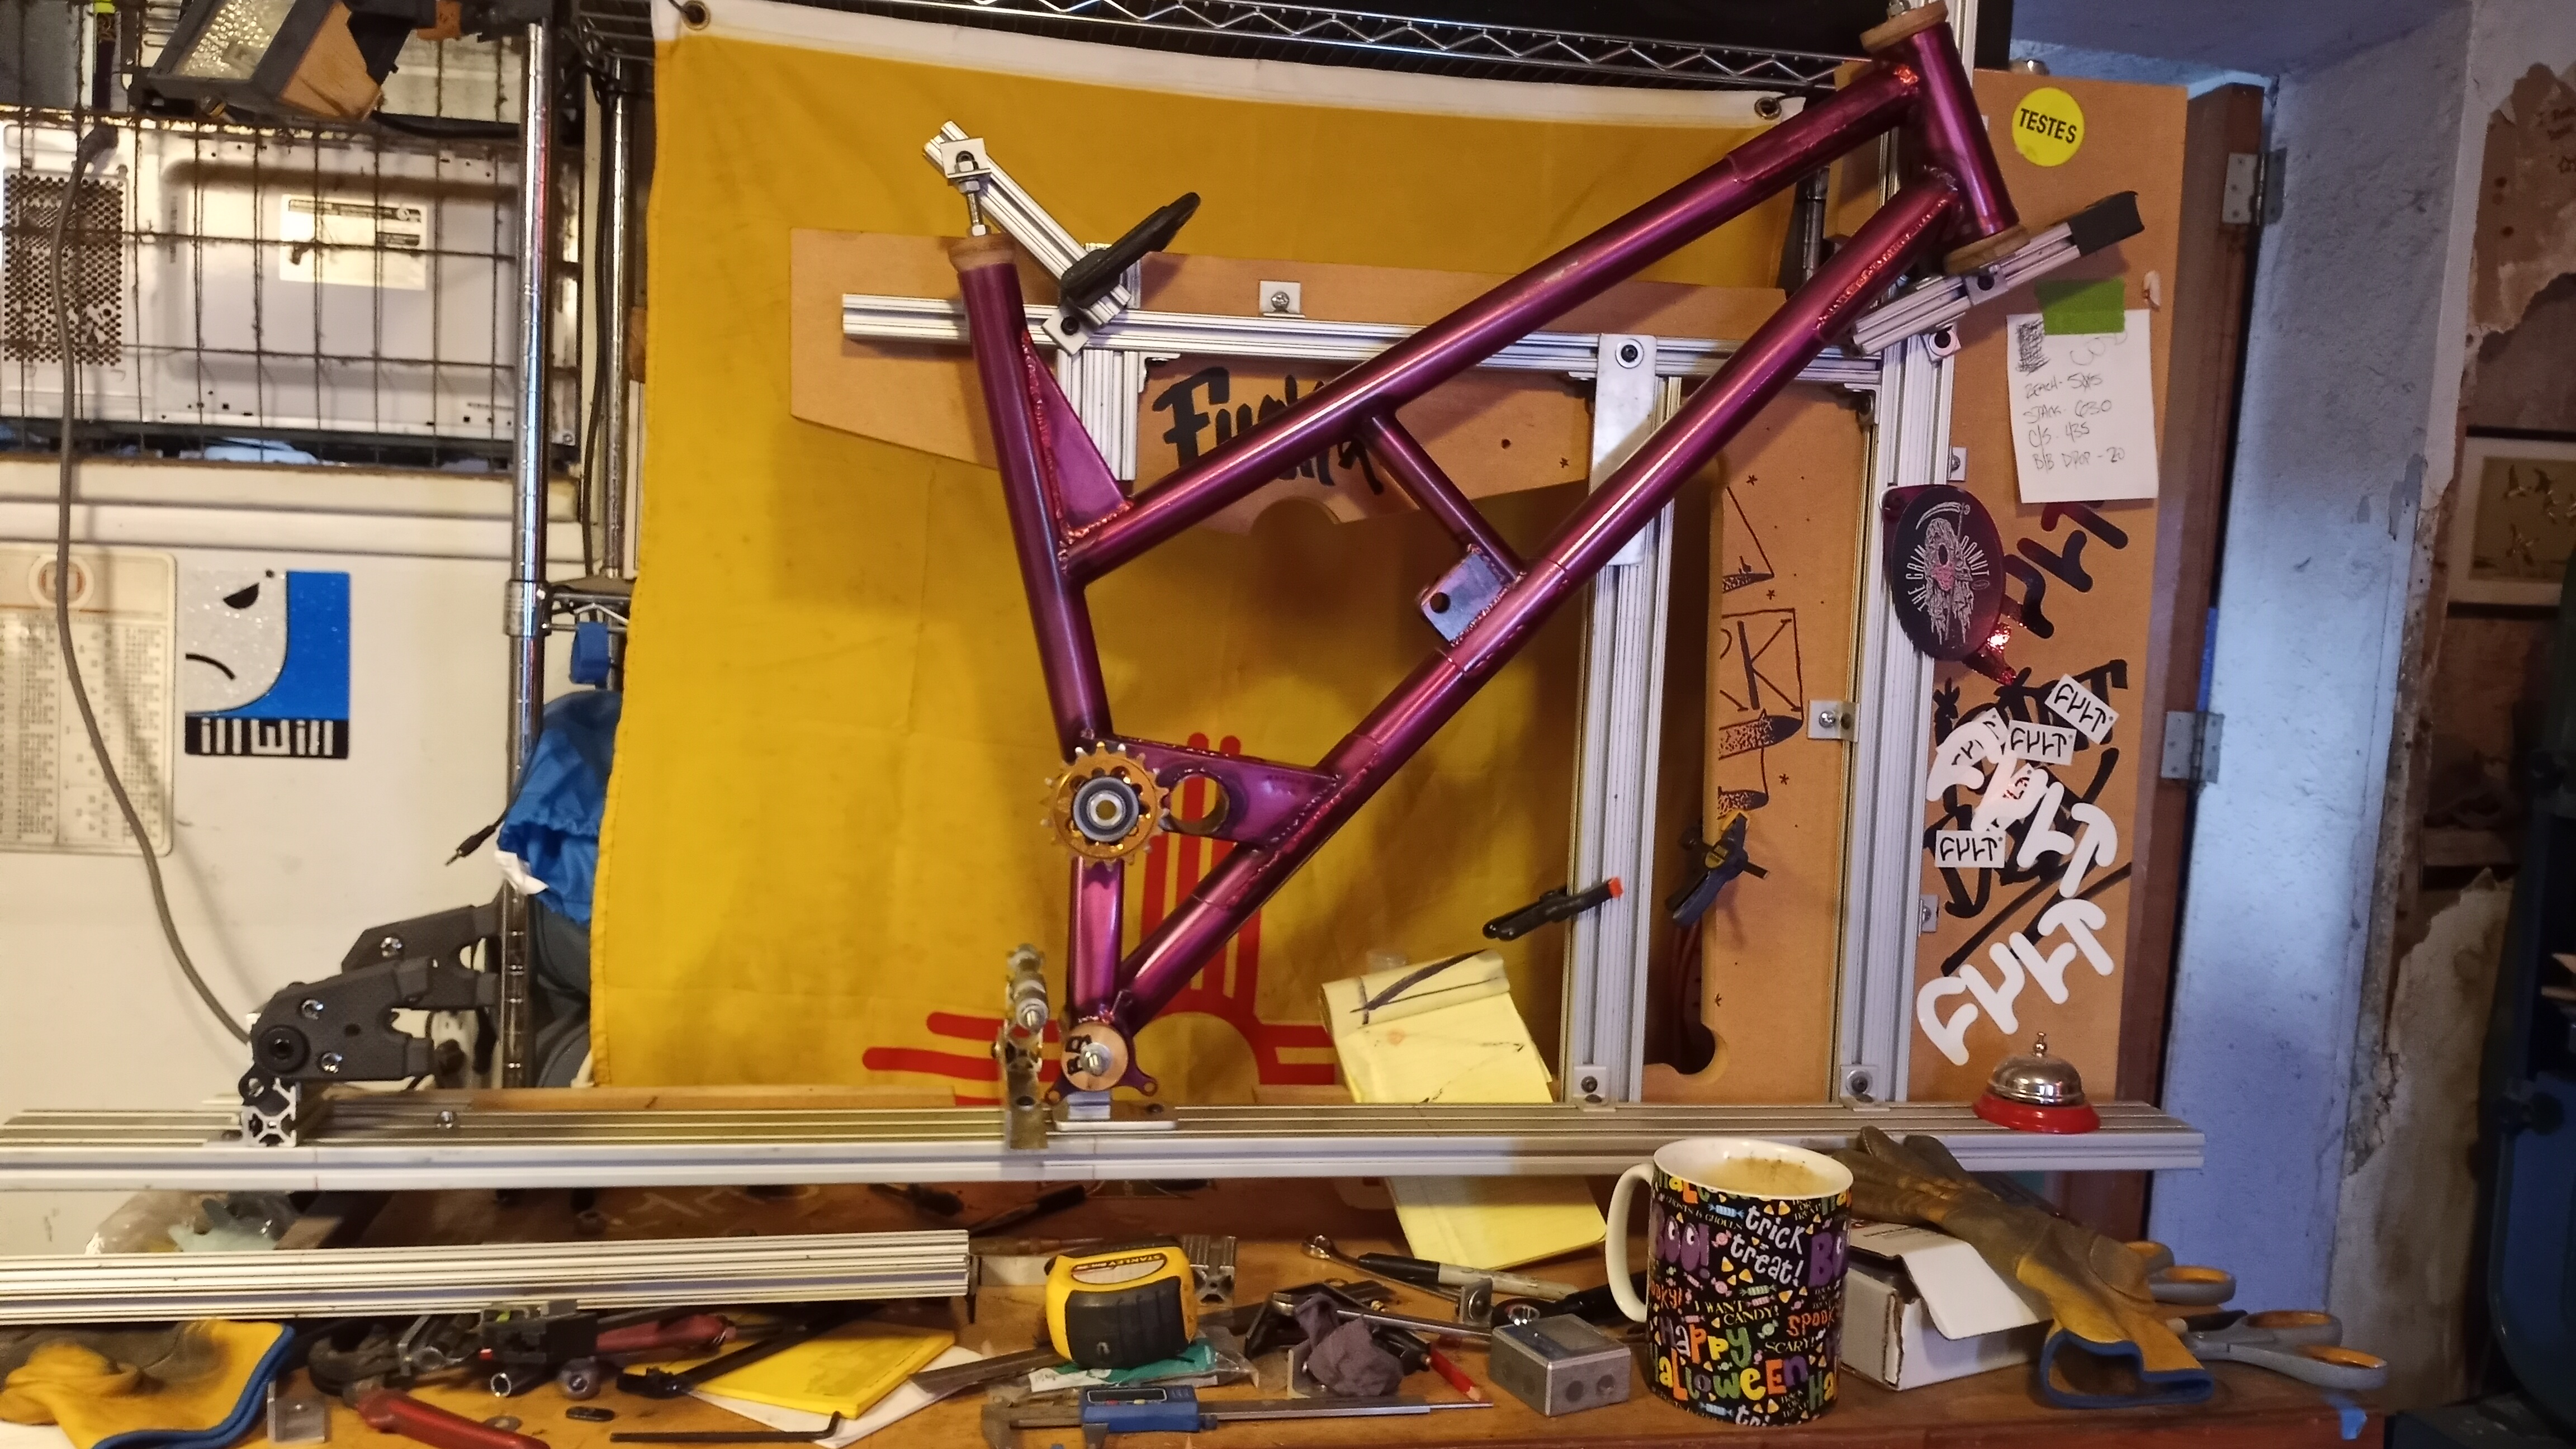
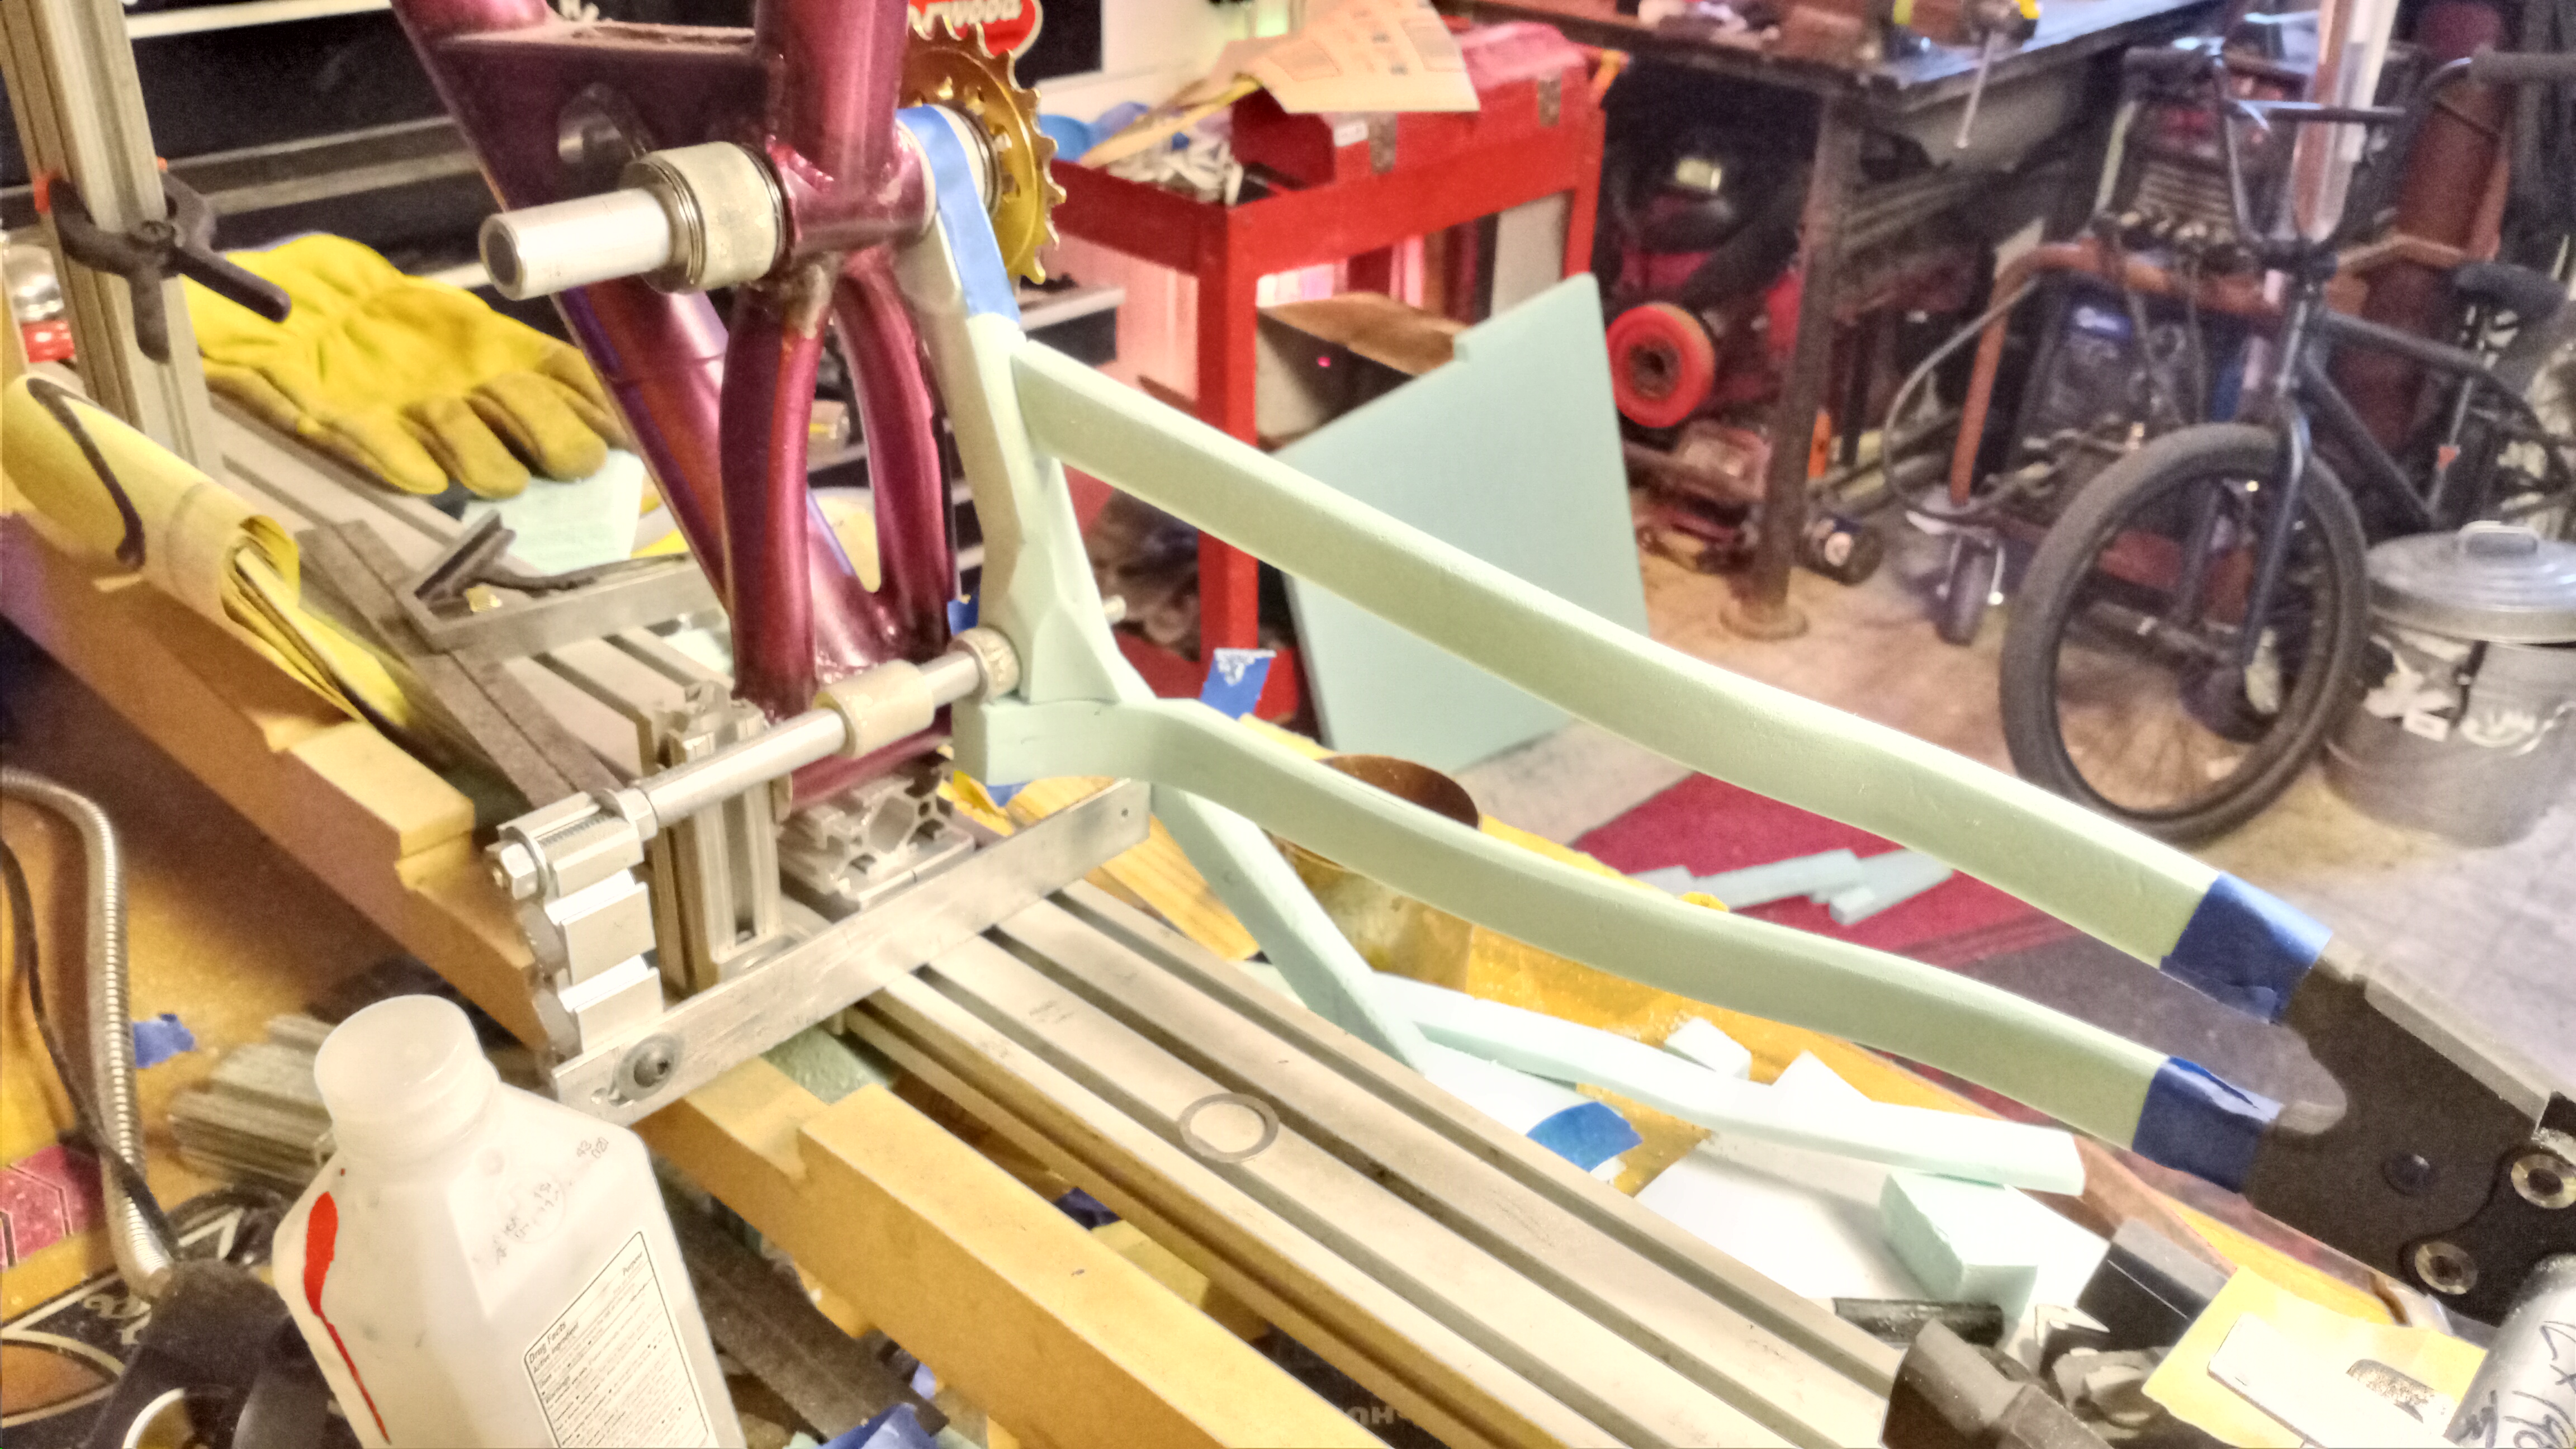
And we’re making parts! I finally settled on a design enough to start building. The swoopy guys just weren’t doing it so I cut some 1/2 x 3/4 strips on the bandsaw and built these blockier bois. I think they’re gonna look better against the straight steel tubes and they match the dropout plates a lot better. They’re just sitting on a piece of plate glass to keep them straight-ish while the 8oz glass tape hardens up.
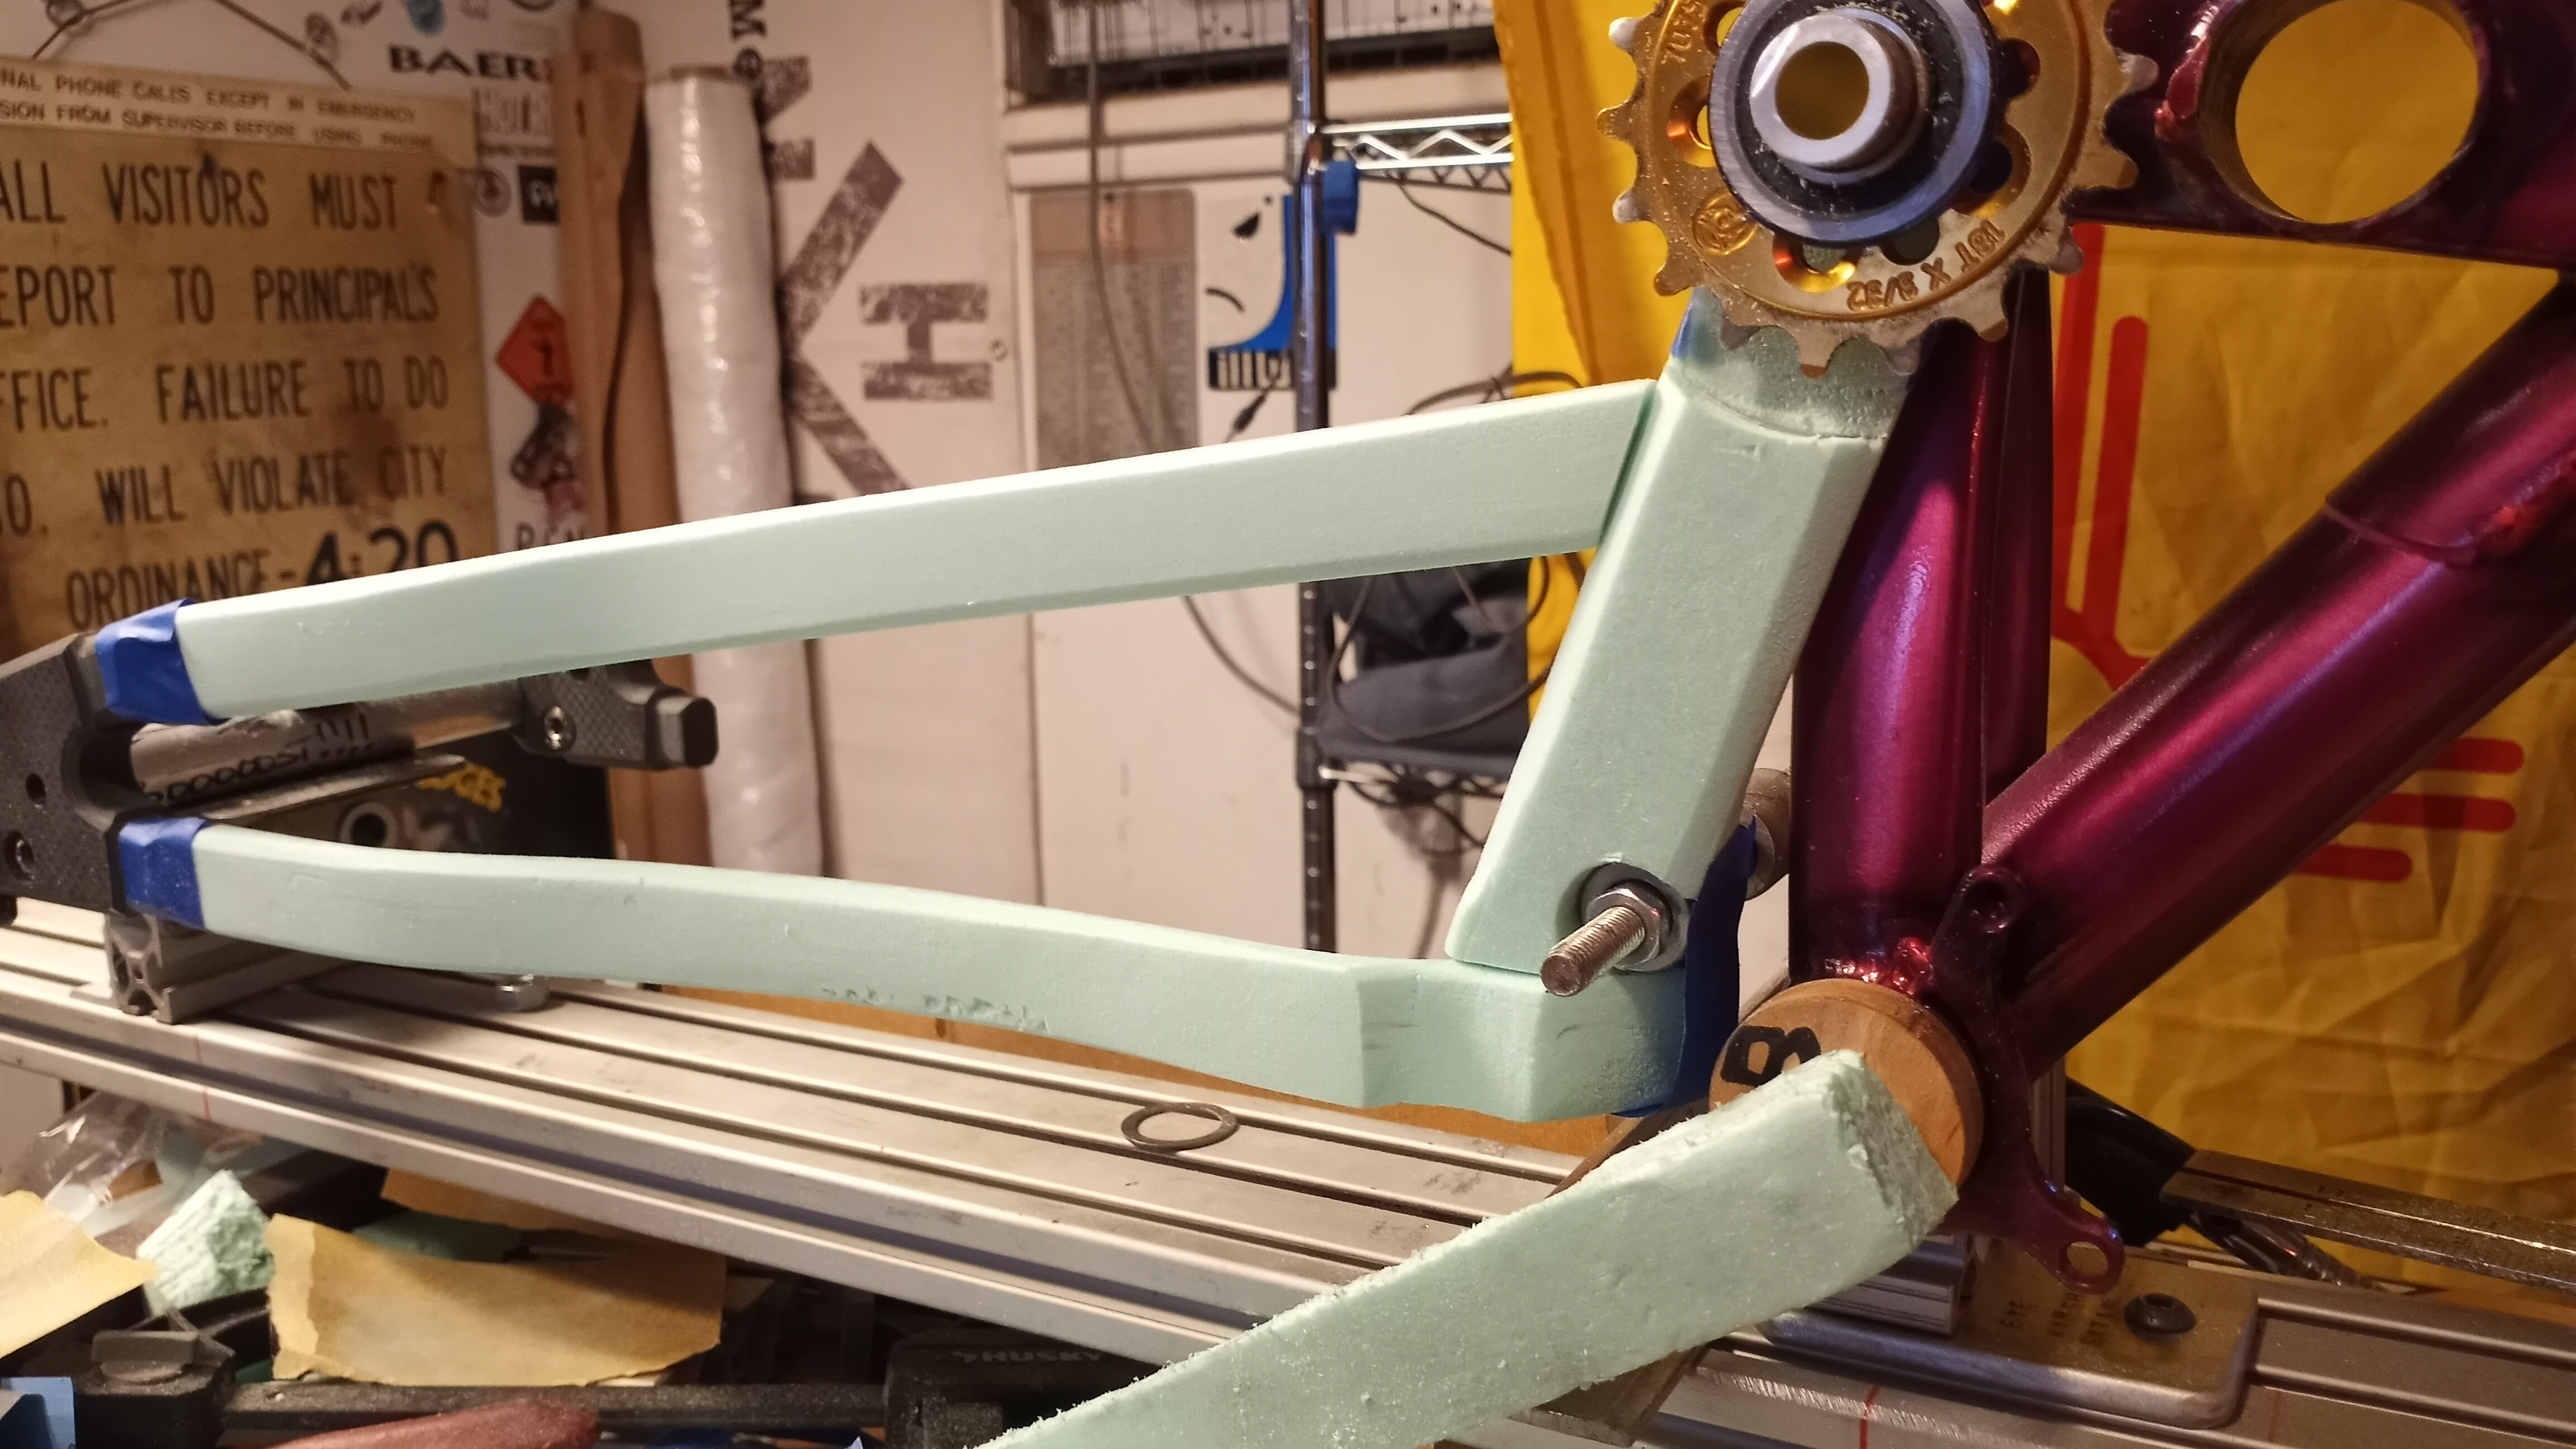
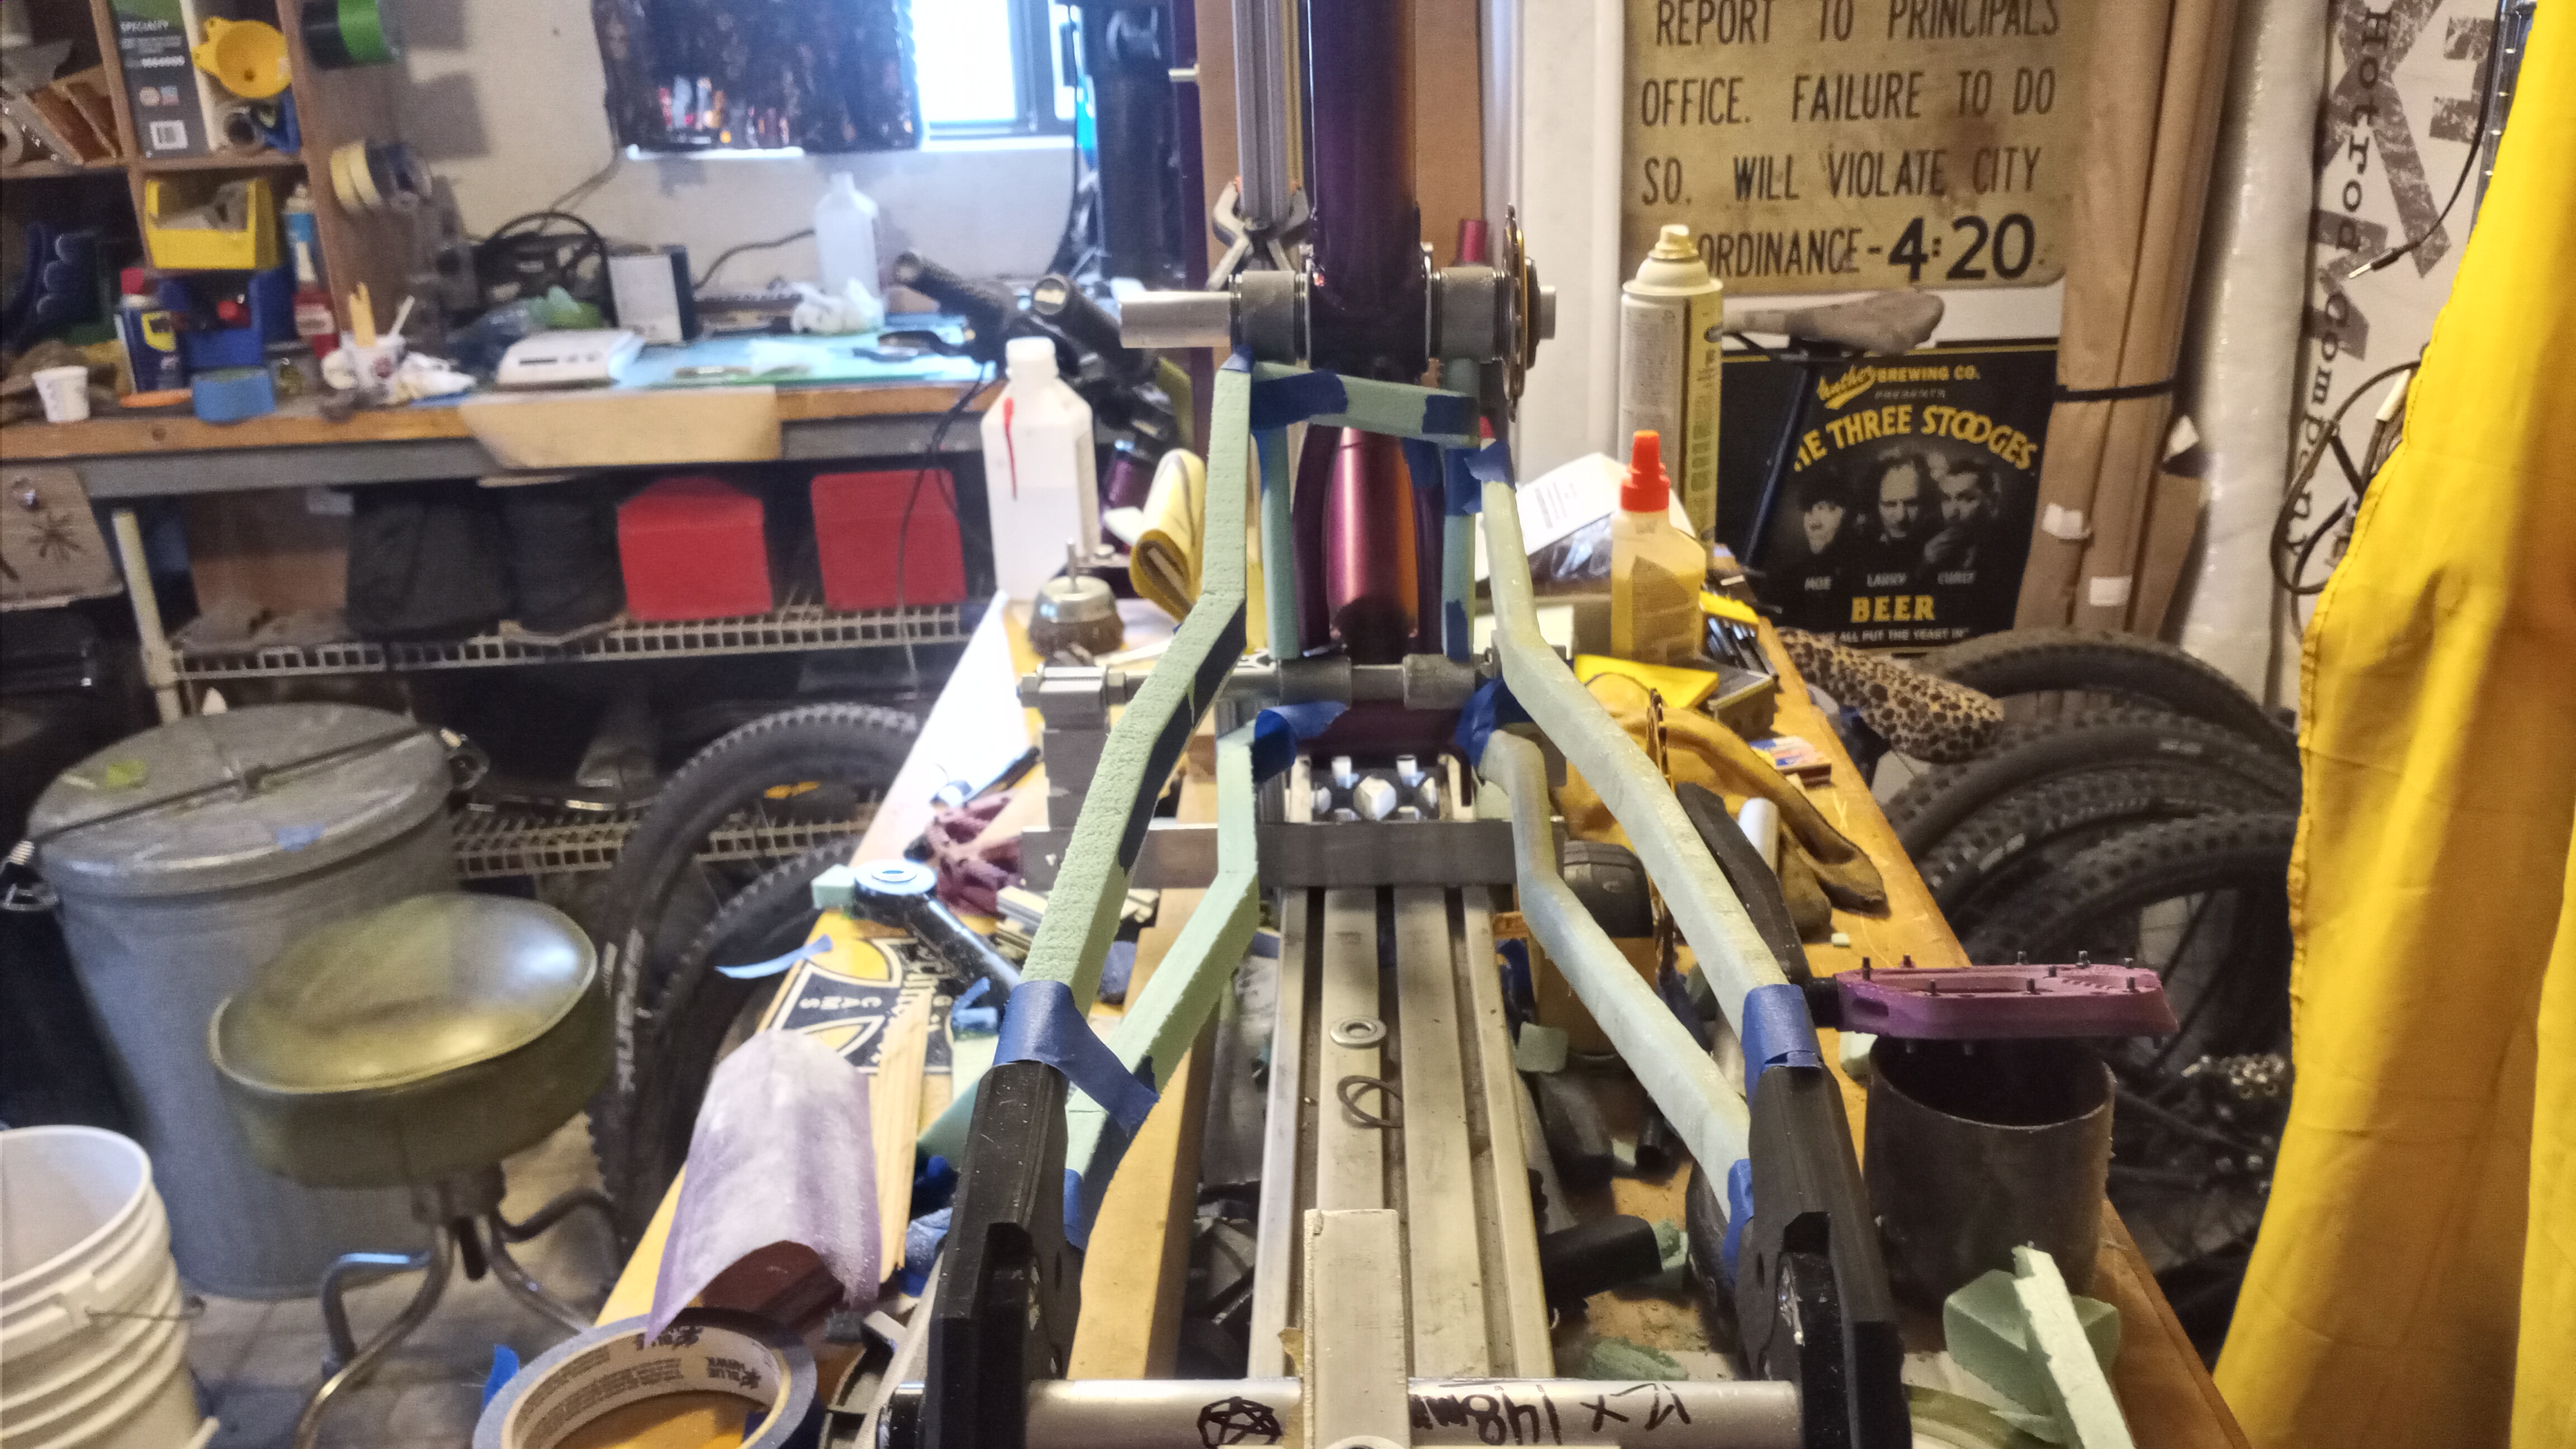
My entry for ADHD inspired workbench contest, and a little progress. I replaced the big and chunky connector piece from the last post with a piece of the same .5x.75 that I made the stays out of, I think that’s gonna work better. Should have good tire clearance, looks like it’ll clear the chainring
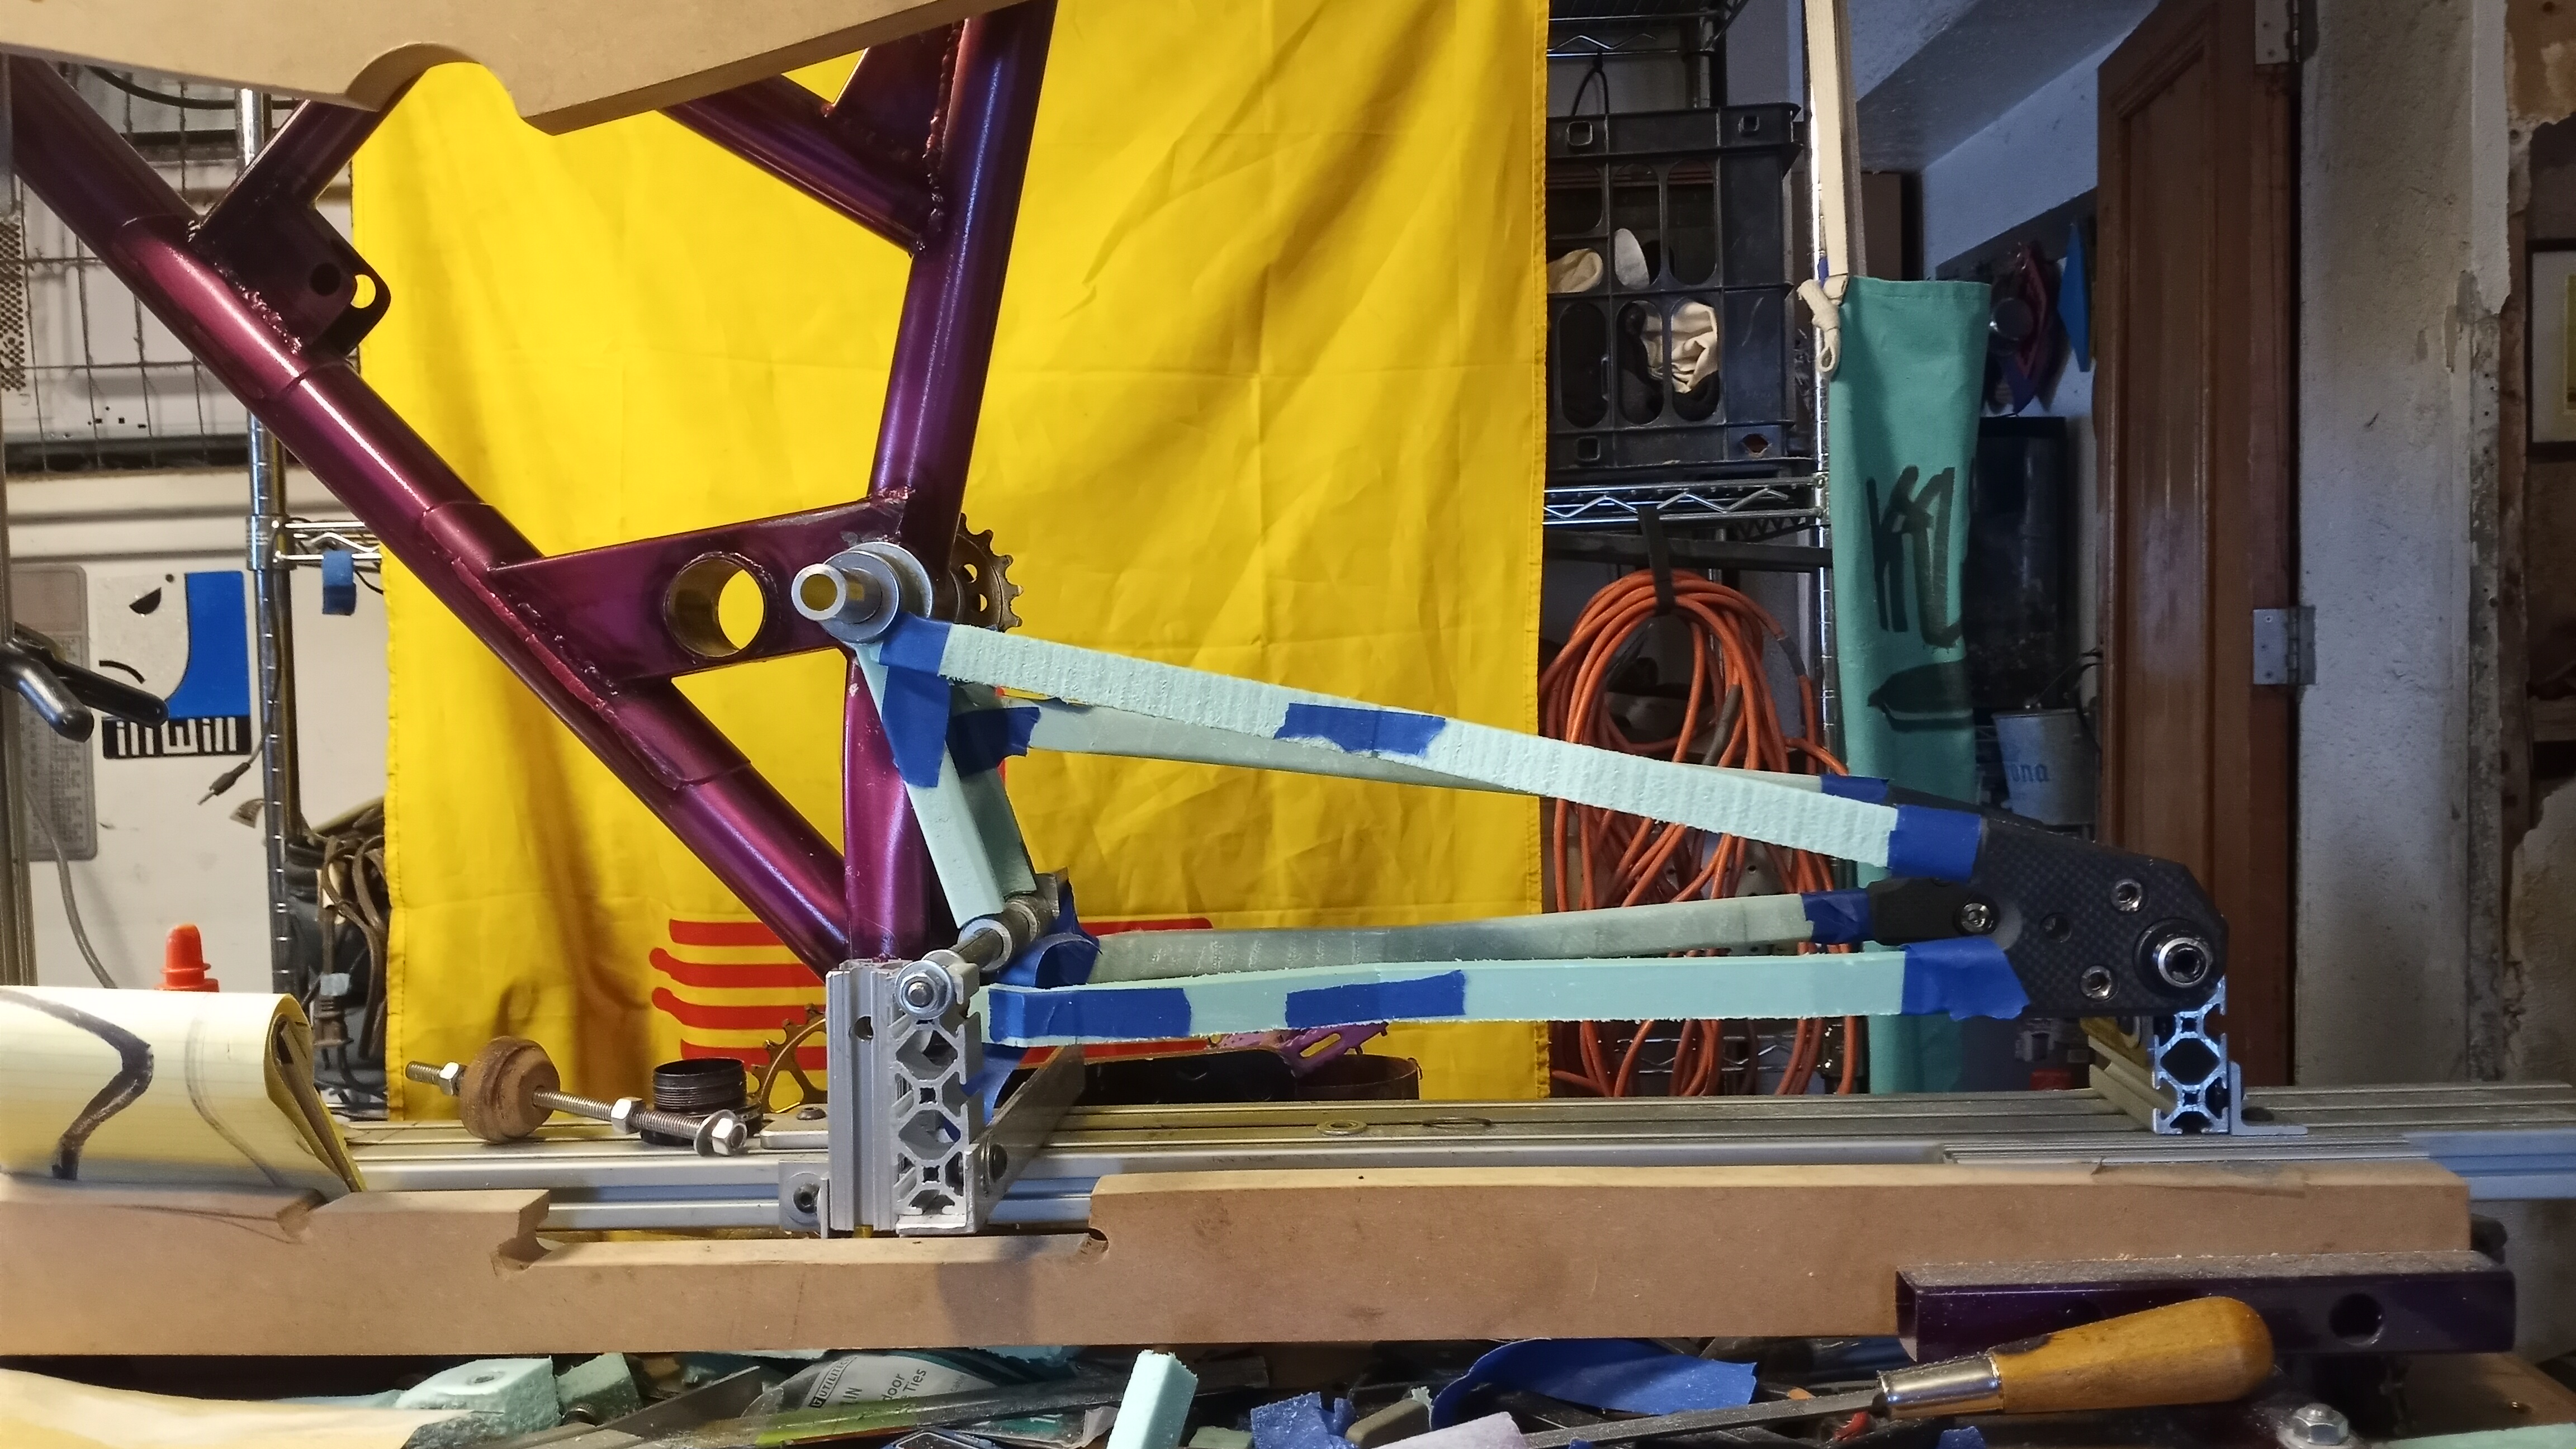
Asymmetrical stays won out. I will admit, it’s been kinda fun to be able to make a few different versions, try stuff out, move it around, OpTiMiZe ThE sPaCe.
Smarter people would use a computer for that. Not me!
Most of these parts have their first layer of glass on 'em. I’m hoping to have the initial glass layer on the rest of them by the end of the weekend.
I’m still feeling positive despite what your eyes are telling you. I think.
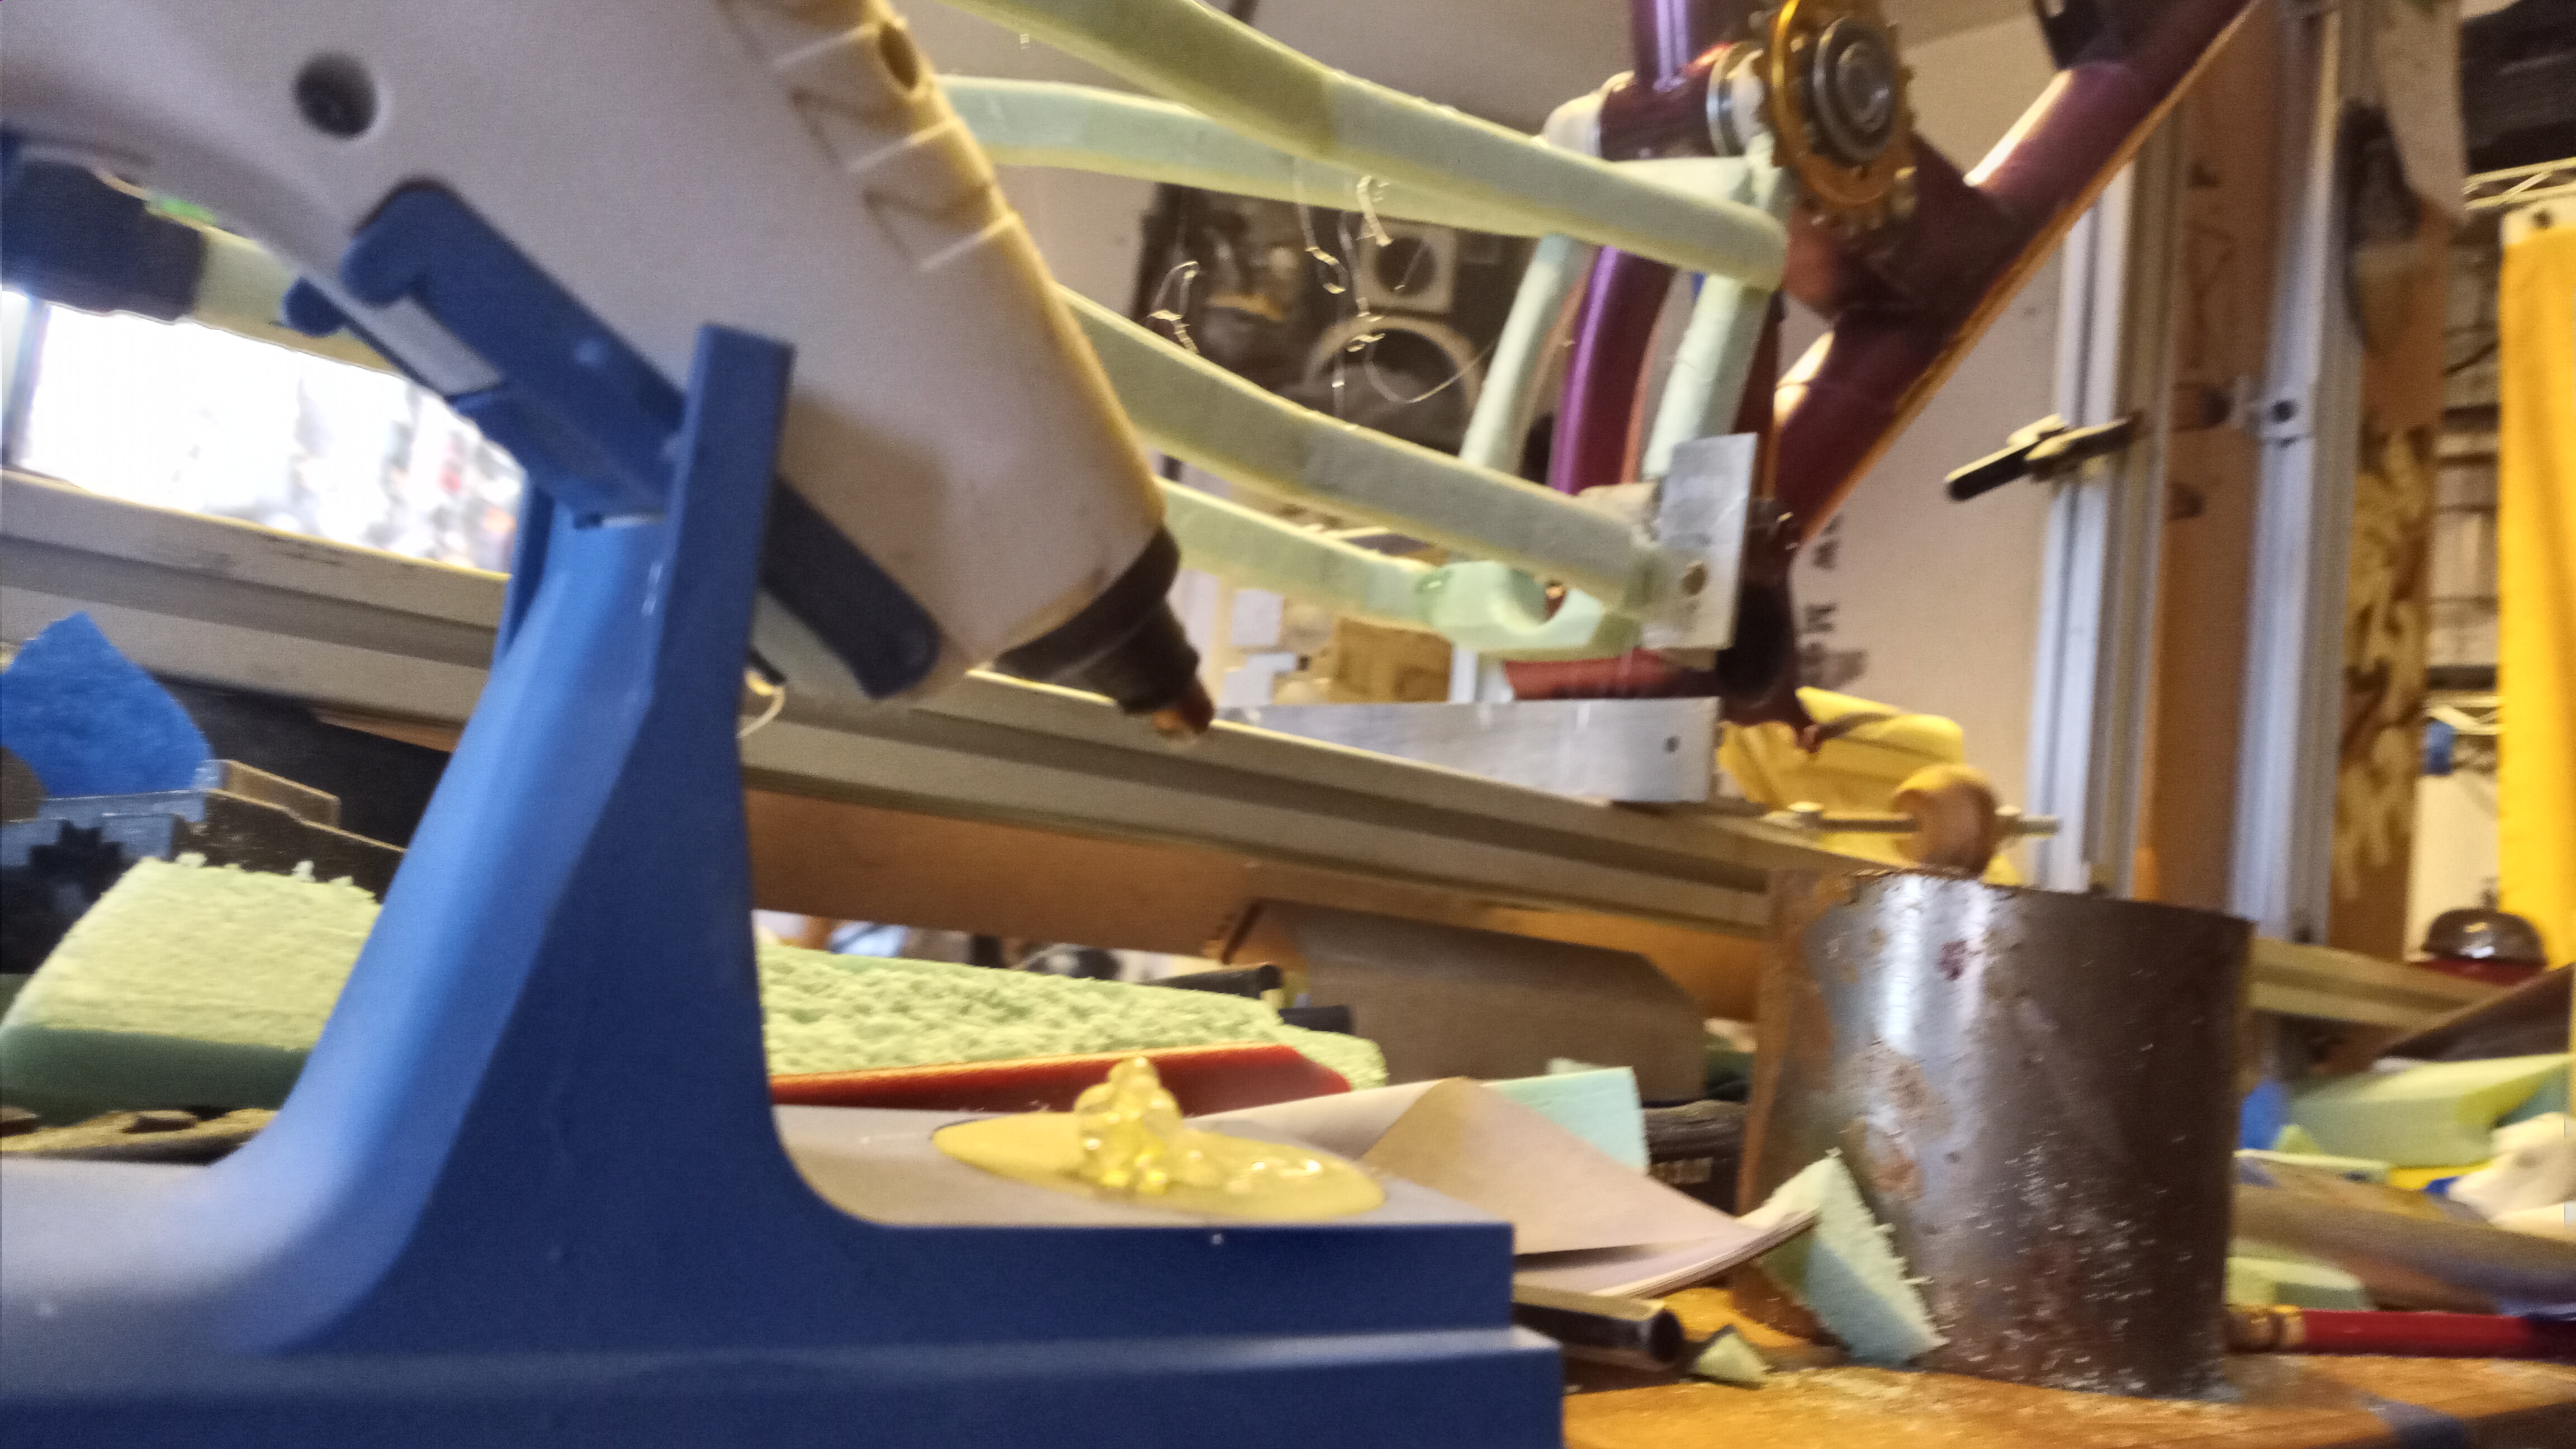
Man, if I’d had any smidge of integrity as a “framebuilder”, it went out the window when the glue gun came out. Good thing I didn’t have even a smidge. Can’t lose integrity if you never have any to begin with.
Holy butts, I’m so tired of sanding. I’m not in love with sanding on the best of days and the day job has been mostly sanding recently and I’ve about had my fill.
I’m not sure if I’m in love with this, I’m not sure it’s gonna work. I am fairly sure if I’d made it out of steel, I’d be finishing up by now and every time I work on it I hear a voice whispering “…sunk cost…” over and over, not sure what to make of that.
These always end up sounding worse than I mean them to. I just really have no idea what (if?) this is gonna end up doing. Right this minute, I’m really not sure this is going to work at all, not sure why, just a feeling.
Whatever. I’m in it now and as long as I don’t stop swinging, they won’t stop the fight.
The edison approach, I like it. I’d also submit I already know 10,000 way to not make a bike frame. Number 3347 involves elbow macaroni, most of the 8300’s are primarily scotch tape. I do remind myself that my first steel rear end failed in a pretty big way, so the bar for “sucess” is pretty low. Just where I like it.
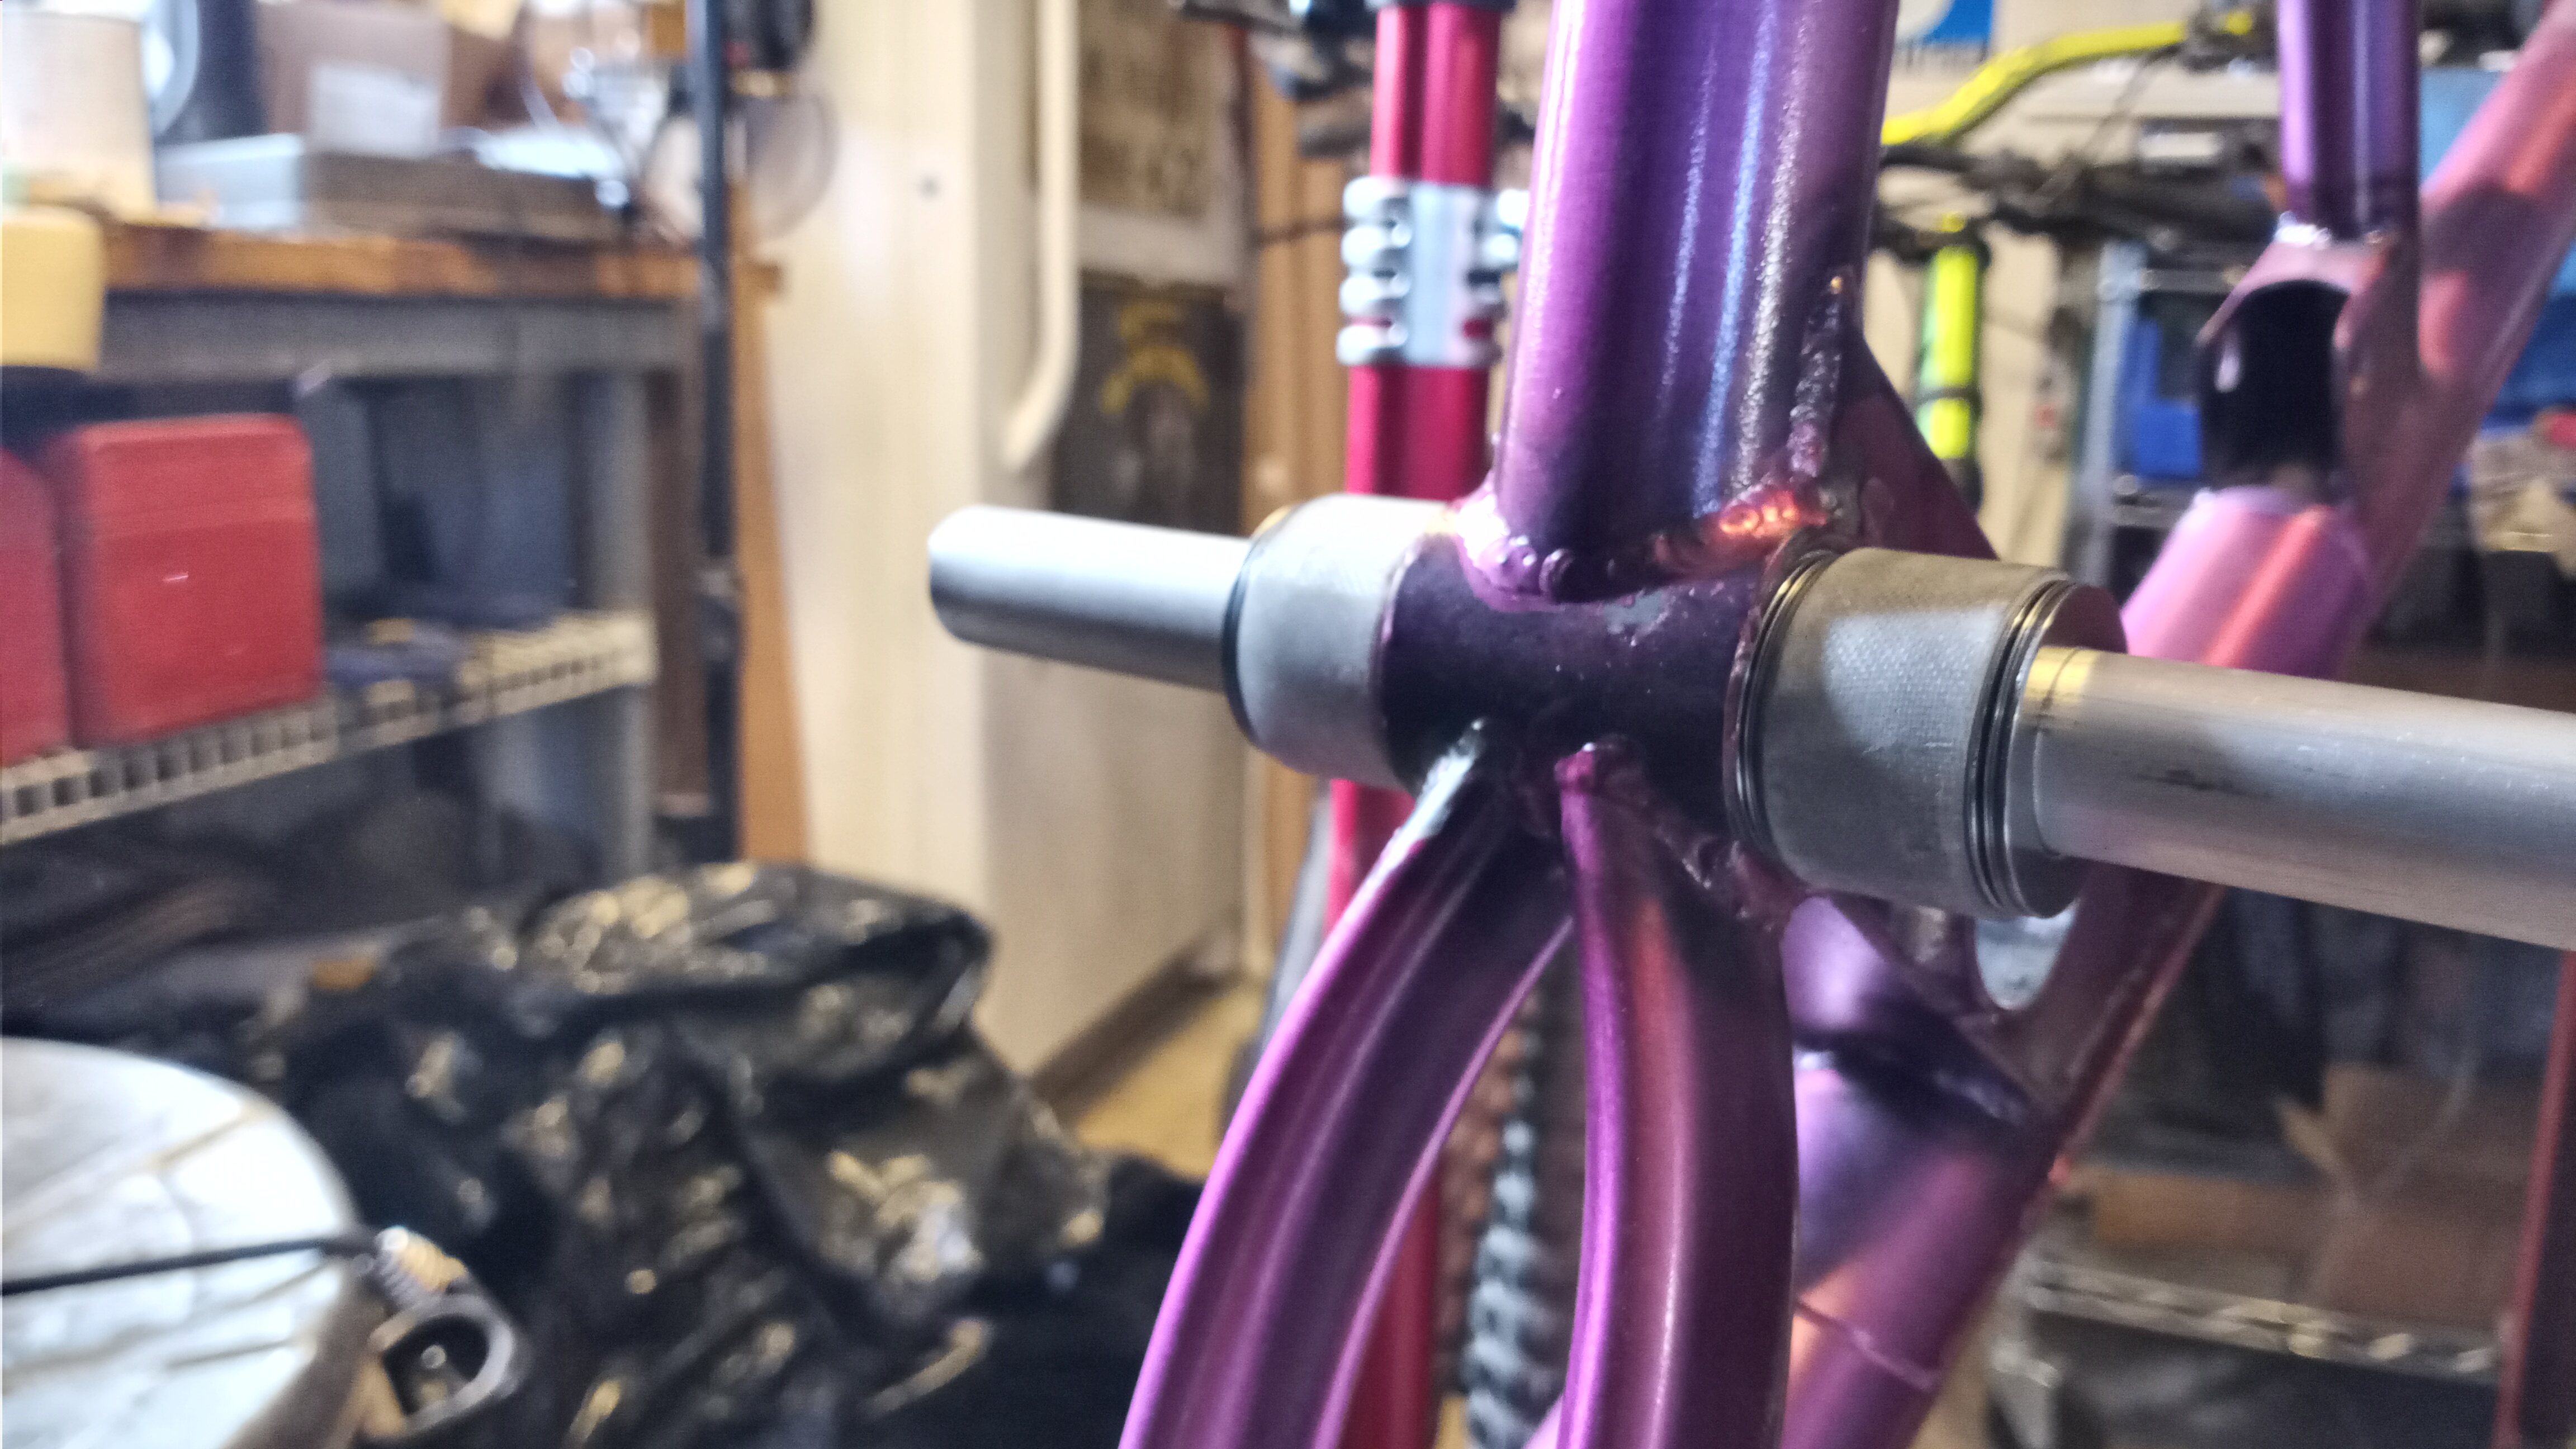
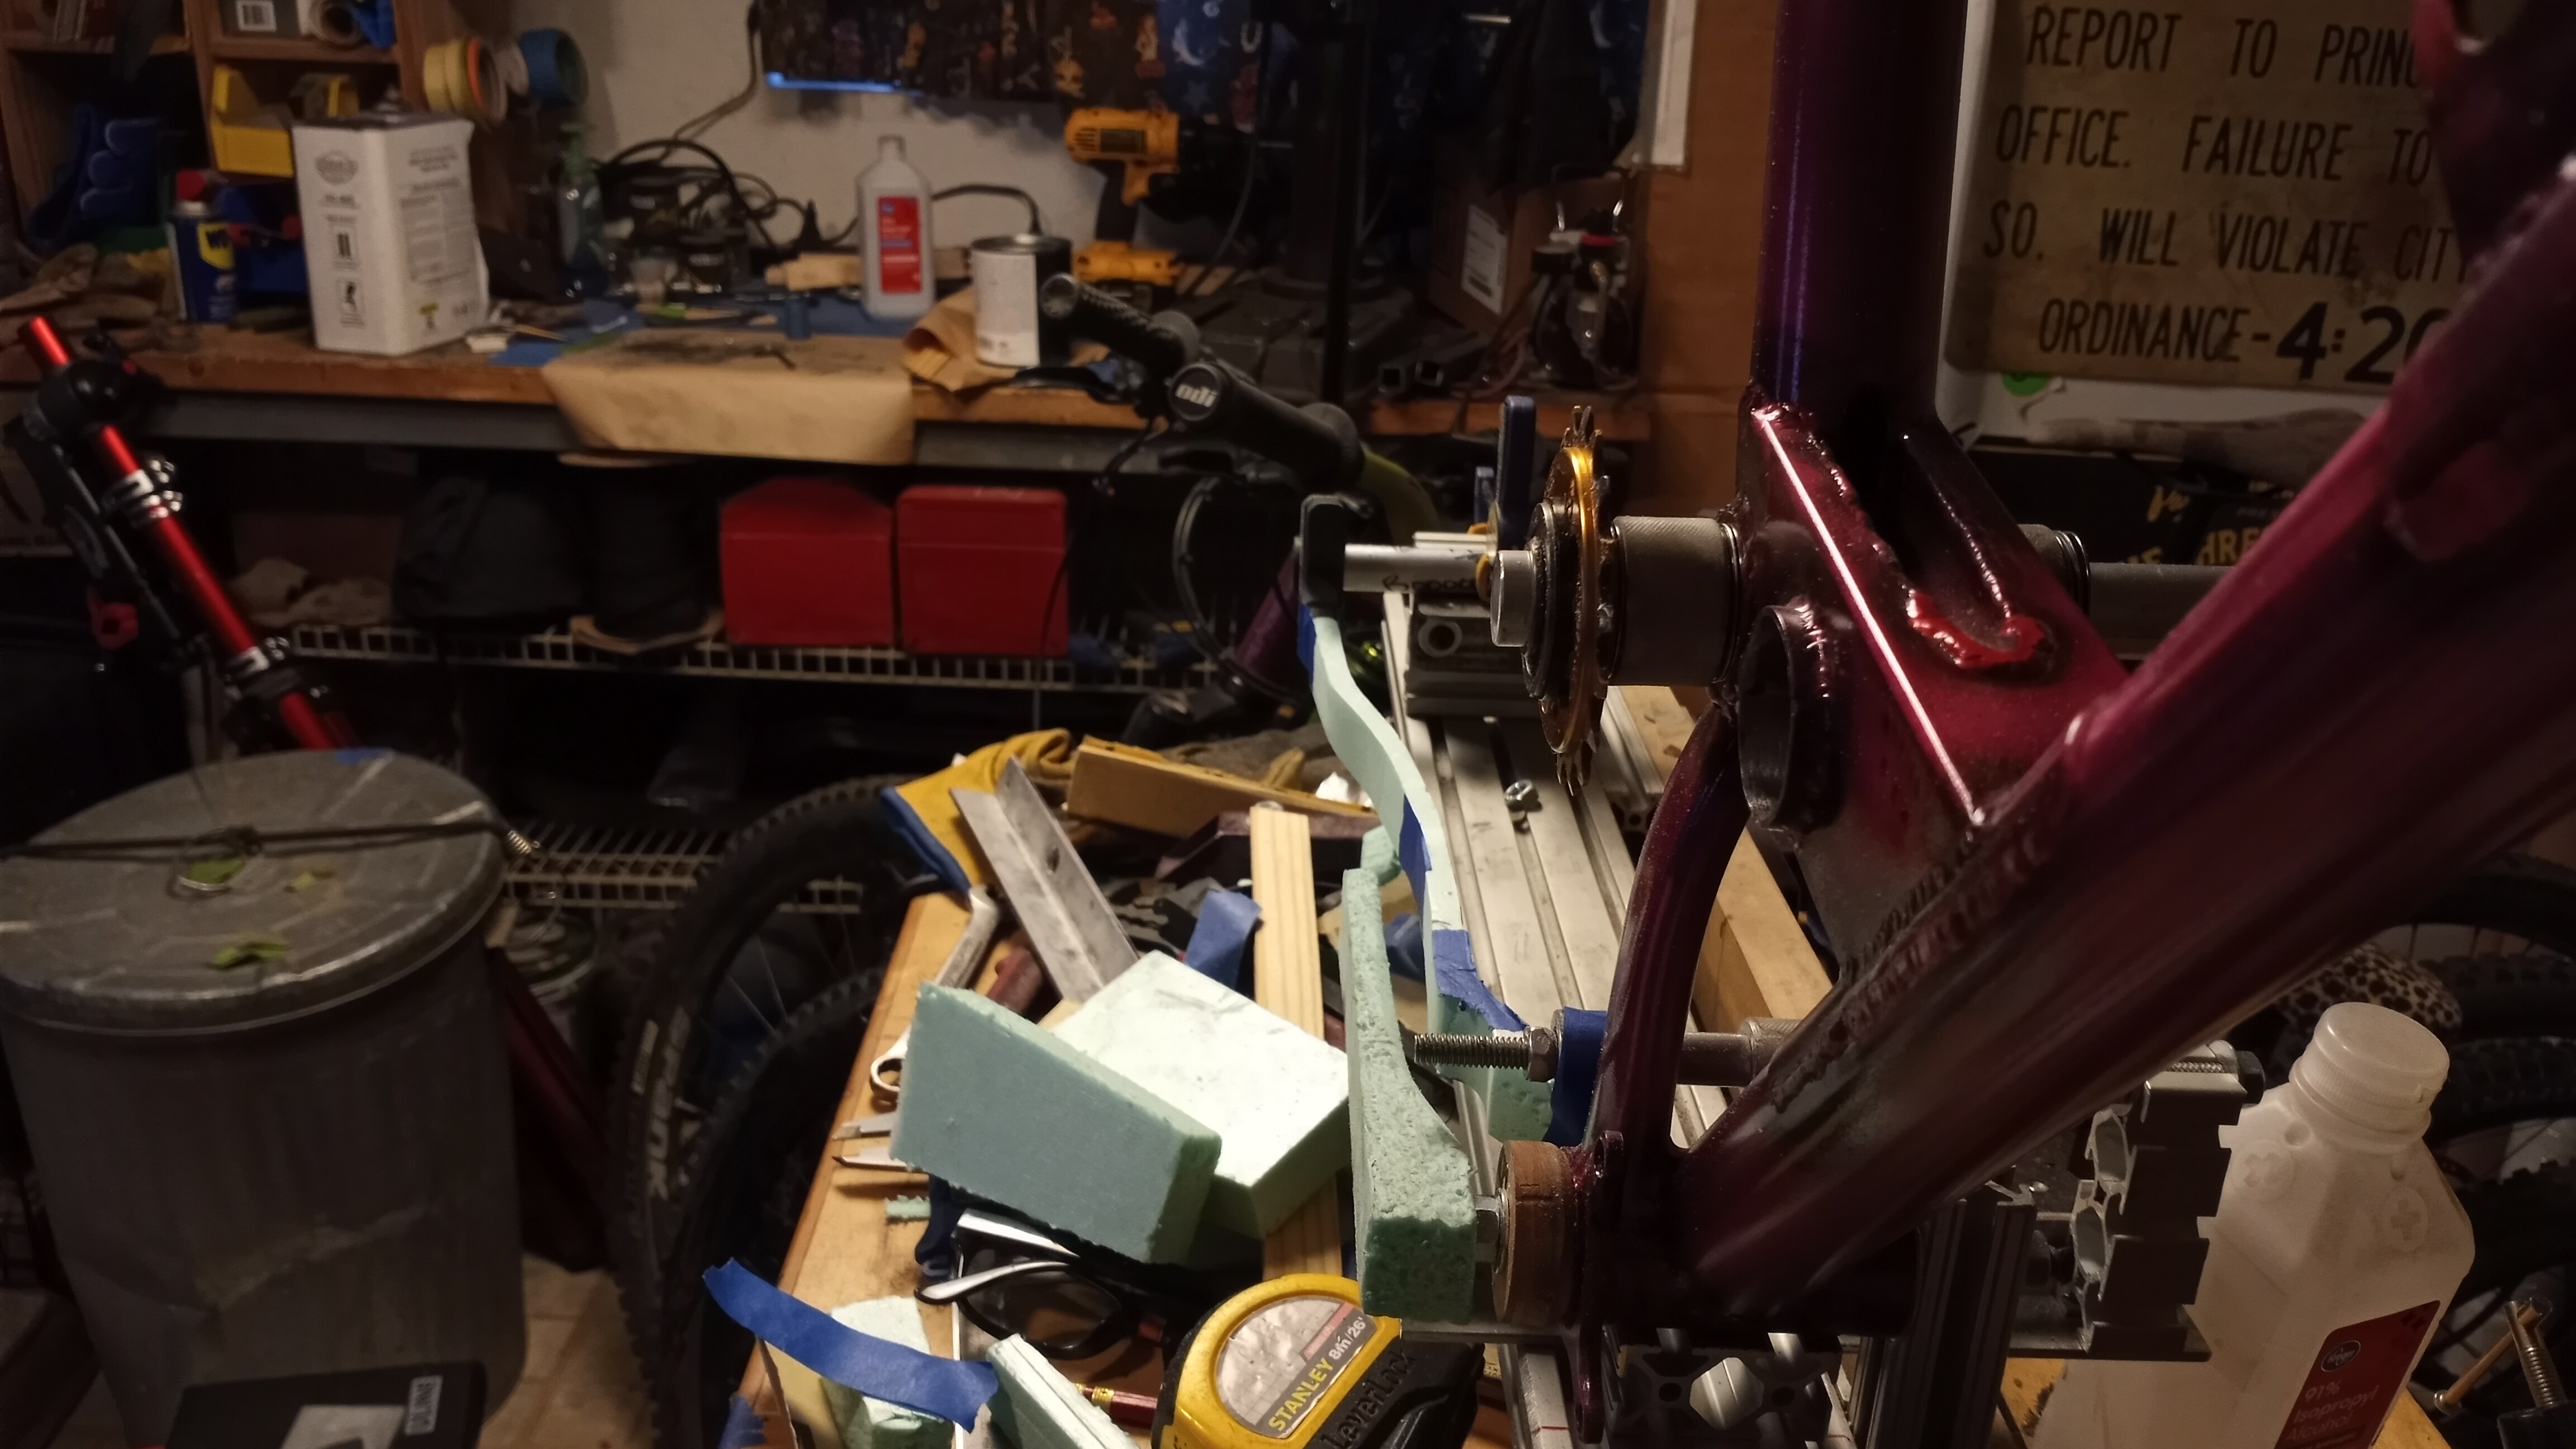
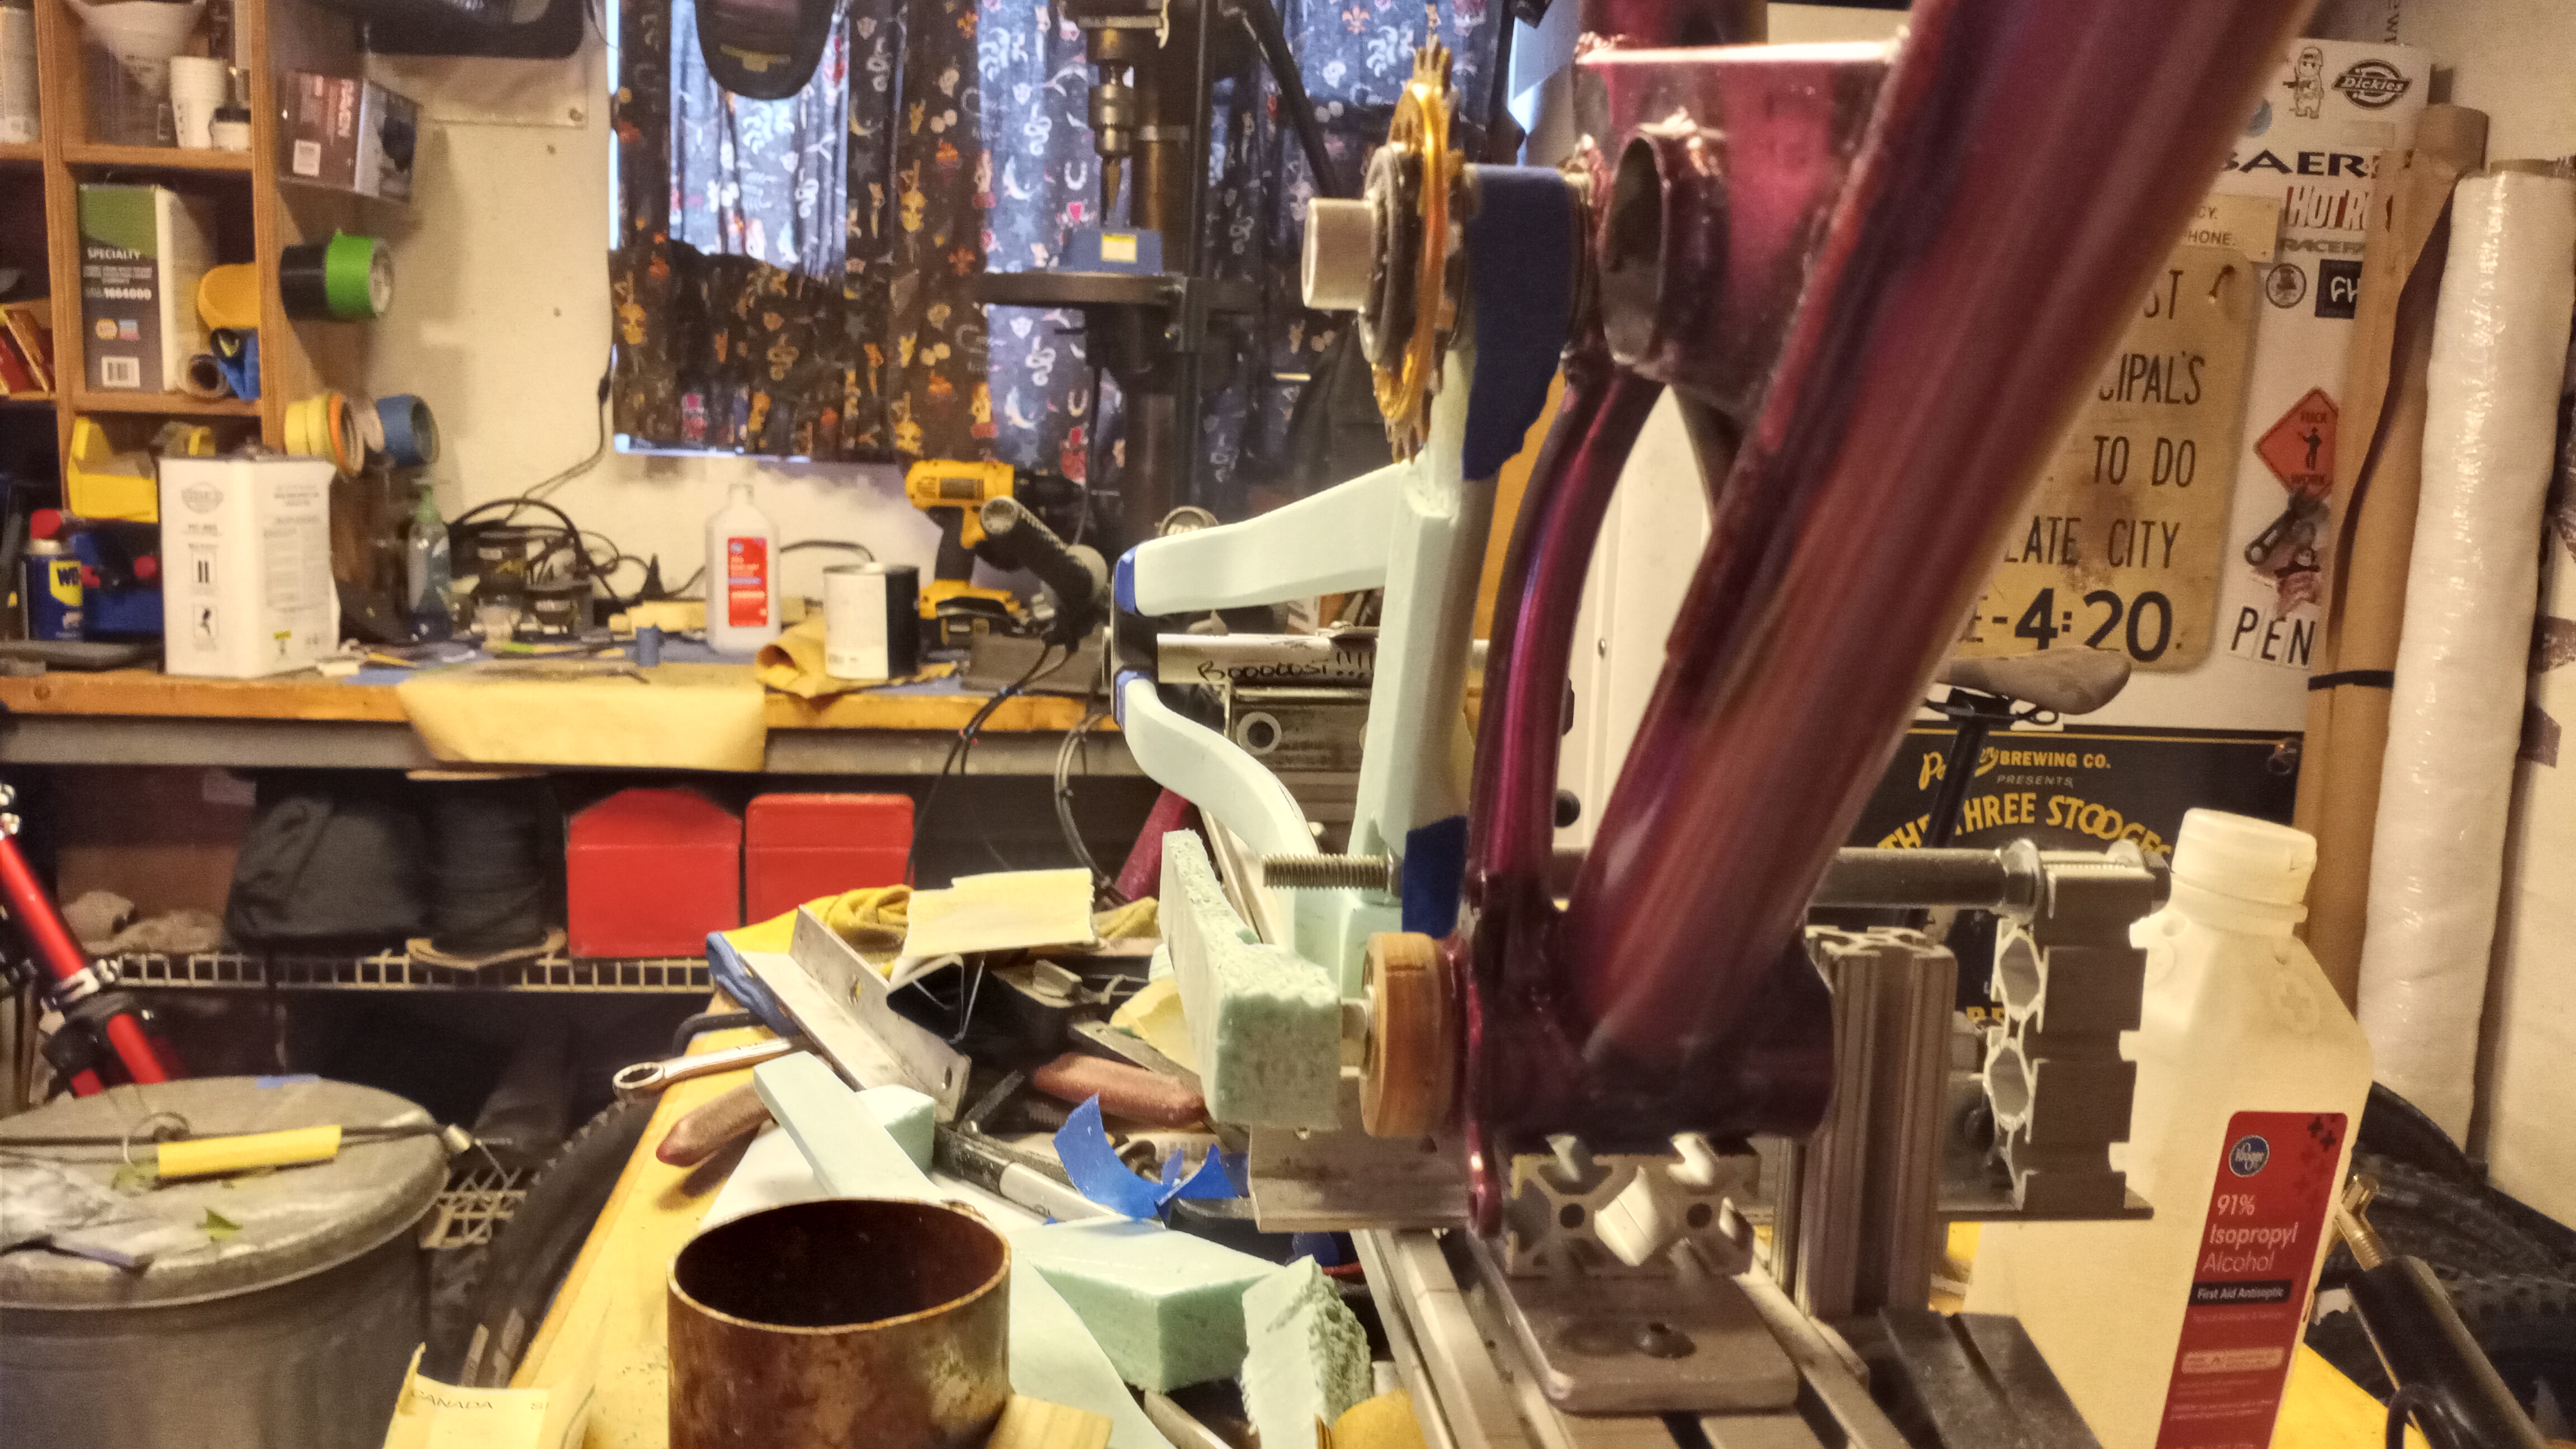
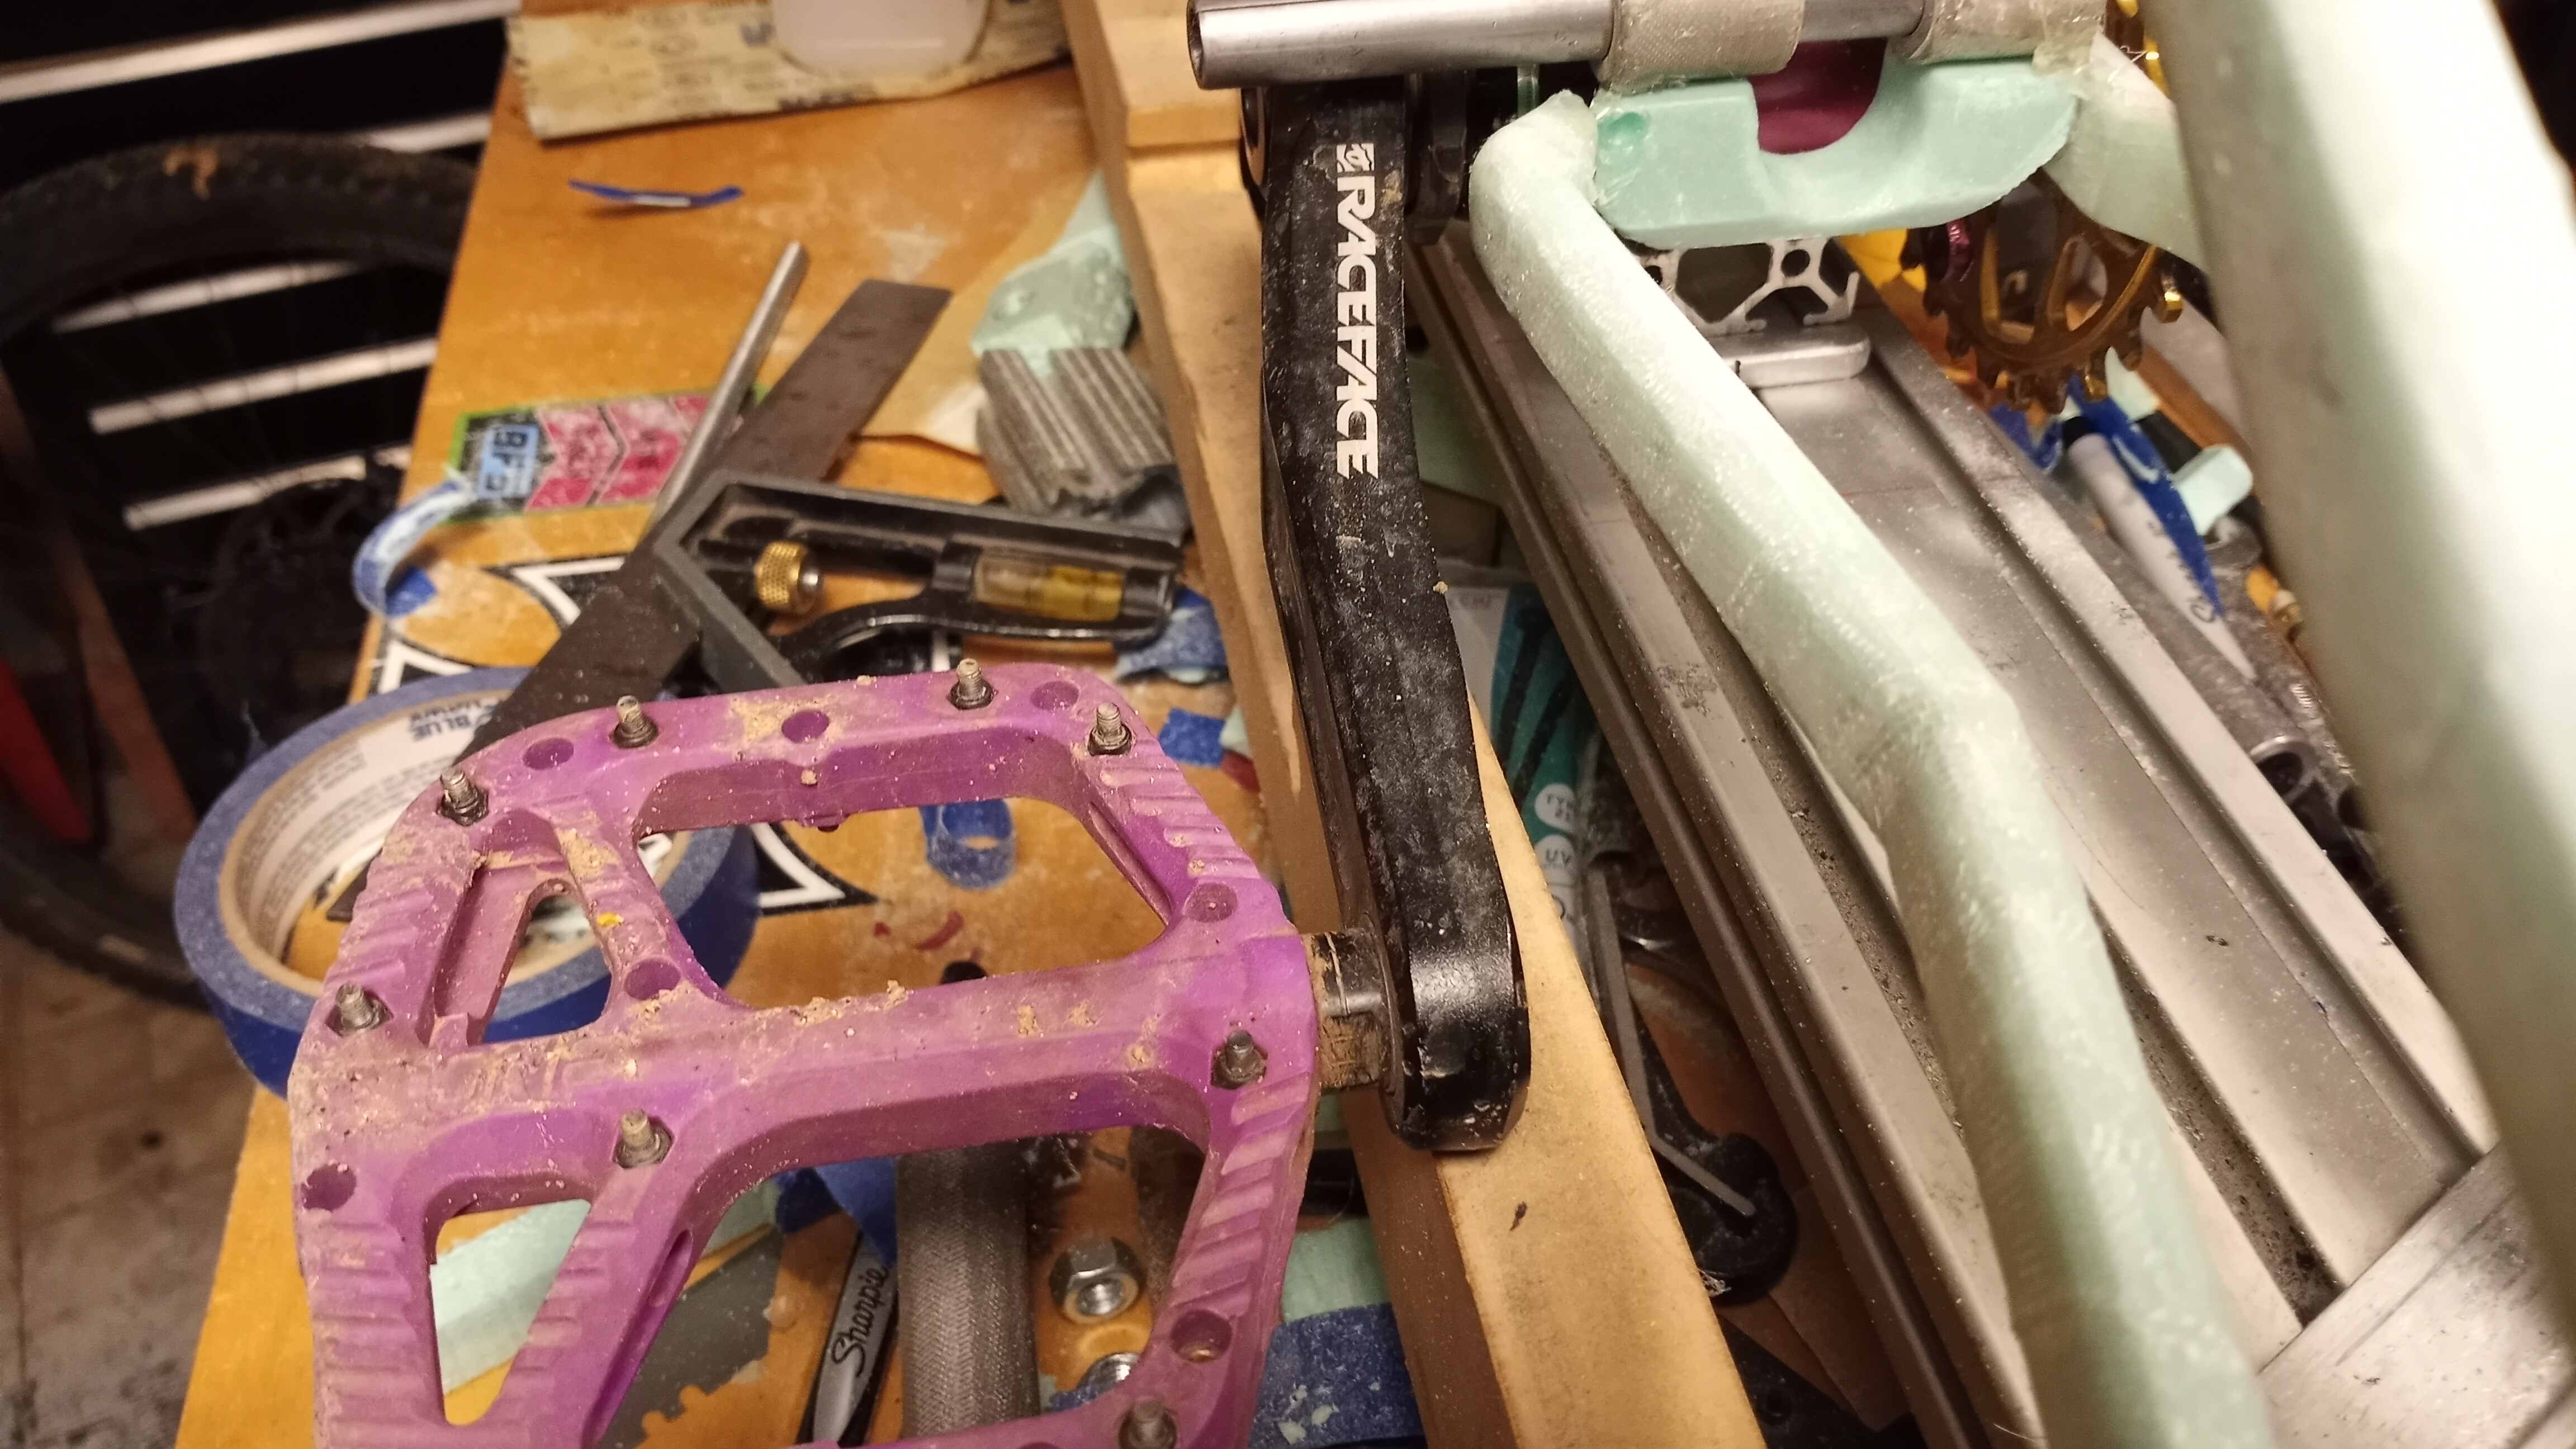
I decided I should probably test fit the actual cranks in the foolish thing and see if they fit (Crankset Assisted Design)