Please excuse me if I missed it, but is anyone using titanium to make racks? If so, what tubing? Given the limited availability and price of 5/16 .028 4130, I was toying with the idea of titanium for a light weight rack. Many thanks, Daniel
2 Likes
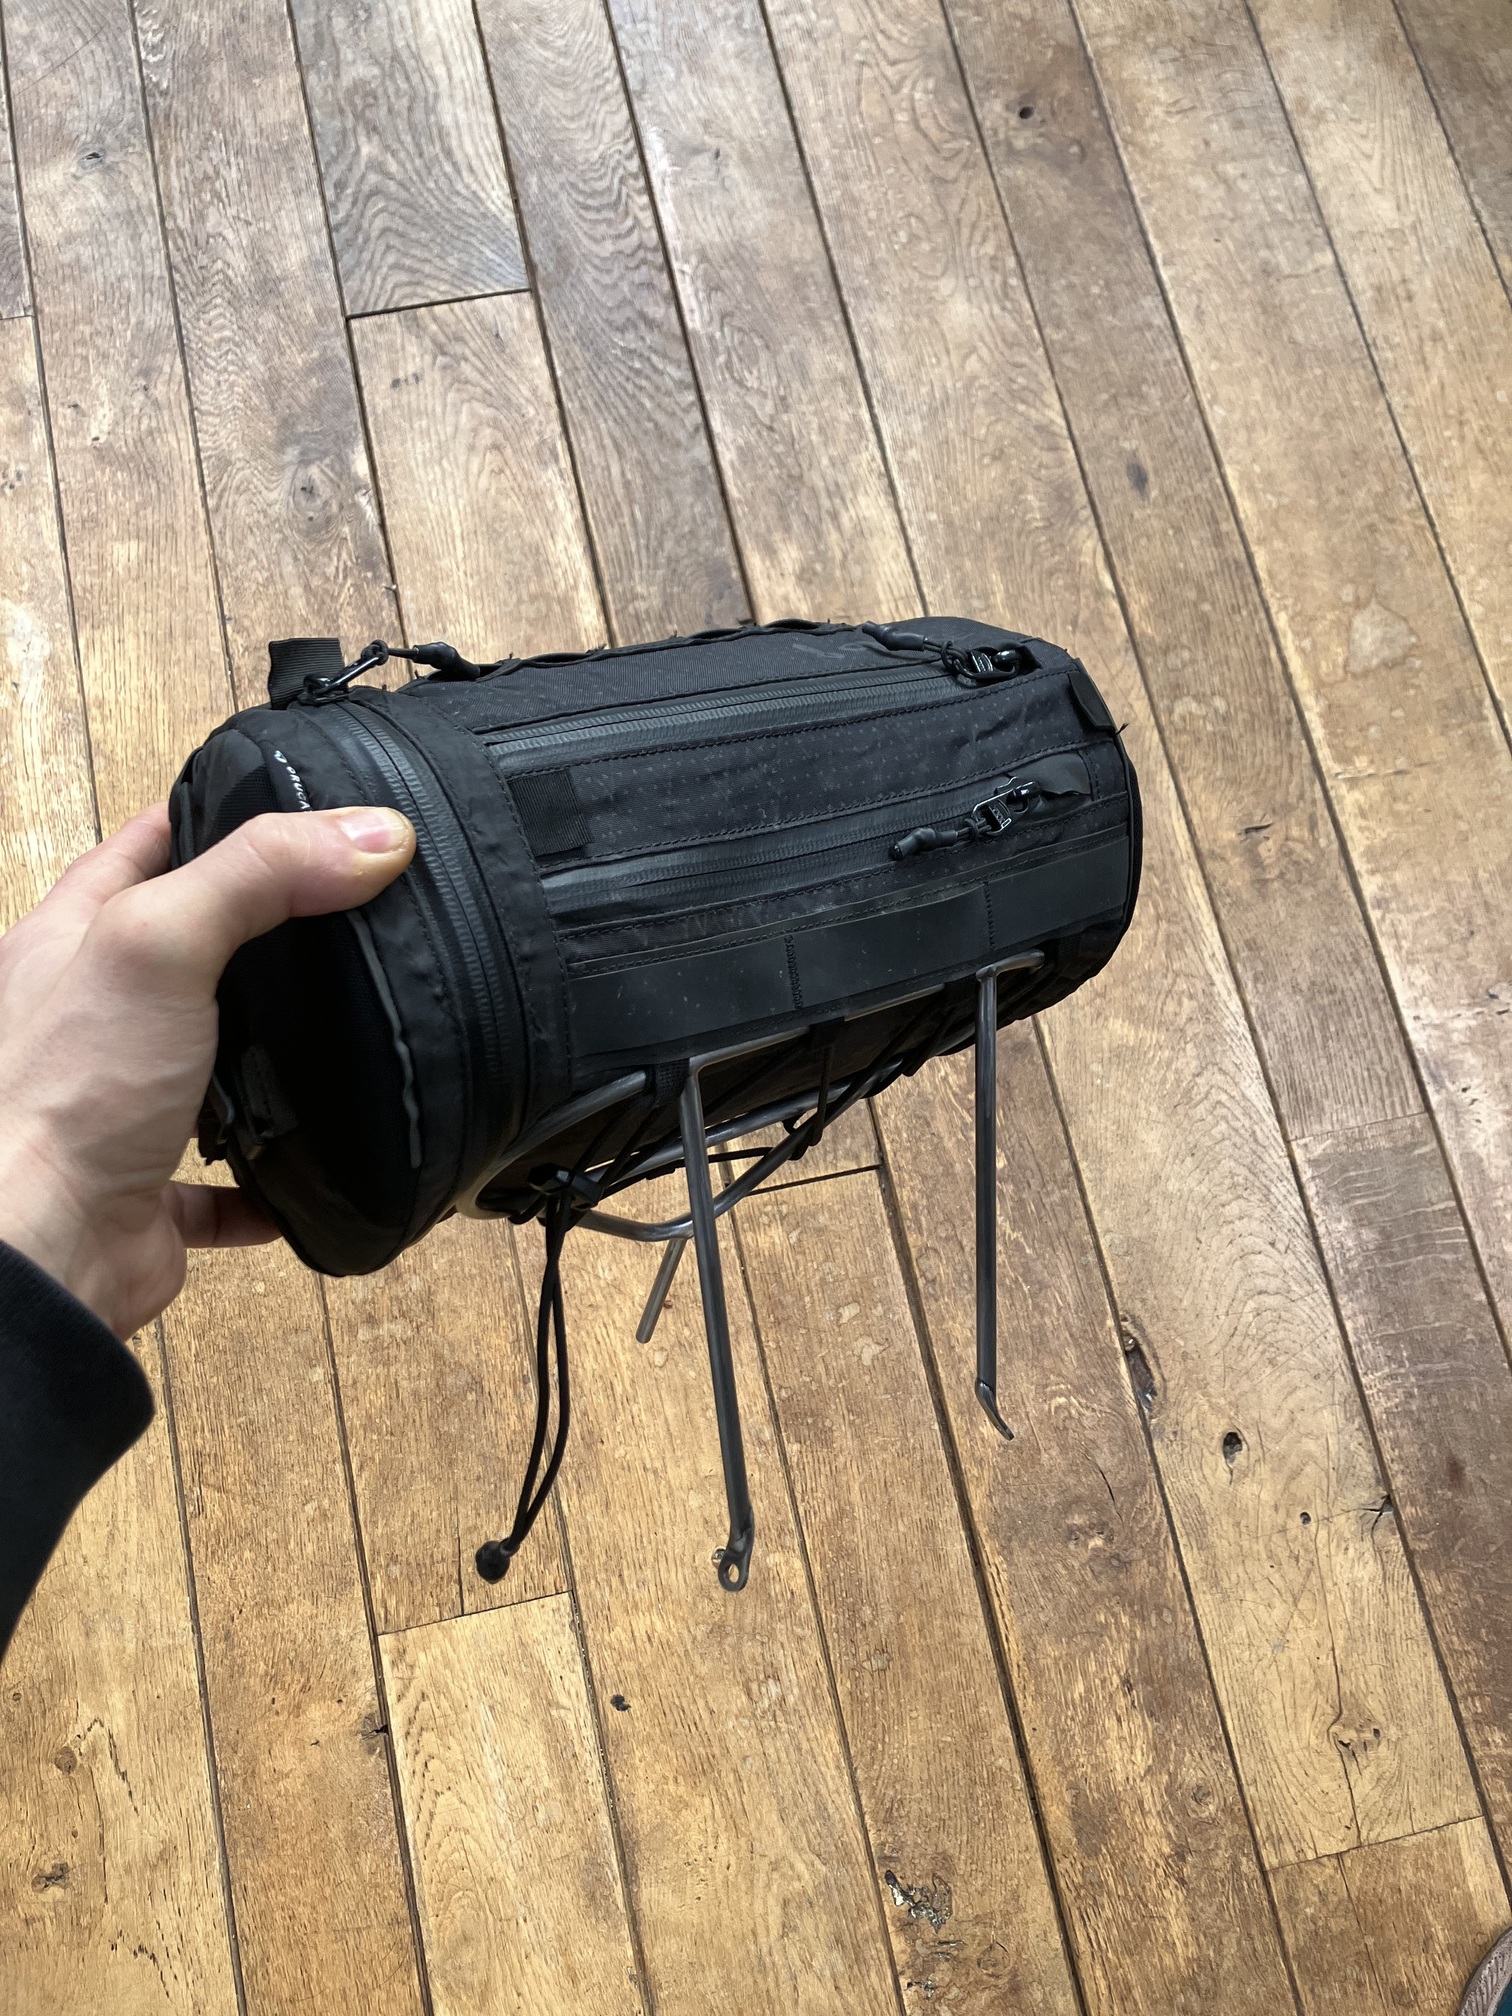
Yes… I thought about that, but the idea is to carry just a duffel… small one, so I don’t think I need a stopper…
I don’t really know anyone who’s making out of titanium… but for sure there are people here…
that is planned to be my introduction to titanium welding… but haven’t looked much for tubes yet.,
2 Likes
Tubus makes (or made?) Ti racks, but with the usual cost-cutting that any mass-producer needs to do, like tubes just welded to the side of another tube without a miter. I expect anyone here can do better than that.
3Al/2.5V is the “good” alloy, originally made as high-performance hydraulic tube for aircraft, so it’s meant to be good for bending, without so much of the thinning that tends to occur in the outer edge of the bend. I don’t know of anyone who sells it in the diameters you want for racks, but I haven’t looked. I see Online Metals only sells Grade 2, which is commercially-pure Ti, not alloy. Much weaker than 3/2.5. Dunno what Tubus uses but I would be surprised if they’re using alloy — probably CP. Which is so weak I wouldn’t bother, just use SS if you want corrosion-resistance or 4130 if you want light weight.
3/2.5, if you can get it, has a low stiffness-to-strength ratio, so if you use the same diameter as steel and build it to the same strength, it’ll be much more flexible. Usually not good in a rack that carries substantial weight. Extra wiggle in the cargo has bad effects on handling. Probably just fine for a light load like a typical handlebar bag though. But then, with those little Hbar bag racks, the potential for weight savings is small because you can make them so dang light in steel, so why bother with all that extra hassle of Ti? Just for bragging rights? Getting to the top of the hill milliseconds faster?
3 Likes
How about 1/4" x .028" then? Even lighter, and Aircraft Spruce sells it (no doubt others too but it’s the first place I looked.)
Not suitable for heavy loads, but plenty for a typical Hbar bag, assuming proper design. That mostly means no curved struts in the load path down to the fork. Compression columns need to be straight.
2 Likes
Great input bulgie, just the perspective I was after!
1 Like
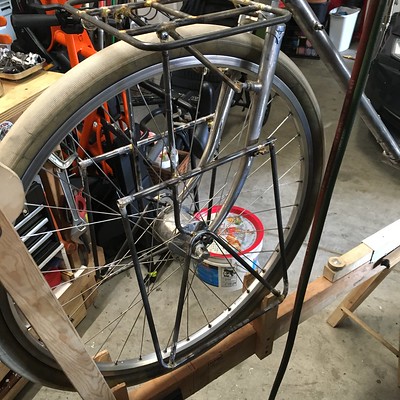
I had some spare time and energy today so I decided to build a pannier rack for my touring bike. Did a quick cardboard dummy but I realised how odd it looked with the bag so far behind the front wheel axle.
I’m wondering if there’s a best practice or anyone has experience with weight distribution. Should the weight be on top of the axle? Is the trail (or any other parameter) a part of the calculation?
For info this is a short trail (42mm) bike.
Would love some input before I’m cutting up any steel ![]()
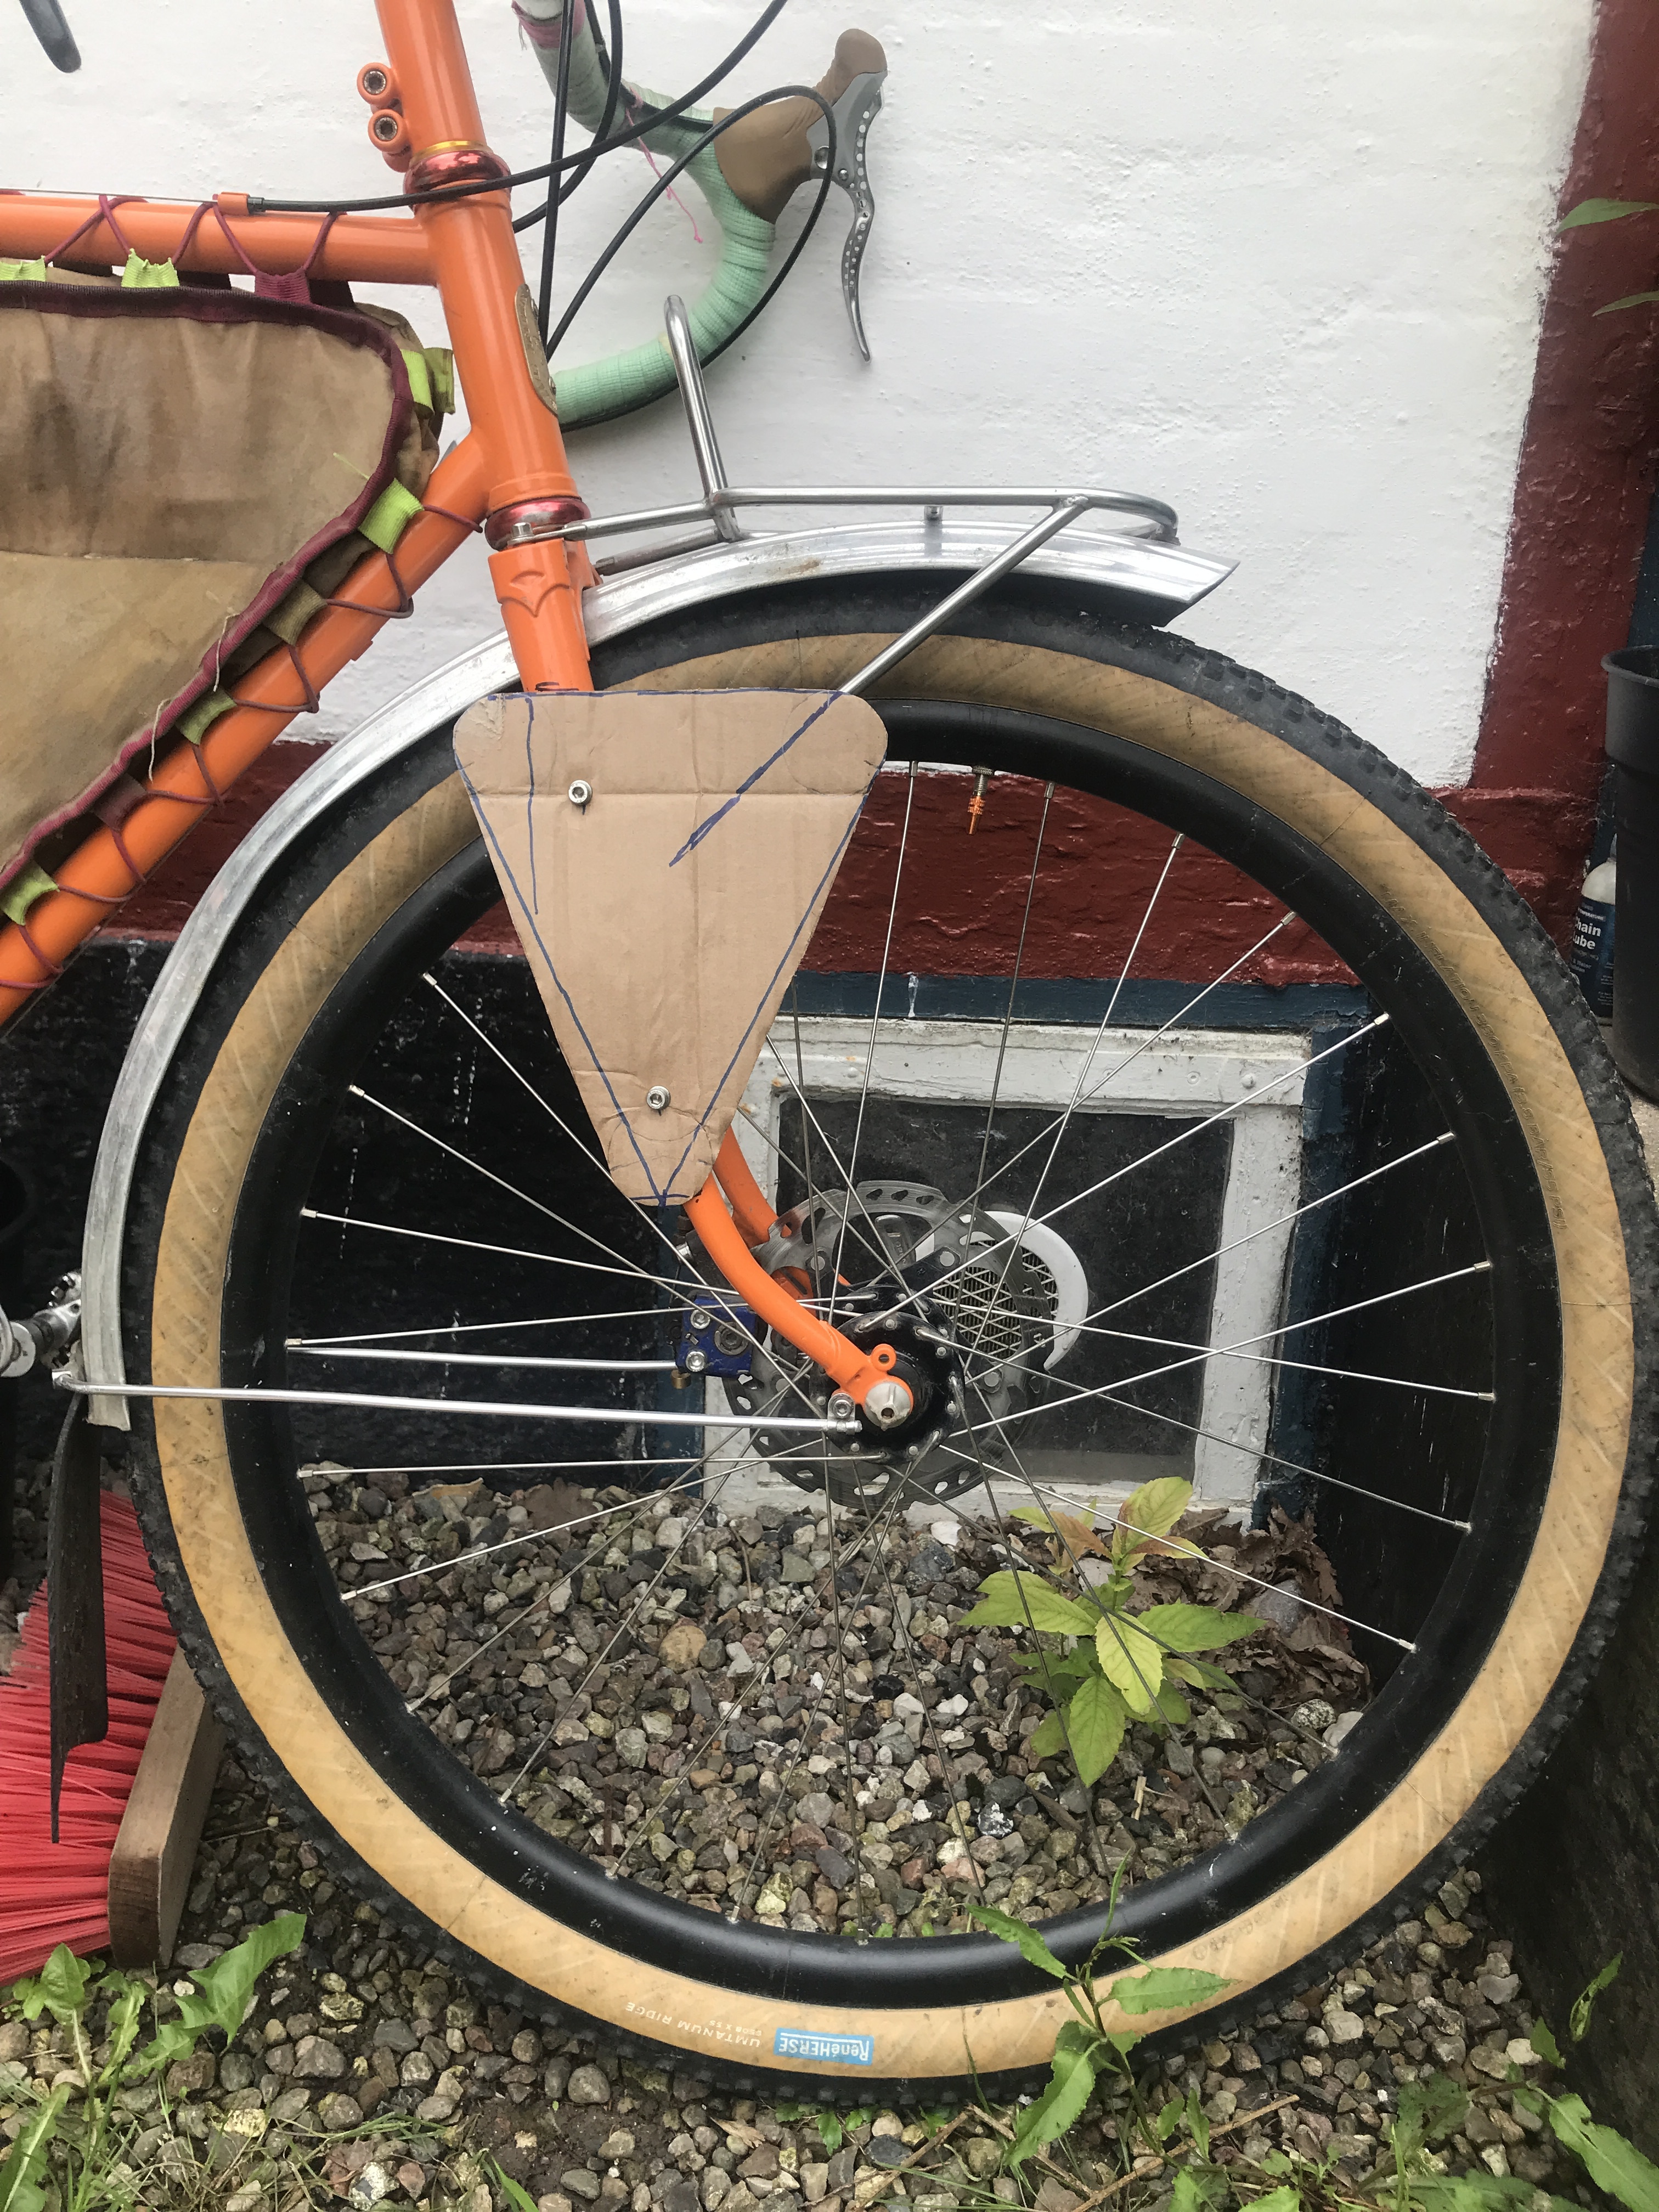
Cardboard dummy
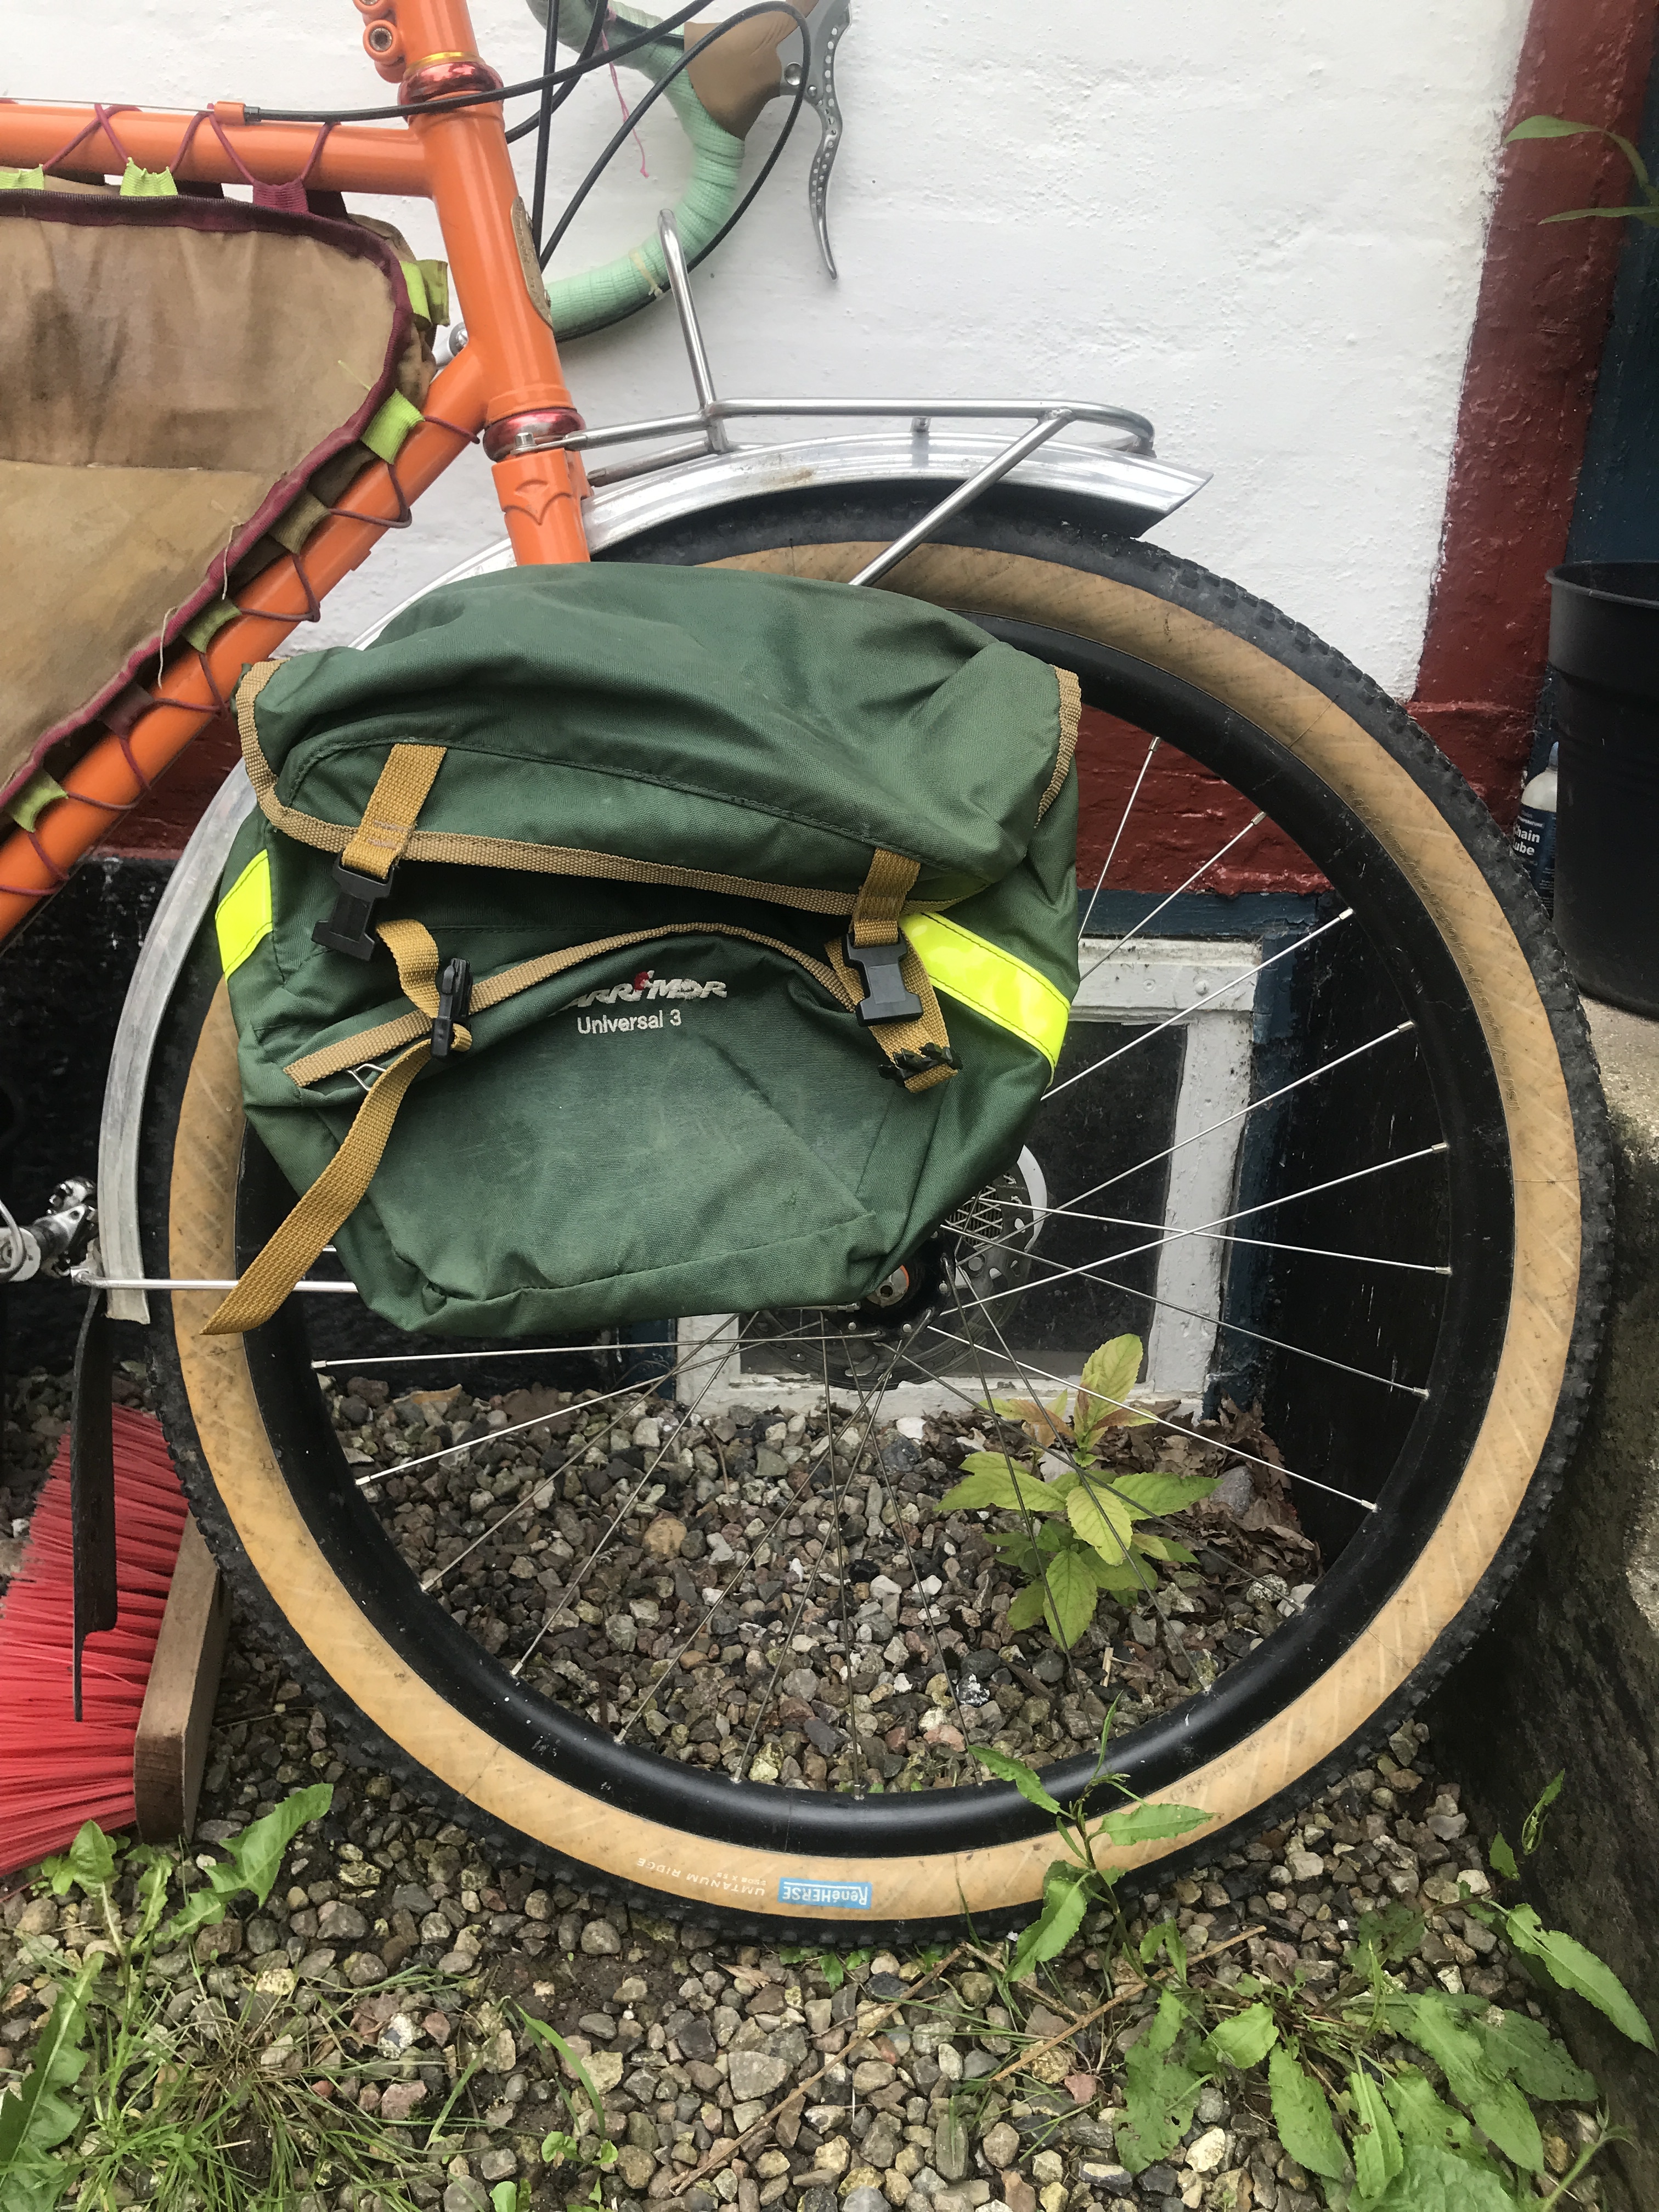
Bag centered on cardboard dummy
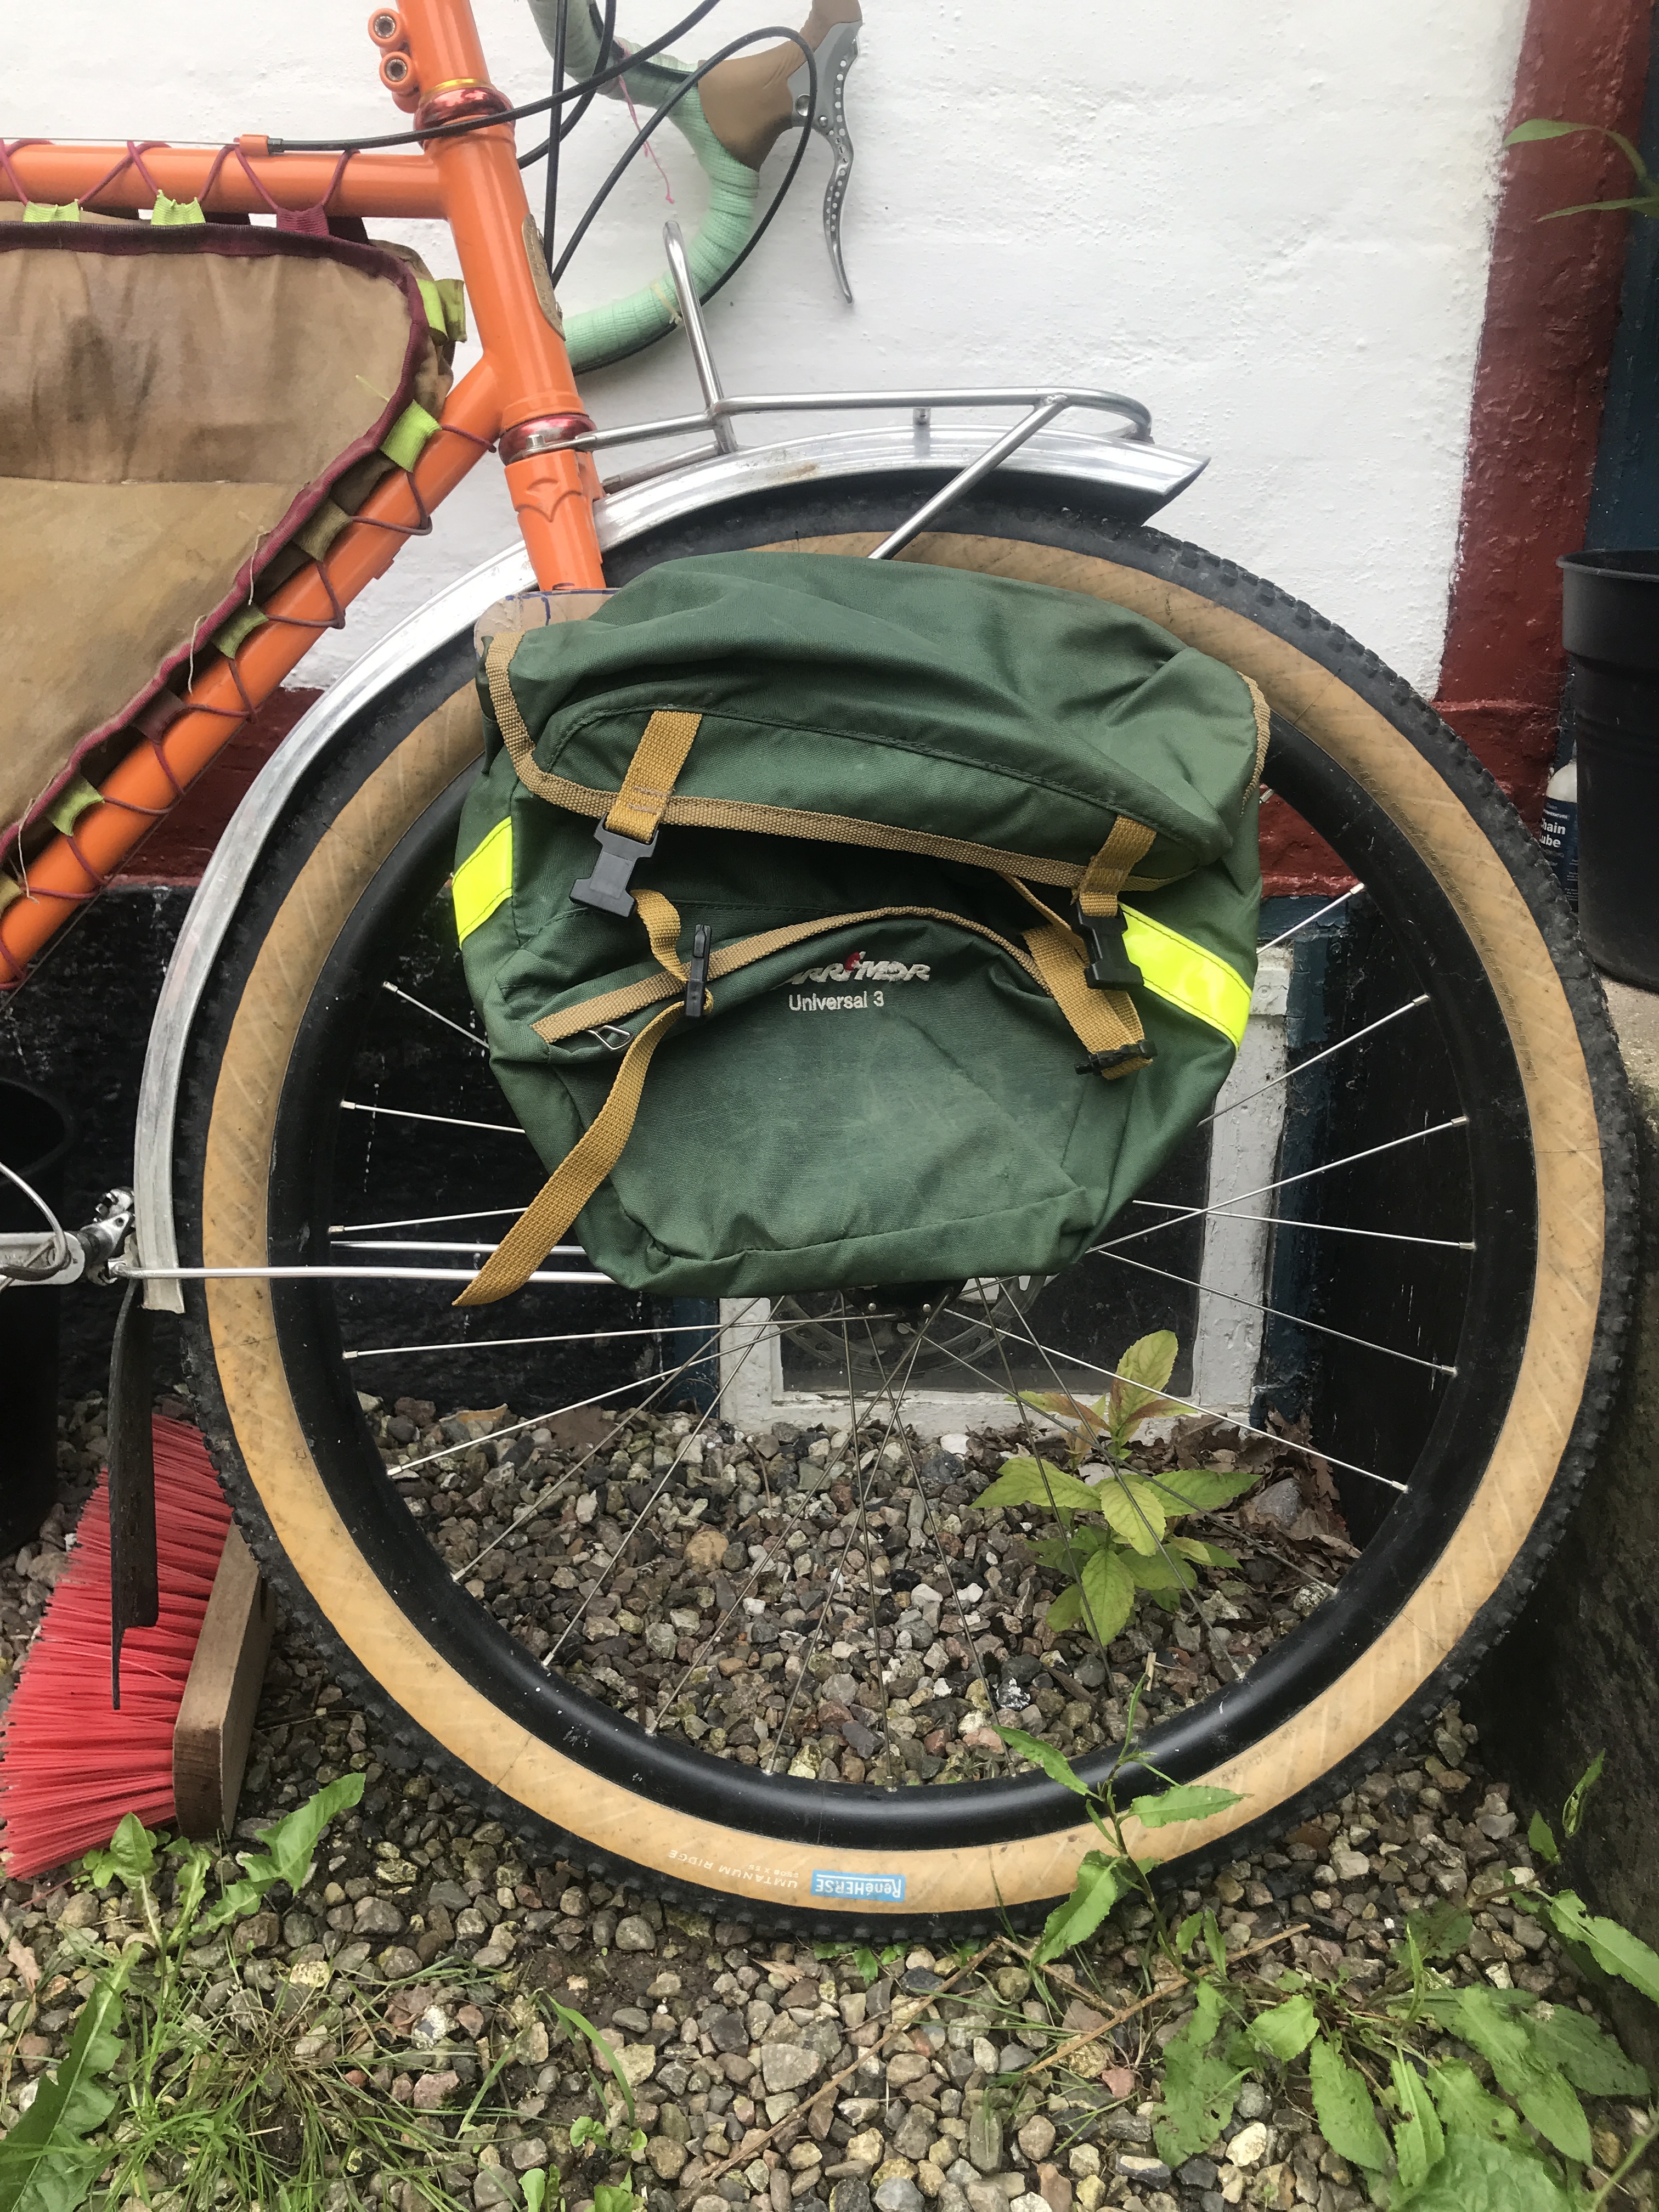
Bag centered over axle
2 Likes
In my experience having the weight slightly behind the axle is better since its less likely to give you a “tipping forward” feeling. Most of that experience is with basket/porter style racks though. The lower position of a pannier rack means it’ll be pretty stable no matter what. I think it does look better on centre if that matters to ya though.
1 Like
I agree that having the pannier centered in the wheel looks best. However, sometimes you have to compromise depending on the size of the bag.
-Jim G
2 Likes
Sweet, thanks for the input!
The bags will be small, so I might try to get it a little behind the axle without making it look ugly ![]()
1 Like
Made a video of me building a custom rack.
I filmed it during the winter so I’ve been upgrading a bit on my tooling for my Silver Heron production rack since but if anyone can use it or if you just enjoy frame building ASMR, here you go:
9 Likes
For those of you who’ve built racks for panniers – do you follow a standard set of dimensions for pannier mounting points, or do you have the bags in hand and custom-fit the rack to that bag?
The latter. I’ve always designed around Ortlieb bags, except on my cargo bike where I designed around Carsick slings.
For those who have built racks in stainless steel, which filler is best? Can it be done with 56% or do I need a lower silver content filler so it can make little fillets?
1 Like
Harris 45 worked well for me. My only stainless rack used 1/2” tubing though — it was for a cycletruck.
1 Like
I TIG braze the stainless tubes (with SIFSILCOPPER 968 silicon bronze).
4 Likes
No, 56% needs more surface area, and close fit-up like a lug at the joint. The micro-filet that 56% makes would be adequate on tiny tubes like maybe 3 mm or less, but that doesn’t scale up to rack tube sizes.
I’ve only made a few SS racks, but I used Fillet Pro or 38% generic (Harris or some such). The benefit of not having to paint or plate is attractive, but I don’t think it’s worth it. CrMo can be both lighter and stronger. Also cheaper, and easier to braze. It’s hard to beat that combo.
Be sure to sand off the oxide layer on the SS right before brazing for best strength. I don’t know how fast the oxide layer grows back, whether it’s hours or days, but I just sand it right before brazing to be sure. Your technique has to be near perfect and it’s super easy to mess up with SS. Just a tiny bit too hot, and that steel is cooked, braze will never stick to it. Then you have to disassemble the joint, sand everything clean again, and start over. Only to cook it again, unless you somehow got better at it… I don’t mean to insult anyone, but I have seen it a time or two, with young FBs. Not me of course, I’m perfect. ![]()
6 Likes
That’s interesting that it’s so tricky to torch braze! A doddle with TIG. I do clean it up with green scotchbrite (everything always has to be spotlessly clean and shiny for TIG) but then the filler just flows really nicely and it’s very quick and easy to do. And then there’s no filing or cleanup after that (well I suppose you could file it a bit if you were fussy, but it’s fairly presentable right out of the gate).
3 Likes
Hmm but I see
1: the paint getting rubbed off my tubus rack, resulting in some light rust
2: a challenge ![]()
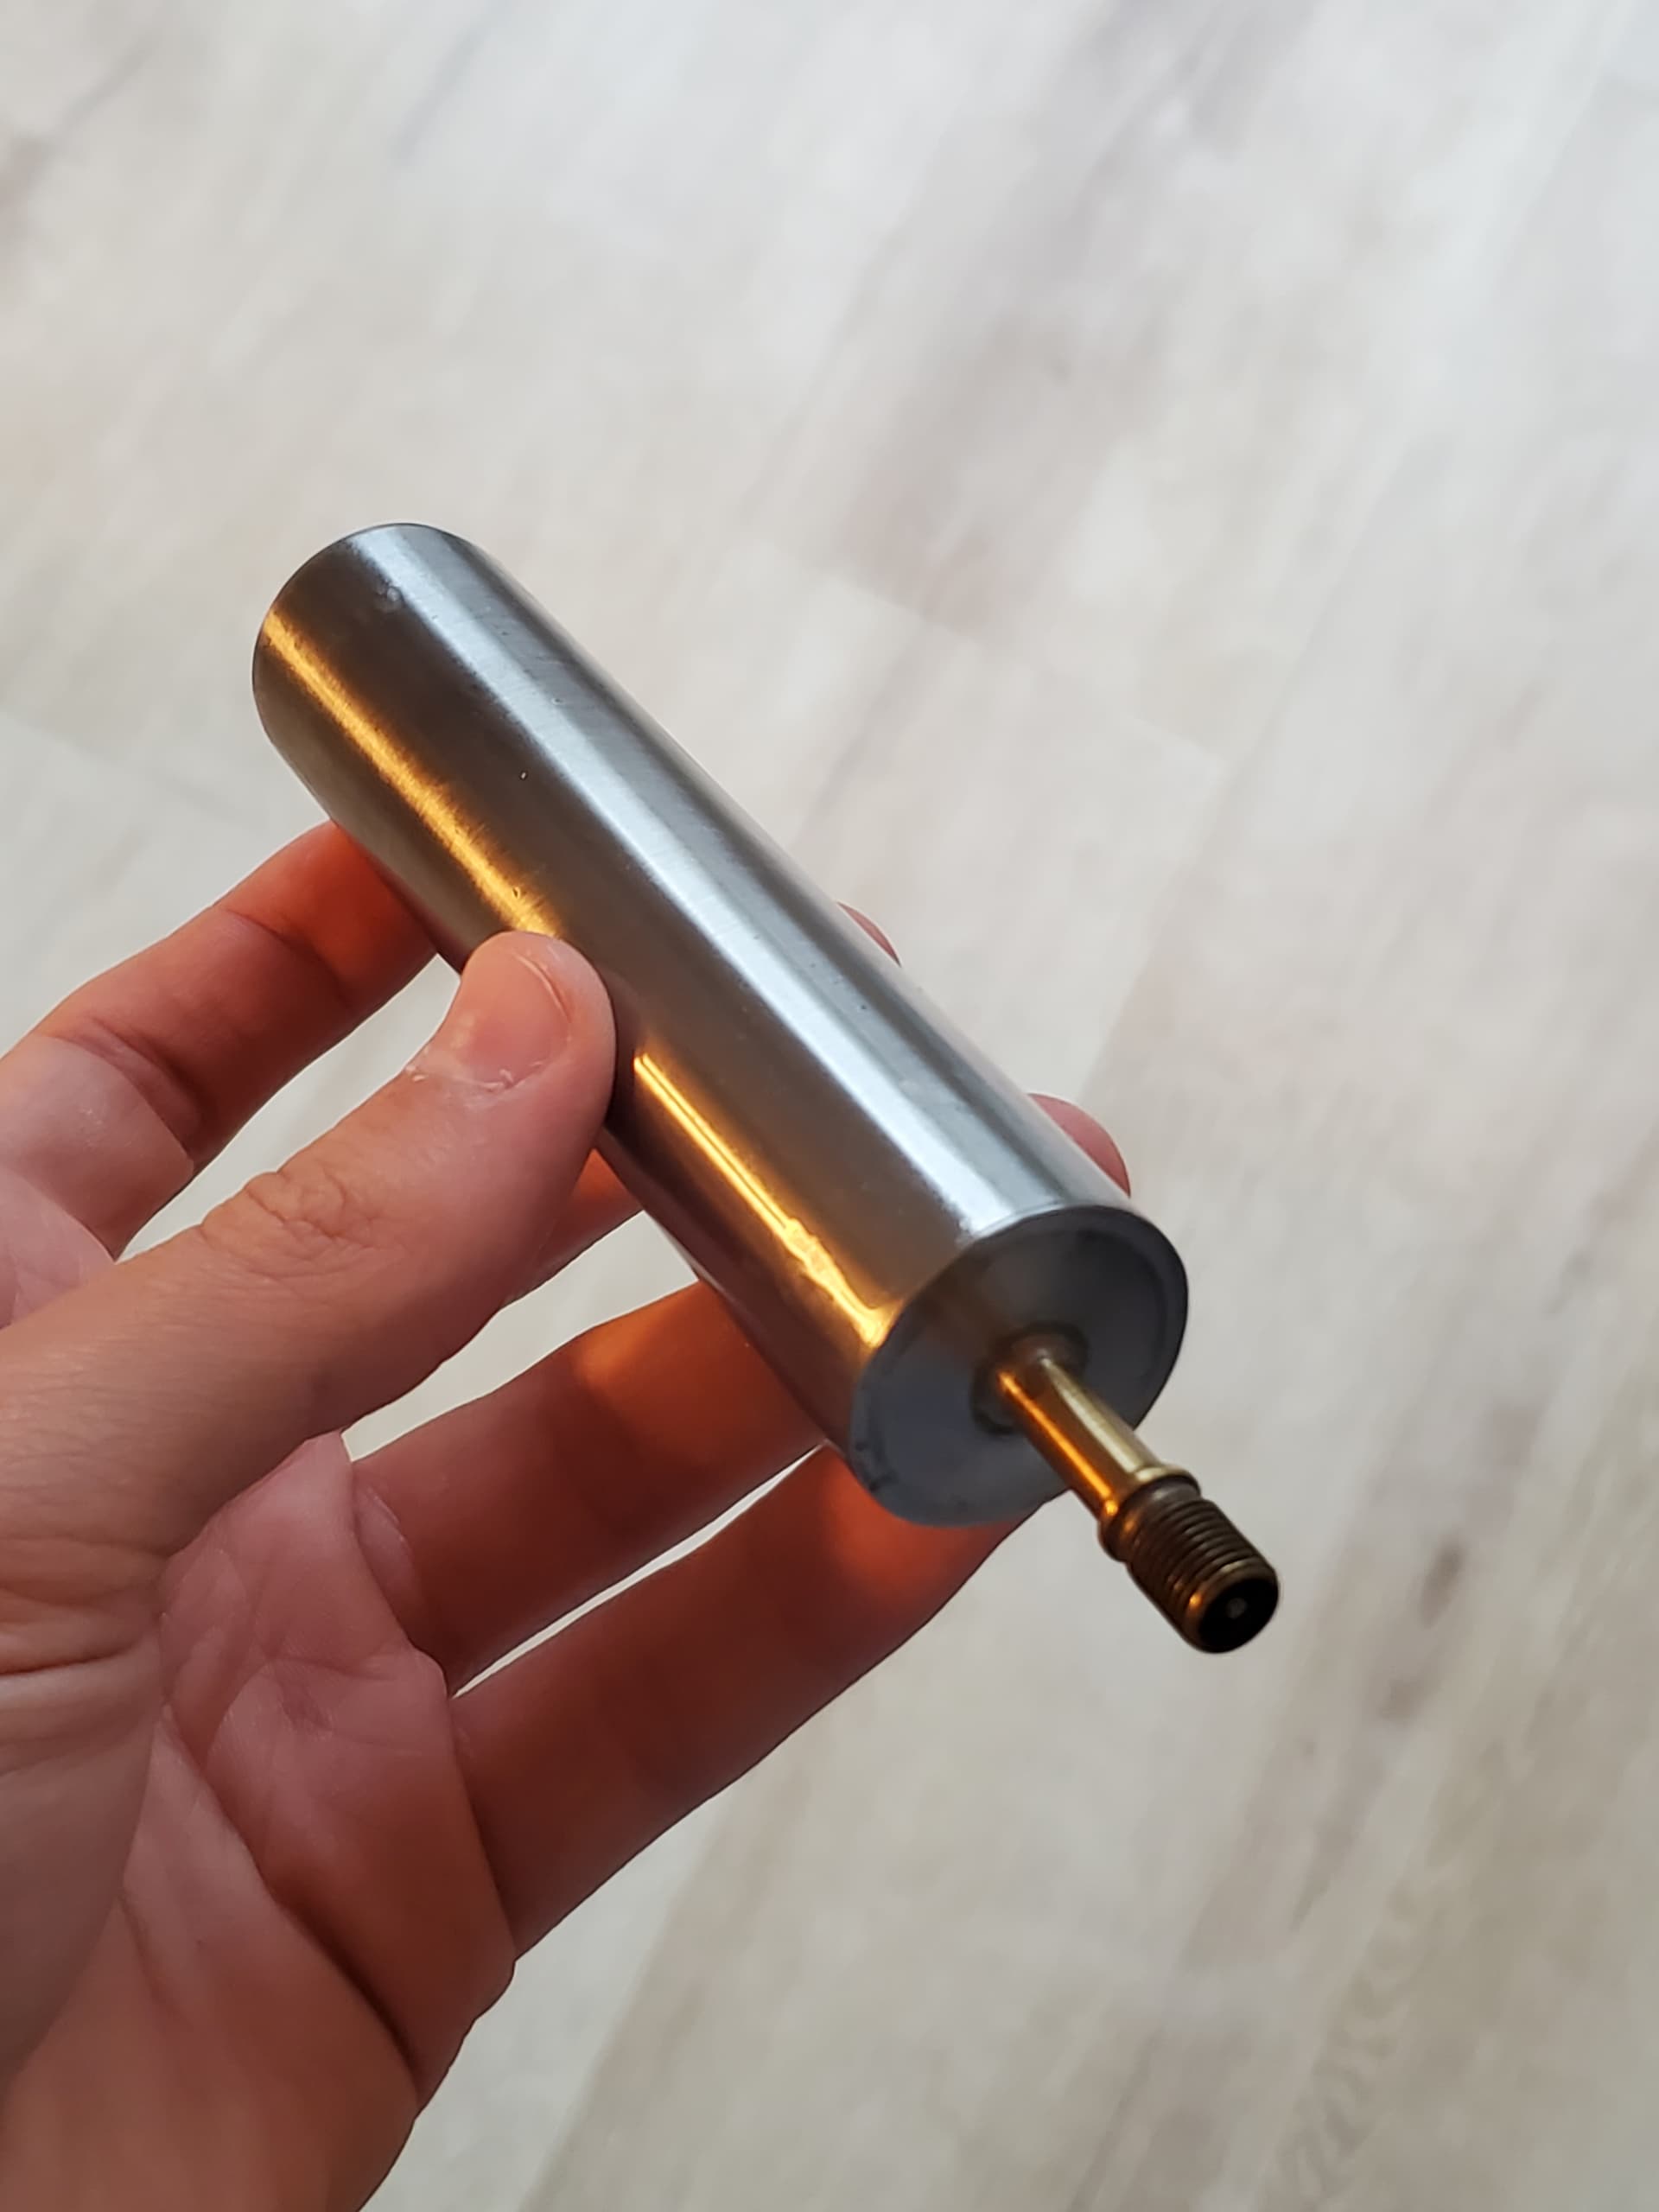
Is controlling the heat much harder with lower silver content than 56%? I did this test piece where I brazed 0.5mm stainless sheet ends onto a 1.5mm wall tube and then a schrader valve on top.
Worked out perfectly, I cut and filed the excess away and a pressure test showed it held 20 bar with perfect airtightness.
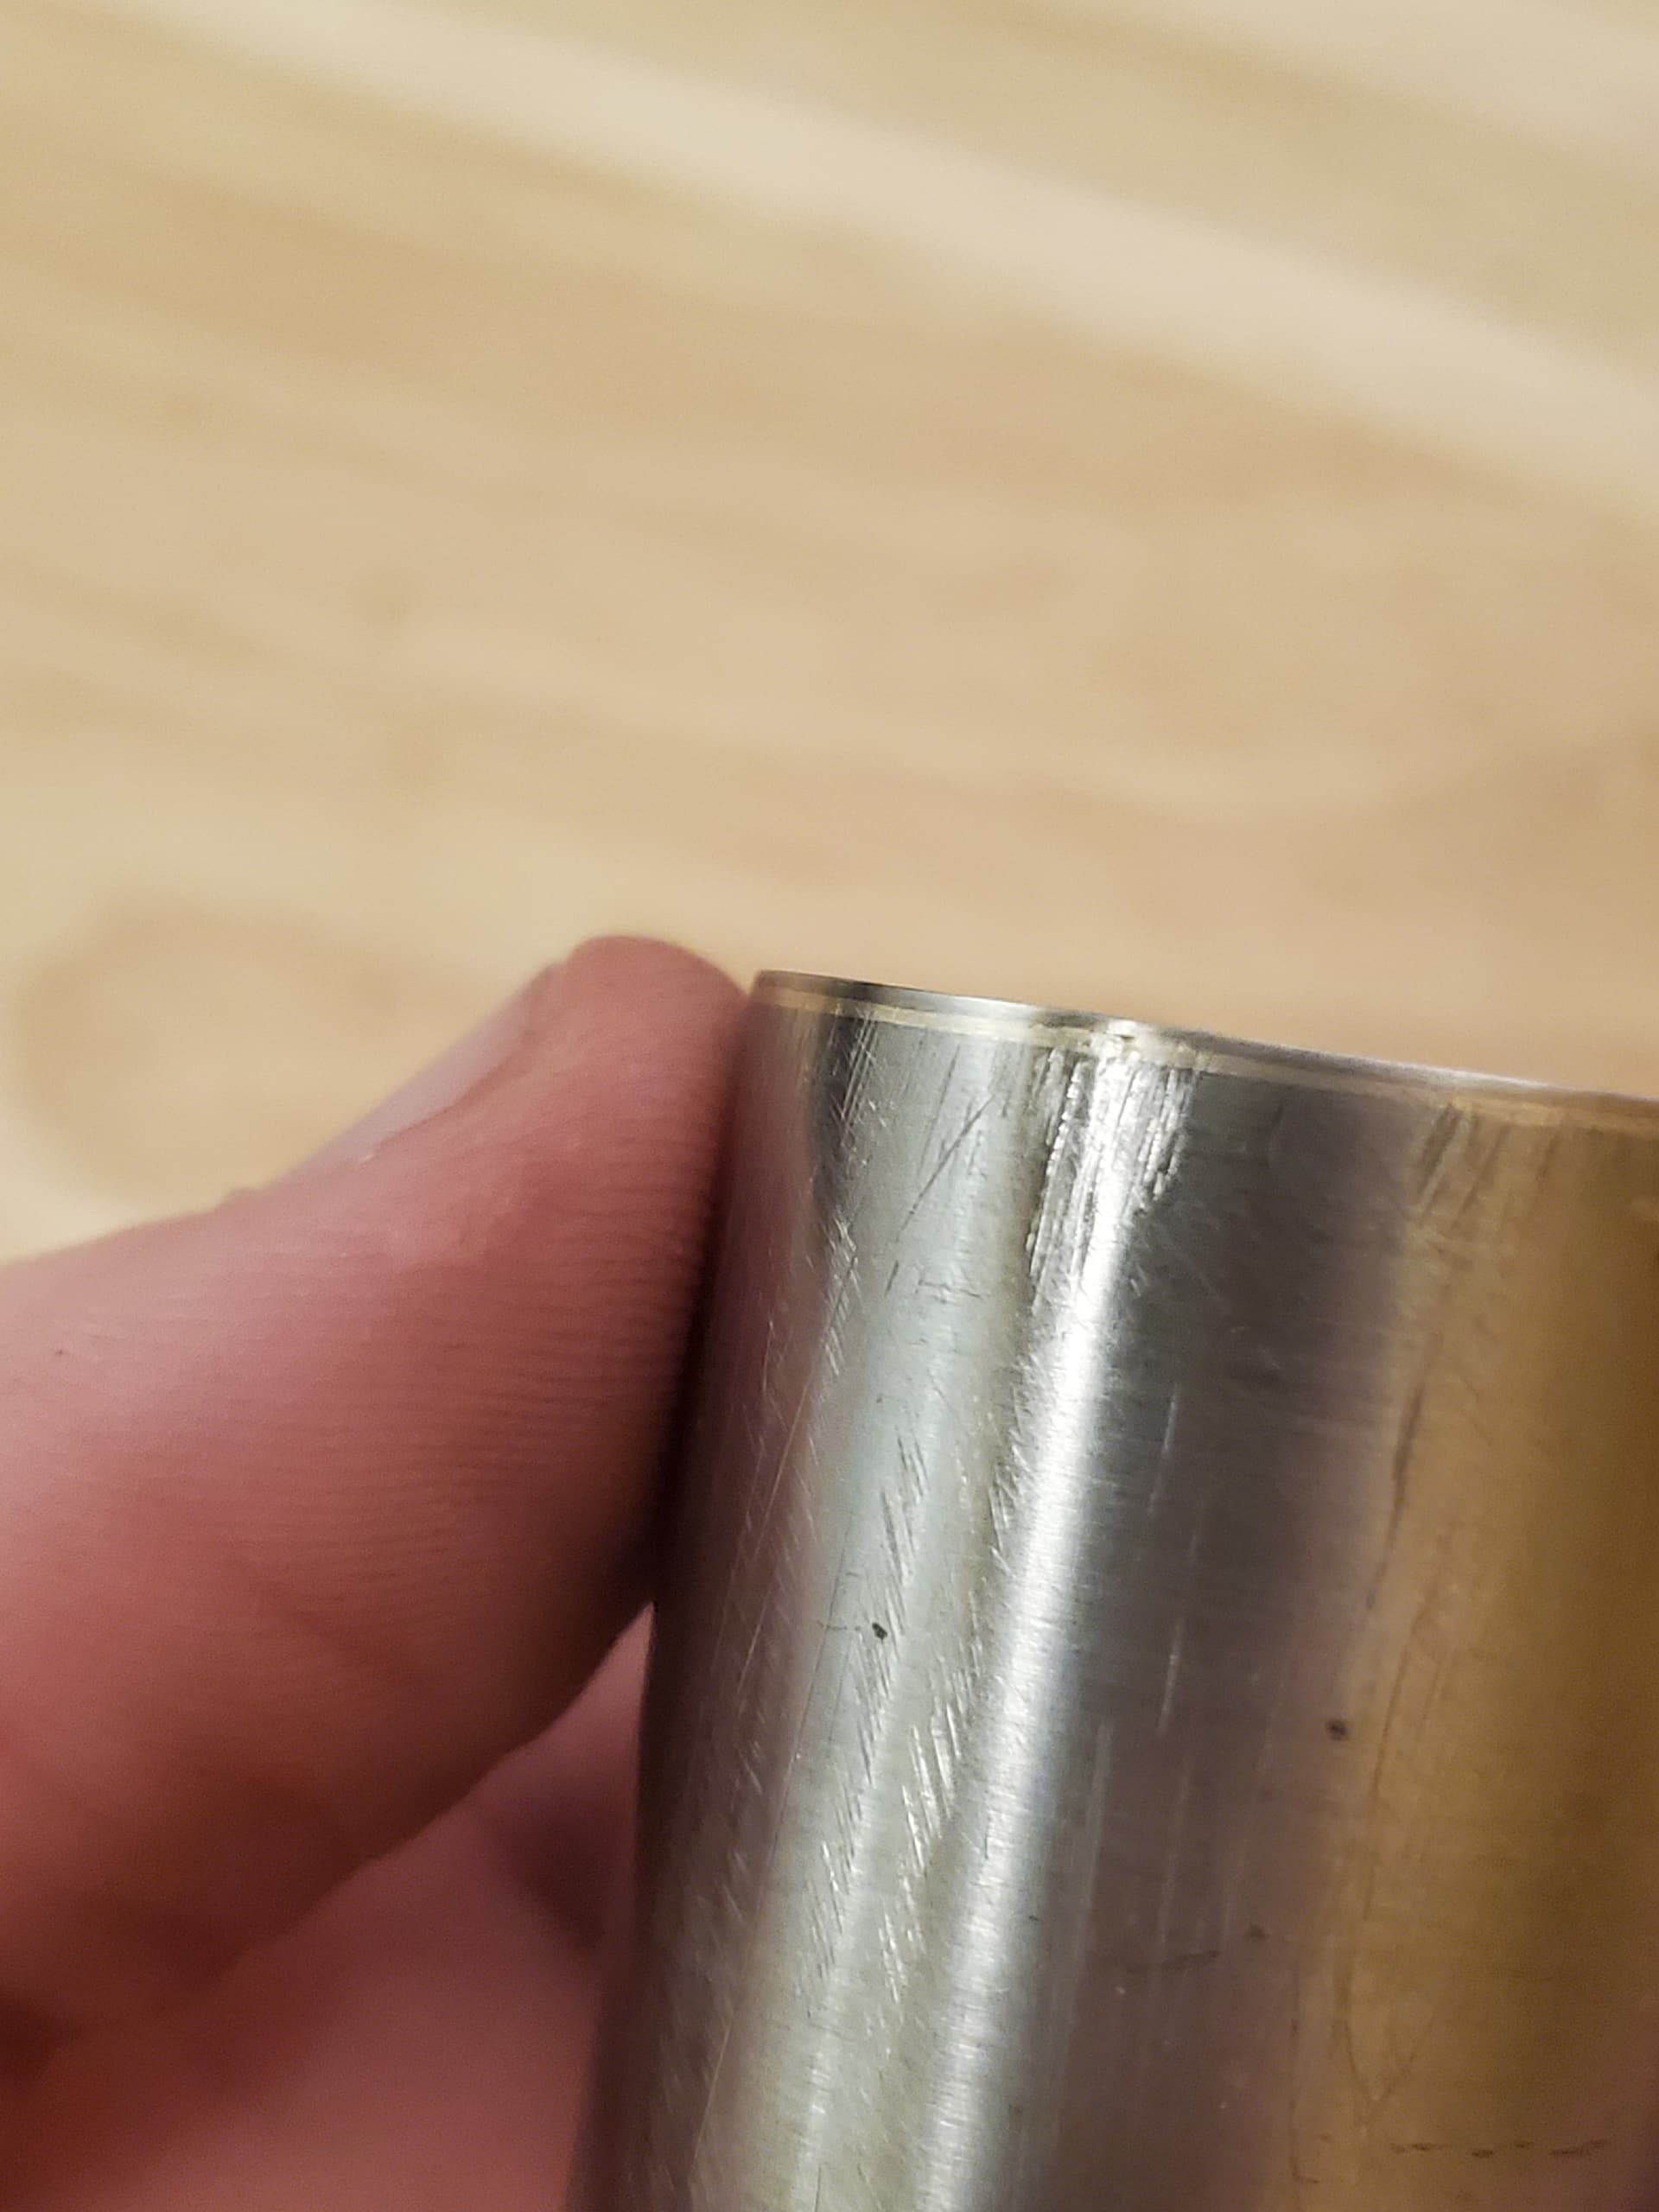
I did clean up the parts with scotchbrite and acetone right before brazing.
I would love to try this. What tig settings are you using? Going to look online where to buy some 968 filler.
1 Like