Hey there,
Thought I would drop in and say hello, perhaps you will find my new design interesting and we can have a good time building it out over the coming weeks.
As a background - i have been working on composite manufacture processes for a while now, the frames I have built so far have been carbon filament-wound tubes with carbon lugs, no metal anywhere other than some liners for rear wheel clamps.
This time I wanted to make something different, need some spice in life you know - so this is essentially a carbon beam frame design with aero seat stays - ala Hope/Lotus track bike and as of these olympics - Toray, Look etc also followed suite.
This design was optimized using CFD simulations, targeting 30kph+
Screenshots show a track frame, but i have since decided to change over to a 1x geared road bike instead.
So far I have made 2 prototypes, one to check part fit - the second to check ergonomics by riding it. Now im working on final frame production process and mold, generally posting updates on my Instagram most often as its easy to do
I was at the Eurobike but not as an exhibitor, dont recall seeing this bike you mention - there was the Lotus 136 there though, is that what you are thinking of?
Thanks! Im sure the design will evolve further over time - but i feel its good enough for this stage
The first prototype was purely 3d printed, enough to fit all the parts and check everything gells together. The second one was a 3d printed core, over-wrapped with carbon (pics on instagram) - which I rode around on to check ergonomics etc, was really fun and I really wanted to keep riding it instead of continuing with the project.
Probably the wildest part of the second prototype was that it went from a purely digital CAD design to being ridden in just 4 days. Printed, wrapped and built up in less than a week - crazy!
Hey there, sadly i dont have too many photos/videos from the build process - it was a rush to get it done in time for the show, but let me run you through the process and I have a few videos i took for Instagram which i can hopefully post here.
Design
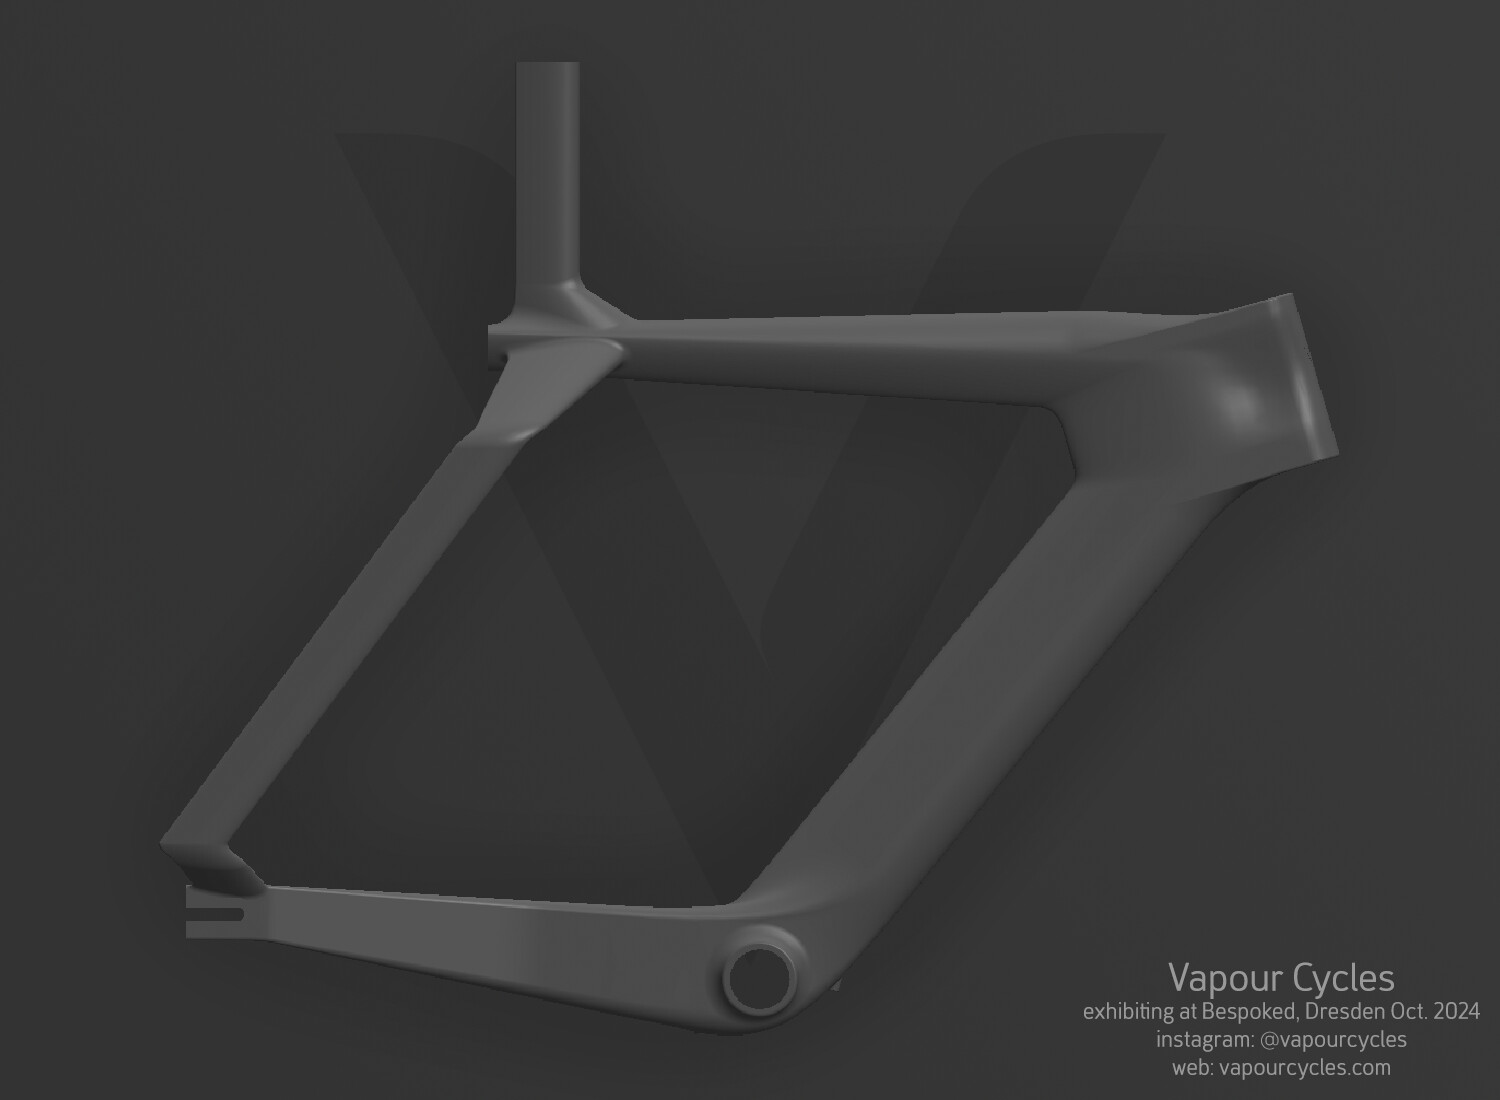
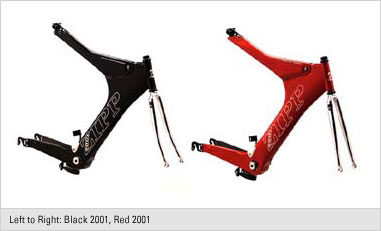
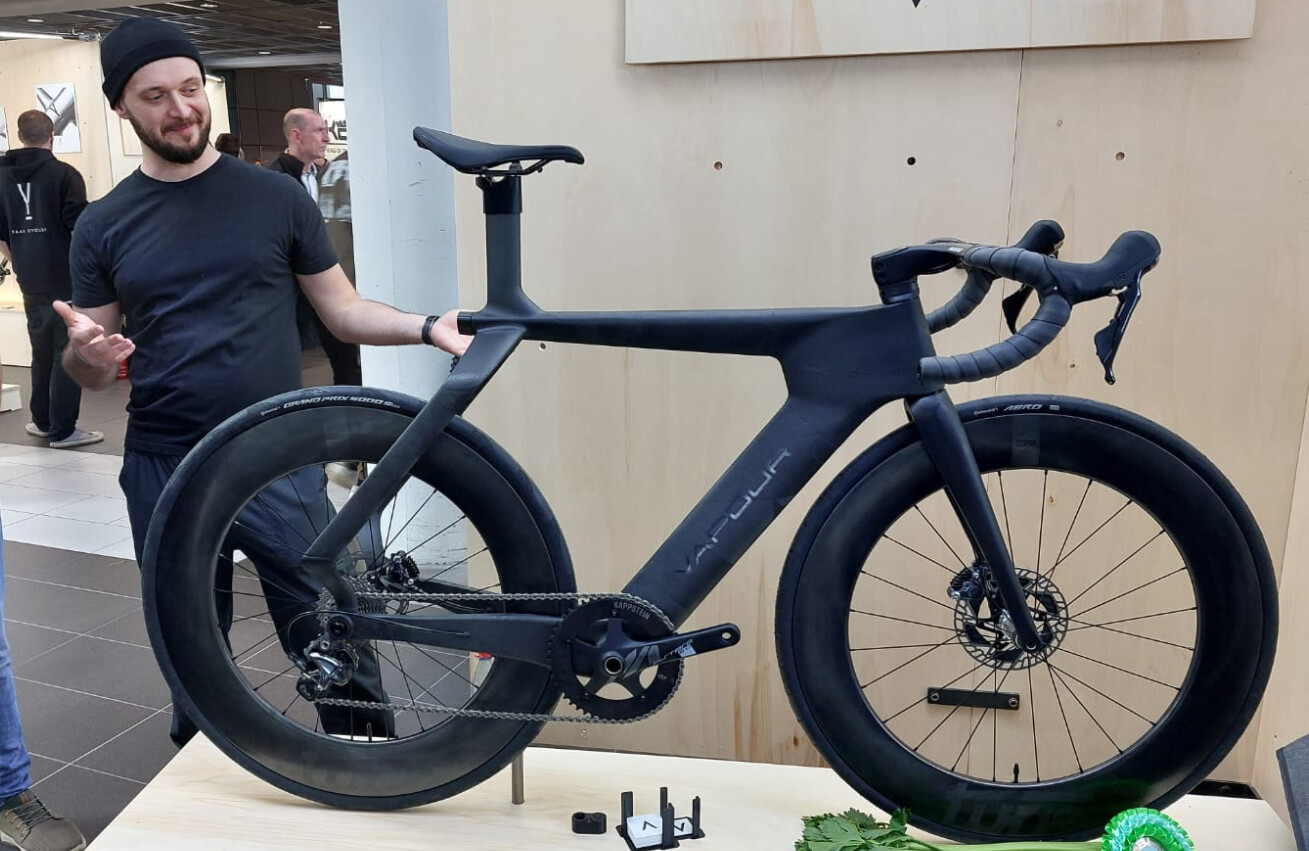
The idea was to combine a beam frame design, with the wide stays from the track cycling (started by Hope/Lotus I believe, but a few more designs used it in the last Olympics) and make it a road bike you can enjoy without hassle. I found the radical design invigorating in a world where bikes have settled on the same basic look for a long time now.
Lotus actually released a road bike version as Type 136, but it was too tame for my liking - although I believe they did try developing a more true to the original version first.
In my design I wanted to combine the best of all worlds - great rider comfort as they are suspending on a top tube which flexes, stiff ‘drive’ section from the headtube to BB to rear wheel using large profiles for maximum power transfer and steering accuracy, and finally great aerodynamics.
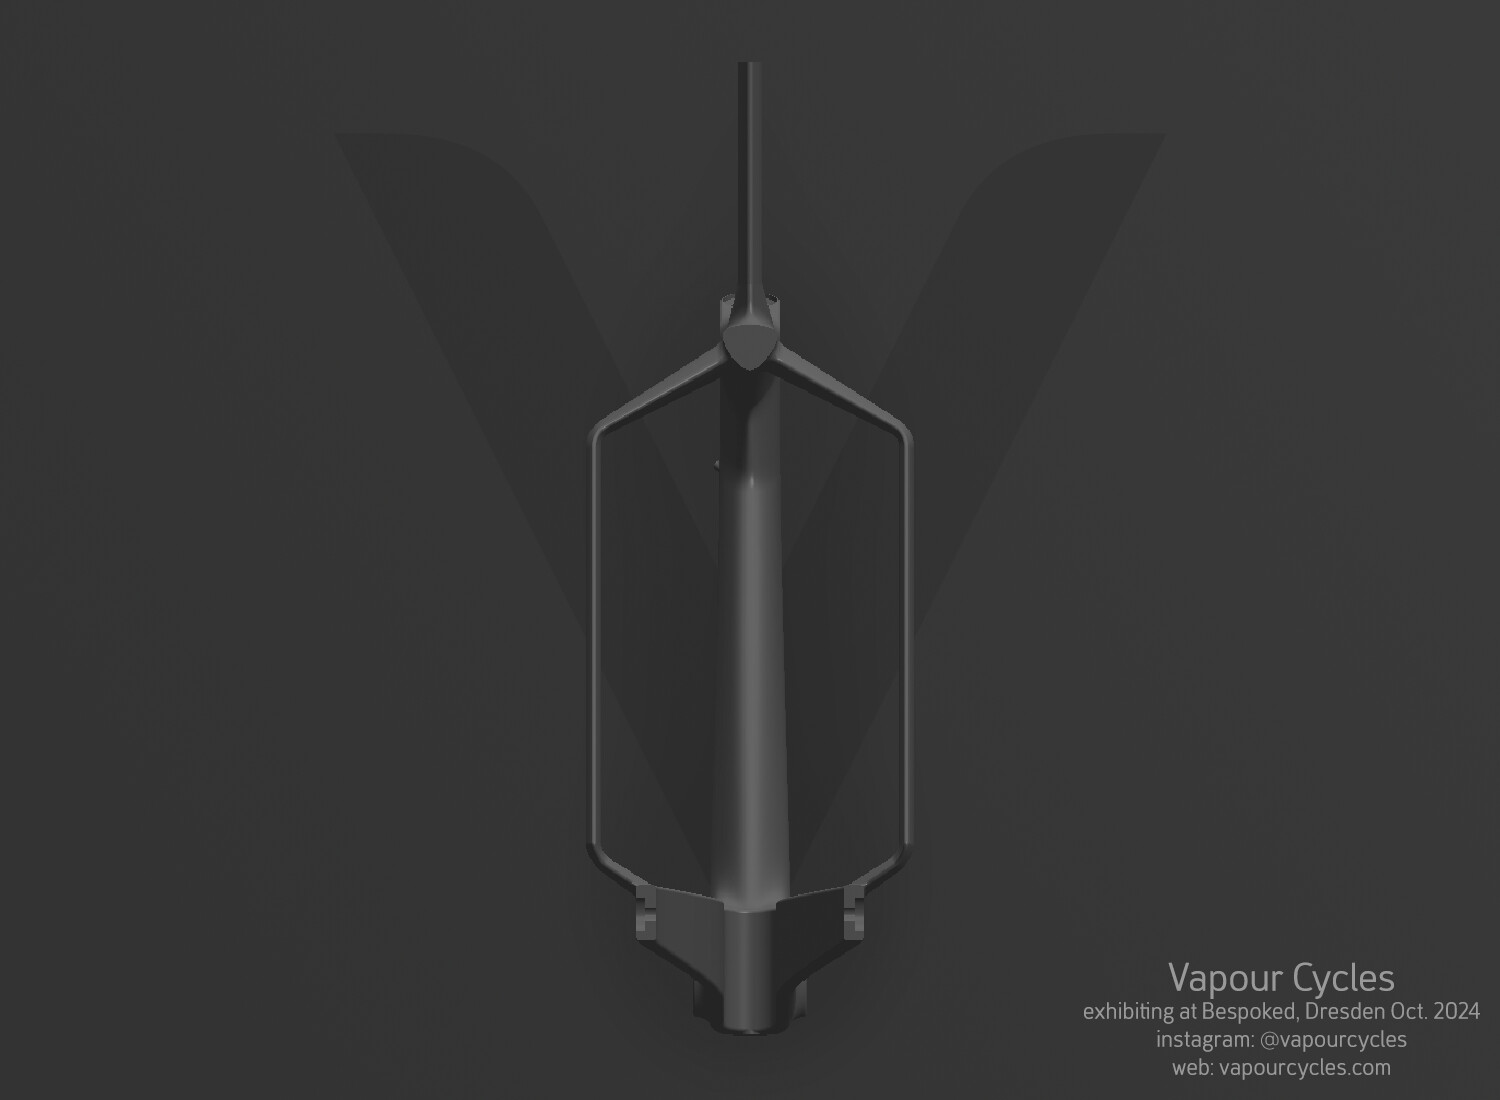
First of all I wanted to confirm that wide stays actually have an impact on the aerodynamic performance that would justify the project.
This was done with CFD simulations, the basic beam structure was used with parametric ‘floating’ seat-stays and a dummy rider. The stays were then optimized by running the simulation and altering the parameters of the design to lower the drag.
Finally the design was duplicated to have a seat tube, have traditional seat-stays instead etc and results compared. The wide ‘aero-stays’ as I dubbed them indeed performed best from all configurations, although my simulation capabilities and experience are not that of an dedicated team of course.
The rest of the frame:
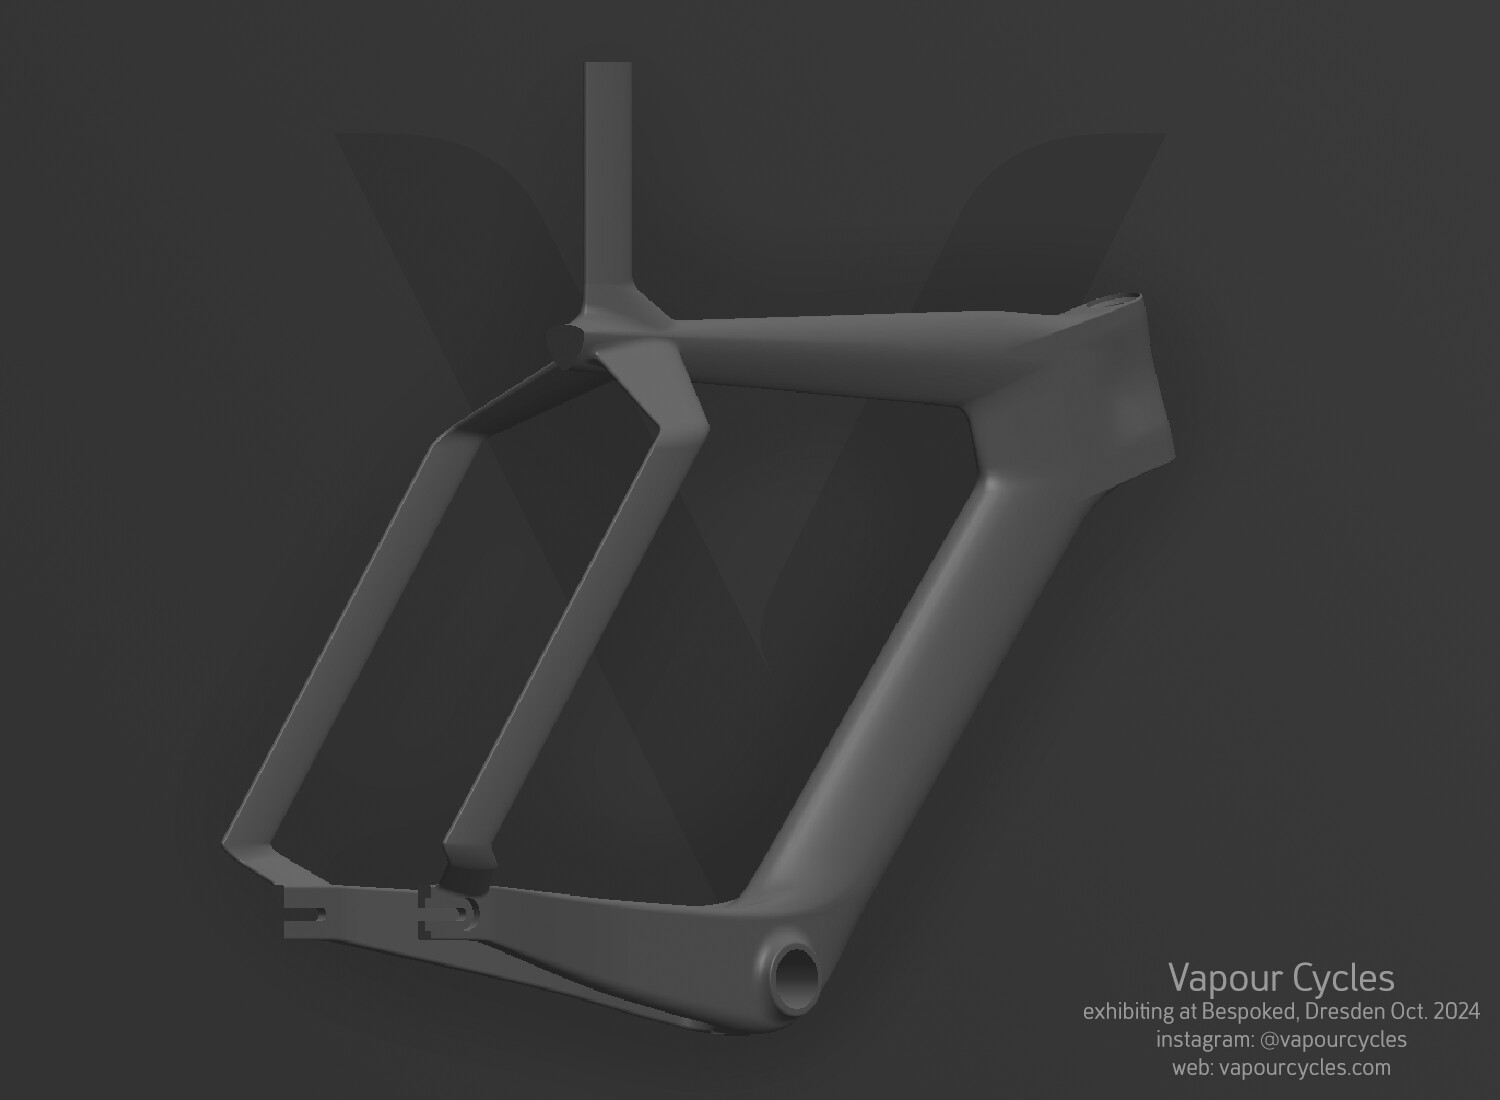
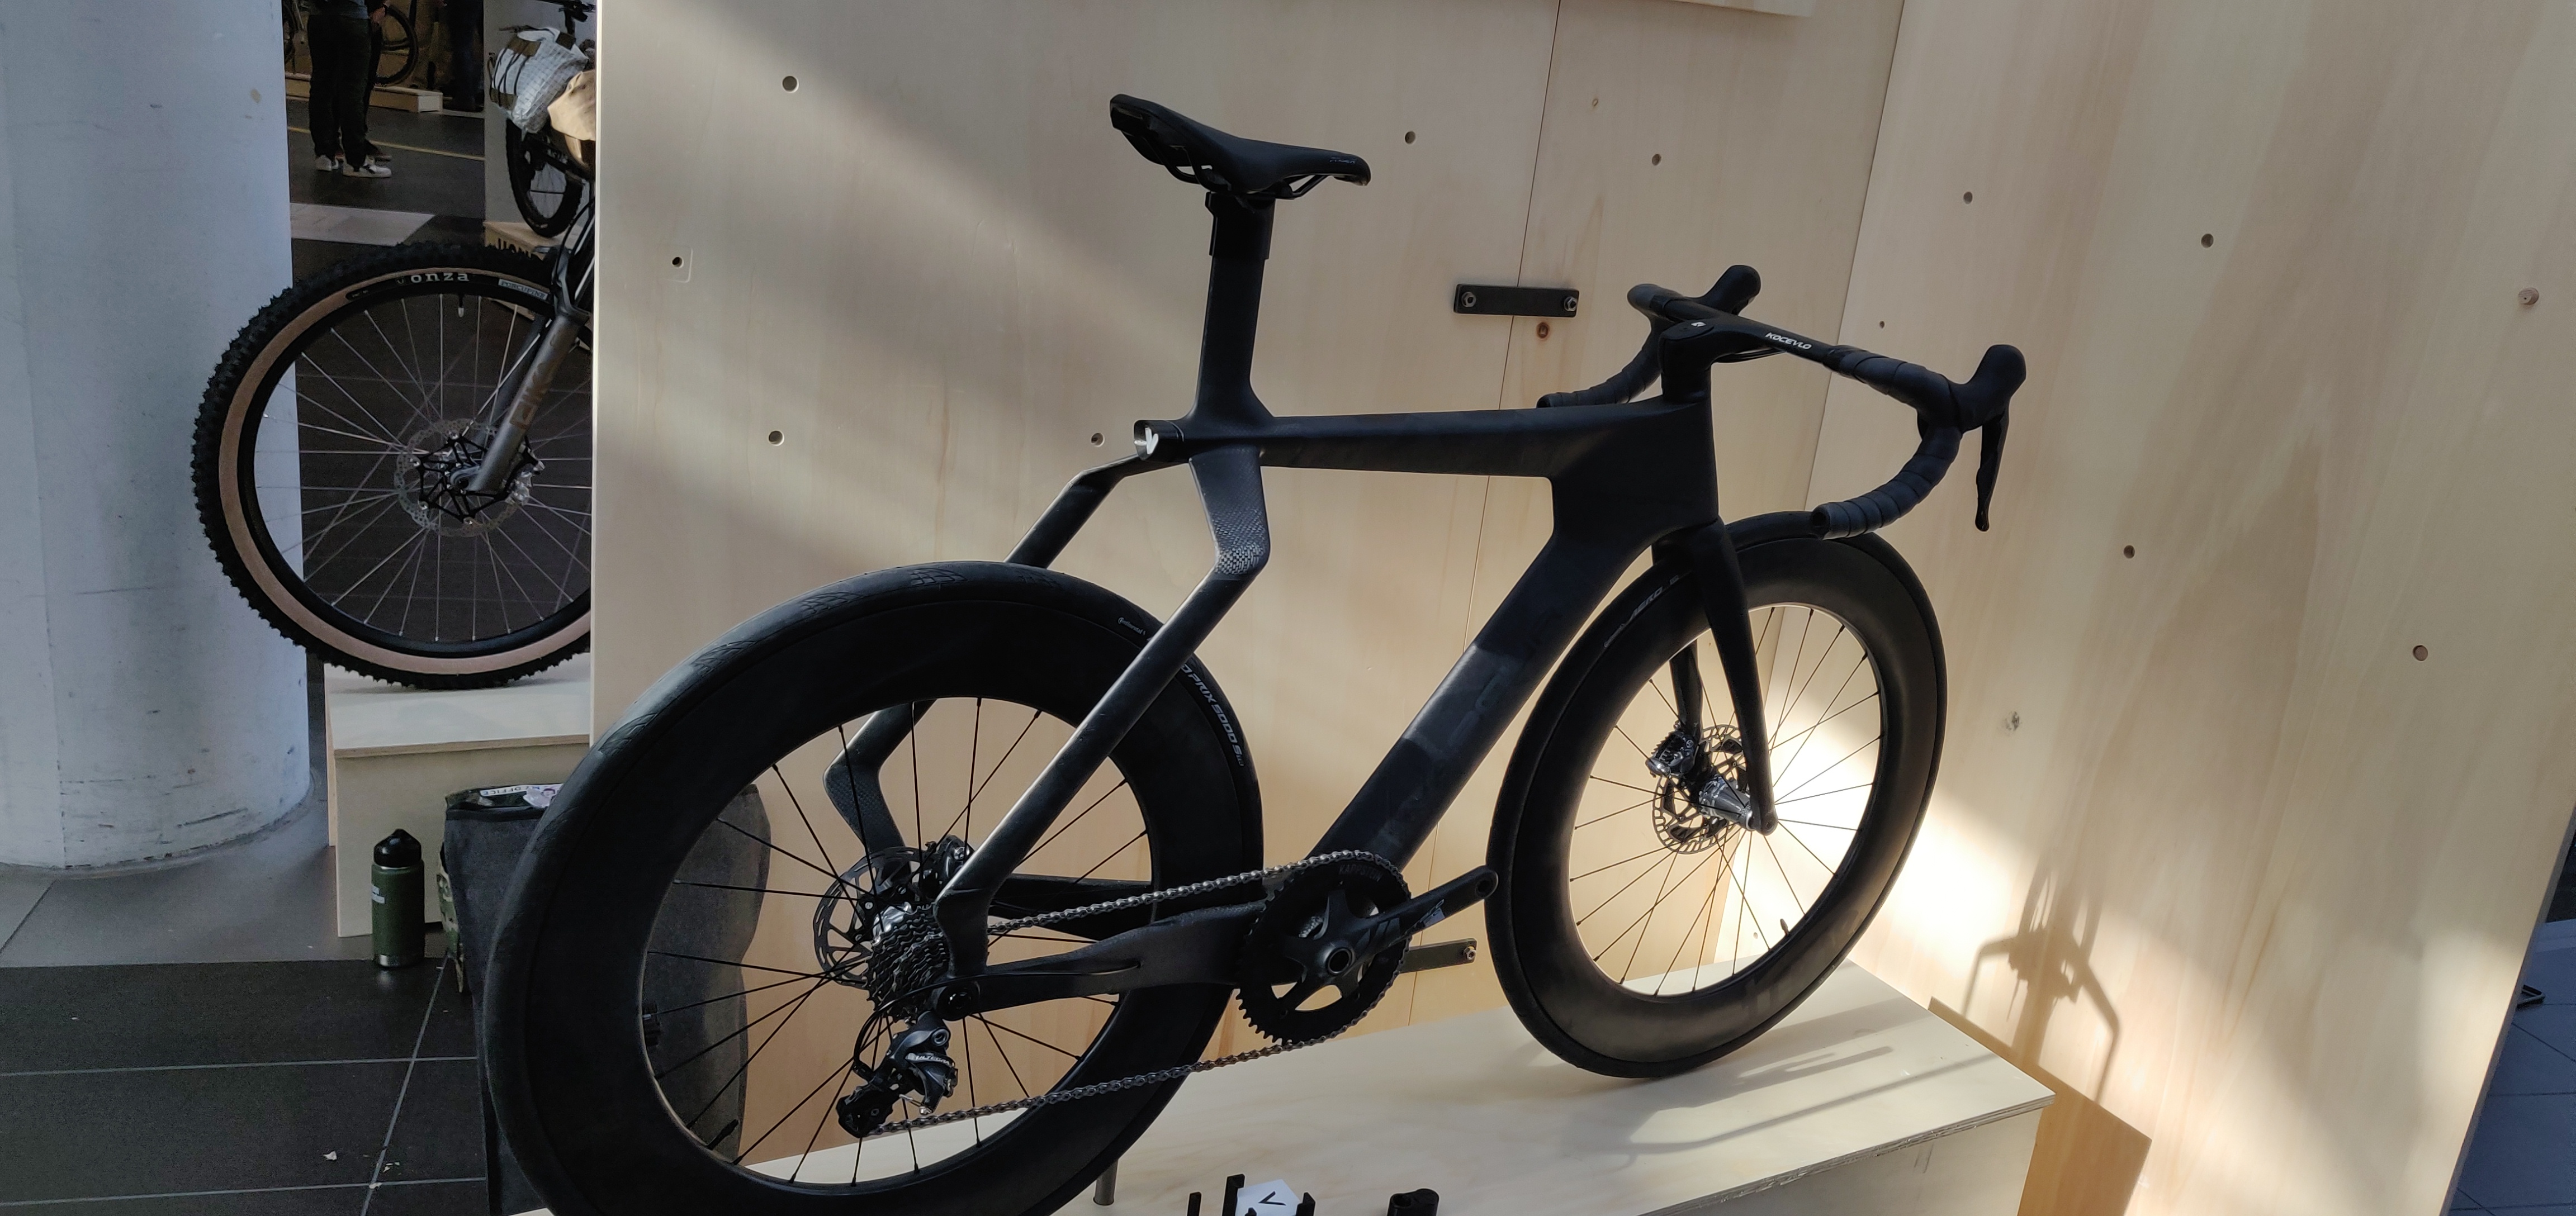
I have tried to minimize the frontal area where possible, profiles which directly face the air-stream are using NACA profiles (eg. seat mast, stays and stay “wings” etc) or close approximation in other places (headtube, downtube etc).
Chain-stays are very tall to maximize vertical stiffness around BB.
Finally since im using filament winding process, tubes profiles which were wound are convex - no straight lines in the profile.
Prototype and testing
I wanted to test the design, to confirm ergonomics (eg. will the aero-stays interfere with heel or back of the thigh) as well as structural characteristics (will the beam top tube support the rider weight, how will it behave when pedaling, provide suspension etc) and also test the overall integration of all the components - pedal clearance, tire clearance, bb, fork and front wheel etc.
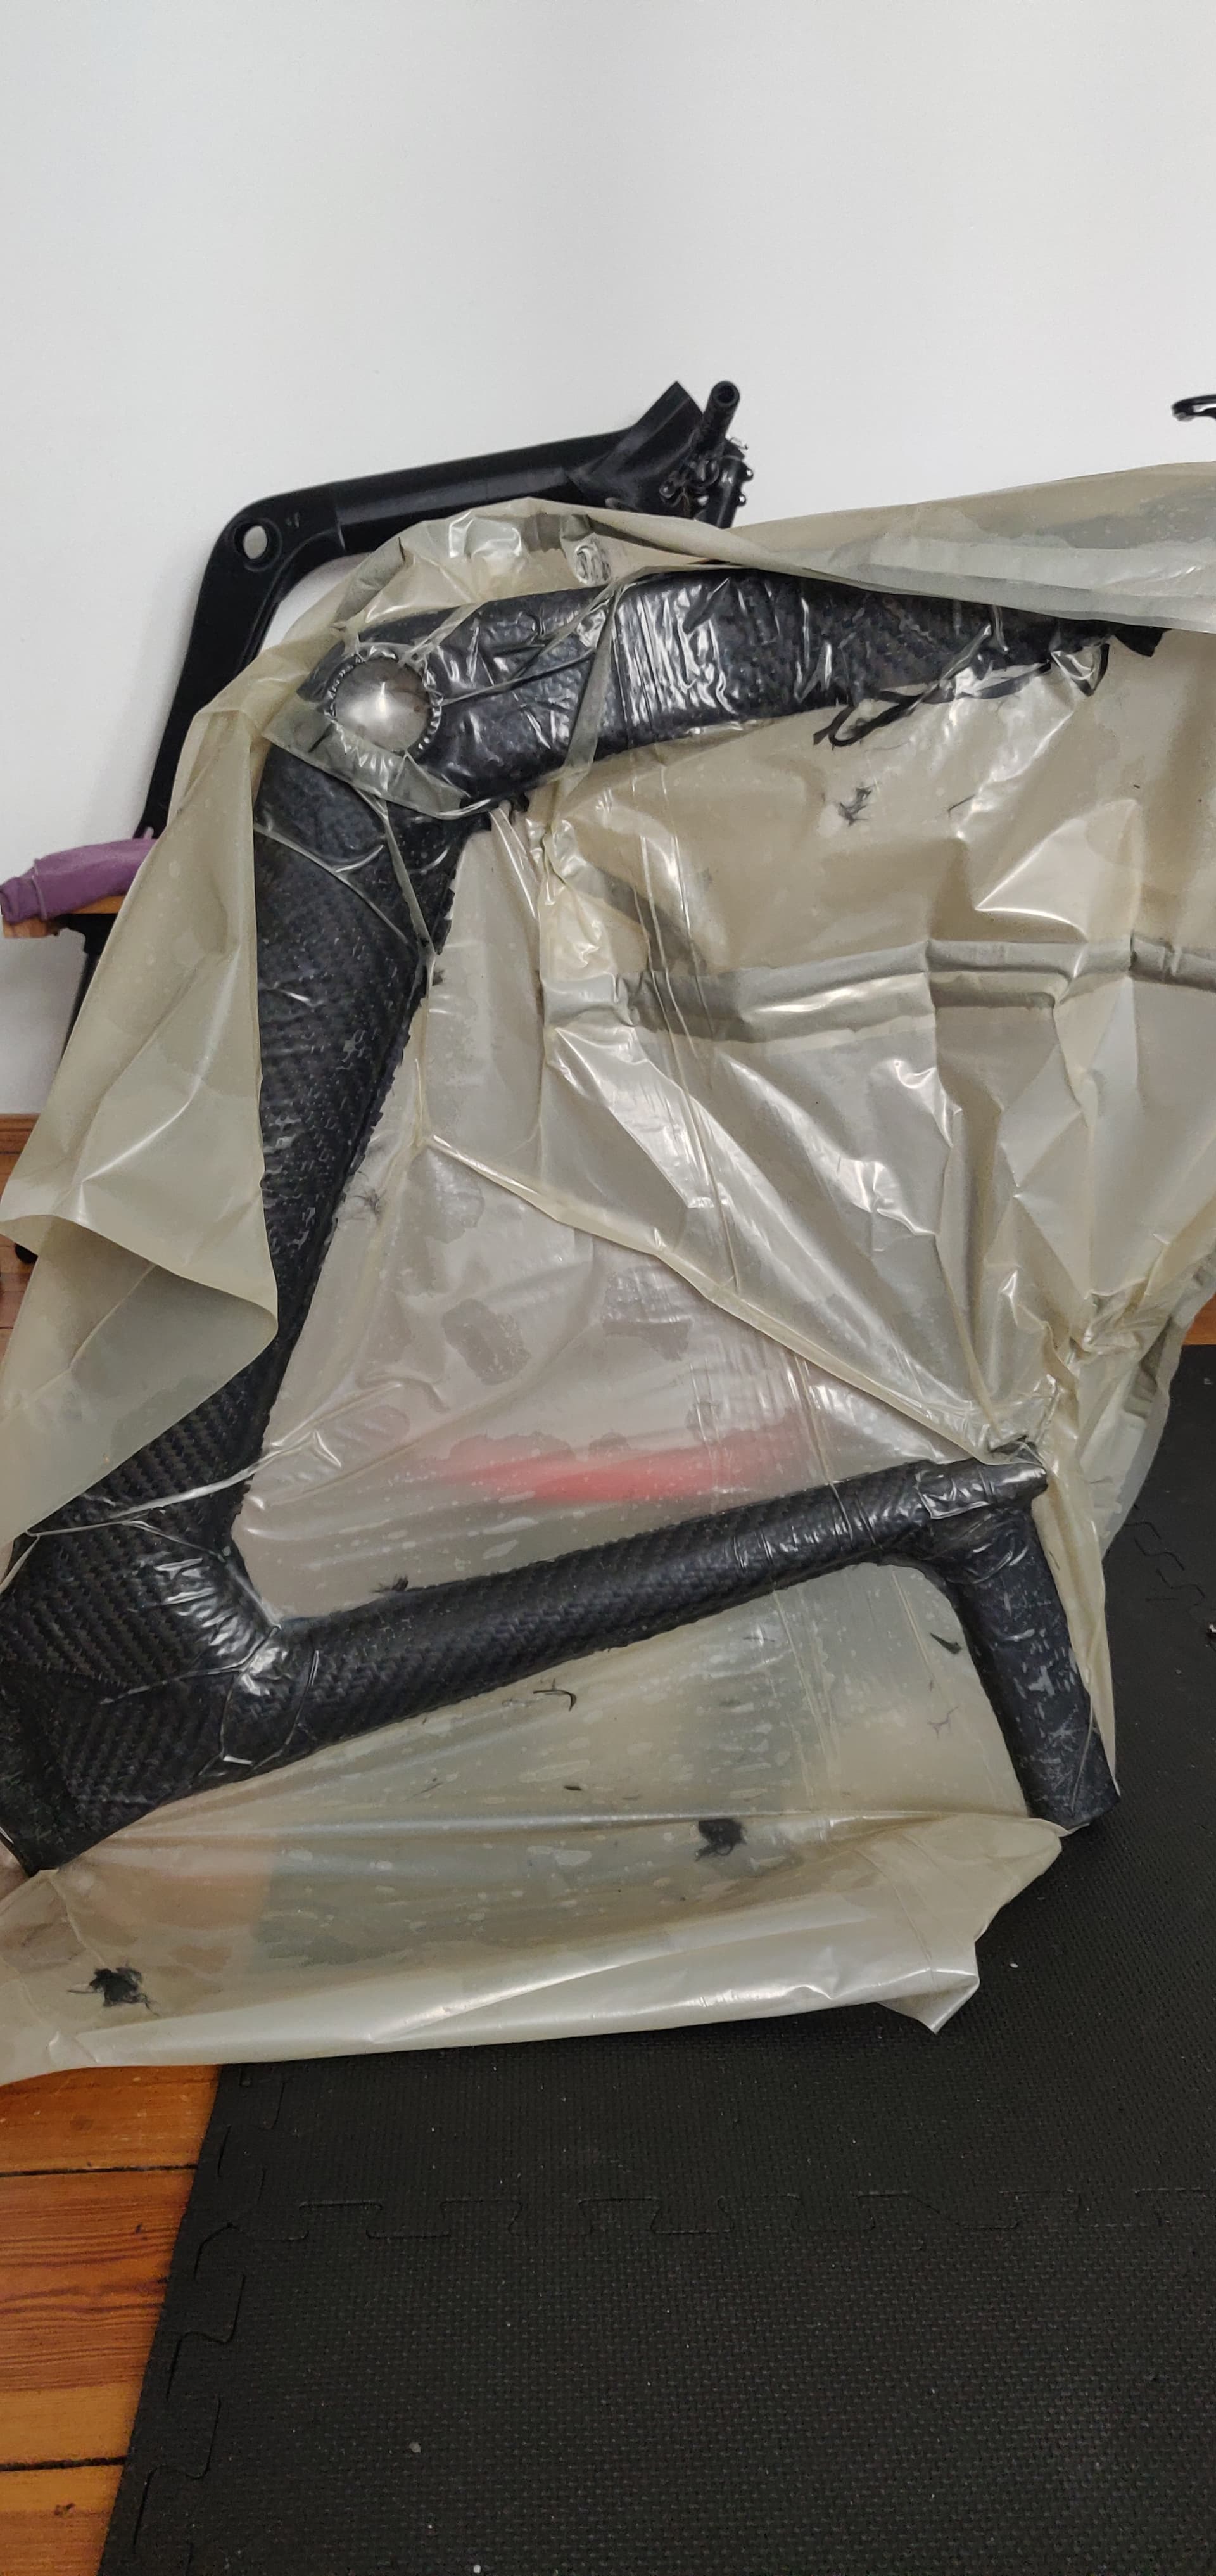
The whole frame was 3D printed in PLA, broken up into sections, then wrapped in carbon and epoxy. Whole thing was then put into a vacuum bag to conform the fabric to the 3D printed shape.
All the functional interfaces (headtube bearing seats, BB, rear fork-ends) were left as bare PLA.
Whole process of printing, wrapping etc - took just a few days. From a purely CAD model to a functional prototype in a few days was mind blowing!
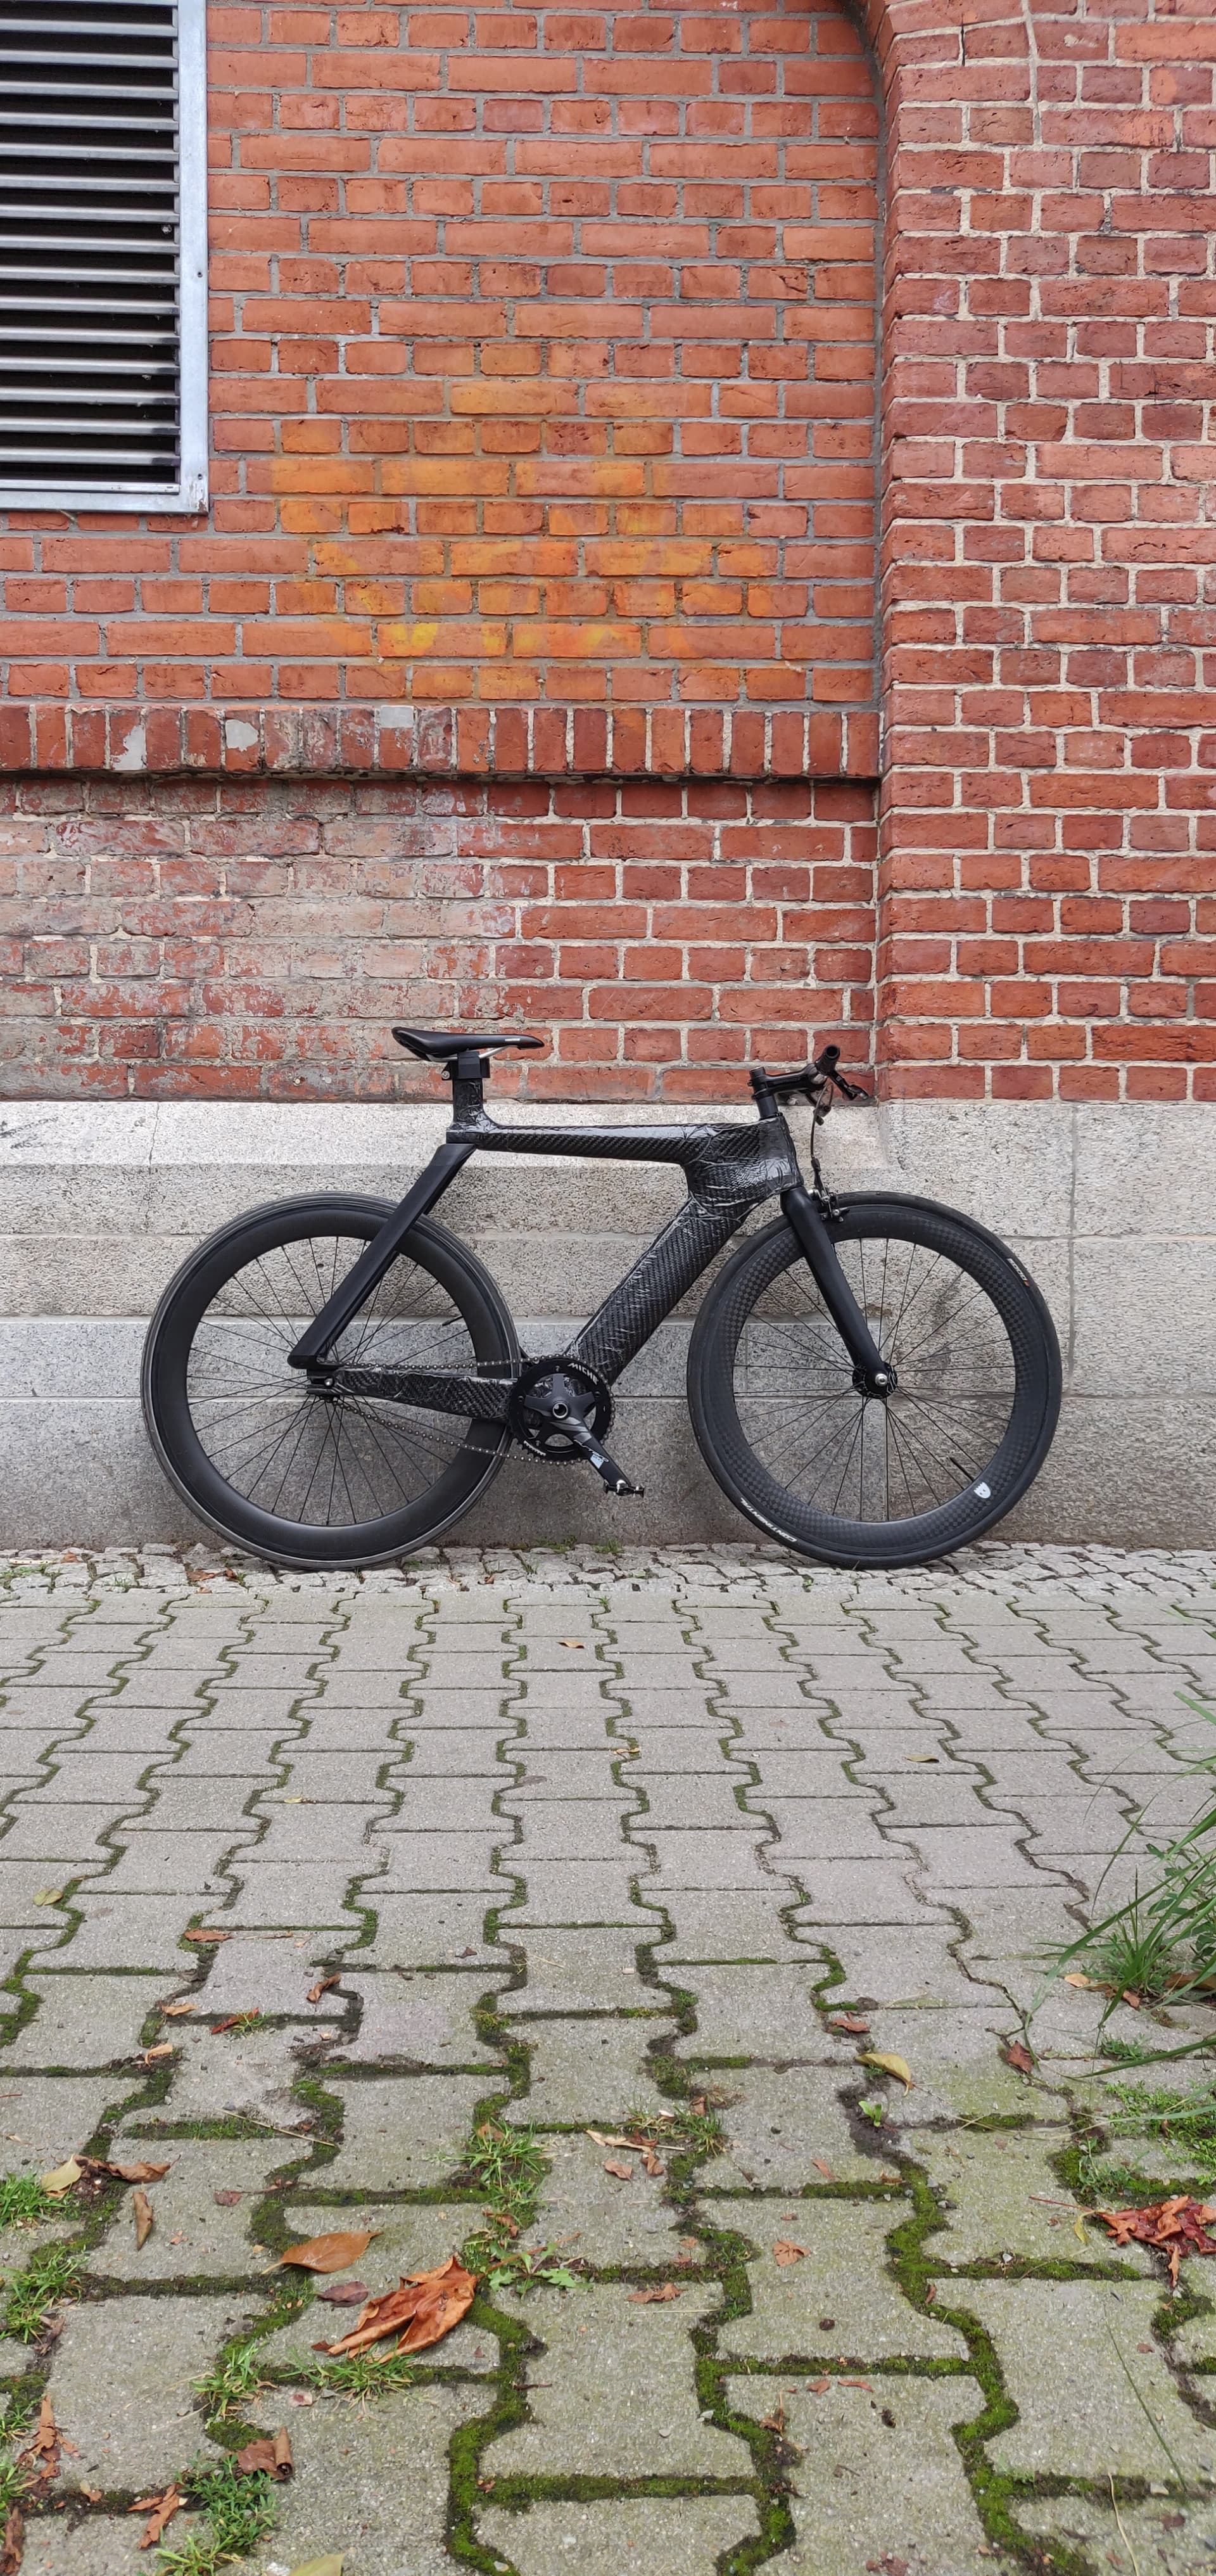
The frame was built up into a bike and tested.
Its not pretty with excess resin, vacuum bag folds etc, but it did not need to be - just needed to be functional.
The ‘aero-stays’ were left as PLA, mainly as i didnt want to wait to re-print and wrap them etc. I was expecting them to get crushed on the first ride as the top beam would flex. Amazingly they did not, and the top beam did not flex that much. The PLA core made the whole thing extremely stiff, as the carbon skin is kept in place more so than a hollow frame would be.
This prototype frame weighed in at 1.55kg.
Building the final frame
After the test, there were a few design tweaks: making chain-stays narrower, tweaking some profiles, re-balancing the shape a little. I also removed the scallops from the headtube area.
Design could have been refined more and more, but i decided it was good enough for now - time was tight to manufacture it before Bespoked.
The process I wanted to use involved using filament winding for the ‘tube’ sections of the frame: top tube, down tube, and the ‘aero-stays’.
I used the filament winder machine I have built a while ago, had to extended the software to allow for conical tube winding.
BTW - I plan to develop the filament winder for release later this year, its by far the most capable machine for the price around. I will post about it on Instagram if that is something you are interested in.
Molded sections were made using 3D printed PLA molds and vacuum, its a process i have been working on for a long time - to allow for low temp molding. Otherwise its same as eg a pre-preg process would be, using a bladder bag inside the piece and a bag over the whole mold - the vacuum then pushes the carbon out to conform to the internals of the mold.
The layup was pretty much same everywhere - 4 ply, with plain weave outer ‘cosmetic’ layer and twill weave inner layers. This would need to be changed on a ‘production’ frame of course, but again - it was good enough for now.
First pieces came out great, as i spent plenty of time and care making them, but as it got close and closer to the show things were looking a little rough in places
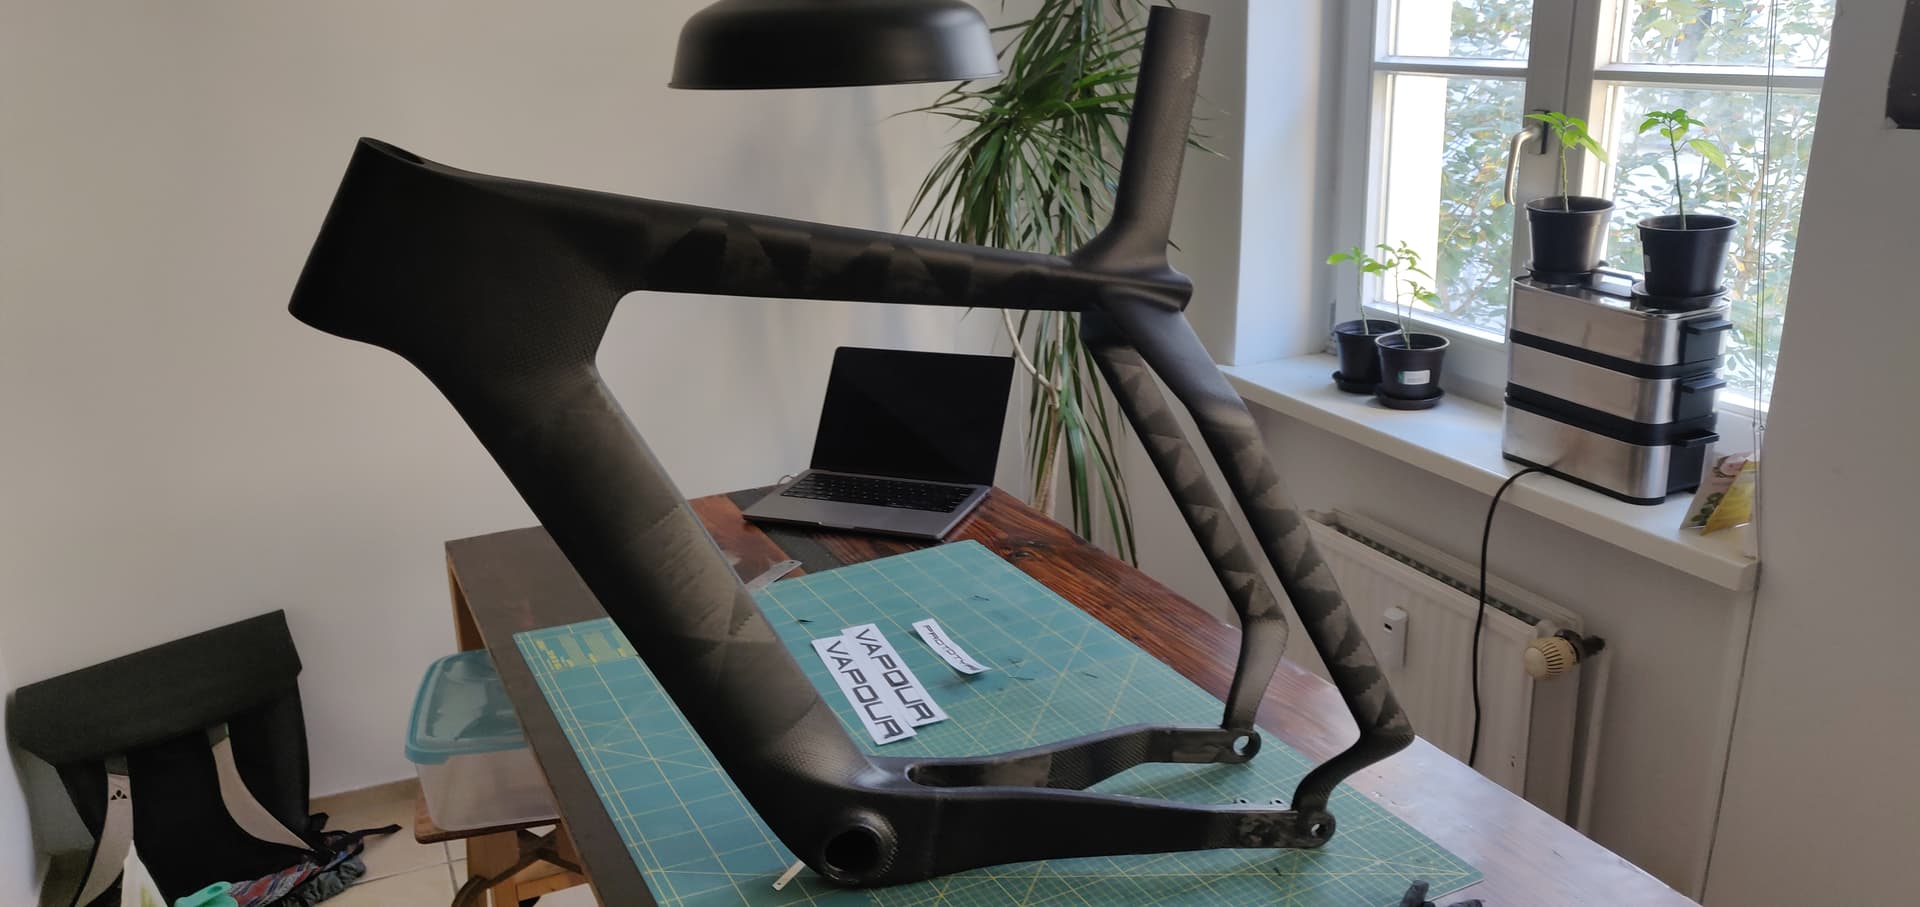
Finally all the pieces were cut and bonded together, tubes slot over the molded pieces. Tubes are cut using 3D printed jigs, cut accuracy and molded features is what aligns the frame without a jig.
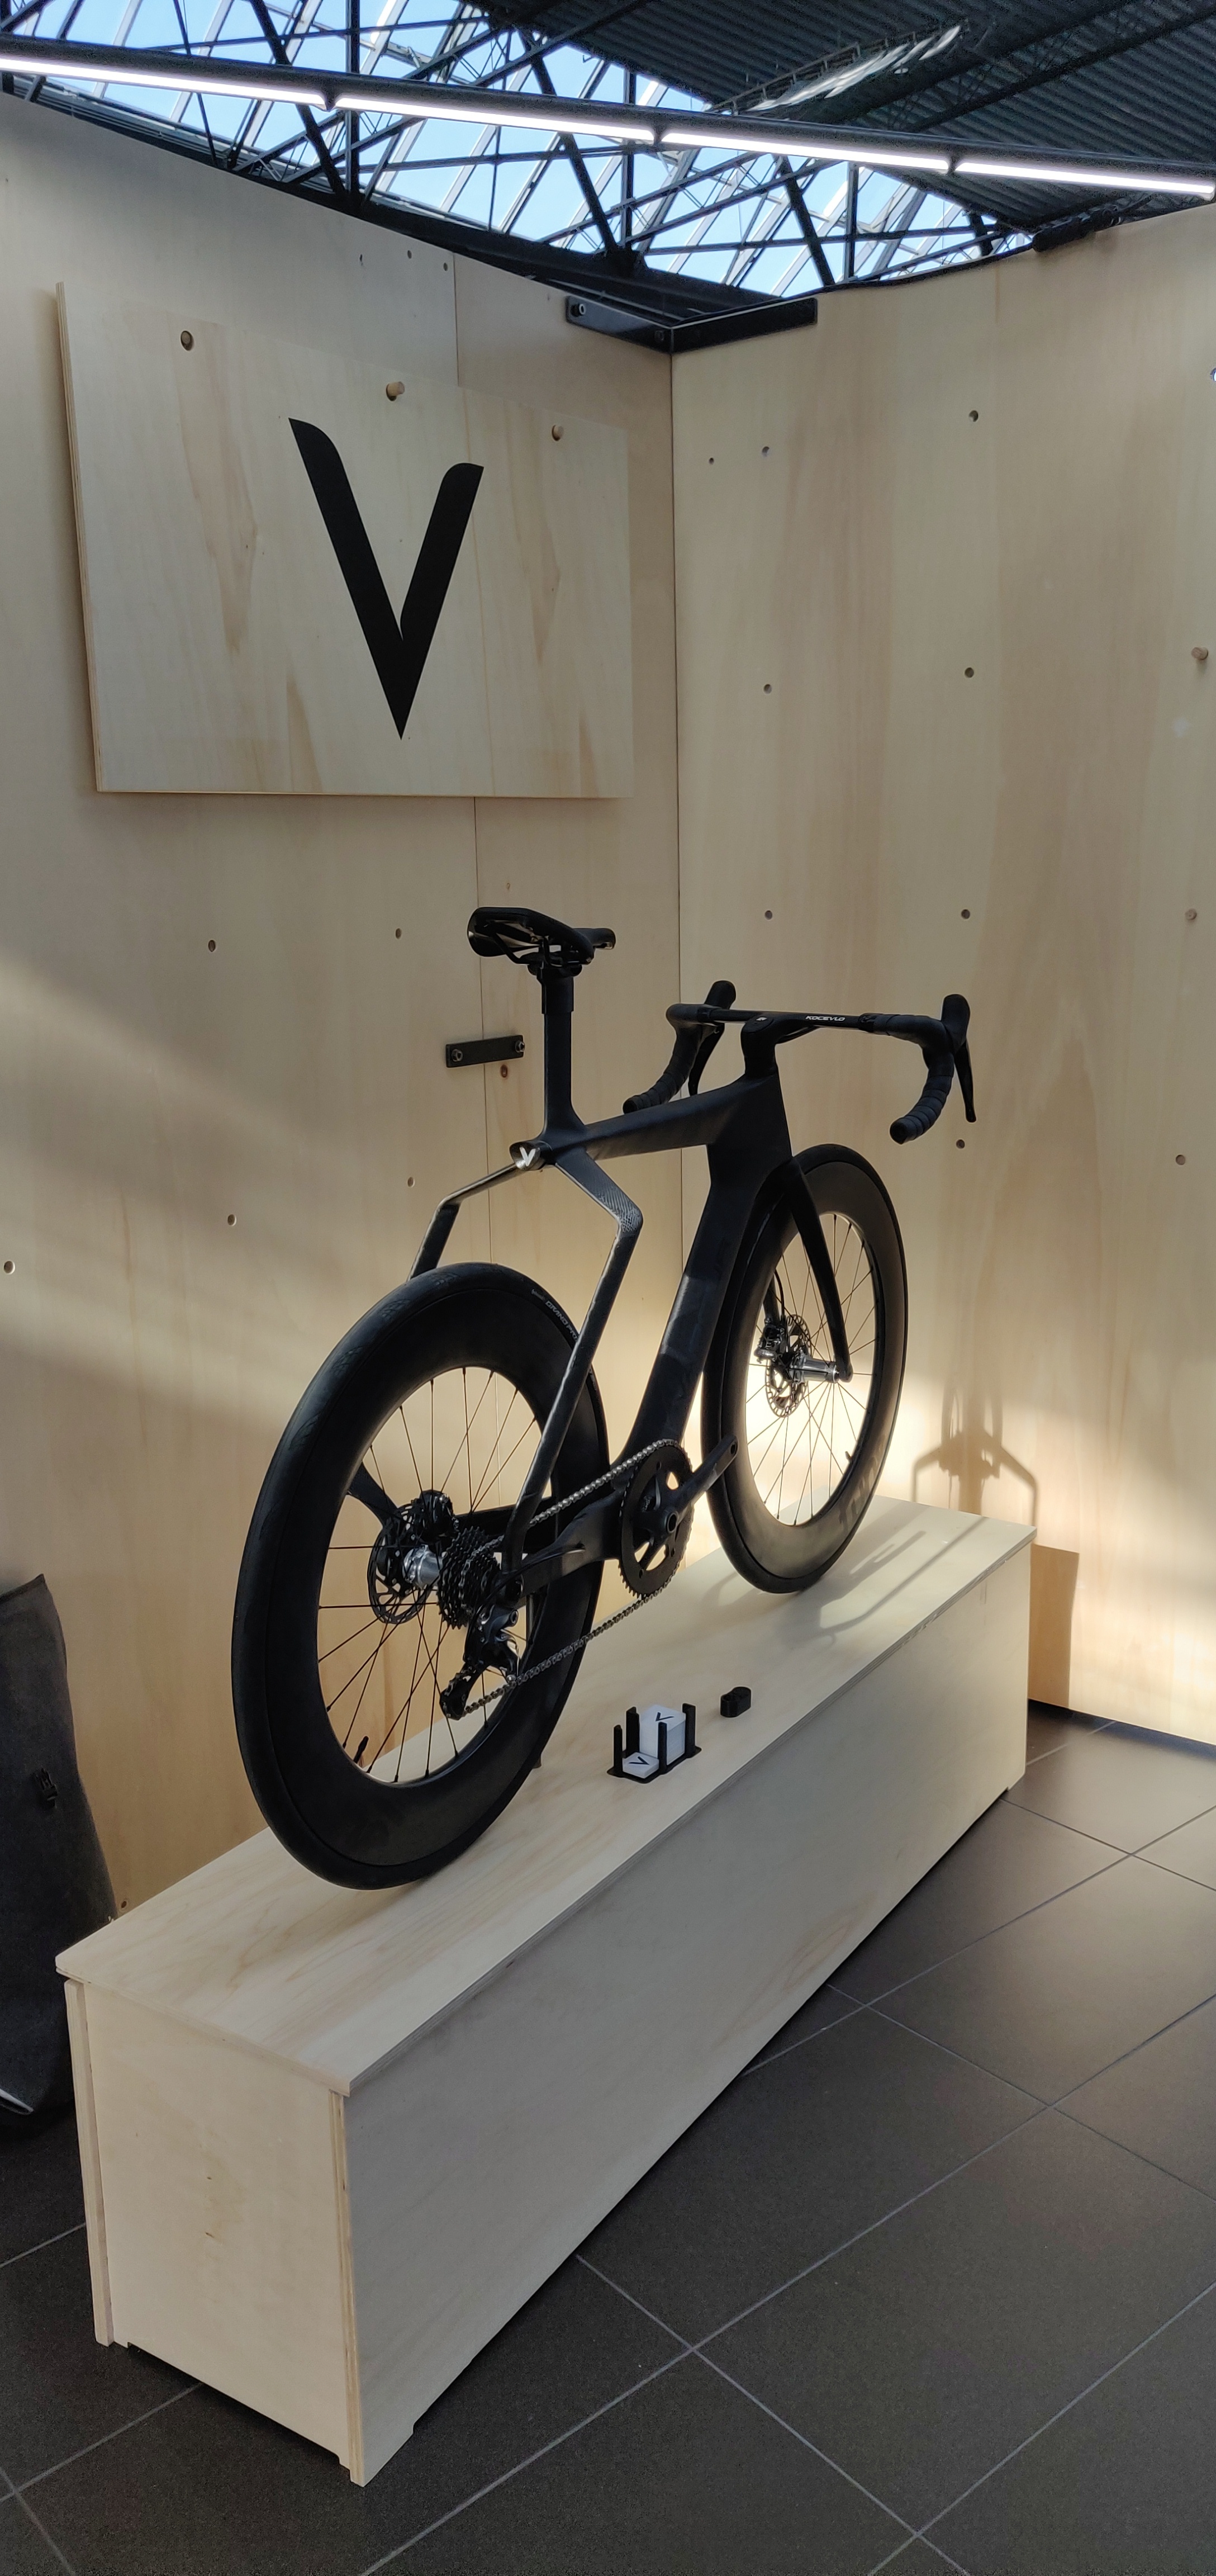
The frame was sanded and finished in 2k matte lacquer, before logos were spray-painted on.
Rear light is made on a perf-board - its an Arduino Nano (3.3v version), an 18650 battery with charge controller and a red LED with a switch. The micro-controller runs an aviation-like strobe effect. There is a translucent V logo in there which was made by casting epoxy into a silicone mold.
I’m always super impressed with the finish you get out of printed moulds. Really makes me rethink why i always go through the trouble of making machined aluminium or carbon tooling. And probably subconsciously one of the reasons why my current project is a hotchpotch of different techniques that i can use as learning experience.
If there is anything you are willing to share on how you go from moulded part to paint I’d be curious. I am also curious how you bonded the tubes to the other parts? Is there a step/shoulder in the moulded part and just a “simple” lap joint between them? Dropouts are forged carbon?