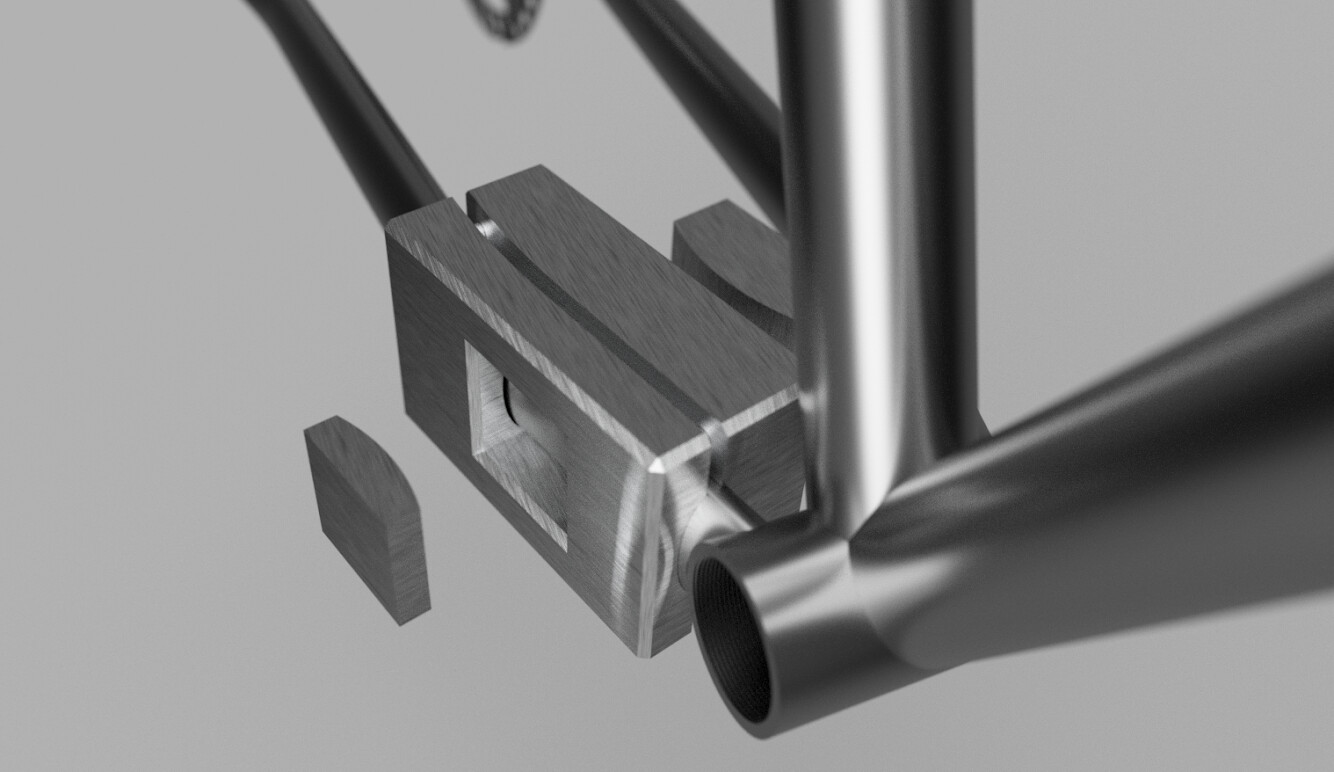
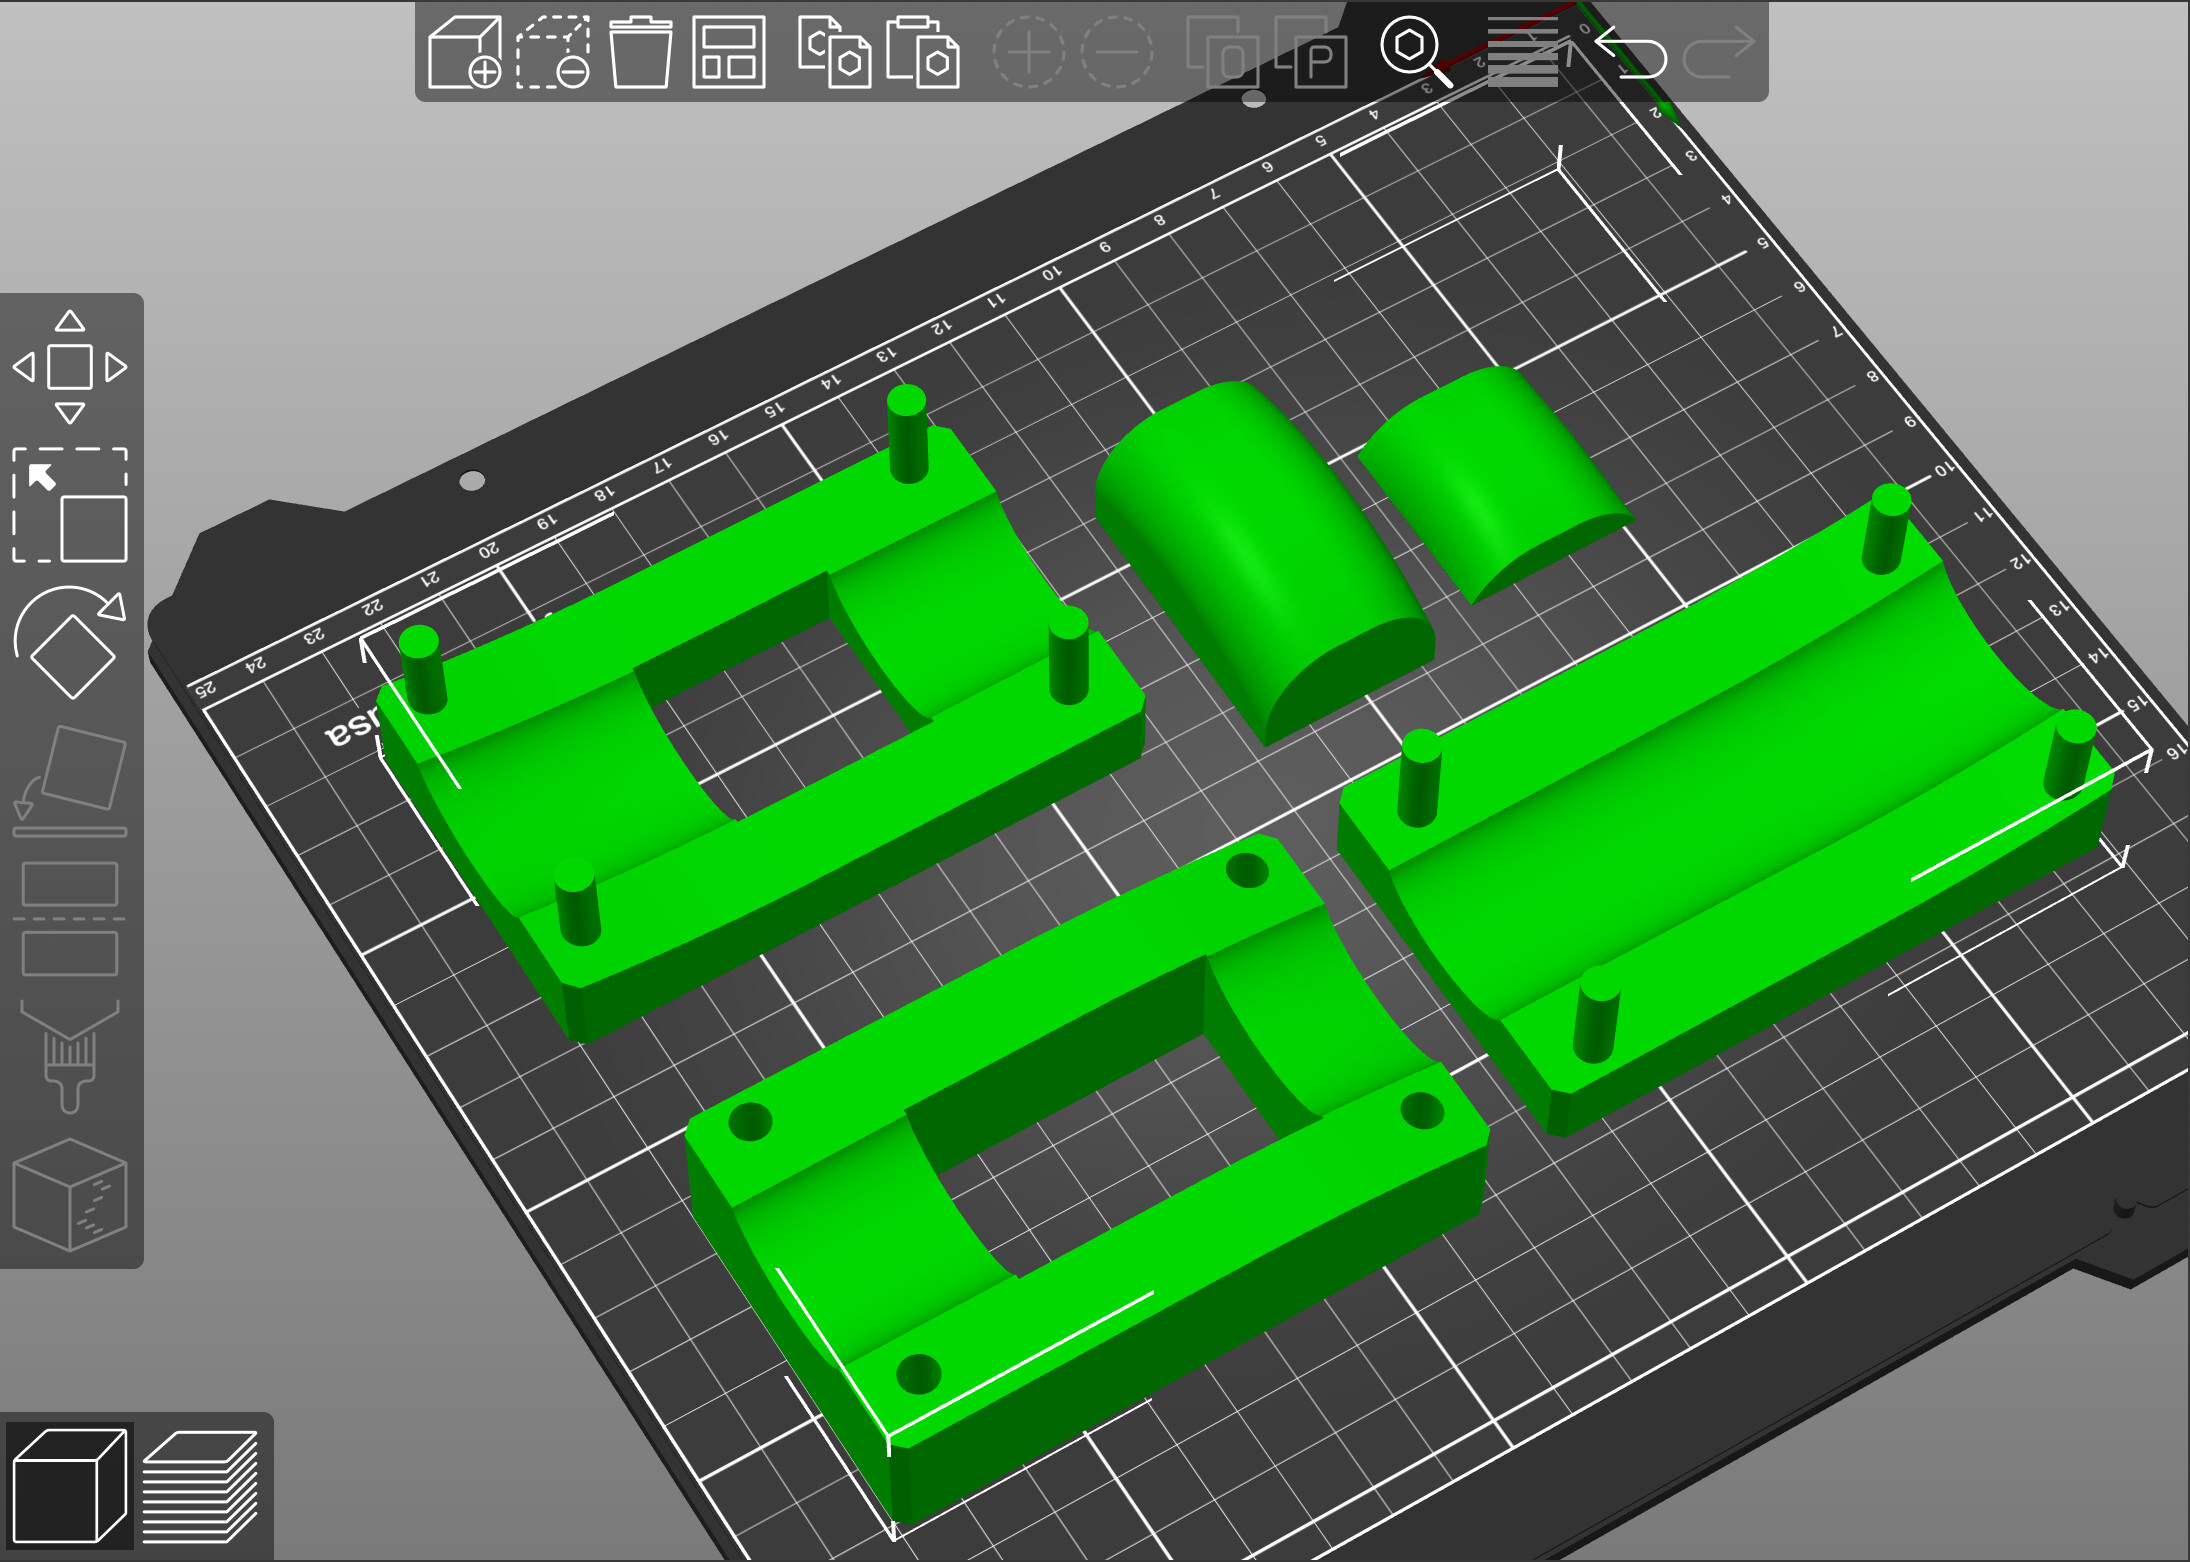
This weekend I was able to test out an idea. I 3D printed some parts to dimple my chainstays. Since I had already build my entire bike in Fusion360, including the exact bends and butting in the tubing, I was also able to model the chainstay and create some parts to hold them and dimple them.
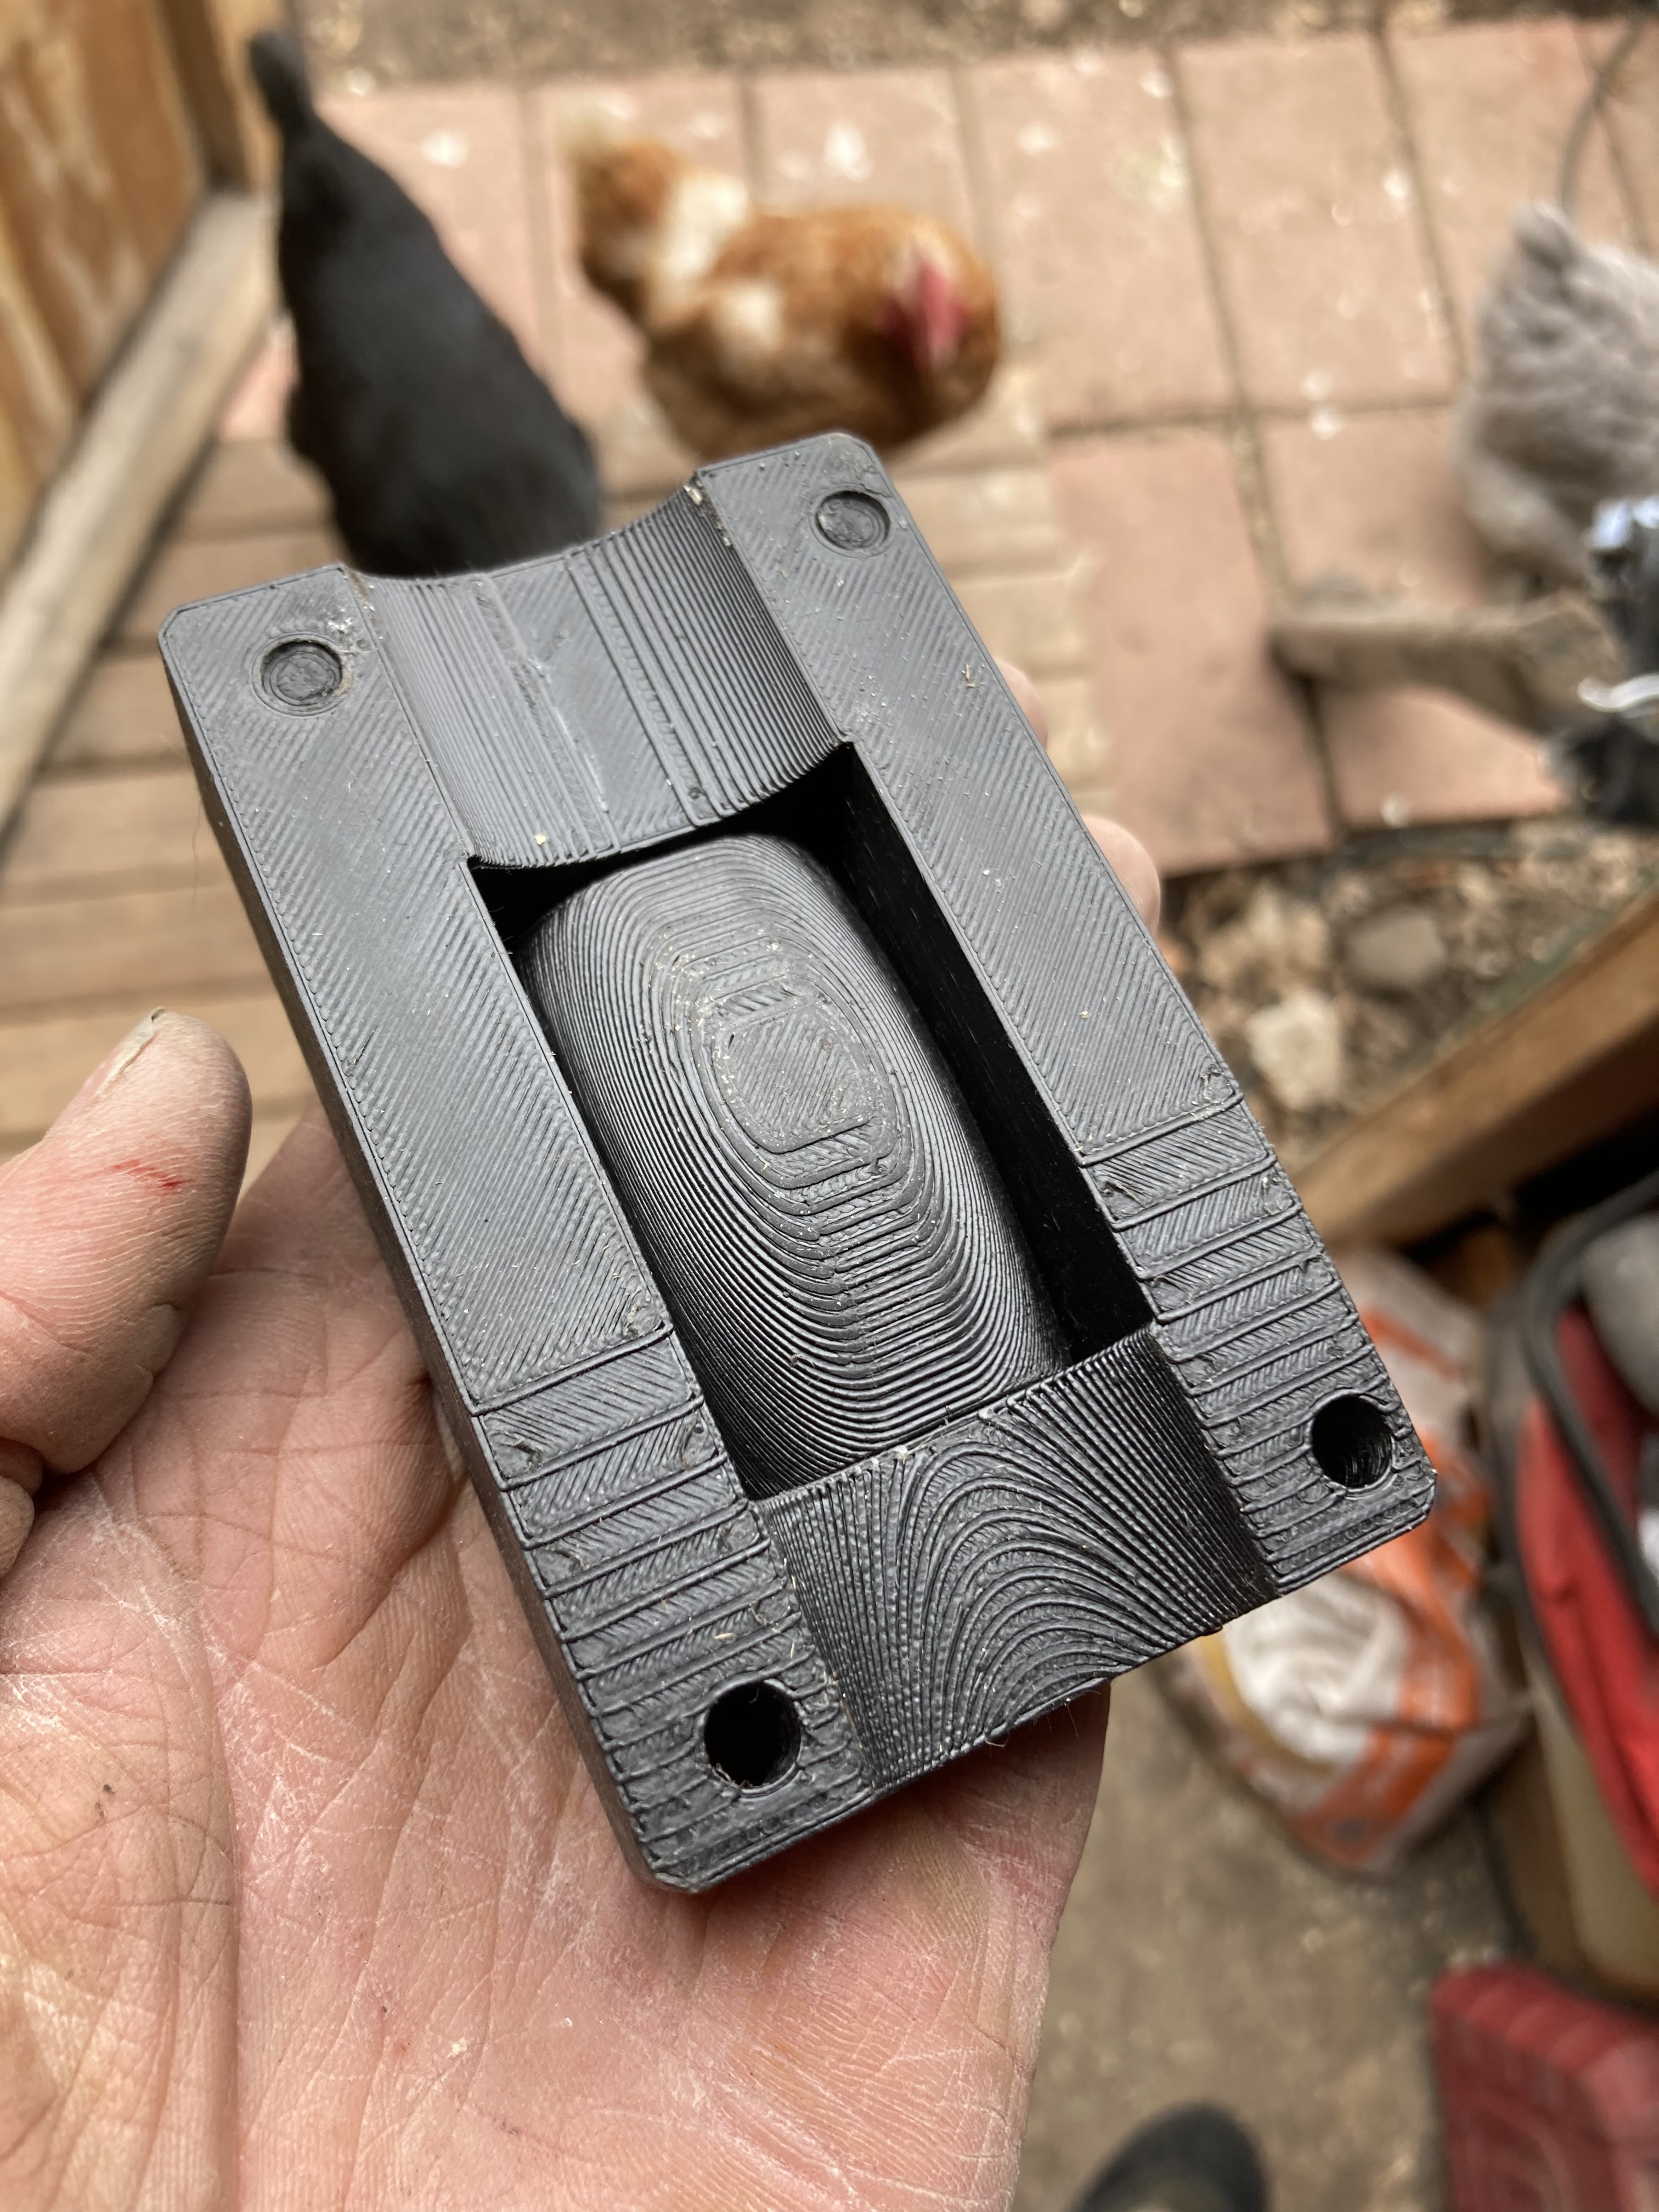
I printed the pieces for the tire clearance dimple and chainstay clearance dimple at work on a Prusa MK3 with PETG. I think the settings were .3mm layer height with 100% infill. It took 16 hours I think. Probably overkill but I didn’t have to pay for it.
I didn’t take pictures of the process but I had already measured where the dimples needed to be and also I knew the distance the holder needed to be placed from the end of the chainstay. So I marked the tubes and then clamped them in the vice. The mistake I made was not accounting for the springing back of the steel after clamping it. So I had to place some washers behind the dimple die to increase the distance it was clamped relative to the holder.
Another thing I learned is the locator pins that I put on the holders don’t really do anything and they all broke anyway. The holders stay put and the chainstay didn’t shift at all.
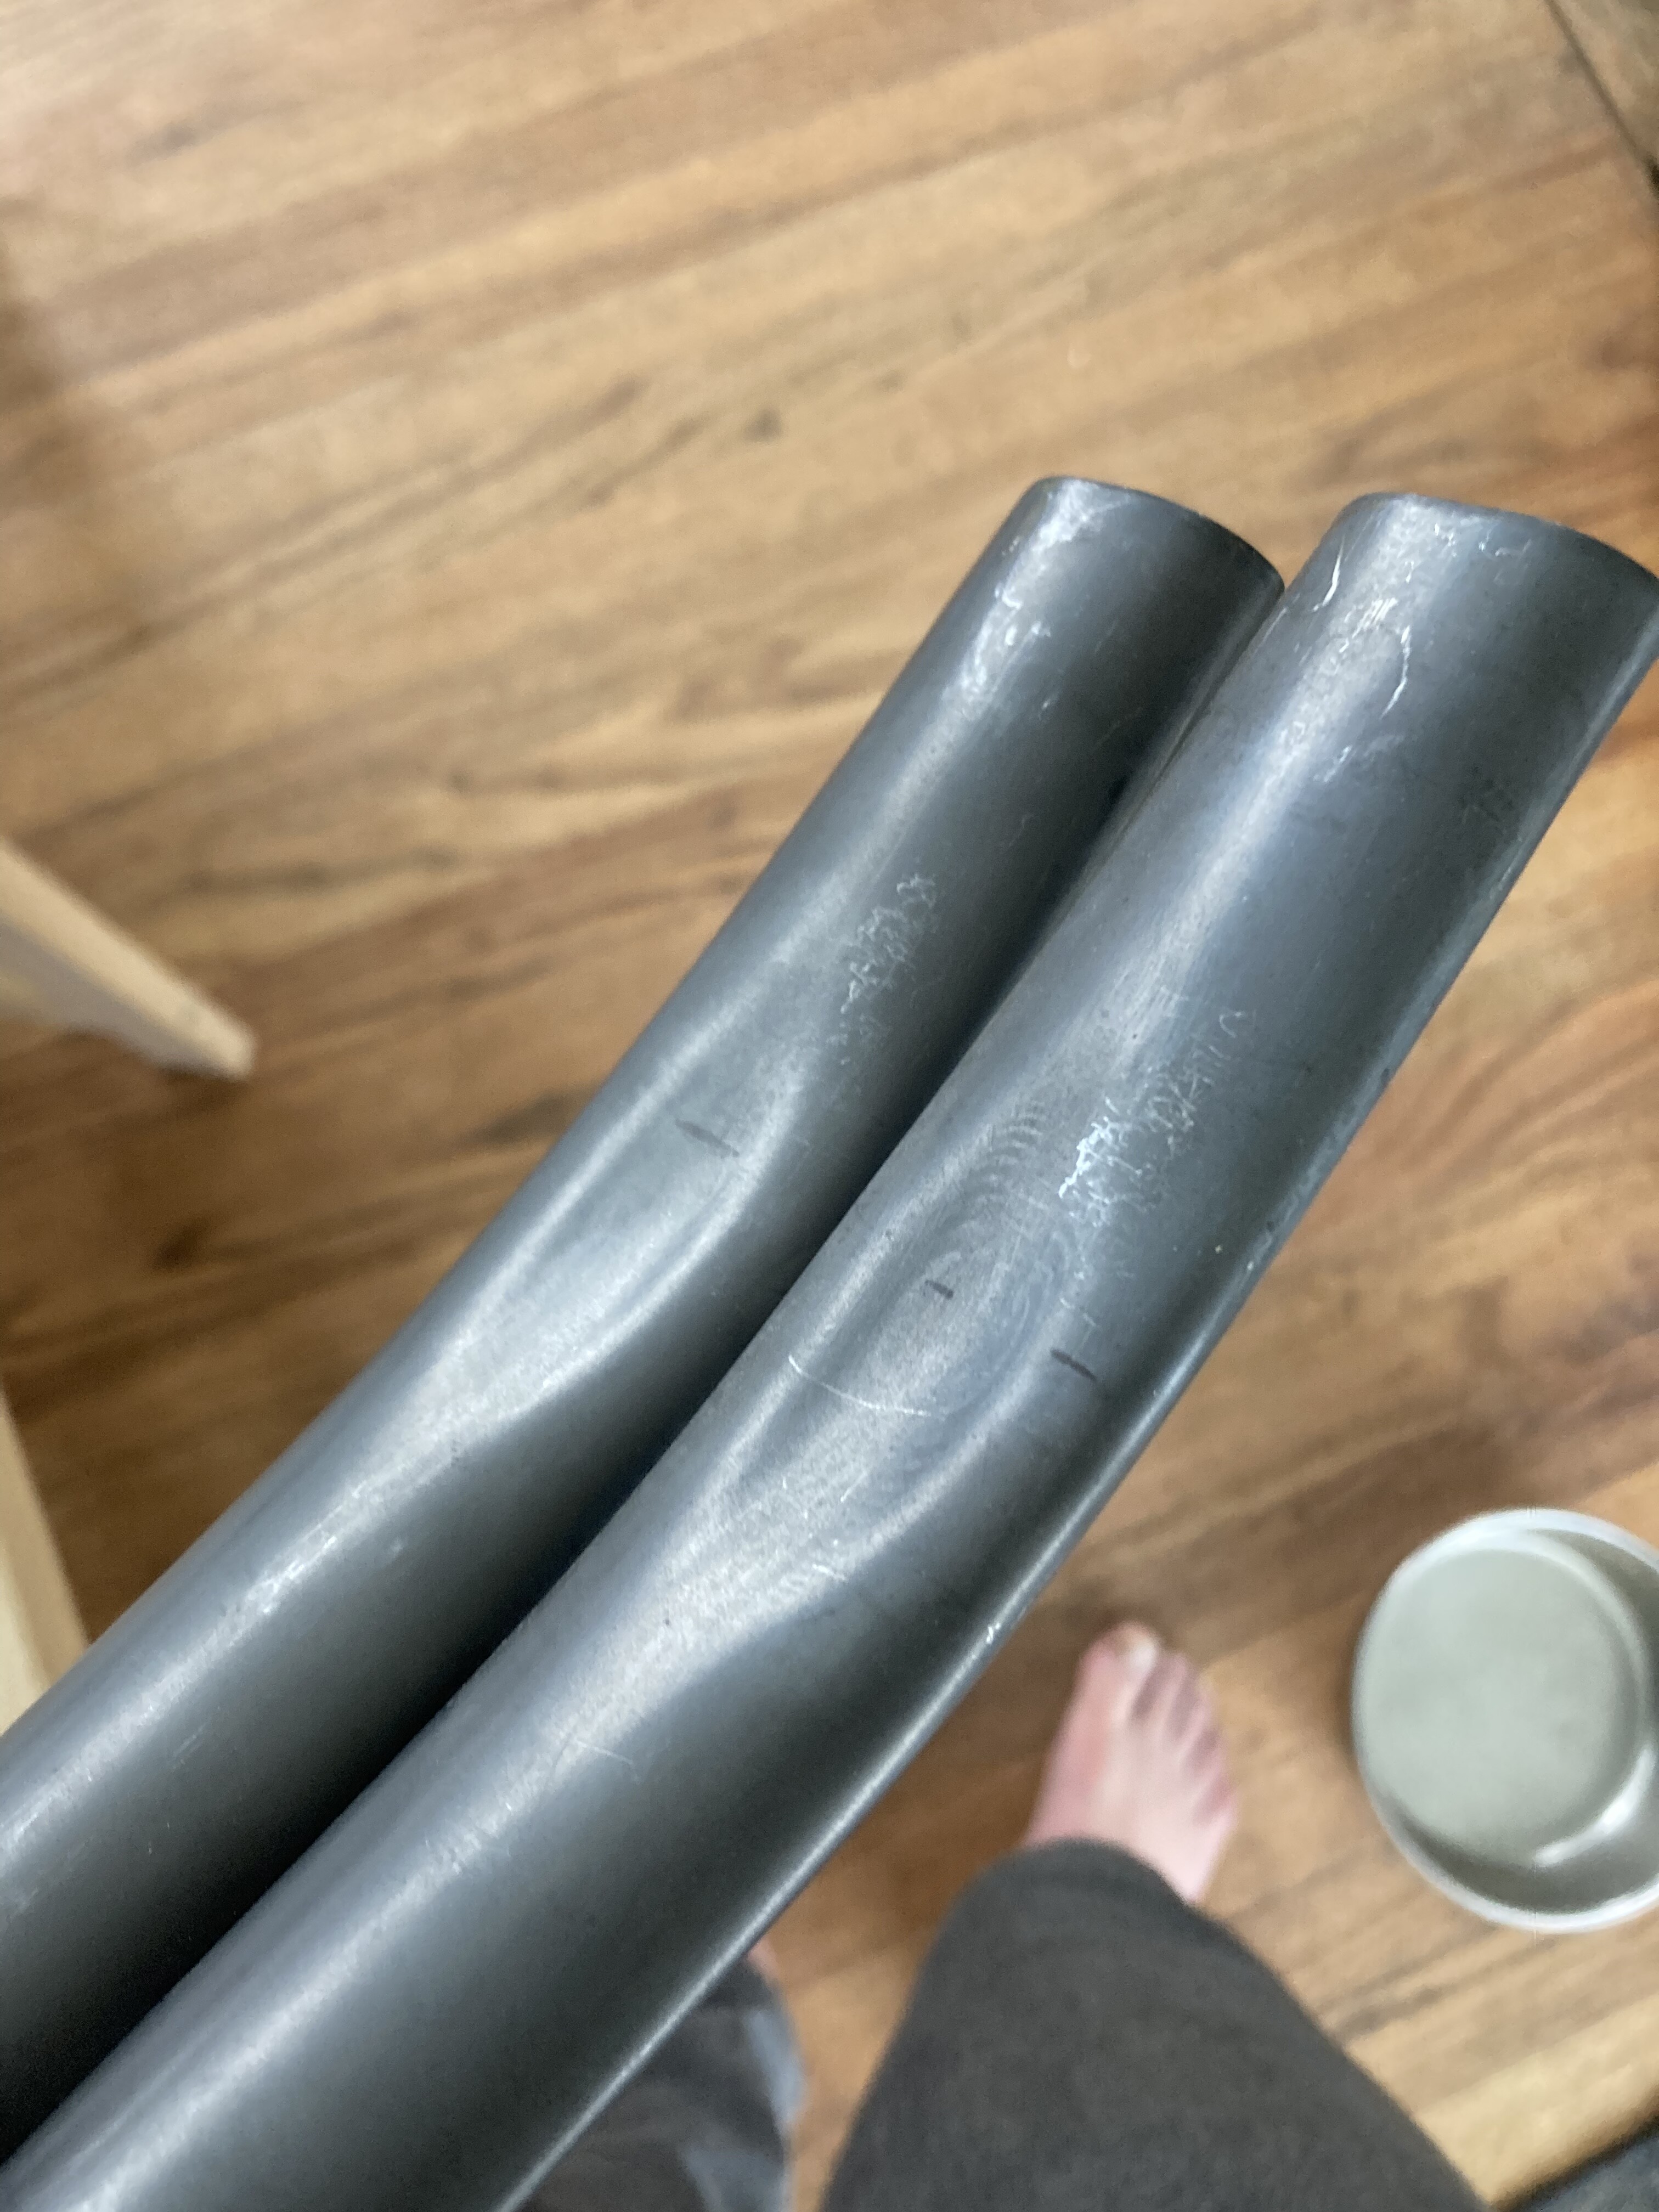
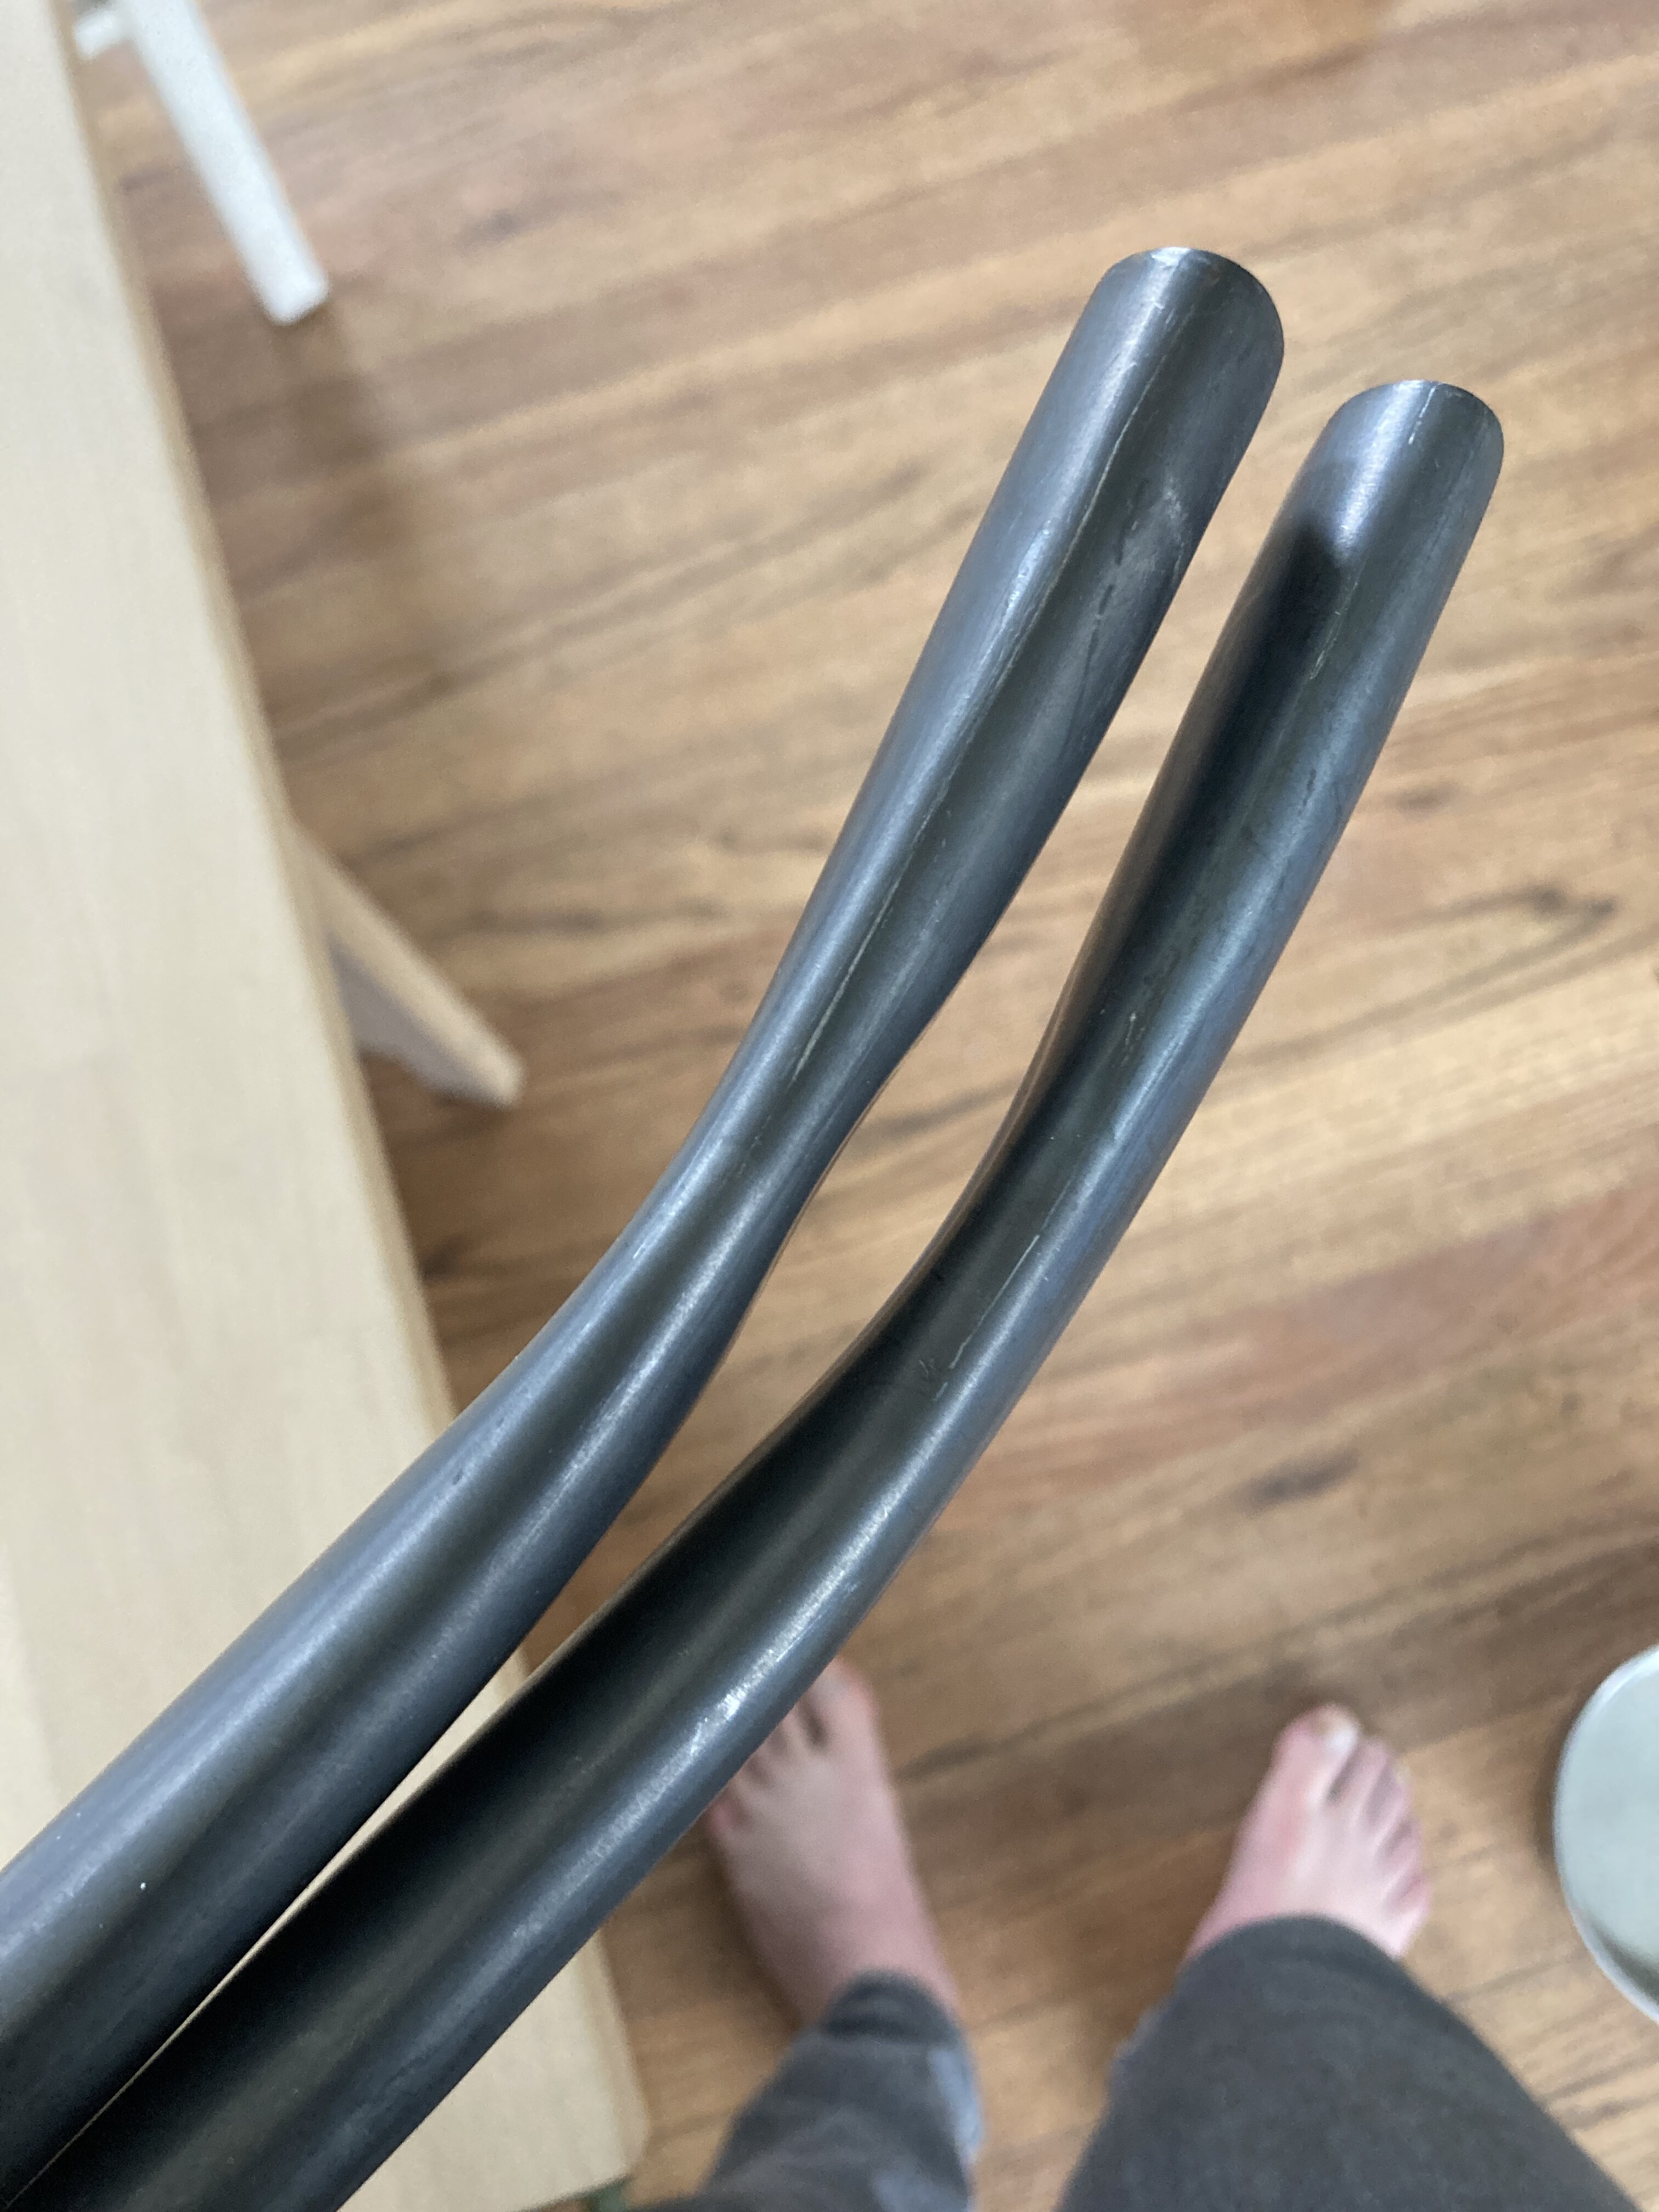
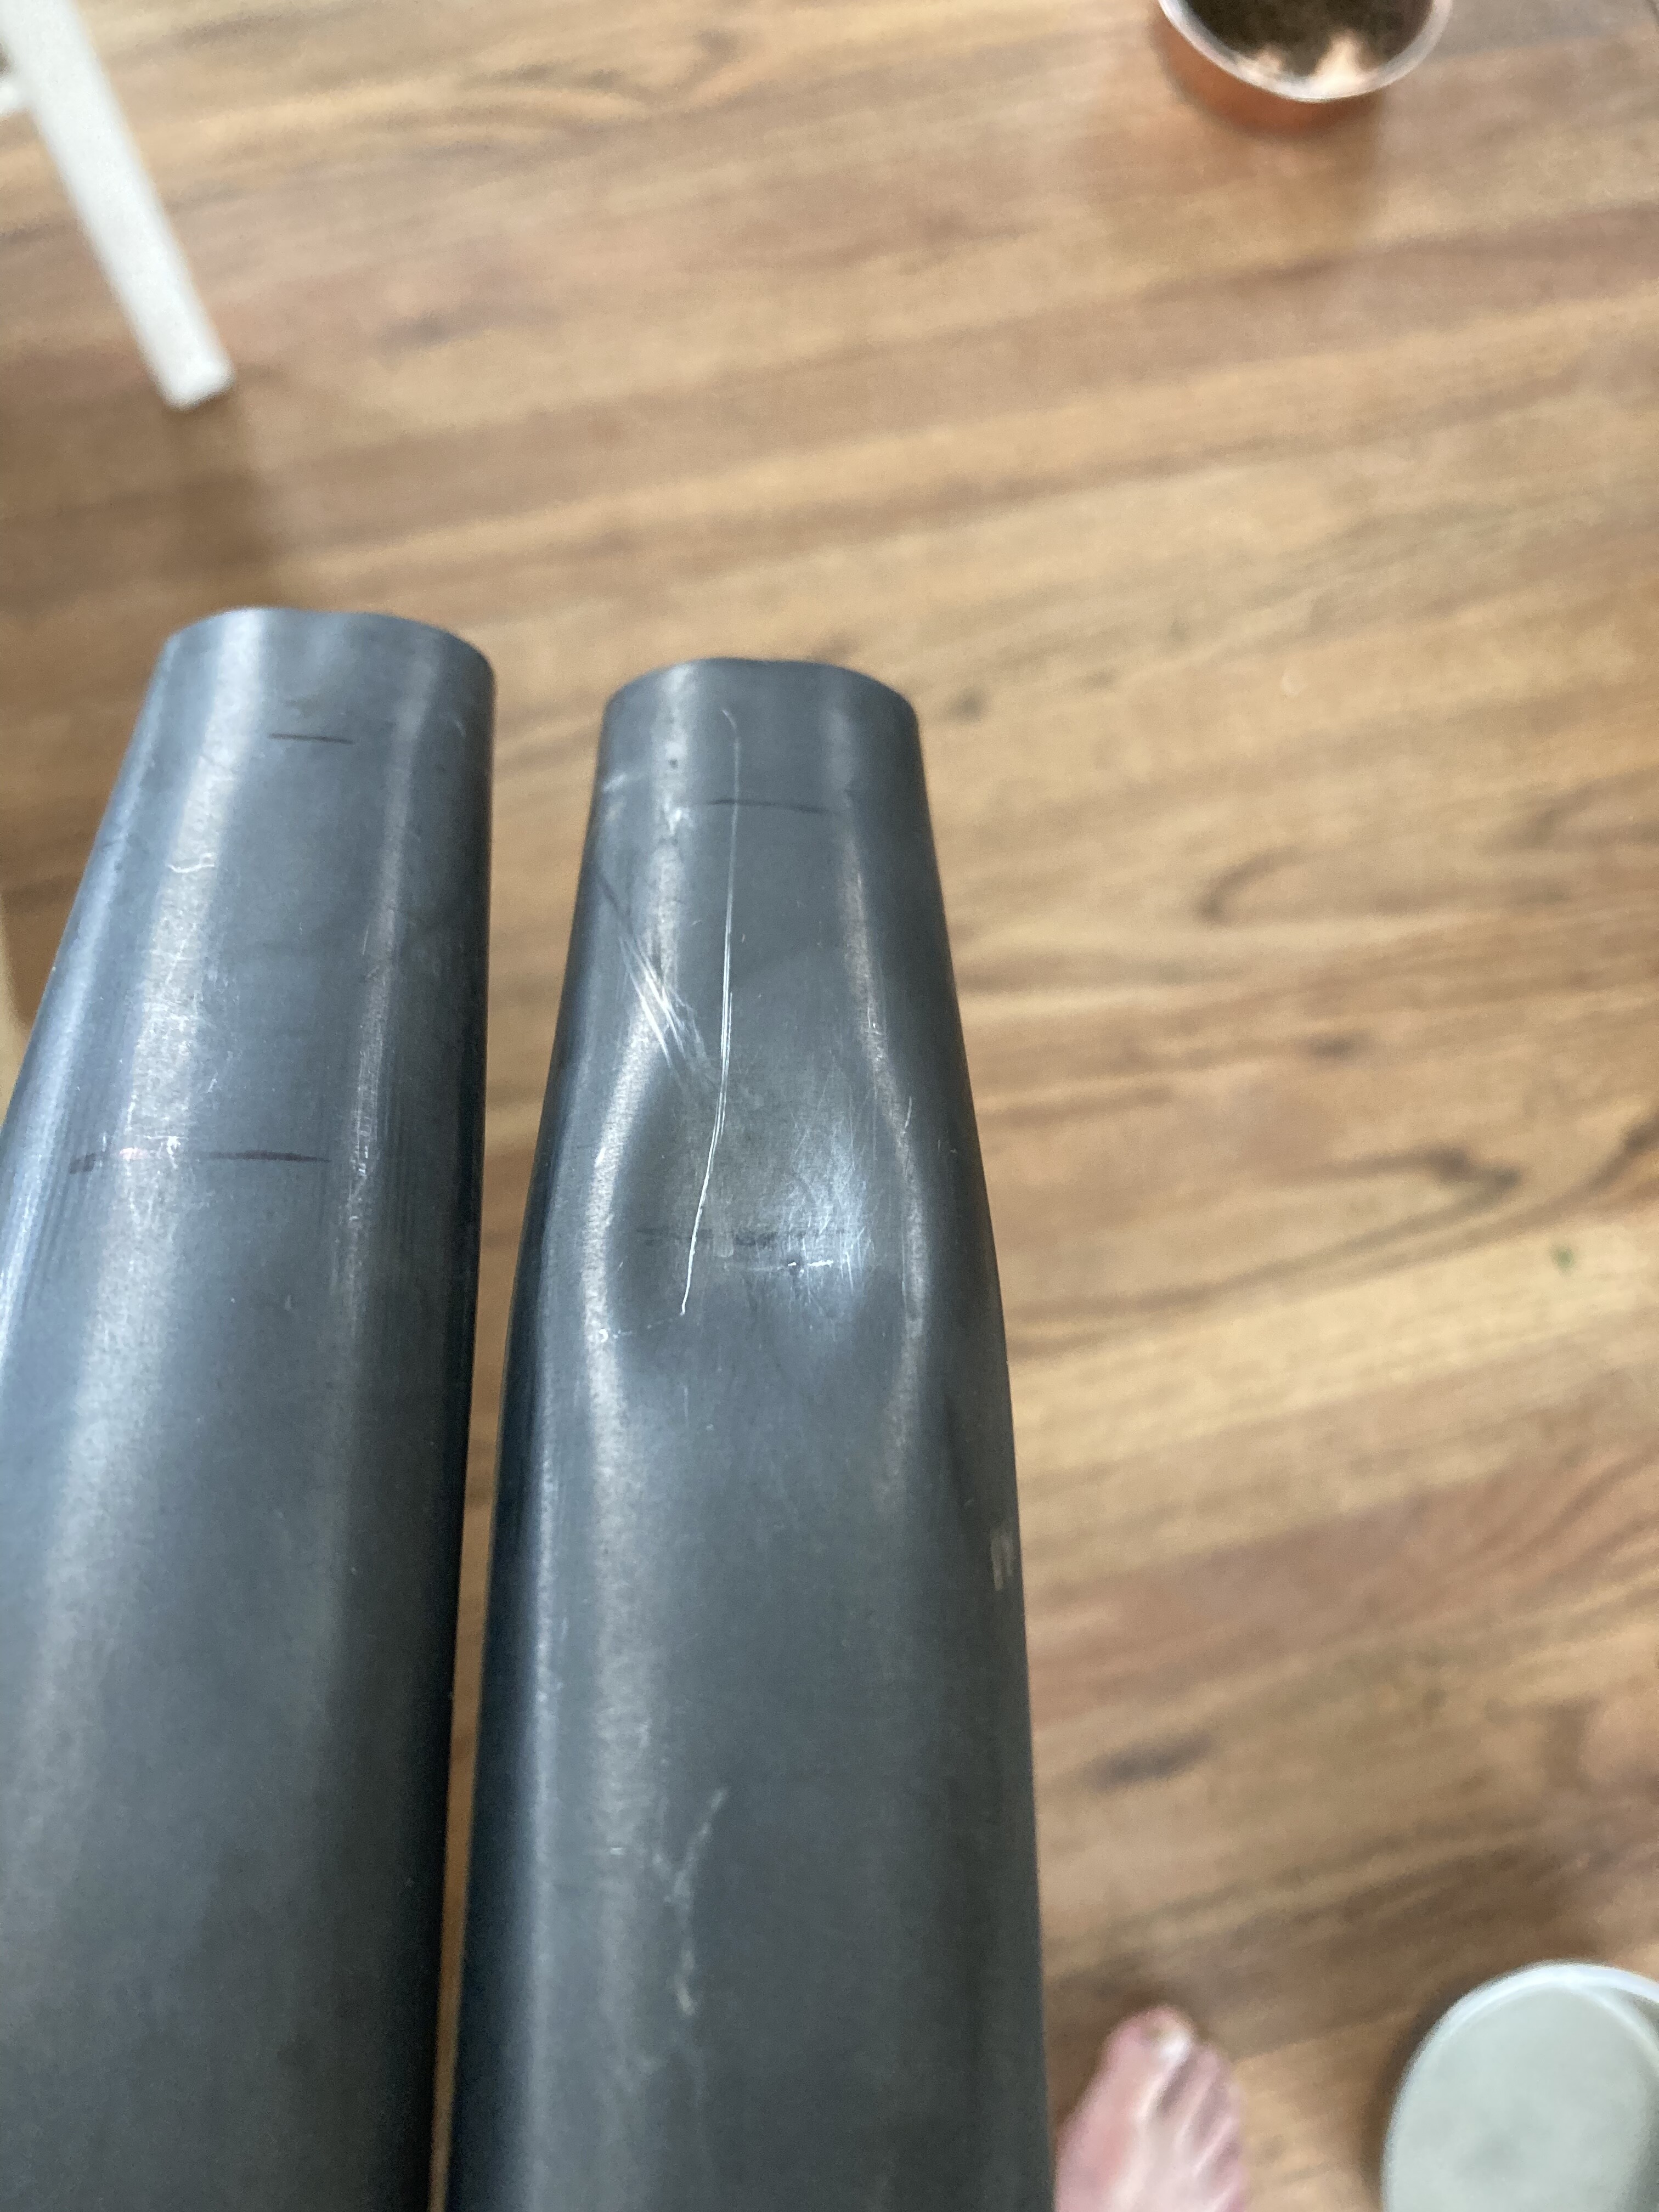
And here are the results.
I’m no expert in this, but it was fun to see that it worked out alright. The true test will be once I built the frame and test fit wheels and chainring. I didn’t want to get too extreme with the dimples but my hope is 425mm chainstays with 32t chainring and a 29x2.40 tire.
For the non drive side I printed a holder without the cutout.
The chainstays are the Nova Heat Treated MTB 29er S-Bend Chain Stay 30/16mm - 8/6 - 445mm
As far as changes I would make, the chainstay holders aren’t perfectly shaped. I created the 3D model in Fusion360 probably a year or two ago. It would be better to have the chainstays in hand to model more accurately and hold them more securely. When clamped, there was still 3-5mm of space between the halves of the holders. I’d like this to be smaller. I did notice the drive side chainstay is now slightly bulged vertically.
Die shape. I think that they probably should have been more rounded vertically or less tall. The length seems right for each side, but the height of the dimple caused the chainstays to be a little squished height wise.
I’m not sure which of the last two points caused the height of the drive side chainstay to increase in the dimple area, but it could also be just too much dimpling to keep the overall height the same?
I like this a lot. This is certainly a fun and very useful idea. Your results also look great!
When I made a dimple die I couldn’t find much guidance for how the support block side should be shaped then it occurred to me that the distance around the cross-sectional perimeter would not change.
I only accounted for this in the thinnest most squished section…
This principle is probably a lot more pronounced in a round tube than a tube that is already oval but I figure it’s still relevant.
Edit: This is in reference to the die shape comment…
honestly, it was a simple 3D printing project to help me get my hardtail built. I’m not planning on doing anything about it, but I can share 3D files if you want. I make no guarantees and I’d suggest modifying it to suit your needs.
Just shoot me a message if you want it.
Shoot me a message and I’ll send them. Though I don’t know if you’ll be able to get this press into an already made bike. I’d take a look at 3D printing a die that would attach to the face of a C clamp or similar to adapt an already assembled Chainstay. There are several simple dimple tools that people have posted in here: