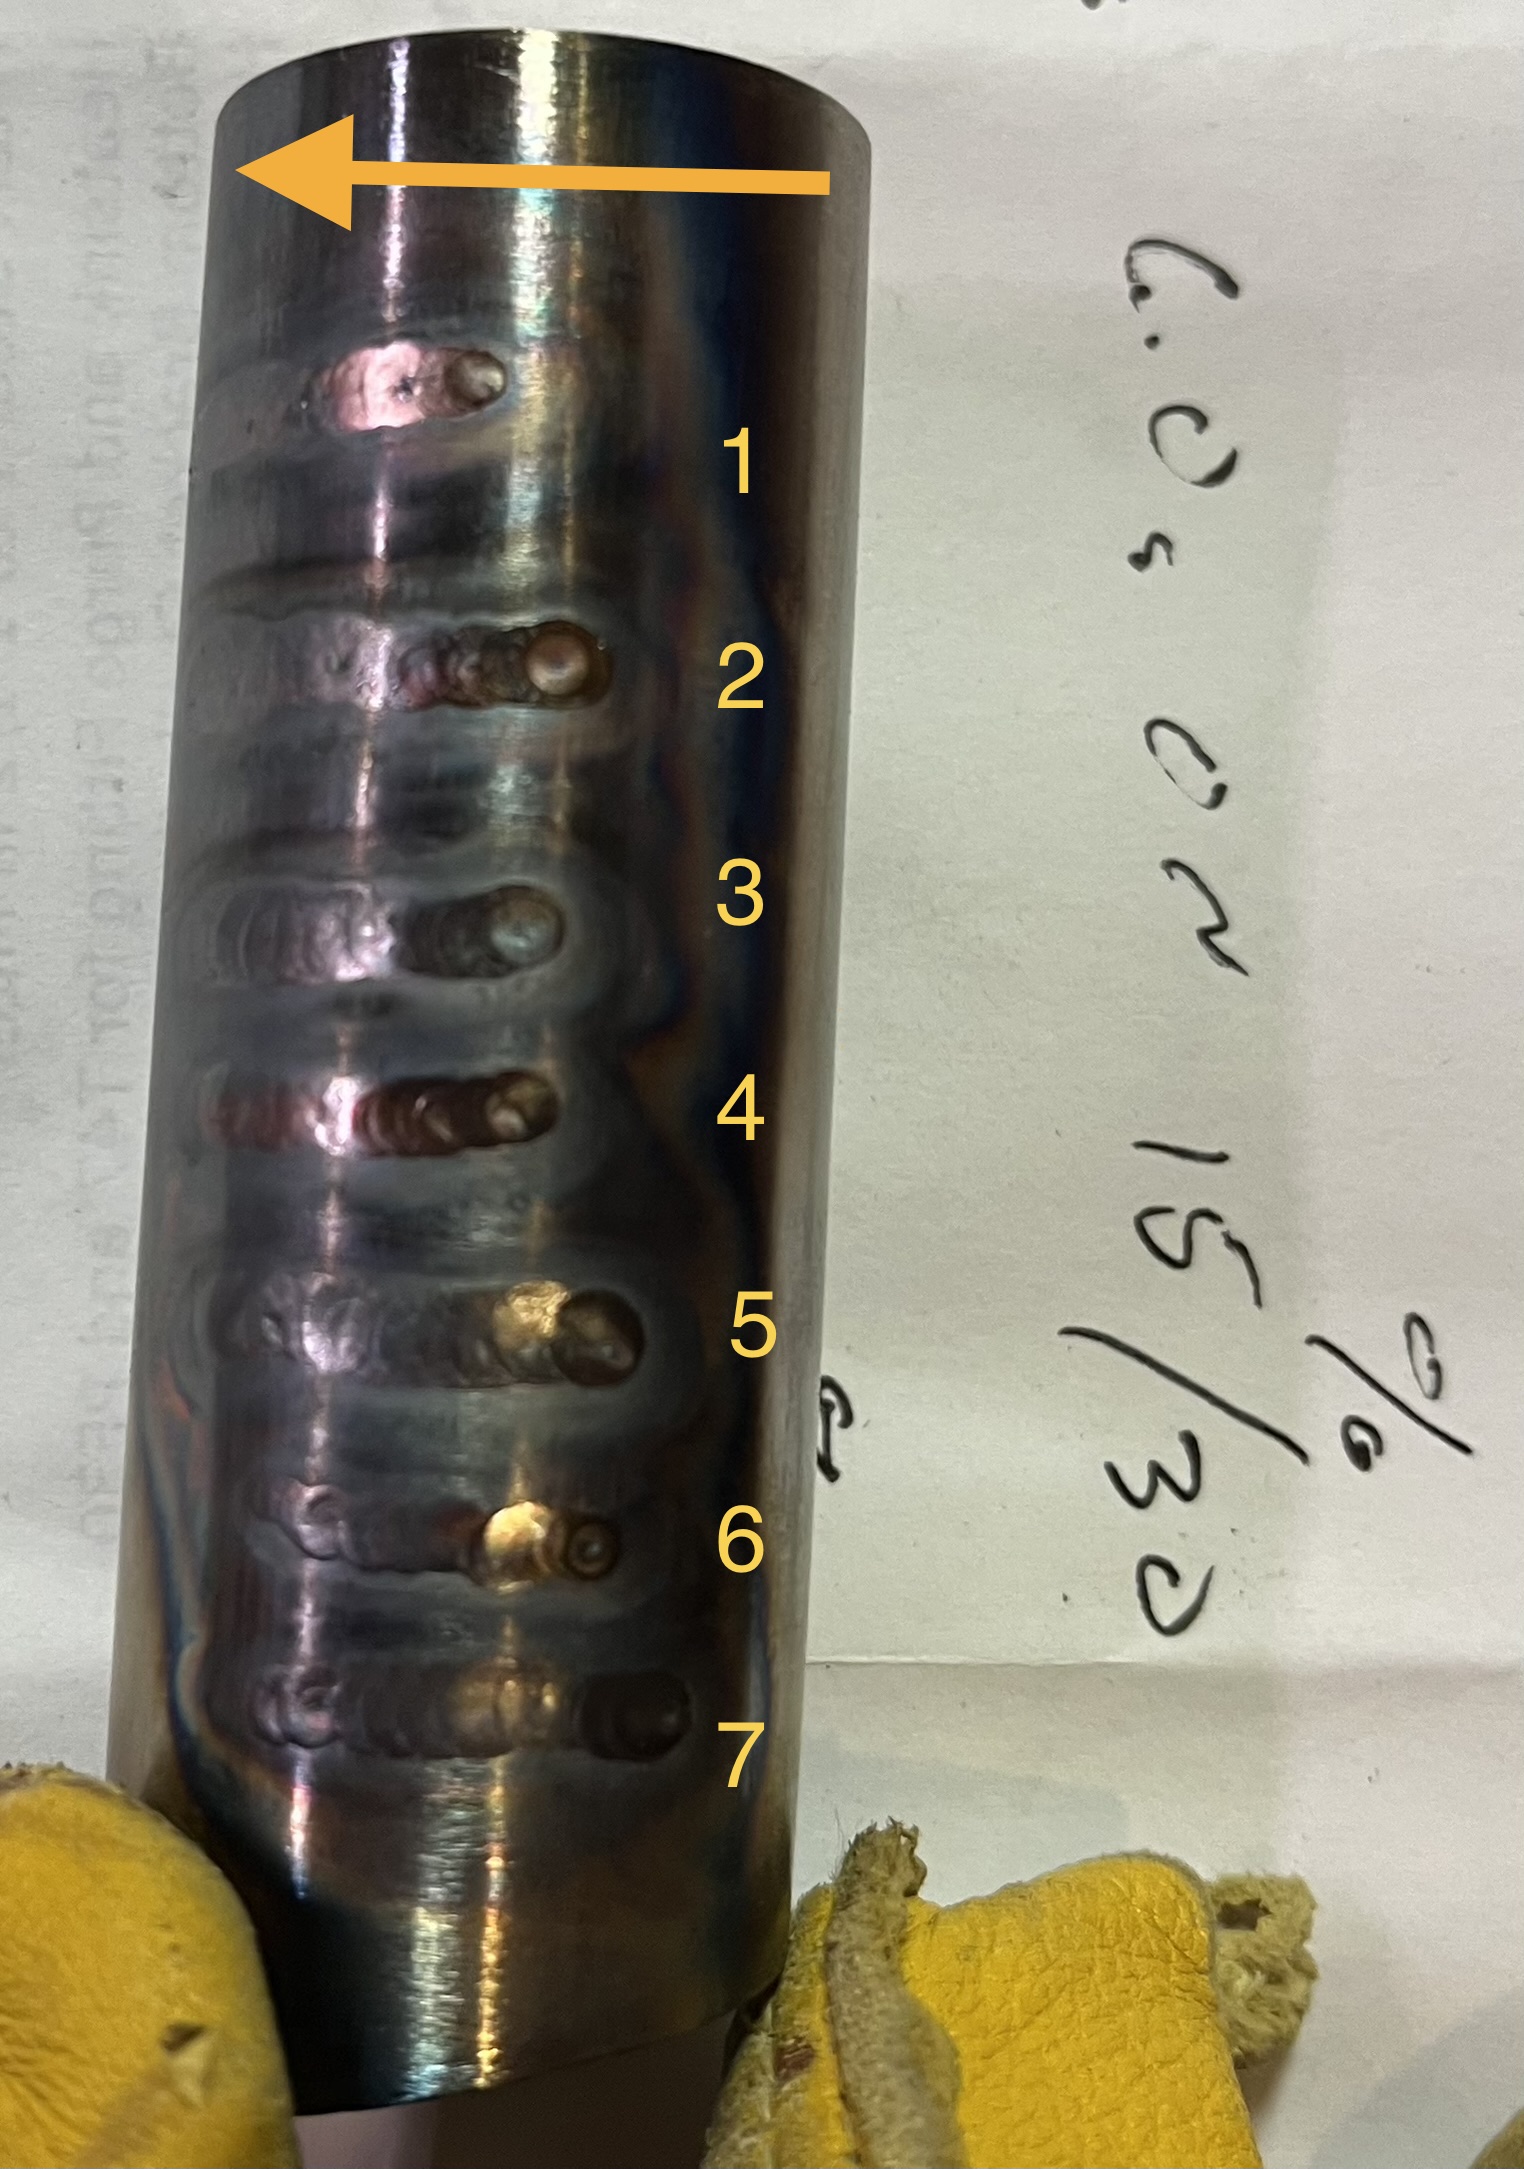
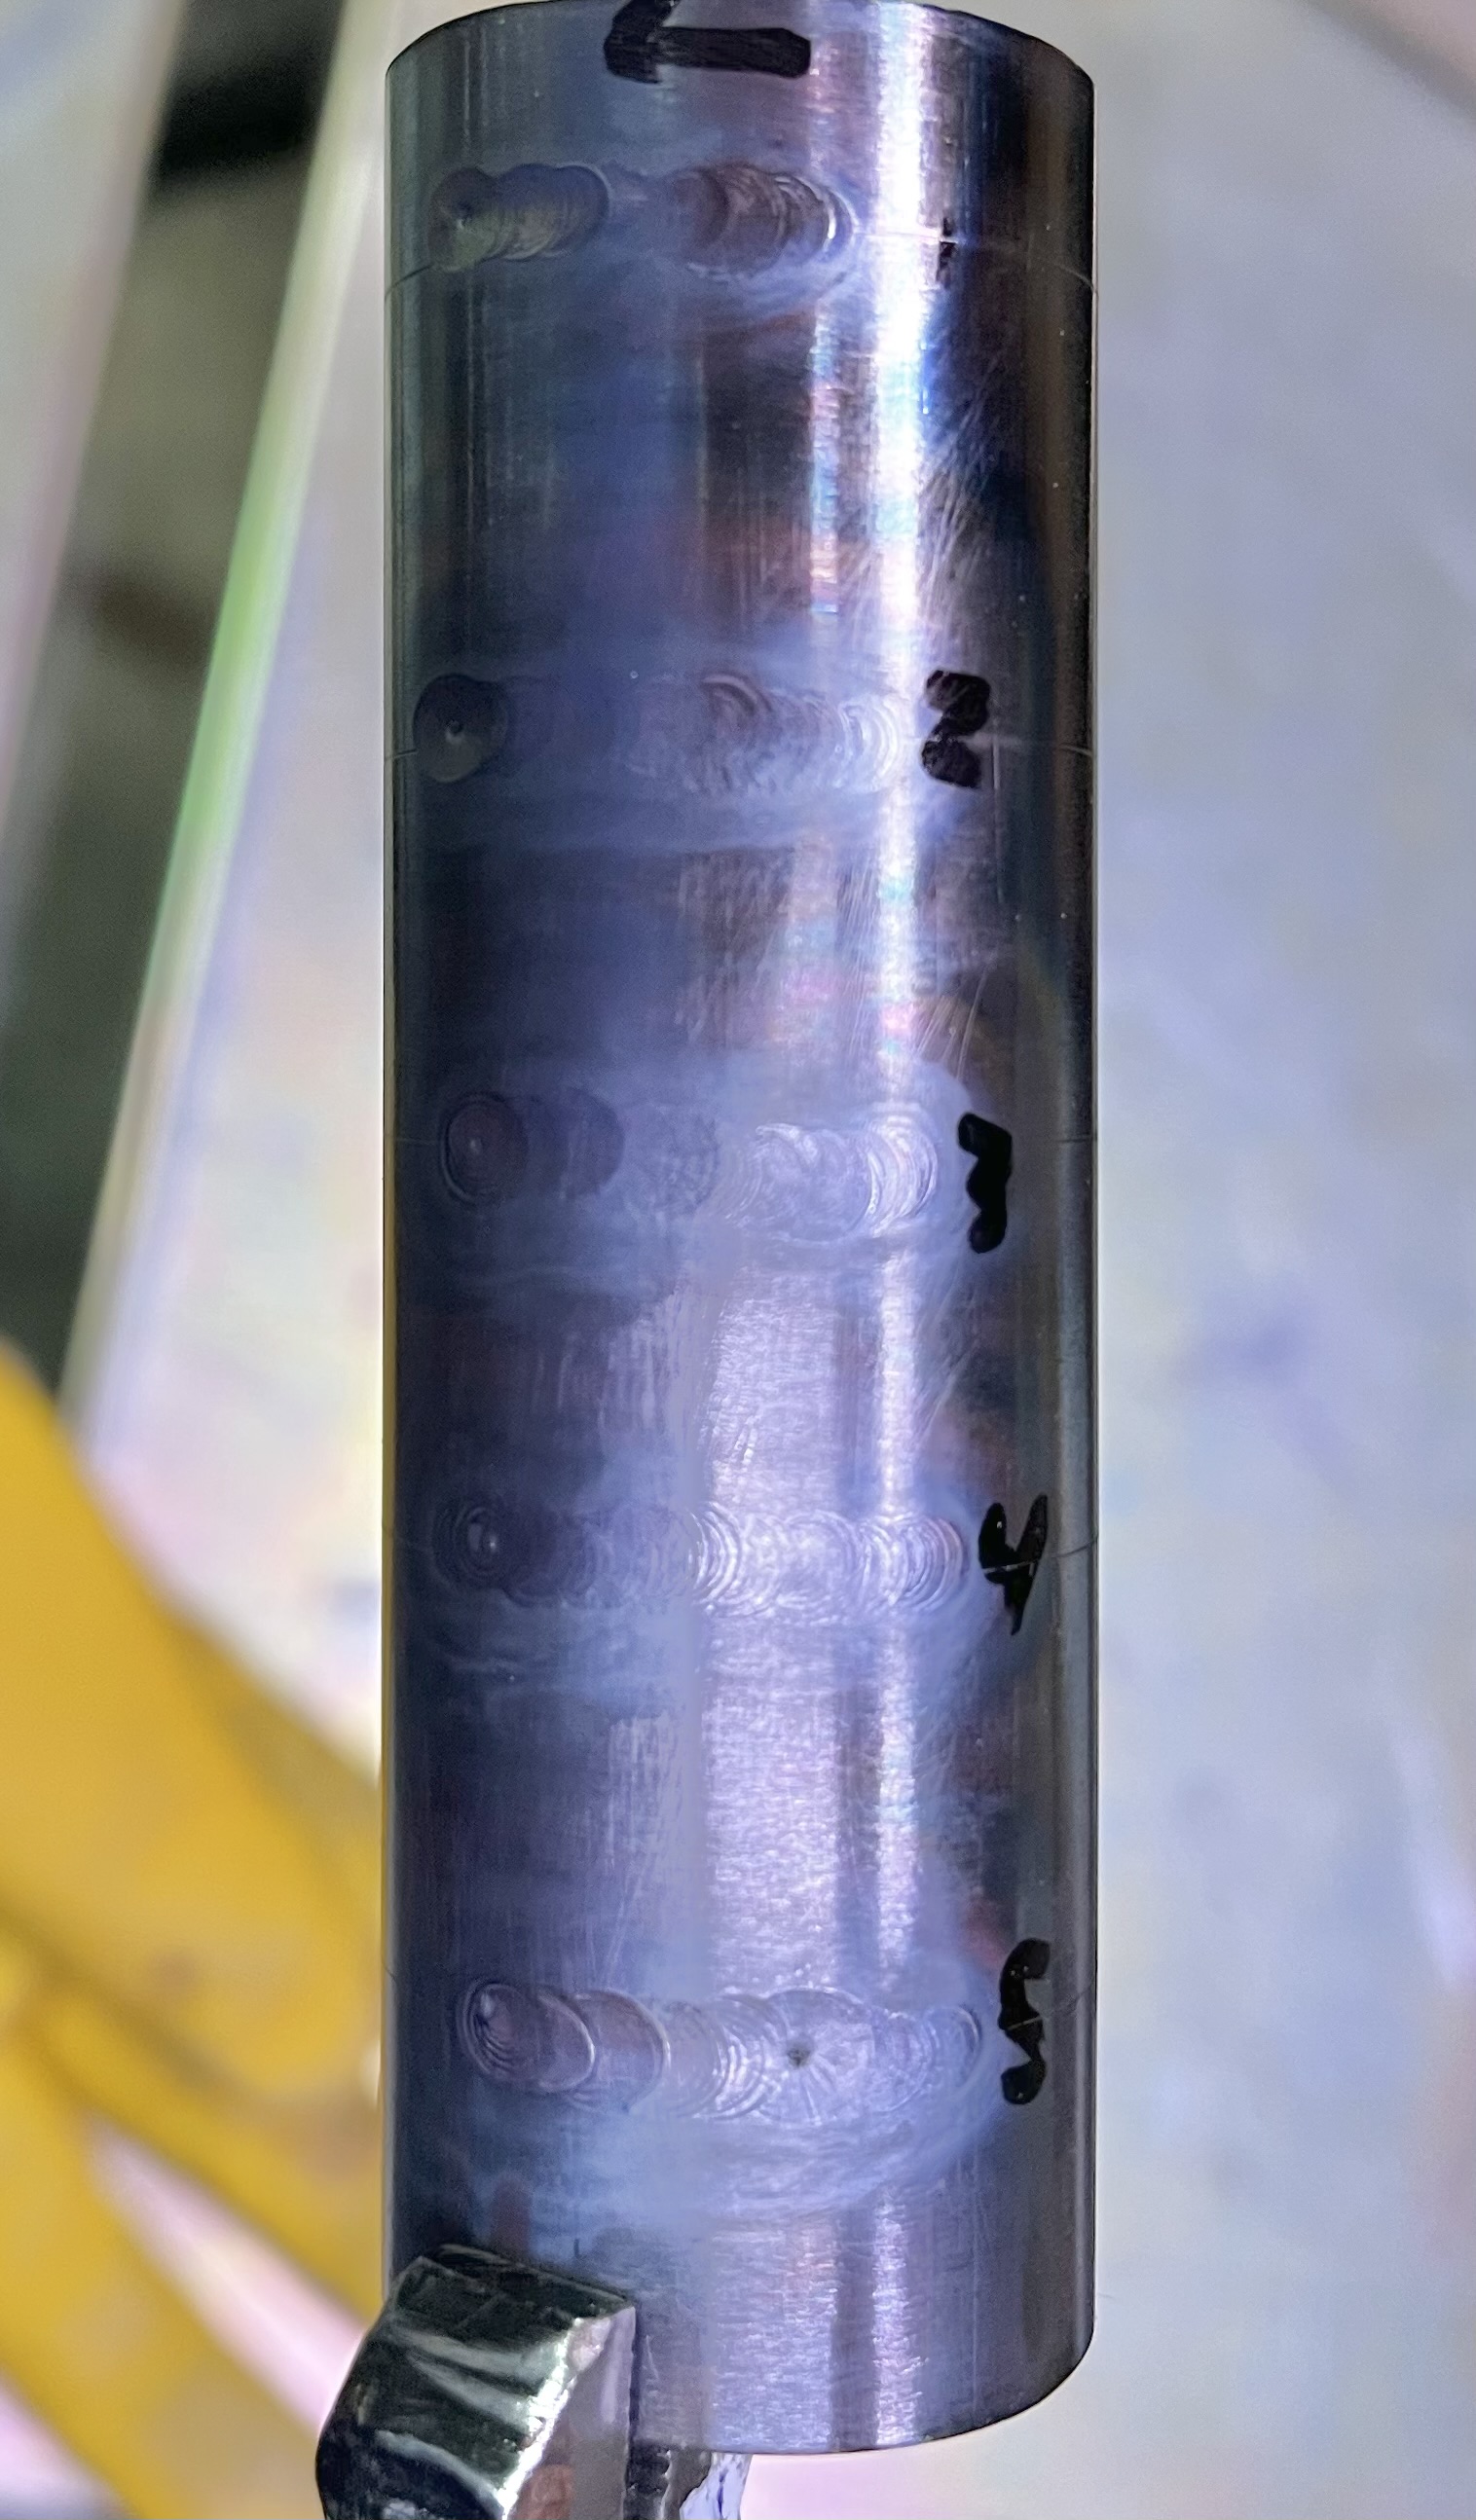
Fairly happy with the consistency since I’ve done zero welding in over a month. The first few of run A were rough, but I think they grew more consistant.
Run B2 I think I got the heat too high to start it. Otherwise I feel the size consistency looks good, but I see a lot of pits.
Feel free to throw any advice, siggestions, or [sarcastic] comments.
I took some advice that I didn’t want to hear but I think is untimely correct. I turned off pulse for now… it was painful but I learned so much about arc control and pacing. I even downloaded a metronome app to help my rhythm.
The 30 minutes I spent with pulse off laying beads down a tube taught me more than many hours of practice with pulse.
This is the way, turn off pulse to learn. Pulse really shines when coupled with solid TIG welding basics.
When first learning your focus will be all over the place because so much is happening at once, no need to add another variable.
No pulse and no filler rod will allow you to get comfortable with foot pedal modulation, travel speed, and arc length. These are the foundations. If you can not maintain a consistent travel speed, arc length or amperage you will struggle.
I would go as far to say start learning on flat metal to progress quicker, once you can do it on flat you will be able to transfer that muscle memory to tubes.
Scribe lines to follow, look at the leading edge of the puddle and ahead. Before long you will be looking at the back edge of the puddle and be able to adjust the amperage as you learn to read the bead, while maintaining the correct path and travel speed.
Get comfortable, no reason to learn out of position. Do a dry run with the torch along your scribed line, maintaining a consistent tungsten to work piece distance. Plant your hand on the work piece/table to stabilize yourself.
If y’all have never checked out welding tips and tricks on YouTube, do it! Jody has some amazing arc shots and has a plethora of TIG welding videos, some that include welding bike frames, 4130, and even titanium.
Taking all the advice. To be fair, I’ve been hobby TIG’ing for several years. Only this summer did I have a pulse-capable machine, so that’s sometimes been my focus of learning. I’ve done a lot of what has been suggested, watched a lot of Weldong Tips and Tricks, and keep seeking more knowledge and advice. I’ll do the next run(s) without pulse for comparison and practice.
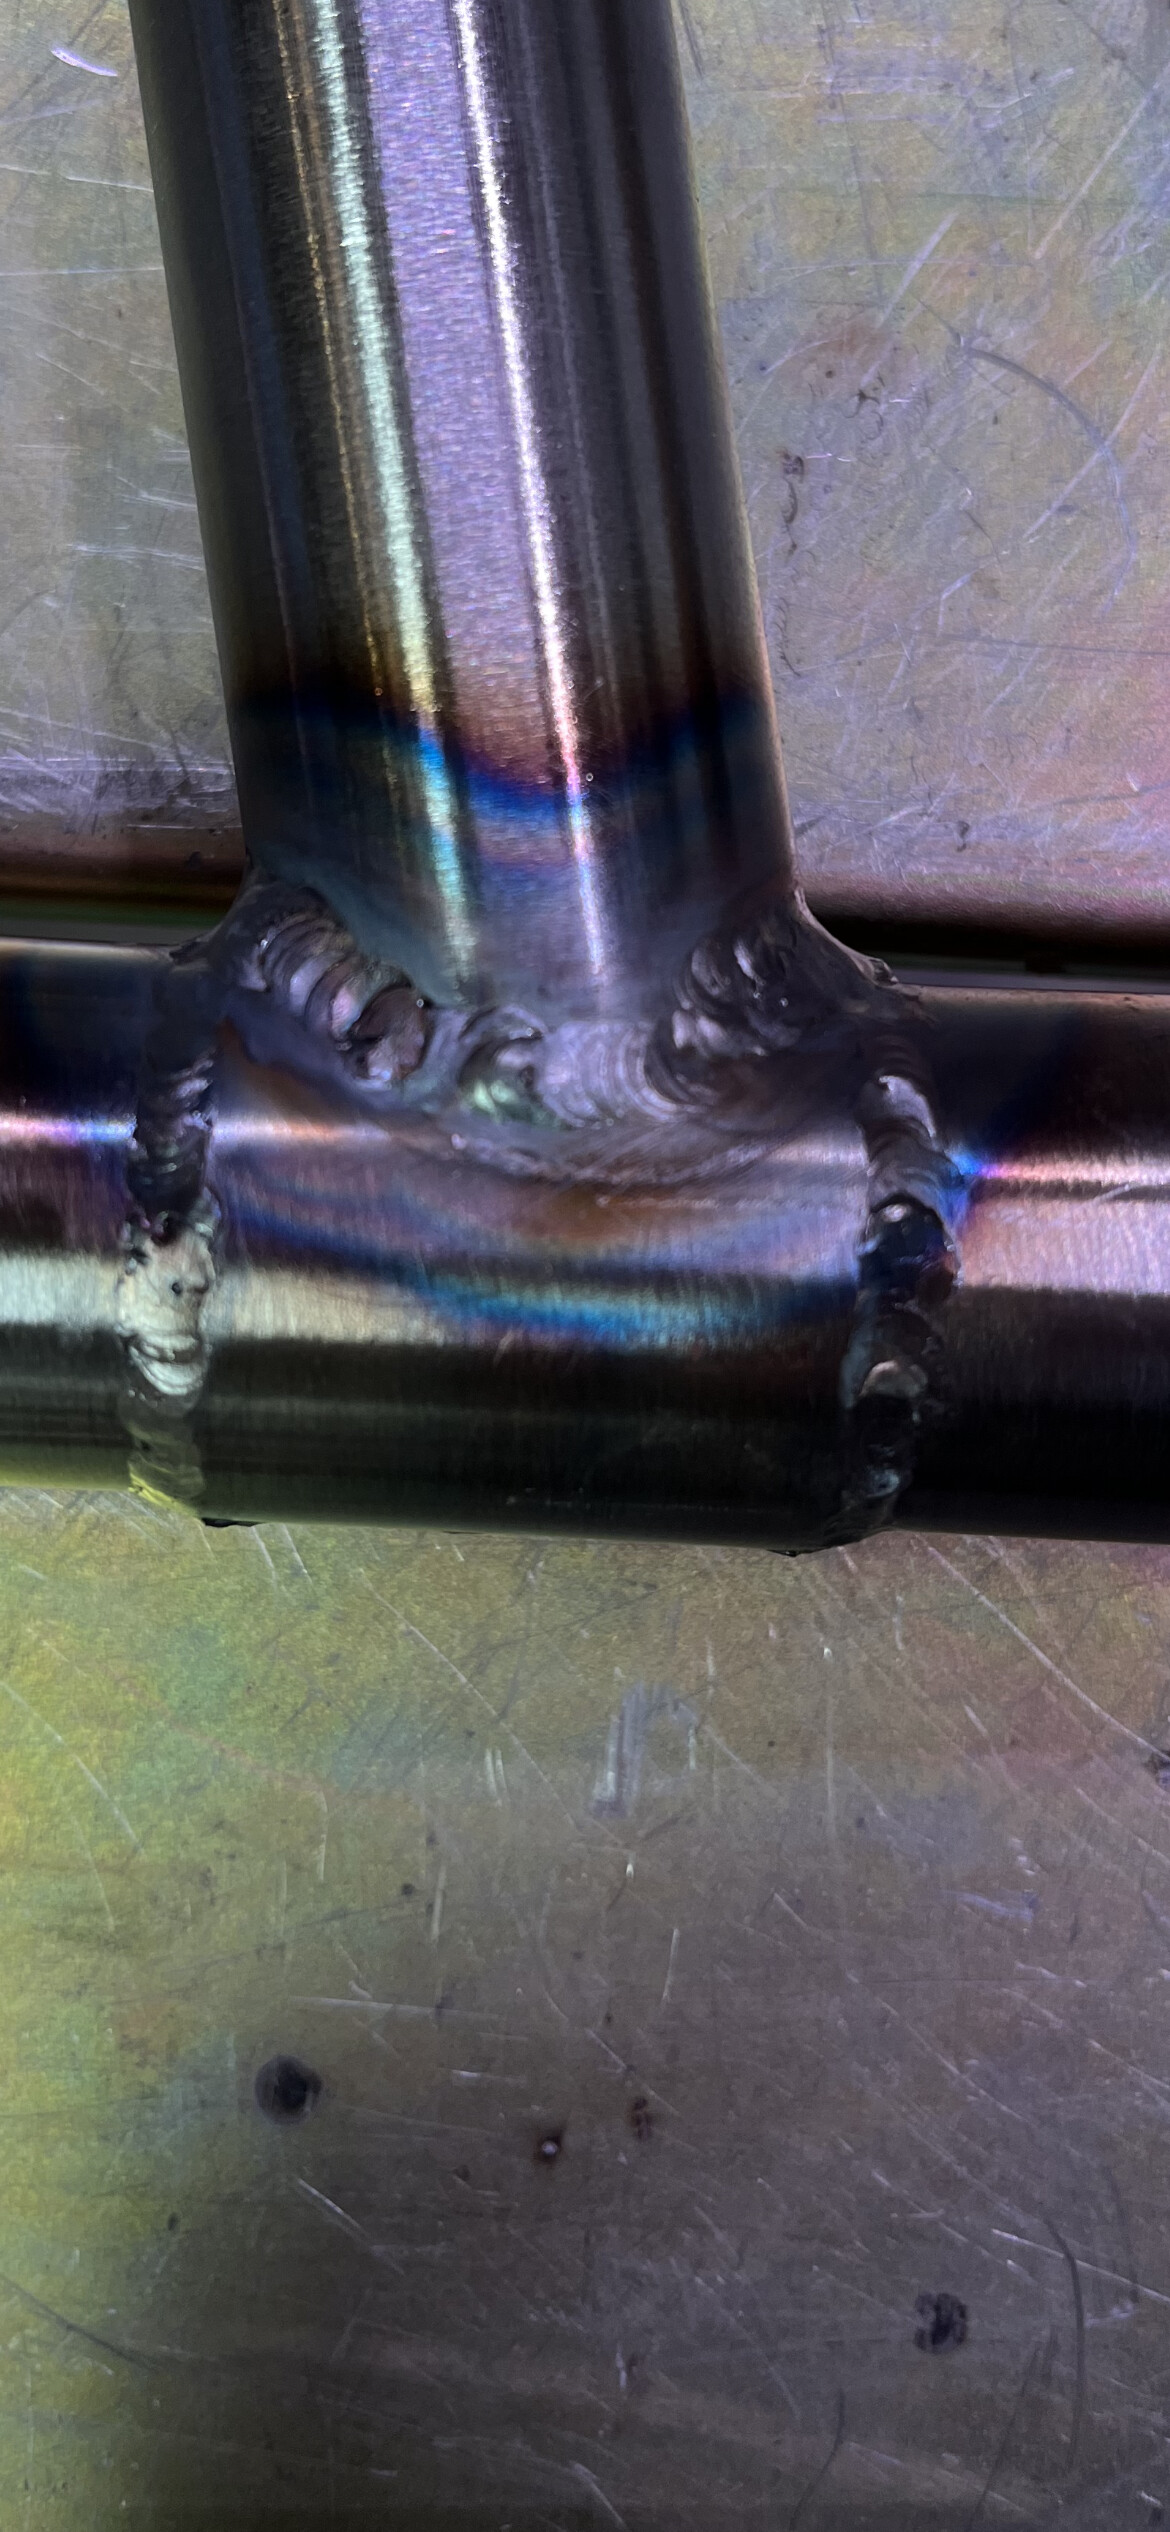
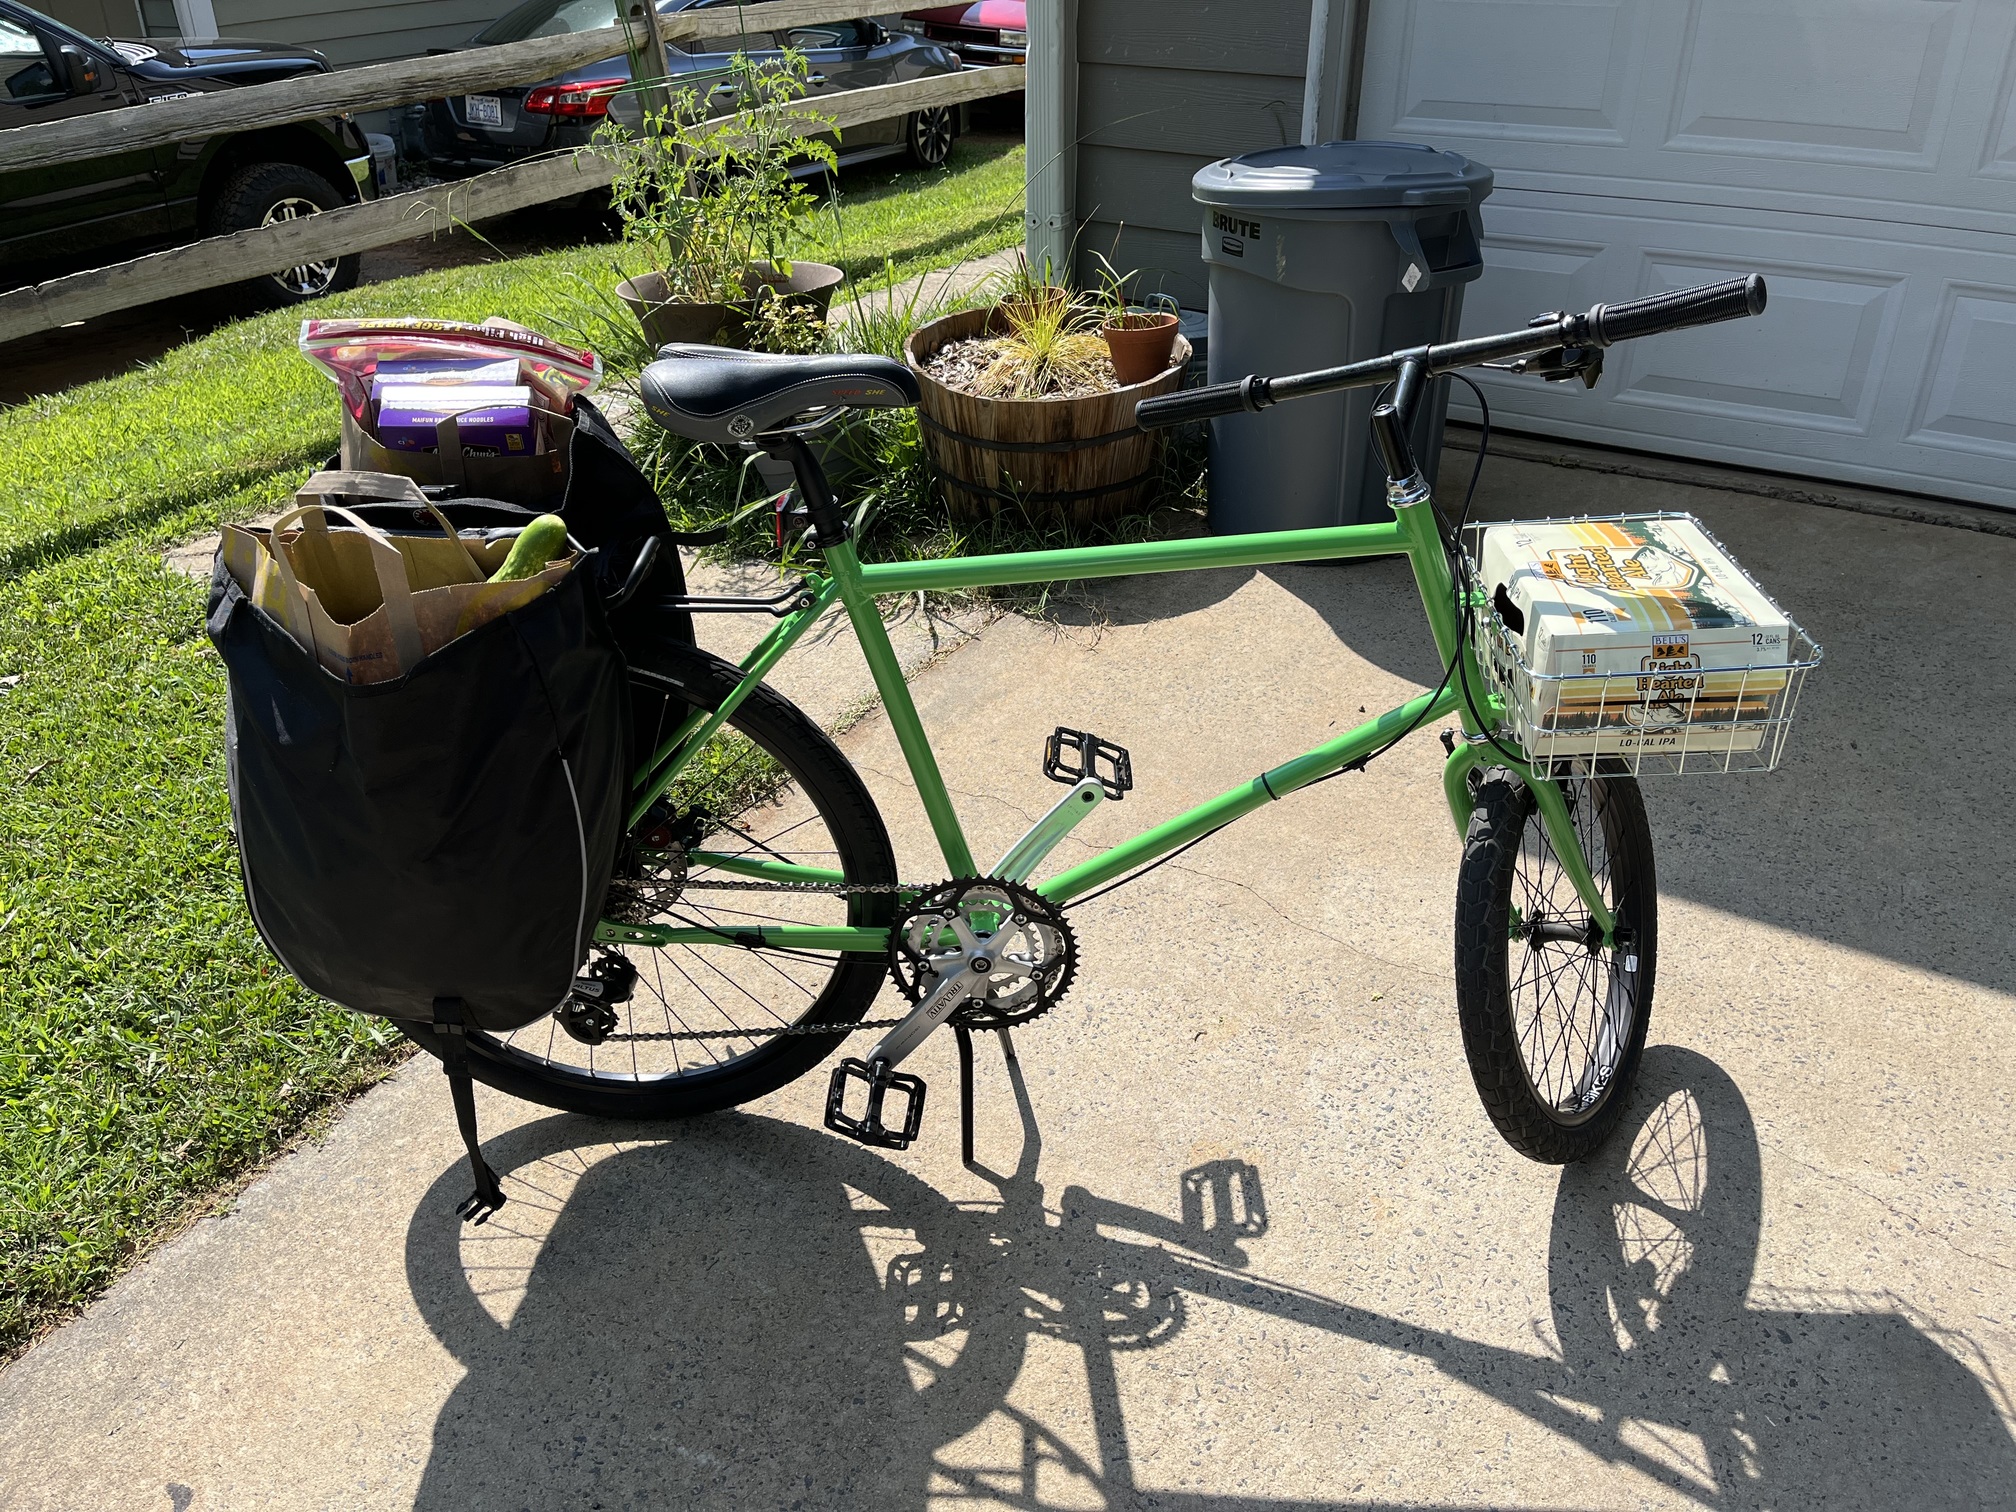
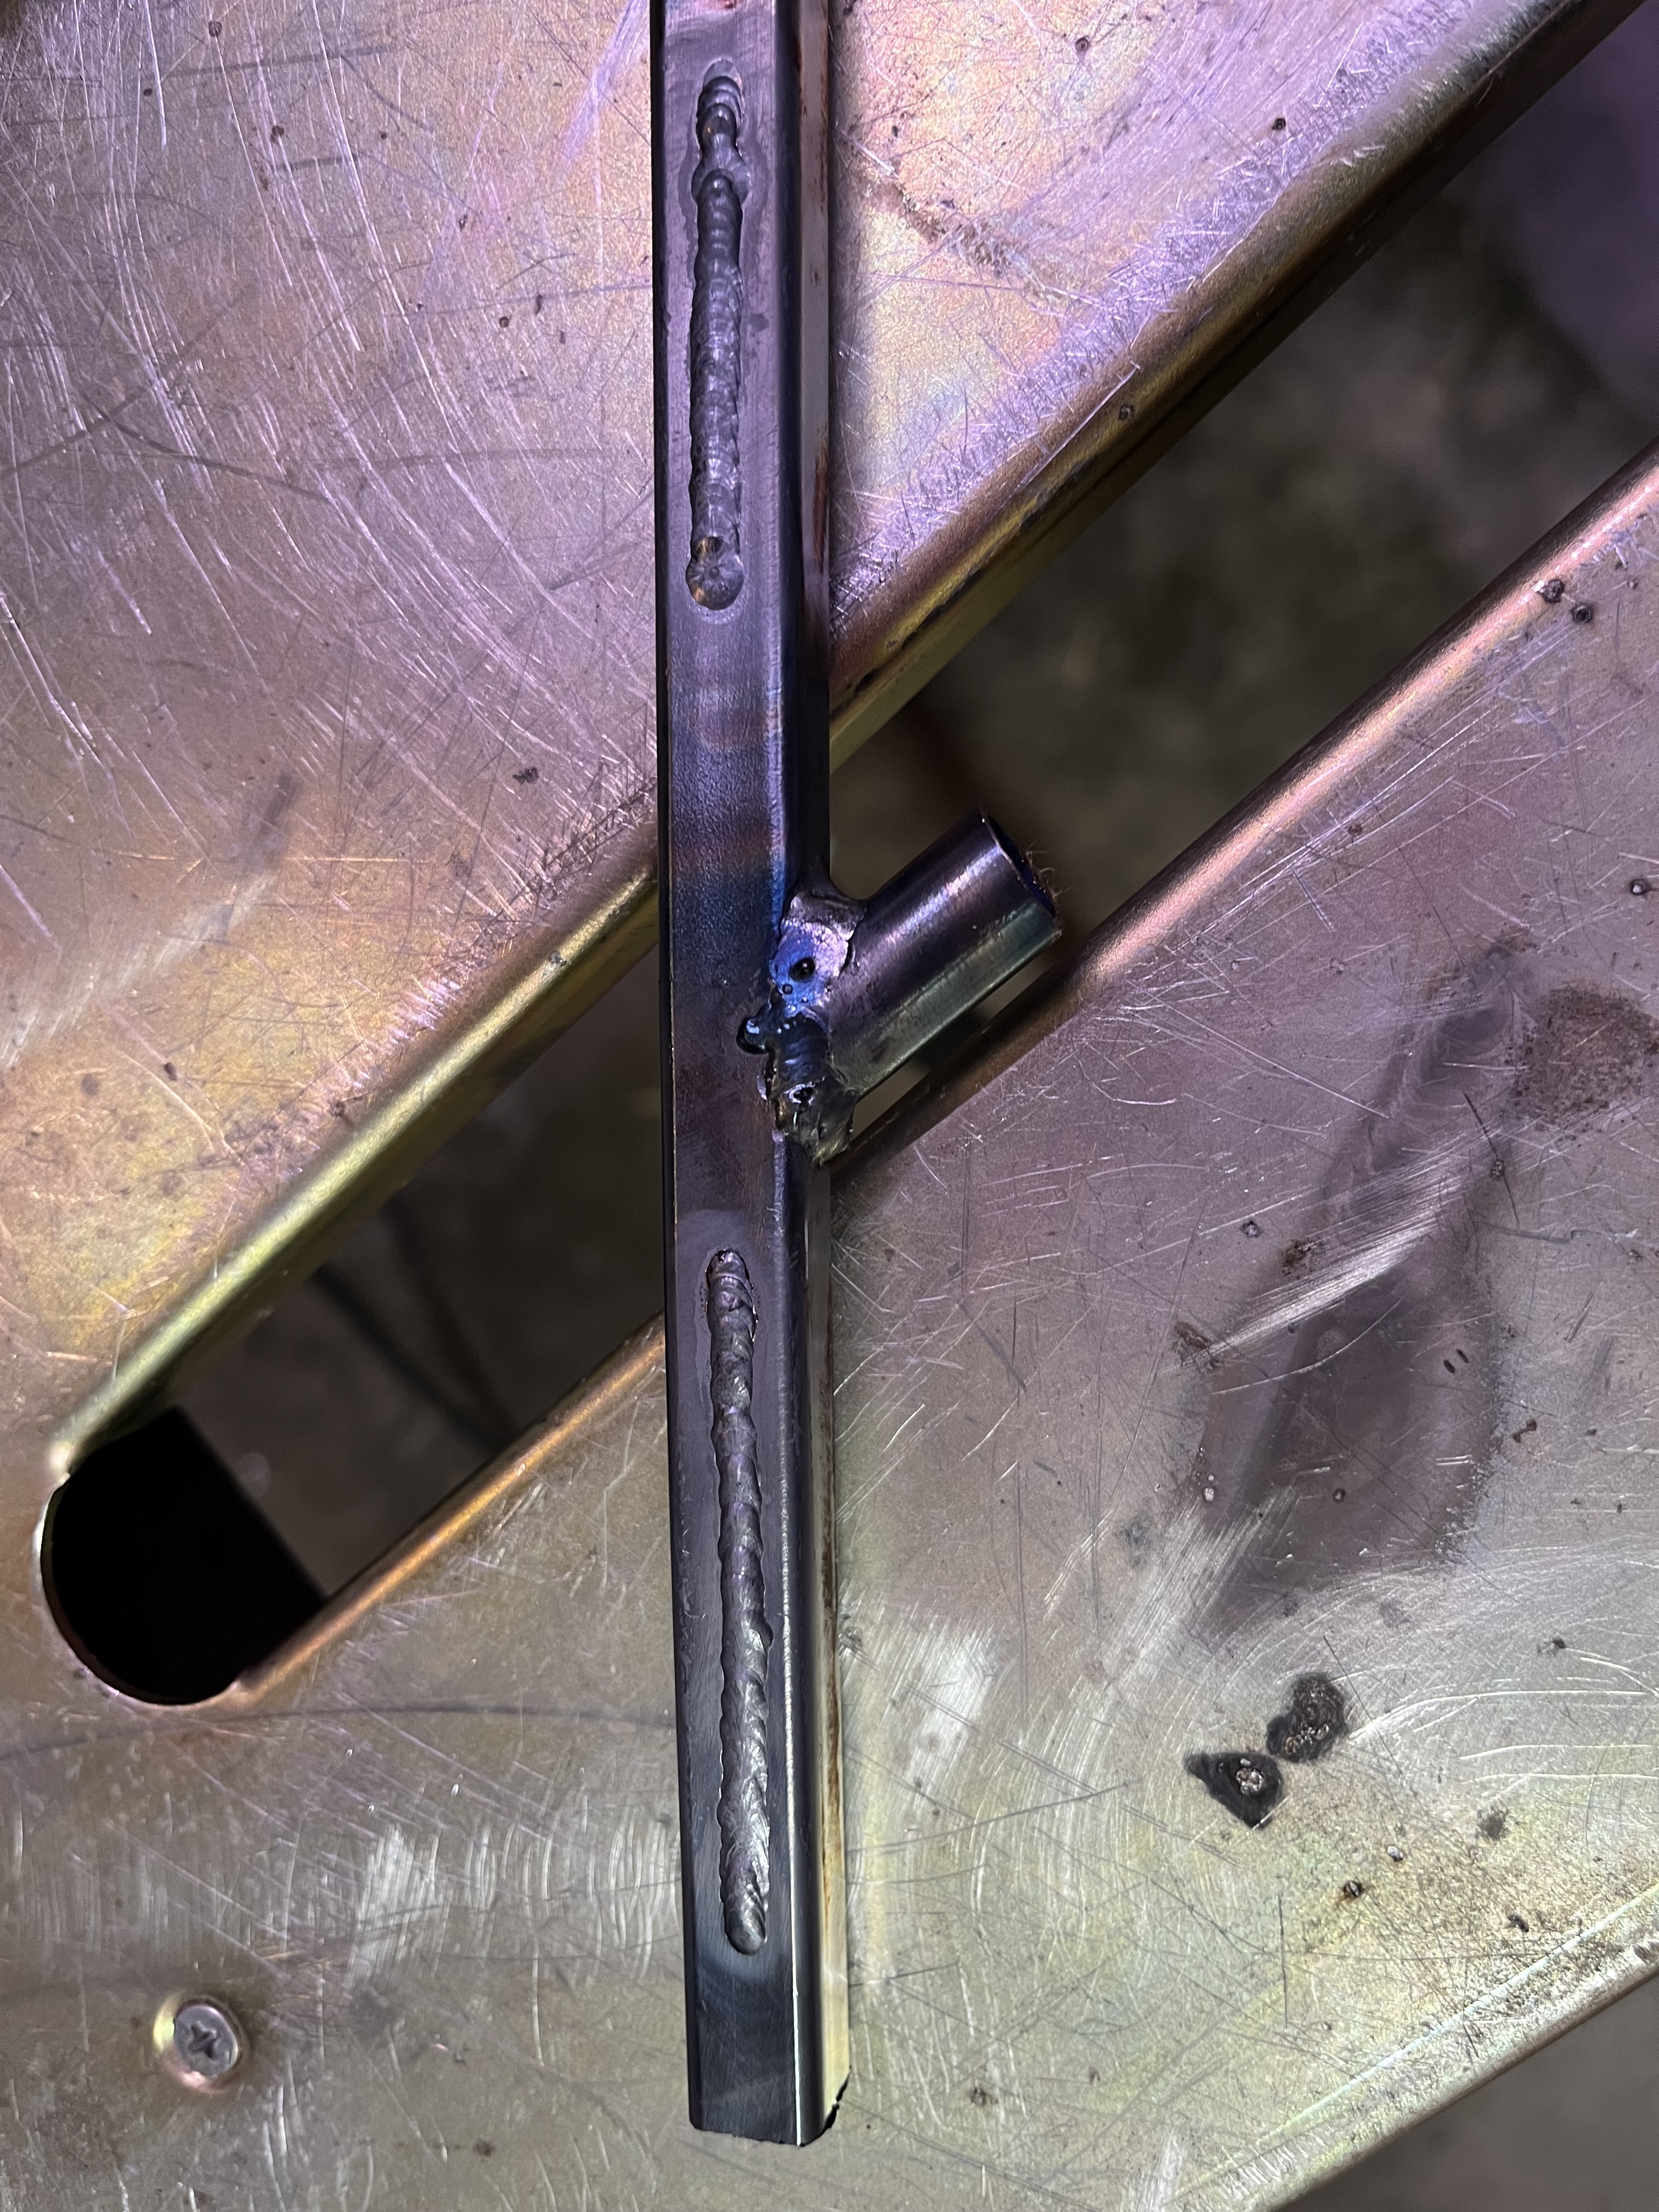
This summer’s build was a Grocery-Getter for my wife. This is the TT to ST junction with a sleeve on the ST for reinforcement and to keep me from birning a hole. Same material I practiced with earlier.
So, I travel for work, so I’ll be adding more than one session to the mix per day, then none for several days…
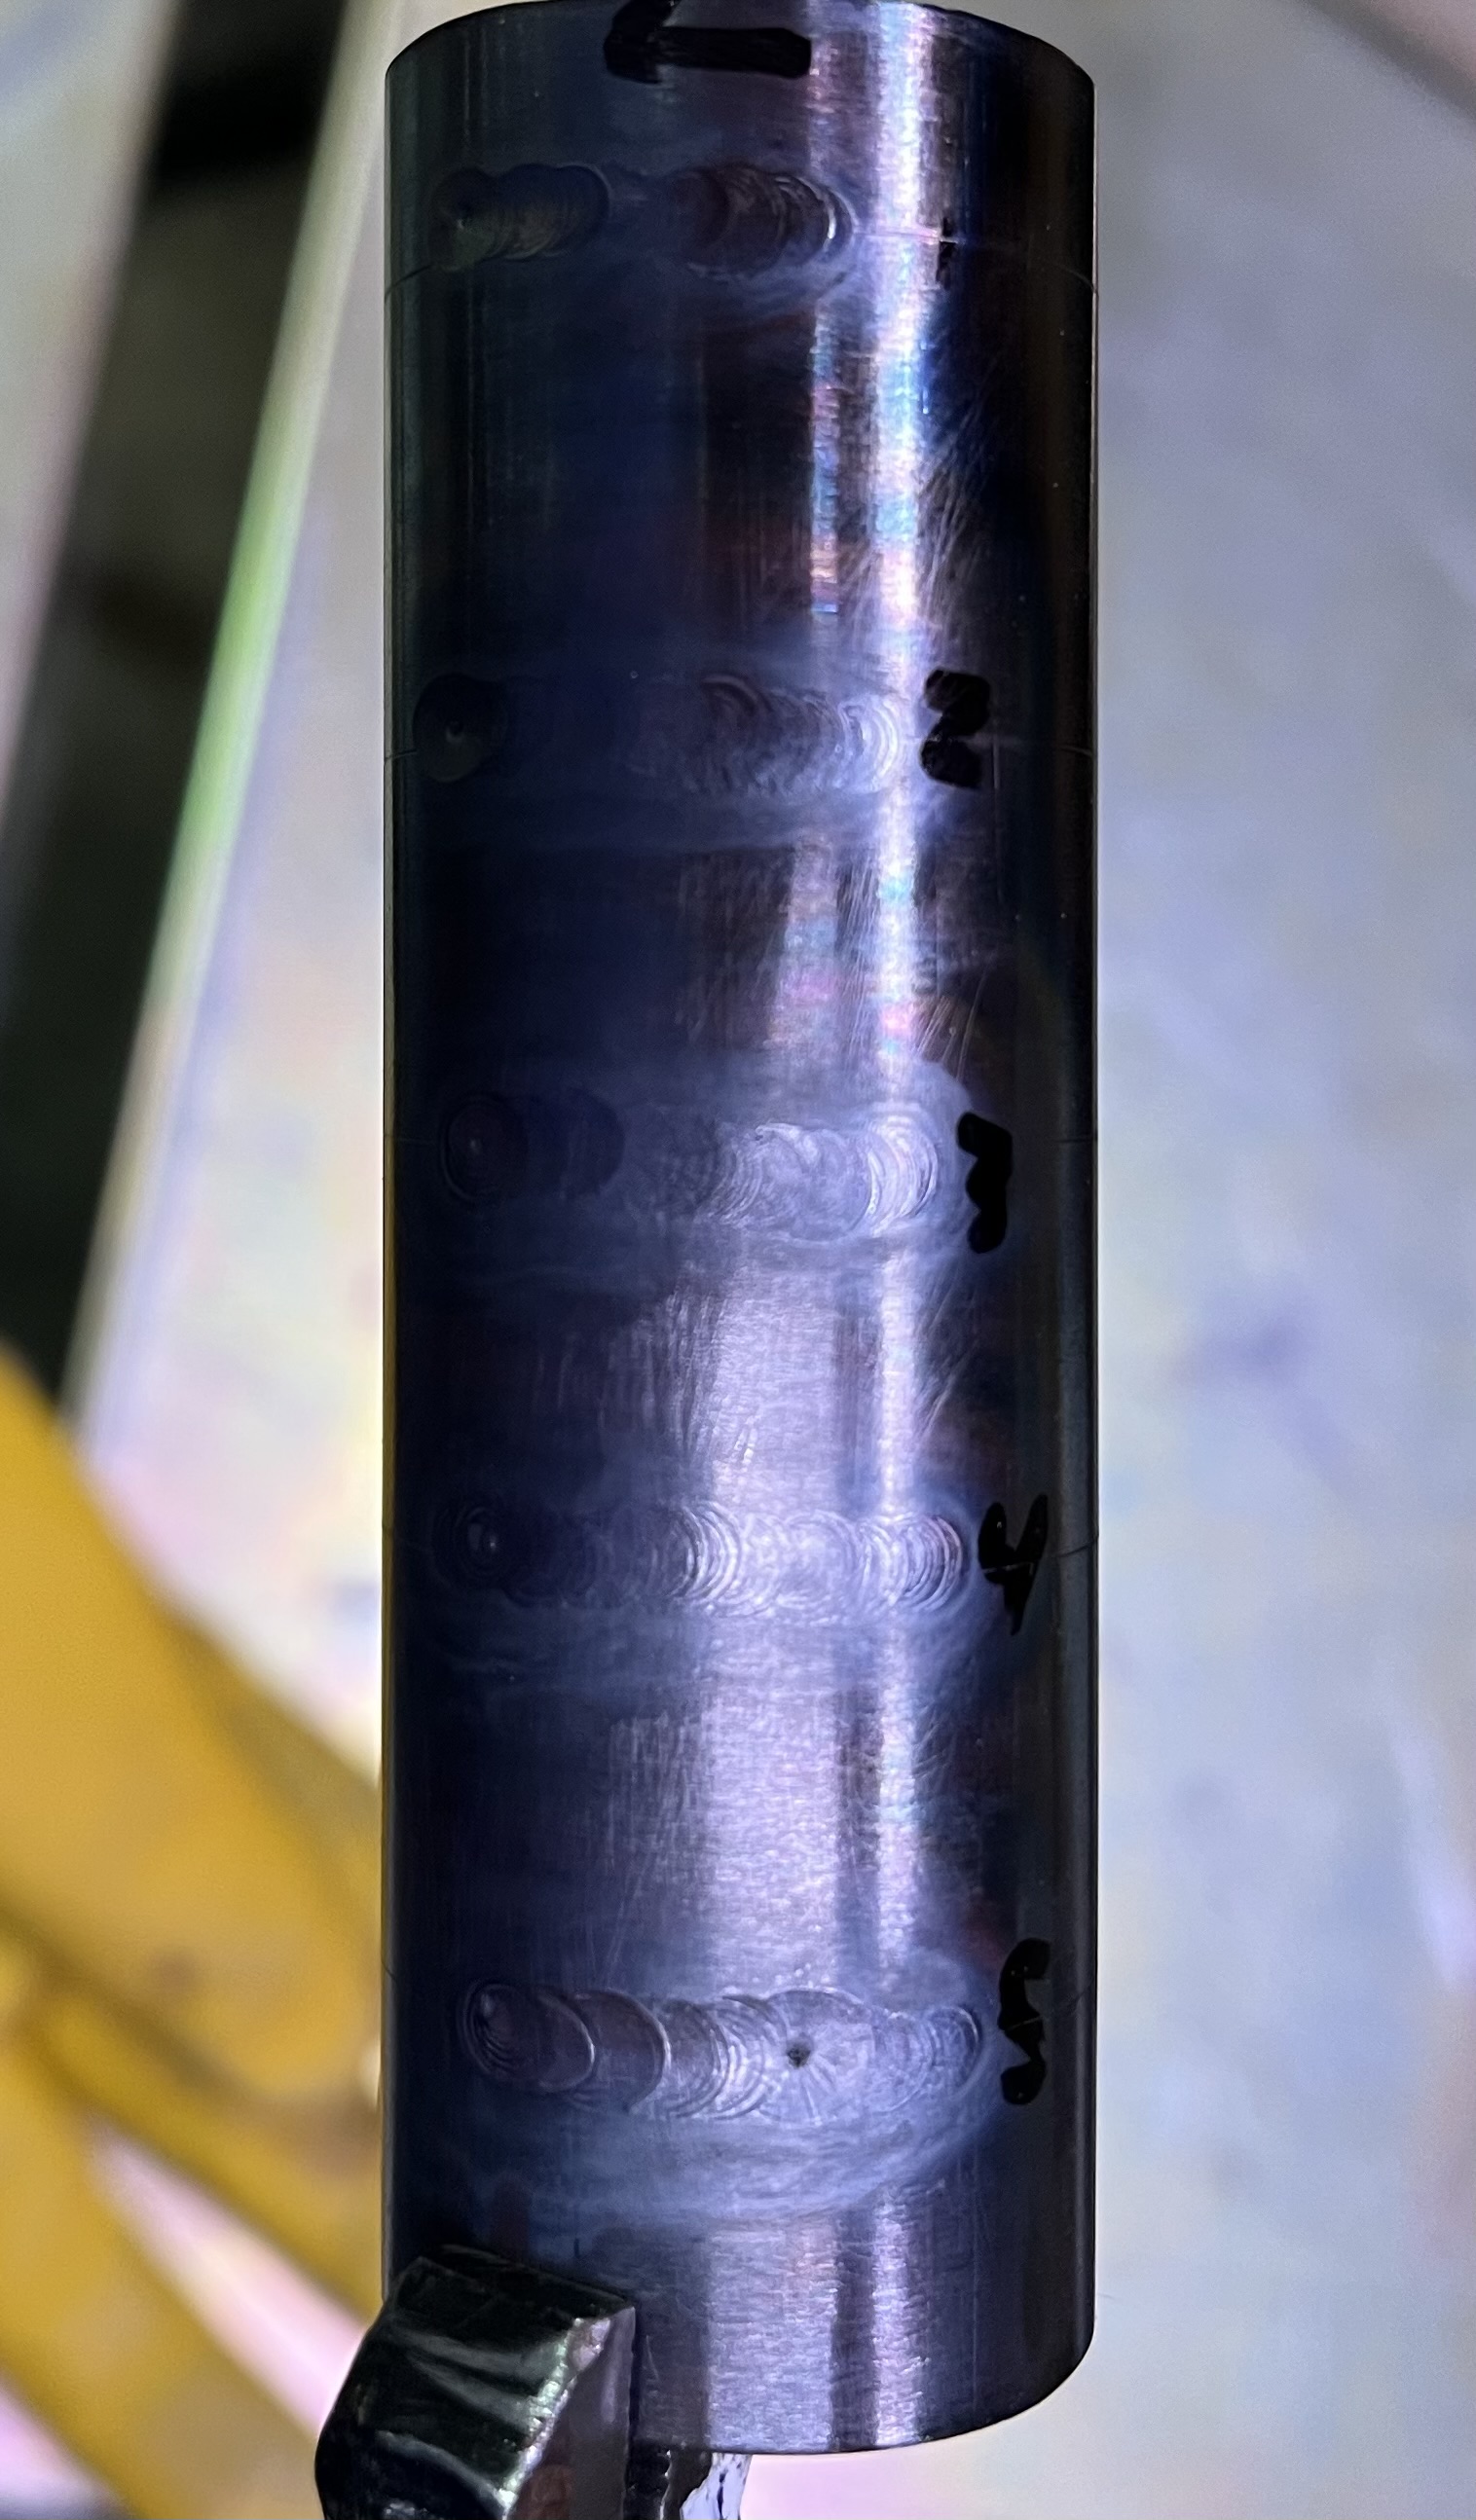
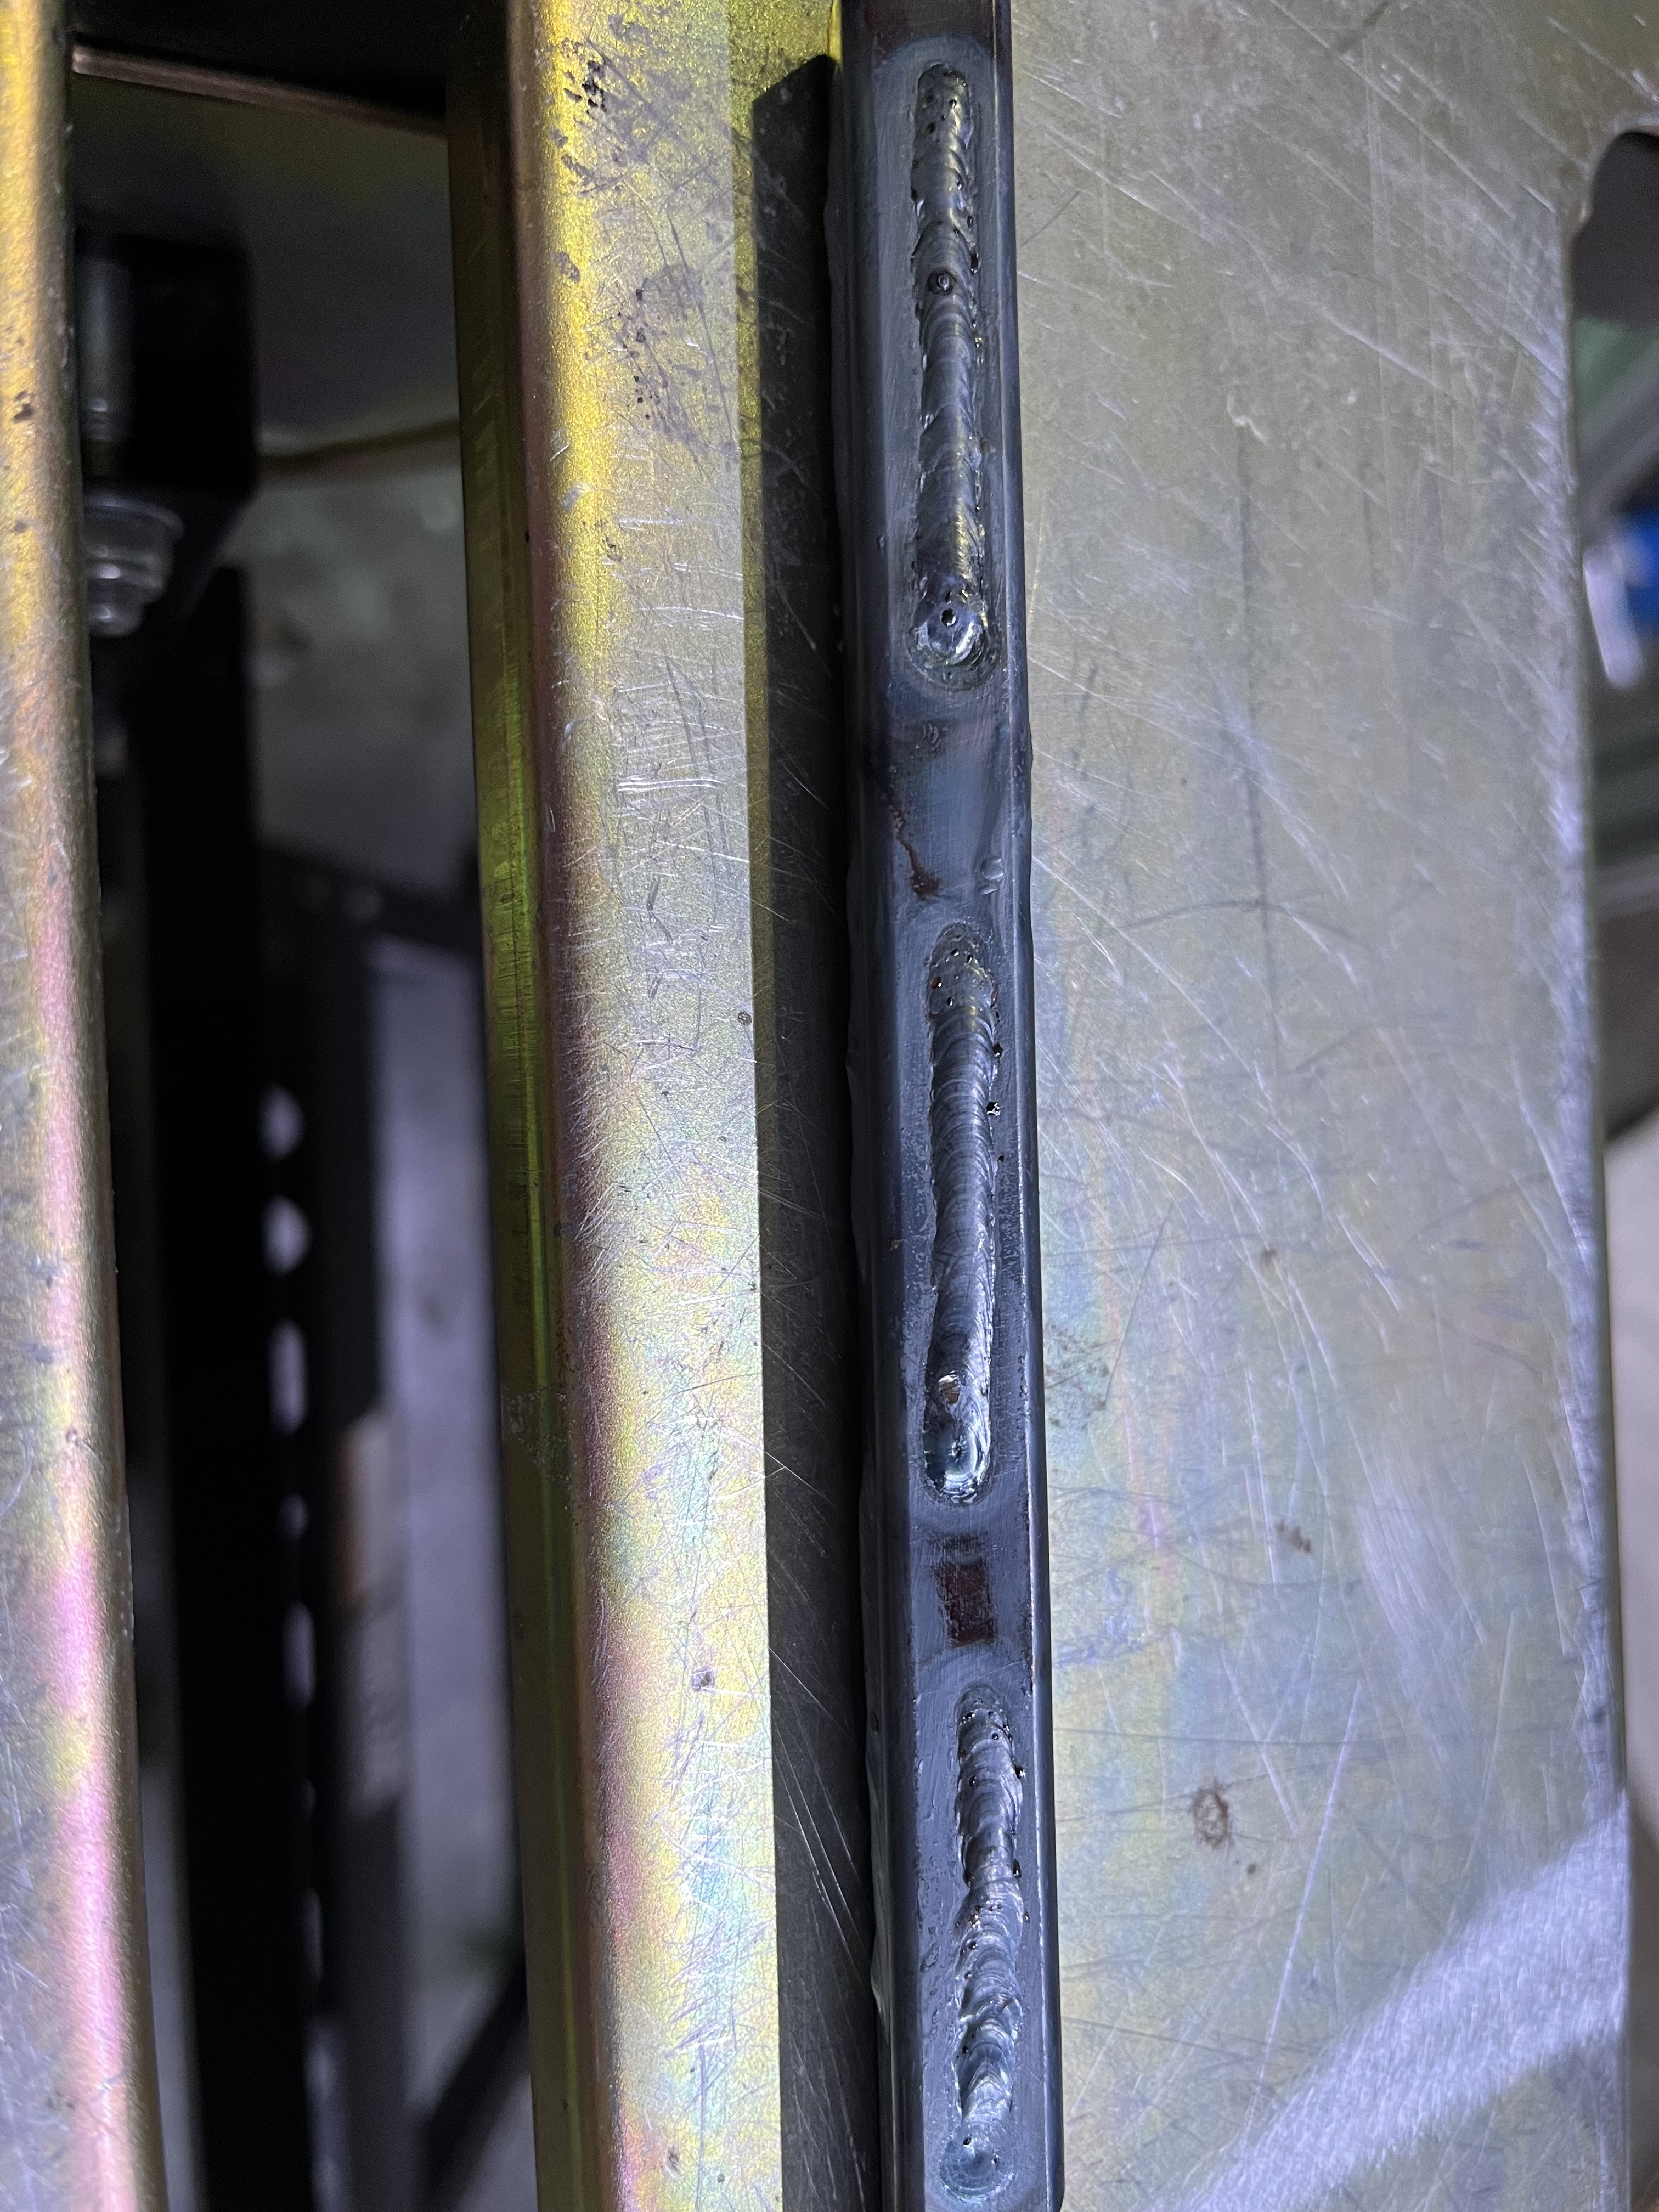
Here is a run of pedal pulse. First one is rough, per usual. Last is a bit too hot. Tried scribing but had a hard time seeing the scribe once the arc started (#9 lens).
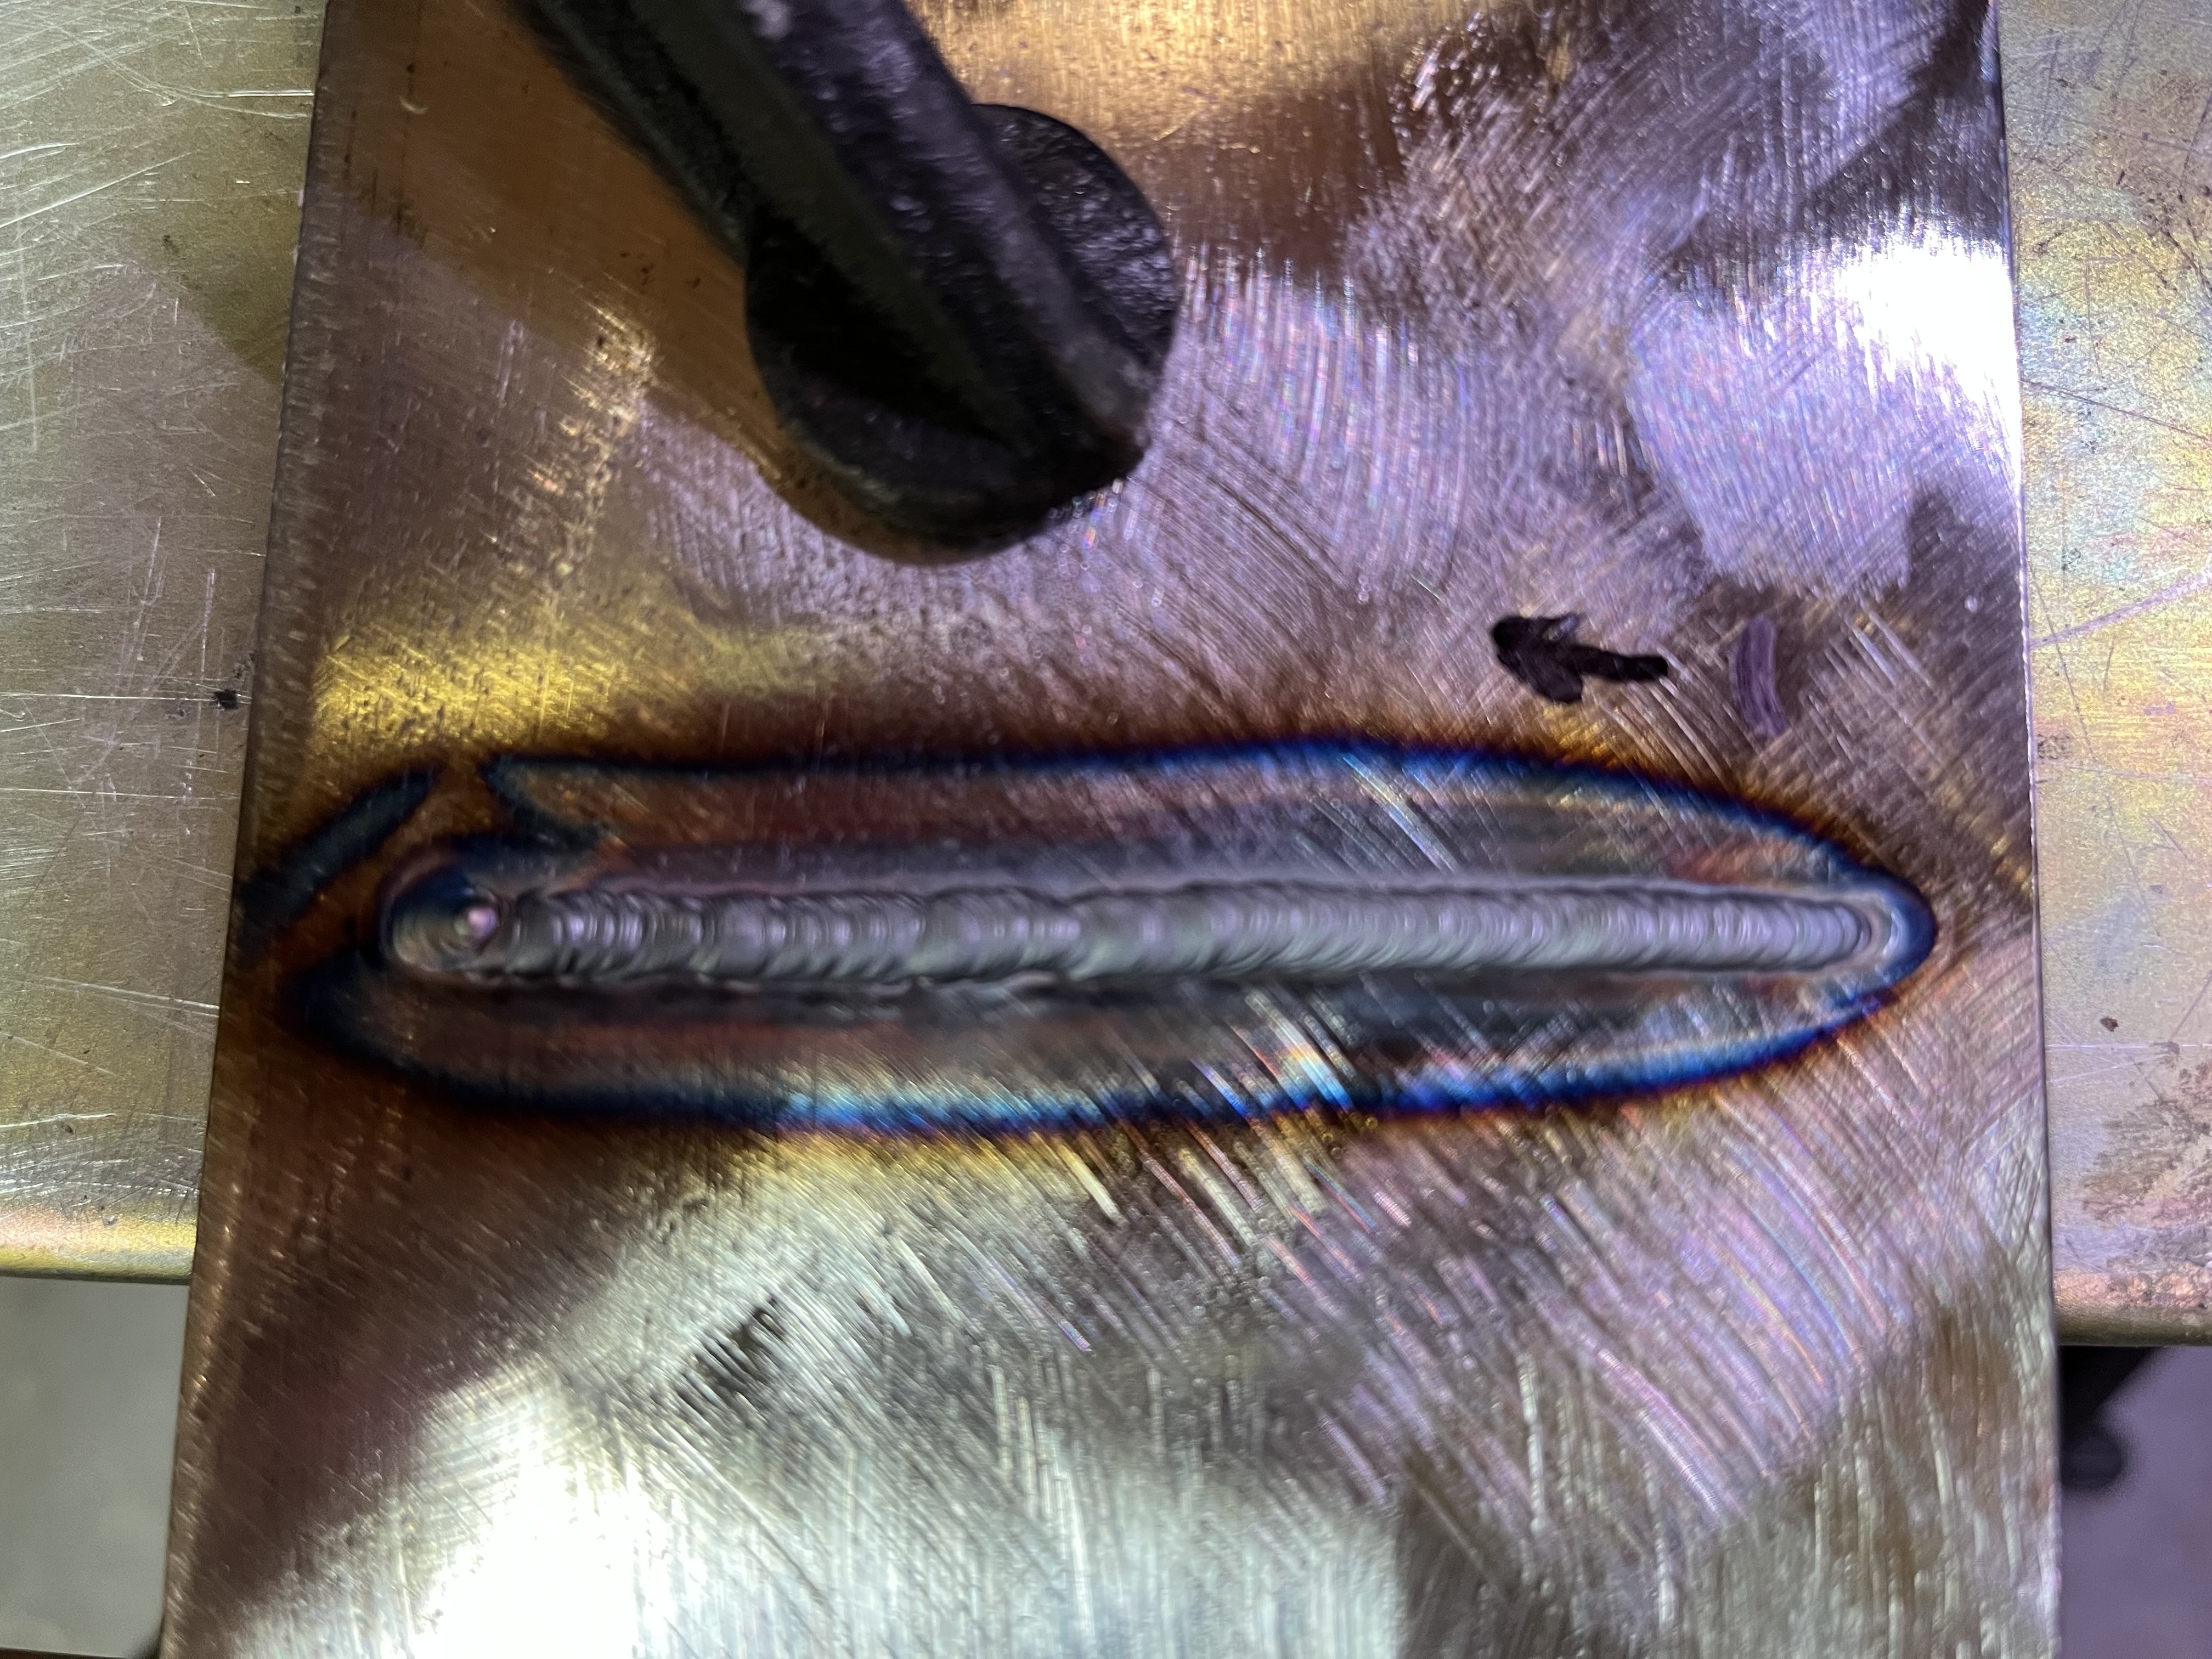
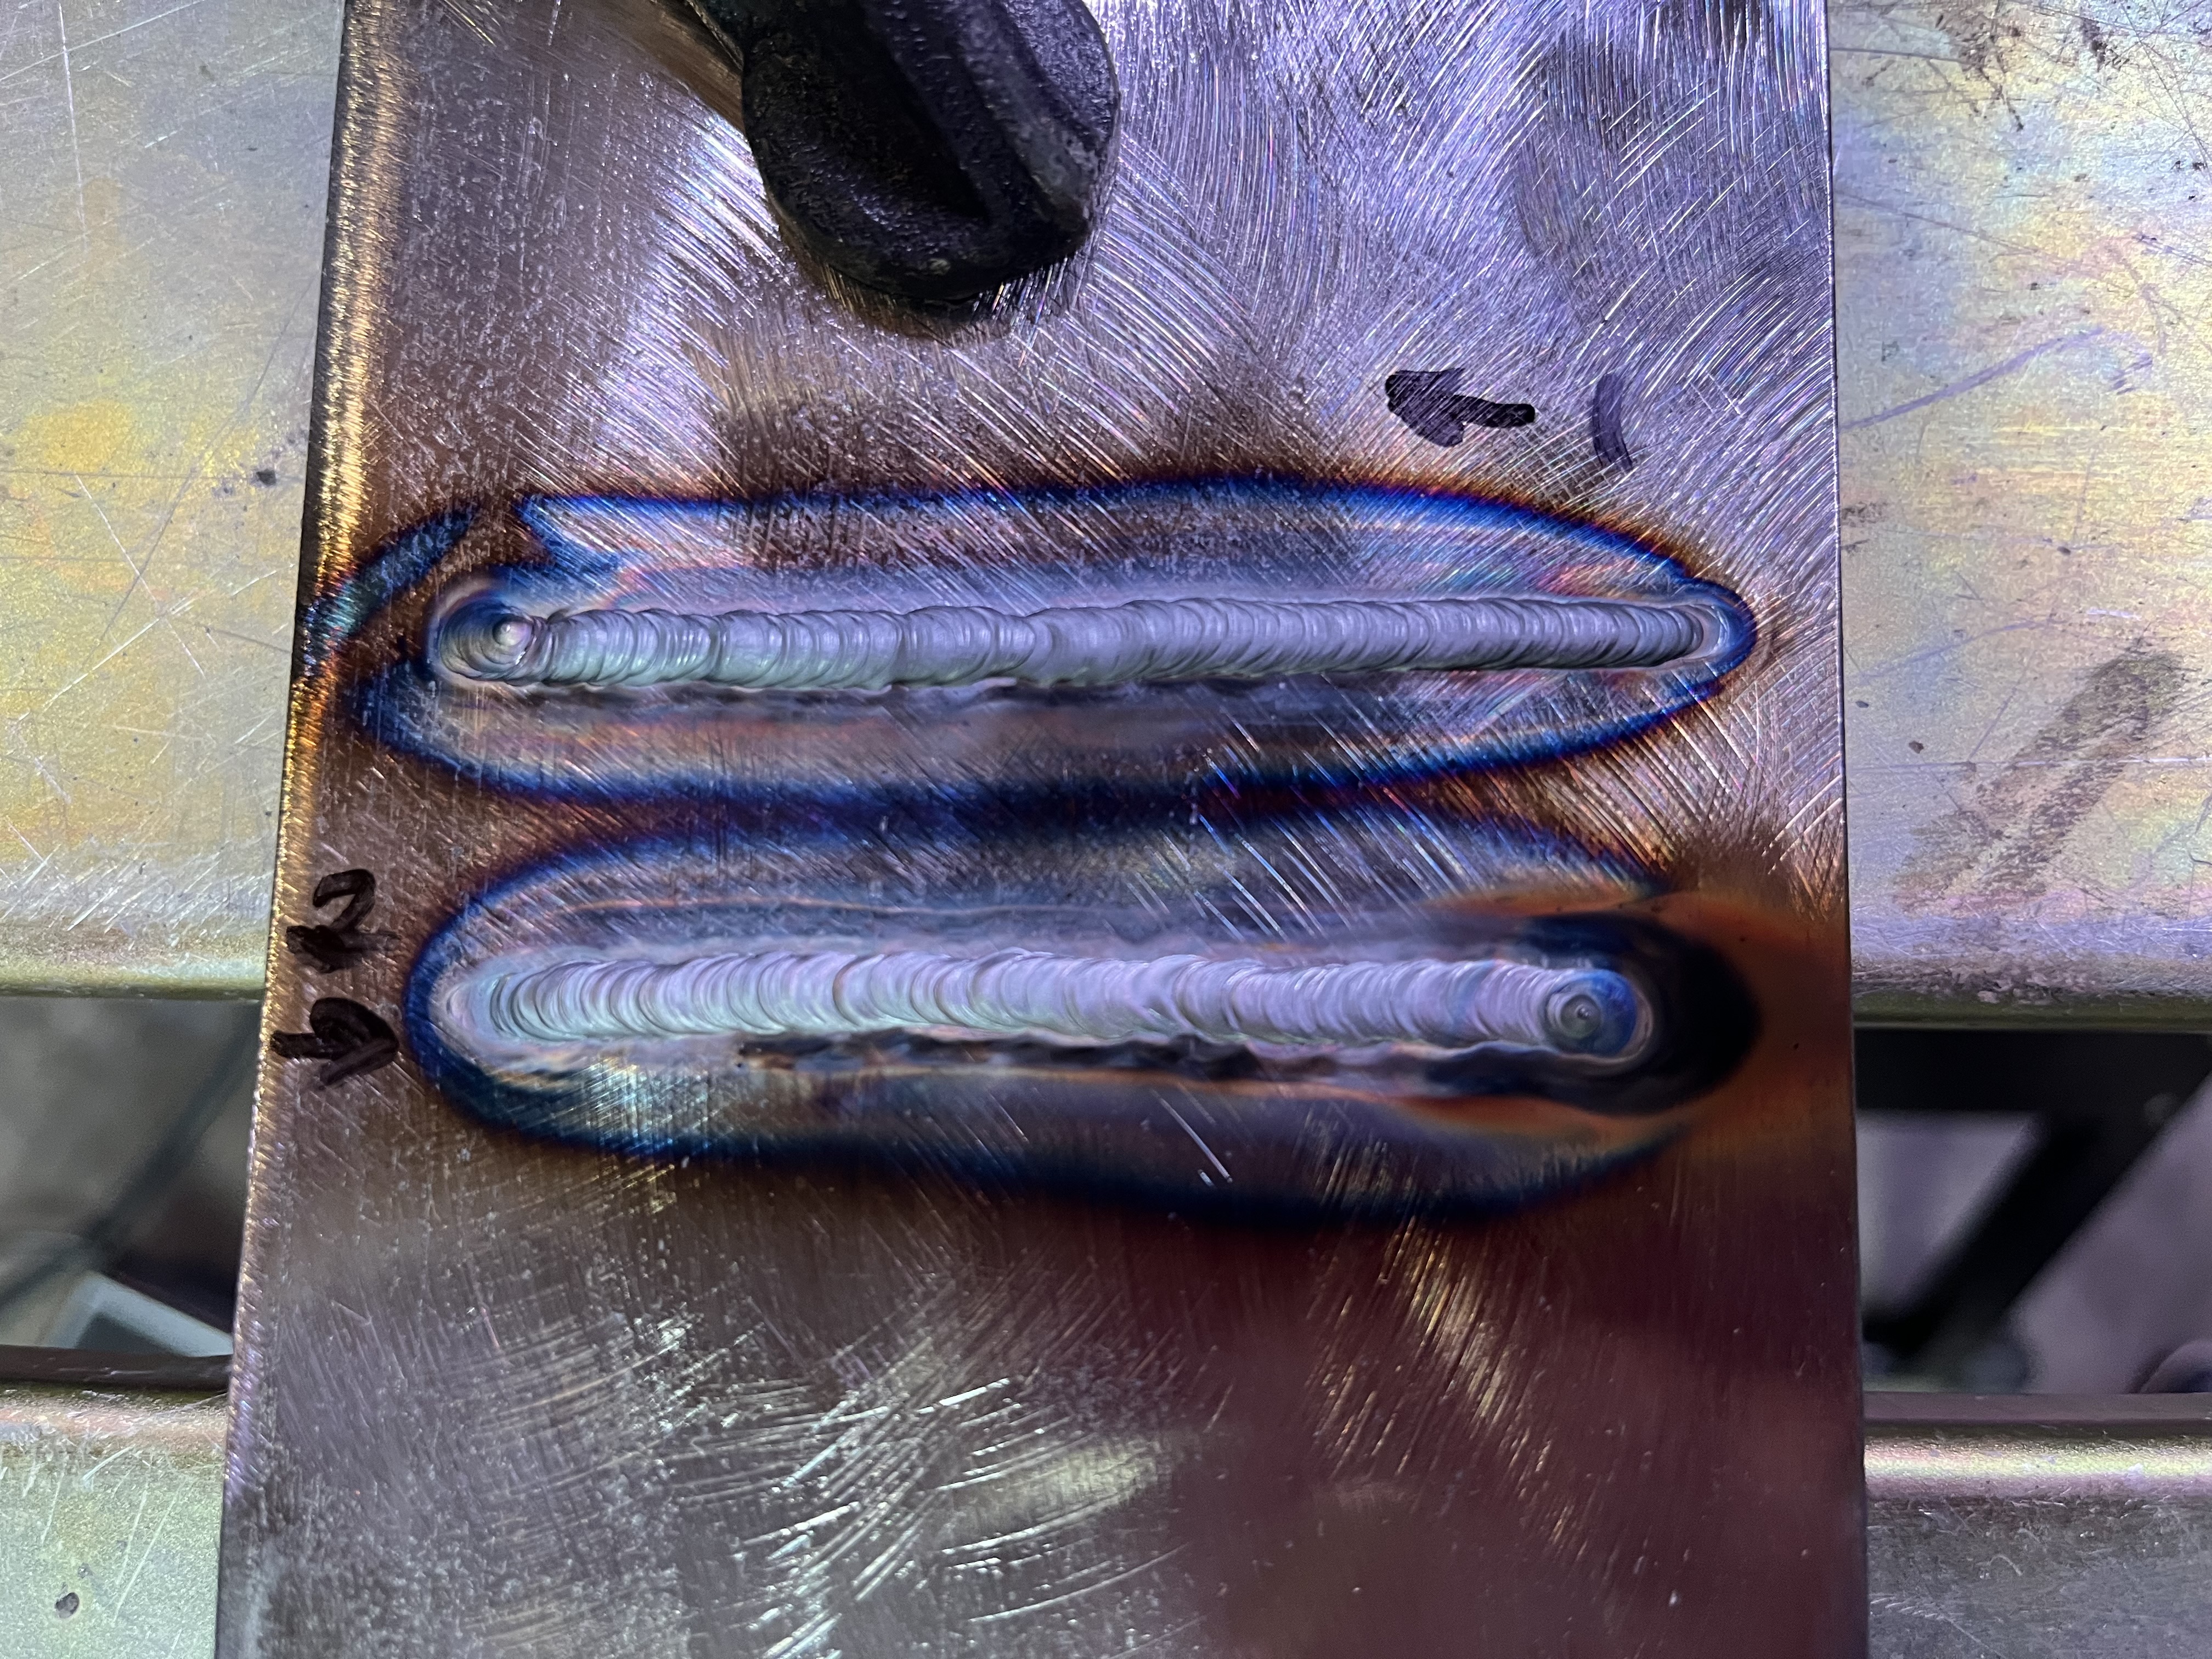
Back at practice with fresh gas…
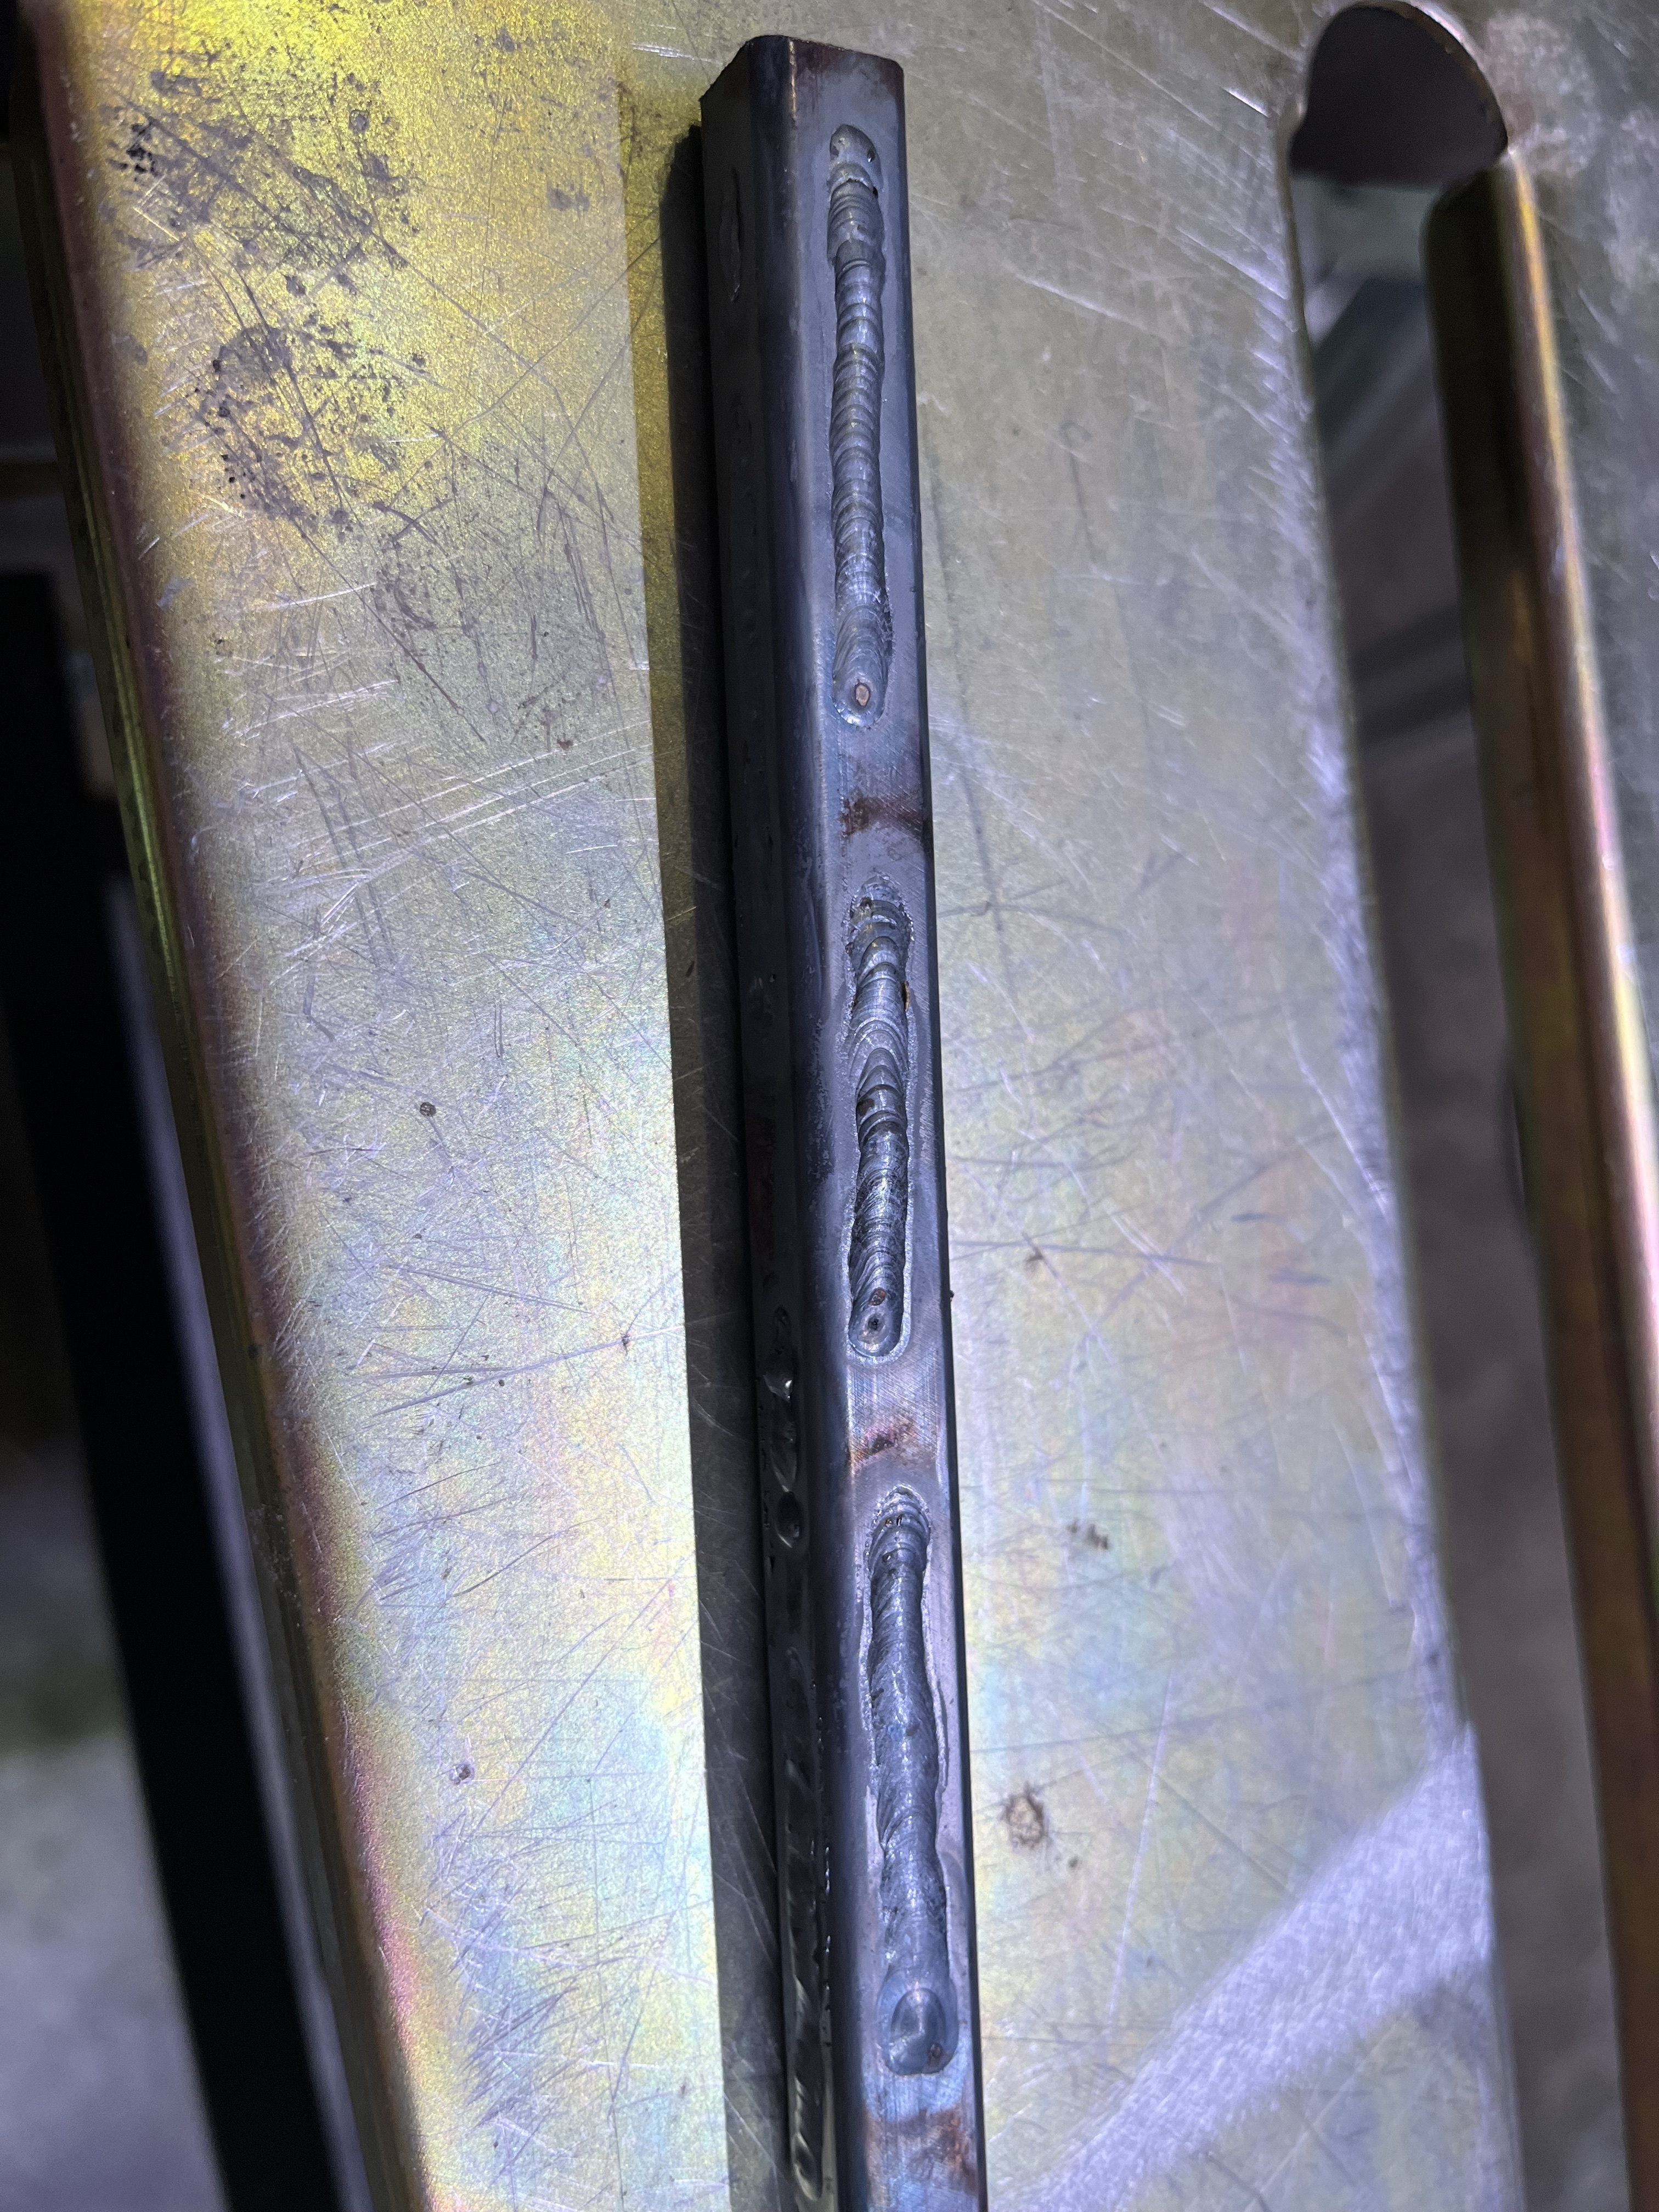
This time on some miled steel 0.065” square, steady arc, with a metronome & filler. Some look OK, some downright ugly, but it was practice.
I was running 90 bpm, or 1.5 pps equivilant. My thought was to speed up my movement rate and adding plenty of filler to keep the heat down.
I also think I need may need to change out my gas lens and/or cup. Reading other threads I might not be getting the best coverage or some air infiltration.
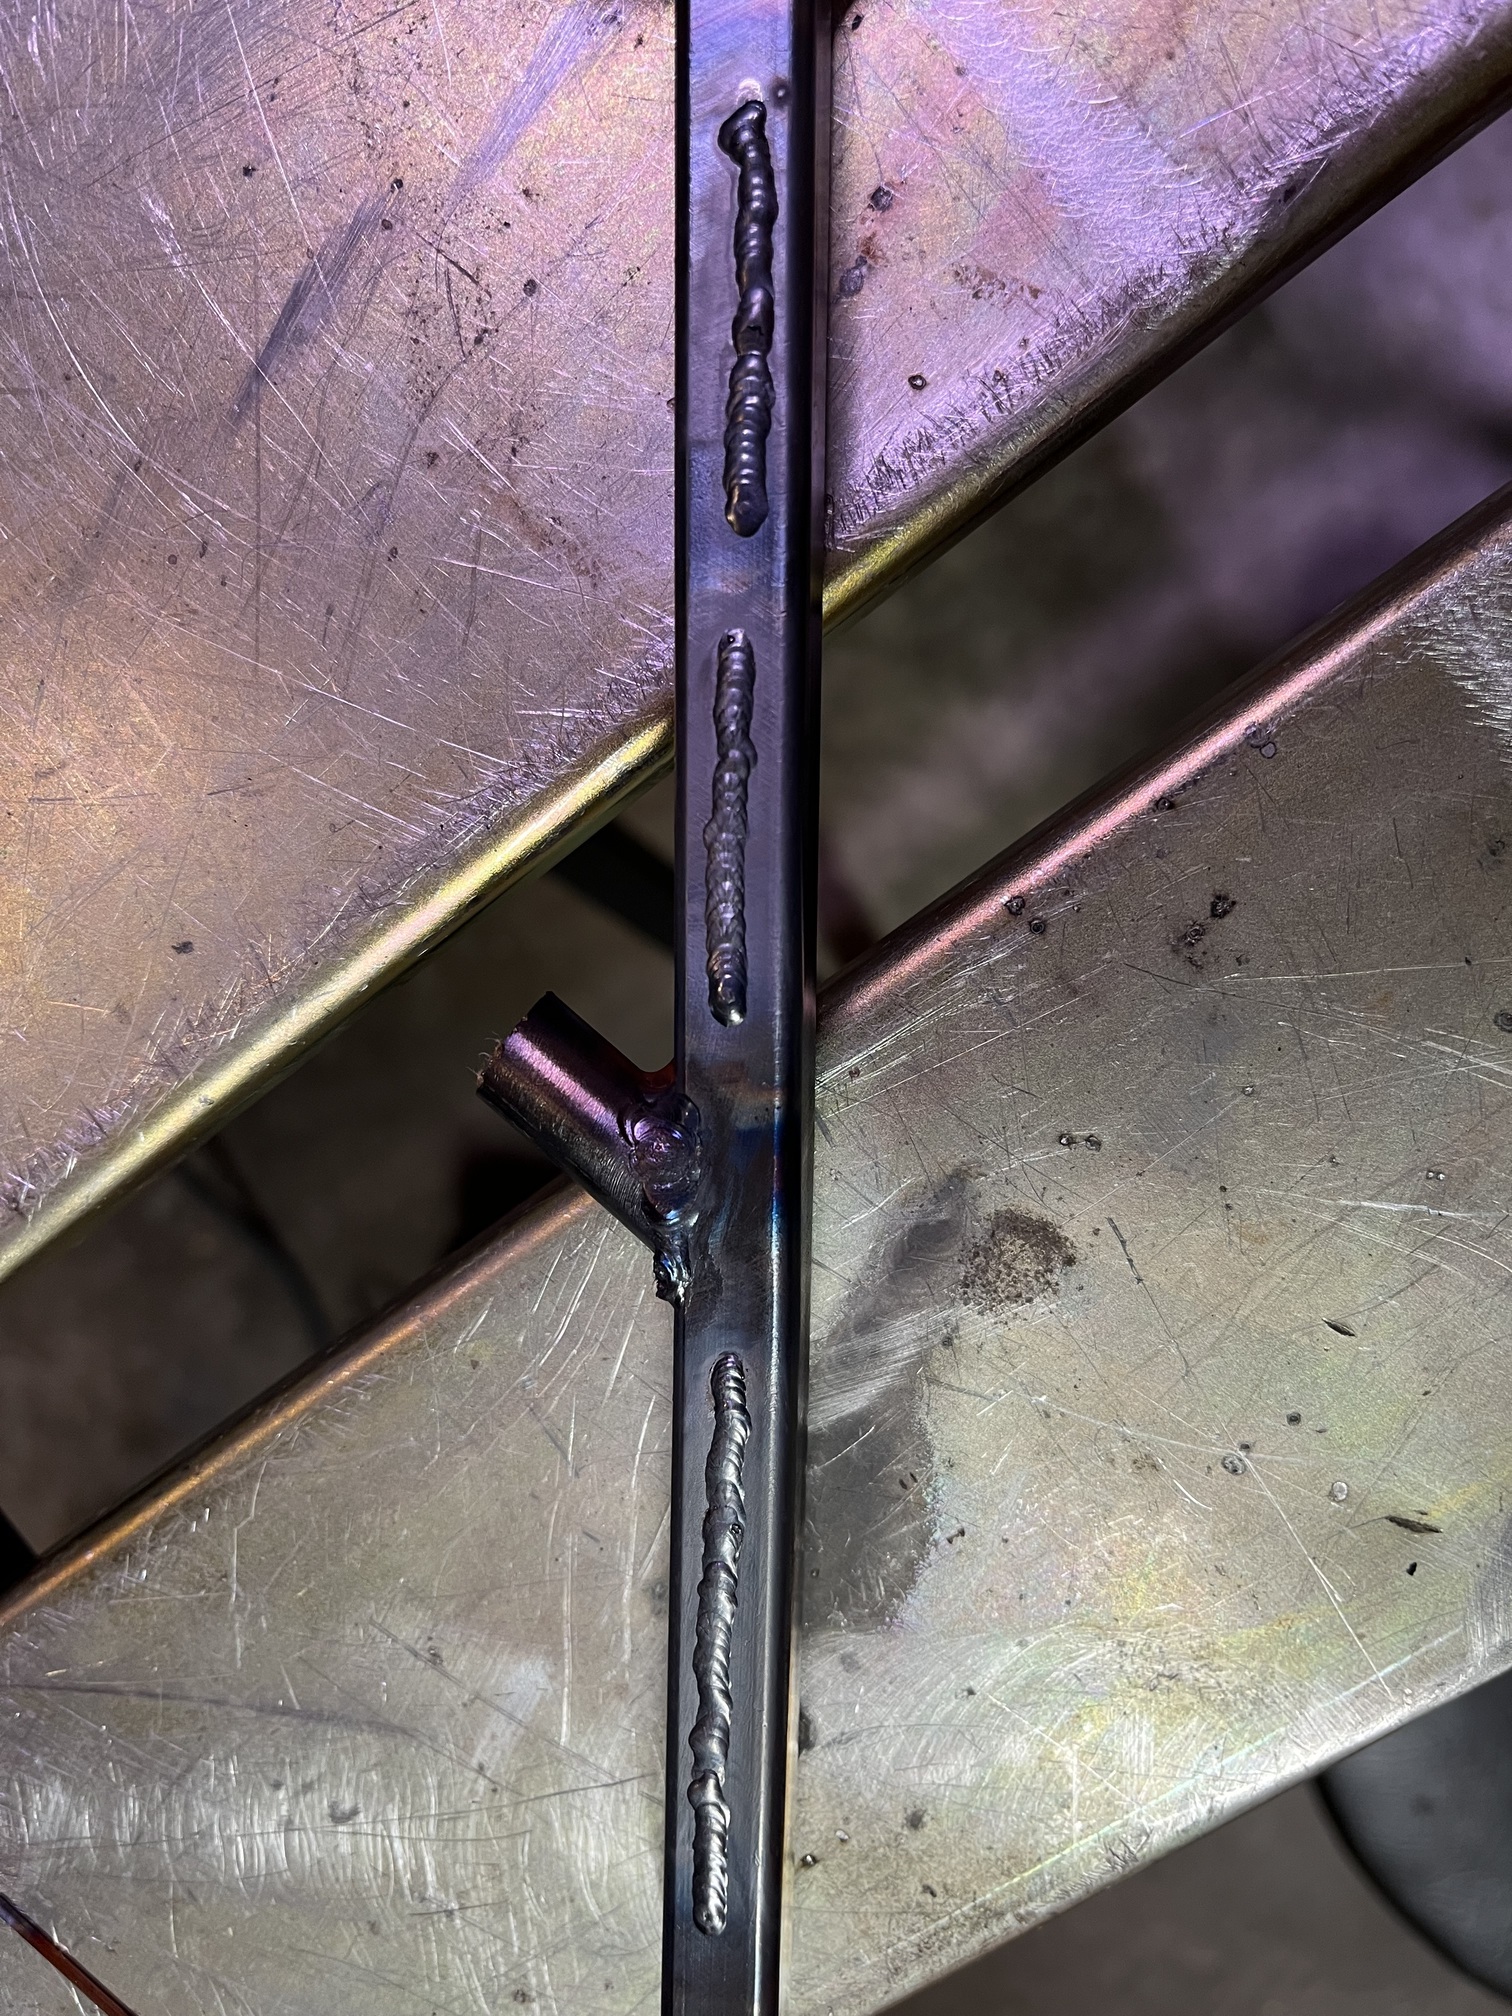
I’ll take a look next time I’m there. Part of my issue is my regulator is in Lpm. Somewhere I got my converstions wrong and was flowing 15-18 Lpm. Lowered my flow to 8-10 Lpm and have a much more stable arc. Ran a few beads, but between feeling punk and running low on practice material, I didn’t do many. (ignore the globbed on round stub)
2 things I can think of that might help.1- As far as the regultor, if you’re not sure if it’s reading right and you’re just doing practice beads, turn it down a bit at a time until it starts to get grumpy and want to contaminate, then bump it back up. You could then turn it up until it starts to contaminate the weld again by pulling air in, you know you need to live in that zone.
2, maybe some bigger practice pieces? That’s some pretty small tubing, something boigger might be easier while you get practice in.
Also, I use these for almost everything
and usually only bring out the gas lens when I’m running a bunch of stick out and need a lot of argon coverage.
I certainly need to get more practice material! Running low on scrap and drops right now. Likely I’ll get a 1/4” plate and try the right hand/left hand back and forth method for awhile
I also need to try some different set ups. Right now I’m using a 9 style torch with #7 alumina cup (#8 broke, and my kit was just a variety pack) and a 1/16” electrode.
I’m curious that all the Furick stiff is 3/32”. Is that just because most welders don’t go so small? Do bike builders use 3/32” only because that’s what’s available? Somehow I thought smaller was better for thin wall.
Second run was left hand torch, right filler (I’m right hand dominant) but think I got better penetration, if a little less consistent, and some gas coverage issue at the end.
I am seriously impressed with your ability to go left handed!
Are you using a metronome? That really helped my pacing.
Also, where is the rod melting? I had a problem with melting the rod with the arc and then it flowing into the puddle. Things really picked up when I put more heat into the joint and was able to dip the rod into the puddle.
I’ve done the left-right exercise before, another good idea from Welding tips and tricks.
I didn’t use a meteonome this time, just counted in my head.
Definietly trying to melt at the puddle. Sometimes I miss, but that’s part of practice. Finding the rythm of slightly raising or backing the torch to make sure the puddle is reachable is certainly a skill. The thicker material is easier since I can linger a bit without fear of burn through. Helping to get the sight picture of the puddle. I’ll move on to proper round tibe joints soon.
Also added the Furick #8 pro nozzles as
reccomended by @SoyWater above.
As mentioned on Welding Tips and Tricks, My old eyes also like that the clear cup illuminates the whole area, and I can see the back of the puddle better through the nozzle.
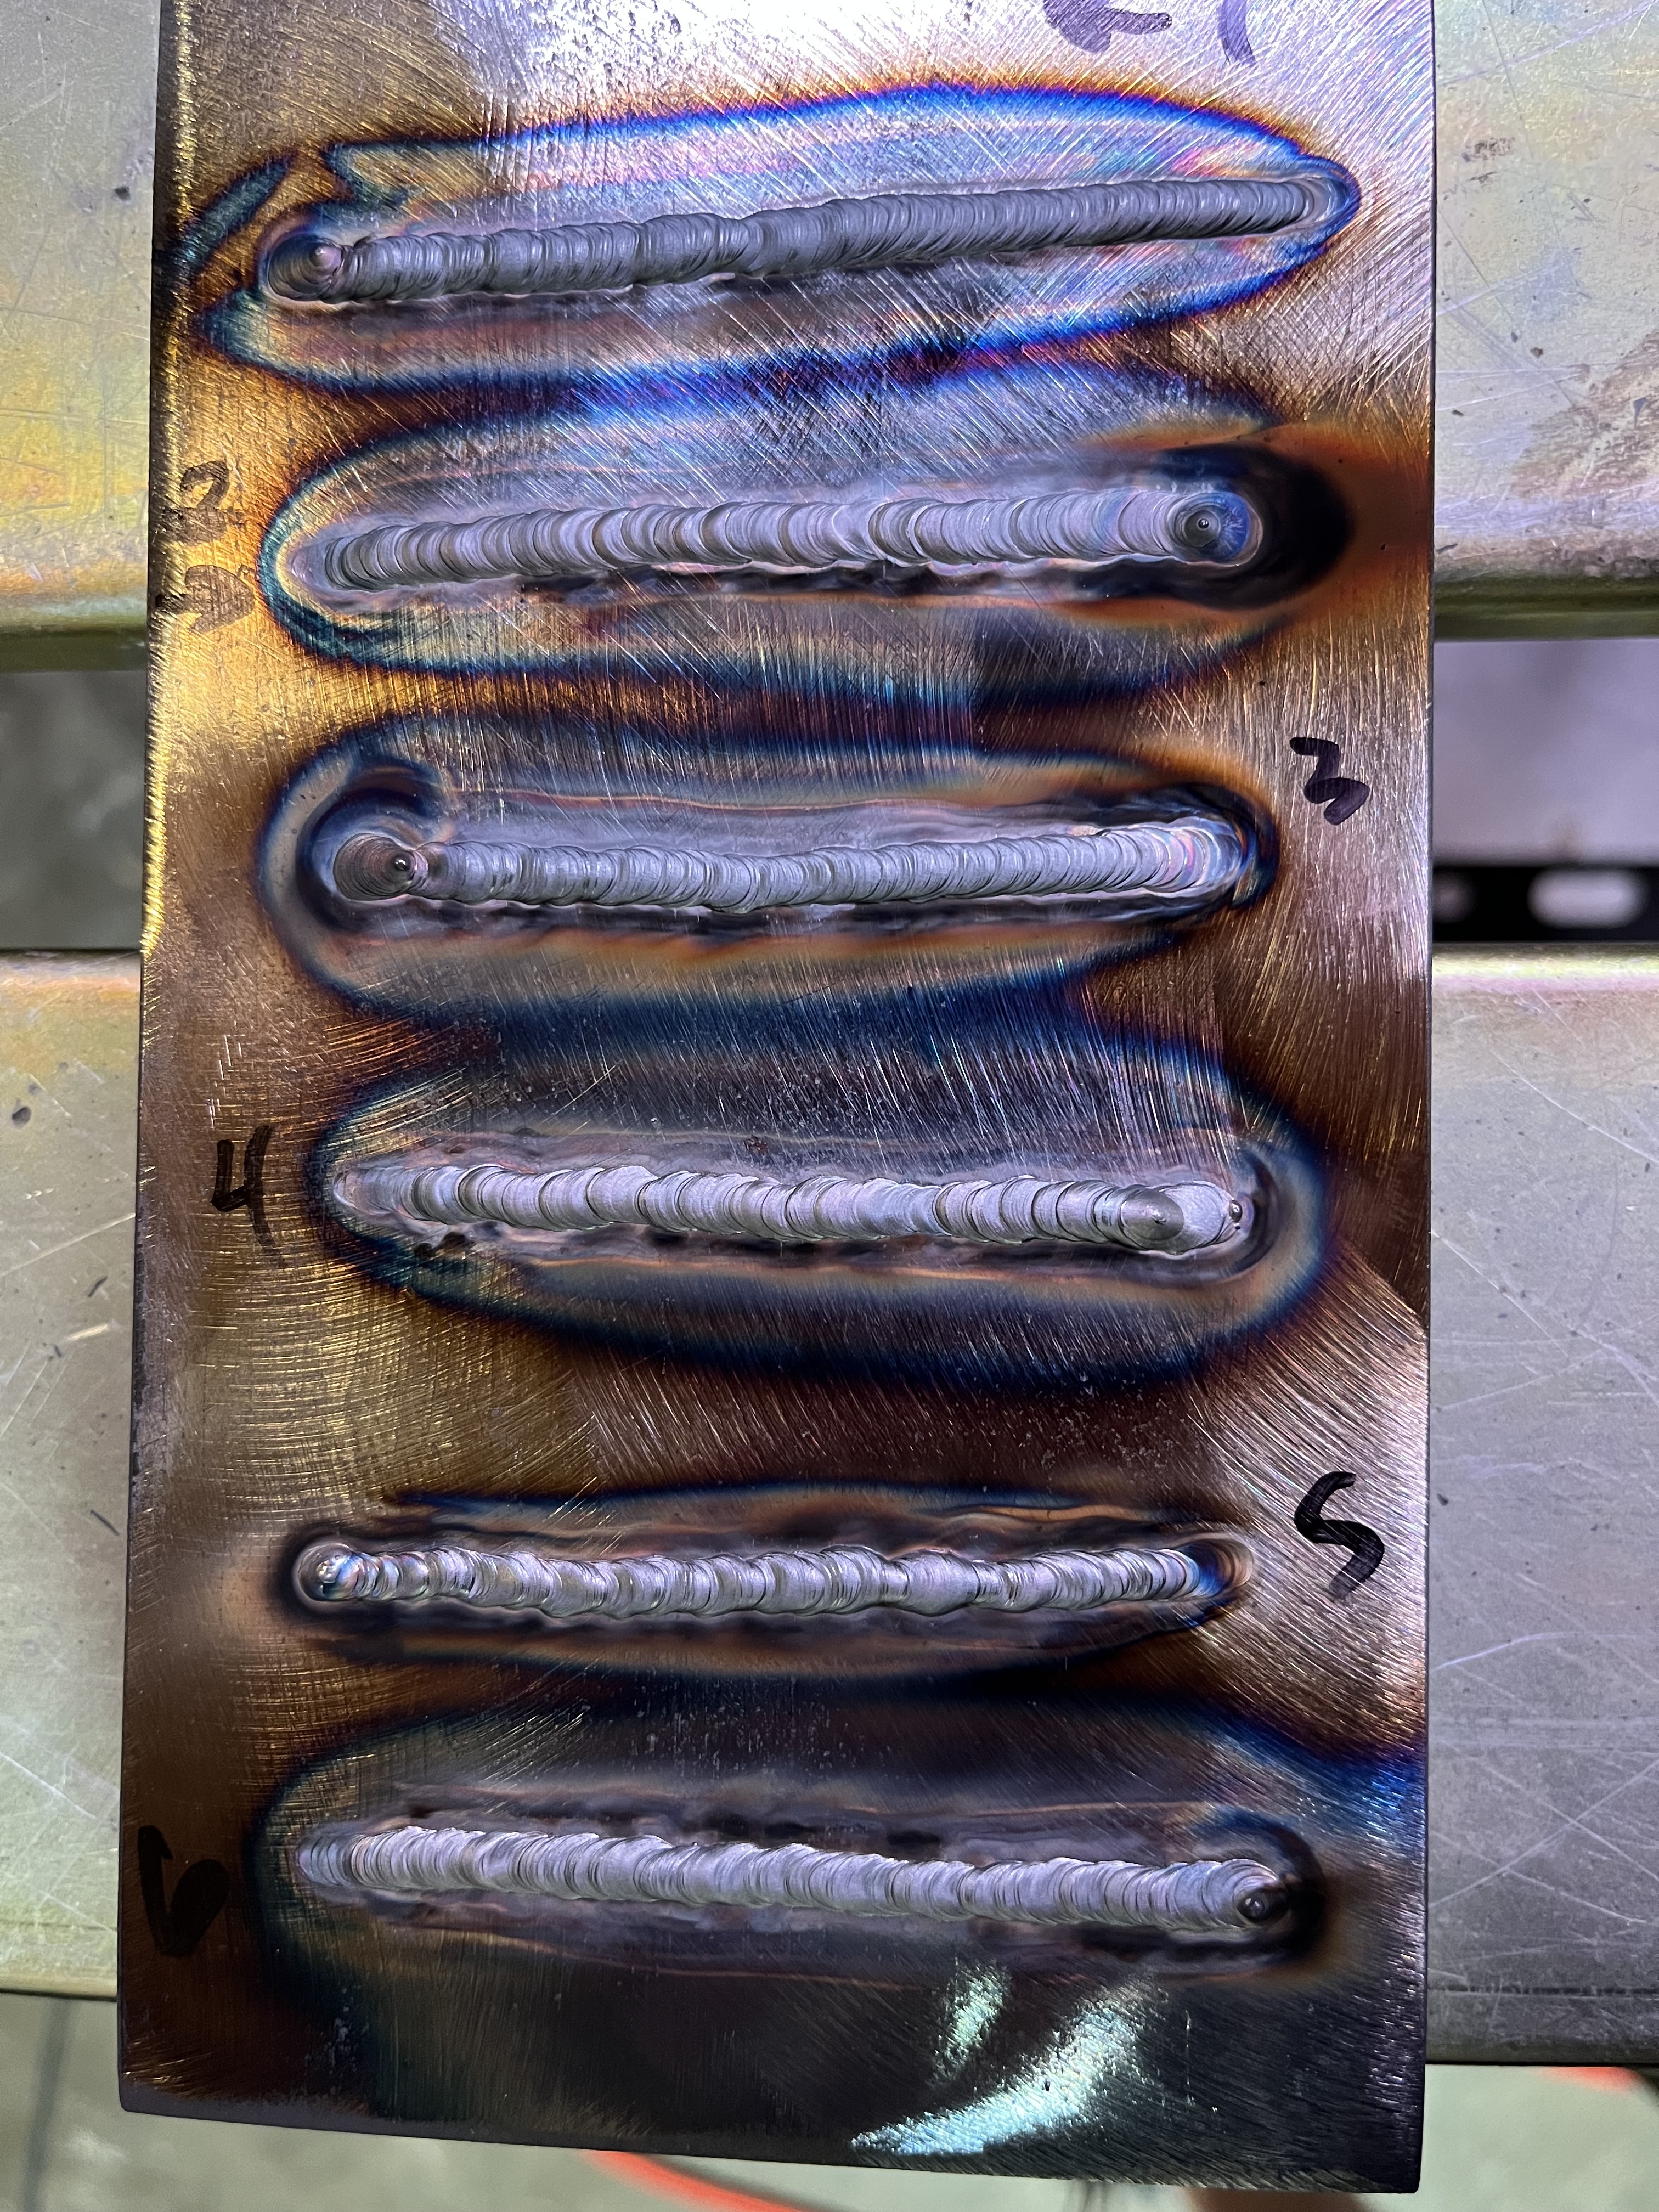
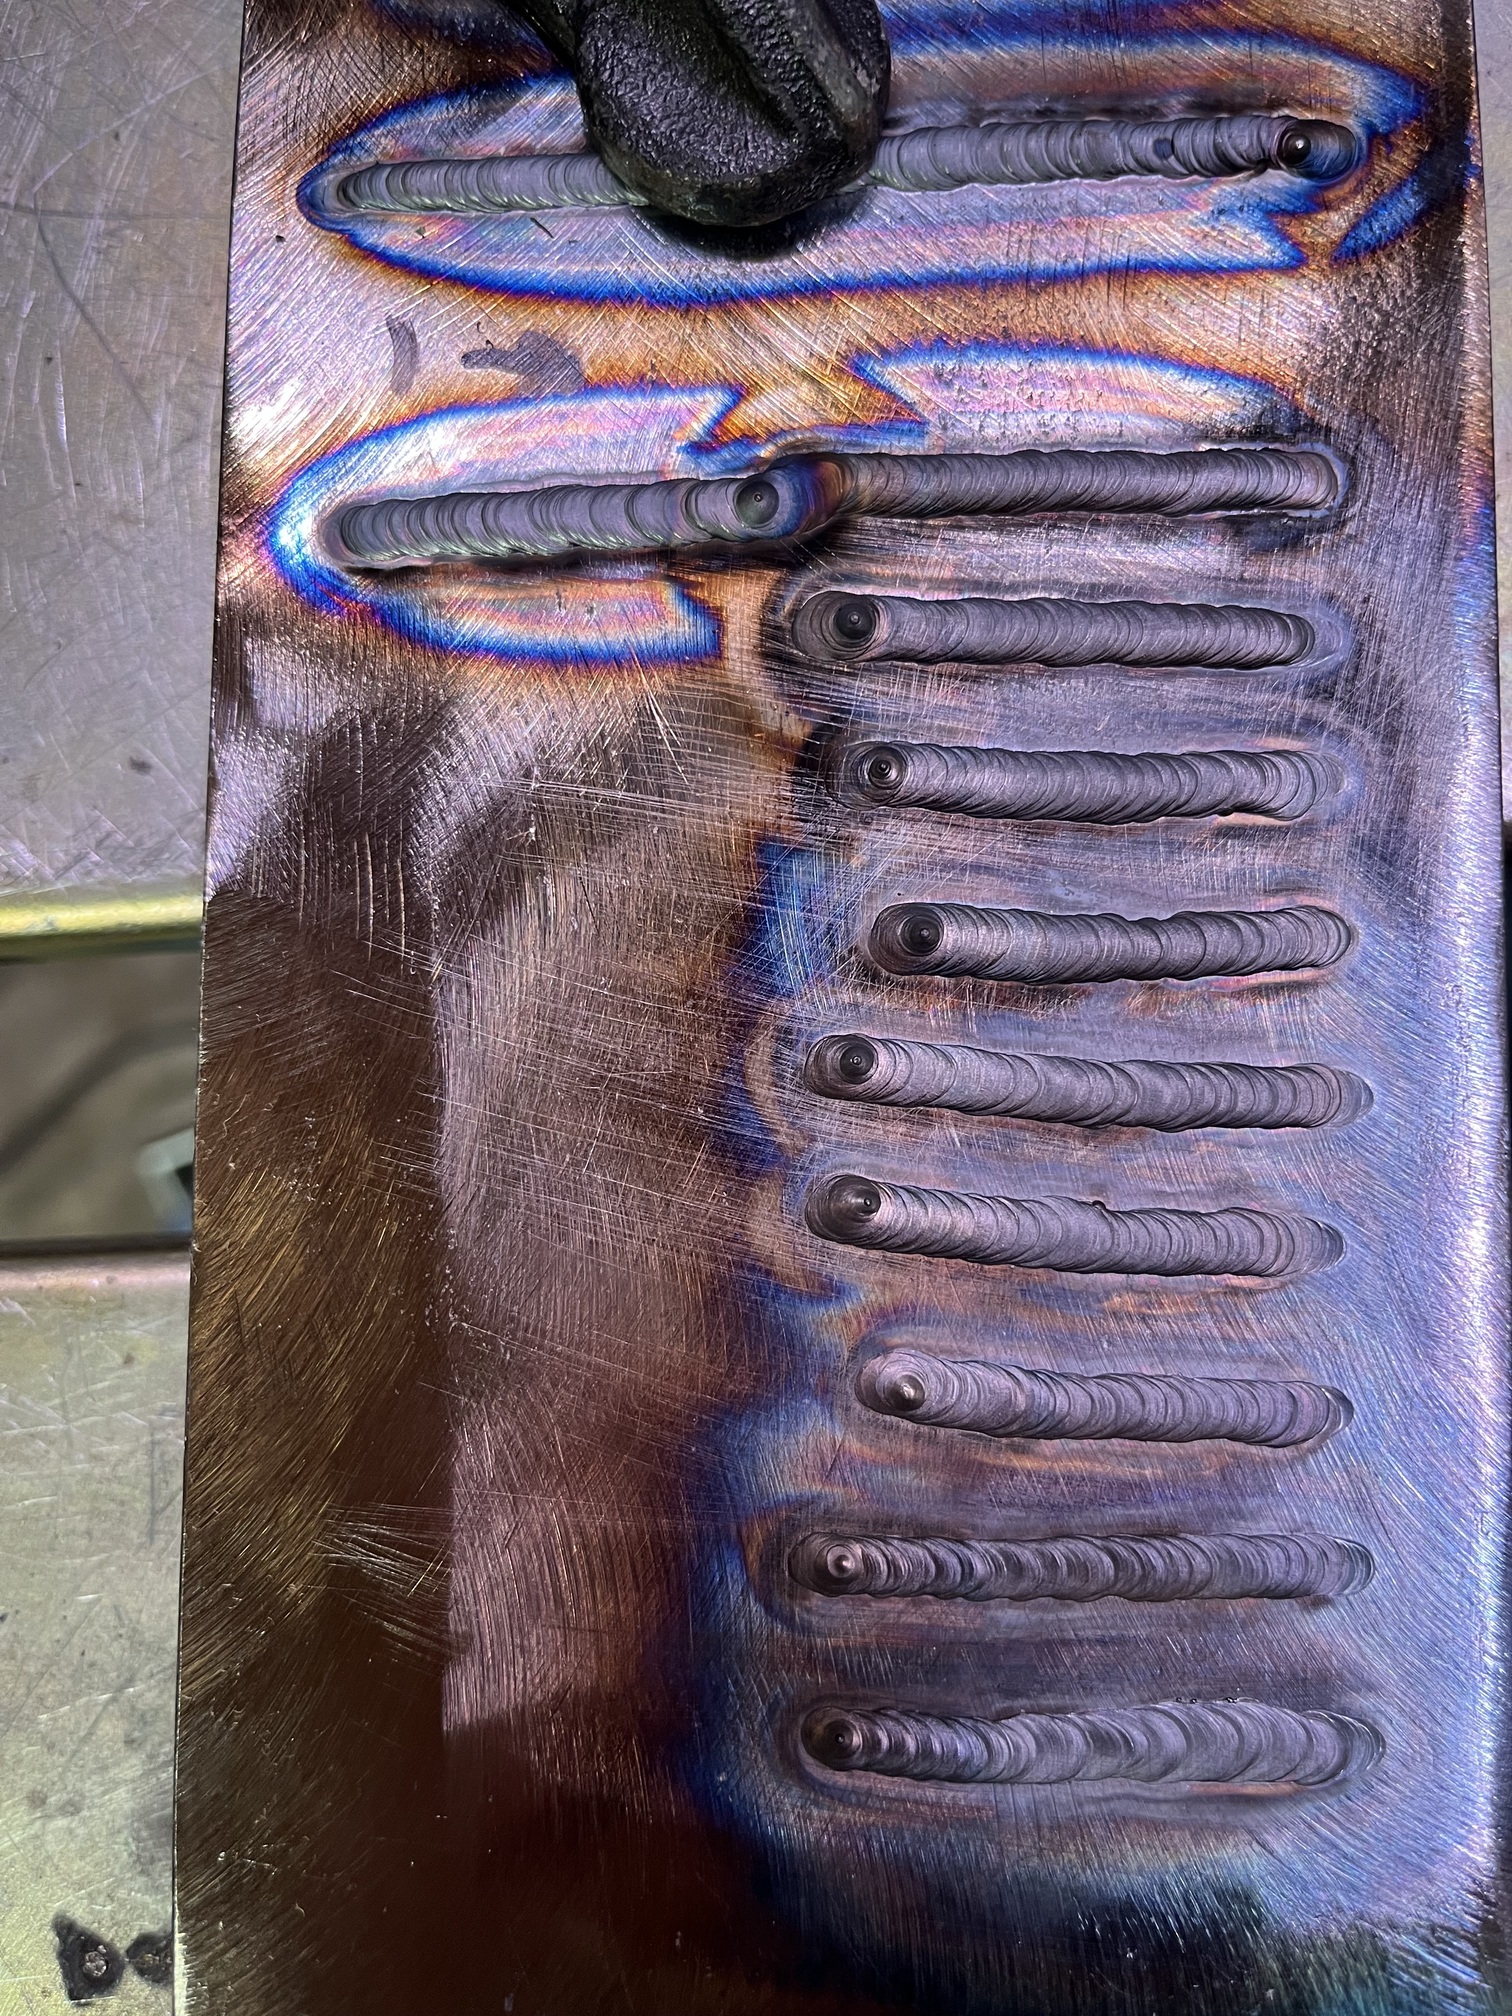
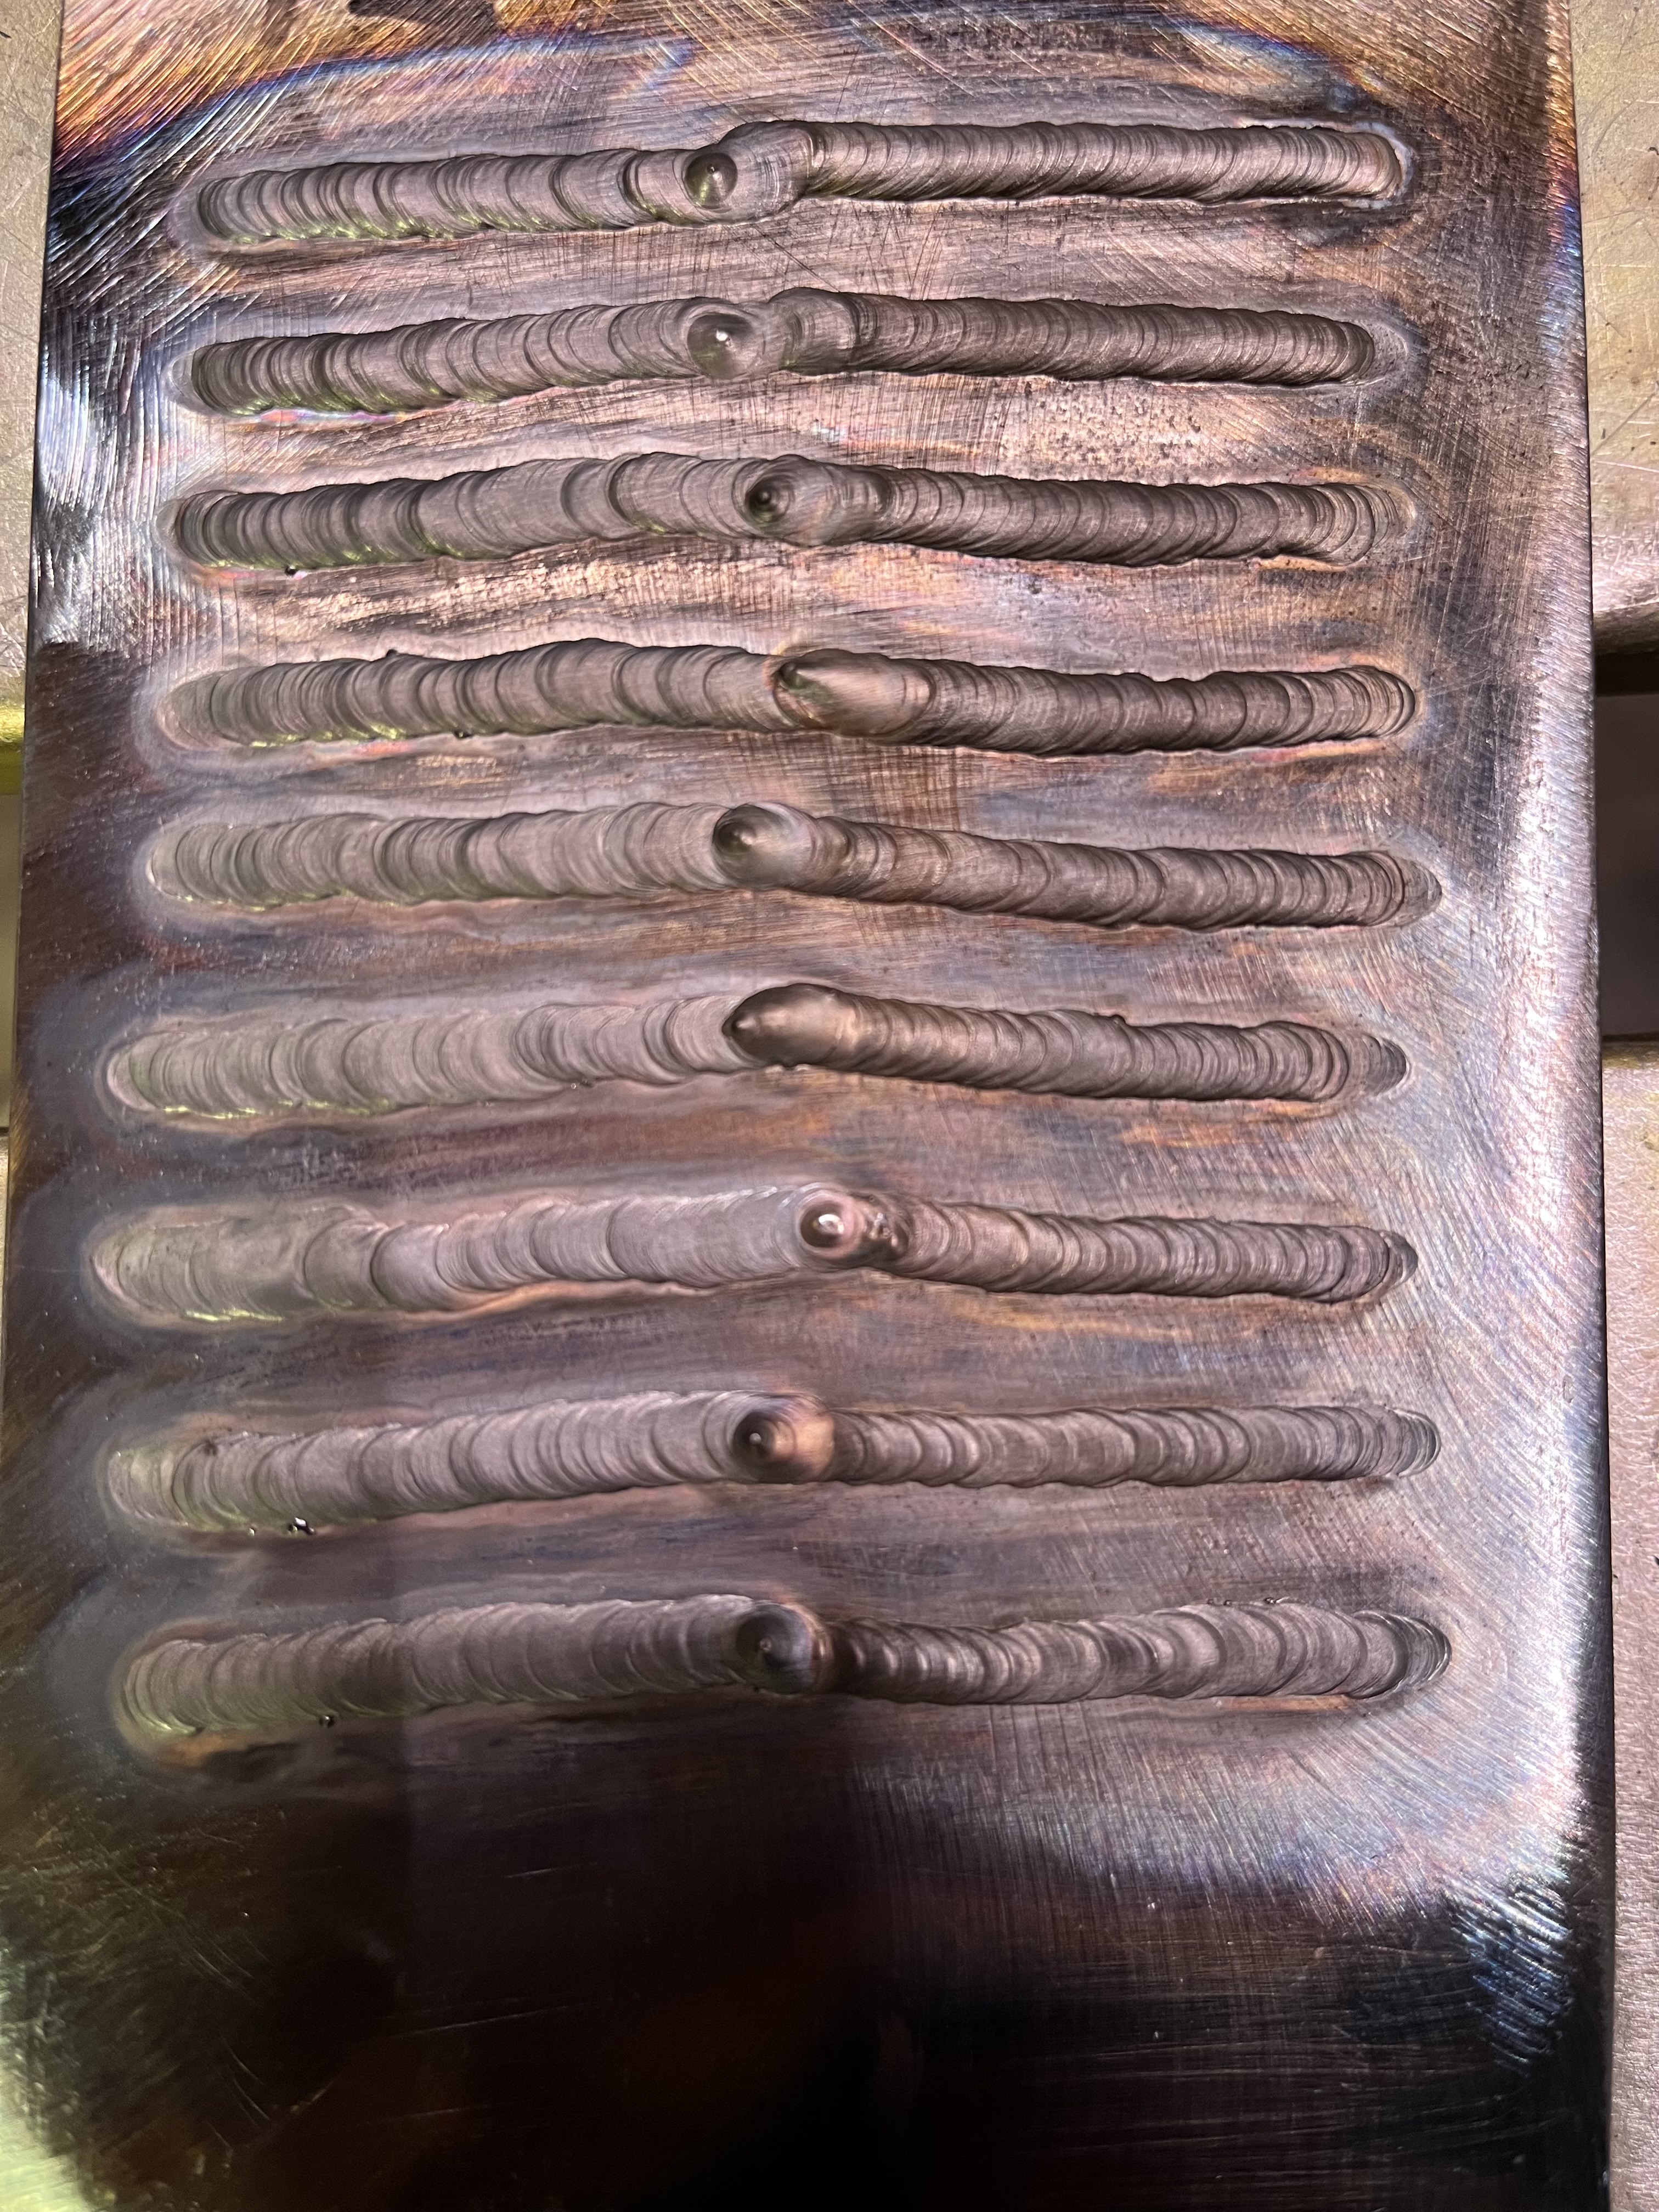
First, some more beads on the 1/4” plate. A bunch of right handed followed by tying in from the left, left handed.