Introduction:
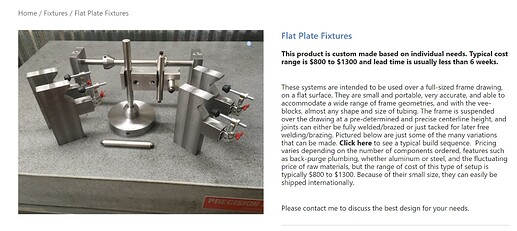
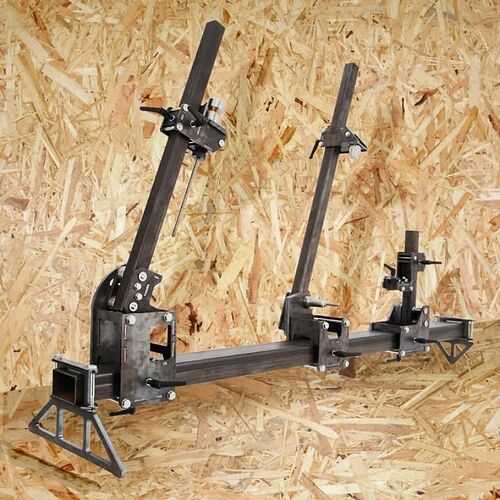
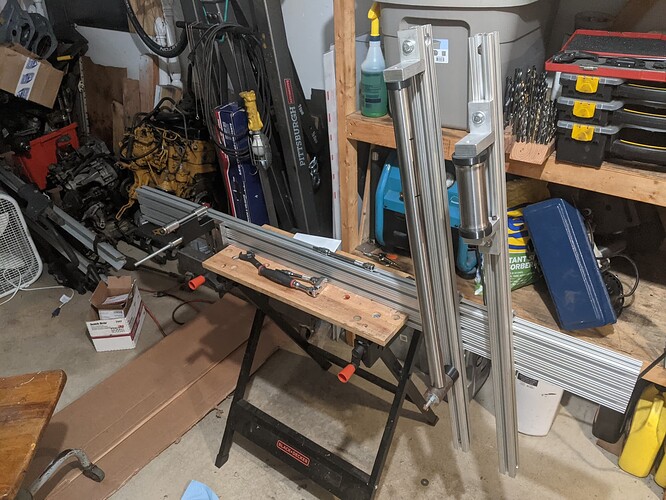
I have been mulling over the purchase of a frame fixture for a while now. However, I just don’t have the space and need to justify a $4k pro fixture. Reading Pi Bike’s and Ted’s build logs, as well as Walt’s Framebuilding guide made me realize that a traditional frame fixture is overkill for the hobbyist and amateur frame builder. Walt’s guide made me realize that frame alignment comes from tight joints, intermediate alignment steps, and welding sequences, NOT the fixture!
Problem:
- Existing frame fixtures are really expensive ($4k+)
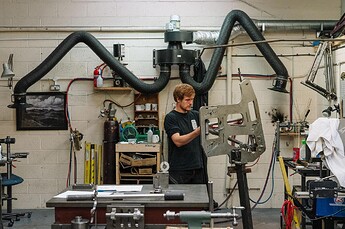
- Frame fixtures eat up a lot of shop space
- Frame fixtures only serve one purpose
- Toolmakers (sadly) come and go, leaving unsupported tooling
Solution:
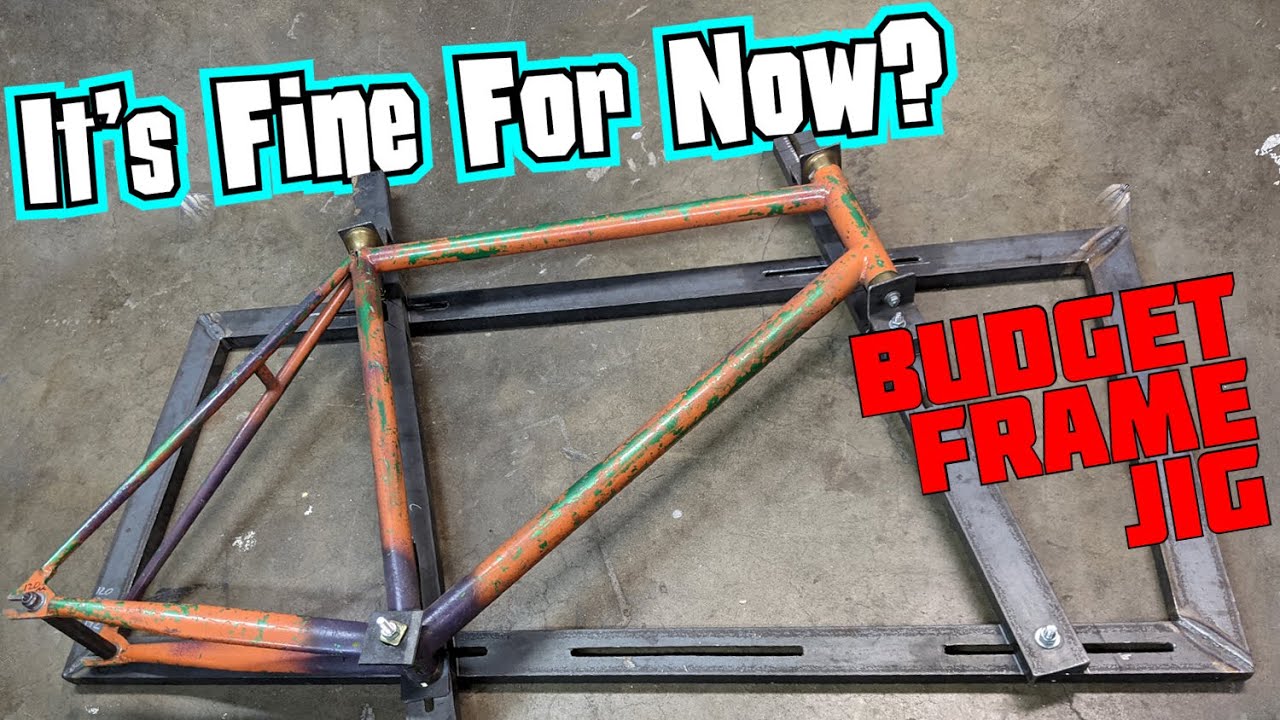
- laser cut and 3D printed frame fixture for <$1000
- Welding table architecture saves space and is multipurpose
- Open sourced design allows for community support and modifications
Rought Draft:
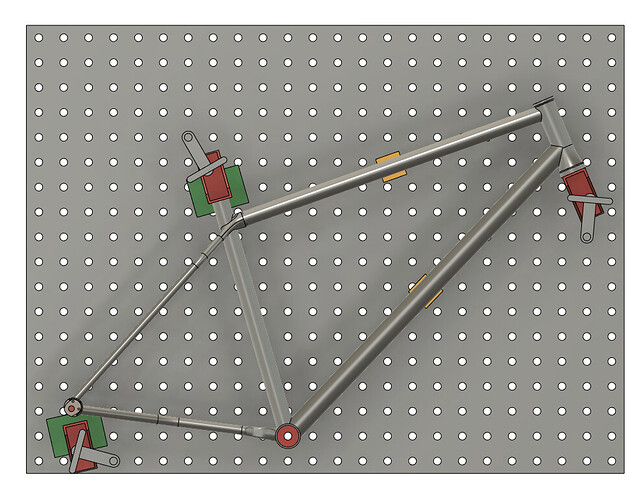
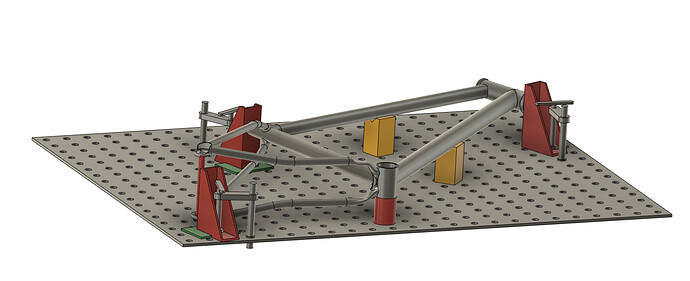
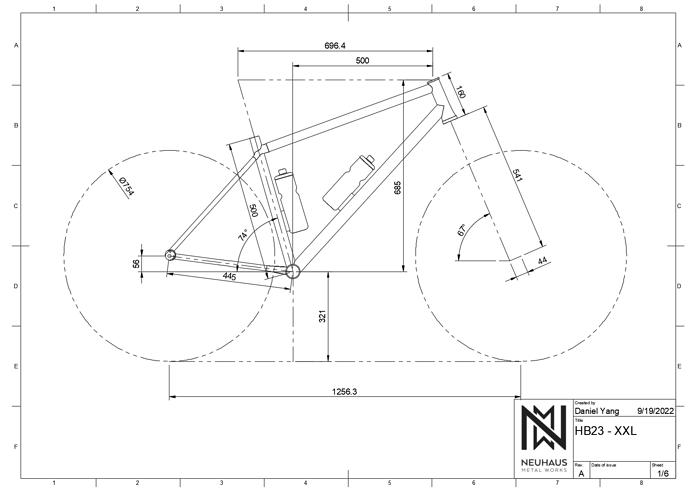
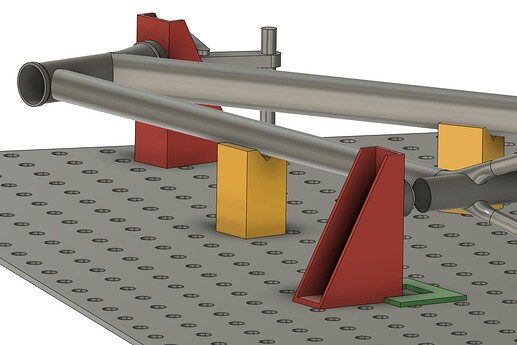
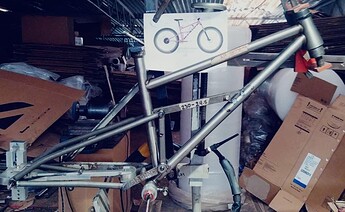
The idea is to use laser-cut fixtures (red) and welding clamps to hold everything to a welding table. The frame is fixtured on a 100mm centerline offset from the table surface. The laser-cut fixtures can easily be modified and remixed by the community to suit new bike standards. For reference, the bike in the JIG is an XXL mountain bike:
Table:
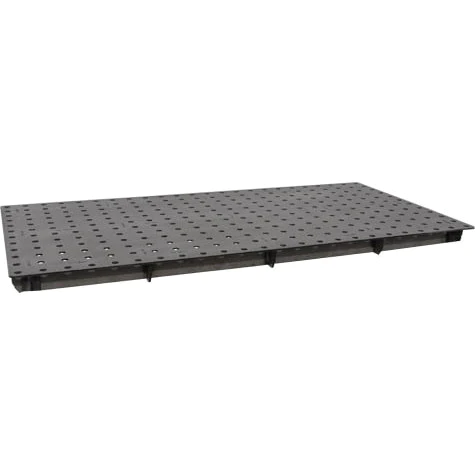
The table is based on a 36x48in CertiFlat welding table:
- $490
- 16mm holes at 2in spacing
- claimed .015in flatness [.4mm]
- With a pivoting “seat tube fixture” you can probably get away with the $350 24x48in
- Saves money, space, and weight!
- Saves money, space, and weight!
Laying Out:
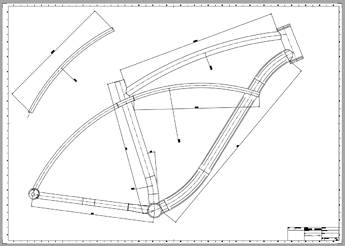
The idea is to lay out a 1:1 print of your bike on the table, and align your fixtures to the drawing. I think this is the key to a low-cost fixture. This method offloads the accuracy and precision of your fixture to your printout, allowing you to have a simpler and cheaper fixture.
- 36x48 prints are roughly $10 based on my research
- Can be done in bikeCAD and Fusion360
- This method could reduce error. It’s not uncommon to have a jig setup mistake!
Fixtures:
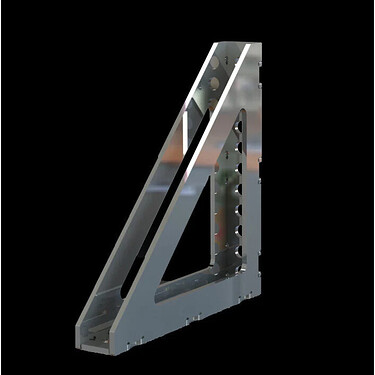
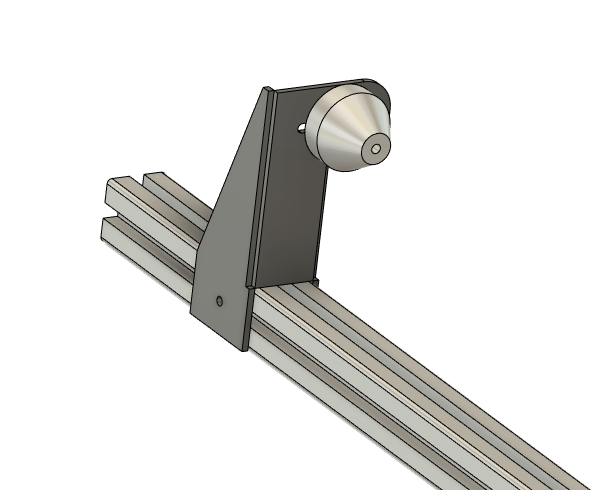
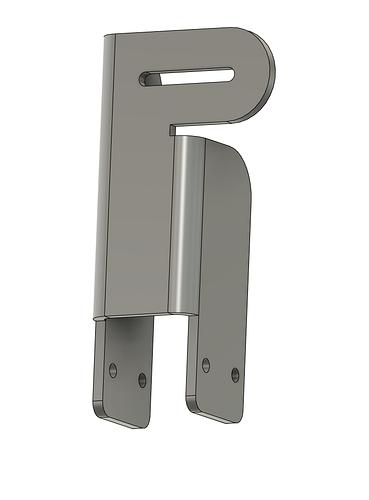
Simple right-angle fixtures are cheap, easy to make, and easy to modify:
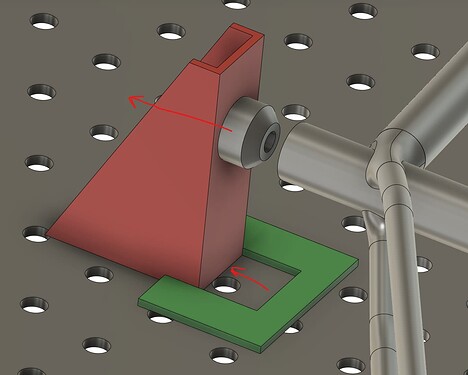
A simple indexing system can allow for frame removal:
- green plate is fixed to the table (somehow)
- red upright allows the fixture to slide back to release the frame
Assistant blocks (yellow) can easily be 3D printed or laser cut to fit your needs:
Precision Parts Required:
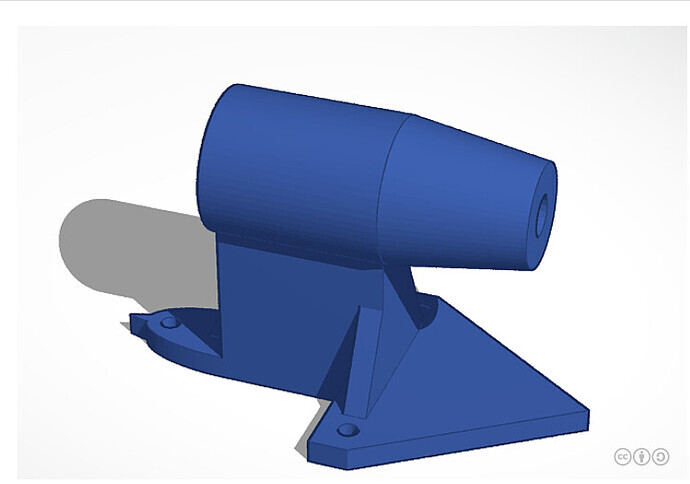
The following parts could be 3D printed, but making them from aluminum would make life easier and more precise:
- HT pucks
- ST cone
- BB puck riser
- Dummy axle:
- to me it makes sense to use the current dummy axle standard
- threaded rods could be the ultra-budget option
Rough BOM:
| Item | Price | Qty | Sub |
|---|---|---|---|
| Welding table | $490 | 1 | $490 |
| Welding Clamps | $20 | 5 | $100 |
| Laser Cut Fixtures | $50 | 3 | $150 |
| Aluminum Pucks | $40 | 4 | $160 |
| Dummy Axle | $75 | 1 | $75 |
| Total: | $975 |
Limitations:
- Printing out the drawing 1:1 seems like a pain… However, I don’t see a better way around it. Adding precision fixtures to the table like PVD’s Fixture drives up the cost and complexity.
- The pucks could be 3D printed, but it would be much better if they could be made from aluminum. Perhaps we can find a supplier (like Paragon) to support the open-source architecture
- The most complicated piece is the dummy axle retention device. It can be 3D printed until someone finds a better way of doing it.
- I am not sure how accurate this system will be…
Conclusions:
Well, there you have it. My favorite part is that 98% of the time, the fixture is just a table, and I can stack my crap on top of it.
The beauty of a truly community-driven open-source project is that it is a living thing. It can be remixed, improved, made cheaper, made better, and customized to suit your needs.
Let me know what you think. Will it work?
- Great idea, I would adpot it!
- Good idea, but I already have a fixture
- Skeptical, but curious
- It won’t work.
