Nice work and good find.
3 Likes
Do you have any photo documentation?
A lot of pedals have a similar, if not the exact same, construction. I’ve definitely experienced this before and am wondering if my problems had the same root cause.
I’m pretty sure though that if I opened up a pedal I’d be lost so a bit of guidance might be helpful.
1 Like
No, I did not document anything. Once I’ve found what was wrong - the fix took like 15 minutes (of which 10 was trying to put the spring back in), there are like four parts in there. It’s obvious and super easy. You just need to reposition the switch a bit, I’ve only filed one of its mounting holes to allow position adjustment.
2 Likes
Maybe helpful, maybe not, but I’ll go ahead and share this.
in our welding lab we have a ton of Miller machines and their foot-pedals. Last time I opened up one to fix it I went ahead and made a quick and dirty chart so I can check to see what’s going on with just a multimeter and not having to open it up just yet.
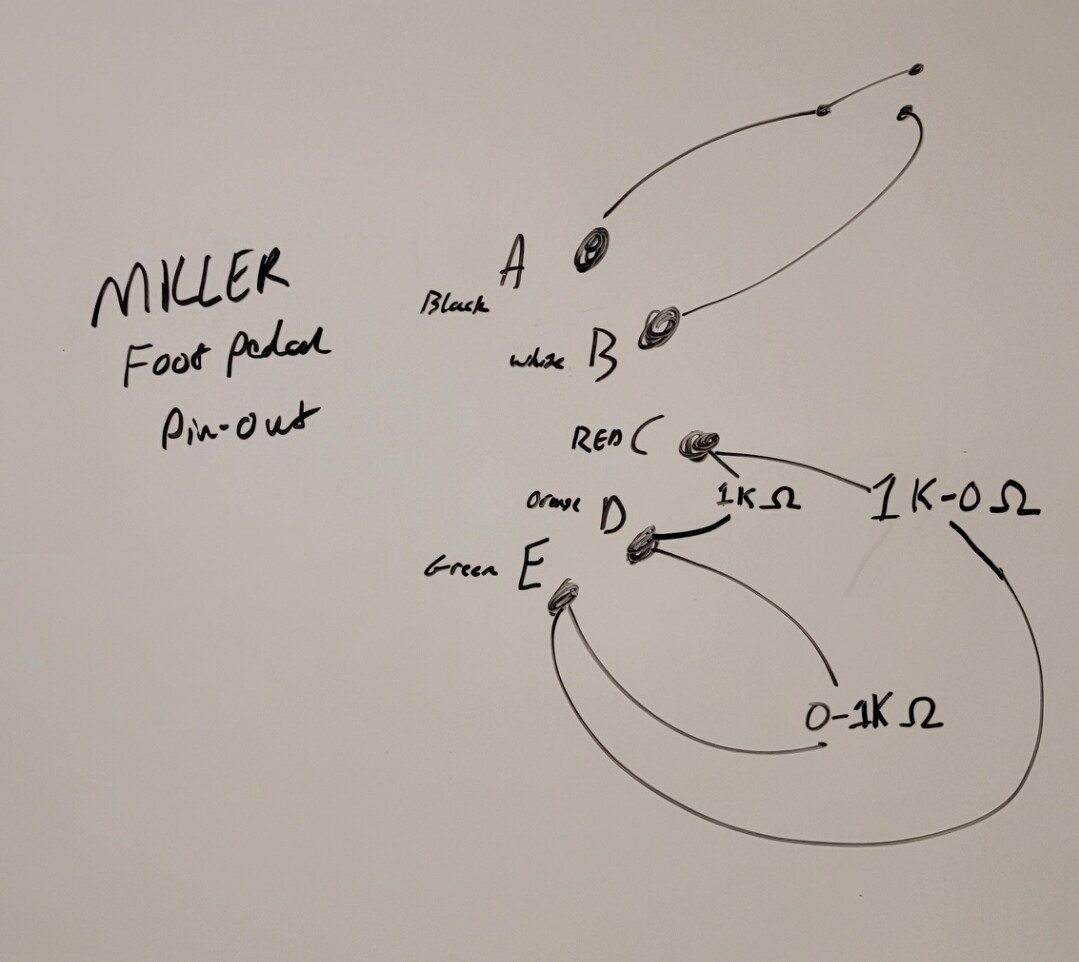
Other brands are very similar, just a switch that closes (or sometimes opens) as soon as you move the pedal, and a potentiometer. The switch is what starts the arc & gas flow, and the pot. is what tells the machine what amperage you want. They’re pretty straight-forward.
4 Likes
Thanks Ben!
I have a bad history with electric things so I approach that stuff with 3x the caution a normal person does ![]()
1 Like
Has anyone tried making a wind shield? I only have a balcony available for welding and thought about using a fire blanket and some square tubing to make a little cubicle for wind protection.
1 Like
Yeah, it could work! I’ve seen and personally used them before welding in the field, but mainly with GMAW/FCAW processes. Although Tig is a bit more fussy about small breezes that get through. It’s tricky, but it can work.
But I will say you’ll be welding along and everything will be going great, and then one tiny opportunistic breeze will come along and mess things up. Been there done that.
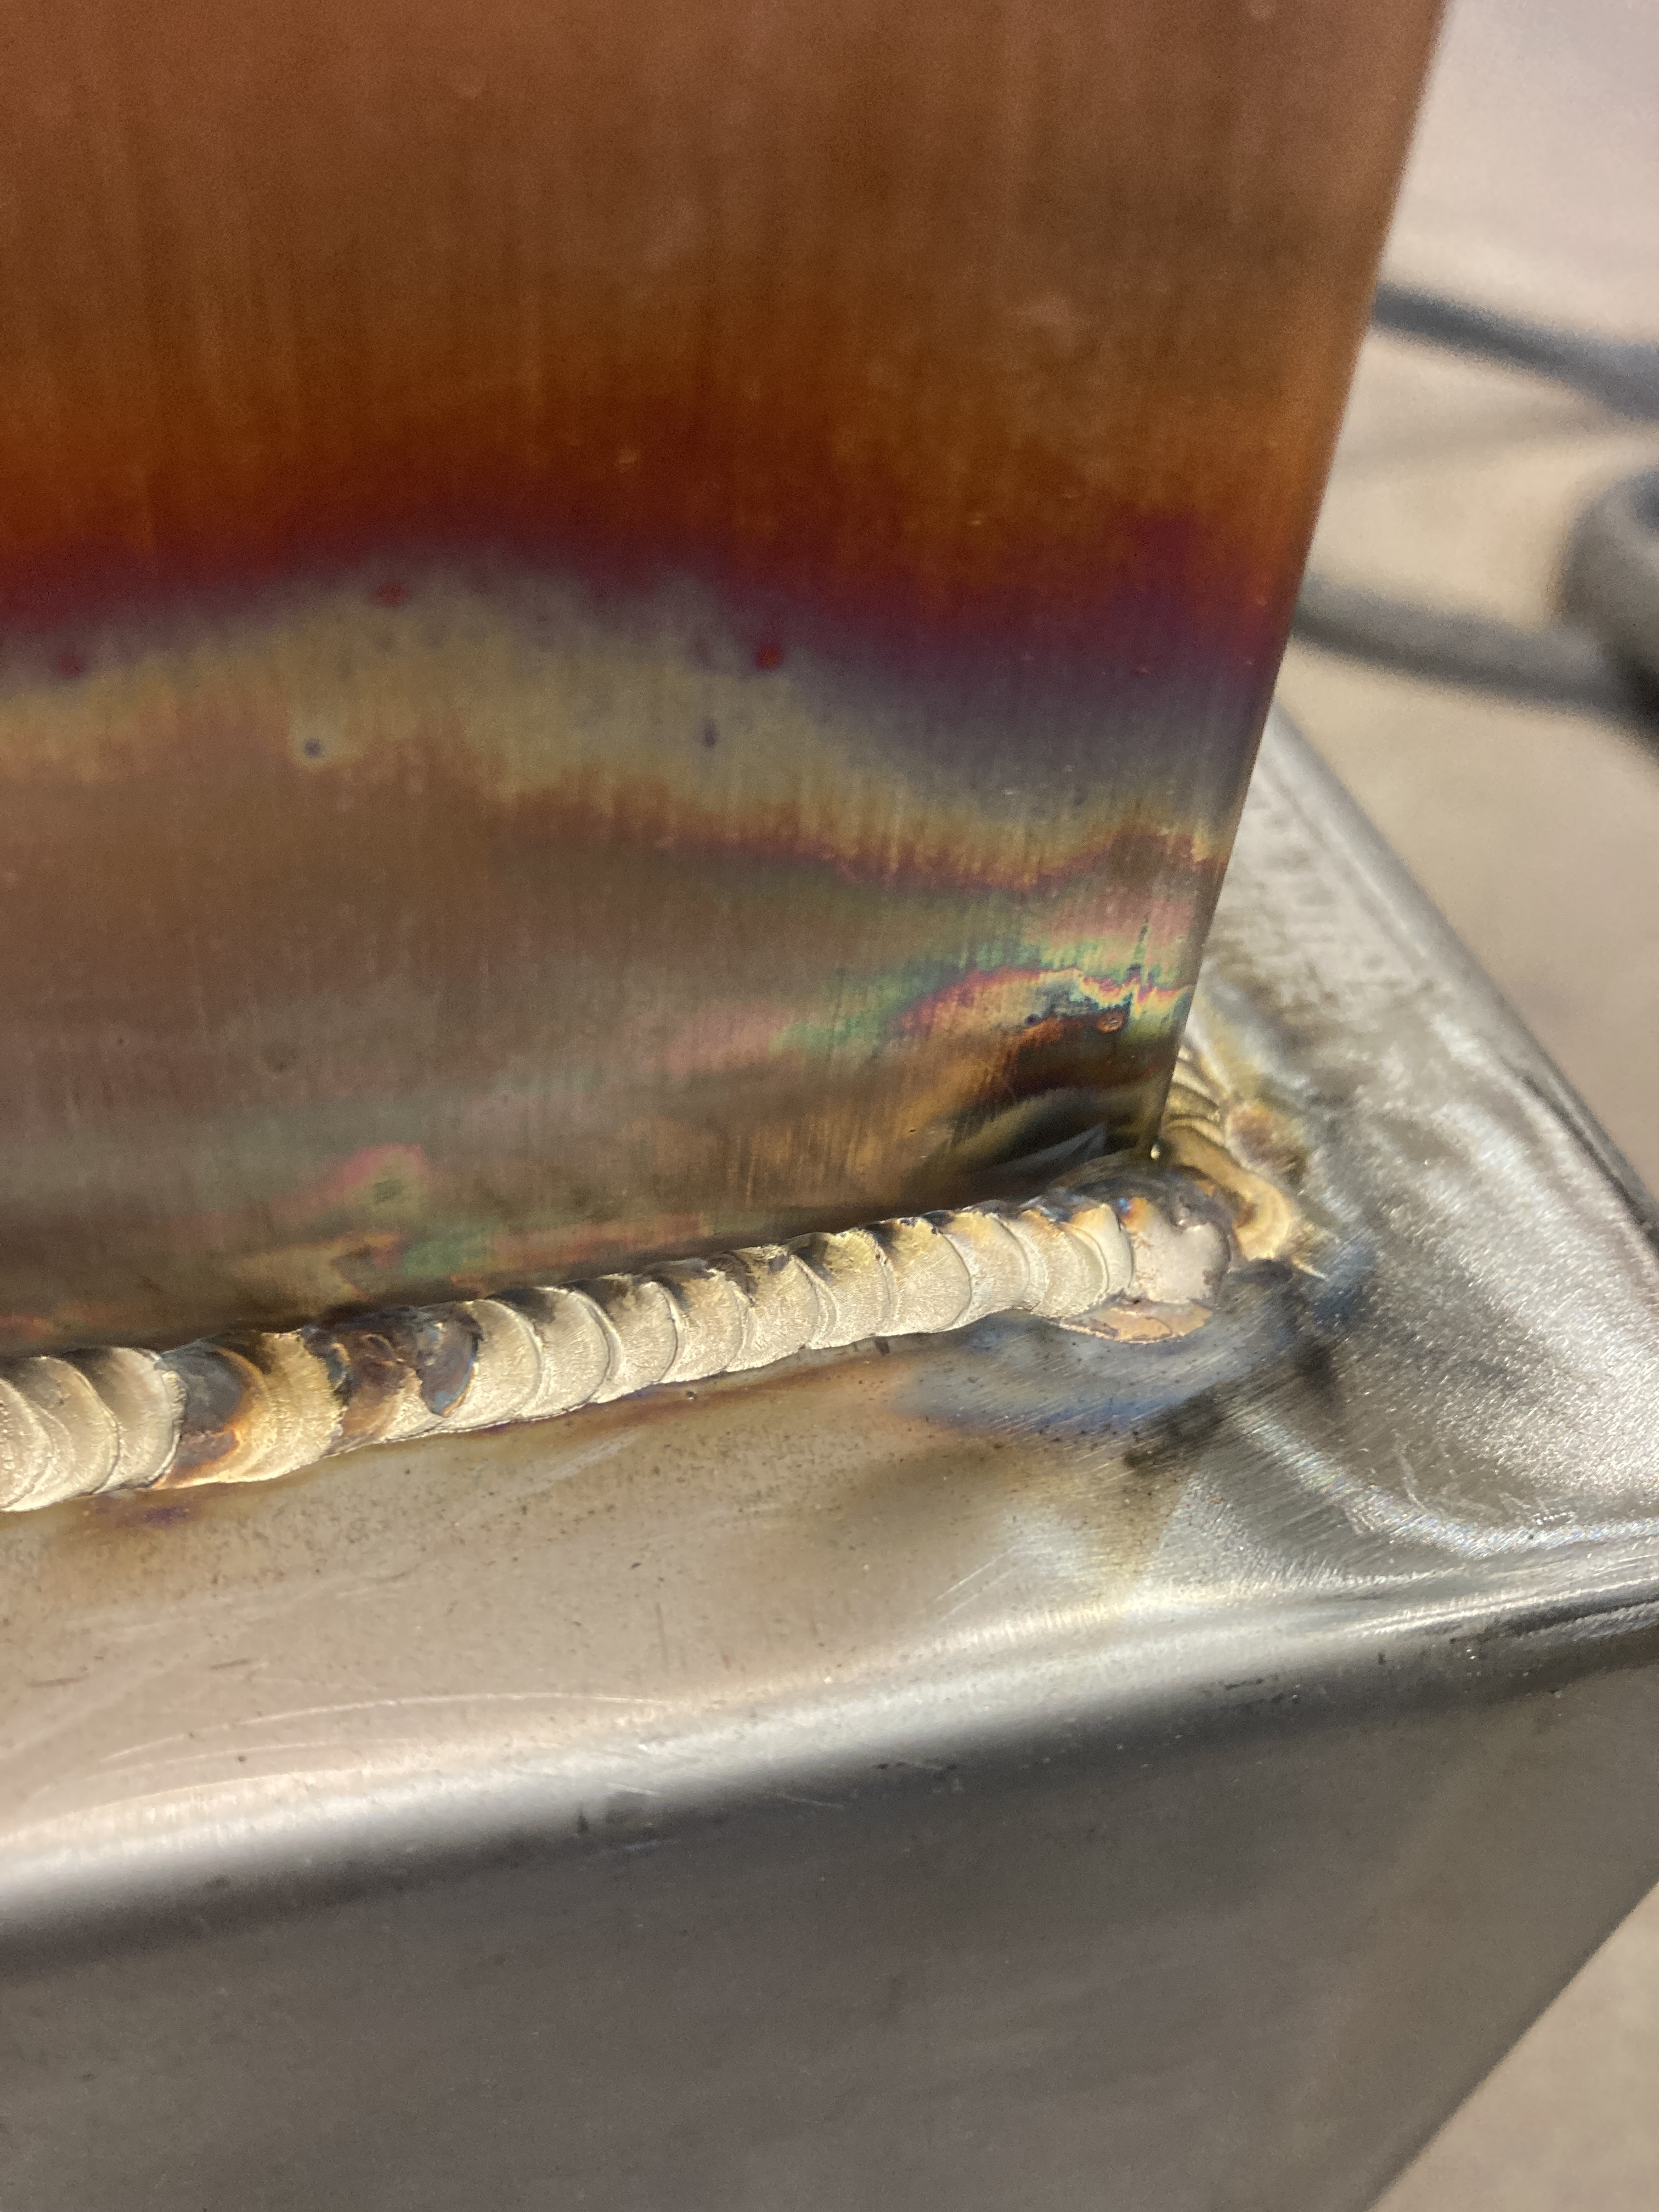
But really, as long as you don’t get any porosity and your tungsten stays clean, your gas shielding is fine. The pretty colors on the finished weld we share pictures of are nice, but by no means a requirement. (for carbon steels)
3 Likes
I am interested in TIG brazing, always have been, I have some alu-bronze rods in my garage since at least a couple of years and I am going to give it a go this weekend.
I found this video very informative and the guy is even trying to tig braze some bicycle tubing and “stress testing” it

I have an order ready to go from mcmaster and wondering if I should add some silica bronze rods as well…
1 Like
I’m no expert, but I have seen this topic come up before. From what I understand is that Tig brazing does not create a joint strong enough for bicycle frame contruction.
3 Likes
When tig brazing with silicon bronze on light gauge materials (18 gauge and below) it is somewhat (not impossible) difficult to not melt and incorporate some of the base material in the puddle.
I tig braze at work when joining stainless (18 gauge) to copper (approximately 19 gauge) and also use it for joining stainless to stainless when I already have the rod in hand.
Good results can be achieved but I’m unsure of what the advantage would be (unless it’s for a fixture or something you plan to cut apart later).
As also stated, I don’t believe it to be as strong of a joint as brazing with a torch or TIG welding. The silicon bronze does not wet out like low fuming bronze. In my experience TIG brazing happens fast and works best with foot pulsing, keeping the tungsten pointed in the puddle and making sure not to get ahead of it and onto the base metal.
I still say you should try it out, and report back with your experience!
3 Likes
I picked up some silicon bronze here to experiment with. I want to see how it works for braze-ons. Maybe i’ll find time to finally test it out this weekend.
1 Like
I planned to try covering some tig welds - just experimenting for looks.
1 Like
That’s what I do. I also use it for attaching my head tube braces and places I double up for shock reinforcement areas. It takes some getting used to, it doesn’t flow like steel filler. I’ve described it like tying to weld with almost melted chocolate chips. Pulsing at the pedal is the way I’ve gotten it to lay down the best. Use less amps than you think you need. It’s fun stuff.
3 Likes
I would avoid adding any unnecessary heat to a joint. Even though TIG brazing doesn’t melt the parent material, it still gets the metal really hot, and if trying to cover an existing weld the existing HAZ will get pretty heat soaked and likely affected in a less than ideal way.
I use TIG brazing with SIL/Bronze for cable guides. For this use it is very effective and fast.
2 Likes
I am trying to get some extra TIG practice and I today I cannot get my arc to be stable, never happened before.
I have some 1.2 mil stock - headtube -, 240V DC tig welder, everything seems to be grounded properly, I have checked the cables and even the ground on my piece and it seems from one end of the other there are 0 omhs, I am at 50A with a blue tungsten (first time trying it, usually using purple), tungsten is sharpen (I have a tool from Eastwood, it’s not much but I think it works) I have tried both ~10 and ~30 degrees and I get the same results, I have cleaned the piece and the tungsten, what I see is my arc being erratic, going in all directions and not being stable in one point, tungsten is 1/16
I can see that there is a lot of “splatter”, something that I have never had before, I even replaced my argon bottle today (I was incredibly low anyway)
I have tried different inclinations of my torch to no avail. I am stumped.
The only note: I run out of acetone so I am using brake cleaner to clean the parts.
Have you checked that you’re set up for DCEN? That is, is your torch negative and your ground positive? Sounds like that could potentially be the issue.
1 Like
Yes, I am on ground positive.
I went back into it, cleaned everything and switched my setup, I am now using a stubby kit with a #8 cup (did a lot of experimenting with spare parts I had laying around), re-ground the tungsten and I realized that the one I just picked up had a hairline fracture on the tip, I guess from being broken in half - seems like the blues are much more malleable than purple (that snap easily) - is that a thing?
Anyway, ground the crack away and now the arc seems to be stable, I also switched from a switch to a pedal.
I 100% blame the crank in the tungsten, it’s weird because I looked at them closely but I cannot arguably find any other fault in the setup.
What is y’all filler size? I am using 1/16 but I believe it’s way too small.
2 Likes
I use .045" (1.1mm) mostly. Sometimes I accidentally use 1/16" (1.6mm) and it feels like it needs too much heat to form a nice puddle.
1 Like
Don’t do this, some brake cleaners have chlorine and can damage your lungs.
8 Likes
Lanthanated and Thoriated tungsten do not snap cleanly in my experience. I never used purple.
I cut my tungsten in half with a diamond disk on a dremel before grinding the tips on a CBN wheel.
For steel bikes I use .045 filler wire.