This is a big one. Granted, I think they only sell the non-chlorinated flavors now (where I live at least) But there’s definitely still a lot of the other stuff still out there.
And in case you all haven’t heard, search ‘Phosgene Gas’. It can be created when welding on parts that were cleaned with chlorinated brake cleaner. It is very nasty stuff.
And apparently (although I can’t find a source to verify this right now) I’ve heard in the past part of the reaction that creates it is from the UV light. So even if some is left in your shop (rags, on the table, etc.) it can still pose a risk.
I would avoid cracking/snapping your tungsten. I’ve had it work pretty well but when it doesn’t work it fouls up a tube or can ruin a complete electrode.
Filler size: I use .045" (1.2mm) for most of my bike related stuff. I’ll use 1/16" for stuff over .058" (1.5mm)
It doesn’t sound like this is your issue but sometimes you get a bad tank of Argon. Its only happened to me once and I was too new to understand what the issue was. It’s worth running a few test welds with every new tank.
Also probably not your issue but damage to gas lines and/or torches can allow air to get sucked into the argon and foul up your welds.
I am using a metronome to try to be regular but I have yet to find a tempo that I can agree with.
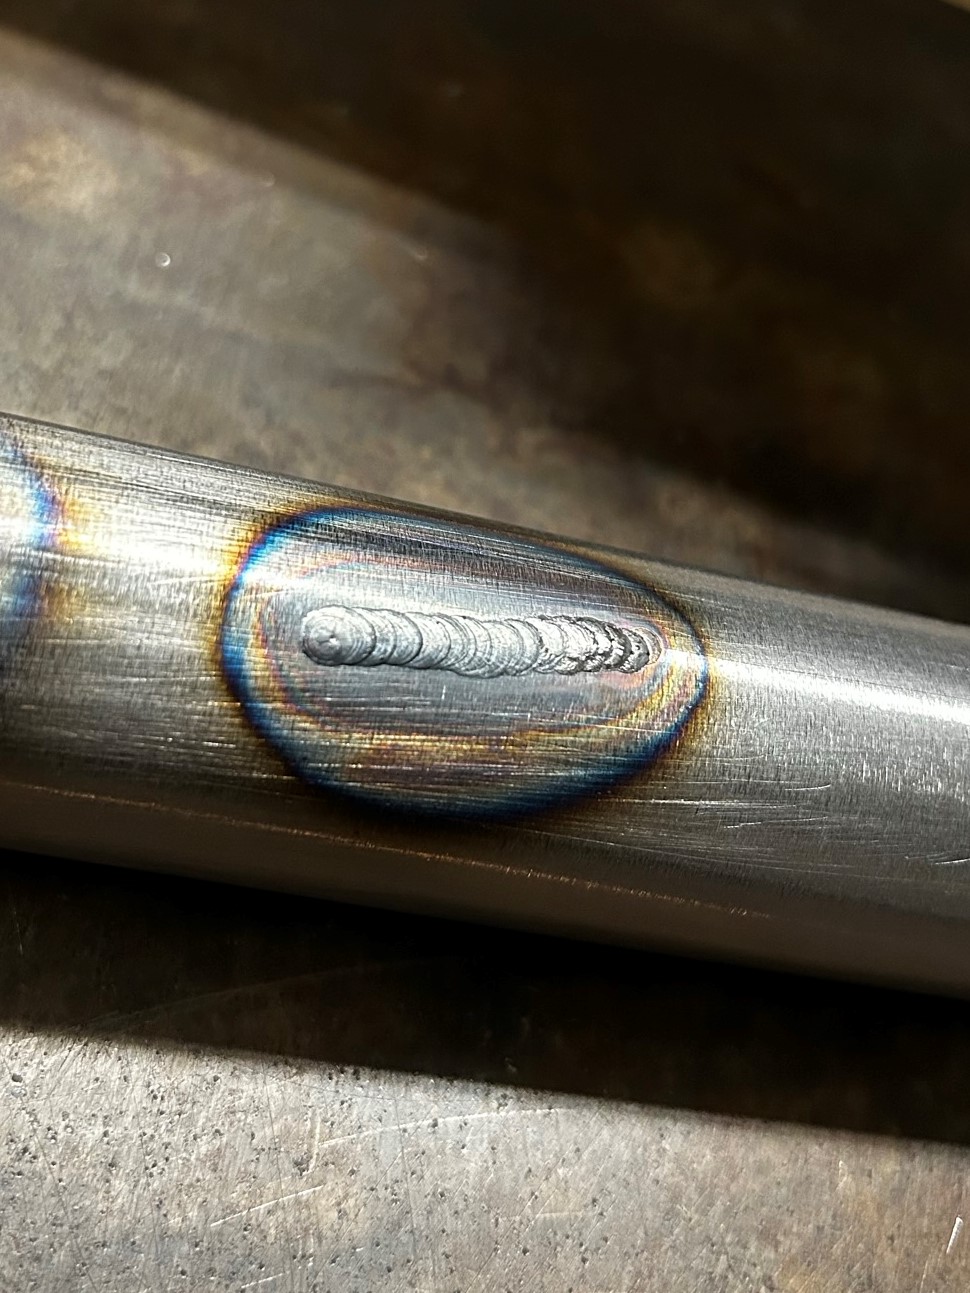
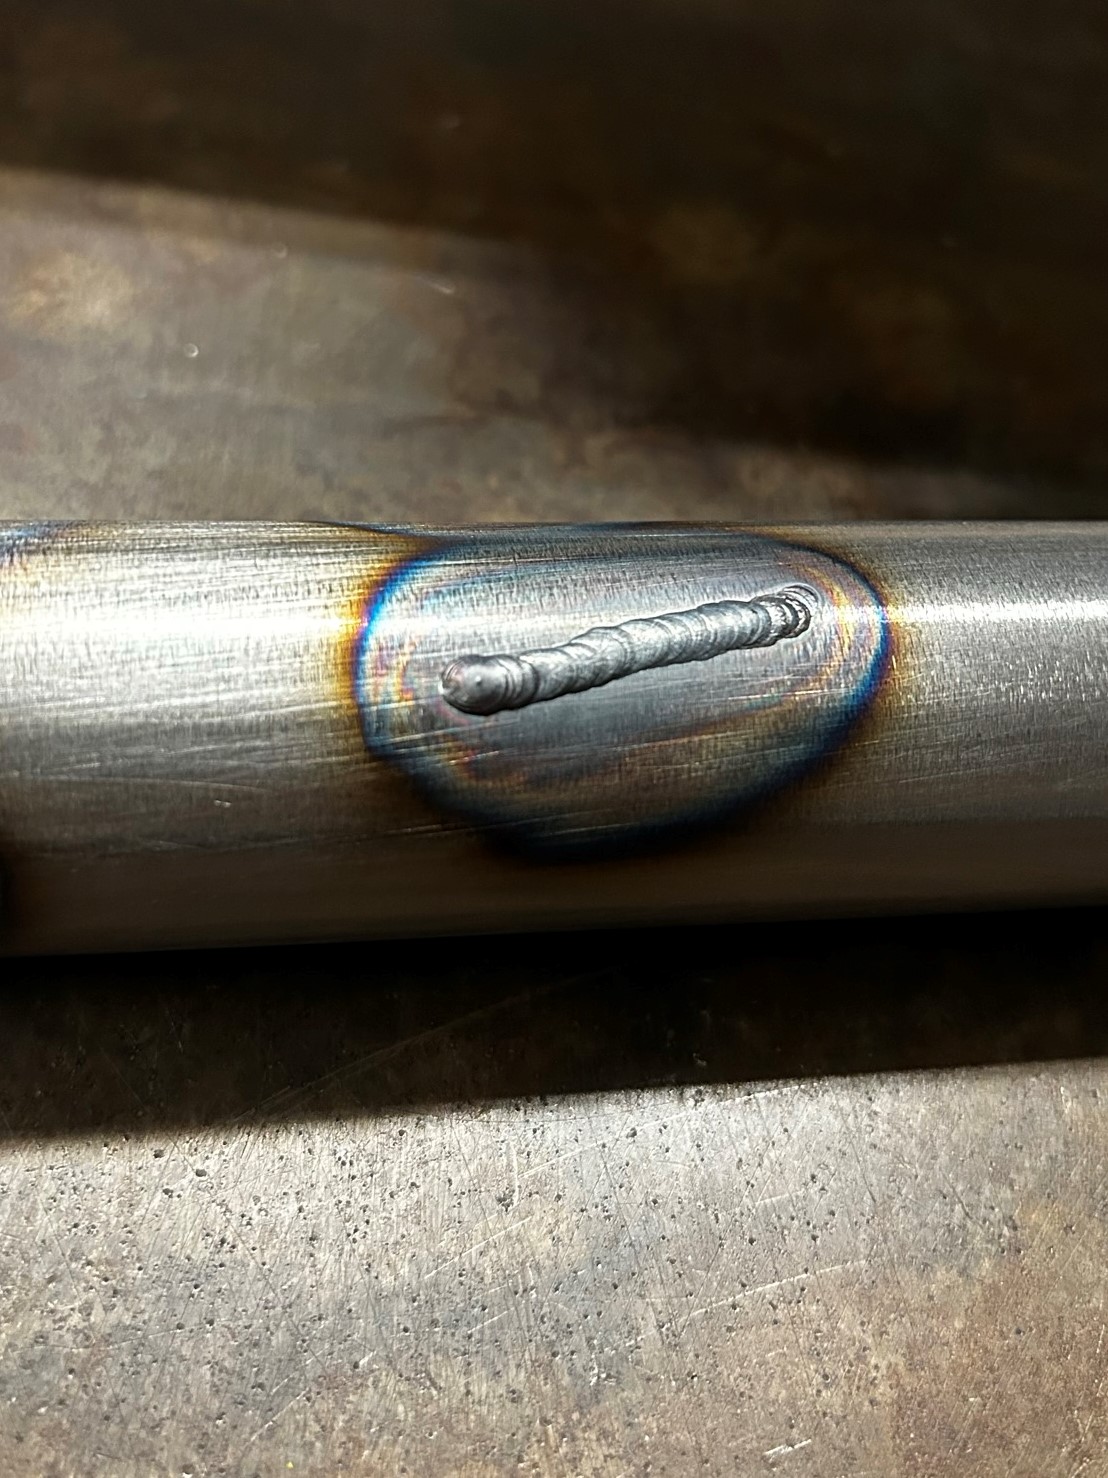
I feel like I am being too slow and putting too much heat, look at that heat mark!!
I’ll take any suggestion
Edit: here is my tip, it doesn’t seems like it on the pic but it’s clean, I am at 20cf/min (I could probably do 15)
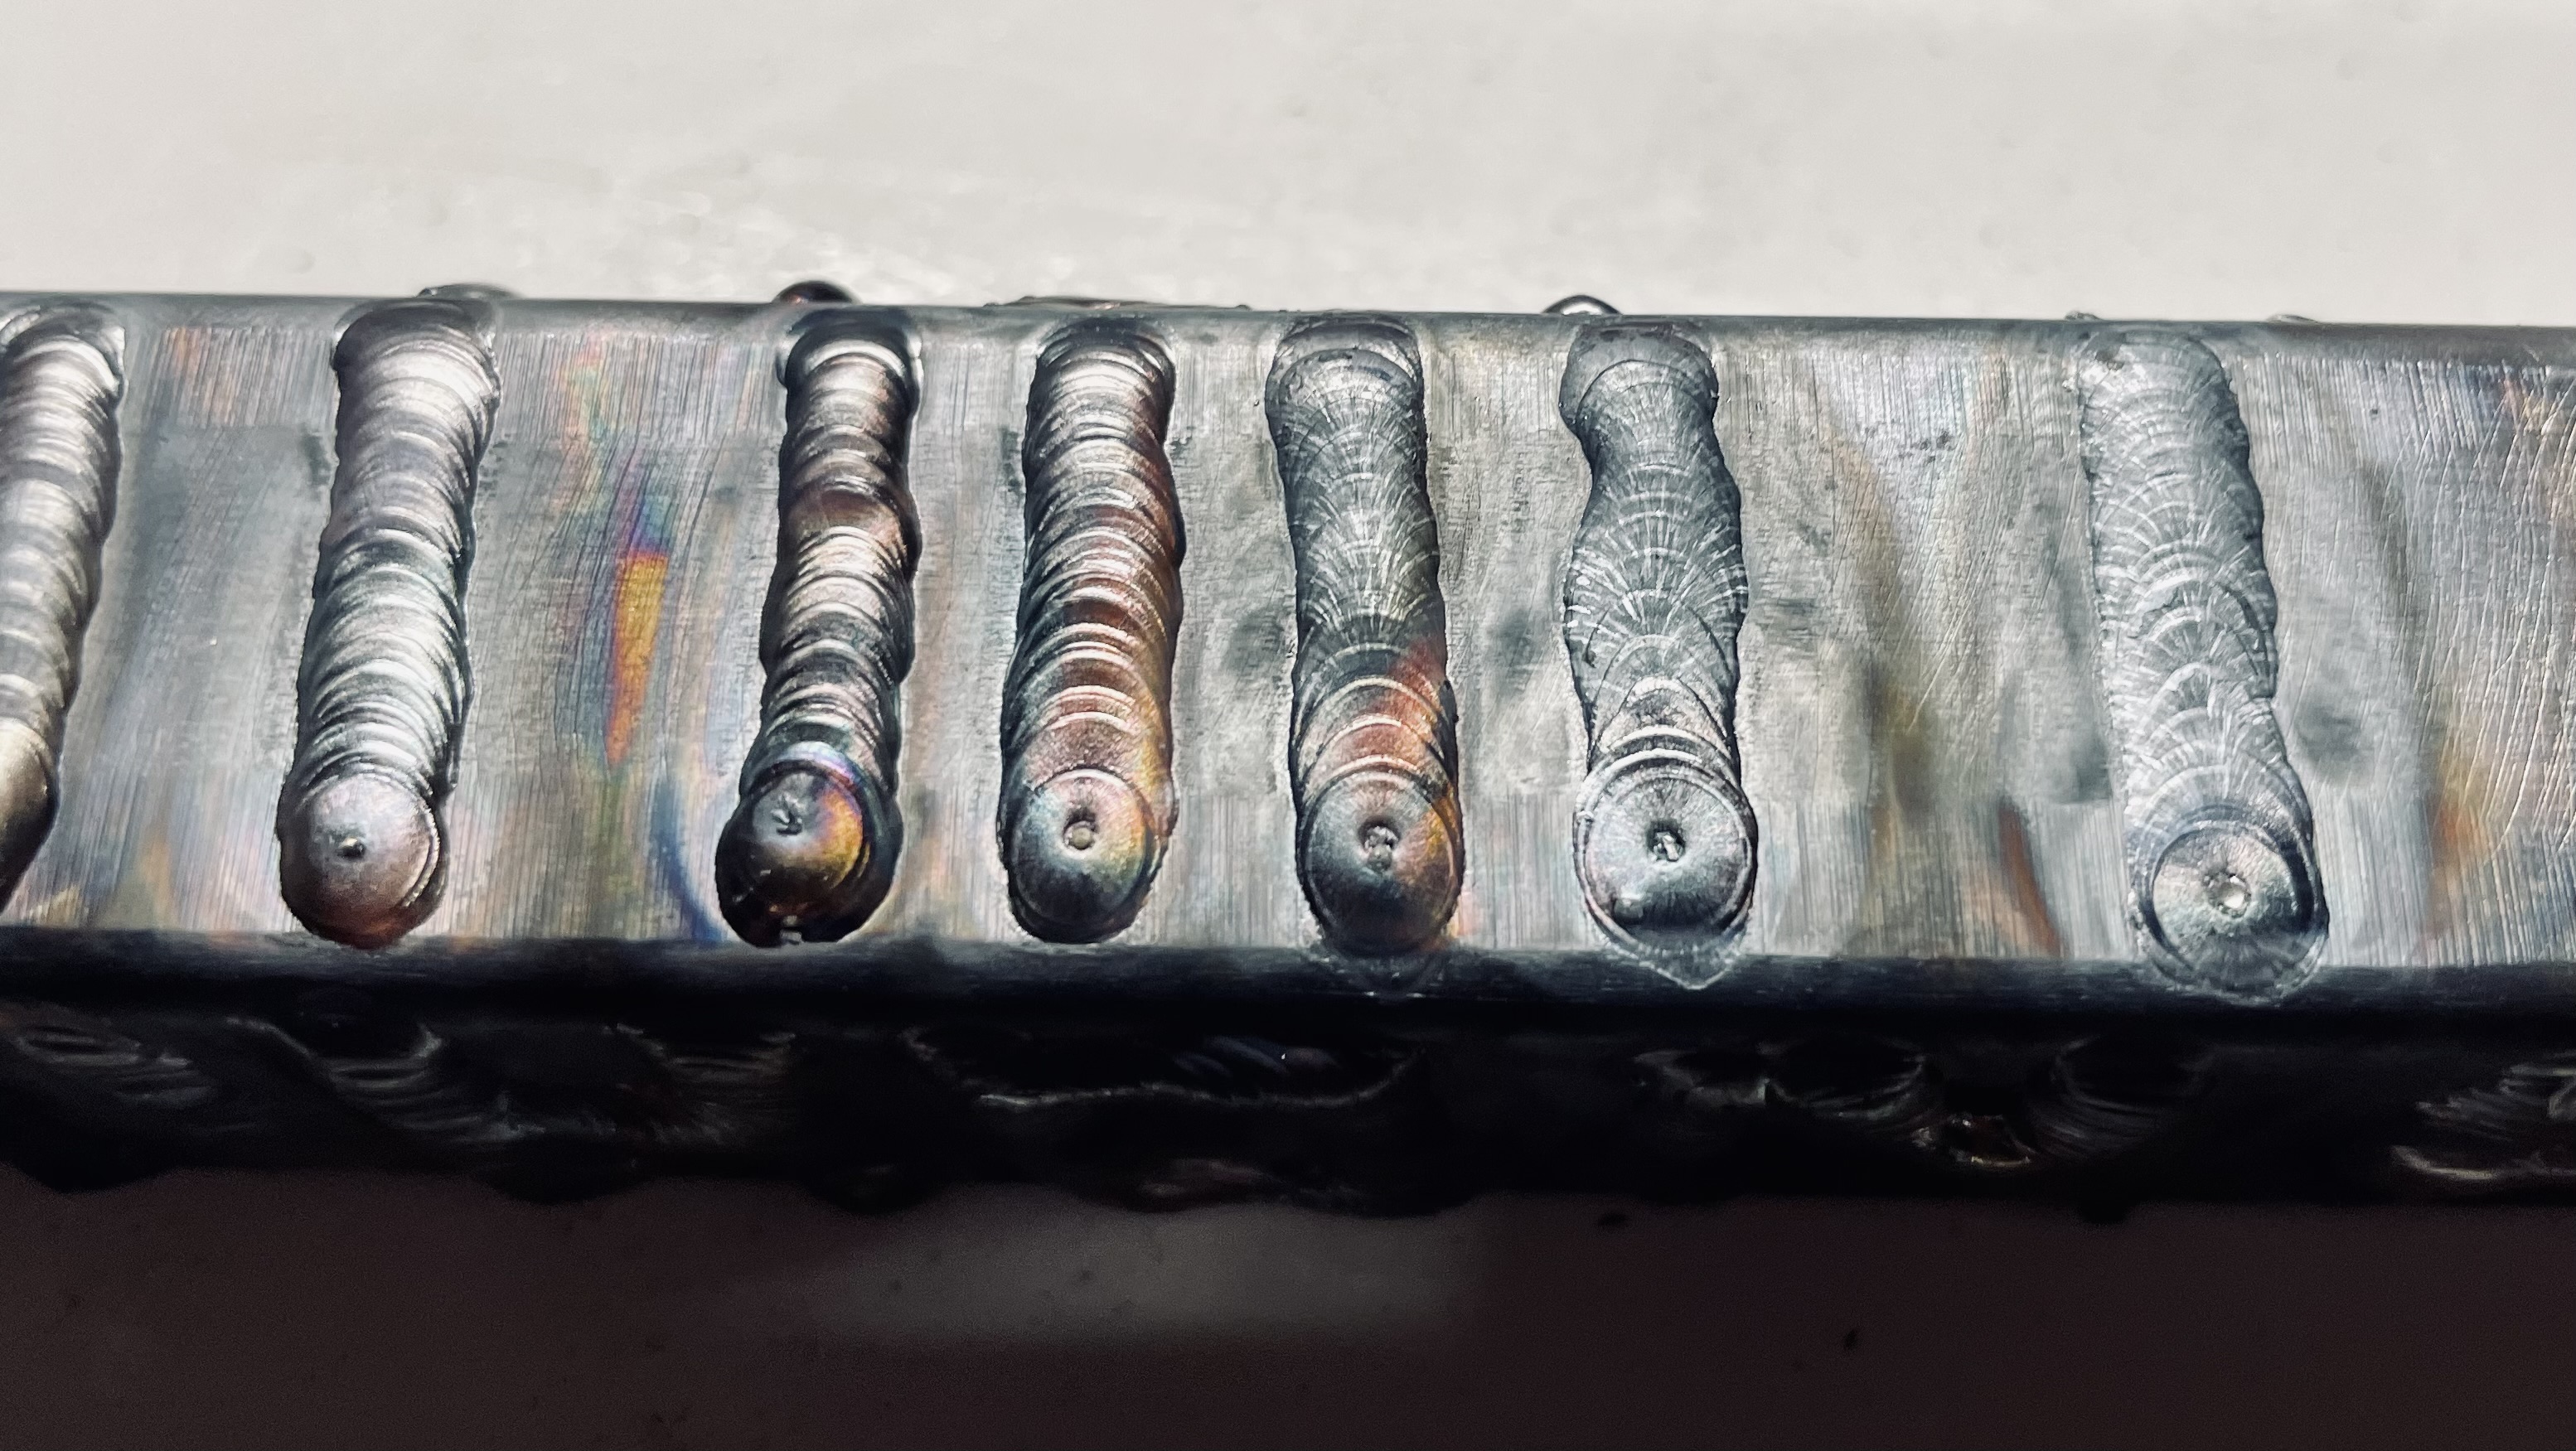
My argon was running low so I decided to run some practice beads to watch what happened as the flow dipped lower and lower. From left to right you can see the decline. At the end it looks pretty close to your beads.
So I would say you’re not getting good coverage OR you have atmosphere sneaking in somewhere. I had one set of gas lens/cups that I could never get to work, I think the cup didn’t seal up well.
I was also surprised by the cooling effect of the argon. As it ran out, the metal continued to glow red after the (mostly nonexistent) post flow ended.
I would say it’s time for a big game of process of elimination. Change as many things you can, one at a time, and see if the results change.
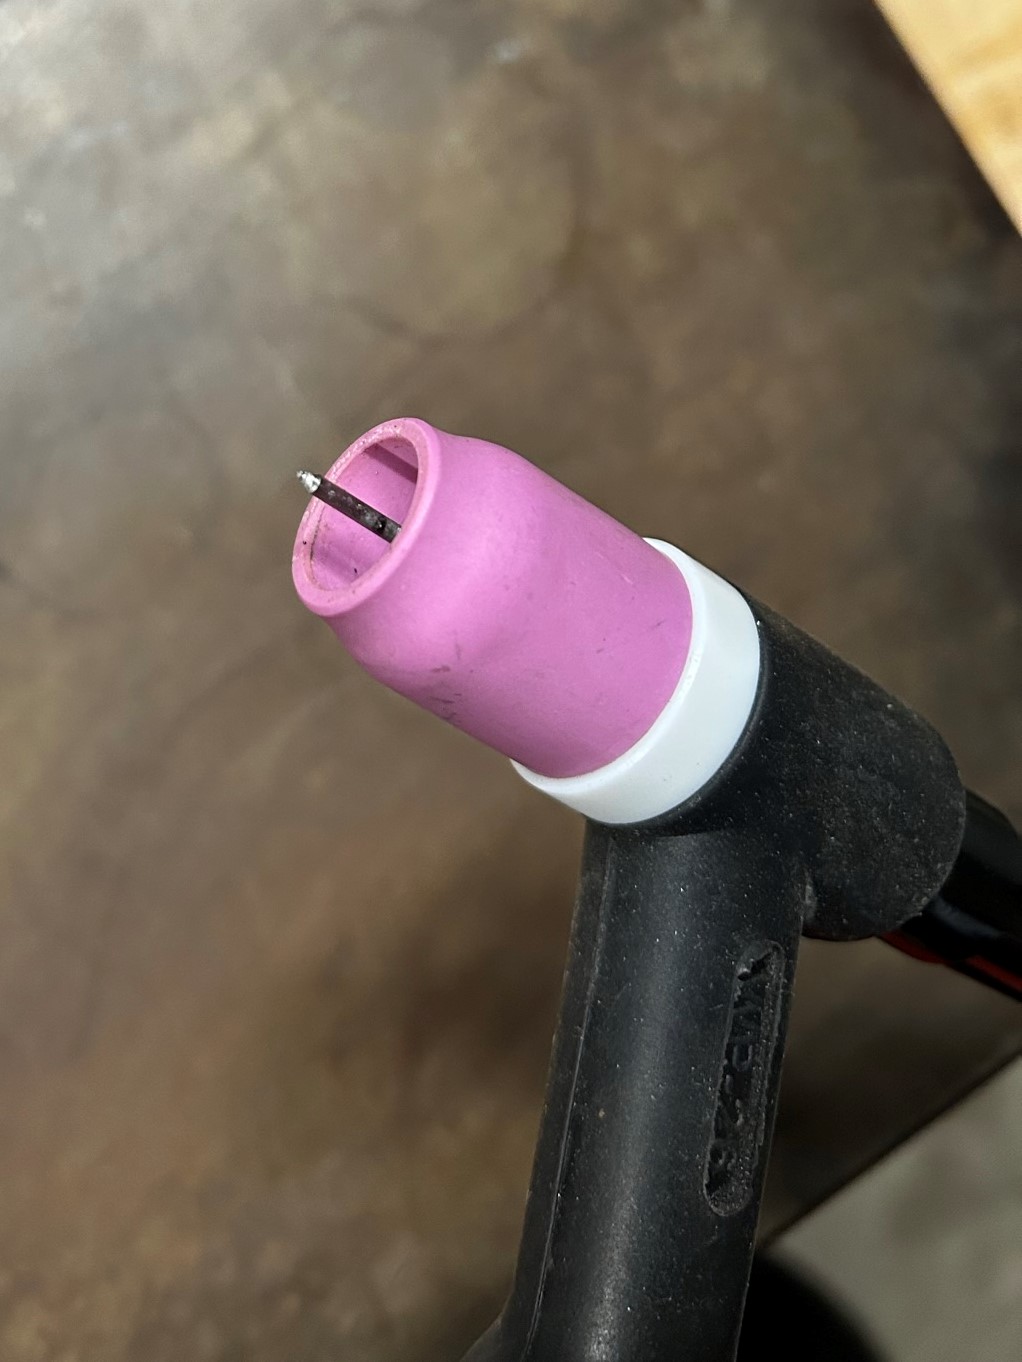
I think you are right, went back at it with my classic setup and the results improved, I believe the kit that I have with various tips/collets/cups is not great, the collet I was using has that mesh on the end that is supposed to spread your argon but I do believe it was blocking it more than anything.
I went back to my 3/32 collet with a 3/32 tungsten and it’s much better. Going to Airgas tomorrow to get some better supplies and see if I can get better coverage.
I noticed that at the end of the bead my welds are nice and shiny but at the start they are ugly so maybe I need to add more pre-flow as well.
Yep. I have it set to 110a and use the foot pedal to modulate. 5 sec preflow and 10 sec post flow @8lpm with a jazzy 10 cup most of the time. Before the pedal I used a button and I usually had it set to 40a though it sometimes went up to 60 or 70a for welding to thicker sections. My machine is roughly 30 years old, transformer based with HF start.
The general rule of thumb is 2 amps per .001" of material thickness, so for .035 you would be around 70a. I prefer to have some head room when I weld so I generally will add 15a. This lets me get the puddle established and moving more quickly, I then can back off the peddle so my foot is in a more comfortable position.
Matt, from my experience one of the bigger variables that is not often talked about when welding without pulse is the pedal that you are using. The variable being the throw of said pedal. Many pedals on Miller machines have a longer linear engagement. Some of the newer pedals from Fronius, SSC or similar clones are a shorter throw, more progressive ramp and more sensitivity. I often find the more linear pedals are much more forgiving as far as the peak amperage set on your machine and it’s input through the pedal. When using a linear input pedal you can set your amperage much higher and mostly use the top half of the throw and have the bottom half in reserve if you need it (I’m thinking places like dropout to post mount assemblies etc.). Progressive pedals are a bit more finicky and usually have less latitude for running higher main amperage on your machine. With the consideration here being that most, probably 90% of my welding takes place in the first 50% of the pedal throw.
You will be happy to learn without pulse. You will understand your welding better and why you are choosing the pulse rate you do if you ever move to a pulse capable machine.
From a welding cup perspective over time the screens tend to collapse as they see higher or more prolonged heat inputs. Over time this includes gas lenses and the additional diffuser provided by some manufacturers. Look through the diffuser in a light when new then compare it after a while. It’s hard to notice but the screens tend to swell or even to some extent hold dust and the holes get smaller over time. You can’t look through the gas lens screen without removing it so you just have to trust your gut and replace it when you think it needs replacing ie. poor or erratic coverage.
Hopefully that adds something productive to the conversation,
Matty
Thank you everyone and especially @ElysianBikeCo for the suggestions, I believe it was a mix of factors but mainly my technique was at fault, when adding the rod I lift the tungsten (I should not lift it at all) and that sends too much heat into the metal plus it lowers the argon coverage.
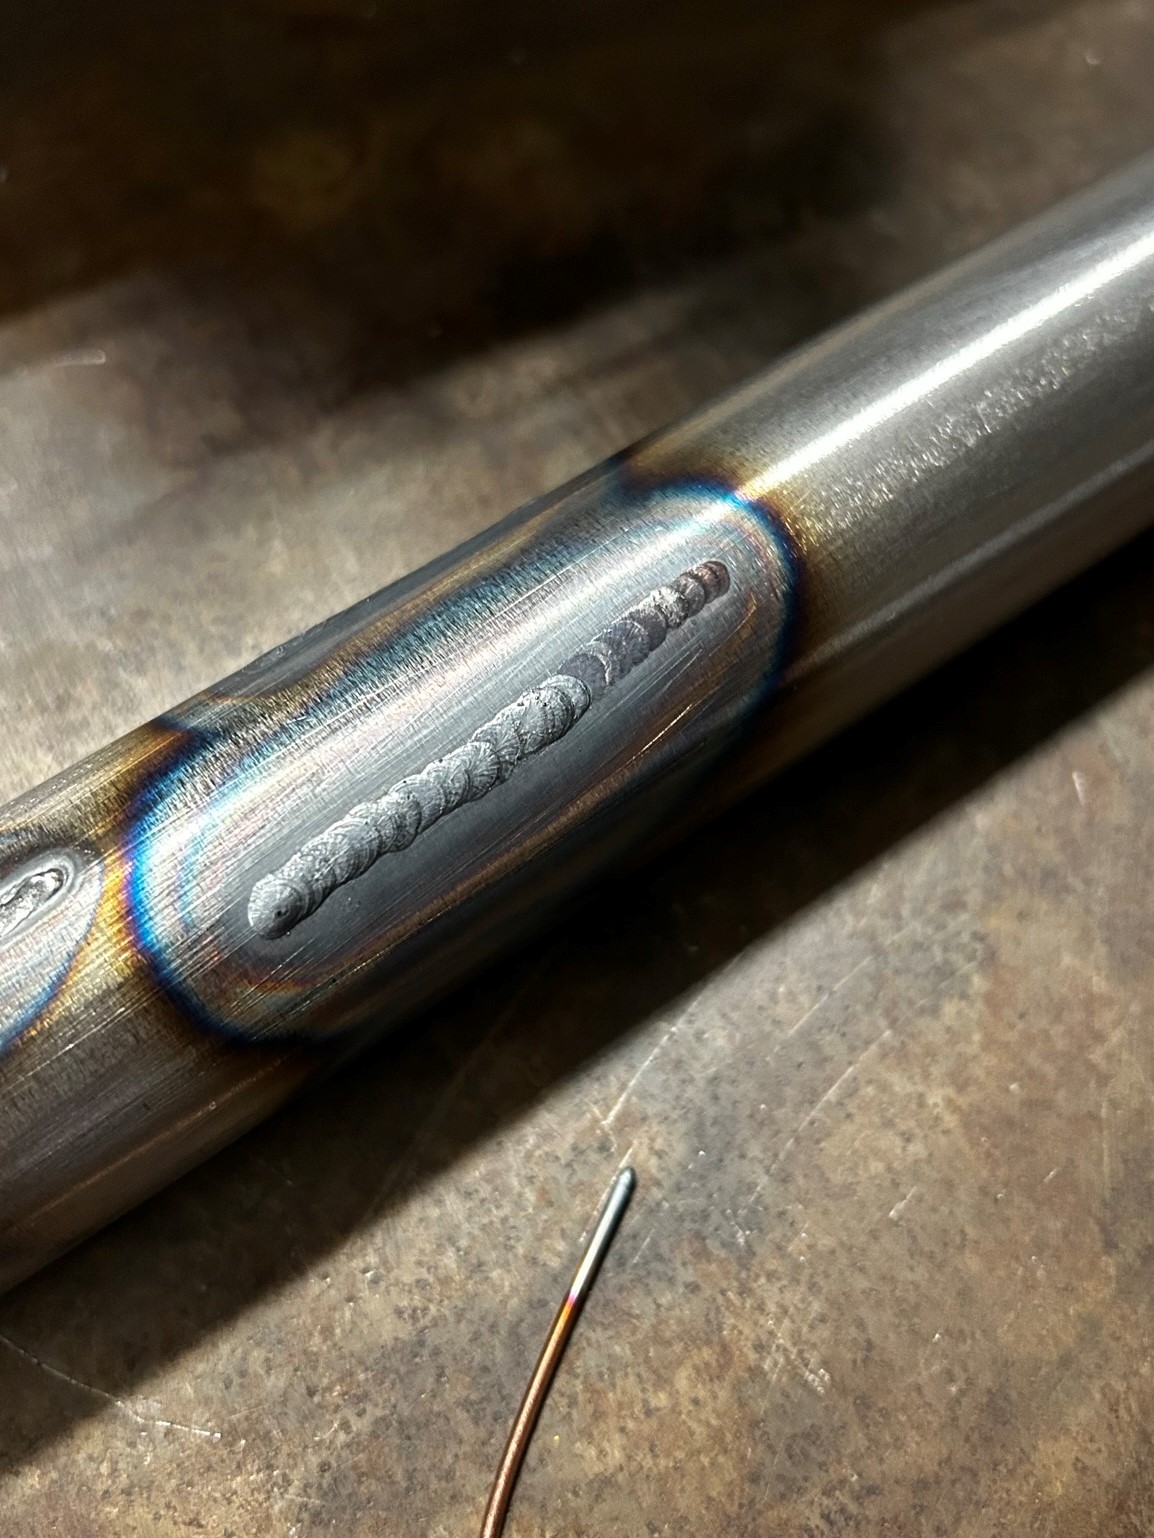
I was doing some testing with what turned out to be crappy diffusers/lenses combos so, after getting better ones everything improved, this is the latest attempt with a 1/8in thick plate (I was testing with lower amperage, here around 100A, was trying to get rid of the grayness)
my helmet (auto darkening) for the first time failed today at the beginning of this weld, did it twice where it flashed me - had to stop as I couldn’t see the tip anymore, lol, I wonder if the rod went in front of the tungsten tip and covered it for a split second and my helmet went clear - again for a split second - I was welding towards me - anyway - will keep testing
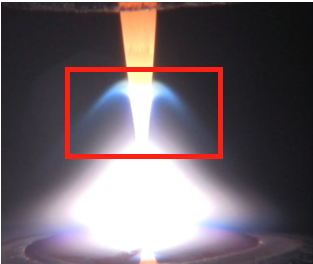
I noticed i’ve been getting a “halo arc” similar to the photo below. Photo is from weldingtipsandtricks, but is a good representation of what i’m seeing. Mine’s a little more intense.
Any other builders experience this? I’m going to use some fresh tungsten to experiment with different prep methods. I put a couple polls below to see what others are doing.
Thanks everyone. I resharpened some electrodes and the problem halo went away. I think I got too aggressive with speed and pressure during my last sharpening session and wound up with deeper grooves that caused the arc to “halo” from higher up.
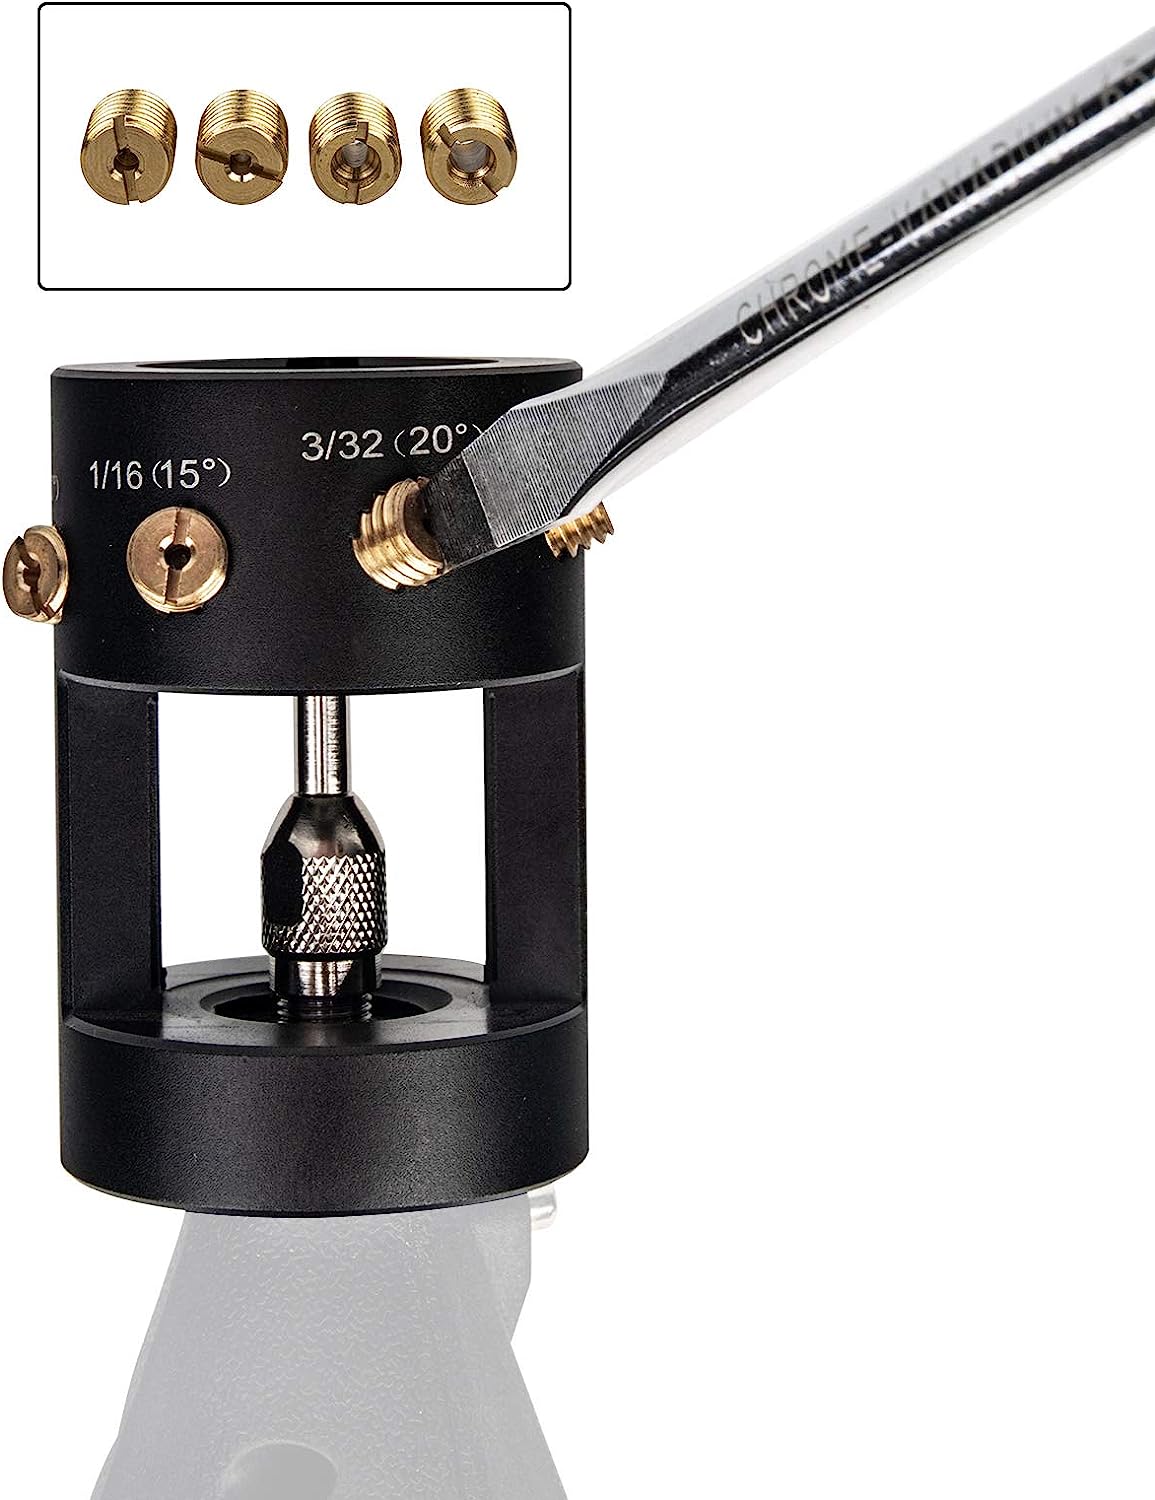
I just use a bench grinder and a drill for sharpening my tungsten. One thing I was taught was once you’ve got it in the shape you want, try to spin the drill slowly for a couple rotations to get the grind marks more in line with the tungsten and less swirly around it/perpendicular.
I use the same, seems the discs are pretty expensive compared to the whole tool but so far I am still on my first disc, probably will need a new disc in a month or so.
but it’s been great. I have it attached to a cheap battery rotary tool that hangs on my cart. I find I use it more because it’s right there. I tend to keep a supply of sharp tungsten easily accessible on the bench but this works well when I don’t have access to them and need to clean up a tungsten.
Seems to have almost doubled in price since I bought mine.
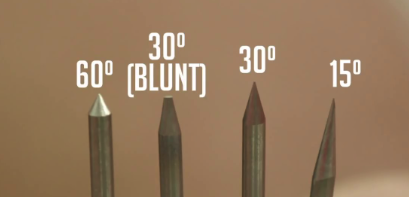
I use a bench sander, chuck tungsten into a drill. Highly recommend wearing a respirator when grinding. I usually shoot for around 20-30 degrees, depending on the material thickness and penetration that I’m after. If I remember right, welding tips and tricks had a great video covering how the grind angle affects the arc and the weld.