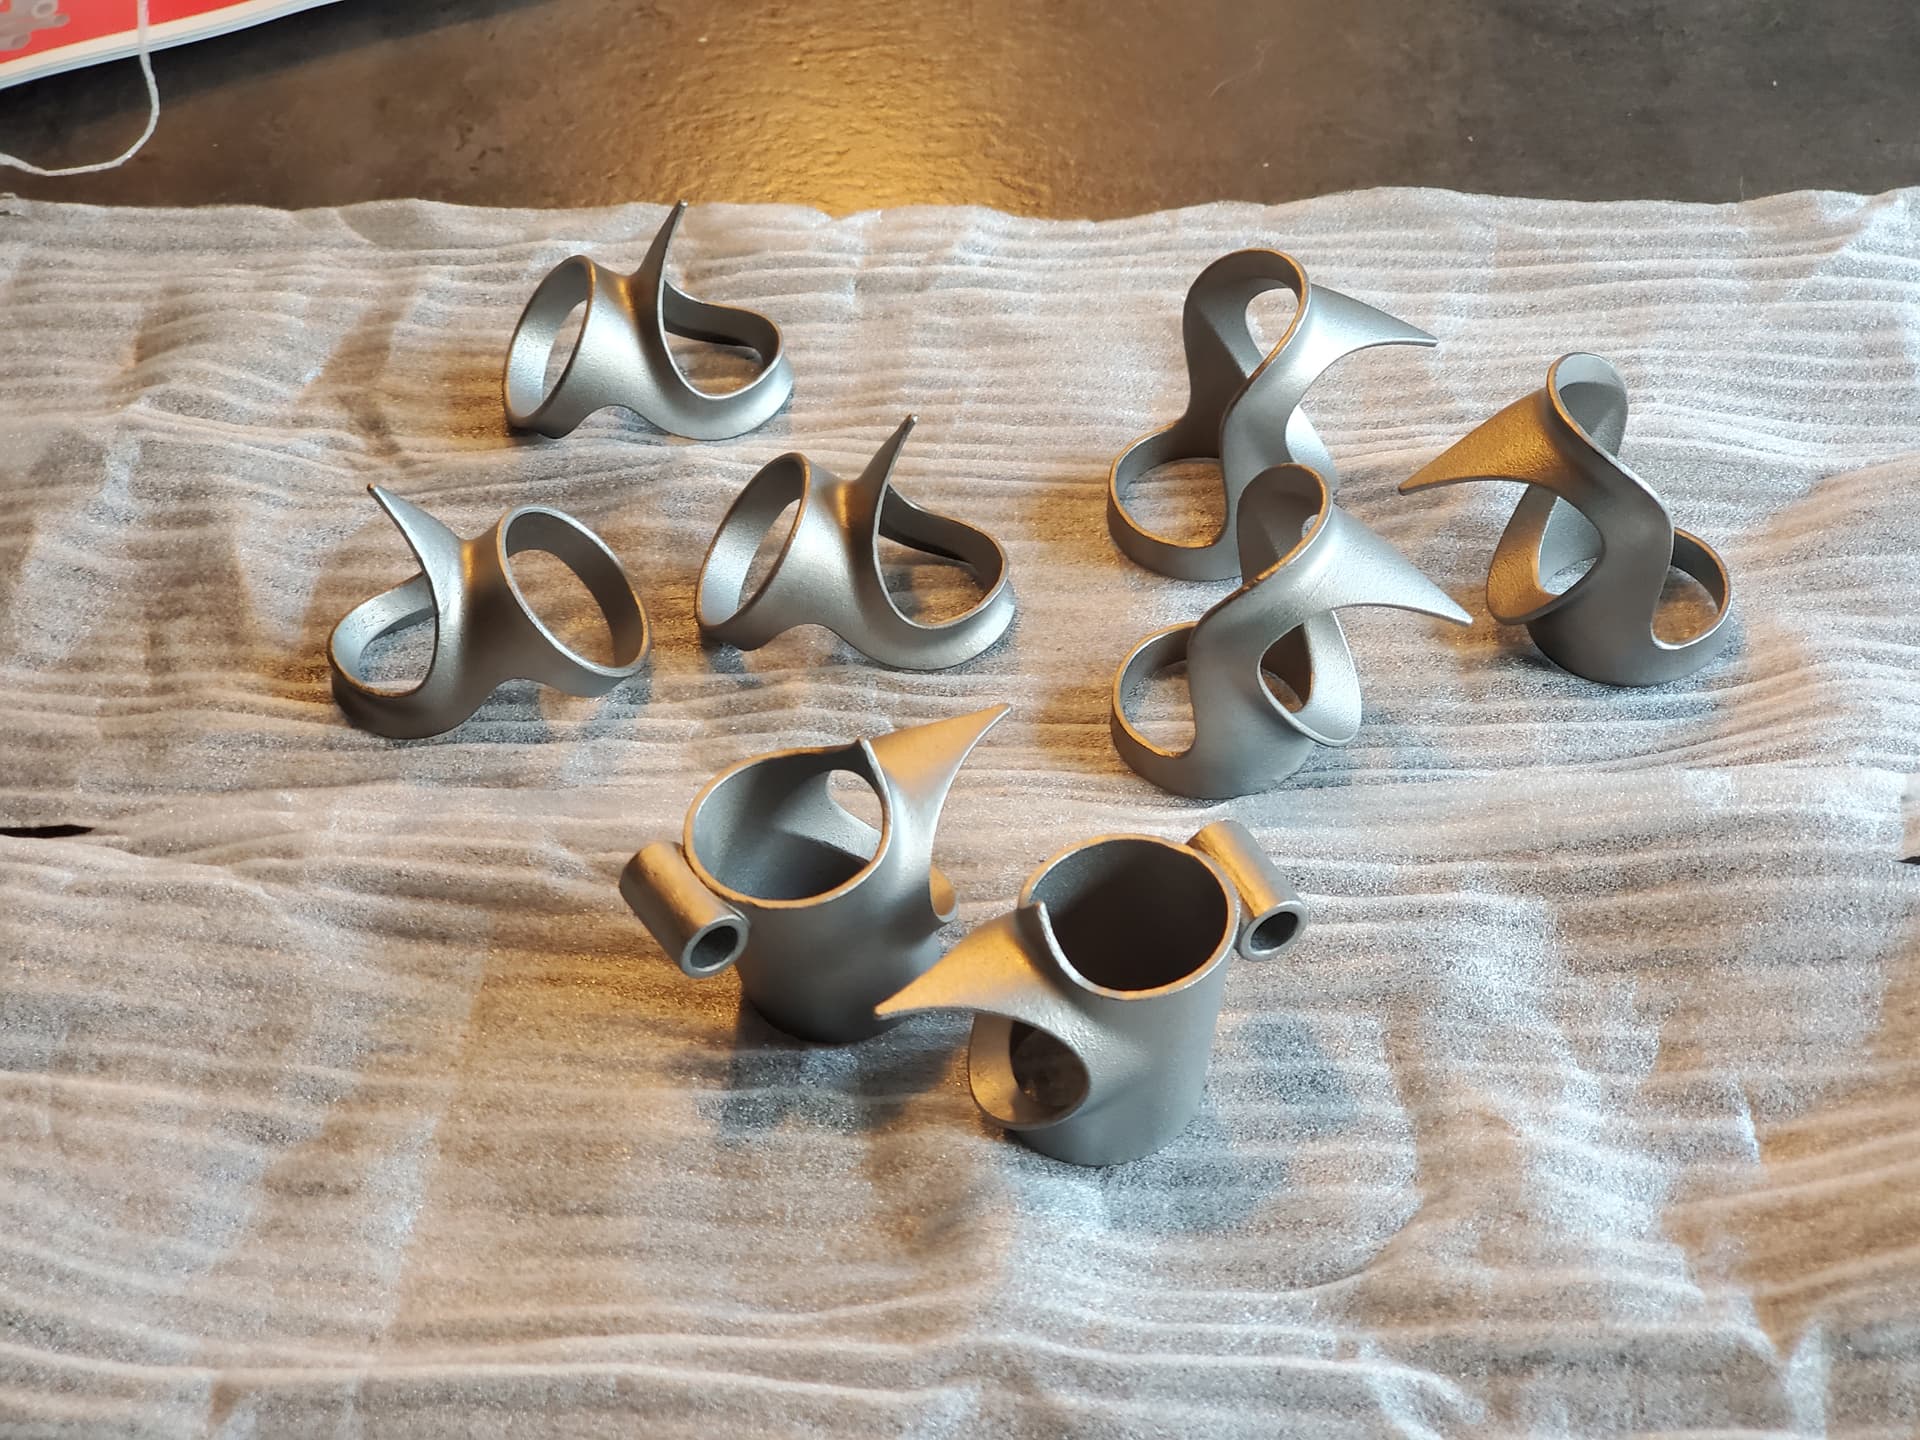
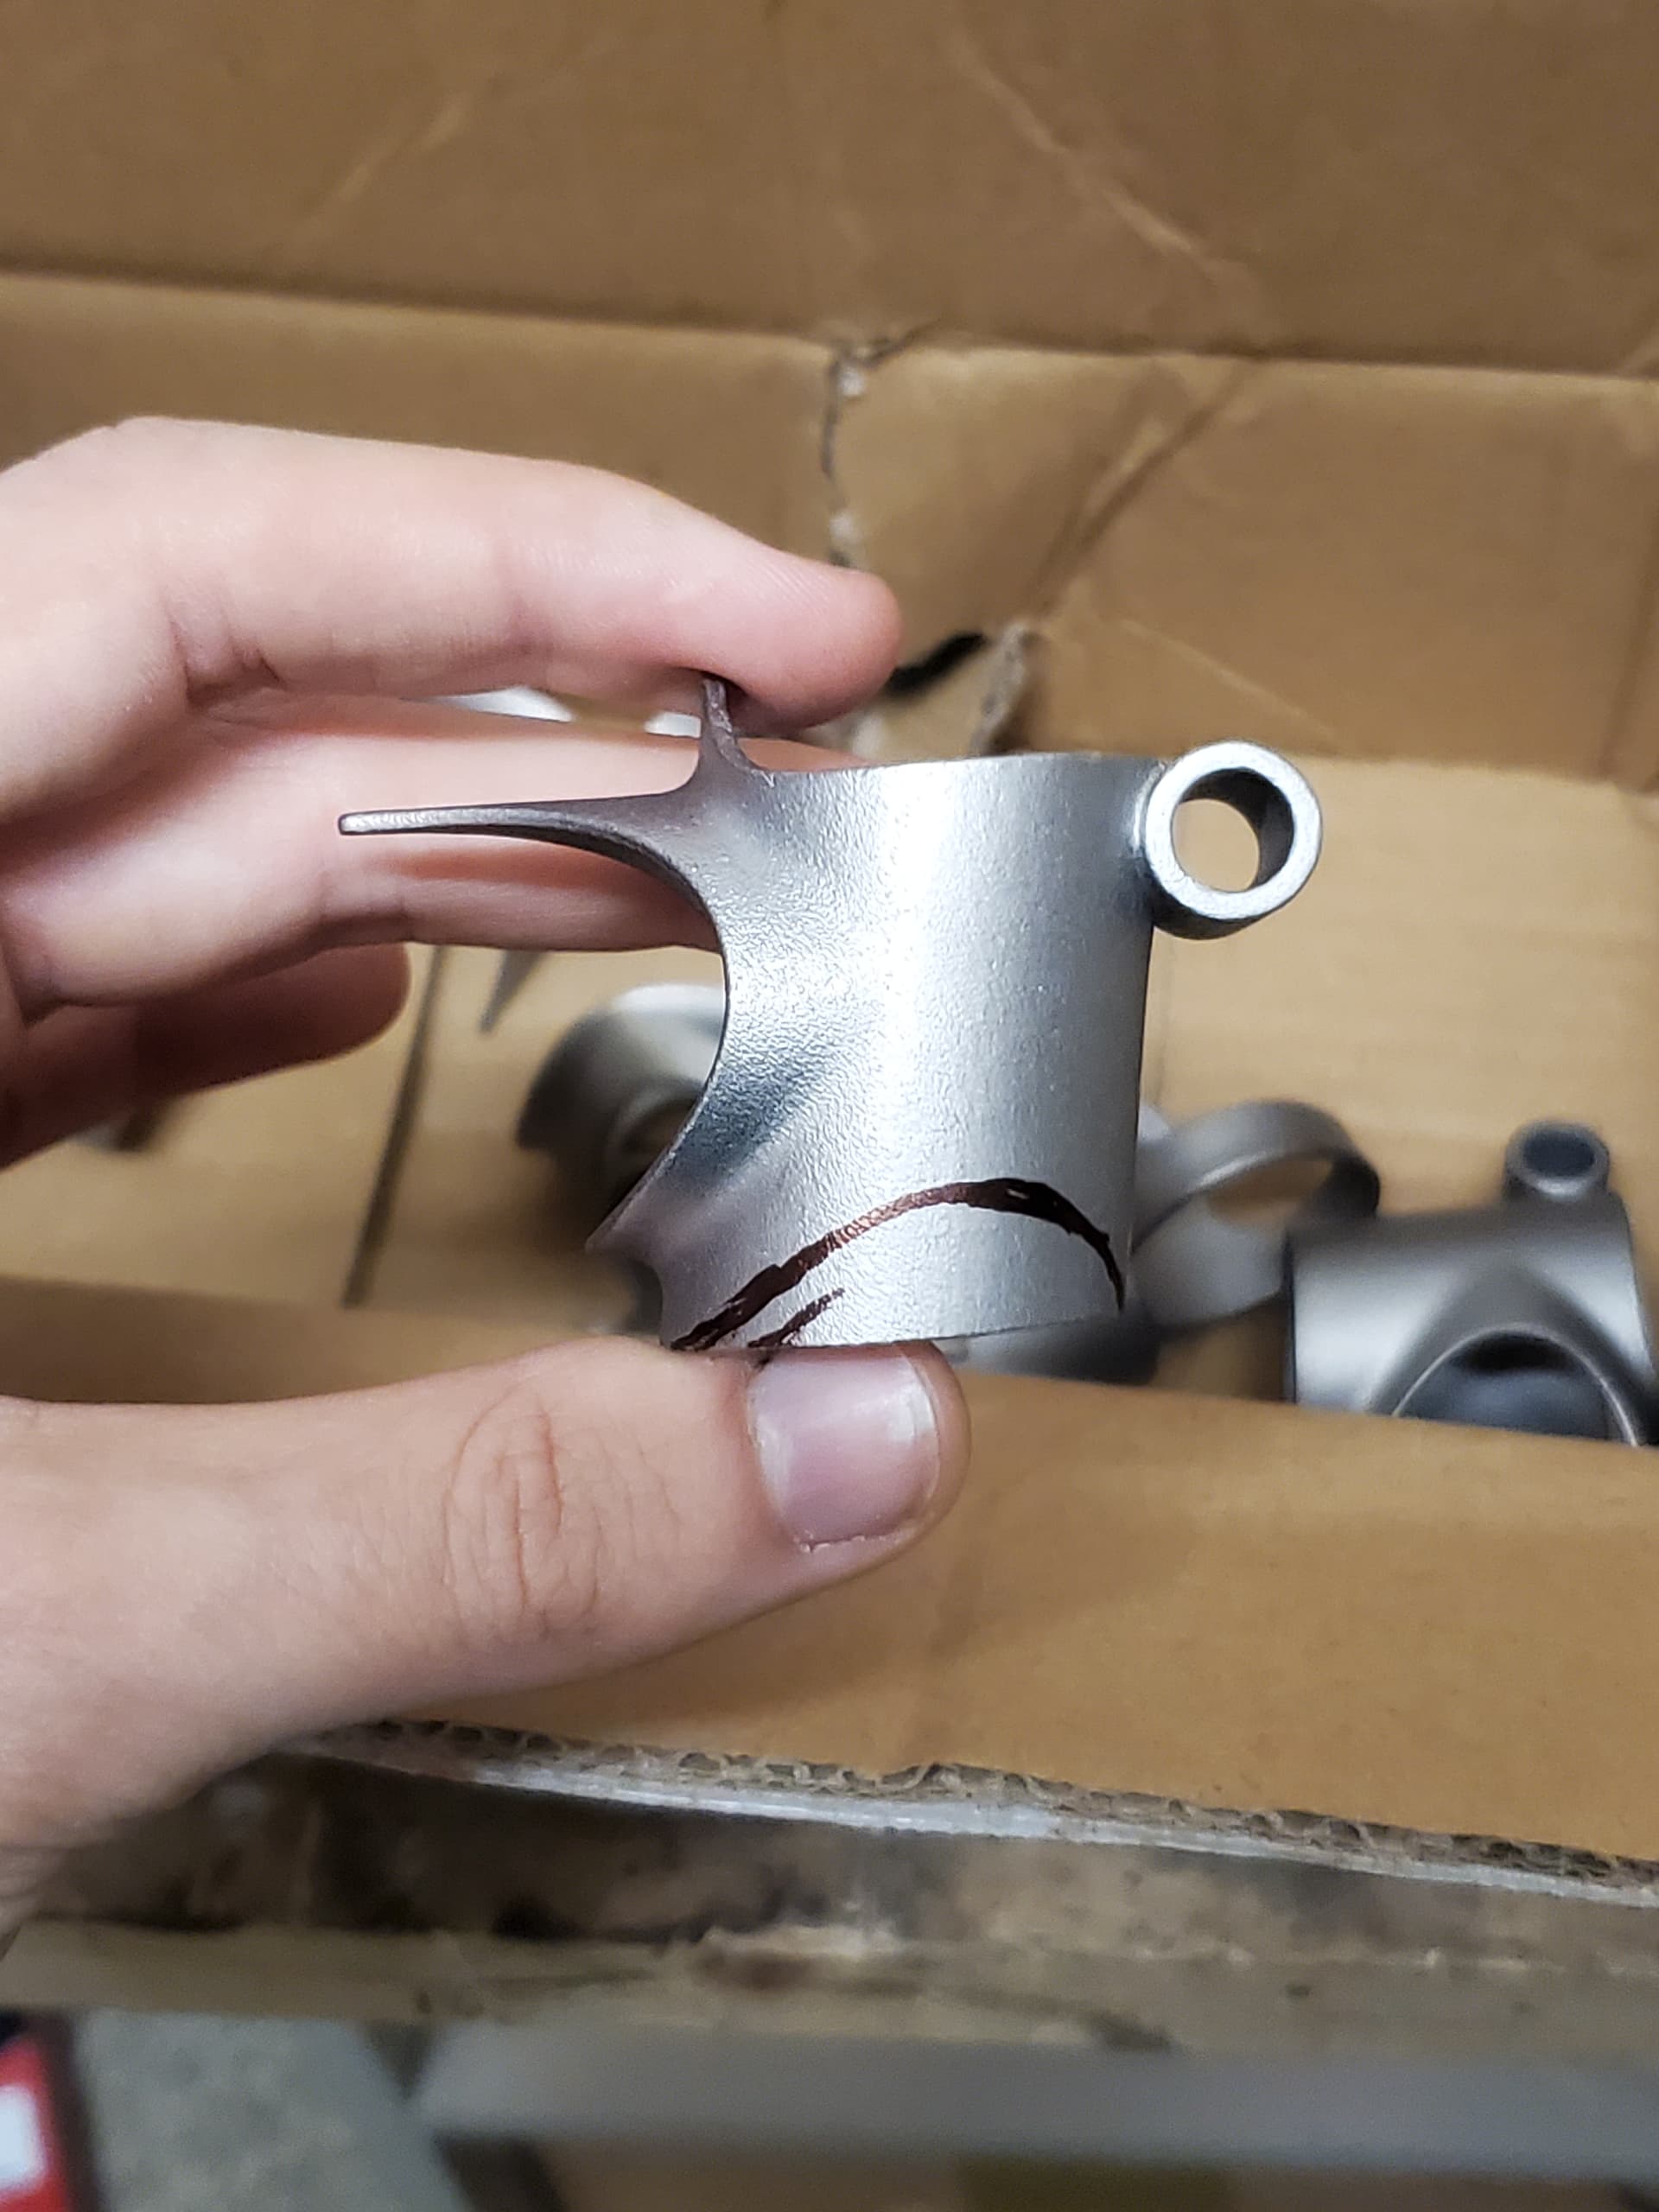
Now excuse me while I spend hours finishing the insides to make tubes fit lol. I might try to make a little sandpaper roll thingy to sand out the inside.
Then it’s time to get out the files and tubes and braze up a few tests!
I’ll also carve out the seat lug a bit as well, it came out a bit bulkier than I would like.
For anyone wondering, I paid about €138 for the 8 lugs including shipping and import to Belgium from in3Dtec.
I’ve renamed this to “han’s soon to be bikes” because I’ll be talking about all my shenanigans and not just this first frame that I still need to continue on.
Frame 1 is a bit on hold for a moment because life exists. But I have another idea brewing in my head!
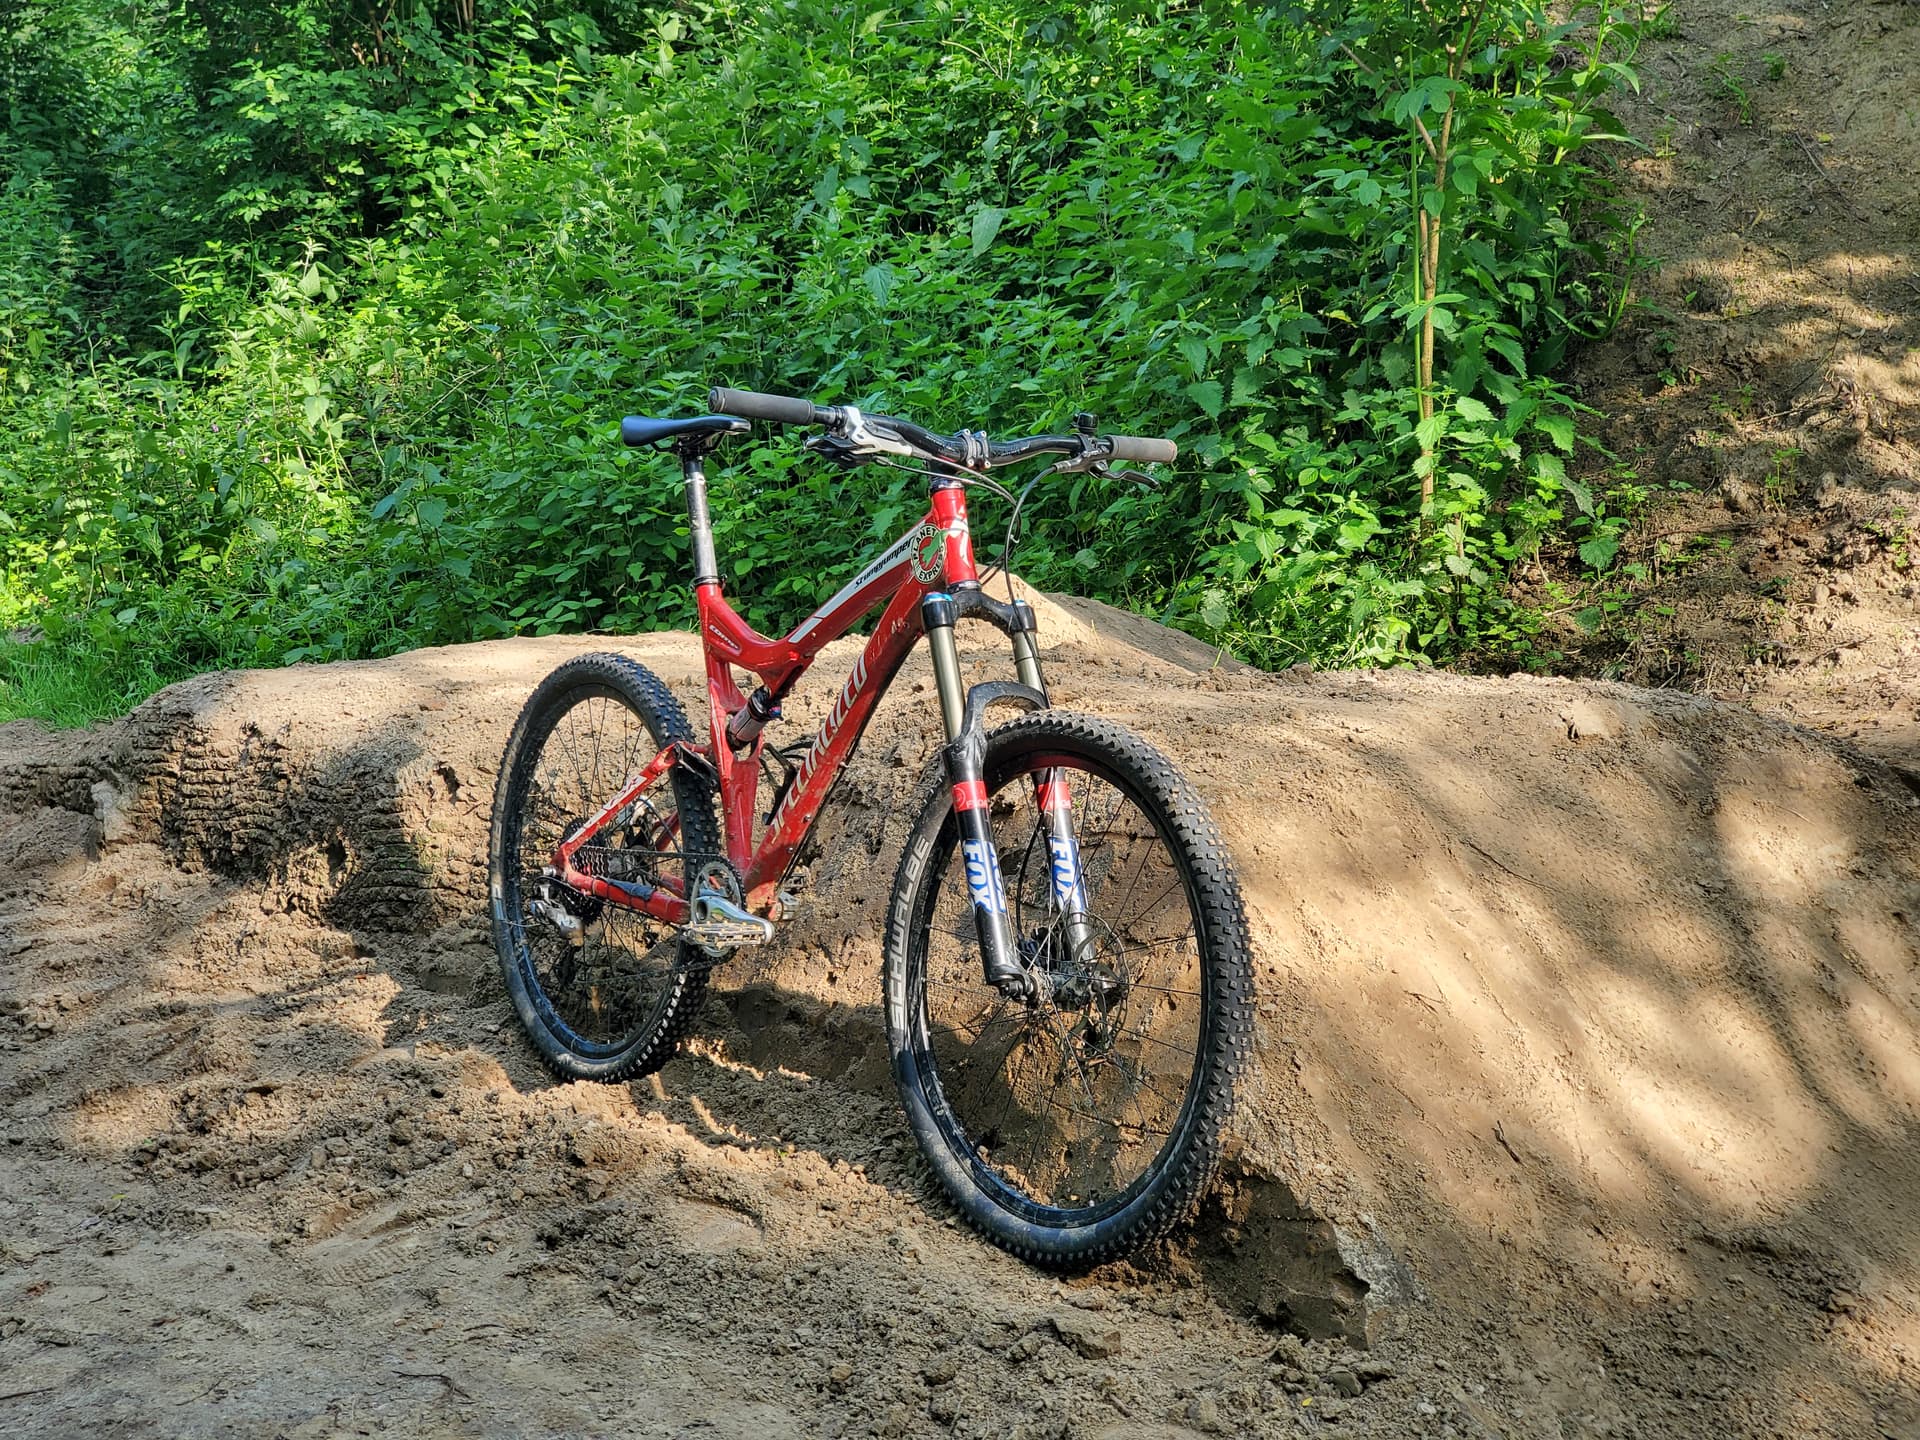
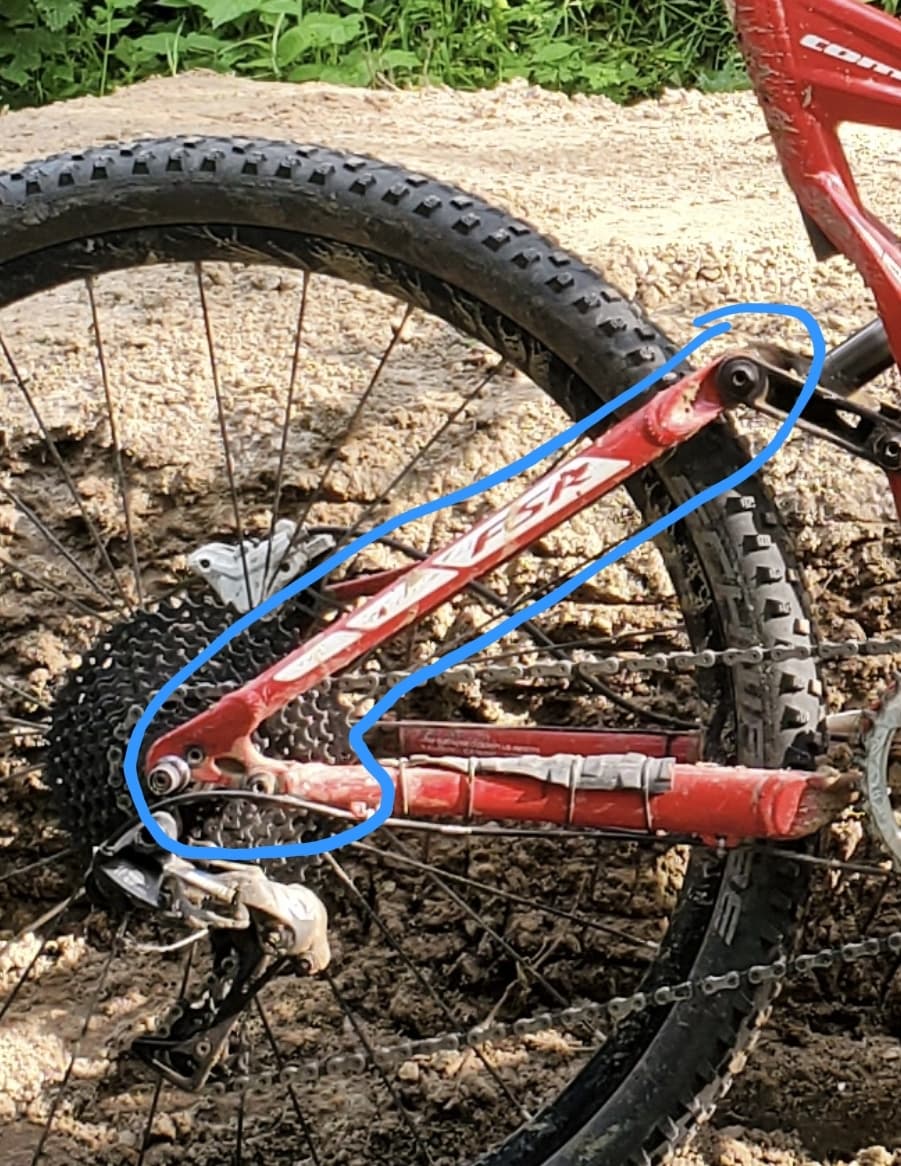
I want to see if I can replace the seatstay subassembly with a custom one to create more room to fit 27.5” wheels by effectively increasing the chainstay length by ~10mm.
I would then also play with the dimensions to increase the BB drop to keep the same BB height with the slightly larger wheels.
At the front end the conversion is easy. The fork has a massive gap, plenty of space for a 27.5 wheel. For the height I would lower the fork back down to 120mm. I increased the travel from 120 to 140 about 6 years ago, but in hindsight 32mm stanchions with 140mm travel really isn’t an optimal combination.
I like having more travel at the front than at the back though so I would also change the worn rear shock for one with the same length but slightly shorter stroke.
All that would change it from a 140F/120R 26” bike to a 120F/110R 27.5” bike which honestly sounds absolutely awesome!
Any opinions from experienced builders?
Is it a completely stupid terrible idea, or a “might work, I suppose" idea? I have a set of qr 27.5 wheels so I could test it all out with “only" the cost of a pair of seatstays, a few printed parts and a set of tires. If it’s feasible I might even do this first (before the lugged city bike) as a fun little low stakes practice project since I can just bolt the original seatstay subassy back in.
does it have room for the 27.5” tyre at bottom out?
if you like riding a suspended bike, I’d first take a modern 130/140 ish trail bike for a genuine “I might buy this” test ride, (demo day etc), might surprise yourself.
you are asking good and pretty clear technical questions, but i’d be sure you are asking the right big picture questions first; (something like what do I want out of this and why? ; the design of the entirety of bike is arguably no more dead than 26” wheels…)
I asked myself “why do I actually want to do this” and honestly 2 things came up.
1: I’ve been looking for a short travel lightweight 650b XC bike but they practically don’t exist.
2: I dunno just seems like a really fun project that doesn’t cost too too much
I’ve thought about getting a newer bike, but I just can’t spend that kind of money on a mountain bike for how little I really go mountain biking these days. I want to go mountain biking more often again and I’m working on finding good new spots but it’ll be for when weather gets better.
Waiting on stuff to get back in stock, also wanna wait with ordering stuff from overseas (framebuilder supply) until after holiday season. Not gonna do the MTB seatstay project after all because I don’t ride it enough. But meanwhile:
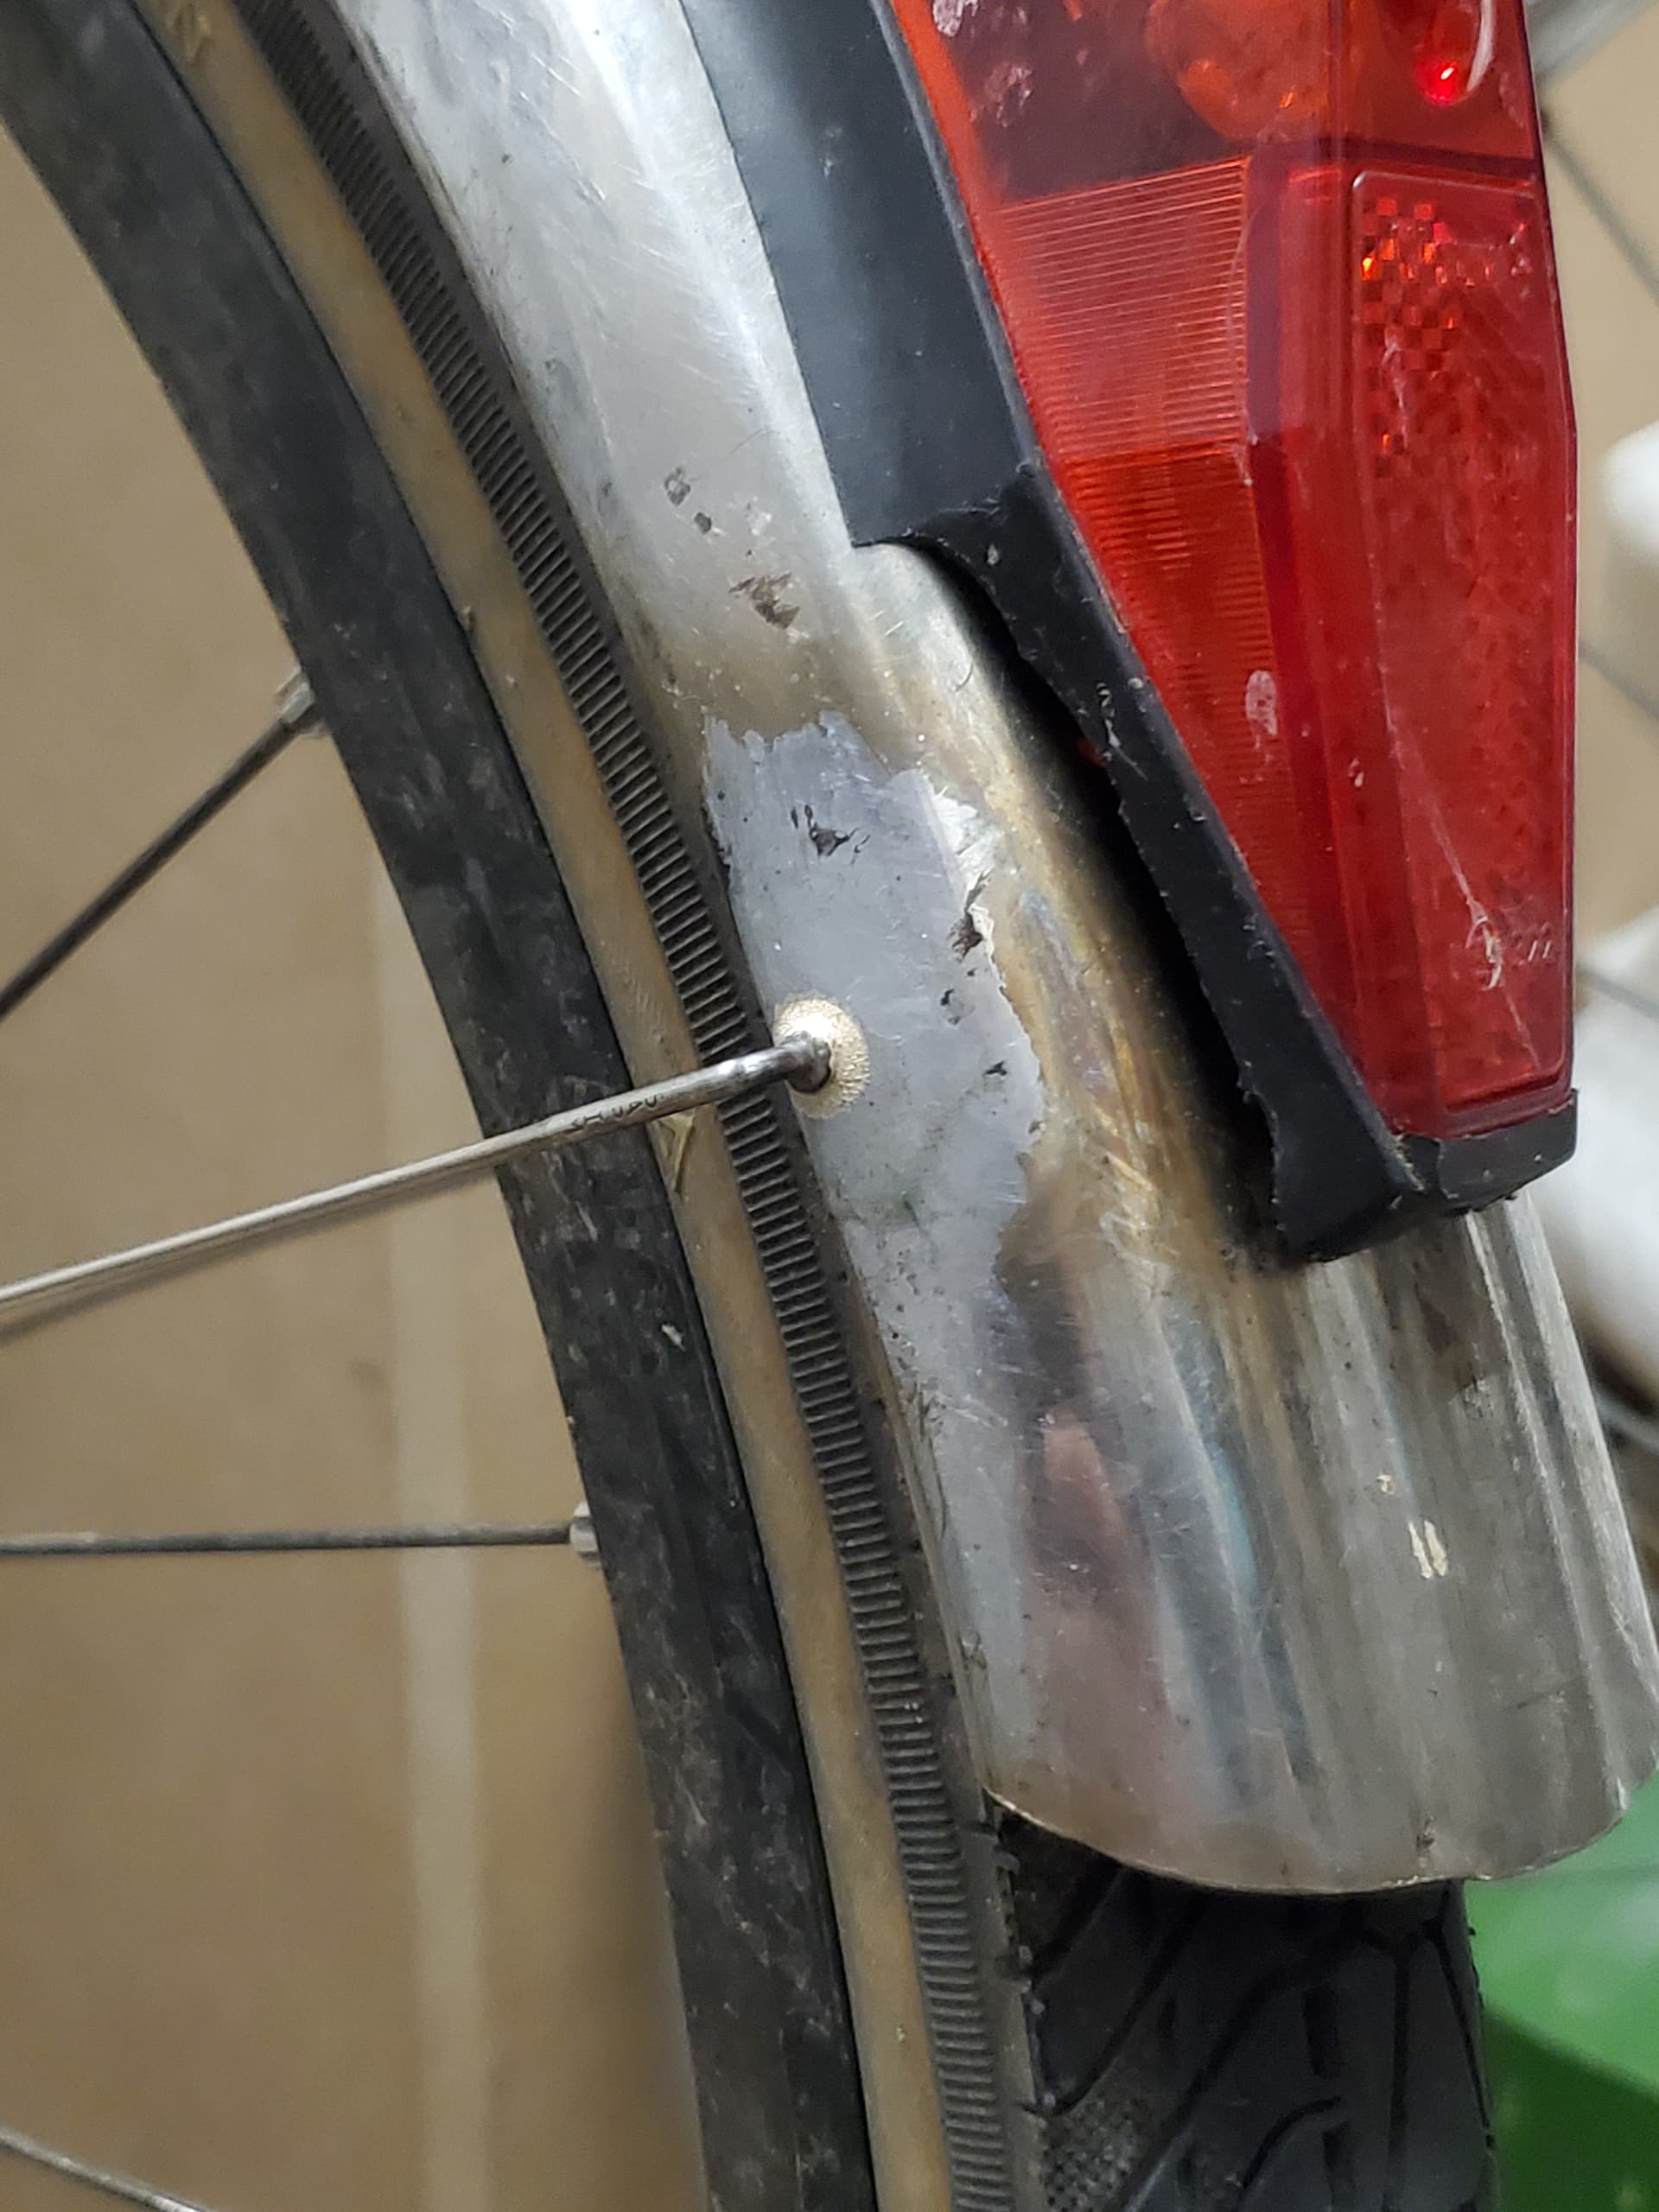
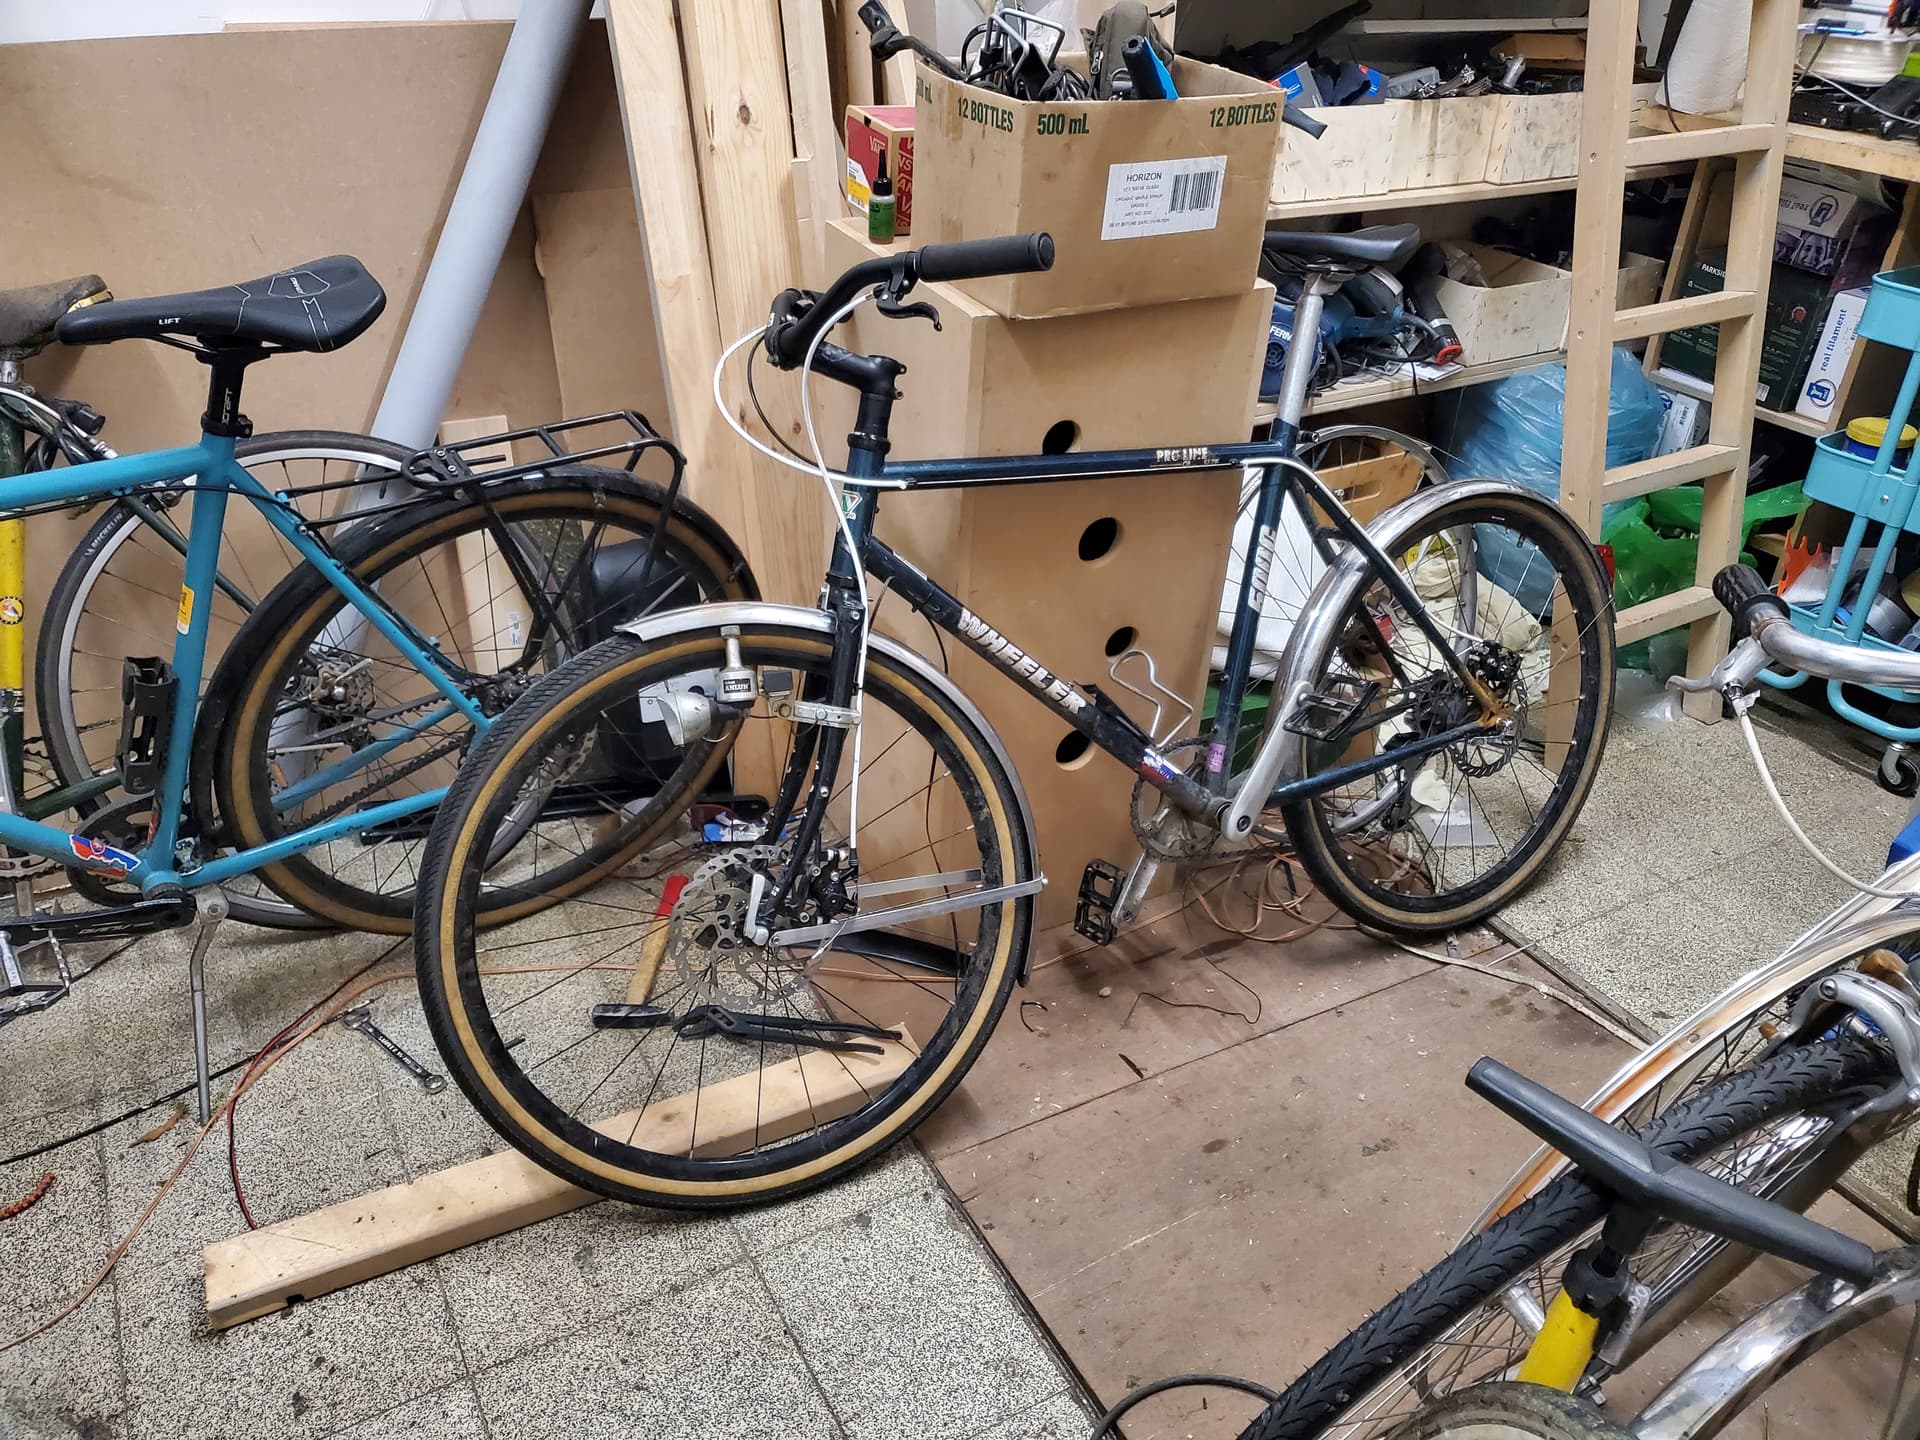
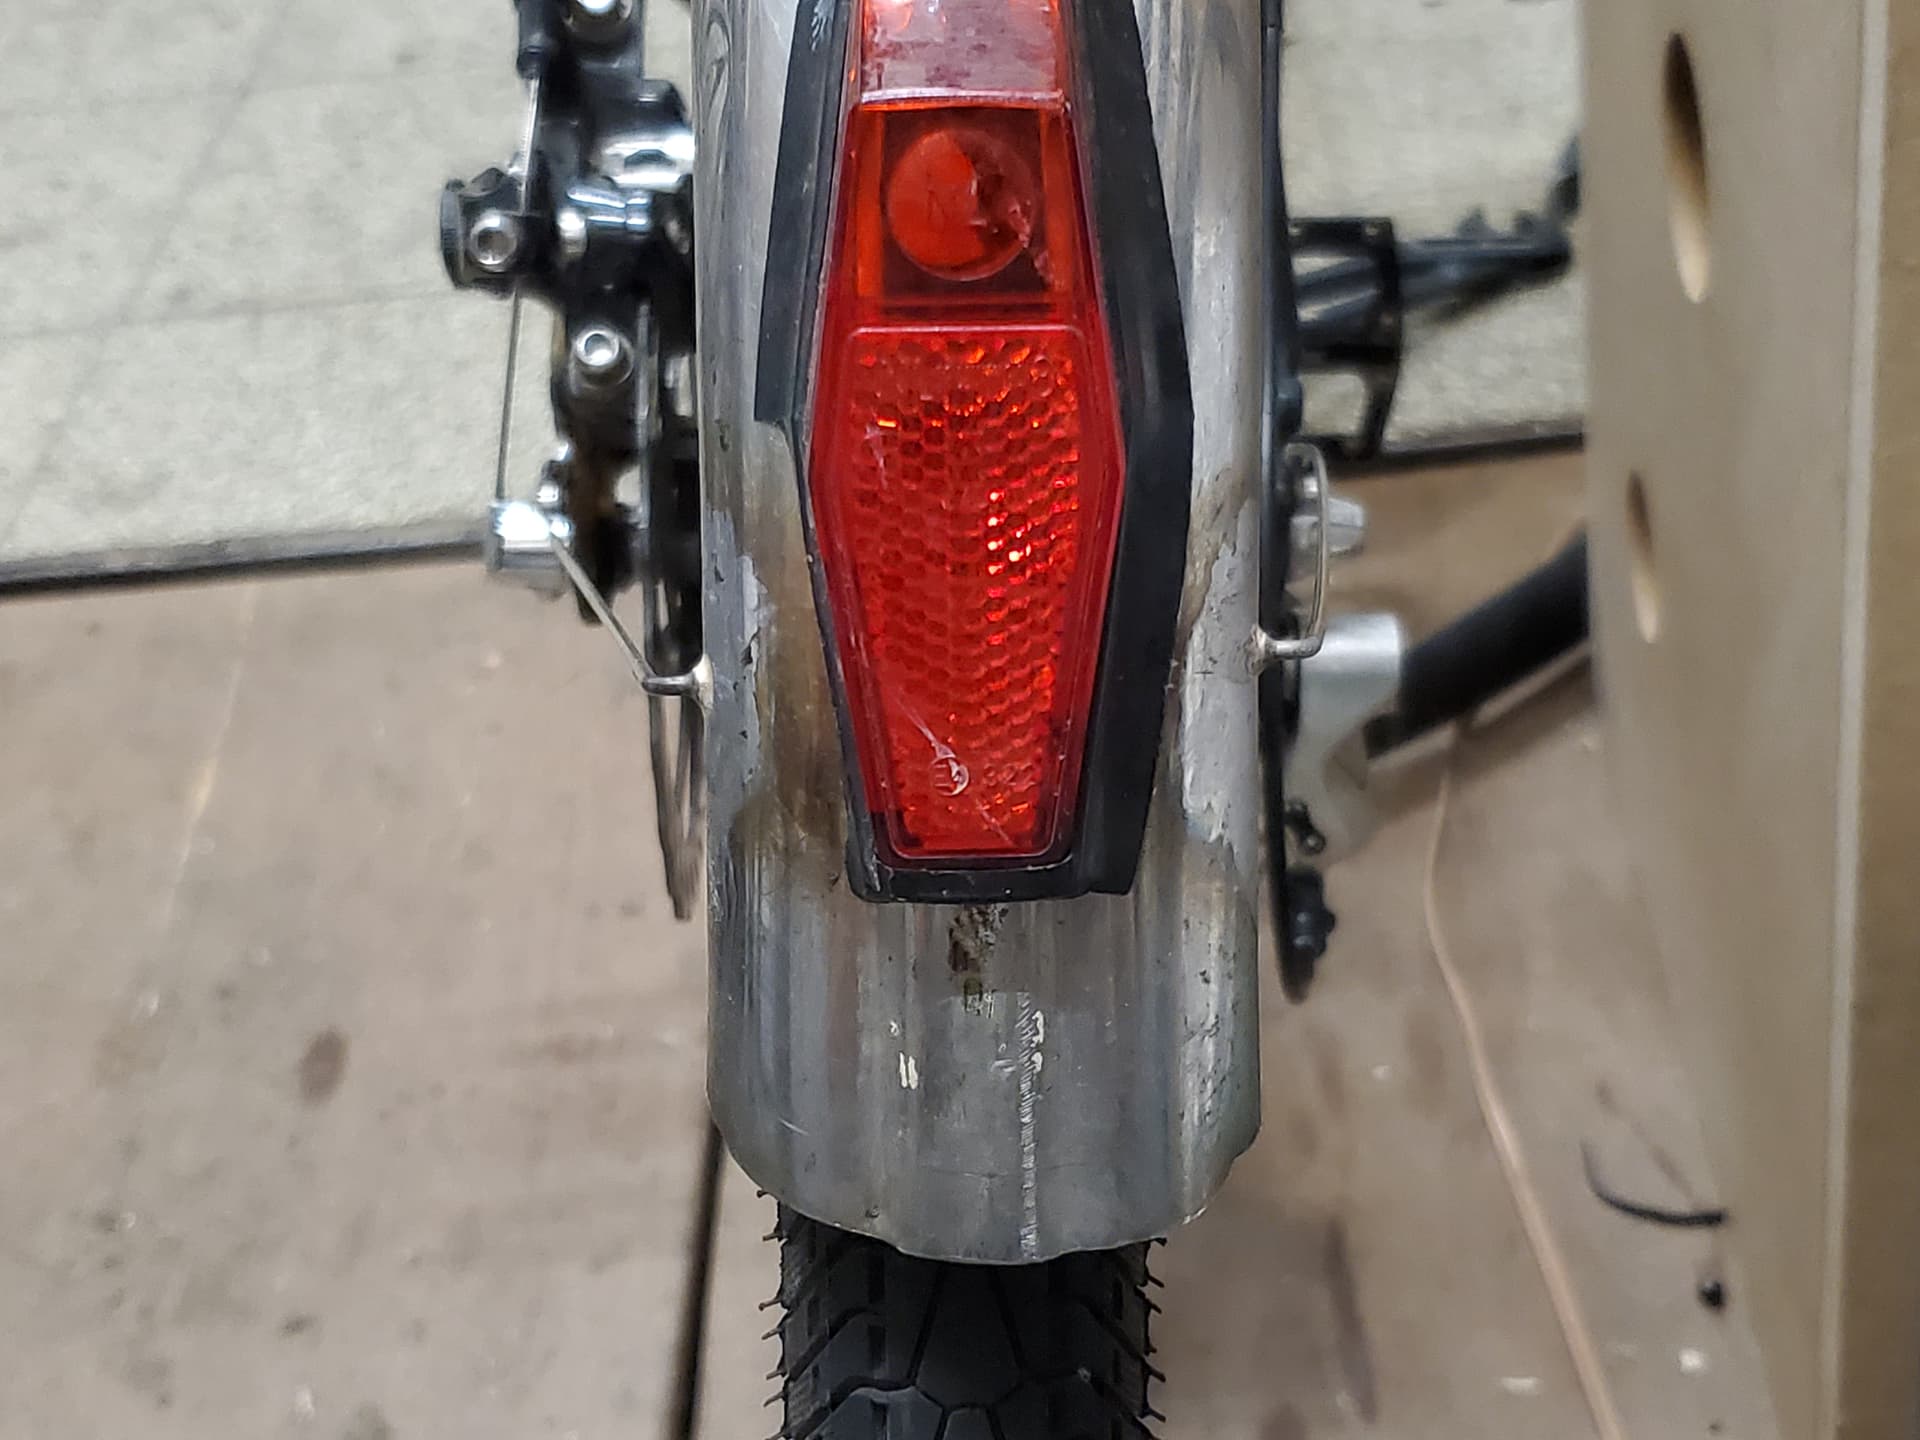
Some shenanigans, got carried away while outfitting my parts bin spare bike and did some little brazing to attach fenders.
Brazed some spoke heads onto an old stainless fender, and then I also brazed some spoke nipples onto washers as the mount. In hindsight I should’ve brazed the nipples to the fender and the washers to the spoke head but hey this way looks cooler I guess. Live and learn hey
Those fender mounts look nice! If you buy the cheapest fenders off Ali as I sometimes do, you usually get to fabricate a few mounting pieces for them.
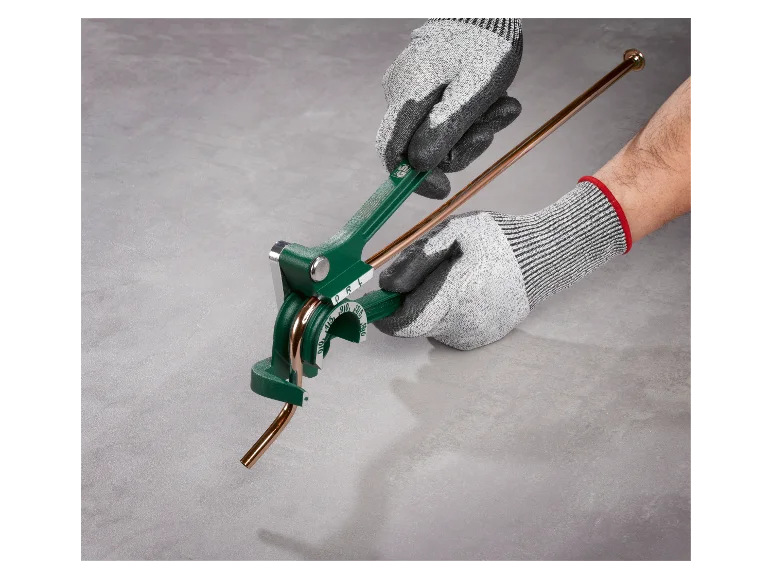
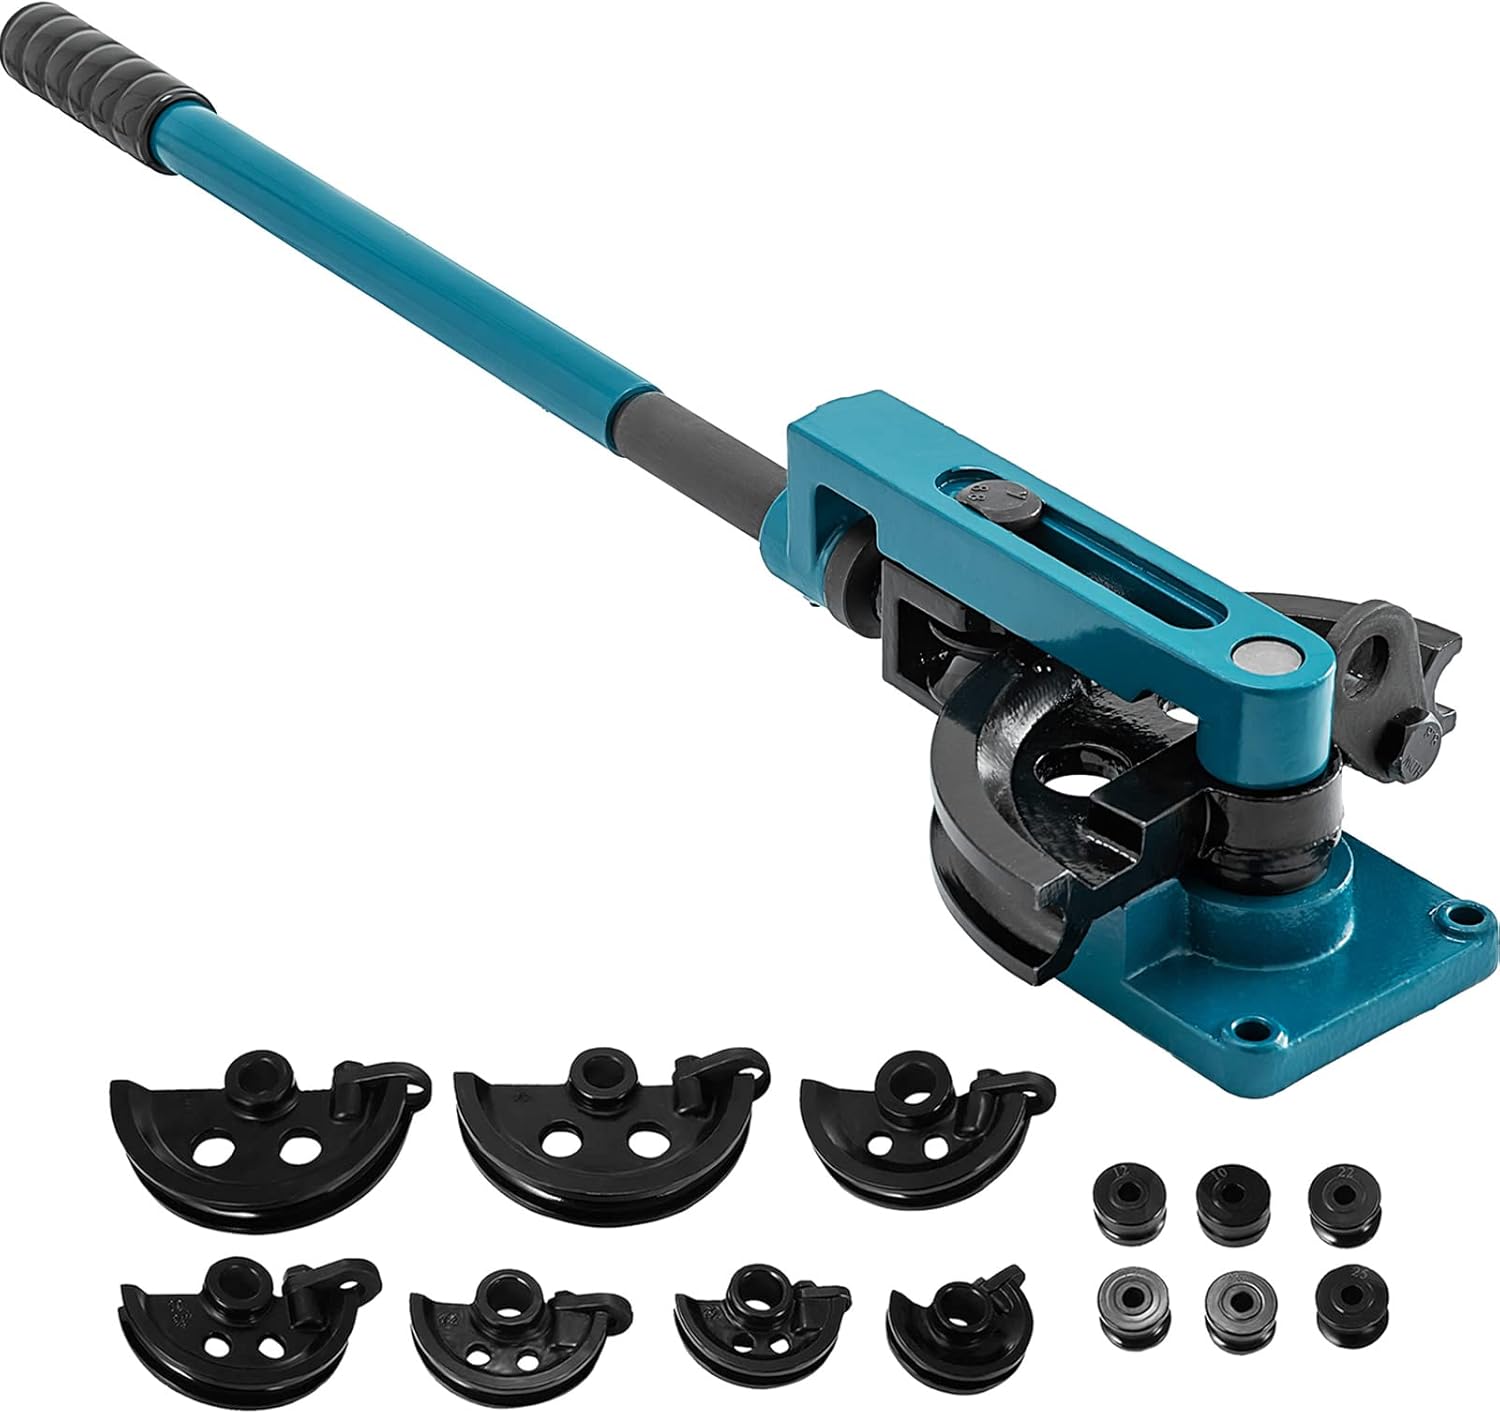
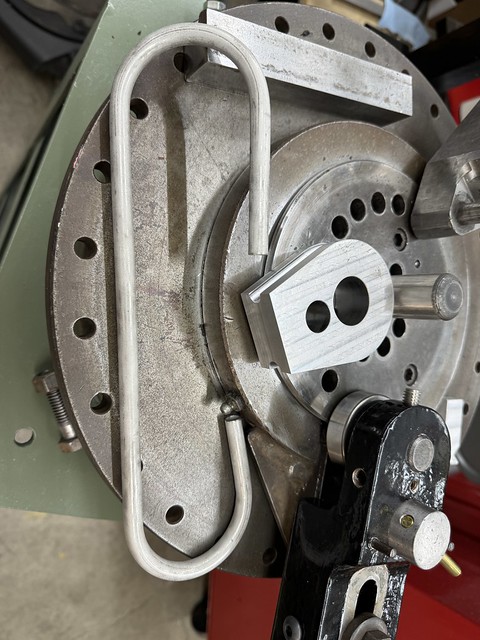
I’ve been making racks out of 10mm diameter 1mm wall stainless tubing, and I think you would struggle with that bender. I have one of these ones below and basically you do need a handle about a couple of feet long and to mount it to something. It sounds like 1/4” is fine though, and I don’t know about 8mm.
Yes I would expect it to be a struggle with 10x1mm stainless. All of the cheap benders of that type that I can find do 6 (1/4”) 8 and 10mm tubing and all the ones like you @guy153 show do 10mm and up.
So I think 8x1mm stainless should be doable? Stronger and stiffer than 1/4” but not as hard to bend as 10mm I would expect. I could always give such a cheap bender its best shot by greasing all the joints.
Also thanks I find it very fun to braze little bits and pieces maybe a rack would be a nice small step up on the way to a whole frame haha.
Yes if you can get some 8mm tubing that would be perfect for racks. I think 10mm was the thinnest I could find (but that’s actually a good thing as it turned out because it’s probably the minimum my bender can do– I didn’t check!)
Worst case you just have to extend the handles on that thing, or find some way to mount it. I had to make a stand for my bender as well.
Mine puts nice bends in things but the dies are a bit optimistically large. I can’t see how you could bend 1” tube in it without a lever about 12 feet long (which would require a mount screwed into some concrete or something). It’s actually perfect for 10mm (although the first rack I made was 12, and it handled that fine too).
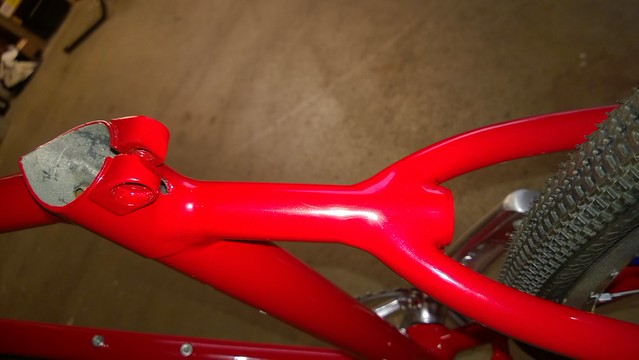
Digressing, but I was also hoping to use it for seatstays but they’re usually tapered and if you don’t have a perfect fit you get kinks. I’ve made a couple of these segmented style rear ends now instead which I’m really pleased with. They look very “custom” and you can get the spacing exactly where you need it for tyre clearance or V-brake mounts (as on this frame):
Yeah I don’t think I’ll be bending stays any time soon. Do segmented seatstays feel any different? I don’t need the clearance for my first or second planned projects, but I think they can be very cool for when clearance is needed. I particularly like when they’re used for cable routing!
I don’t think they feel any different to ride (not that I can tell anyway) but the benefits are:
You can reach everything to weld it much more easily (I make the sort of T-piece first, off the bike)
They don’t pull in at all. The rear spacing is where you left it after you finish welding them out, which is a bonus.
You can get the stays exactly as far apart as you want them, for brake or tyre clearance etc reasons.
If you plan on carrying a lot of weight on the back, you can put the rack bosses on the T pieces instead of the actual stays (I did this on another build). The centre of the segment is a 28.6 diameter piece of 853 with a good weld all around it. It’s not going anywhere. I’ve never known stays to become detached but this is extra piece of mind.
Aesthetically it goes quite well with a segmented fork, which is usually the kind I make (because I’m TIGging everything and that’s the only way to do it with standard fork blades, which I often want to use).
Or in my case some twin plate style segmented stays also sound very doable to braze (I don’t have a TIG setup) and would go great with a twin plate lugged fork! Hey now that’s an idea I’m gonna keep in my head, I think I’d love that look.
Not much for progress yet on my frame build but a neat little repair on a friend’s commissioned bike rebuild.
I’m respraying and rebuilding a bike for my friend, and removing any attachments he won’t use for a clean look.
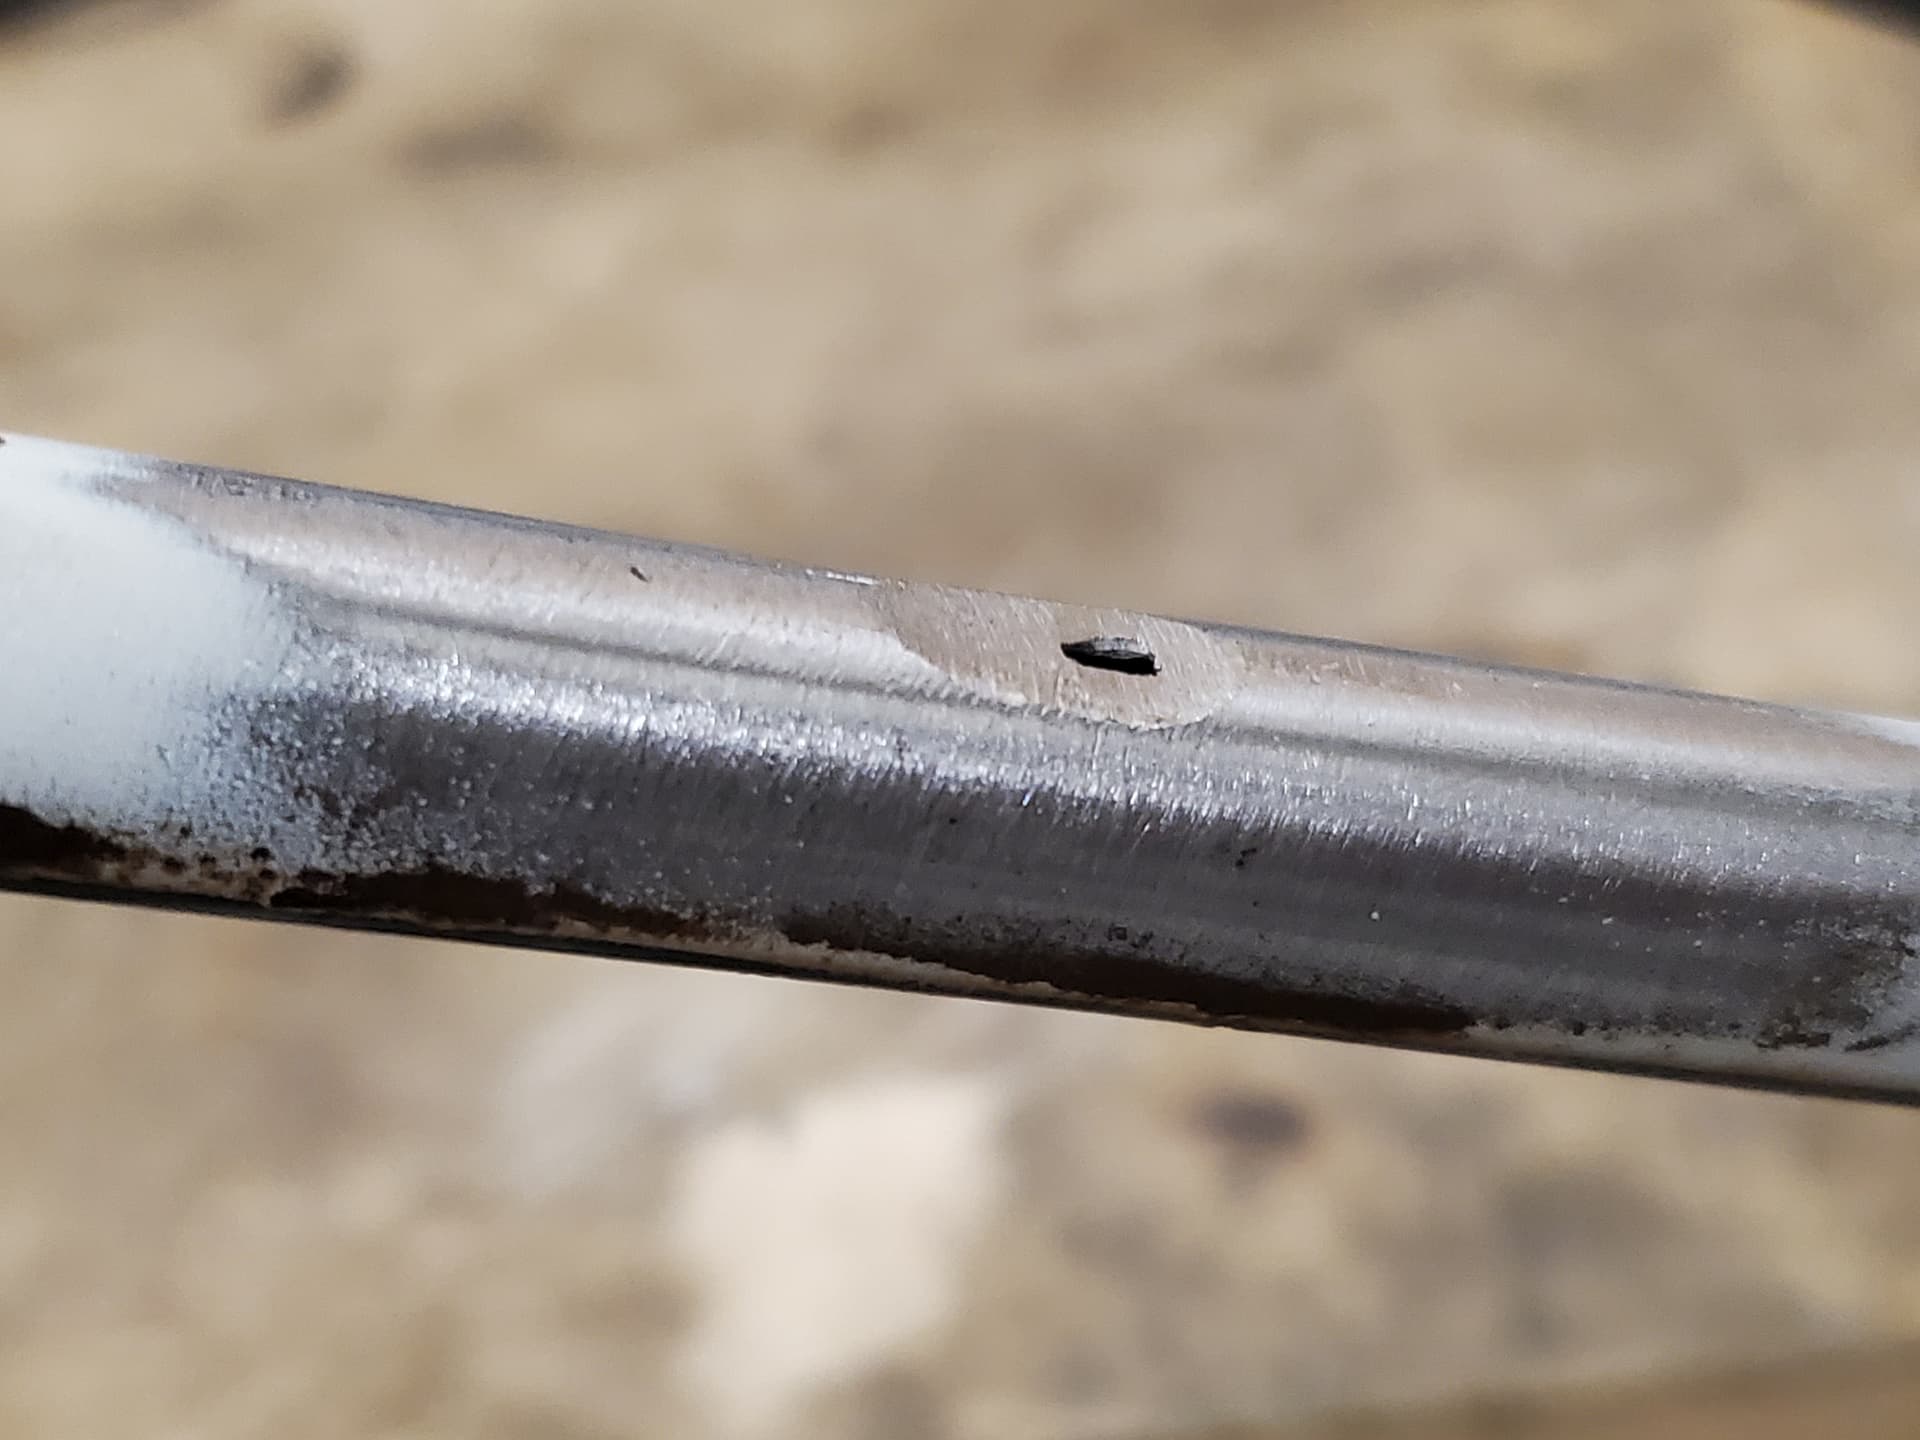
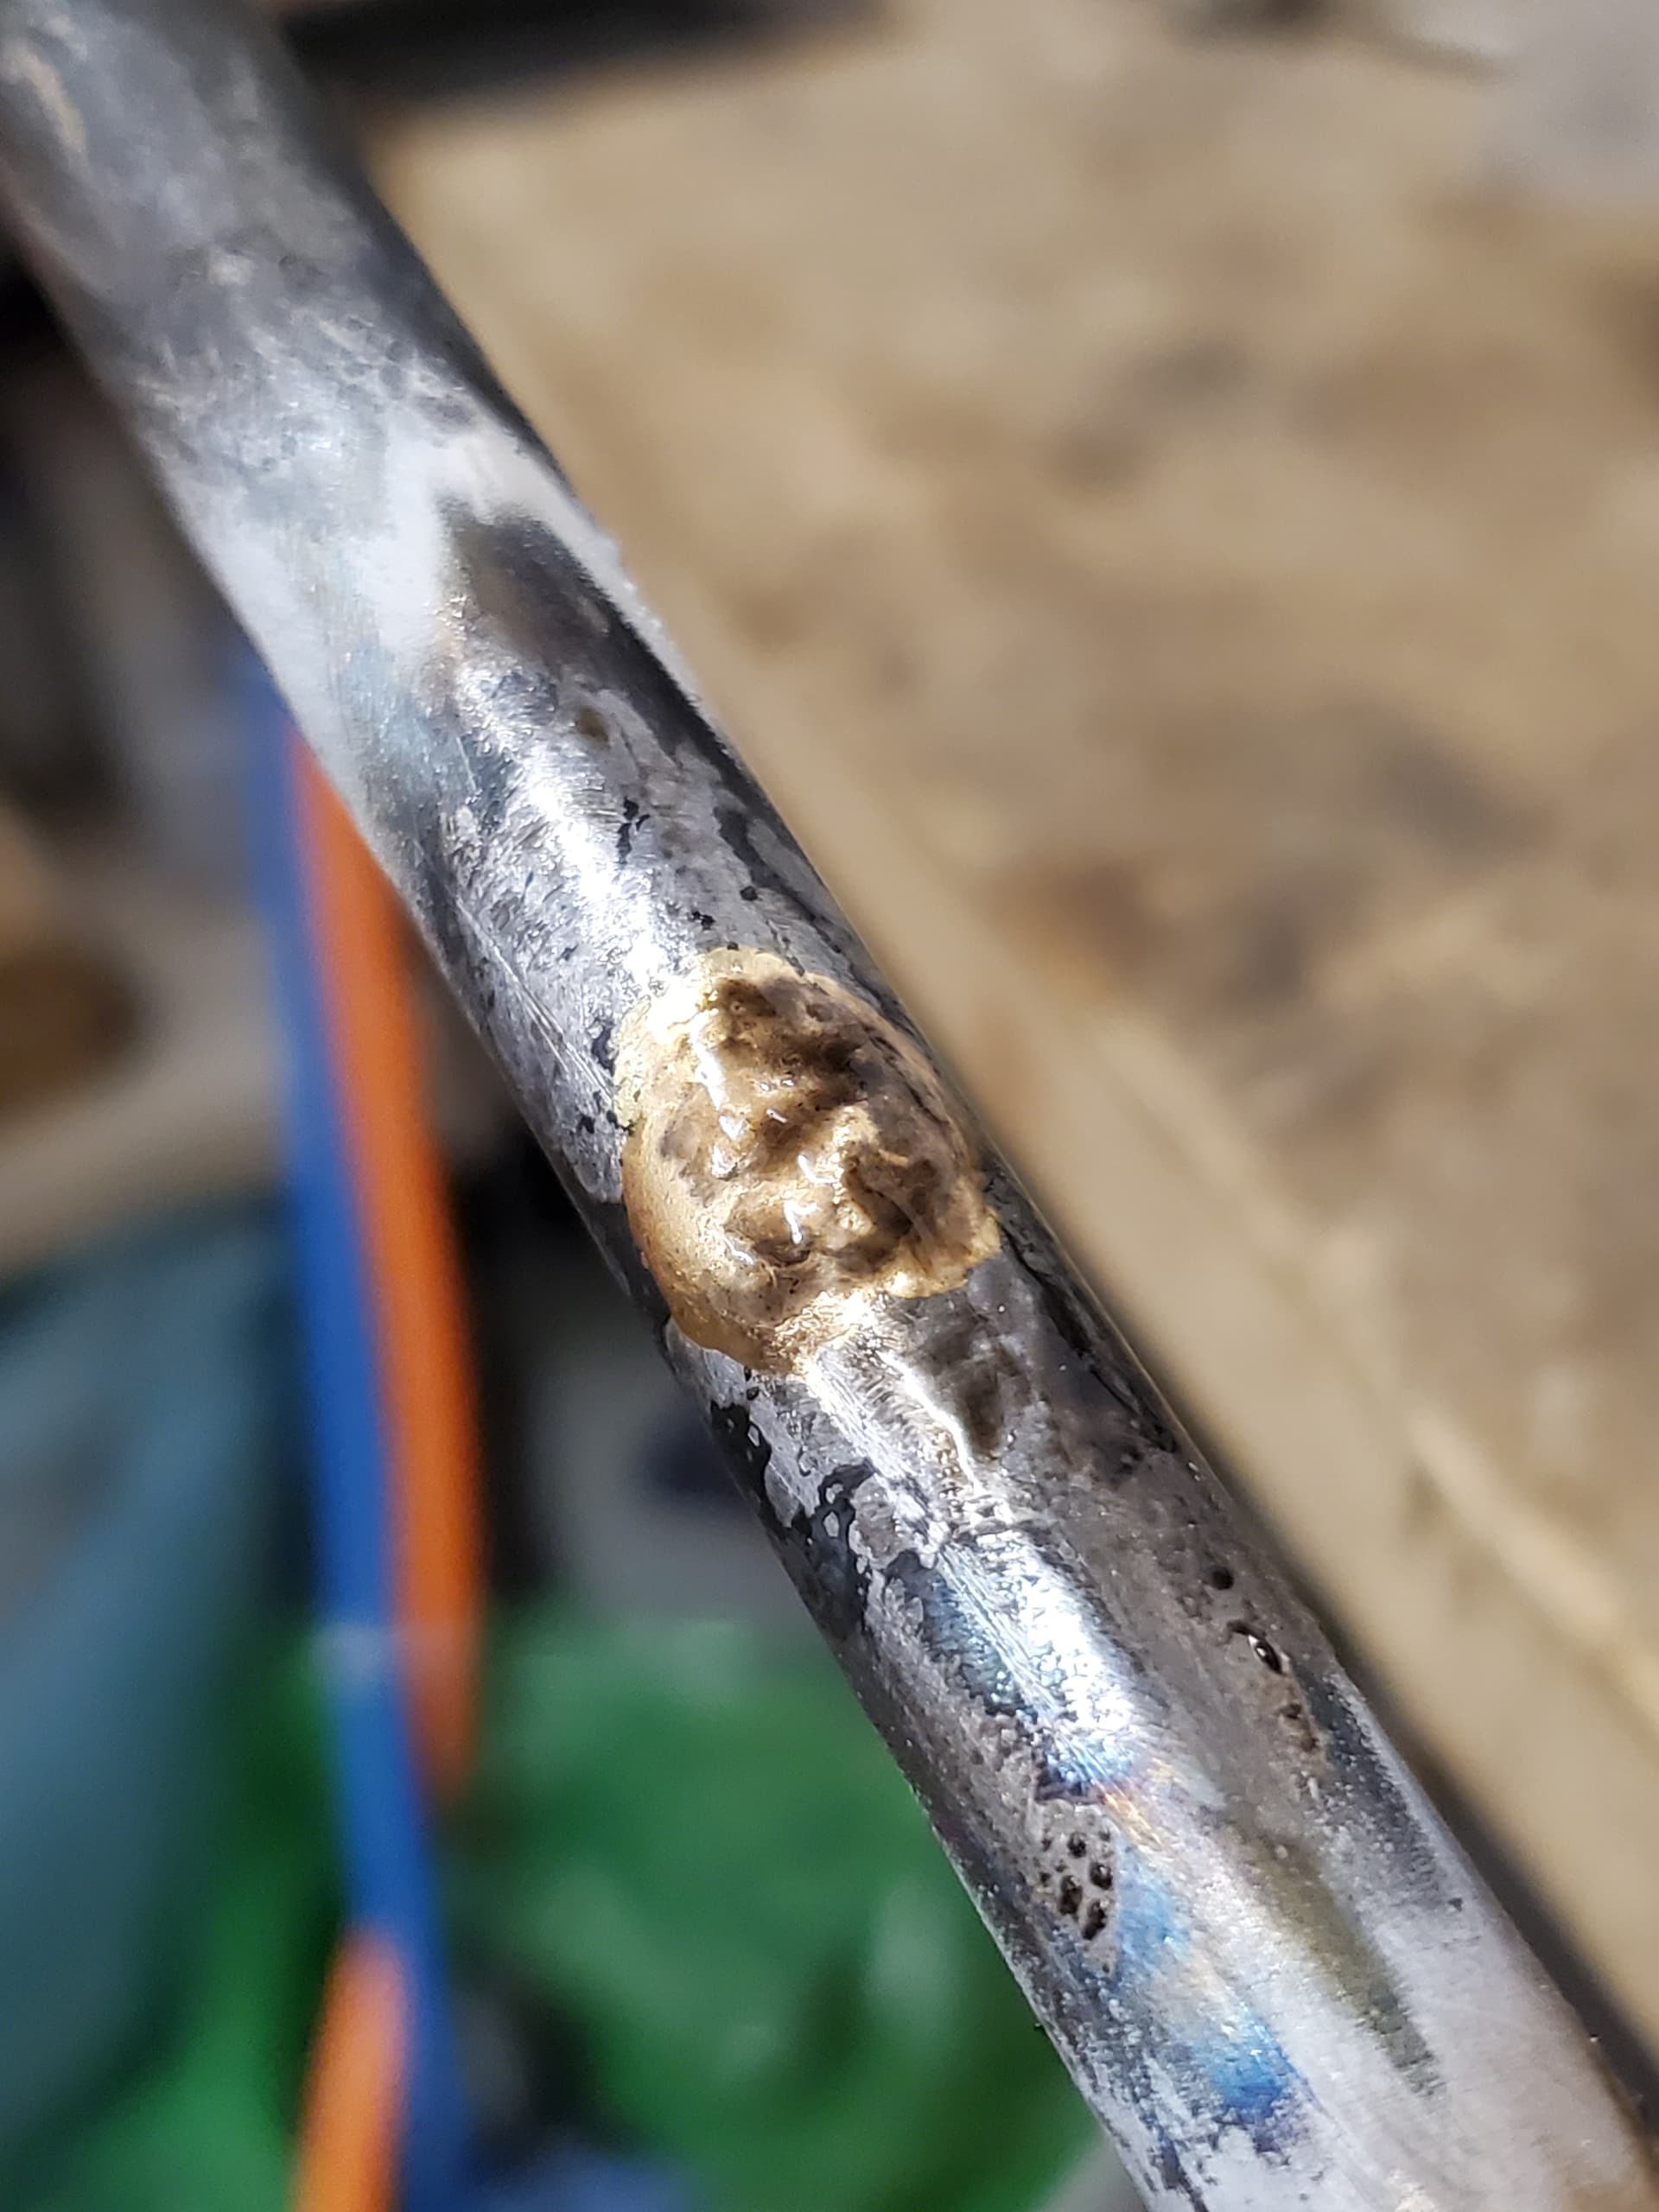
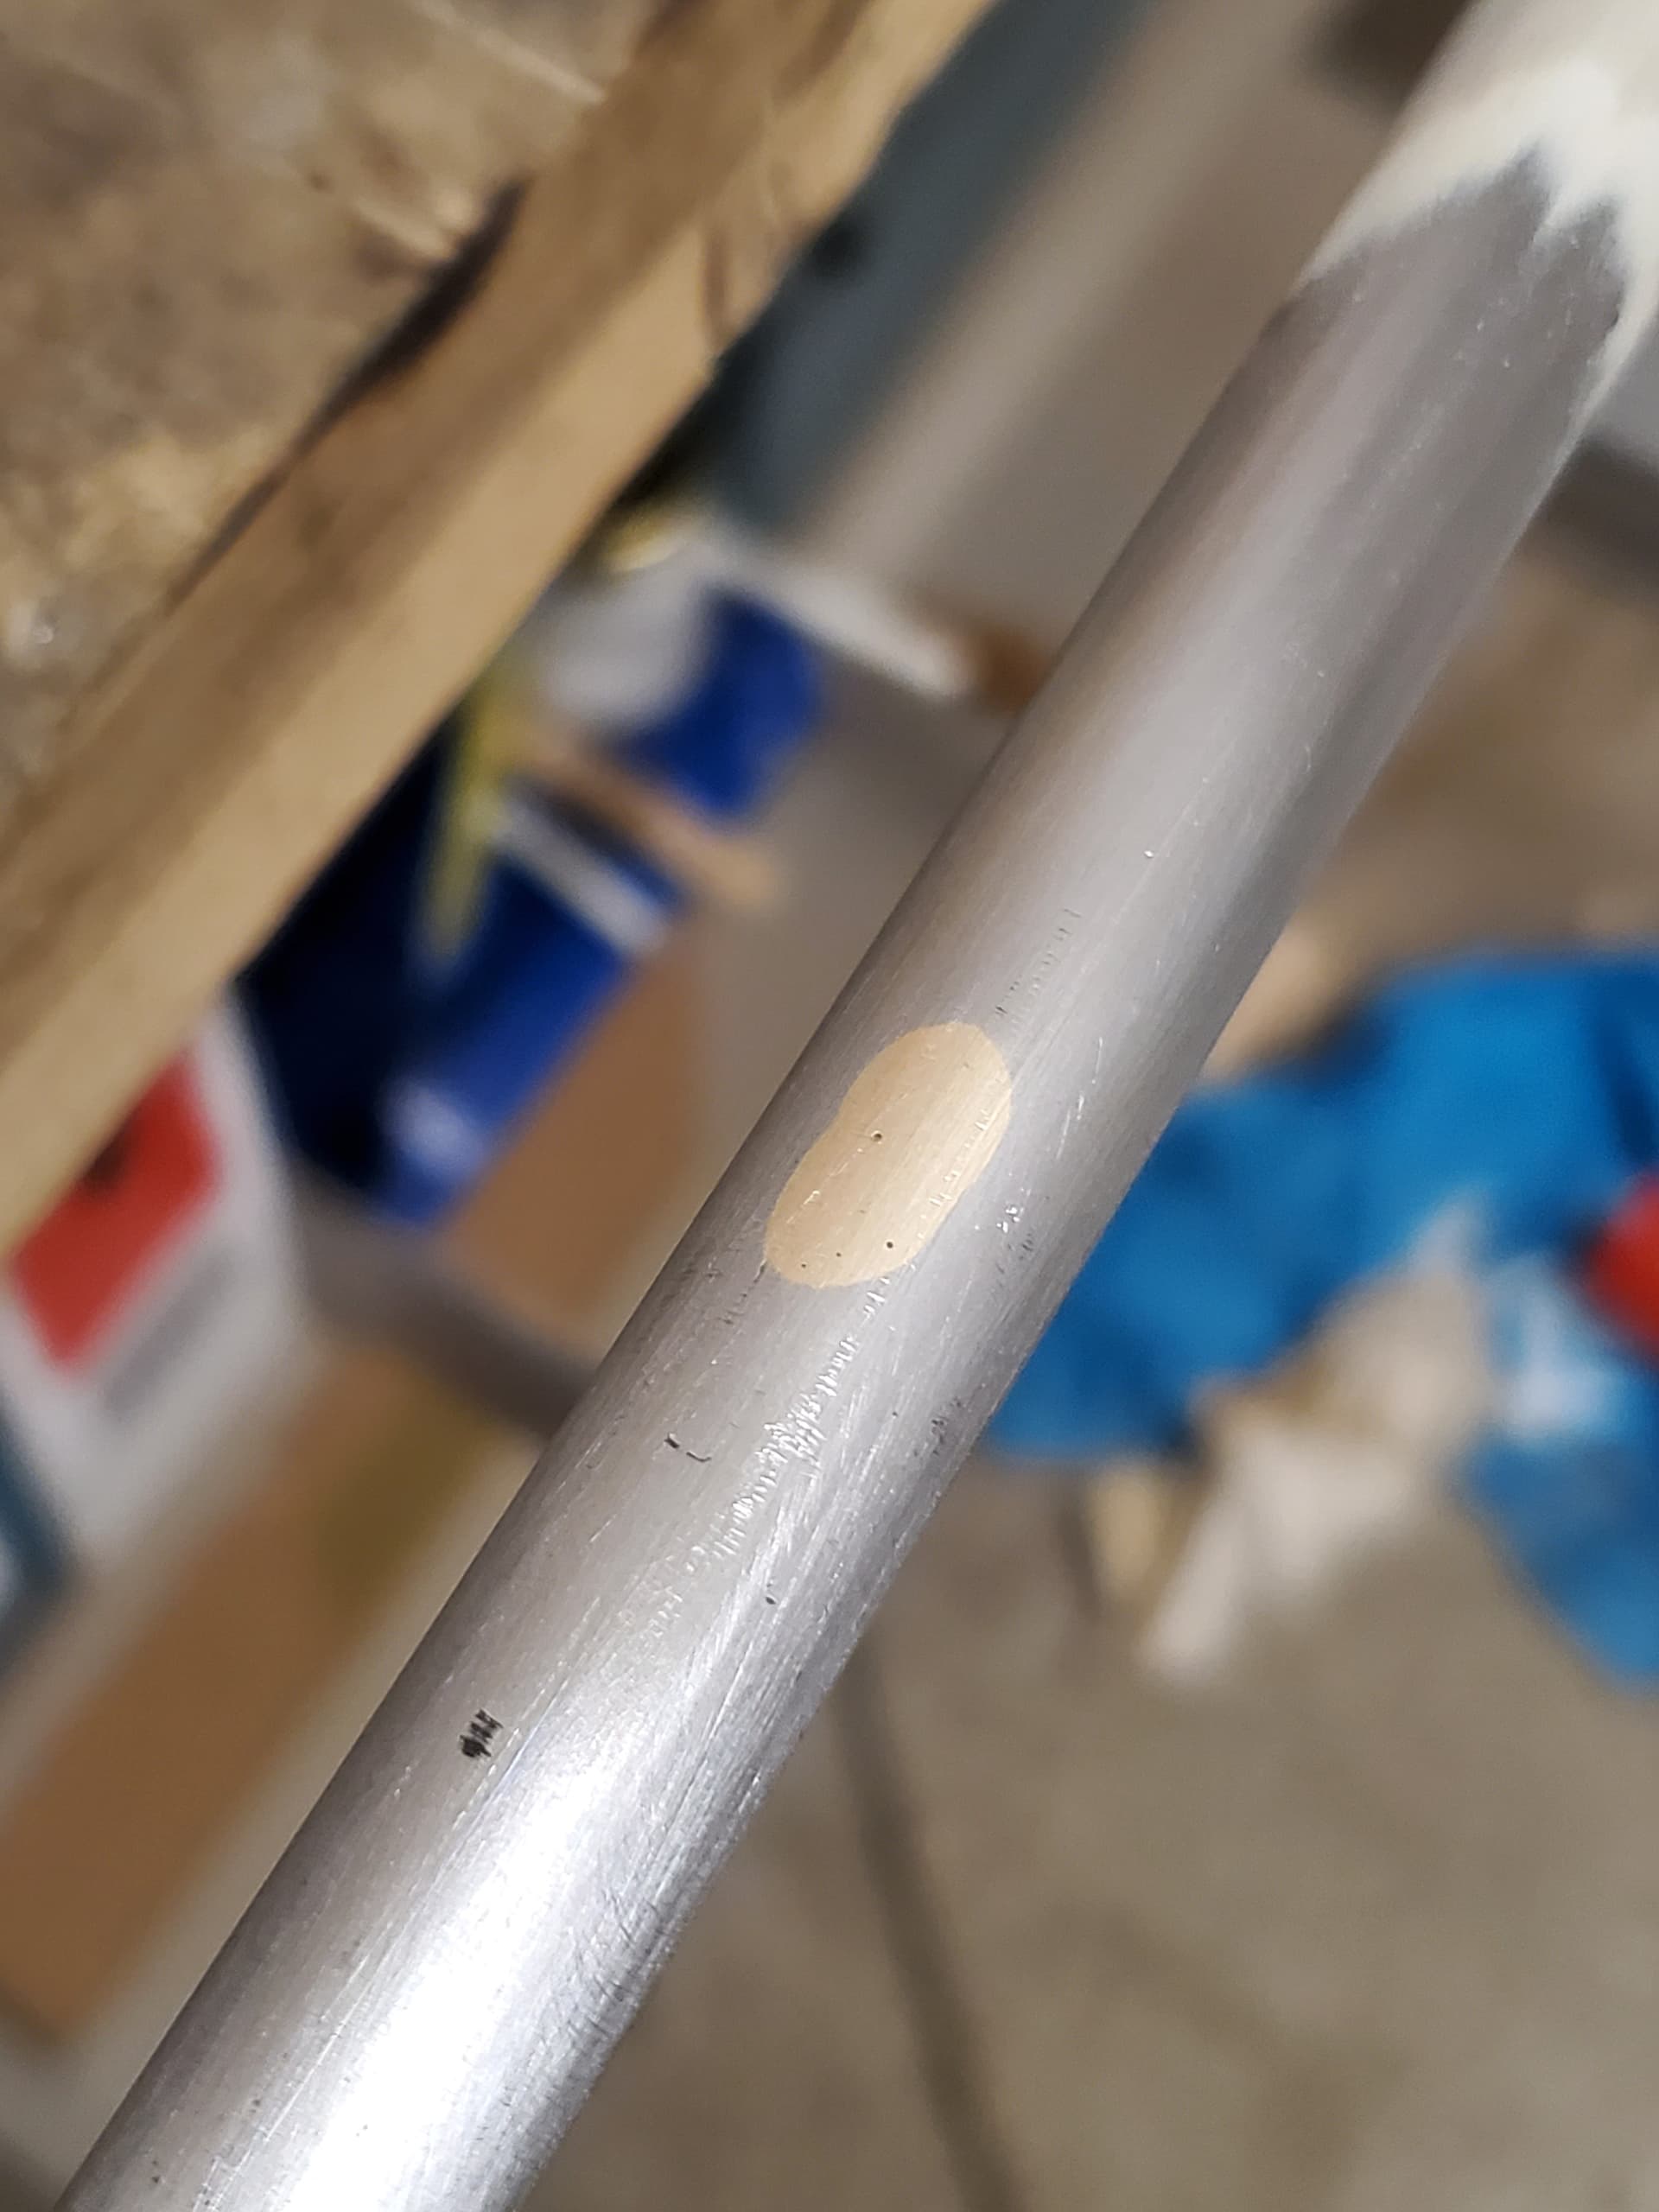
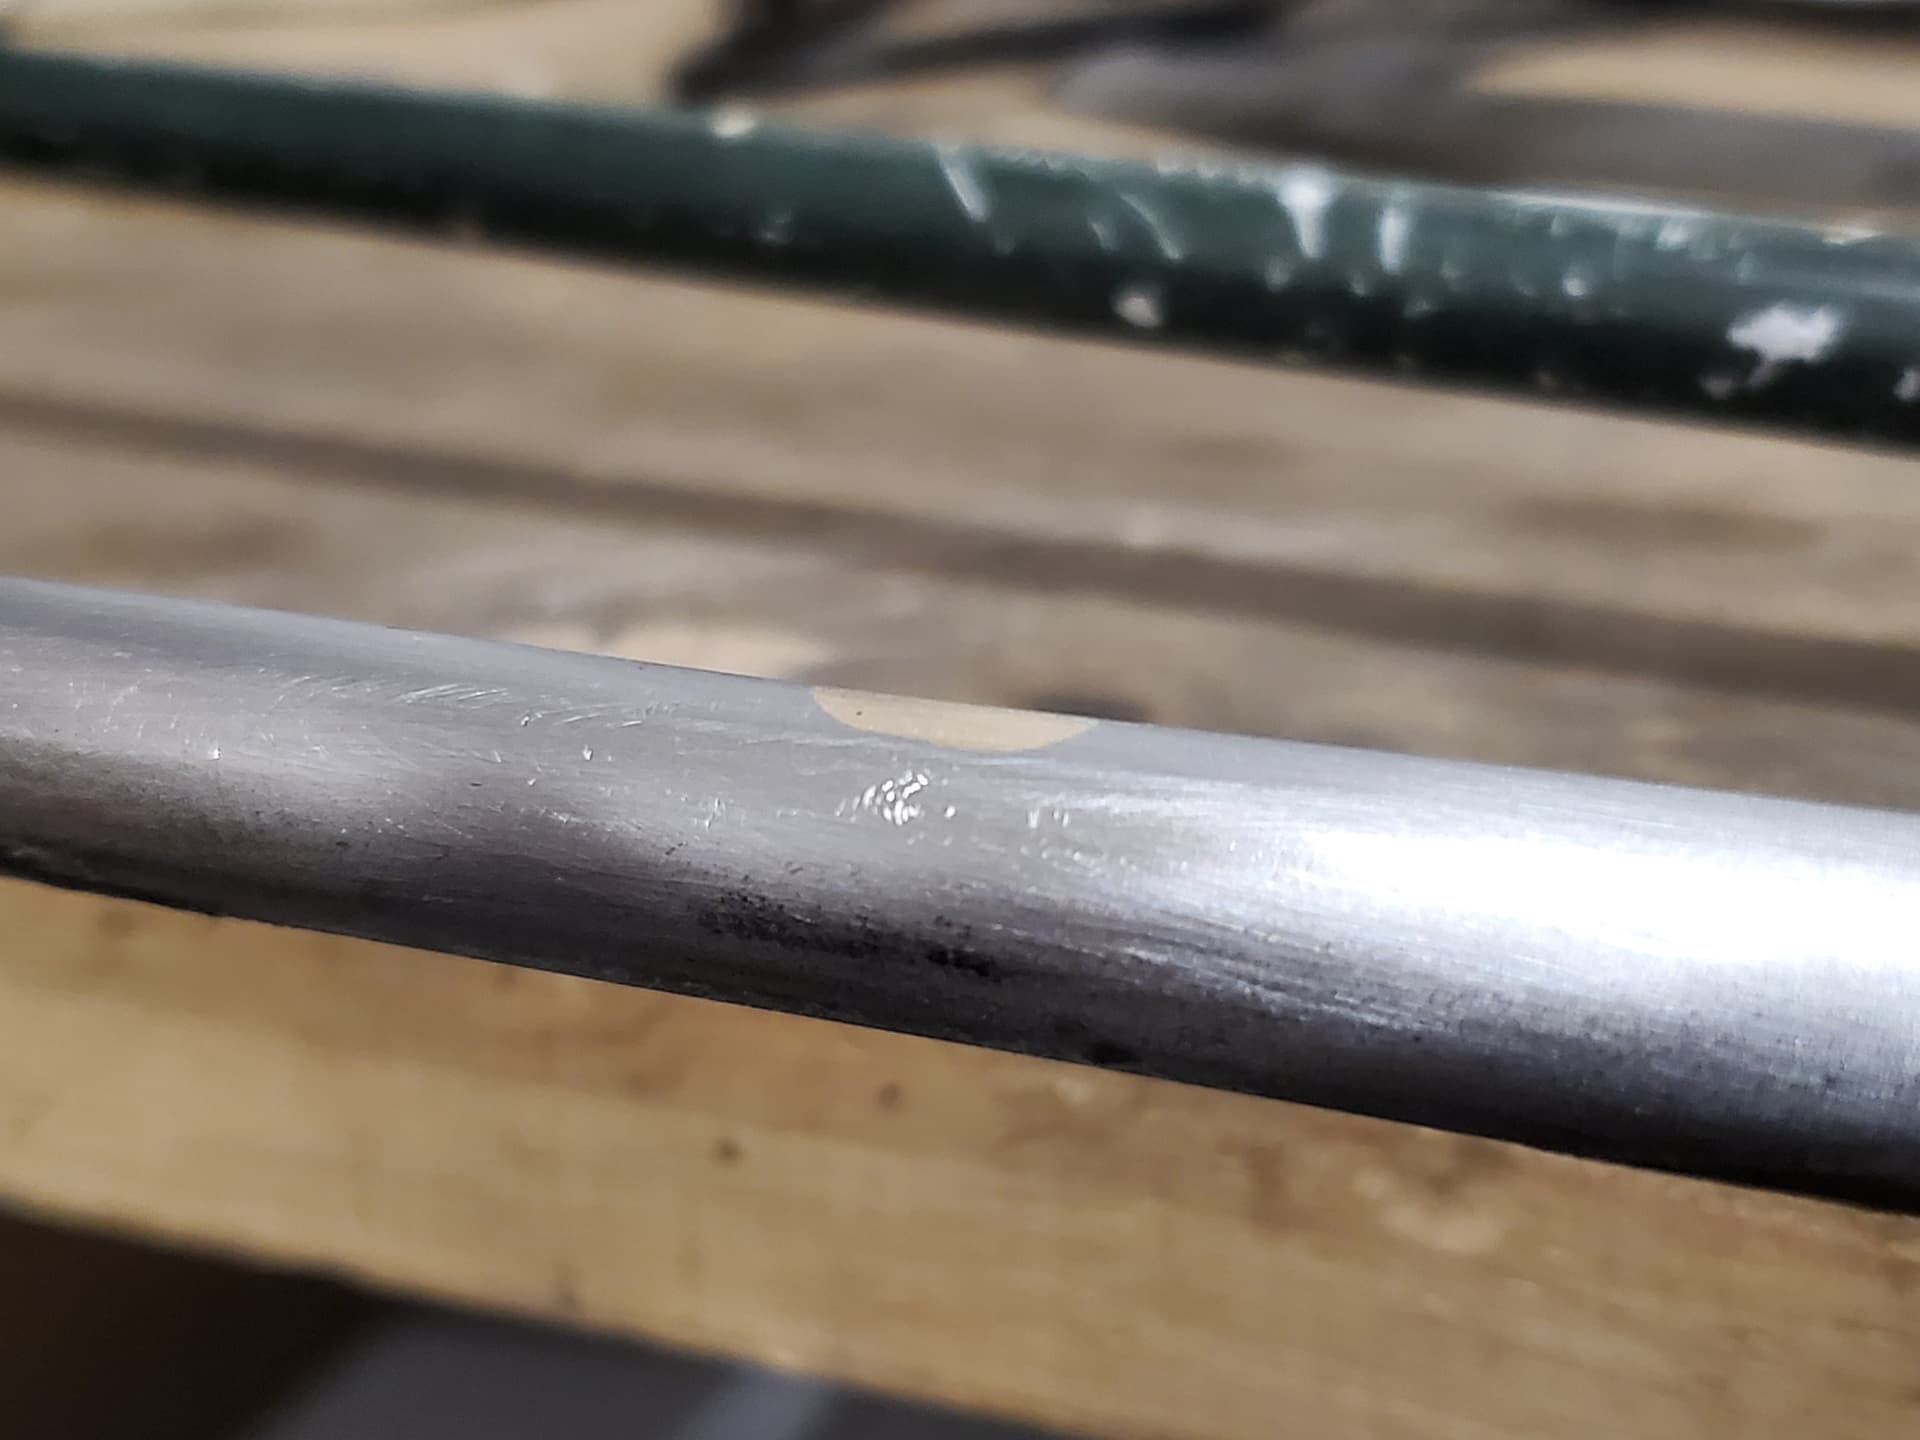
While removing this dynamo mount from the seatstay my hacksaw got too close to the tube, so I decided to try fatiguing it off - oops! A small hole in the seatstay, that was dumb.
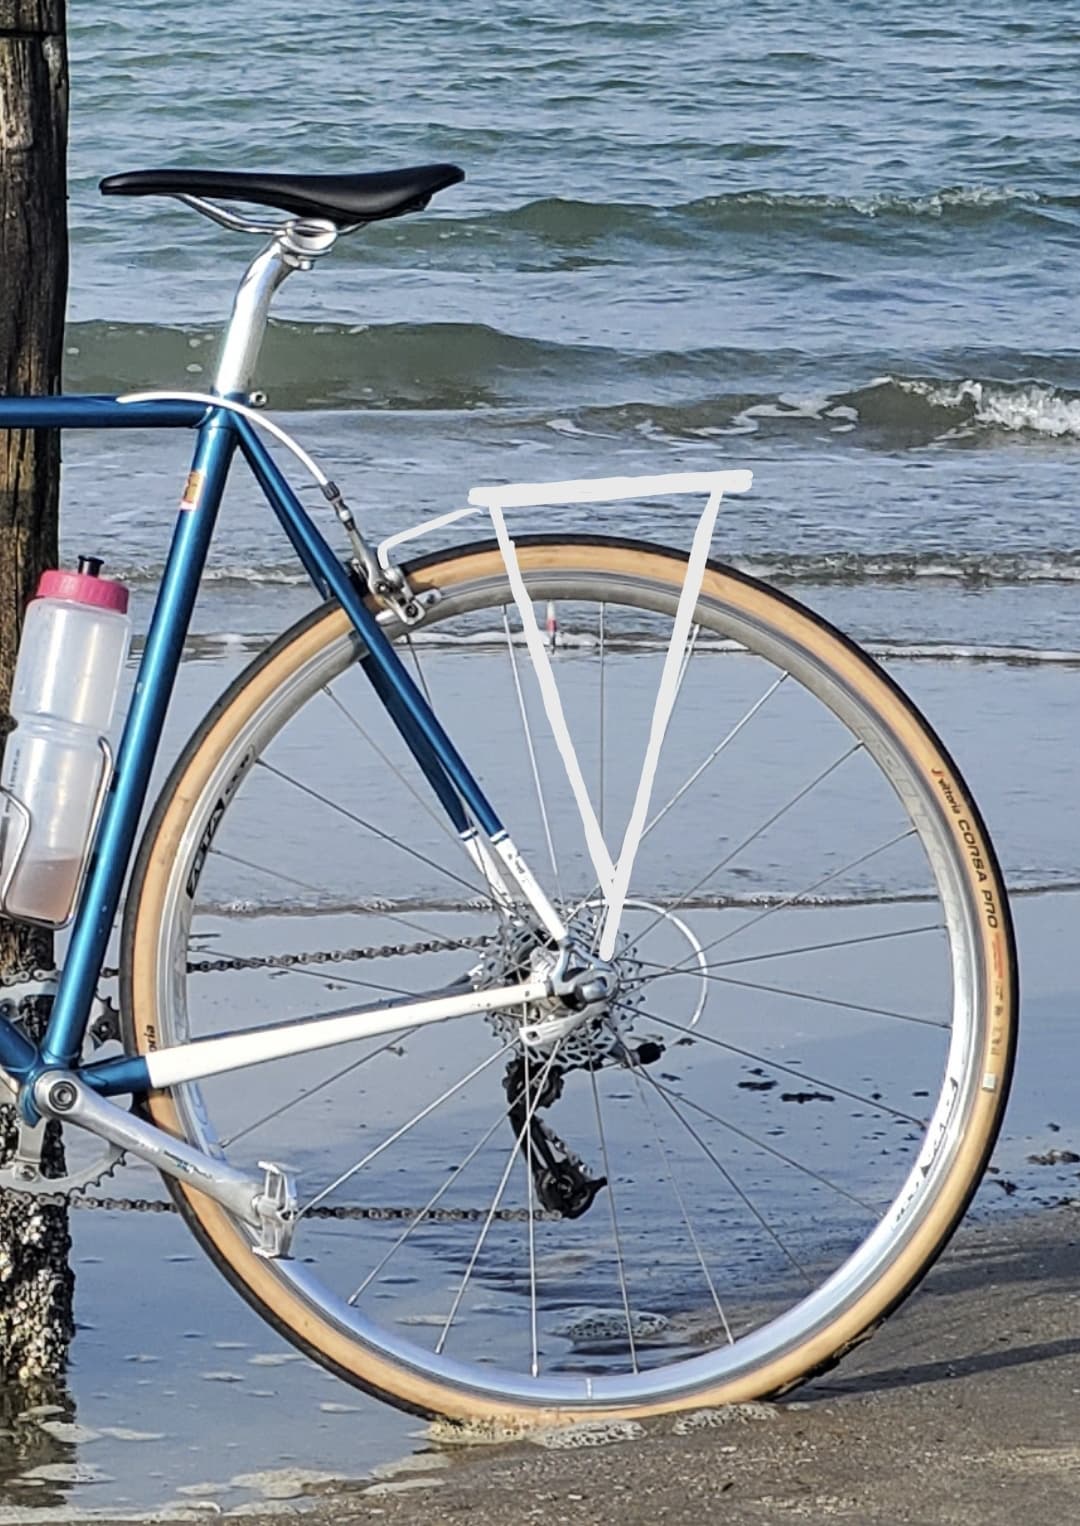
This is also the bike I’ll be building a stainless rack for. Stainless to match all the other parts, it’ll be metallic British racing green, with yellow/red Peugeot decals, 700x38 Panaracer Pasela tires and all silver parts for a classy retro sports touring look.
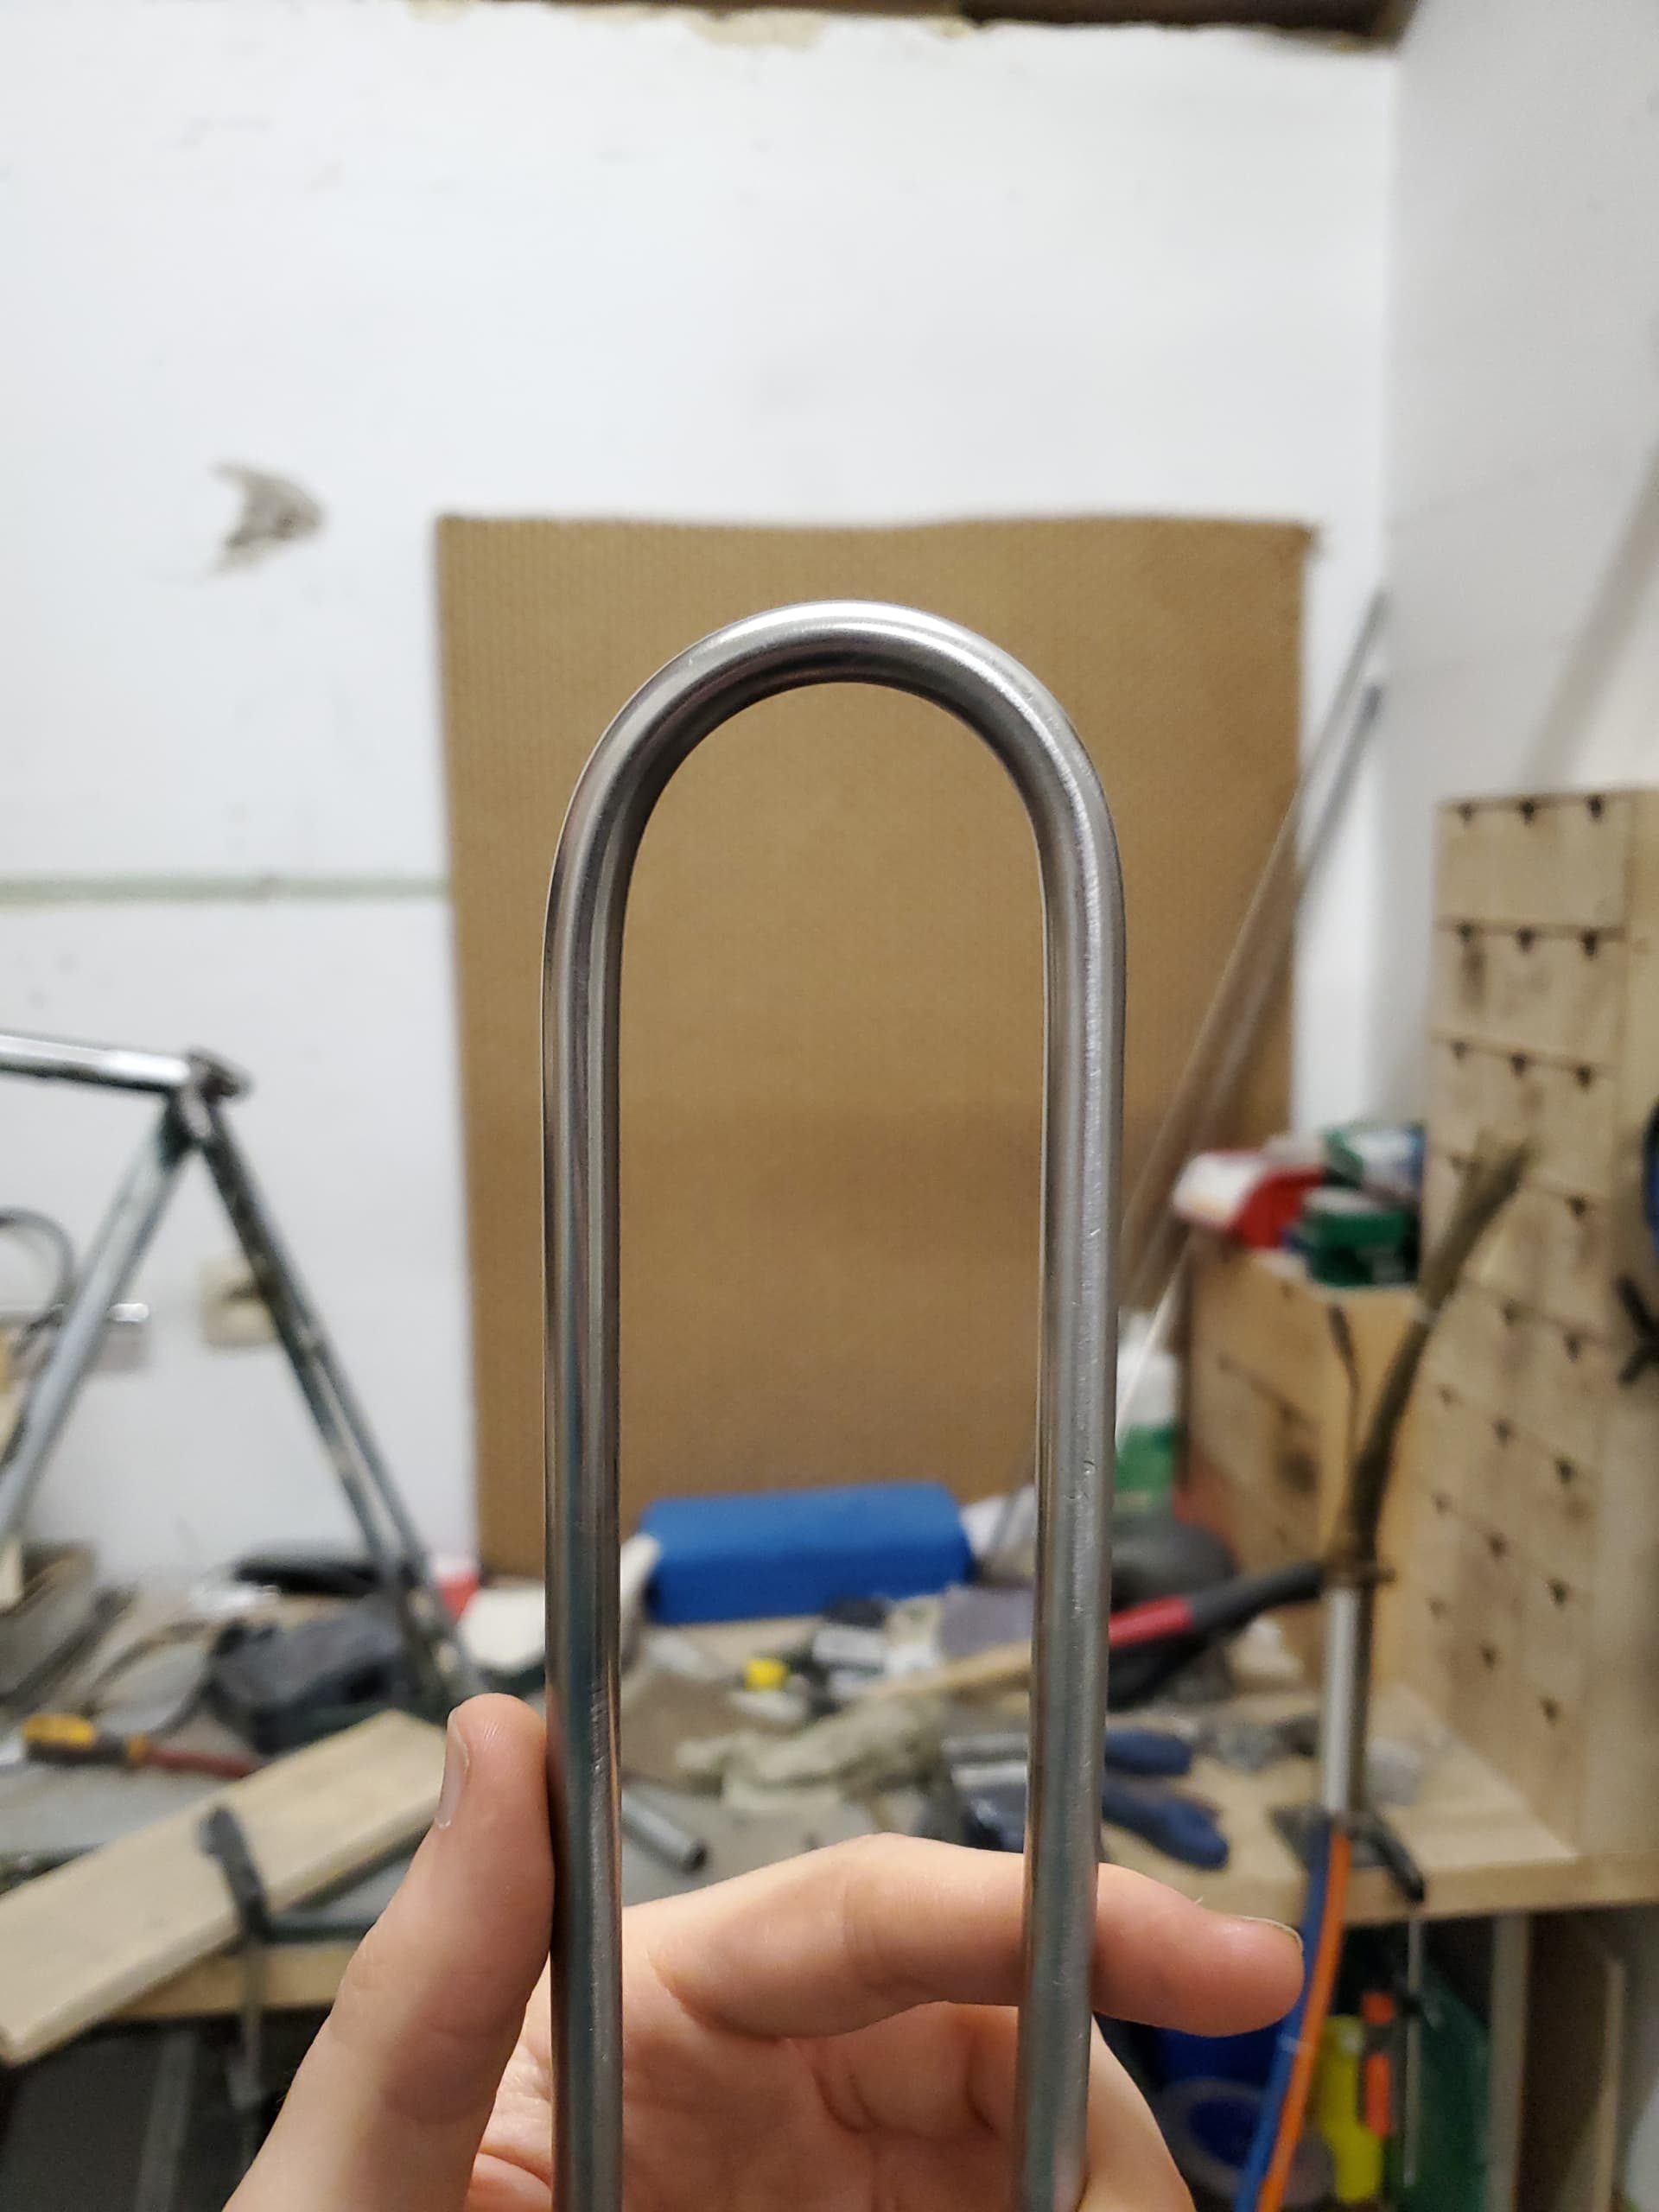
Also did this as the mounting point for the bracket that will go to the seatstay bridge, stainless M6 bolt cut off, filed a section down to 5mm, drilled a 5mm hole and inserted and brazed.
Haha thanks, problem is it doesn’t quite look round yet although I expect it’s “round enough” to look round when it’s on the bike. I’m also only charging my friend for the materials and it’s going on an 80s Peugeot.
I’ll aim for better for the next one, and the one after that and so on.

 maybe a rack would be a nice small step up on the way to a whole frame haha.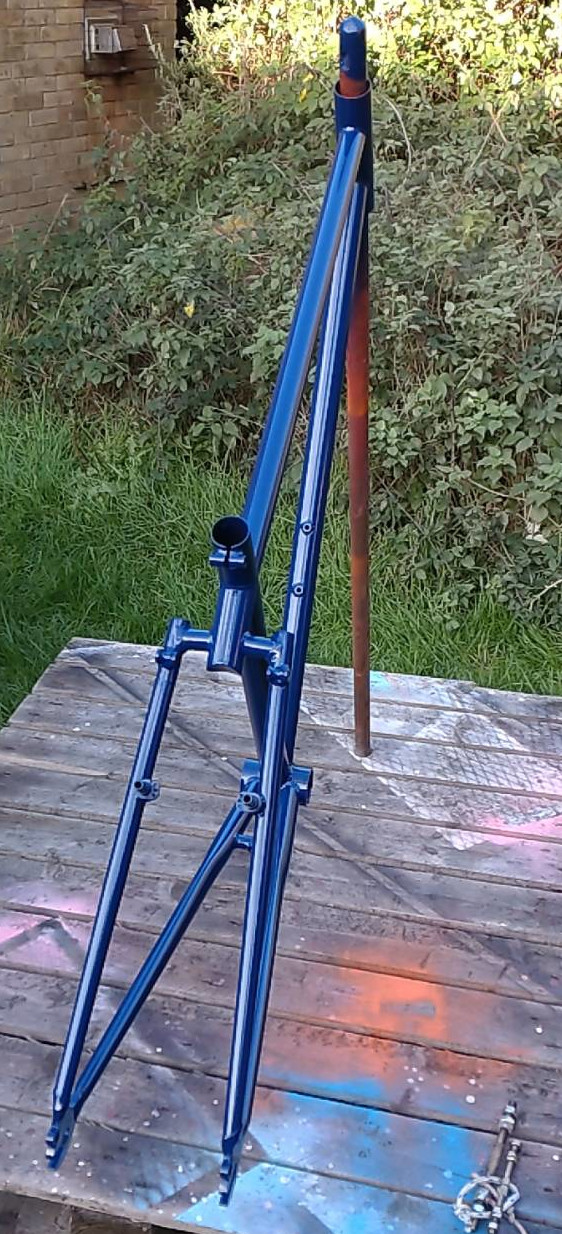
 WP_20150501_008
 Diacro #3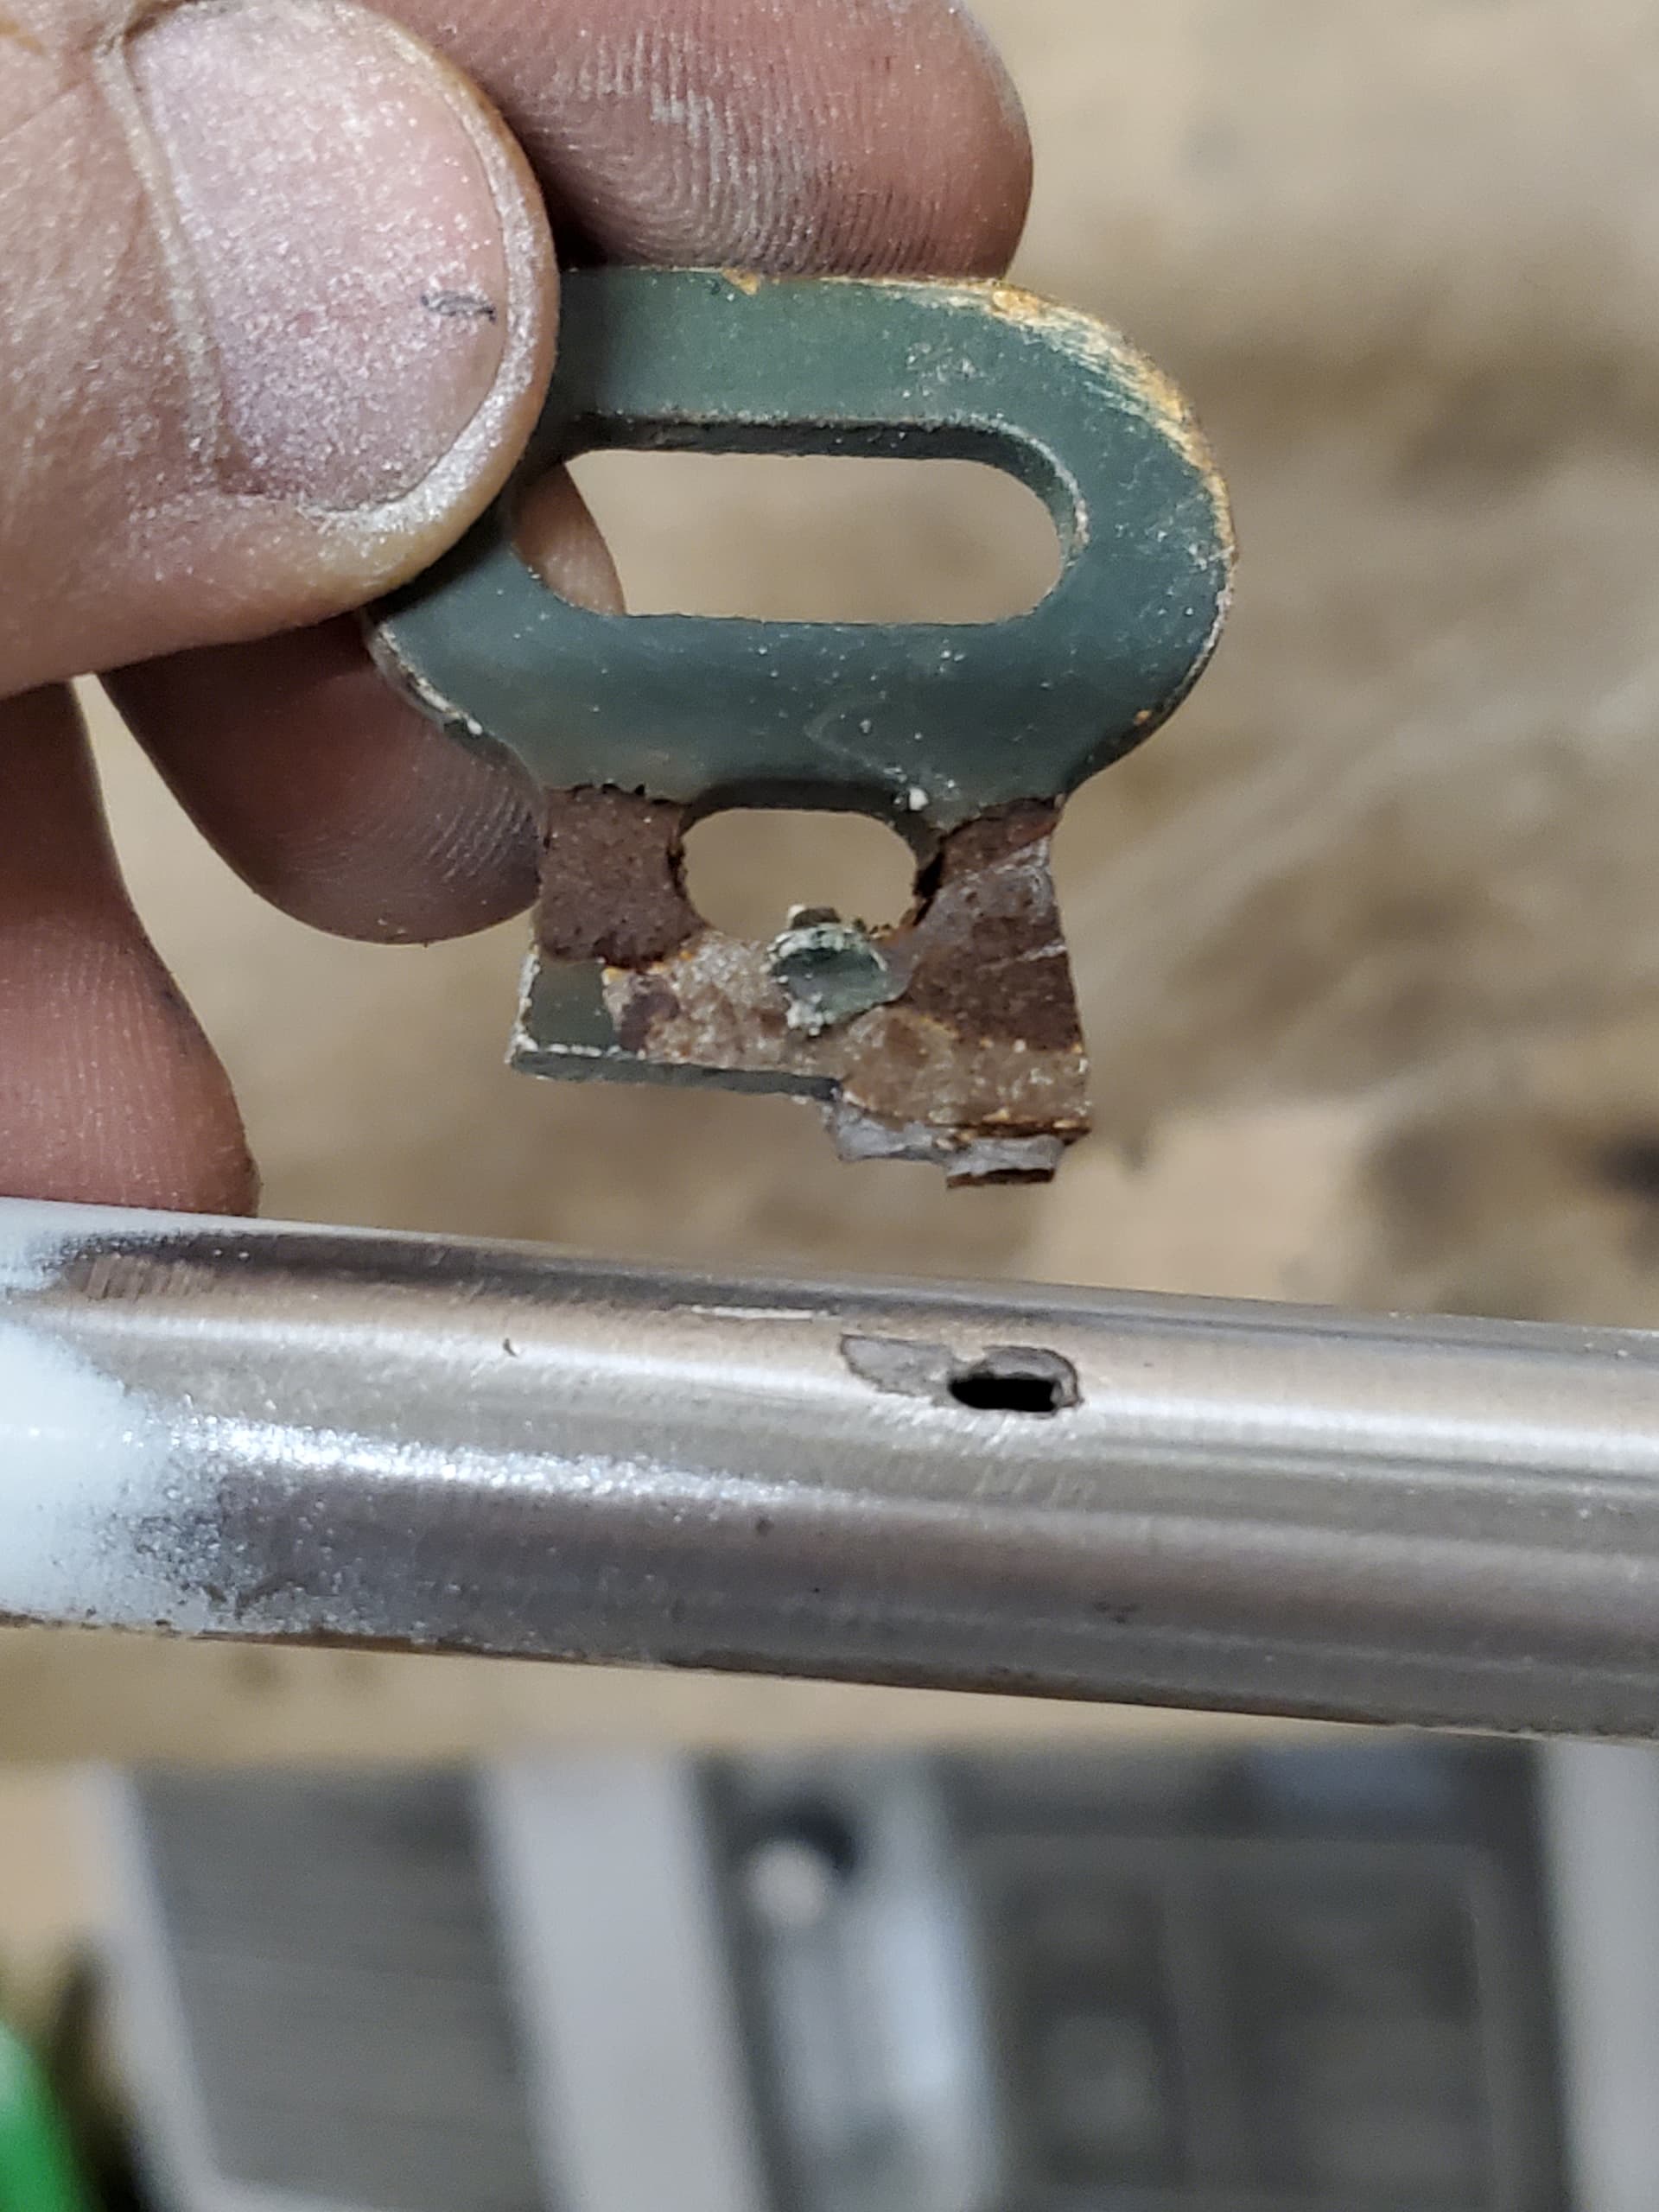
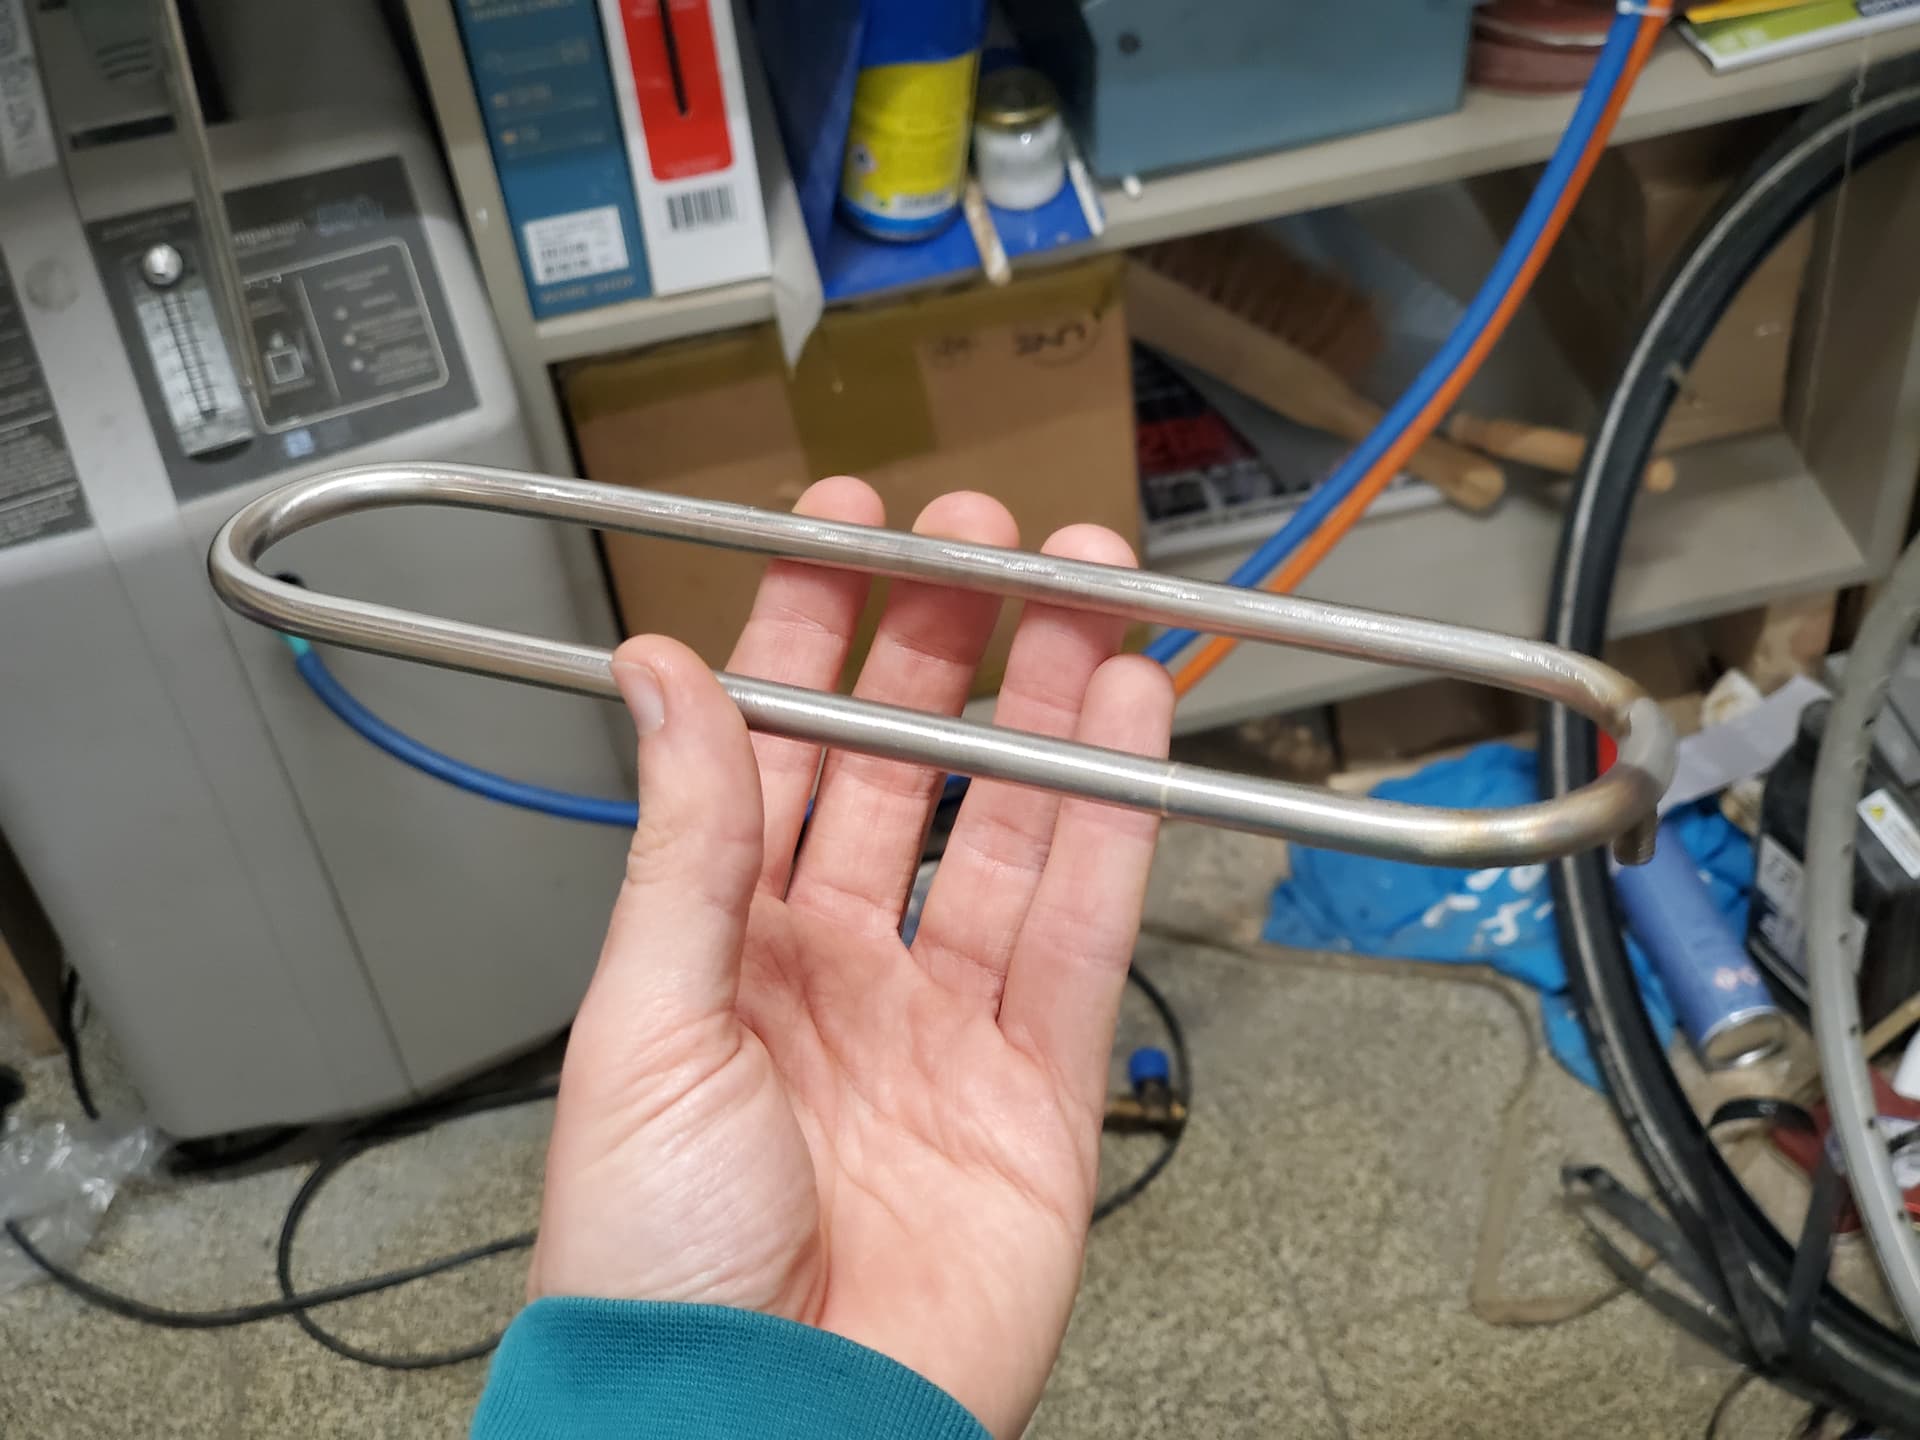
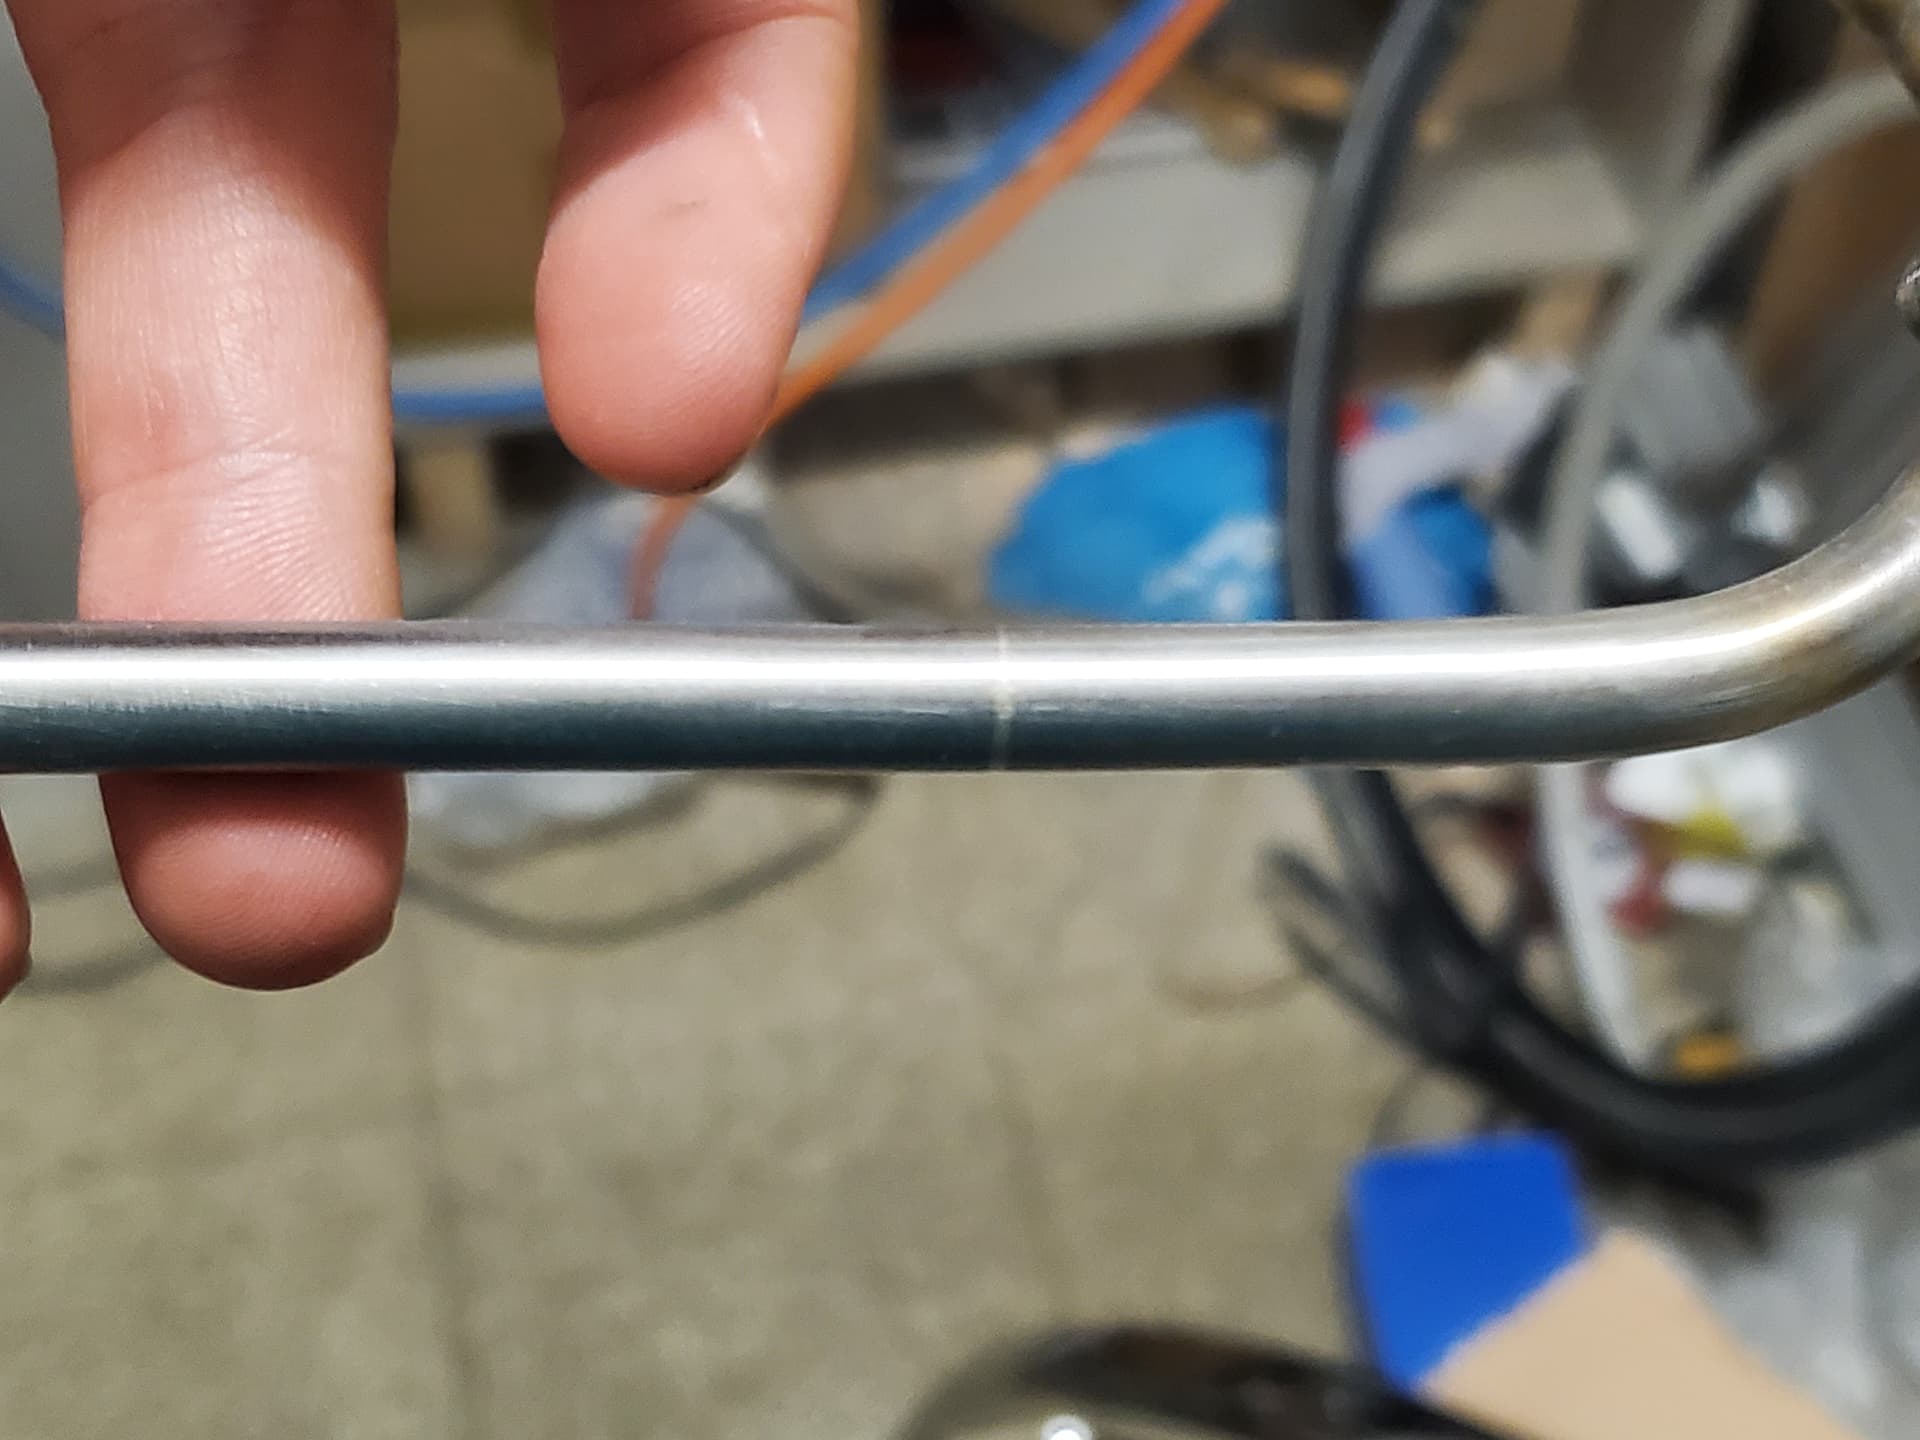
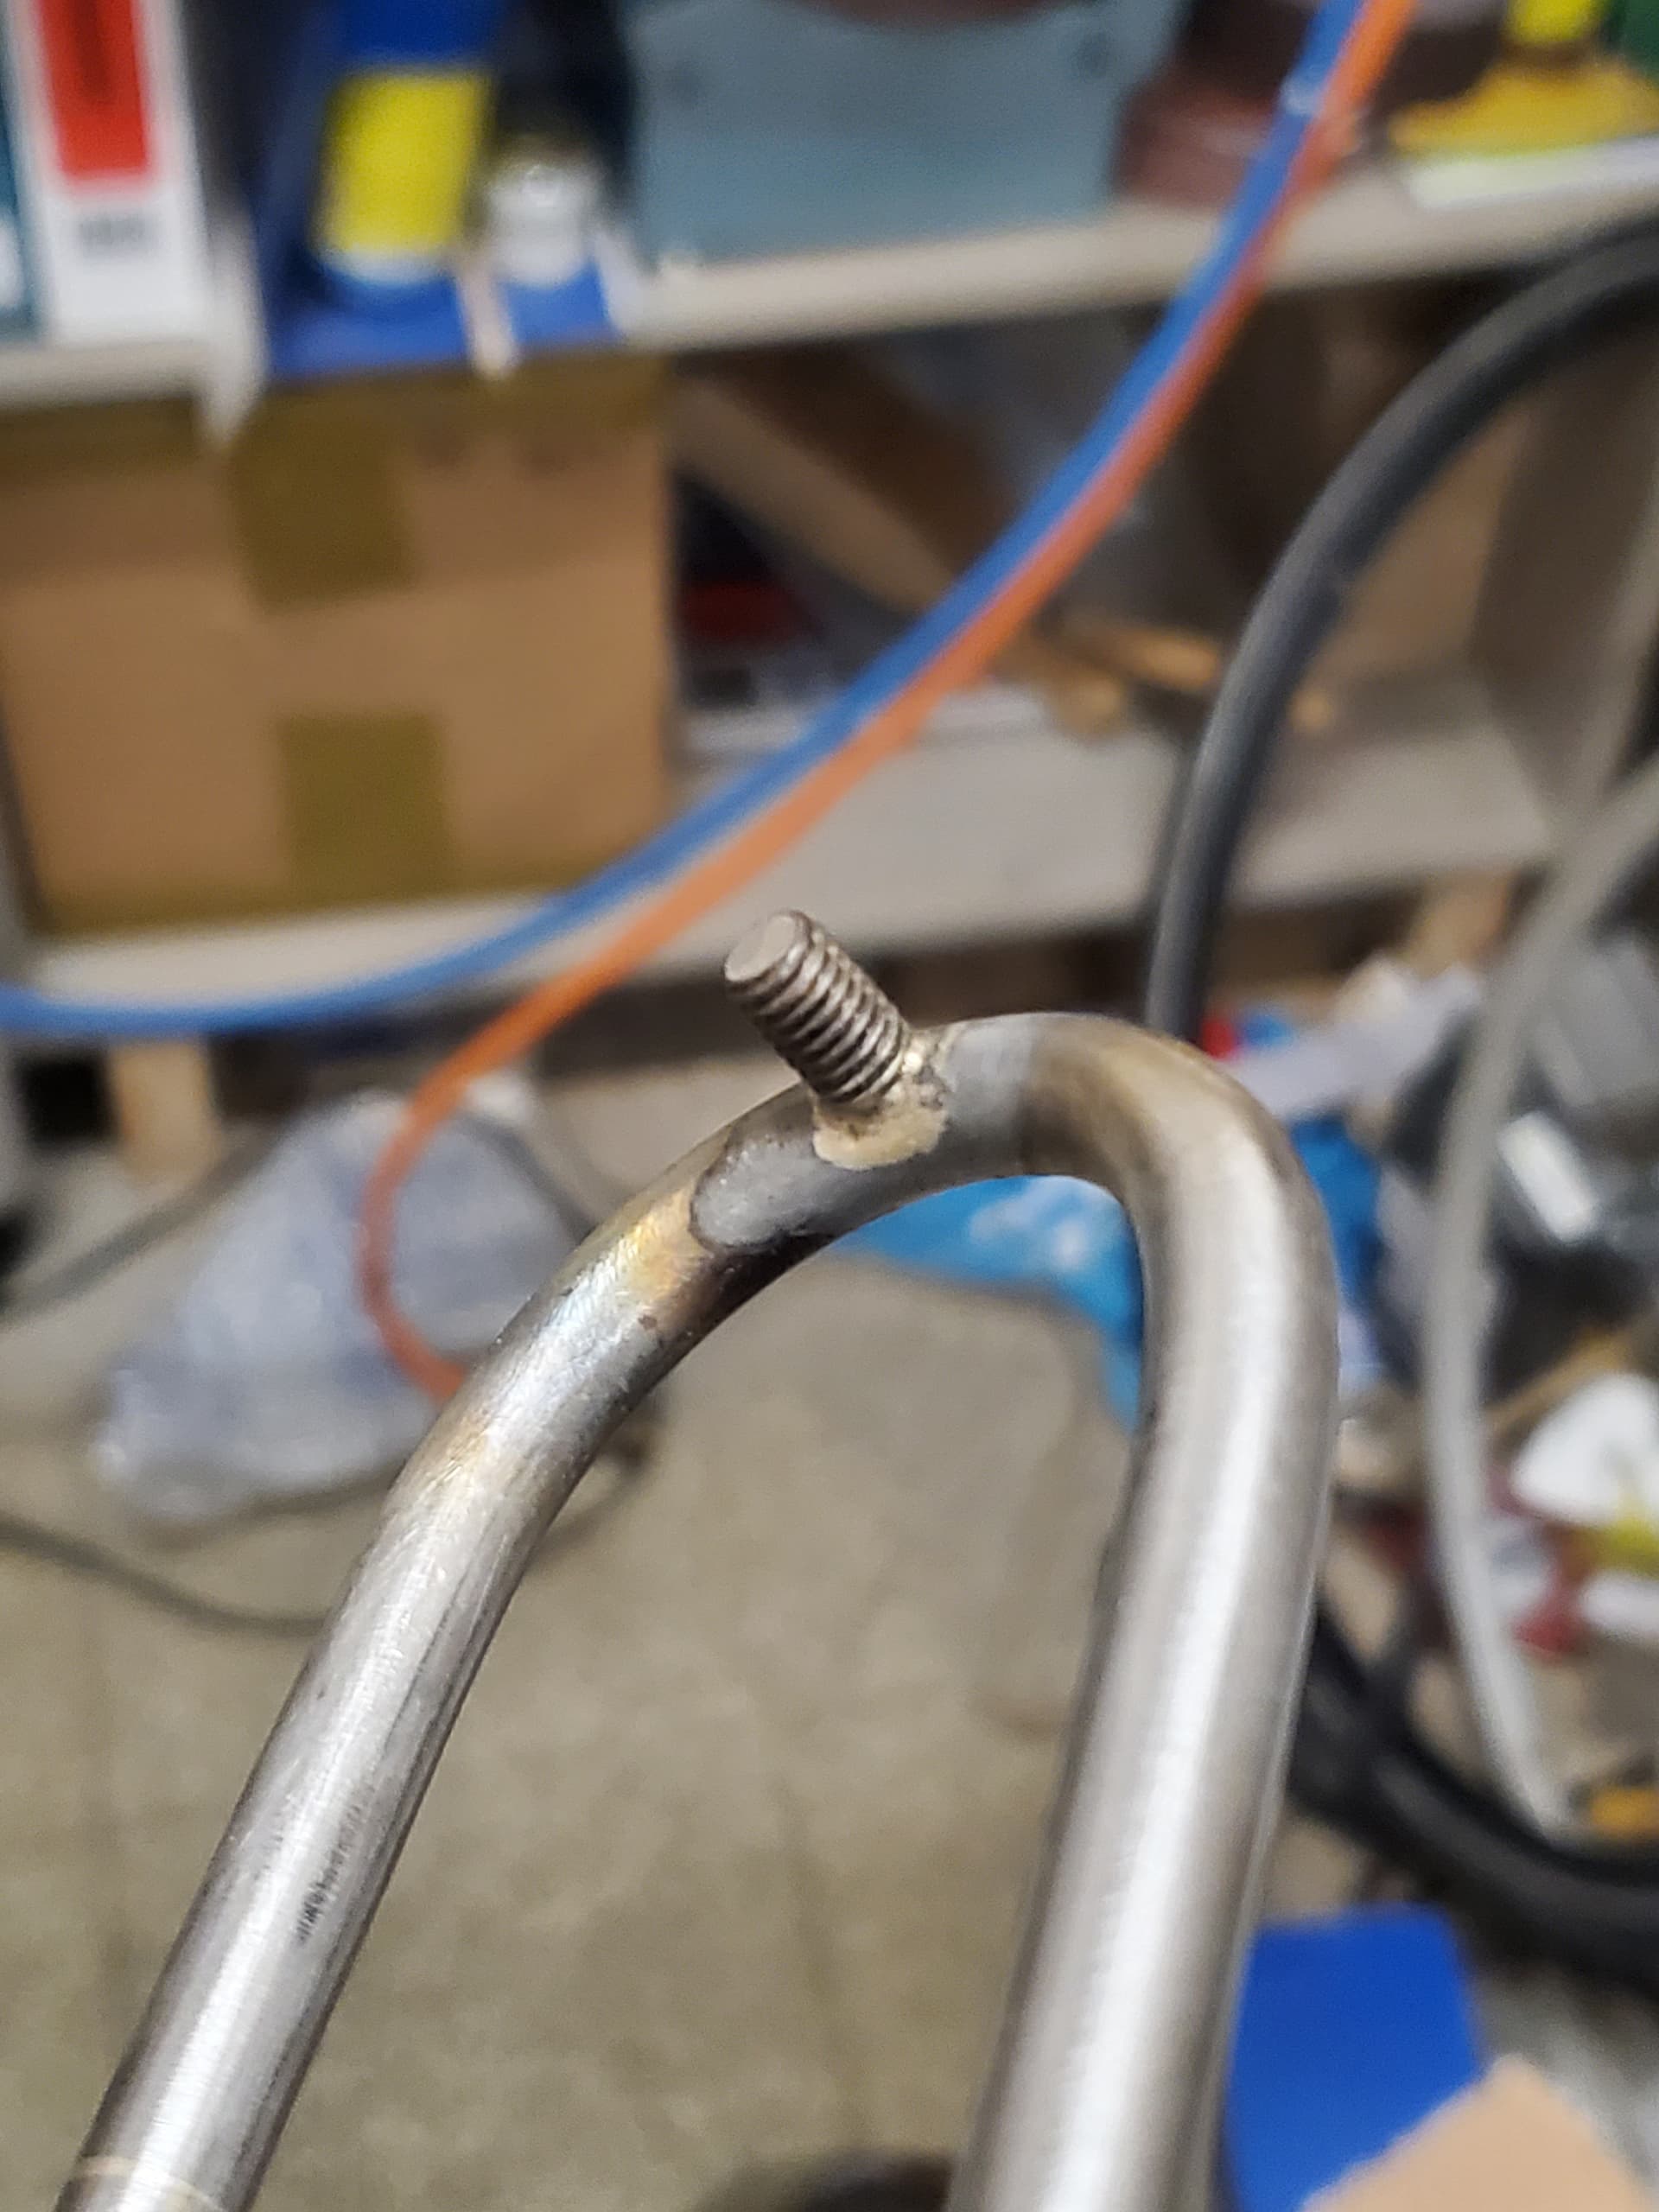
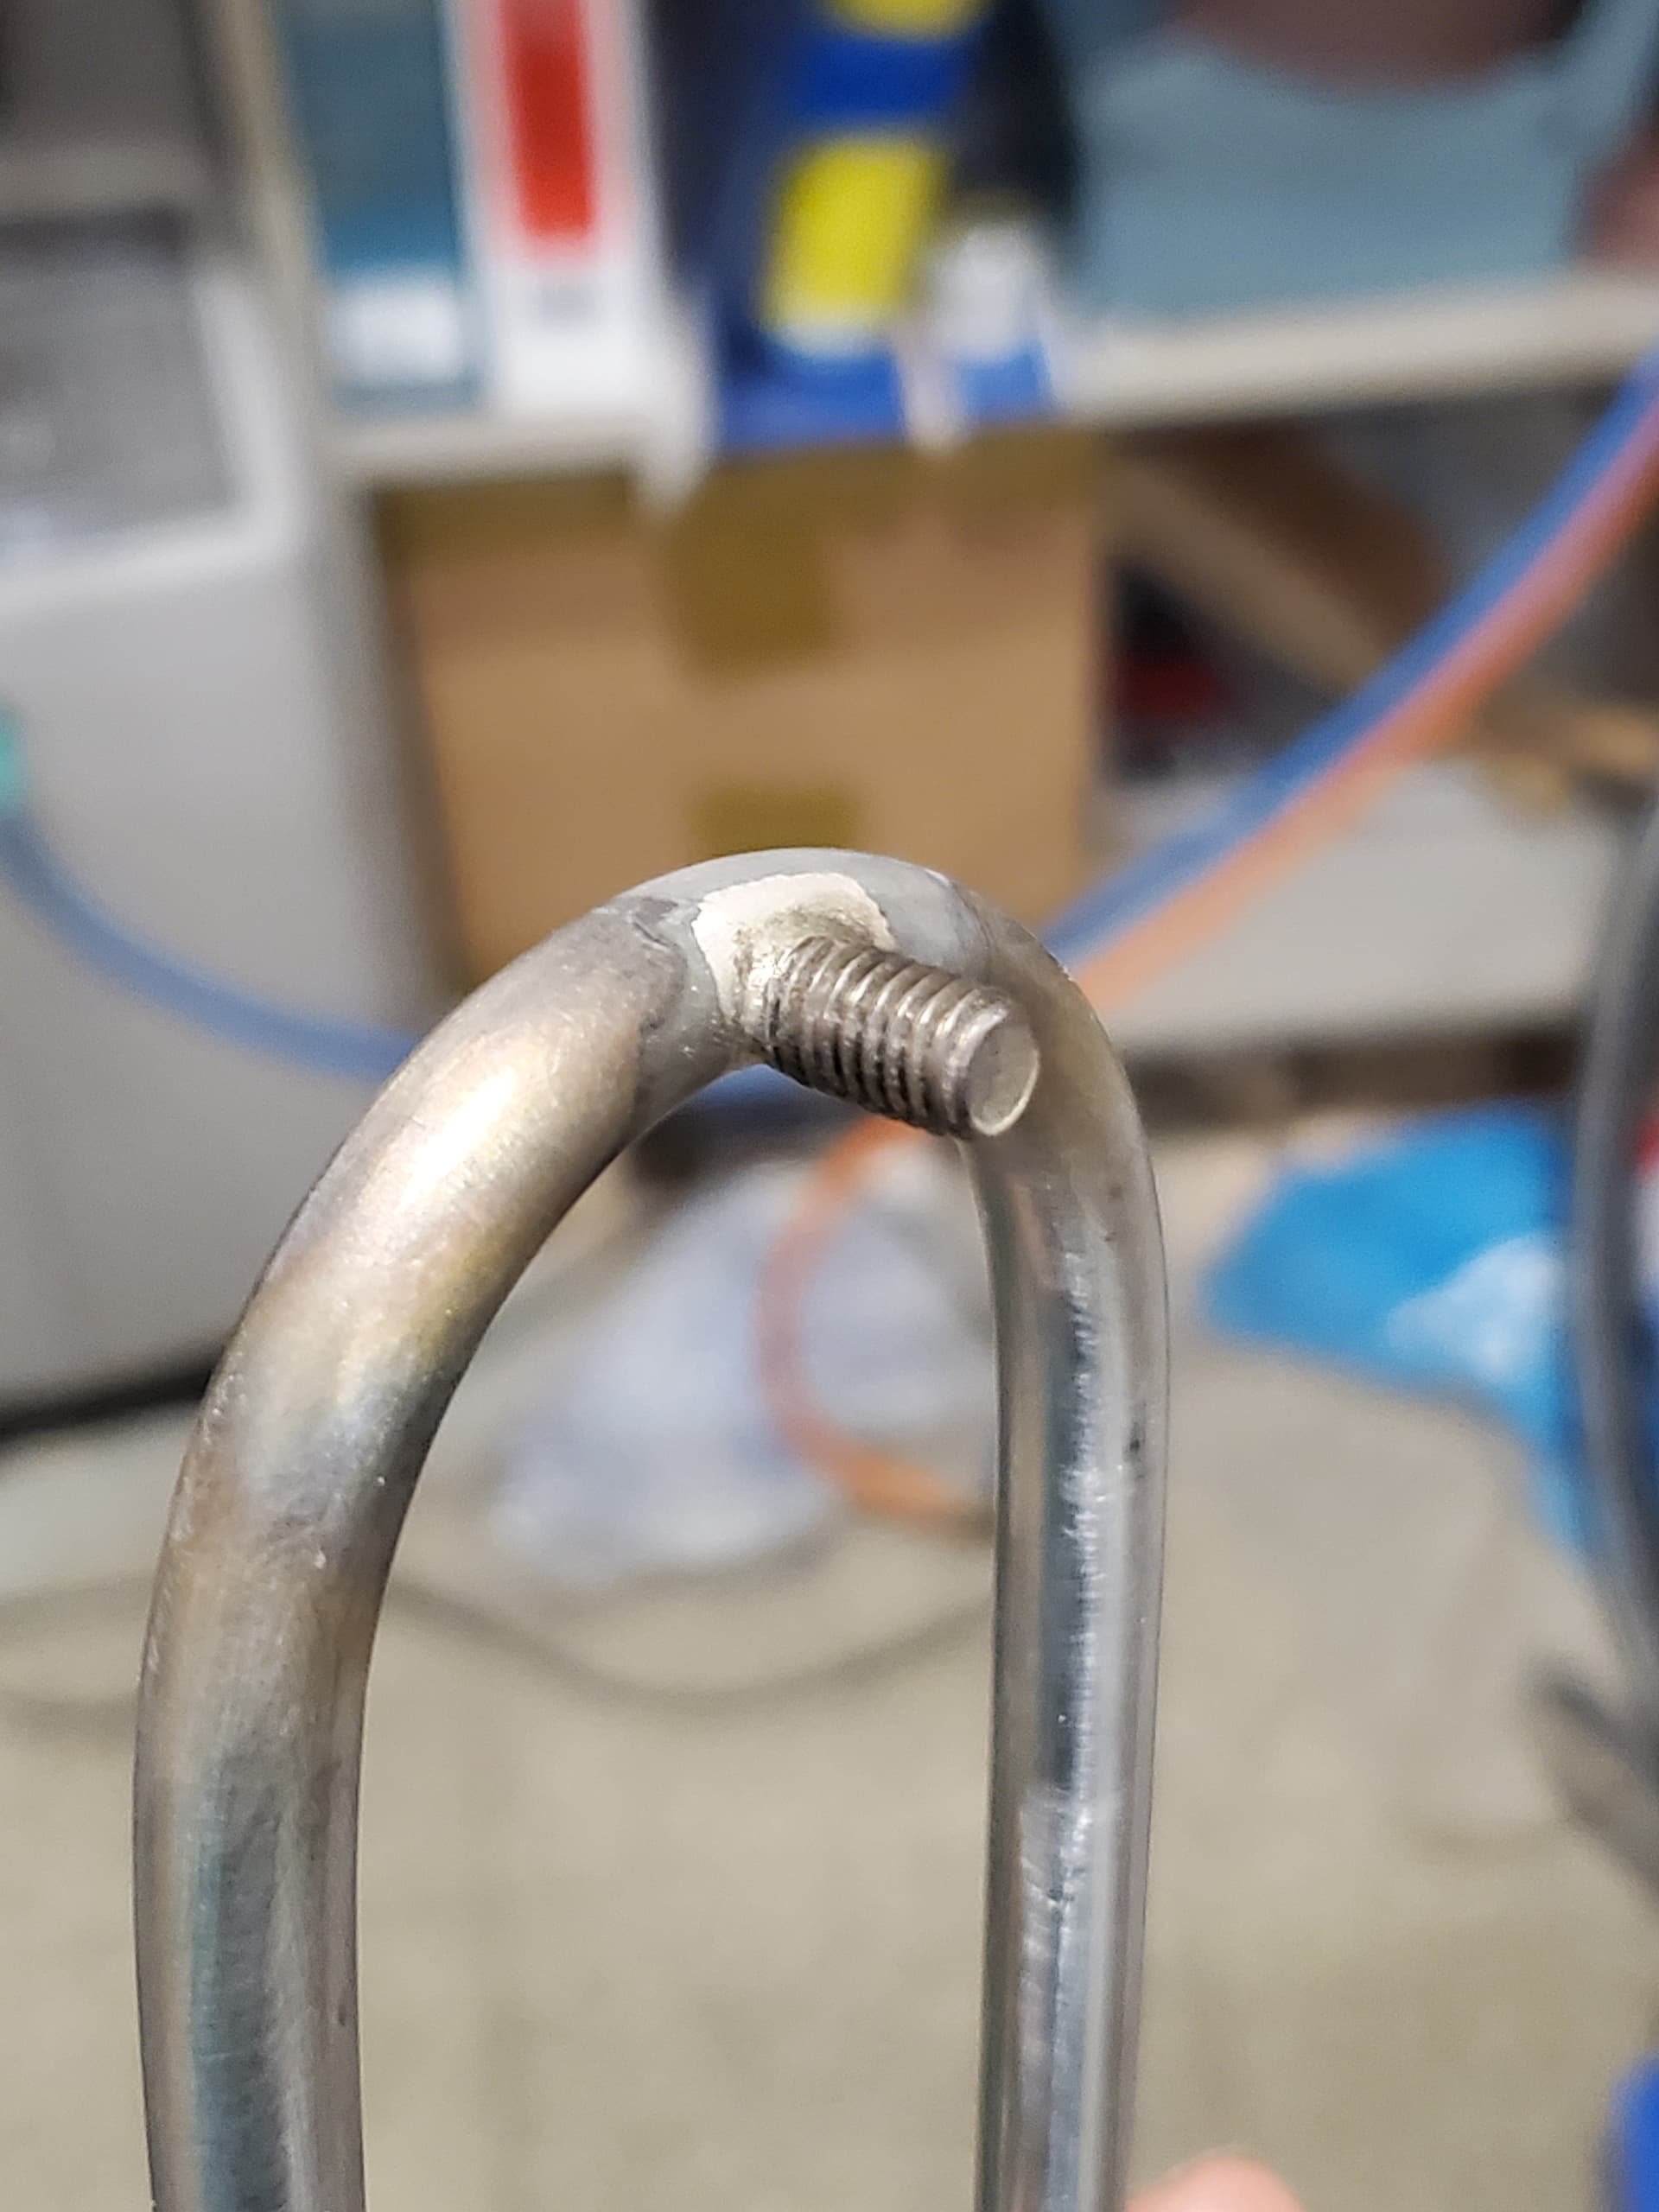

 although I expect it’s “round enough” to look round when it’s on the bike. I’m also only charging my friend for the materials and it’s going on an 80s Peugeot.