thanks for the responses, you both just confirmed what i thought i already knew haha.
the chainstays are already attached to the frames since i’m modifying frames for now, but with how easy cold setting steel is i knew 137 was the right move. the dummy axles aren’t exactly cheap so i just wanted validation, i guess.
1 Like
Assuming you’re not welding on the BB / CS joint, an existing 135mm spaced frame will spring right back into place after taking it from the 137mm spaced fixture.
2 Likes
I had intended to attached this image with my post about modifying my Kent Eriksen frame.
The goal was to turn it from a 650b MTB (green frame) to a 700c Gravel bike (pink frame).
Rotating the frame forward 1 degree gave me some needed BB drop. Removing the BSA BB and replacing it with an offset T-47 BB gave me additional drop.
Removing, then replacing the HT at an angle more appropriate for its intended use and lengthening it to lower the A-2-C dimension enough (and bracing it) to use a Cane Creek inverted gravel fork.
Though I really think this would be a fun and challenging project, I can’t justify the time and expense when compared to starting from scratch.

3 Likes
yeah that’s a bit more involved than what i’m trying to do at the moment (replace head tube and drop outs, change some of the geo associated with both)
i bet it would be a fun project though!
1 Like

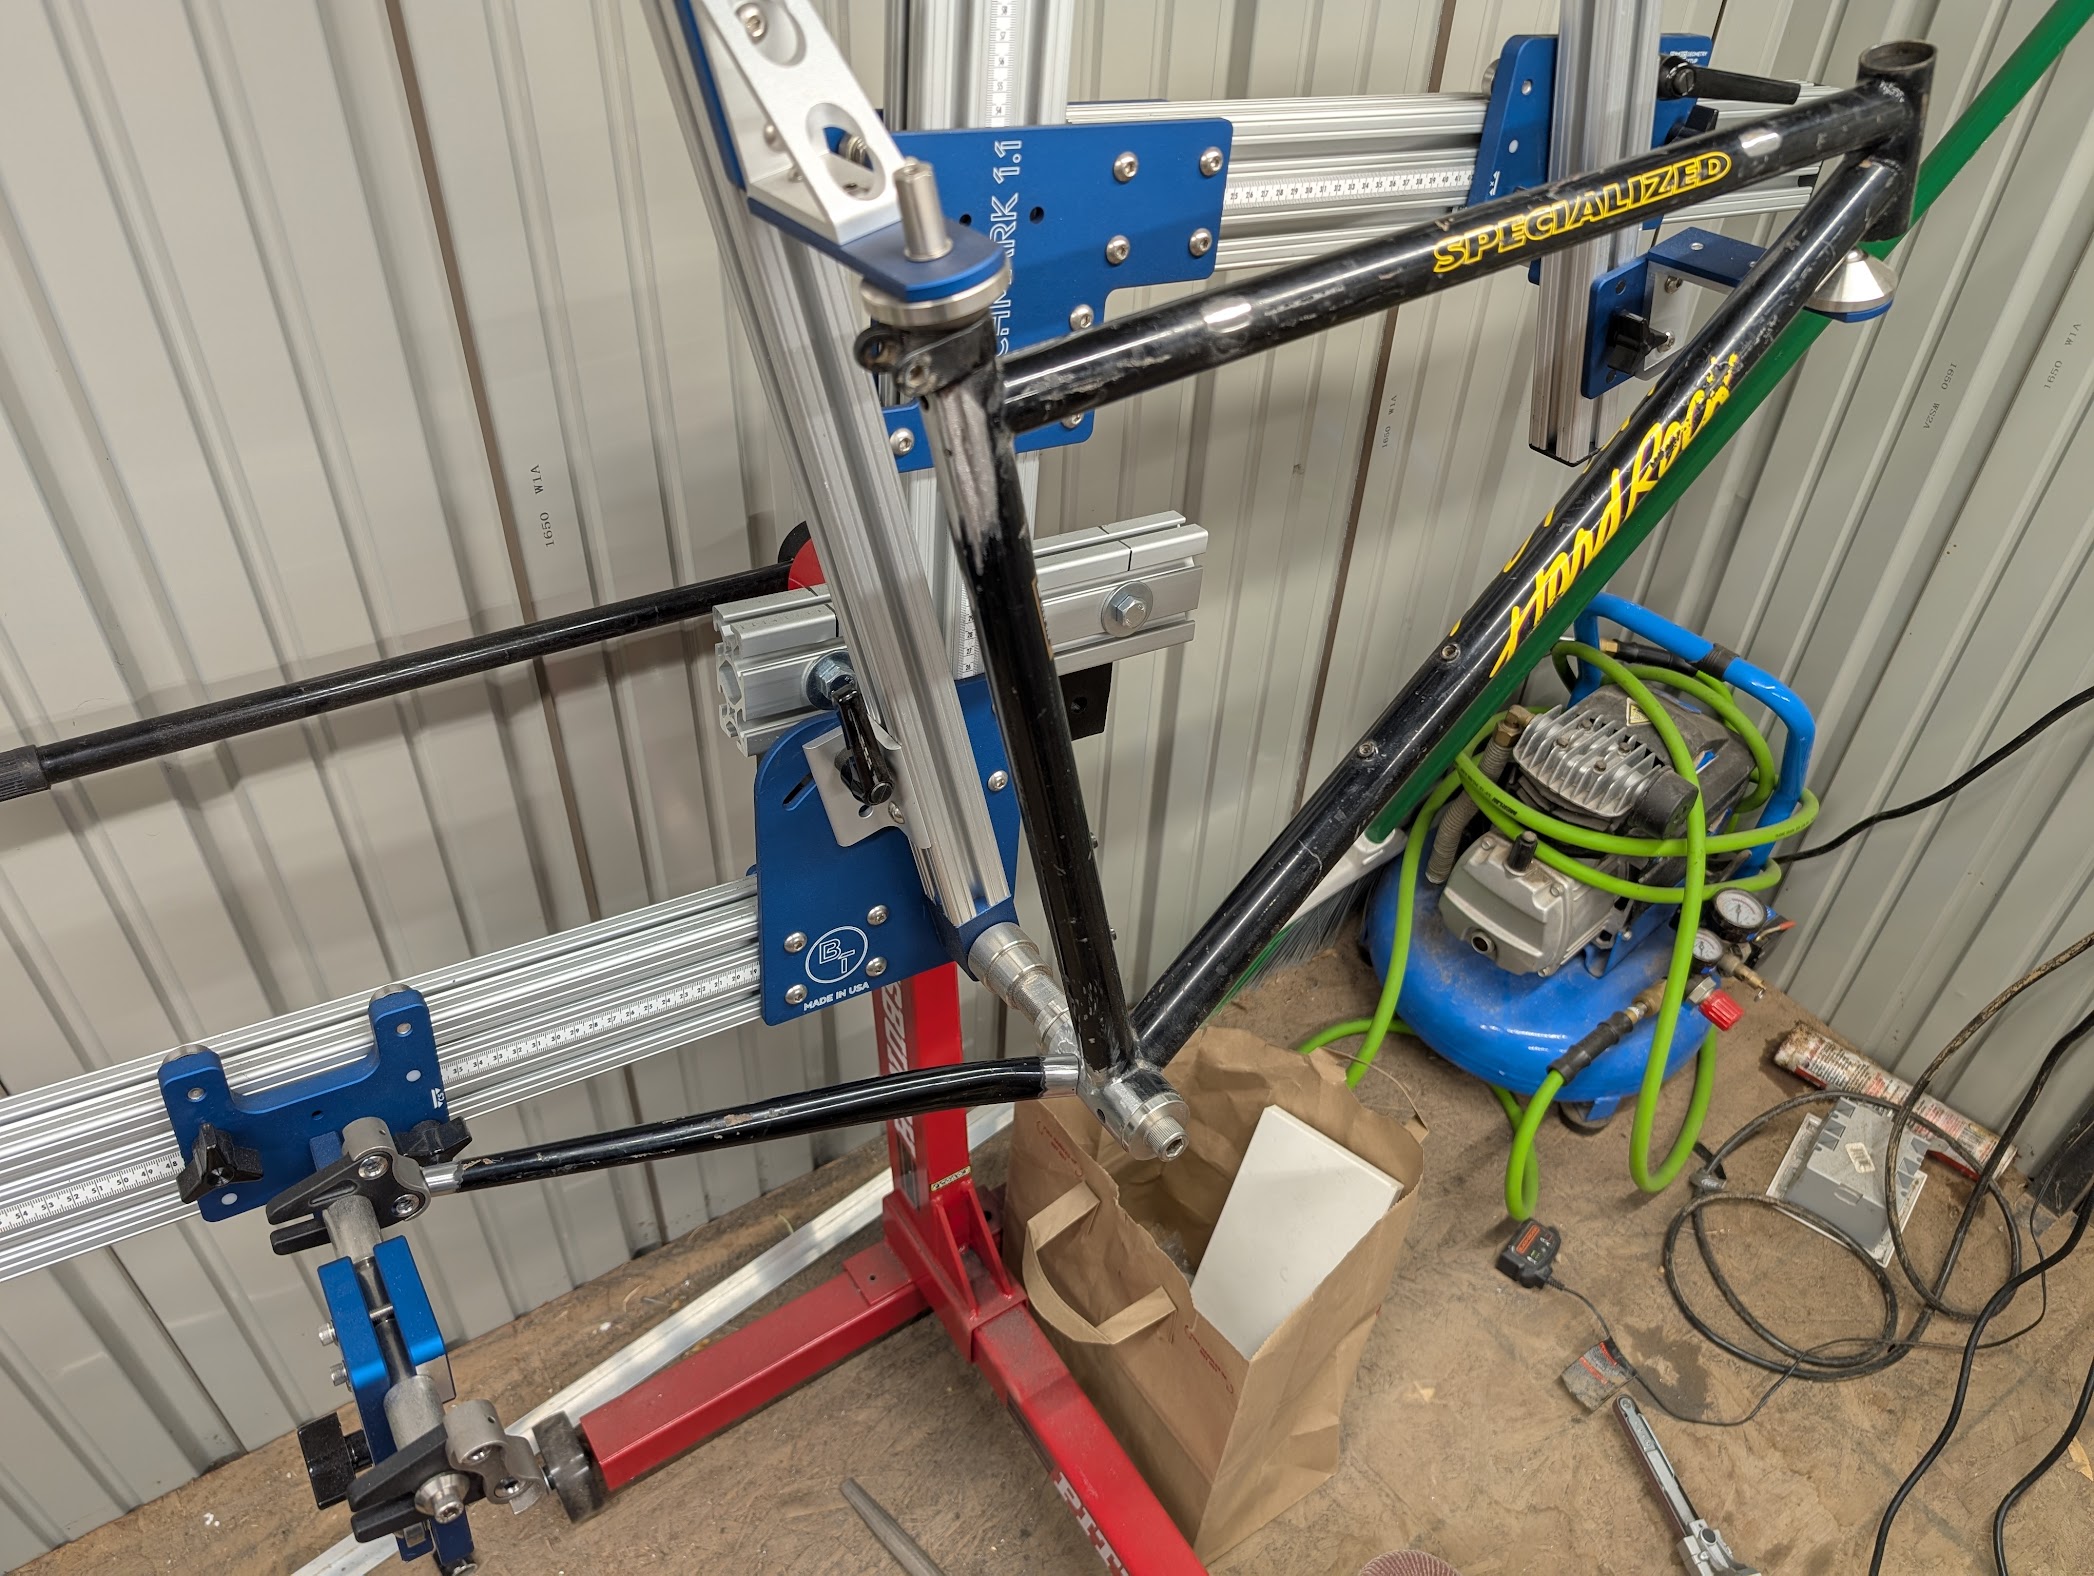
$2k frame fixture on a $60 harbor freight engine stand might not be the most elegant solution but i mean it should work ok so why not? i do need to bolt the rotating head to the stand to make it stable, it rotates a good amount even with the pin meant to stop it from rotating in place.
i’m also thinking about shortening up the lower section and flipping it around so it’s behind the stand since it doesn’t need to stick a bunch as it’s holding some aluminum extrusions and steel tubes, not a 600lb sbc. something like this sketch i made before i actually got the stand and was brainstorming a bit.
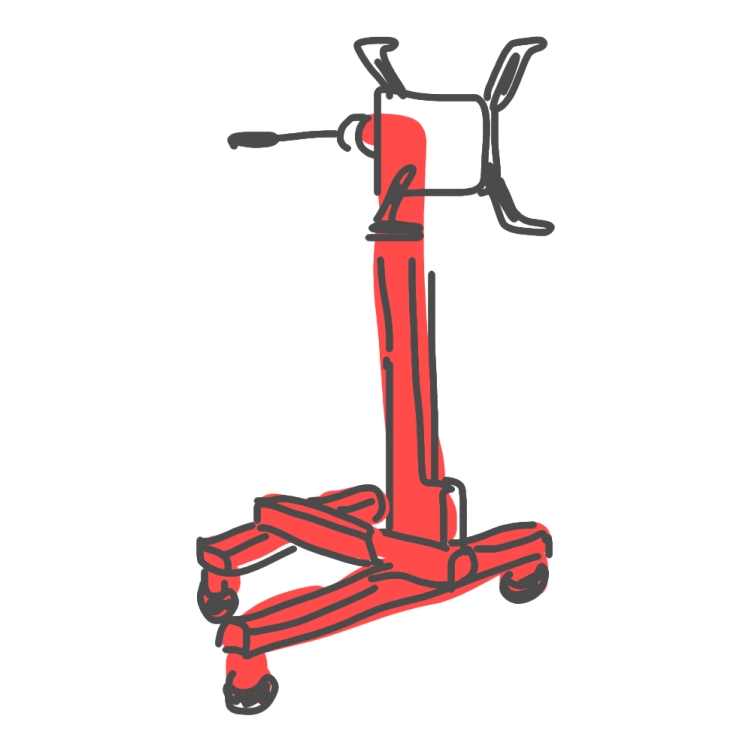
a friend i was talking to about it thinks it may try and tip forward if i do that but i could also add a vertical bar on the rear wheel section and add some craigslist barbell weights to it or something if it was a problem.
anyway, winter’s shaping up to being a fun time in the shed learning a little bit about frame building. i stuck one of the frames i want to modify in the fixture just to see something in there, set the chainstay length and bb drop to where i want it and put the dropouts in the fixture to see where it would land on the frame…
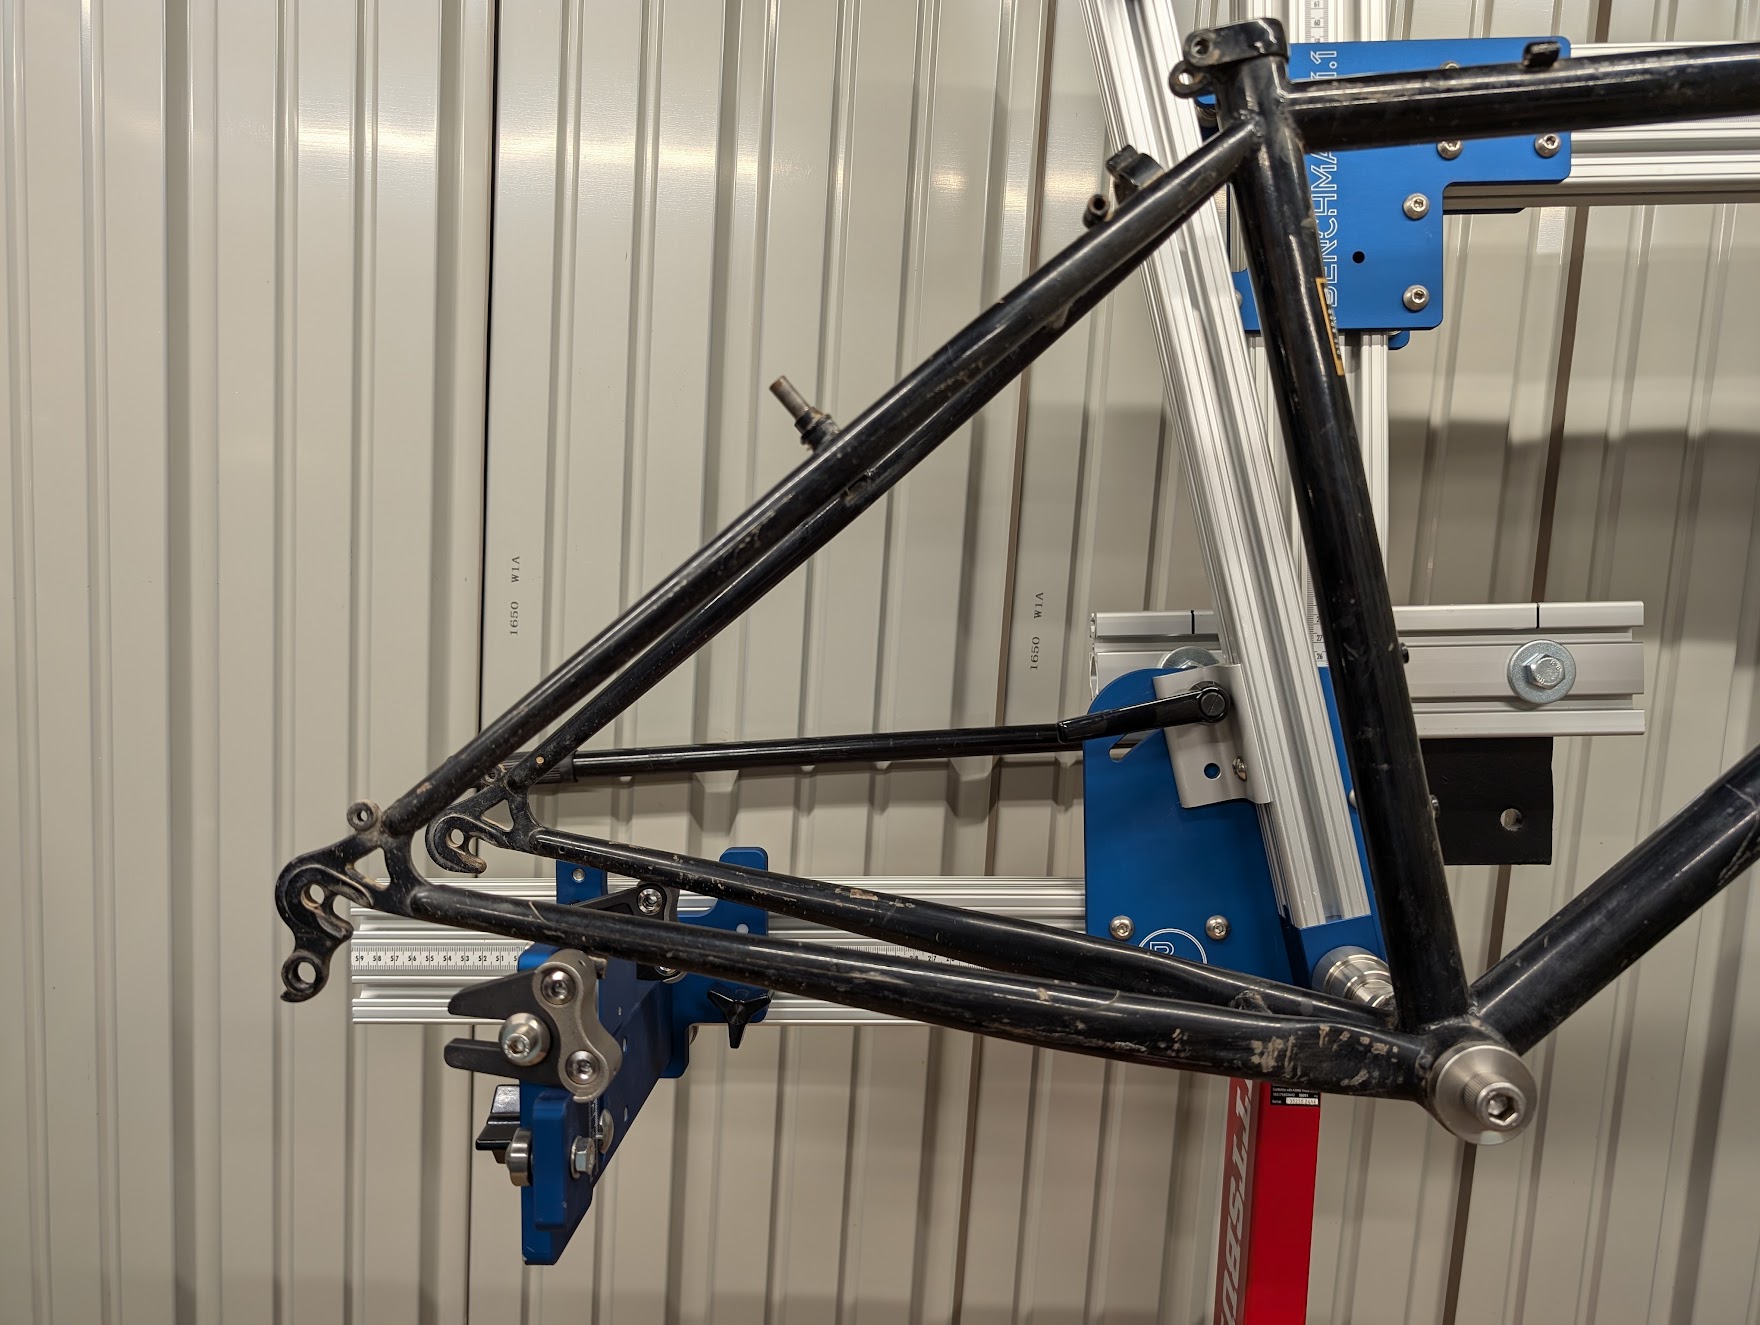

it’s gonna take some work haha
5 Likes
ok, i could use a bit of advice. as you can see from the pics above, i’m shortening the rear of this frame by quite a lot. i’m not sure what the stock chain stay length is, but i’m going down to 360mm.
since i need to widen the stays to meet the dropouts, remove the bridges from both chain and seat stays, and make some actual tire clearance up near the bb shell, i’m kind of considering chopping the whole rear triangle off and moving it forward rather than cutting the back off of them and bending them to meet the dropouts.
i think in a lot of ways that’s the move, but i’m nervous about brazing on the bb shell as i don’t have the tools to face or chase the shell once i’m done.
if those of you with actual frame building experience think that’s the move, i’ll go that route and worry about the bb shell once i have the bike in one piece. maybe by then i can spring for the tools or perhaps find a local shop that will do it affordably.
i should probably get the tools either way, i have 3 frames currently that i’m planning on doing the same operation to… plus if i ever end up building a bike from scratch i’ll need them anyway.
1 Like
At that point, I think cutting the chain stays and reusing them is easier.
What is the wheel/tire and drivetrain (chainline + chainring teeth) that you are trying to clear?
do you mean cutting the dropouts off and shortening them where they are? or cutting them off the bb shell and moving them forward? i want to reuse them either way though.
these are polo bikes and we typically run around a 1.6 - 1.7 ratio singlespeed, you can get that with some pretty small chainrings so i shouldn’t need a huge dent for ring clearance.
26" wheels, .95 - 1.25 tires typically, 135 hub spacing
I mean cutting off the dropouts and BB, and treating them as new chainstays.
I suggest drawing out a 2D drawing of your dropouts, BB, chainring, and tire 1:1 scale to see how your chainstays connect. This is what most framebuilders do.
This will tell you the best way to proceed.
It is way easier to figure things out ahead of time on paper (or even better, the computer) than trying to figure it out in real life with tubes.
3 Likes
that totally makes sense and will allow me to rock the front triangle forward and backwards to get the seat tube angle i want. thanks for the suggestion!
it has me brazing on the bb shell which i would have liked to avoid, but i think it’s better i do it the right way than try to come up with solutions to avoid buying a tool i’m going to need eventually anyway.
Why don’t you just cut off the entire rear triangle? Seems like it would be way faster to redo the rear triangle. That way you can also add thru axle dropouts and disc brakes.

i’m not sure it really matters, but what size brazing tip should i be using? my lincoln torch set came with a size 3 tip and i’ve been using it for everything so far but i’m wondering if i should go down in size, maybe to a 1?
also, what are your favorite torch sets for brazing bike frames? this lincoln i’m using is pretty big and can get heavy after a while. it’s fine for now but i’d like to go to a smaller one at some point
1 Like
For fillet brazing, a 0 or 1 (victor size) is appropriate for most. 3 is good for tabbed dropouts and lugs/crowns. You ‘can’ fillet braze with a 3 but I think for most new folks (asking this kind of question) a 3 puts out a lot of heat and things will happen too fast to correct it in the moment.
Also, you may know this but with those dropouts, you’re going to want to tack the tubes as quickly as you can so you can remove the aluminum bits. The anodizing discolors if you braze with them in place. I have sacrificial ones for those dropout types.
2 Likes
The most common torch for framebuilders are the Victor J28 (I use a J27 that is the father of the J28), Harris makes a torch of the same size and there are plenty of other brands that make torches that are compatible with the J28 (or the comparable from Harris).
I have seen people use the Waco Midget torch that is even smaller.
I got a SUA on amazon that is compatible with the J28 but I didn’t like the knob feel of it and overall hand feeling so I returned it.
I found my J27 locally on FB Marketplace, otherwise I would have got a Uniweld (always J28 compatible), check your local marketplace, I stumble on small torches all the time, usually they come alongside a whole set of old crappy stuff but sometimes you can get deals if you know what to look for.
Note that those torches use a smaller hose connector as well.
1 Like
I would agree most coming to the craft now use smaller torches. I would guess in production shops where units count and they have big forearms, big torches are still common. I mean, to the extent that torches are still being used in higher production shops (which is limited). I go back and forth between my J28 and my 100 depending on what I’m doing. For lugs and crowns, the 100 hooked up to Oxy/Propane puts out more BTUs in a big soft flame. The J28 is great for fillets and braze-ons. After using the 100 - which feels like a machete - using the J28 with light hoses feels like scalpel! I stumbled across a 2-fer deal on new J28s for a very good price so, I snapped them up for the future.
3 Likes
thanks for the replies! i ended up getting a size 1 tip to try out. i do tend to cook the flux if i’m not careful with the 3 so i’m hoping going down will help me get a better handle on the heat.
@Duanedr thanks for the heads up on the dropouts! i assumed they would discolor if i left them on but i haven’t brazed to them yet to find out. i like the sacrificial dropouts idea, i may pick up a set and do the same.
i’ll keep an eye out for a smaller torch on my local marketplace/craigslist but i think the heavier stuff will do me fine for now.
1 Like
small update on my first attempt at adjusting one of these old frames -
i cleaned up the bb shell and seat tube at the seat stay cluster, shortened and shaped the nds chainstay and have it fitting how i want it, i think. i ended up taking length off the front of the chainstay on the bb side rather than the dropout side, that got the original tire crimp in roughly the correct spot.
it was a lot of eyeballing and slowly grinding material away with a flap disk on my angle grinder but i got a pretty good fit i think.


i’m a little worried about tire/chainring clearance on the drive side chainstay so i thought i’d do a super simple yolk plate. i’ve been wanting to use sendcutsend for a while and this seemed like a good time. cost wise, it made the most sense to have them make me 3 vs 1 since they have a minimum cost for parts, plus i have a few more frames to do this to so i may need them but i’m really happy with what they sent me.
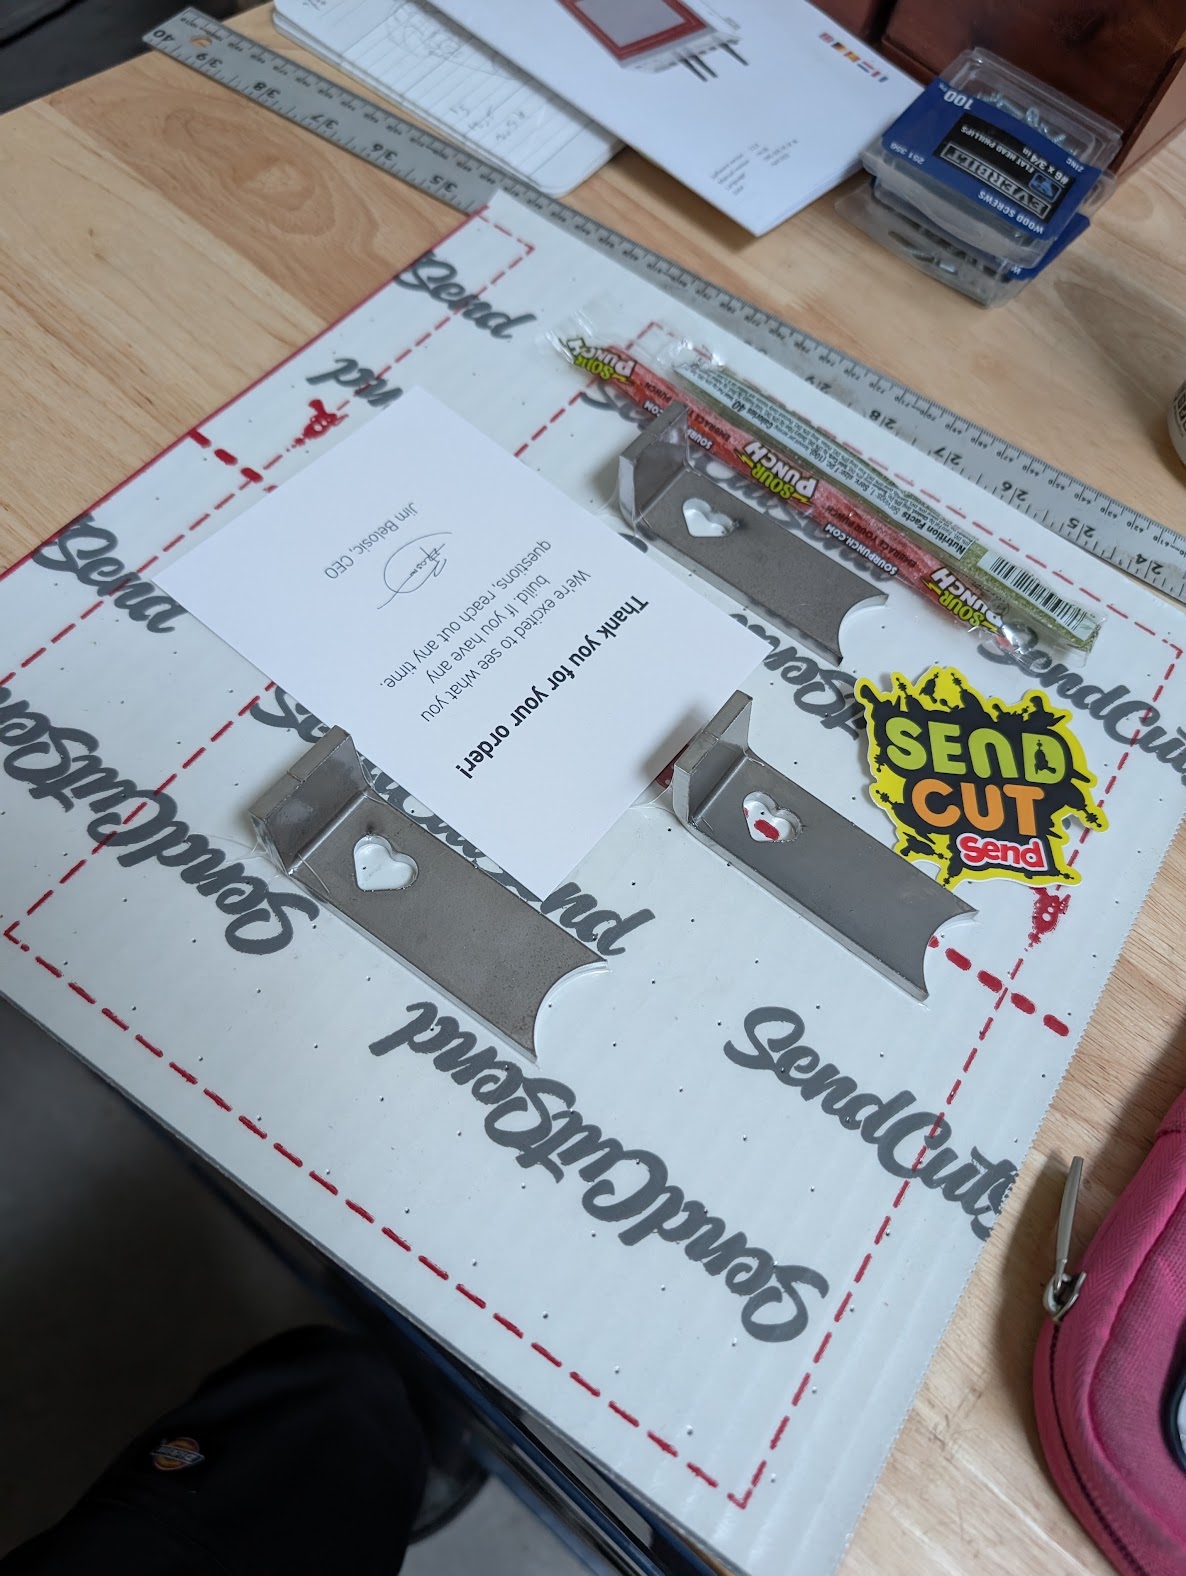
if i can fit the drive side chainstay without the yolk i’ll do that but i have these on hand just in case
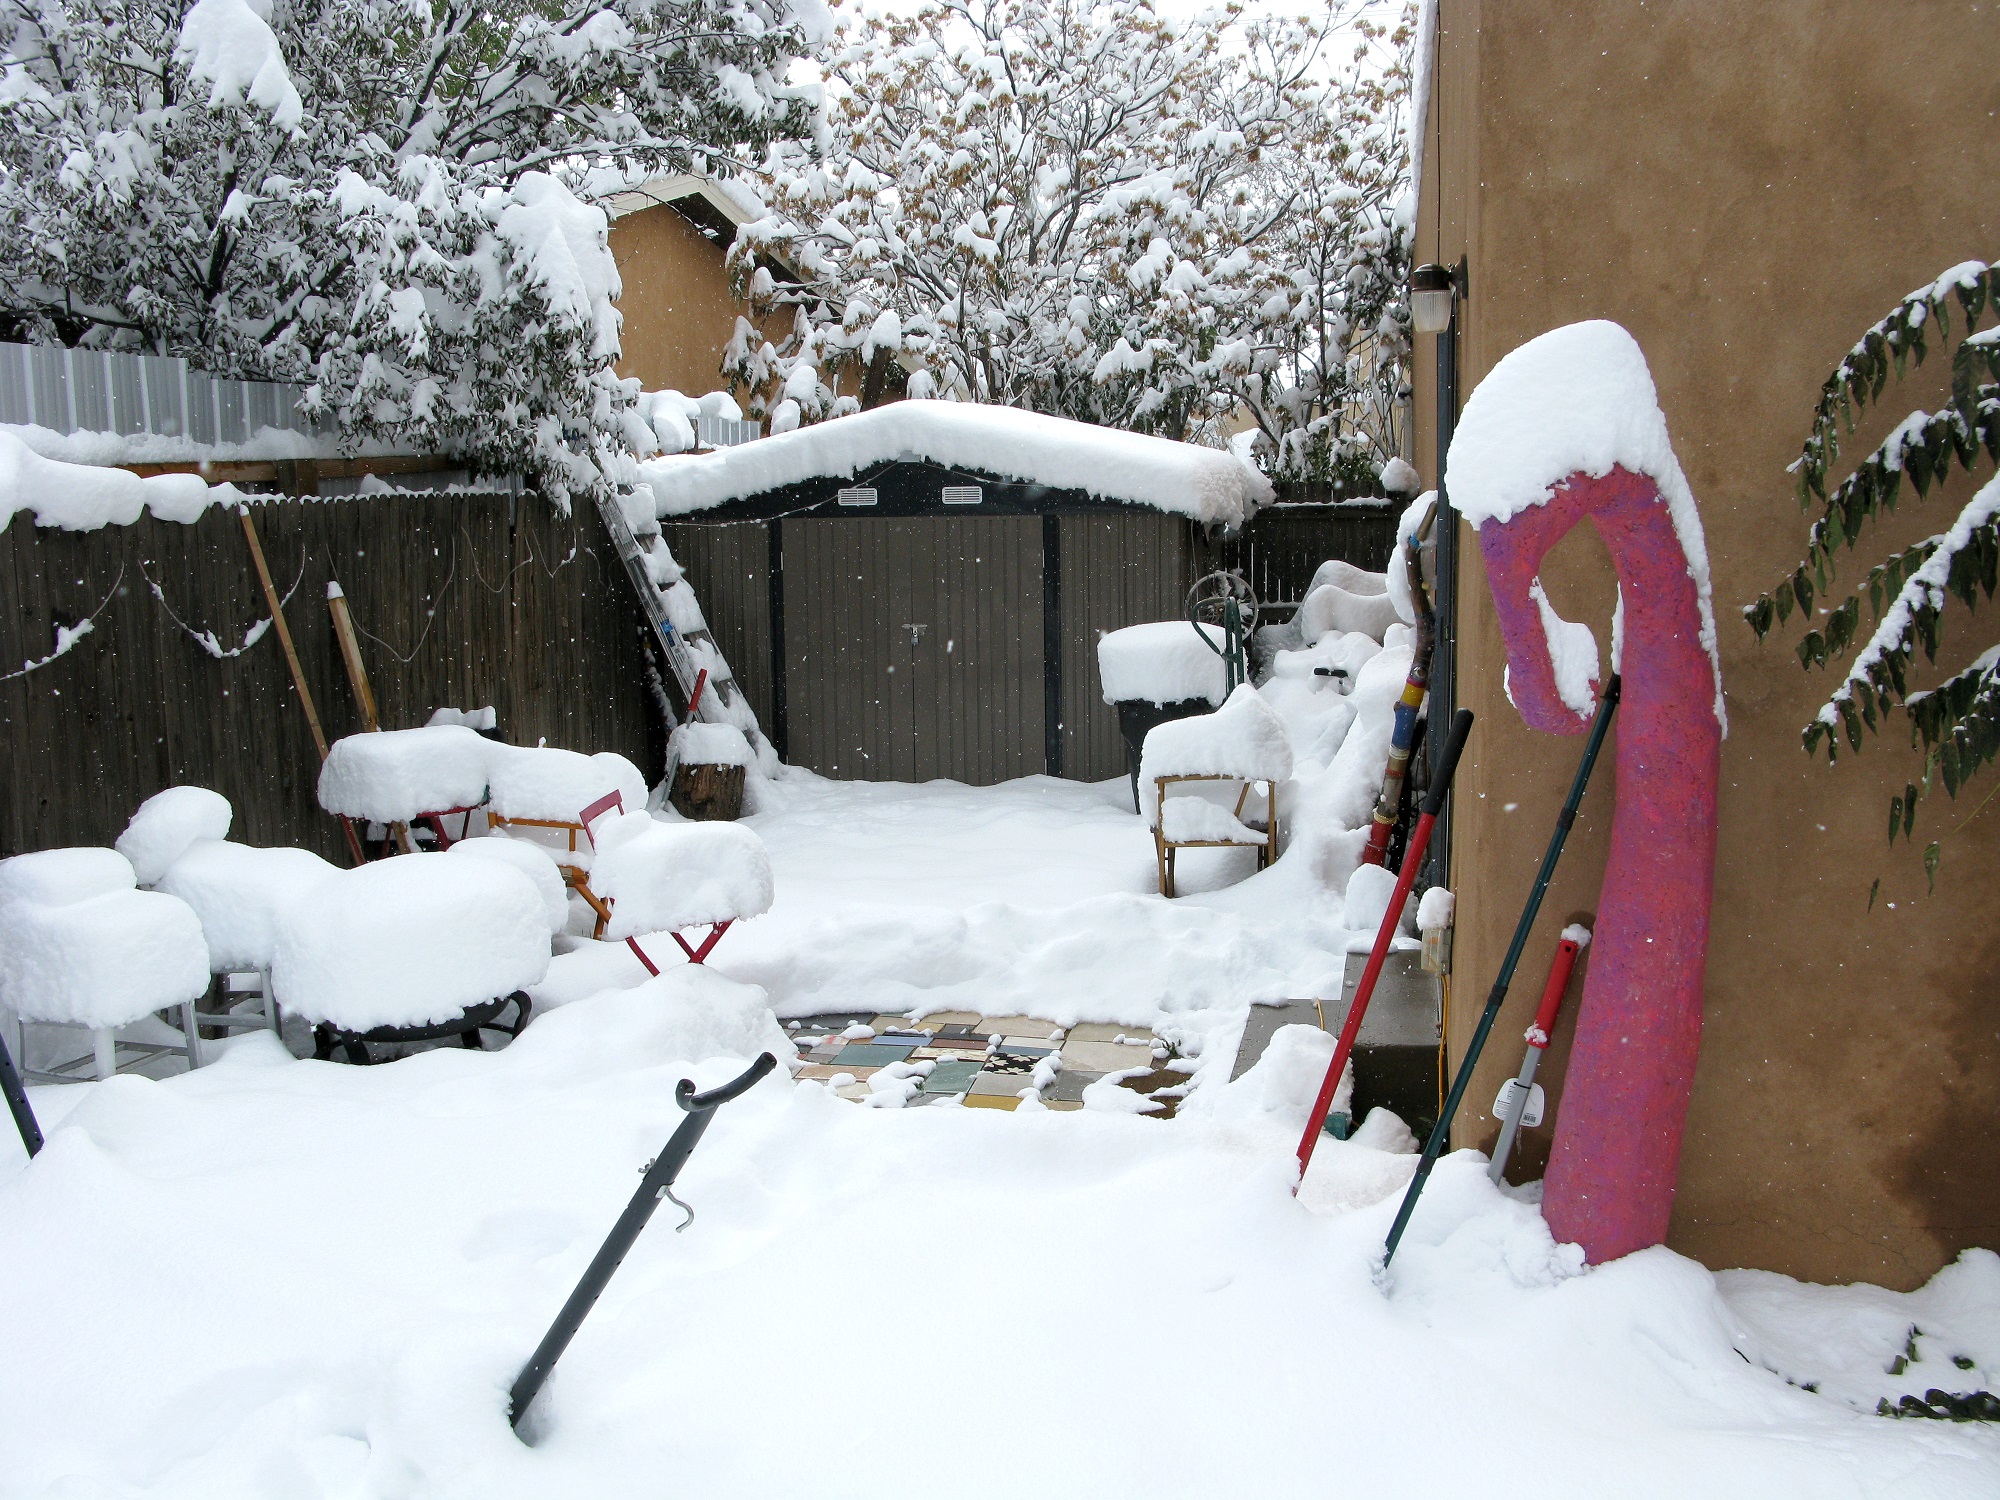
i got a #1 tip for my torches and some new flux and am excited to get out in the shed and work on this but the shed isn’t insulated and we got a foot of snow yesterday so we’ll see if i can make any progress this weekend
6 Likes
finally got out in the shed on friday! let the heater run for a couple hours to get it tolerable in there, got everything fluxed up, lit my torch and ran out of acetylene ![]()
of course there’s nowhere open to swap the bottle out until monday so that was a bummer. really had me thinking about propane. while i was thinking about propane, a 5l oxy concentrator popped up on my local freecycle like it was a sign from the bronze gods or something! i reached out but it was already gone by time the person got back to me. the bronze gods changed their mind and i went and got a new bottle of acetylene on monday haha.
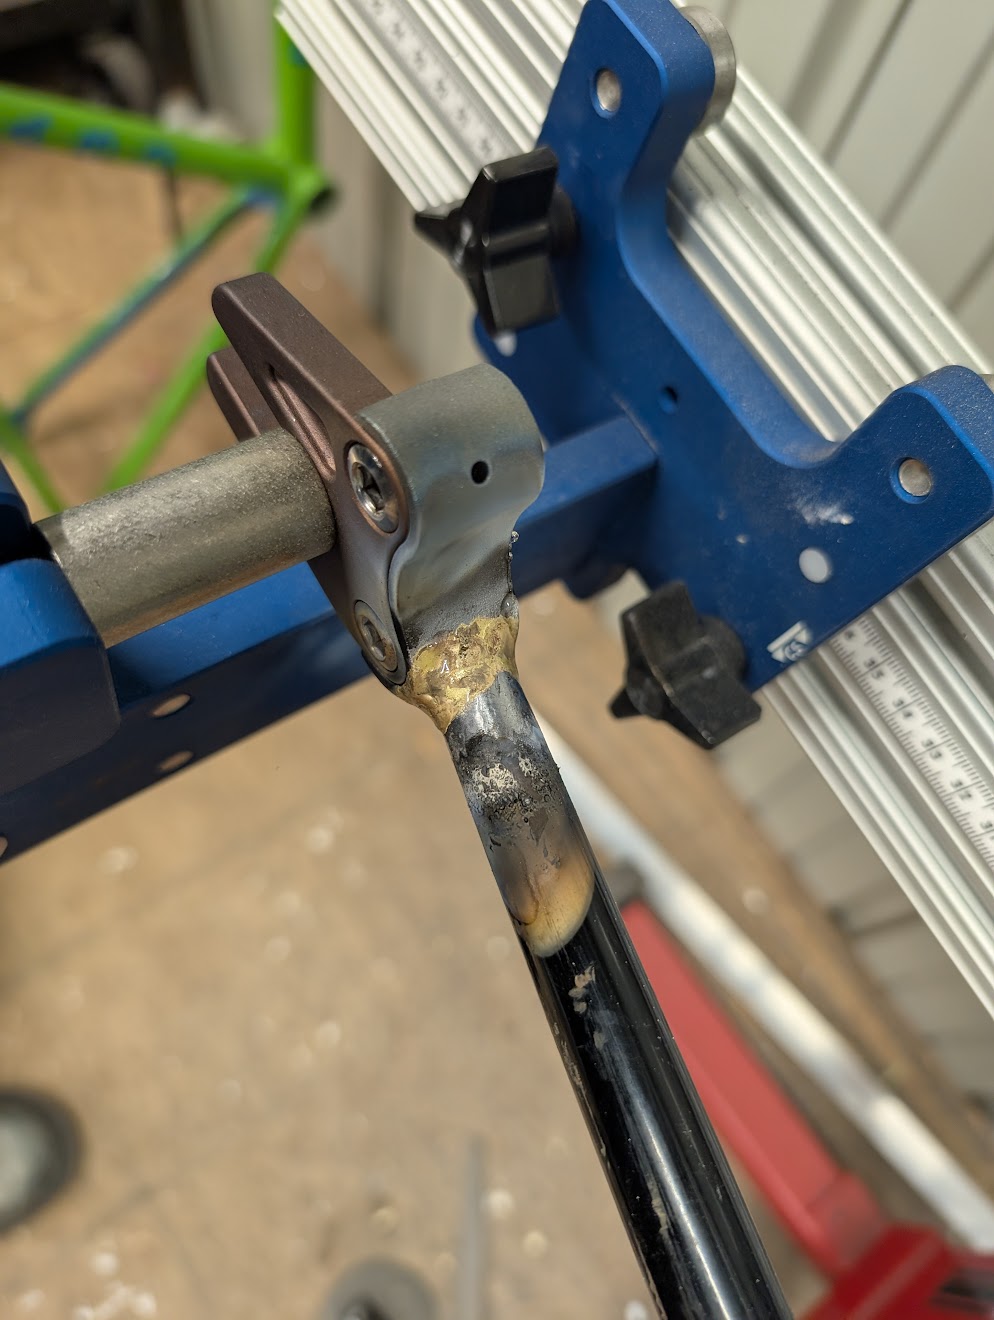
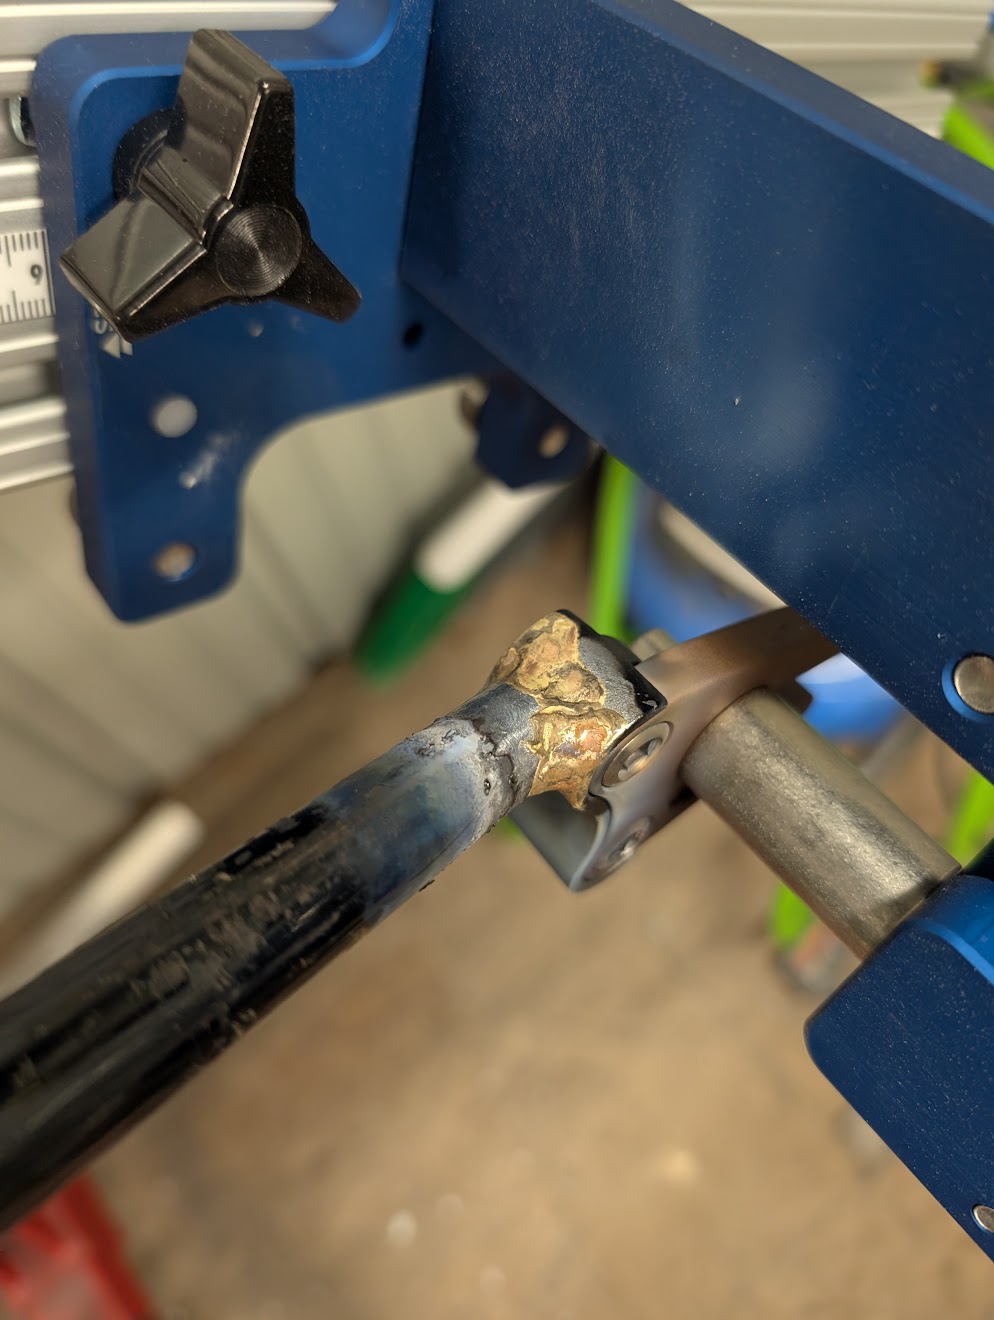
anyway, i got the nds chain stay brazed on, the new flux and smaller tip were a game changer! it looks like bubble gum and i probably should have removed more paint but it went much easier than i thought.
i was hoping ya’ll could give me some pointers after looking at my fillets. other than needing practice, anything stand out that i need to focus on?
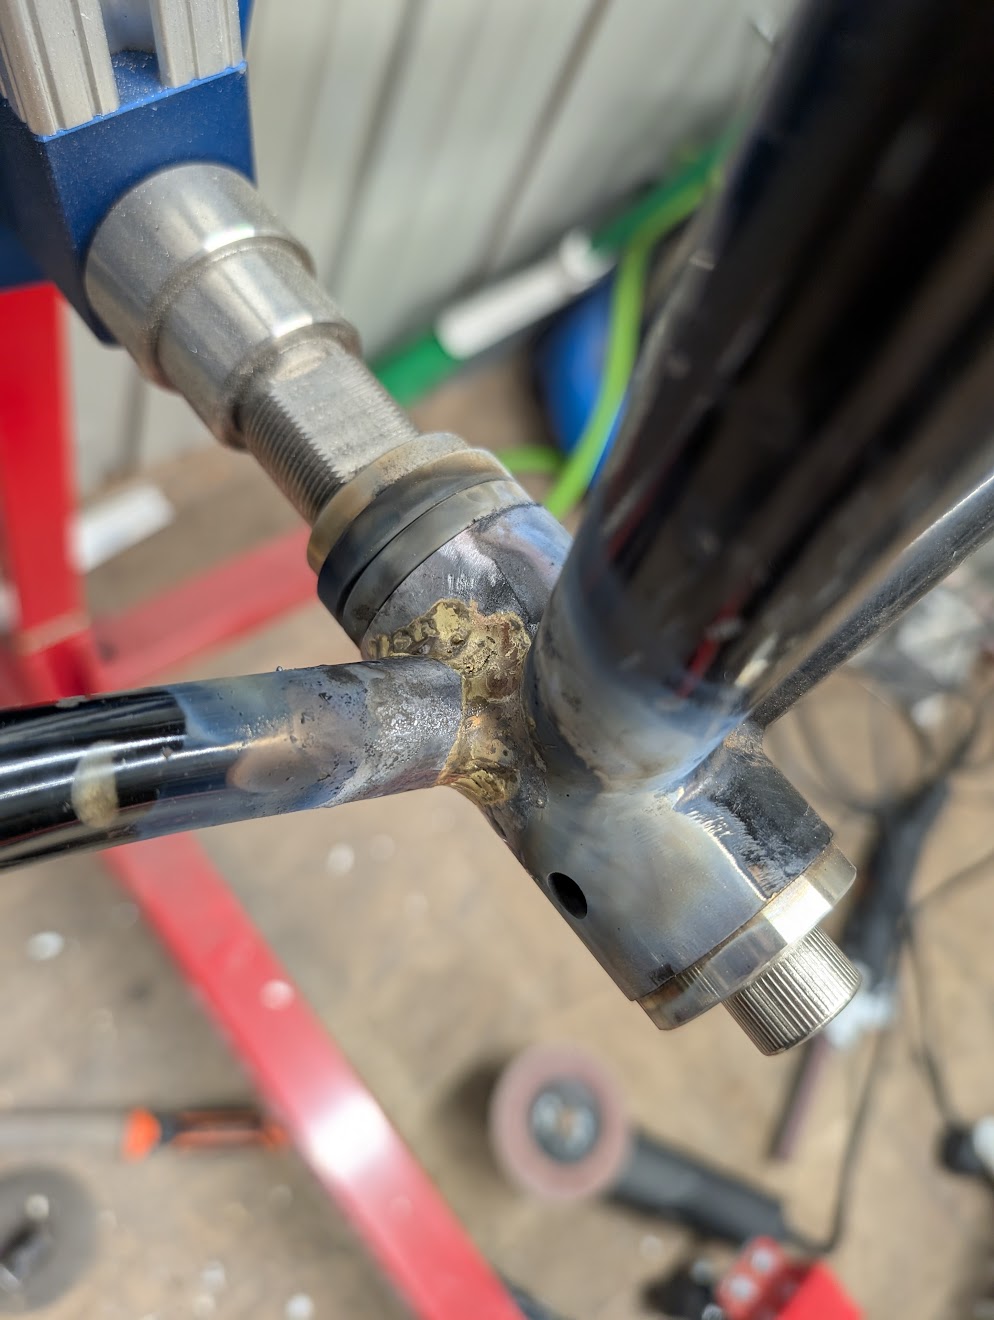

@Duanedr wasn’t kidding about the dropouts discoloring with heat, these will be my sacrificial inserts for this dropout type since i’ll be using the same style on a few frames

also, is there any reason i shouldn’t be brazing the full joints in my fixture? i know a lot of people tack them then move the frame to a stand, i don’t have a lot of room in my little shed for deploying my stand, even with moving stuff around. my understanding is that brazing out of the fixture gives you better access to the joints, is there more to it than that?
5 Likes
I don’t see why not, if you are not torching the jig in the first place all should be good.
Usually it’s a matter of space.
Between CL and FB there are always oxy concentrators available, some people are more delusional than others but I have heard of people reaching out to medical supply stores asking for old concentrators, most of them cannot be resold if they are out of warranty or if the person that had them didn’t properly maintain them (not a lot to maintain, I think it’s more about having a contract with the manufacturer or seller) so those are discarded as they are not “safe” as a respirator anymore.
But remember that with a propane setup you will have to change the tip of your torch to one that is made for propane to maximize the heat output.
3 Likes