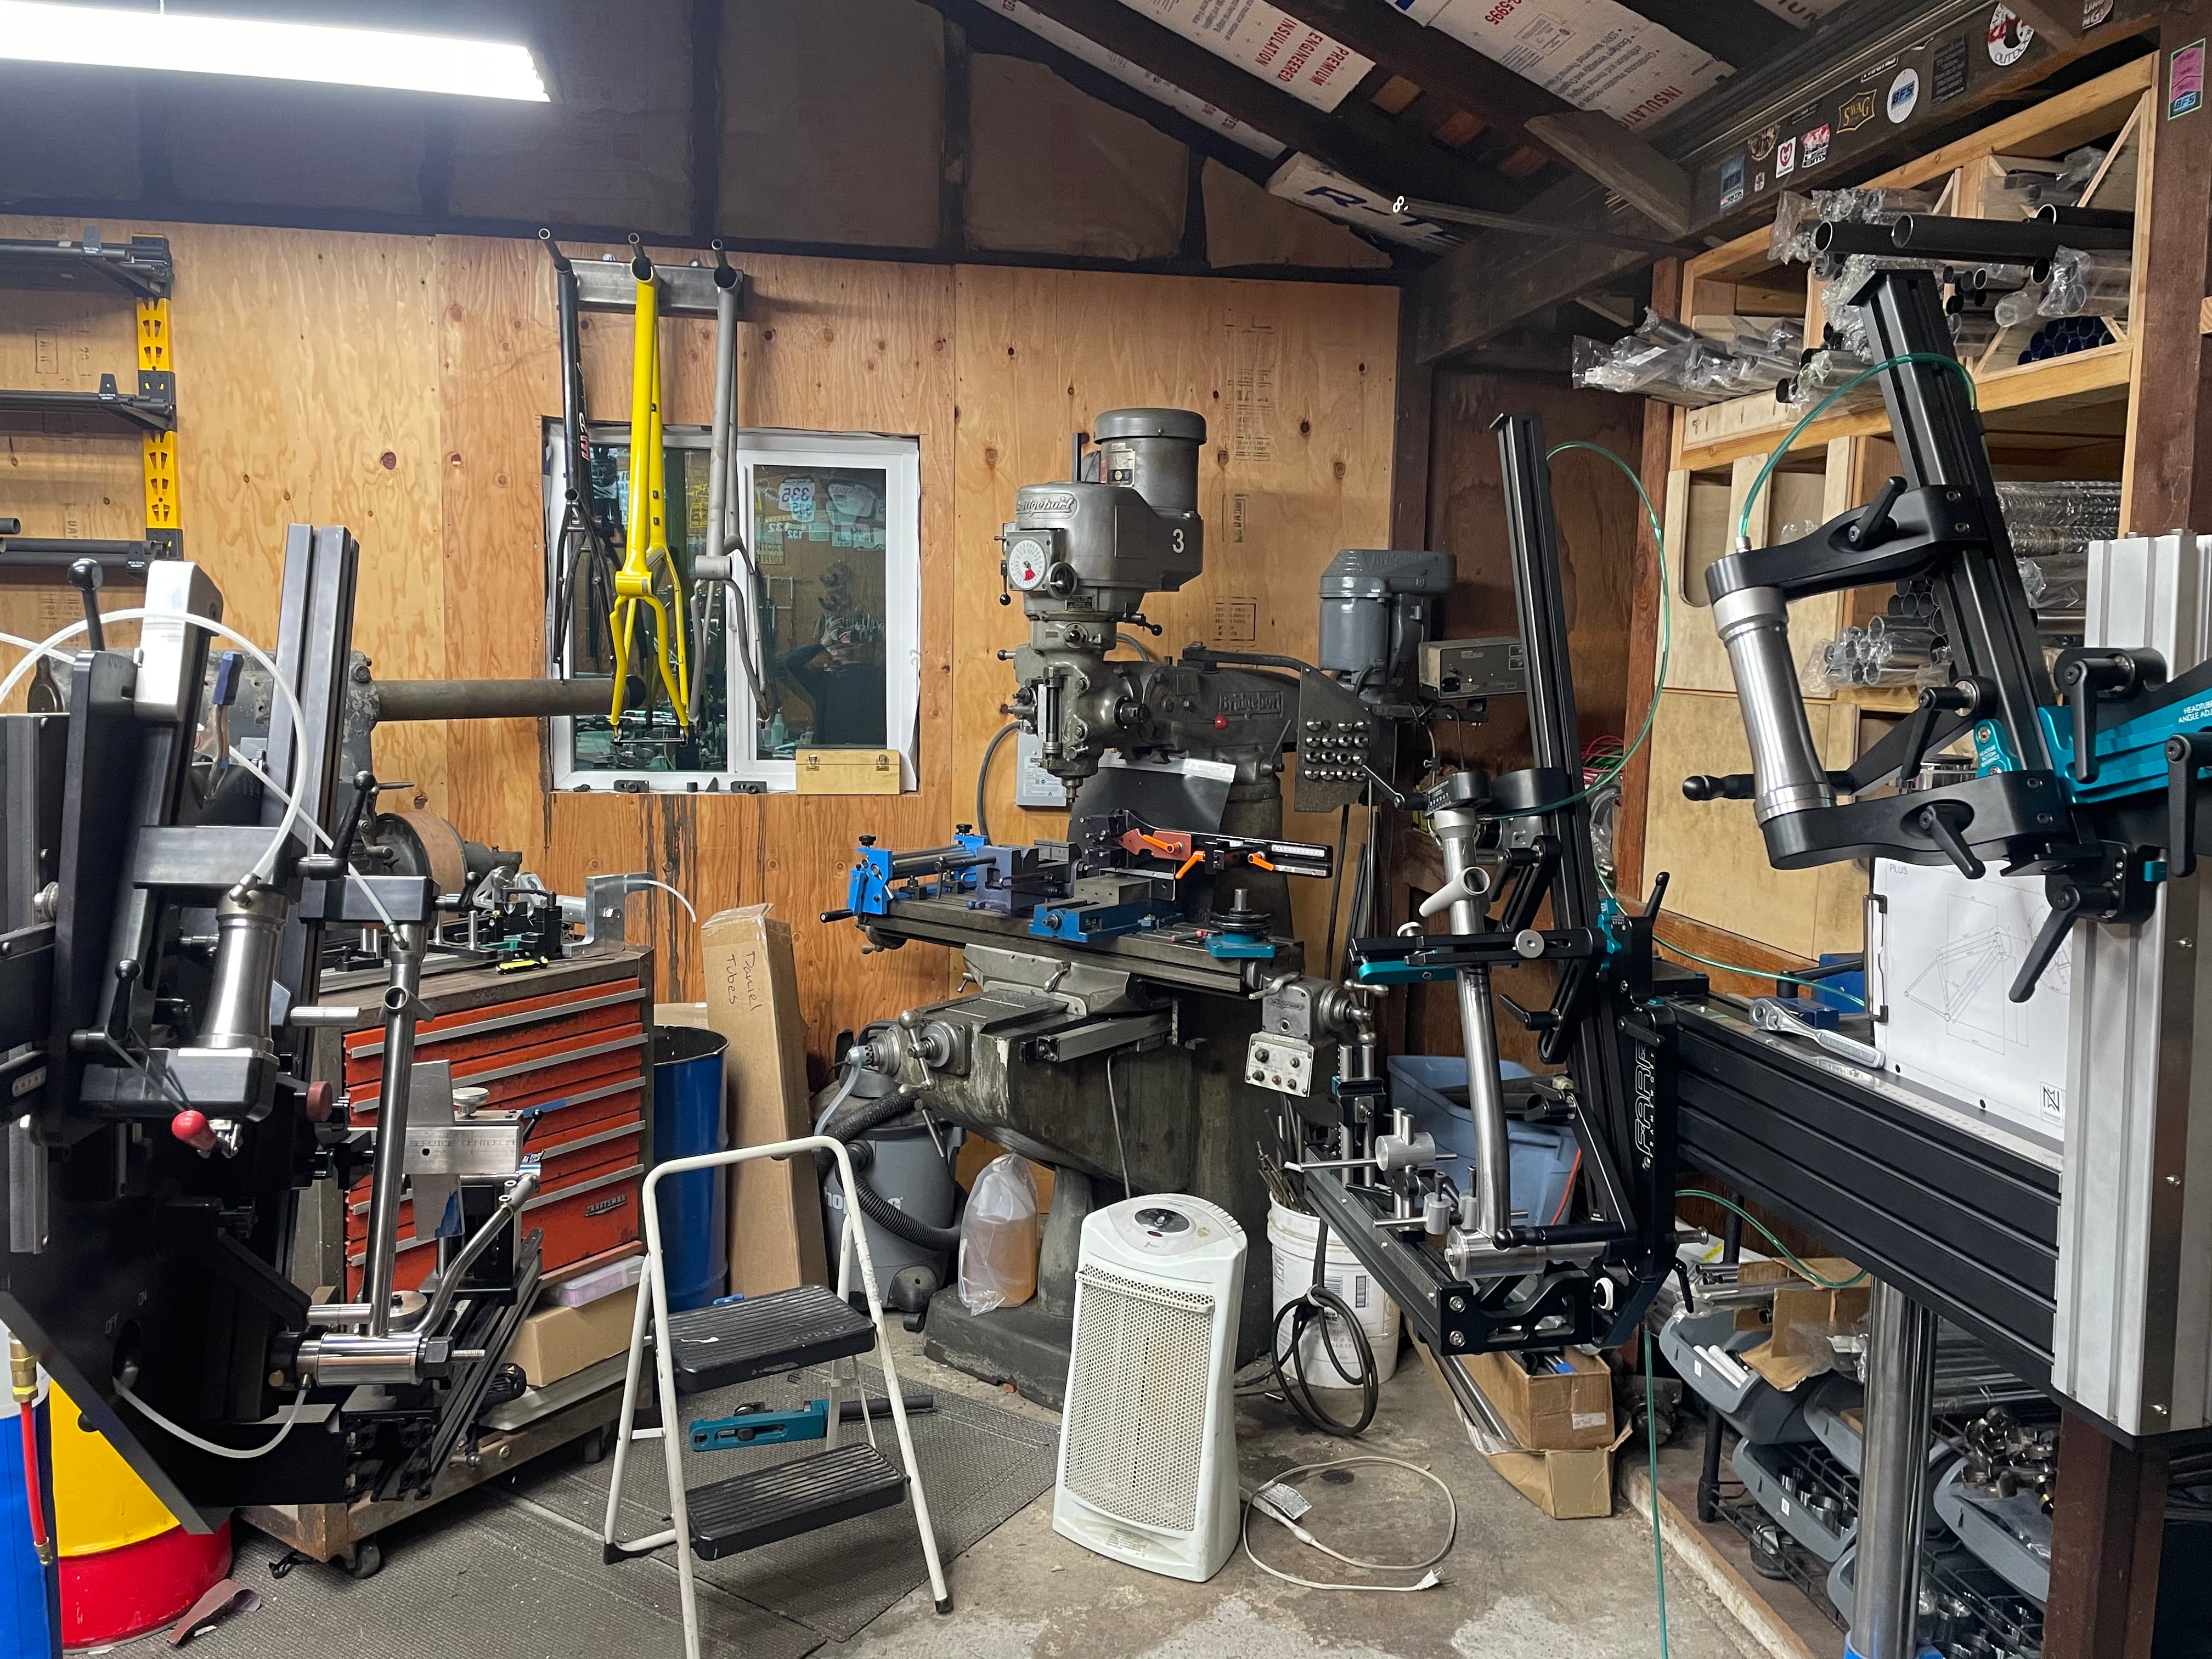
I am going to use this space to post shop and process pictures. I am terrible at documenting things start to finish, so this isn’t going to have any real flow, but will just be things I’m working on and happen to snap some pictures of.
Feel free to ask questions or request photos and info of any particular part of my process, I am happy to share and happy to tailor this to what folks want to see.
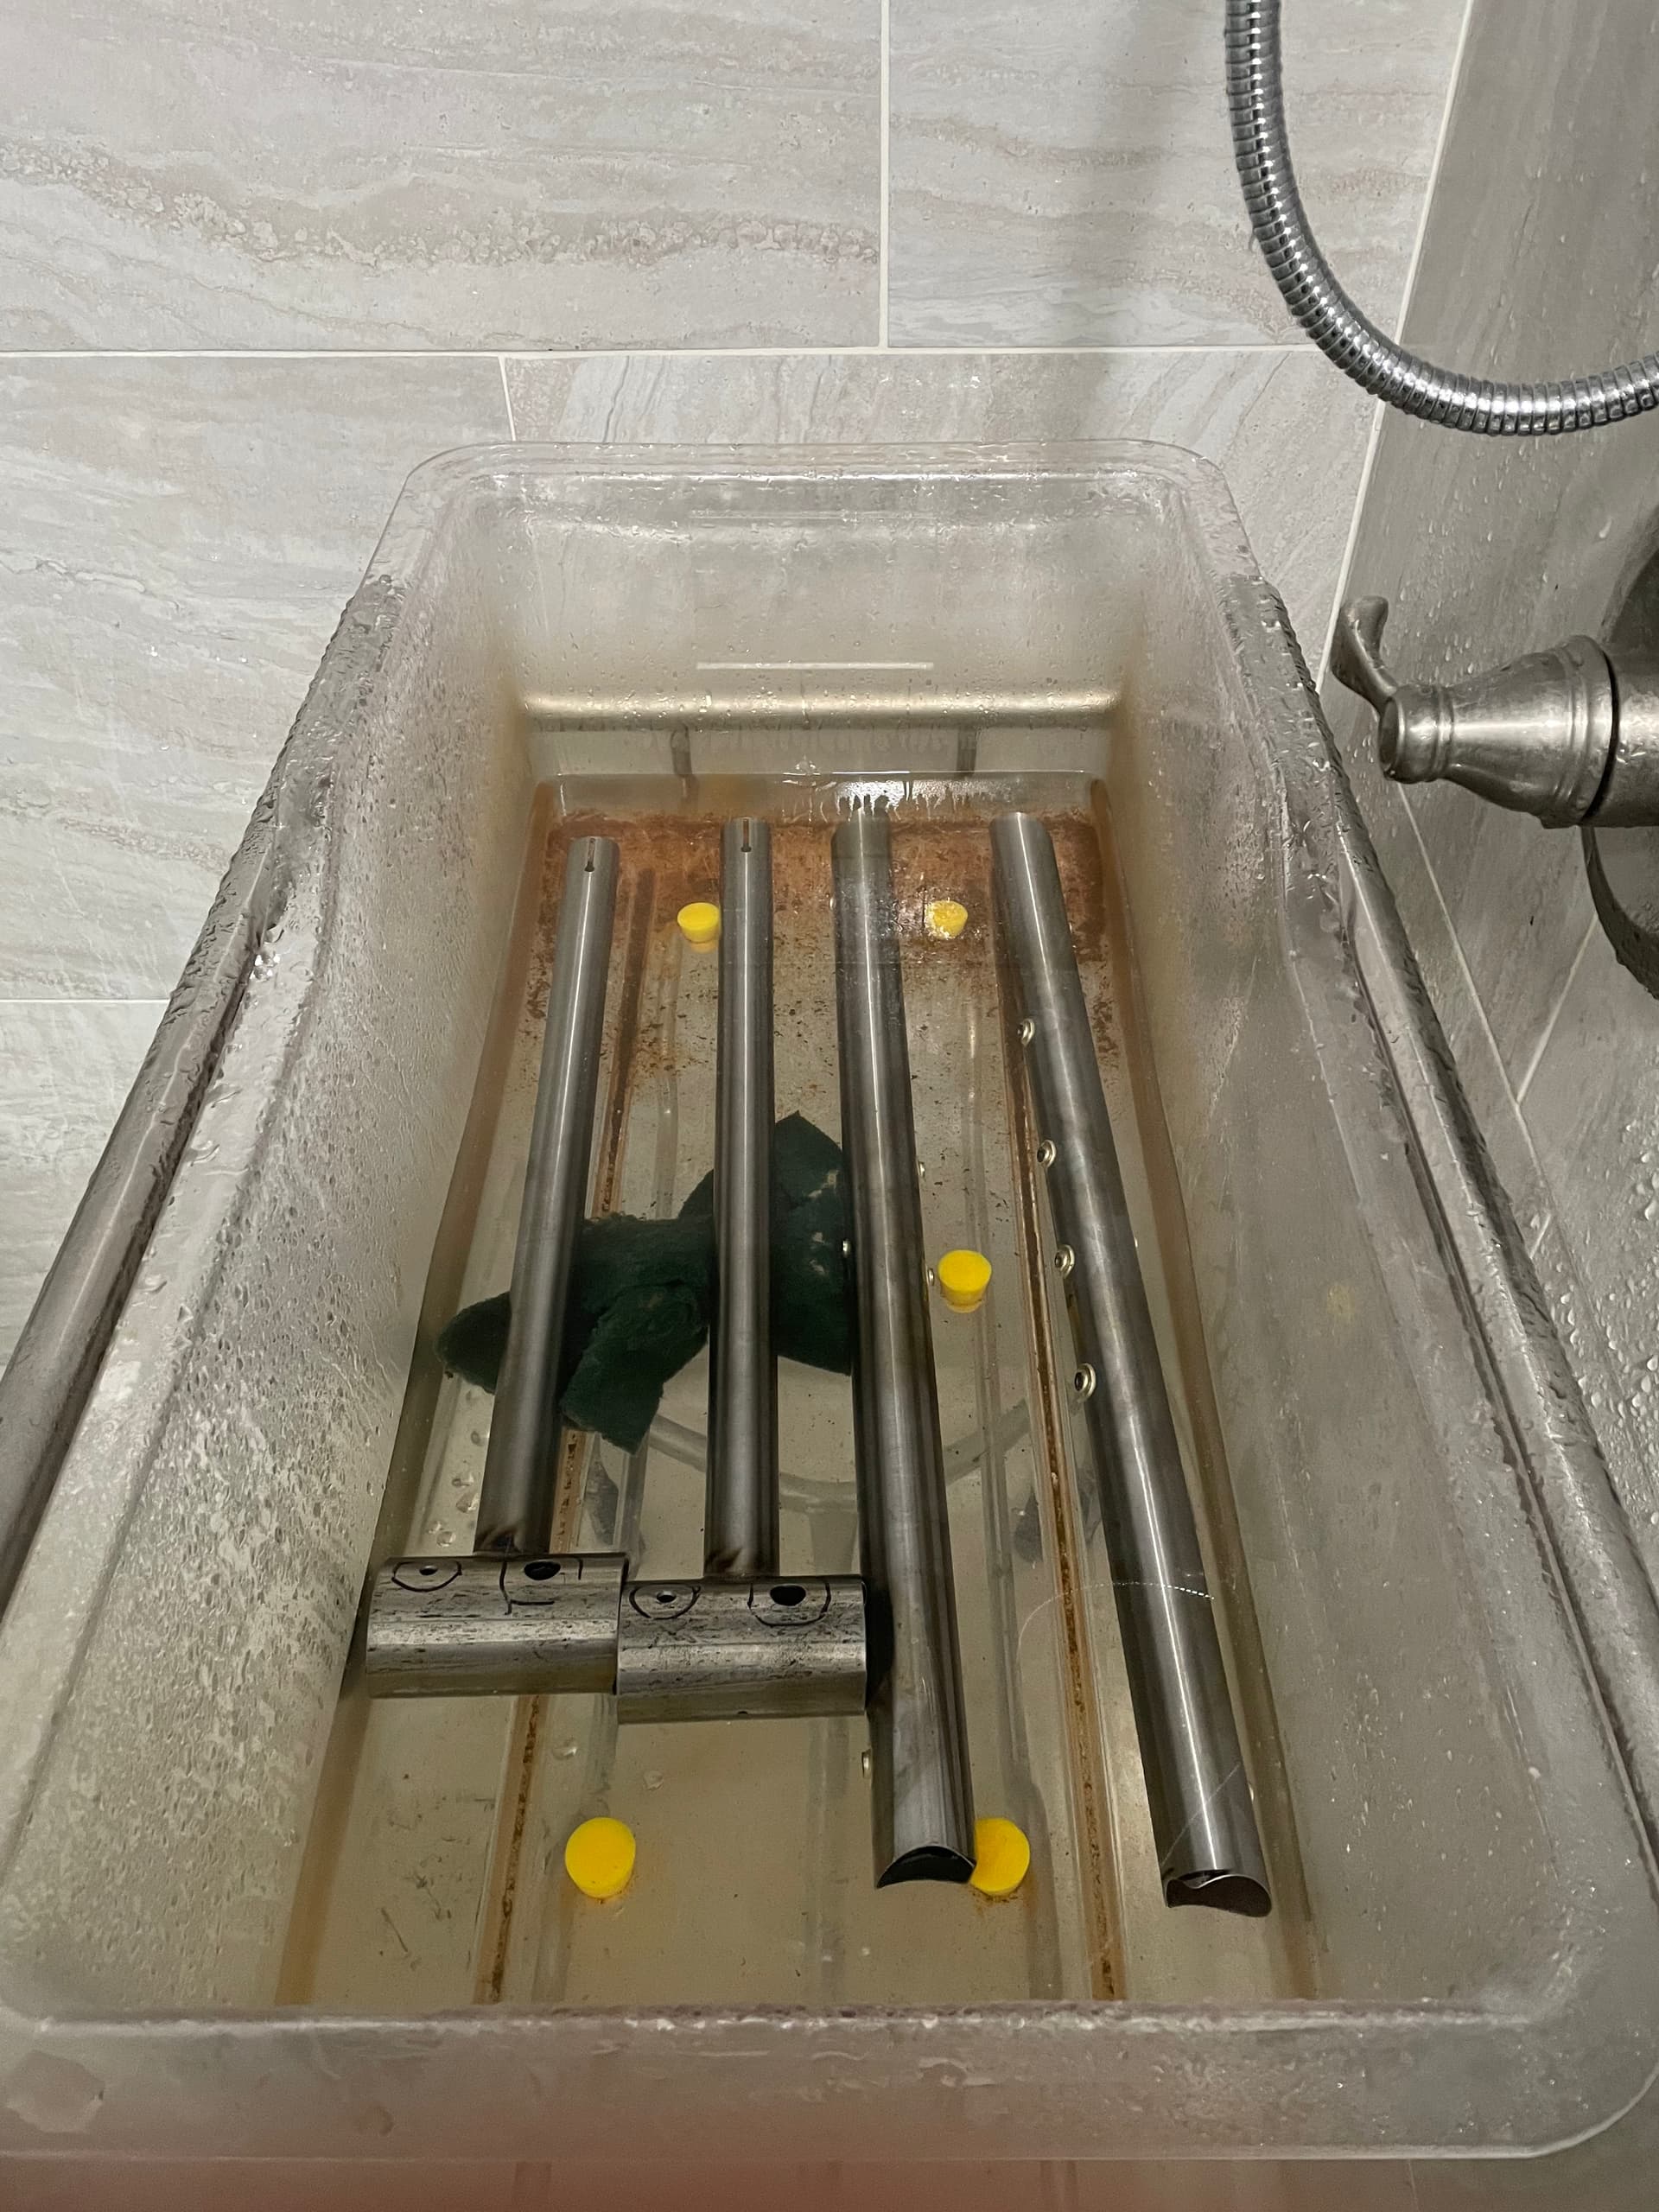
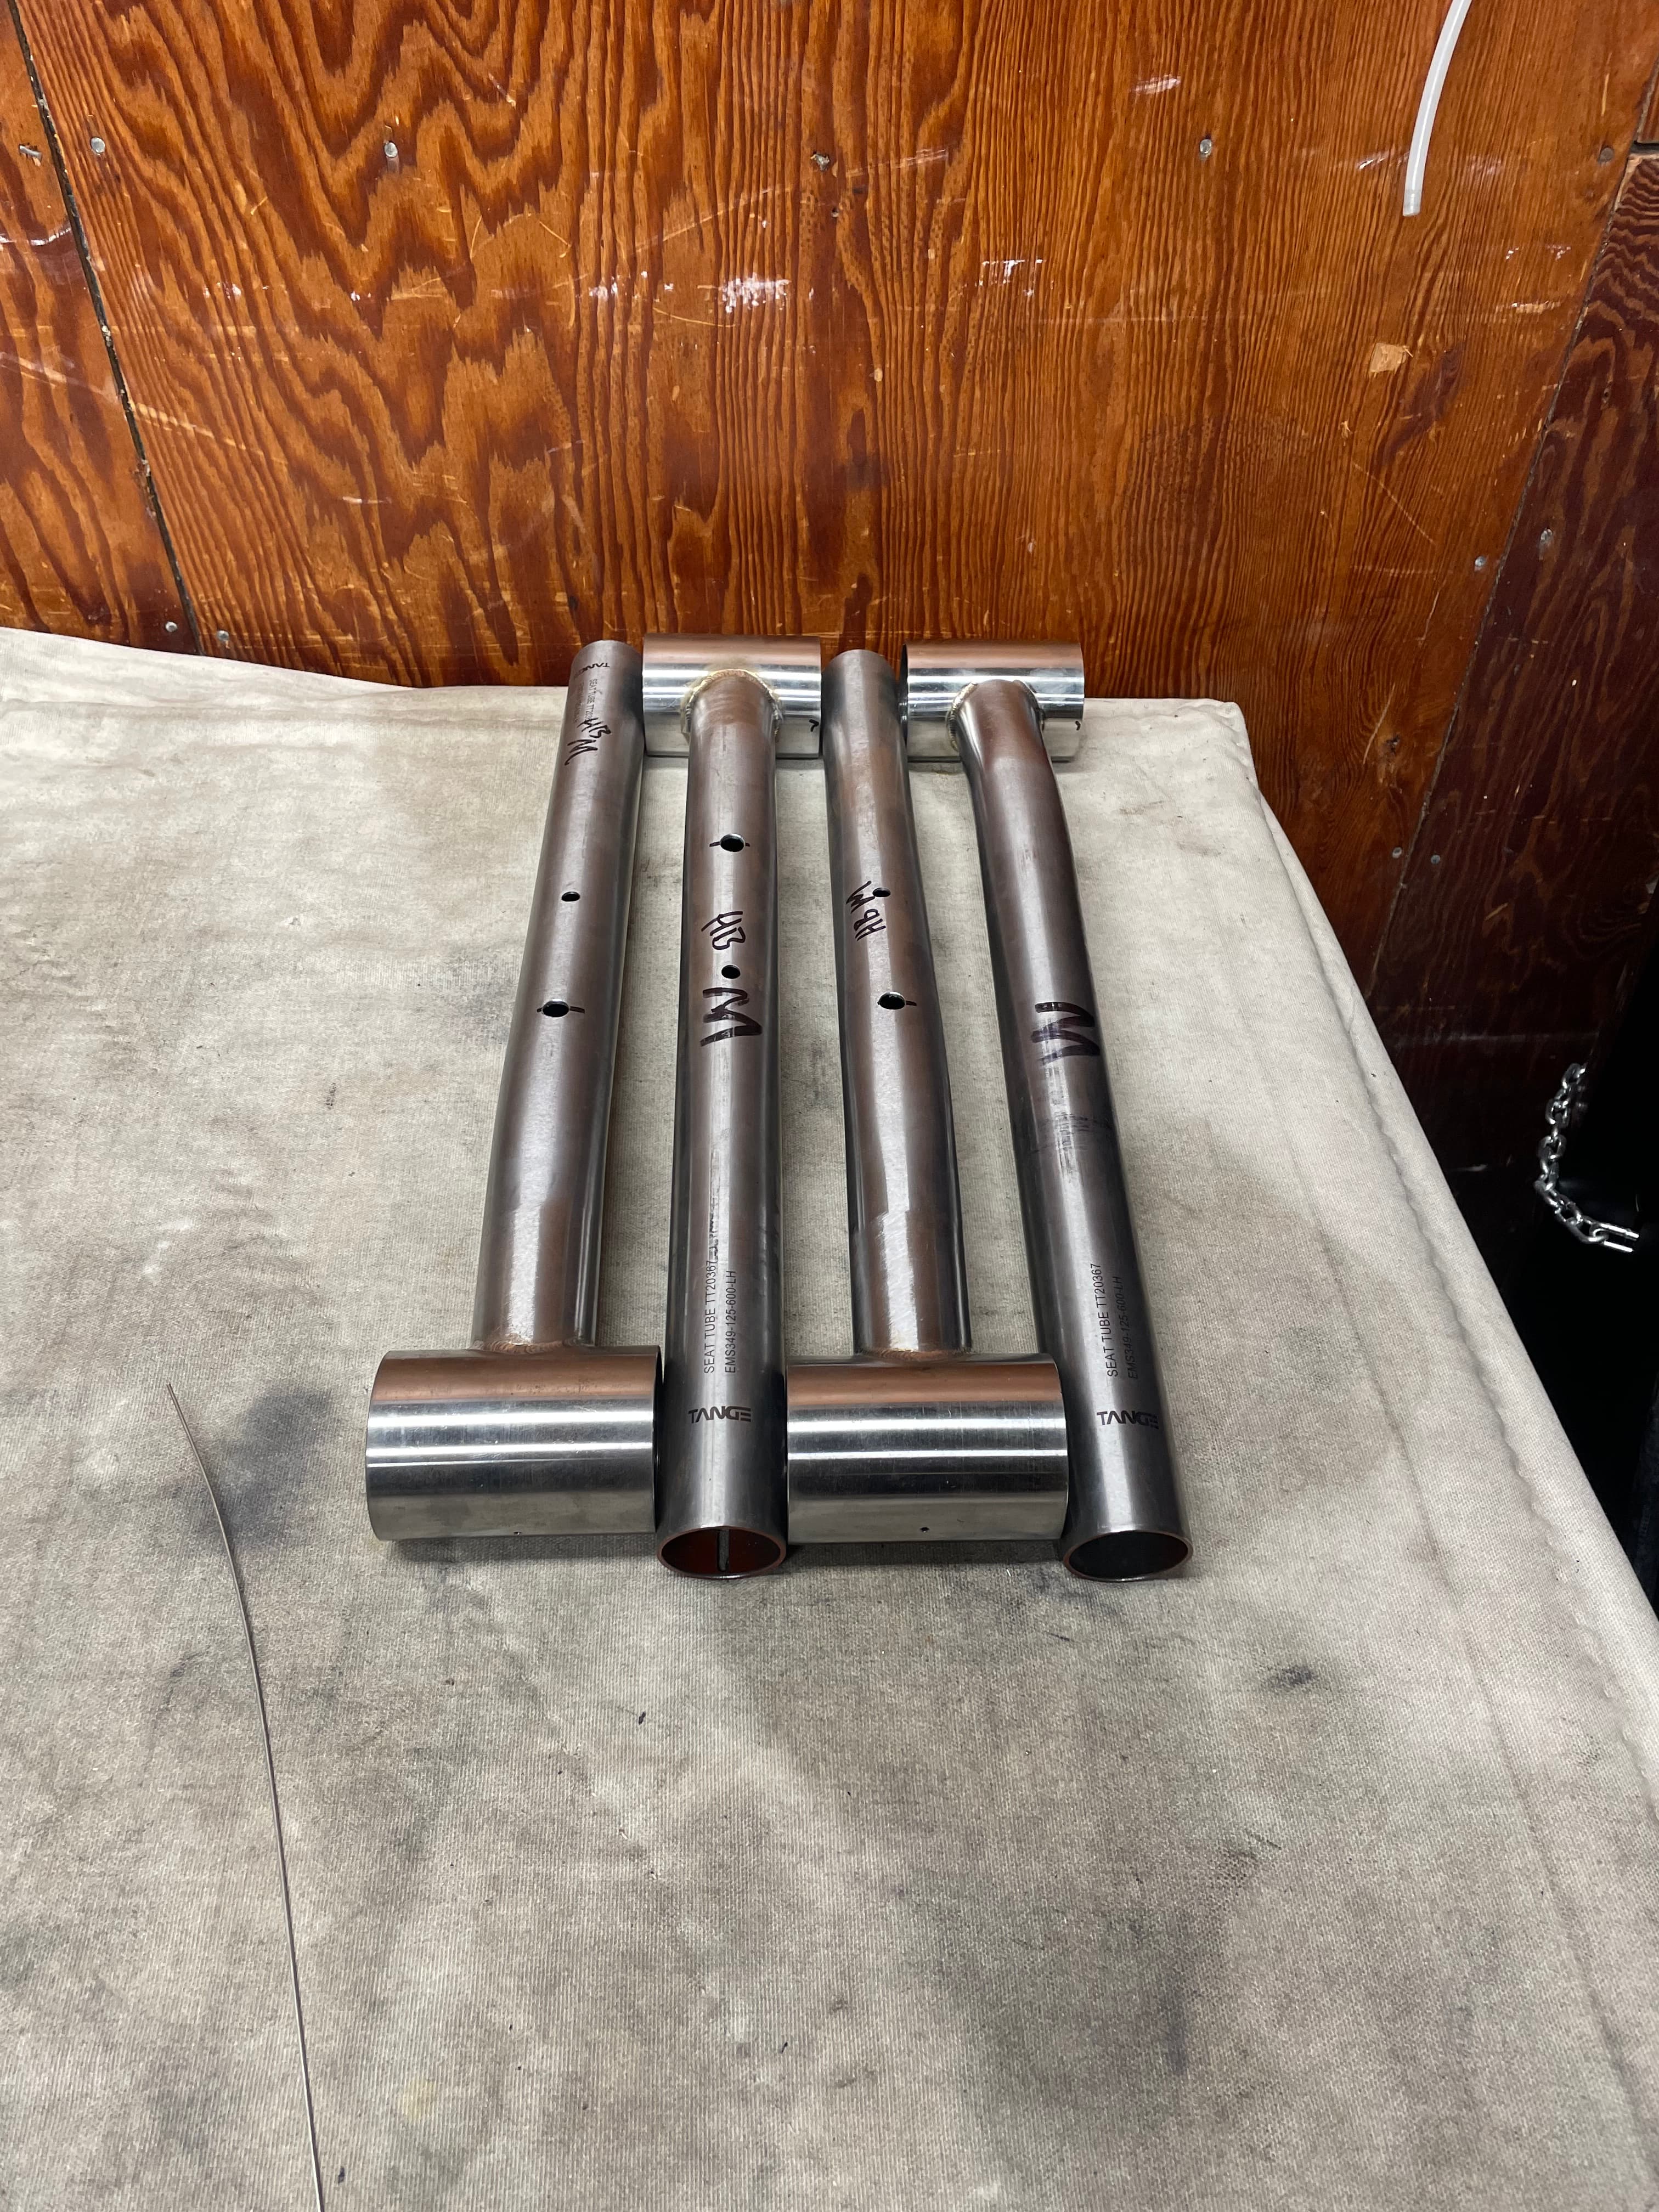
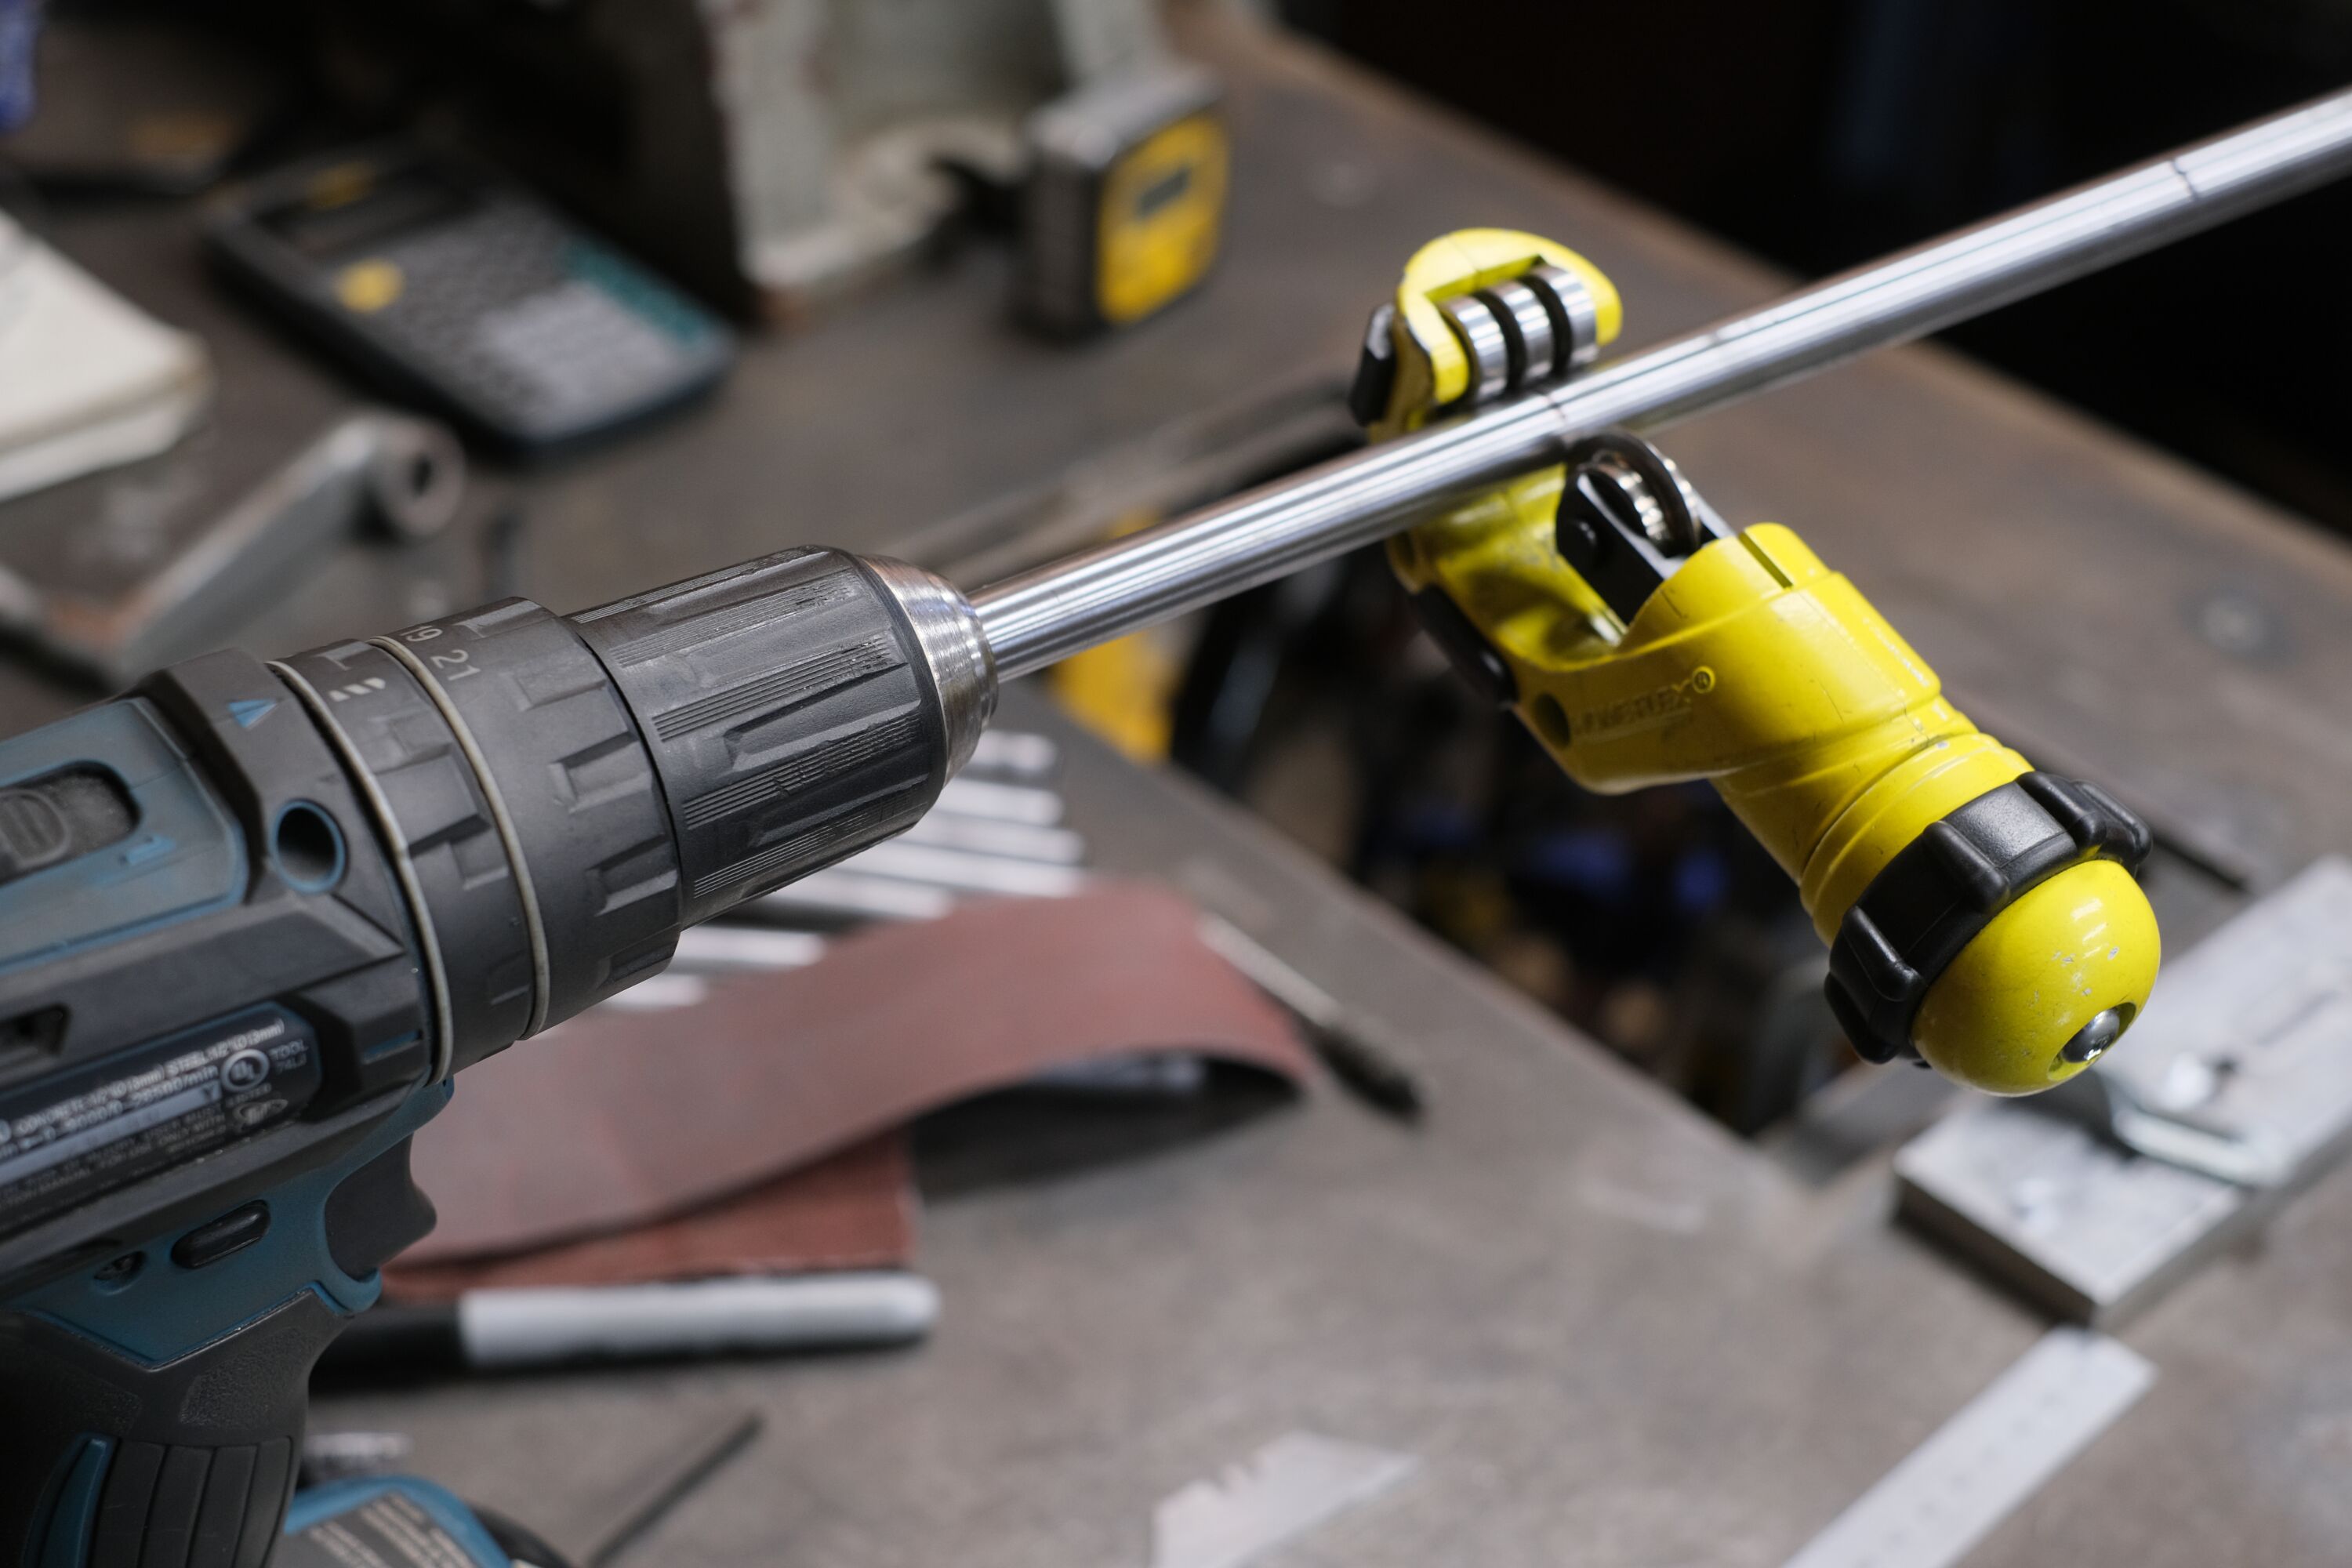
Long day in the shop because a friend stopped by and doesn’t know how to say “bye”. I ultimately put him to work cleaning tubes.
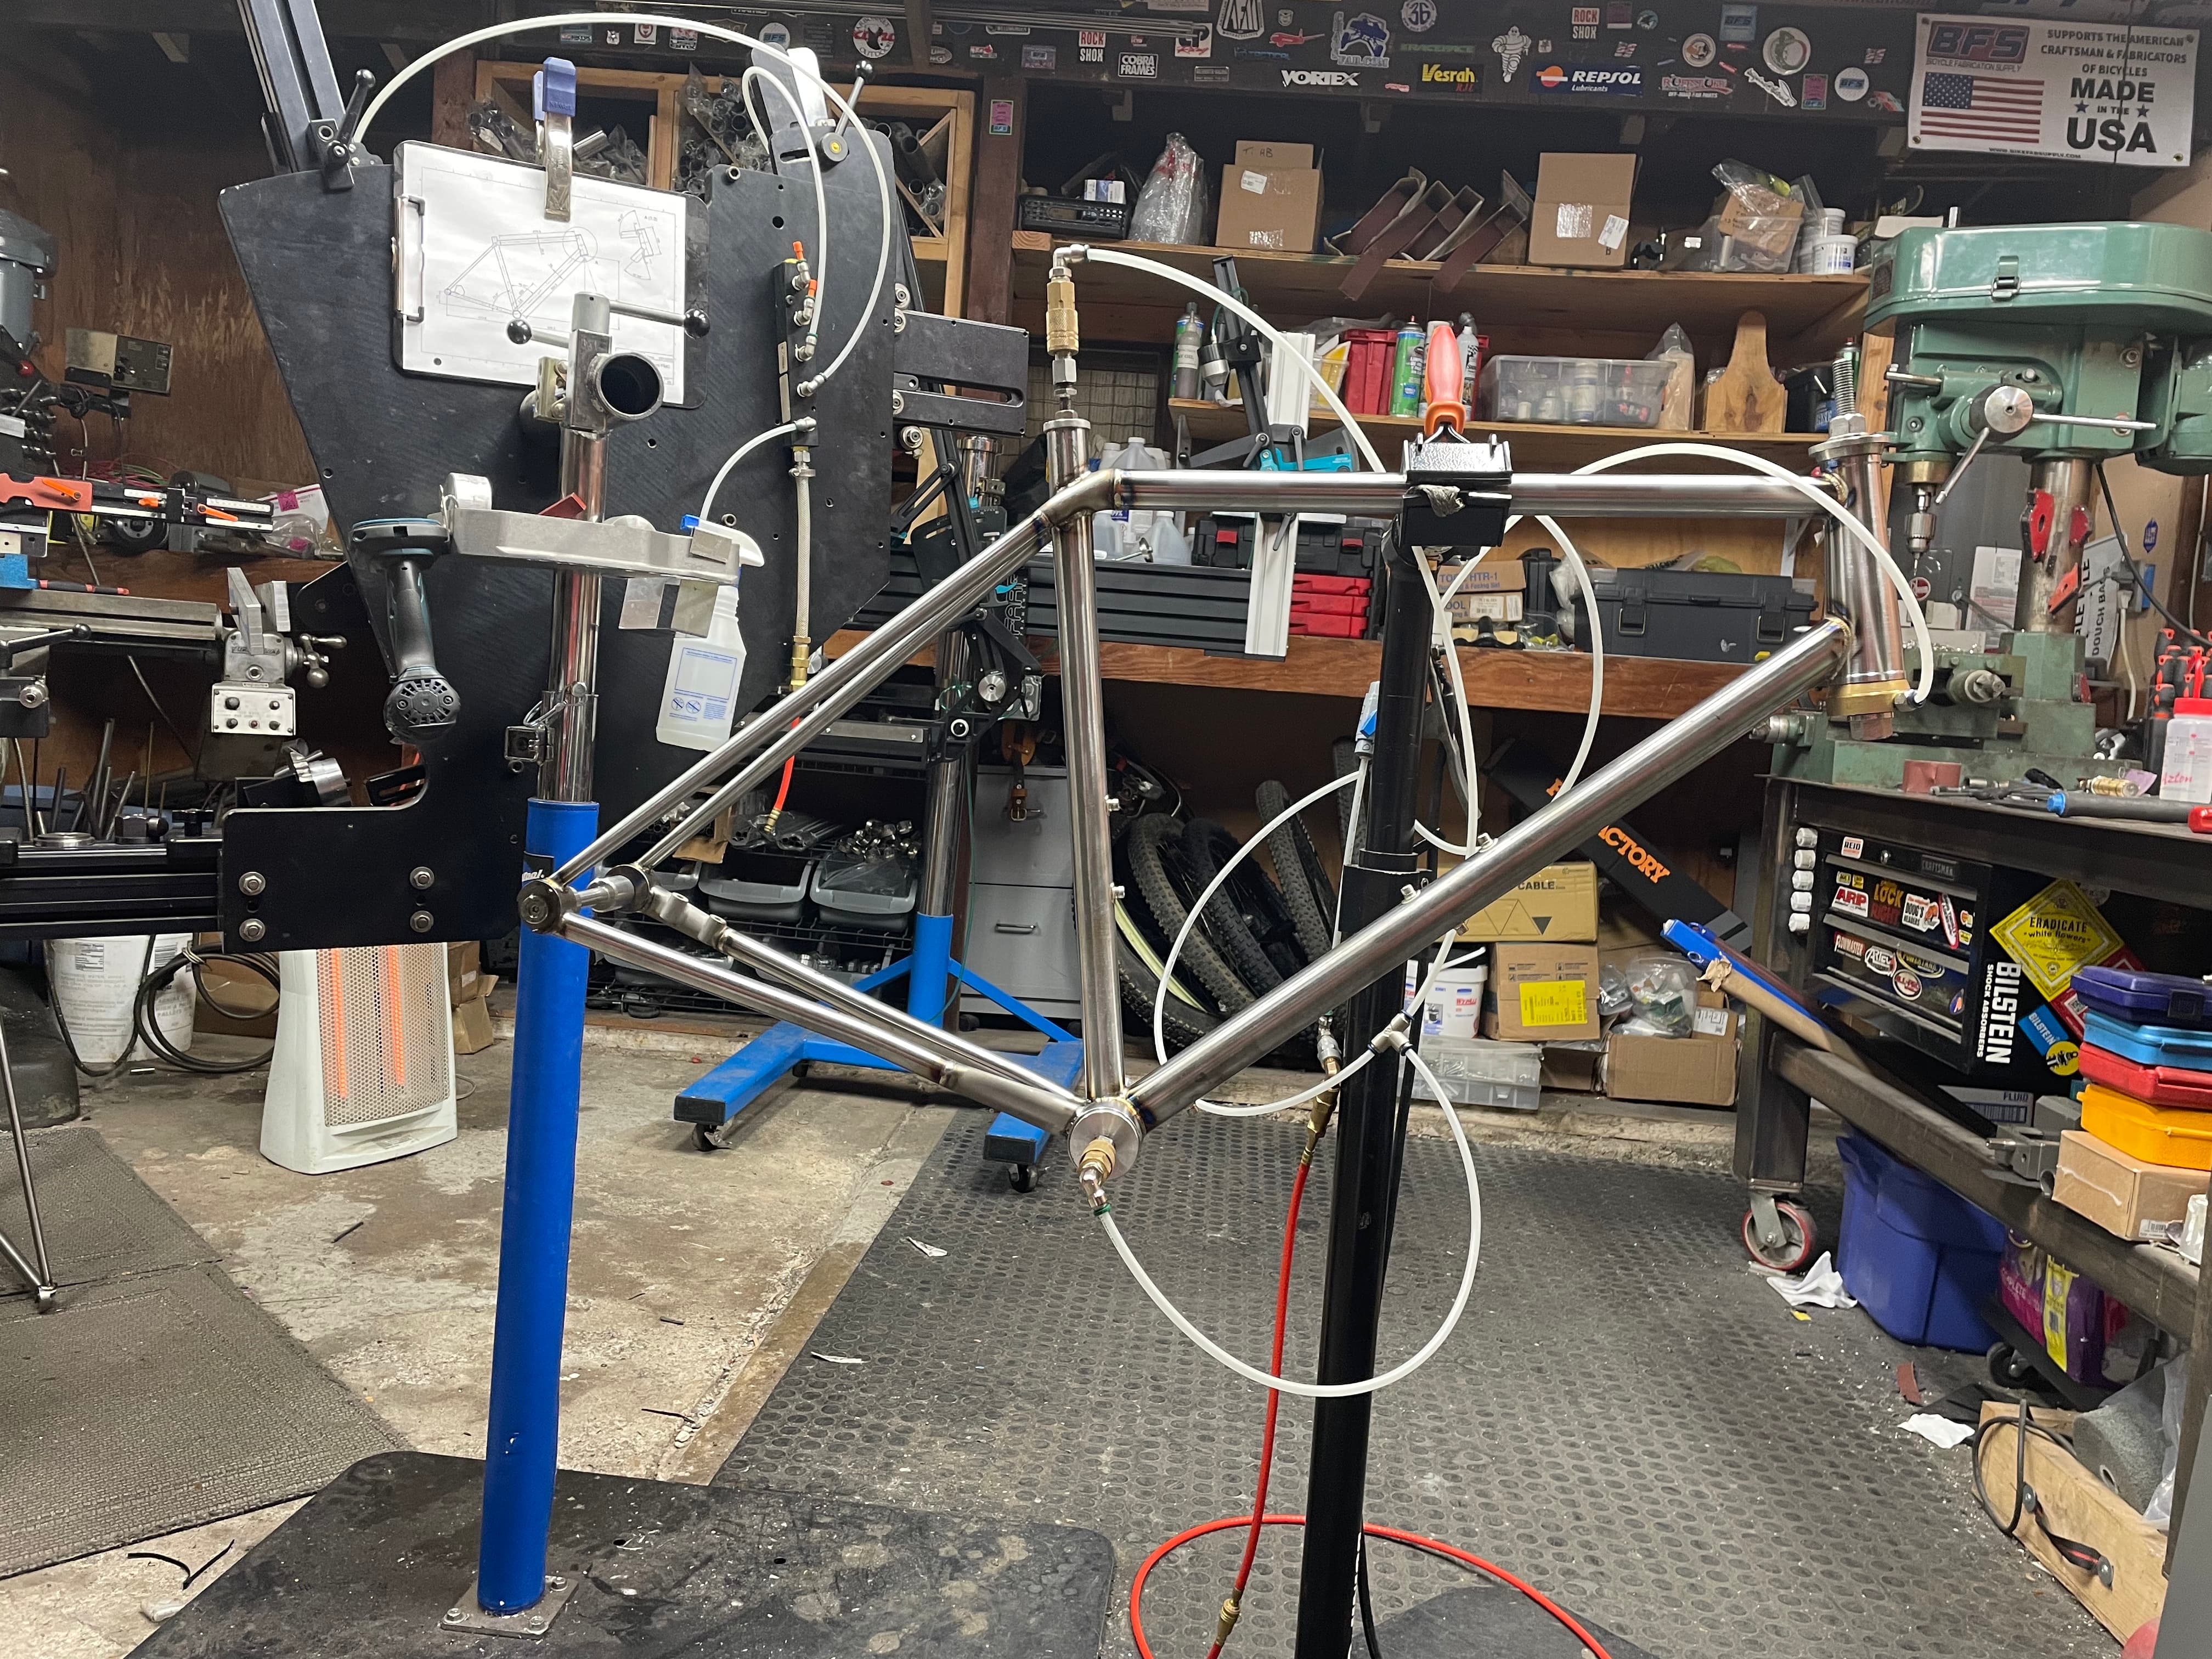
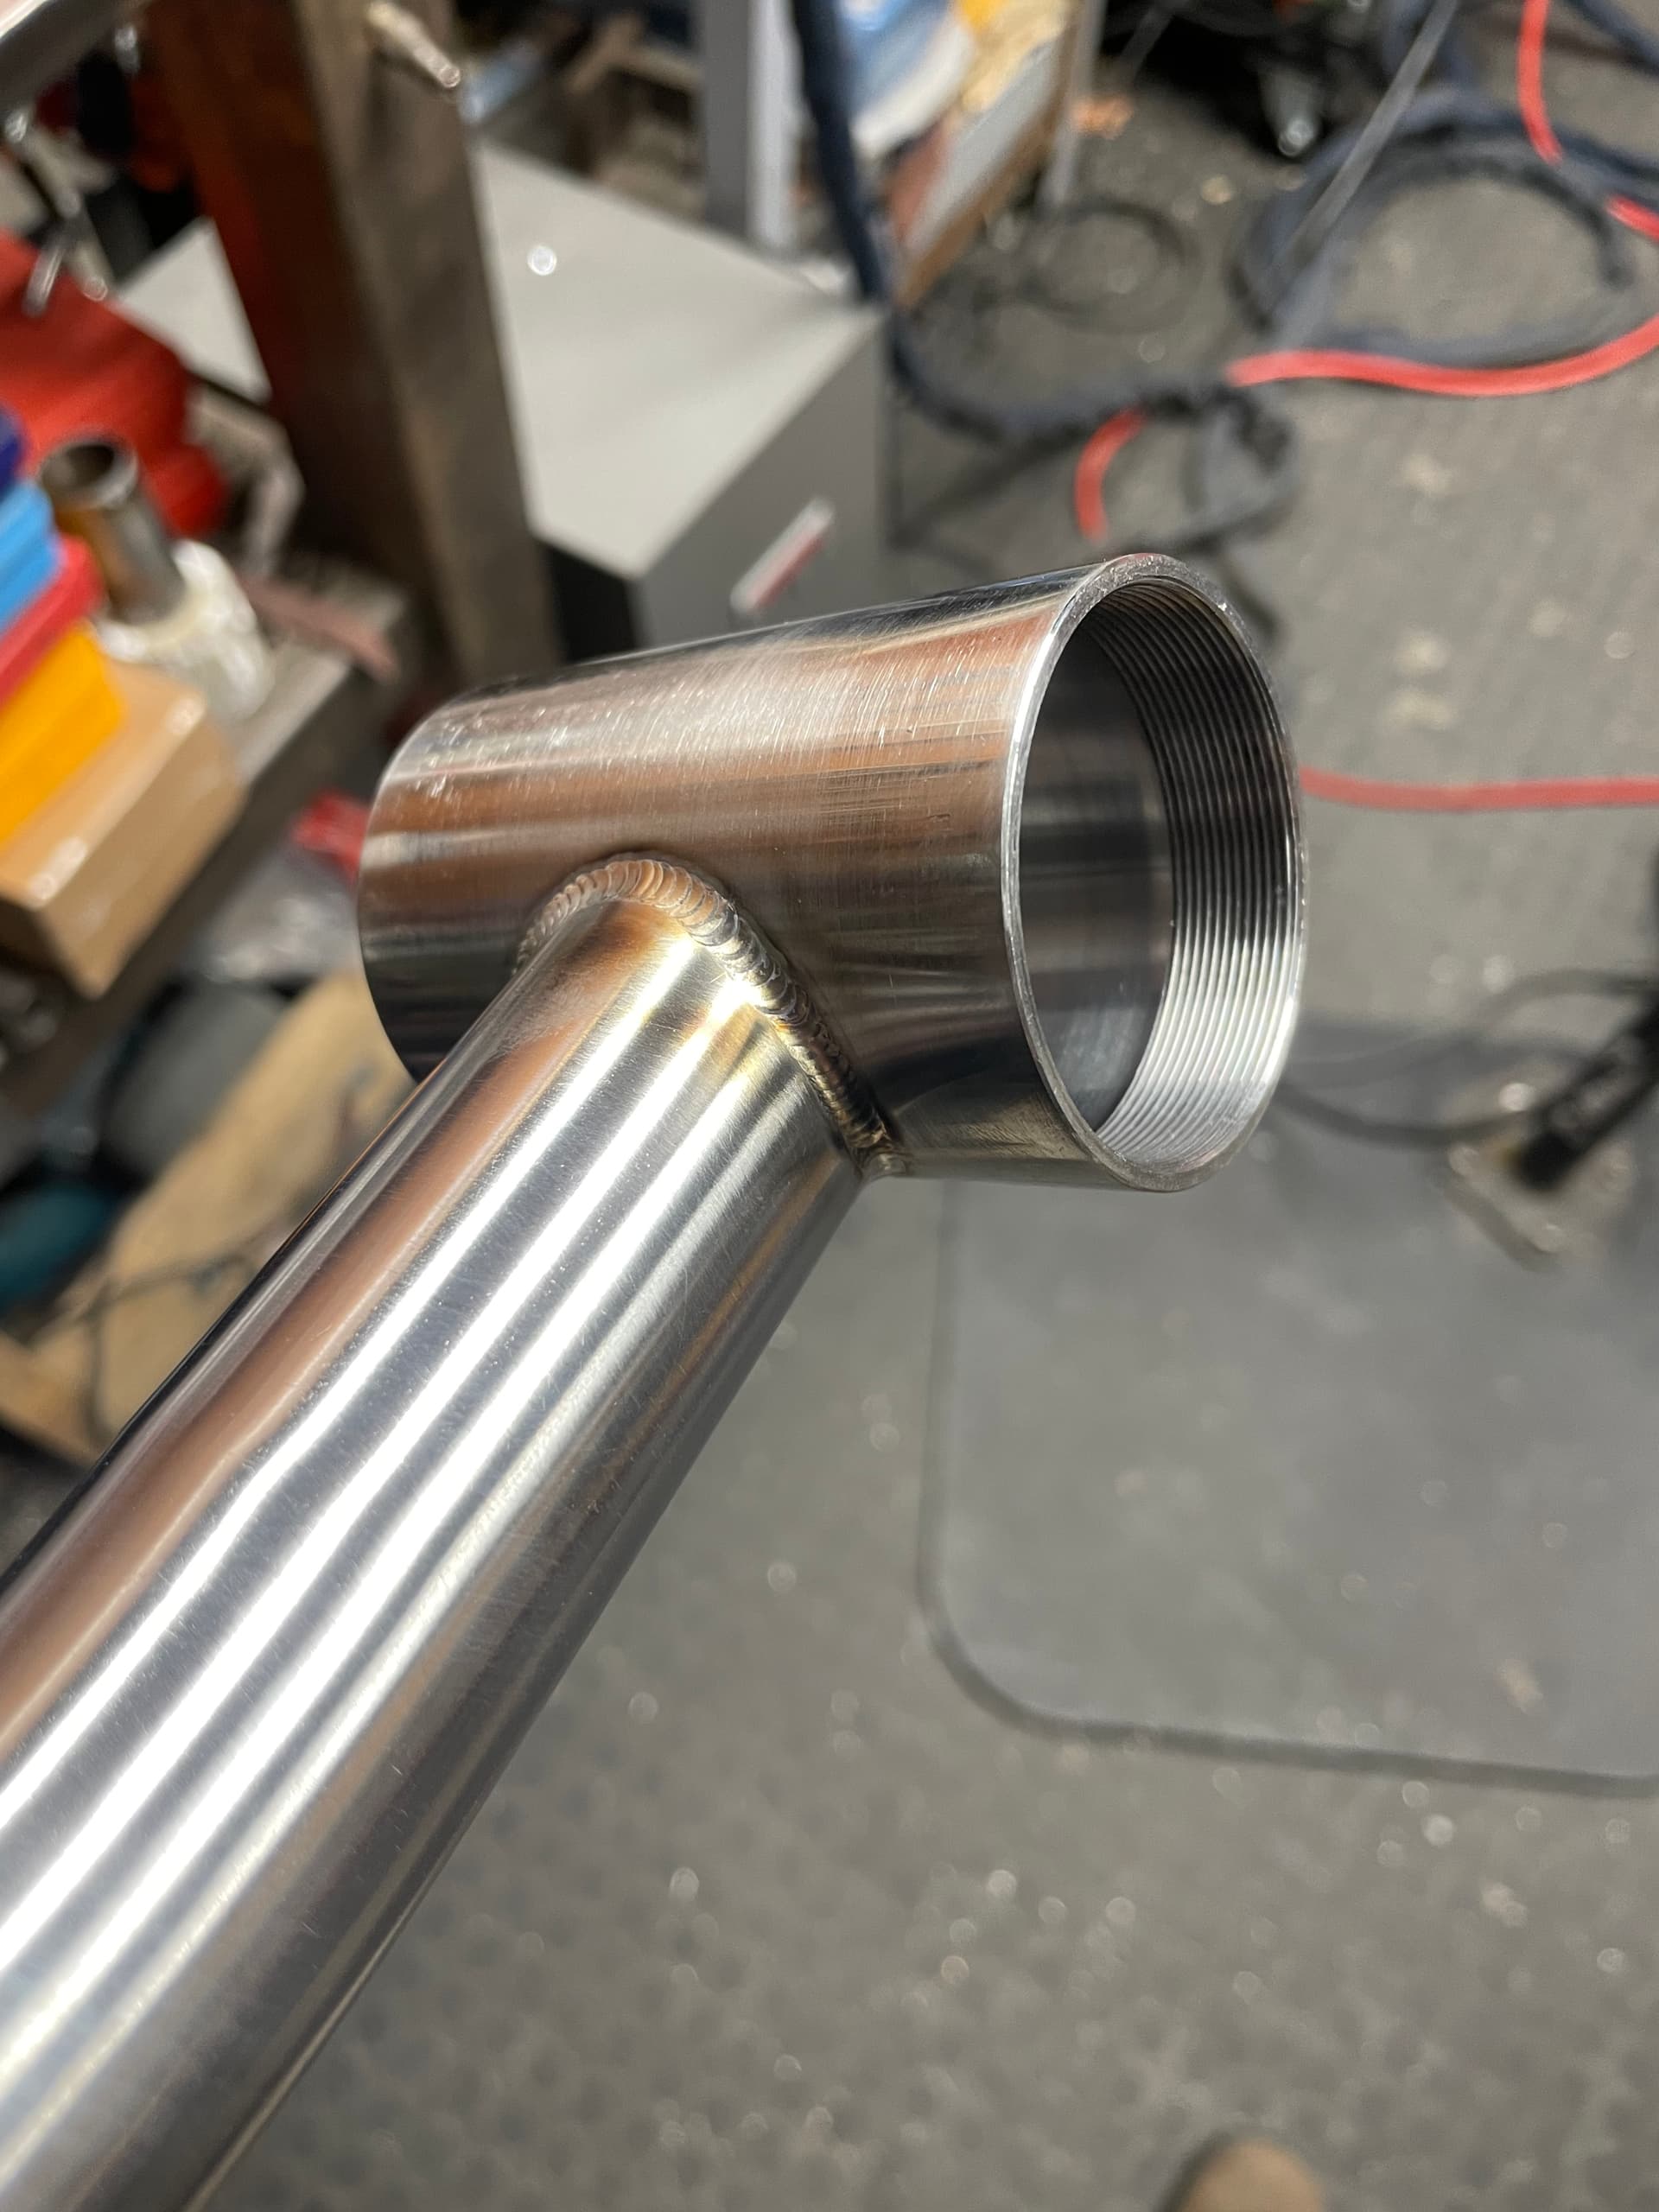
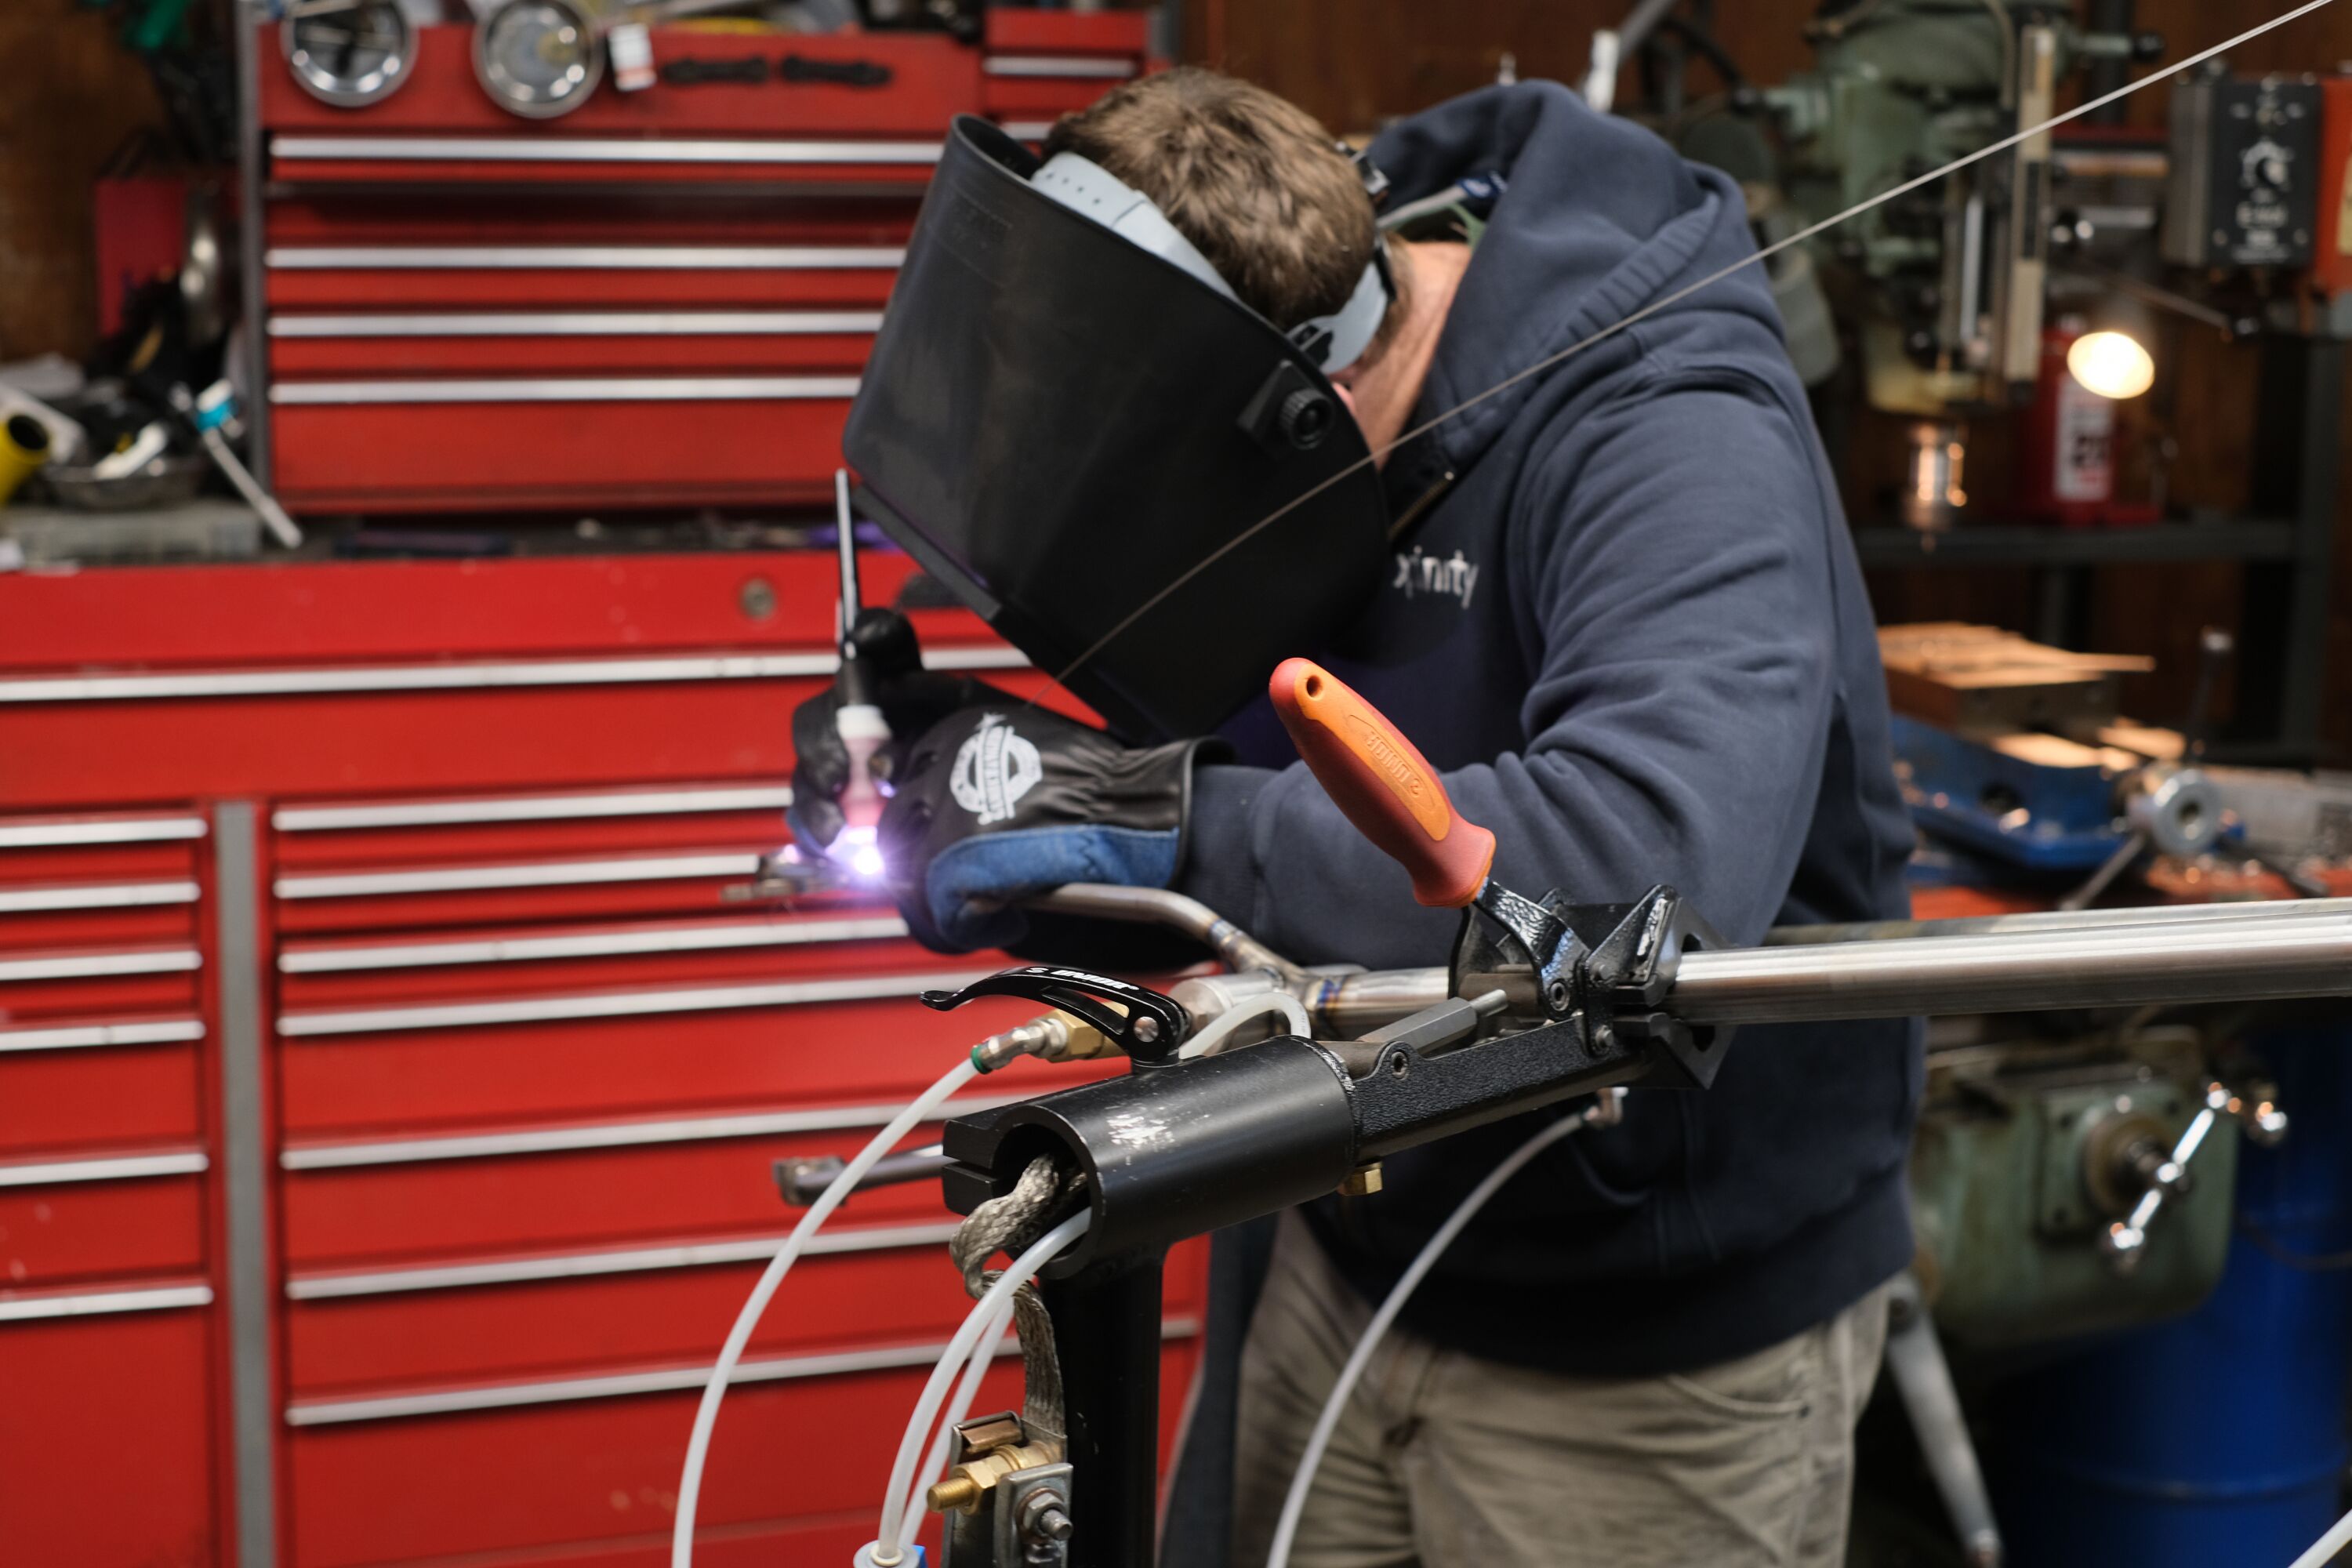
The day started with some brazing, followed up with some welding. I generally have my frames done for the week by Wednesday which leaves Thursday and Friday to prep and ship frames and bikes.
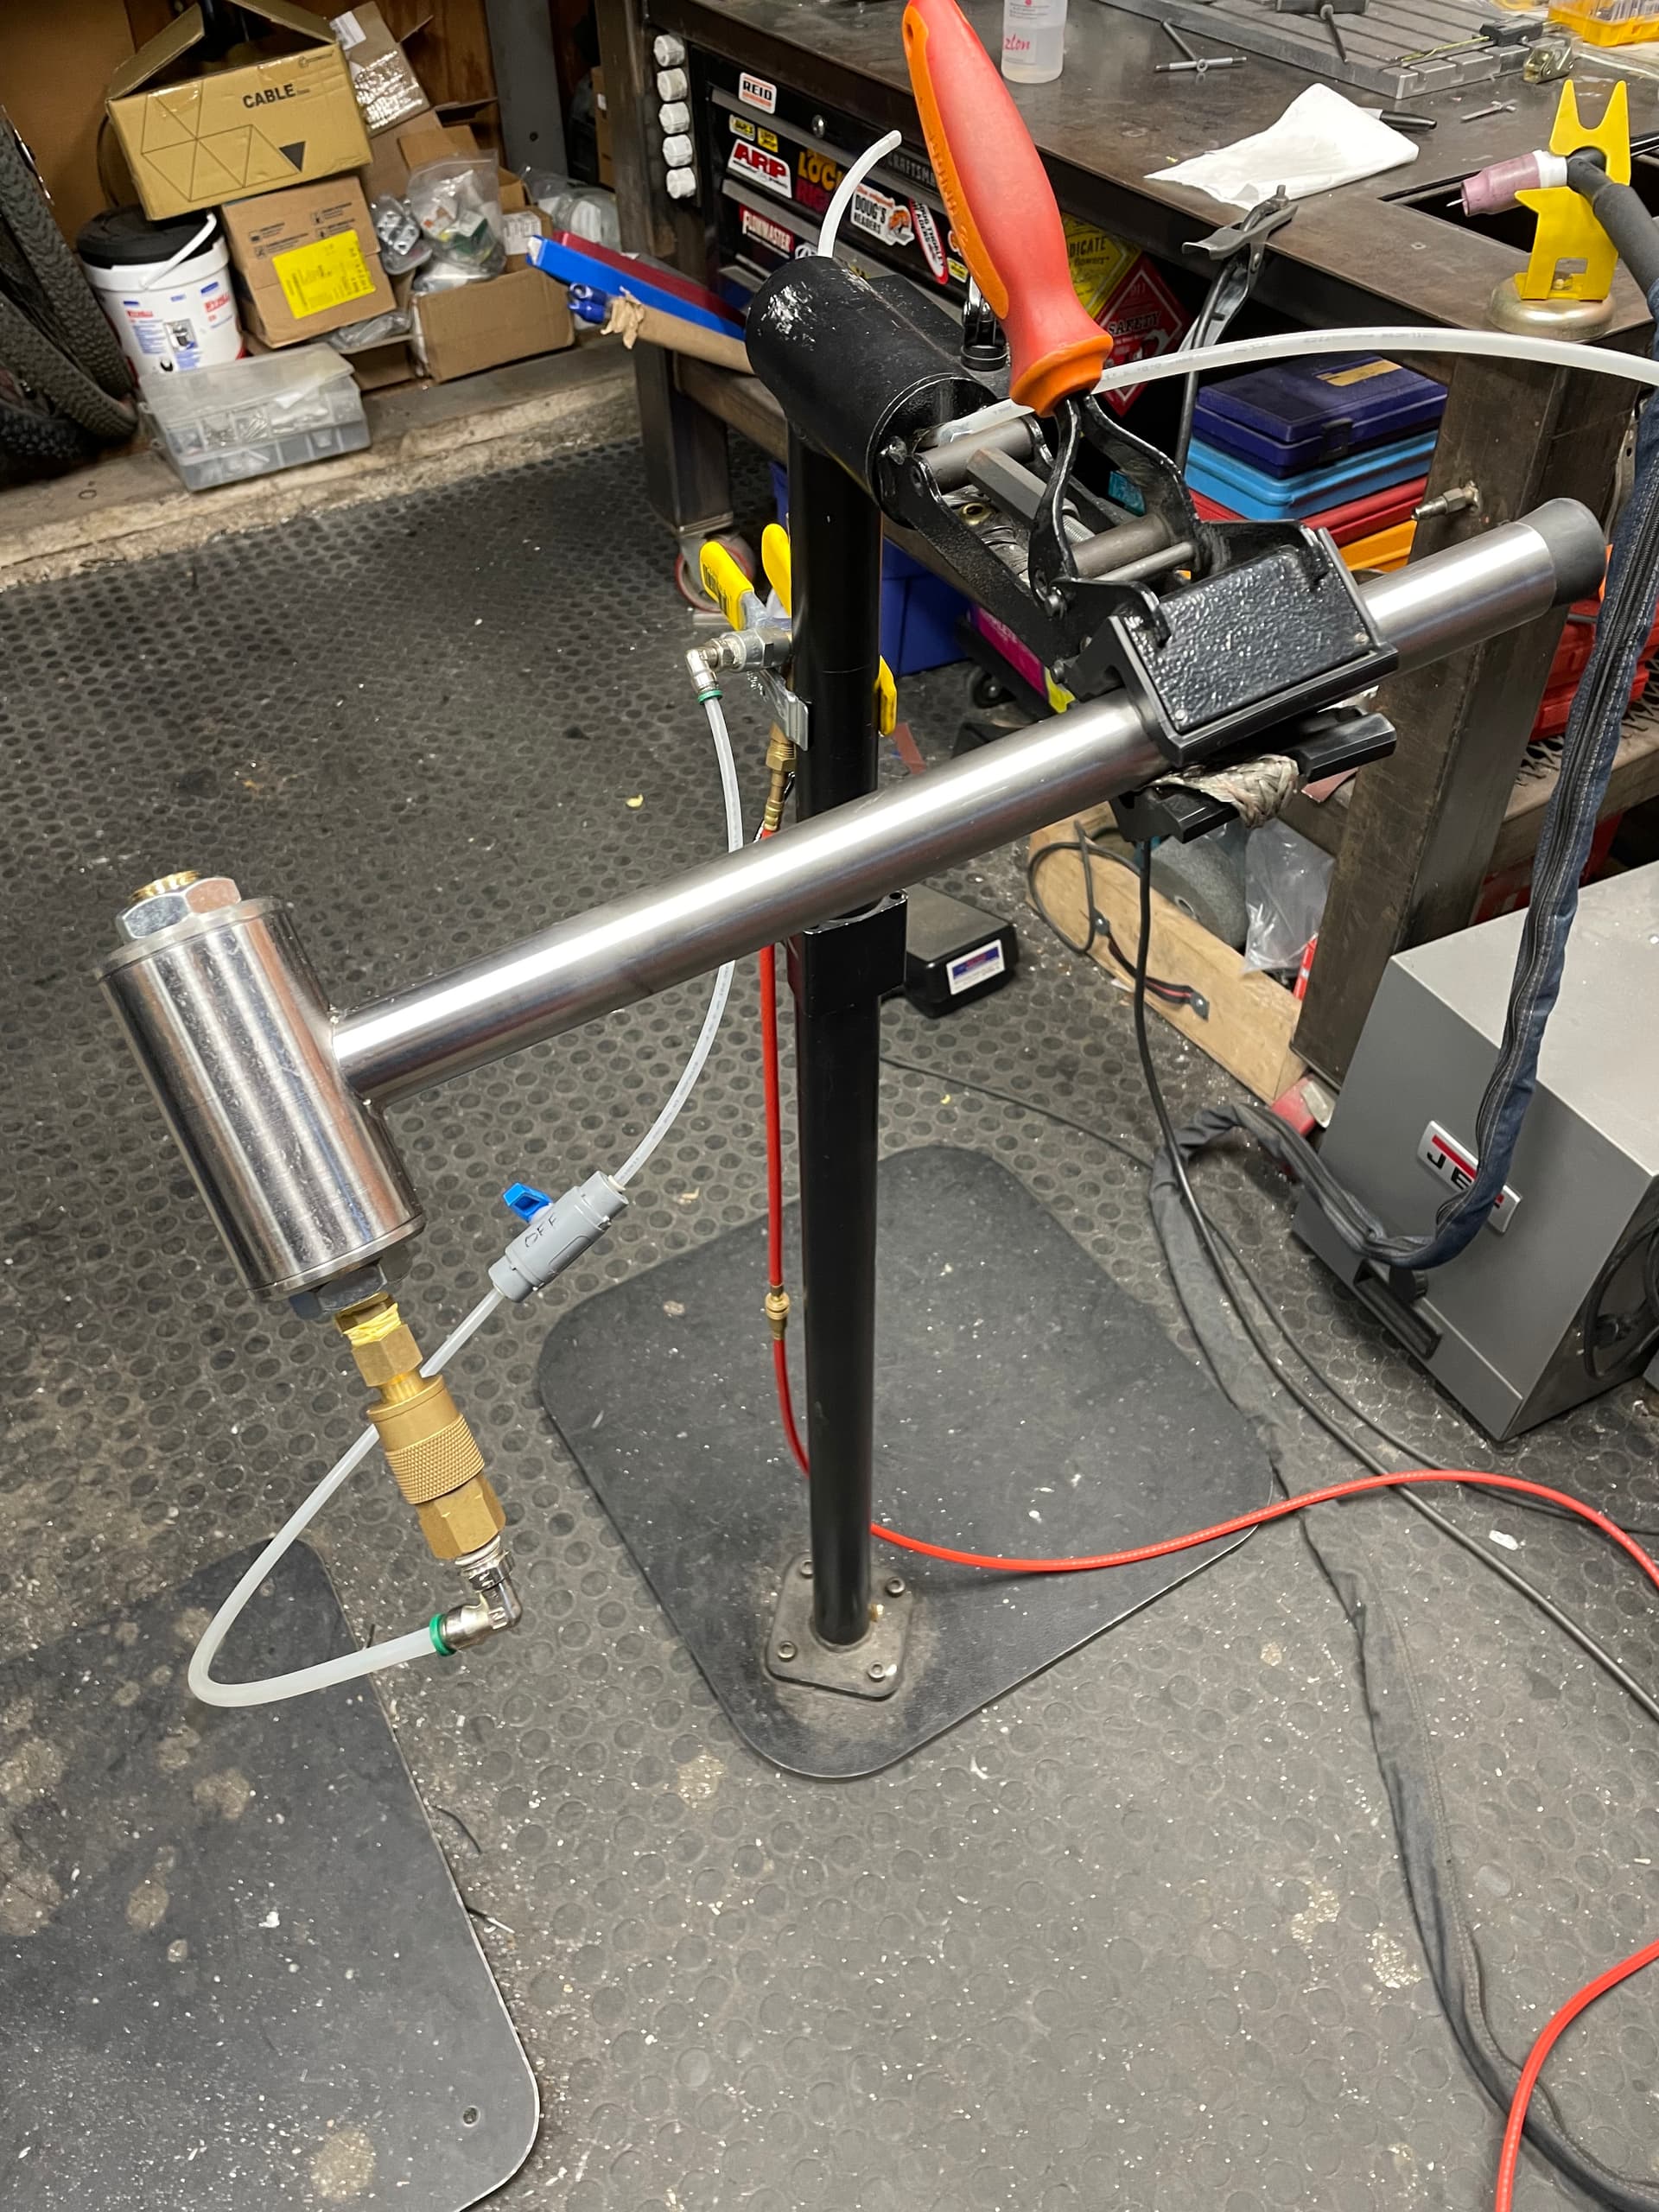
It does have some water in it but that’s just because it isn’t level and I plug the holes, so I don’t get water all over floor while spraying the tubes off. The rust stains are also deceiving.
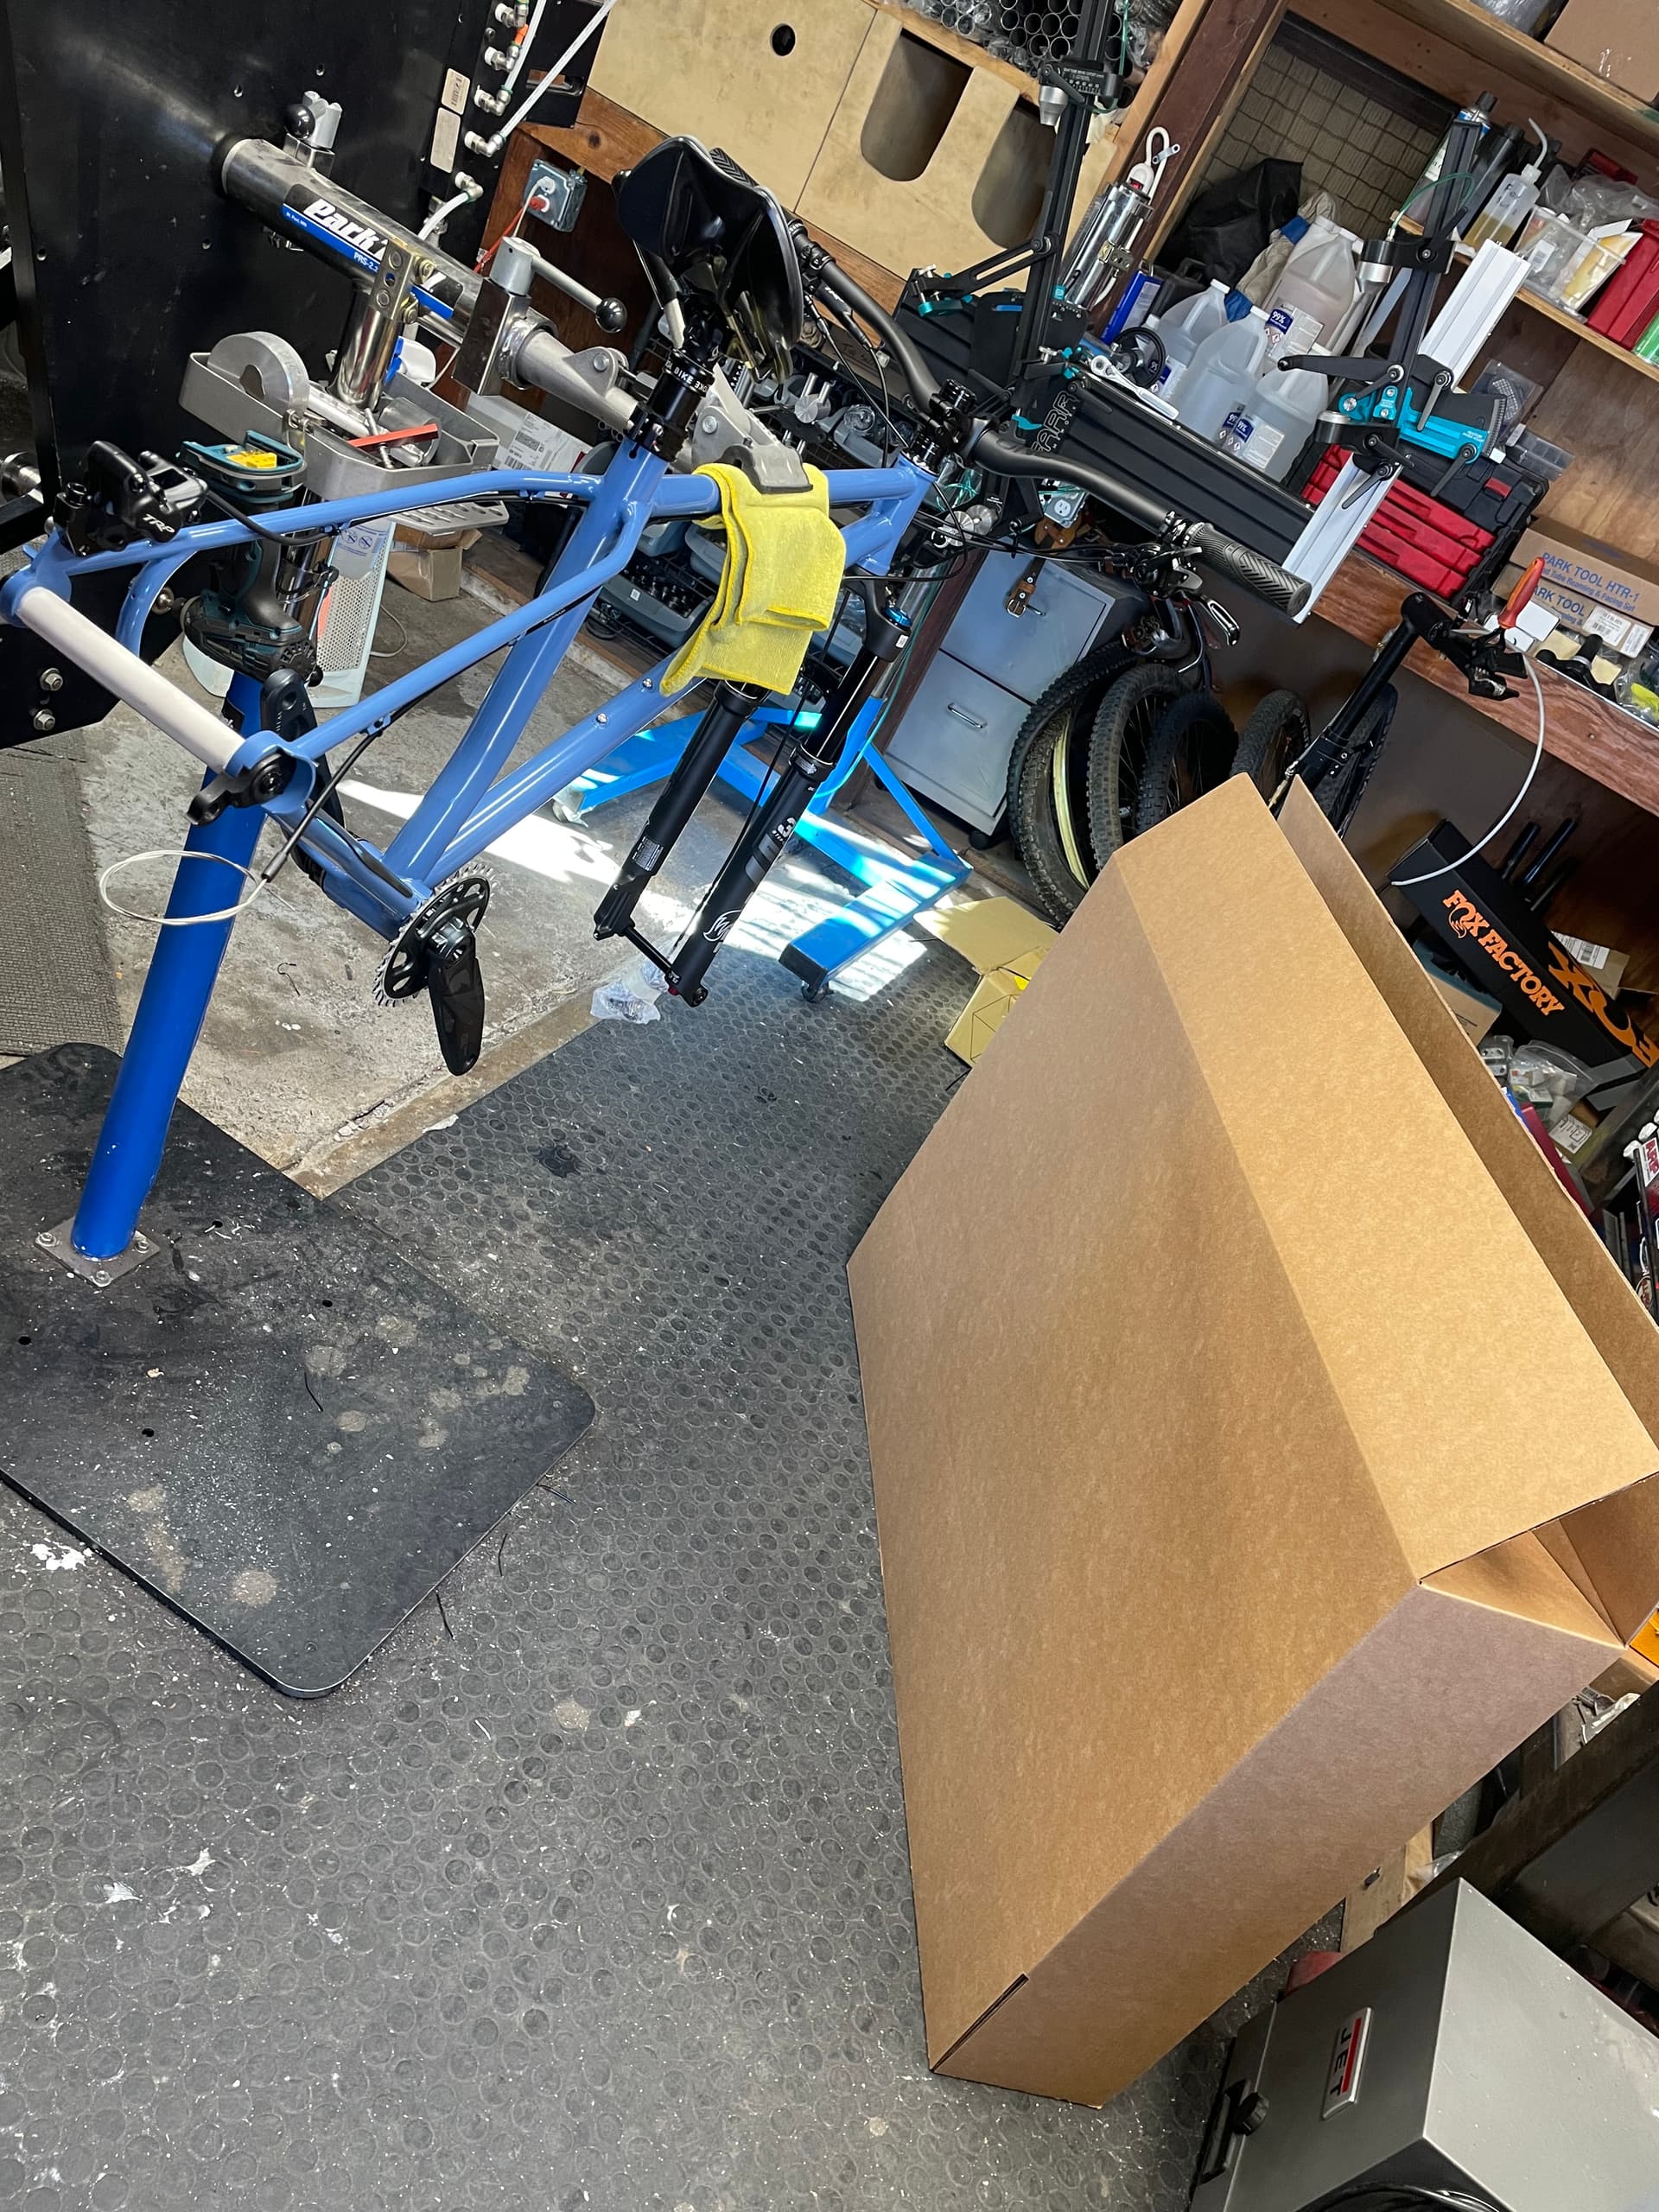
It’s not all cutting tubes and welding in the shop. The reality is that I spend as much time packing bikes to ship, answering emails, following up with vendors and accounts and just general bookkeeping as I do making bikes.
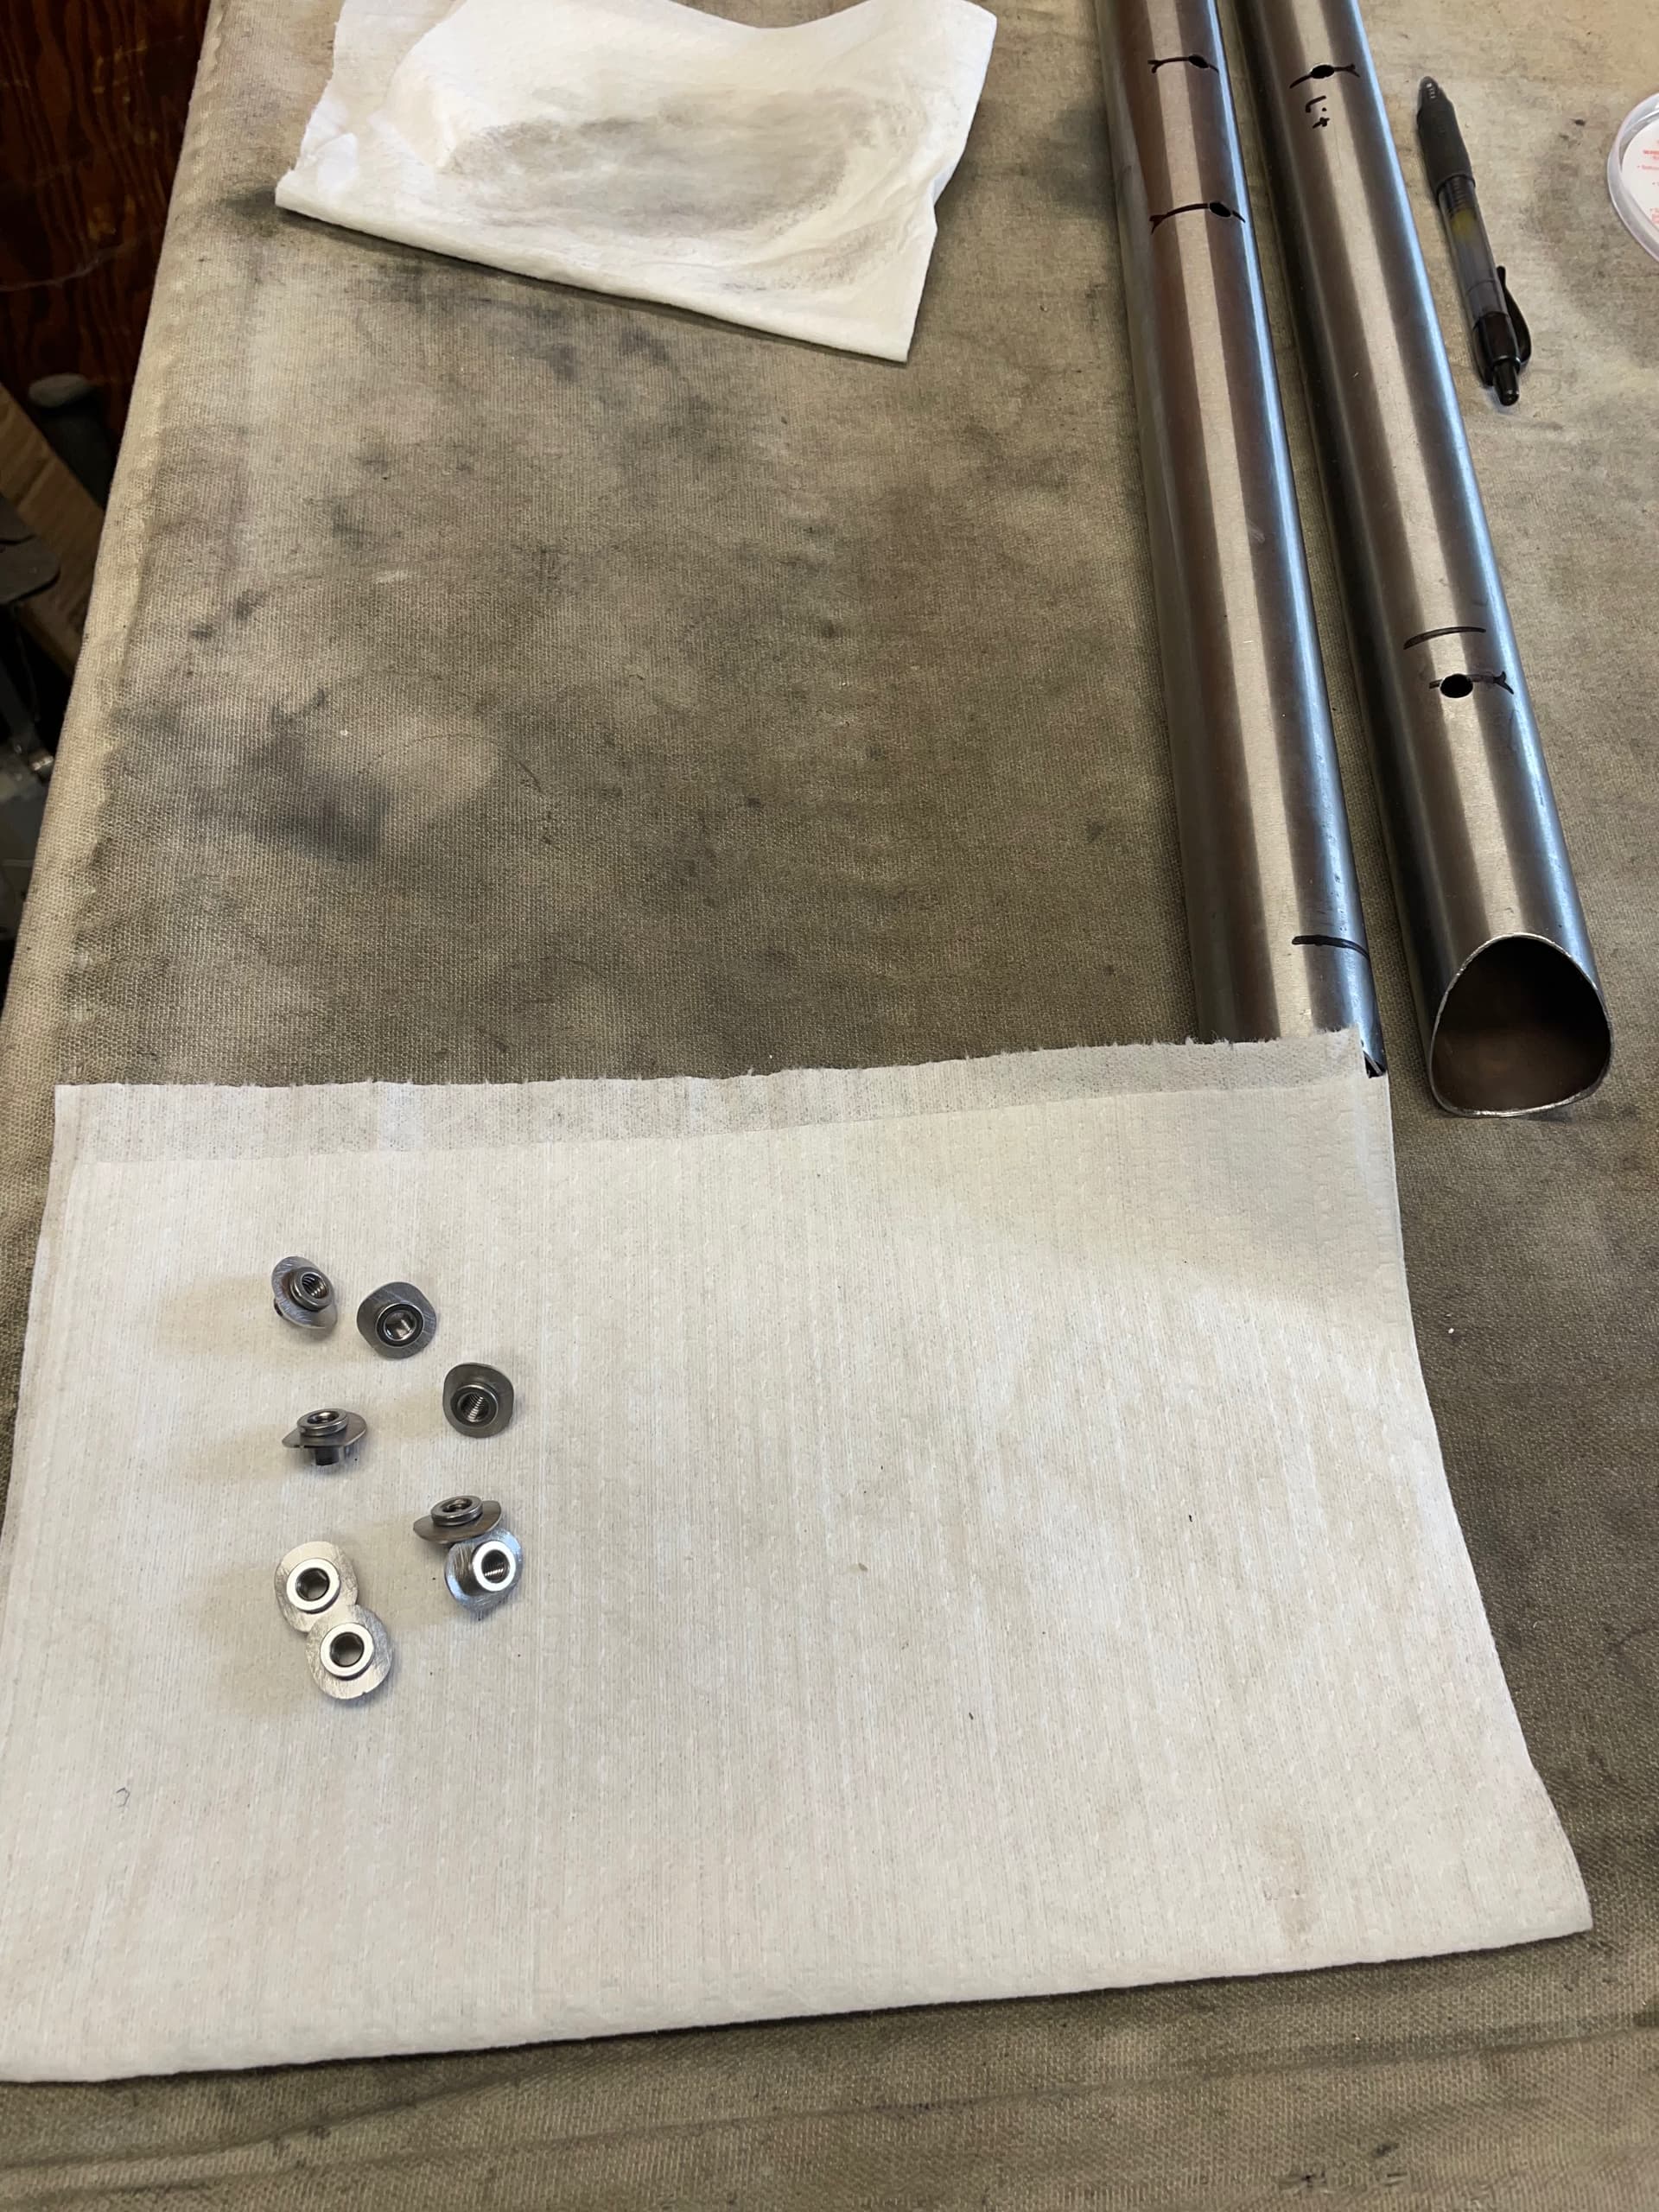
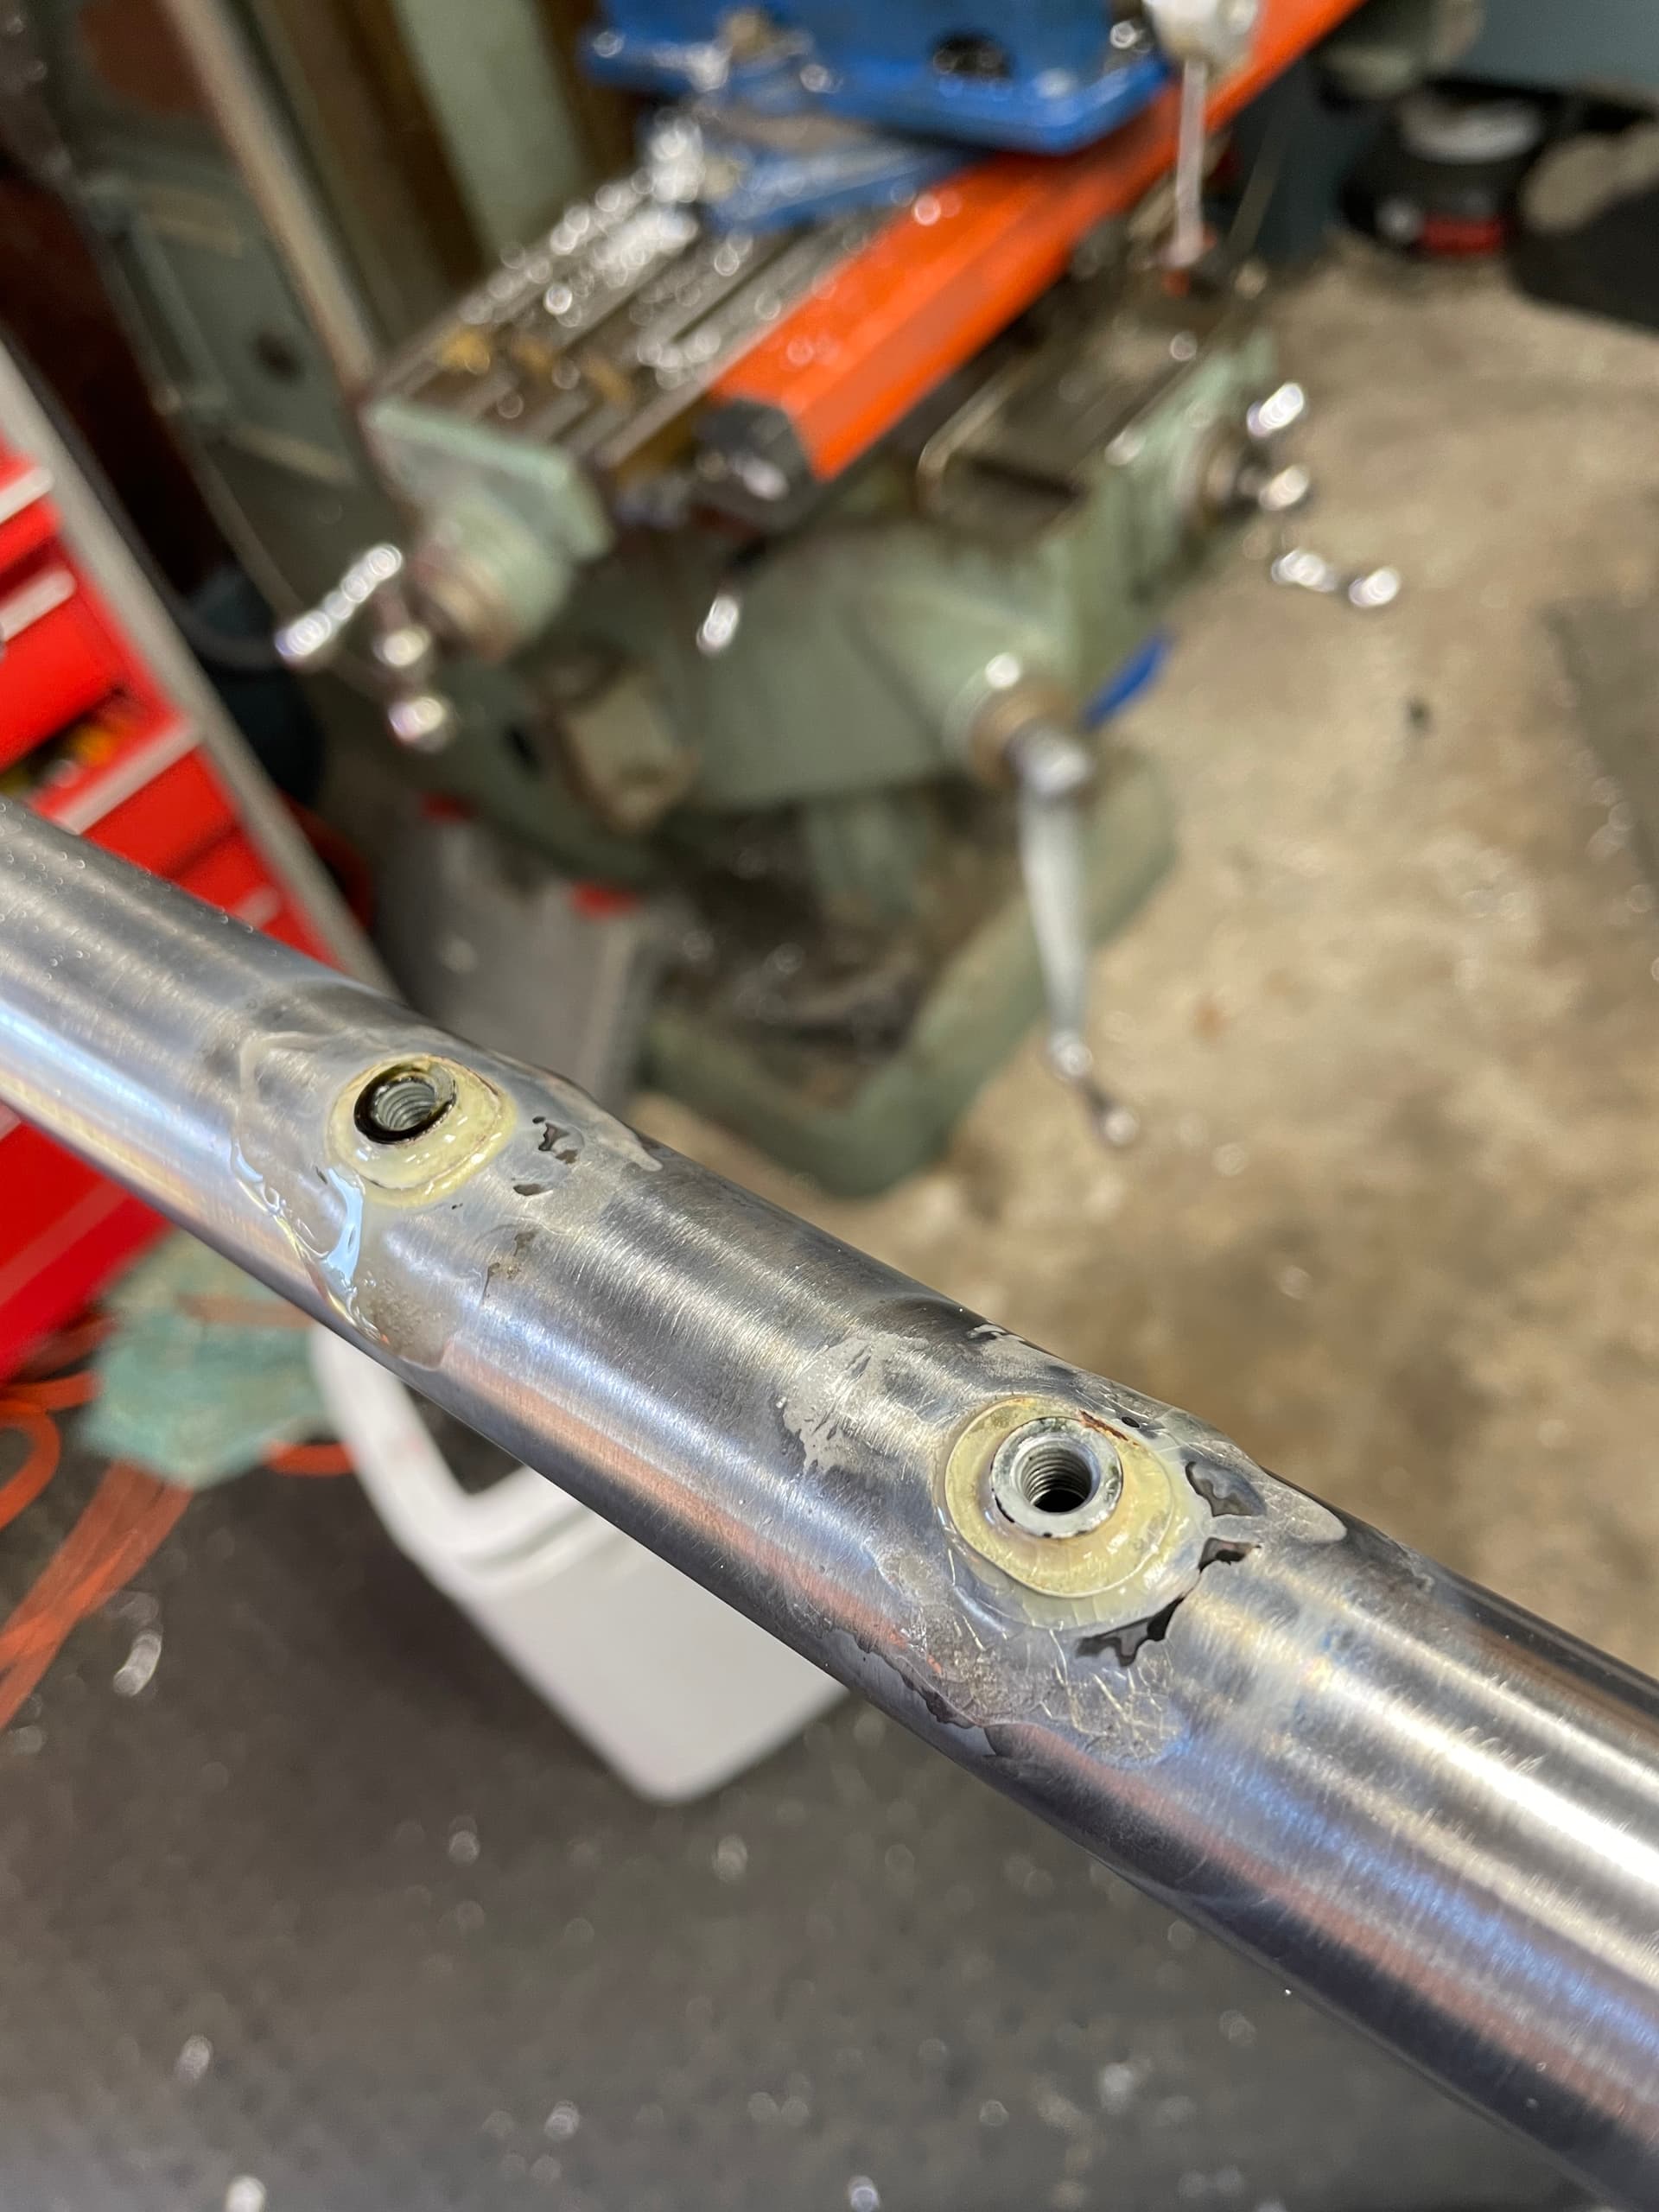
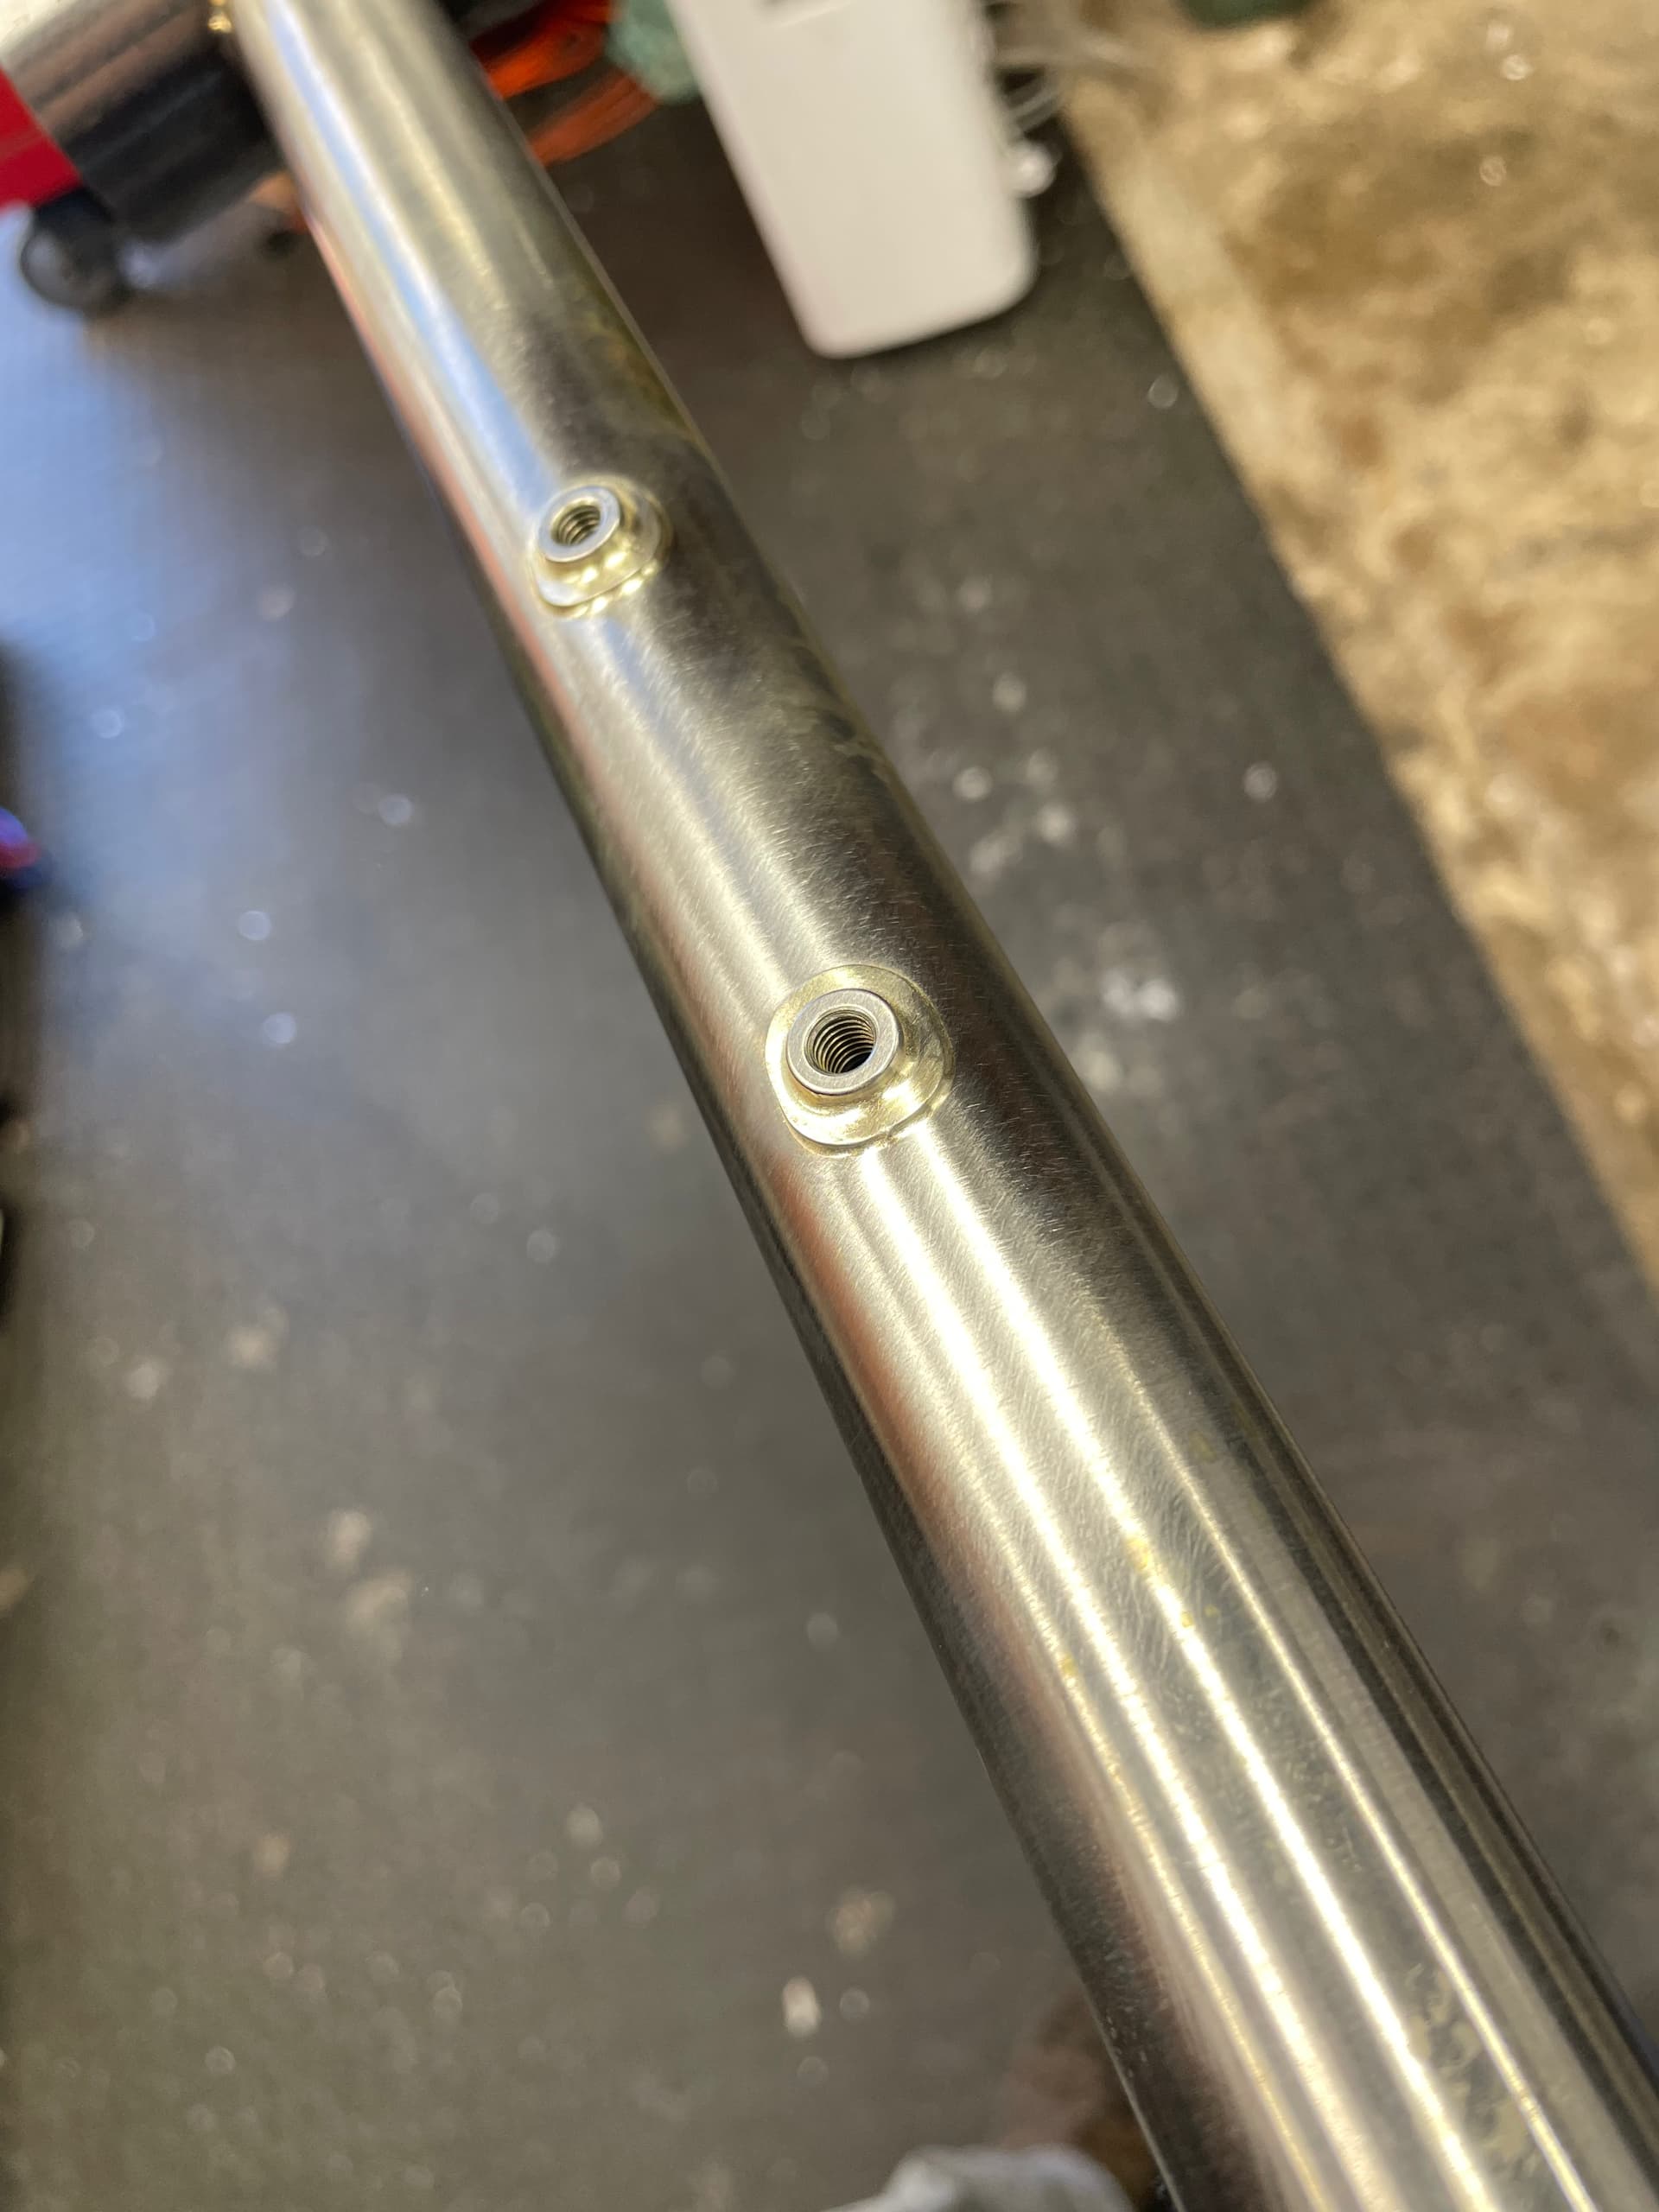
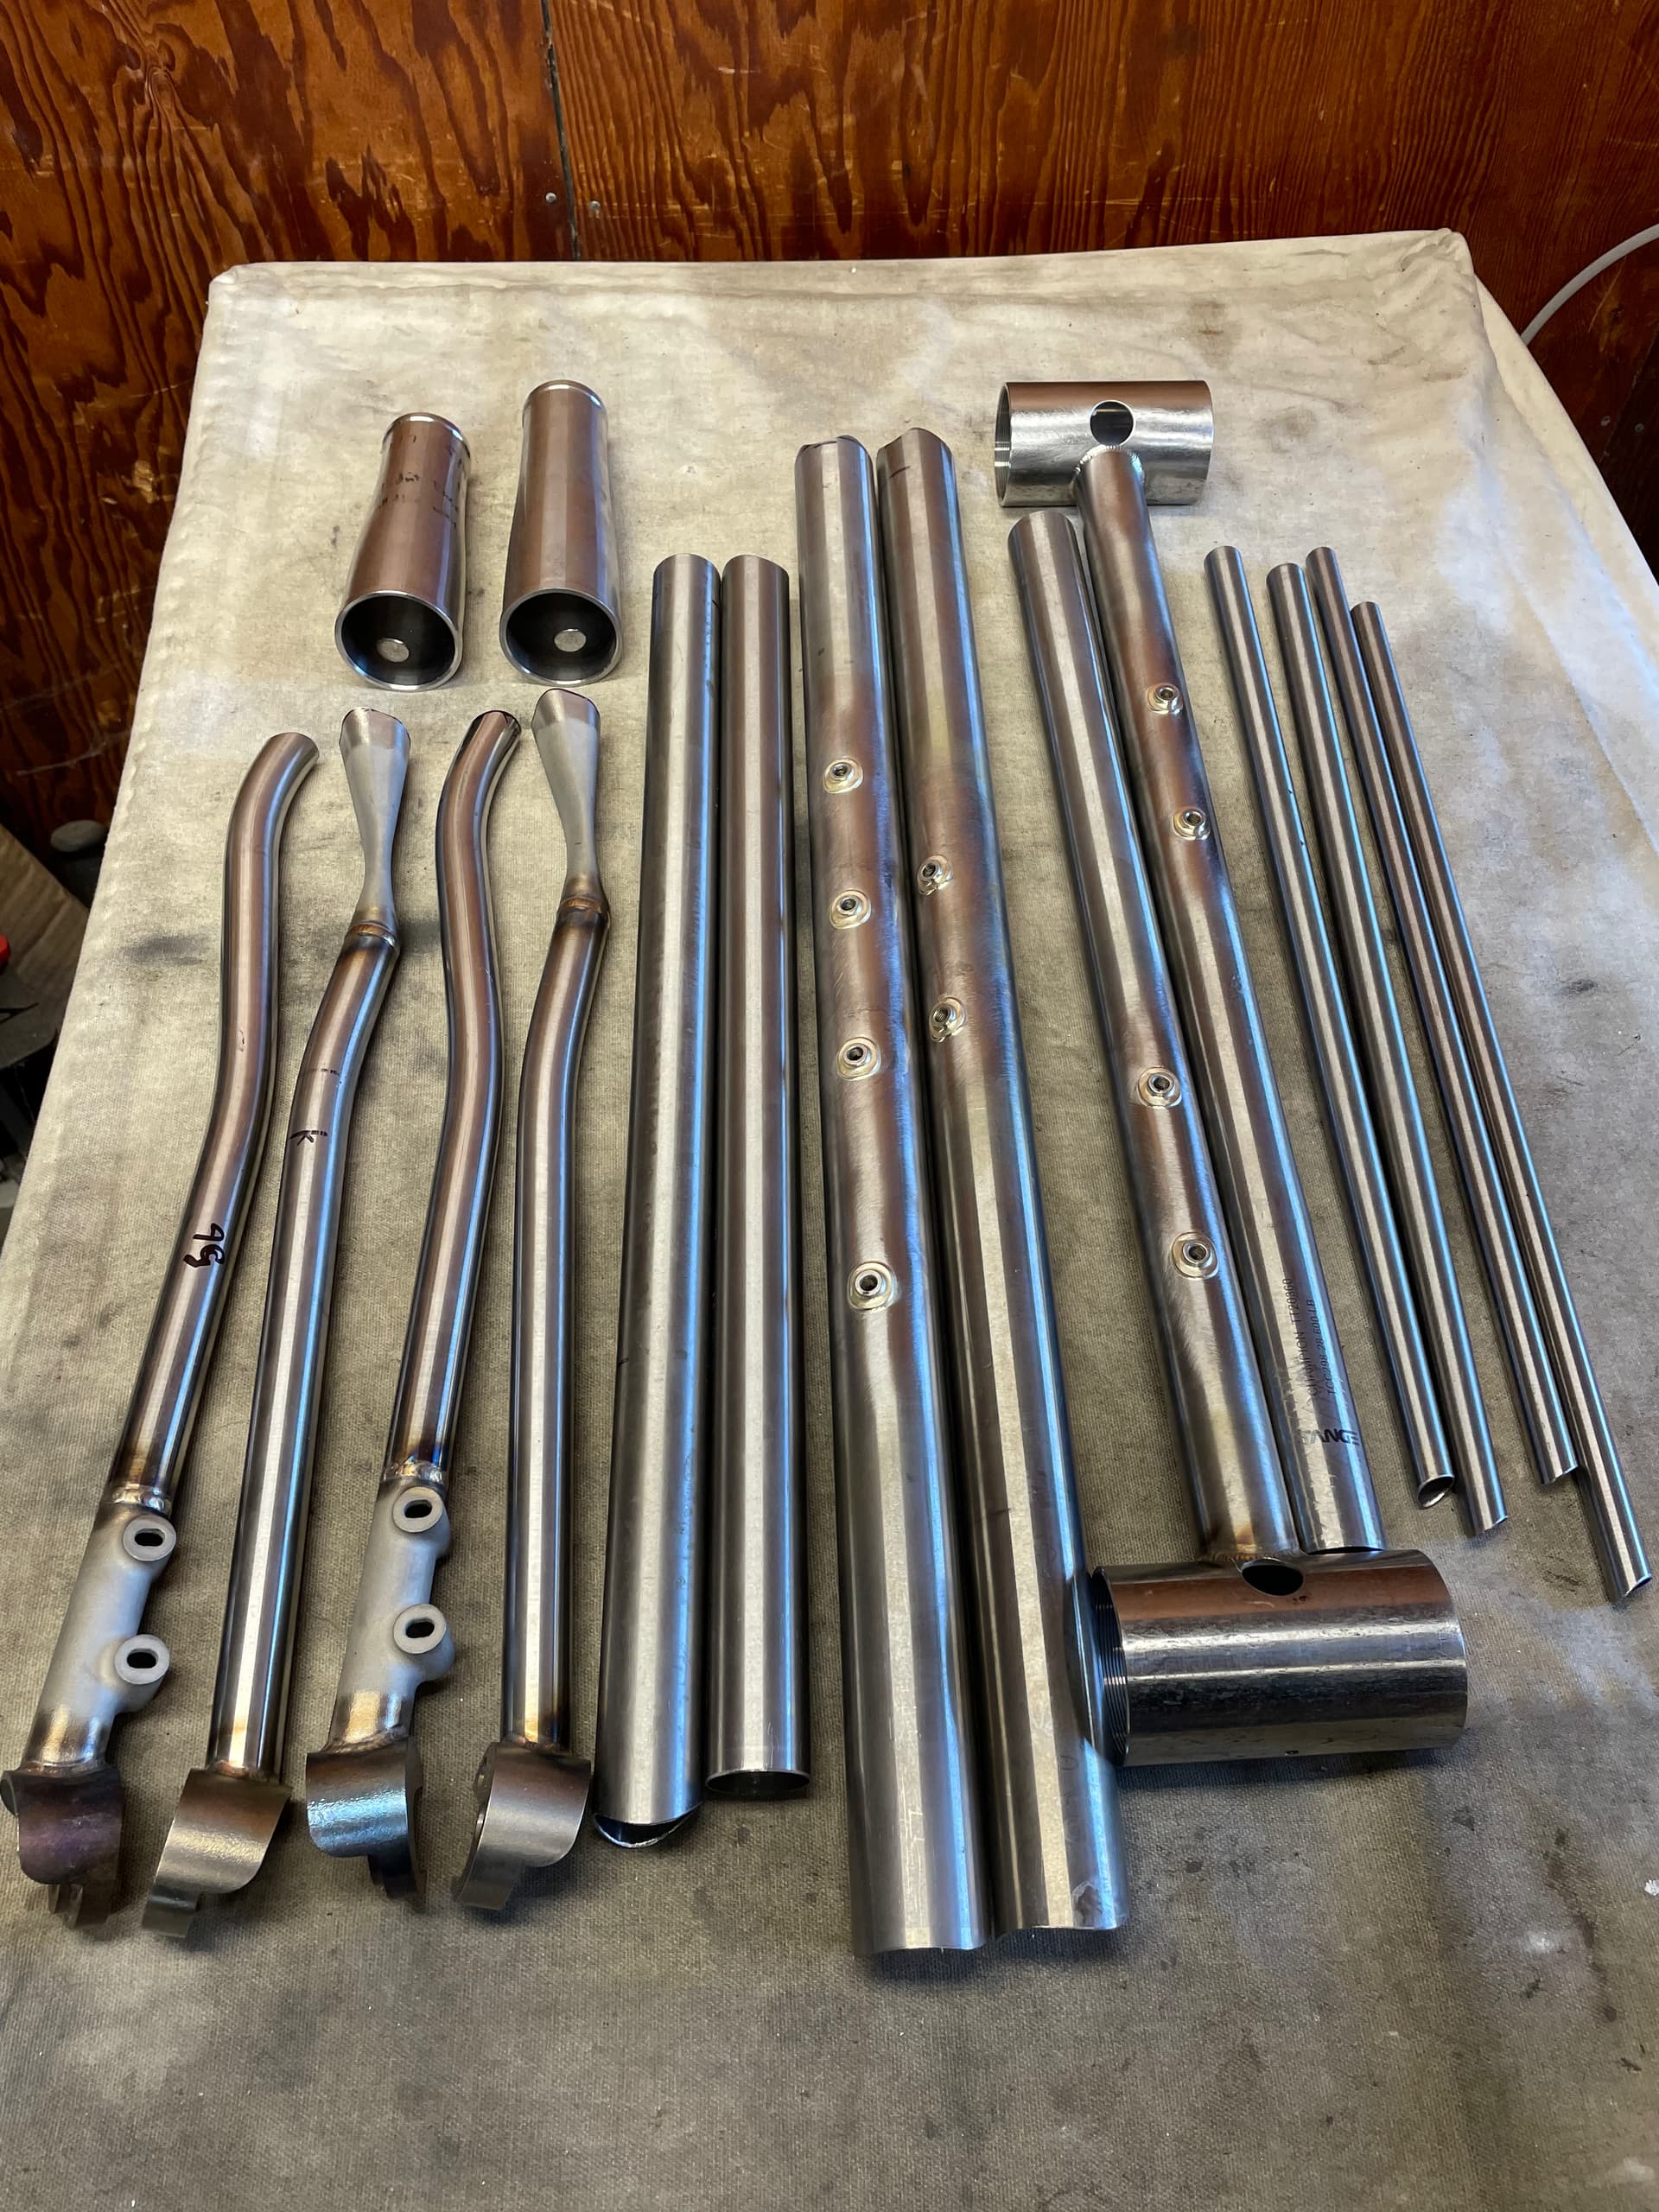
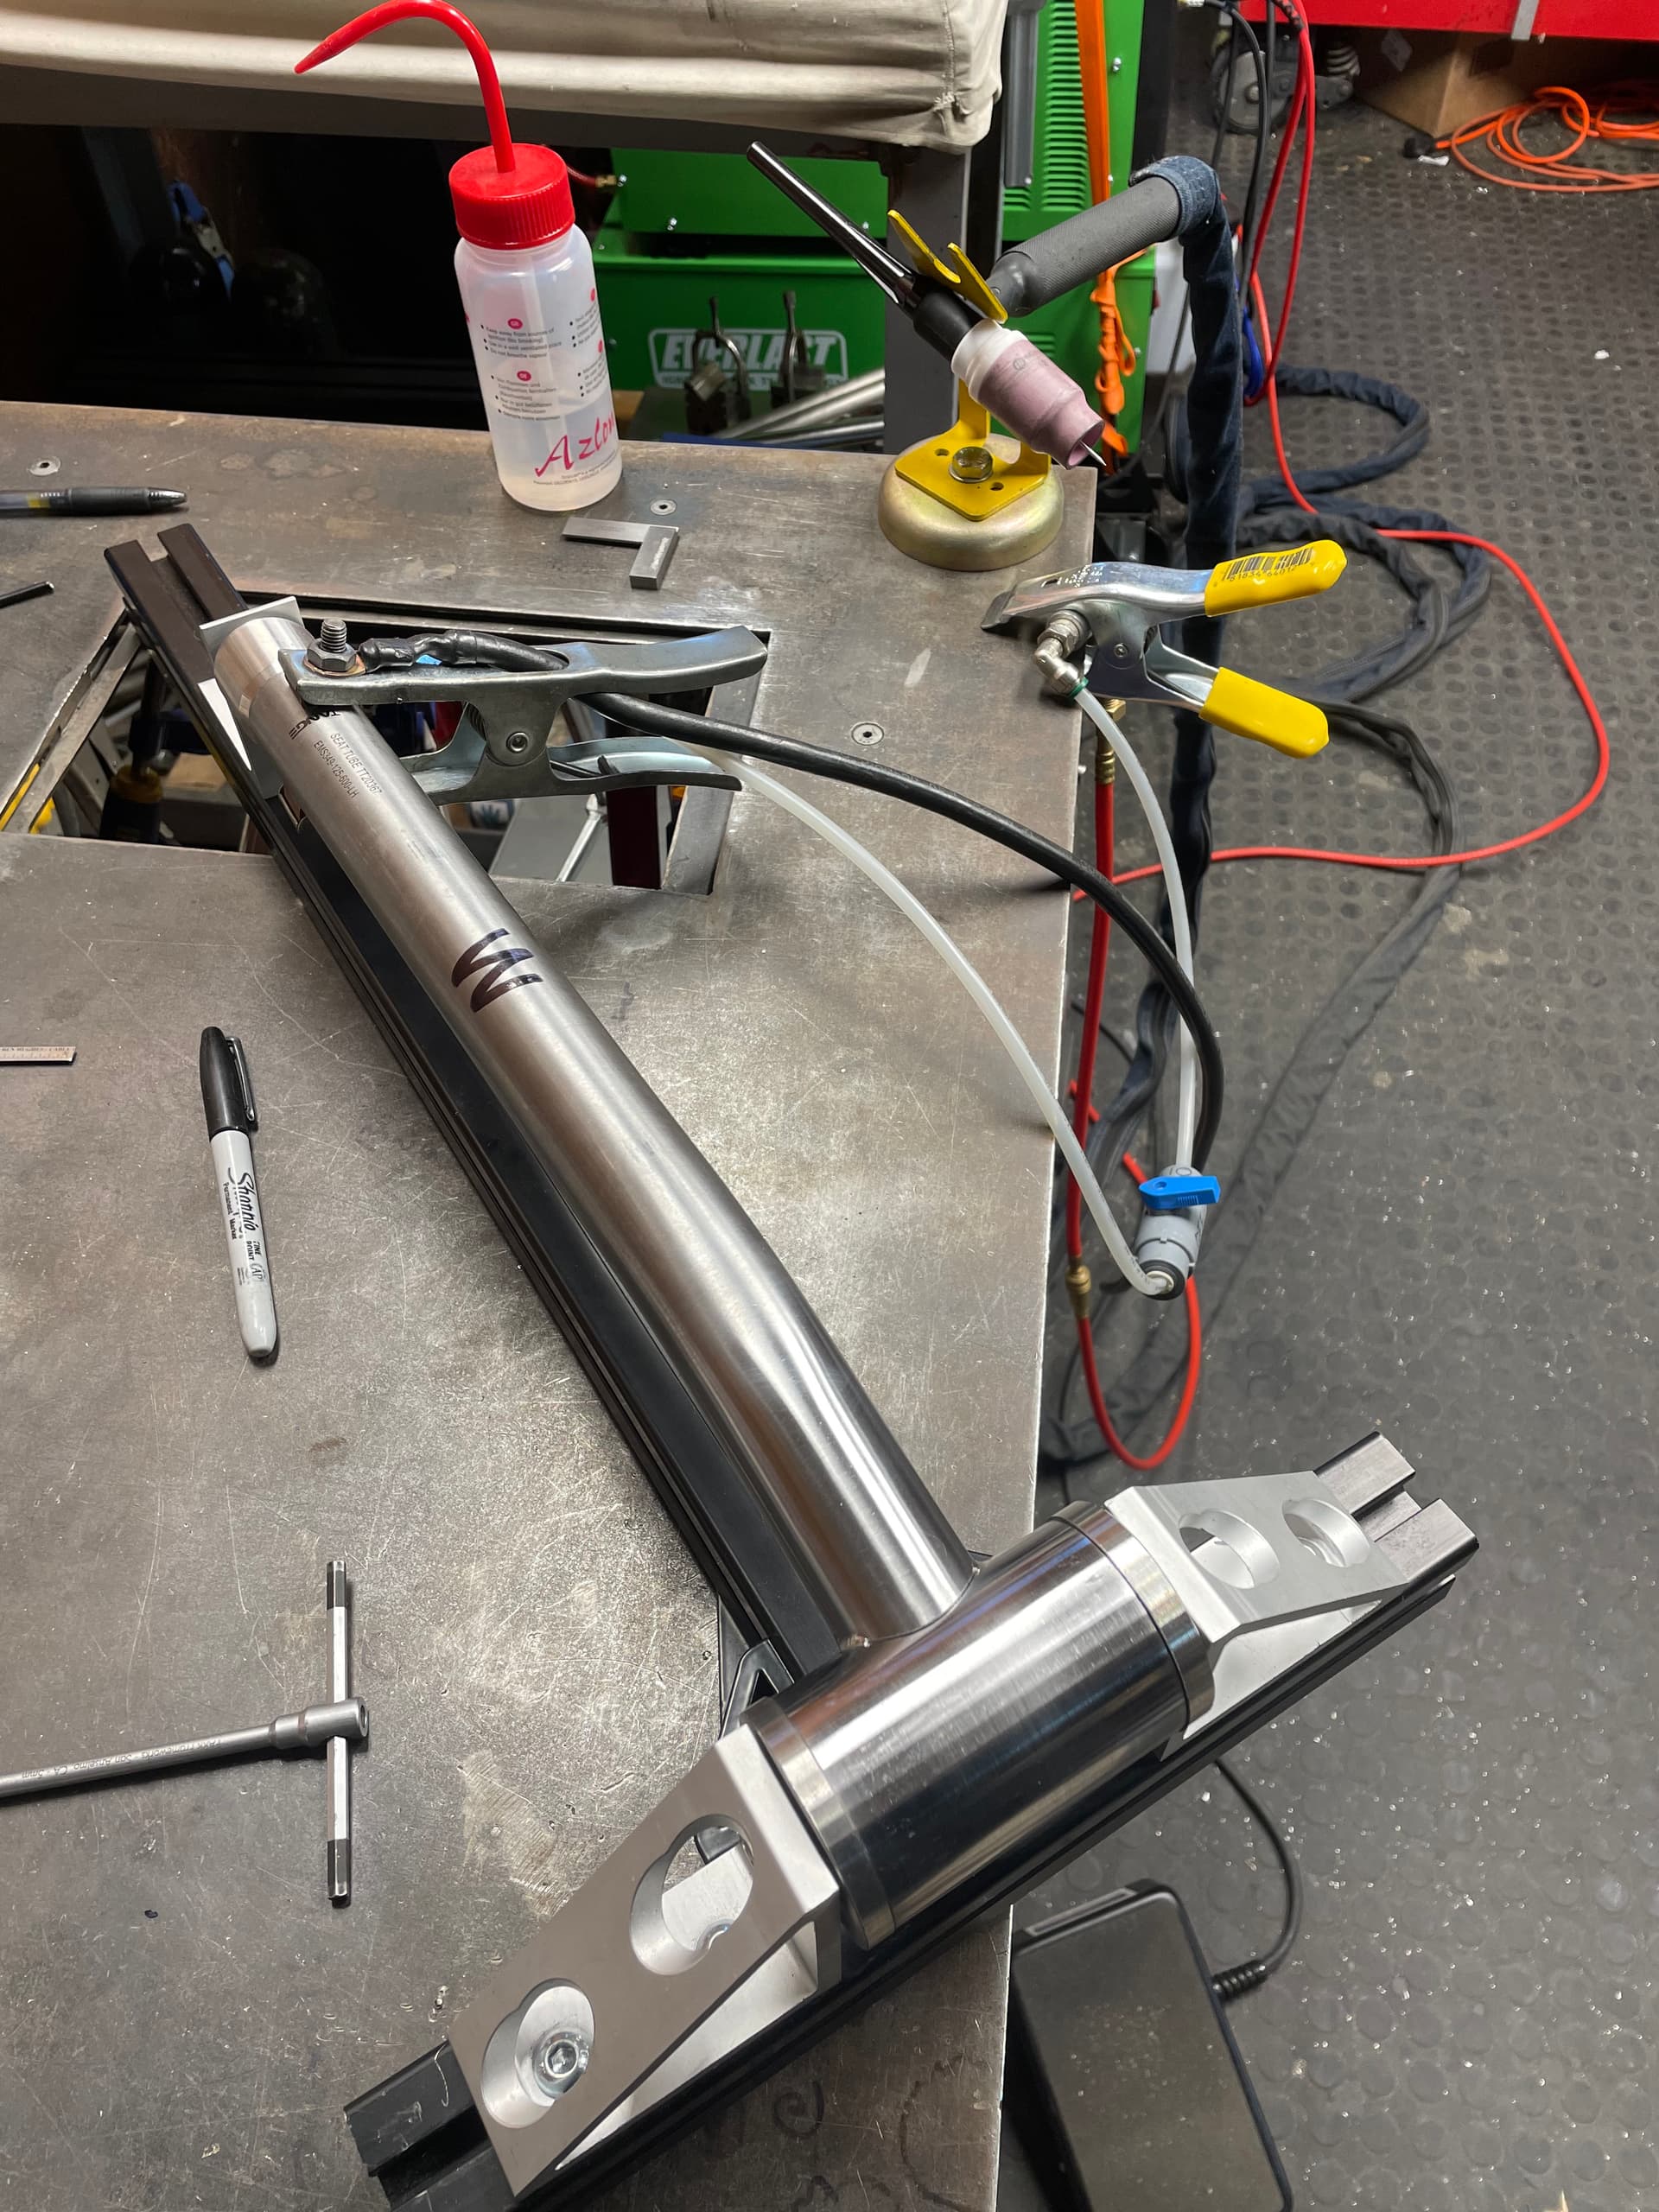
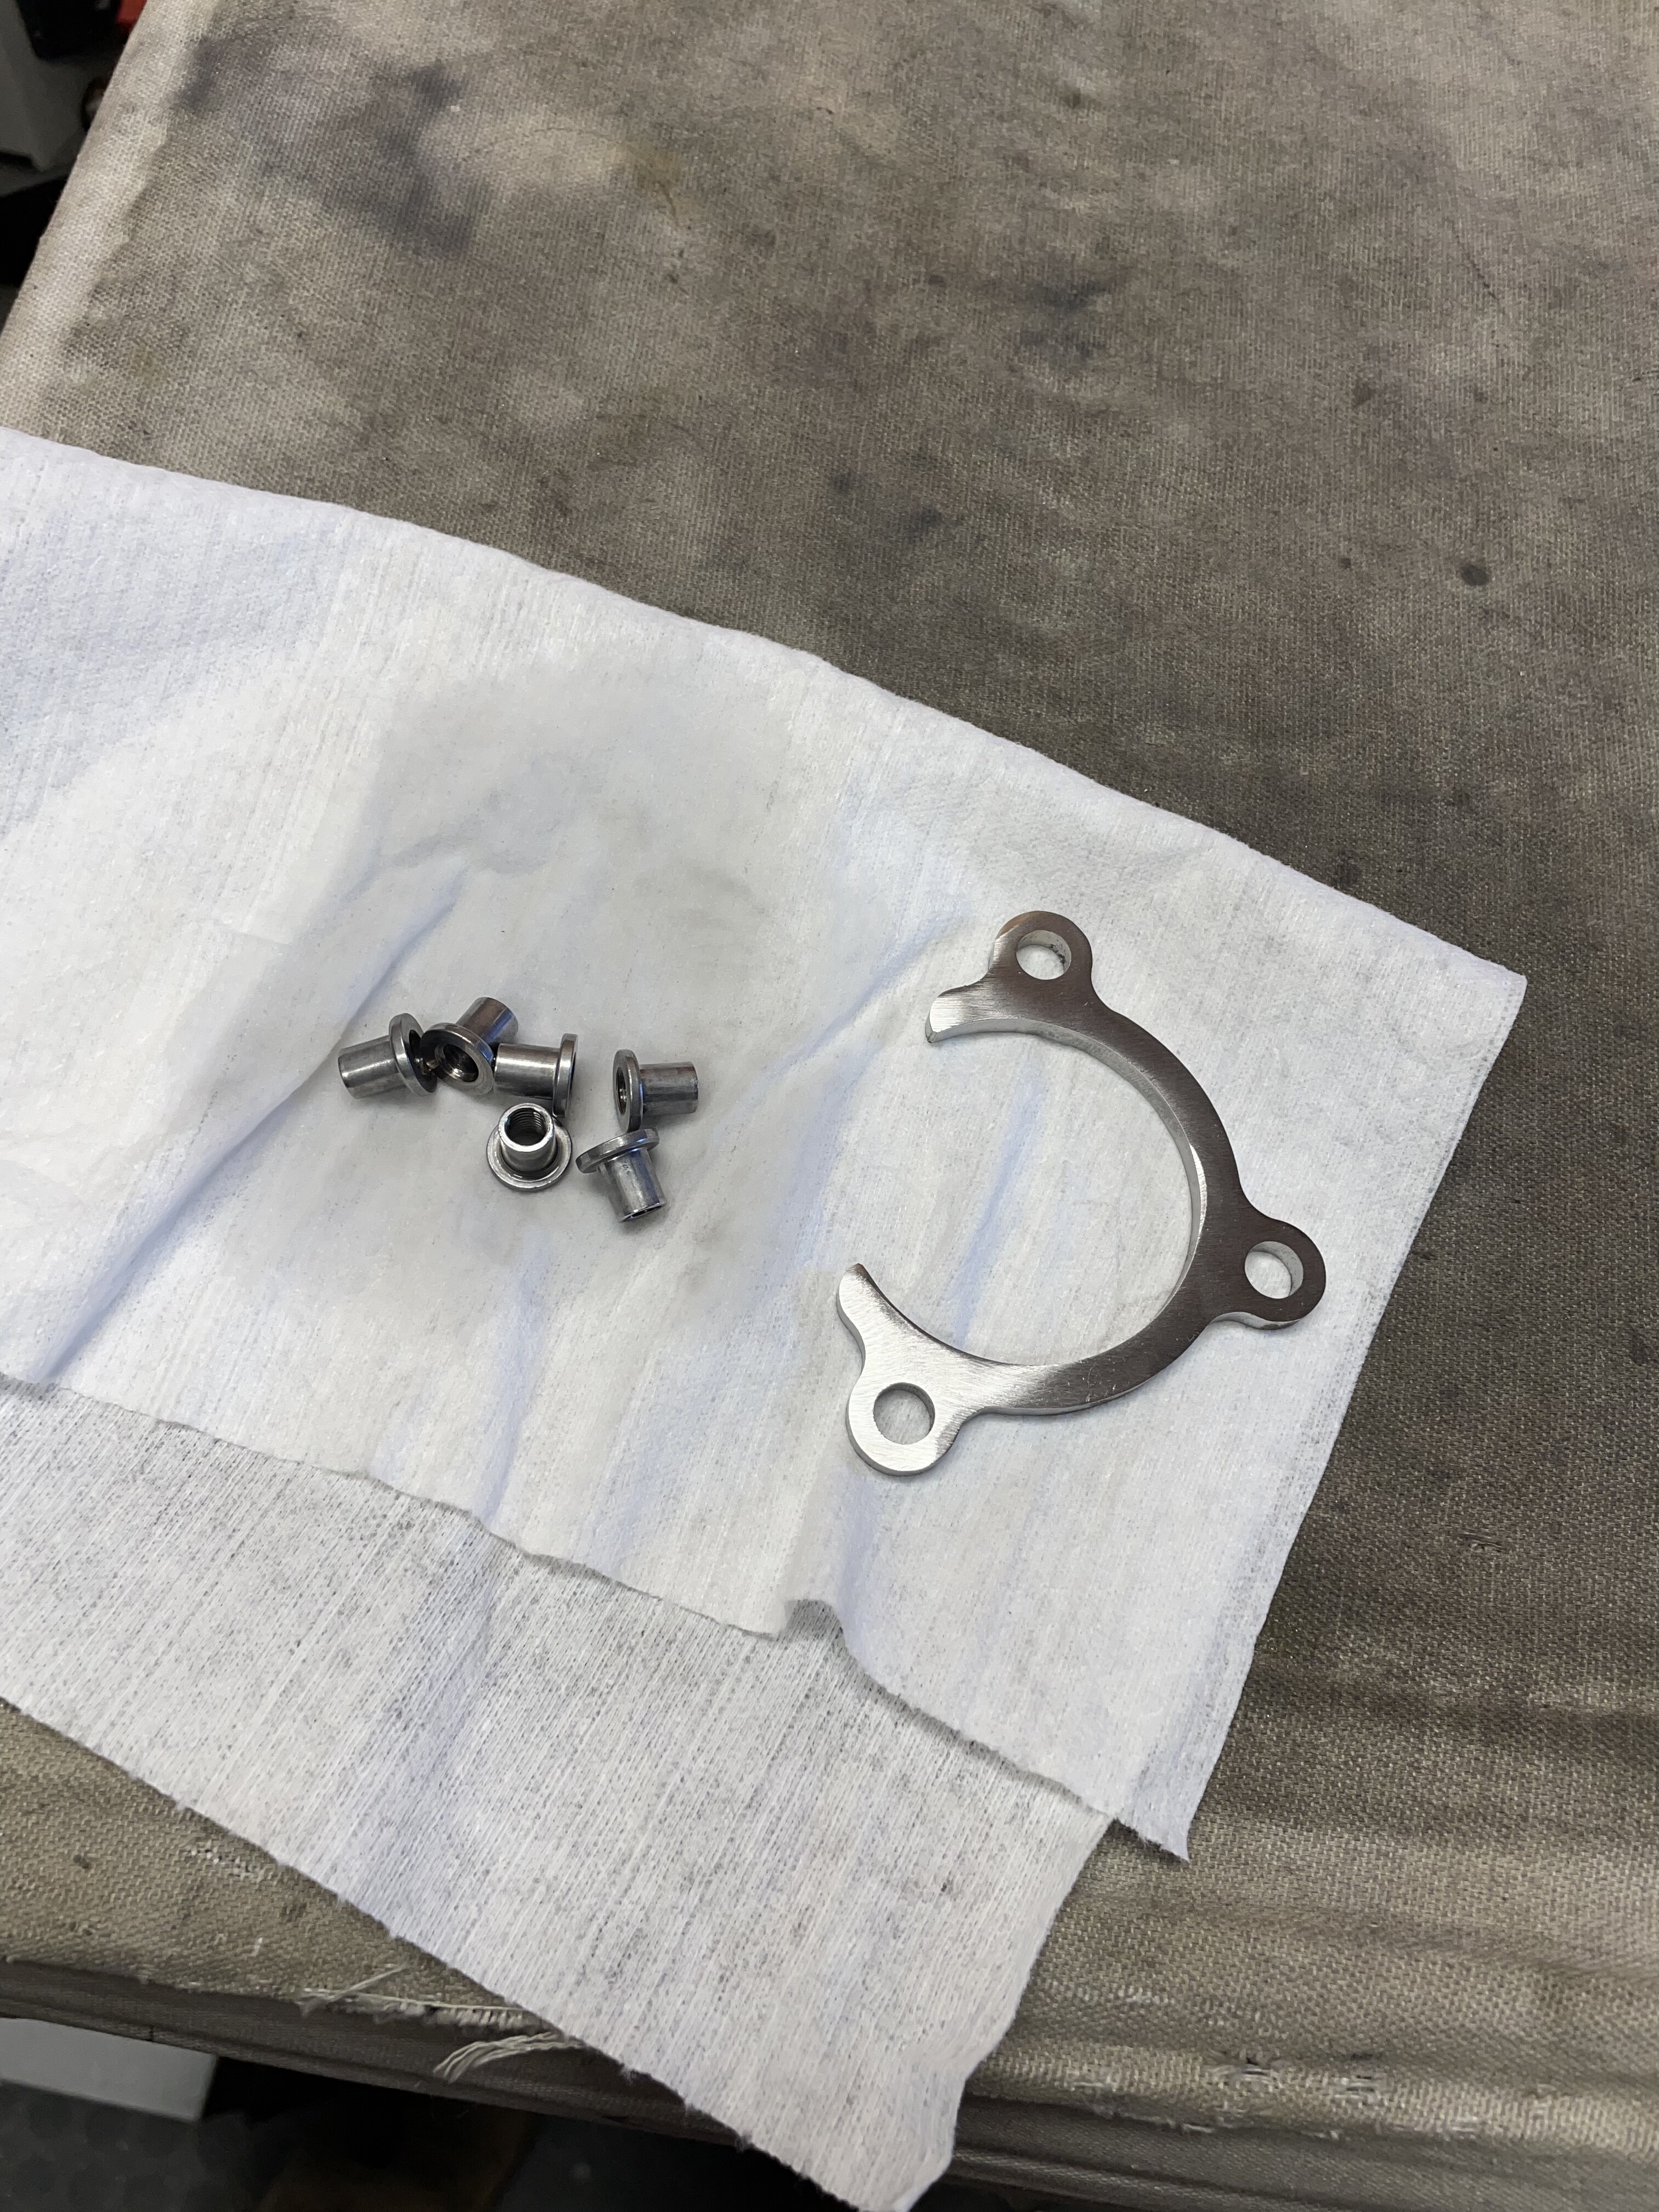
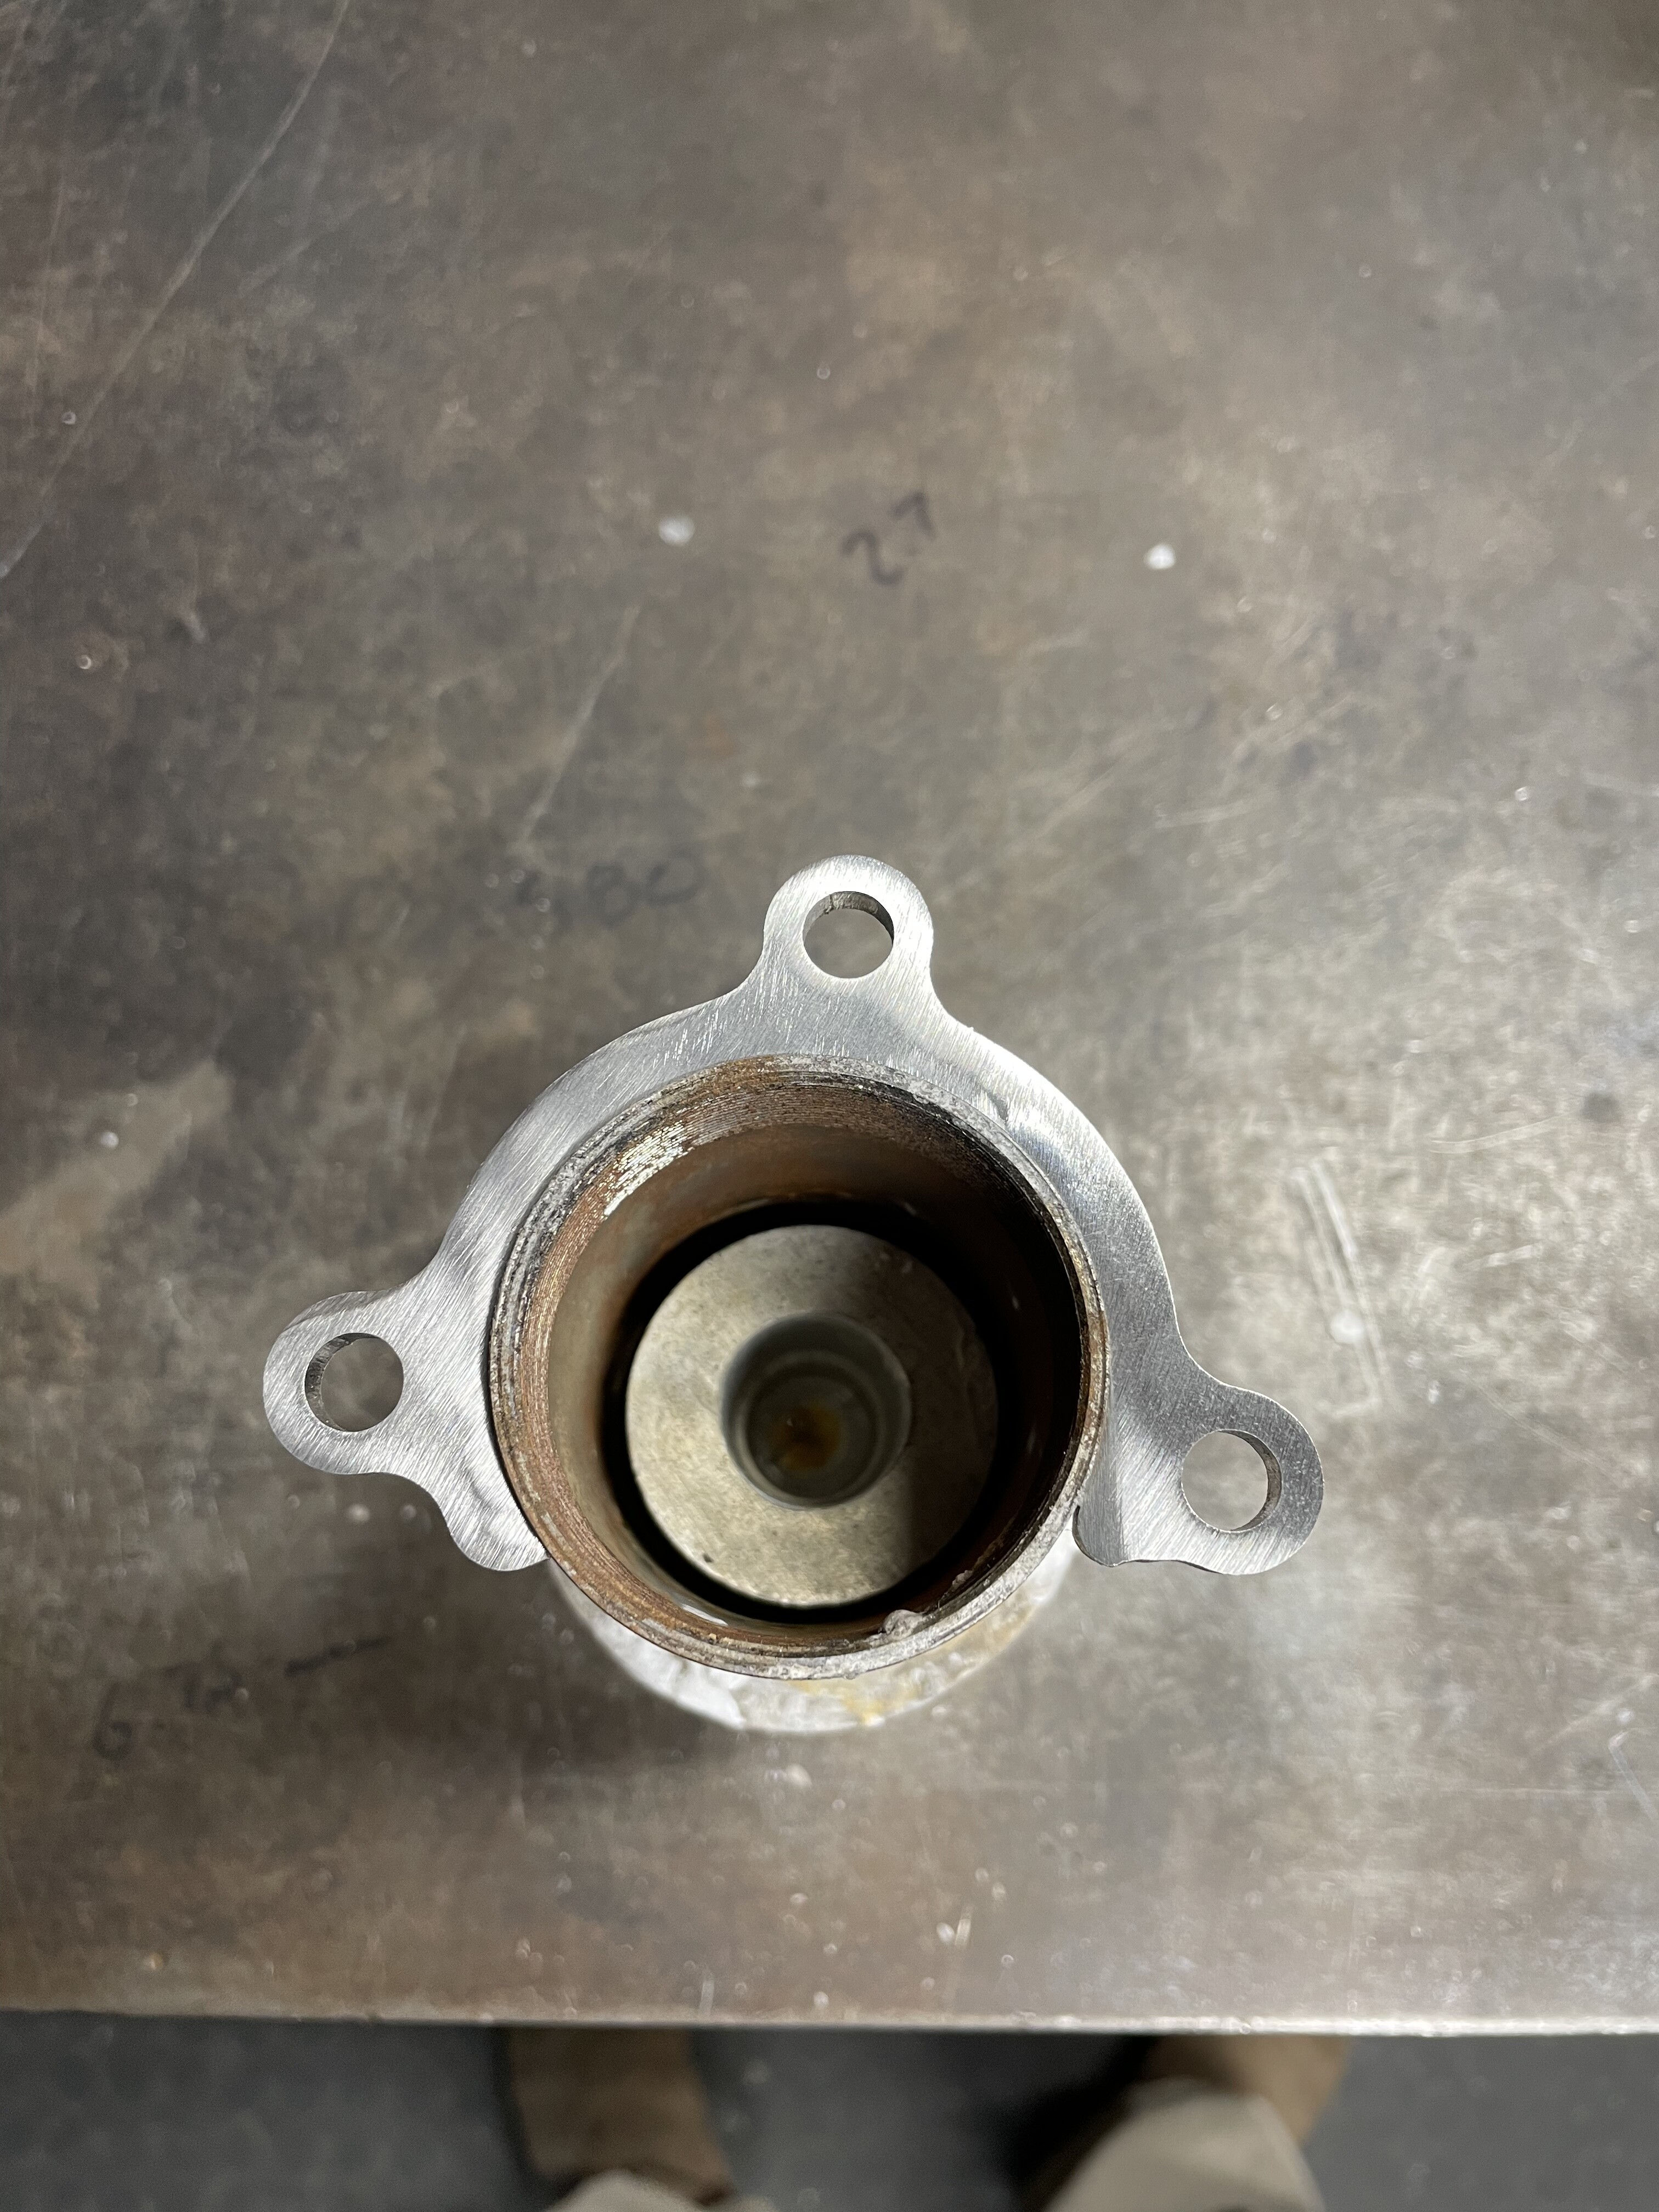
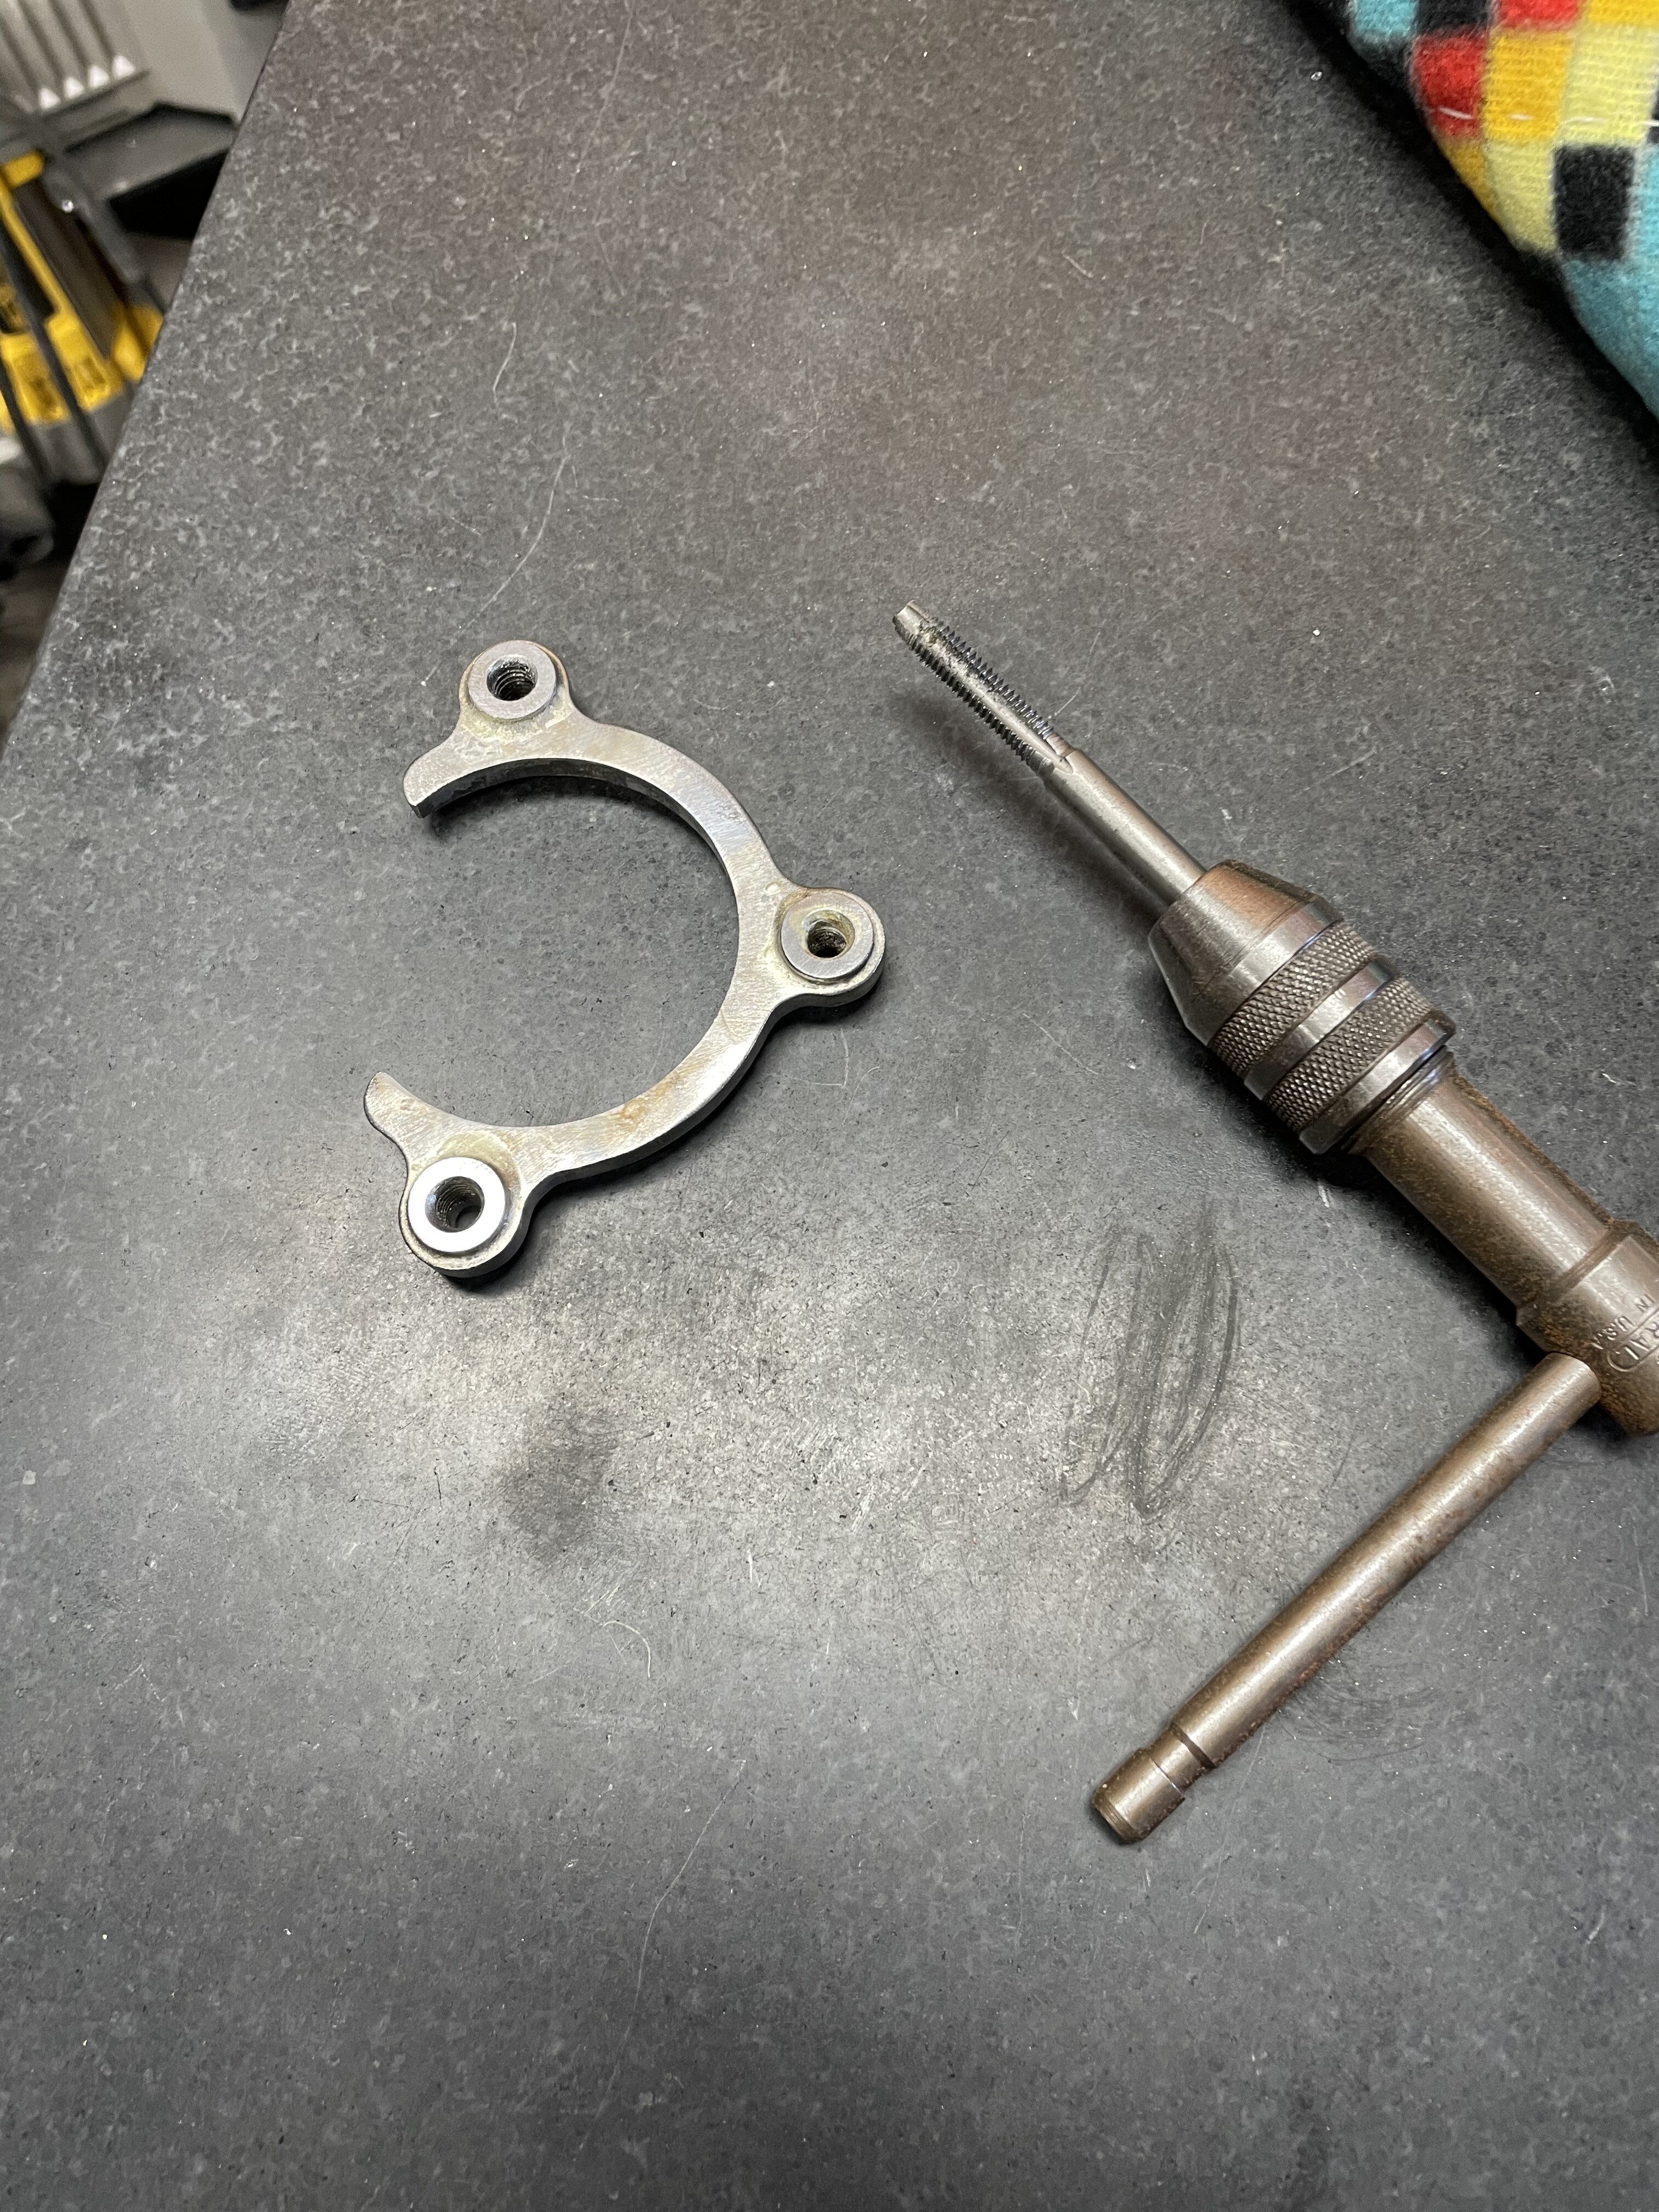
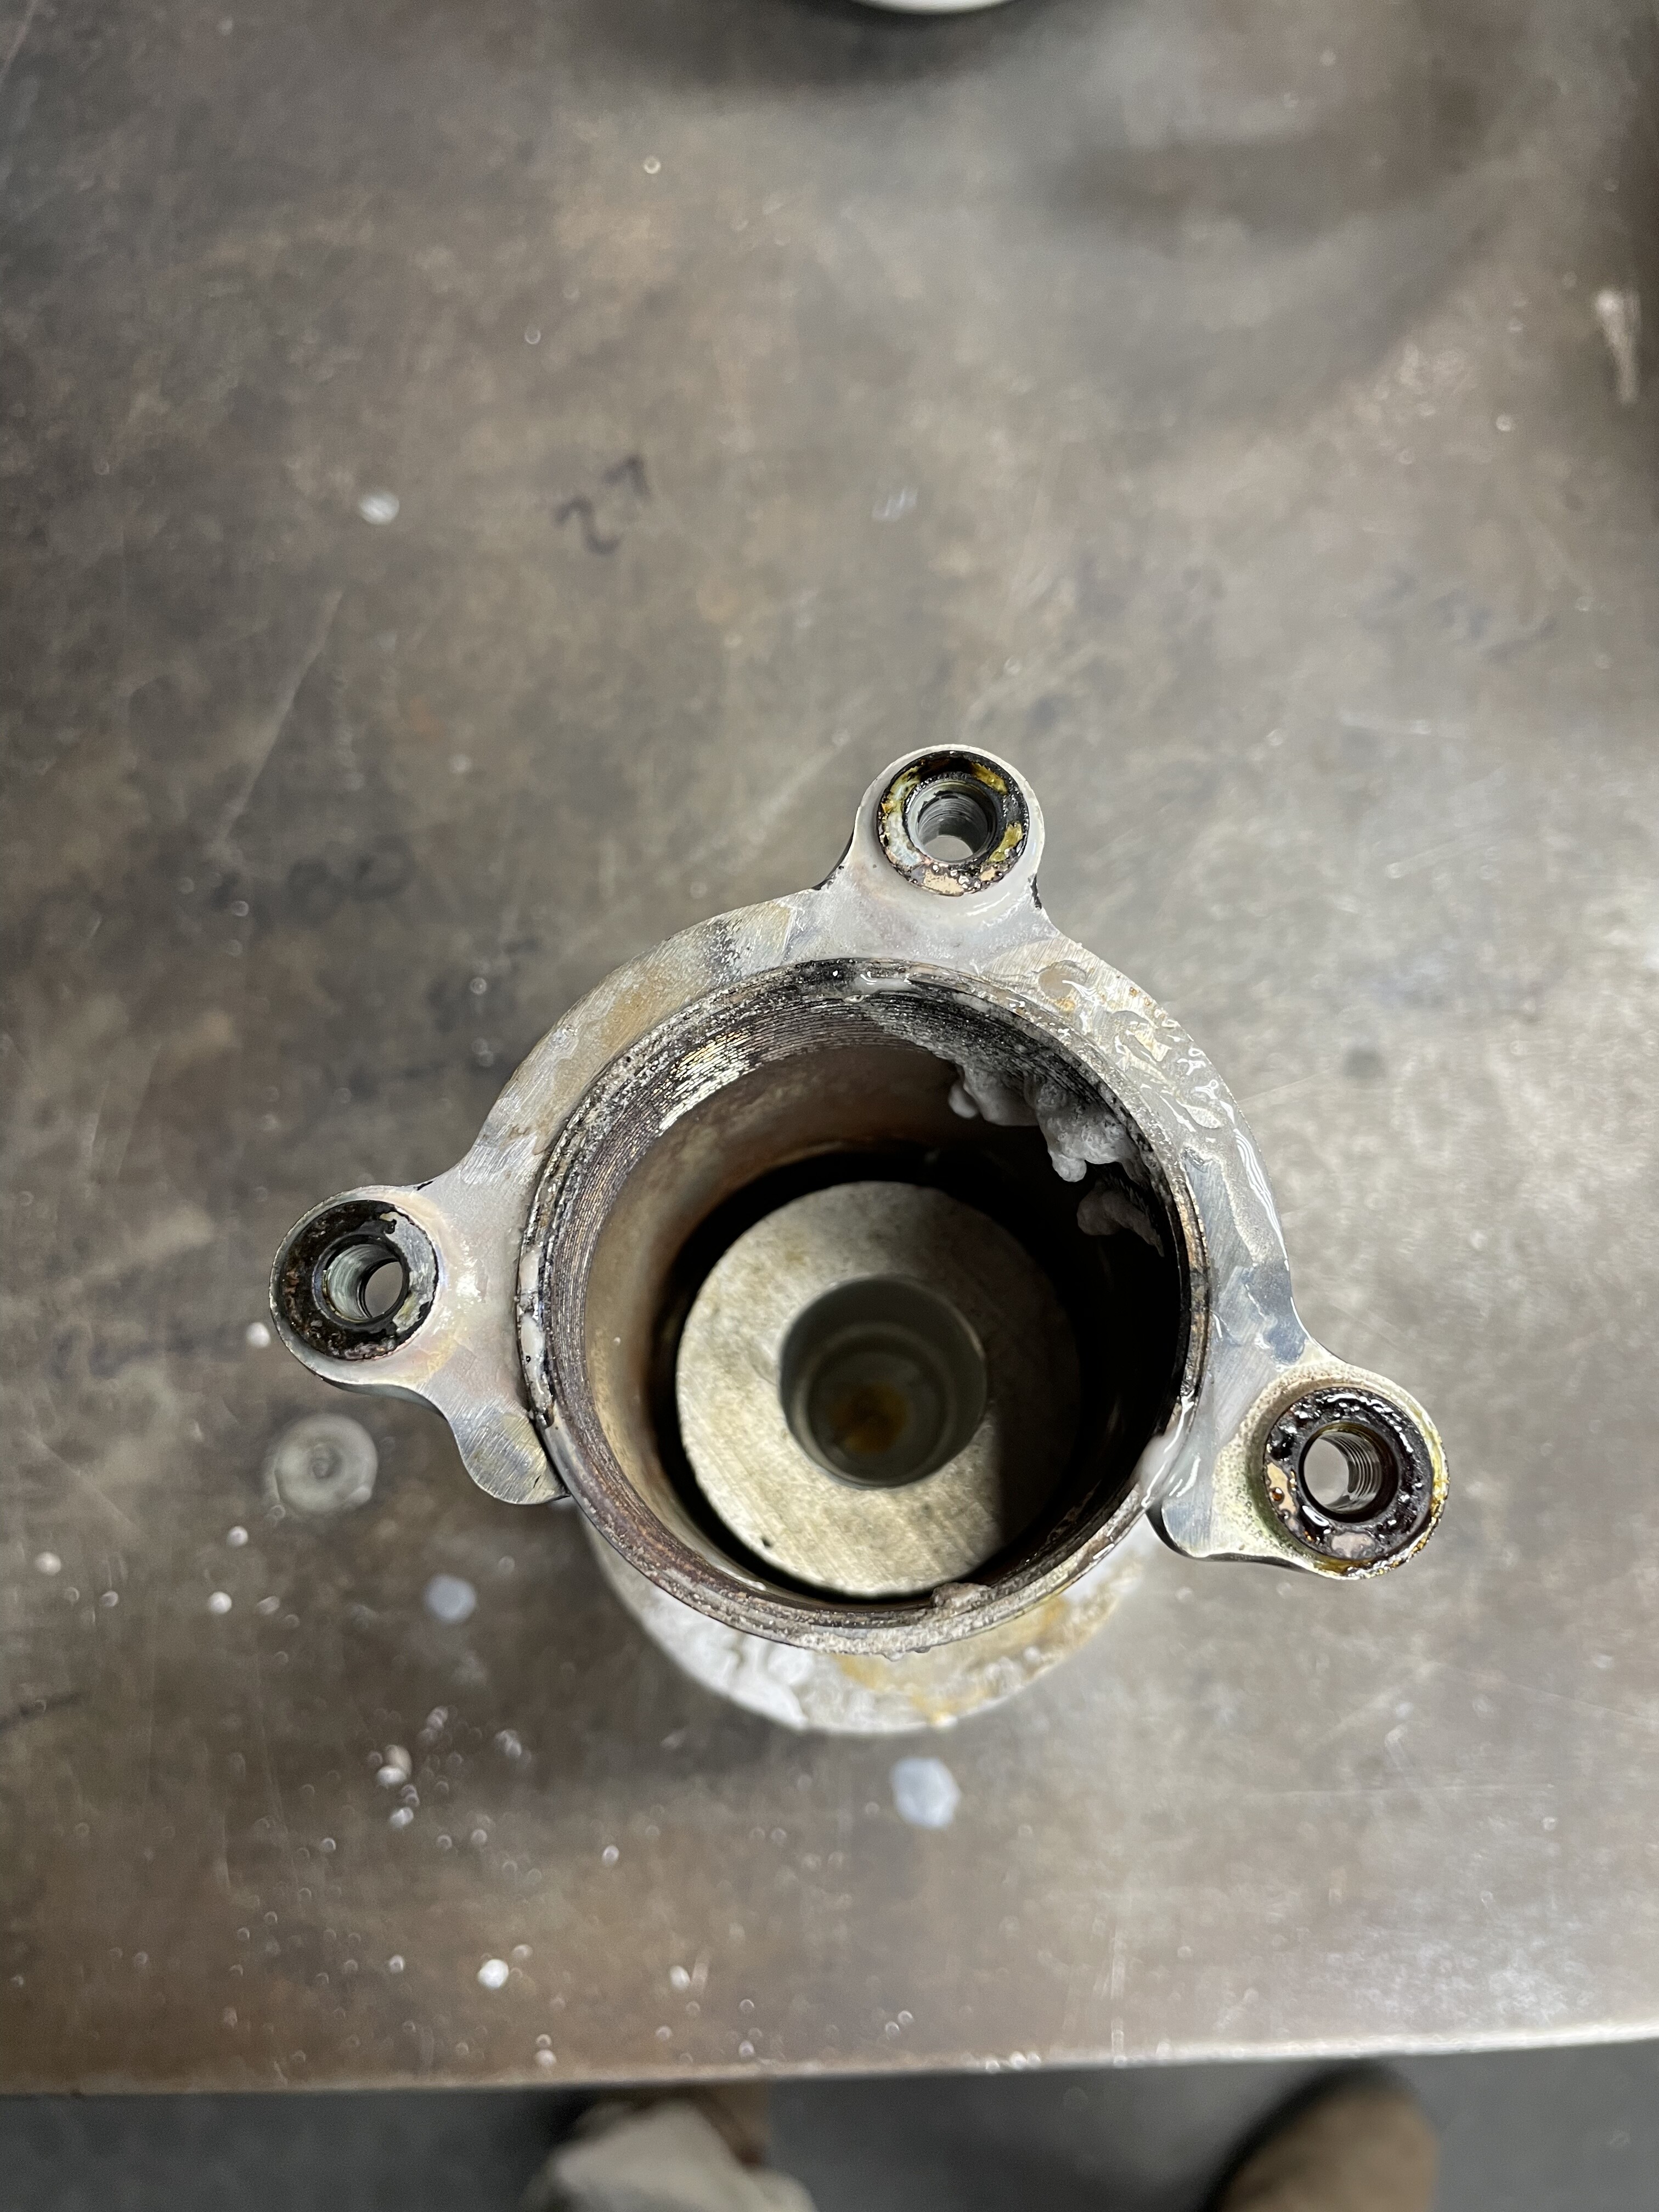
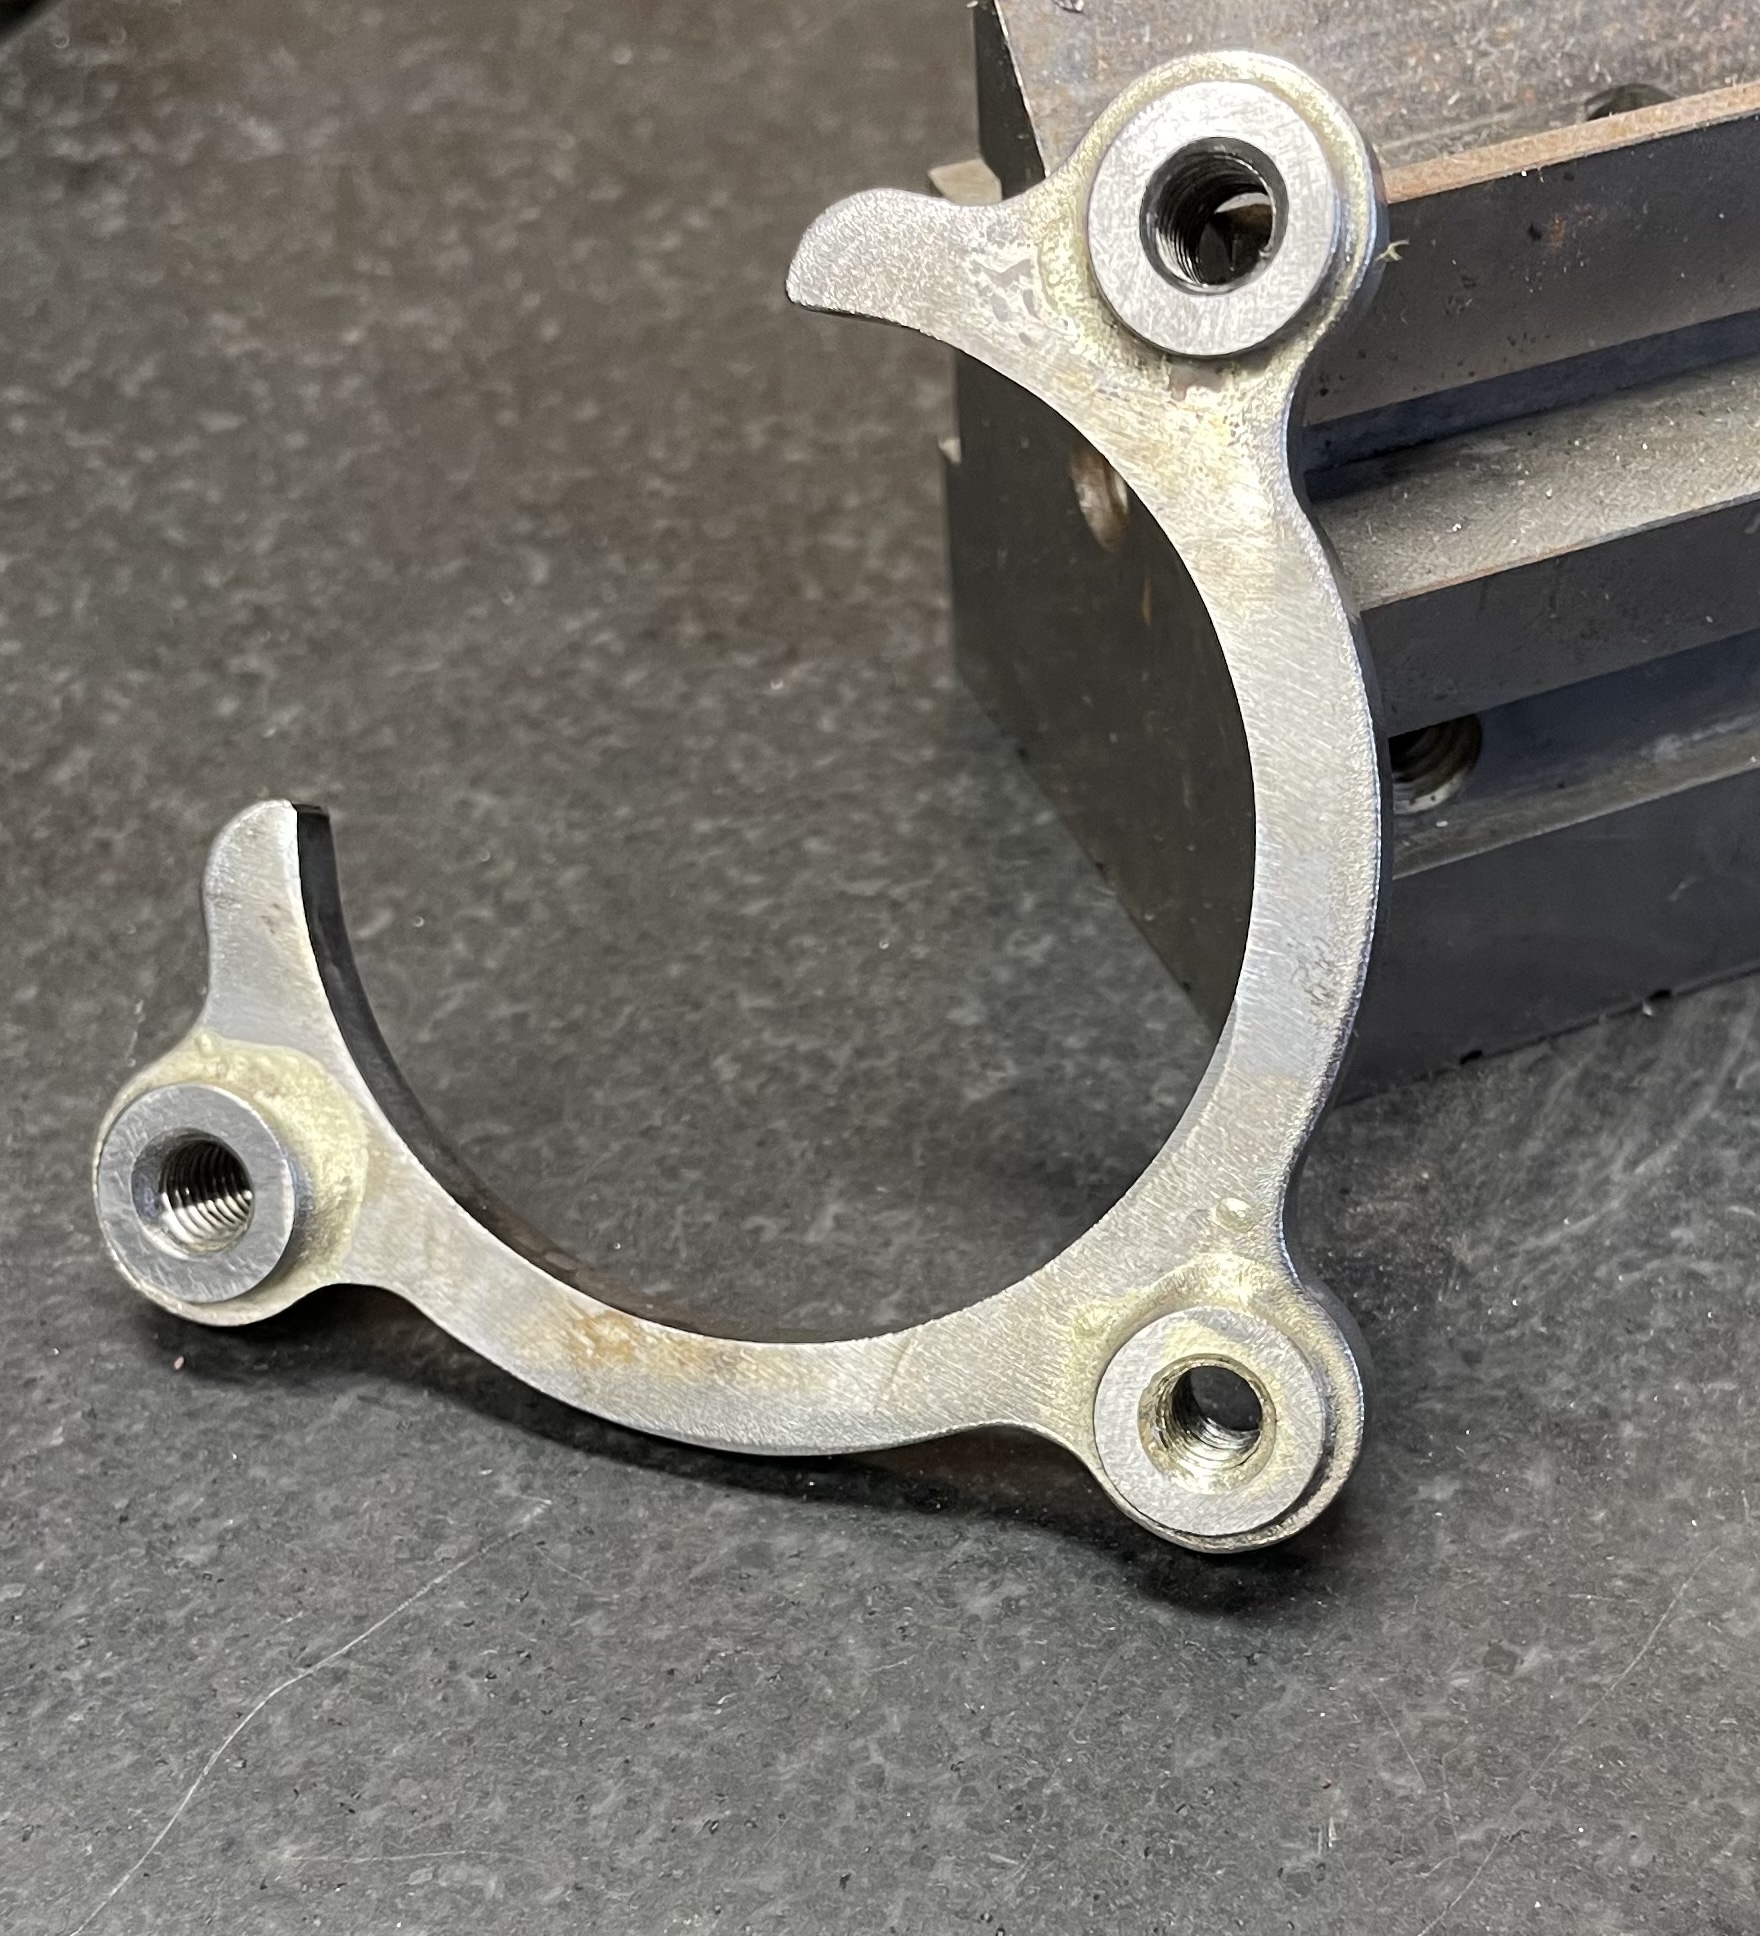
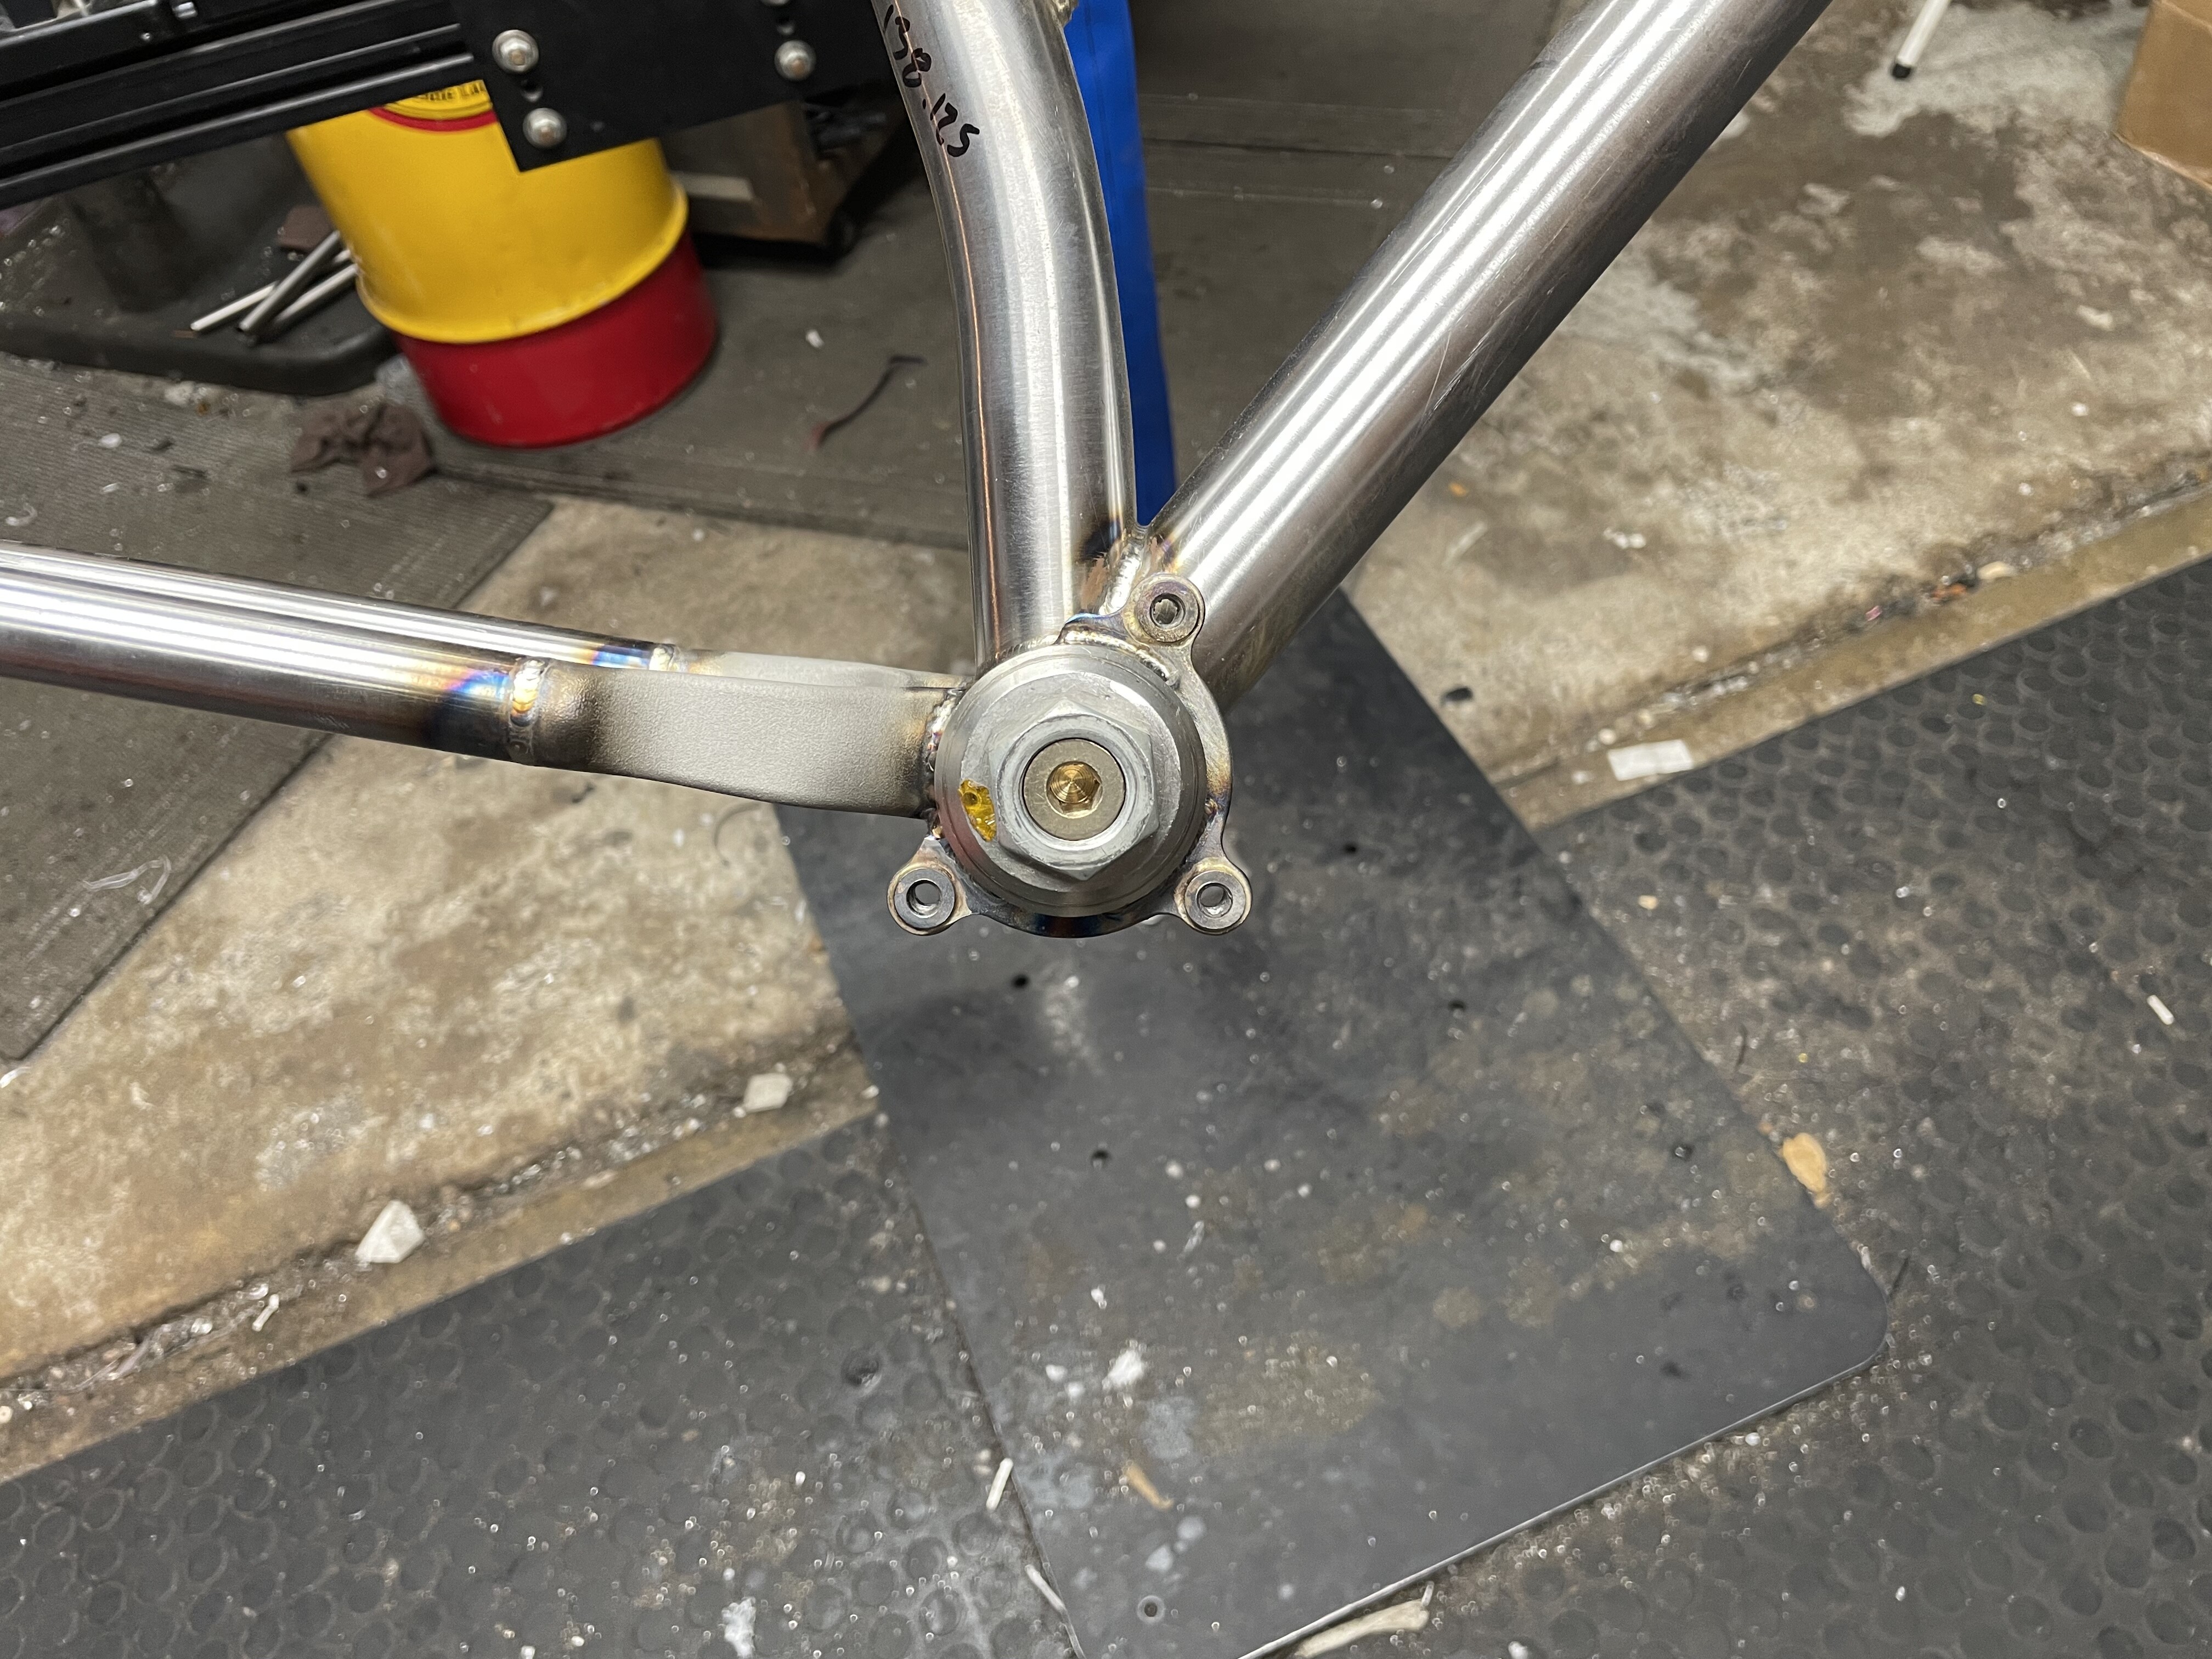
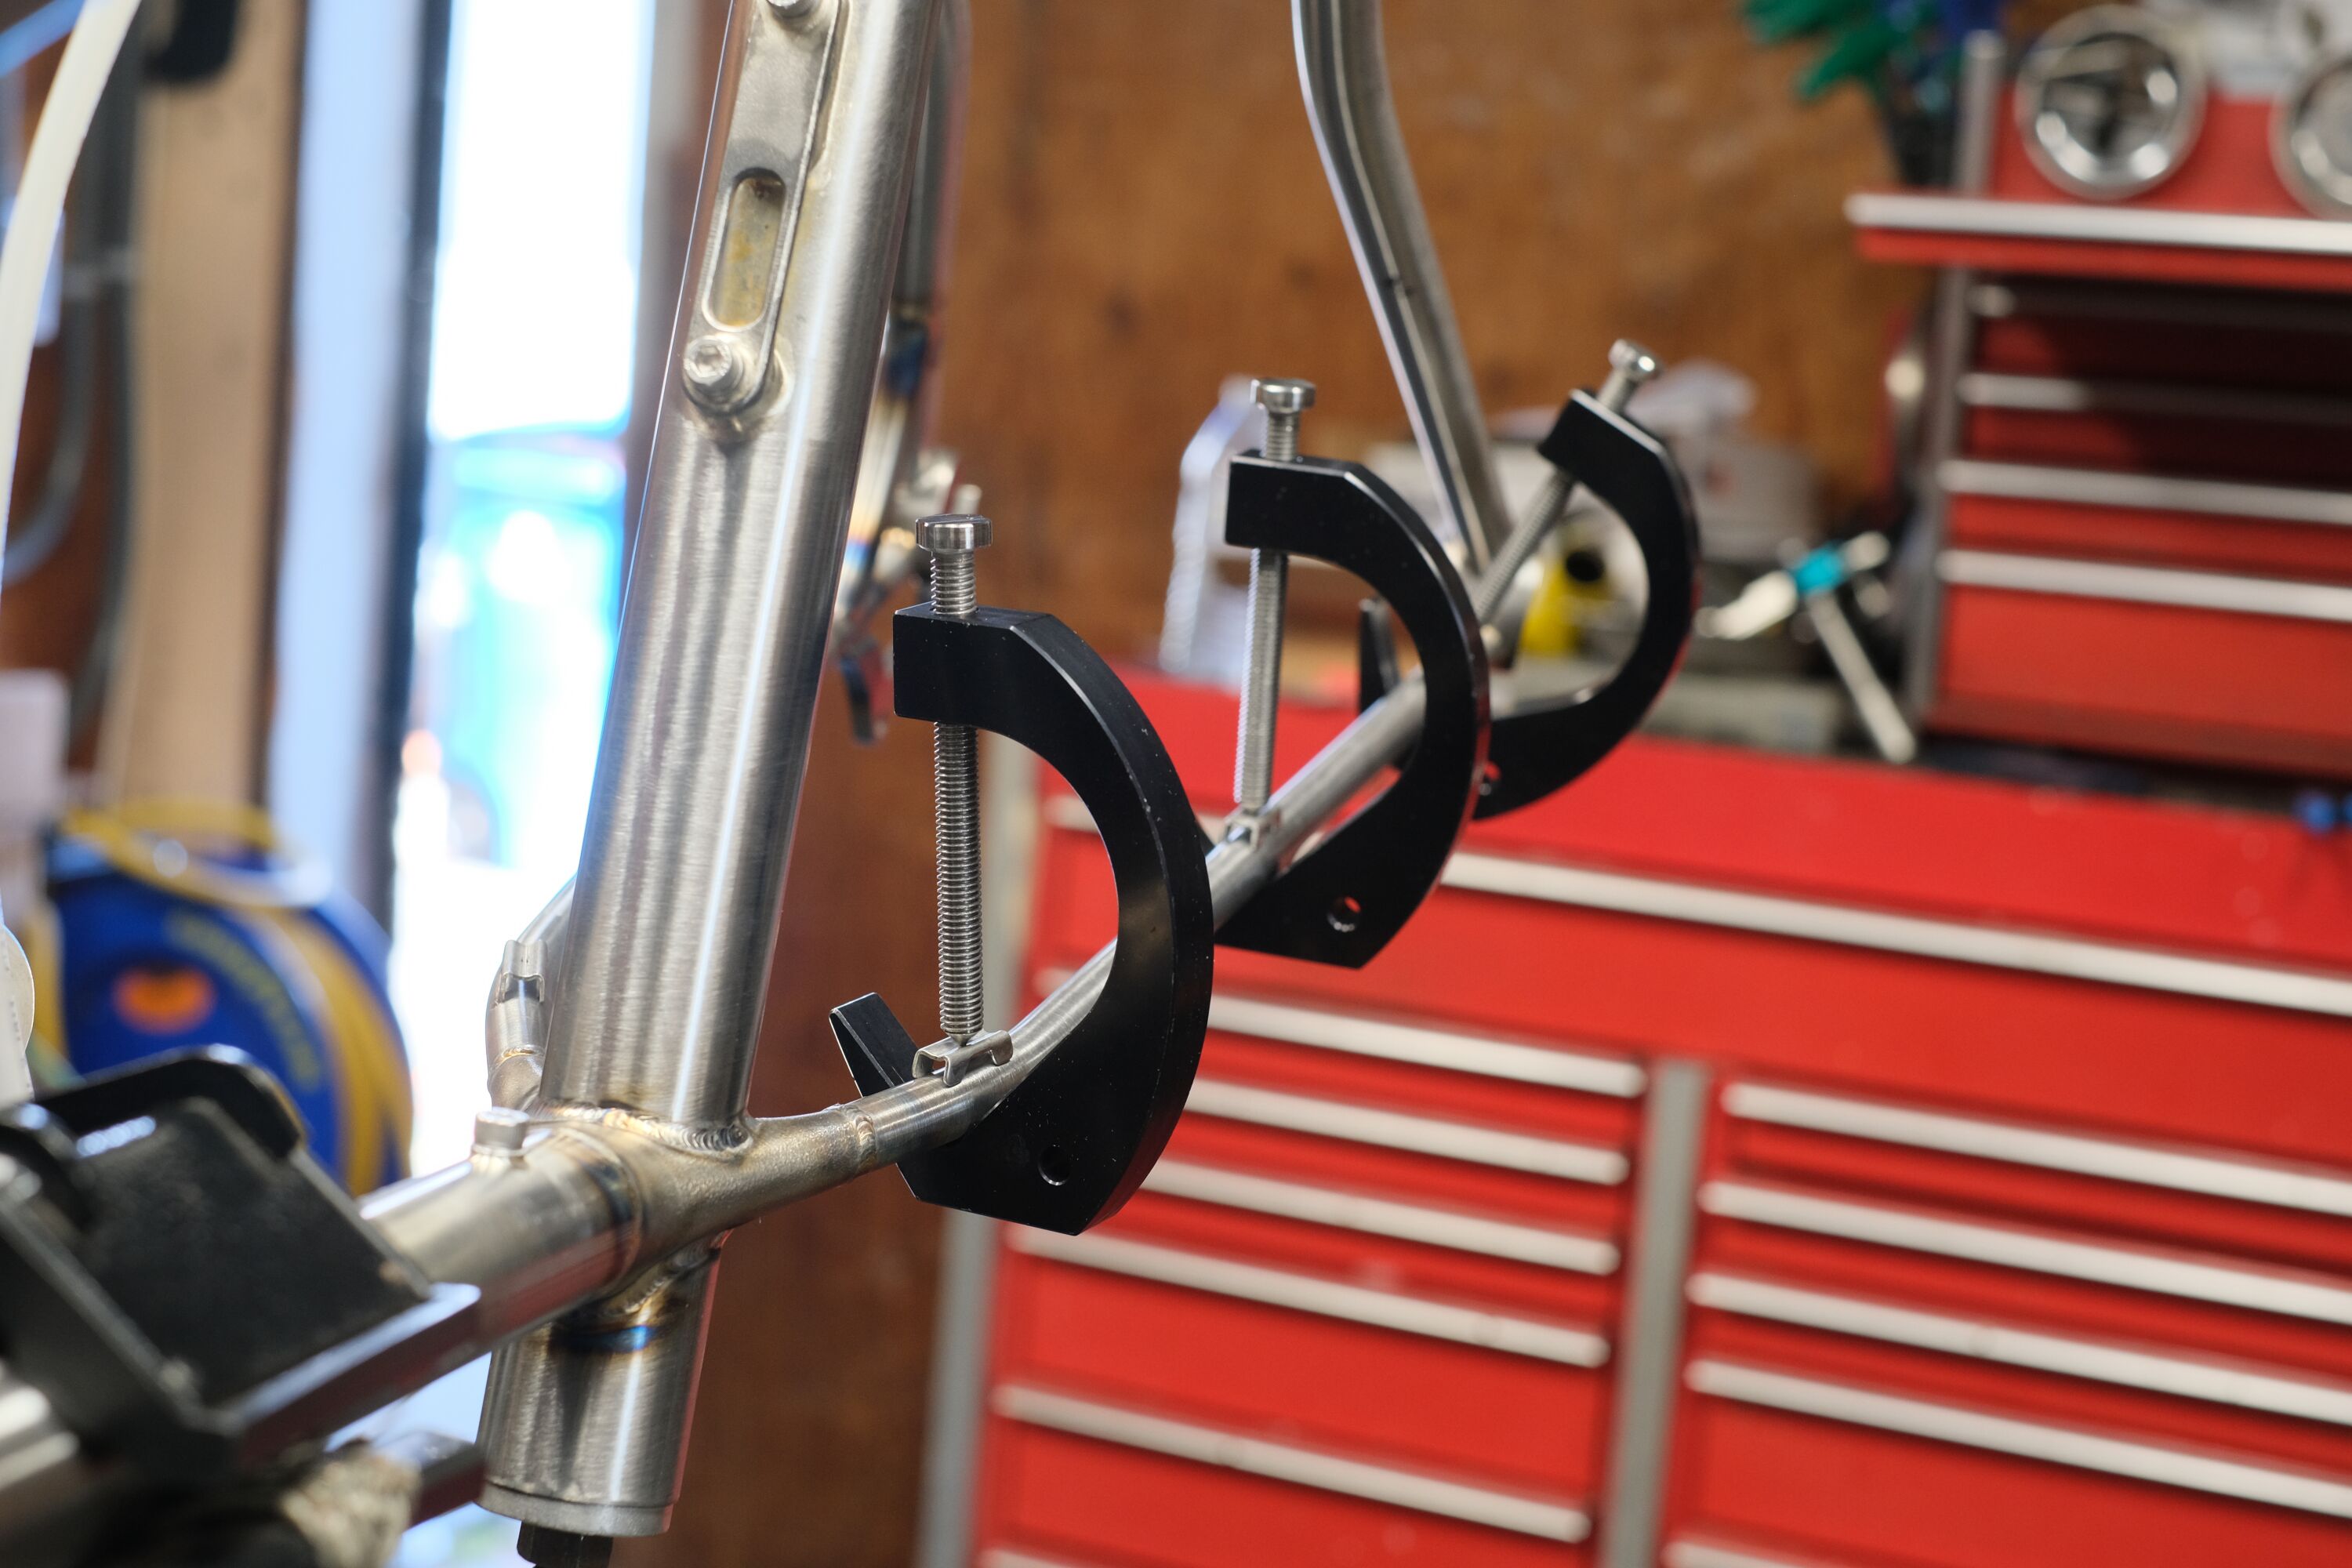
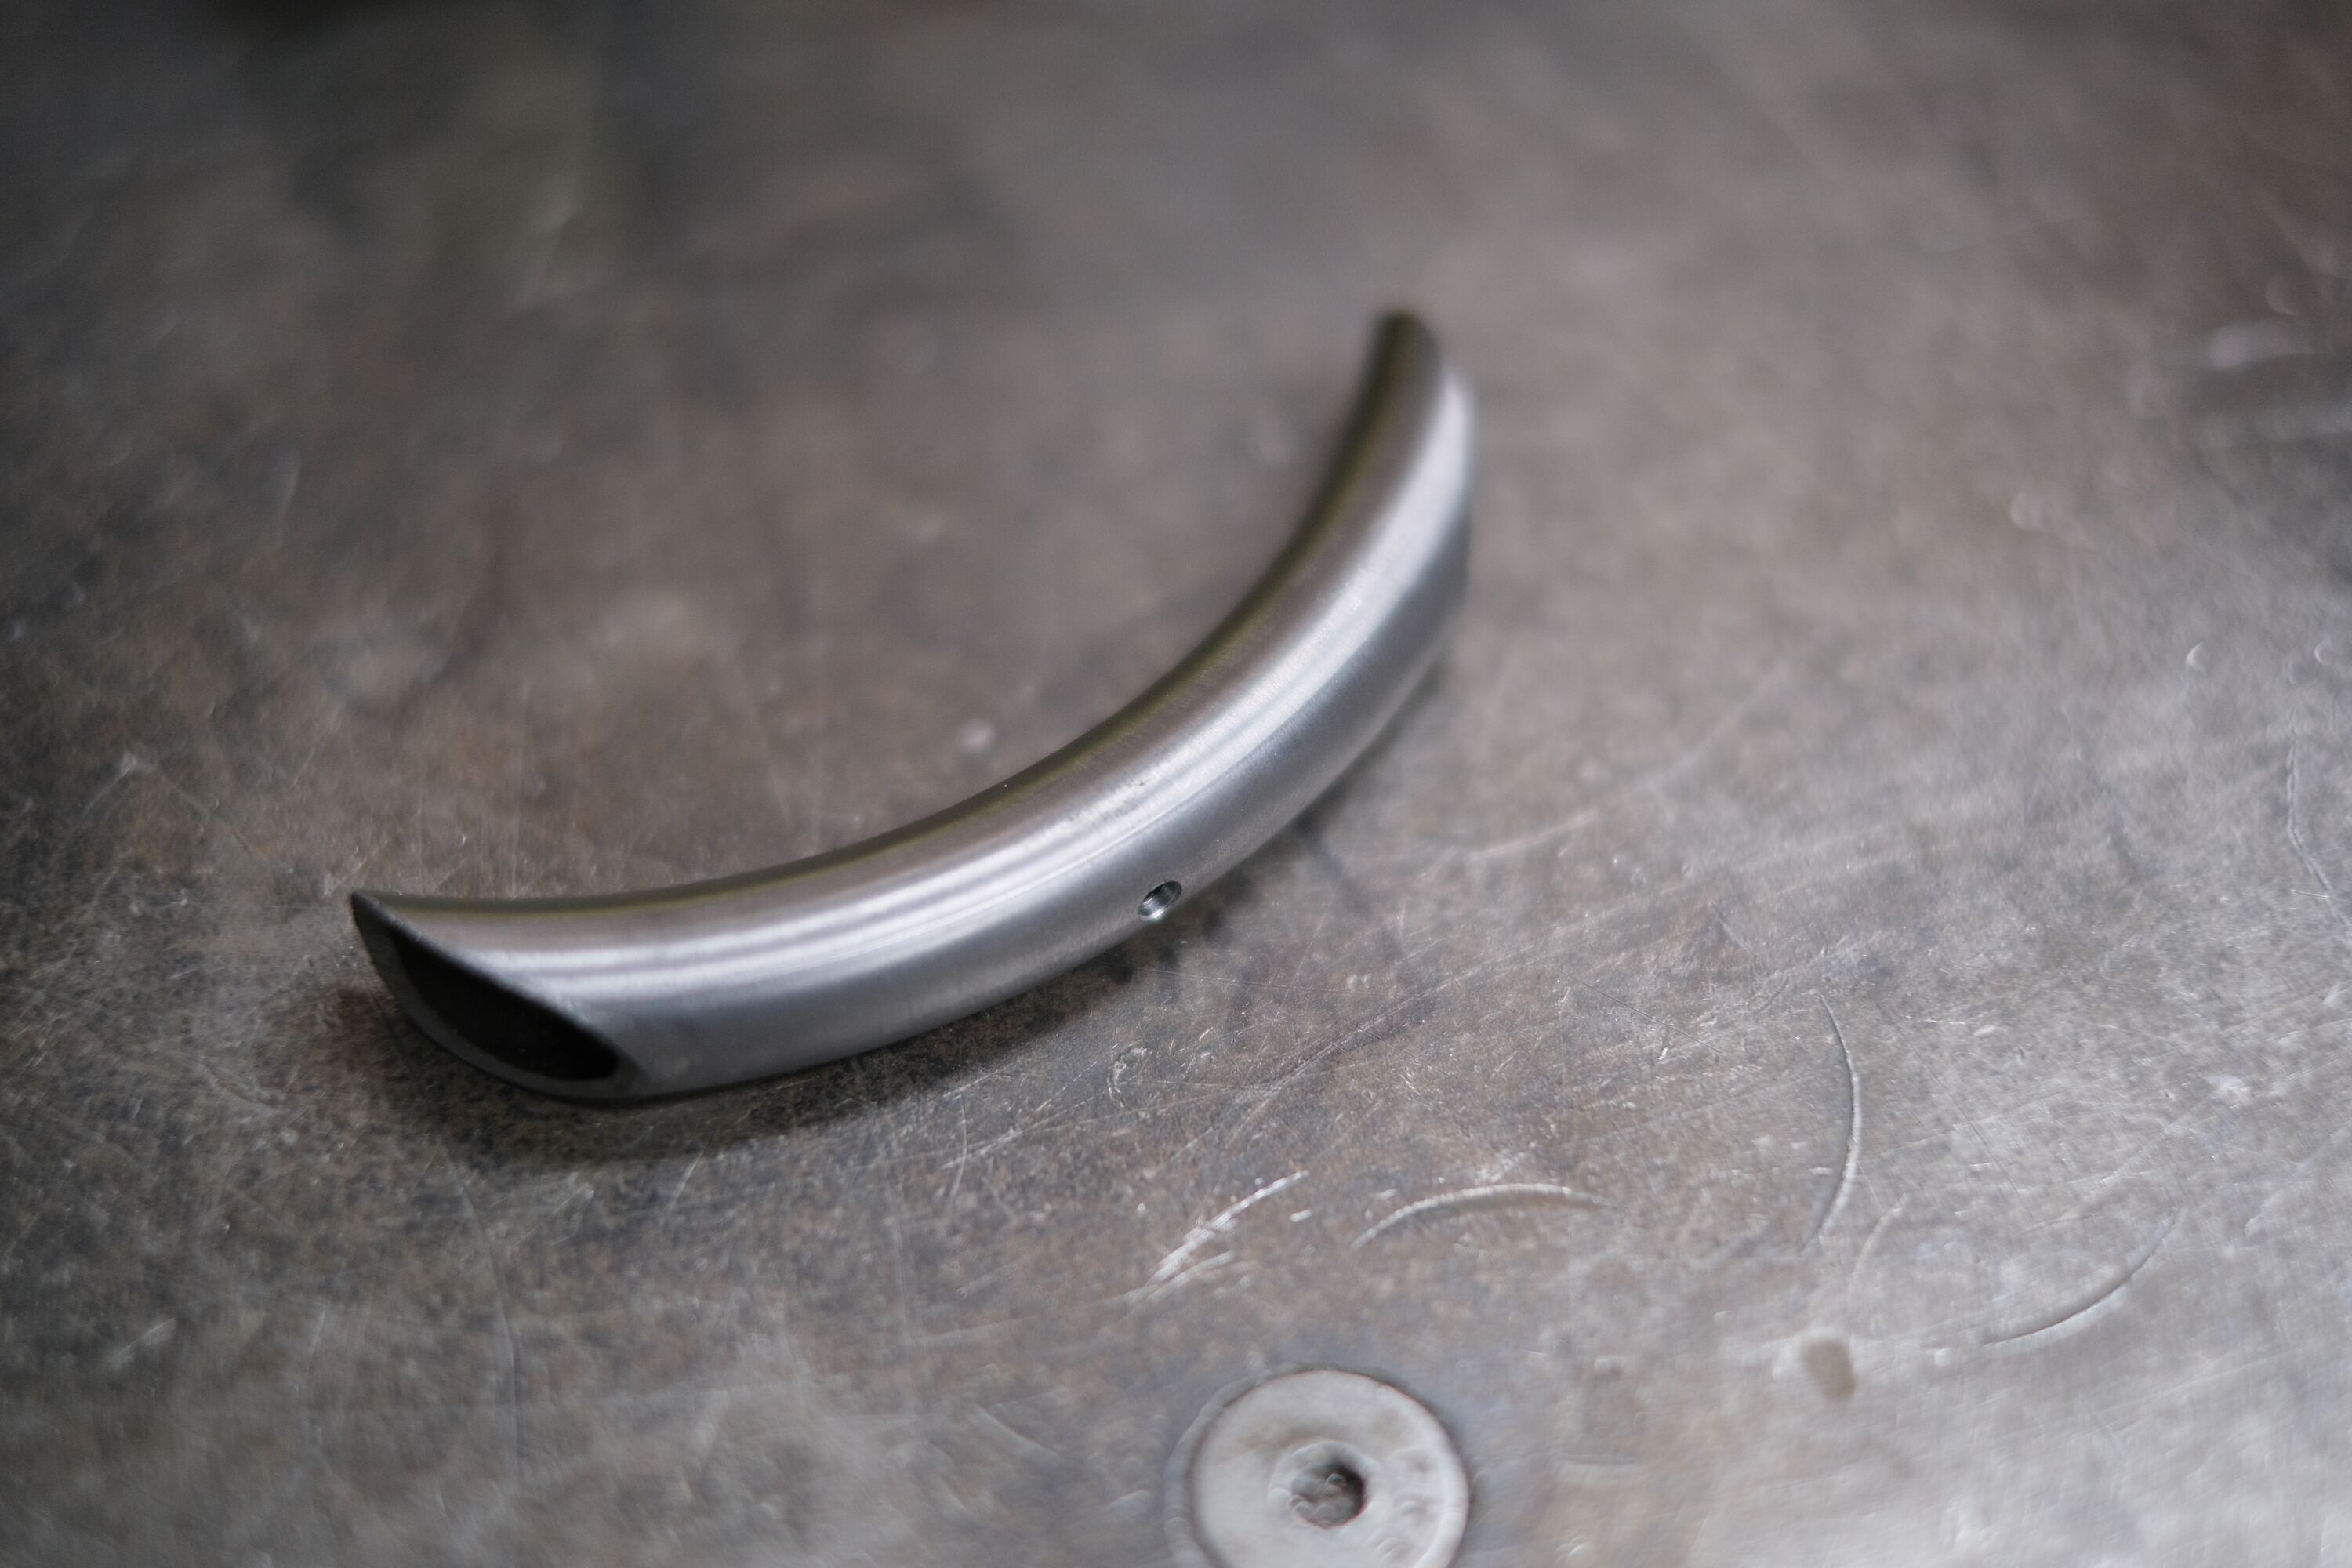
Finishing up a few bikes before I head out of town for a few days. One needed an iscg tab as did a forum member. Getting the tabs prepped is a pretty quick process. I currently have the tabs laser cut with the holes large enough for m6x1 bosses. The bosses are then brazed in, should one ever get stripped it could be removed and replaced.
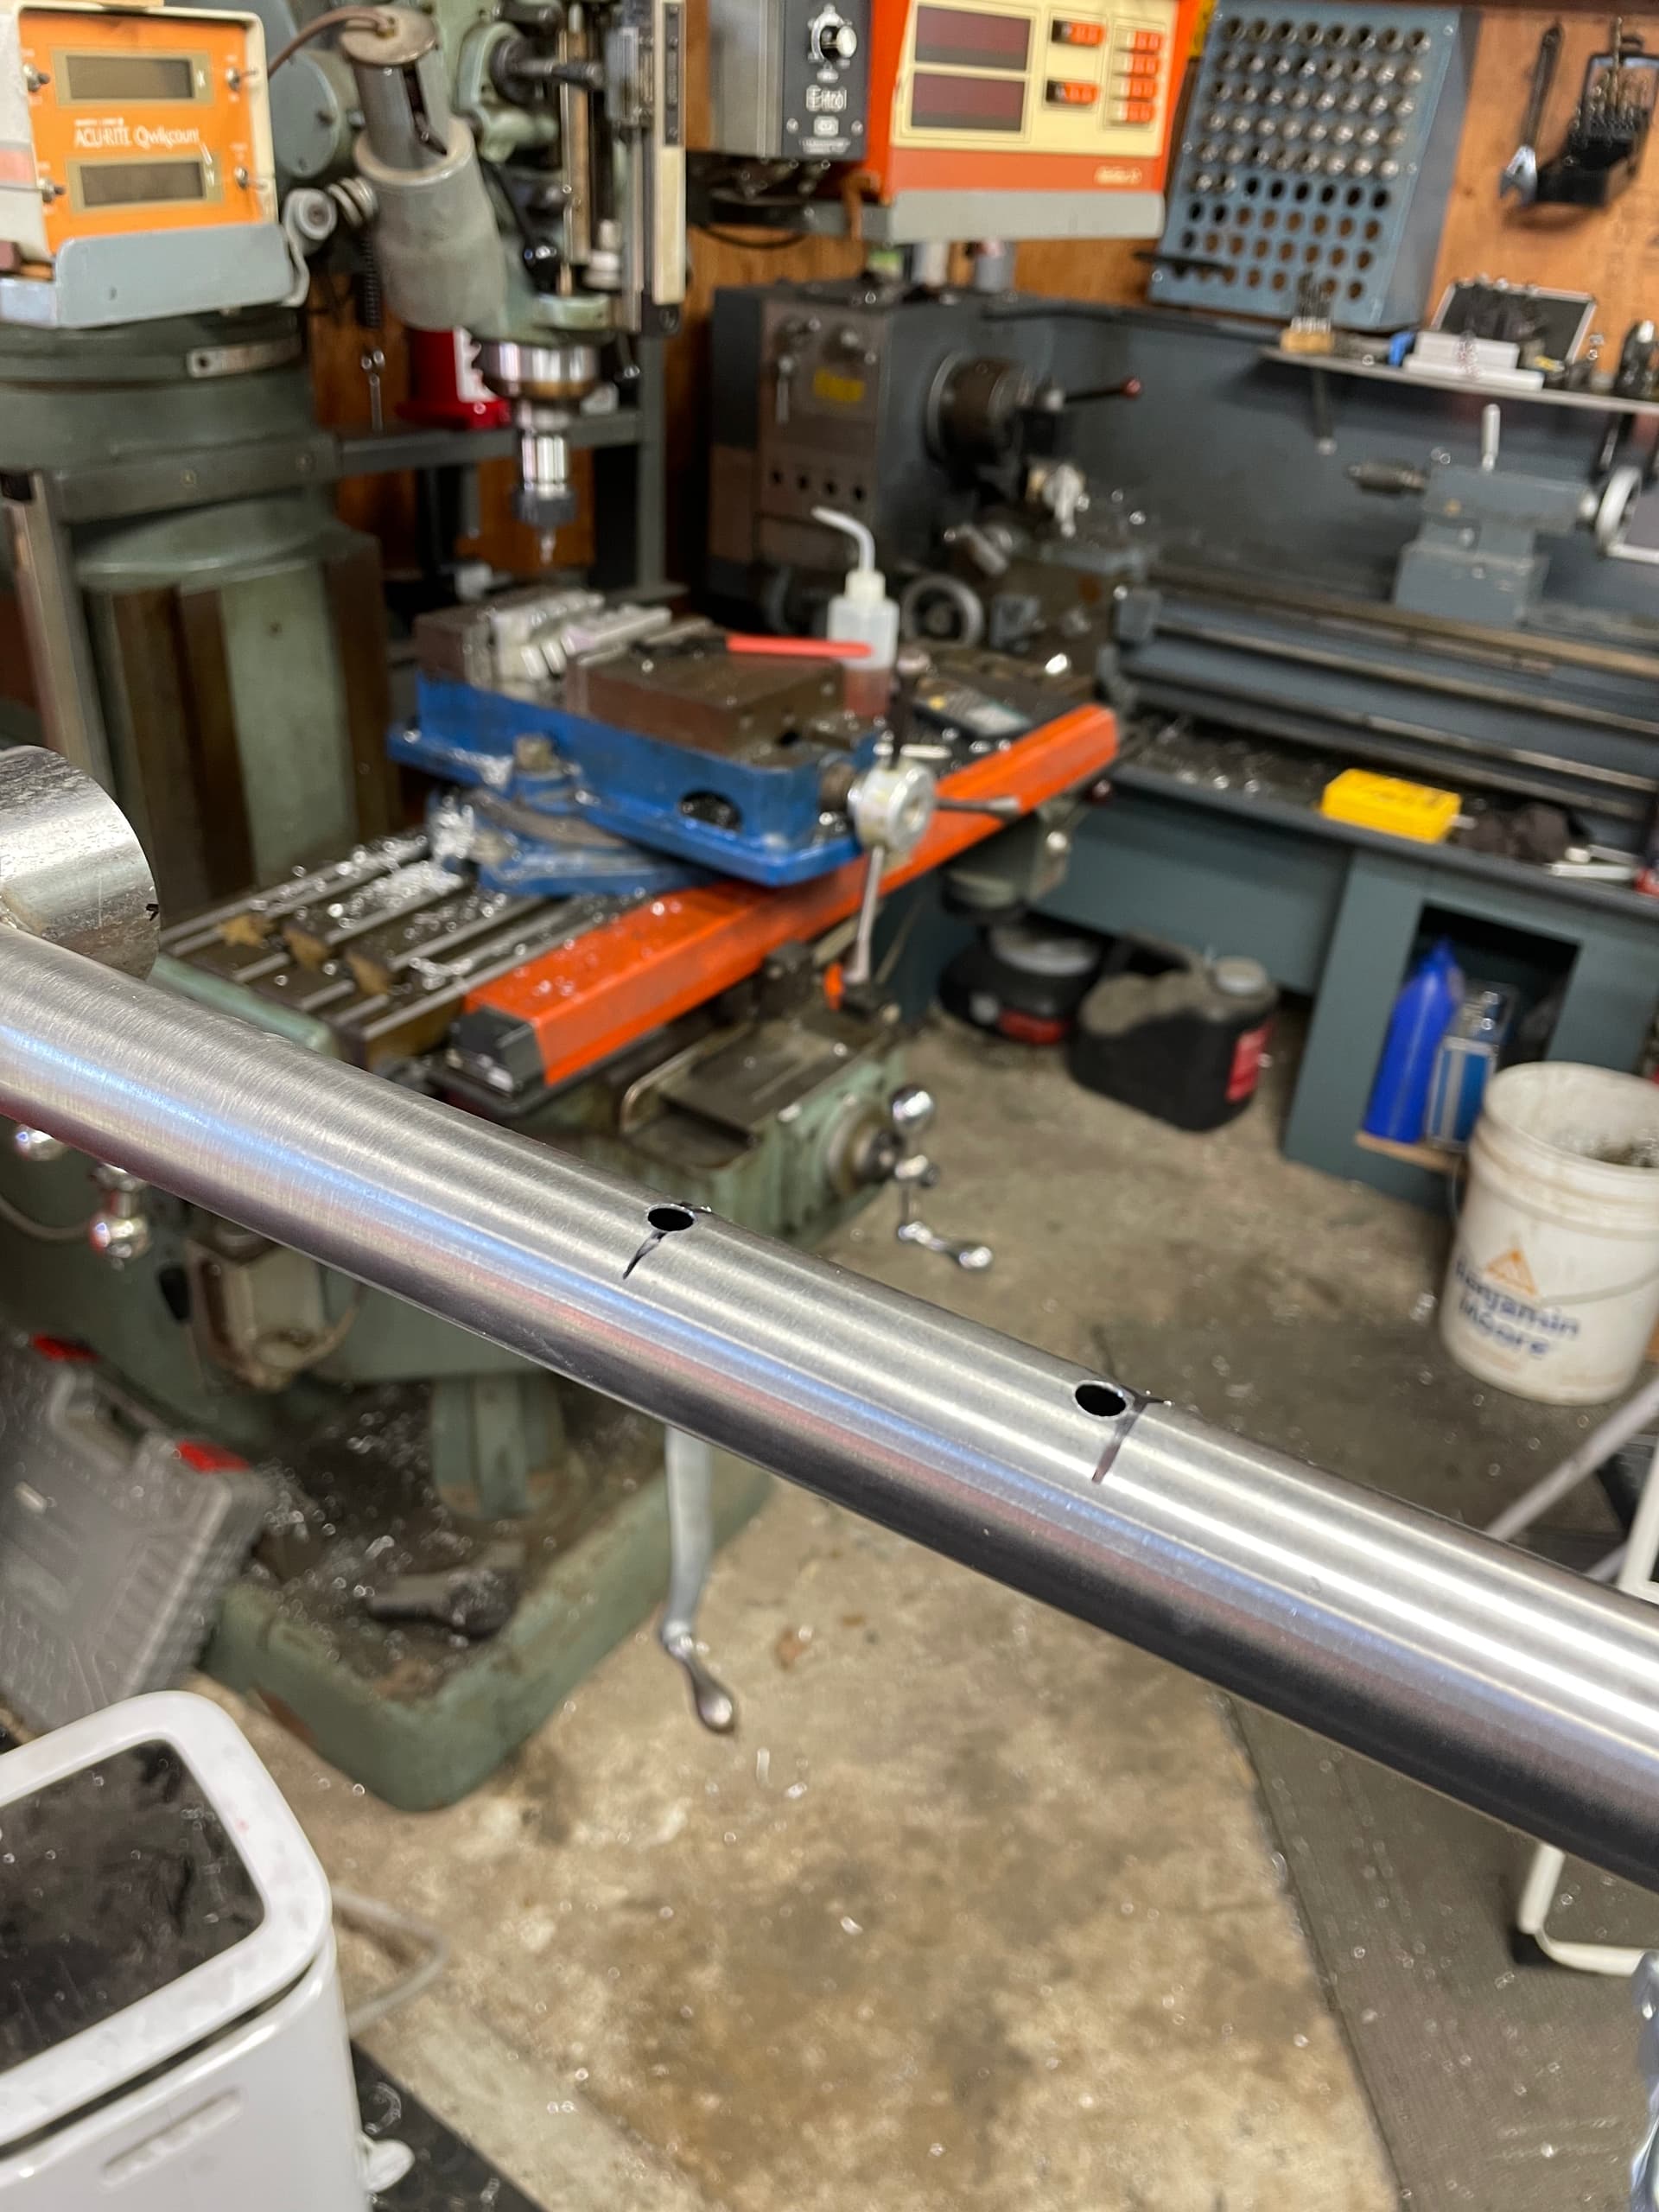
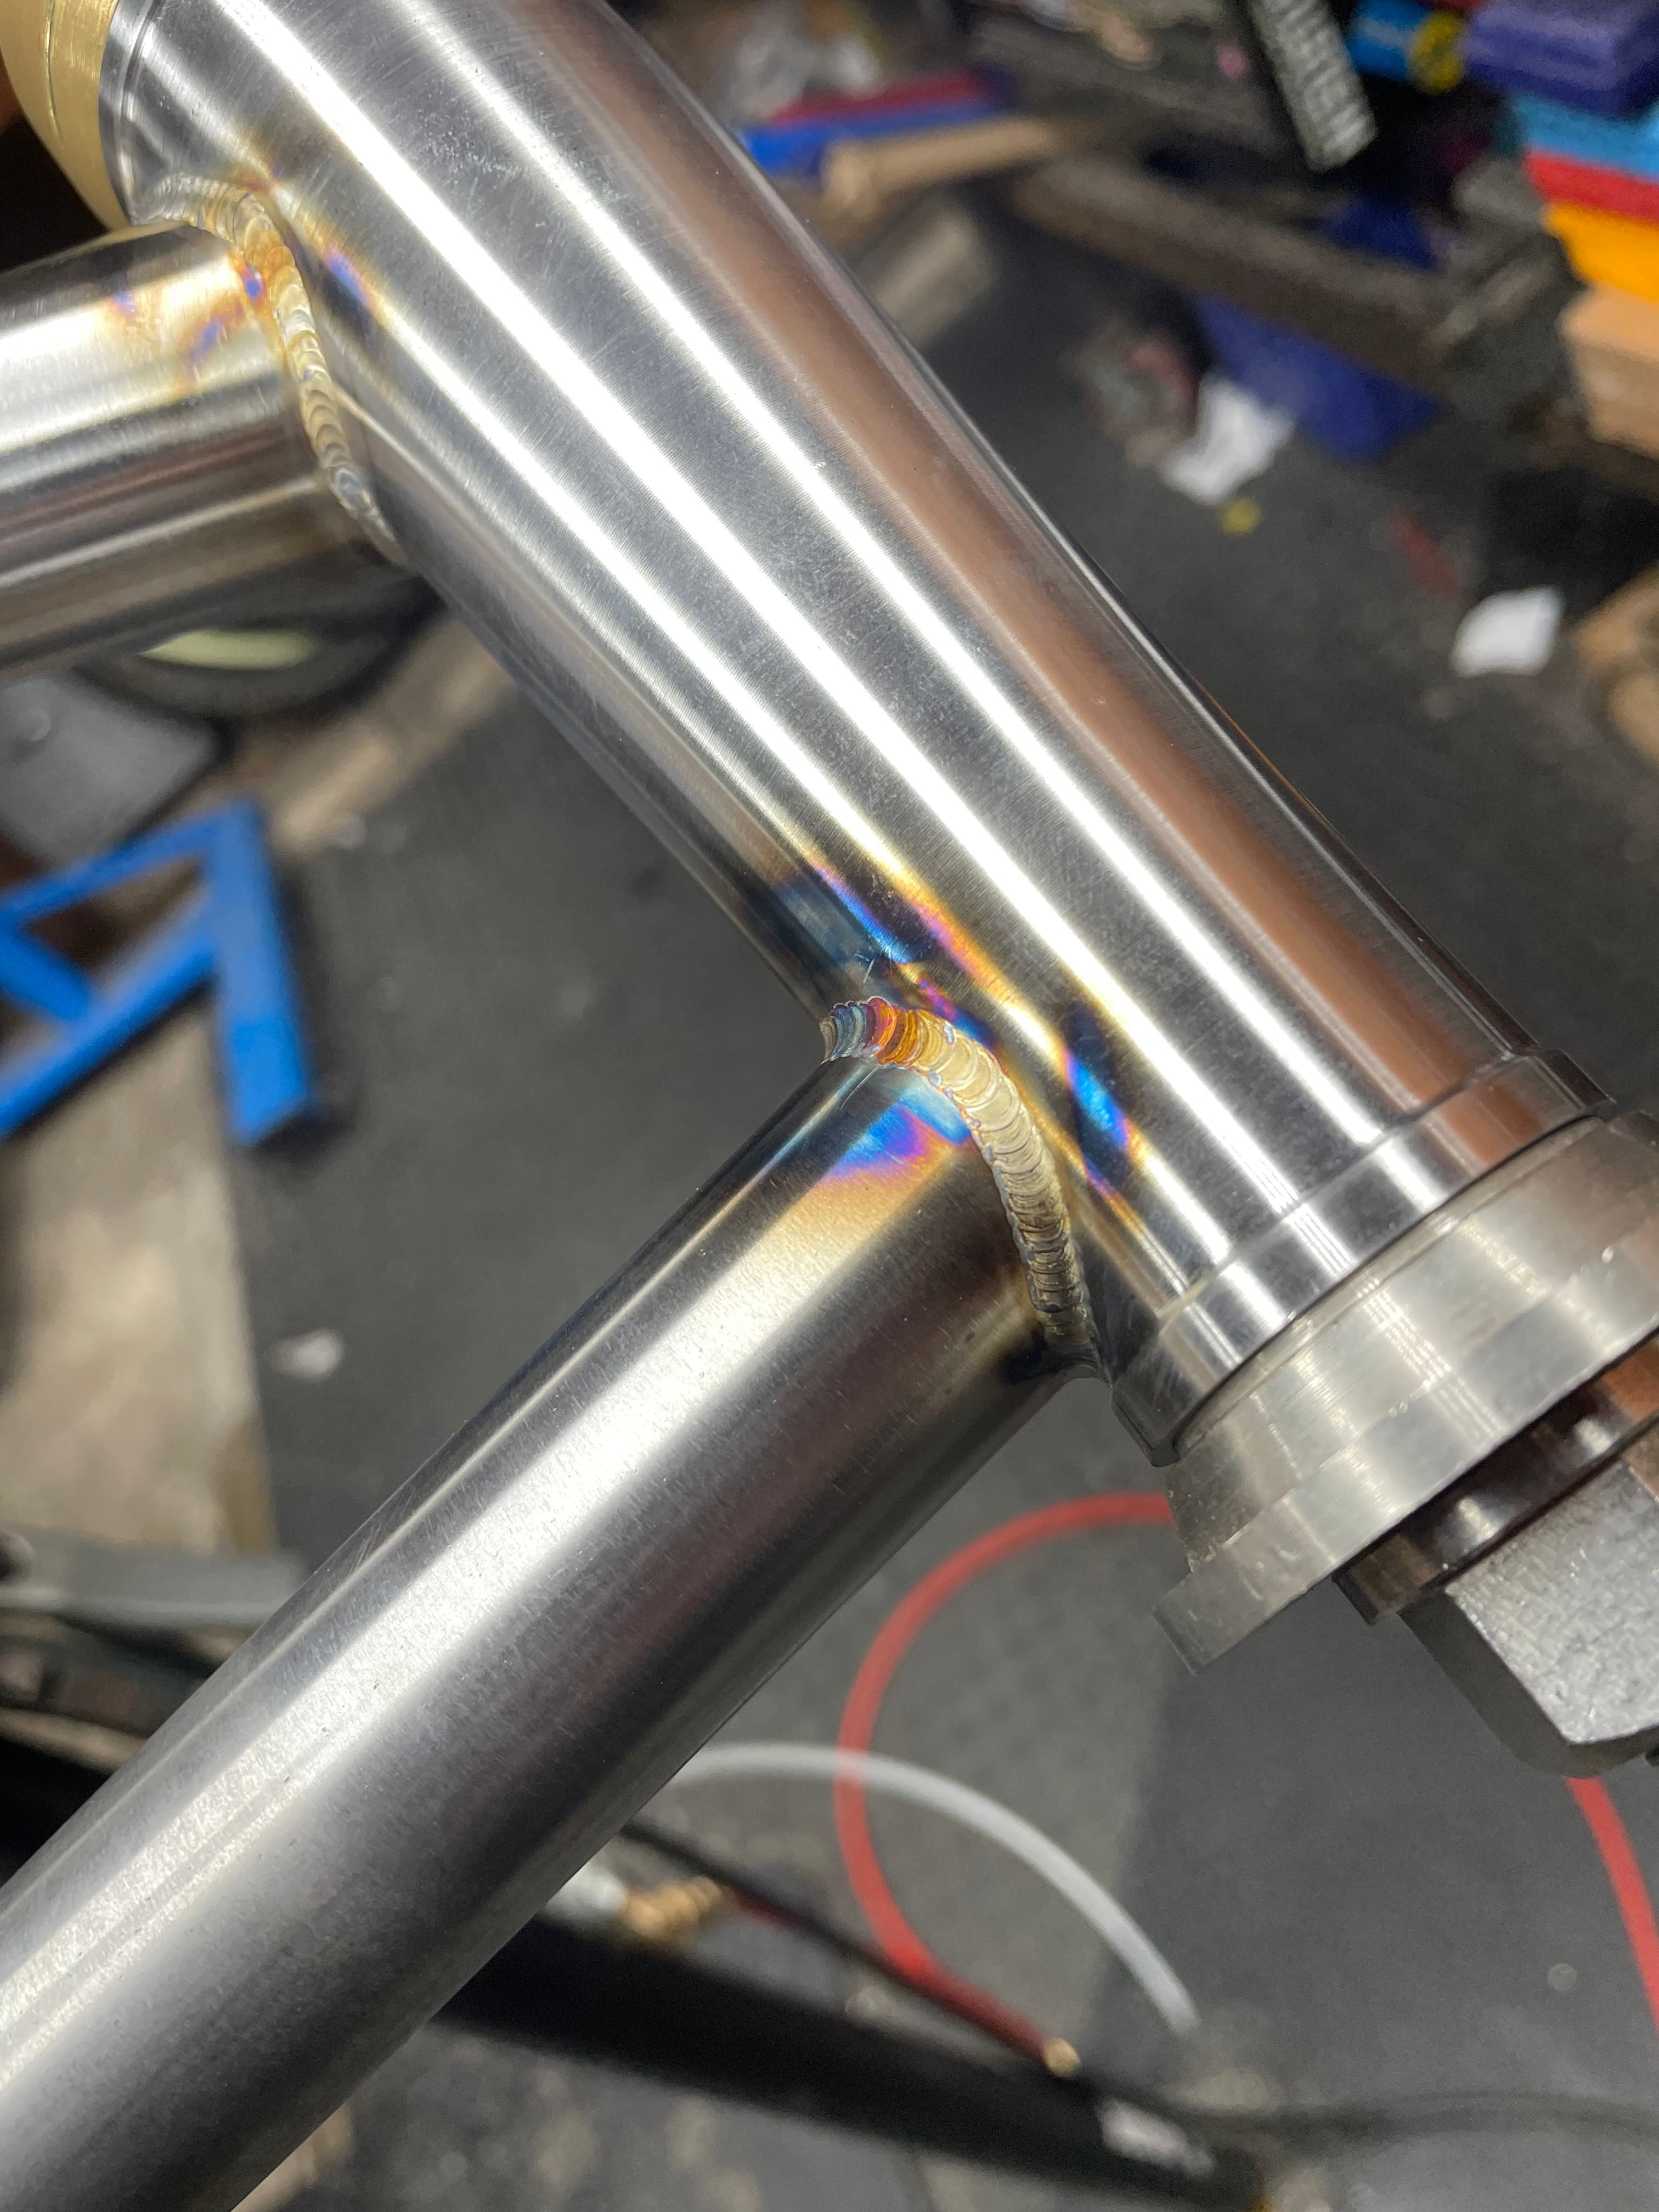
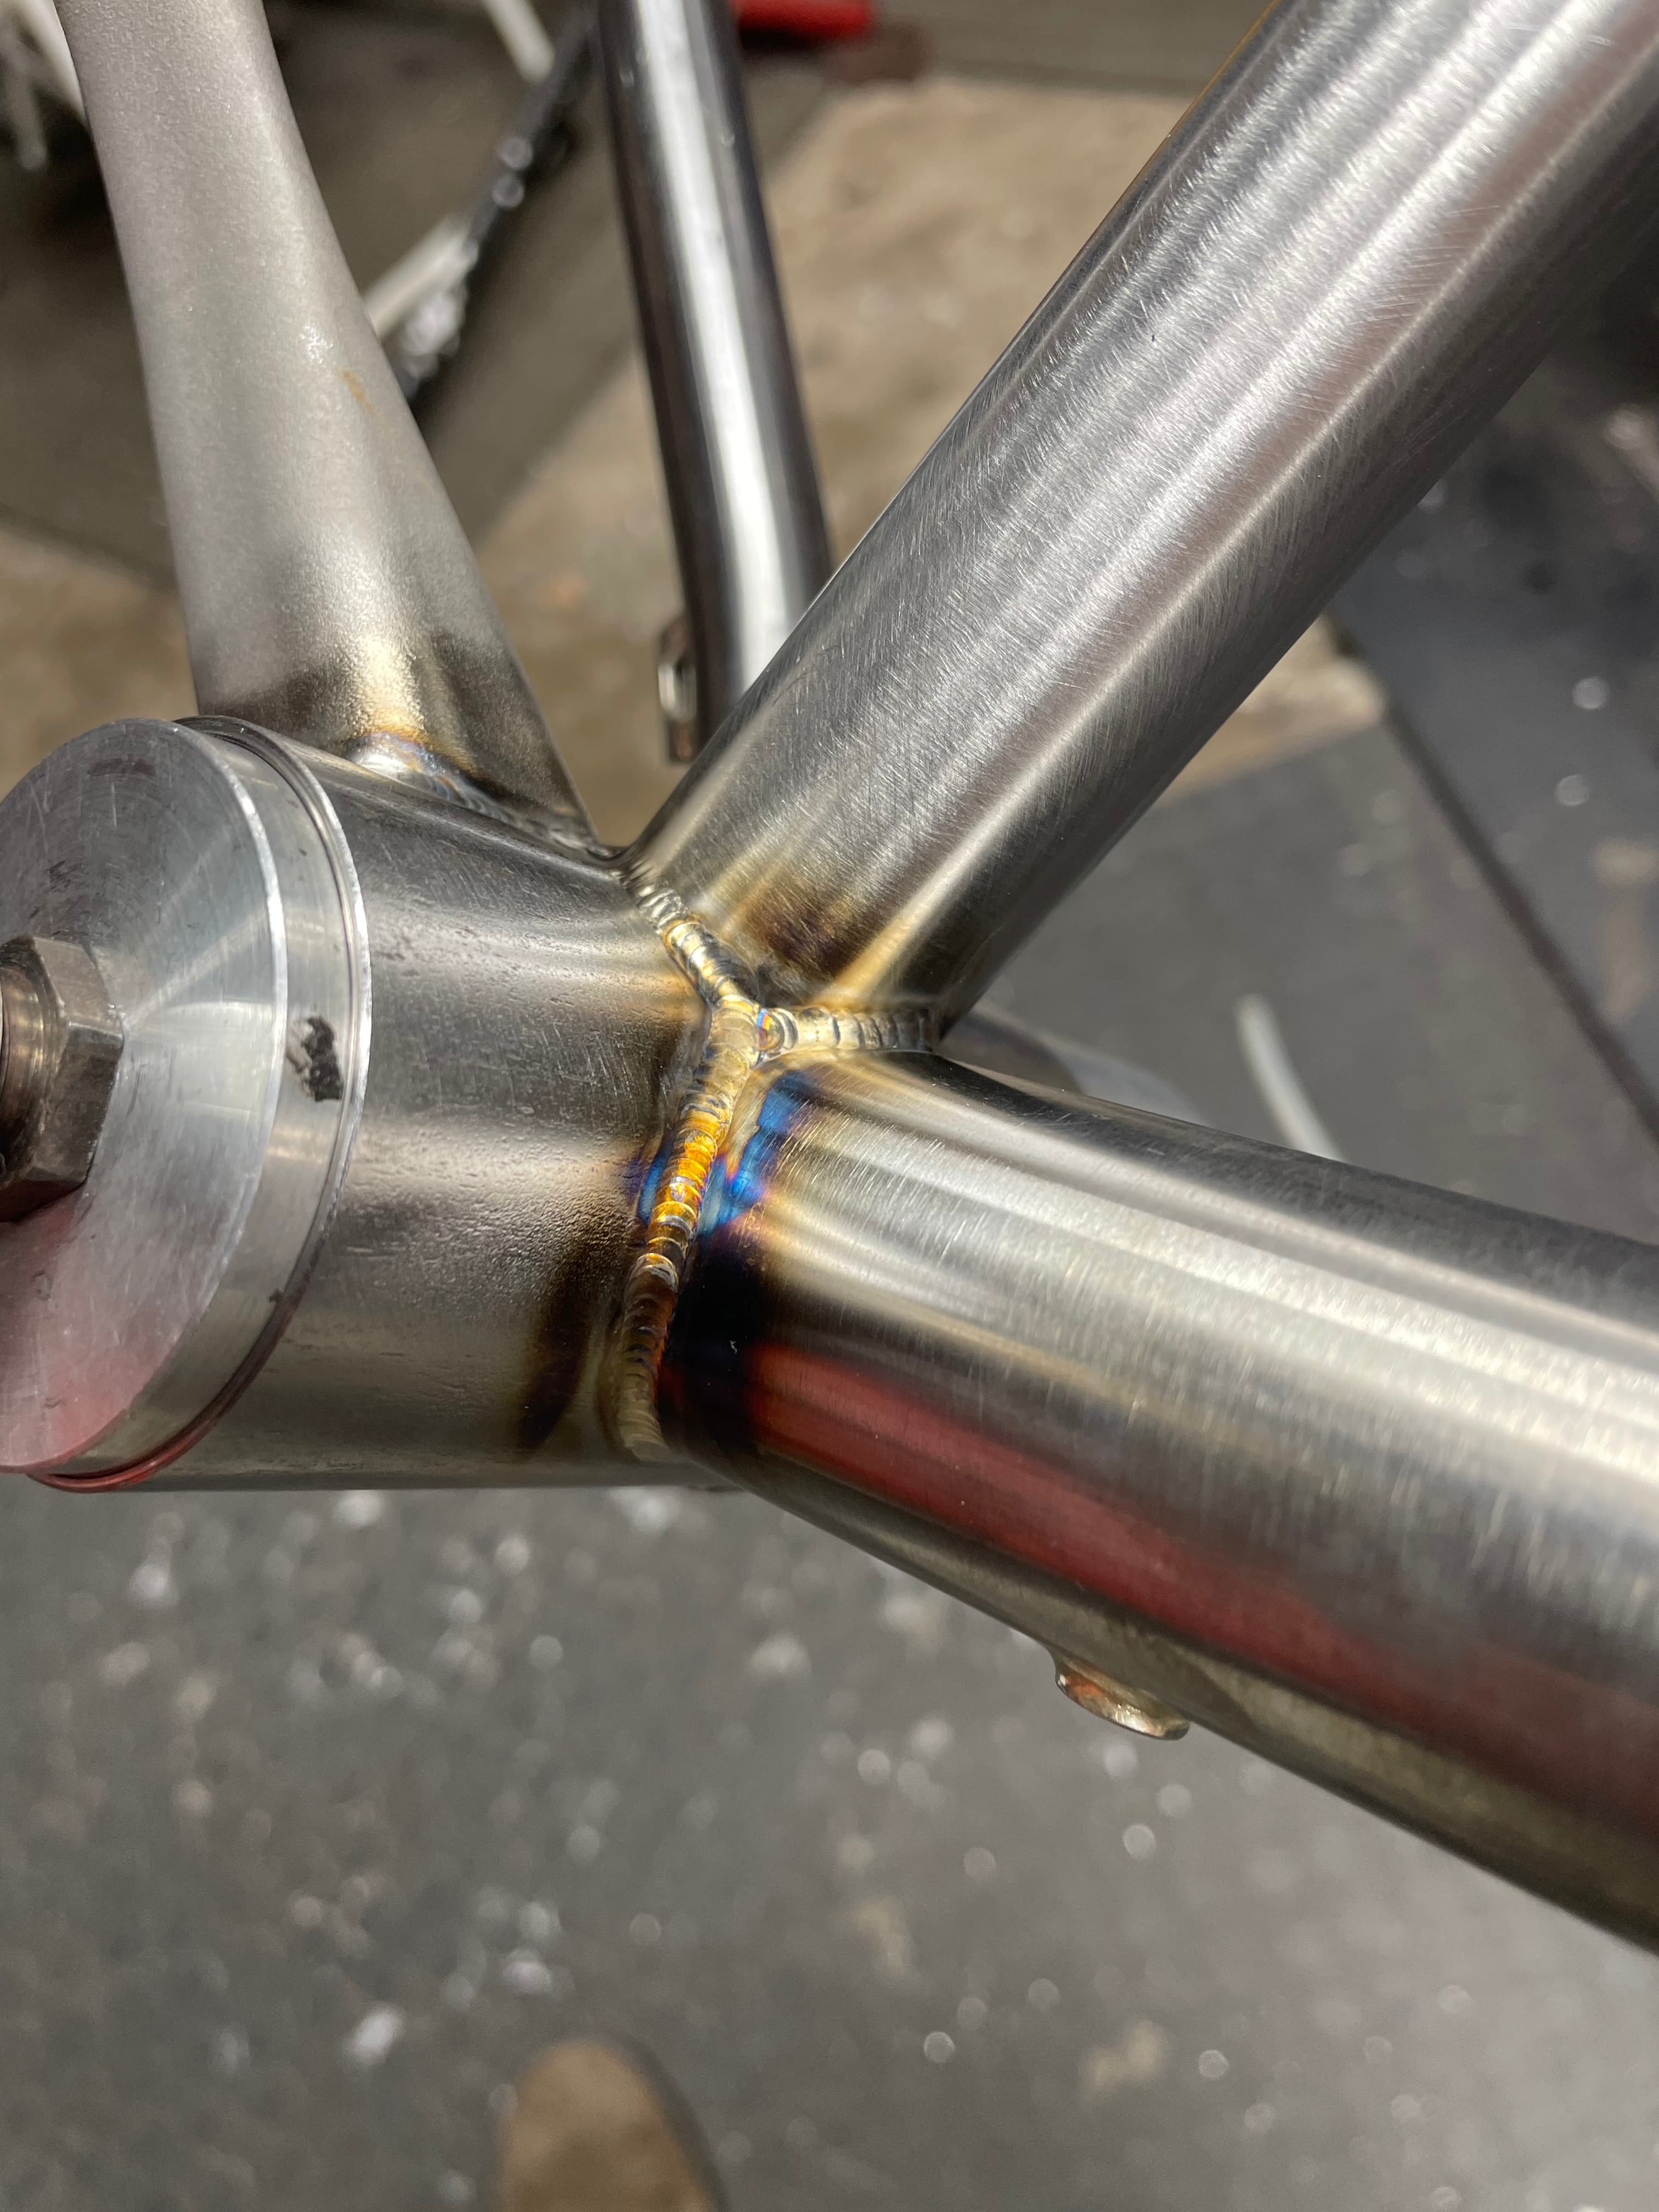
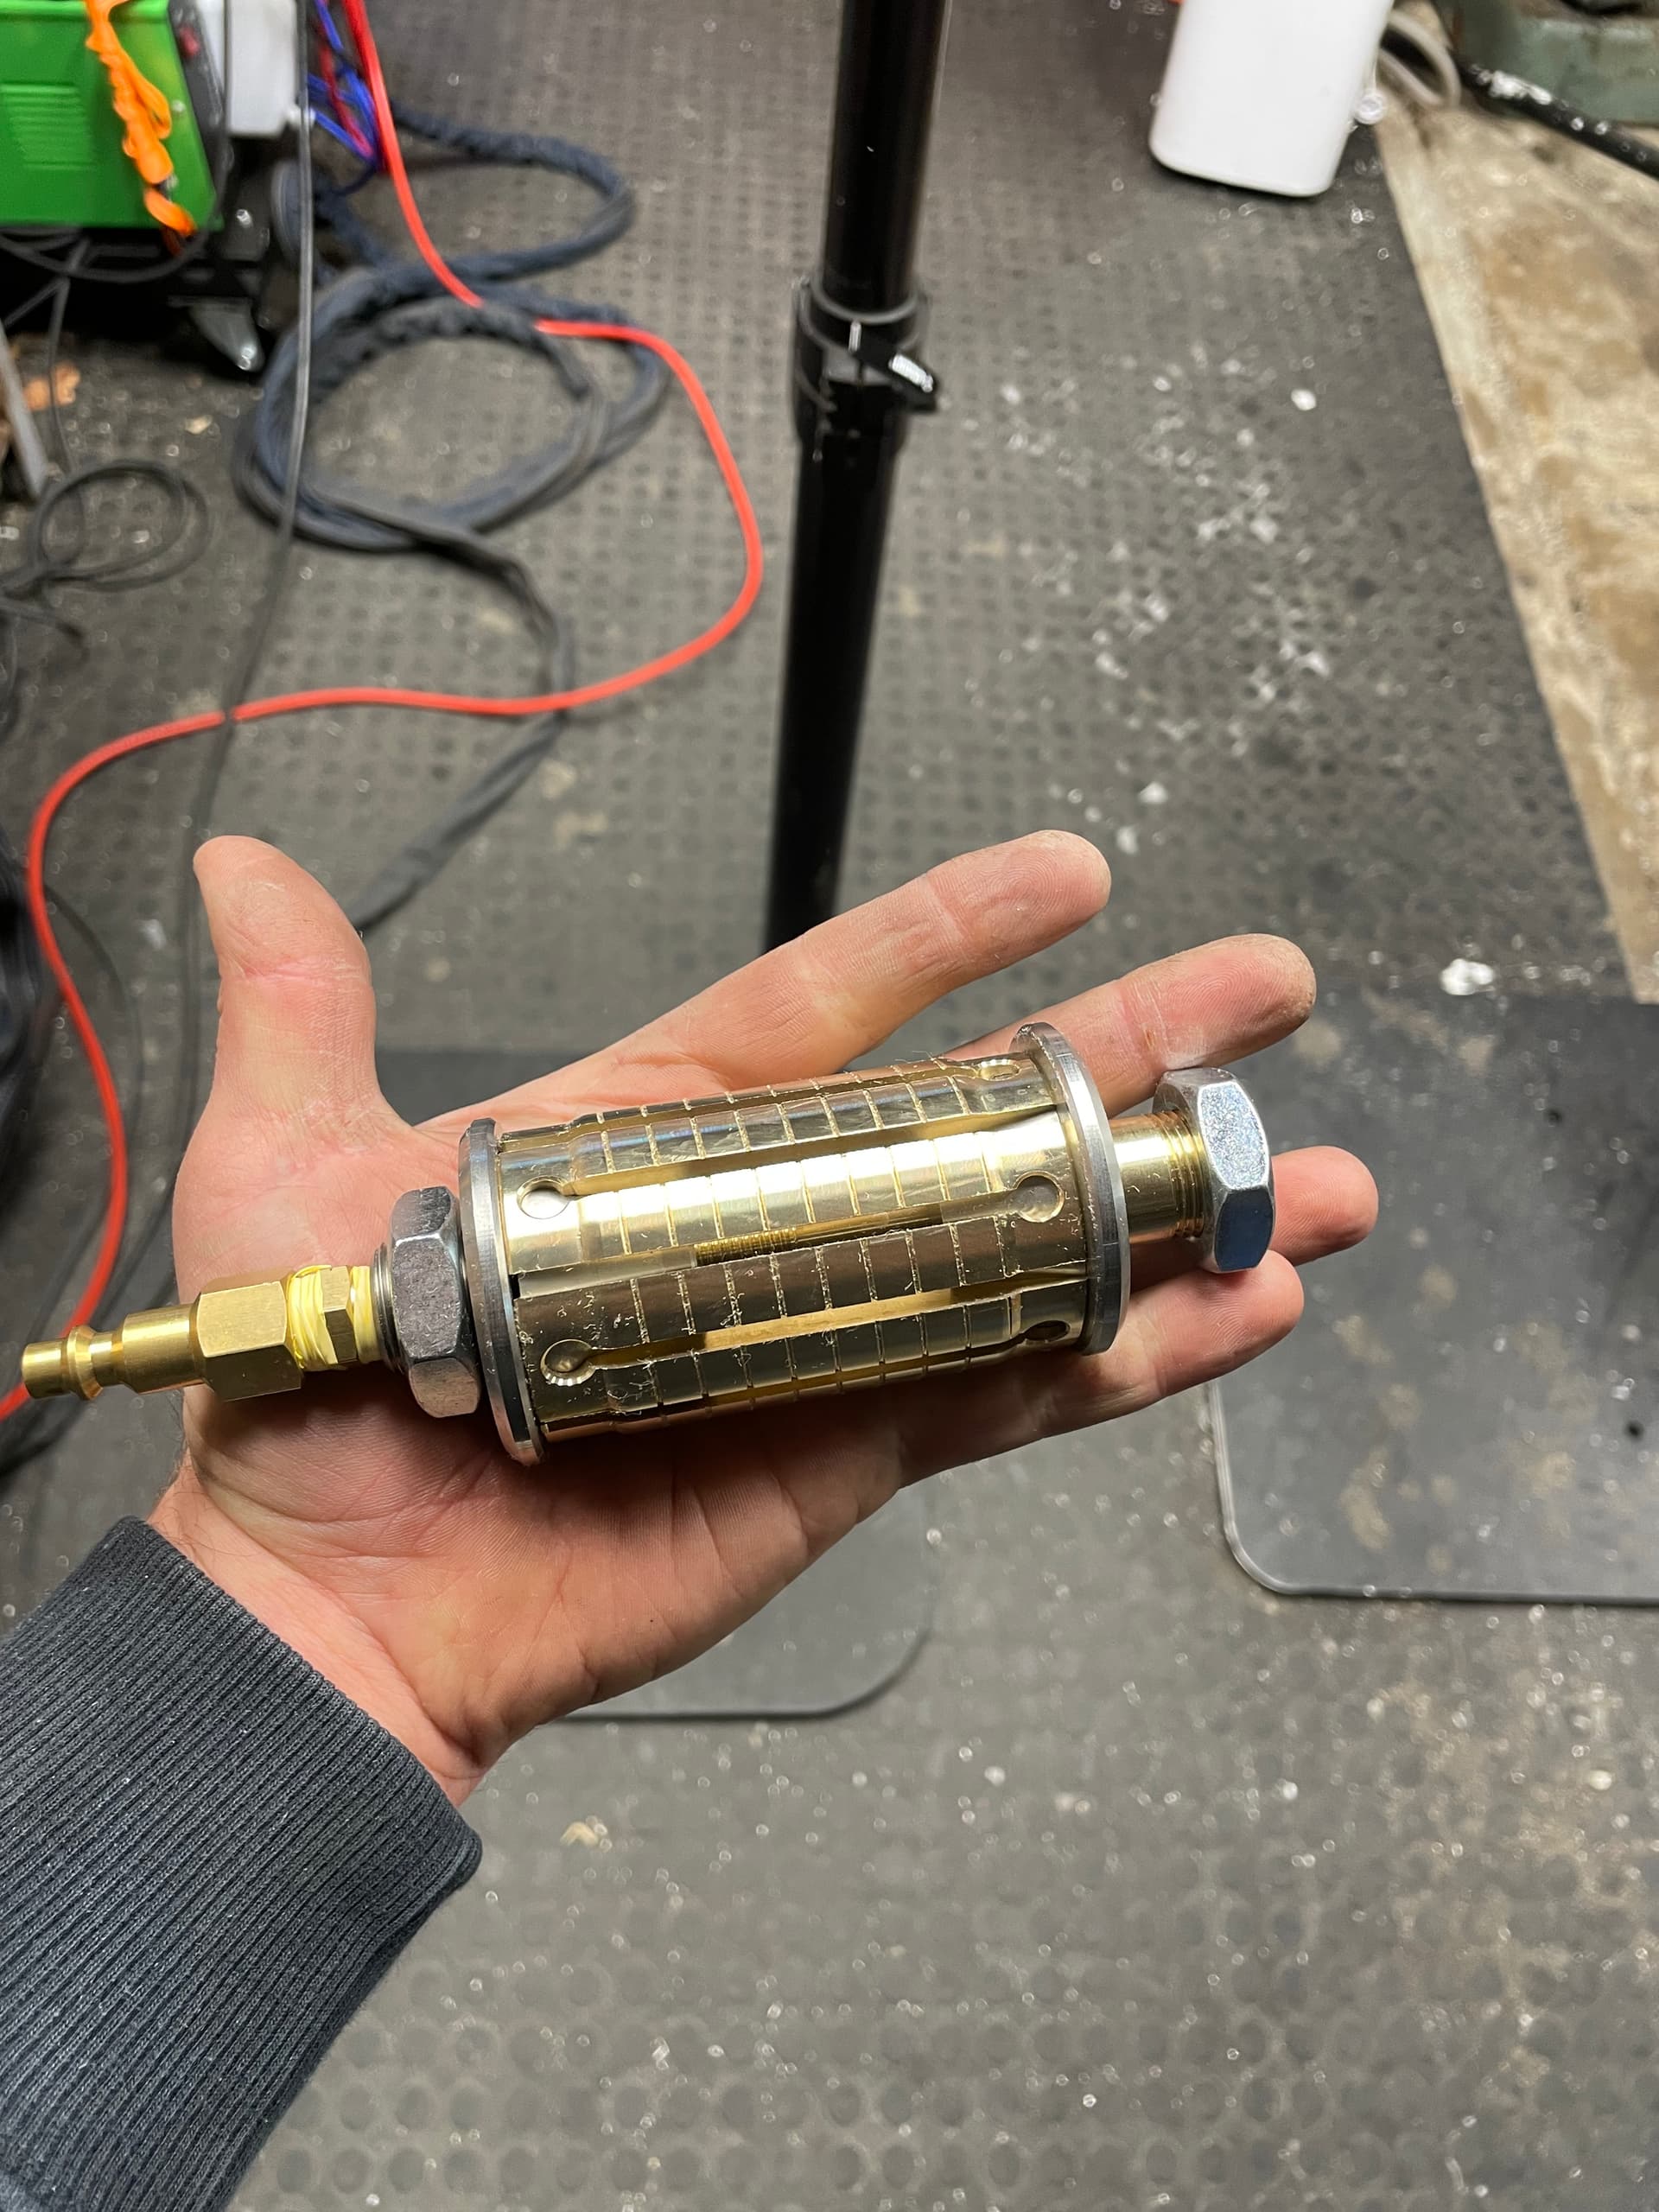
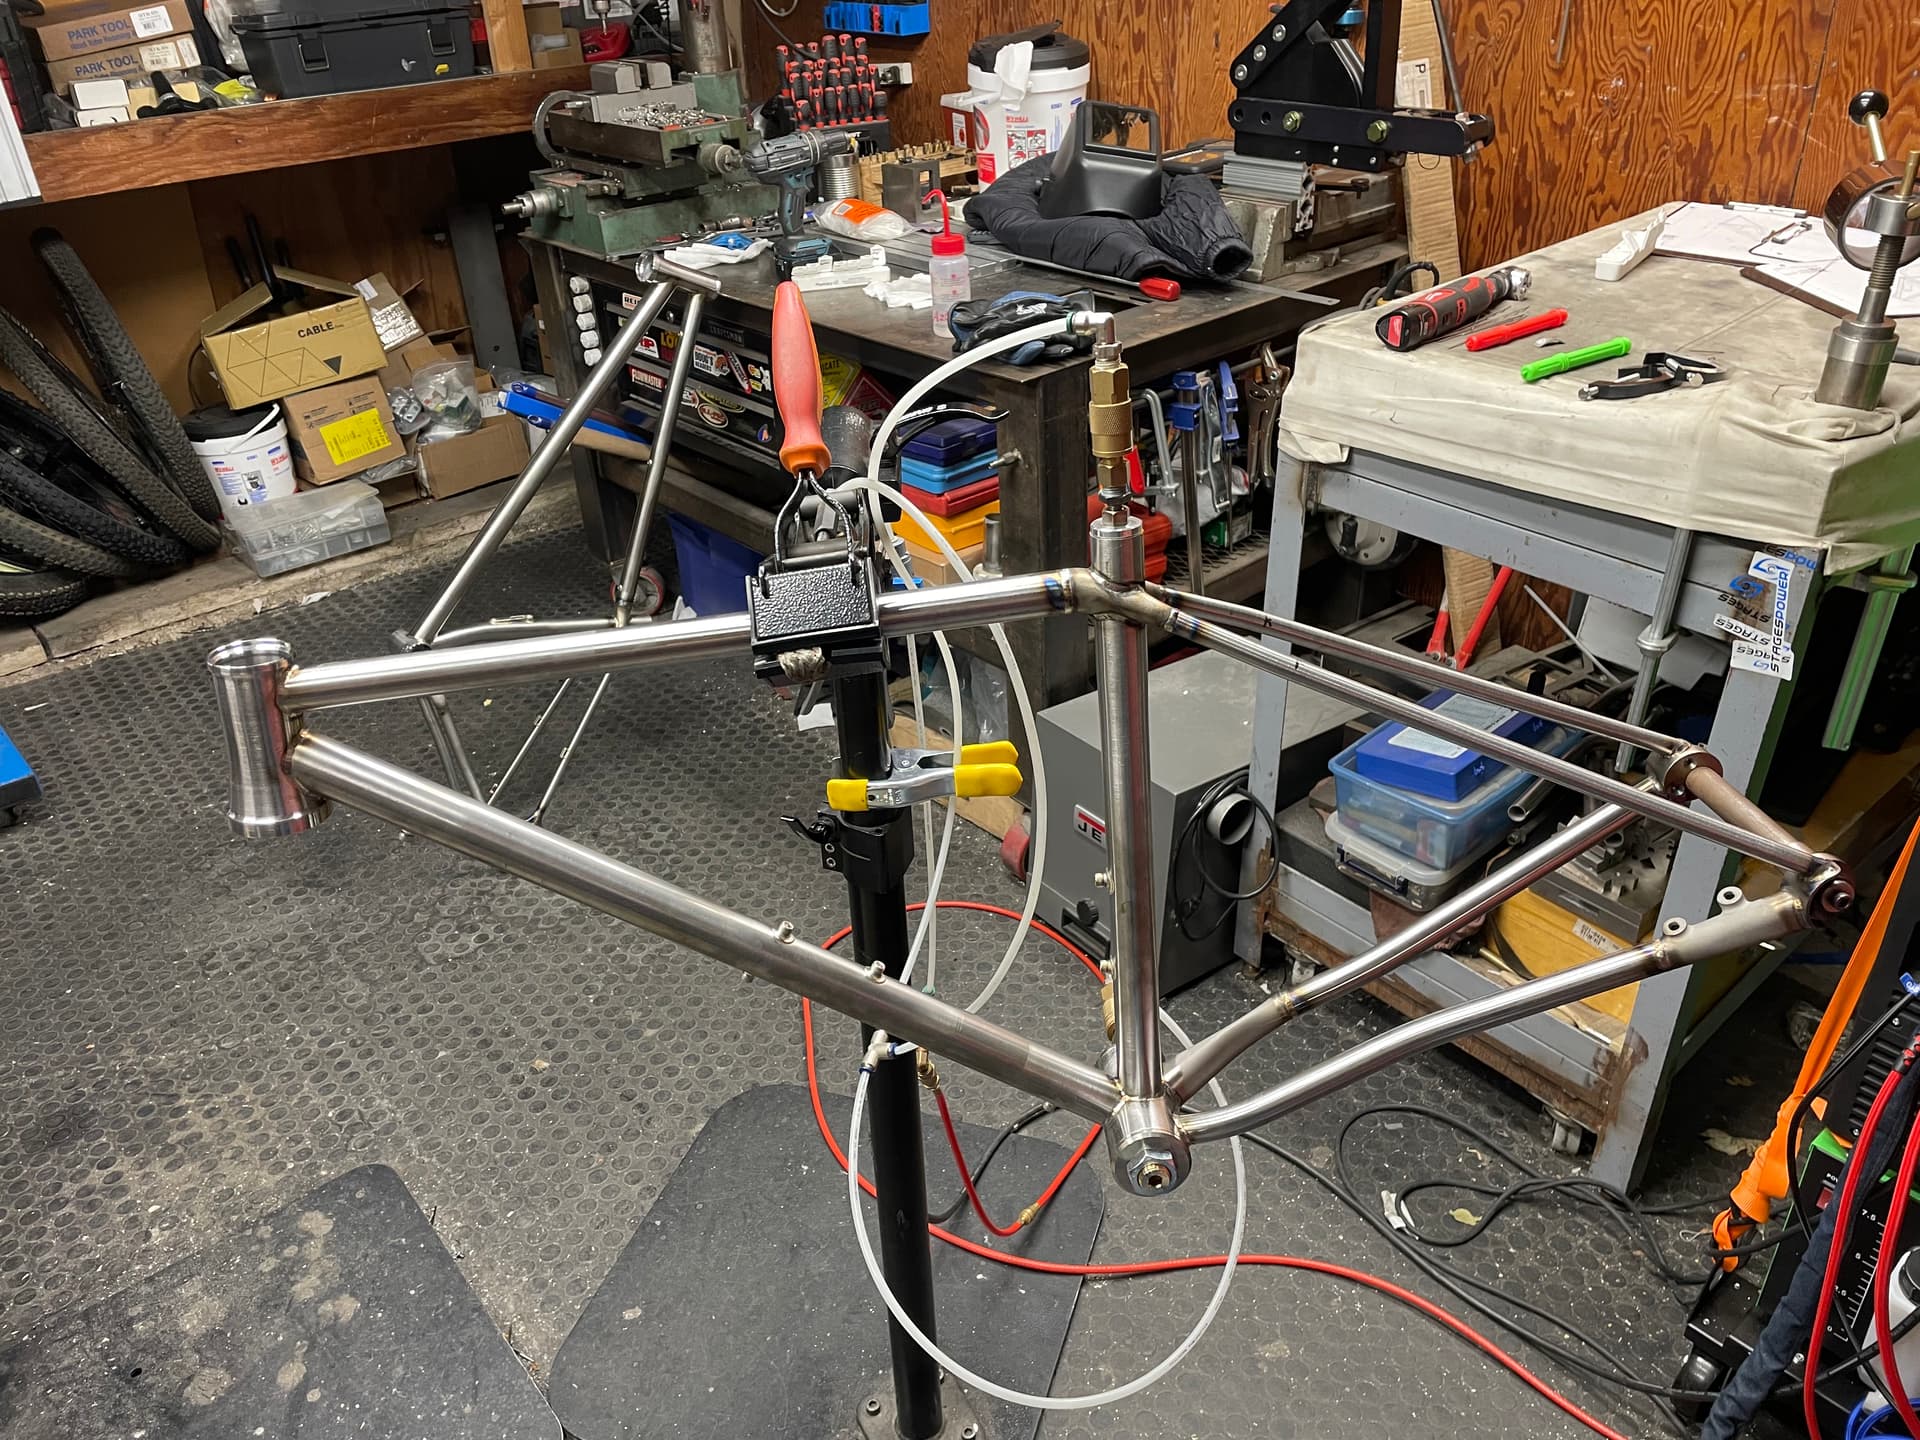
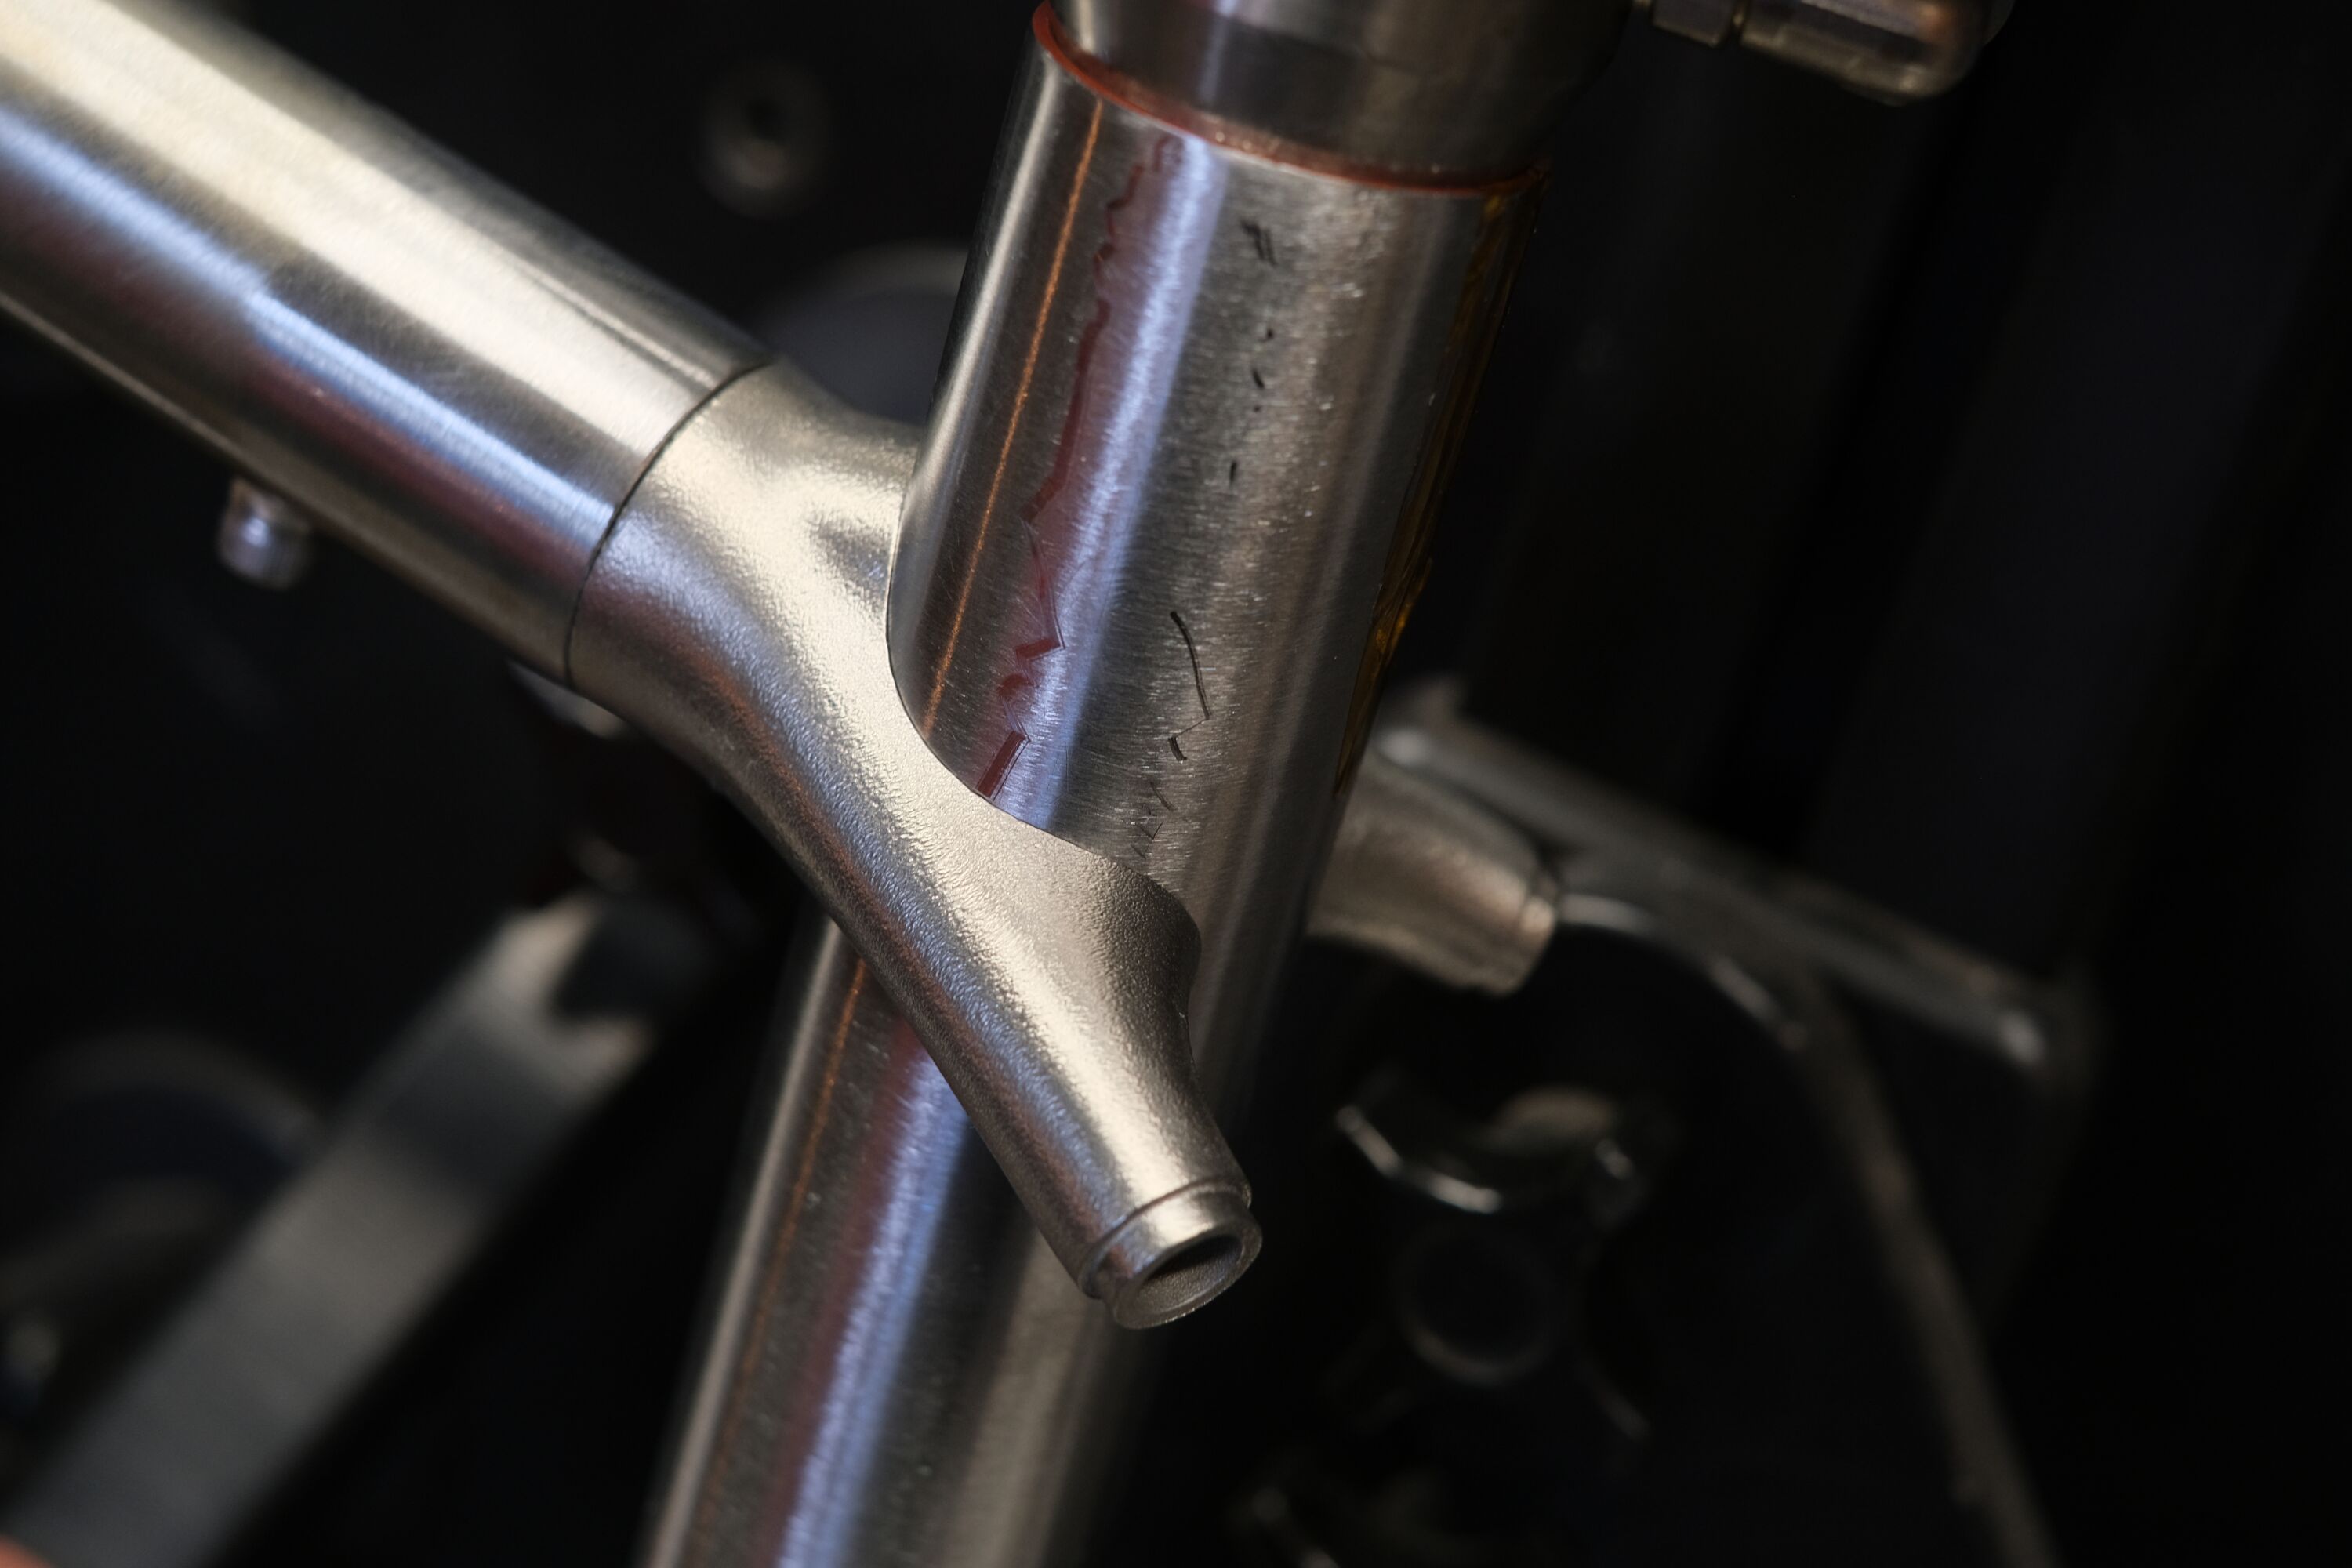
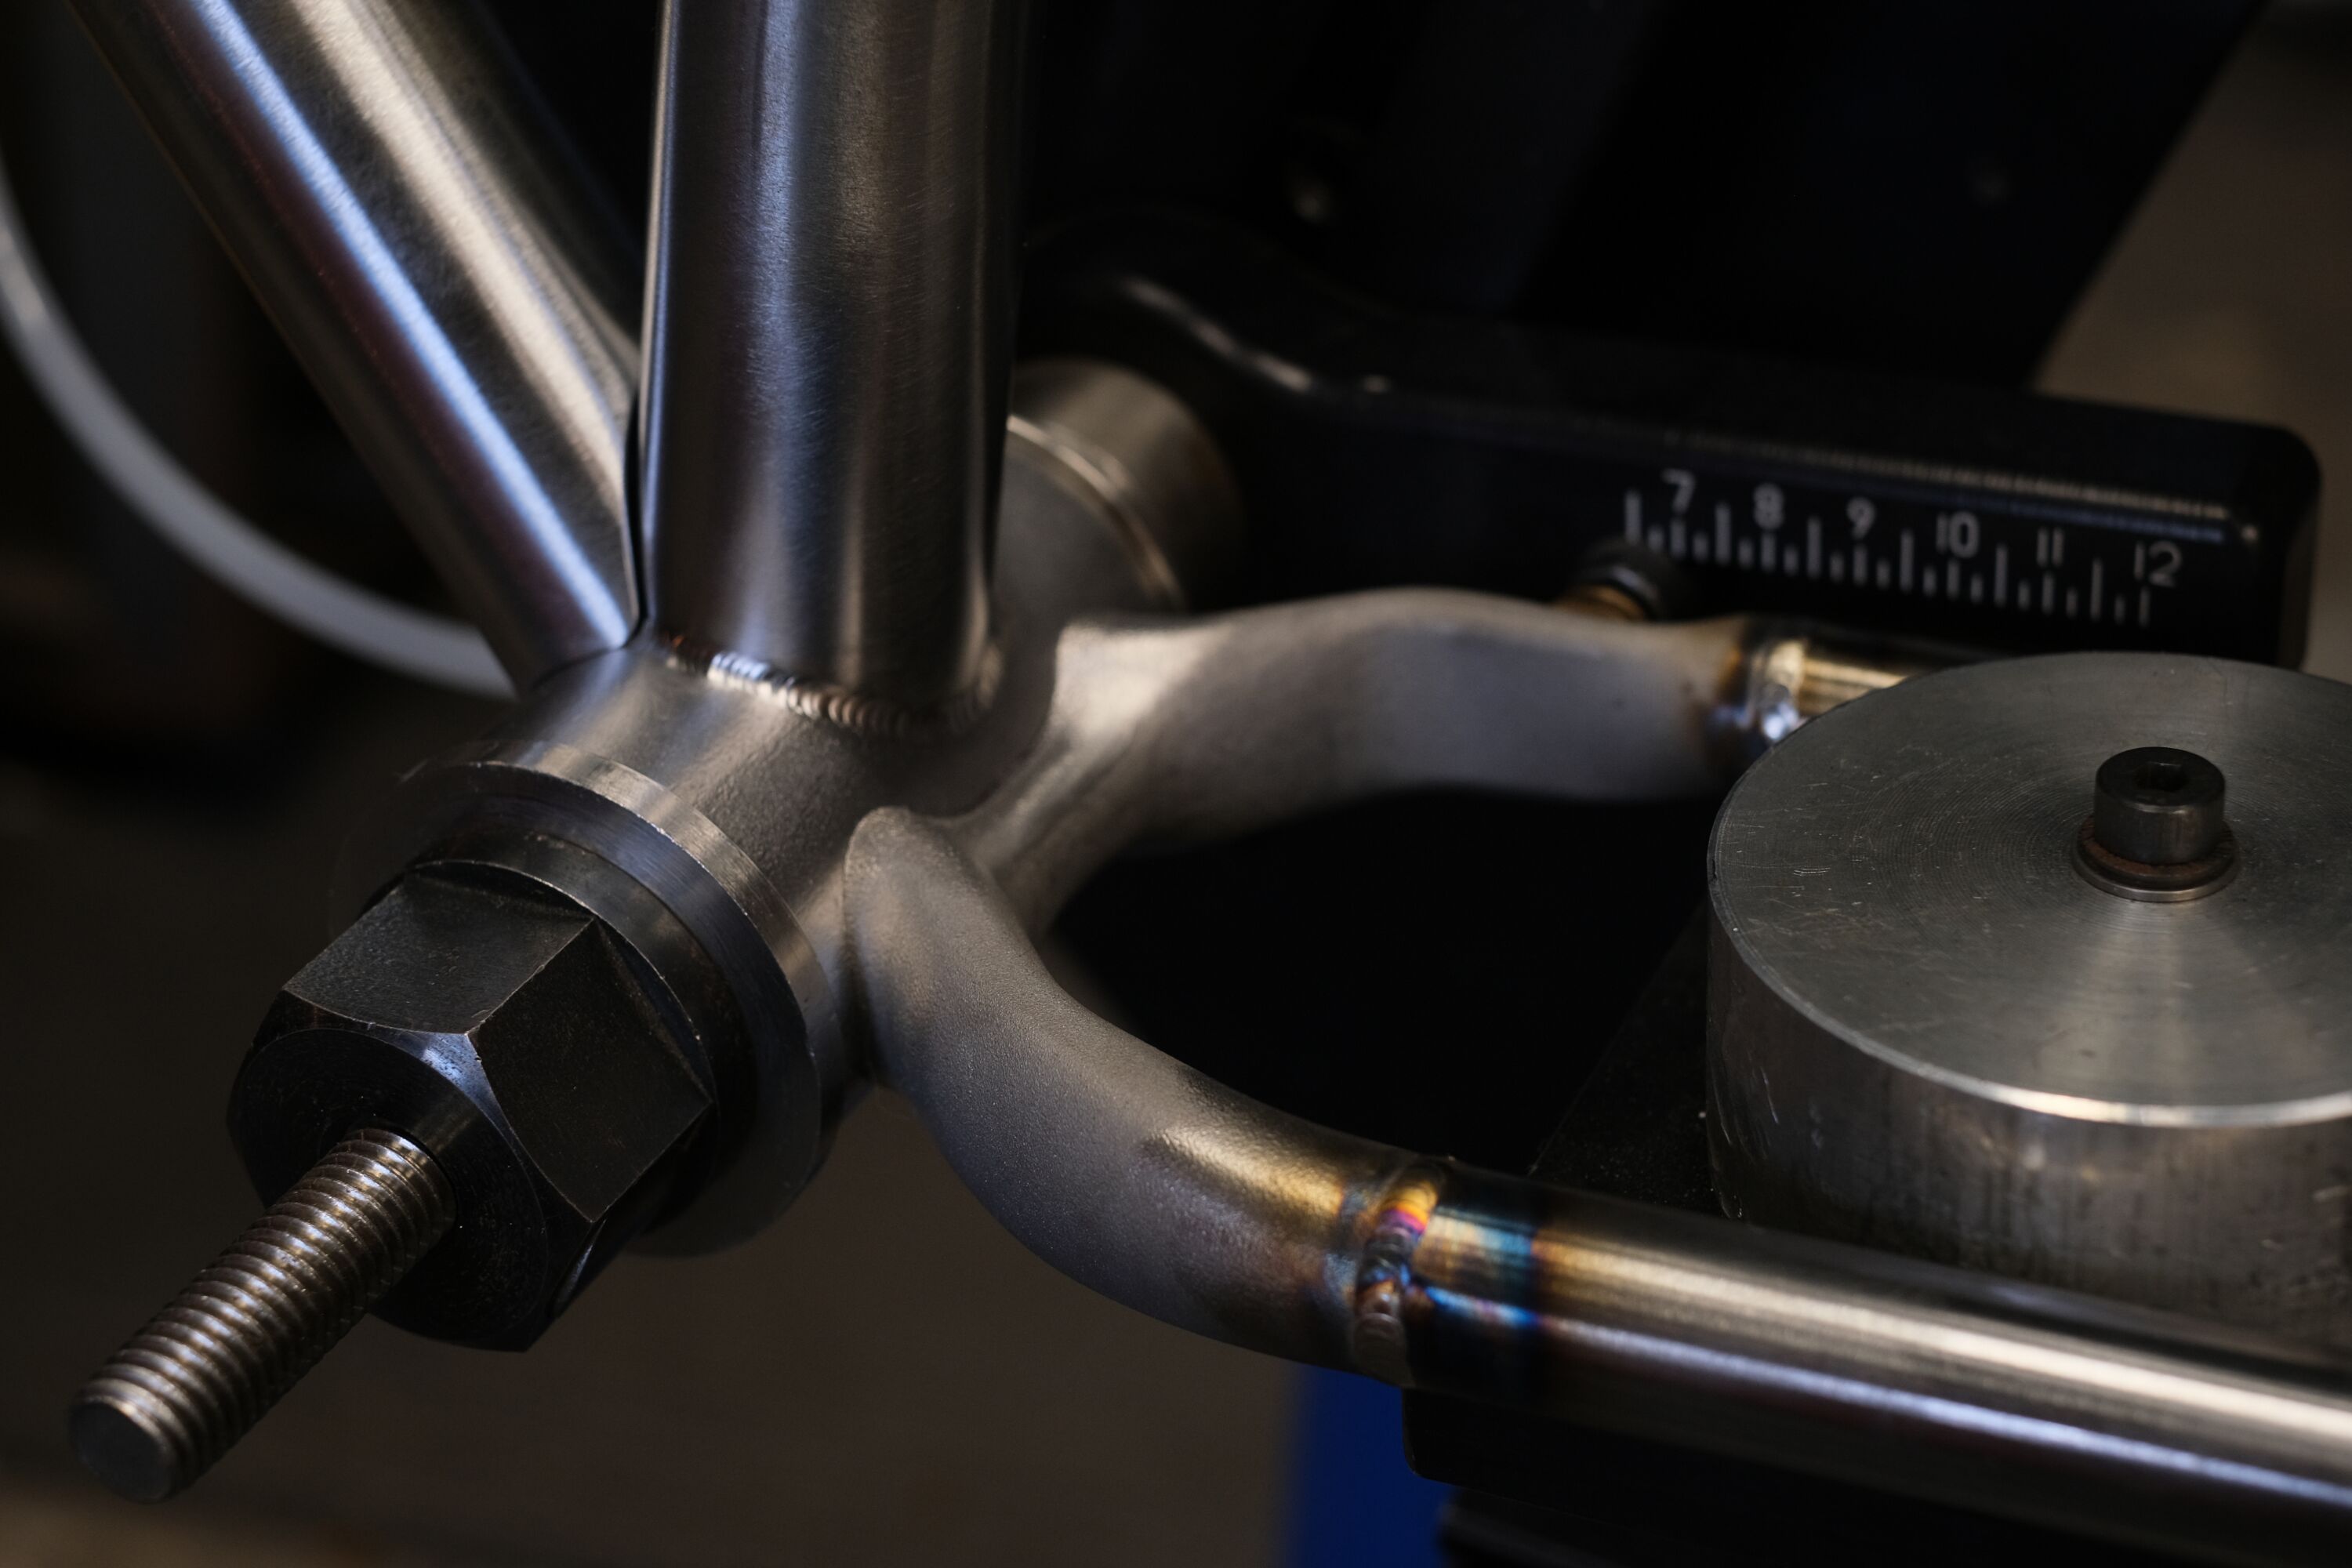
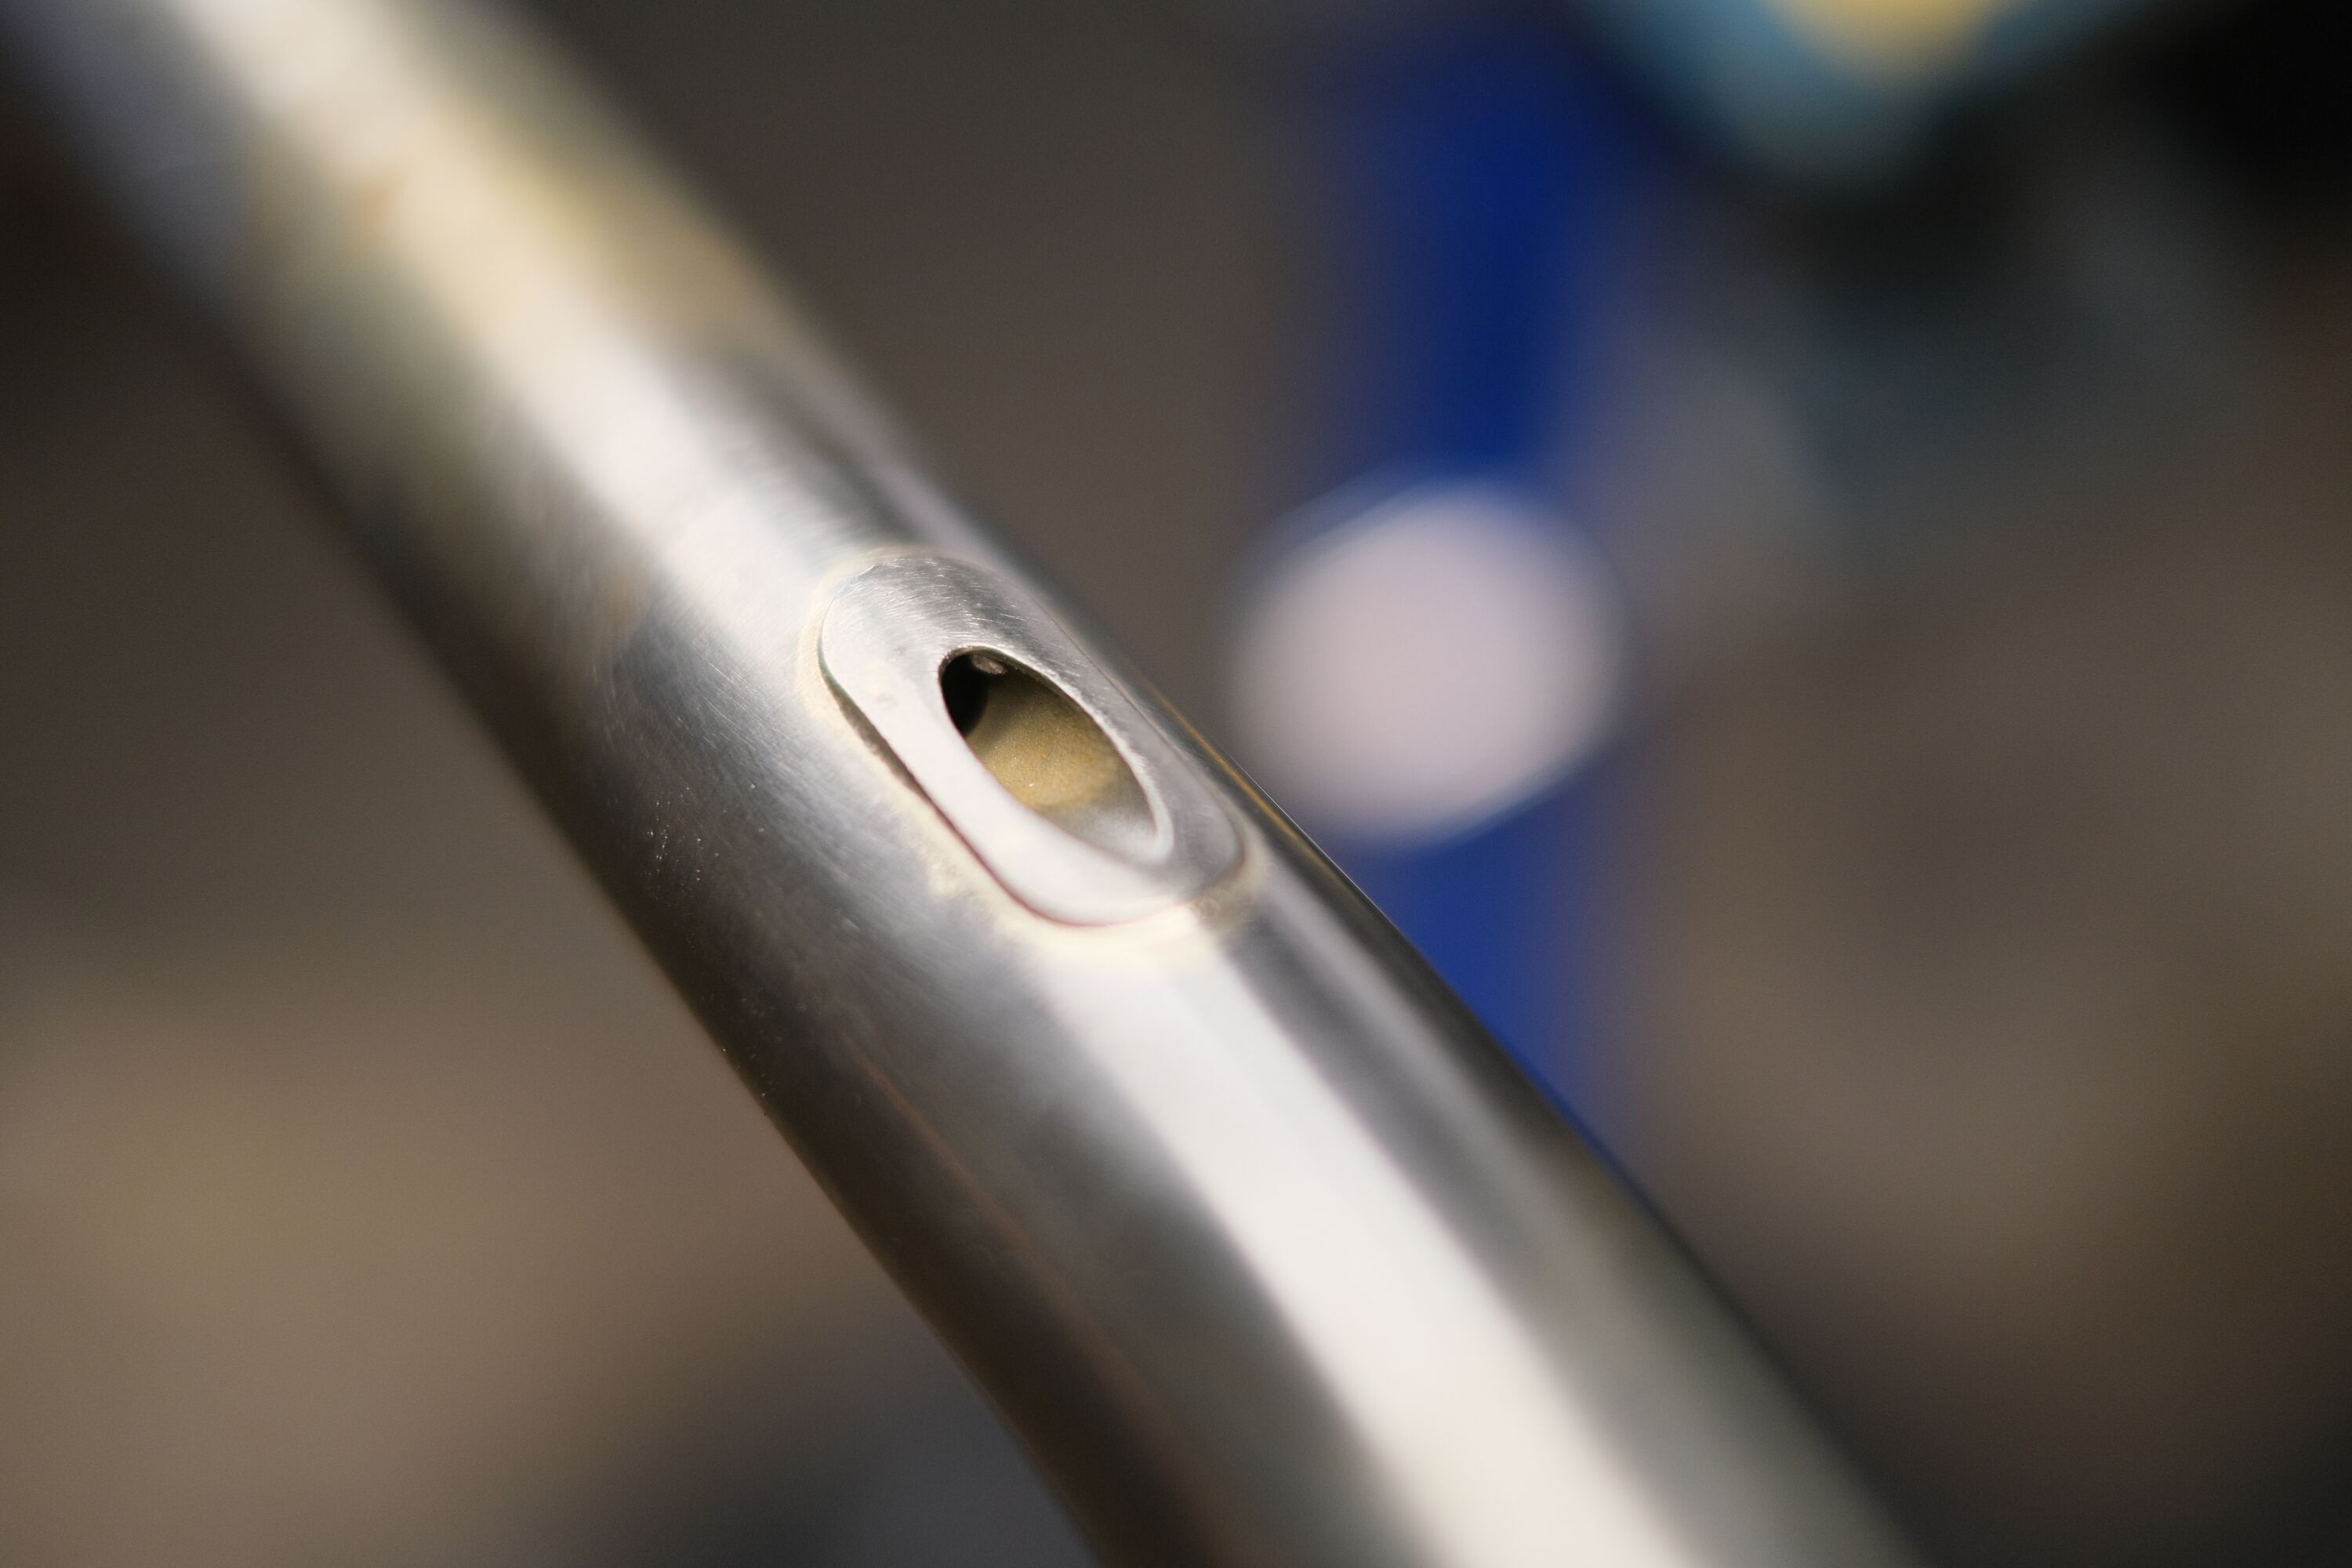
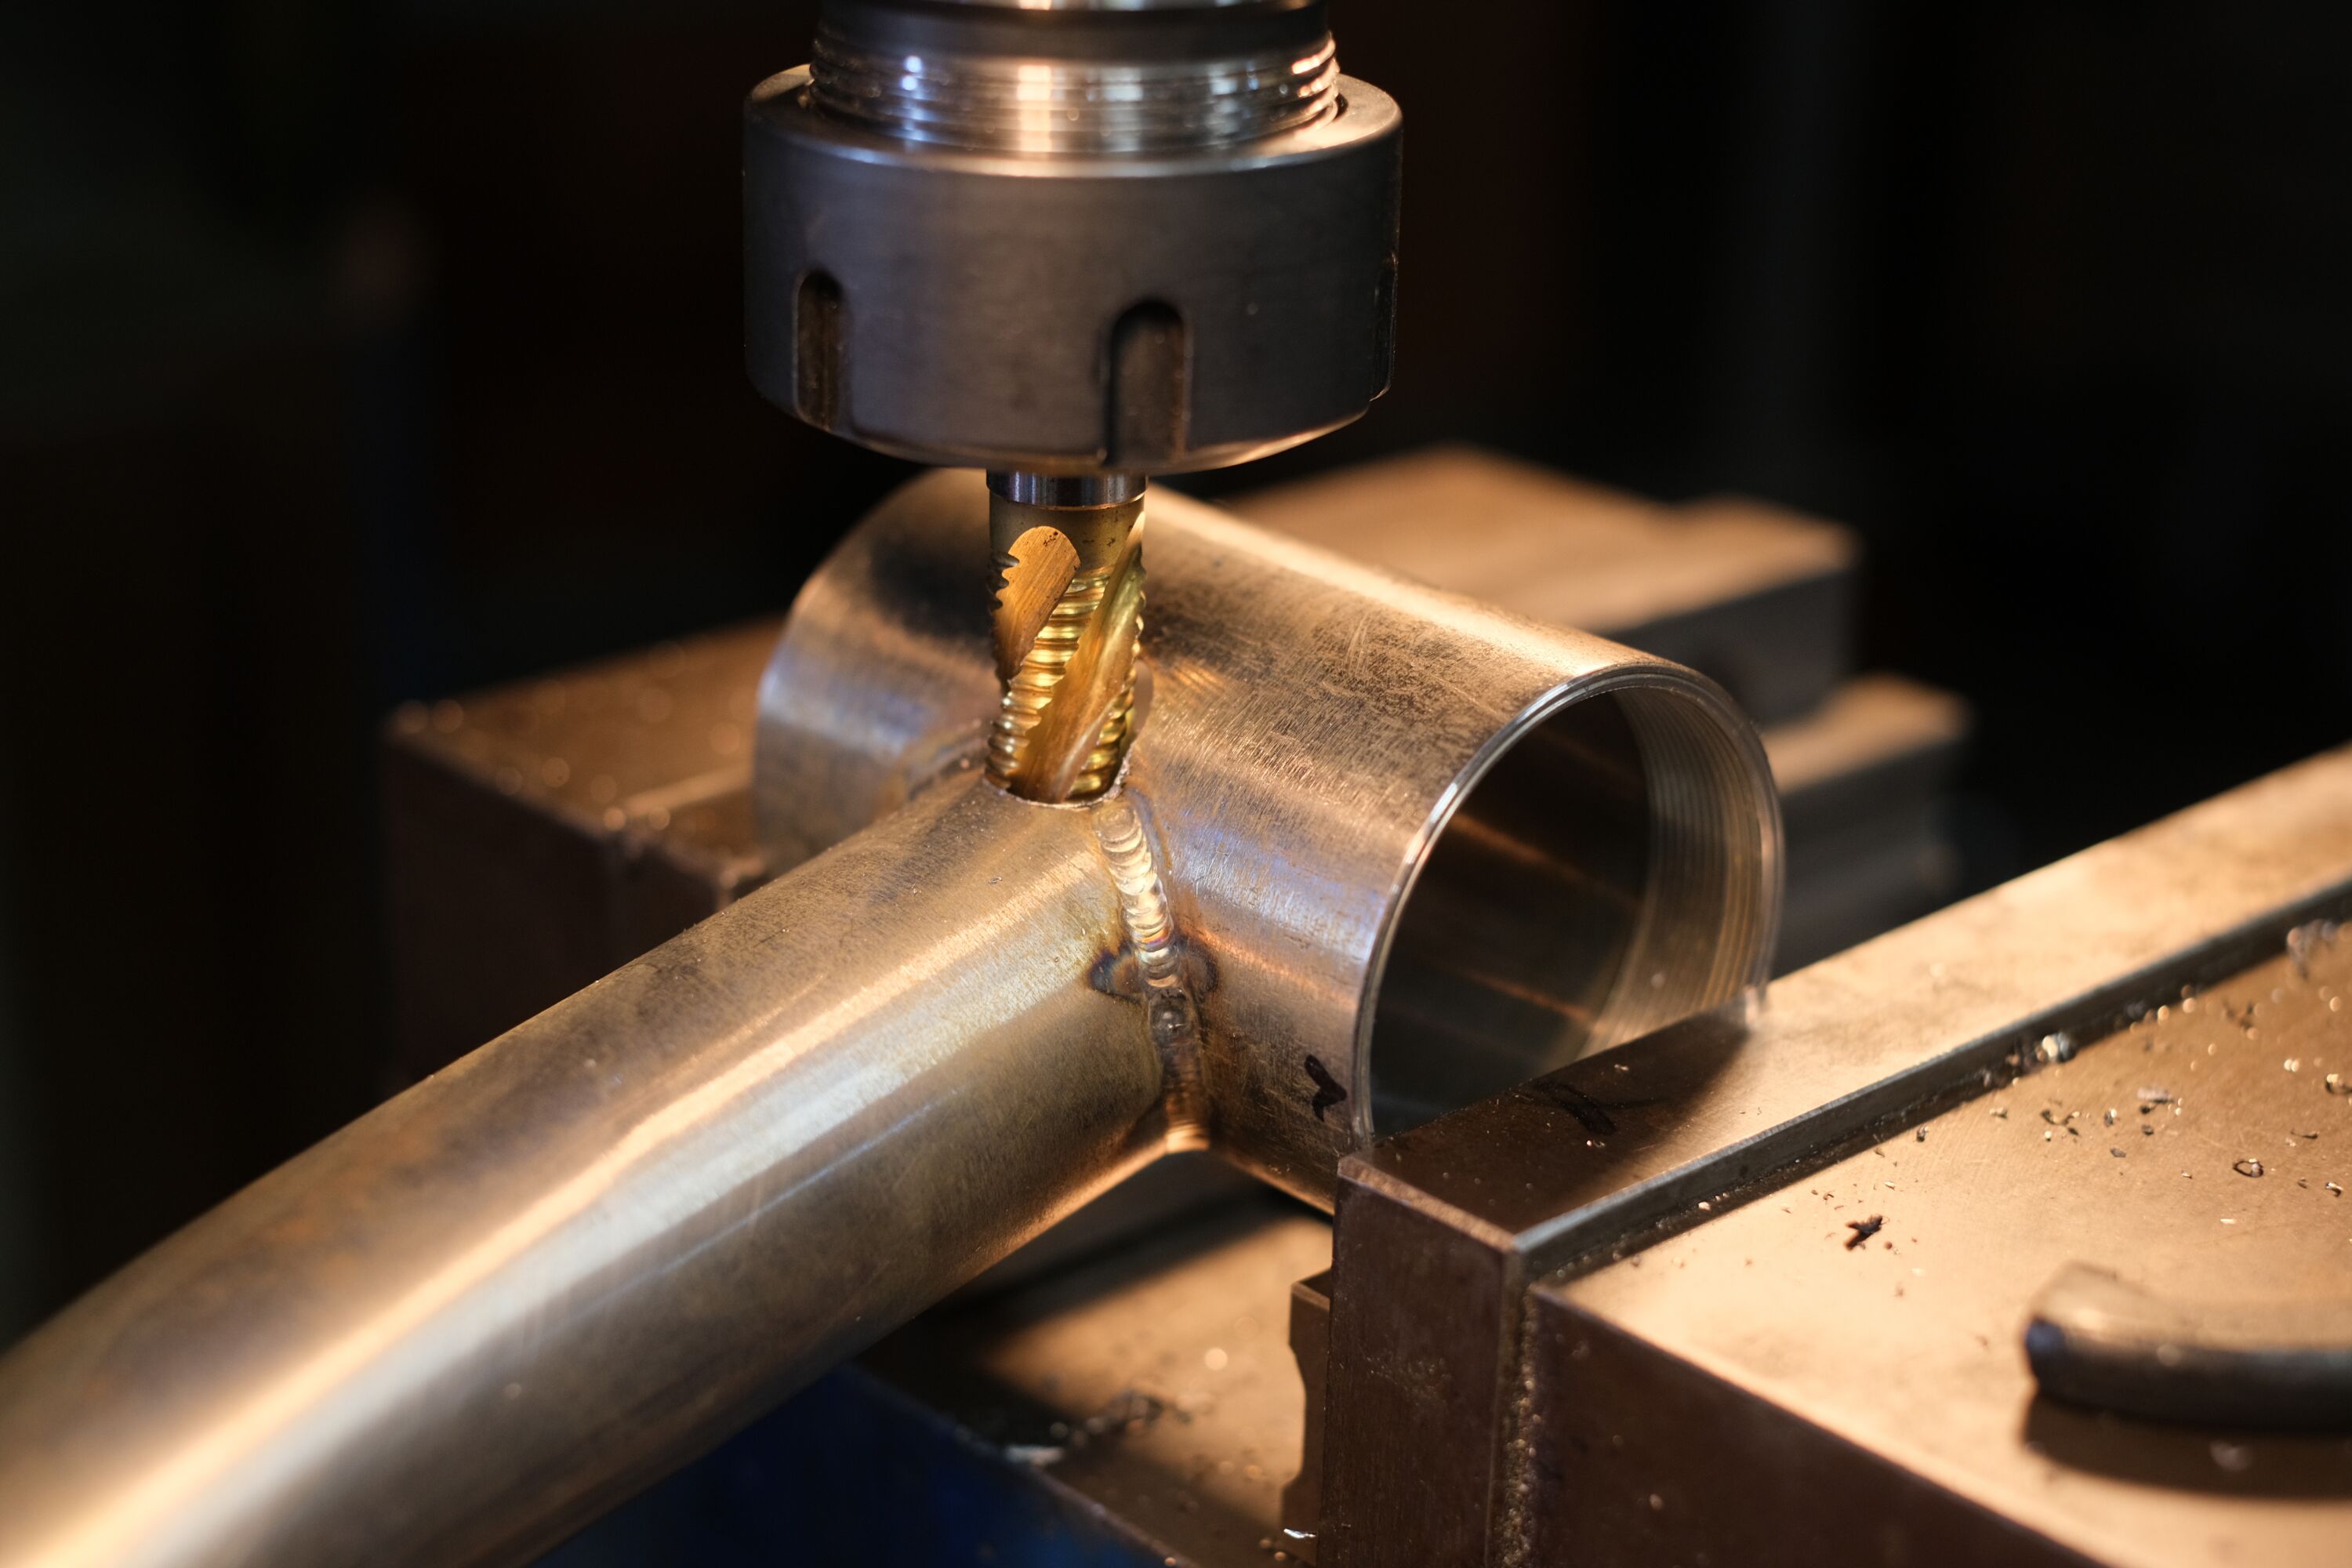
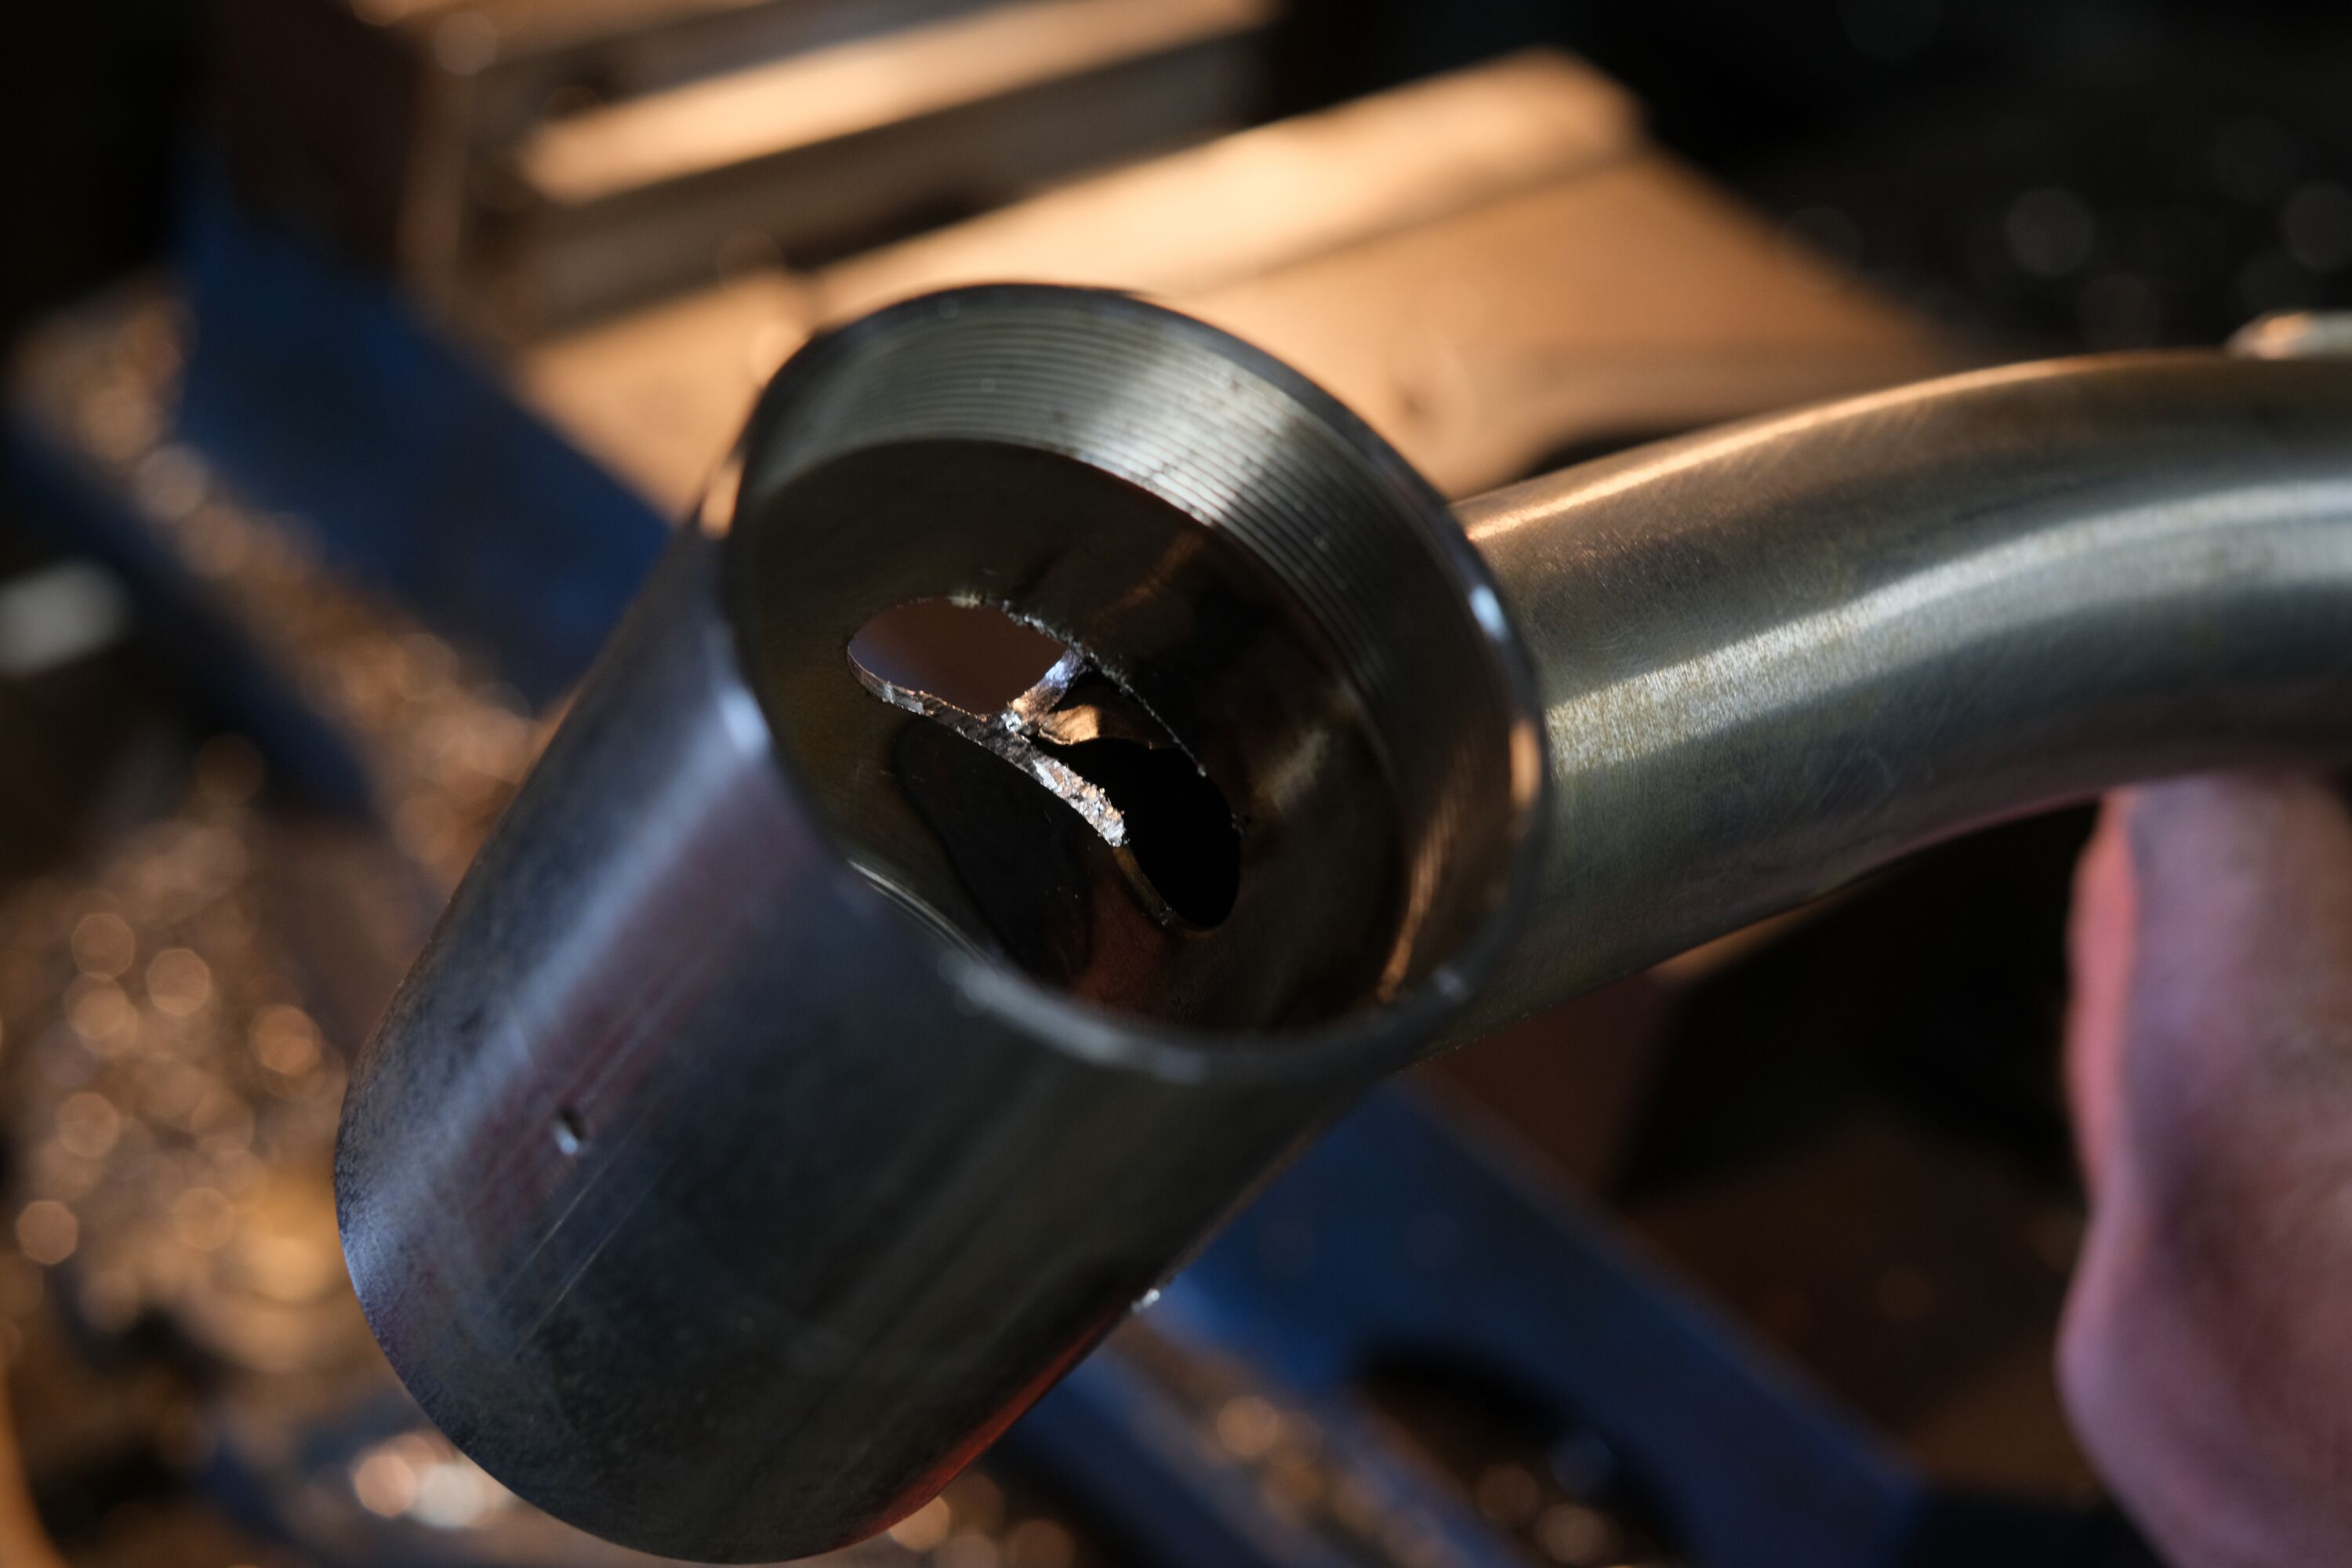
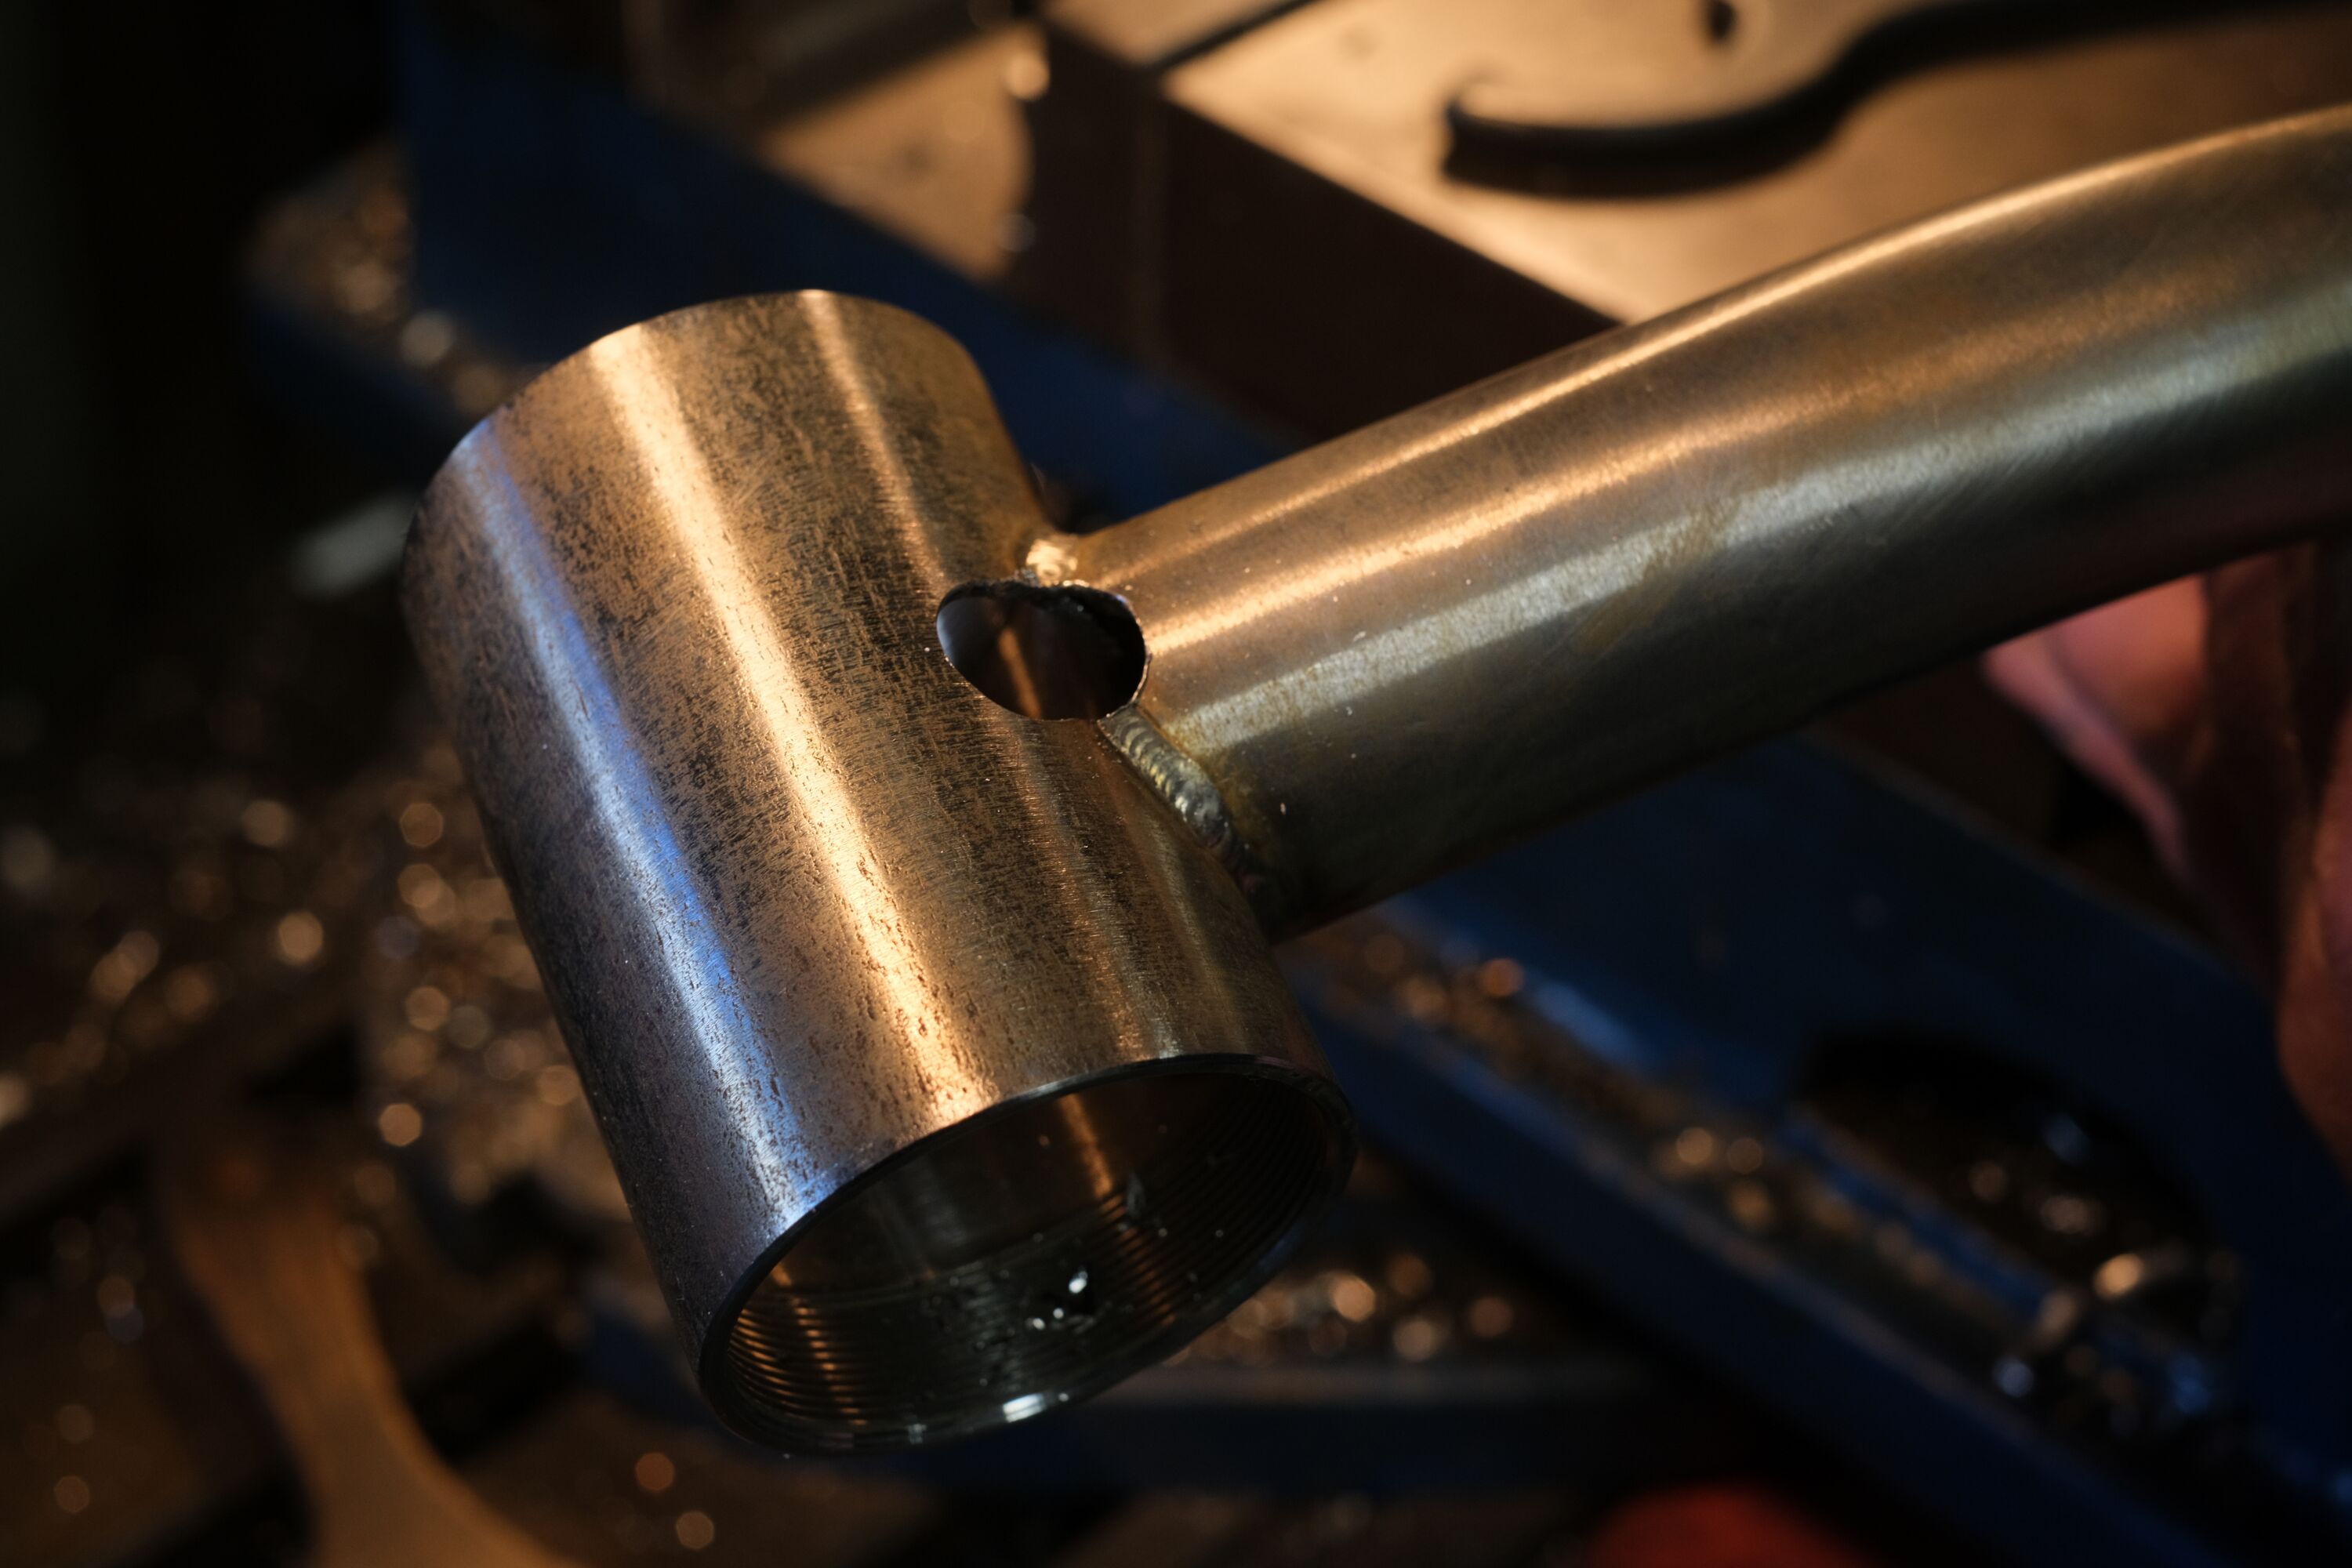
We use a sealed 3D printed port on the DT, a T47 bb, and a slotted BB to run an internal dropper. Honestly, I am still not totally happy with this design. Once it is setup, it is totally fine: looks great, no rattles. However, it’s possible to foul the dropper by pulling the seatpost without feeding the cable in the downtube. We also get customer questions when they build the bike. All designs come with compromises.
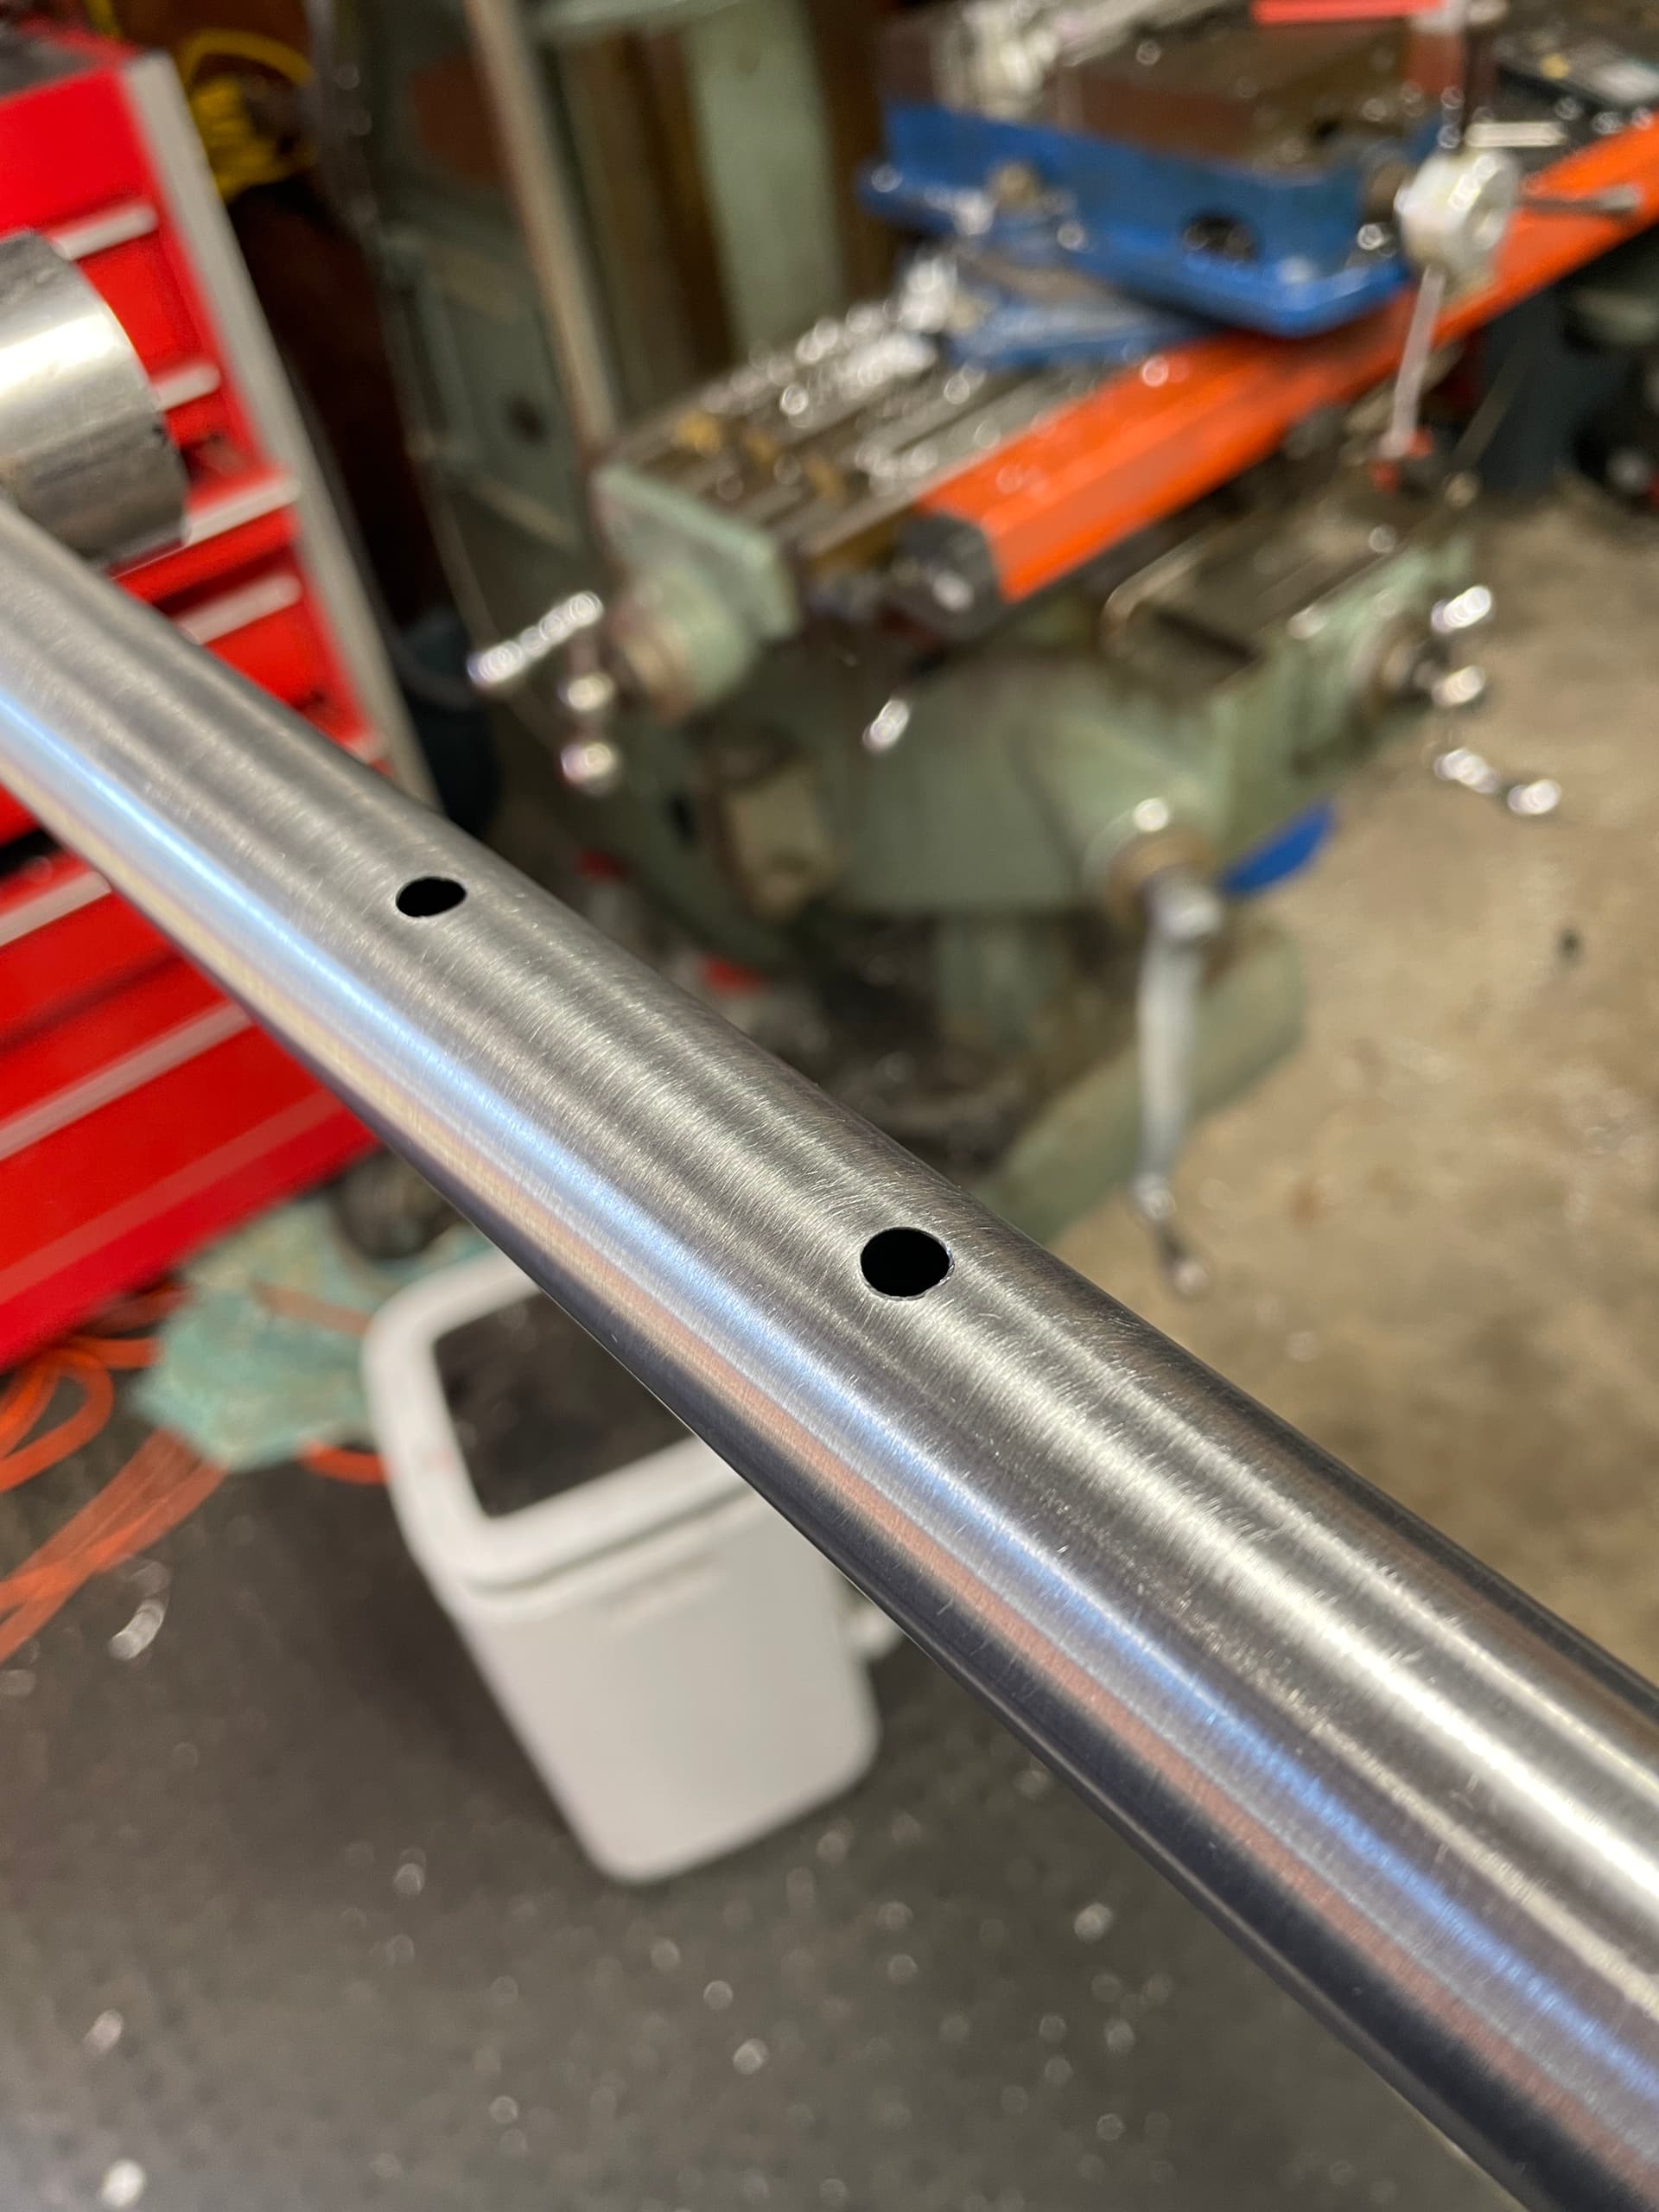
The BB is slotted ~15mm long with a 1/2 endmill
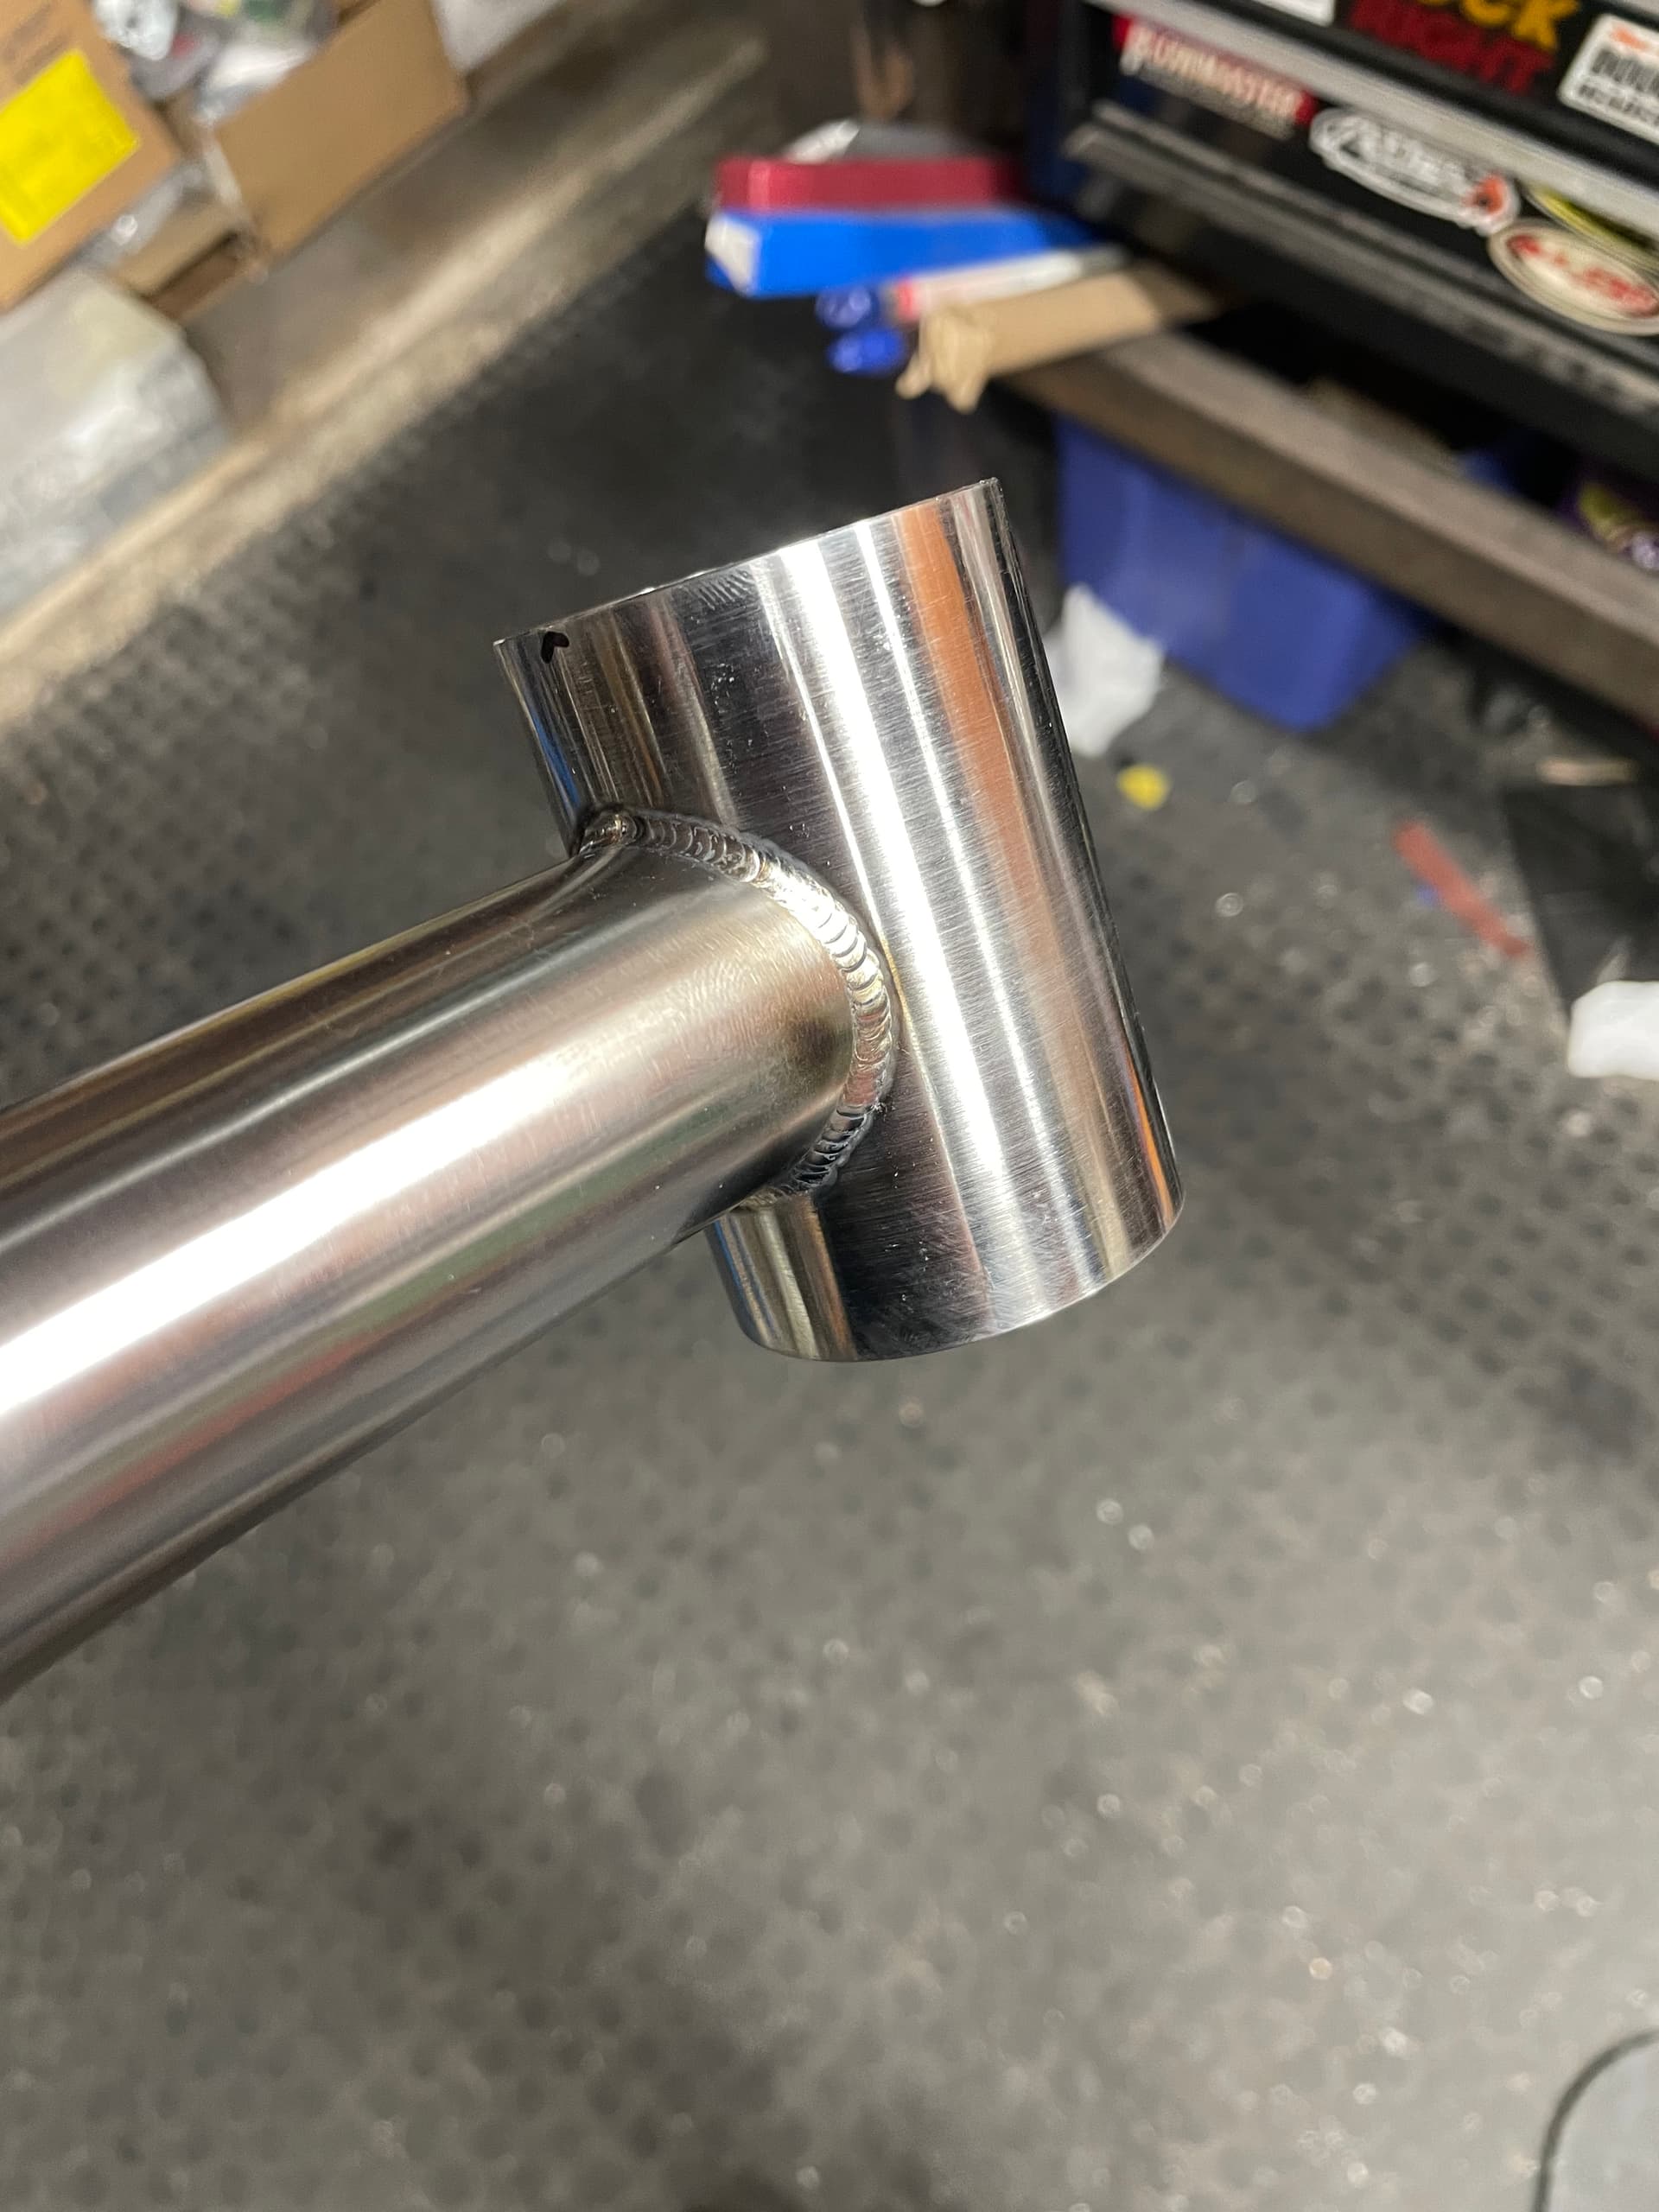
BB is welded to the ST
endmill is plunged into the BB and ST to meed the slot created in step 1
I do it similarly and warn customers that it’s a pain to replace the housing but people love the clean look. If customers are building the bike up themselves, I’ll install some housing to save them the headache.
What do you use to clean the 3d printed parts before welding, a stainless wire wheel?
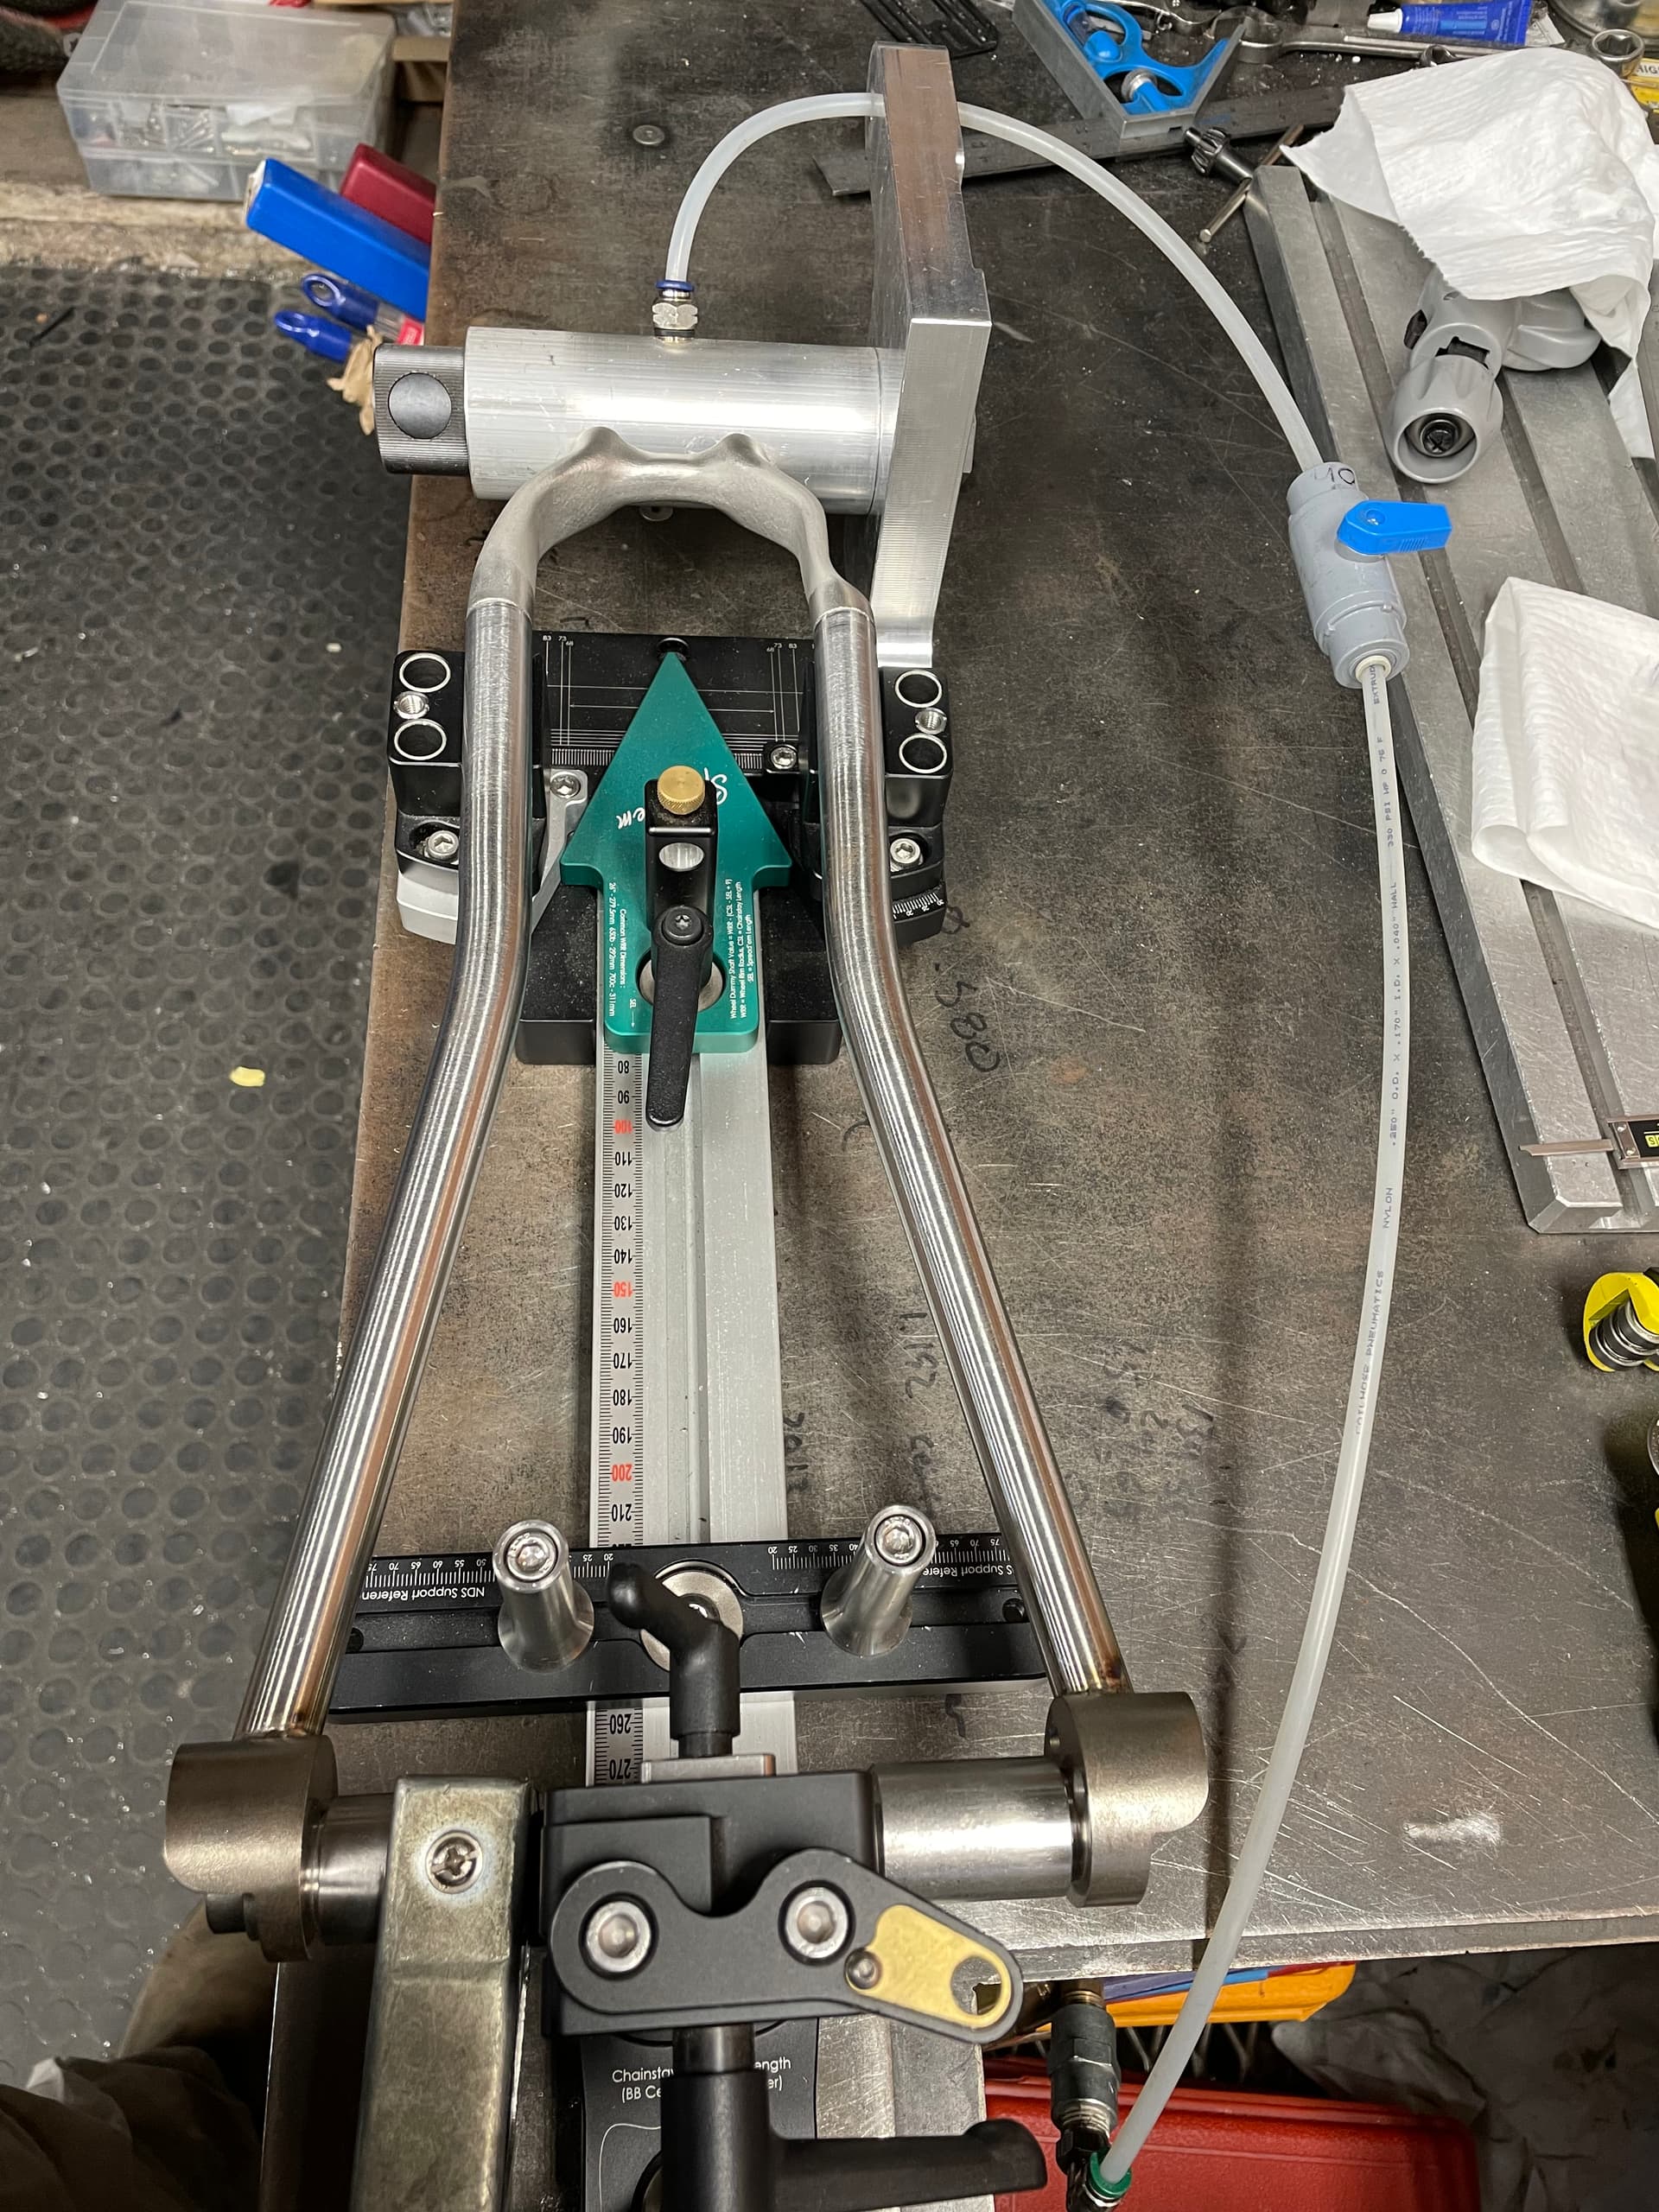
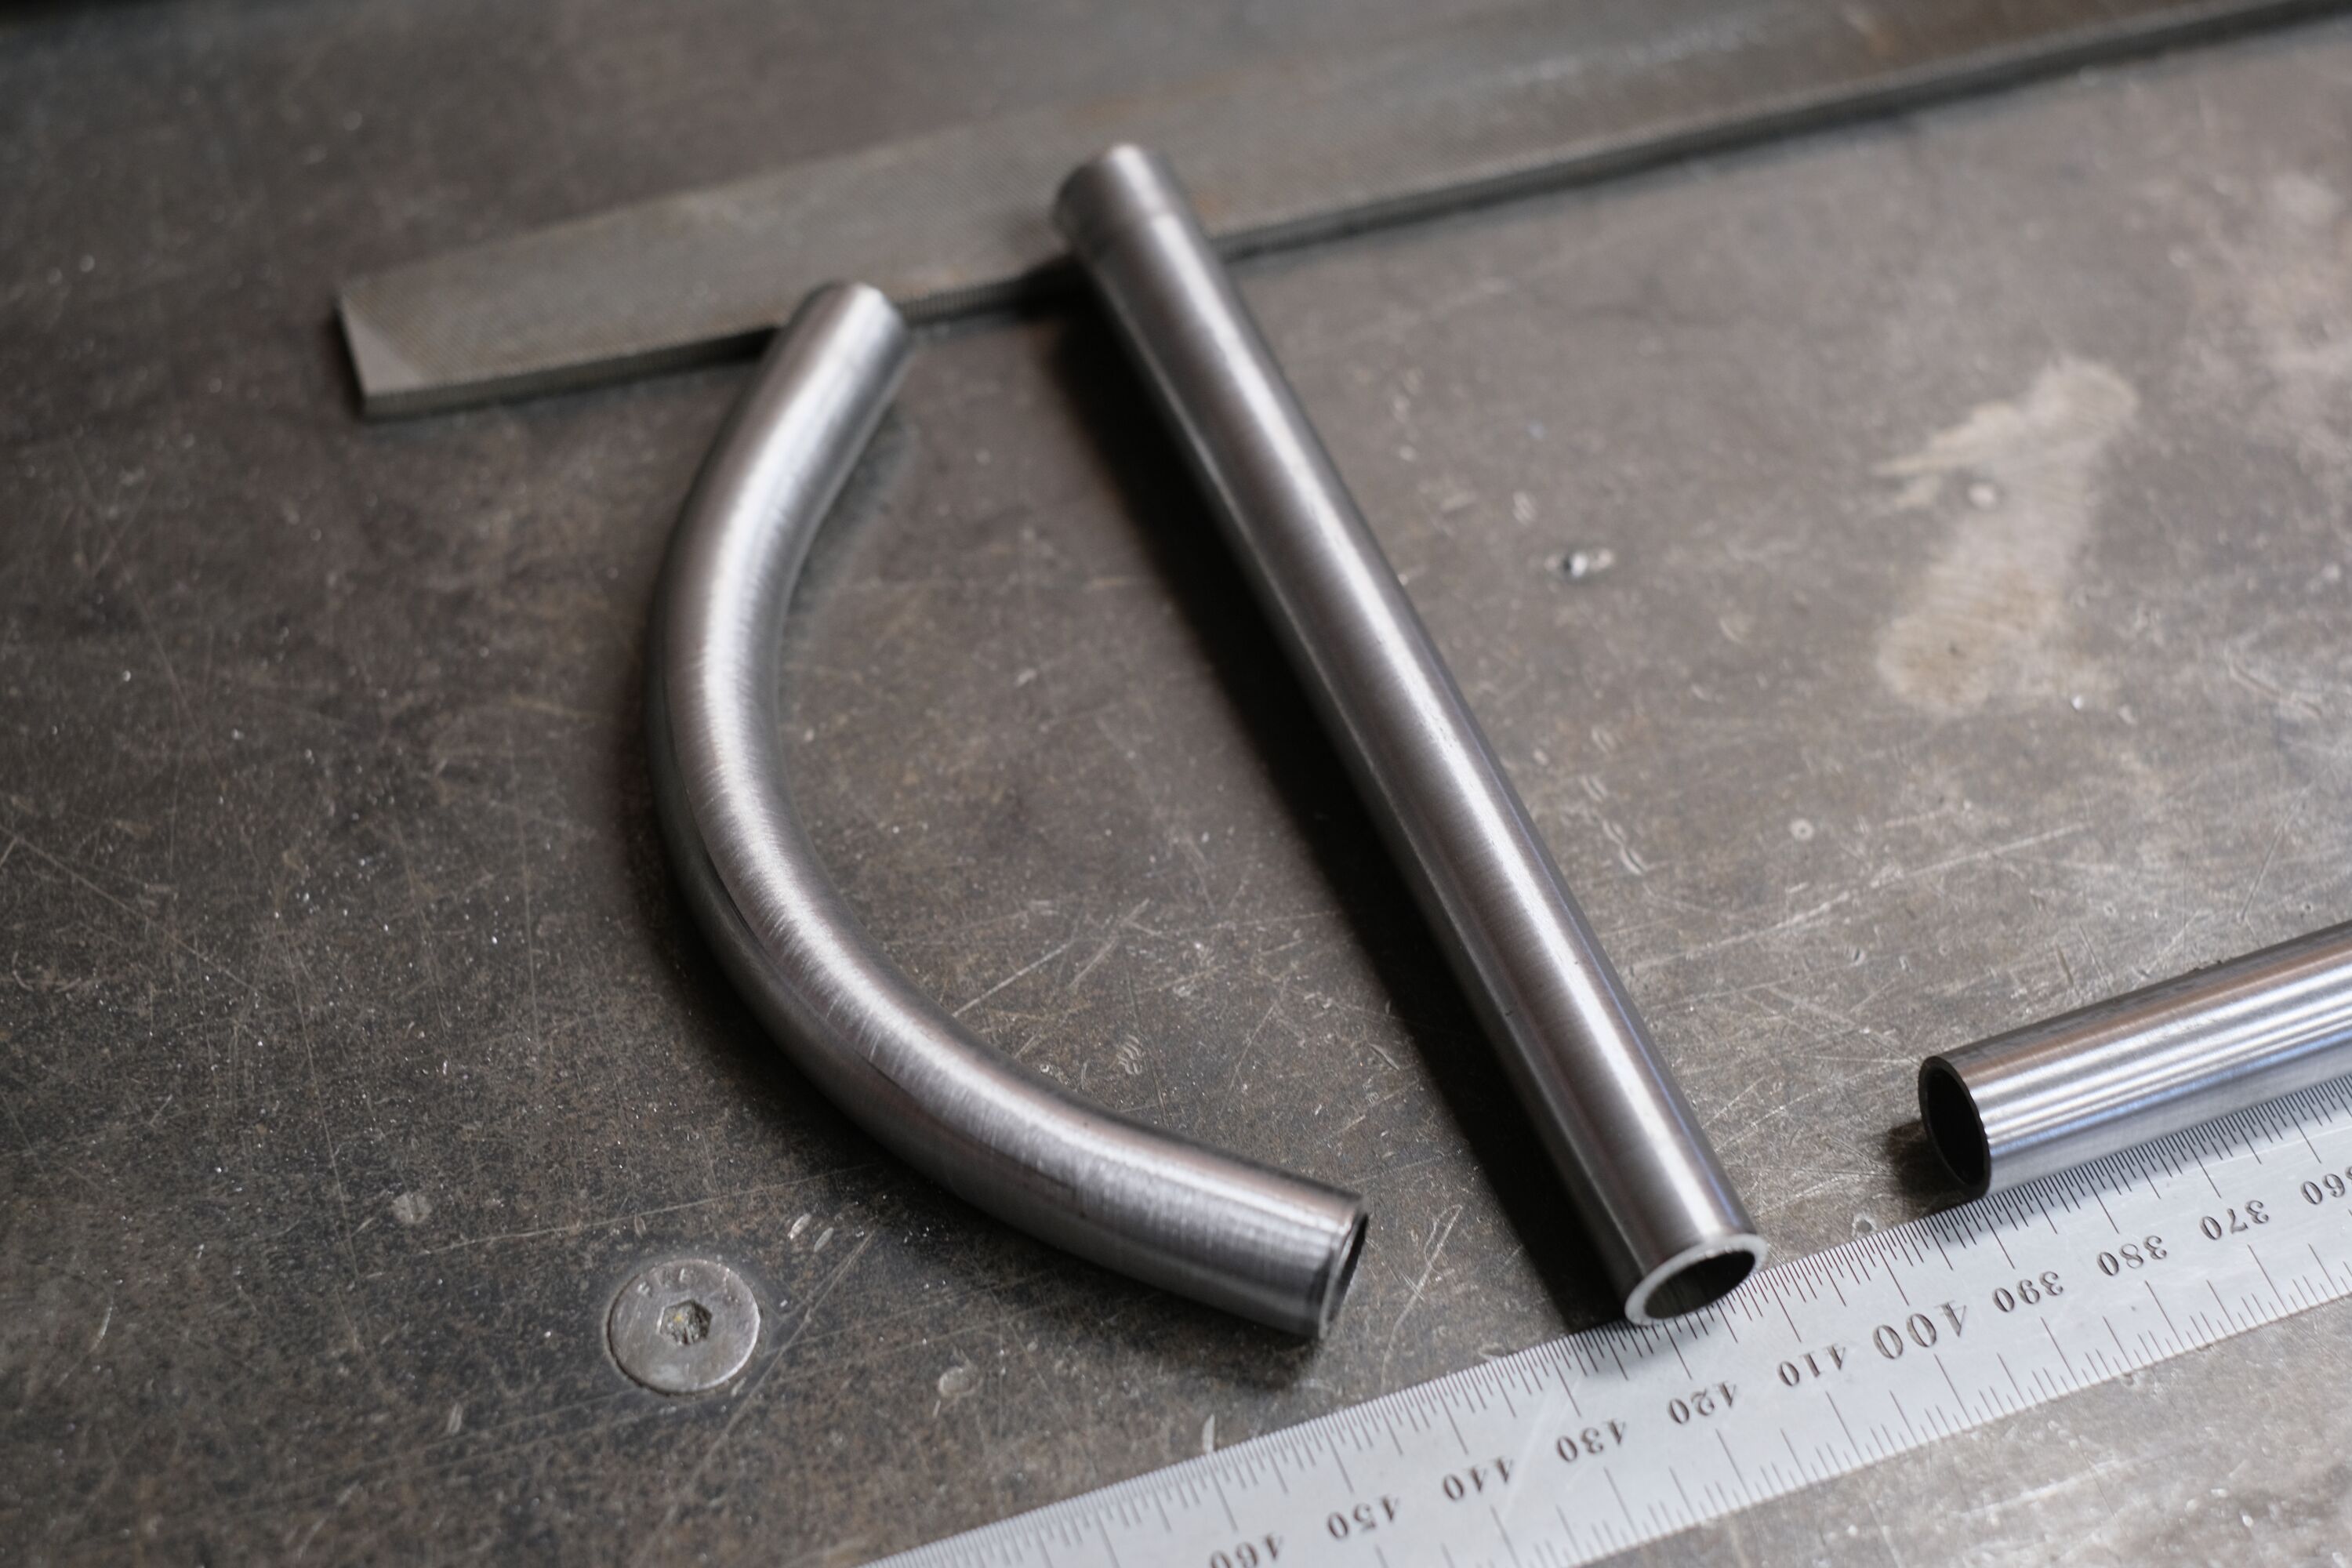
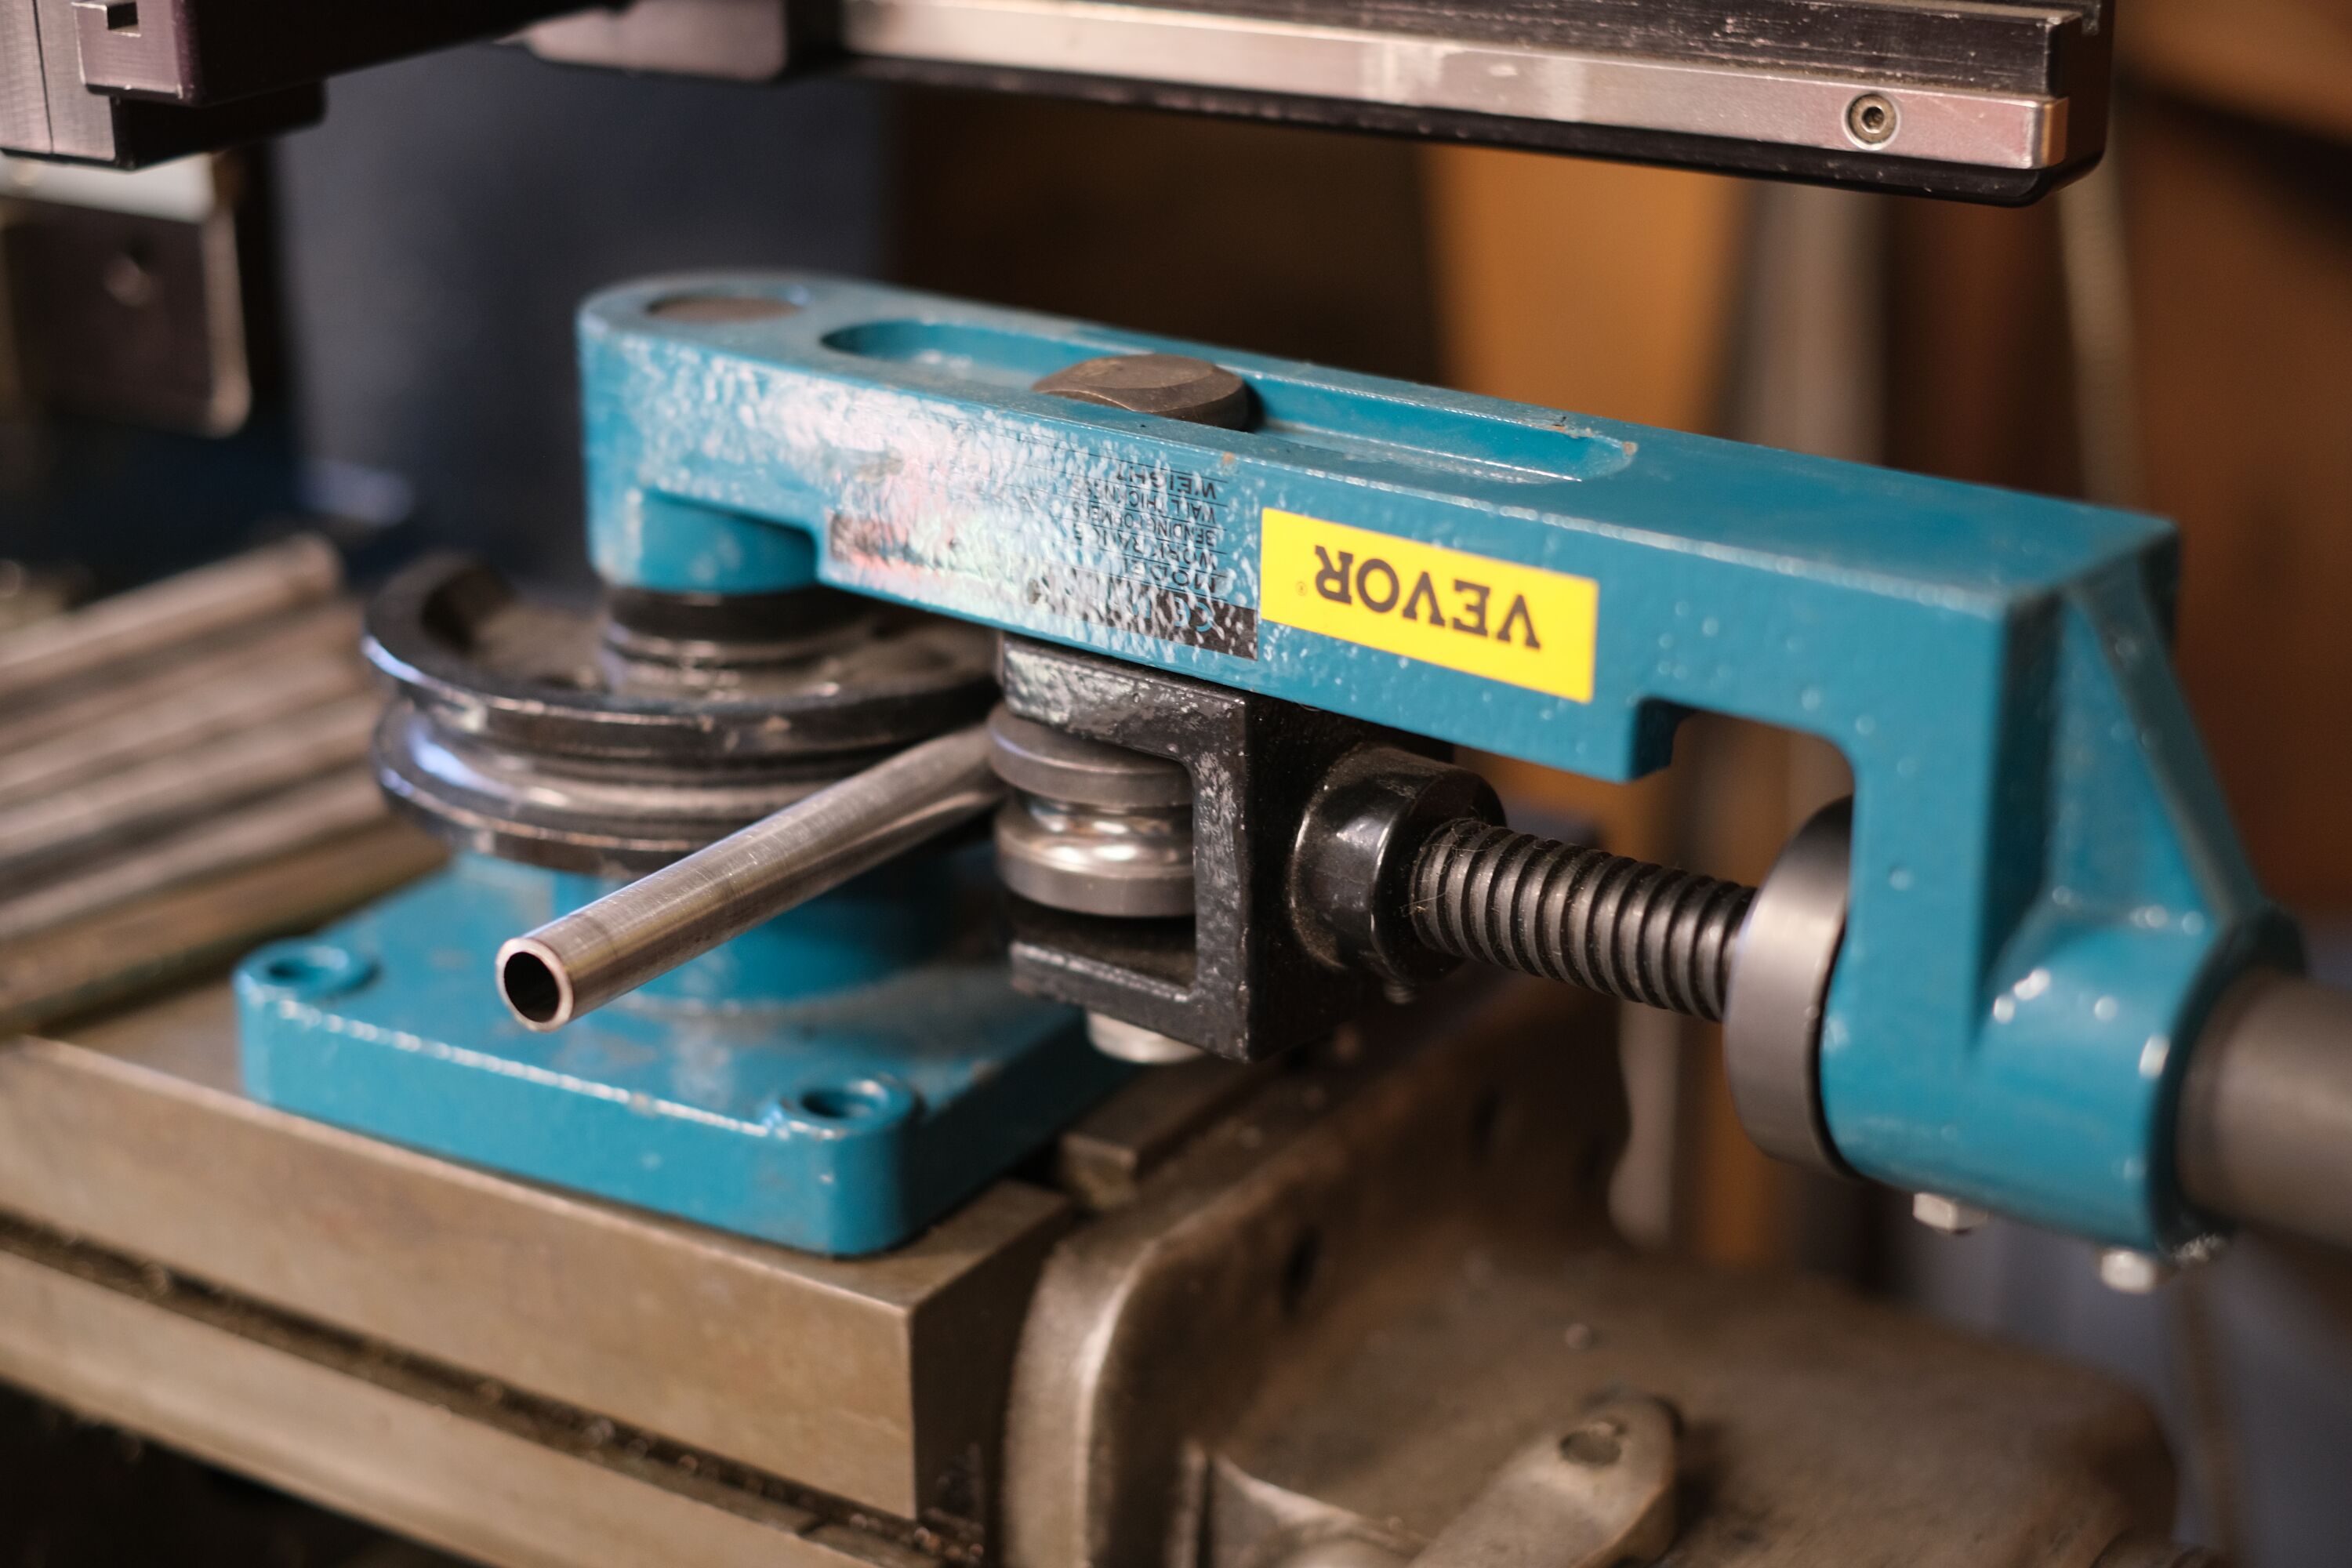
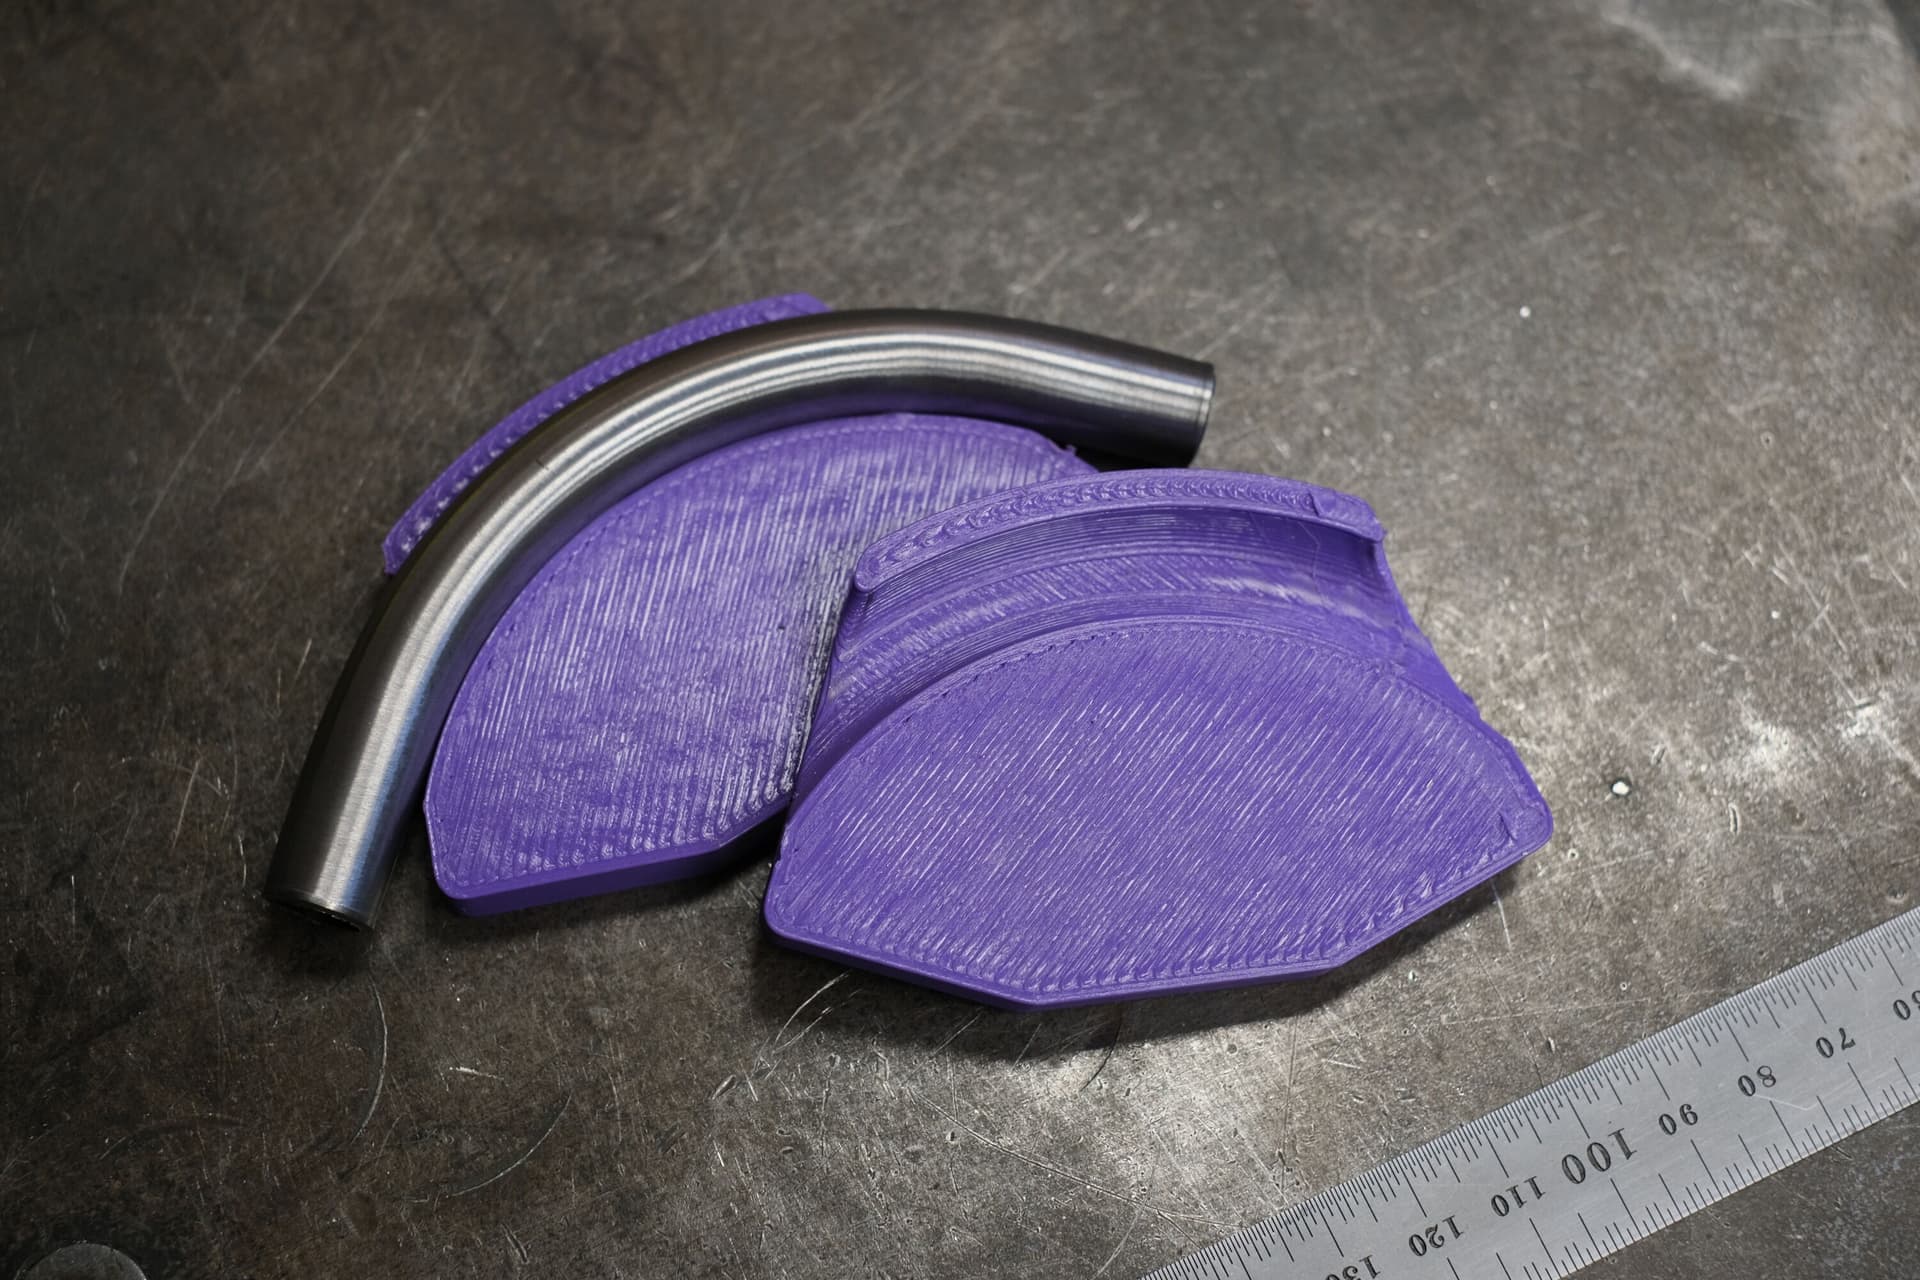
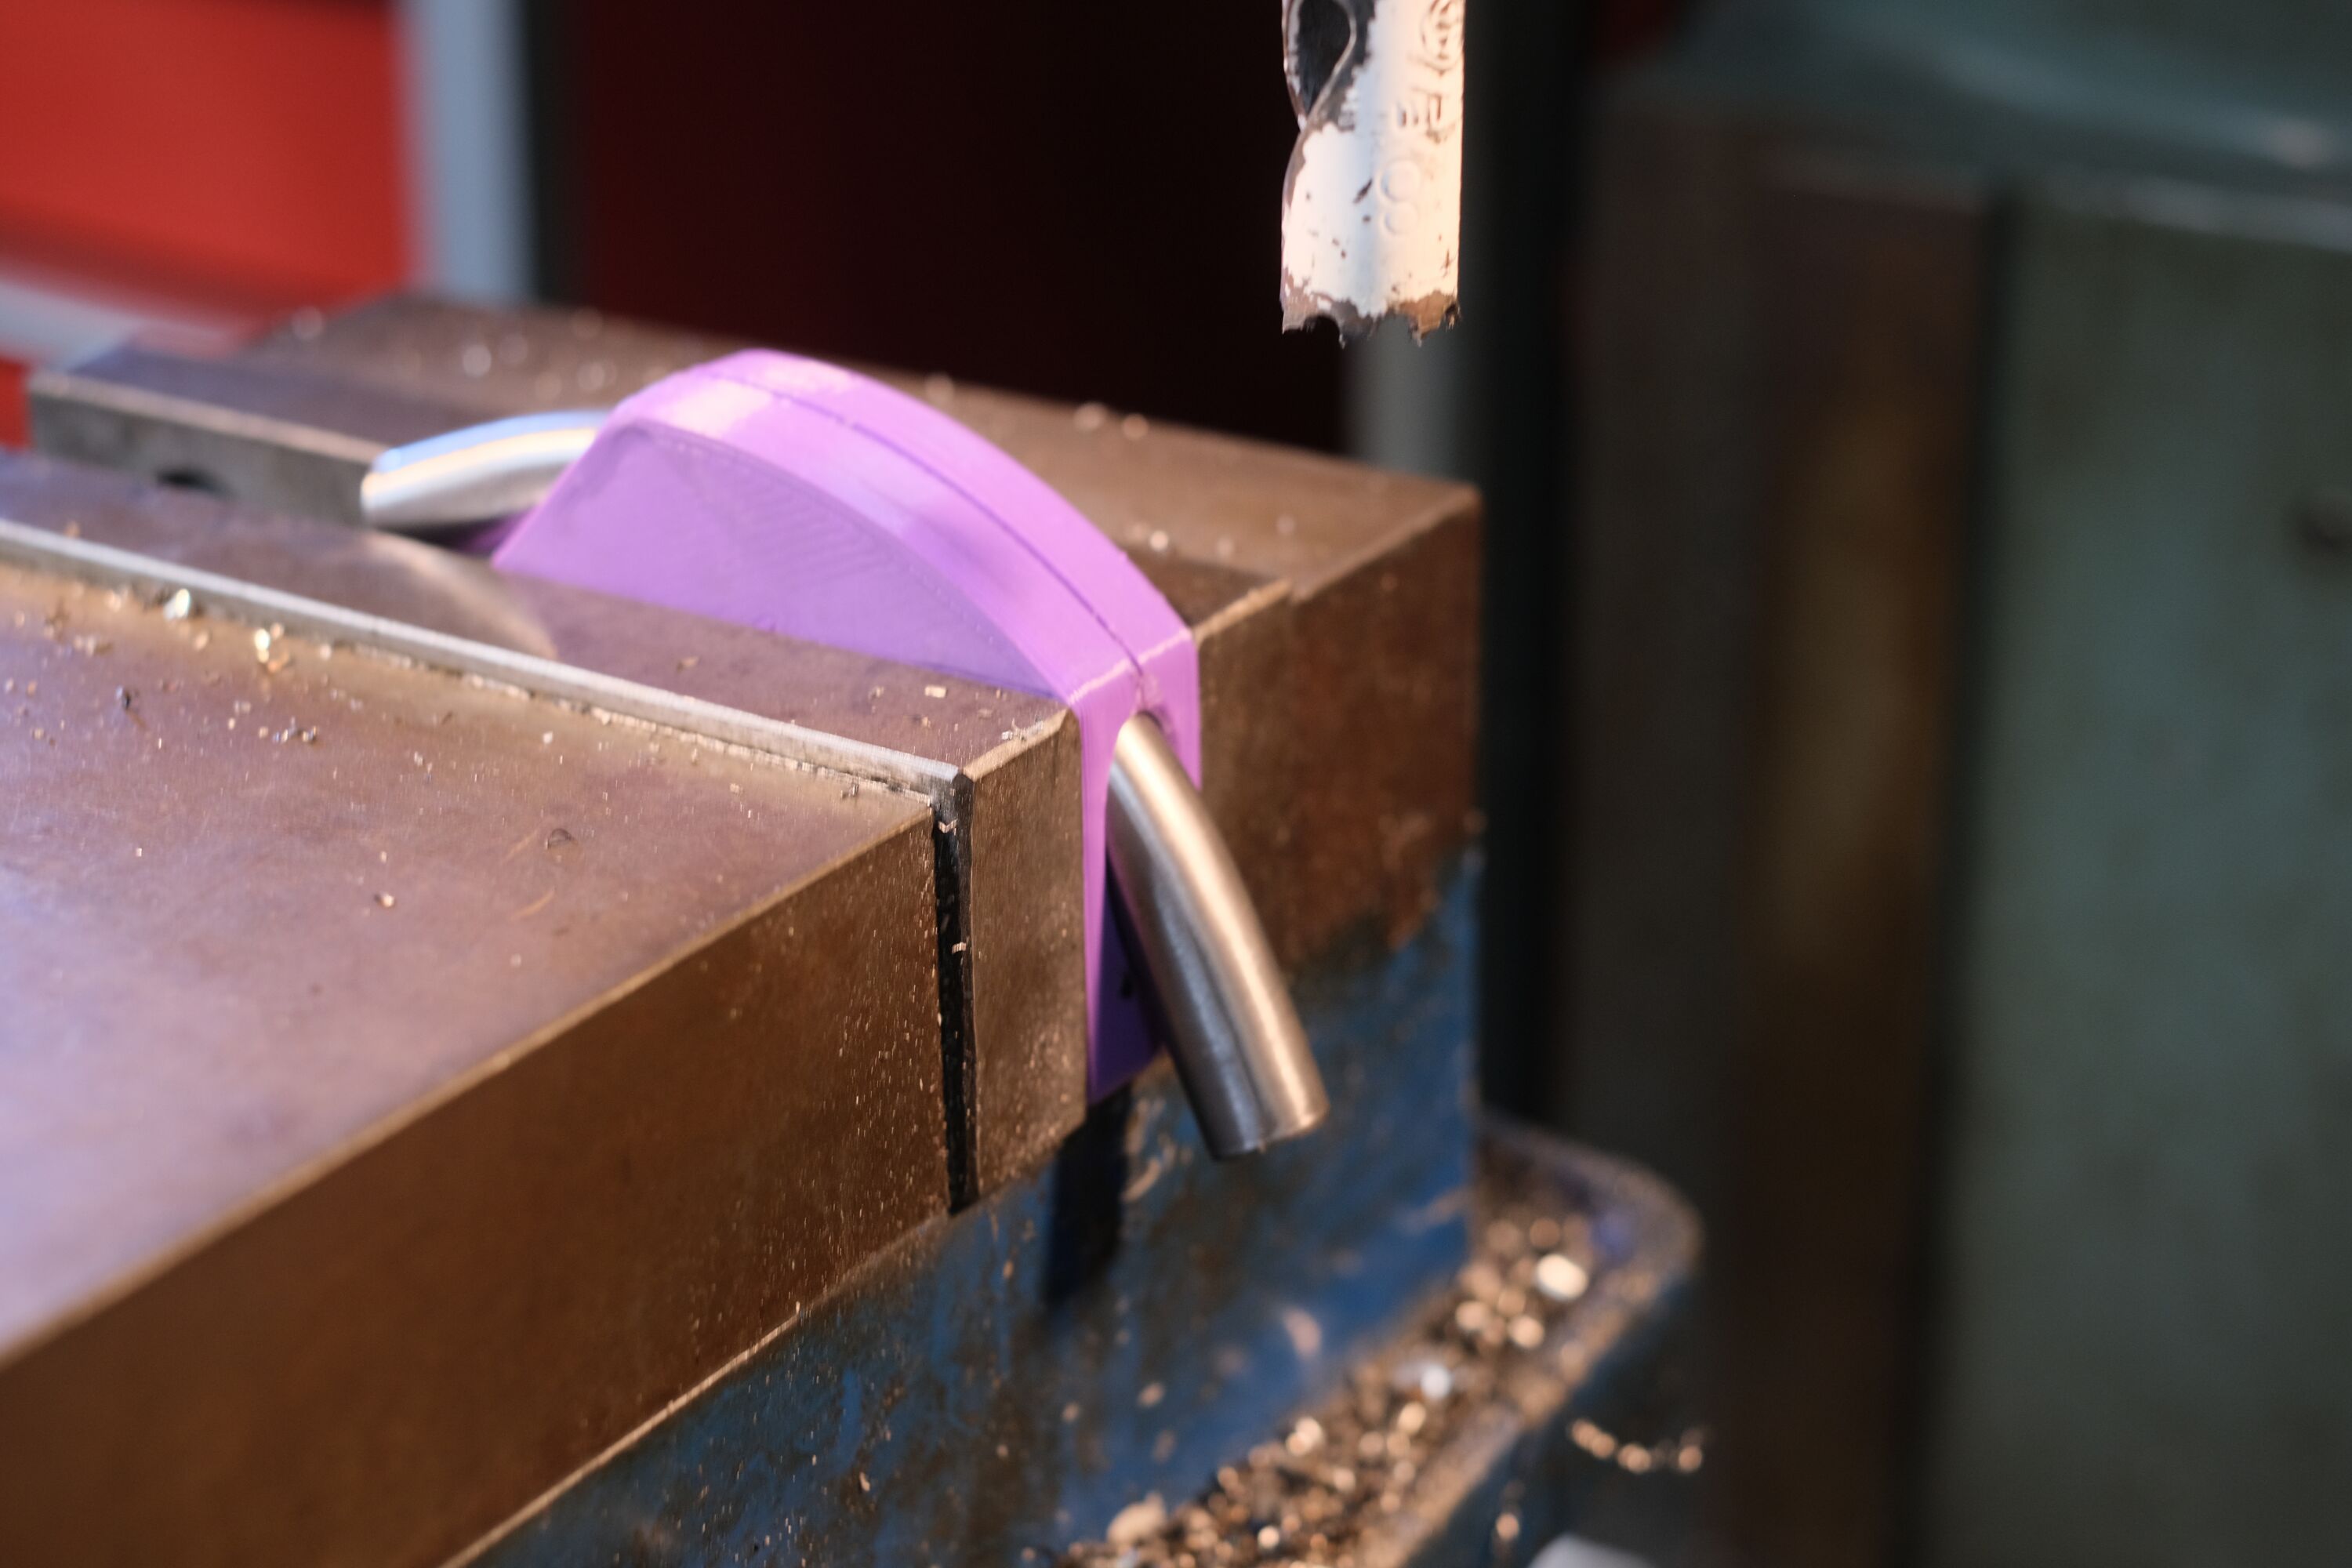
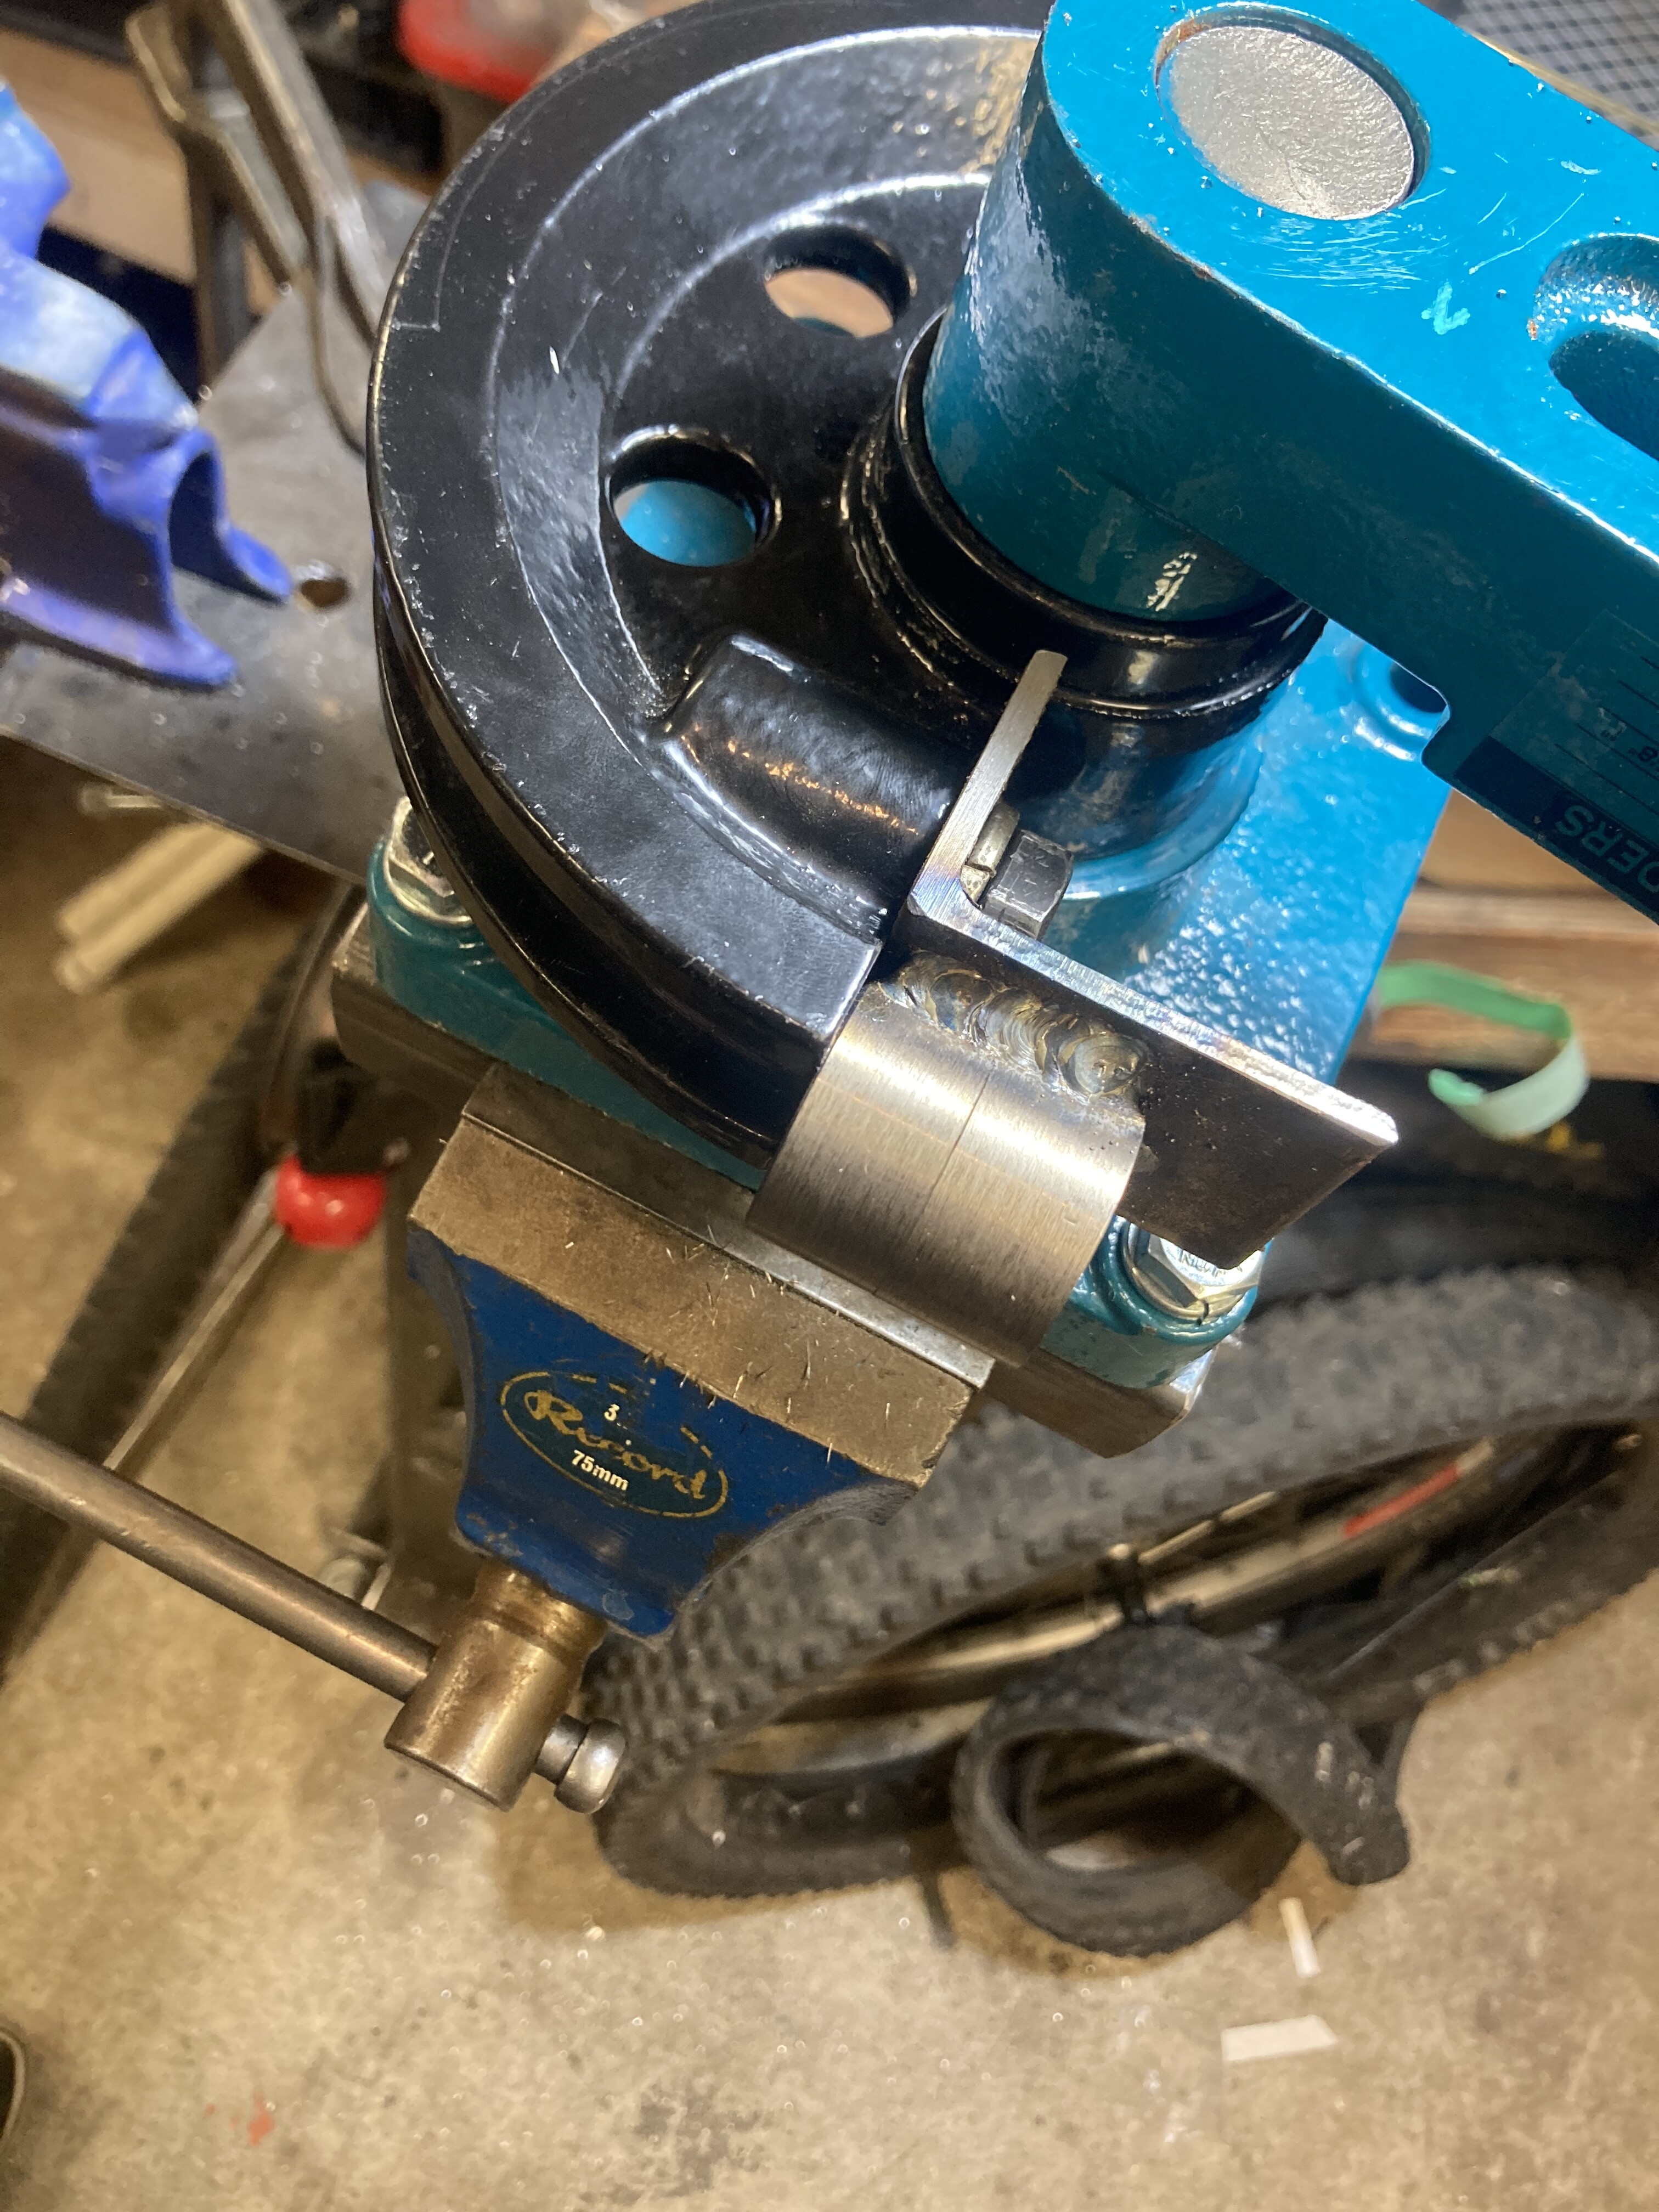
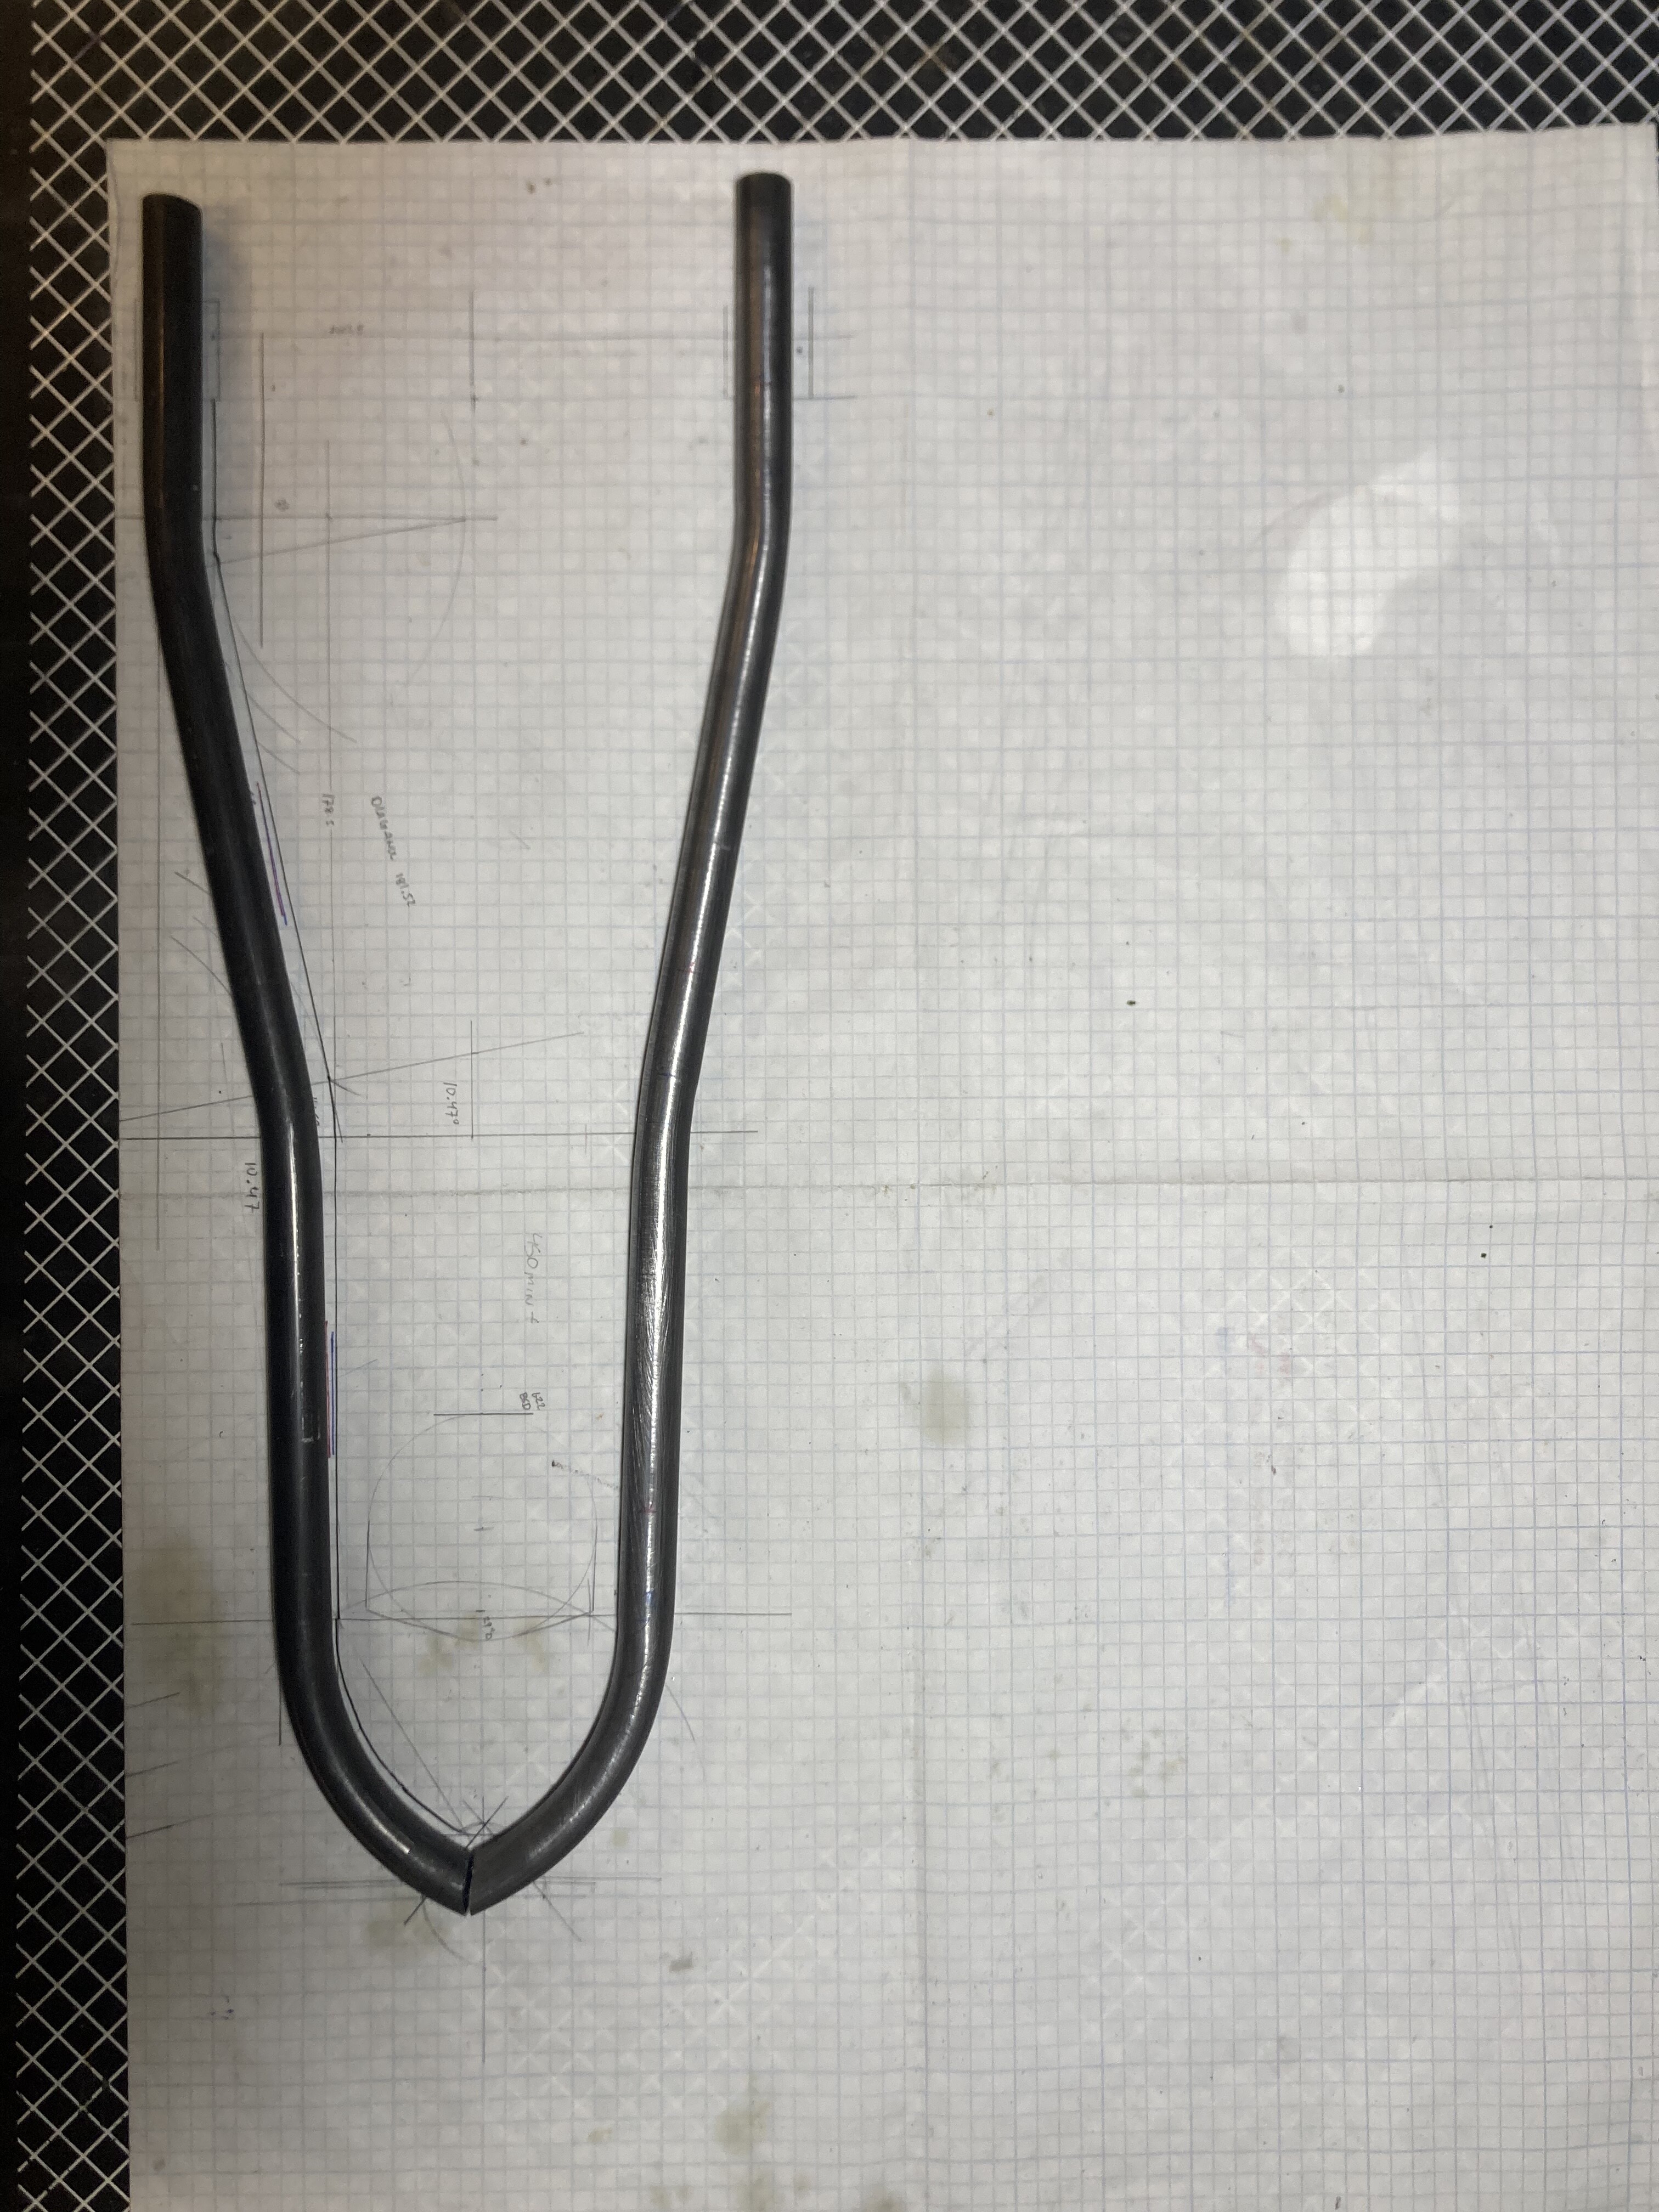
I have the same ghetto bender. I made new follower dies to replace the wheels out of 1.5” x 1” aluminum bar. I ordered a set of round nose router bits online and just set up a jig to cut them with a router. I also replaced the tubing retailer with a piece of tube to spread the load on the tube so as not to create a little dent. It drastically improved the quality of the bends, I do my chain/seat stays with it out of .035 all day long.