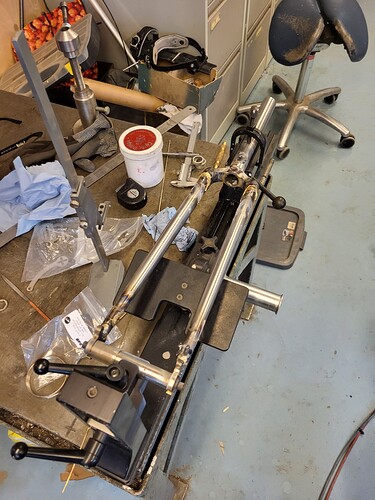
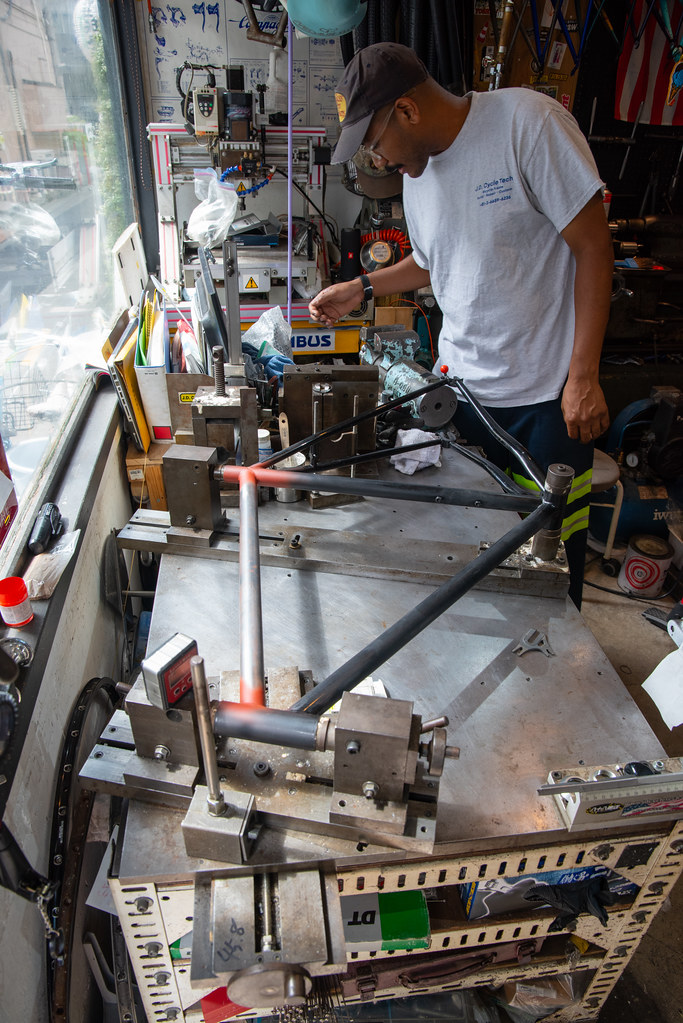
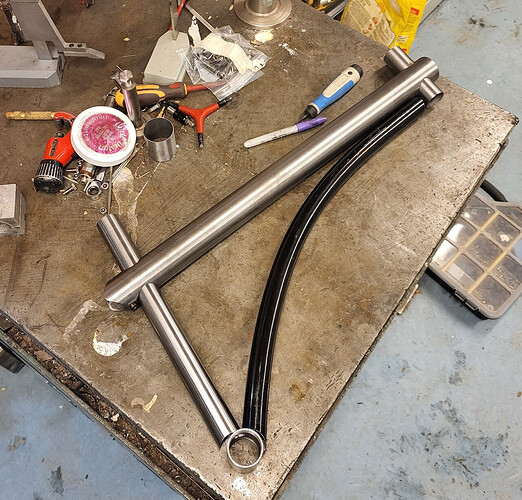
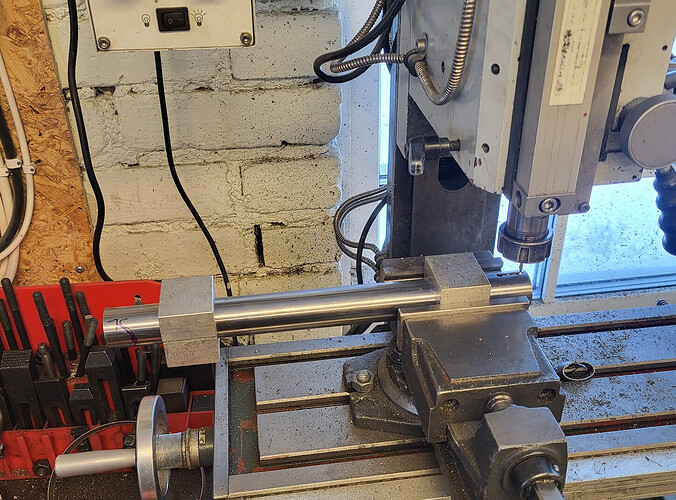
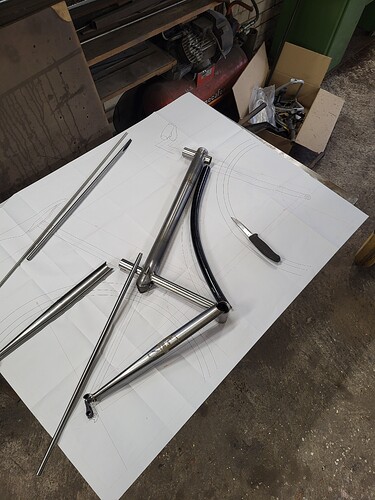
sure would be faster making these if someone offered readily maachined parts for this type of split. packs flat like ikea.
That looks good, you will have to let us know how it rides. Will be interesting to see if it’s noticeably more flexible than a normal hardtail
I’ve already built three and can’t say there is any flex in them when they are bolted together. Nevertheless, I shall report on my findings as soon as I find things!
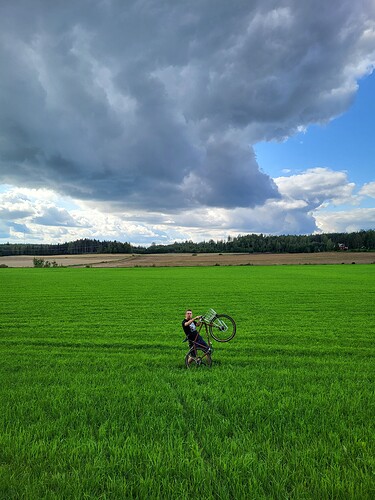
Here we go. I already built a steel fork with SON SL dropouts for the bike, but I’ve been testing it with some old components. Does anything beat the feeling of riding your own custom bike for the first time?
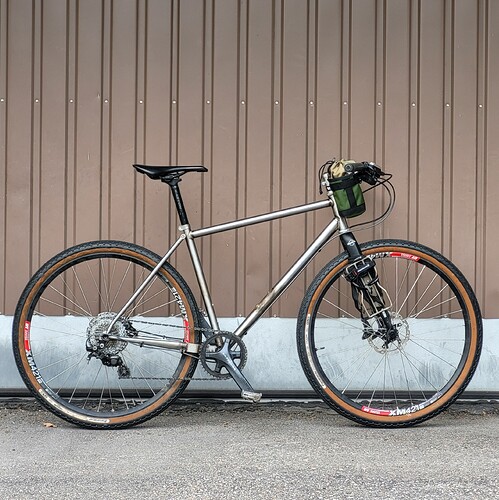
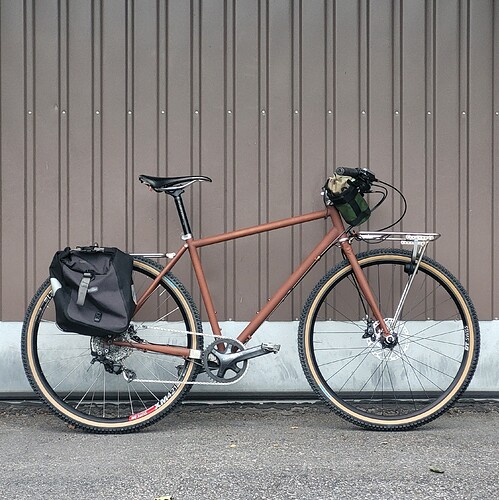
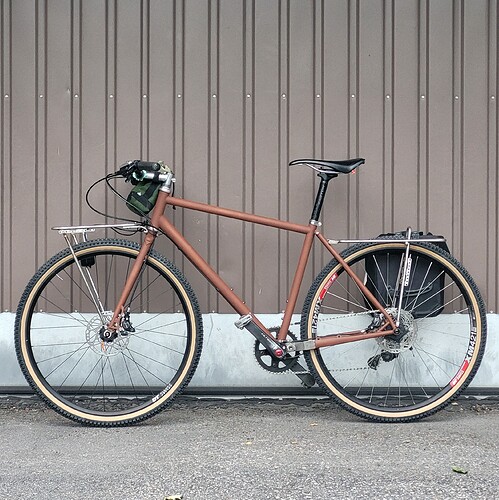
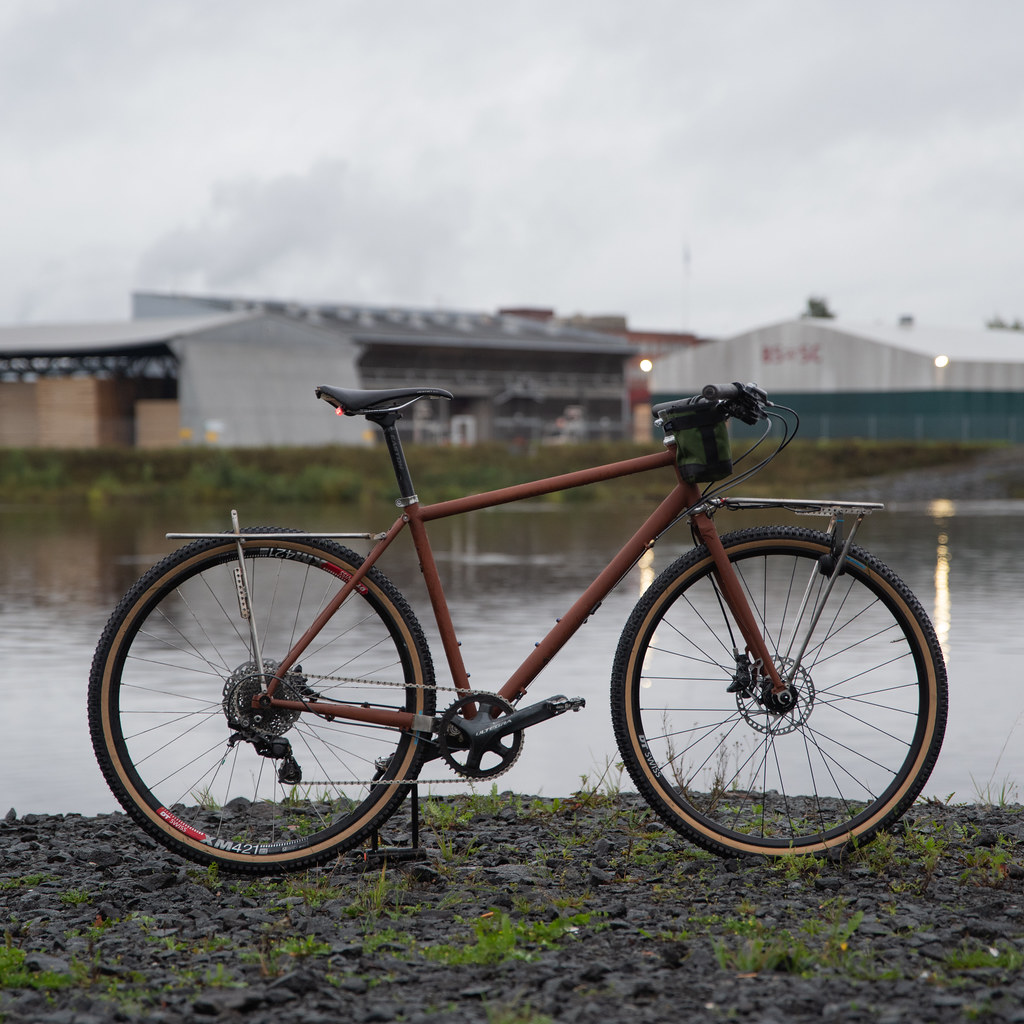
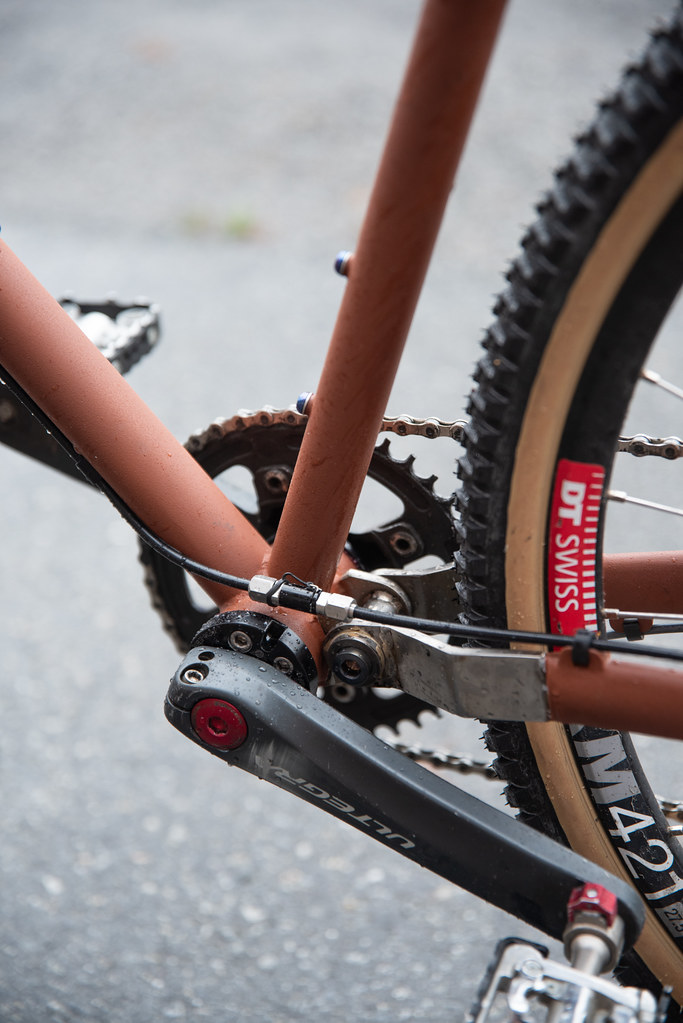
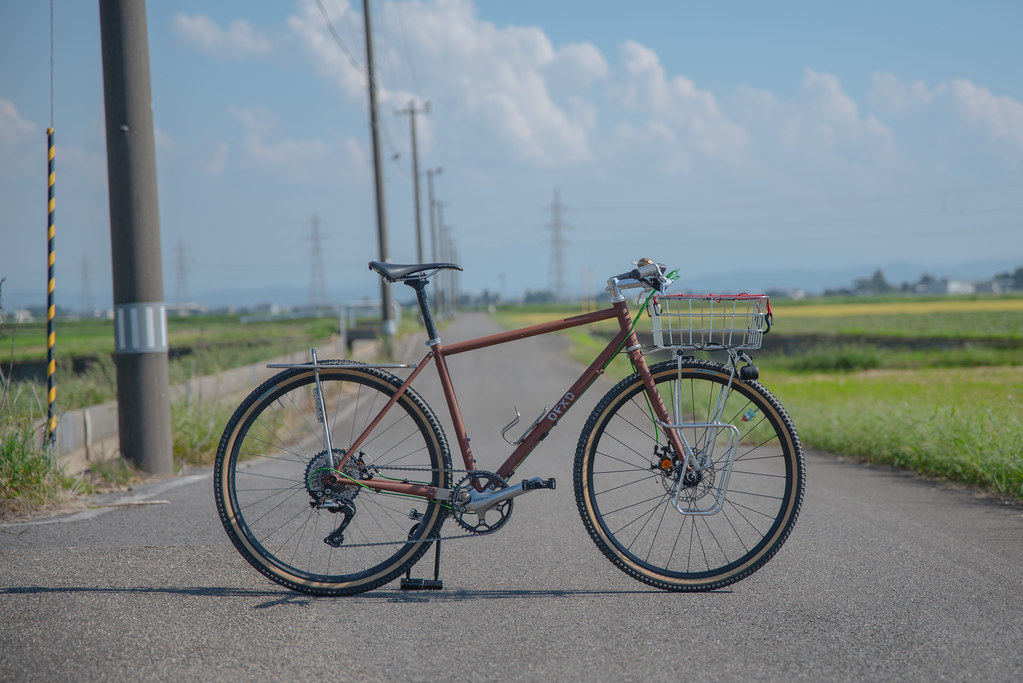
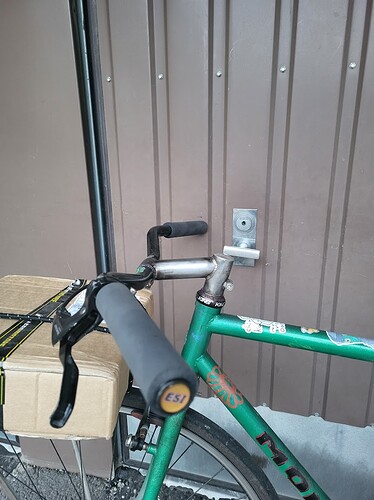
Okay. Managed to put together my CMWC 2023 bike with time to spare for a test ride. I didn’t have any time to spend on the paint so I did an epoxy primer and a coat of Mipa Rust Effect WBC paint, which mimics the look and feel of rusted steel. Didn’t have to worry about dry spots or paint running ![]()
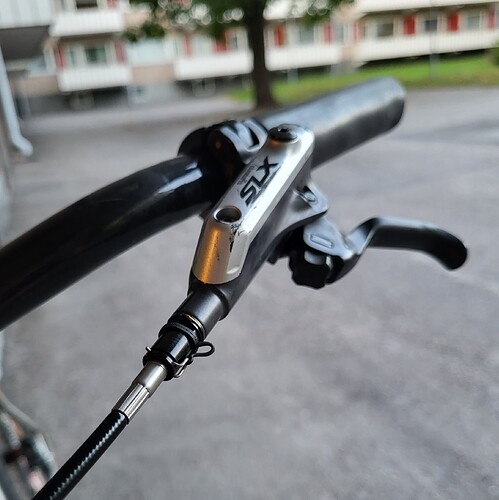
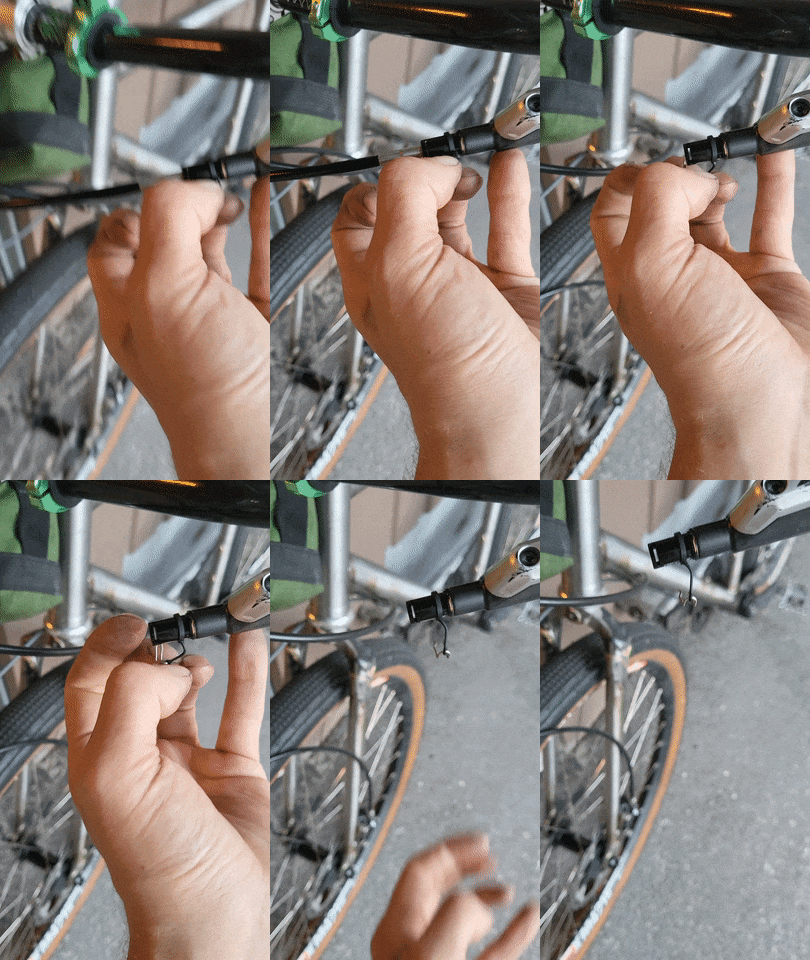
I am using Zeno quick releases on the hydraulic lines, one at the front lever and another on the hose. Haven’t tried them before but they seem to work fine for now. They also have a line of “fit everything” hose fittings that don’t use any olives or barbs.
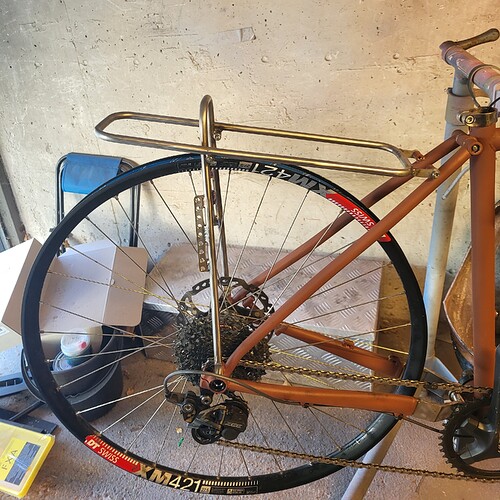
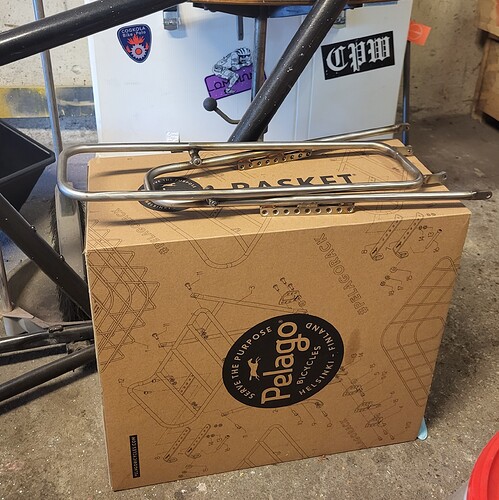
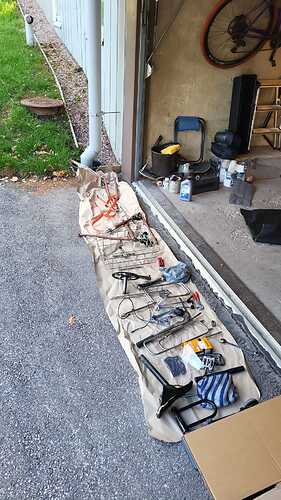
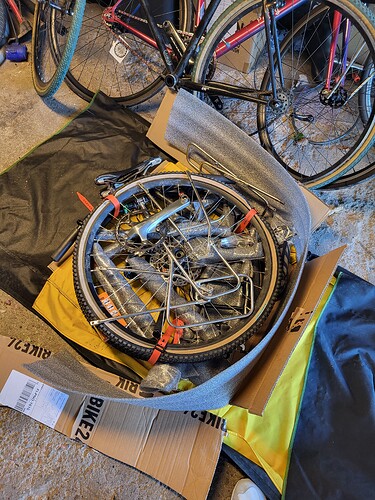
The rear and front racks pack flat.
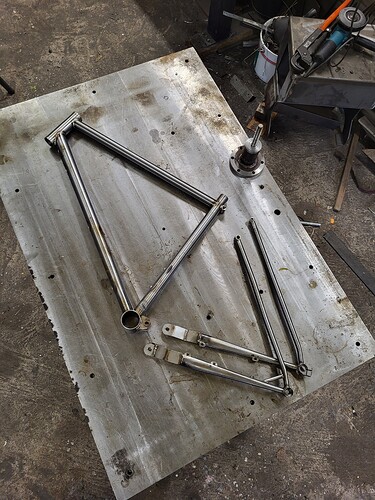
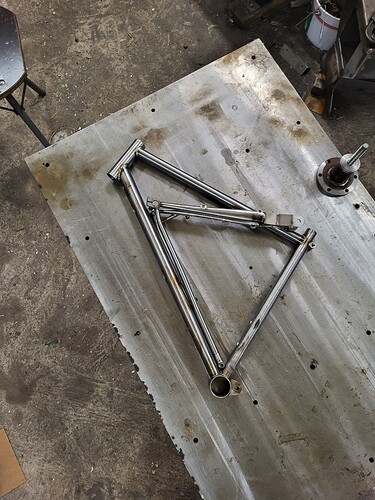
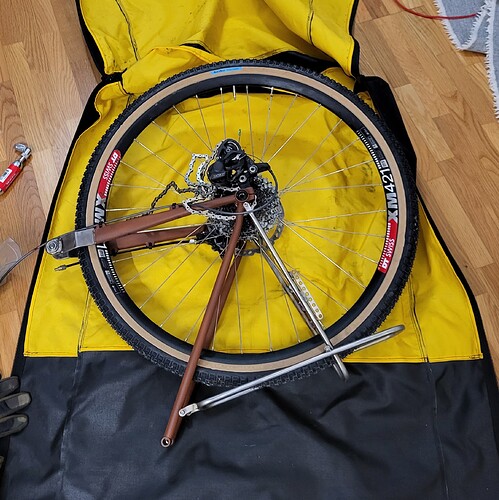
I split the frame in two and removed the fork for travel. After my train journey I found out I left the topcap on our living room floor.
Clock is ticking and our flight to Tokyo boards in less than 20 hours. Thanks to Finnair not being able cross over Russia anymore, this will be my longest flight ever at almost 15 hours ![]()
BUT I got the bike done and then swiftly broke it into a zillion pieces in order to pack it super compact.
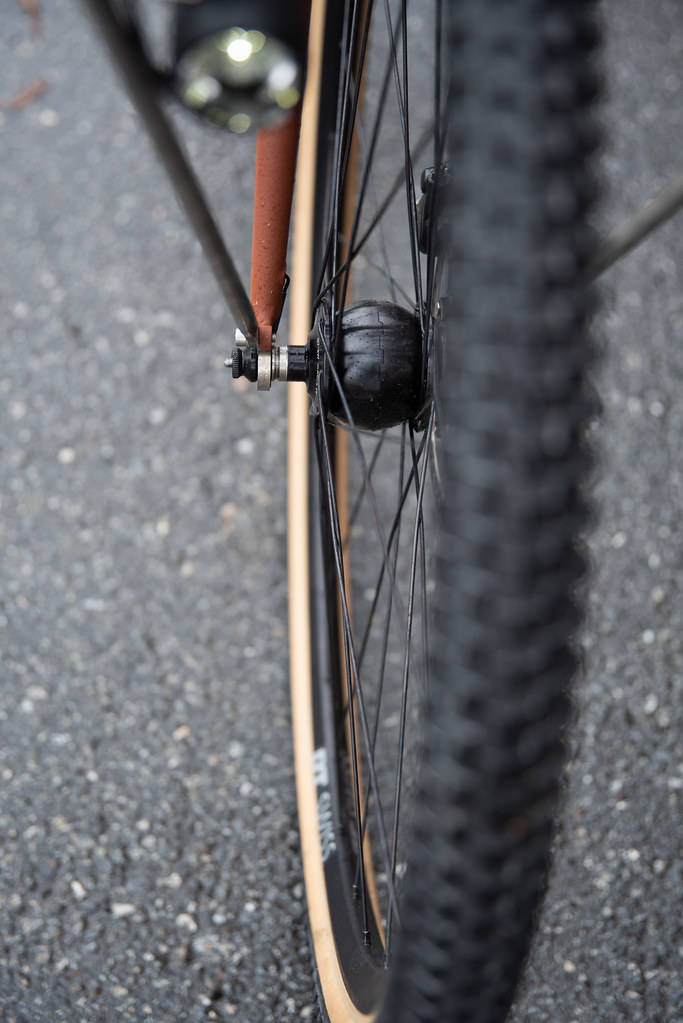
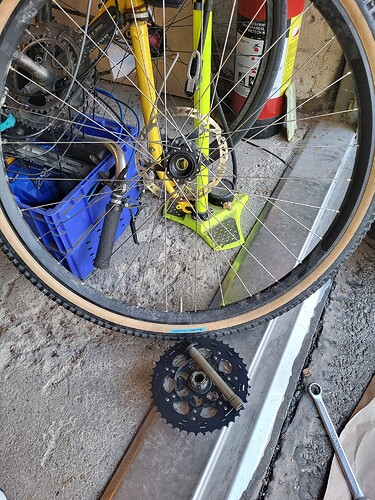
I found that the Novatec 4in1 rear hub is easy to take apart just by removin the axle. Makes the package a lot more narrow. I know Ritchey has a hub like this for use with Breakaway frames, but those wheelsets are pretty expensive compared to the Novatec.
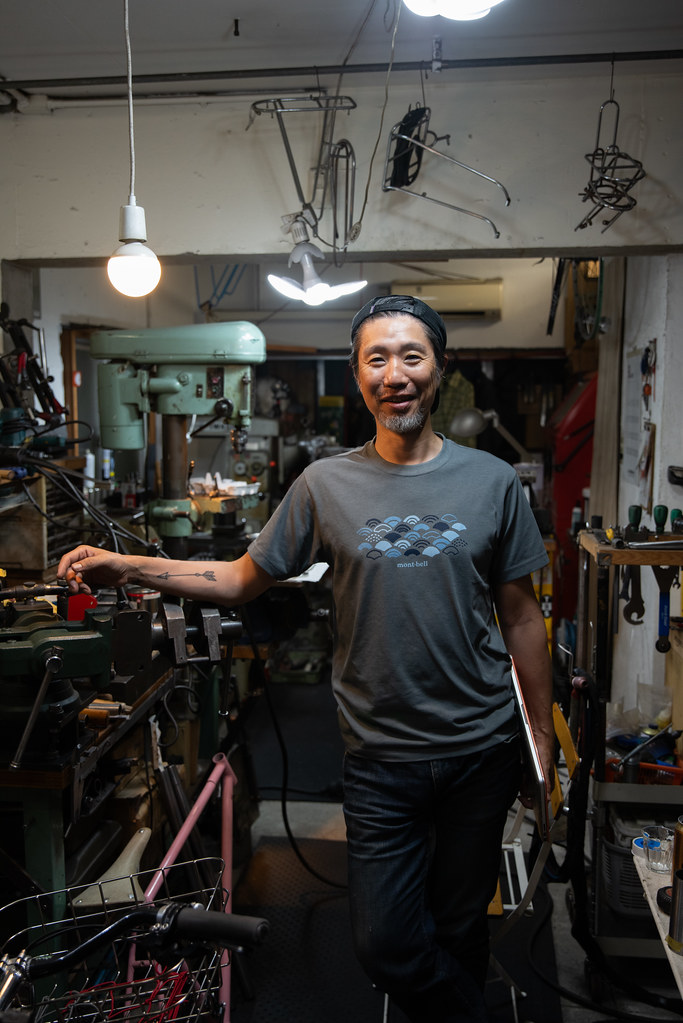
^ feelings today at the workshop
Looks great! Have a fun trip, and please post pics of all the cool stuff you see.
In Japan, already two weeks.
Technical report: Rear hydraulic brake did not work when I put the bike together. A friend bled it for half an hour at a shop and still very little power. Another friend, who flew in a little later brought me a pair of mechanical brakes, which I swapped in along with some colorful Simworks cables and Diatech levers. I am much more happy about the brakes now and packing the bike is less scary, because I know the brakes will work when I put it back together again.
I’ve met some framebuilders here.
Koushou, from Helavna, who trained under C.S.Hirose.
And James Diion, who runs his own shop and also works at Kalavinka.
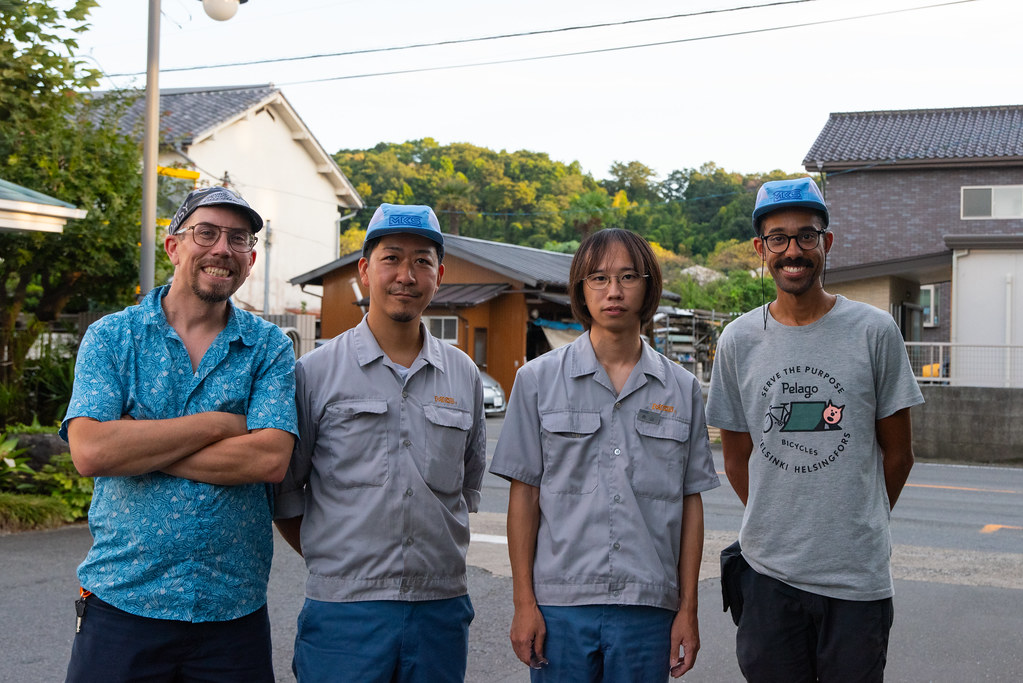
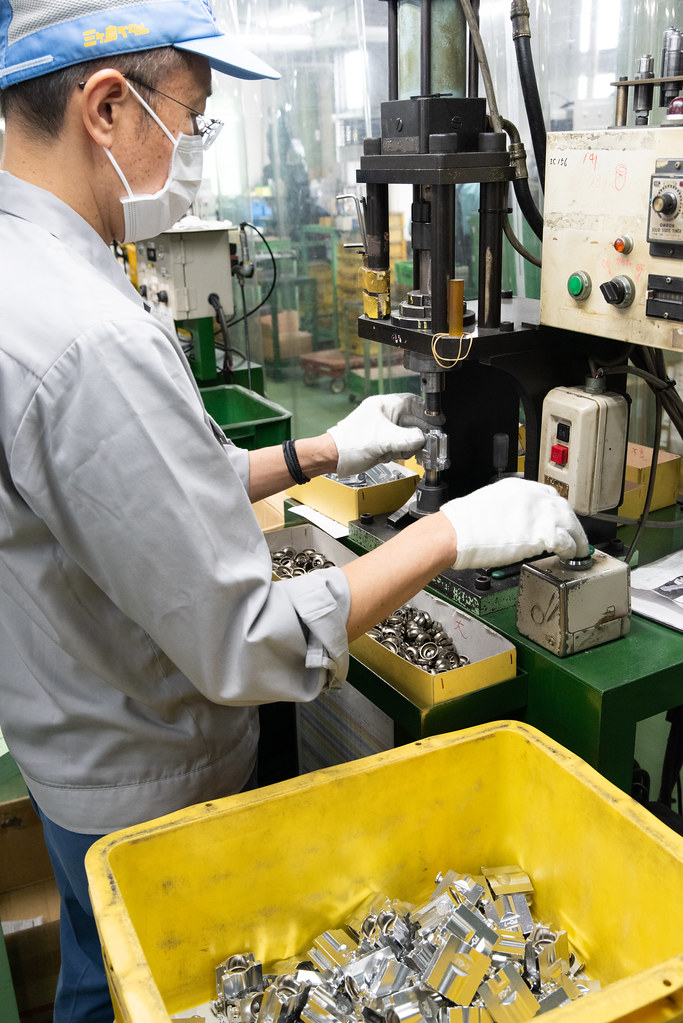
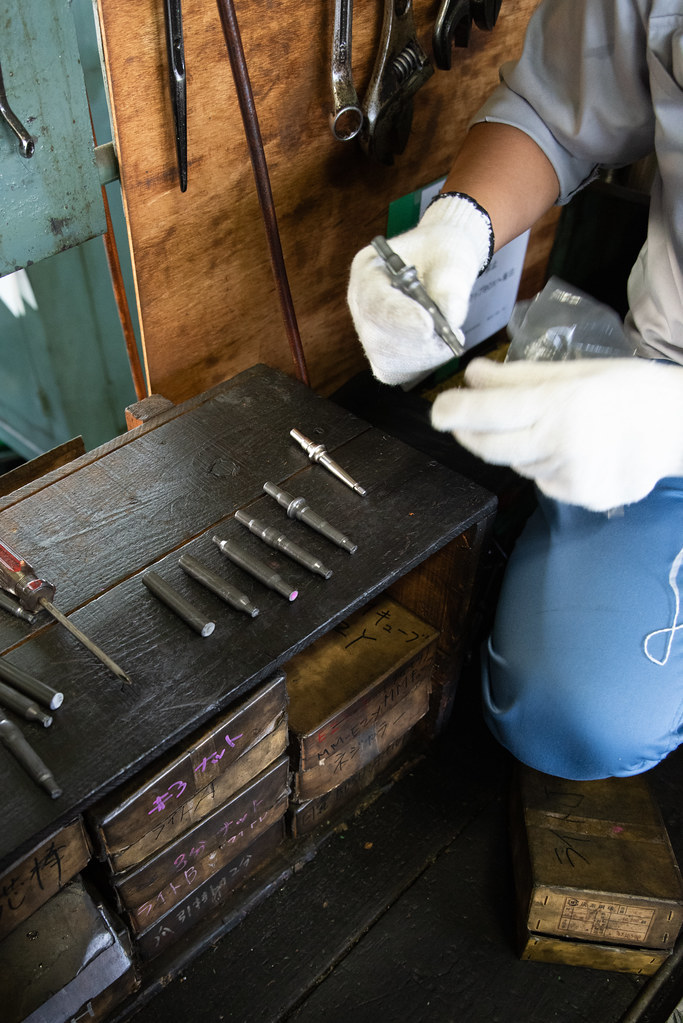
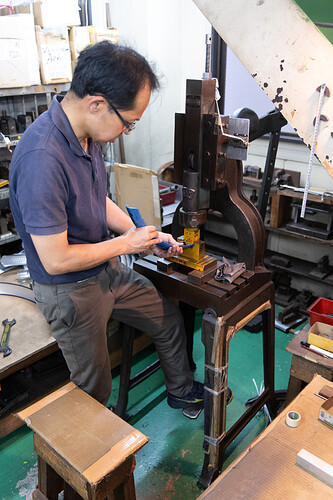
I was also extremely lucky to get invited to visit the Mikashima Industrial Co., Ltd factory - also known as MKS Pedals. I have a report saved in my Instagram highlighs. Never been to a Japanese factory before, it was the best day of my life ![]() Only about 40% of Mikashima’s production is pedals, they also produce parts for automotive industry, but they plan to widen their scope with a new line of bicycle and outdoors accessories.
Only about 40% of Mikashima’s production is pedals, they also produce parts for automotive industry, but they plan to widen their scope with a new line of bicycle and outdoors accessories.
Yuba, the managing director at MKS, is in his late thirties, speaks good English and spent almost three hours showing us around the factory. If you are in the bicycle industry and interested in working with MKS, I wholeheartedly recommend hopping on the next plane and paying the factory a visit. You can do a nice multimodal trip by riding a train for 30 minutes from Ikebukuro station to Tokorozawa and then cycling about 45 minutes through Japanese countryside and the TOTORO FOREST to the factory.
Did I already write it was the best day of my life?
Fun trip! It is always cool to see framebuilding across the world.
Ok. After field testing I cannot recommed this hydraulic quick release… at least not 100%, maybe 50%. When I put my bike together after the flight to Japan the front brake needed a couple of pumps to get it working and after that it did work well. However, the rear brake, which has a splitter in the middle of the hose, was almost completely dead and never recovered even after 30 minutes of work by the leading bleeding experts in Osaka (if not, Japan). I have a theory the connector itself is a little loose, which prevents the valves from completely opening and chokes the brake the same way a kinked line does.
I installed some Paul Klampers on the bike in Tokyo and prob. will never ever install hydraulic brakes on a split bike again!
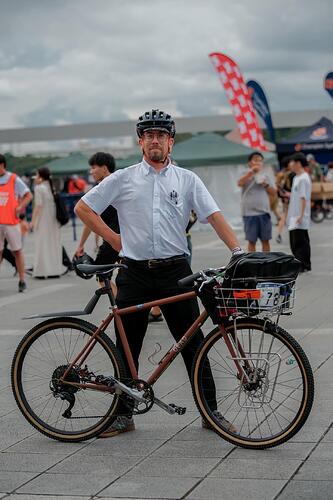
Oh yeah, I managed to make it to the Finals in the CMWC. I rode in a proper salaryman uniform. Uniqlo really know their stuff, I was drenched in sweat and the white shirt still looks perrrrfect.
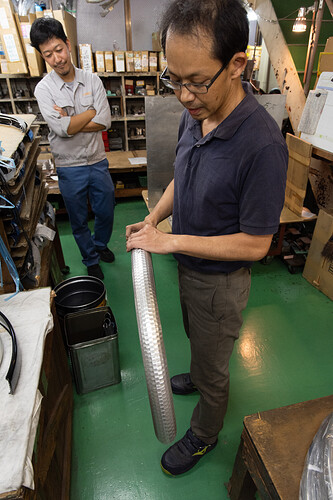
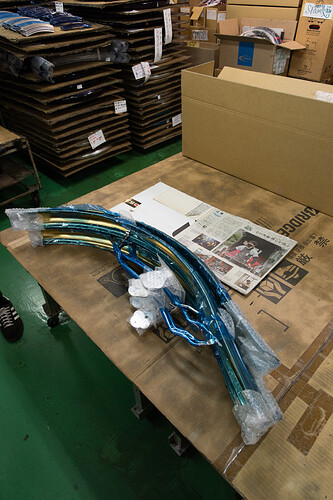
On our last week in Tokyo, Yuba-san from MKS invited us to join him at the Honjo Koken mudguard factory. It was three storey brick building in the middle of a quiet residential neighborhood. I was surprised at how small the factory was for such a big brand.
No robots on the factory floor. All work is done by four persons and every fender has to be rolled, cut and finished in several stages. There was little or no scrap either, all the raw materials arrive in correct width and color so that a minimum amount is wasted.
The managing director Tomo-san would not reveal how the hammered fender finish is made, but I have an idea
Honjo also make motorcycle fenders, brass riksha fenders, industrial machine safety covers etc. I got the idea that if you have a special fender need, they can make it happen. New tooling cost about one million yen, but if you just need a pair of brass fenders in some already available width and finish, it is not problem at all.
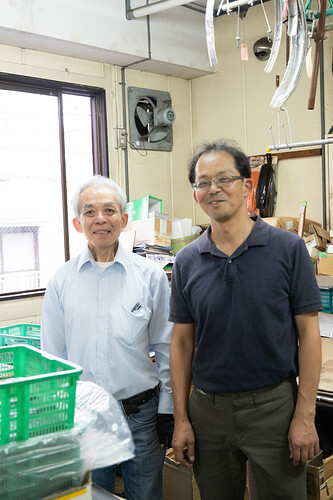
The president and the managing director Tomo-san.
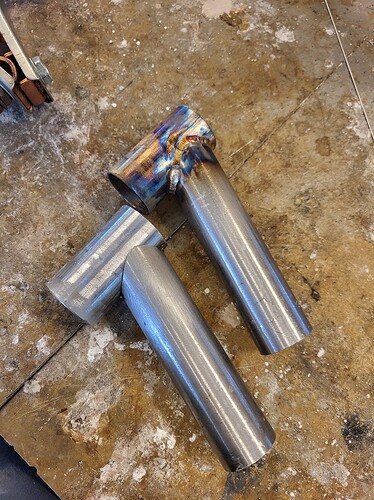
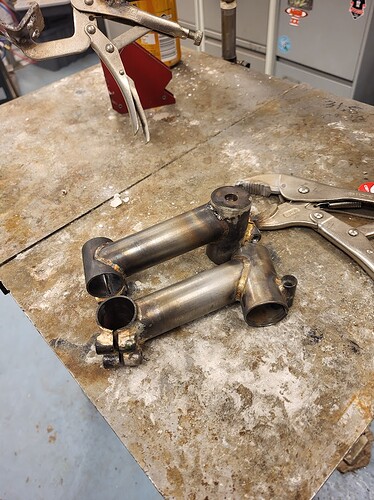
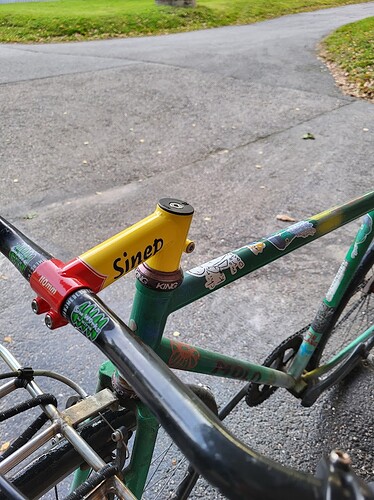
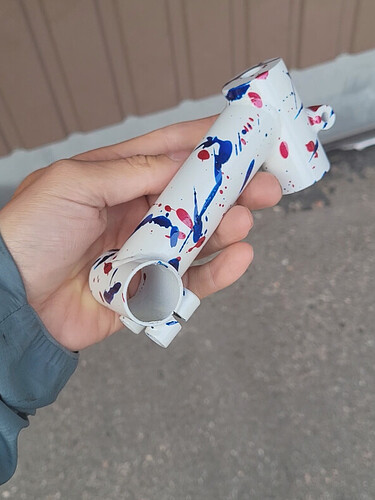
In other news: I made some stems.
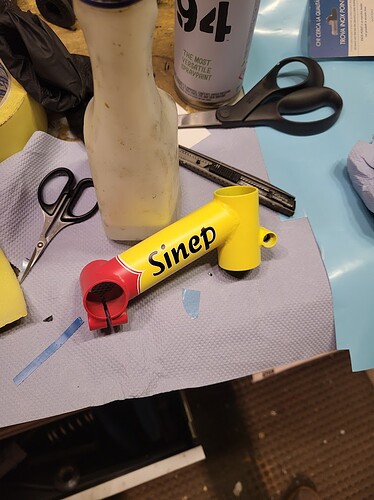
The other one has an integrated top cap fo my split bike, so that there are less parts to be lost. I was going to integrate the top of the king headset as well, but forgot to bring the part along to the workshop.
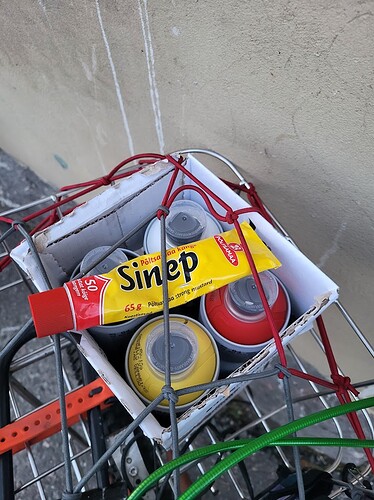
I visited my local graffiti supply store with a color sample: A tube of my favorite mustard.
These graffiti sprays have a lot of pigment and they cover well, but finish quality leaves a lot to hope for. This is a a humor project, so I’m not strangling my creativity with nitpicking.
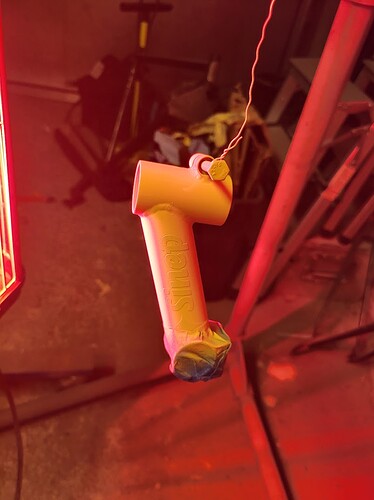
The graffiti paints also dry quite fast, but it helps to have a small infrared paint curer. I gave each paint layer maybe 15 minutes of curing time and the final 2k clear coat about an hour.
Before clear coat
After clear coat
I used some leftover metallic pearls on the other one before giving it a clear coat.
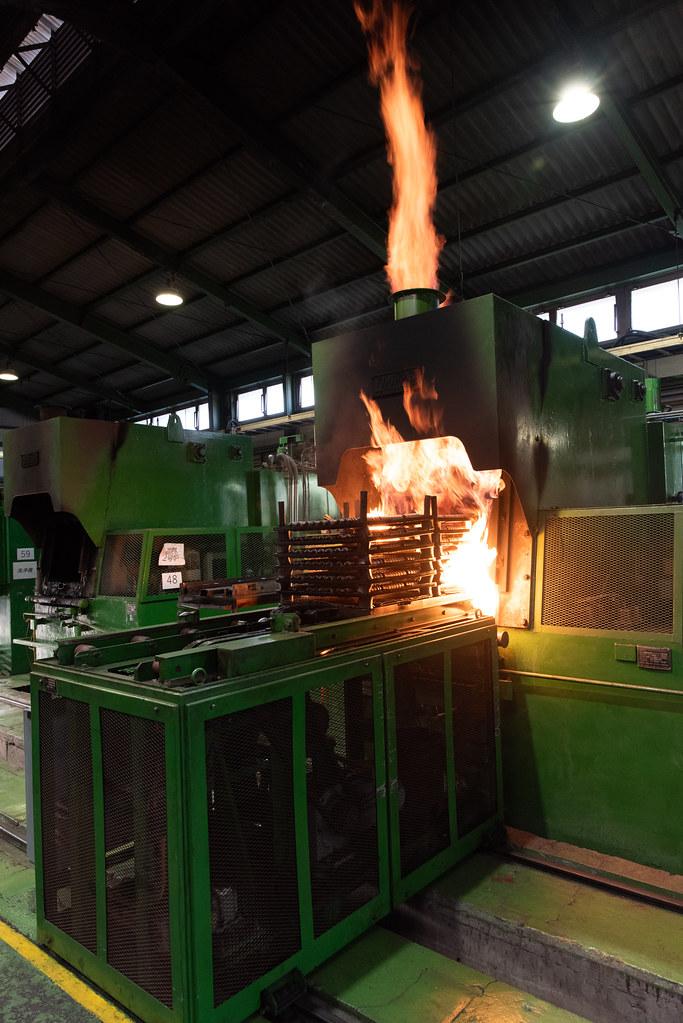
Im from EST. That stem is funny. Btw I tried flame straightening my seat tube, I manages to move it only a little. I used a propane burner from the store. Did not get it as hot as you in the video, but close. Do I need more temperature? Any tips that I might do wrong?
Make sure it is jigged strong enough to stop it moving to the opposite direction. Practice makes perfect, cut a piece of tubing from a scrap frame and test it on that. If you get it cherry red, it is well hot enough.
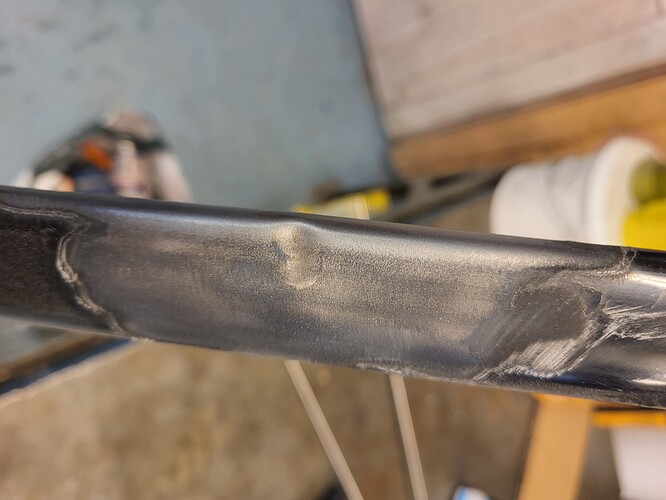
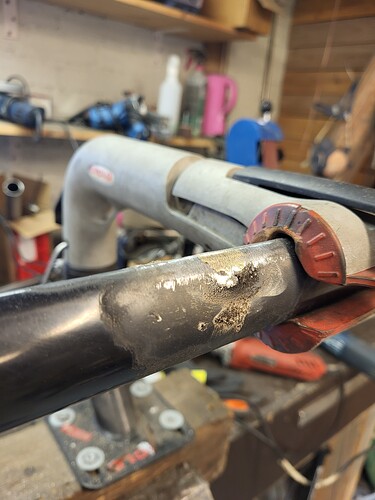
Neat dent repair I saw in magazine years ago. This one is in tear drop shaped tube, can’t use a tube block to rub it straight.
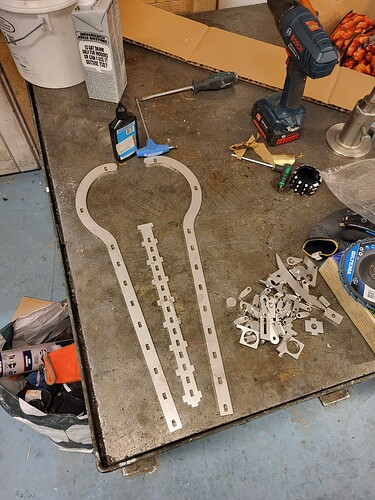
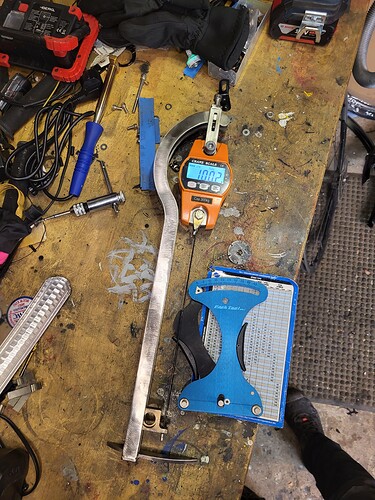
I also made a spoke tension meter calibration tool. It’s all 5mm (3/16) stainless I had lasercut. The scale is a 300kg crane scale. My over 10yo ParkTool tension meter was only off by unit, showing 19 when it should have been 20. That pretty much means there is no need for the calibration tool ![]()
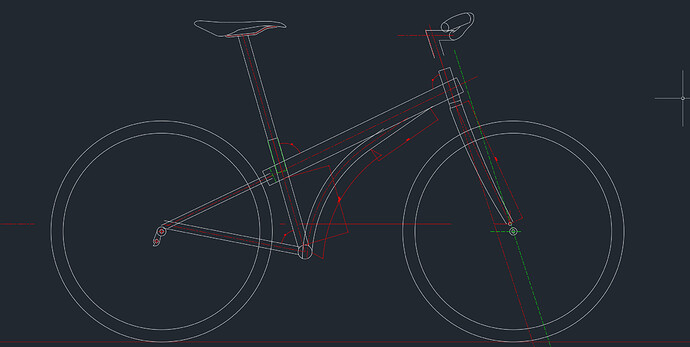
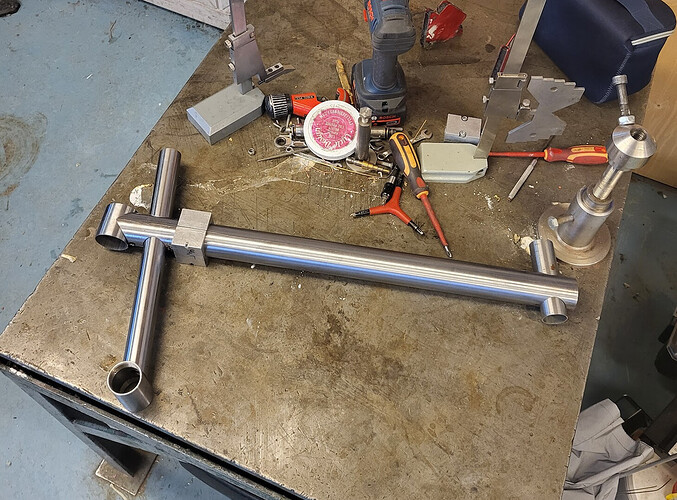
We’re planning a spring trip to Milan and I thought it would be nice for my fiance to ride a new bike so I took some steps forward in this project.
Surprising how fast everything is to make when you plan in advance.
We have a tube bending die for a hydraulic press but no forms for 28.6mm tube so I cut the downtube off a Pelago Dutch bike frame and the radius was perfect.
Slotting the cutest little seat tube! <3
I know this was from a while ago, but I quite like Uniqlo stuff. Really well made for the price!
