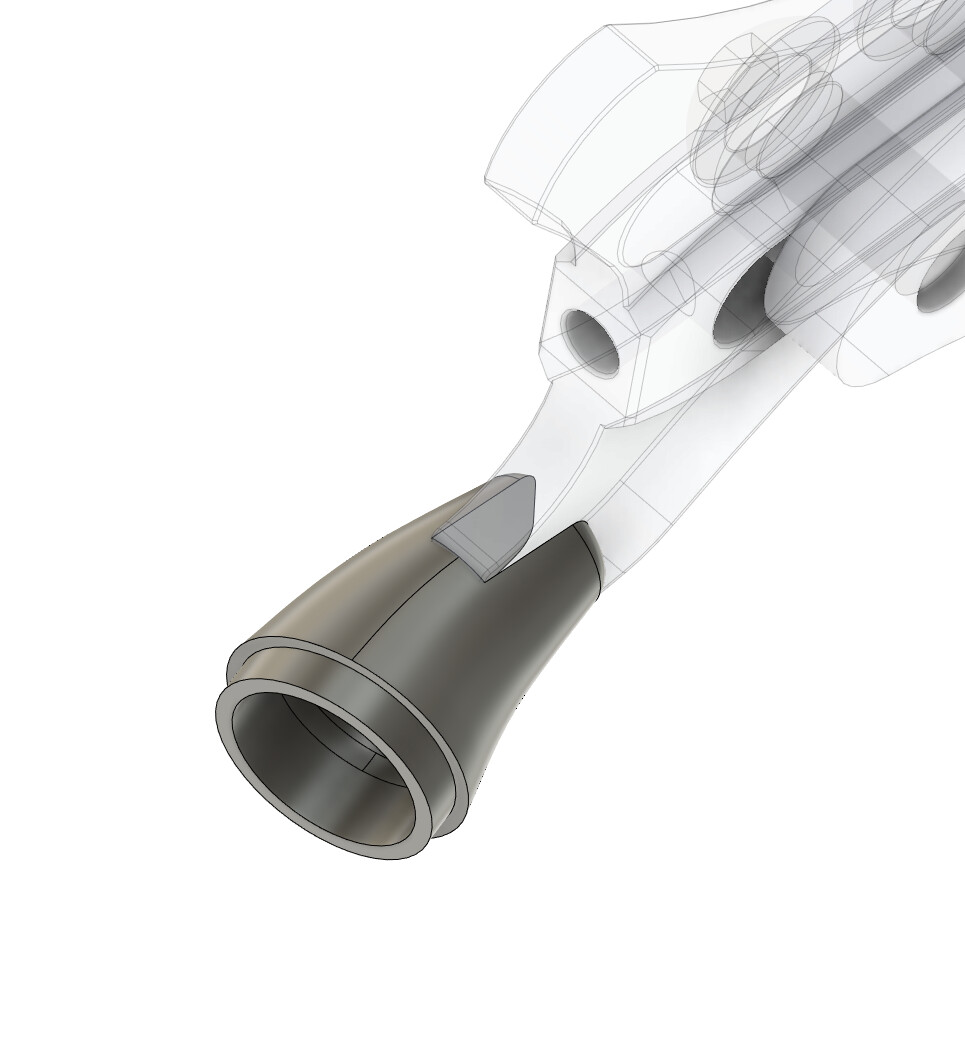
The current Stainless Steel PNW slider hood width is only .74in. This leaves very little room when using straight 3/4in or 7/8in chainstays. It also does not leave room for brazing.
BFS currently uses a 1" wide flange , though our flanges are steel so they work for TIG or fillet brazing. So solution is there , just might note be in the material some folks will prefer.
Even the non-flanged version of these dropouts is SUPER wide at an often-awkward spot for heel clearance (which is why I never use the flanged ones) especially on boost/superboost bikes. IMO just using the plate/tab version is better for basically everyone, unless you’re doing ti, where bullets are just a pain and tubes need to be big diameter.
So I’d vote no on wider flanges. But that’s just me.
You bring up a good point about heel clearance which I haven’t been considering. I gravitate towards hooded-style dropouts because it works better in my 3D CAD workflow. In CAD, the bullet plugs require a lot of manual tweaking and eyeballing.
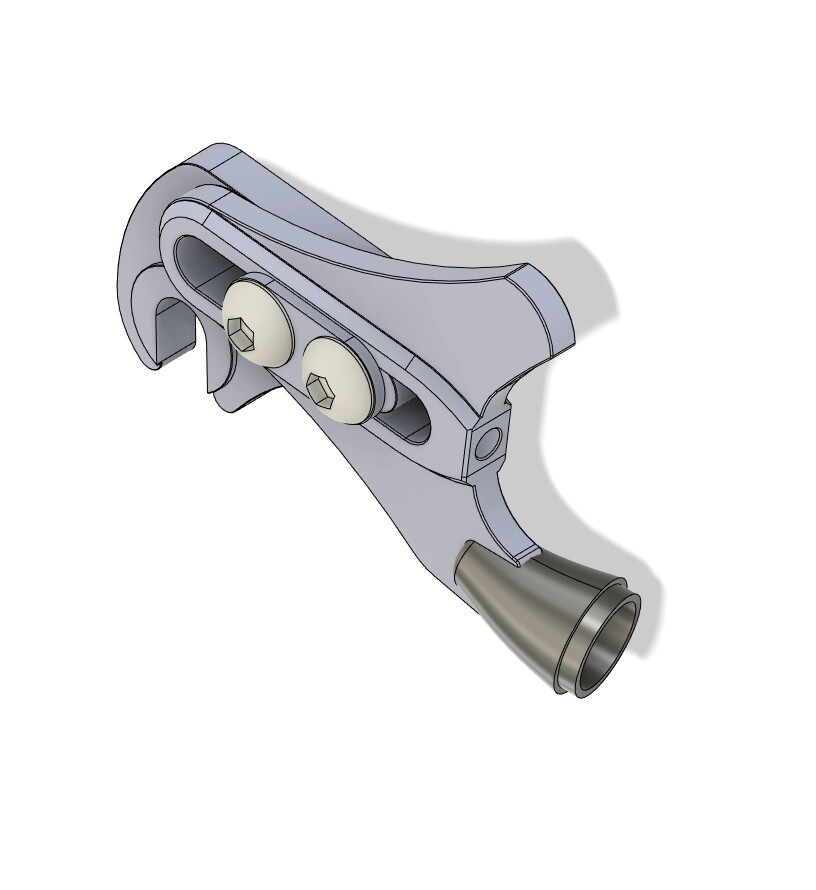
This discussion sparked an interesting idea: A printed plug with an exact angle:
~15g plug so ~$10/plug
more precise than the paragon plugs
plug-and-play system (no eyeballing)
there is room to offset the stay even further inboard
It’s a pretty simple print if anyone is interested in guinea pigging.
I just notch one side of a chainstay and then zap everything together with the outside edge sitting flush to maximize heel clearance, typically, so I’d probably not be the audience for this.
For those who TIG weld, you can just literally butt weld the chainstay to the dropout if you want, nothing more fancy required. So if you’re intimidated by plate dropouts, don’t be. They’re easy to deal with.
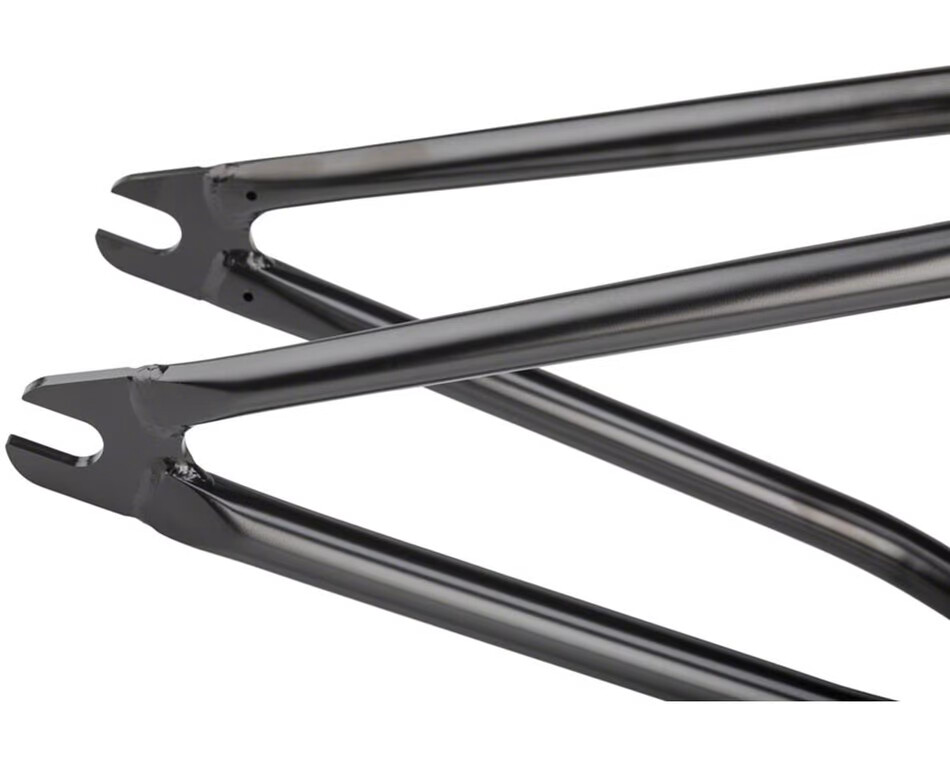
There is a dropouts-as-jewelry mindset (to be clear, if you want to get artistic with dropouts, go for it, I have no problem with pretty things) that has kind of taken over custom framebuilding, which I find a little weird. From that POV, though, just butt welding on a plate dropout isn’t really an option, so you end up with hoods, bullets, etc. It’s an awful lot of extra work…
I’m old (or at least have been making bikes for too long) and remember a time when there were, at most, 2 or 3 dropout choices for most TIG builds. So nobody made much of a big deal about dropouts, you mostly just tried to make the bike fit/handle/blah blah blah well, and nobody would bother taking detail shots of a dropout for a photo spread, because it was just there to hold the wheel on.
So yeah, I just pick the most functional option usually (or whatever a customer asks for as long as it’s not a terrible idea for some reason) and then I spend pretty much zero time on fancy ways of sticking the darn things on. Same with seatstays - just slap 'em on the tabs and blaze away.
Is there a (significant) difference in joint strength if notching is done on just one side of the tube vs. cutting a dedicated slot in the middle of the tube for the plate dropout? TIG would be the joining method here.
Thank you very much, sir! Sharing first-hand experience is highly valuable. One could argue that slotting the tube creates a larger joint surface, but then again, if notching just one side suffices and is strong enough, then it’s definitely in the set of options to choose from.
Meaning that you place the stay on the side of the dropout with any modifications to improve fitment? Or something else? Could you elaborate a bit further? I could not quite follow.
Pretty simple - I just snug the end of the dropout up to the end of the stay, and weld it in. Just a simple butt joint. What you are describing is a lap joint (which I suppose you could also do if you wanted to but it might look weird).
Since the end of the stay is flat and the dropout (we’re talking stuff like the Paragon DR2086) usually is too, fitment is very simple/straighforward. Typically I will put a single tack at 12:00 and double check the phase of the chainstay before finishing up.
I can take a picture next time I’m at the shop, if that doesn’t make sense.
Note that you would not want to do this with anything but TIG, though.
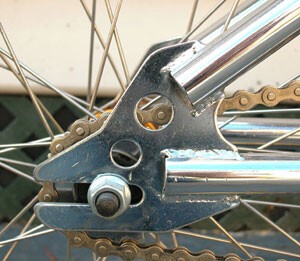
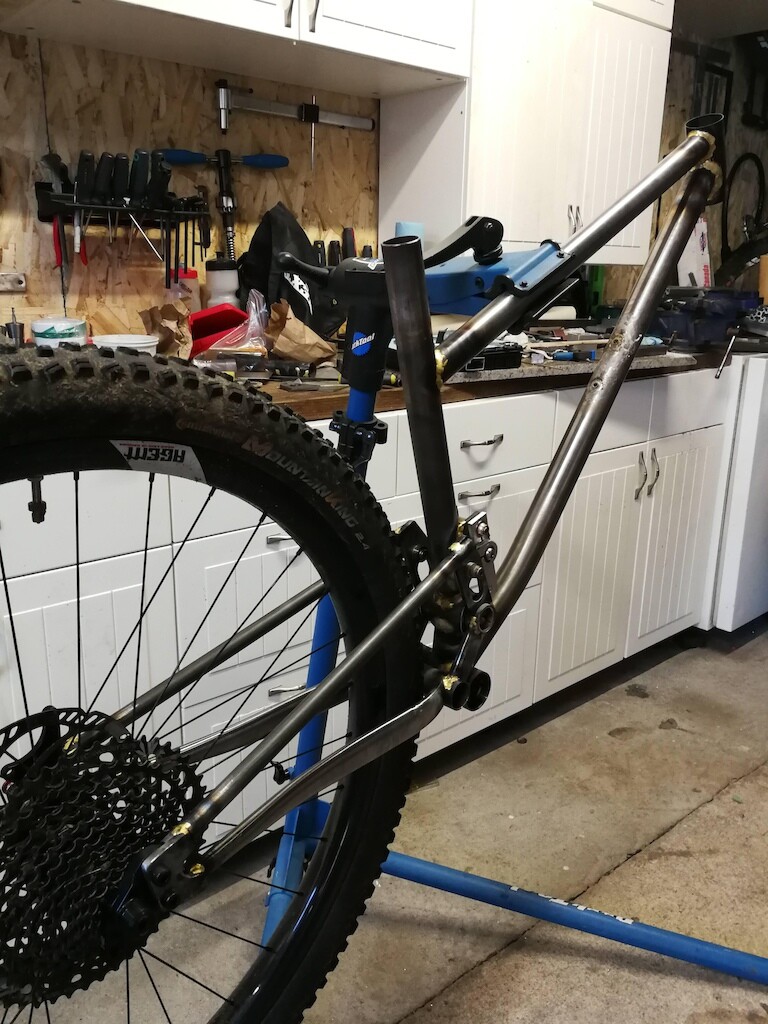
I have done the same on a full suspension enduro frame. I filed the outside of the CS/SS flat and brazed on a plate that had a set of replaceable dropouts bolted on. This is held up to a decent amount of abuse so far. SS’s then had the inside filed flat and brazed to the front upright on the rear swingarm.
Not the greatest picture but you can see it here when the swingarm was tacked together to test fit.
If you’re brazing, you just need to make sure the joint has enough surface area/filler. With bronze just doing what Welby does is great. With silver I’d probably stick with a traditional slot, though.
@anon91558591 I’d love to see a photo of the butt joint connection. I’ve been making dropouts with a plate to connect to the stays, but it would be nice to ditch the plate if it isn’t necessary.