I bet you could hear that penny drop all the way over there in the US of A ![]() Thanks a lot!
Thanks a lot!
Alex, is this the Langmuir MR-1? I remember seeing your post about ordering the machine awhile ago and am interested to hear how it’s worked out so far.
These videos are from my machine technology instructor. Everything you need to know – and more!
-Jim G
2 Likes
Yes, that’s my MR-1. I like it, the machine flies in aluminum and is plenty capable in steel. The software and control system were terrible, but I was pretty sure that I’d replace them when I bought the machine and that is what I ended up doing. Notably I’ve swapped out the spindle as well, and now use a lower torque/higher speed spindle (16k rpm max) with a pneumatic drawbar that supports automatic tool changing.
I’m terrible at youtube, but you can see some videos of the machine in action here:
I swapped the spindle about 6 months ago, so the 9 month old video is the old spindle.
I don’t think there is a more capable machine for the price, but it is a kit and I wouldn’t buy one as a turnkey machine. Personally I really like the huge X/Y and being able to use the same machine for wood, aluminum, and steel.
4 Likes
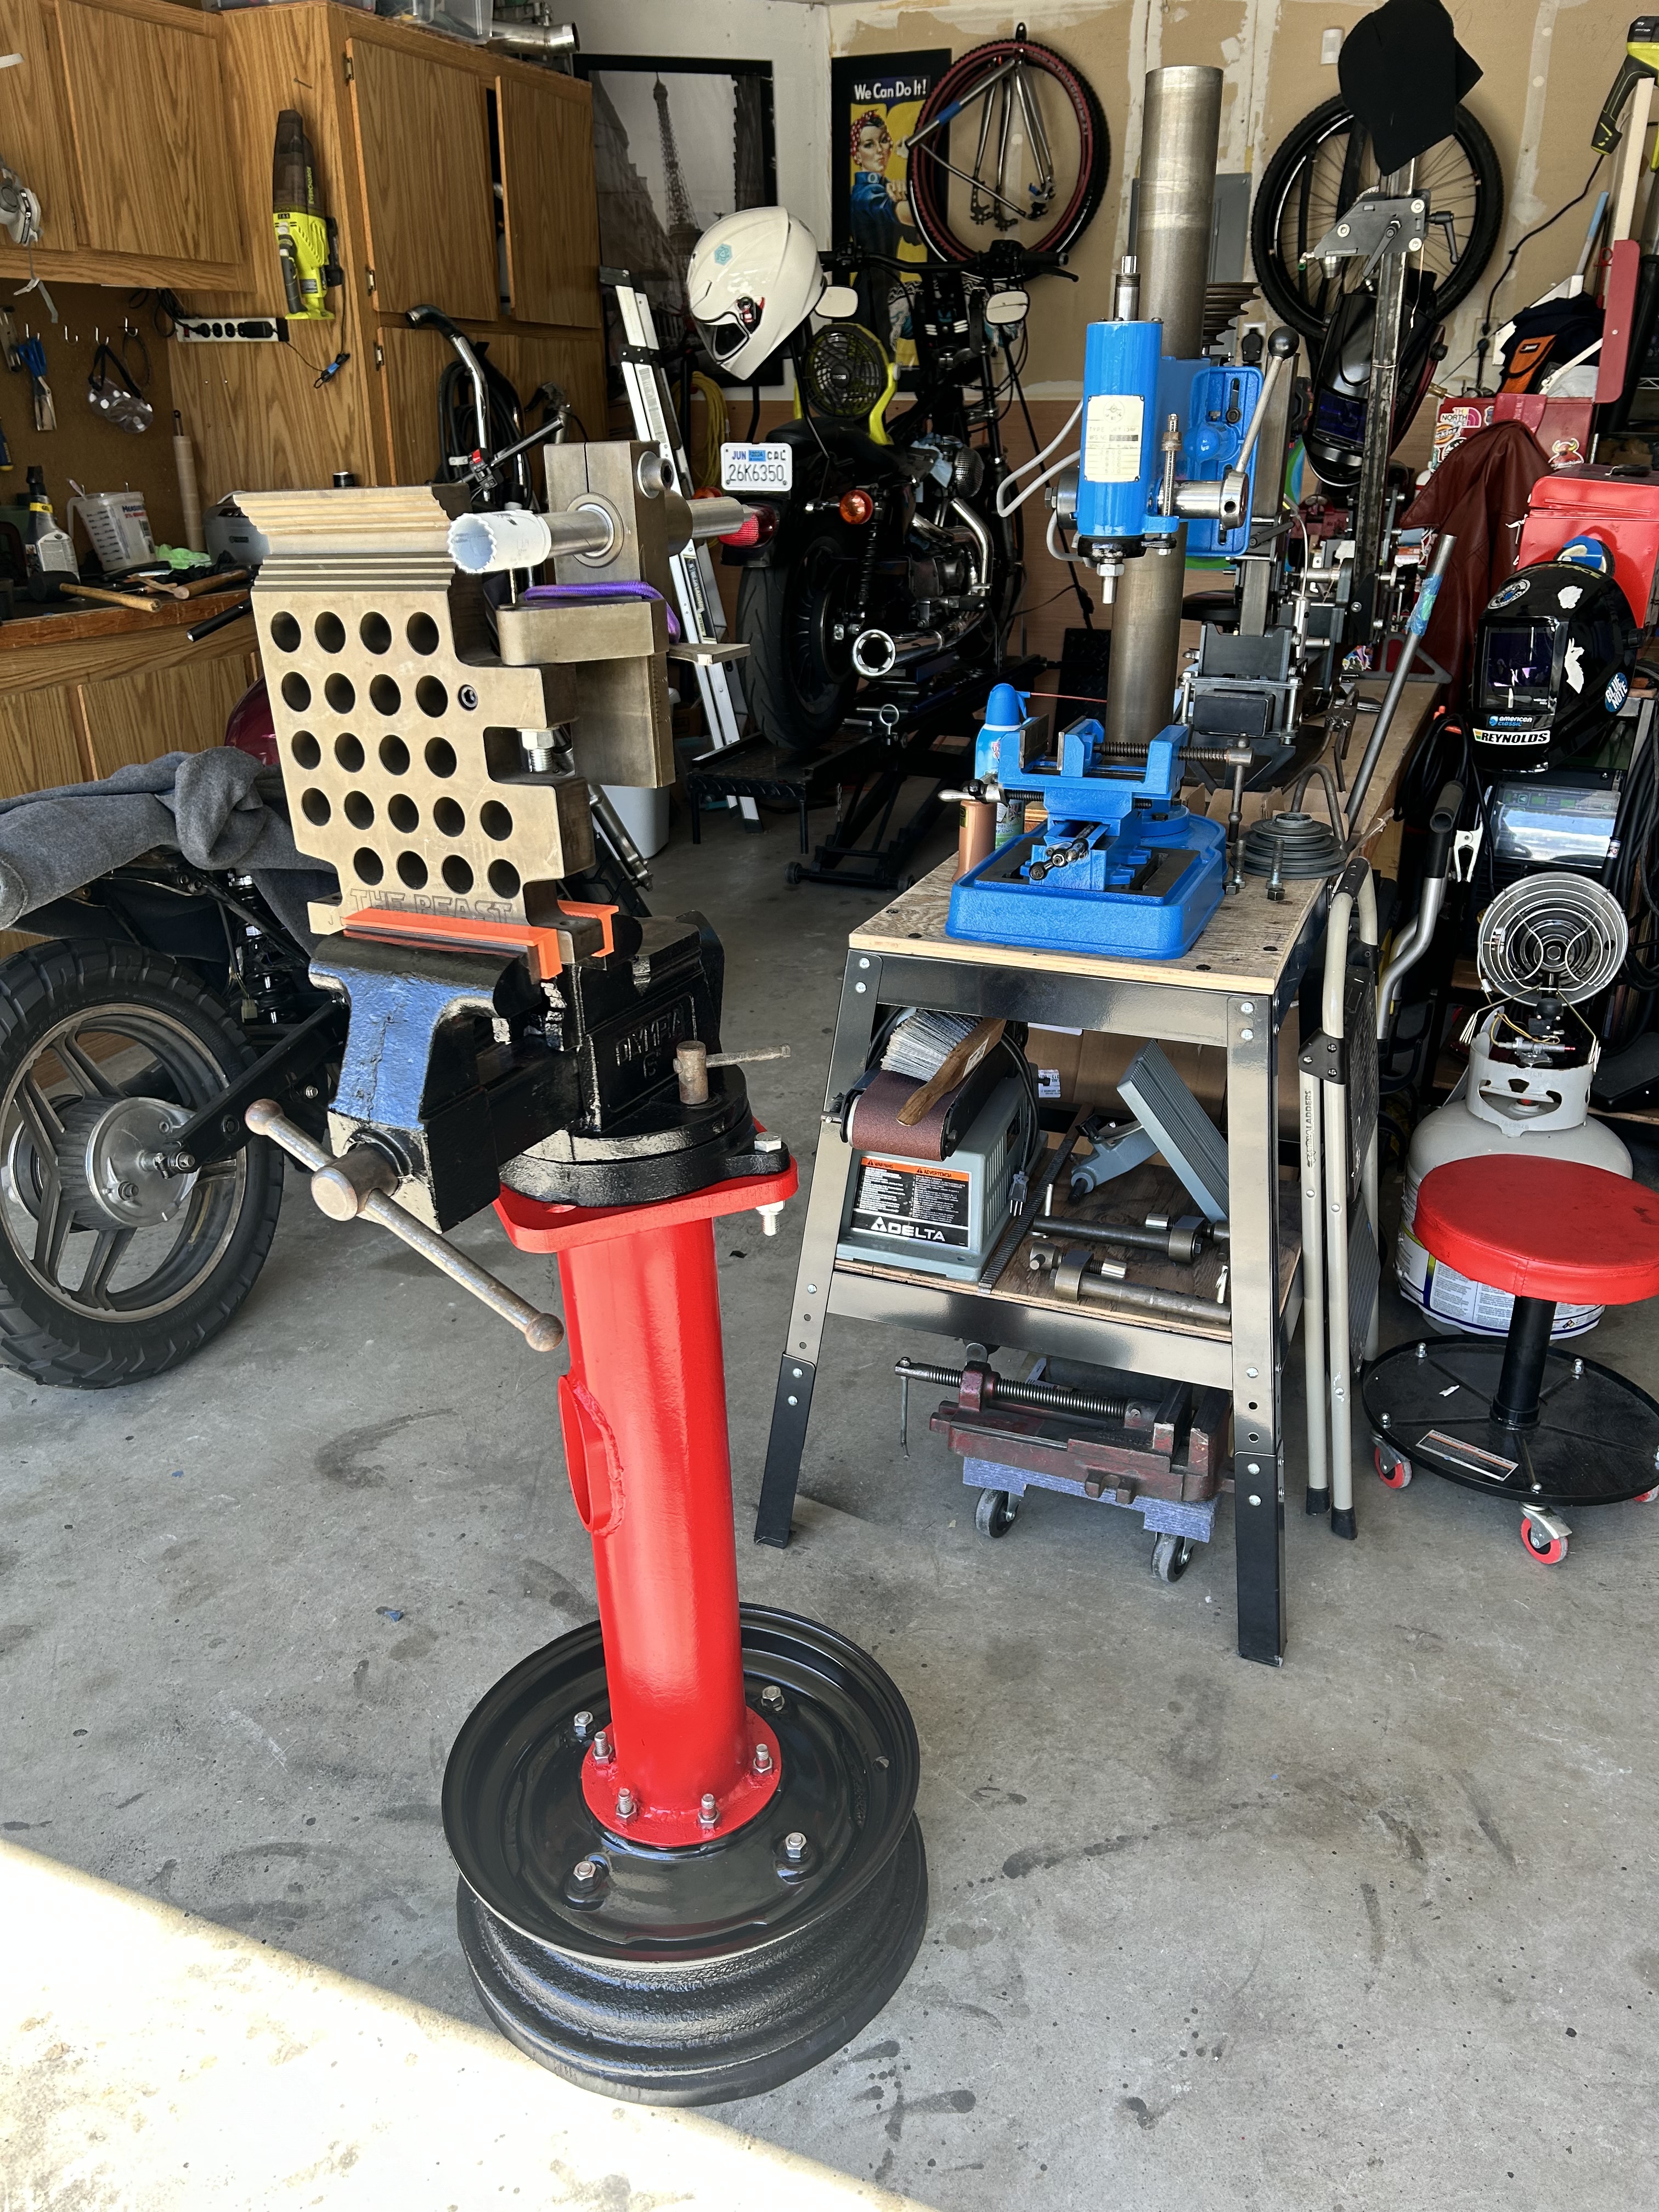
Finally made a stand for my vice. All from recuperated/repurposed material
Not really a DIY tool but i am revamping my drill press as well, this was a Japan made model from ~1970. Cross slide vice was found at a local scrap yard
4 Likes
Where did you source the transducers? Looking around, the quality sounds like it varies. Have yours been holding up?
I definitely am interested in building one of these, thanks for the inspiration!
I got all the electronics as cheaply as I could on ebay, they came from over seas.
So far, no issues. I do think it needs a few more though.
Lmk if you have any questions, happy to help.
1 Like
Im still searching for the perfect solution.
Just tried vinegar, and while it did seem to lighten all of the mill scale, it also seemed to almost etch the tubes as they all came out a darker color. But they hold that dark color and seem more rust resistant now.
1 Like
Nice stand. Is that red pillar something you bought or made? If made, what kind of pipe is that shaft made out of?
That is a steel pillar from a road lamp post, i had two of them, it’s steel with a zinc coating (that you have to remove before welding!) 6in diameter and they came in 4ft pieces, no idea if they were cut or not when I got them, I cut them down to ~3ft. Craigslist/FB helps finding scrap metal
i welded the base and matched the lug pattern on the rim. The top is the actual post base (it’s upside down) I had to re-drill the mounting holes for the vice as the original post holes didn’t line up
4 Likes
Nice work.
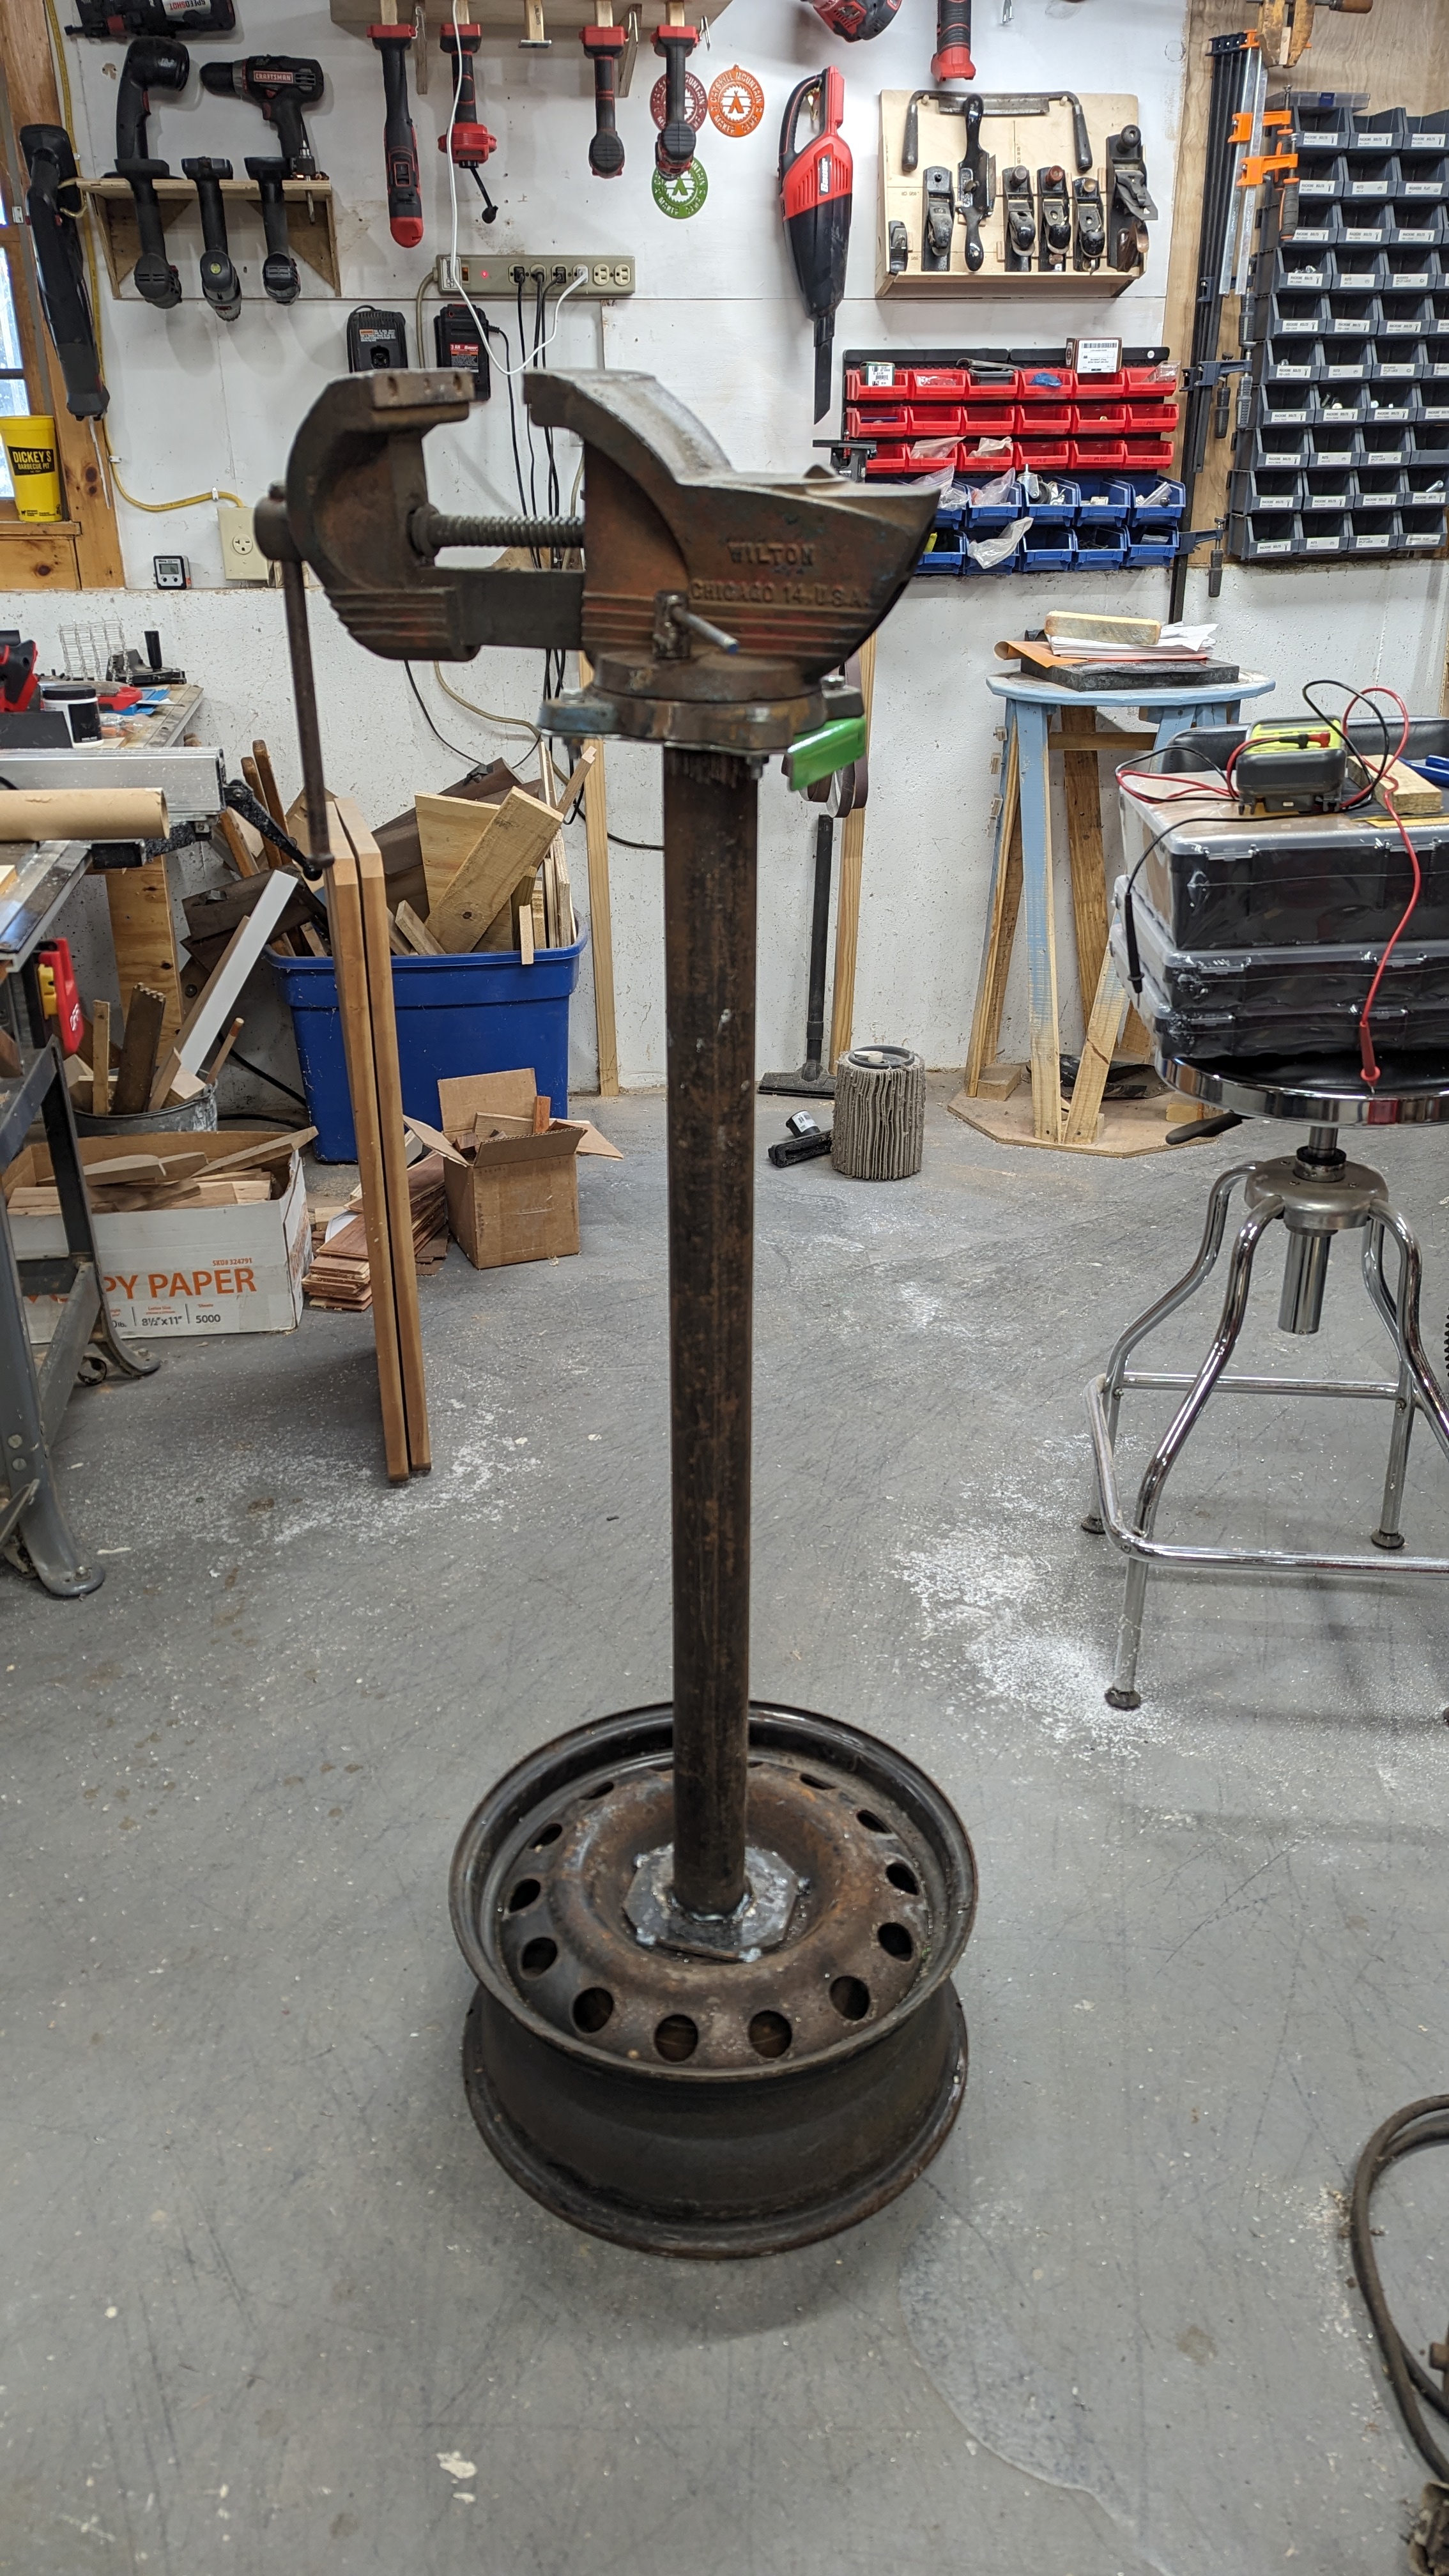
Mine has a more spindly pipe. I welded 2 large brake rotors into the bottom of the rim for mor weight down low.
5 Likes
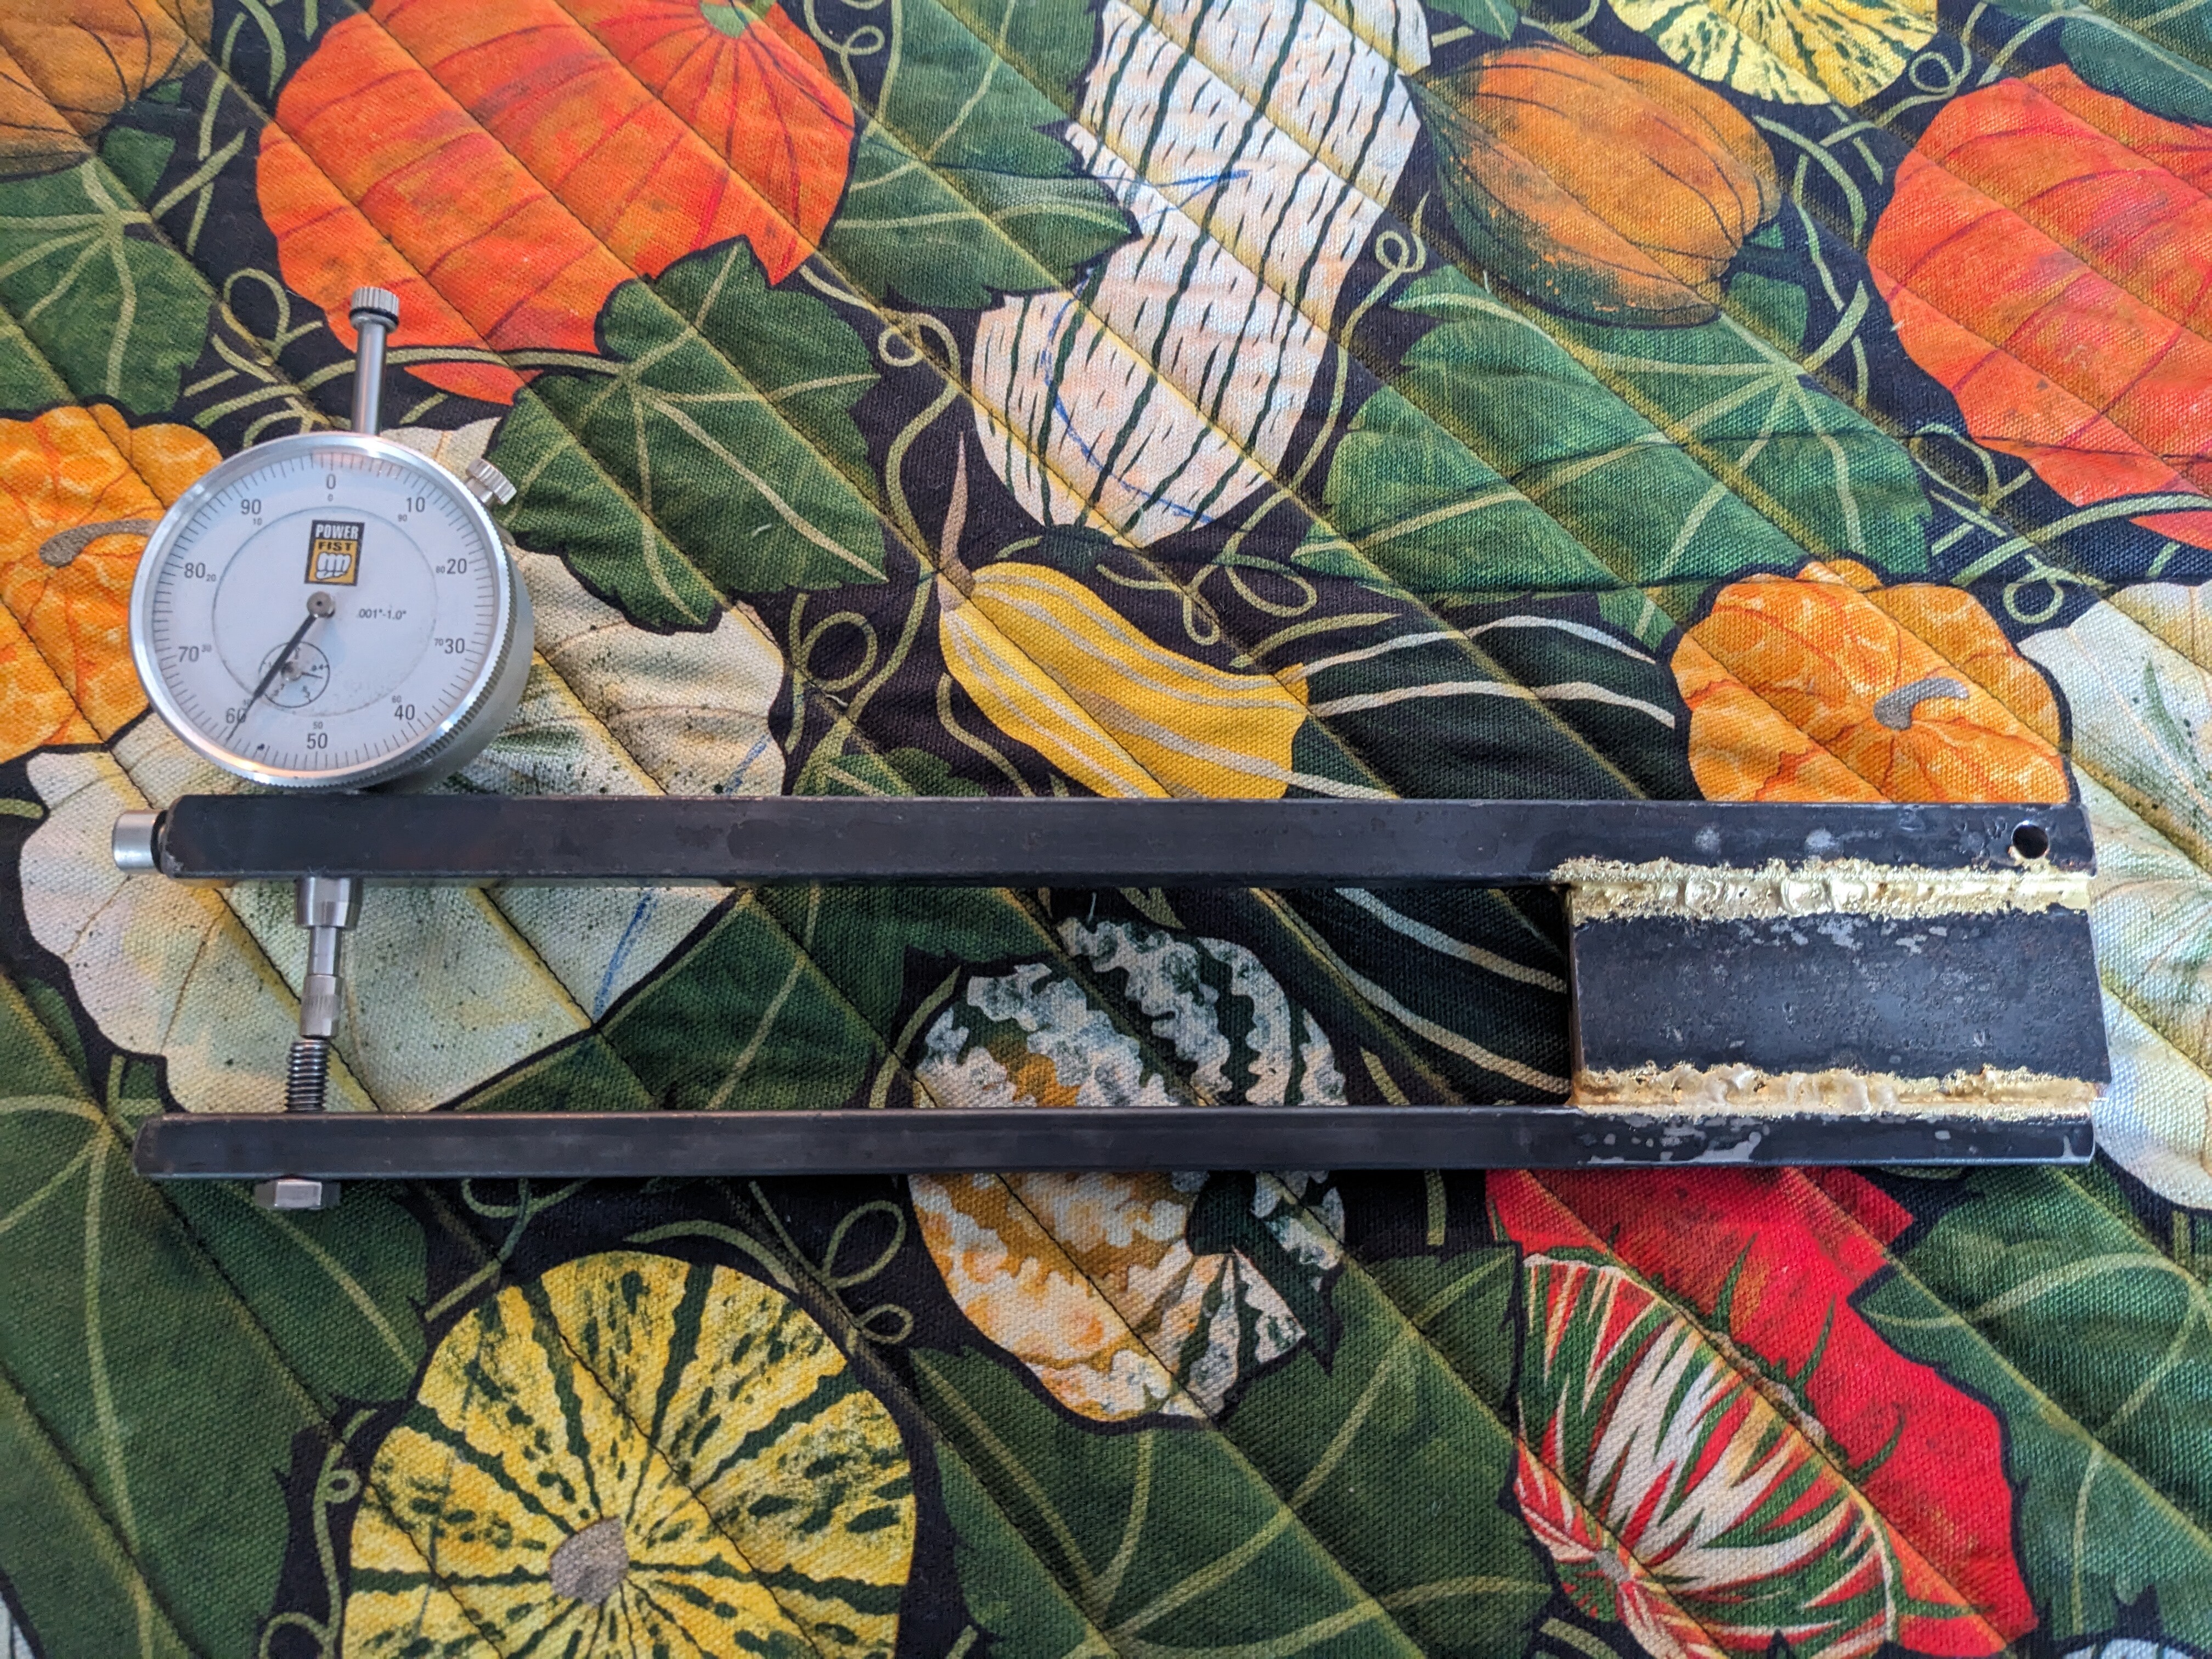
My next frame building project is rebuilding an old MTB frame into a cargo bike. I’ve only ever worked with new tubing before where the butt locations are known. This time I’ll need to figure it out myself.
I made this butt checker from some steel scraps I had laying around. The dial indicator and the screw below it ended up a smidge out of alignment unfortunately, but it still works really nicely!
16 Likes
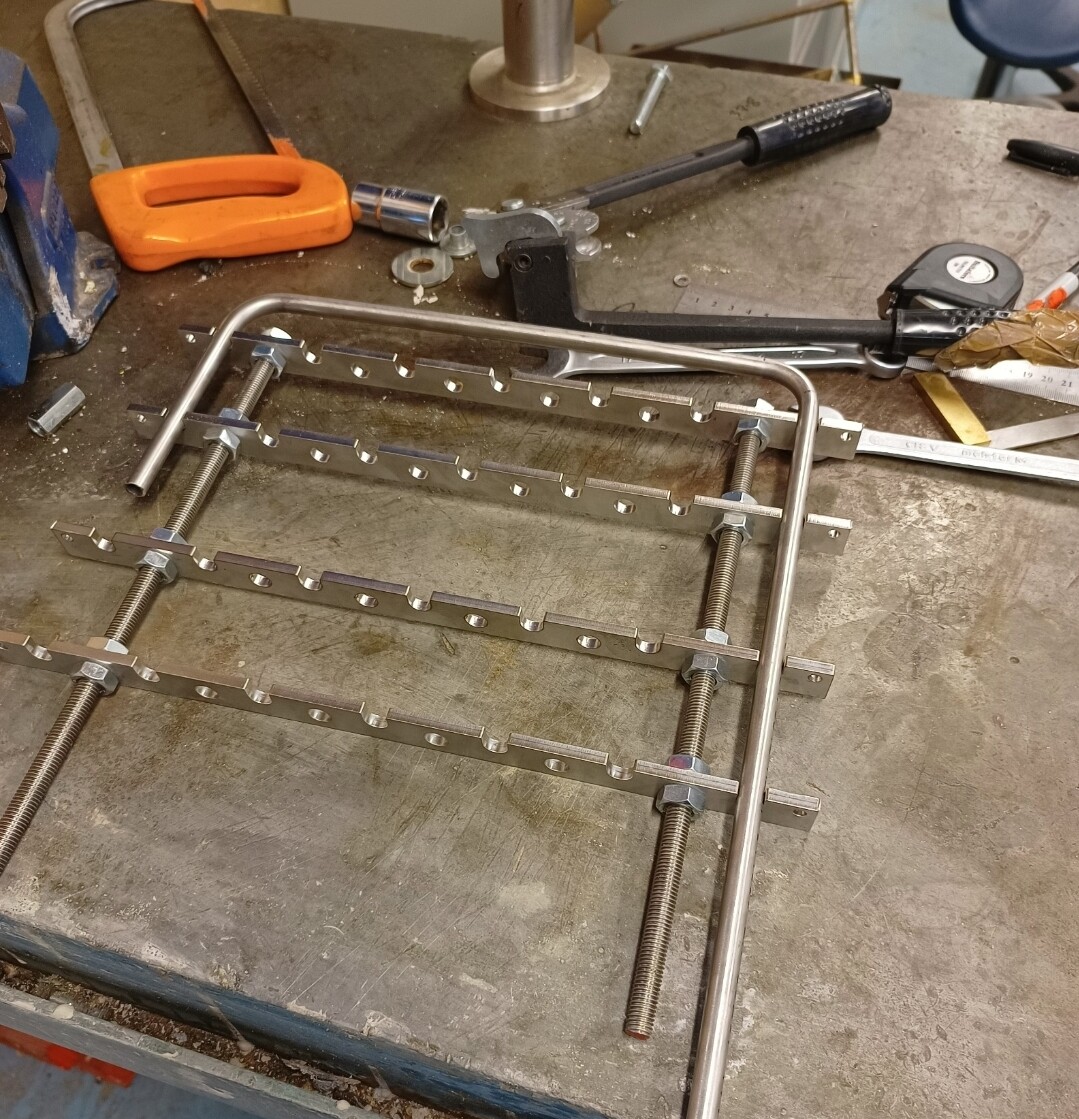
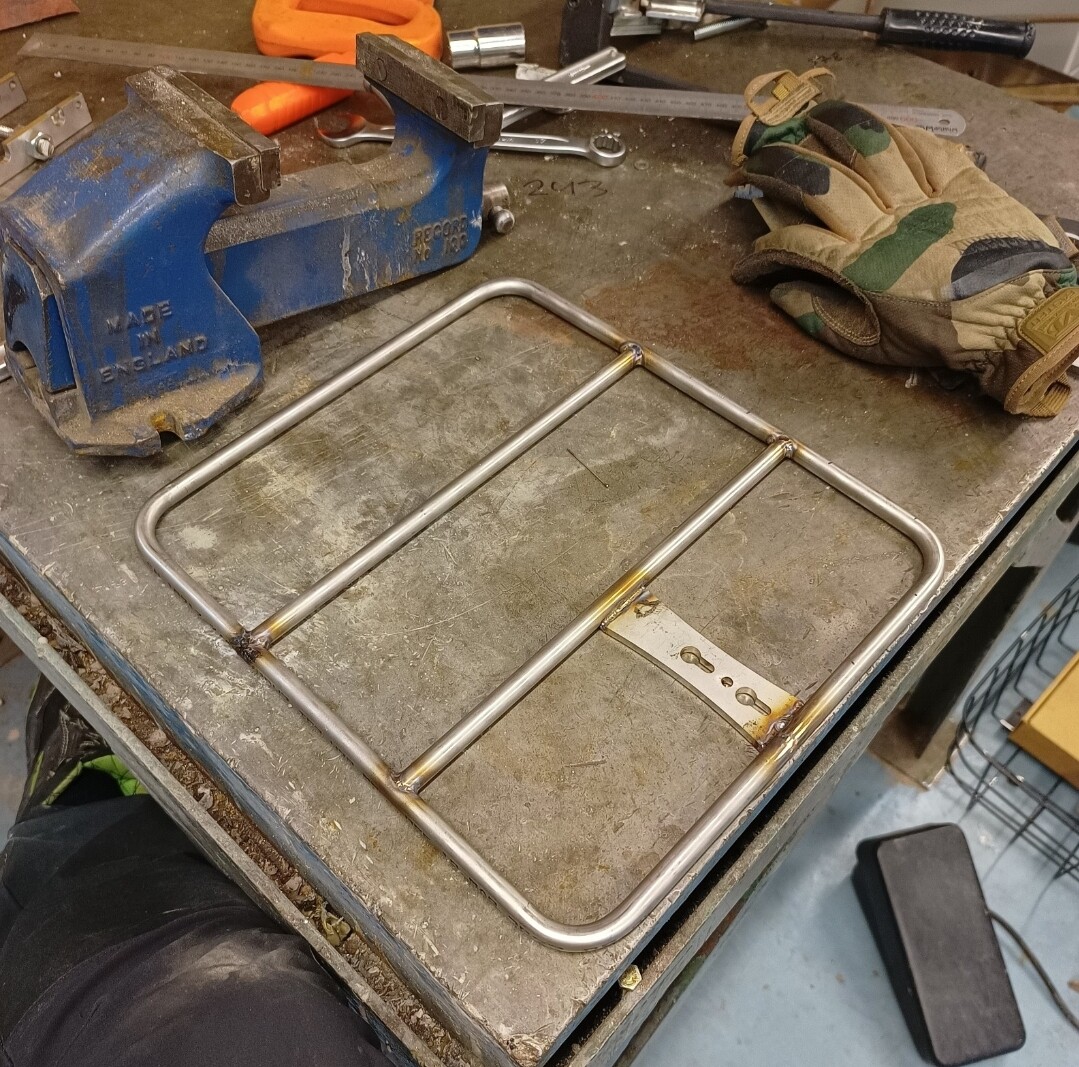
This is simple rack jig. It keeps the tubes in place properly spaced and stops distortion due to heat. And that’s all it does. If you make one, give it as many slots as possible, I didn’t think through the spacing properly on mine.
25 Likes
This is incredible! Any chance you can post some links of what you’ve used to make this?
The only ingredients are a belt sander (plenty of options that are all pretty much the same at the $30-50 price range) and a dynabrade contact arm (11204)
1 Like
Not for bike stuff…
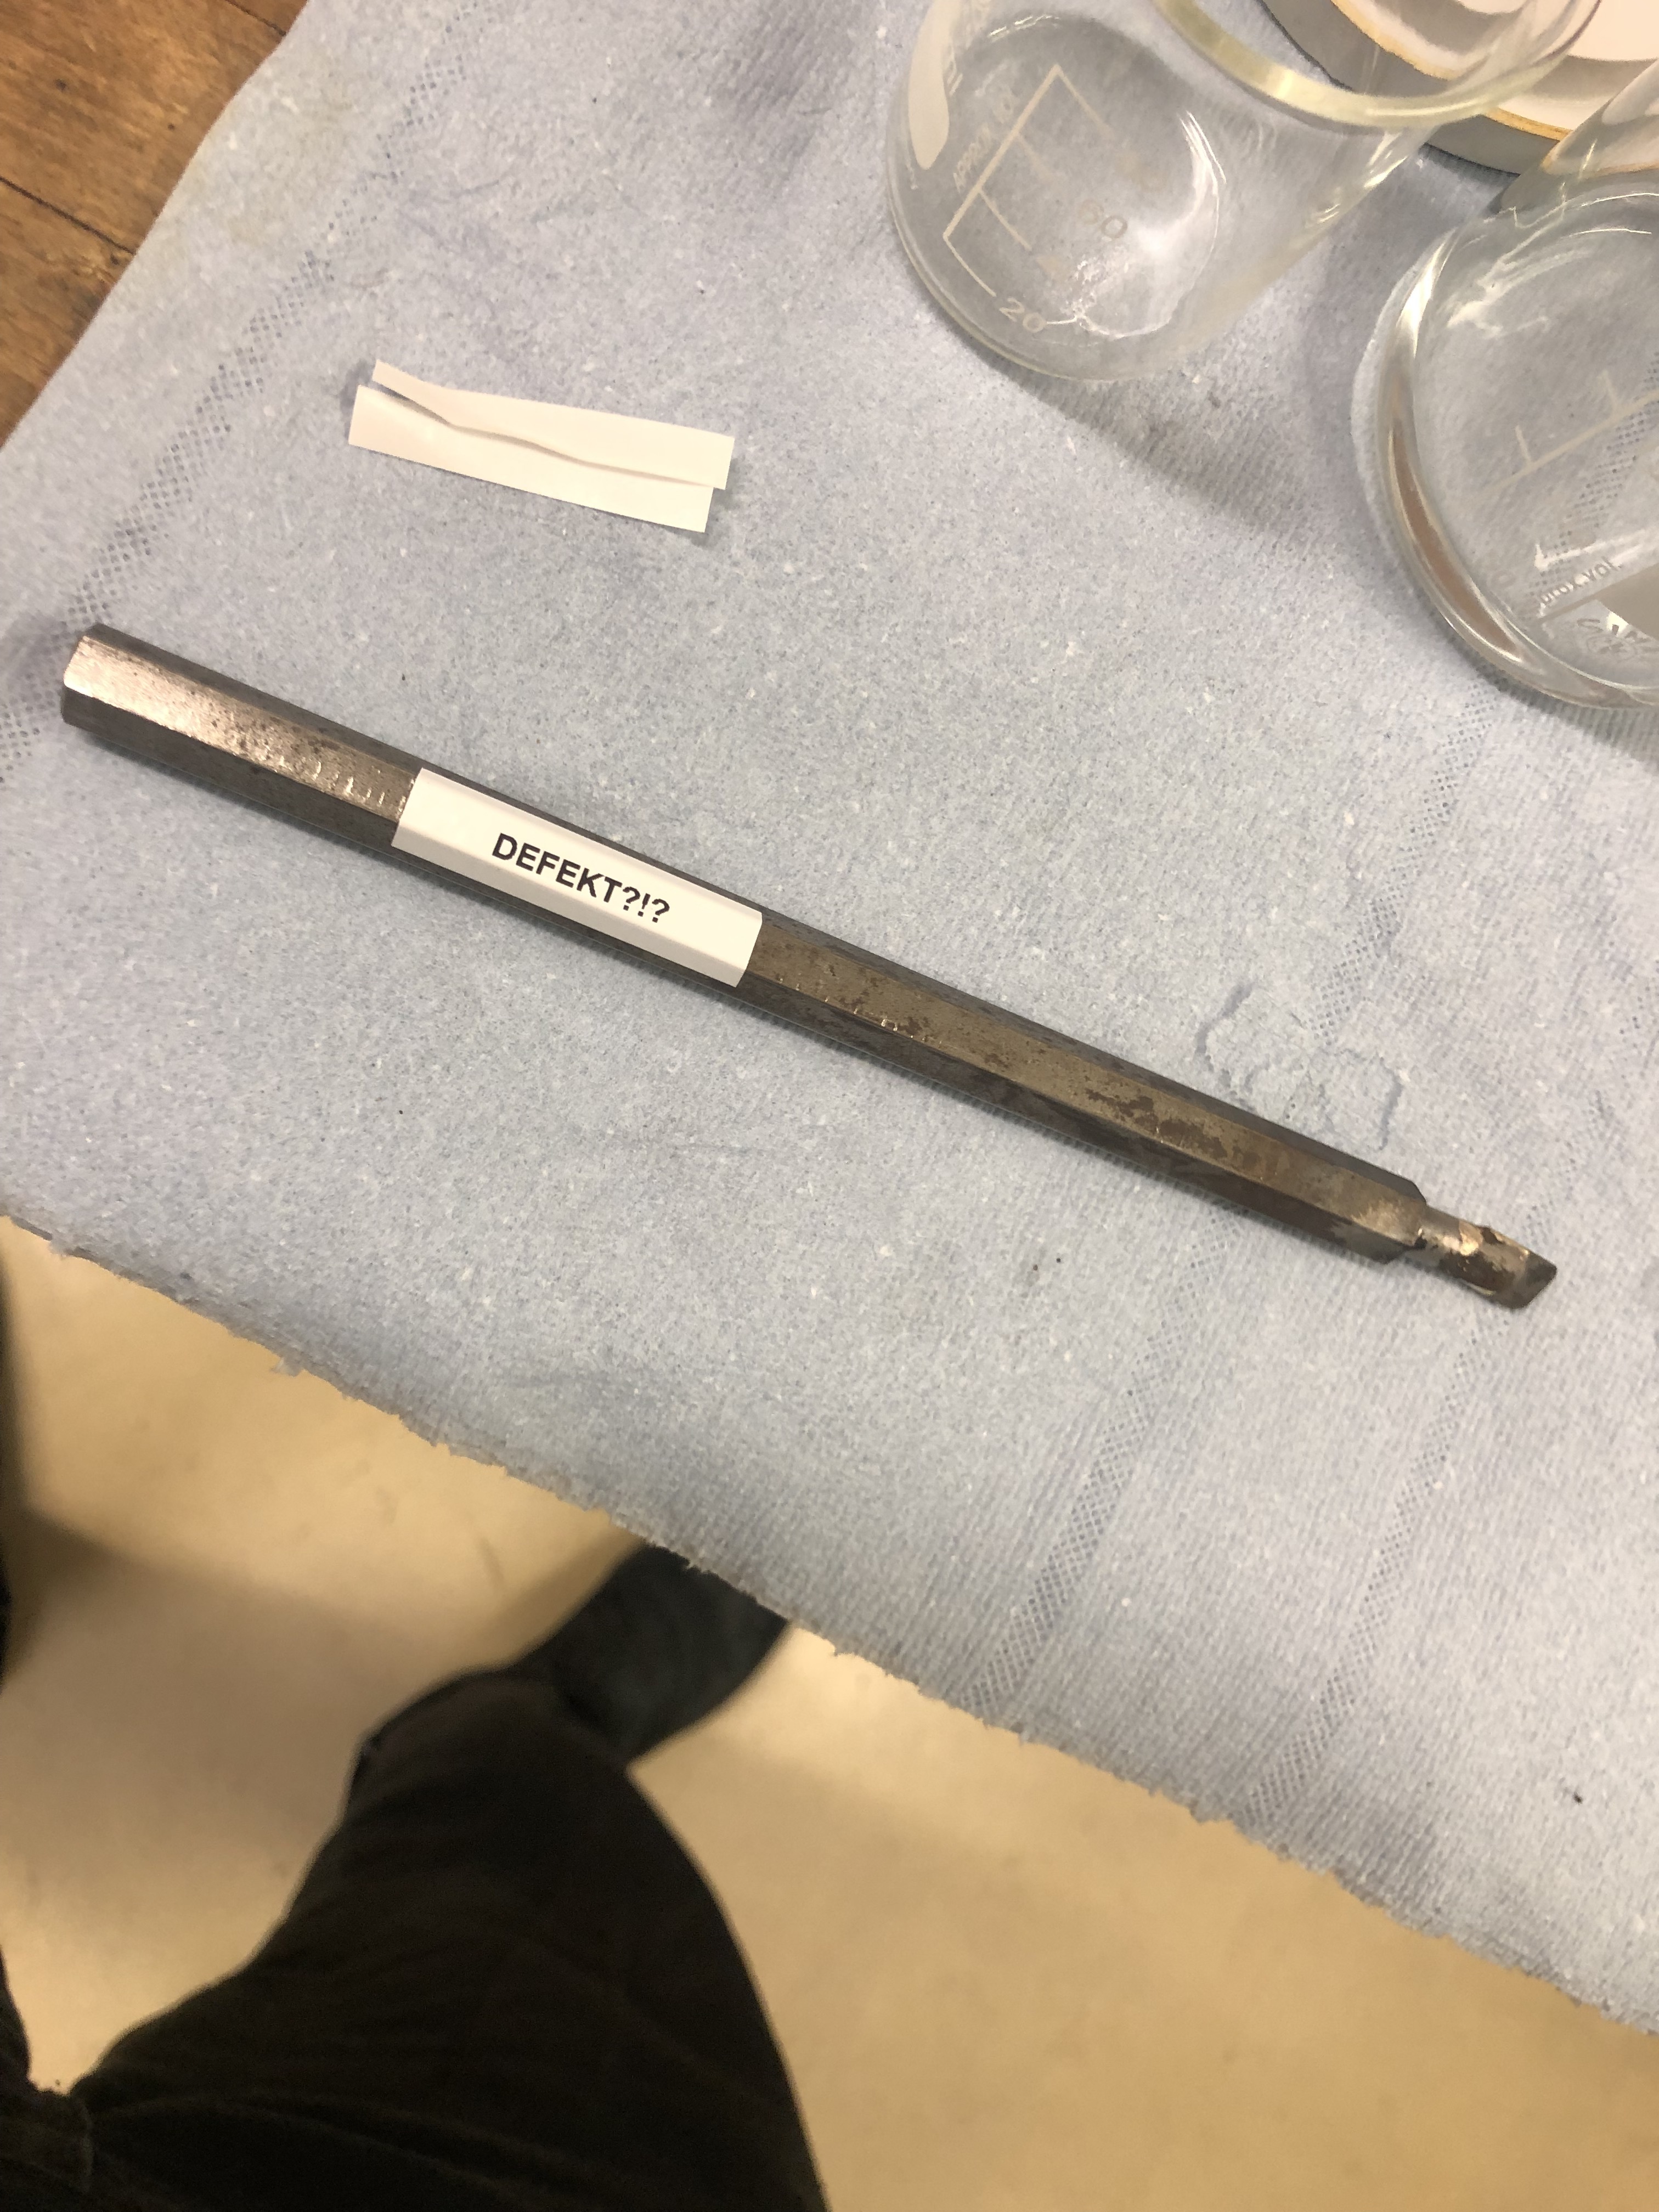
We had some custom molybdenum M2 grub screws made for us at work, but the flat head slot was cut so thin that no screwdriver we had would fit properly.
I went and silver brazed a razor blade to a bit of stainless hex bar. Works a treat!
Unfortunately it was all very rushed and the razor slipped when adding silver so it wound up a bit wonky.![]()
Never mind the sticker…it is a running joke
2 Likes
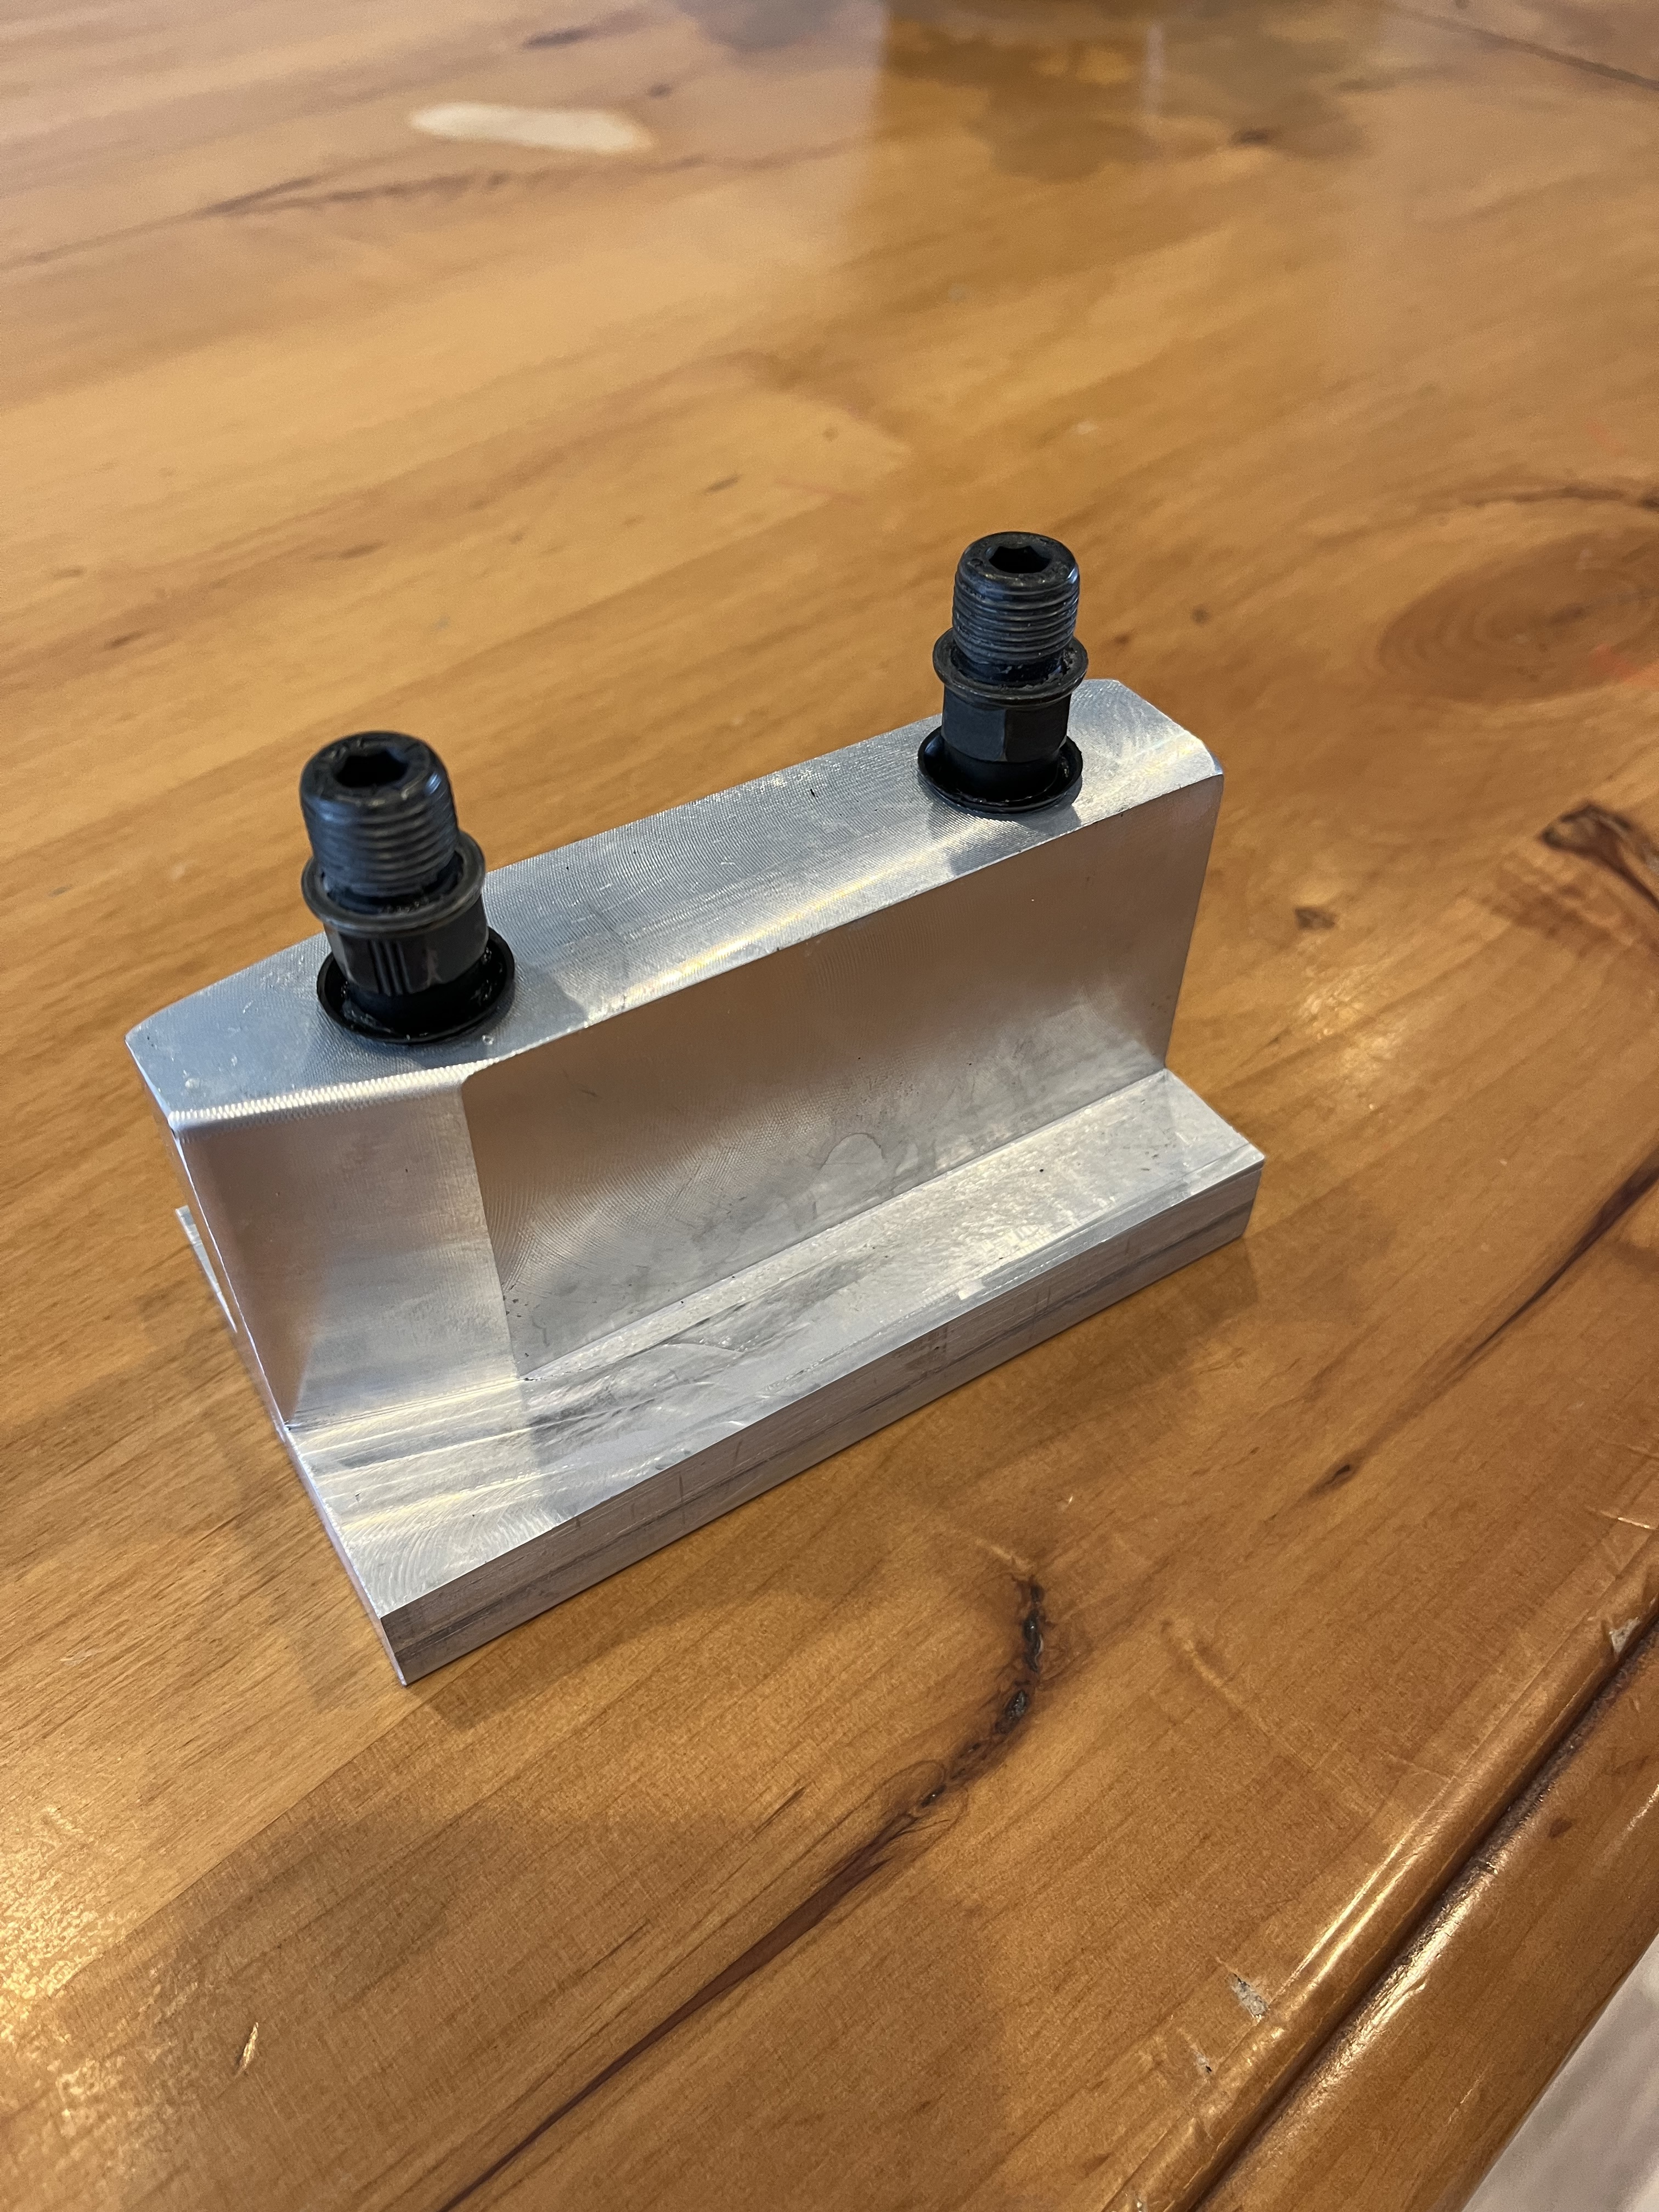
Seems like I’ve been shortening enough cranks lately it was time to build some tooling for it. I don’t have a rotary table for my mill yet, so this tool allows me to radius the ends of the cranks around the pedal axis. If you try this —DO NOT CLIMB MILL.
I can locate the centerline of the cranks off the edge of the block with an edge finder and then bring the end of the crank into the end mill. Rotate the crank by hand and create a radius. Usually this means making a few passes until the threads from the old pedal hole are gone. The least amount of shortening is about 23mm—I.e. 175mm cranks become 152mm. If you shorten by less than 23mm you don’t have enough material left on the end of the crank.
One of our contracts at work is making golf club heads. This block of aluminum was a prototype driver that didn’t make the cut. I saved it from the scrap bin, so that’s why the odd shape. Then I dissected a set of Wellgo platform pedals, took a few measurements, knocked out the bearing races and reinstalled in my golf club.
13 Likes
@jsudar Wow, very cool. Do you have any examples of the shortened cranks? What crank models are good for shortening?
1 Like
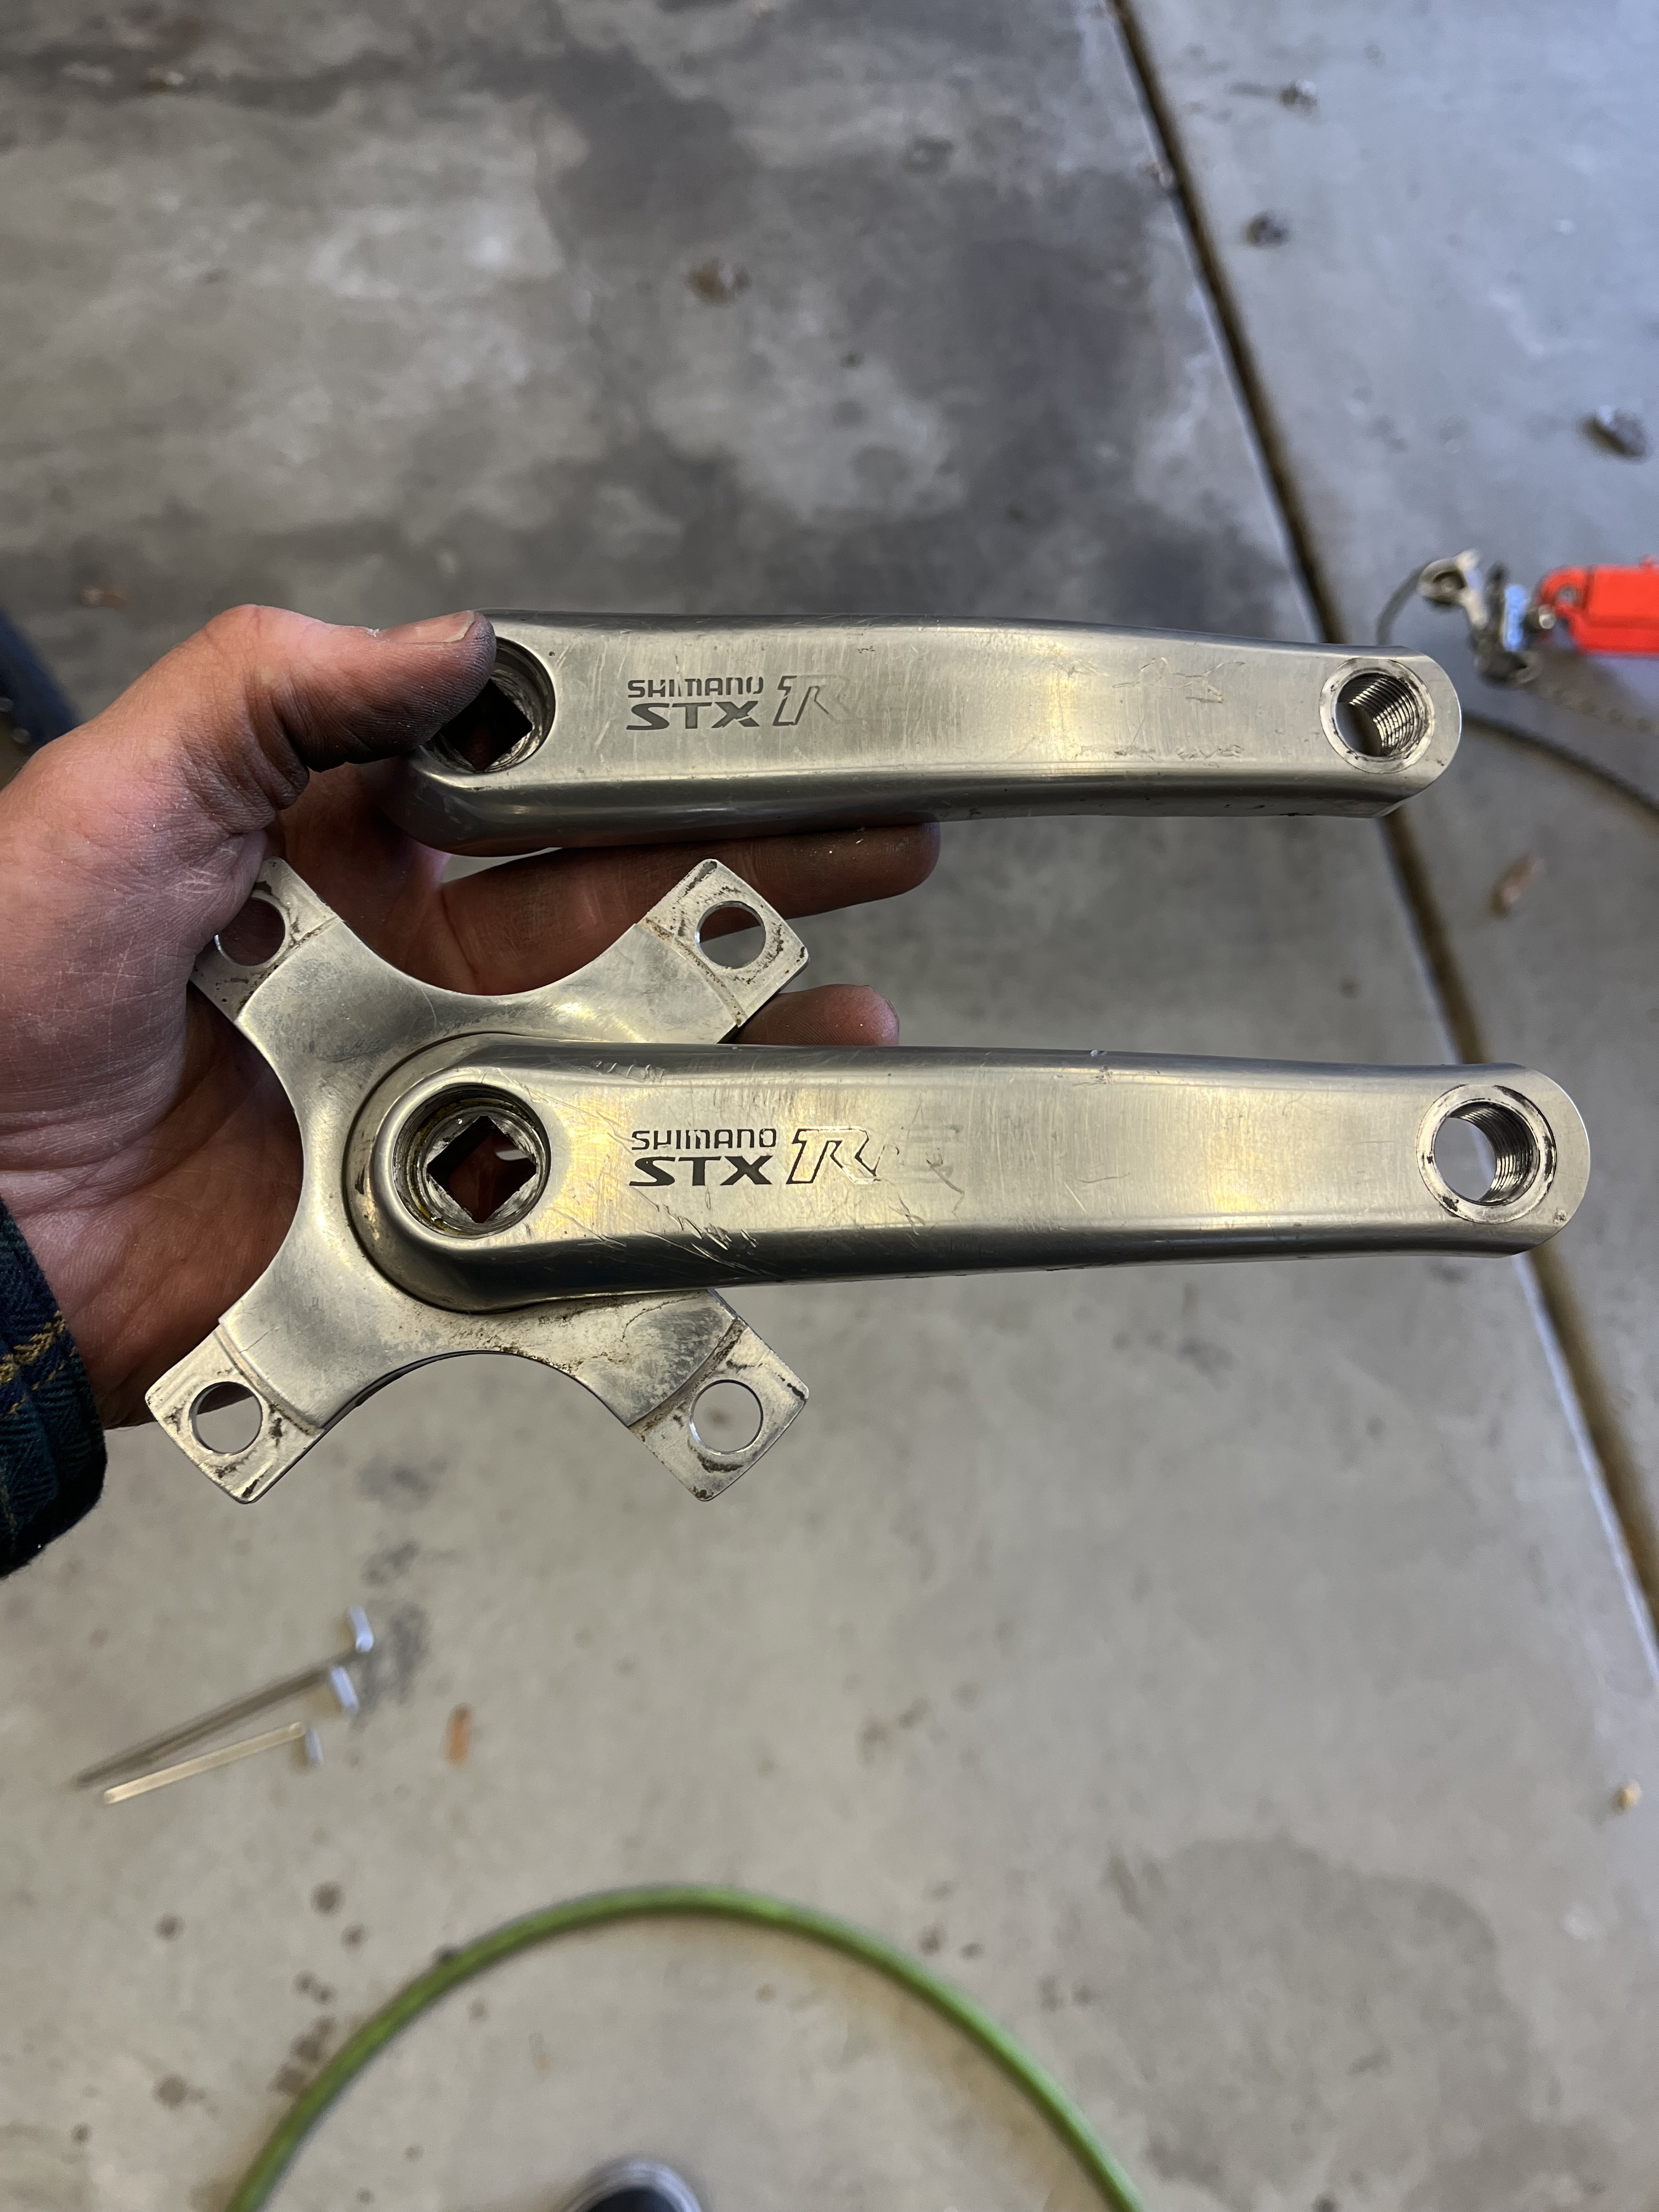
Most old school square taper cranks are good candidates for shortening. It has to be solid (no Hollowtech) and generally have a rectangular cross section— something like a RaceFace I-beam style crank wouldn’t work.
The Shimano STX cranks in the picture got shortened to 140mm for my youngest daughter’s bike.
I have another set of early 90s Deore cranks that I’ll be shortening to 152mm for my other daughter. Titanium square taper BBs are cheap on eBay. I like to run a narrow spindle BB for better Q factor and then put the chainring in the outside position to get the chainline right since I generally do a 1X conversion at the same time.
I’m working on another crank jig right now that will allow for better work holding during the shortening process. Not all cranks lend themselves to be clamped squarely in a vise. It will also be used as a jig for building tubular chromoly cranks. I’ll post it up when I get further along with it.
14 Likes
This is so cool. The best second life those old cranks could have.
2 Likes