That’s cool. I’ve just been using a set of old pedals for that action but it means I only have my ‘eyecrometer’ to center the cranks which most of the time is ok, but not perfect.
Also cool to see someone else shortening old cranks!
That’s cool. I’ve just been using a set of old pedals for that action but it means I only have my ‘eyecrometer’ to center the cranks which most of the time is ok, but not perfect.
Also cool to see someone else shortening old cranks!
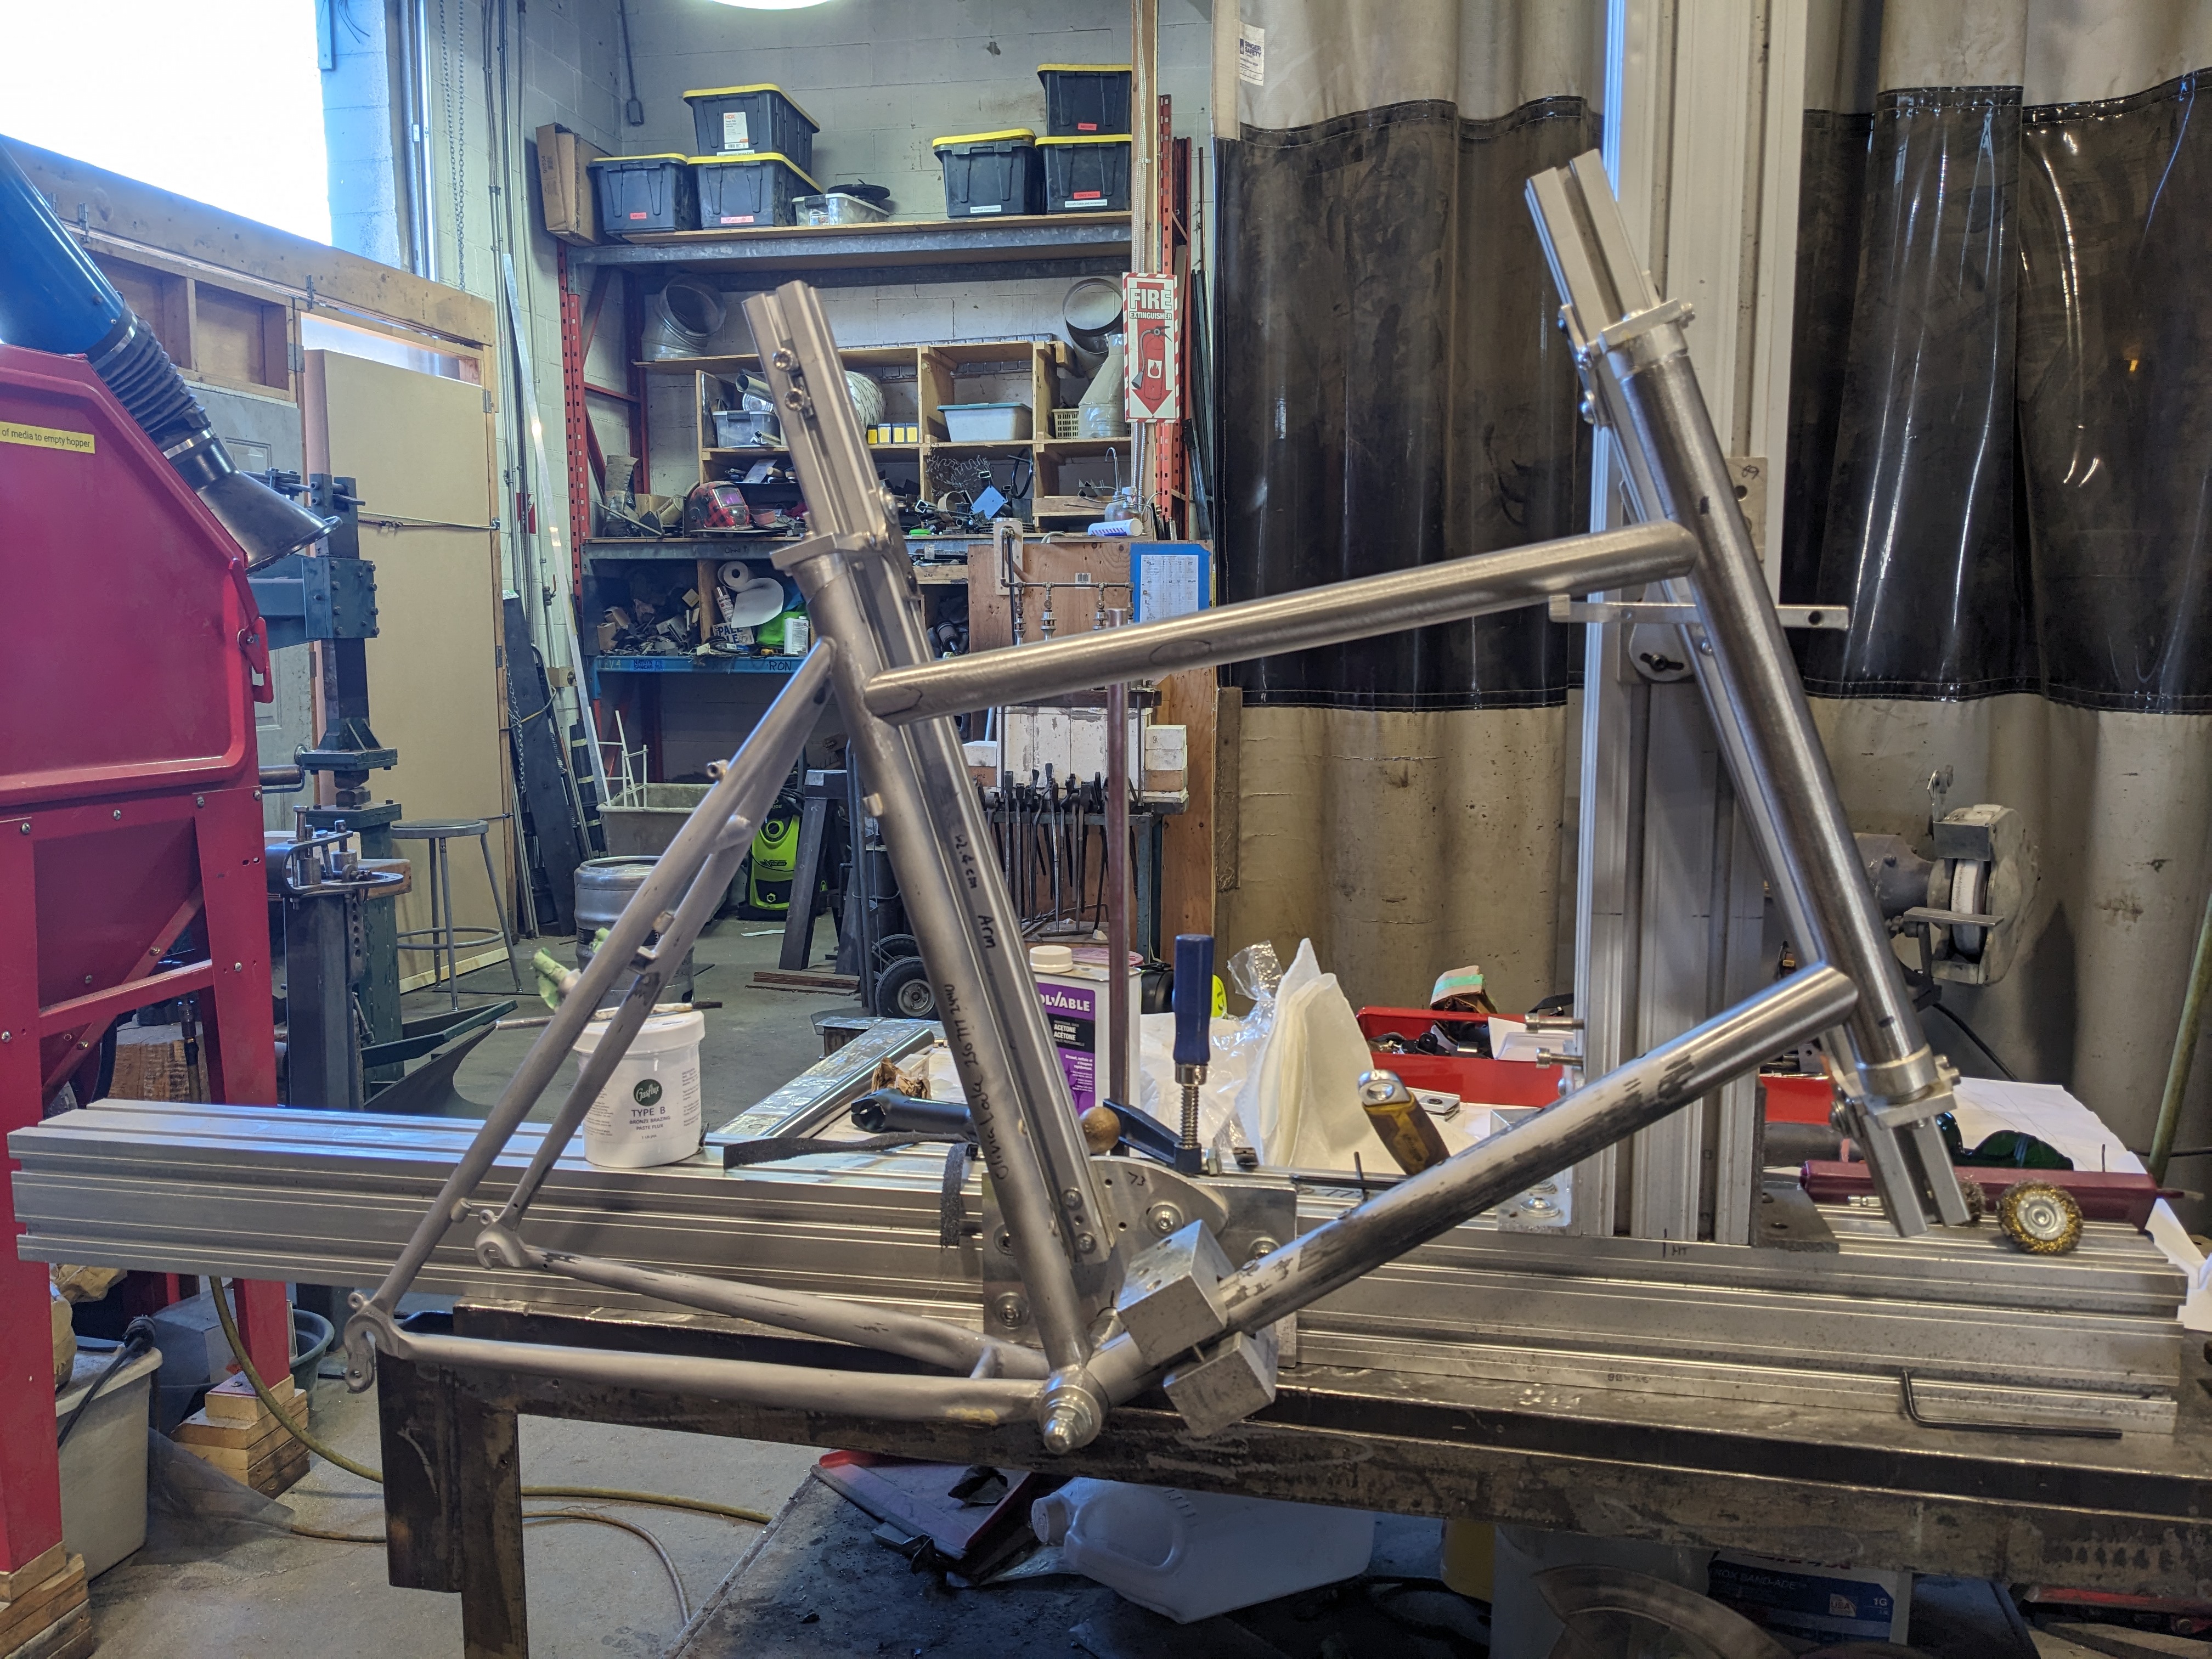
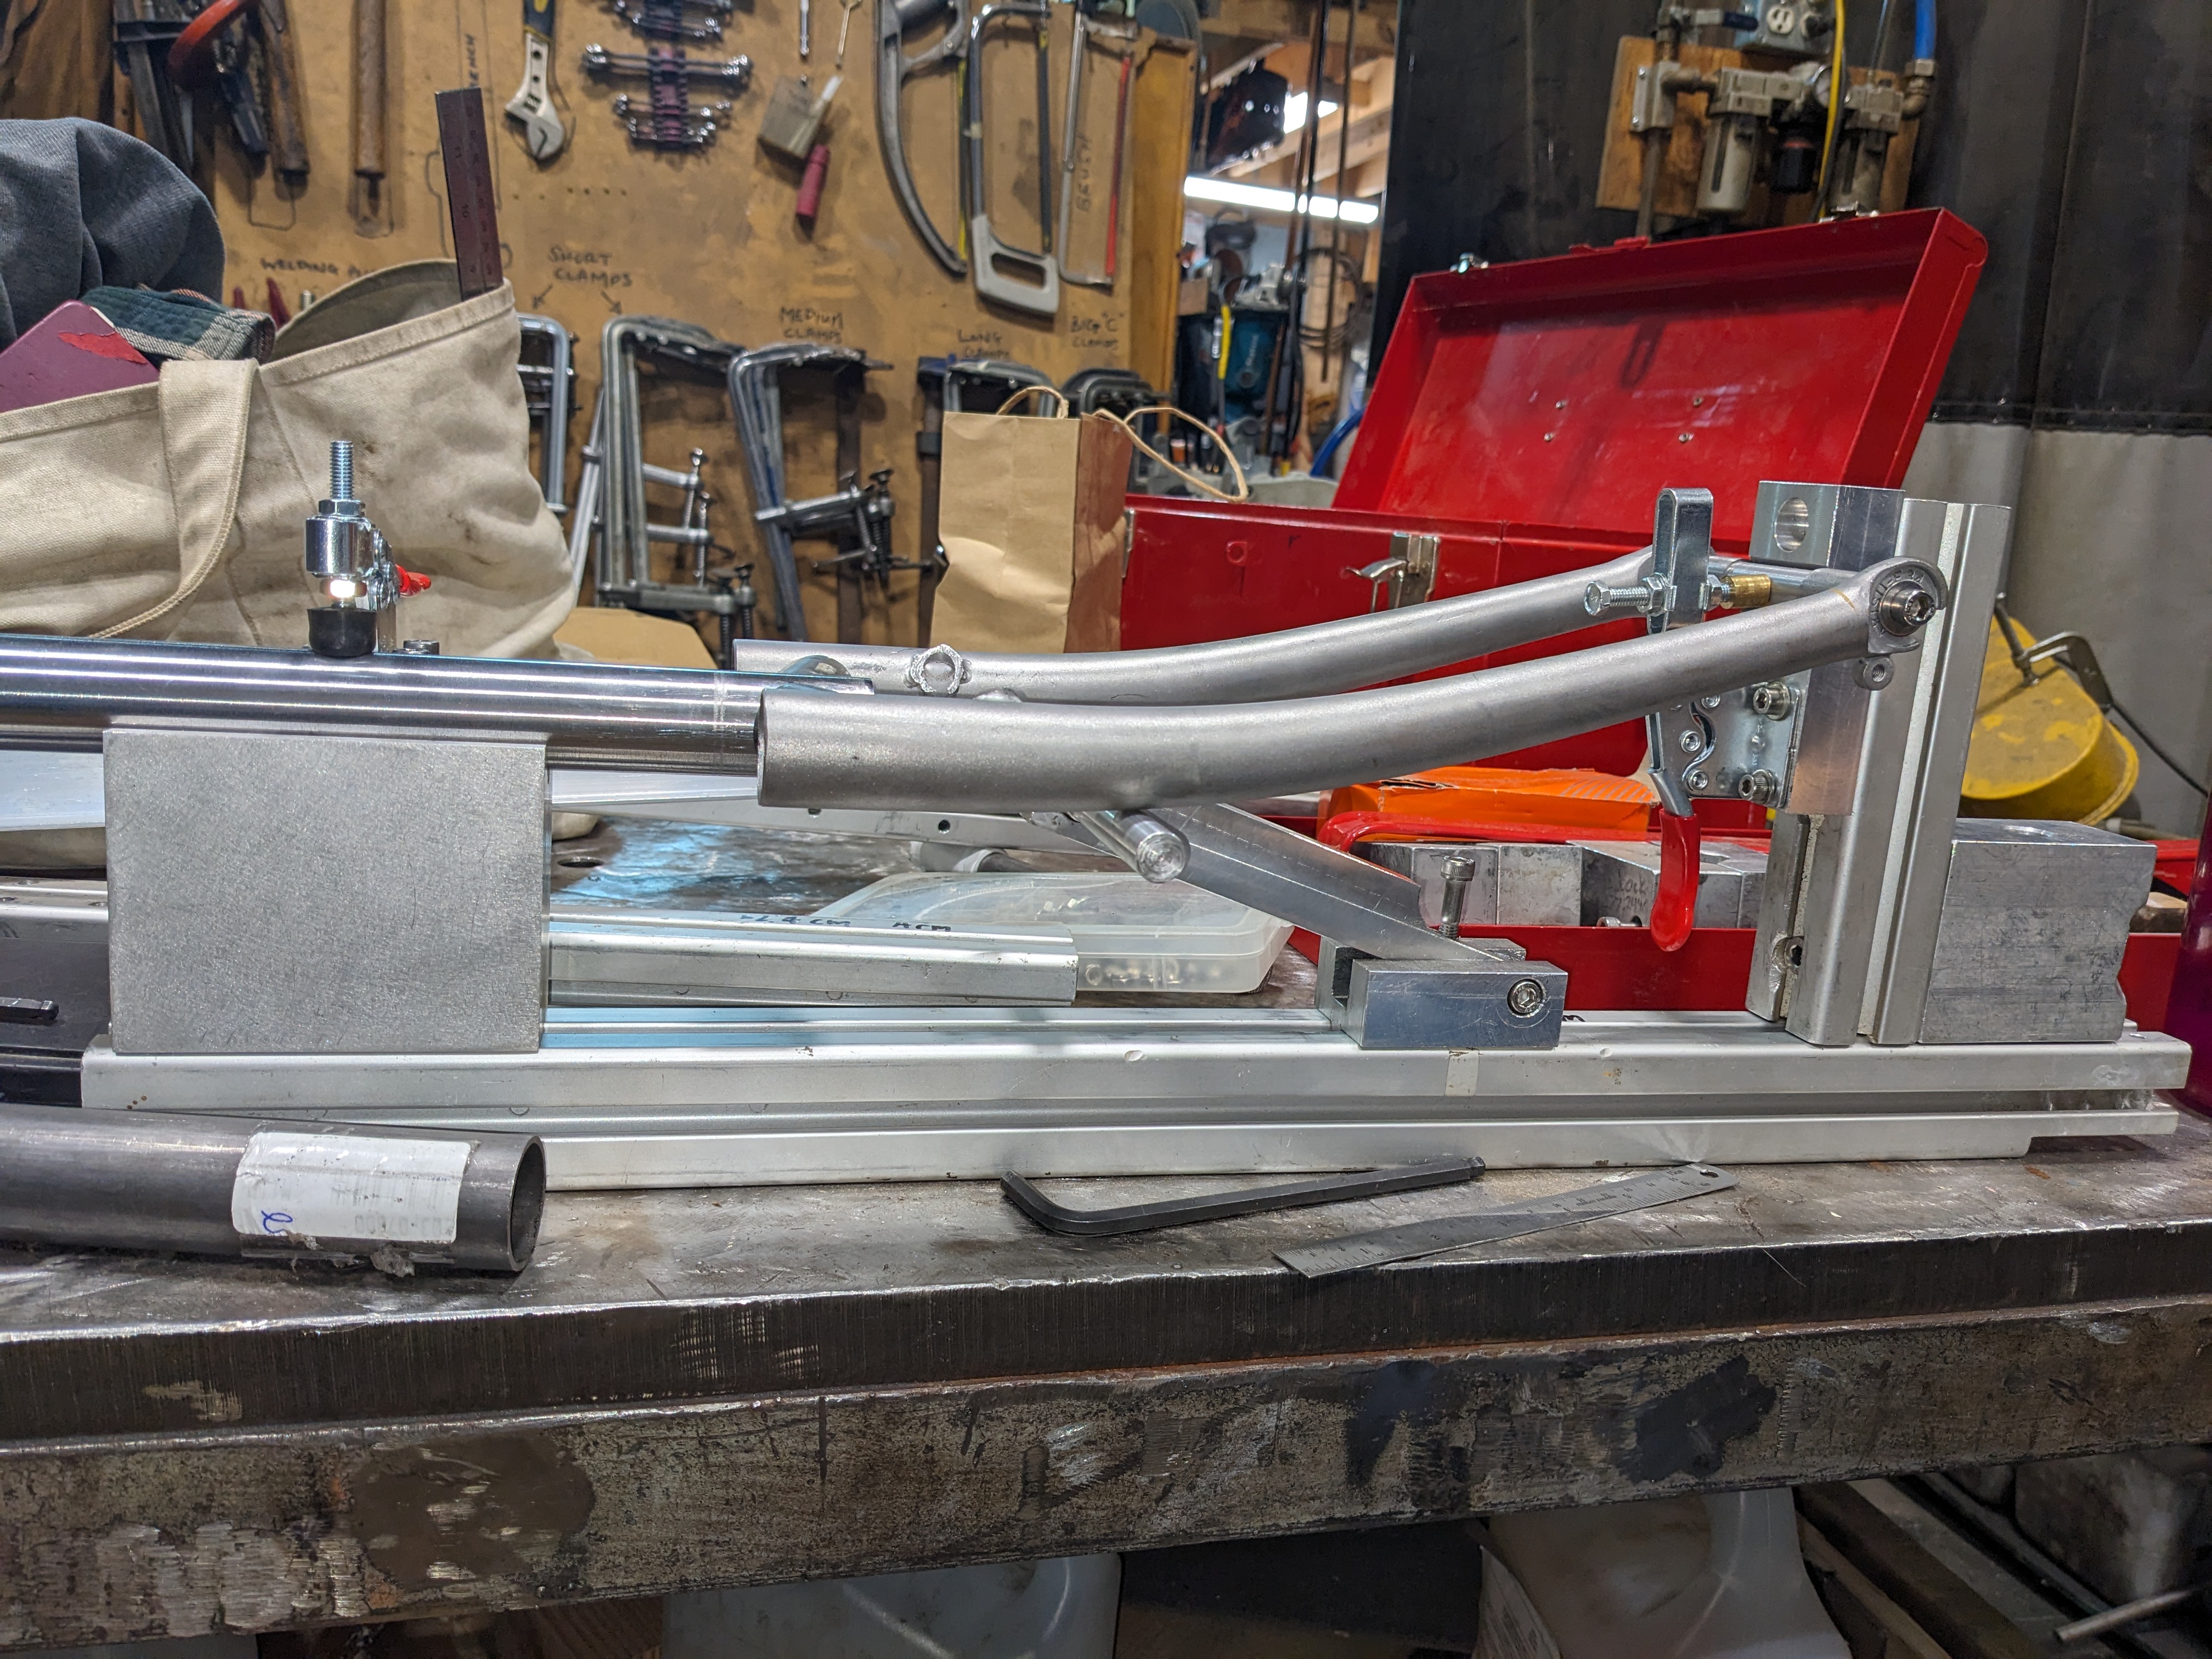
Heres my frame fixture, currently without the rear axle assembly aattached. I made it several years ago (while in engineering school) based around some hand me down extrusions and I have since learned a lot that I owuld do differently. Its a pain in the butt to set up and taking tubes in and out typically requires undoing at least 4 bolts. This isn’t the end of the world as a hobby frame builder who builds less than one bike per year. But it also doesn’t have any good way to measure the position of the headtube or the axle. This is more annoying and something I would defenitly like to improve on one day. I don’t mind not having angle markings because I find my digital angle finder does an okay job.
Its solid and has pretty good access for taking the frame together so I guess thats what really counts!
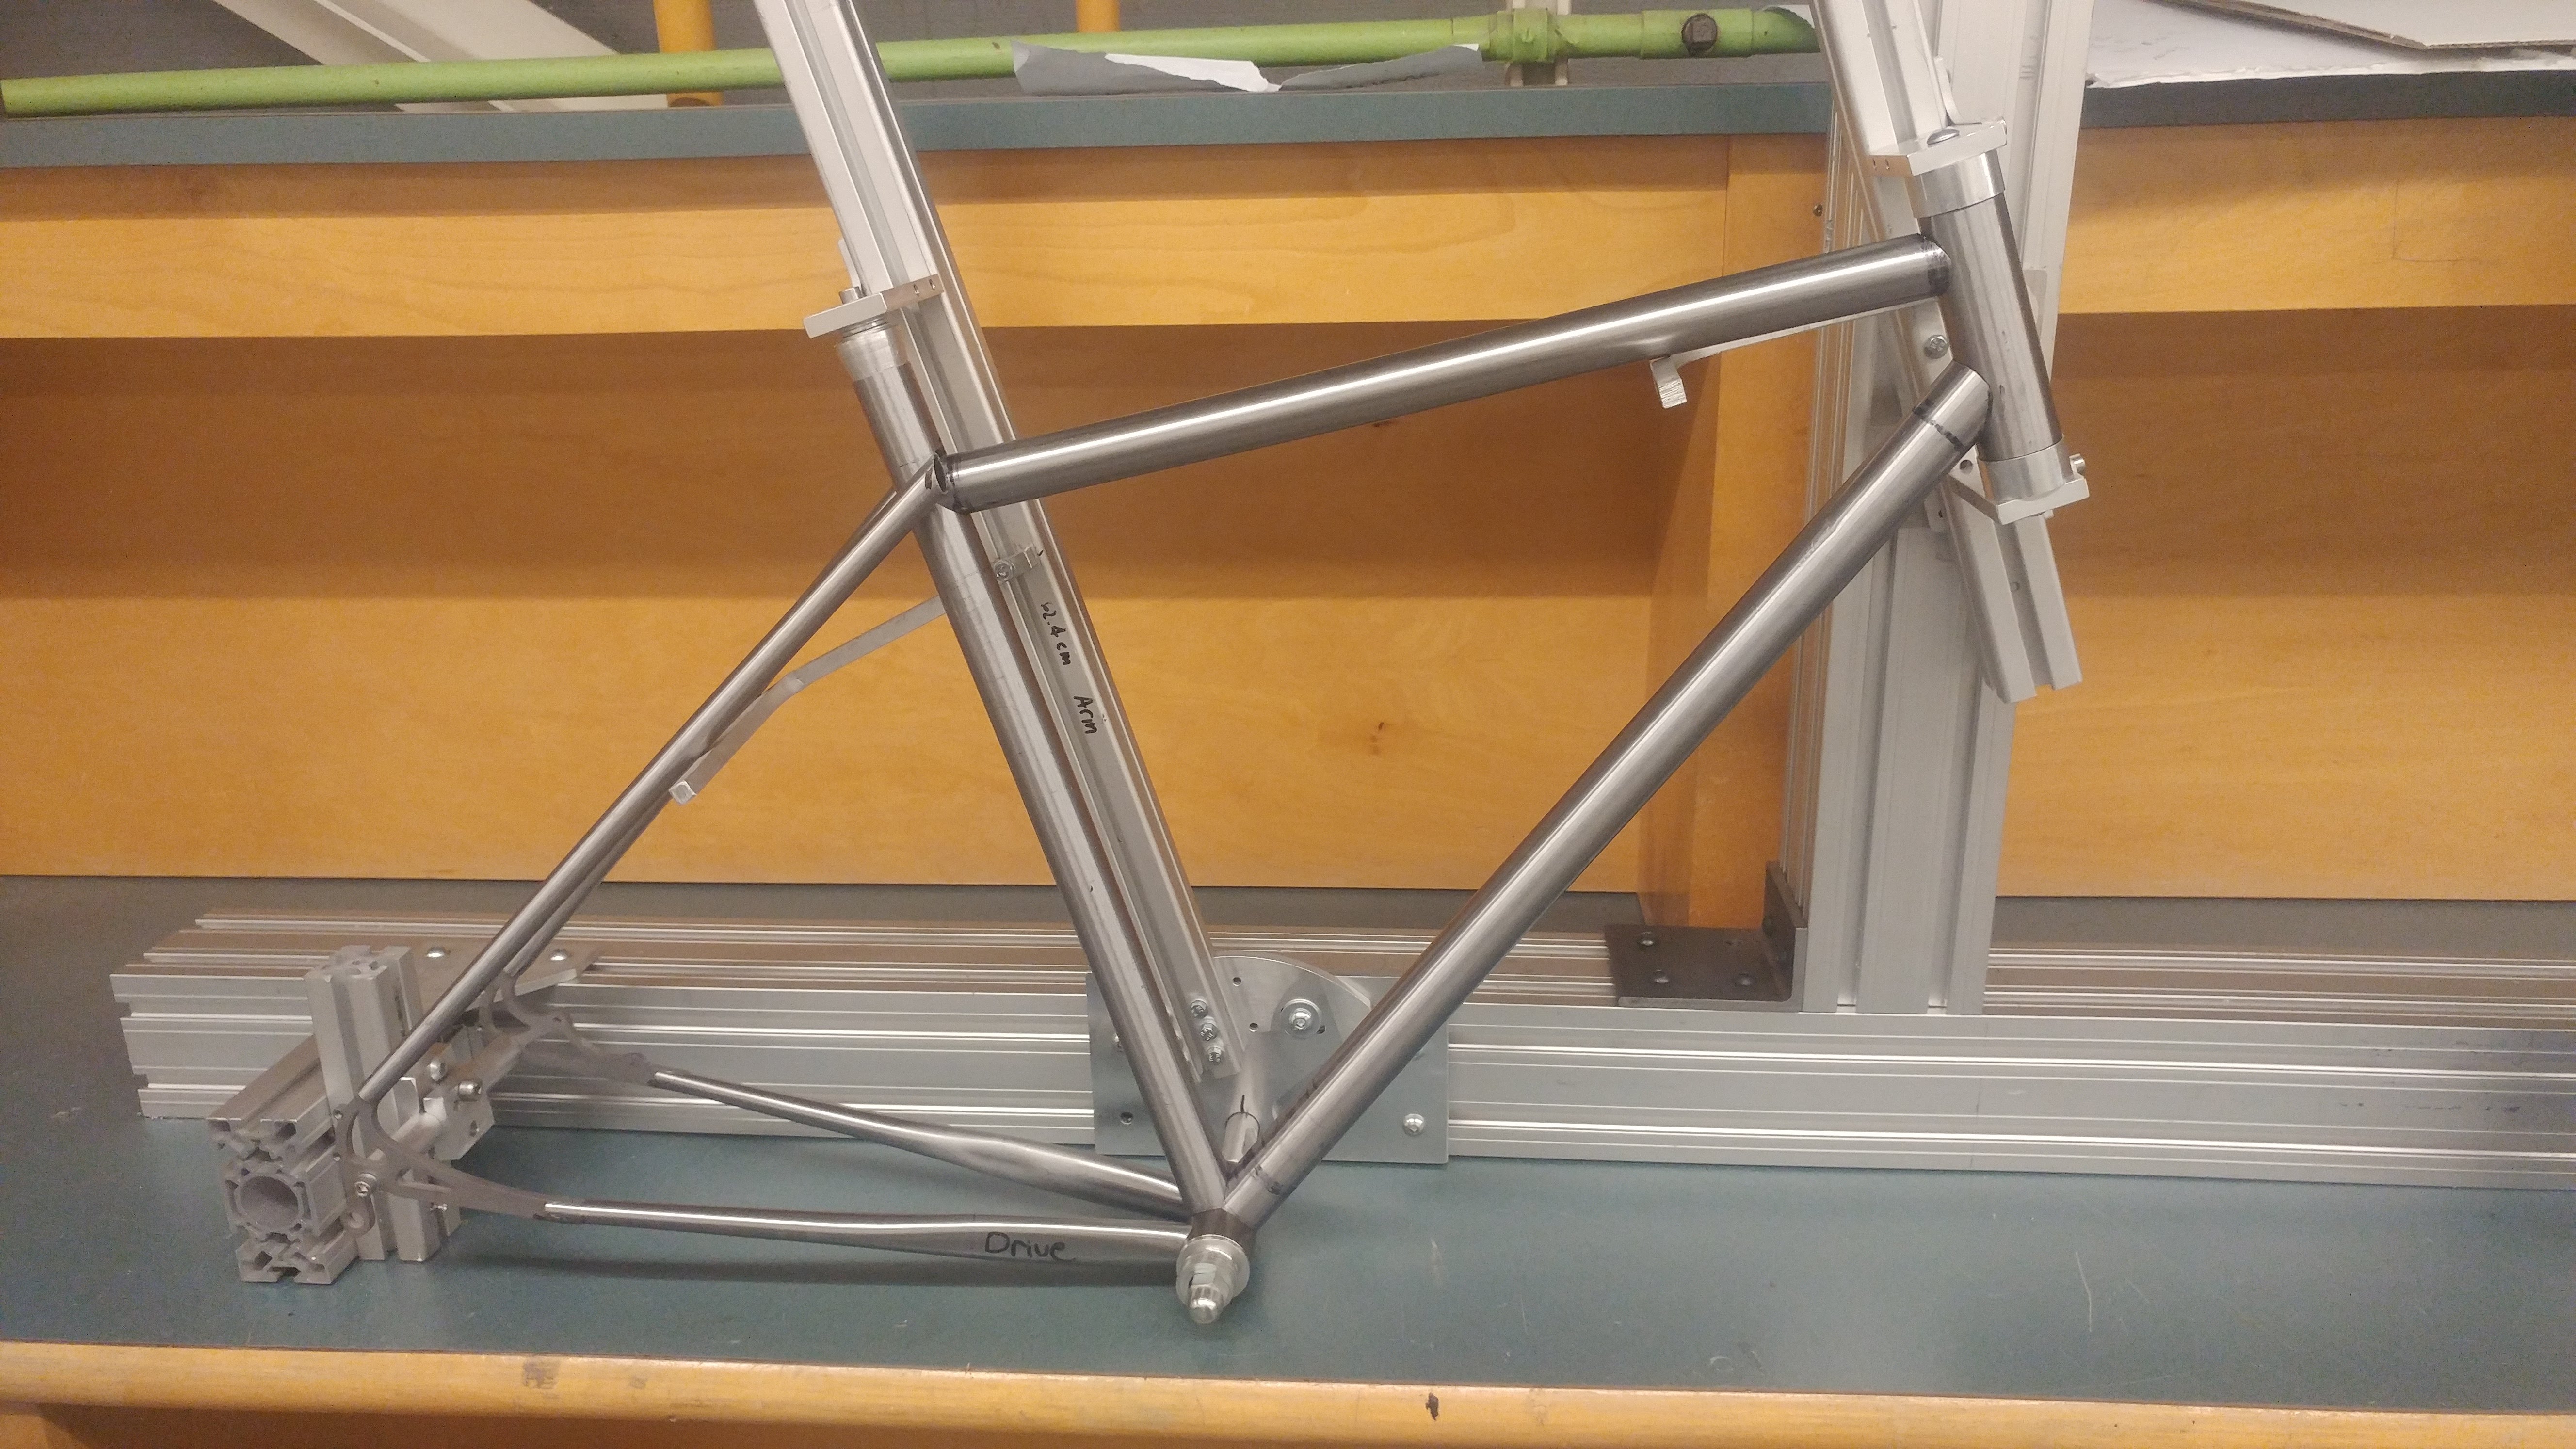
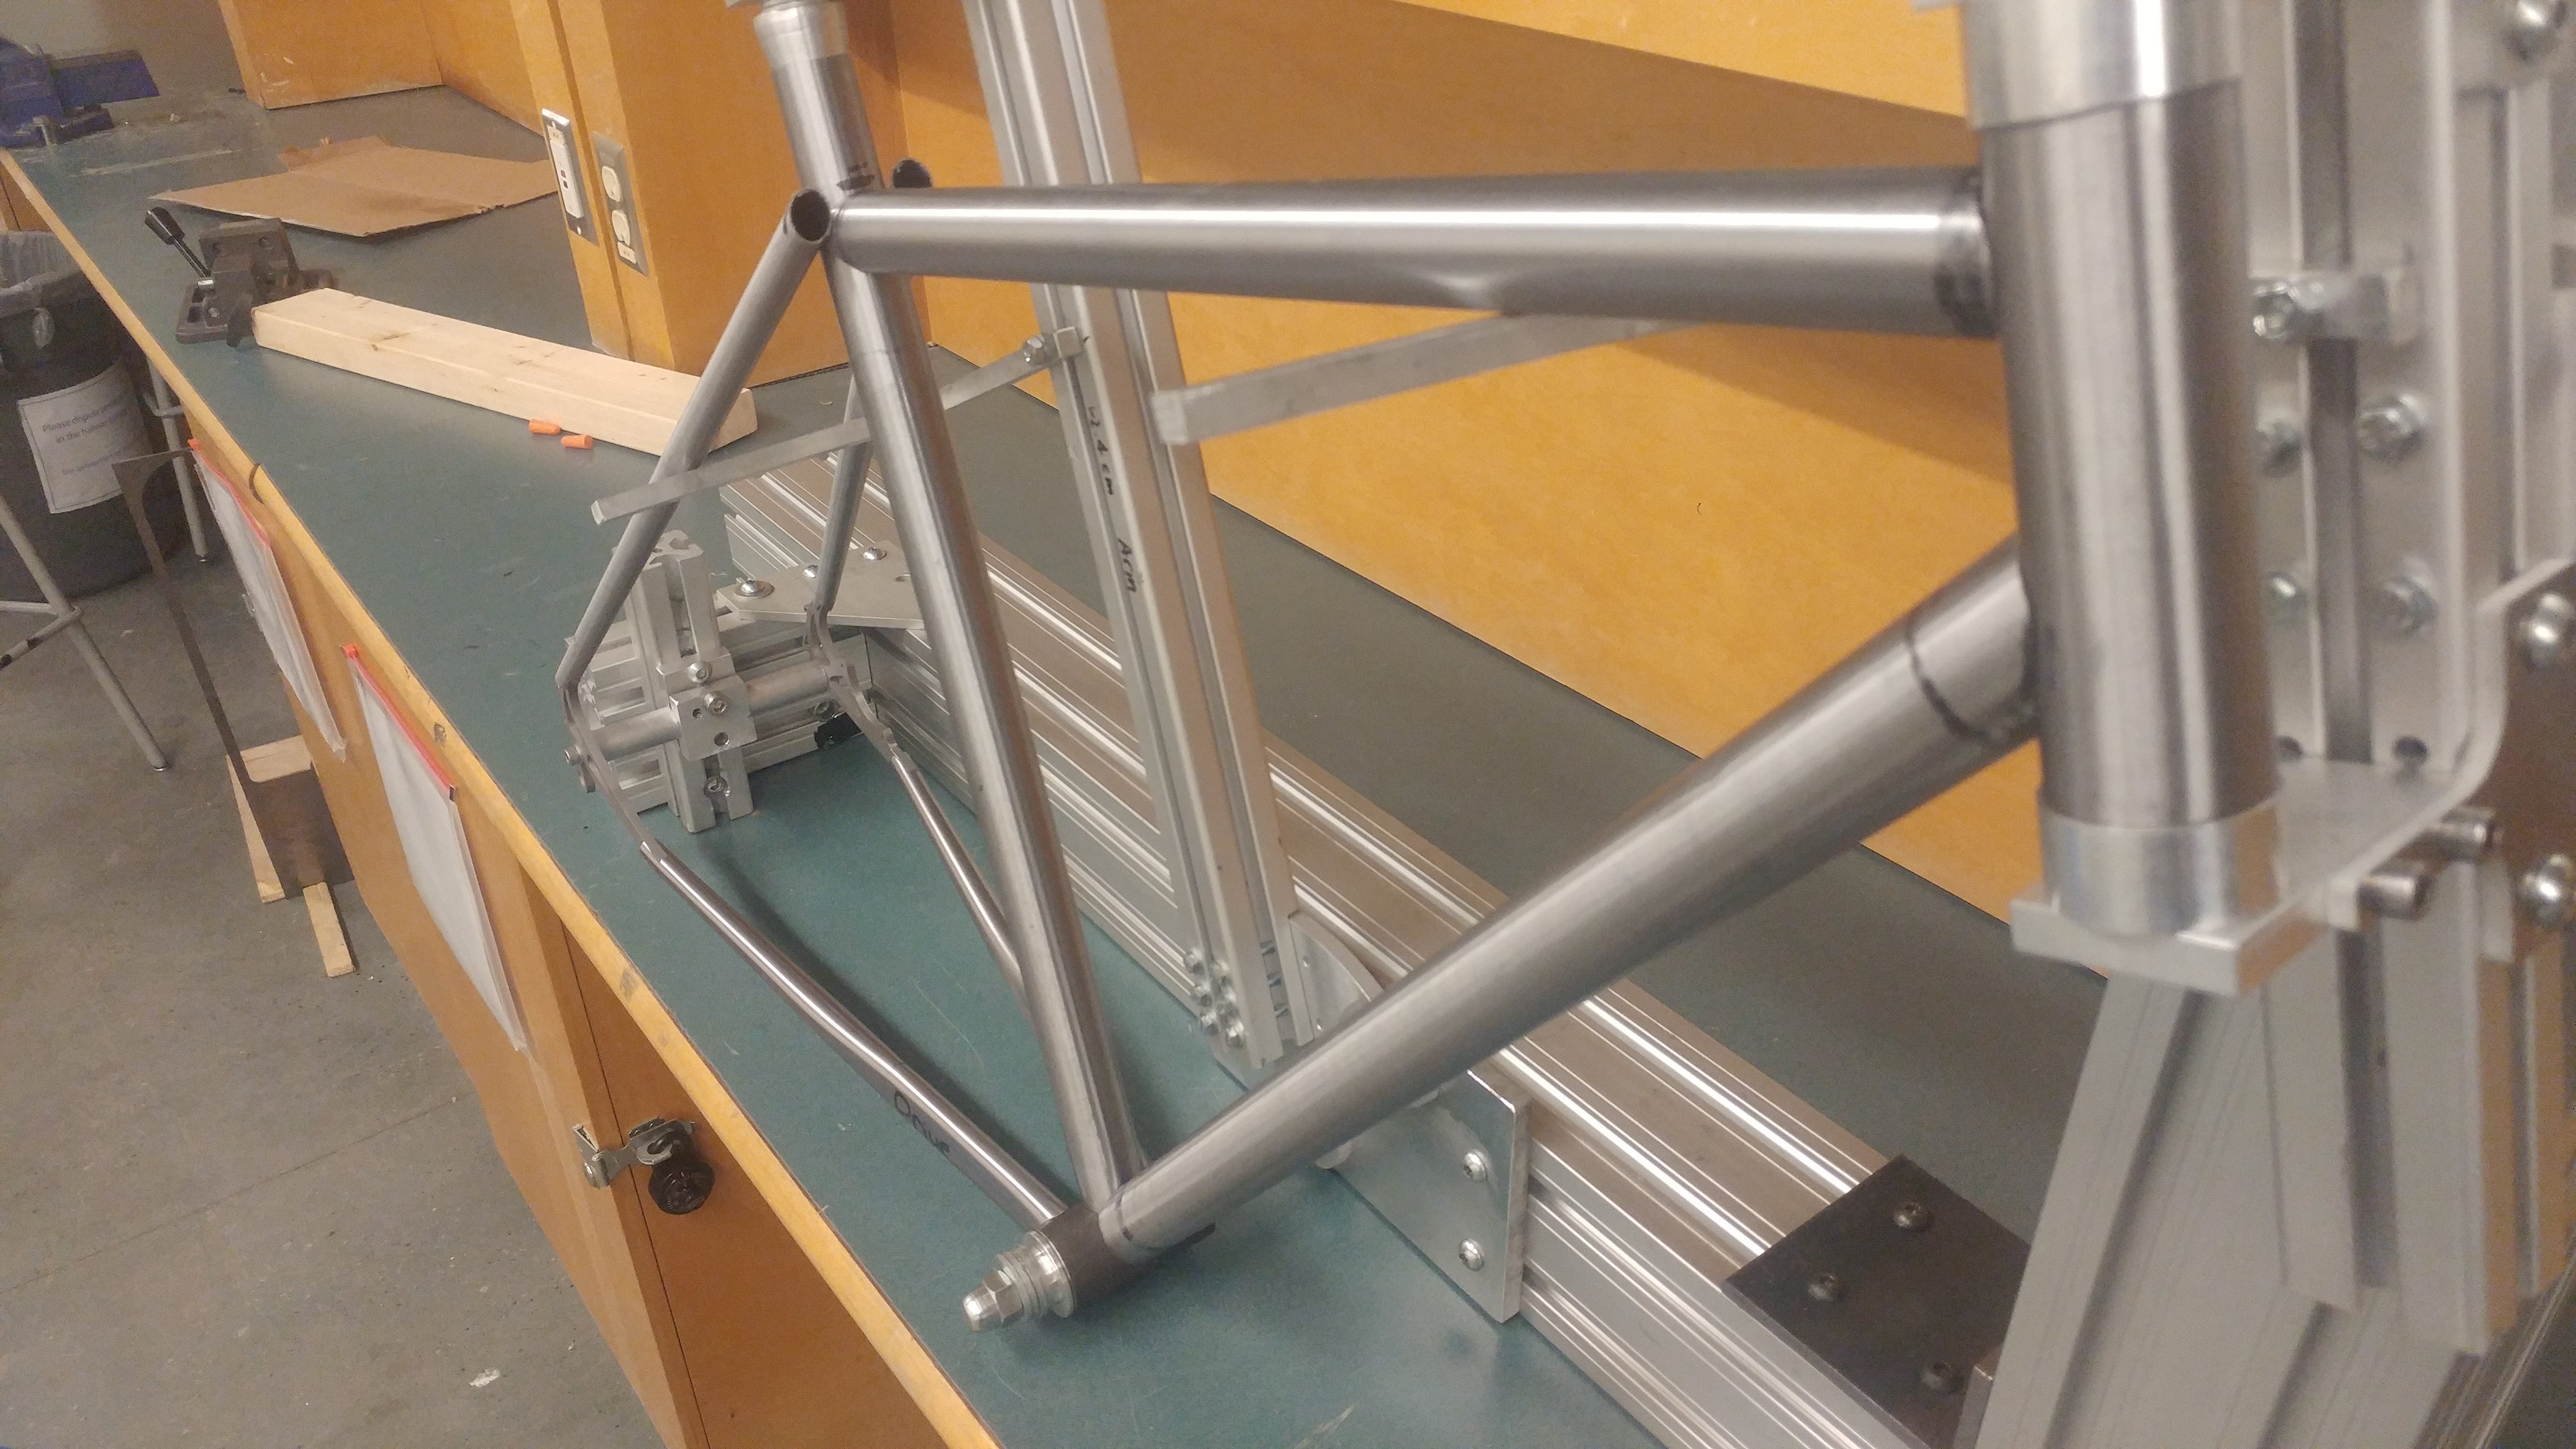
The rear axle assembly can also be used along with two V blocks to make a simple fork jig. This I am more happy with. It works pretty good! The V blocks are also a very affordable and handy tool for tube mitering, I made them exactly 3" wide so that if you touch off on the jaw of the vice you can easily find the tube centerline. And it stays constand no matter the tube diameter.
Also shown is my water cut disk brake fixture. It sits on a shoulder on the dummy axle which means it can not slide away from the dropout. I think this makes it harder to fit up the brake tab and if I were redesigning it I would allow it to slide over the dummy axle and use a set screw to hold it in place. It flips around for front and rear spacing. The front uses a couple standoffs to give proper alignment.
Anyhow, learn from my learning to make your low budget shop made tools easier to use!
Thanks for sharing the photos. The water jet ISO brake fixture is so simple and effective. Great inspiration. Love it!
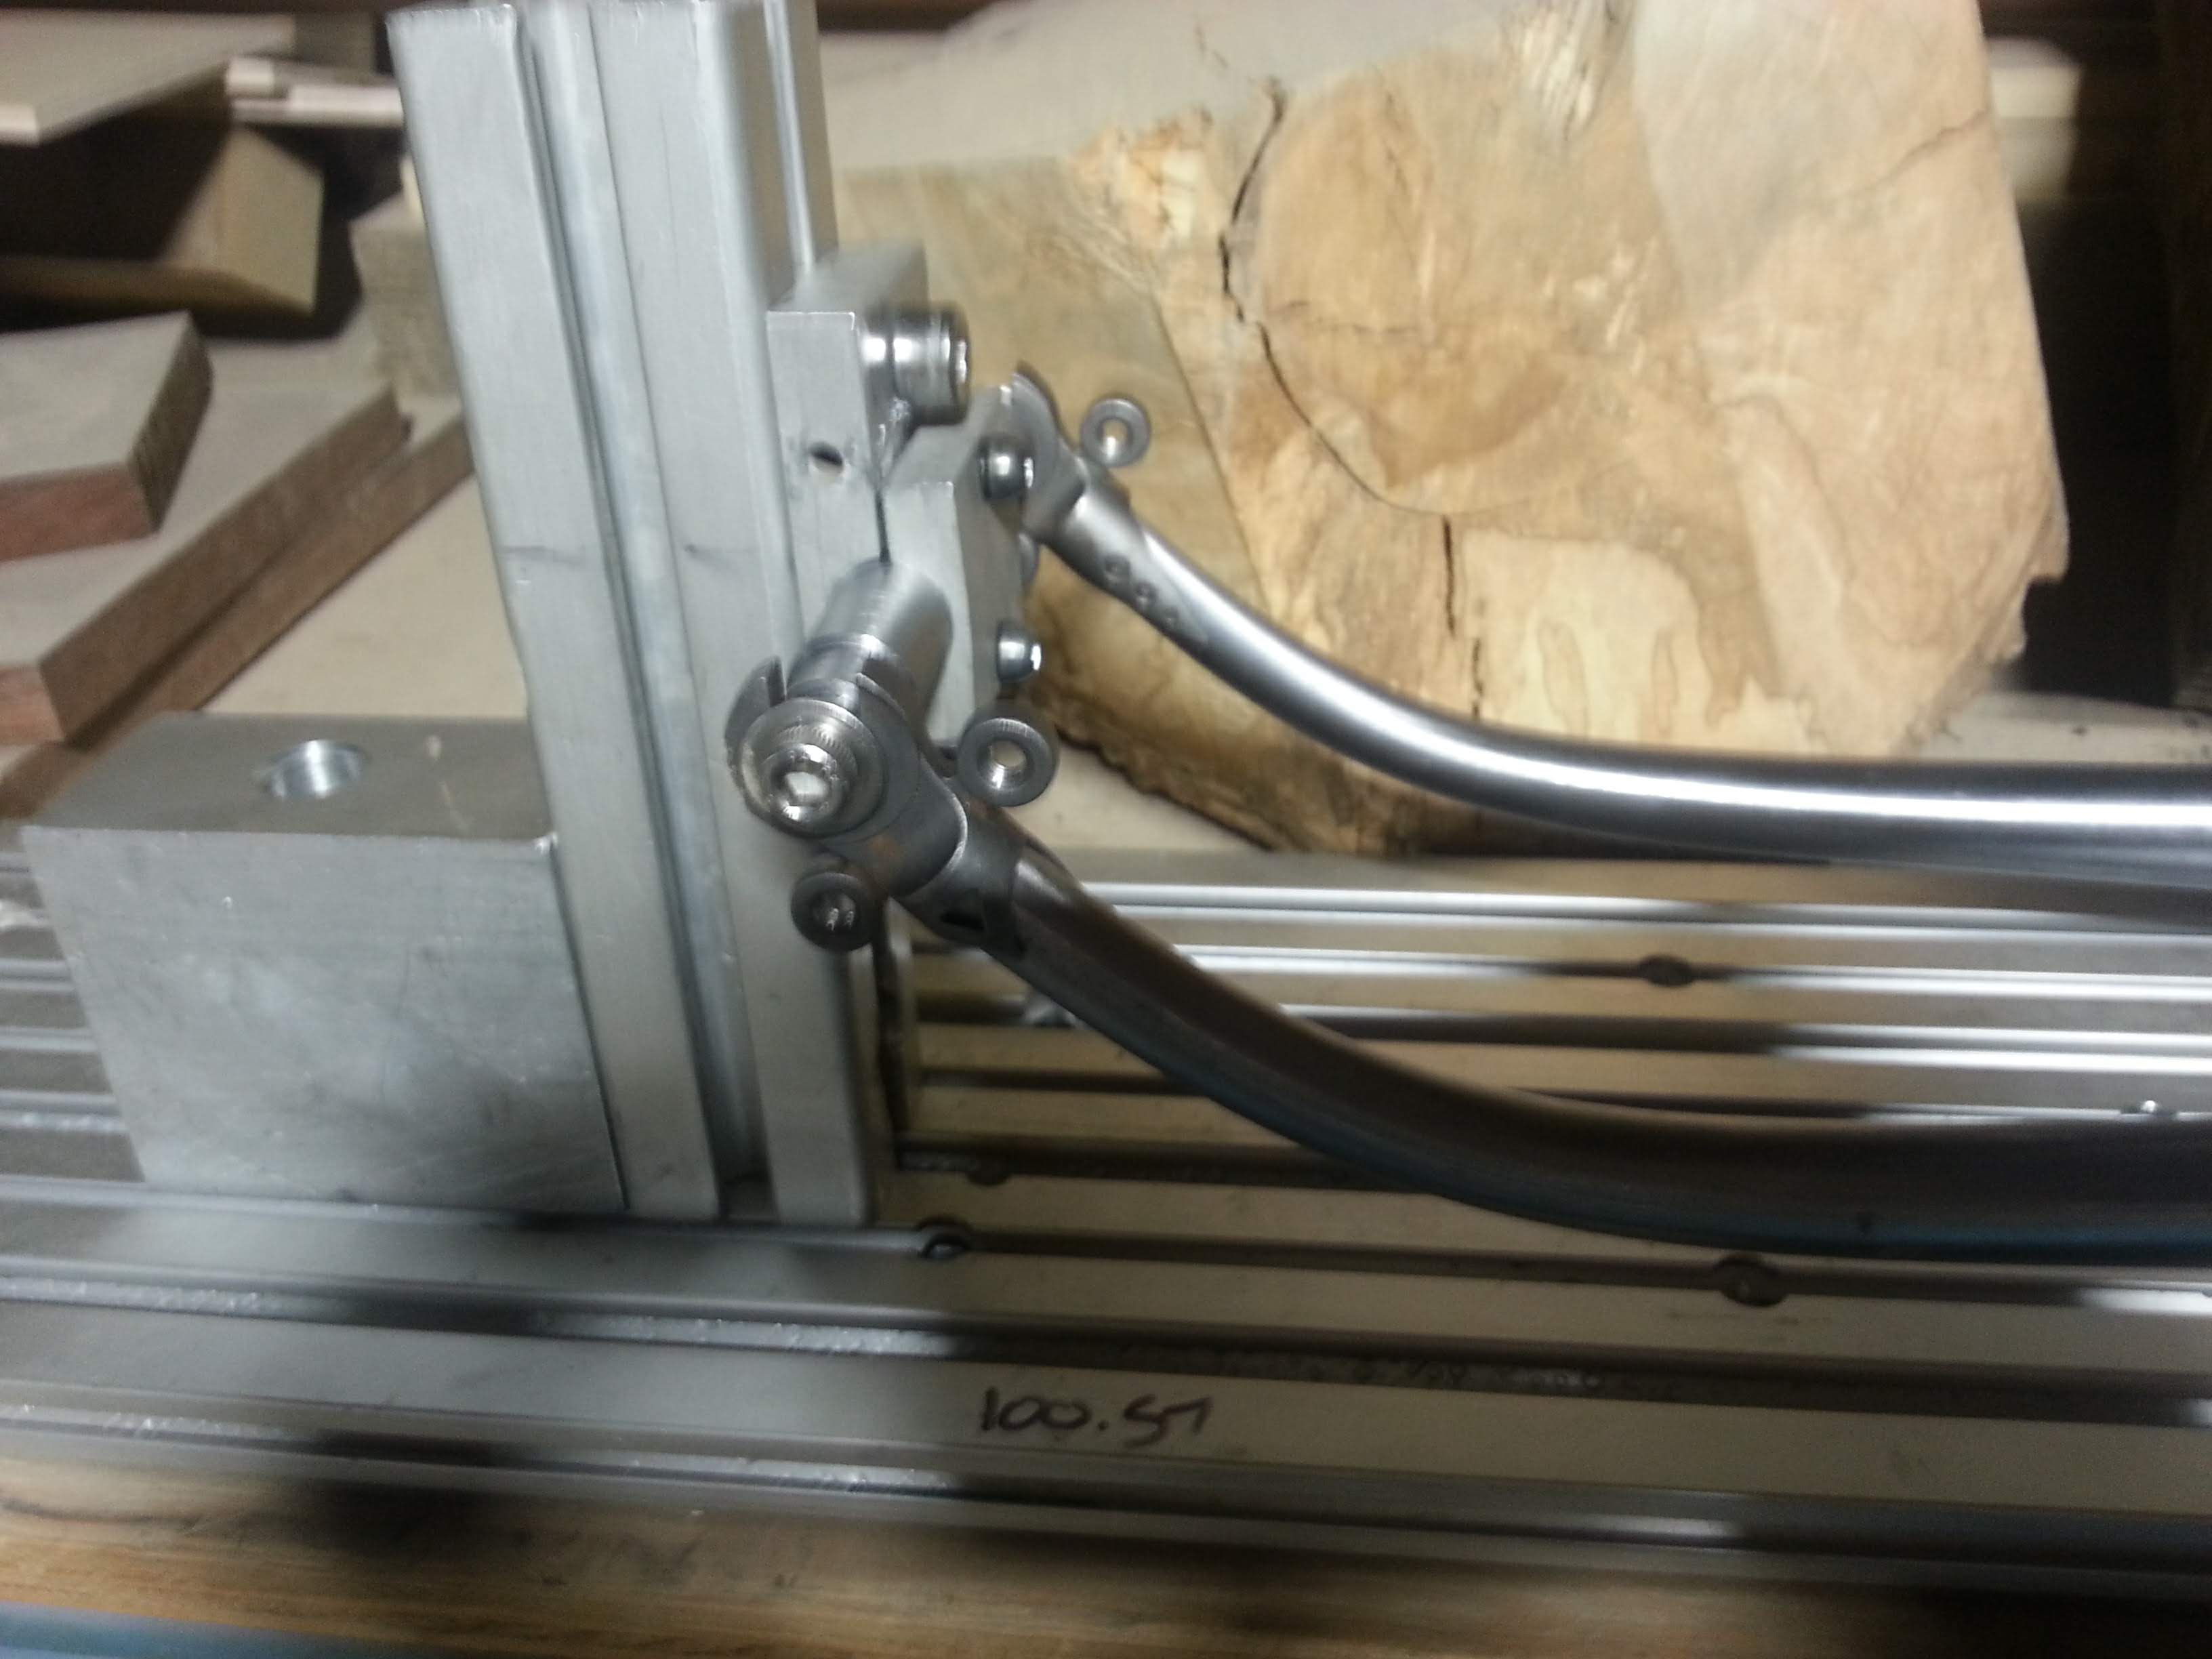
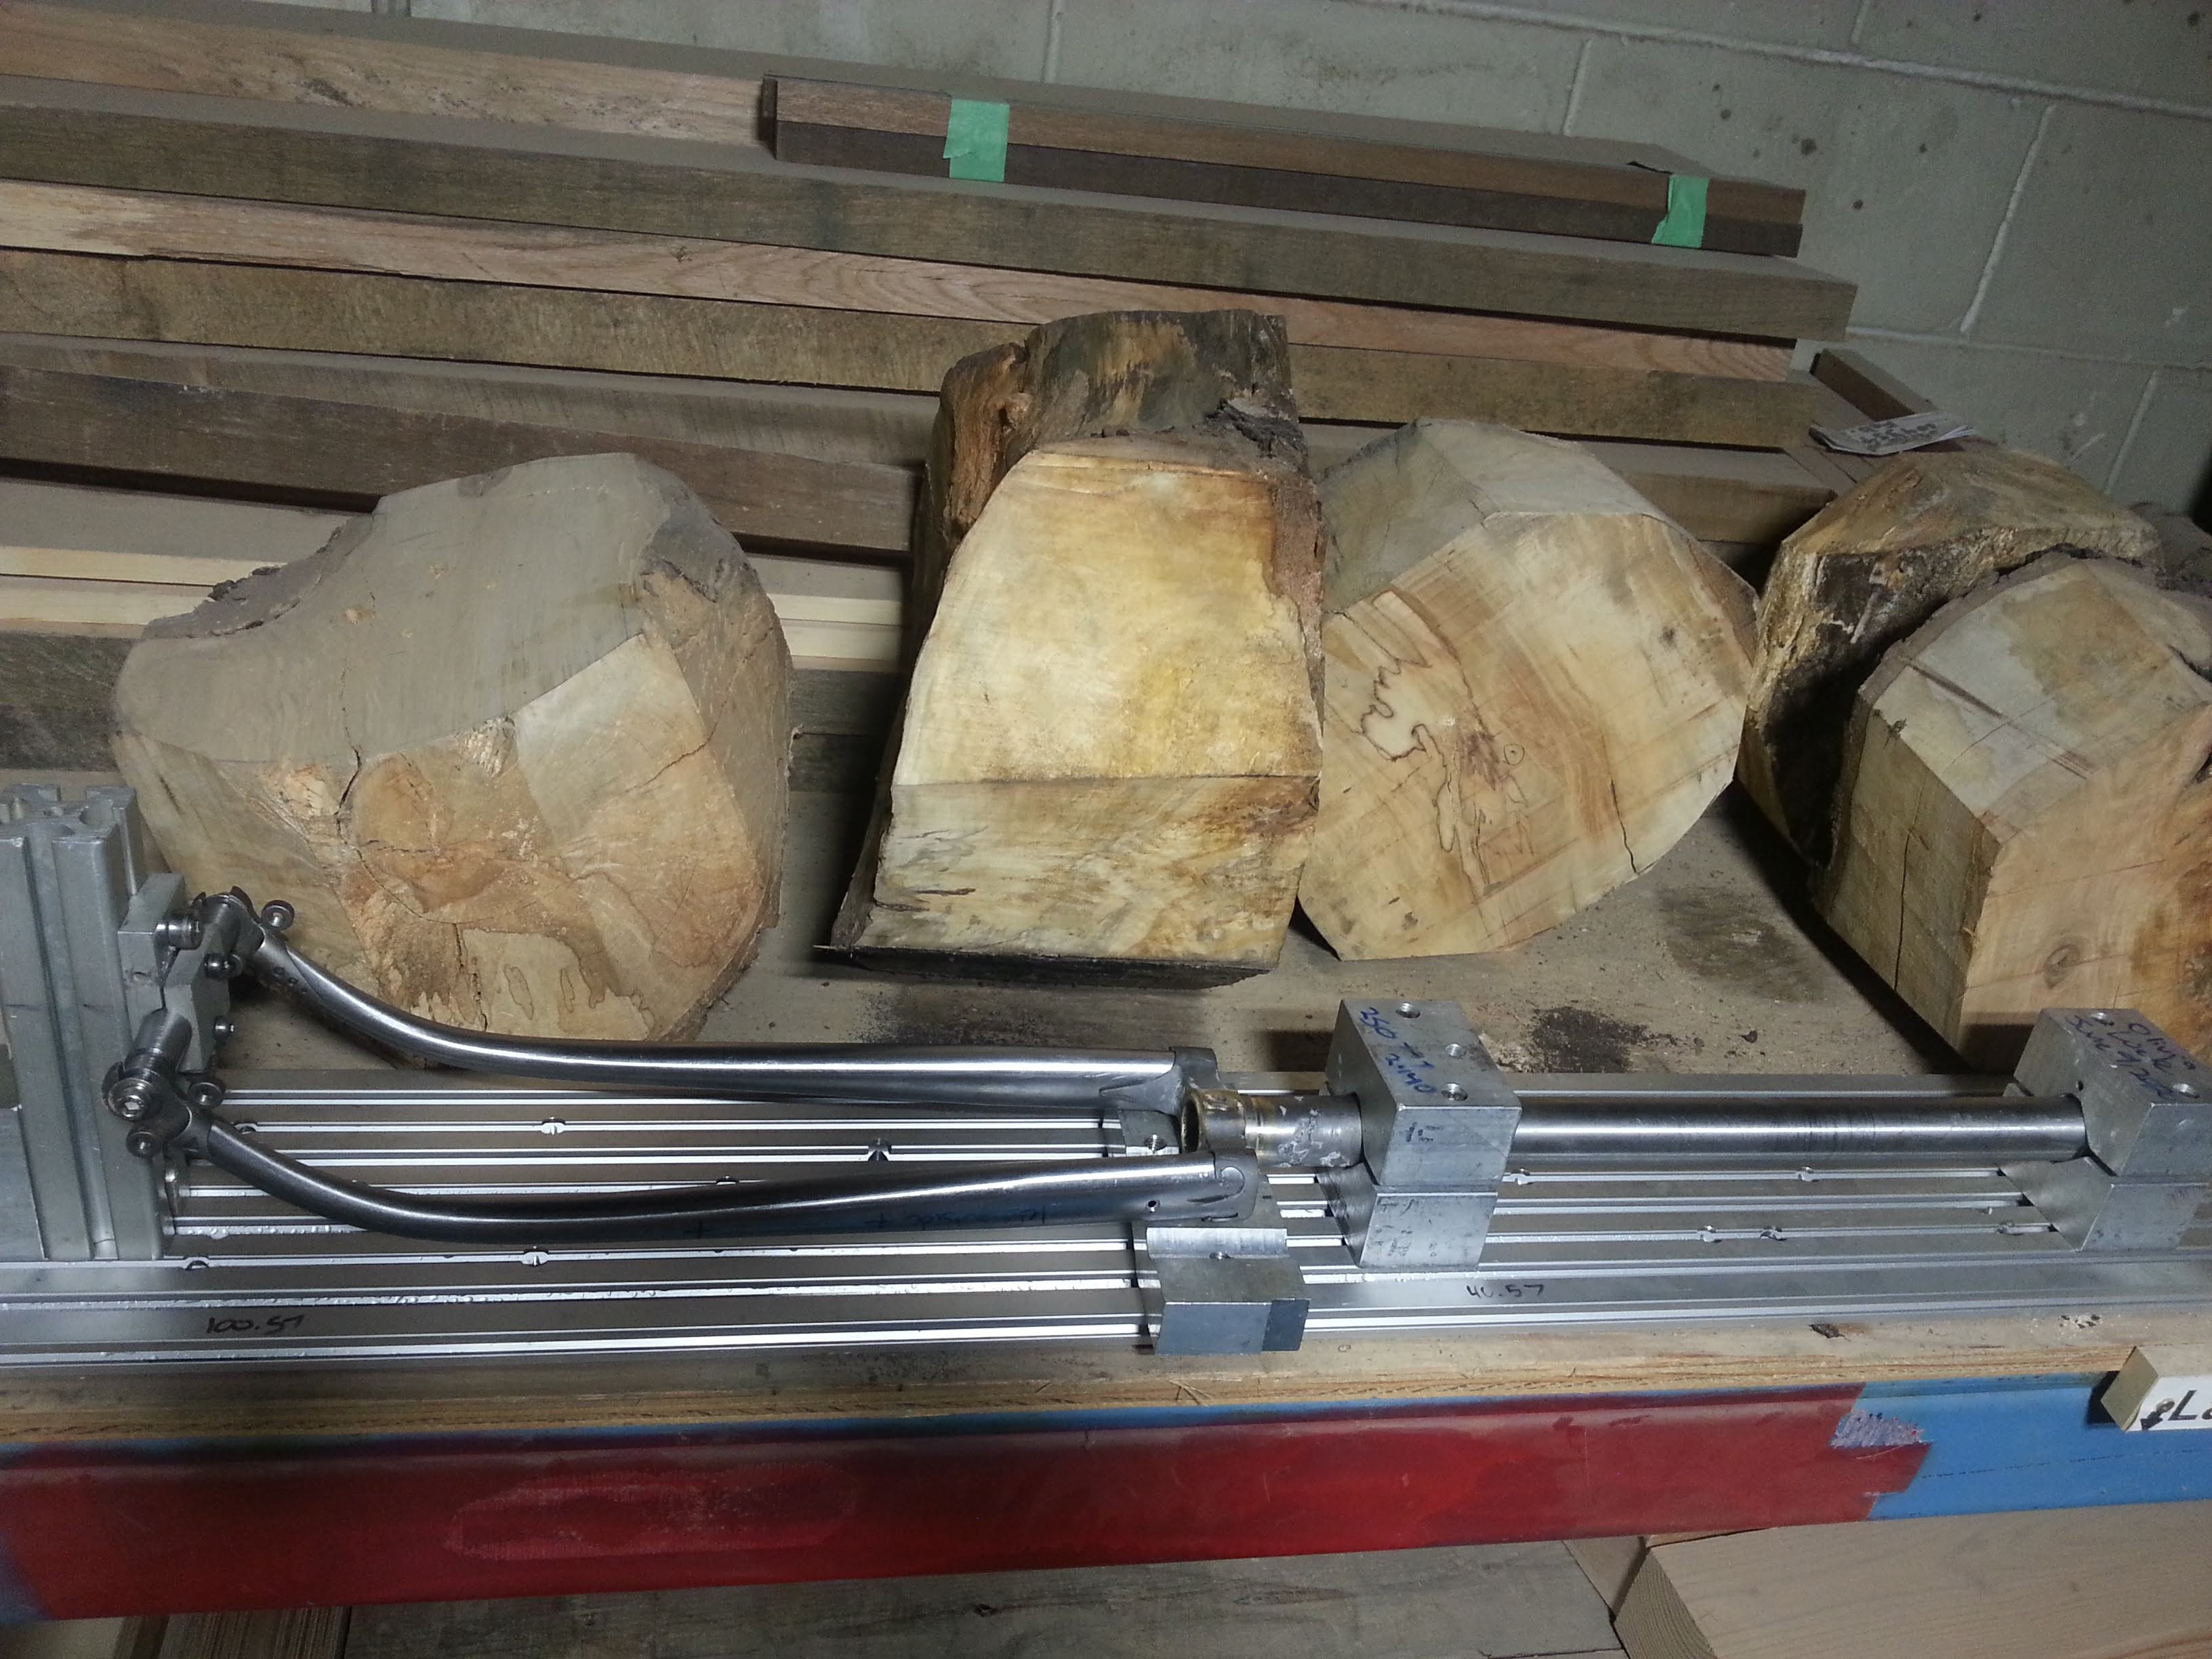
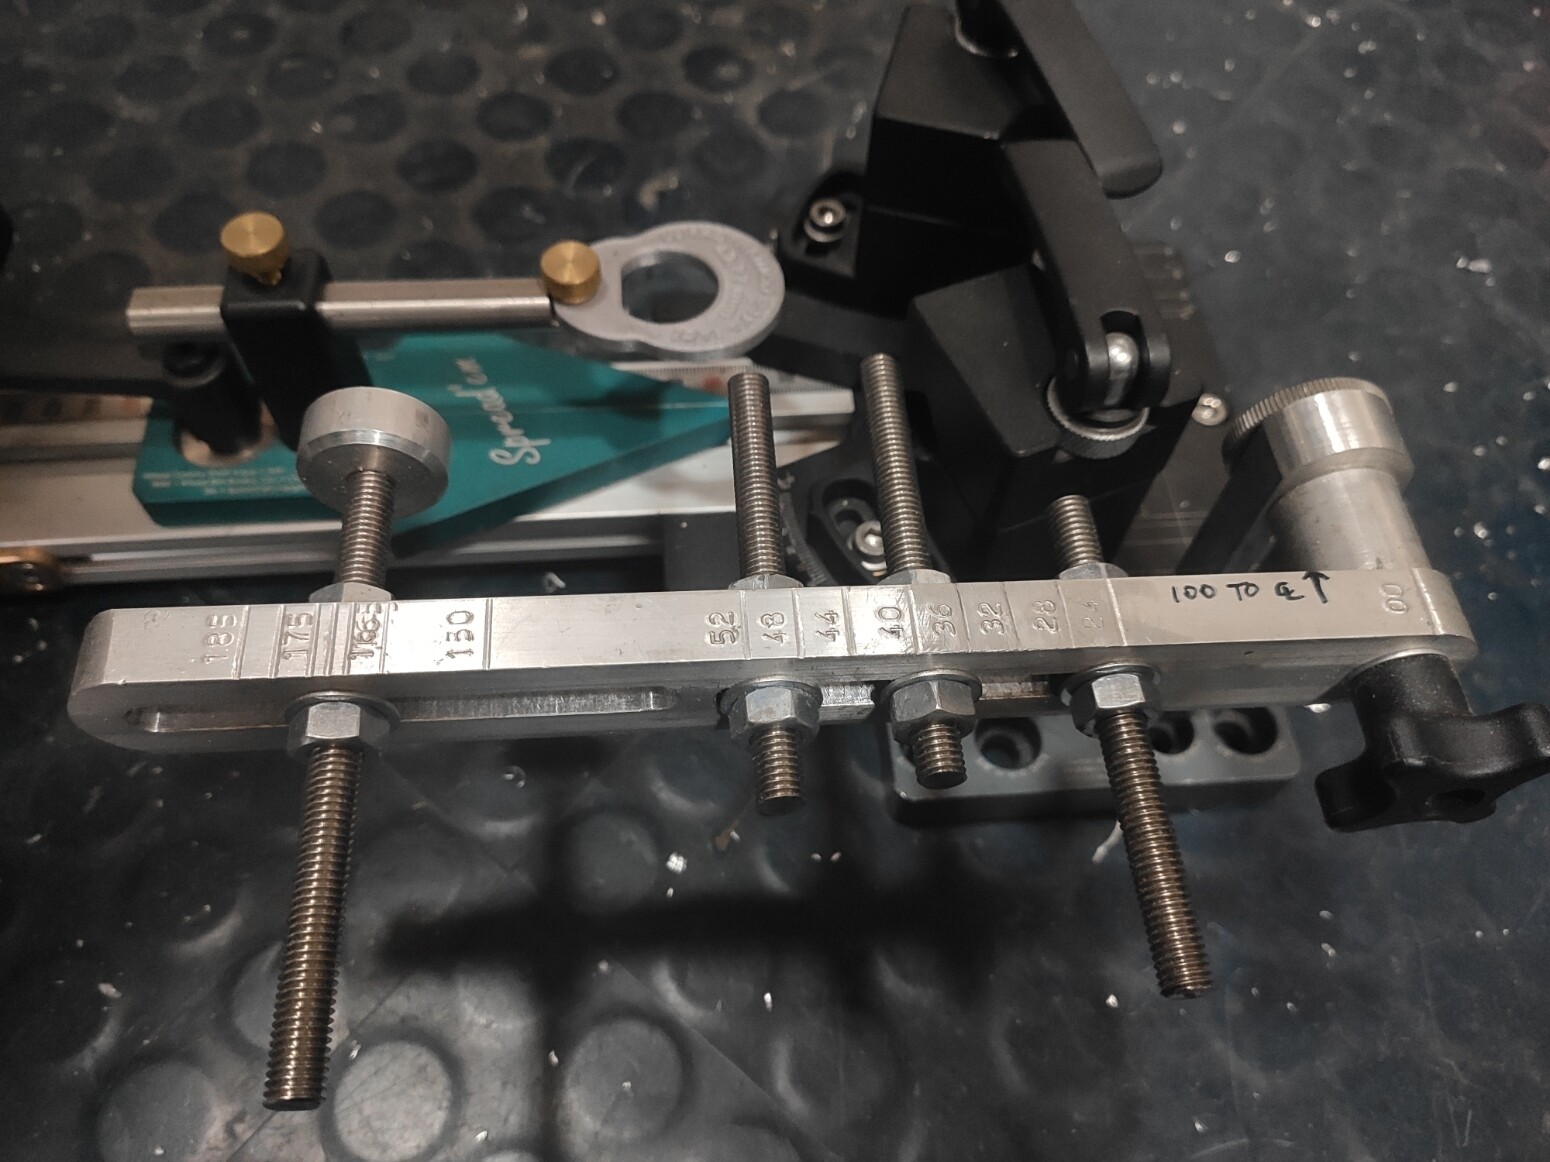
Here’s the adjustable dummy chainset that I made for my Farr chainstay fixture.
10mm thick arm, with a 100mm offset from CL to the inside face of the arm.
On the left end is a dummy crank arm end, with the approx fatness of a typical crank (12.7mm).
On the right are 3 adjustable all-threads to set the positions of the chainring(s).
Marked on the top are the crank lengths and chainring tooth counts.
The fixture centreline is hard to measure to, so the chainring adjuster screws are all 110mm long, making the outside extension of the screw = the offset to centreline.
The crank one is 110mm + the dummy crank end thickness (=122.7mm), so outside extension to the face of the arm is set at Q-factor/2.
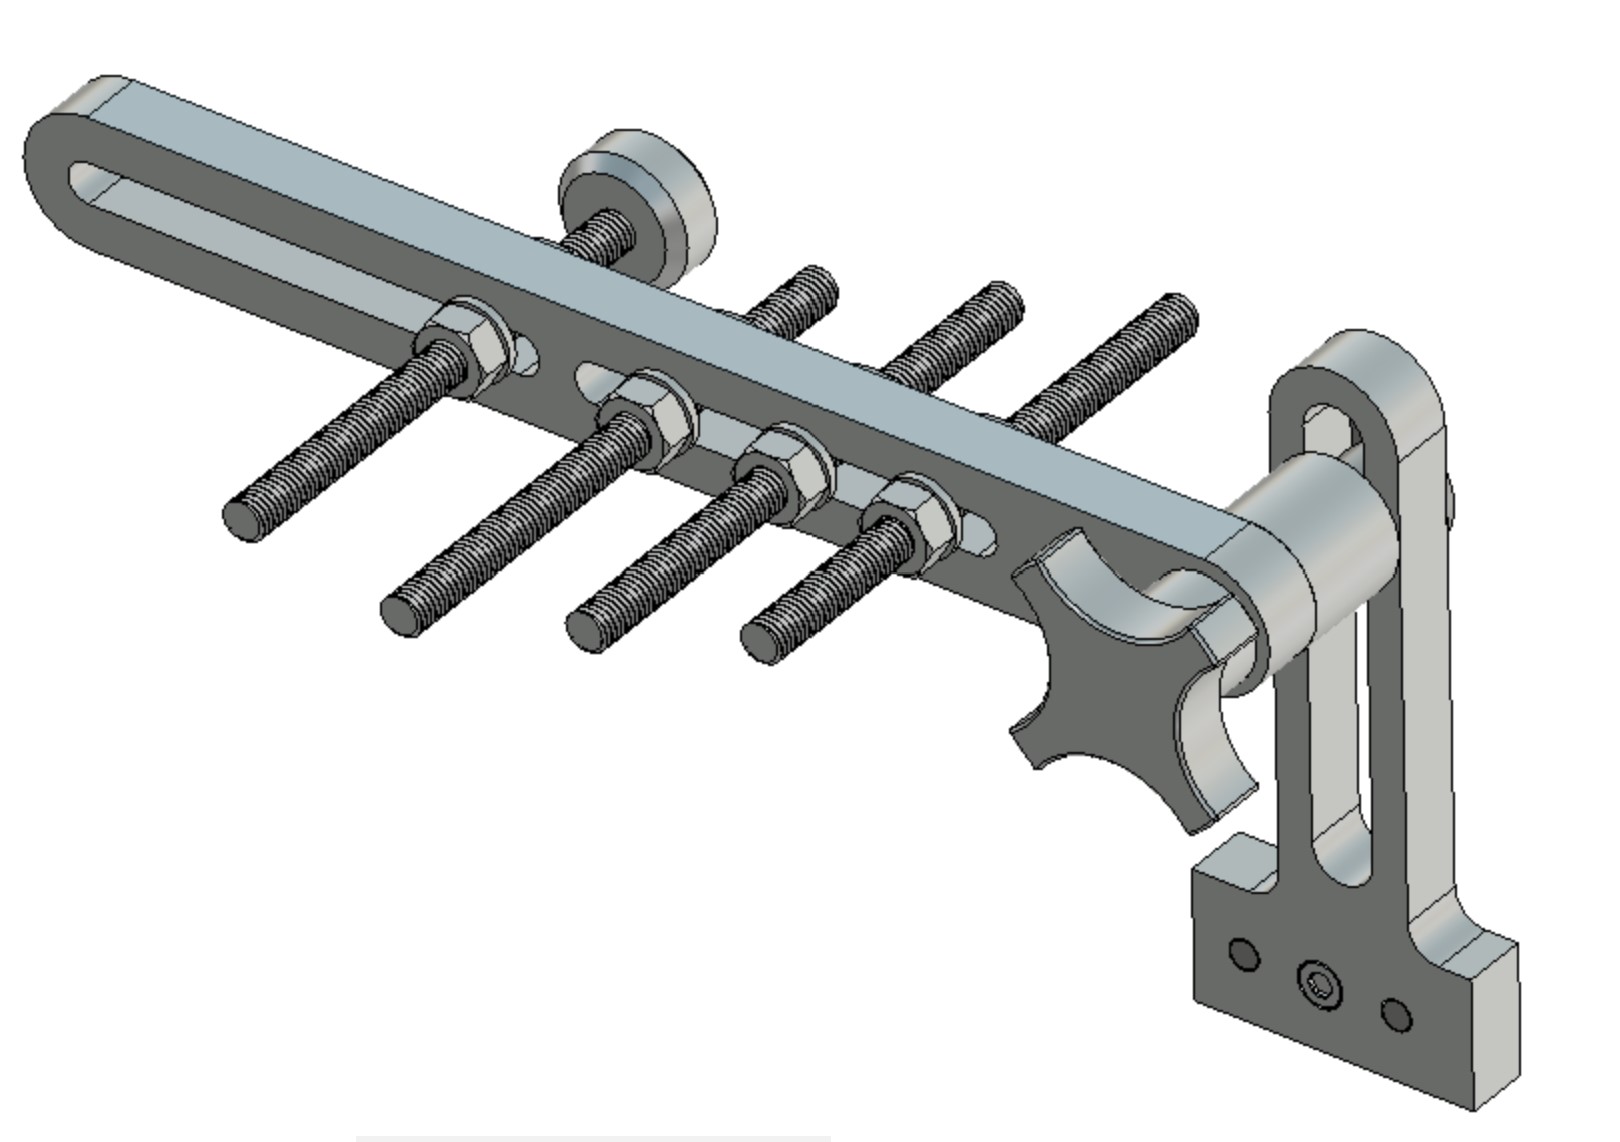
I have a Fusion CAD of this if anyone’s interested.
All the best,
Dan Chambers
I would love the cad of that. Thank you.
Probably known of many, finaly took the time to do it…
Sorry to the PMW folks for butchering your fine work
Please butcher away! Then we can sell you another one. Nice work.
Haha. I coveted my set when I got them. It was a huge expense at the time. They are now very well abused now though. ![]()
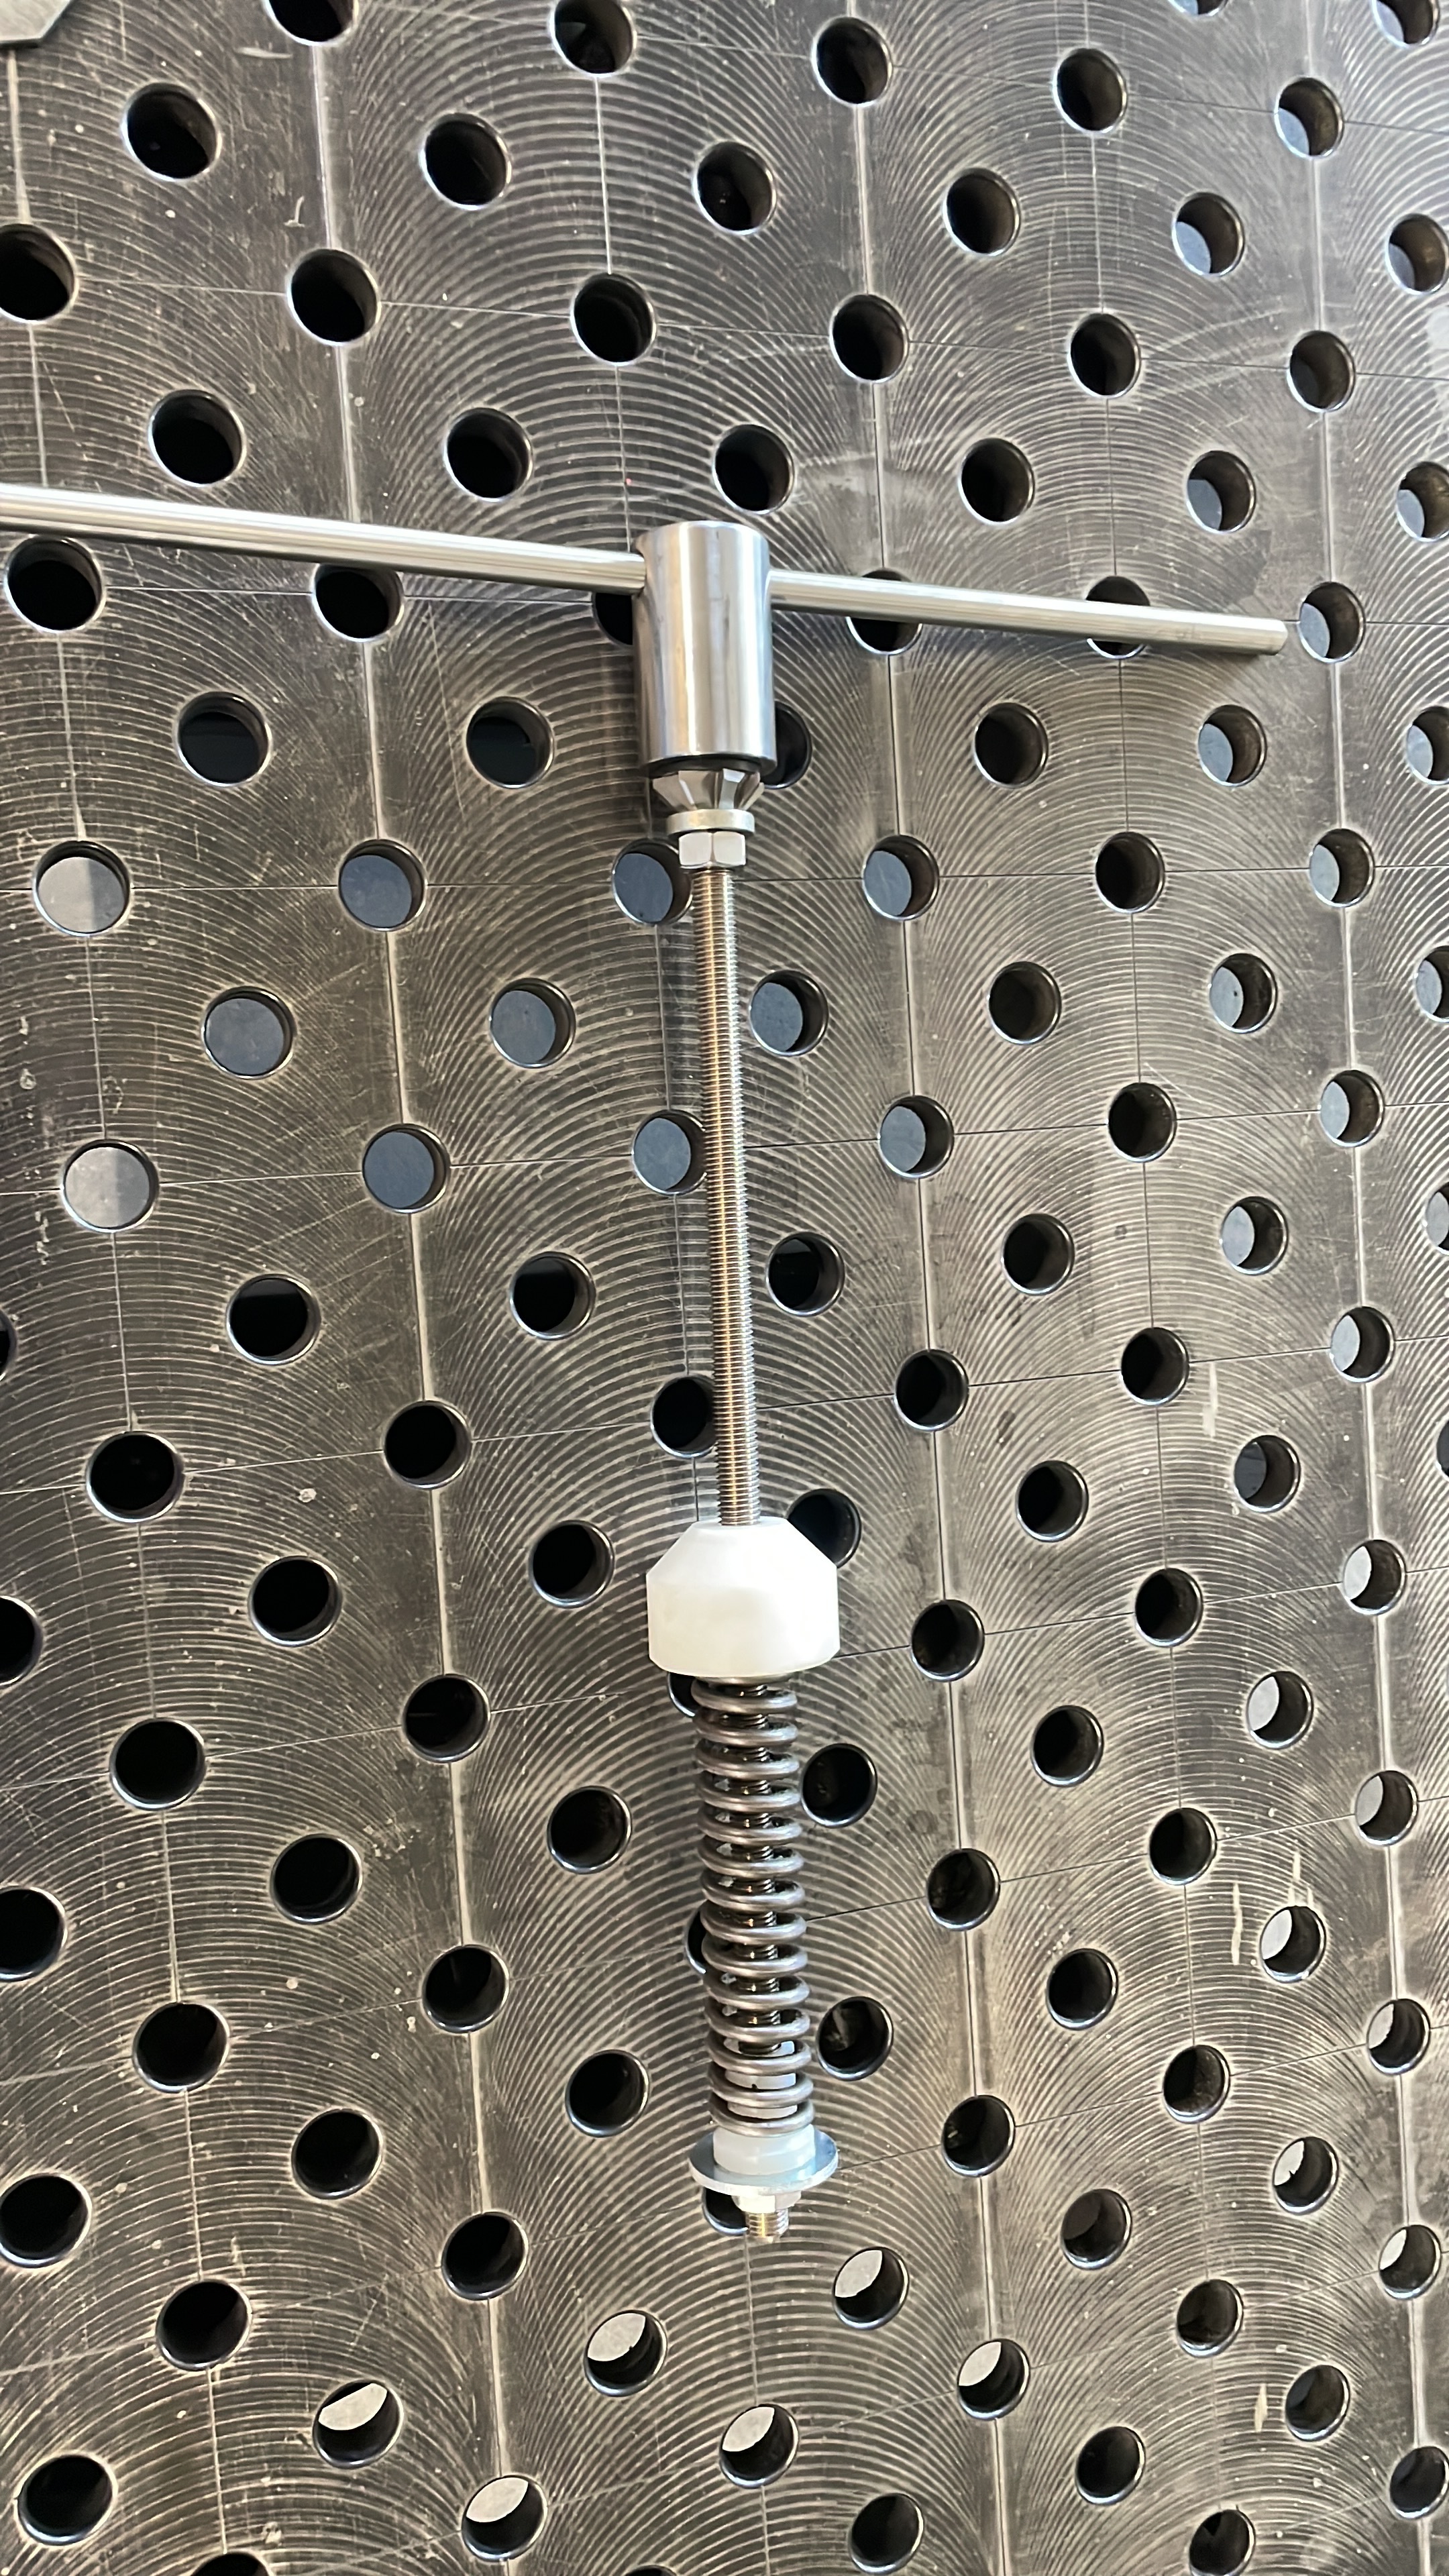
I did something similar: The screw you see is a pivot point. at the end of the arm there is a spring pushing upward which results in pressure on the clamp boss.
Nice!
After throwing away too many stem clamps with wonky binders, I buckled down and made something! haha
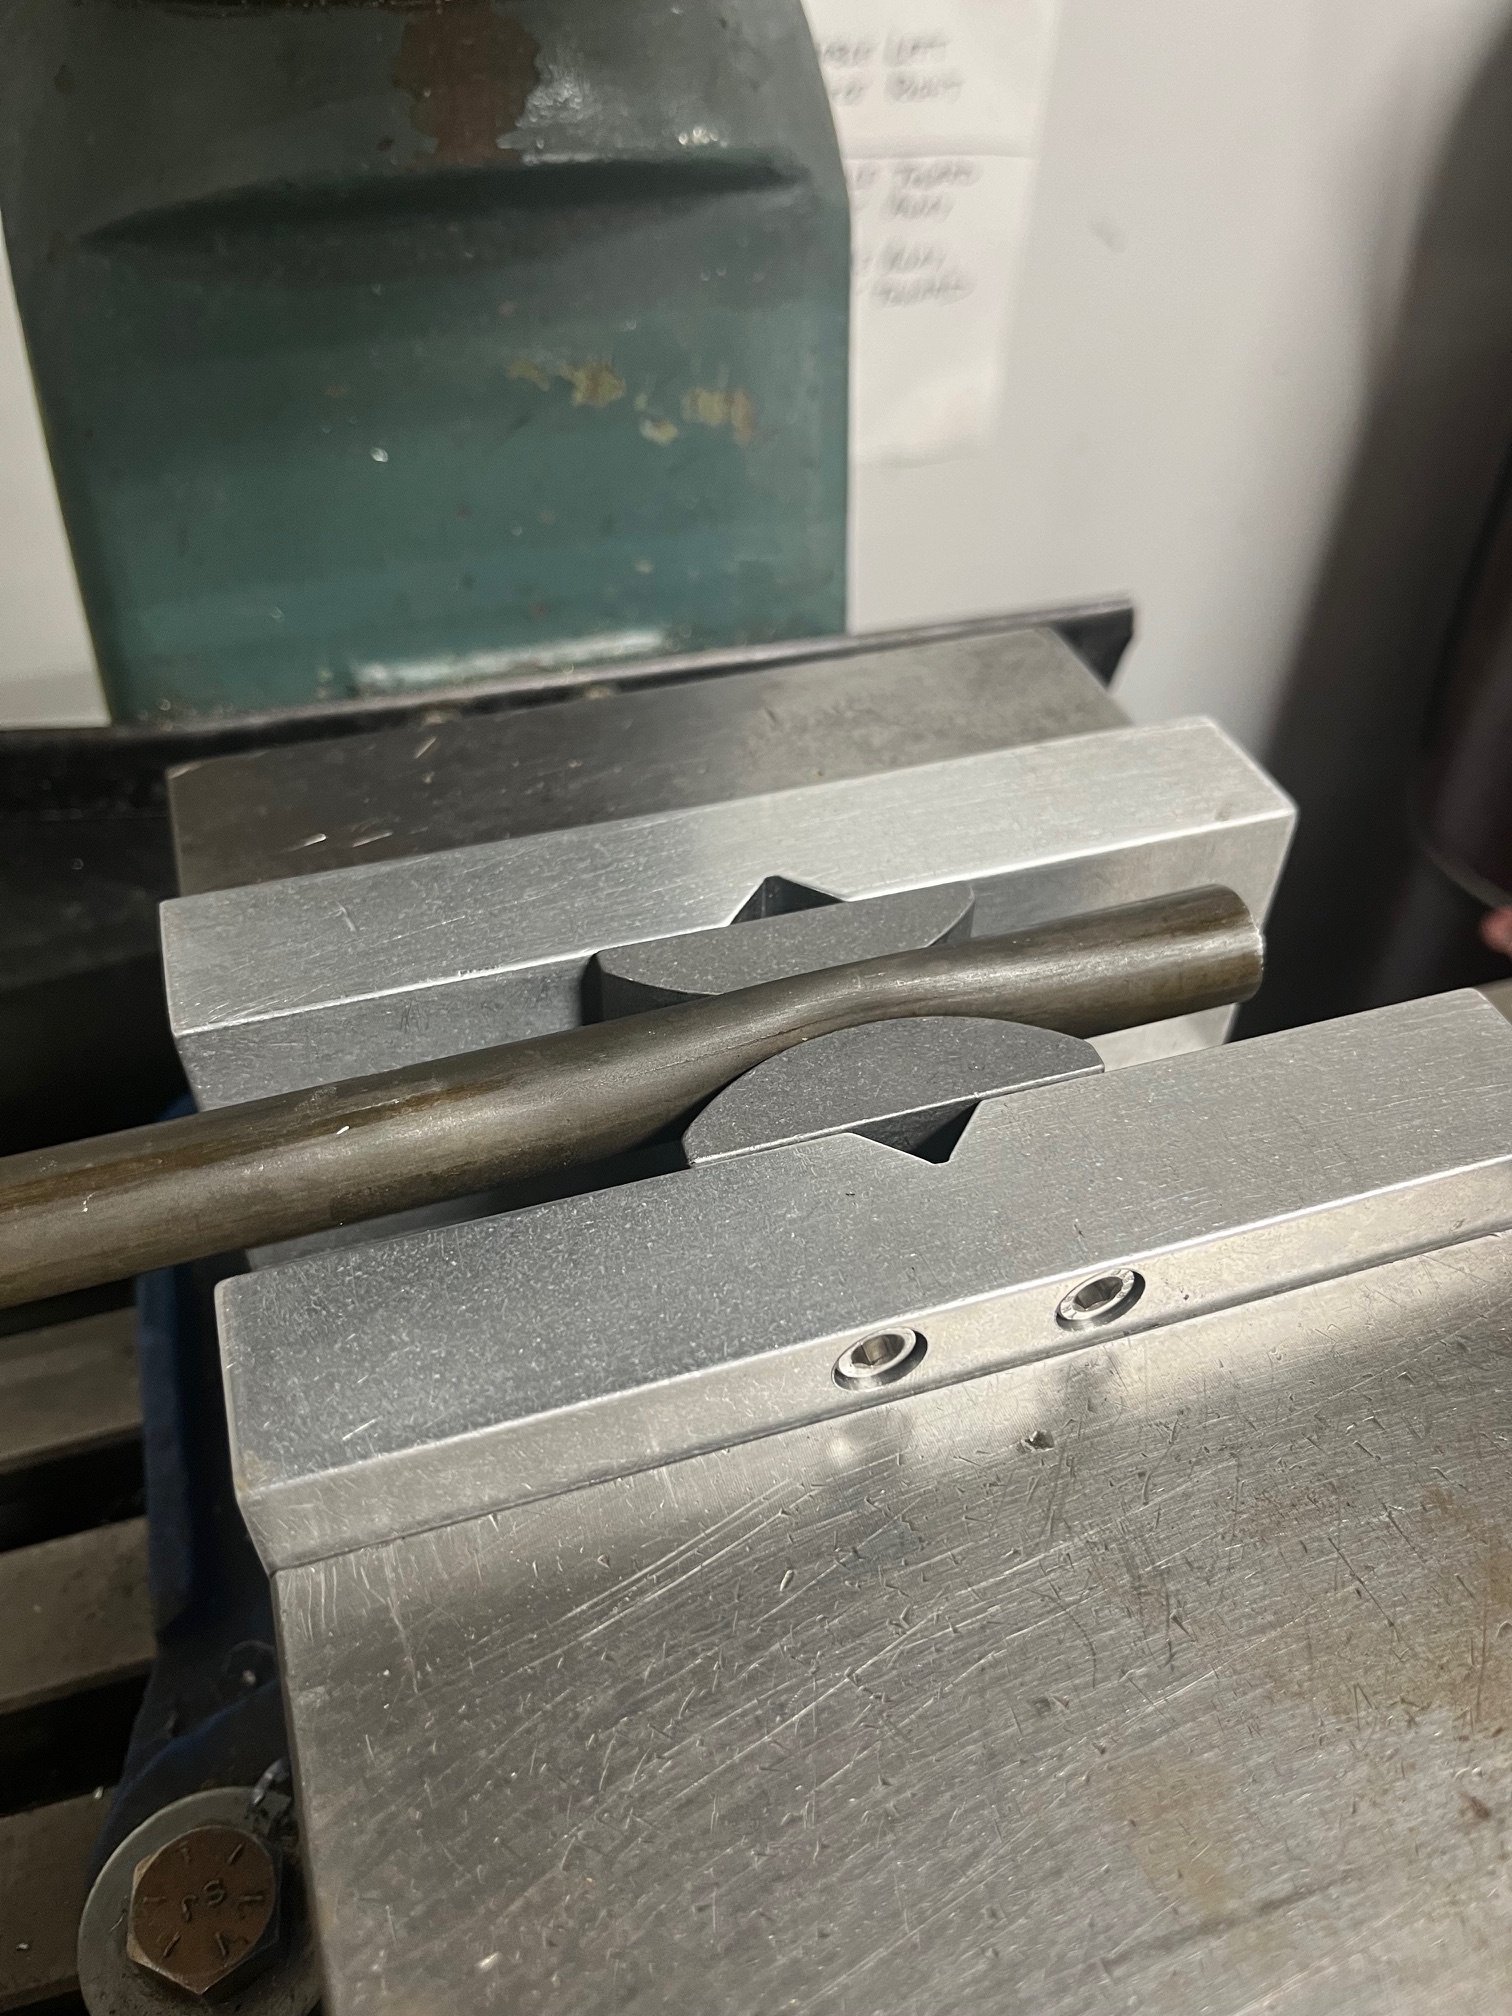
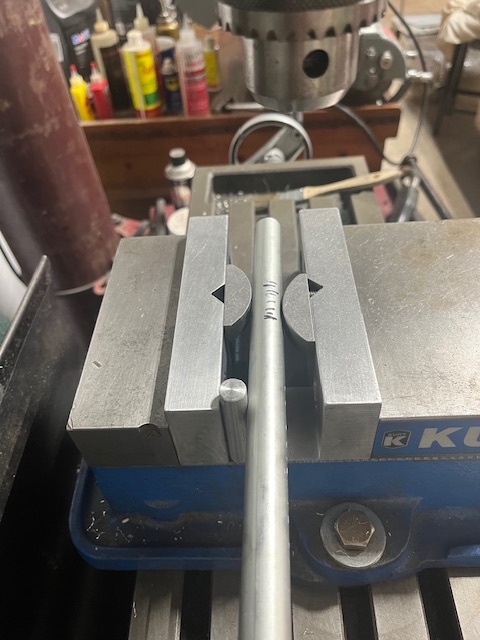
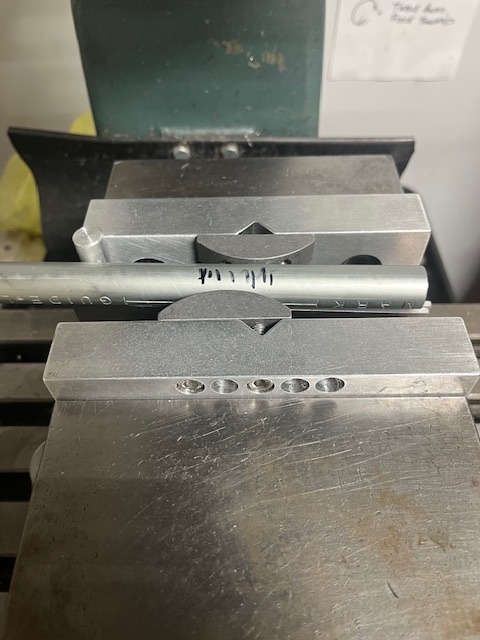
I screwed some woodruff keys to some vice jaws. Works really good for dimpling tubes, but probably will depend on vice. My vice is a Kurt D675.
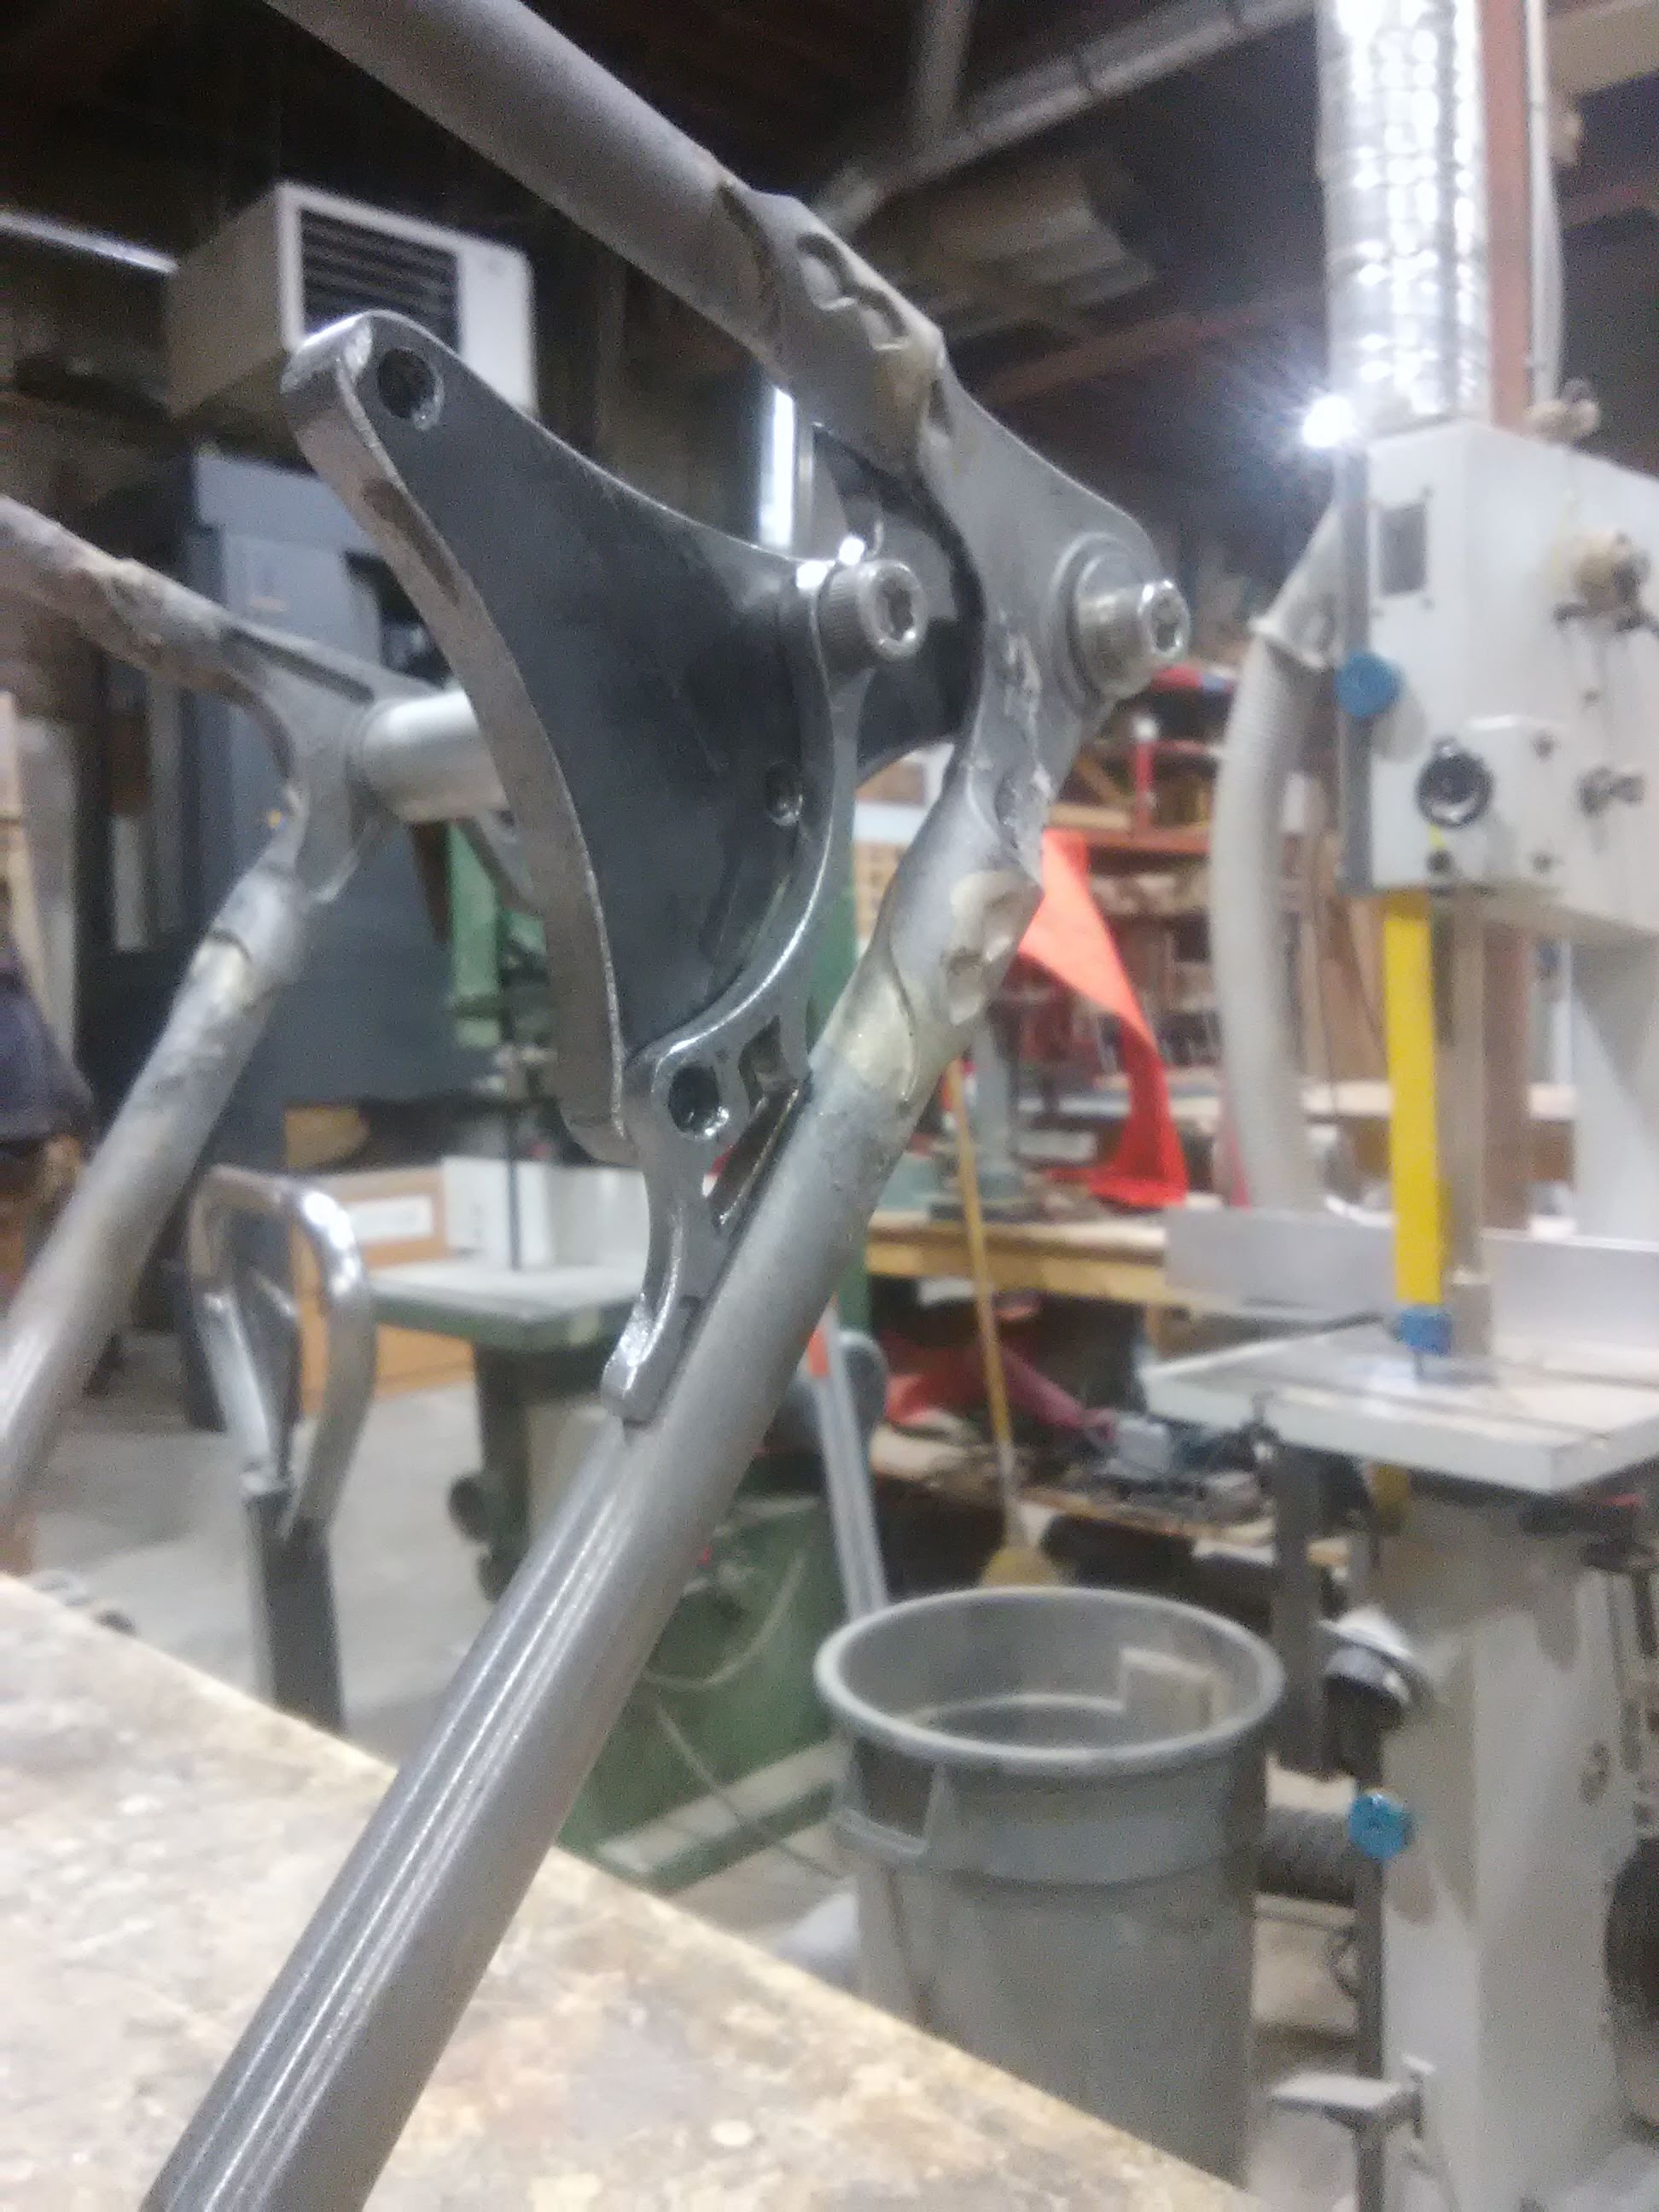
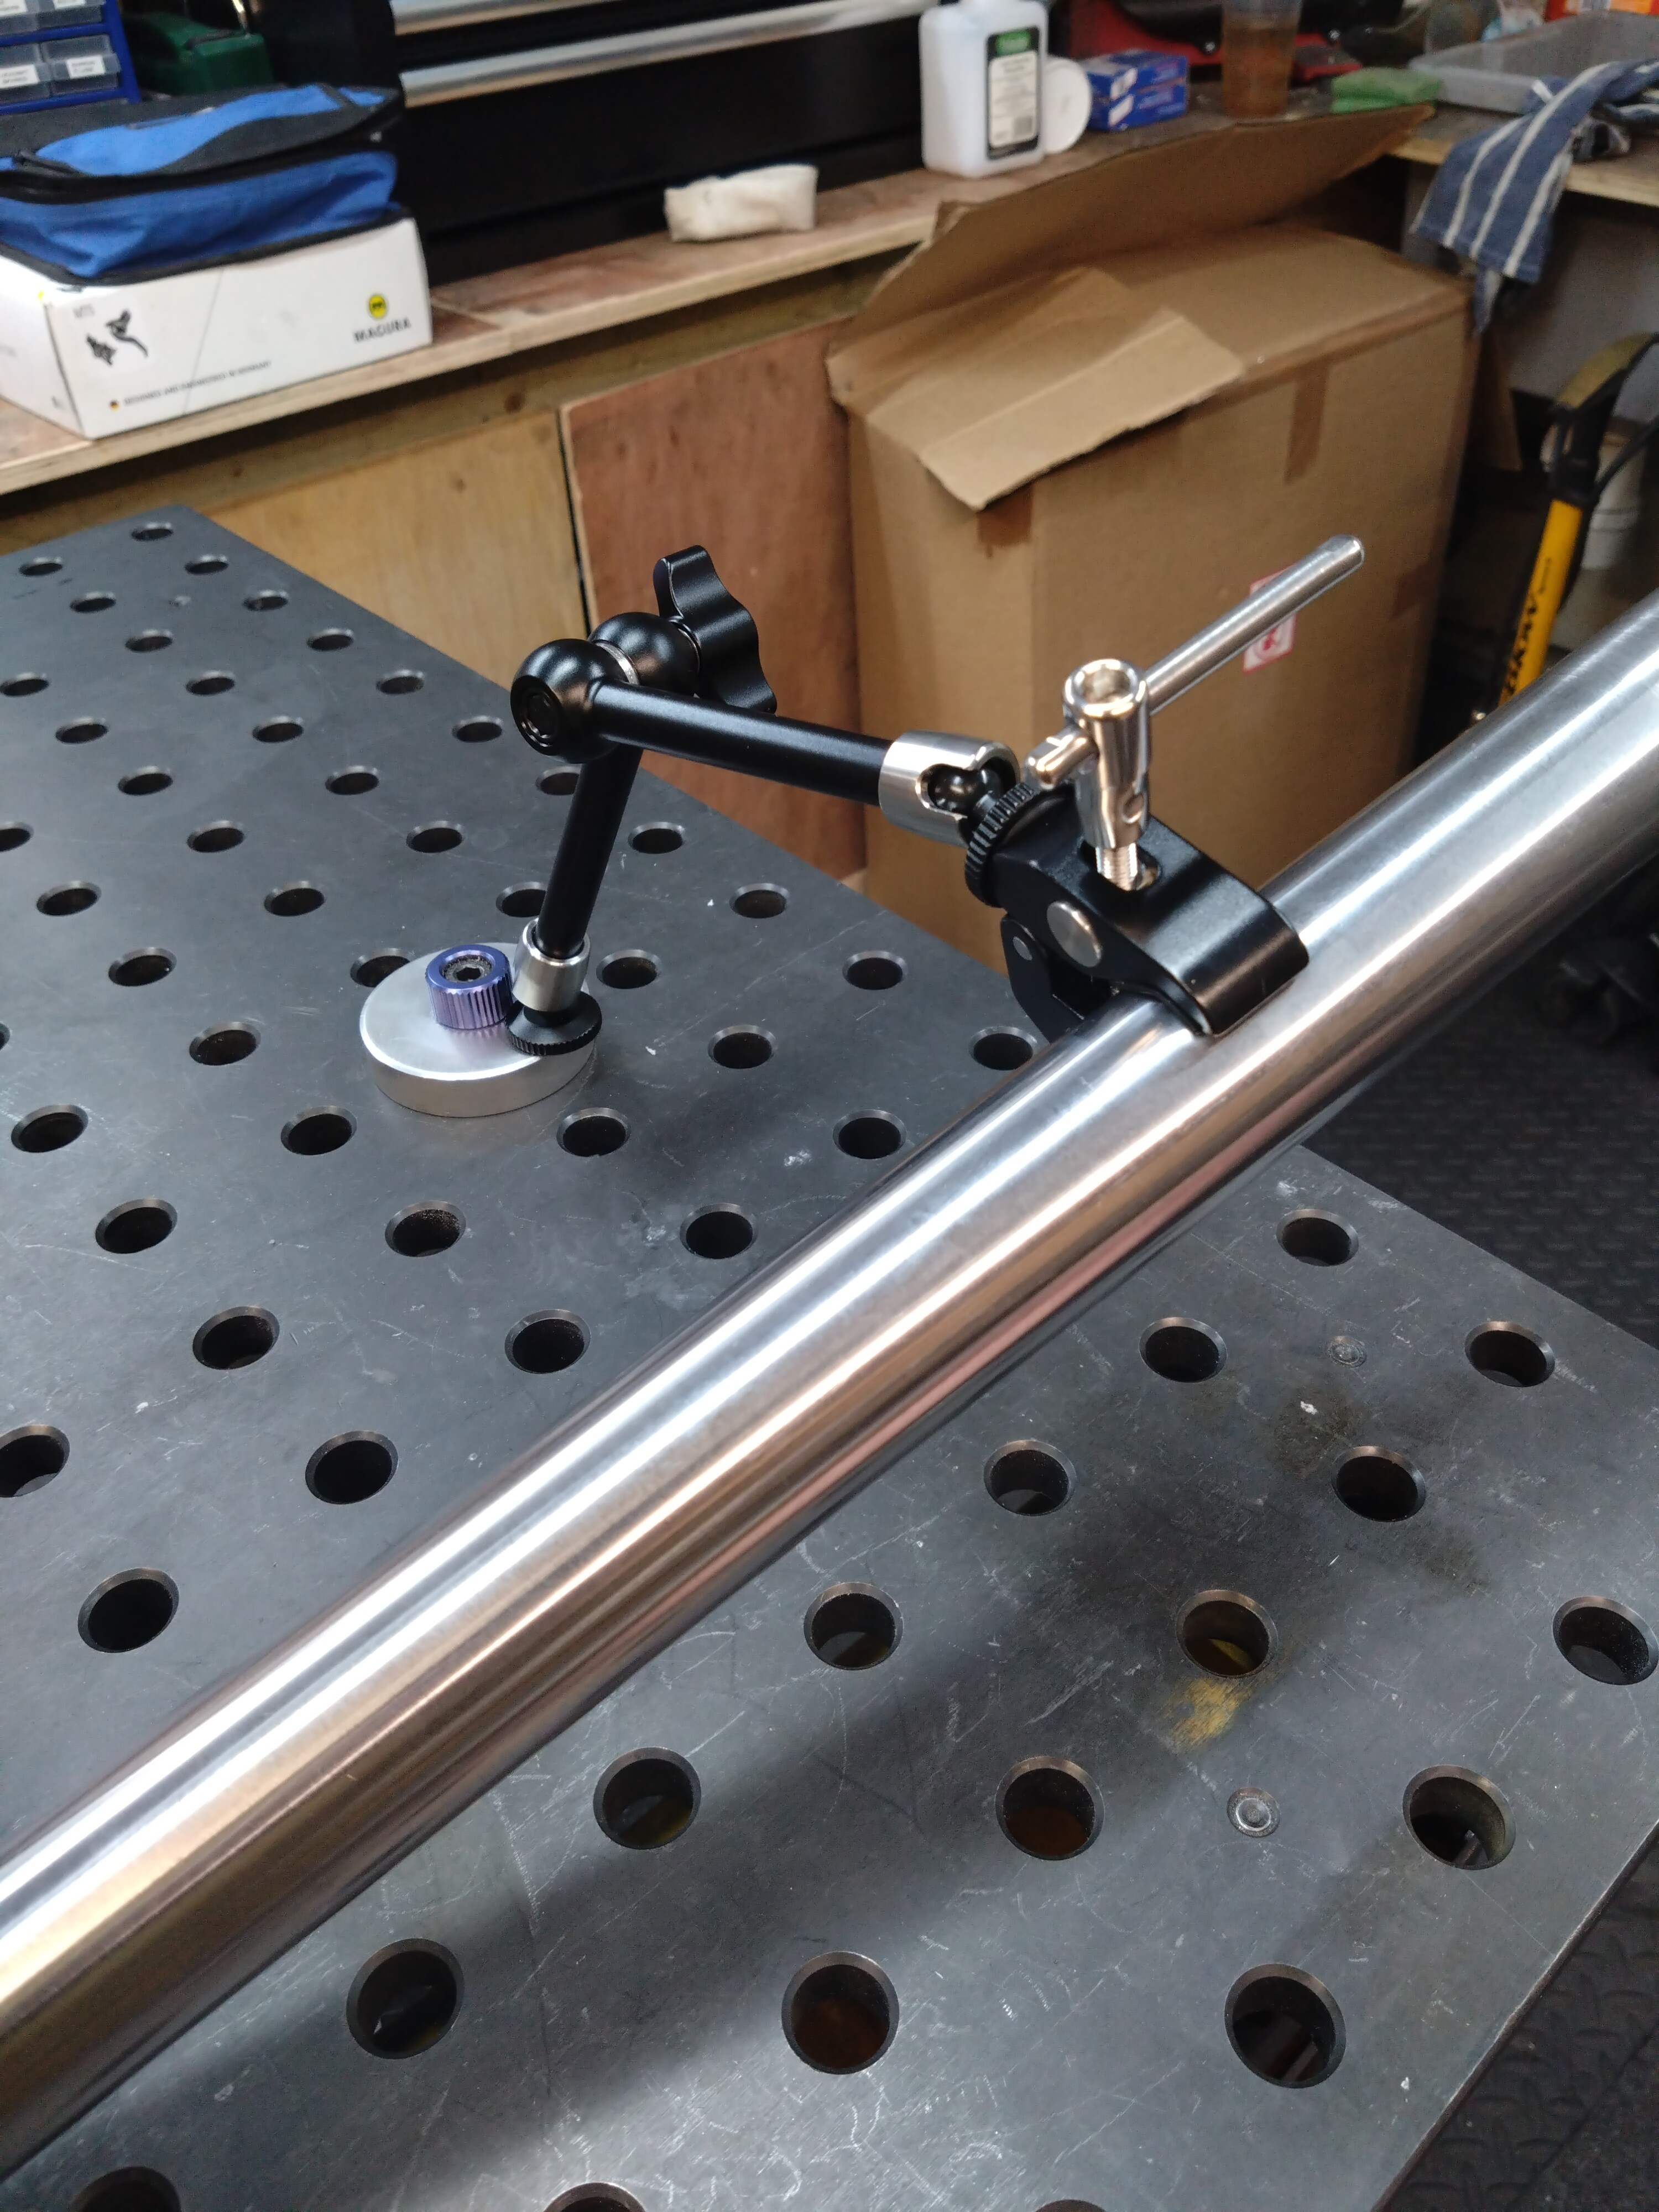
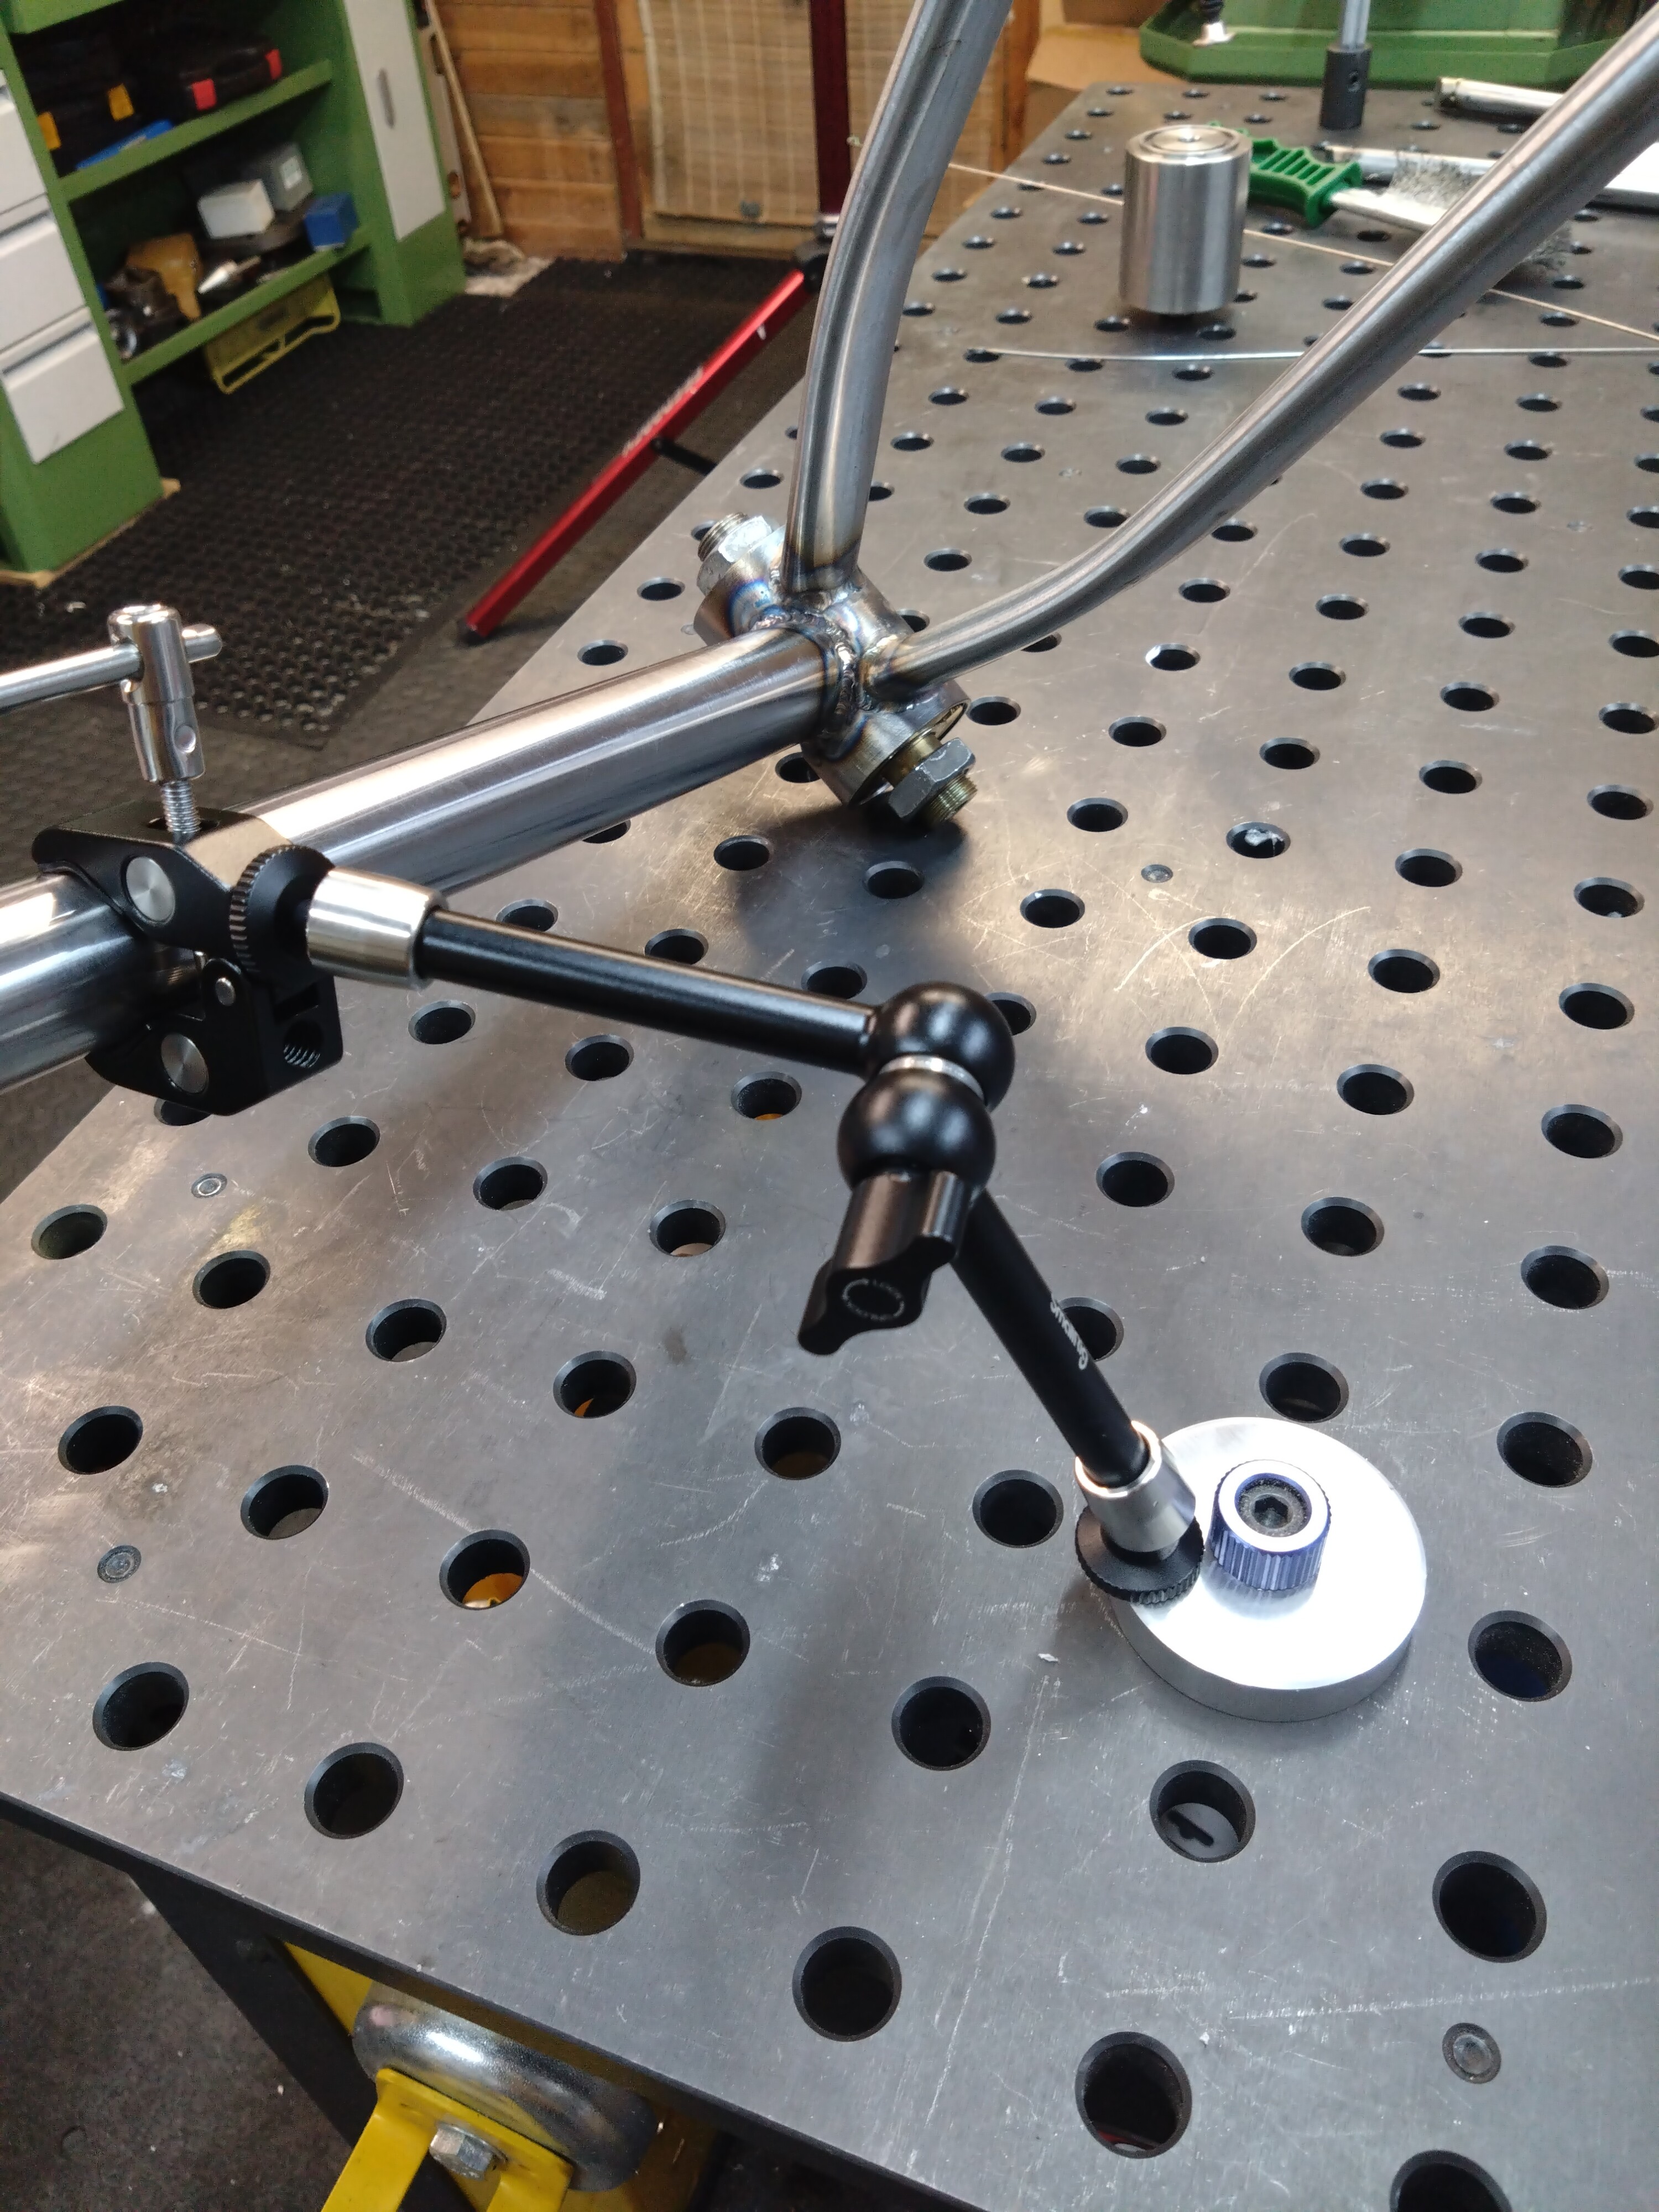
Not being a great tig welder, I need all the help I can get. I talked on another thread about having dodgy vision but the other thing that I really appreciate is being in the right position. I do a lot of sub-assembly stuff on my fab table and knocked up this setup. I didn’t make the articulating arm, that’s some camera hardware, I just made a quick base to mount it to the table.
I was surprised how rigid it is. The specs on the arm say it will deal with 15kg. It’s been a great help since I started using it.
This is awesome! I’m actually in the process of doing something very similar with a Noga indicator holder. The tube clamp mechanism on your setup looks pretty slick.
Google “super clamp”. They’re designed to hold photo lights to anything including pipes. Generic ones aren’t too expensive.
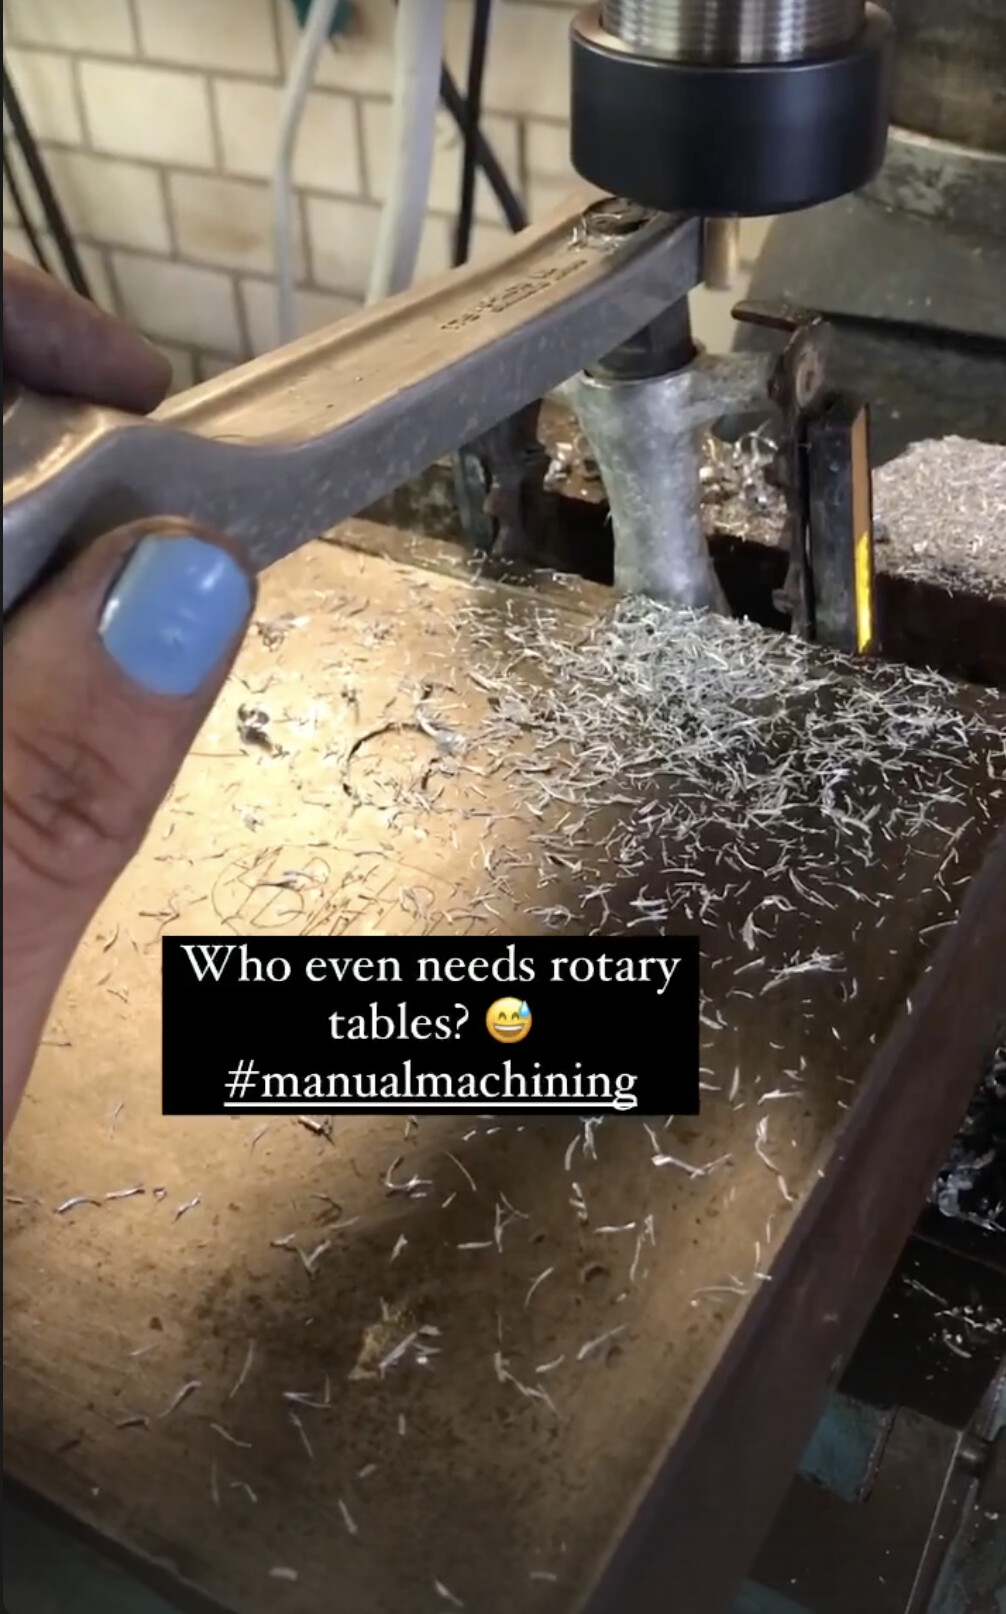
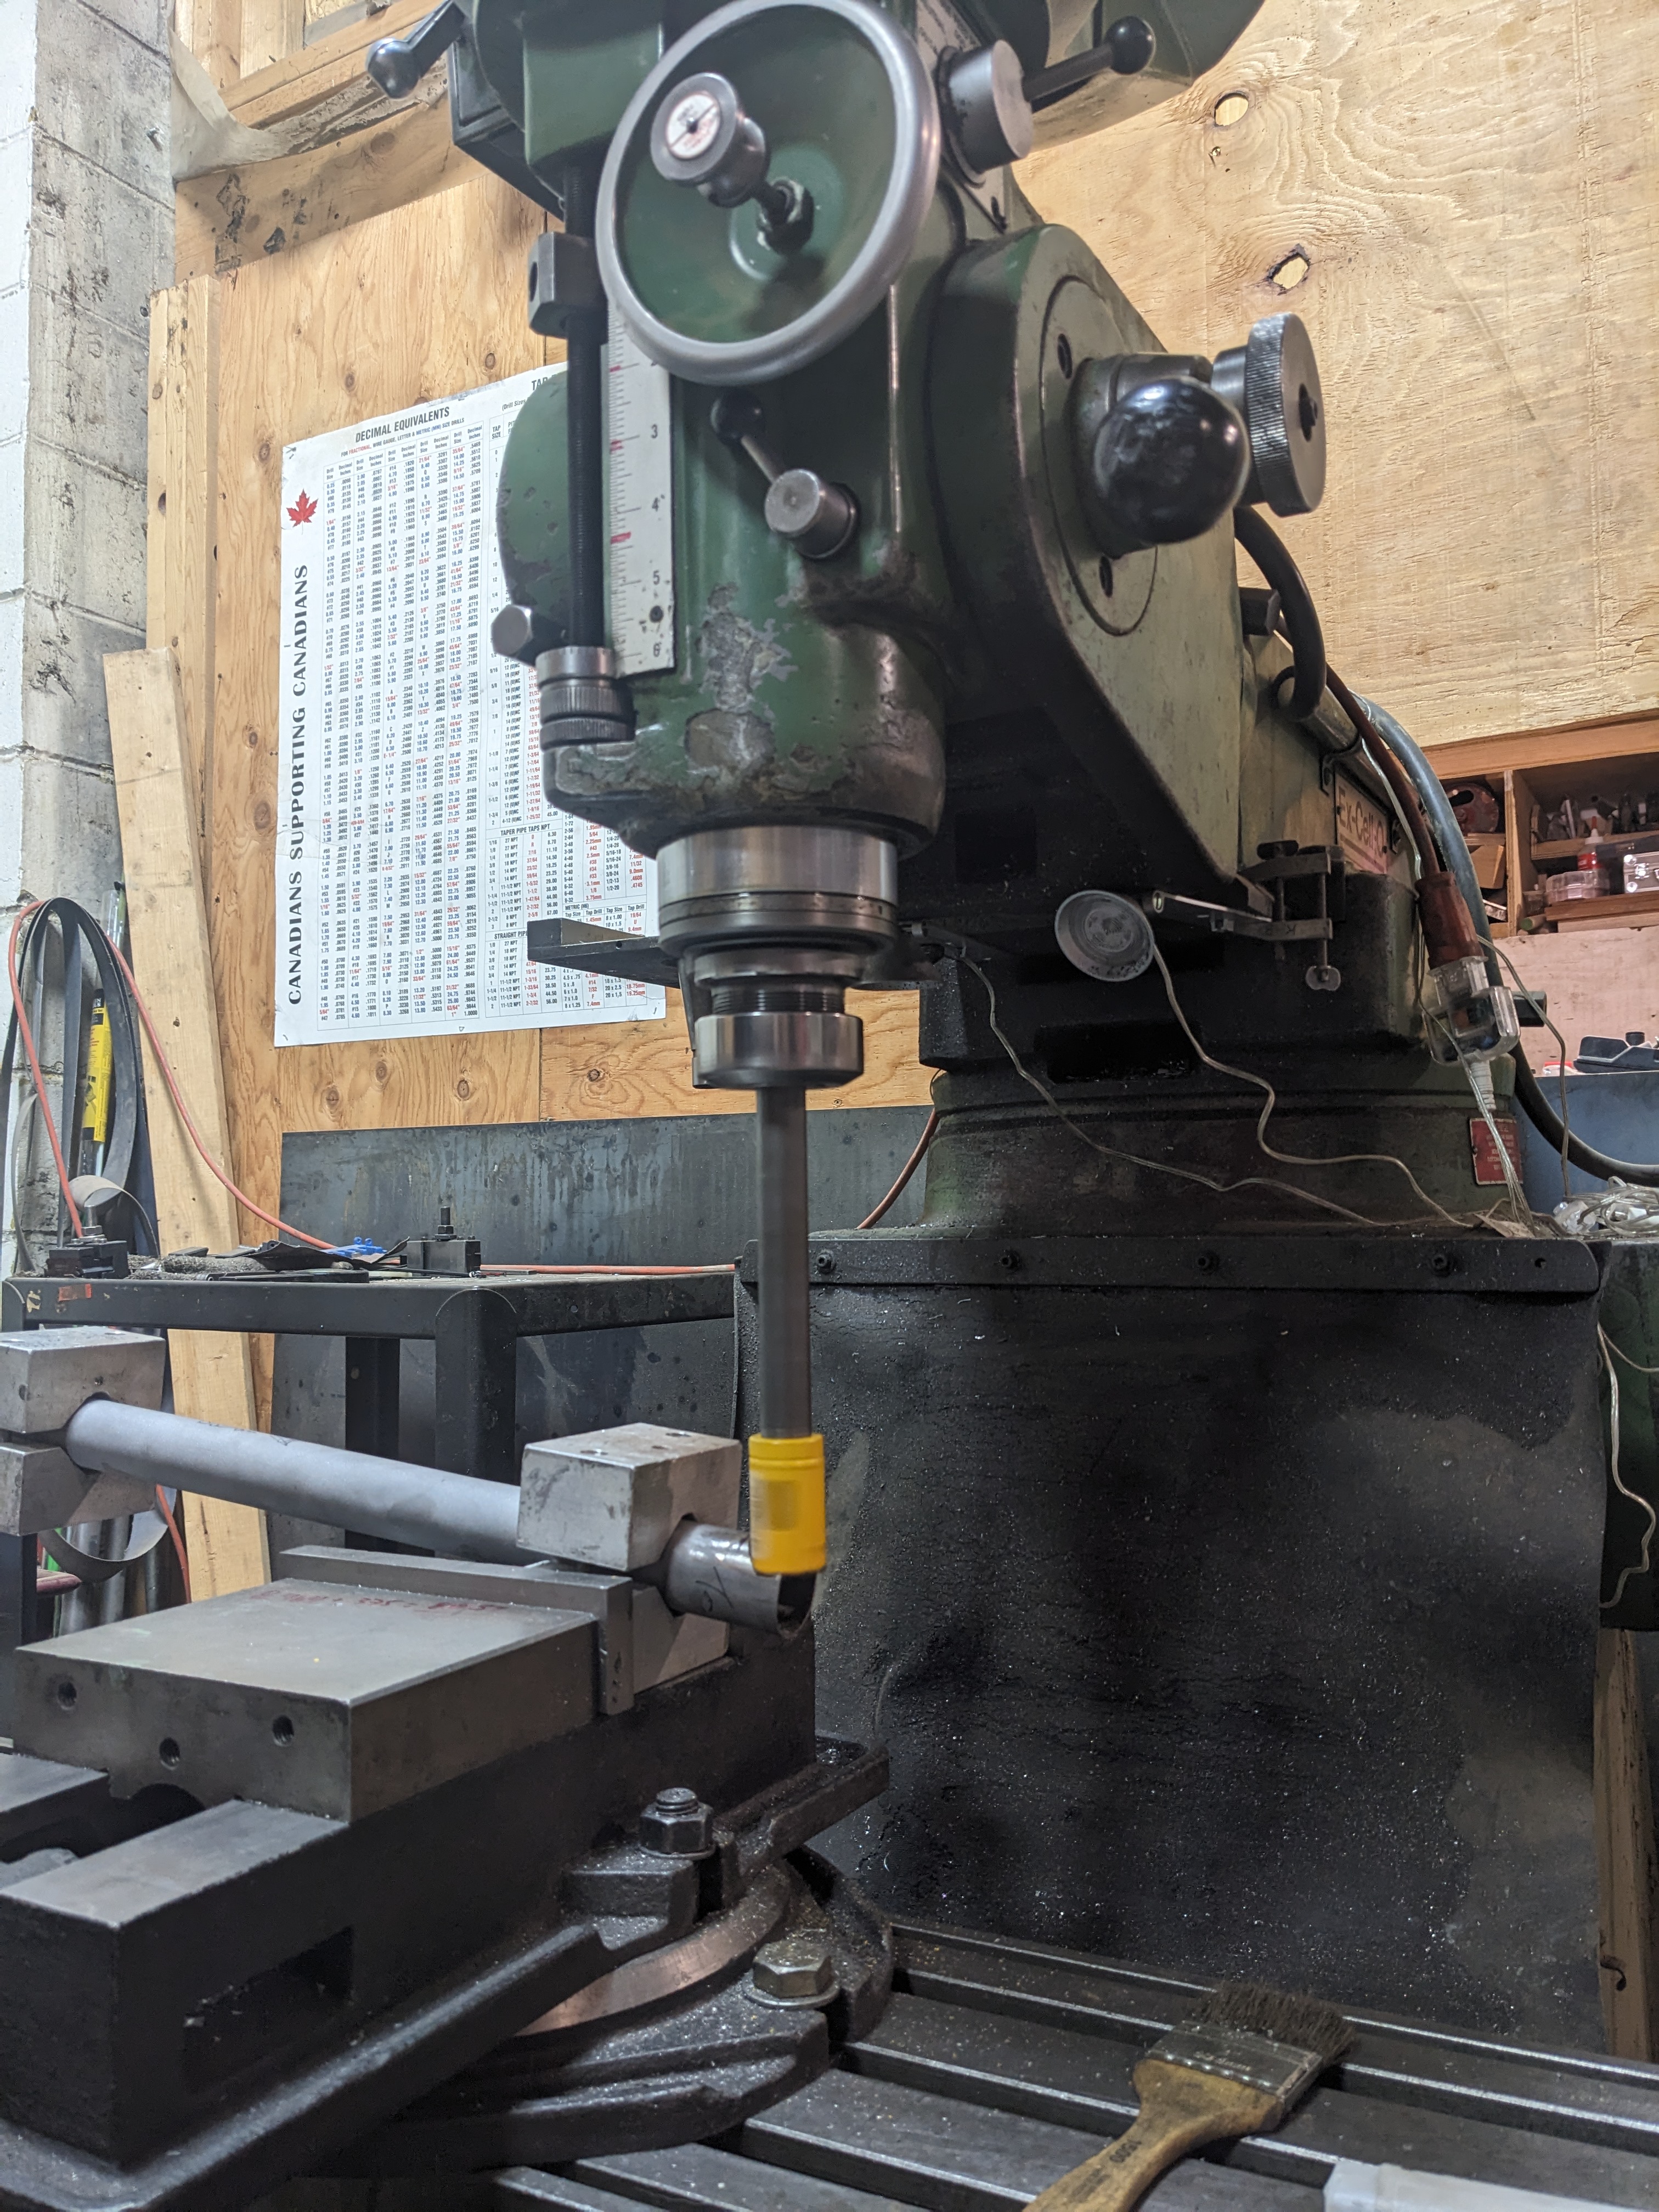
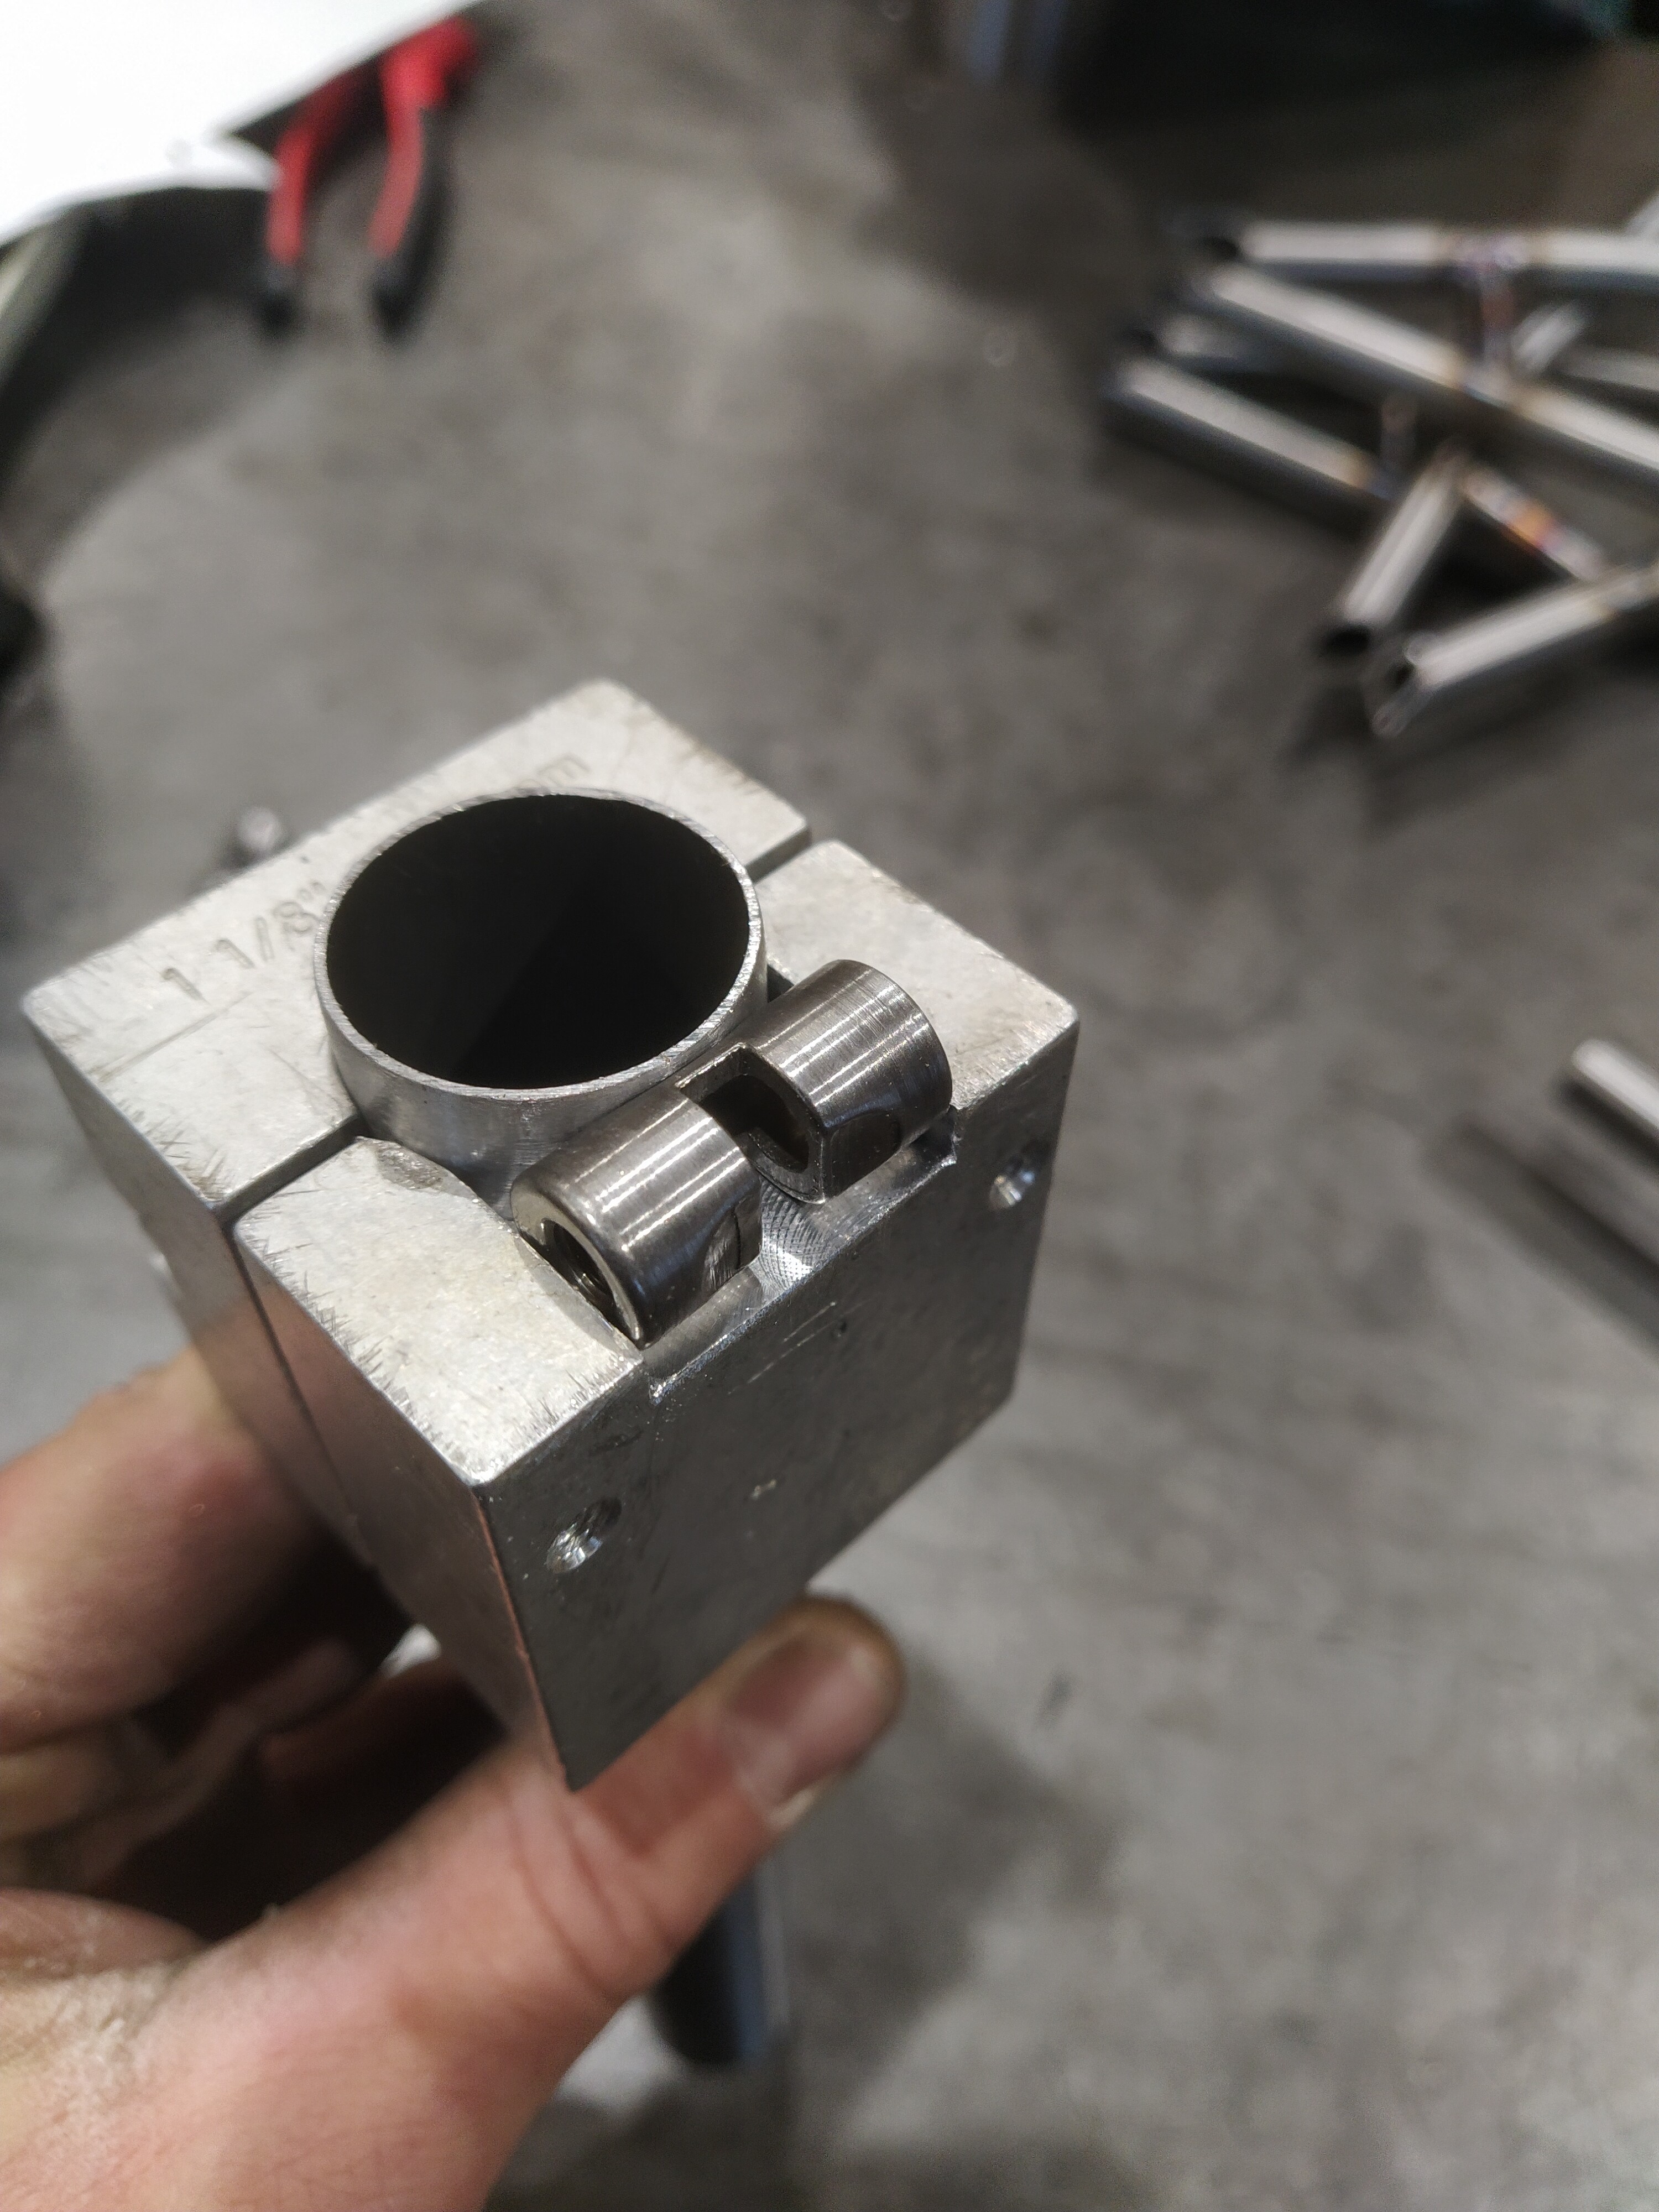
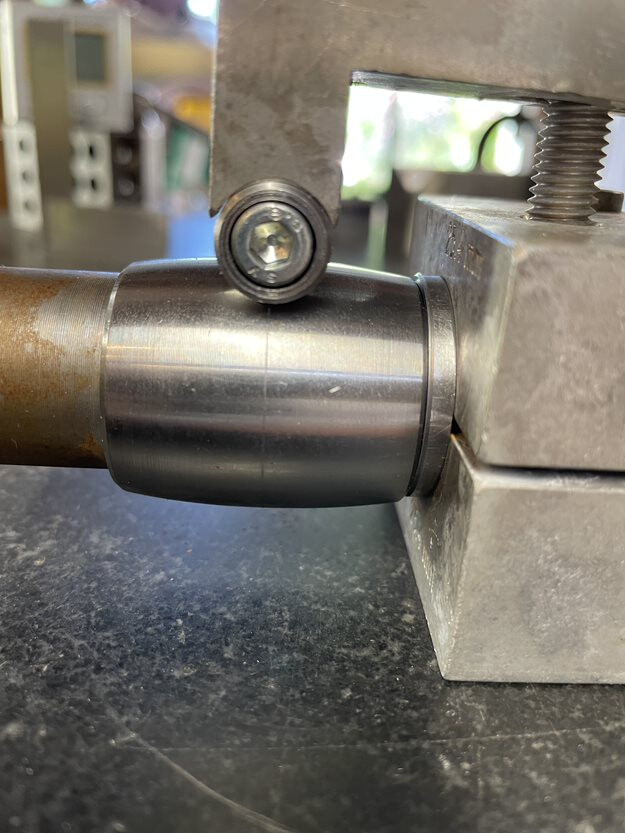
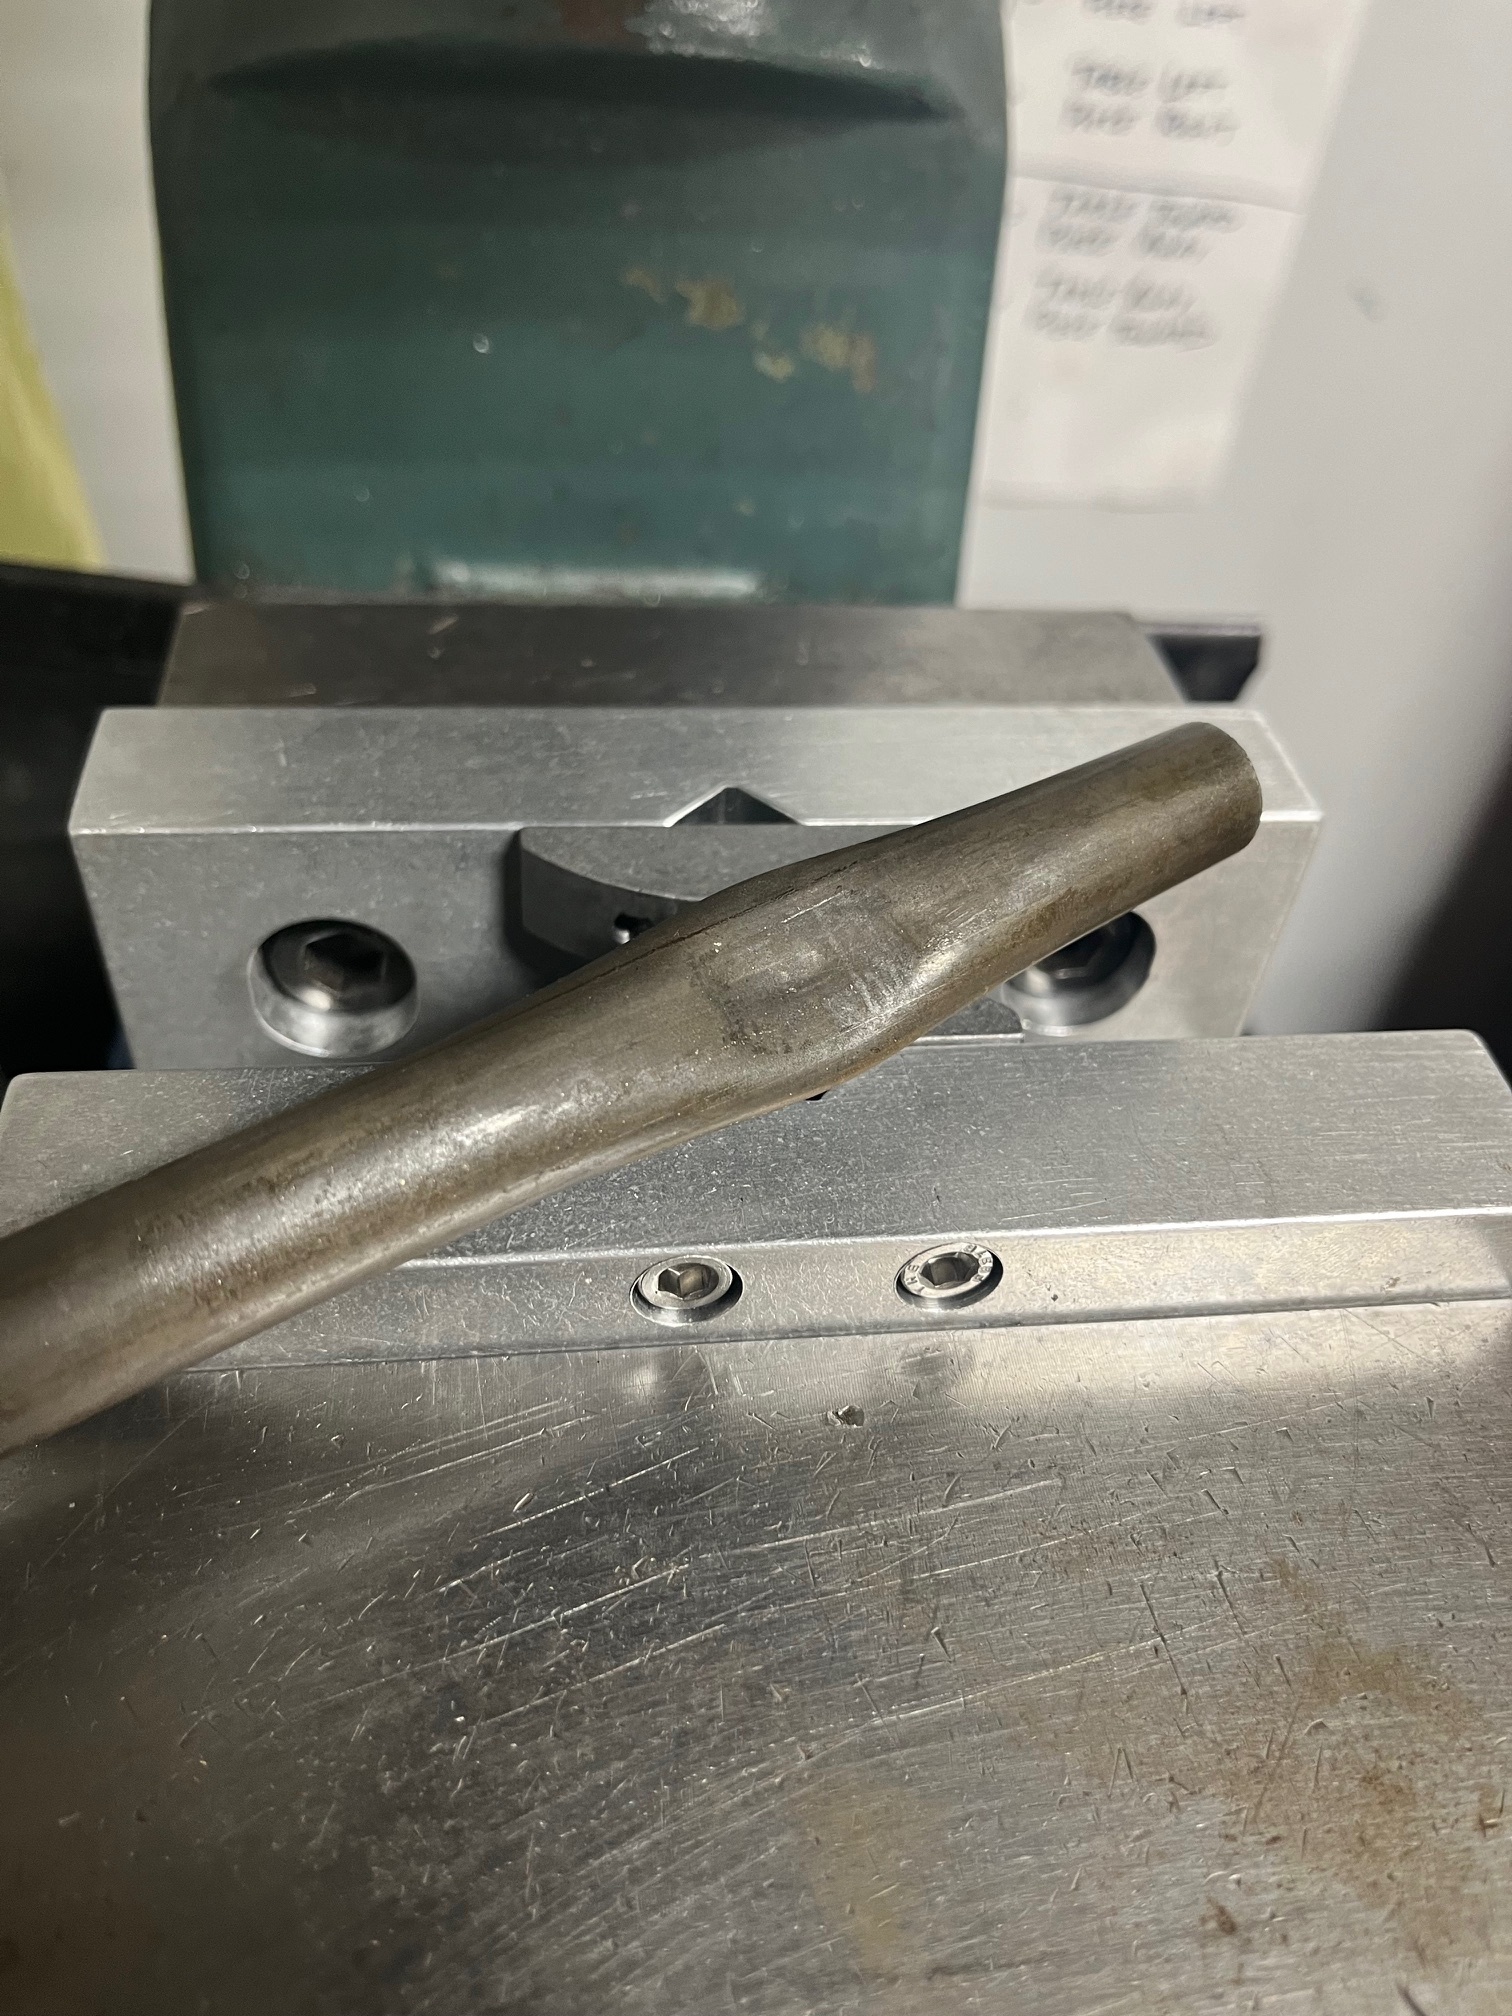
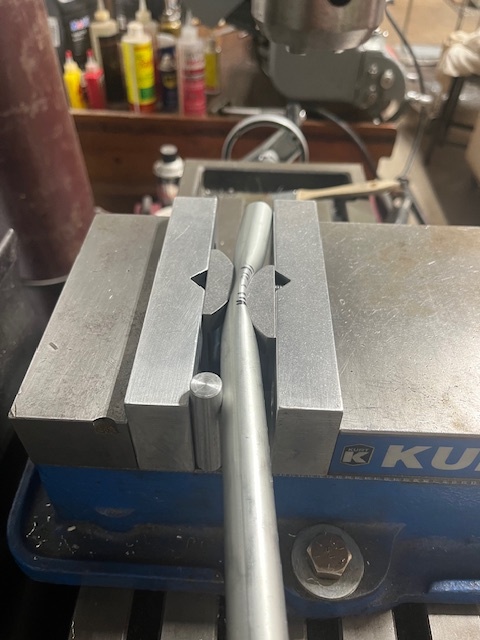
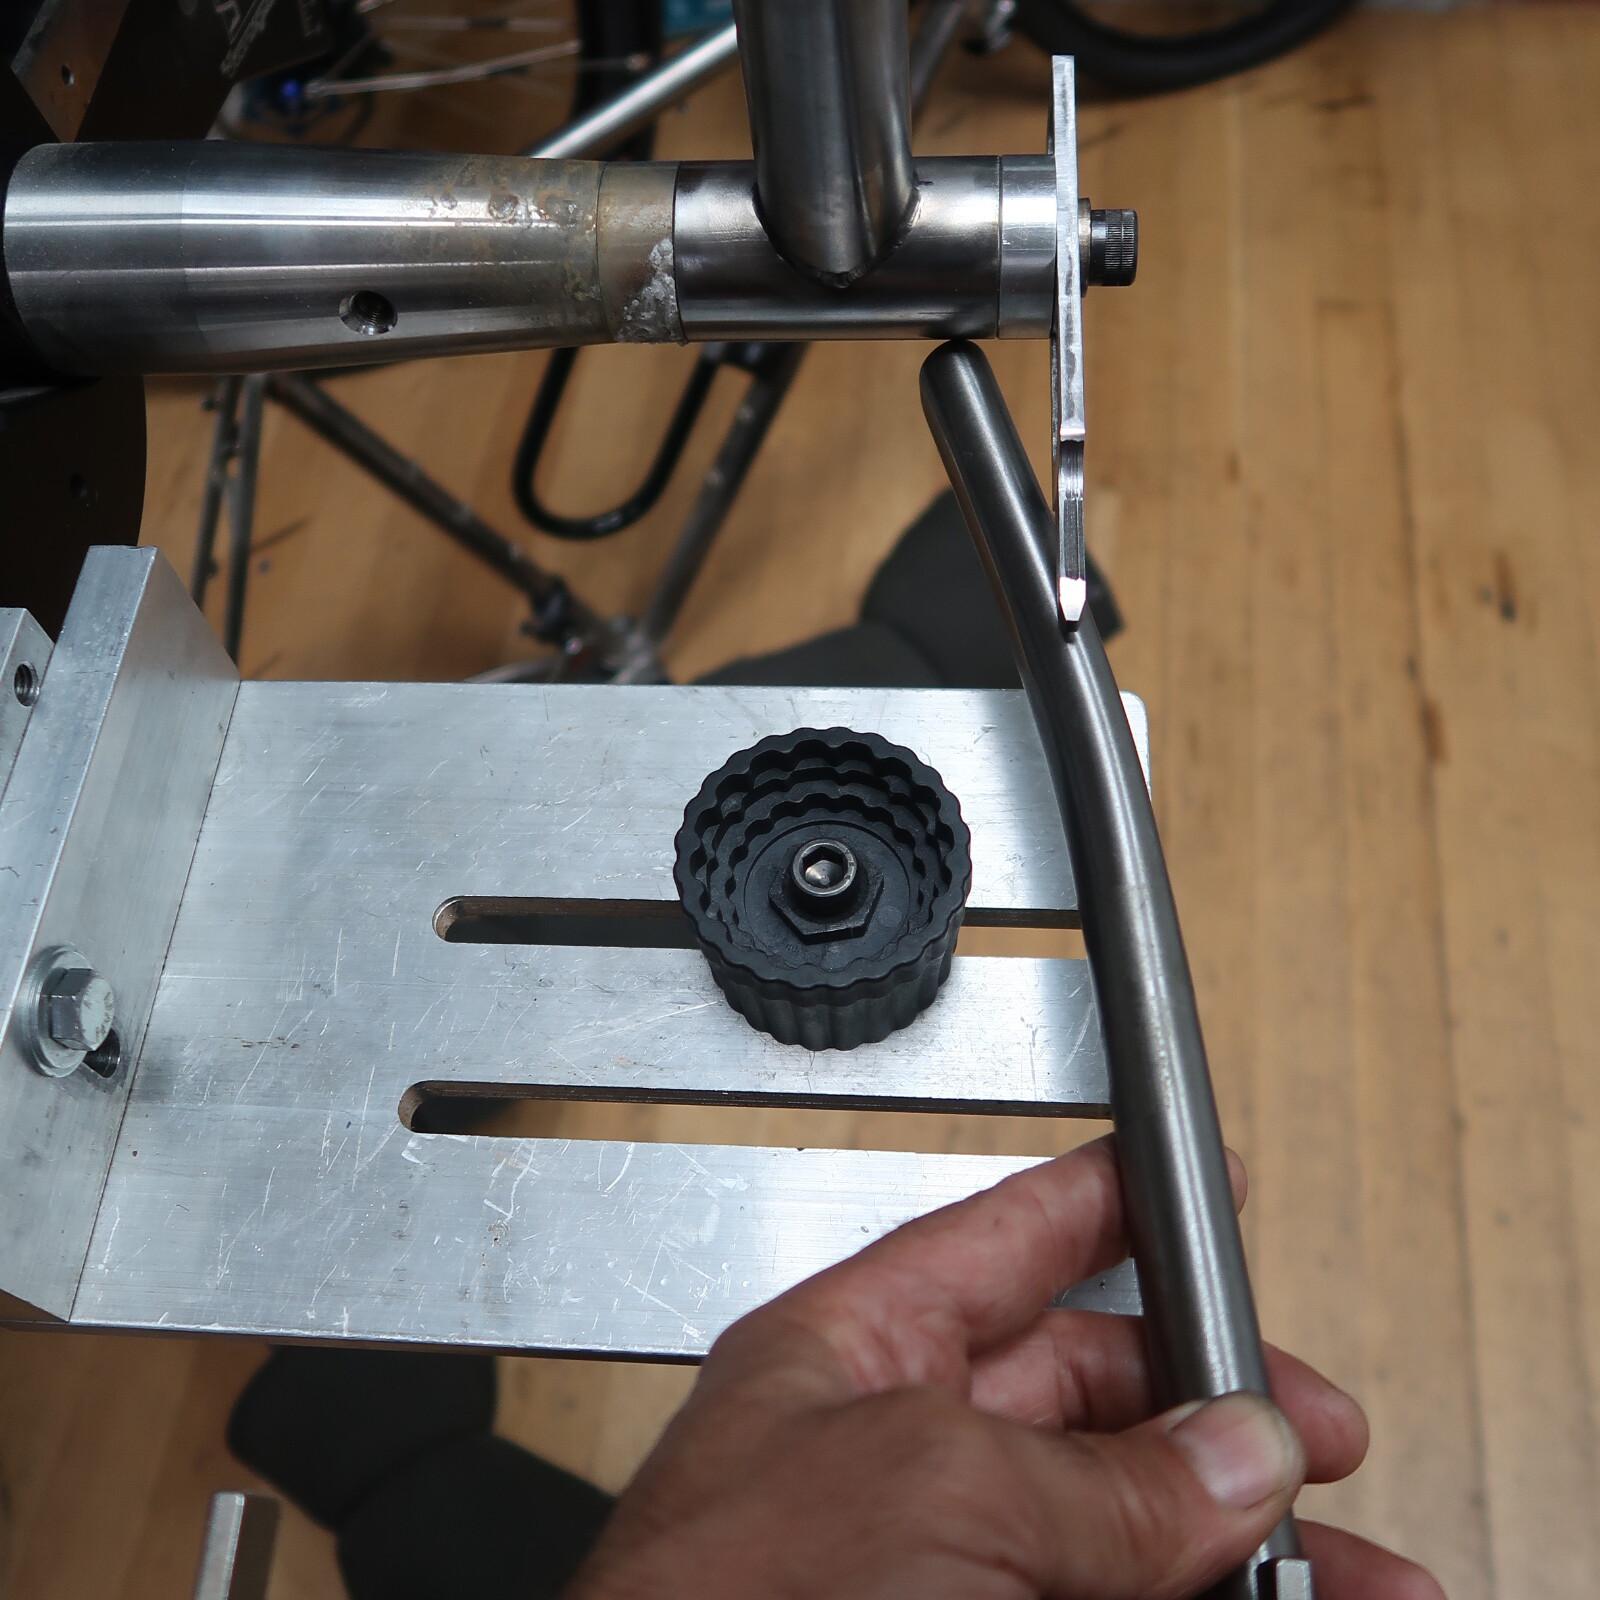
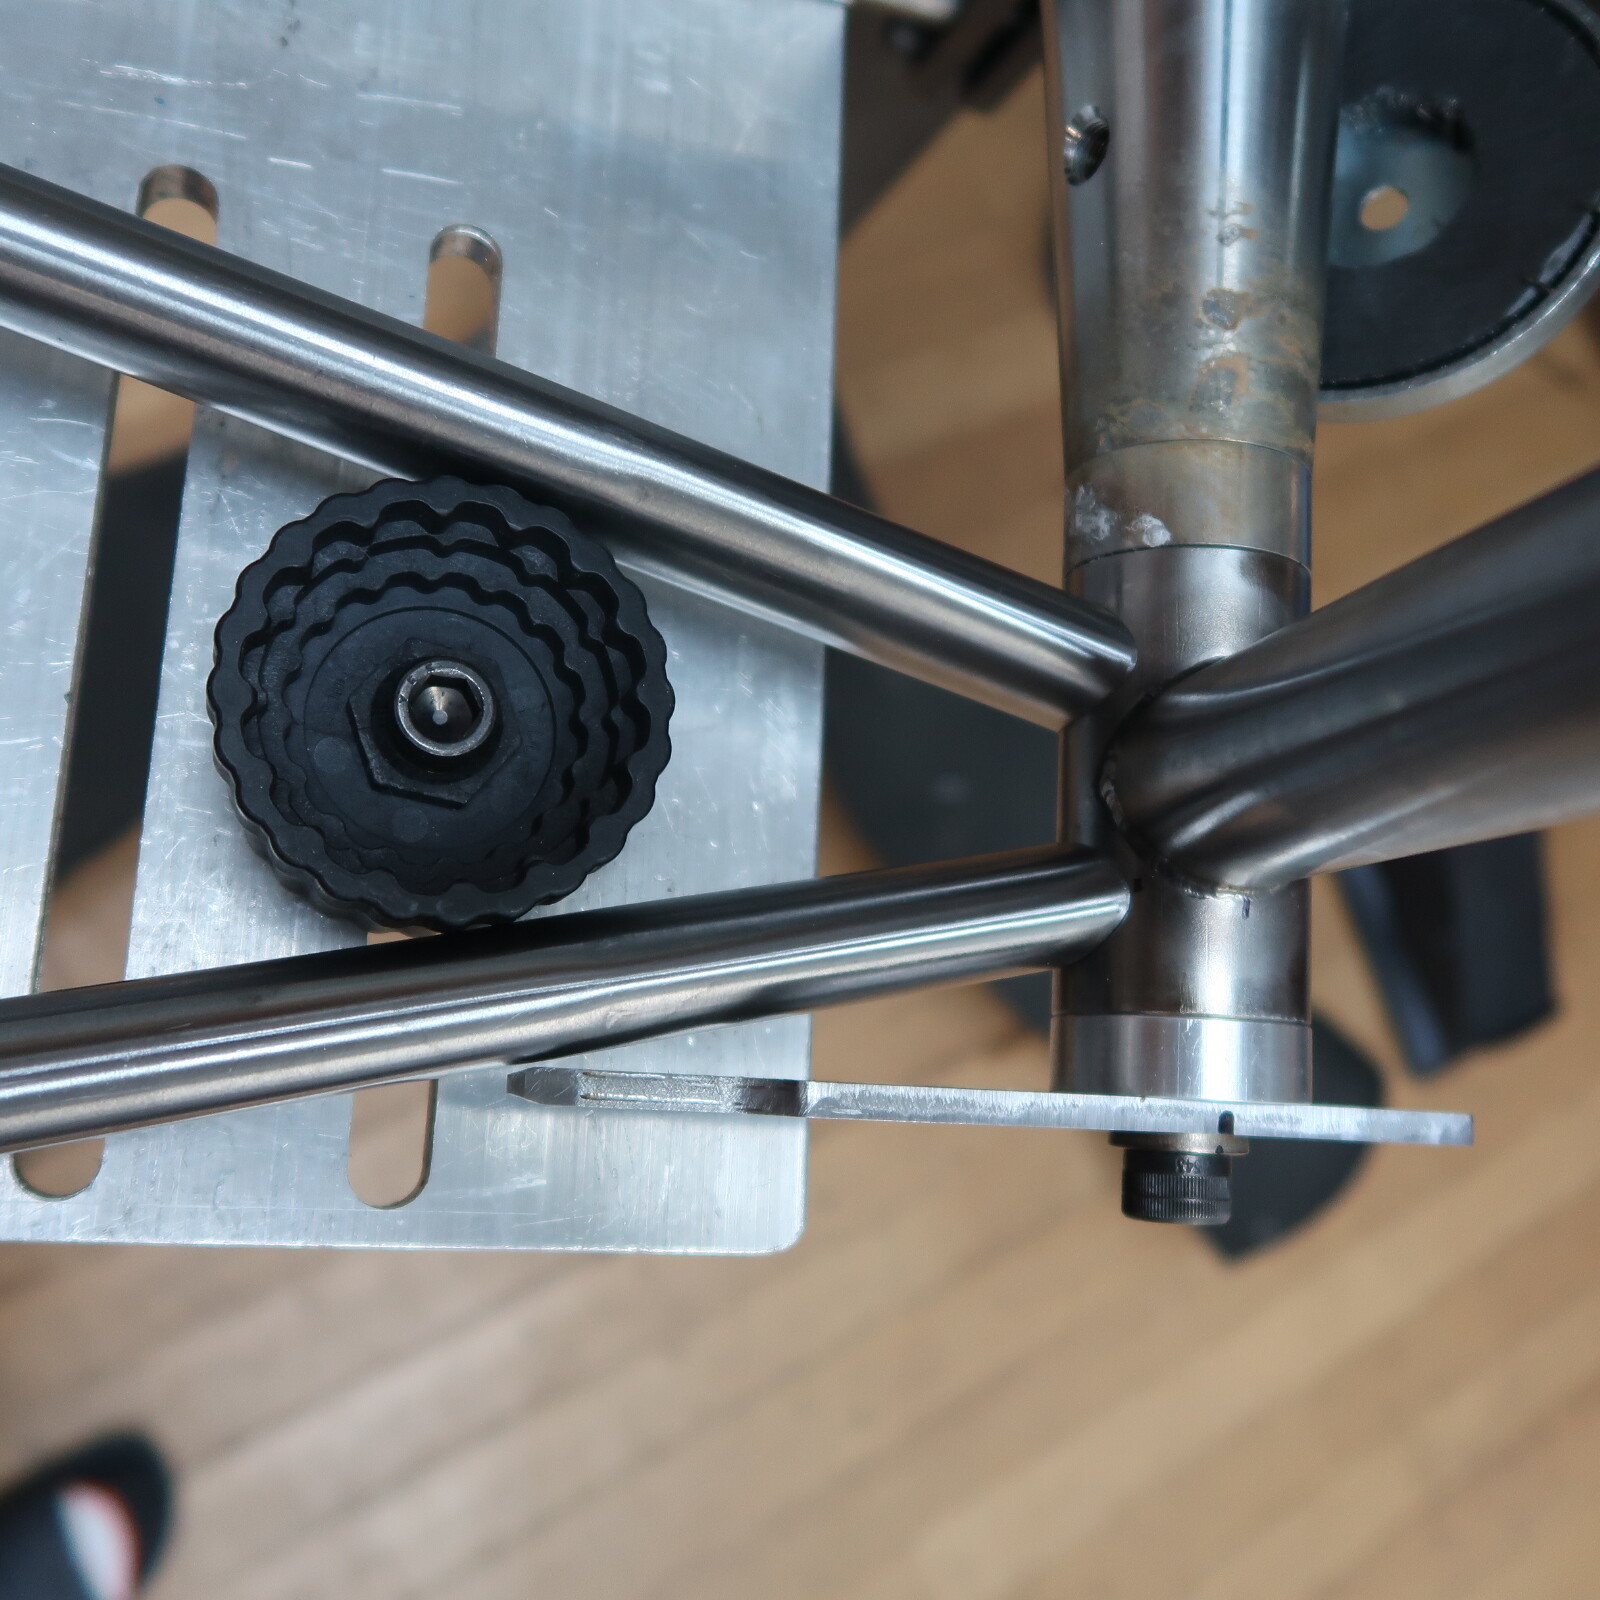
The post from OAR Engineering got me thinking if I can incorporate a slight bend in the chainstay during the dimpling process using the woodruff keys in the milling machine vice. I offset the woodruff keys and added a spacer. Might need some refinement, but it works pretty good.
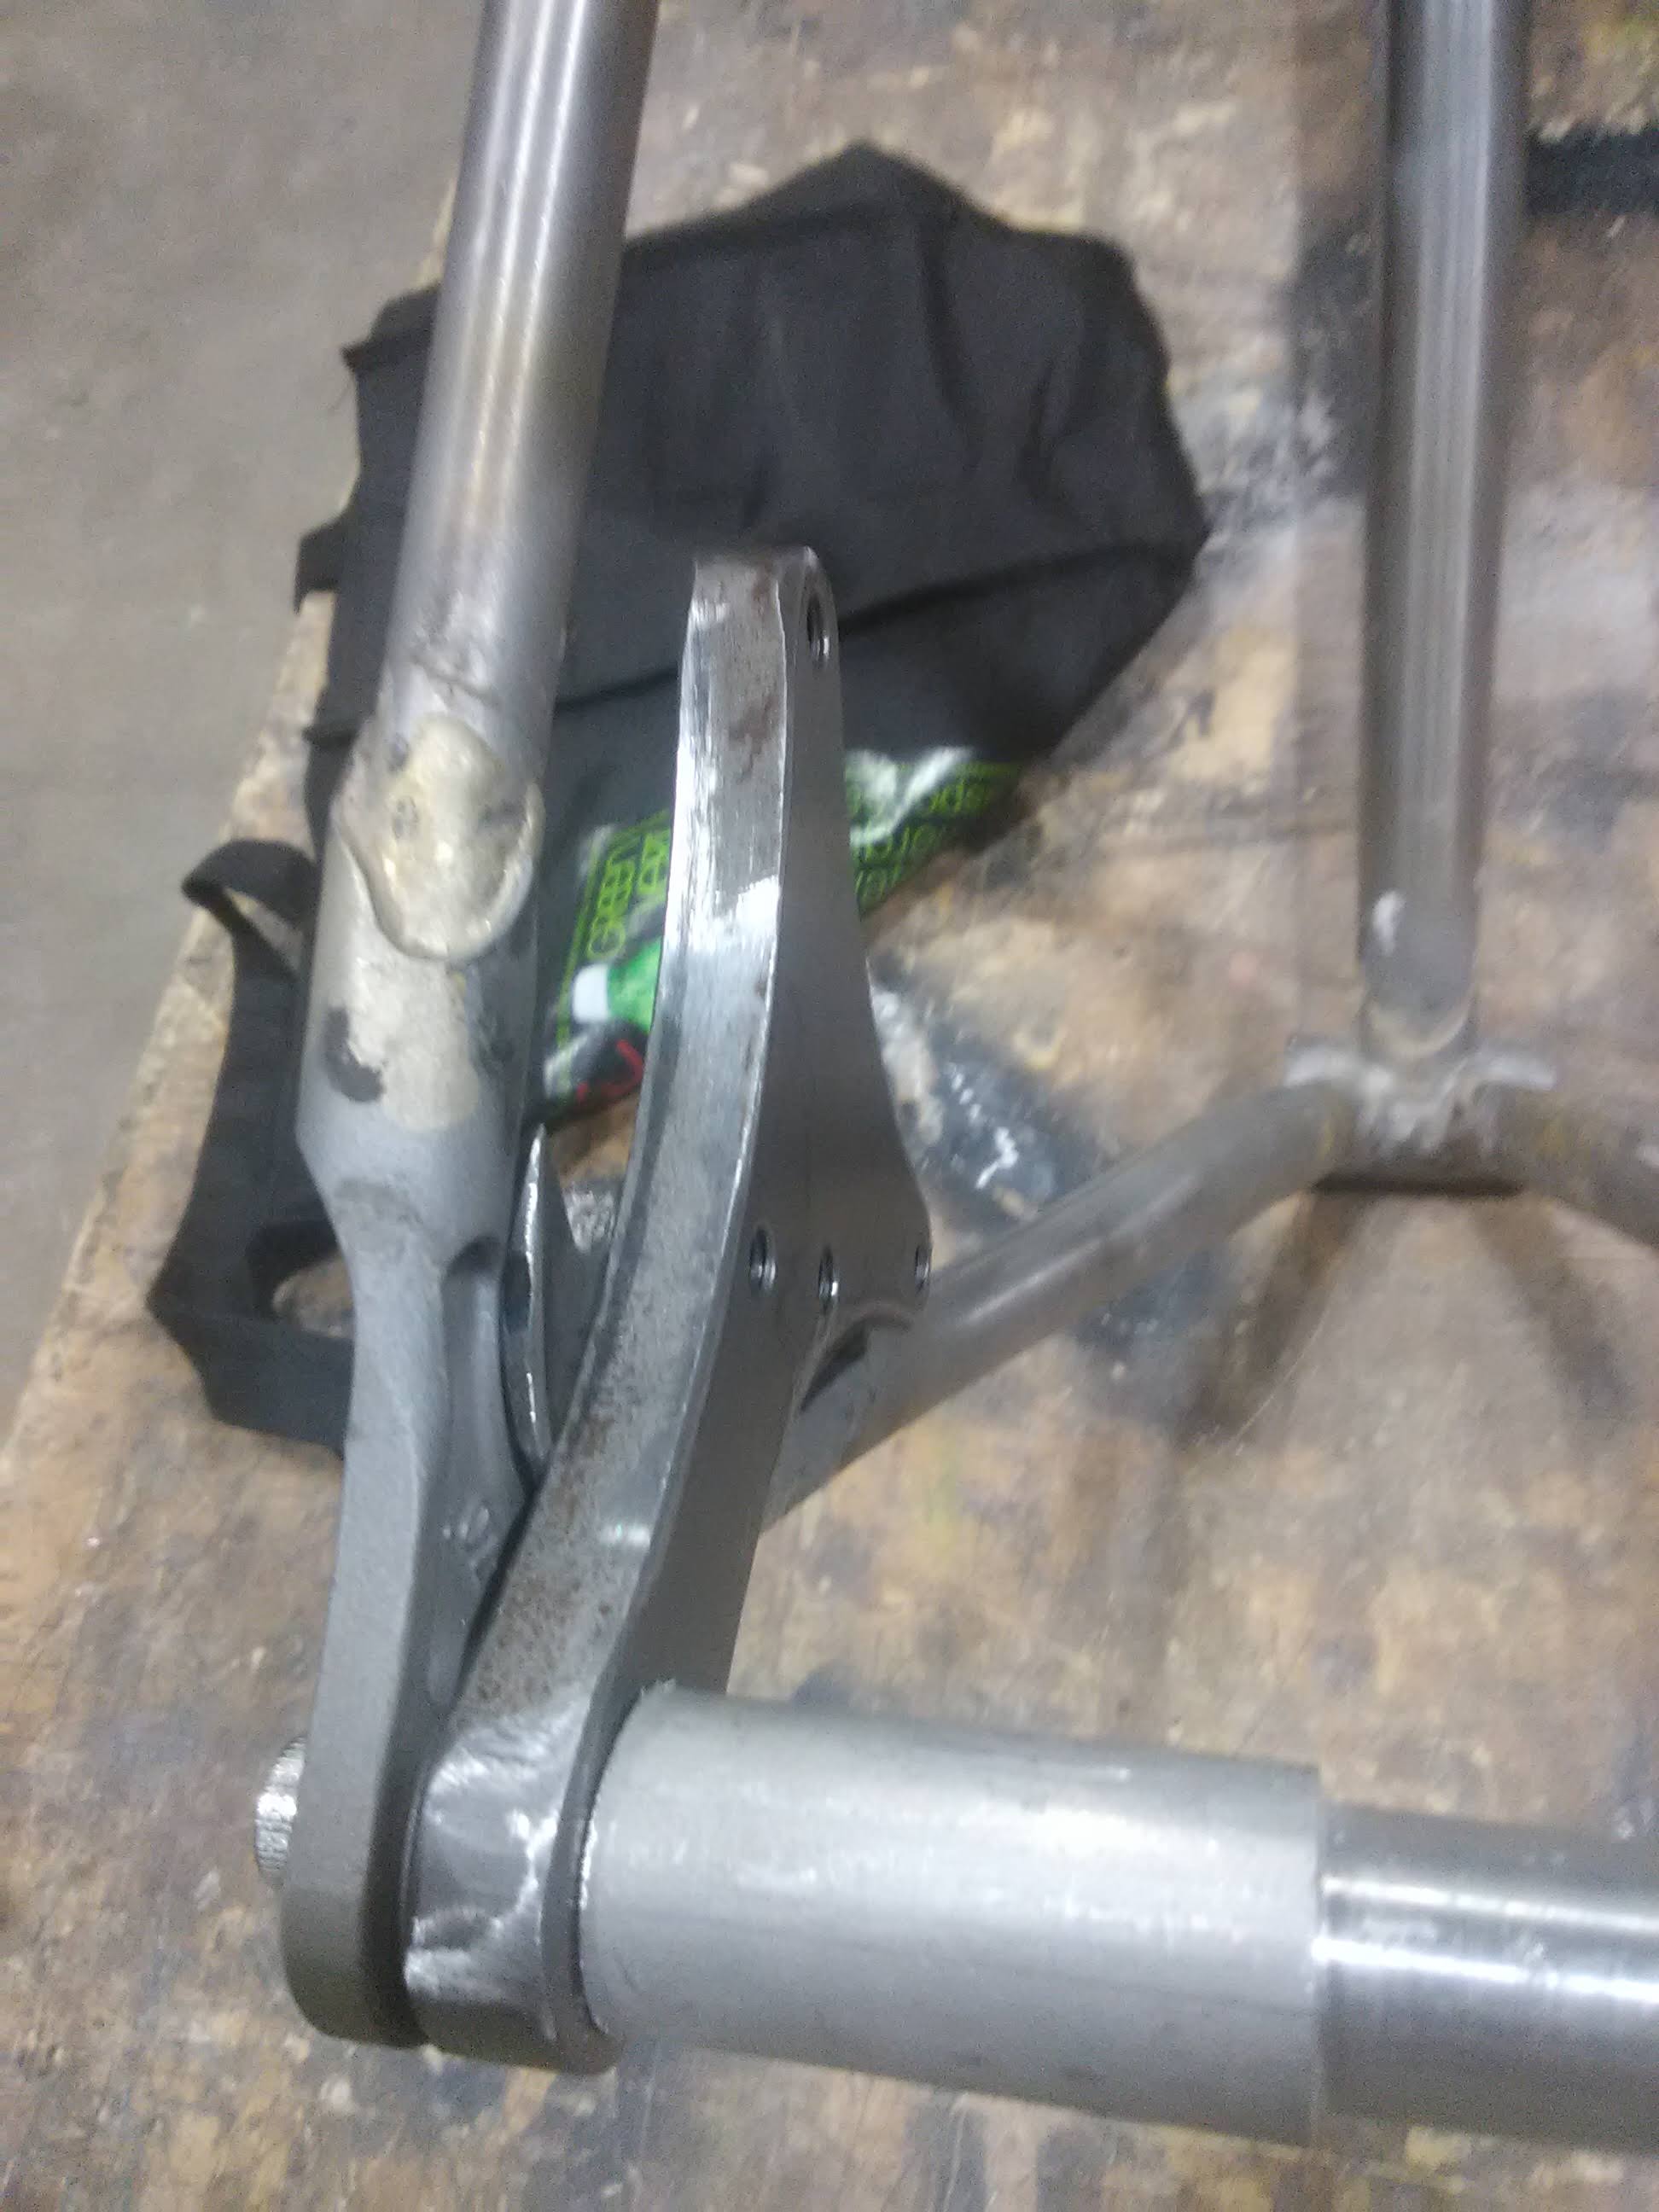
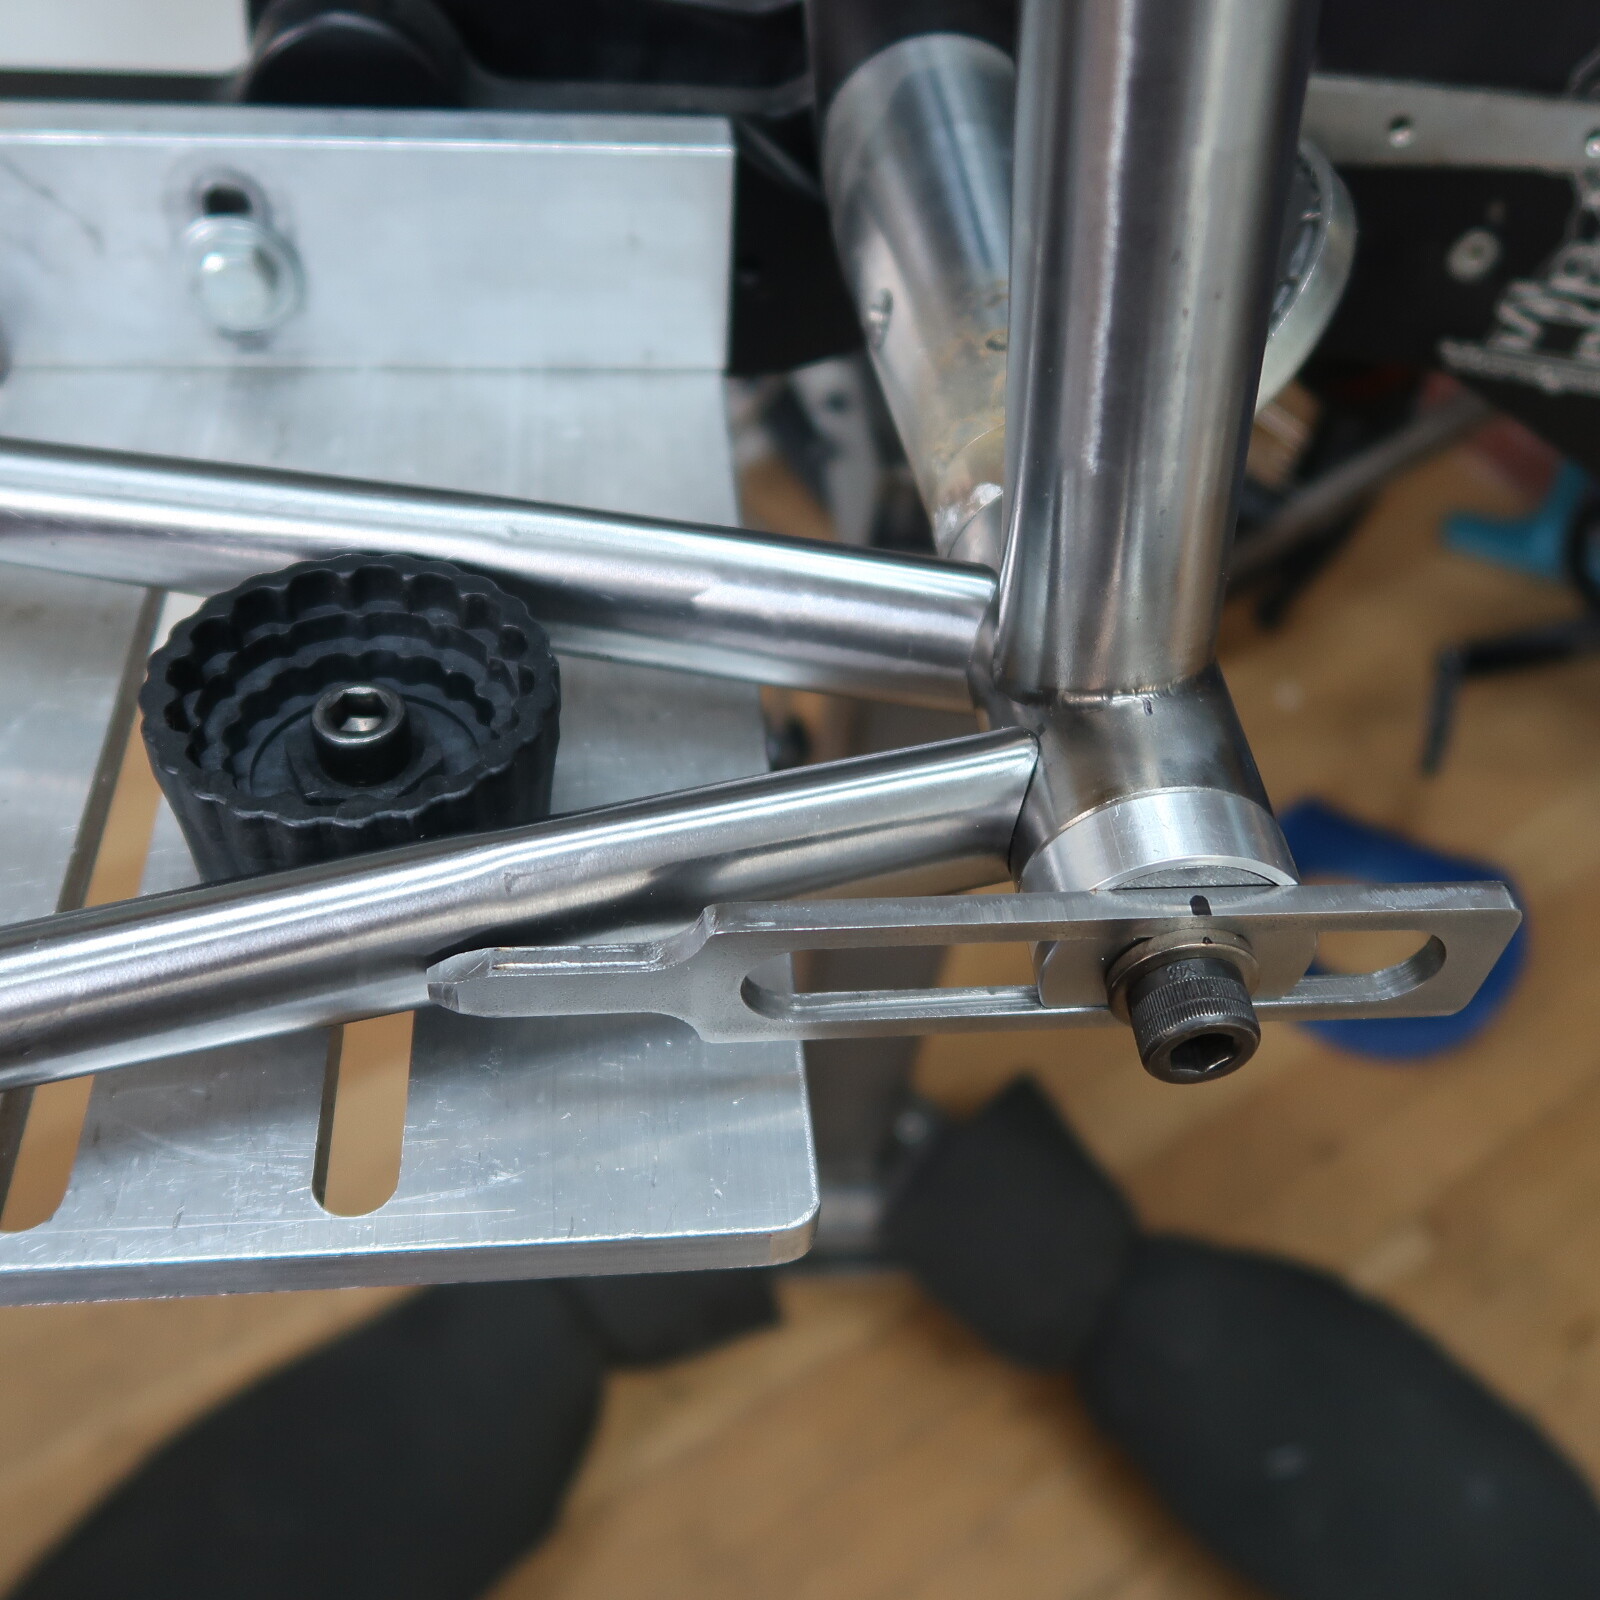
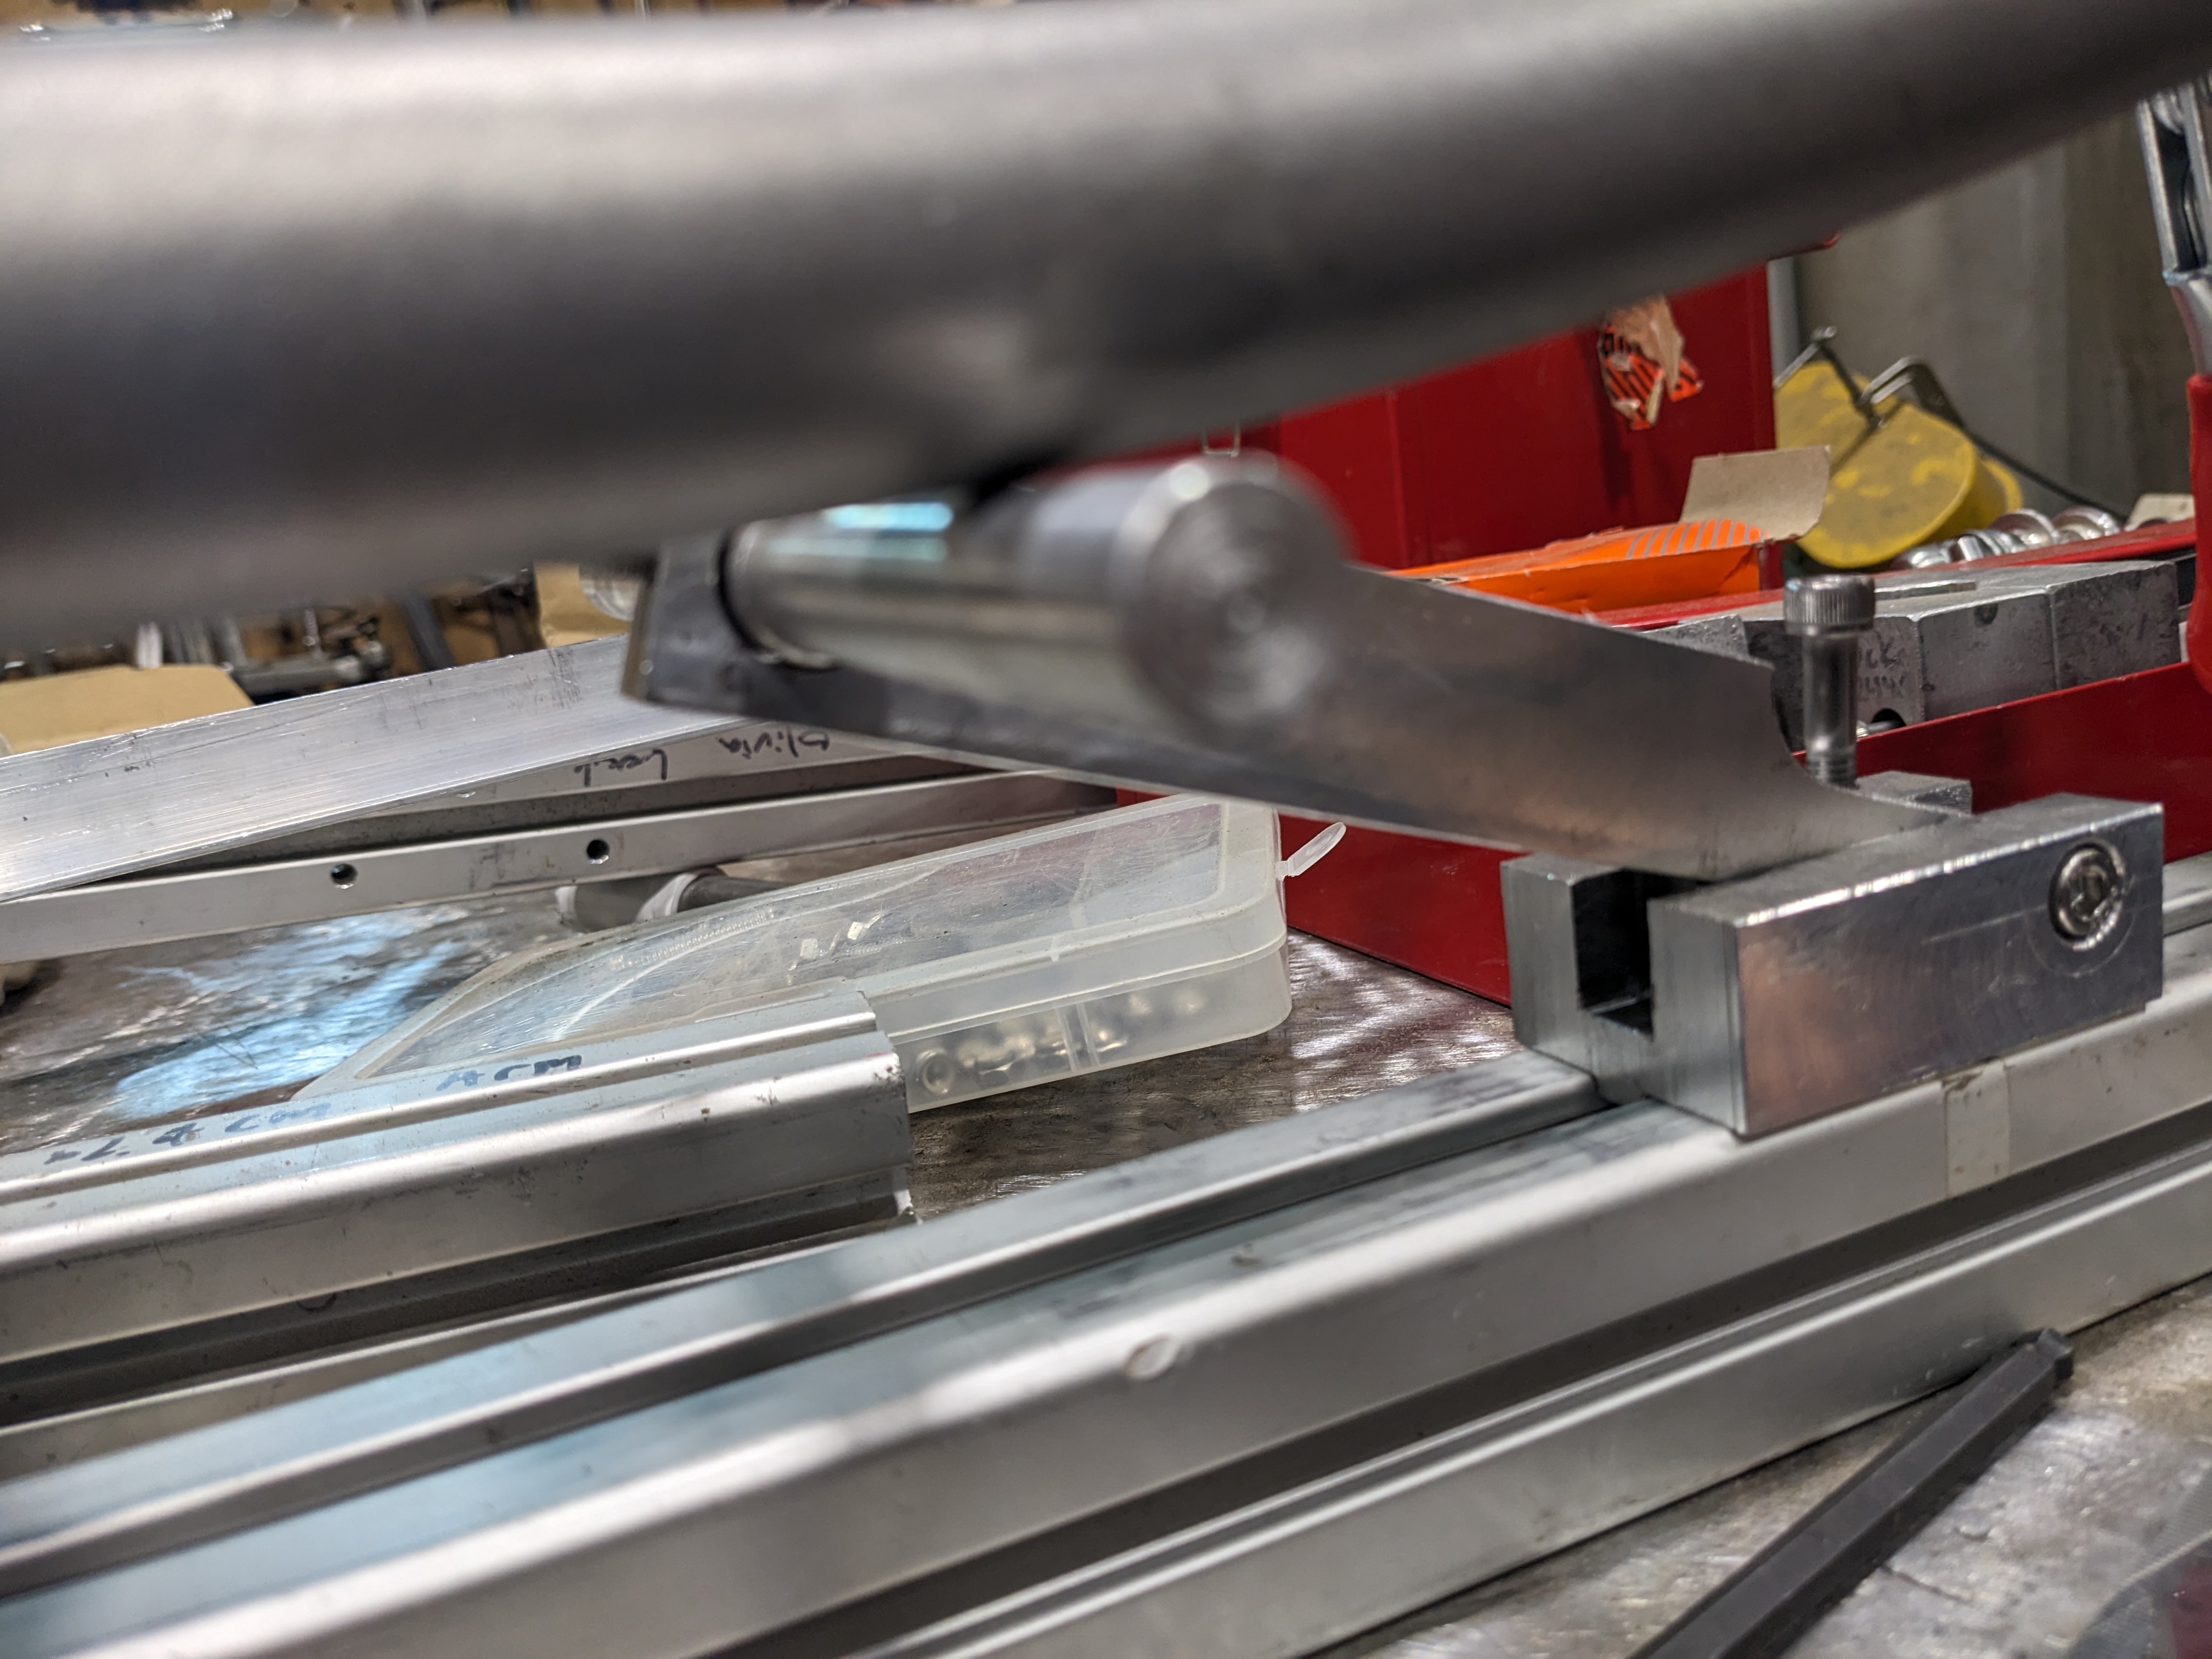
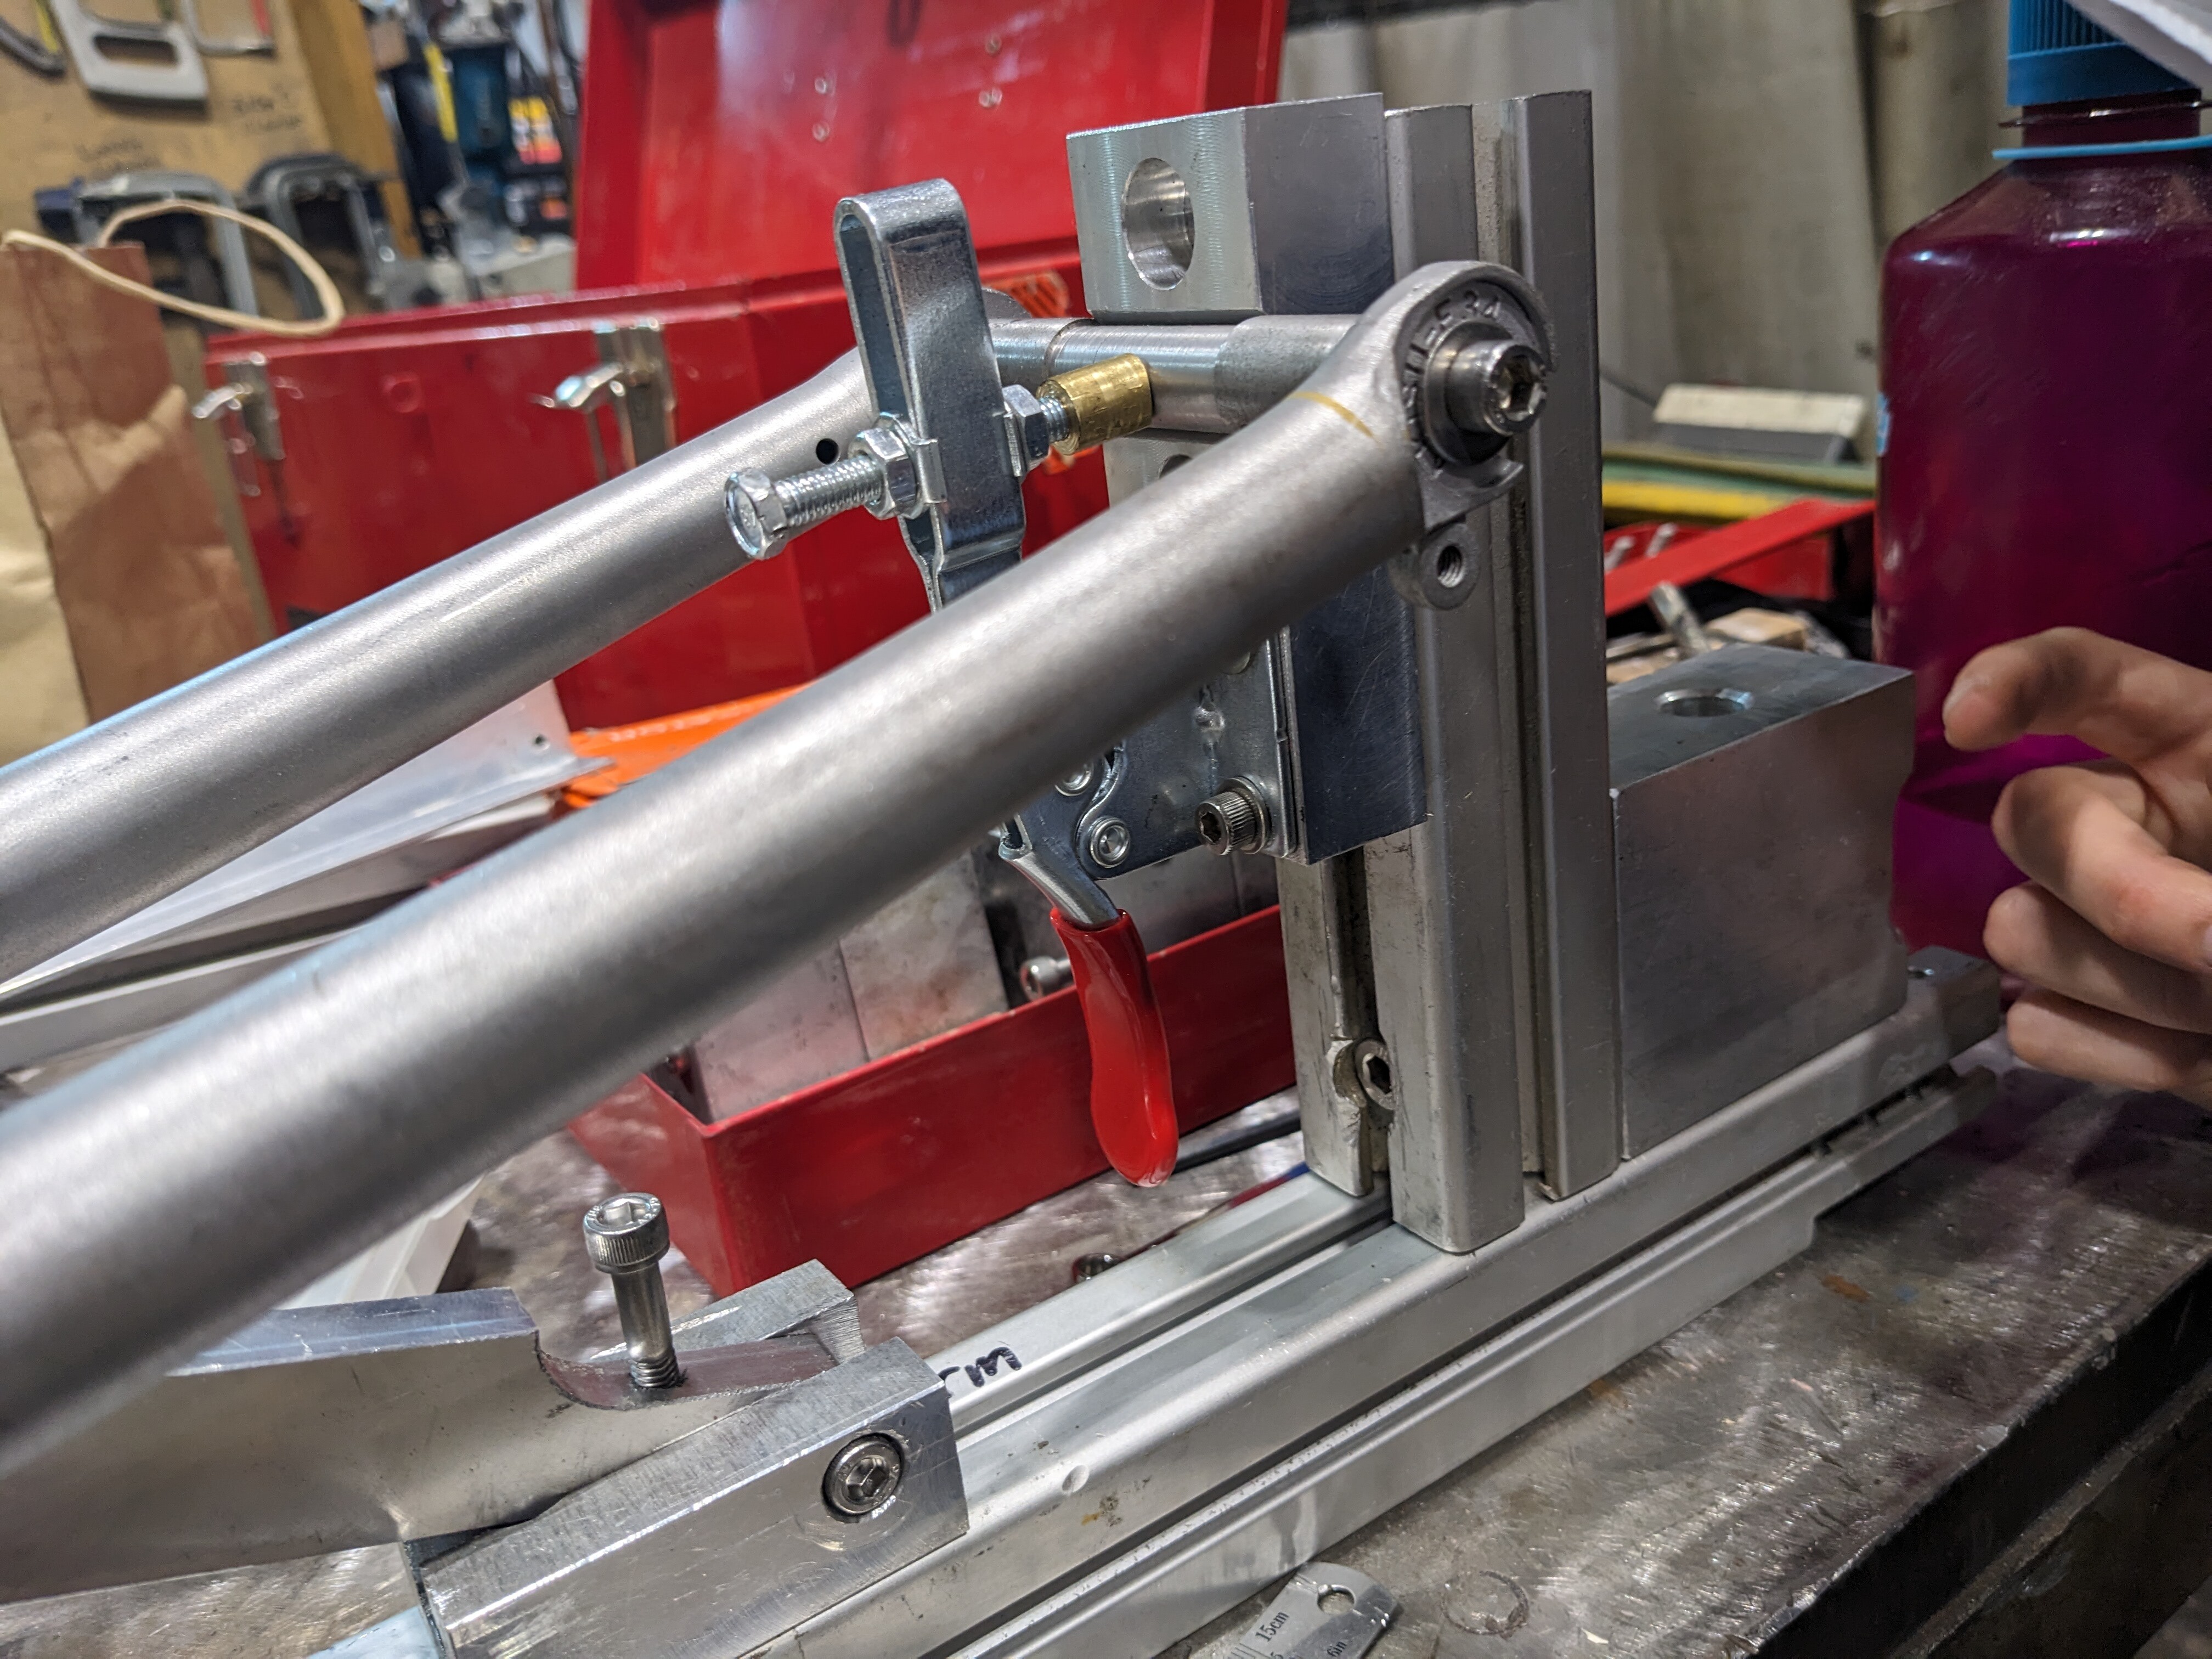
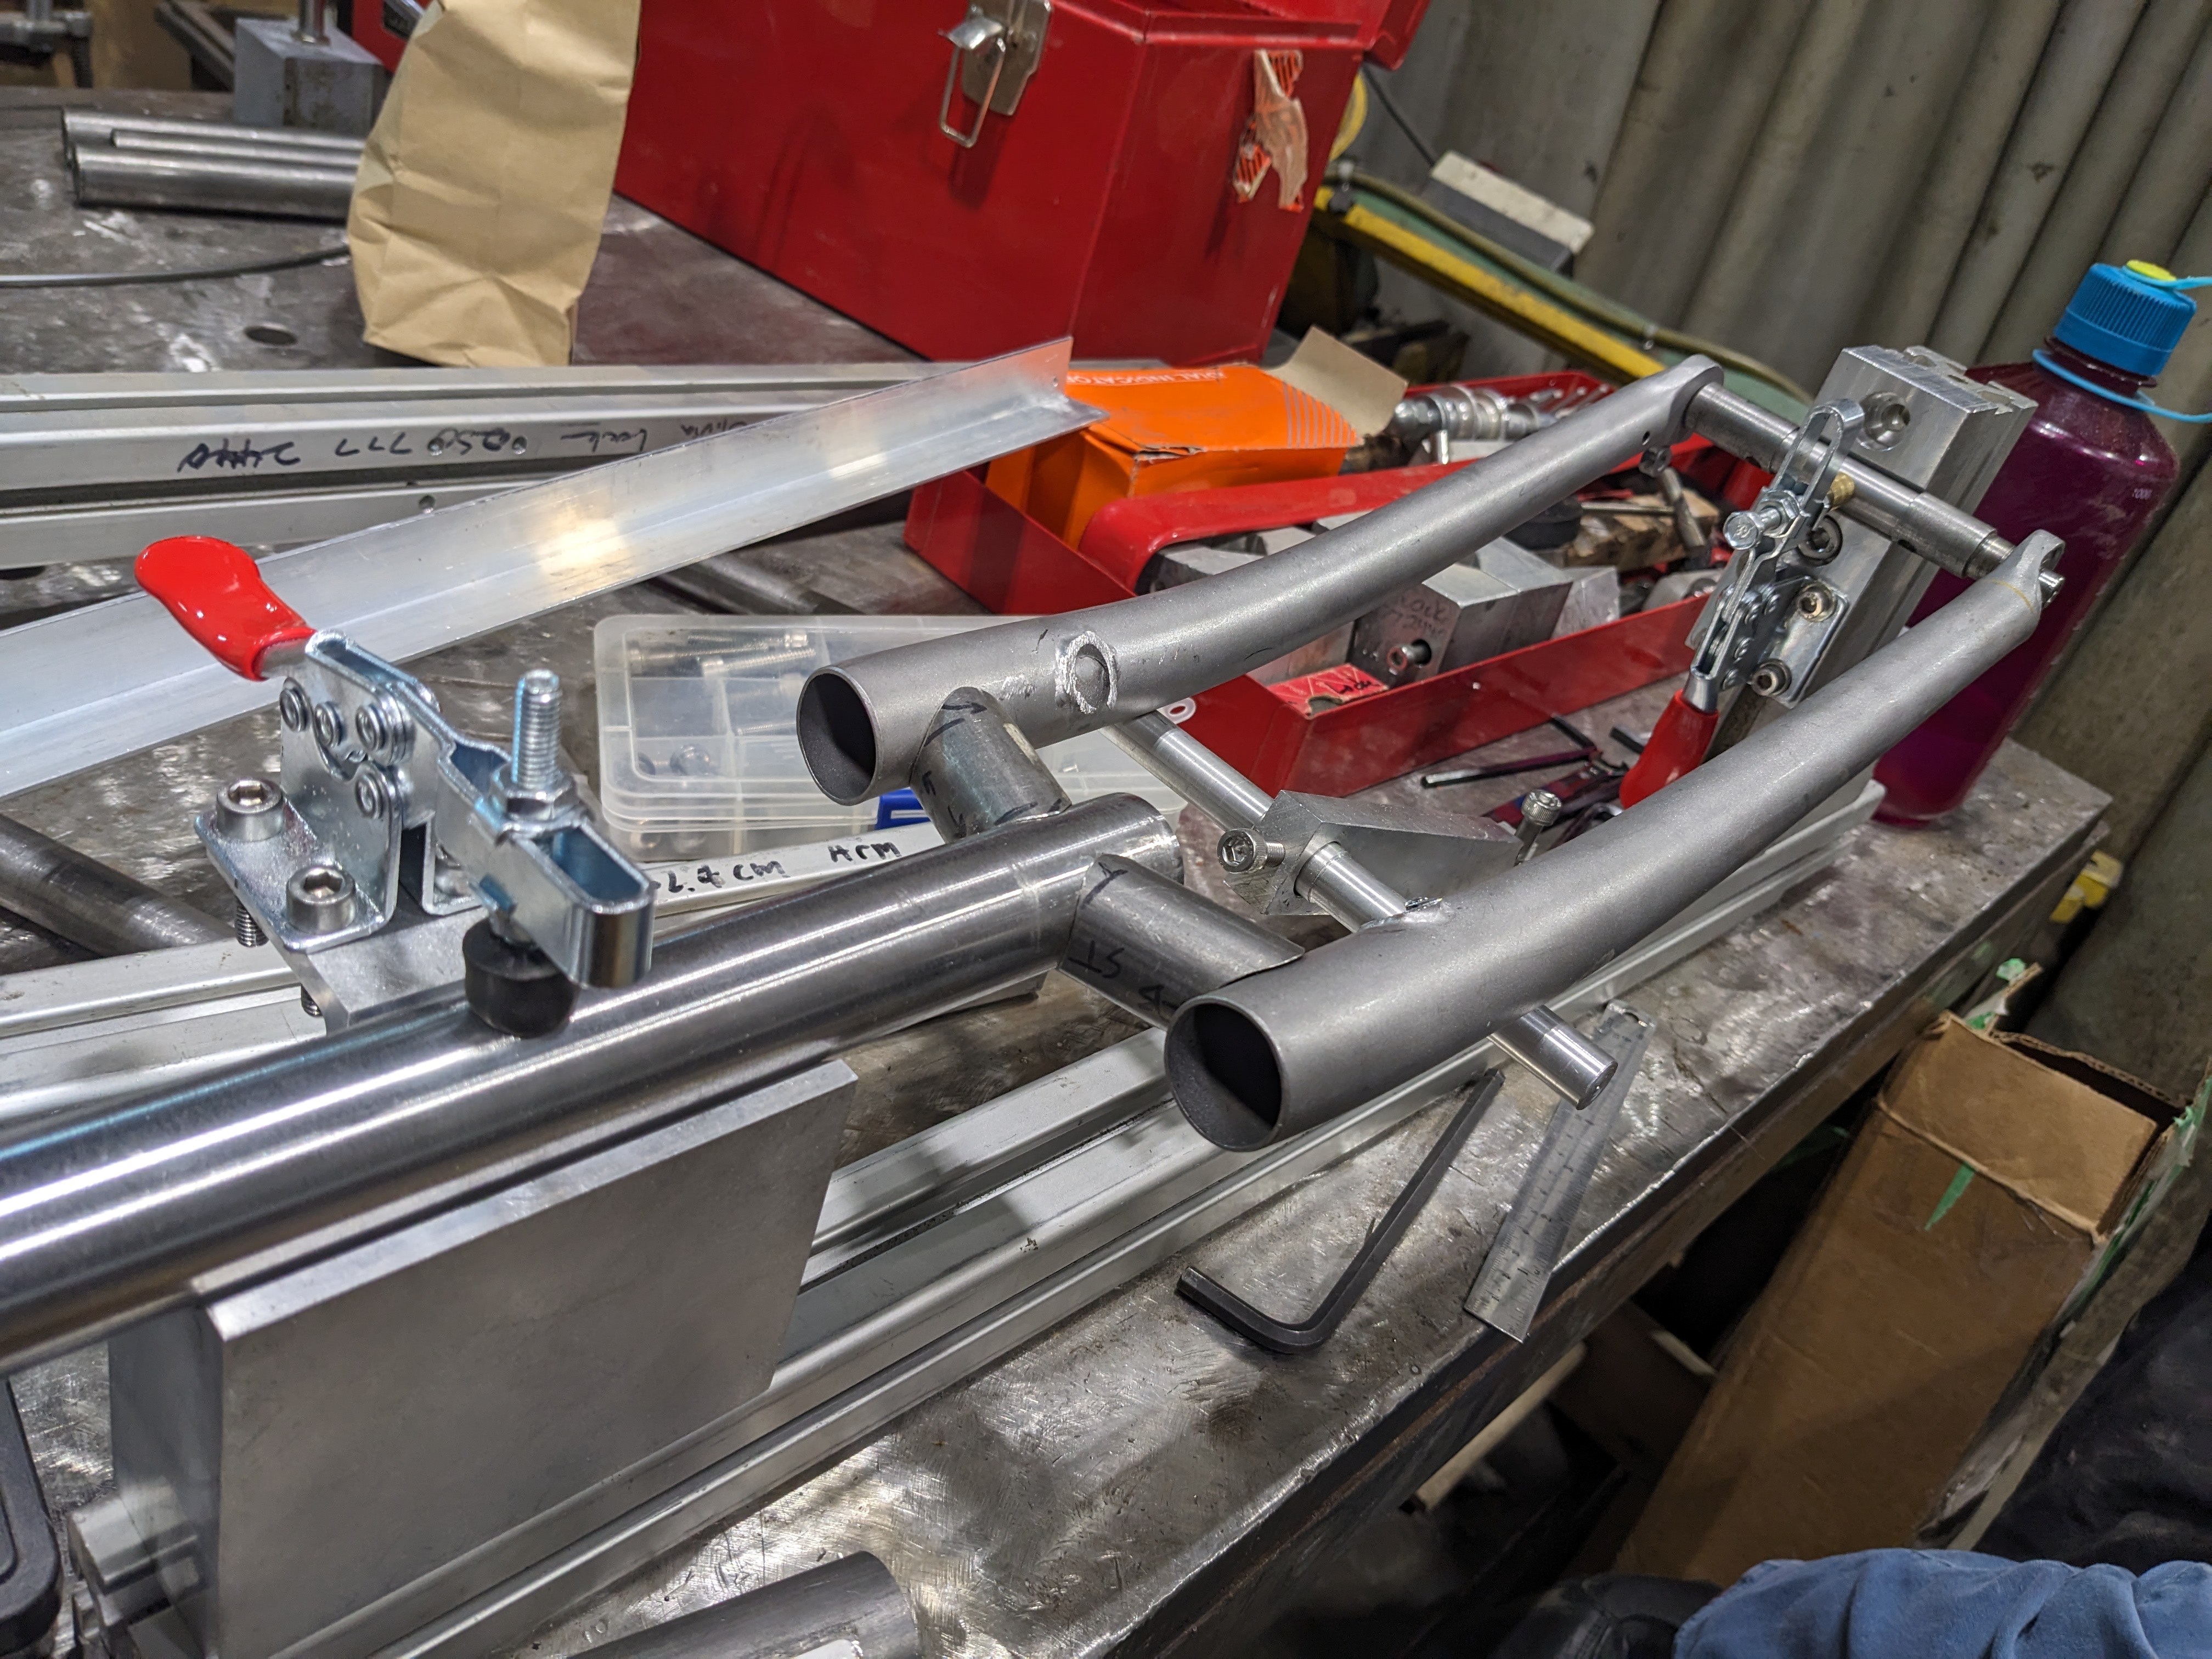
I’ve been updating my fork jig recently. Really pleased with how it’s turned out. The parts were all machined manually on an old excello mill at my community workshop. All of the machined pieces have a ridge on the bottom so that they accurately mate against the extrusions. I’ve used quick clamps to make it easier to load and unload the steerer and dummy axle. And made a little articulating support bar to hold up the fork blades that can be fine adjusted using the m6 screw
The dummy axle is held in a v slot instead of a half round slot because I found the half round slot on my old fixture was prone to misalignment of the axle wasn’t a perfect fit. That doesn’t seem to be the case with the v.
Unfortunately no built in measurement system yet, that can come later. For now a ruler will do fine.
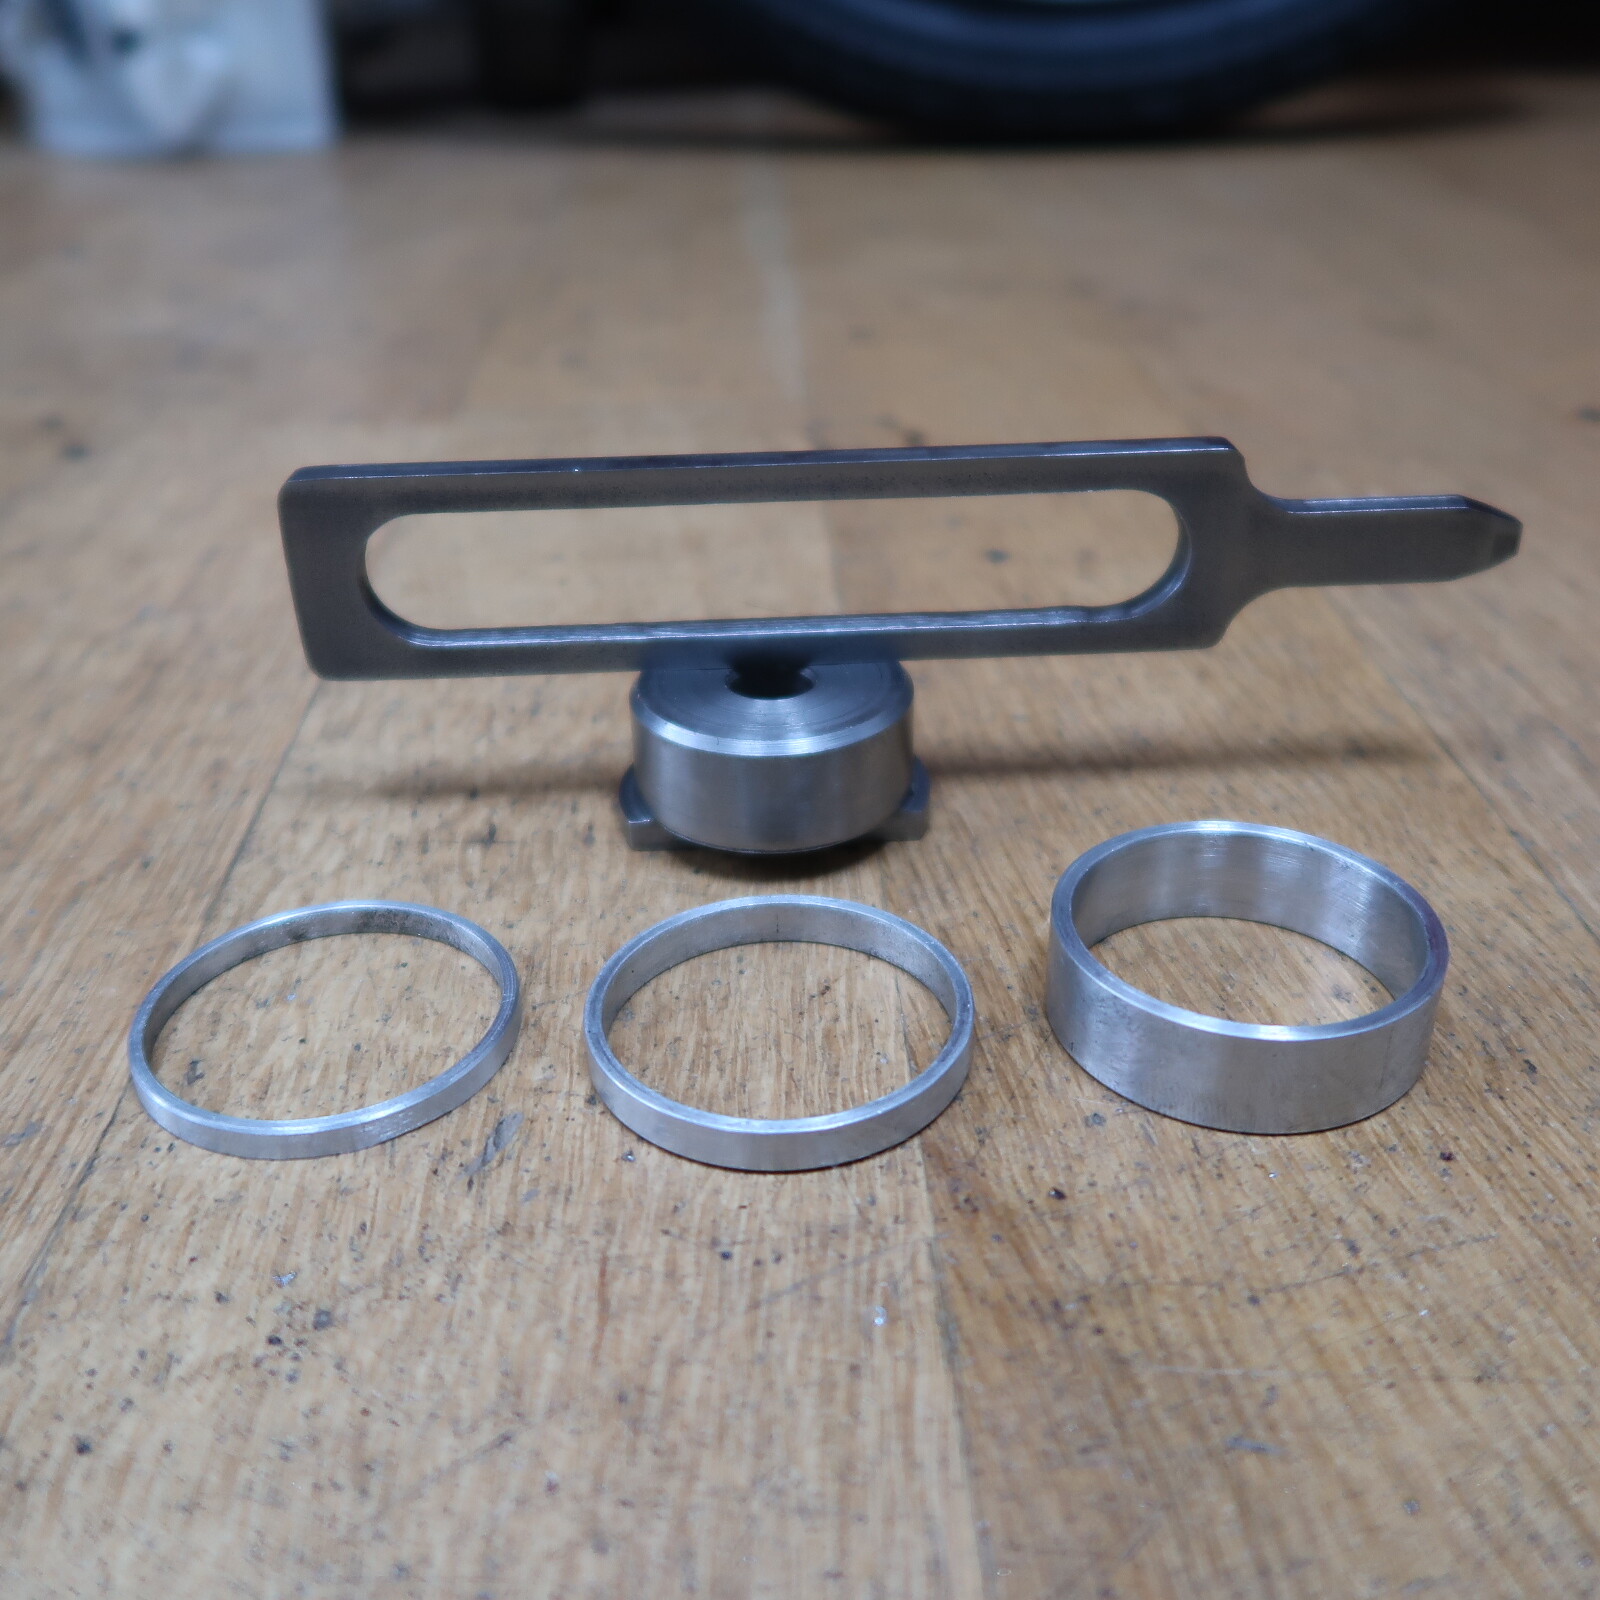
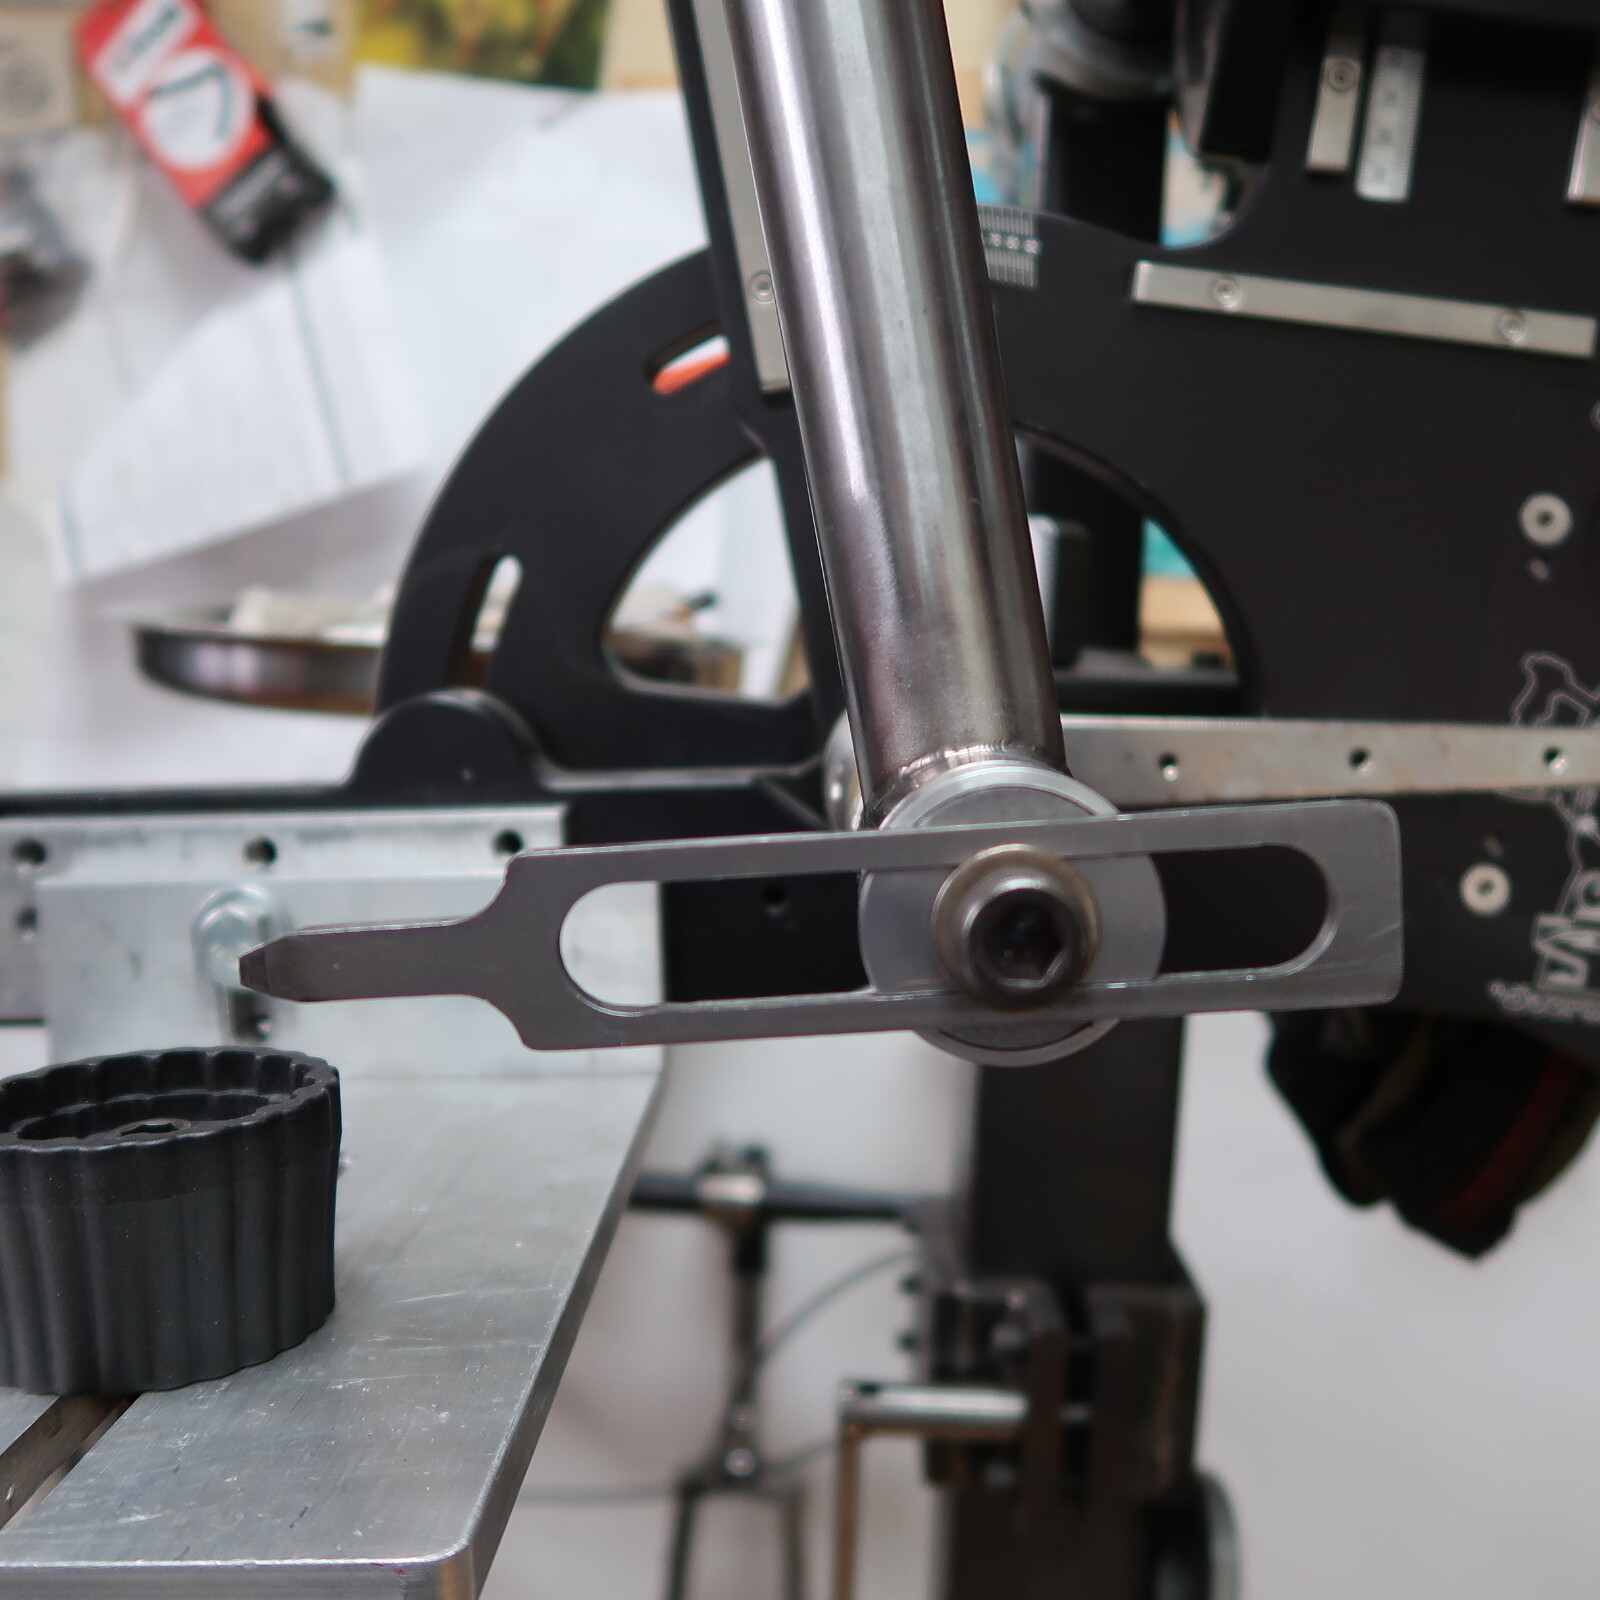
Since I didn‘t find anyone with a is 41 Reamer I had to buy my own one ![]()
But I Build my own Holder wich turned out Really cool:
I have used a really big spring wich works better than the one from cyclus tools…