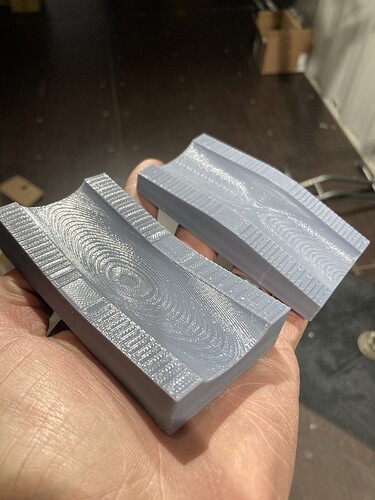
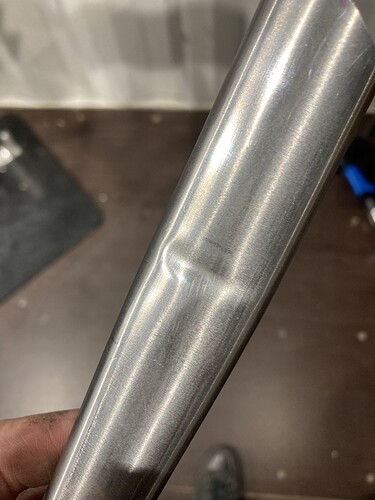
Ah yes, that looks like an excellent solution. ![]()
Not my own failure but one on a frame I made, downstream from my contribution:
I made a Match Sprint frame for a USA Nat’l Champ who was going to the Olympics. Got the frame done and painted just in time, the guy was leaving that evening. The mechanic who was assigned to build up the bike (hang parts on it) cut the steerer exactly 10 mm too short.
I think I had something like an hour to make another fork to get it to the painter in time (in-house paint luckily). The fork was still warm from the paint drying oven when we put the headset in. It made it on the plane in time.
Rider got eliminated in the first round, oh well, but it’s an honor just to make ithe team… He took that frame to the next Olys too, and won several more Natz golds on it too, with a couple different bike brands’ decals on it over the years. My fave was when they painted it to look like titanium and put Merlin decals on it, priceless.
Mark Bulgier
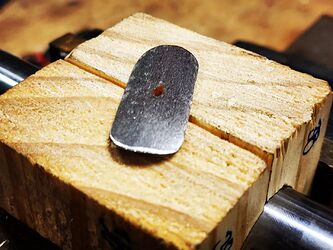
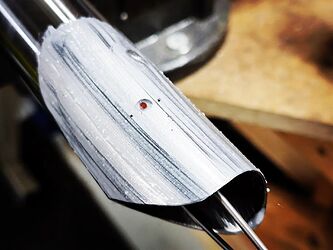
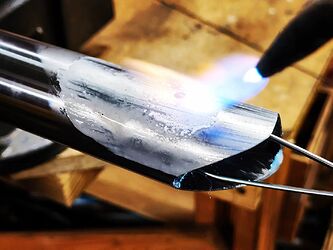
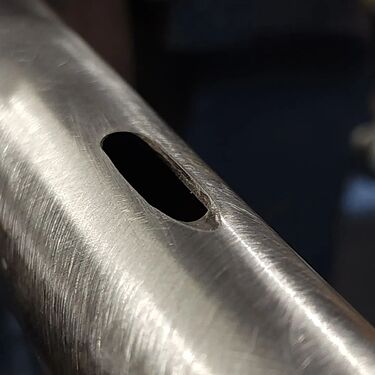
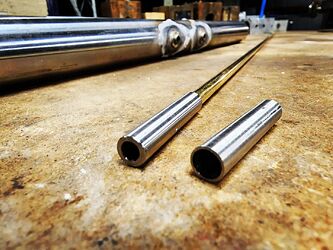
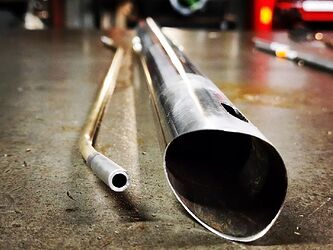
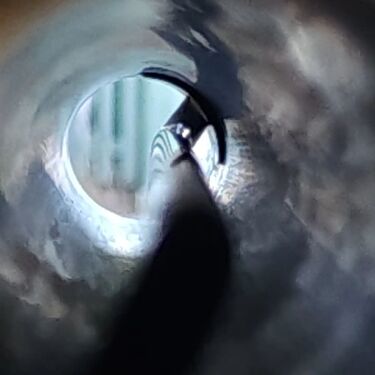
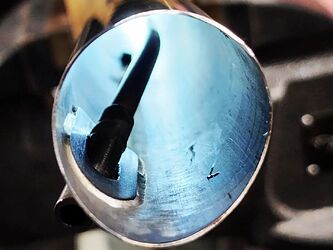
I like this process, thanks for sharing - if I’m understanding correctly you braze reinforcement plate internally, then drill for routing tube, then braze routing tube in as normal? Do you braze the plate from the exterior of the tube by sweating the silver through the guide hole there?
Yes Danielle, as you described. The plate is cut from main tube offcuts and I sweat 56% in through a 6mm hole. Then shape teh slot for the guide tube and use either 45% or 32% silver for the fillet making sure I get a good size fillet on the inside as well. I do every tube penetration or fixing prior to joing the tubes. So internal routing, bottle bosses, FD mount, external brake stops/guides etc. Only one I don’t do is the seat binder but am looking at doing that too.
Are you deburring the insides of those holes?
Yeah.
The frame had a hard life. I have memories of launching off tilt deck trailers, stair sets, jumps, and many single track miles mostly set up rigid and often with a fully loaded bike (5L of water, sleep gear, food).
Without having done a proper dissection of it I’m convinced I went too light on the silver.
I’m already riding its successor, which doesn’t have reinforcements but has much more silver applied.
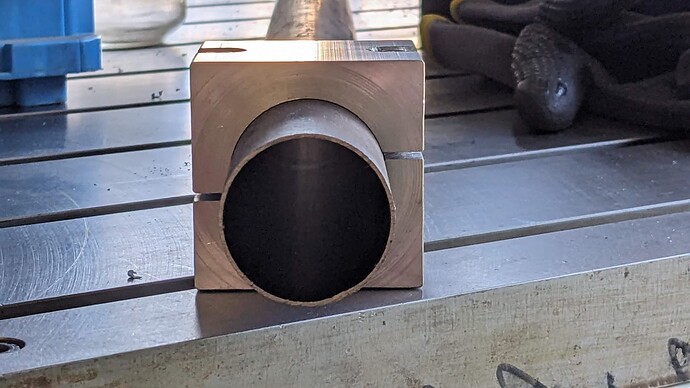
ARGH. I just discovered that I brazed the steerer tube in backwards on the fork I’m working on. I even double checked that beforehand. Mark your butts!!!
Had the same issue yesterday working on my new hardtail. Turns out I ordered tubes before I decided to stretch the reach out by 20 mm.
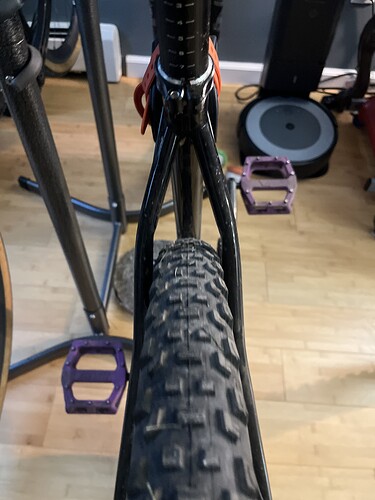
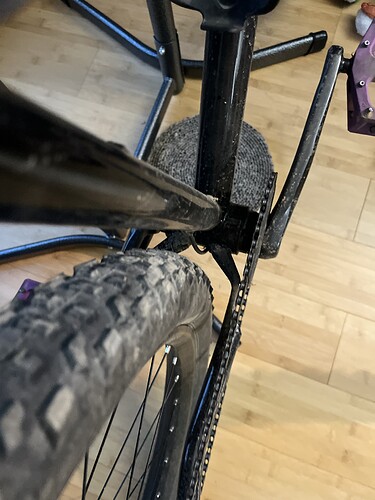
Spent all of my design time focused on the chain stays, threw some pre bent mtb chain stays on without checking for clearance. Now a 2.1" occasionally rubs.
I’ve done the exact same thing, I ended up dimpling them just enough not to rub. I hate to say it but it may be worth it to cut them out and fit up a new set of stays
+1 on having done this
If it was going to be ridden hard I would but it’s going to my dad who will only ride super chill stuff so he won’t notice. He volunteered as the guinea pig for my first hardtail
you can get a few sheets of paper in there, so looks good to me!
Much aero, many speed! ![]()
Where the mishaps come from, wrong AC or wrong tire dimensions?
They’re just metal bits at the end of the day but I feel for you!
Picked the wrong line on the measuring stick.
Well there are so many to choose from, how is anyone supposed to know which one you need!
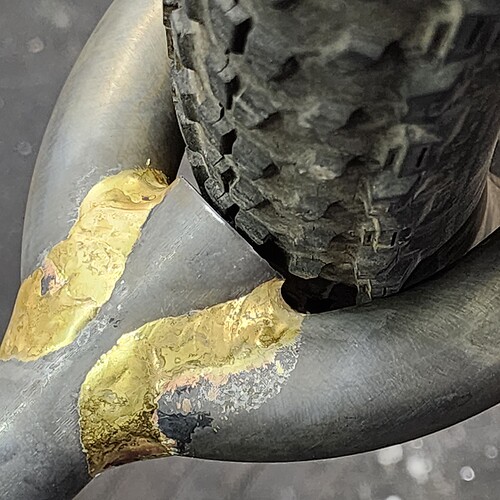
Add this to the list of things that didn’t work out the way I thought they would. I was hoping to get a few degrees more bend out of this chainstay but the chainstay had other ideas
Looking back, I now understand exactly why that didn’t work, but my 3D printer got ahead of my brain.
Does anyone have a spare road or CX s-bend chainstay they’d be willing to send my way?
