Weight Weenie Gravel Bike

This make all the sense after the fact! Hindsight is 20/20?

More my experience is in injection molding vs 3DP, but the hot vs cold situation seems very applicable to both.
Similar to welding, a goal in injection molding design is to keep wall thickness the same and minimize relatively thicker areas that will cause shrinkage while the plastic is cooling (ask me how I know :man_facepalming:)

I would be very curious about the orientation of how the yoke is printed! If it starts from the sockets up, to preserve the roundness of the sockets but loads of overhang, I could see the heat distortion amplifying as the layers increase until the bridge. The bridge would then ‘seal’ and have maximum leverage to distort the tangs inwards as it cooled. This seems most likely because the sockets are the truest flat starting feature.

If the opposite happened, and the yoke started at the bridge, I would expect the dimensional accuracy of the bridge to be spot on, but the tangs to cool outwards due to gravity, causing the yoke to be wider.

I could see a solution to add either a sacrificial support bridge across the rounds (milled, hacked, filed, after the fact) or maybe an increased cross section of the bridge? Thinking if it occurred sooner in the layers then less heat error would multiply. But the balance is thermal mass that wants to cause shrinkage. I would lean towards the sacrifice, as long as the sockets were the print orientation.

1 Like

What if you get a little alignment guide 3d printed that you can use for set up and removed once you start welding? Just an idea.

4 Likes

Whoa, you weren’t kidding! The other taps I was using felt like cutting a bagel with a butter knife but the YMW felt like wielding a lightsaber.

3 Likes

I got the frame all put together!


Here’s my fancy boss fishing fixture (a bent ER70S-2 rod)


I fished the bosses through the tube until I could see them then grabbed them with a long M5 bolt


No frame build would be complete without accidentally punching through the down tube at the DT/ST joint :melting_face: I was able to salvage it but it’s a bit goobery and caused the down tube to pull up a bit.


Time for a nice long bath! Getting everything clean for glue.

Not pictured is the gluing process. I forgot to take pictures and it went by super quick! I used the powder coating oven in my local makerspace to bake at 160ºF for 2 hours which seems to be the ideal cure schedule for DP460-NS.


Not what you want to see when you’re trying to finish a frame!


But I got it done! Total frame weight is 1.29kg. I calculated 1.23kg for all the parts which leaves about 60g in glue/filler rod/etc. Now I just gotta do some frame prep, get the carbon painted, and ride :smile:

29 Likes

Wow, that’s impressive! And such a slick looking frame! Congrats on finishing it!

3 Likes

Well that turned out great.

2 Likes

I forgot about this part. Got a solid workout in reaming and facing the head tube yesterday. Guess it’s time to send my cutters out for sharpening!

3 Likes

I LOVE using my lightsaber on bagels! Makes them all toasty on the inside.

3 Likes


Nicer photos coming soon!

17 Likes

I’m excited to hear a ride report, looks fun and fast!

2 Likes


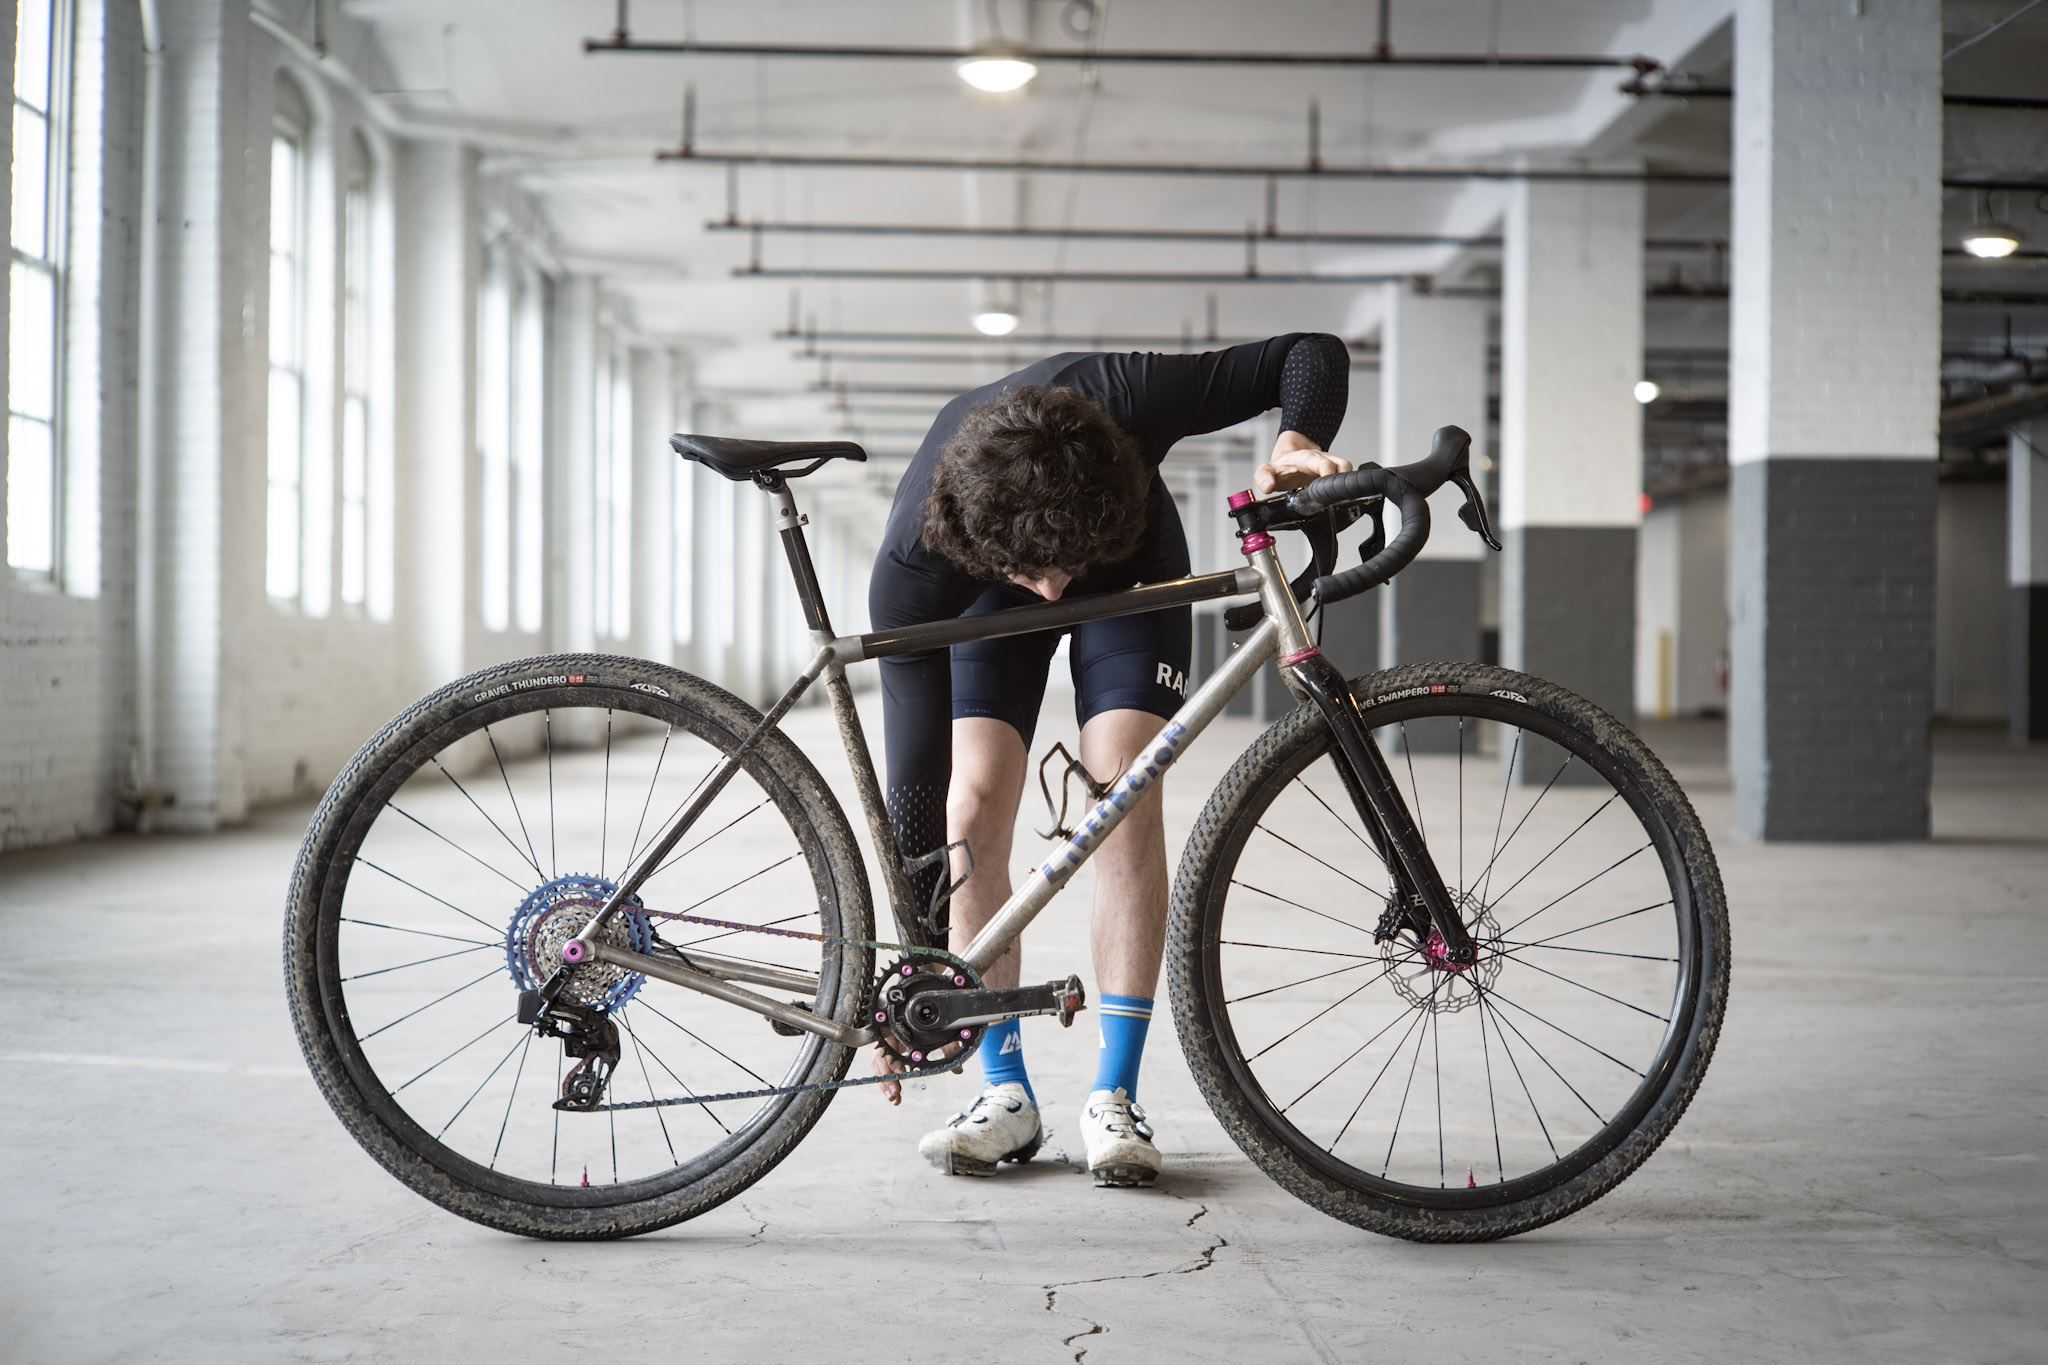
Ride report: very very good! It’s the first bike that I can say actually feels “damped” going over bumps. I’m really interested in tracking down why - my guess is it’s the wheels but it could be frame flex too? I’m going to see how my deep carbon rims and 28mm tires feel on it next week.

Final weight is 7.5kg/16.5lb (including cages/computer mount/pedals). I don’t notice the lack of weight at all :woman_shrugging: I’ve set some personal hill climb PRs with it already but I attribute that more to stoke & gearing than anything else.

22 Likes

It’s downright beautiful. The top half being carbon has a very nice aesthetic to it.
How did the seat mast topper go? did you end up having to ream it at all? How is the clamping force? Does it take much to keep from twisting?
I love this bike so much. Congrats!!

1 Like

It’s absolutely beautiful Eva! I’ve ridden a few tube to tube carbon bikes and they were the most damp and nicest frames I’ve ridden. Having also ridden Berd Spokes they make a pretty drastic difference as well so I can only imagine the combo on this bike! I would like to hear a ride report with and without the Berd wheels.

What rims did you use? I’ve been eyeing the 250g Light Bicycle AR25/XC924 for a stupid light wheel build

Also If you get the itch to make it even lighter, I believe Open sells their Sub 400g U-Turn Fork to builders

1 Like

It’s so beautiful I have to quote it :wink: And 7.5kg for a hand built (partly-) metal bike is pretty impressive!

2 Likes

It seems to be working great! I torqued it to 4Nm like a regular seat clamp and it seems pretty happy. I did have to ream it out to fit and I think I’d do that again if I made a similar frame.

I used the AR25 for this bike! Stupid light and overall very nice. I’m considering running inserts because I get a bit scared plowing through chunky stuff.

I considered the U-Turn fork but couldn’t find an accurate measurement for what tire size it clears. Also depending on who’s measuring, it’s heavier than the one I ended up using.

Edit: Here’s the full build kit.

4 Likes

Nice work, as always! I’m curious about the photo venue. It’s not often that a clean space with nice natural light is available.

Note, learning from slighshot bikes, does the downtube helps with torsional rigidity at all? I assume it does but then I see how Slingshot bikes used a cable (back in the days, I may be older than some of you) as down tube and I start to wonder.

Great build btw.

It’s a sweet spot! My LBS buddy has an adjacent parking garage where he takes all the pretty pics. It was an honor to get feature!

I would think the downtube would be the largest single contributor to torsional rigidity. The slingshot has a comparatively massive top tube to compensate. I think it also posits the question “is torsional rigidity useful and necessary?”

1 Like

well yes, the Slingshot has a massive top tube but it gets narrow close to the seat tube to account for the flex part (no idea how to call that but it looks like a piece of flat stock of some material, I assume some rubber polymer).

Anyway, just wondering on that question on your first post. :wink:

Regarding torsional rigidity:

Framebuilding legend Dave Kirk has this to say: http://kirkframeworks.com/resources/technical/chainstay-stiffness/

Here’s another good article to consume: https://web.archive.org/web/20190216161835/http://www.thetallcyclist.com/2016/09/theoretical-framebuiling-part-2-tube-size-and-butting/

These two articles are somewhat at odds with each other. They agree that round tubes are the best at resisting all the types of forces applied to them, but they disagree about what tubes are primarily responsible for resisting pedaling forces.

Since framebuilding is a balancing act of compromises, you can judge what’s most important for your bikes.

BTW, thanks @liberationfab for posting this project. I love a good weight weenie build. This one looks stellar. And you included a spreadsheet :clap: :smile:

5 Likes