I really like the way wishbone/segmented seatstays look, and am wondering if anyone has any general advice for making them?
1 Like
Any pics or examples of what you are trying to build?
1 Like
Well I love the English cycles stays, and @wzrd is also an immaculate example, but I’ve only done capped and brazed stays to this point and am eager to branch out in a way that is pushing the boundaries of what I’m comfortable with, but also won’t catastrophically fail or get super crooked. Are folks making sub-assemblies or tacking parts in a jig? I don’t have tooling available to bend both stays in a horseshoe like Rob, so cut segments is what I’ll probably do.
I’m also down to just jump into it and see what works for me with the setup I have ![]()
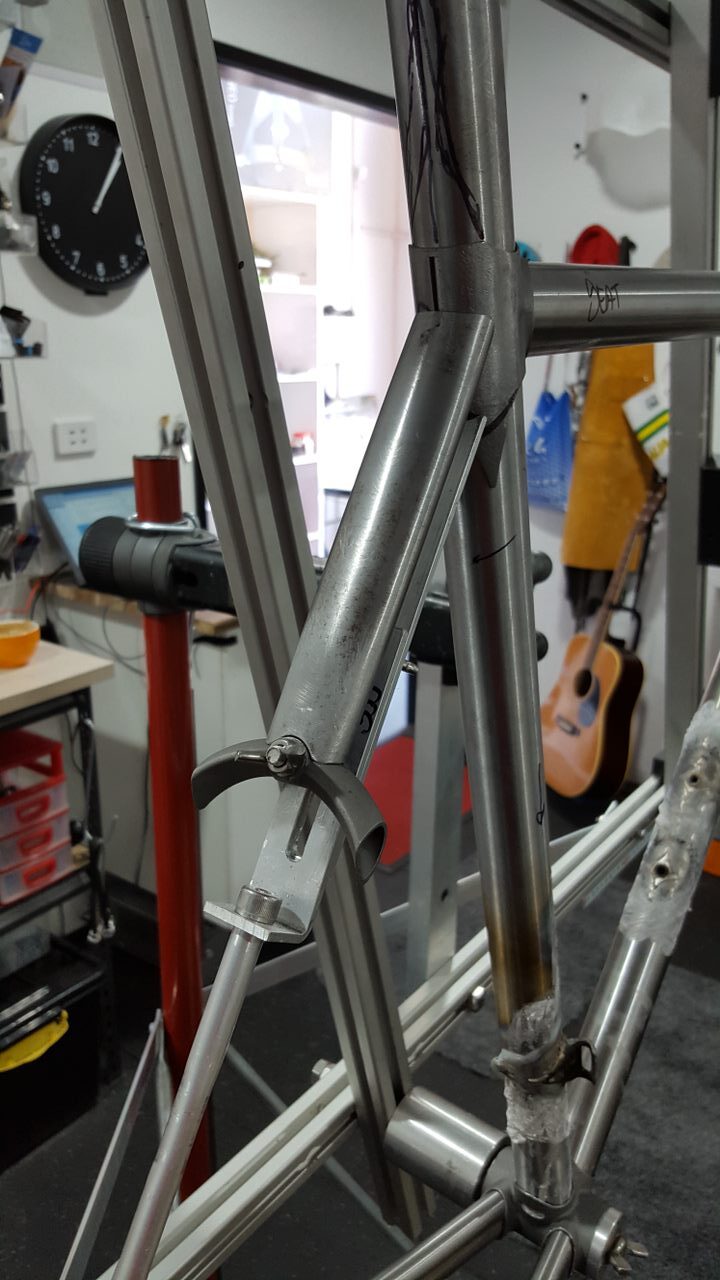
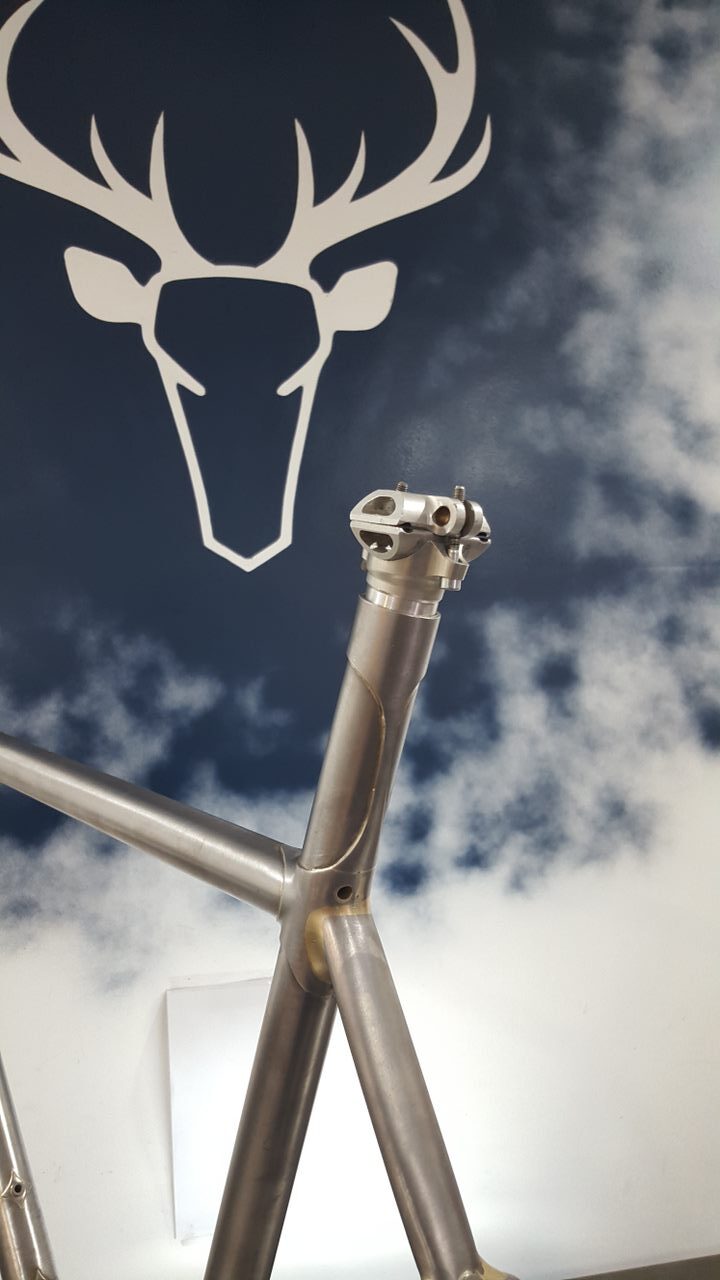
This us the only one Ive done so far. Not sure if I’ll do anymore. At the time this was super difficult for me.


7 Likes
@DEVLINCC Stunning, definitely worth doing that one again.
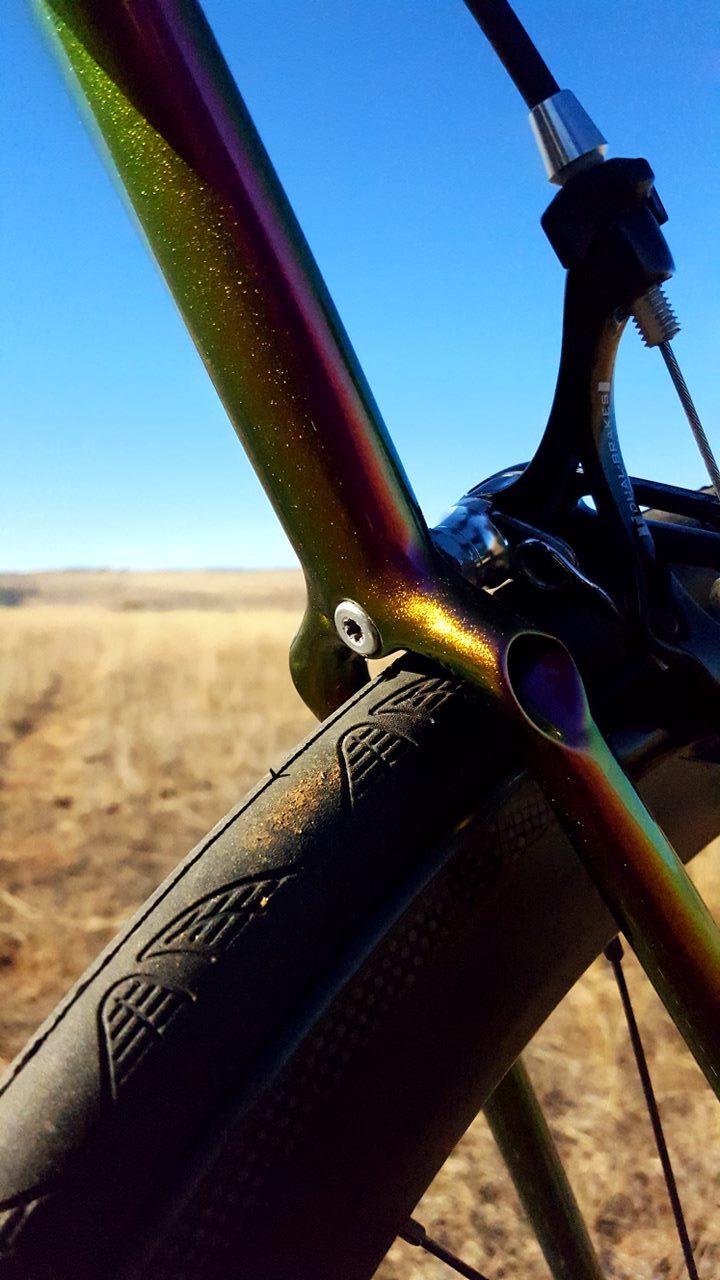
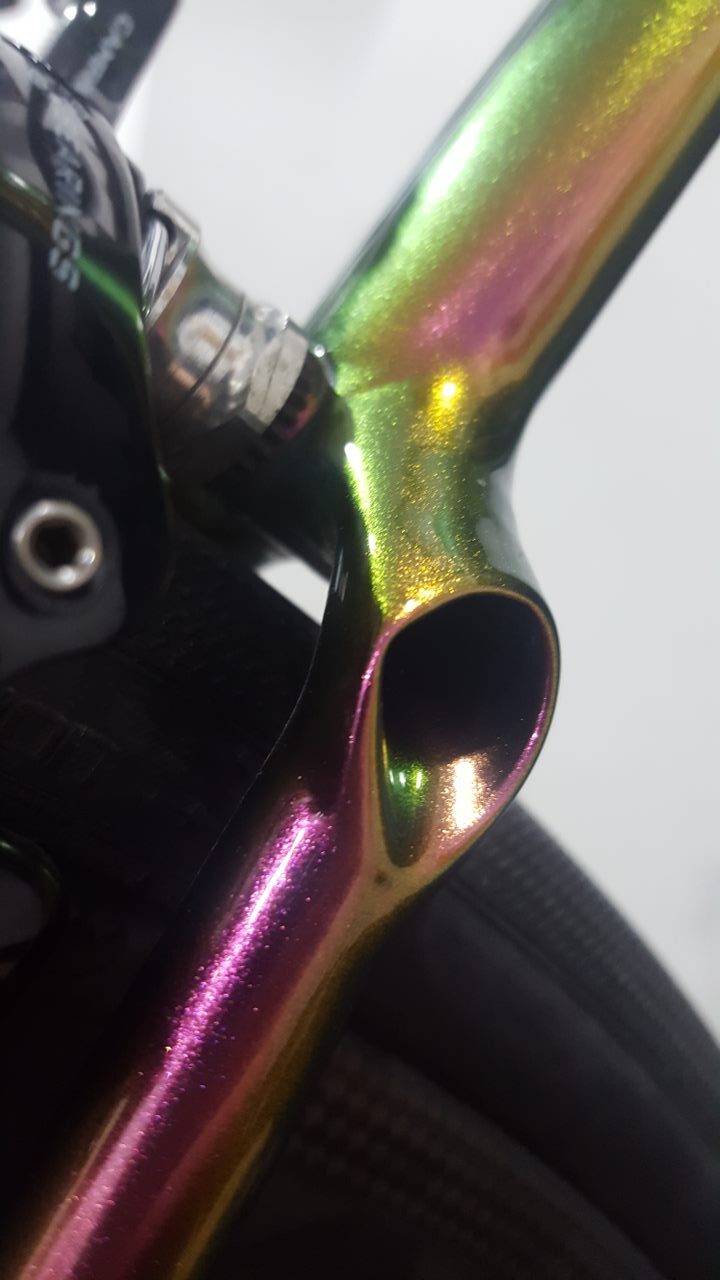
The Everest C57 wishbone is nice for a simple road bike wishbone: Bridges
4 Likes
That paint job looks sooo good!
1 Like
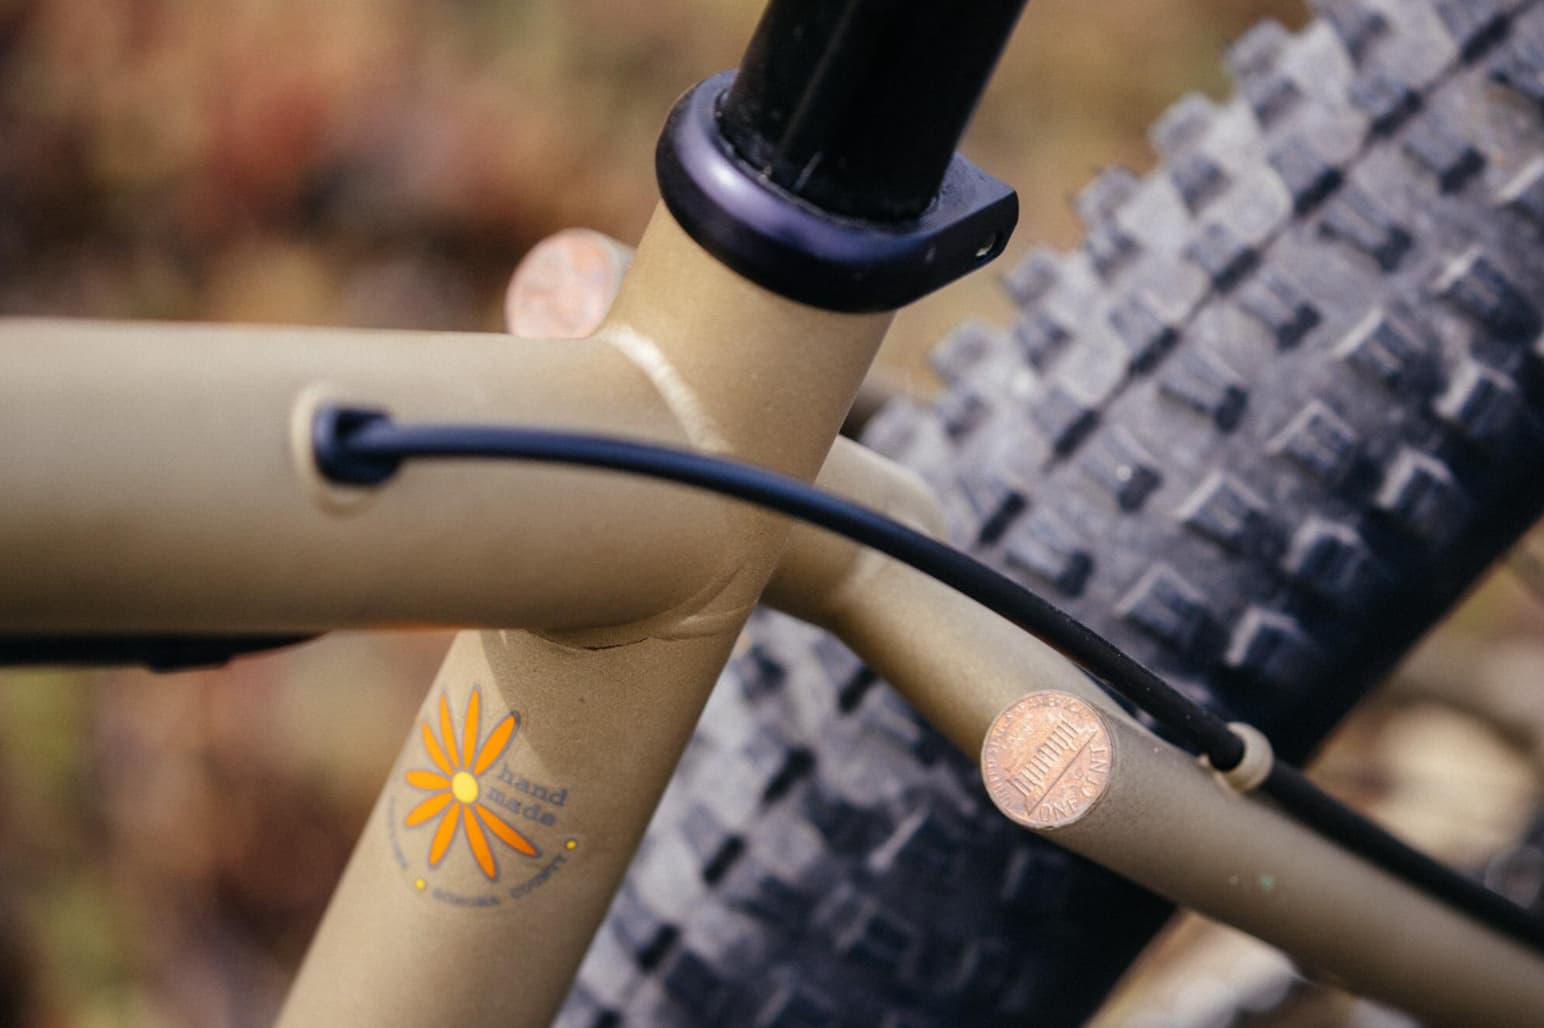
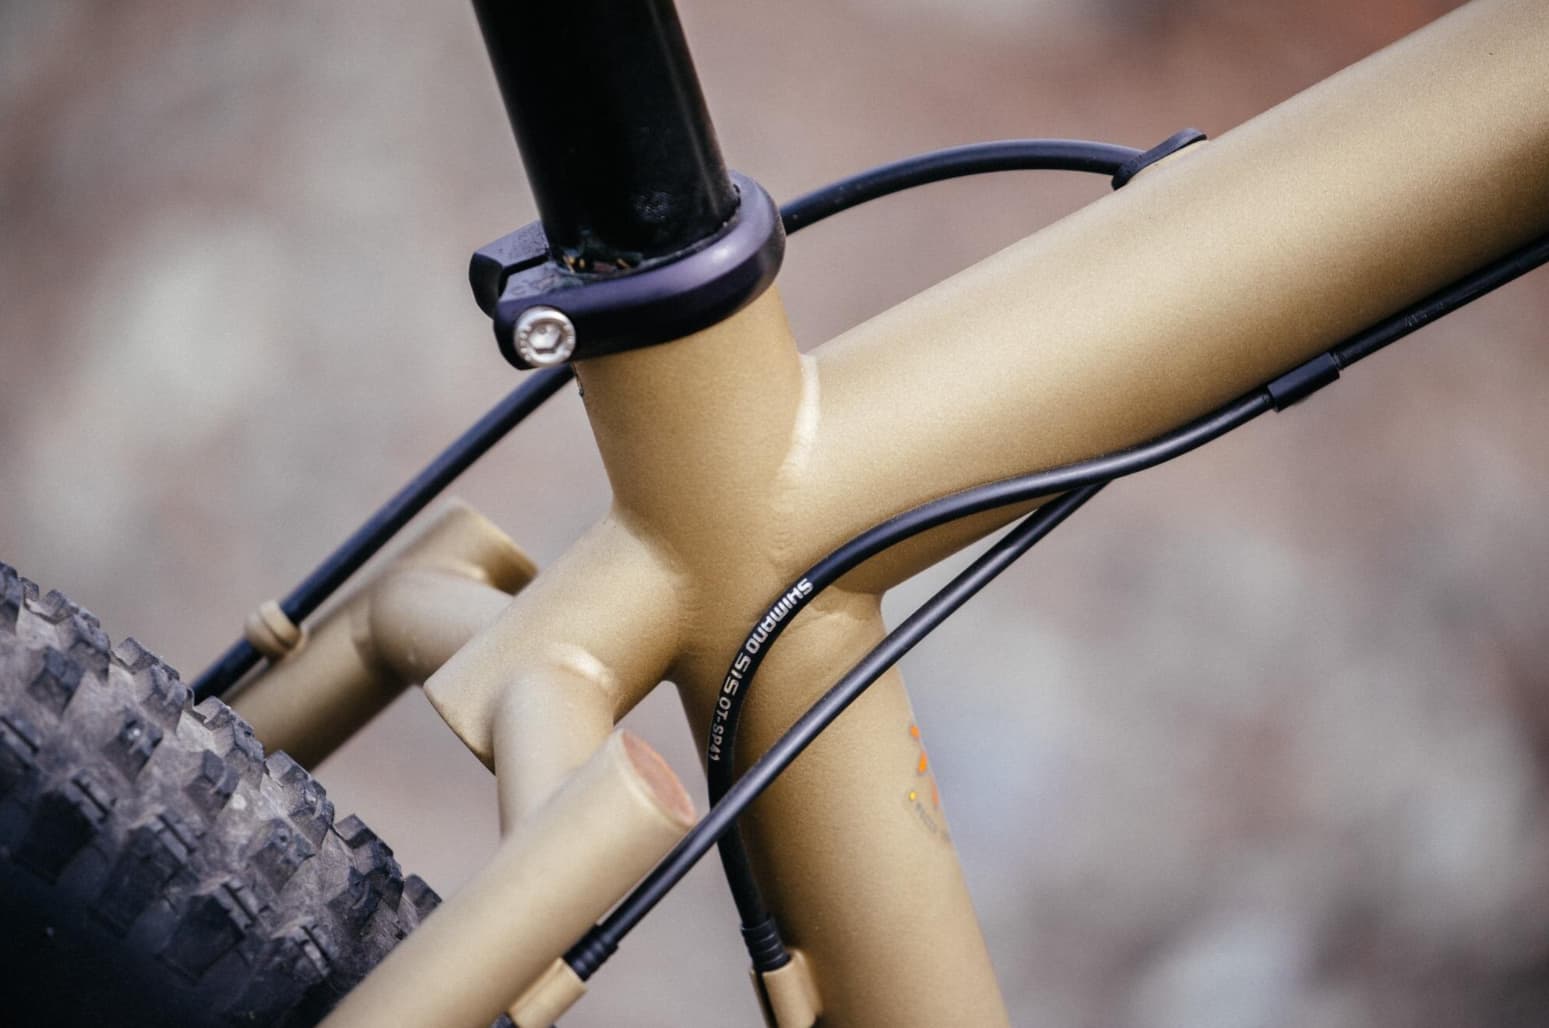
Had to dig deep for this, I sold this one 5 years ago. The bike is from the mid 90s.
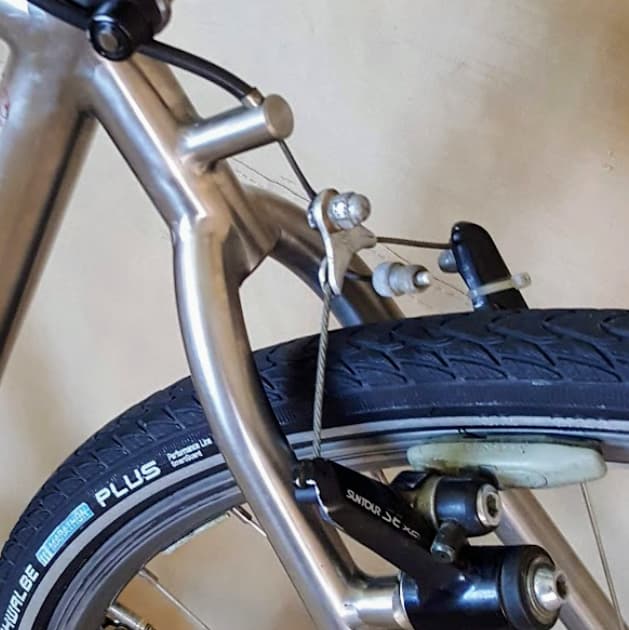
This is a simple wishbone, with one bend per seatstay. The big advantage, particularly in titanium, is that there’s a lot of clearance for the torch.
Check out the handy Presta/Schrader adapter!
5 Likes
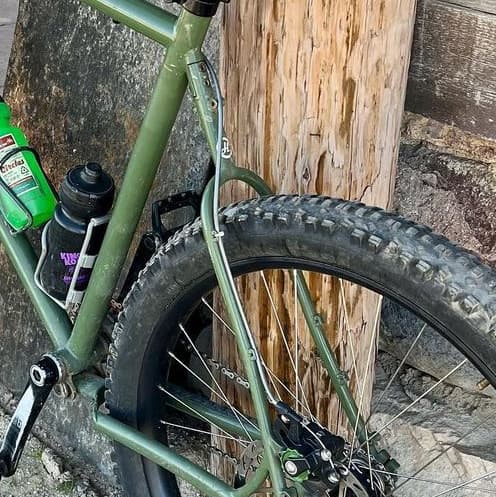
Here’s a similar one from veteran builder, legend and all-around-nice-guy Ric Hunter.
Full loop seatstays, with bolt-on rear triangle.
4 Likes
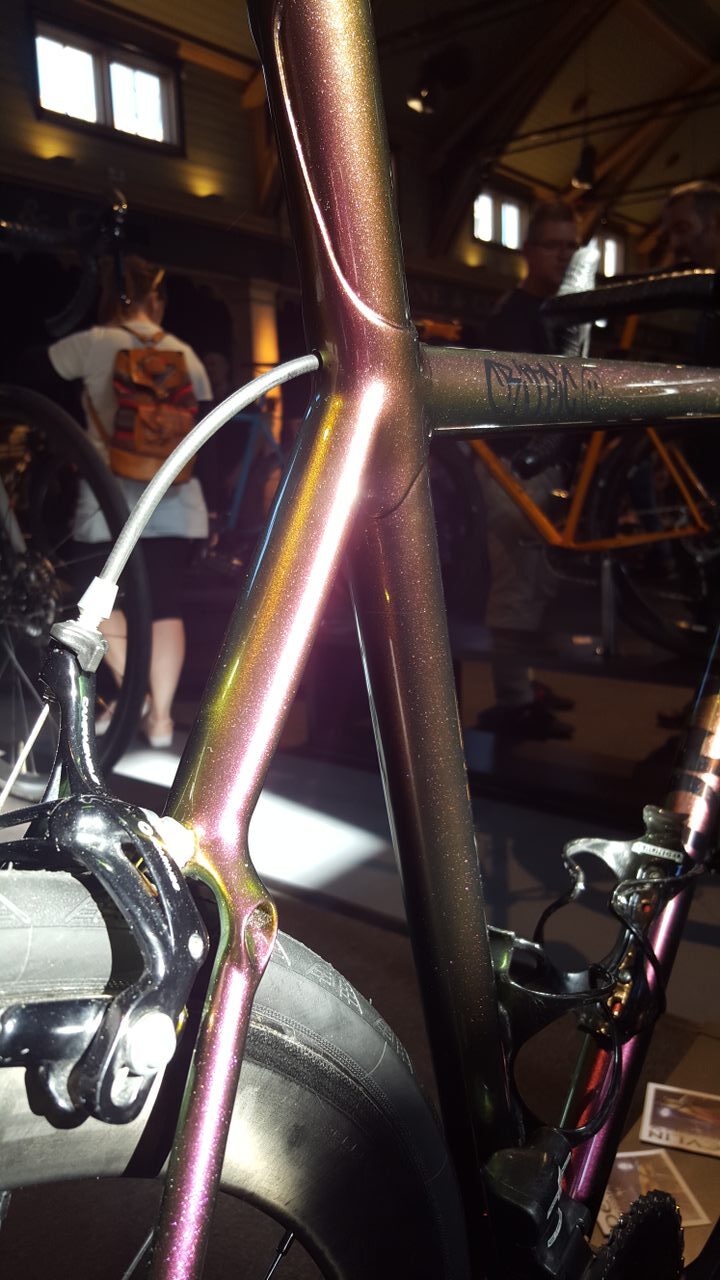
On group road rides, I often find myself staring at the SS / wishbone junctions of the bikes in front of me ![]() . This part of the bike occupies prime real estate.
. This part of the bike occupies prime real estate.
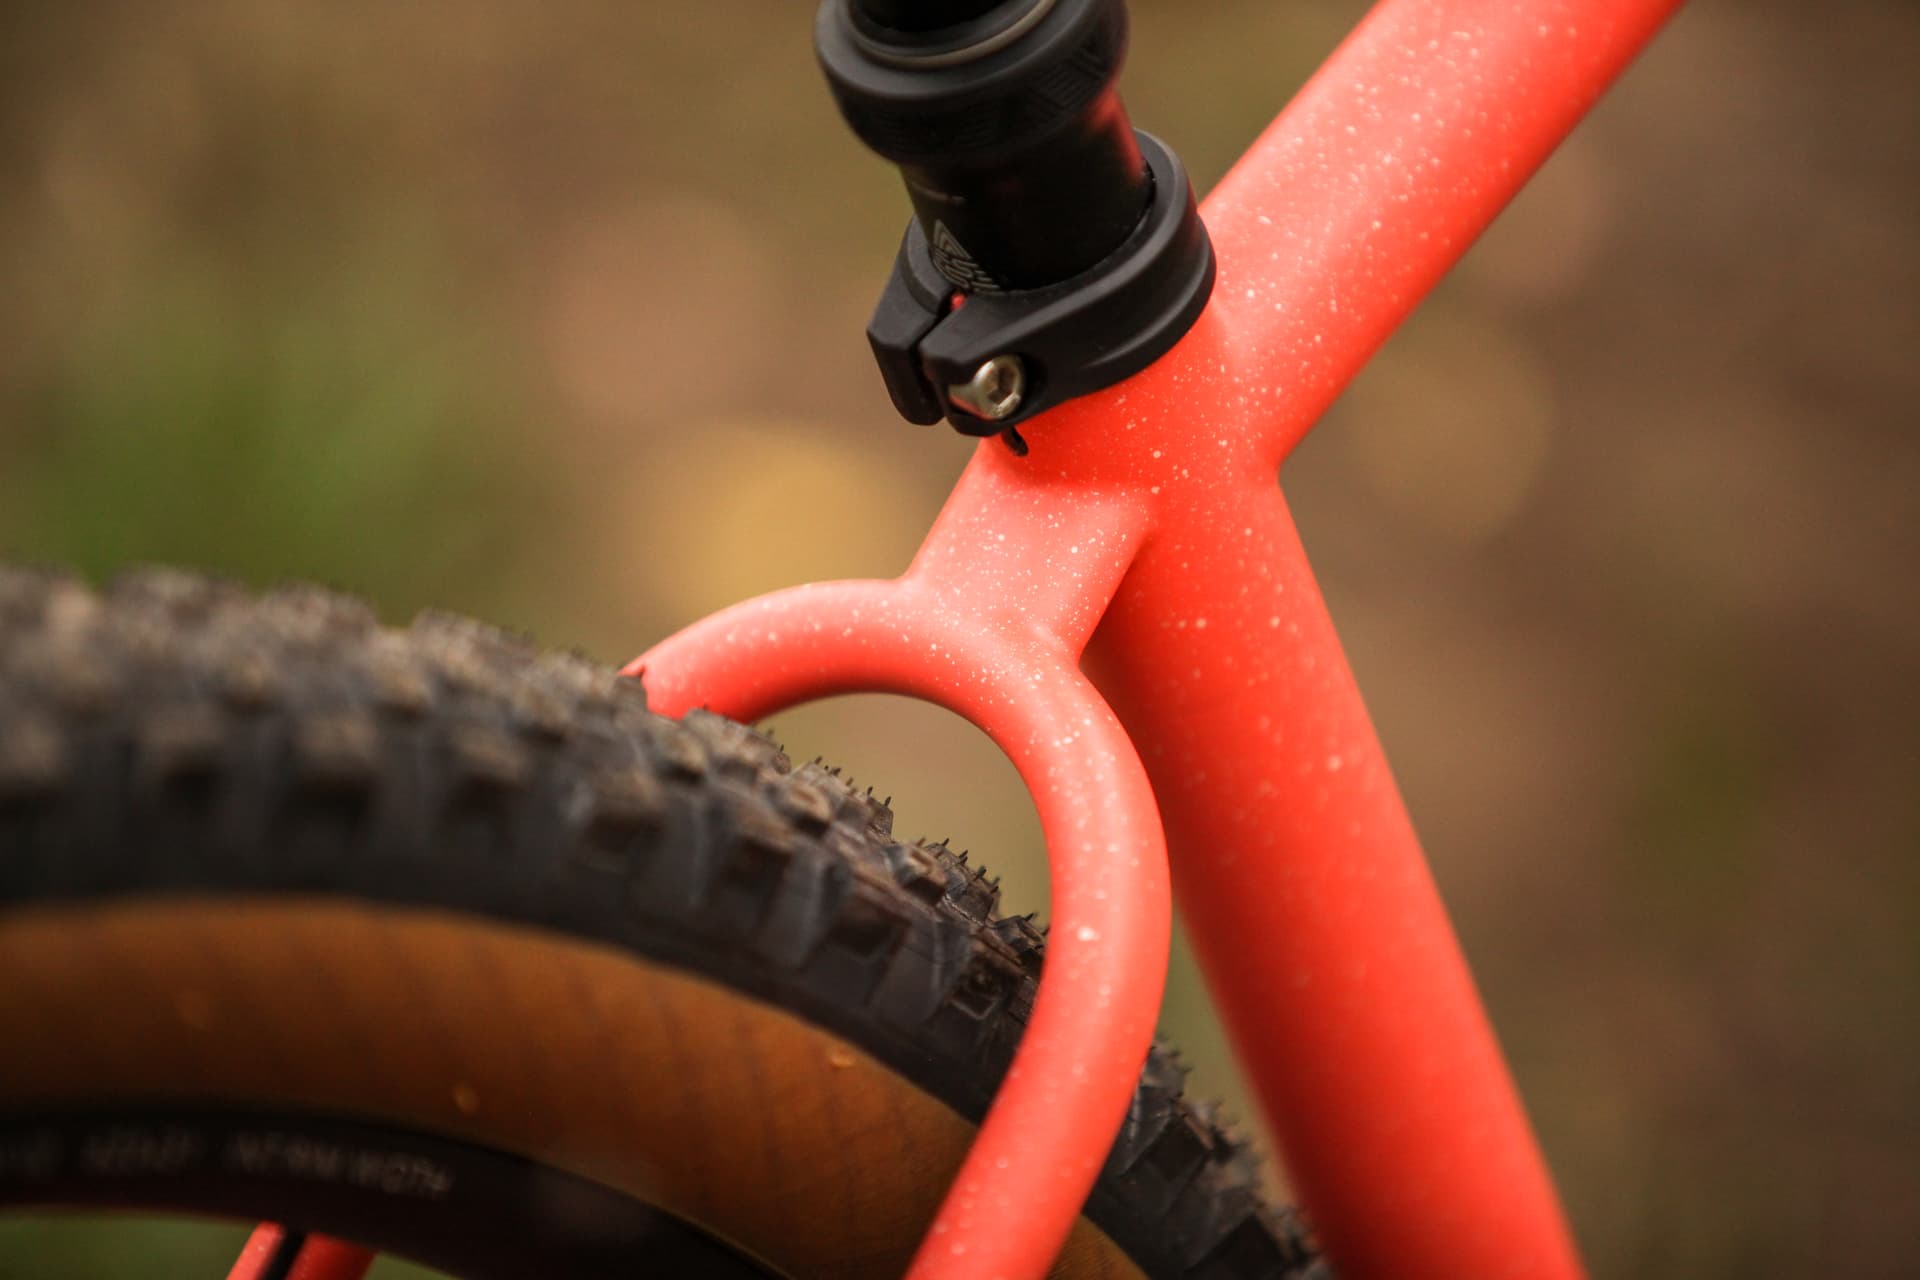
@Bender_Bicycles Bender Bikes has a really cool design:
It looks like there is a curved part is a separate part, brazed together. I love the logo placement too, very classy.
Jeremy Sycip has a signature look as well:
I also love the look of the track bike style. A compact lug would be a good candidate for a 3D printed design.
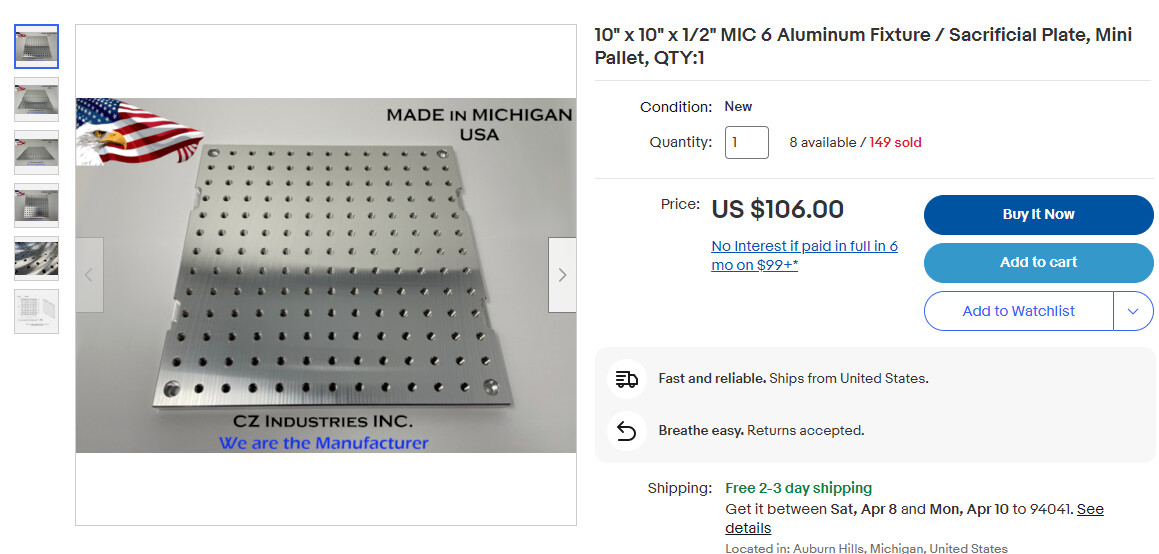
If I were to use a wishbone stay in production (>5 bikes), I would figure out all the angles and tubes I need in CAD and use a fixture plate and machine tube blocks that index to that grid pattern.
@CharlieSBI if you need help with CAD, I can easily turn hand sketches into 3D and 2D drawings.
2 Likes
How much do you value your time and sanity? Hahaha
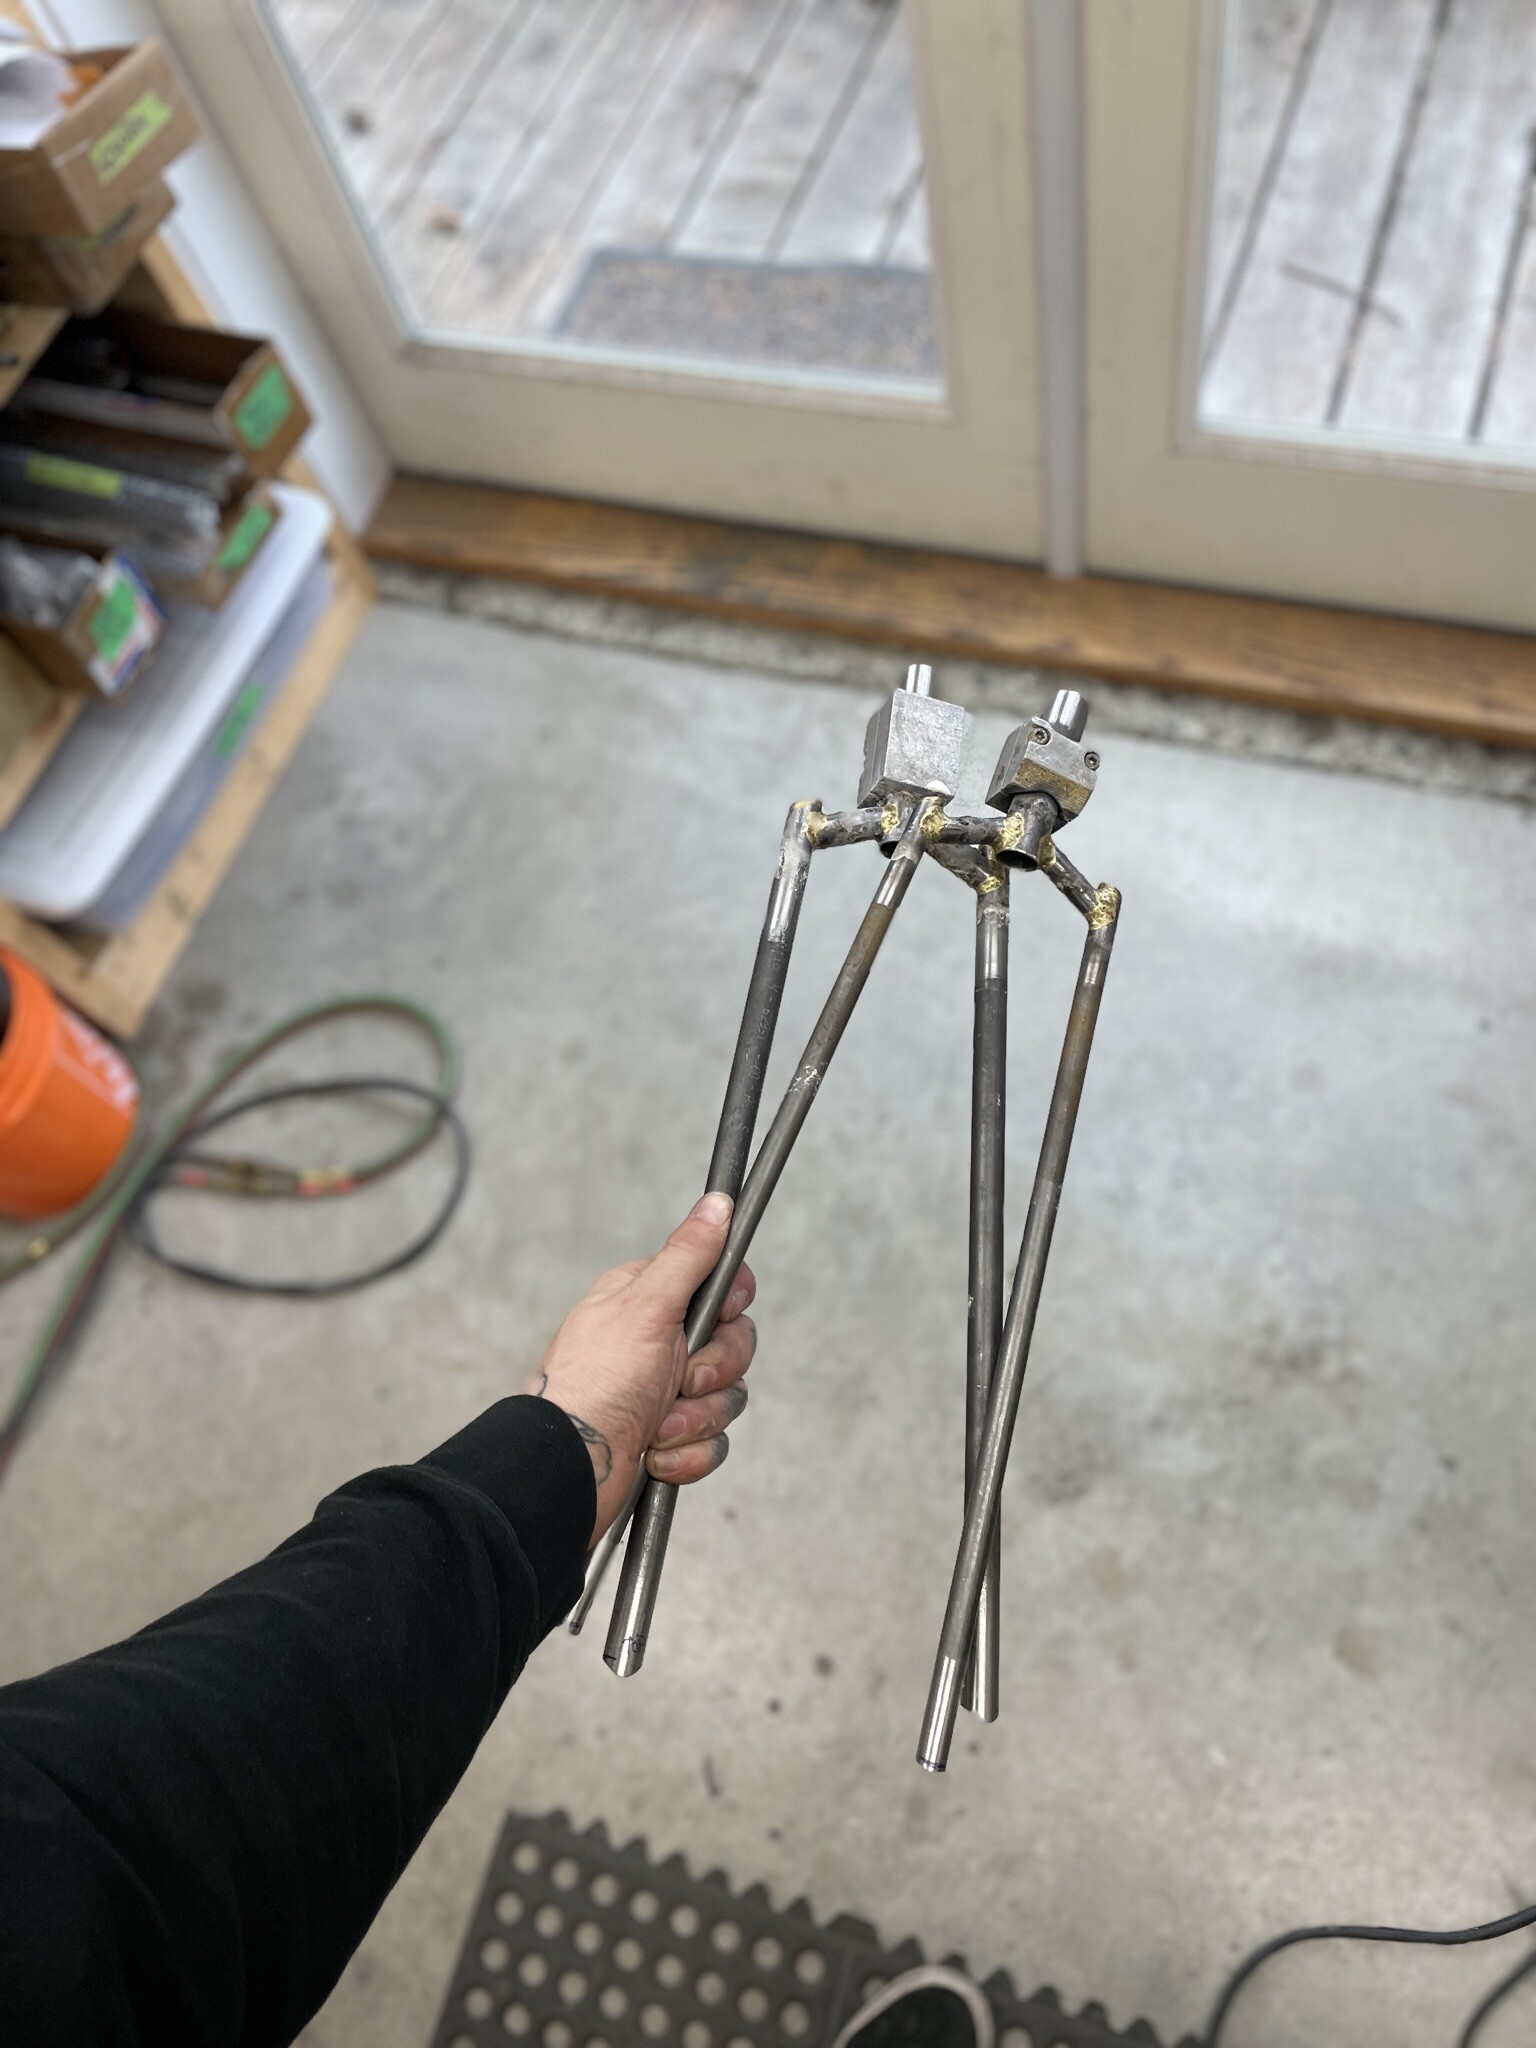
I build mine as a full sub assembly. I don’t have a jig for them, but I use some scrap bar stock to make sure everything comes out as even as possible.
I have a PMW tube block mitered to the length I use for the struts so I can quickly miter them without measuring each cut every single time. I also use laser cut oval washers on the tops of the stays to speed up the process.

4 Likes
Holy smokes that’s incredible. Cool to see the seatmast lug, I’m considering using a similar sized middle stay (idk if there’s a better name) and was wondering if I would need to do some reinforcement.
1 Like
Wow Em thank you so much for the detailed process pics!! I just think that looks dope as hell, and it seems like a cool opportunity to make your bikes look unique.
2 Likes
Wow, I love this forum. Looks great! Mind enlightening a newbie on what tubing you like to use for these?
2 Likes
Cheers. It’s just a chainstay section. I can’y for the life of me remember what it was though.
2 Likes
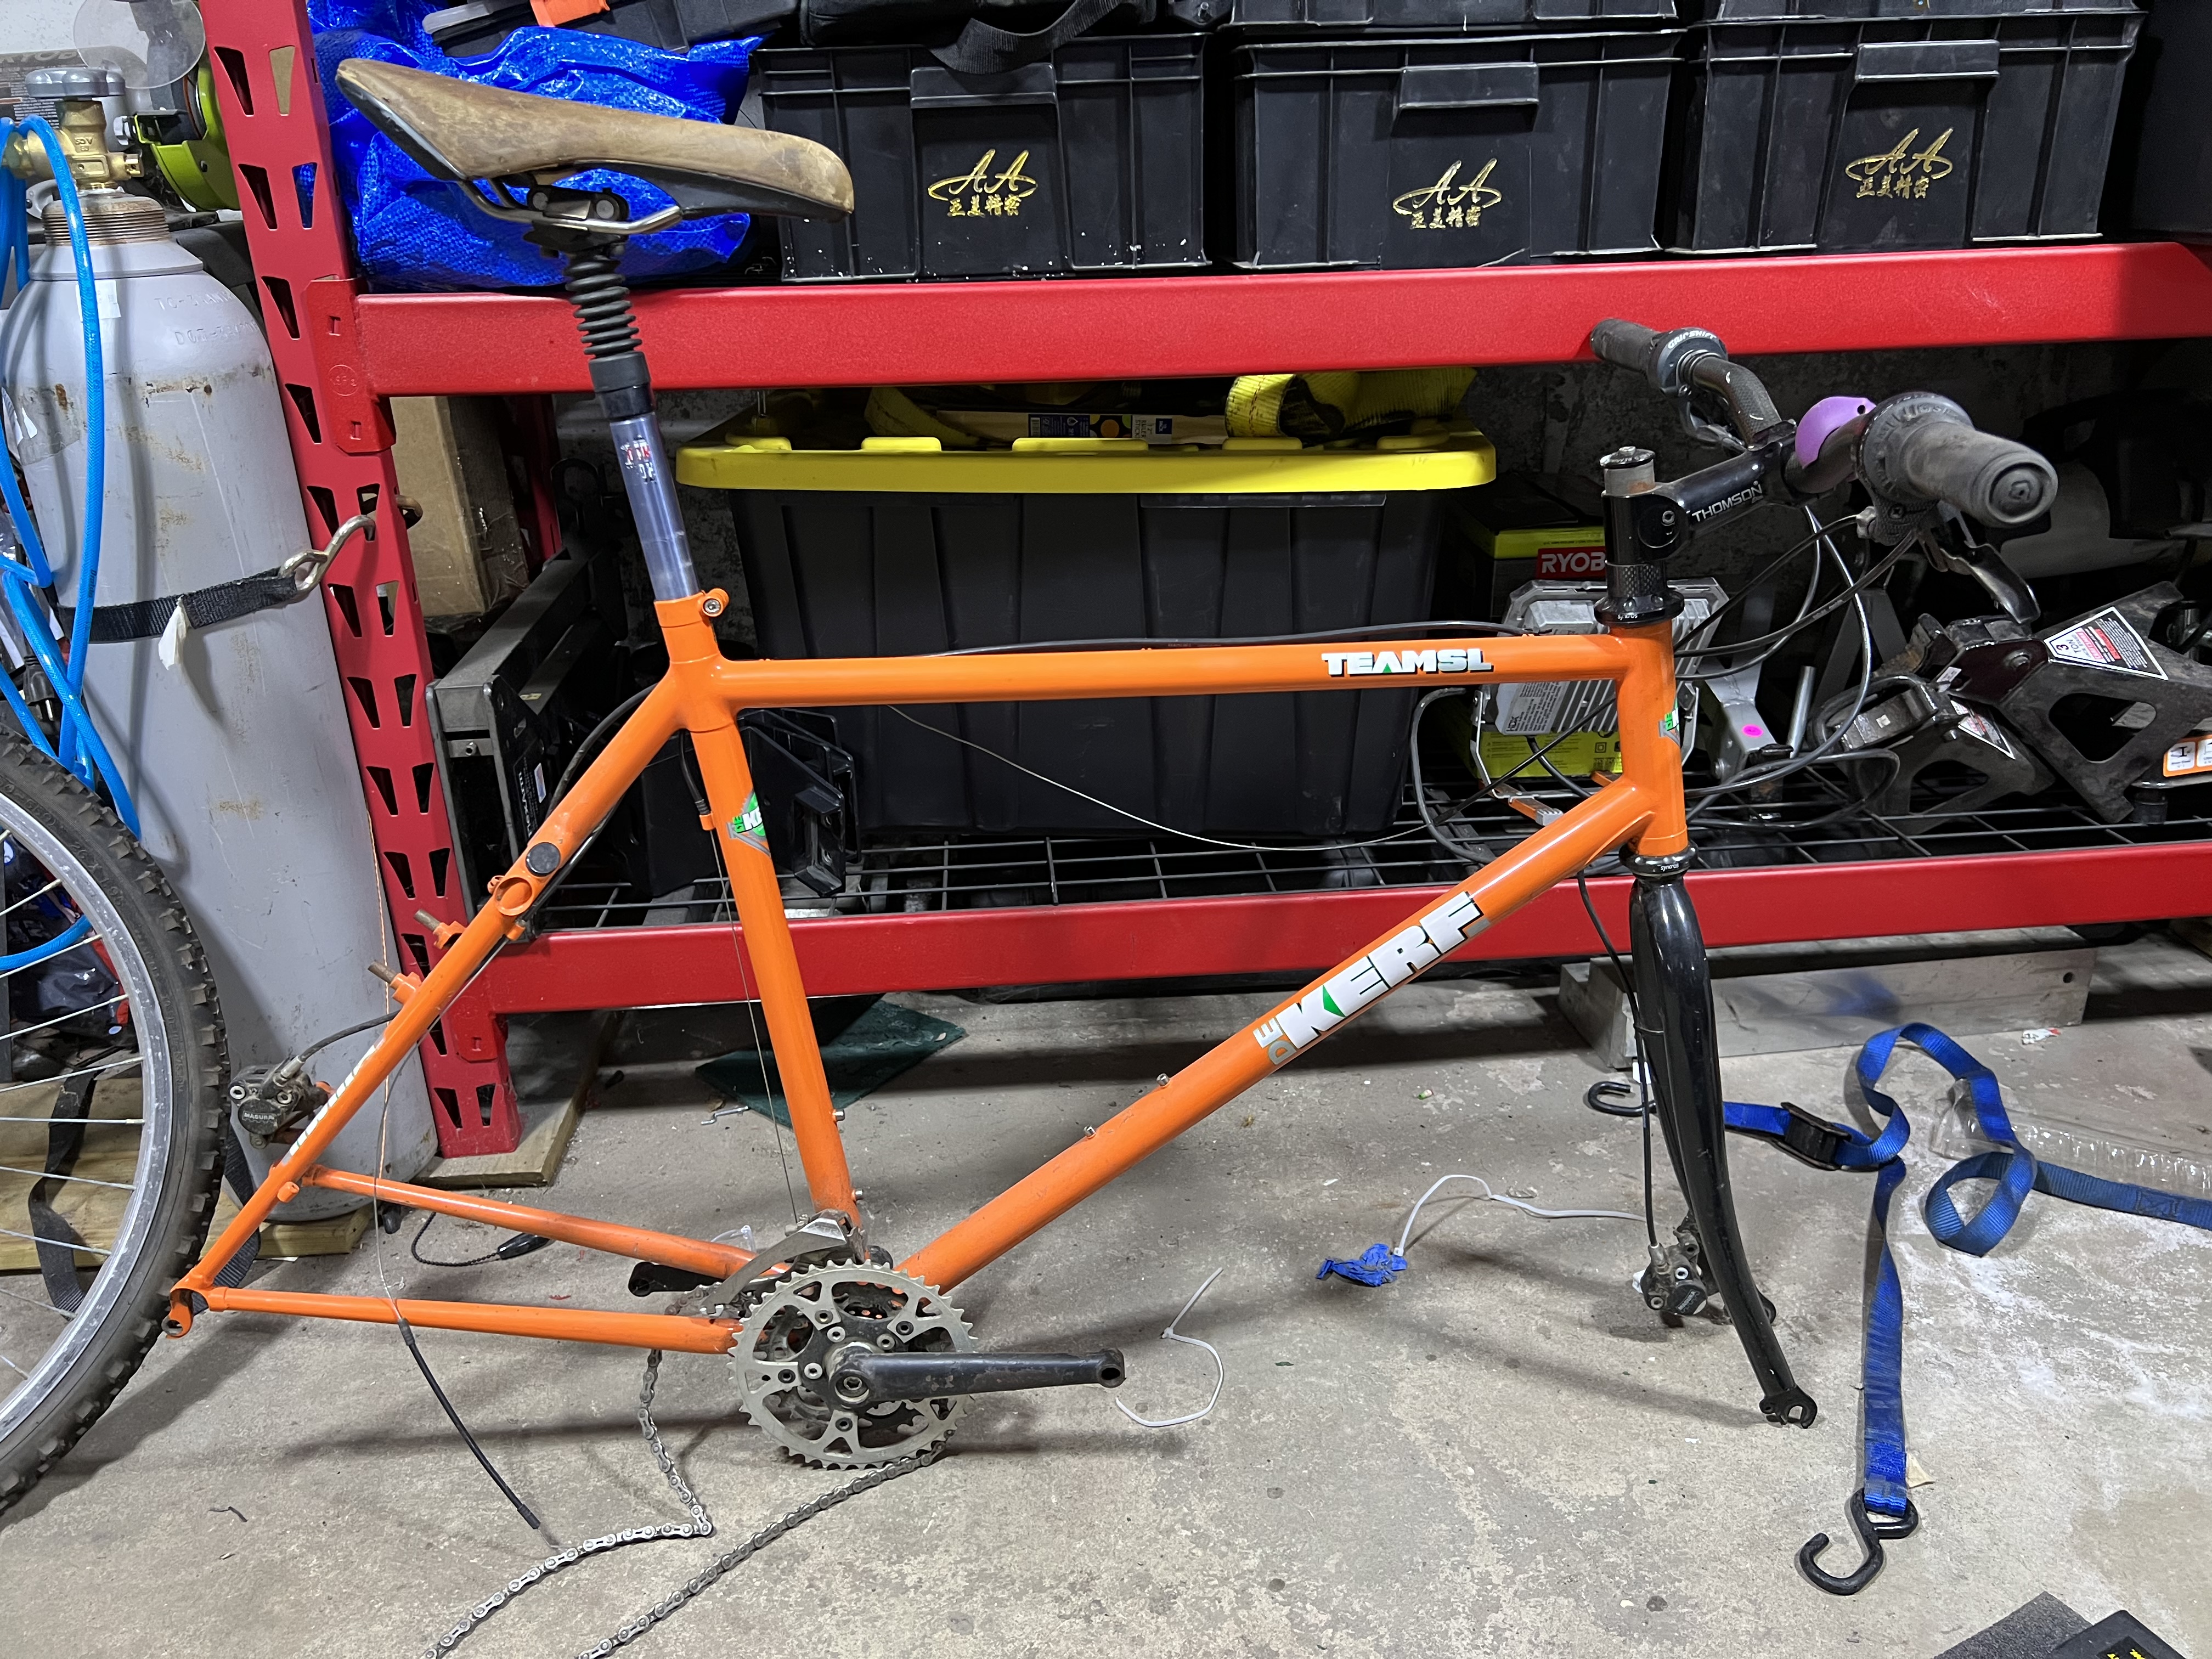
I feel in love with design and bought a DeKerf in the late 90s. Still have the bike. I would love a jig to make these. I tried and failed.
What bender do you think they use for the full loop?

3 Likes
I used 7/8x 049 or 058 (handlebar scraps) for the seat tube connector, then for the struts and legs I use
- 5/8x035 - enduro / trail
- 1/2x035 - xc, bike packing, gravel
- 3/8x058 or 049 - xc, gravel
7 Likes
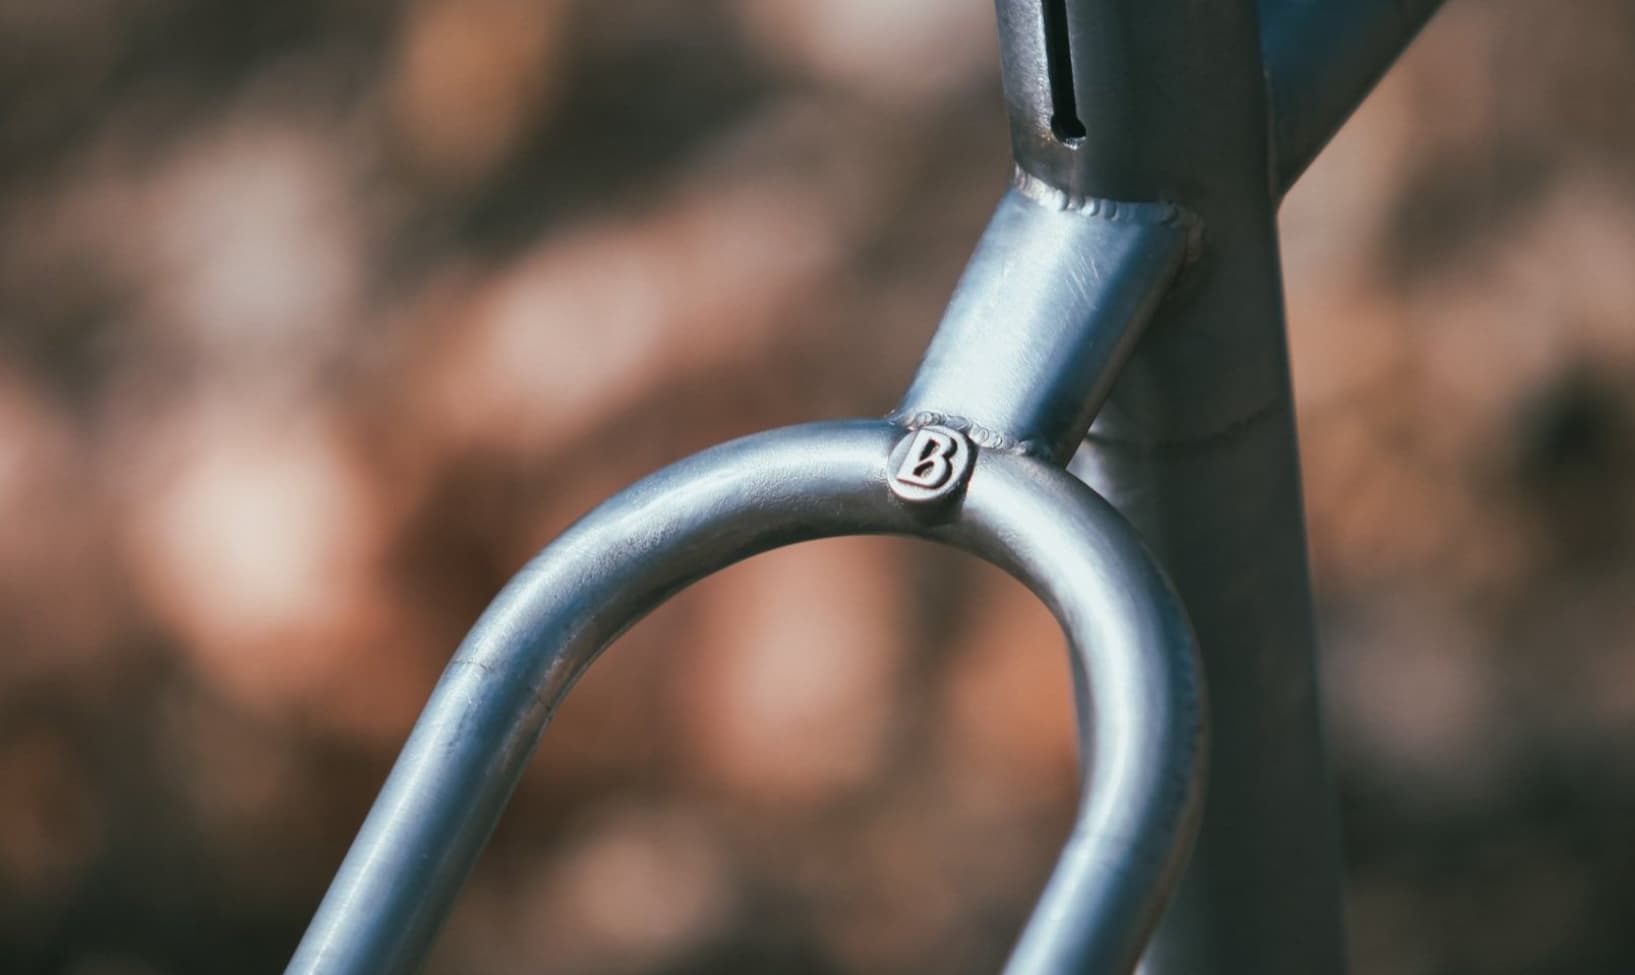
I love the full loop design, English is my go-to for that look but I have to say Bender is up there, nice to get a close up to see what is going on. I wonder if you could bend a straight tube like that without being two separate parts.
How thick do y’all think those seatstays are? 1mm? 0.9?
2 Likes
Thanks @Daniel_Y
I have done my wishbone stays two different ways. I started off doing it out one single piece of tubing (5/8x.035). That bend is tricky. I did them on a diaco with custom dies. Even with that setup I would get a few out of every batch that ripple pretty bad.
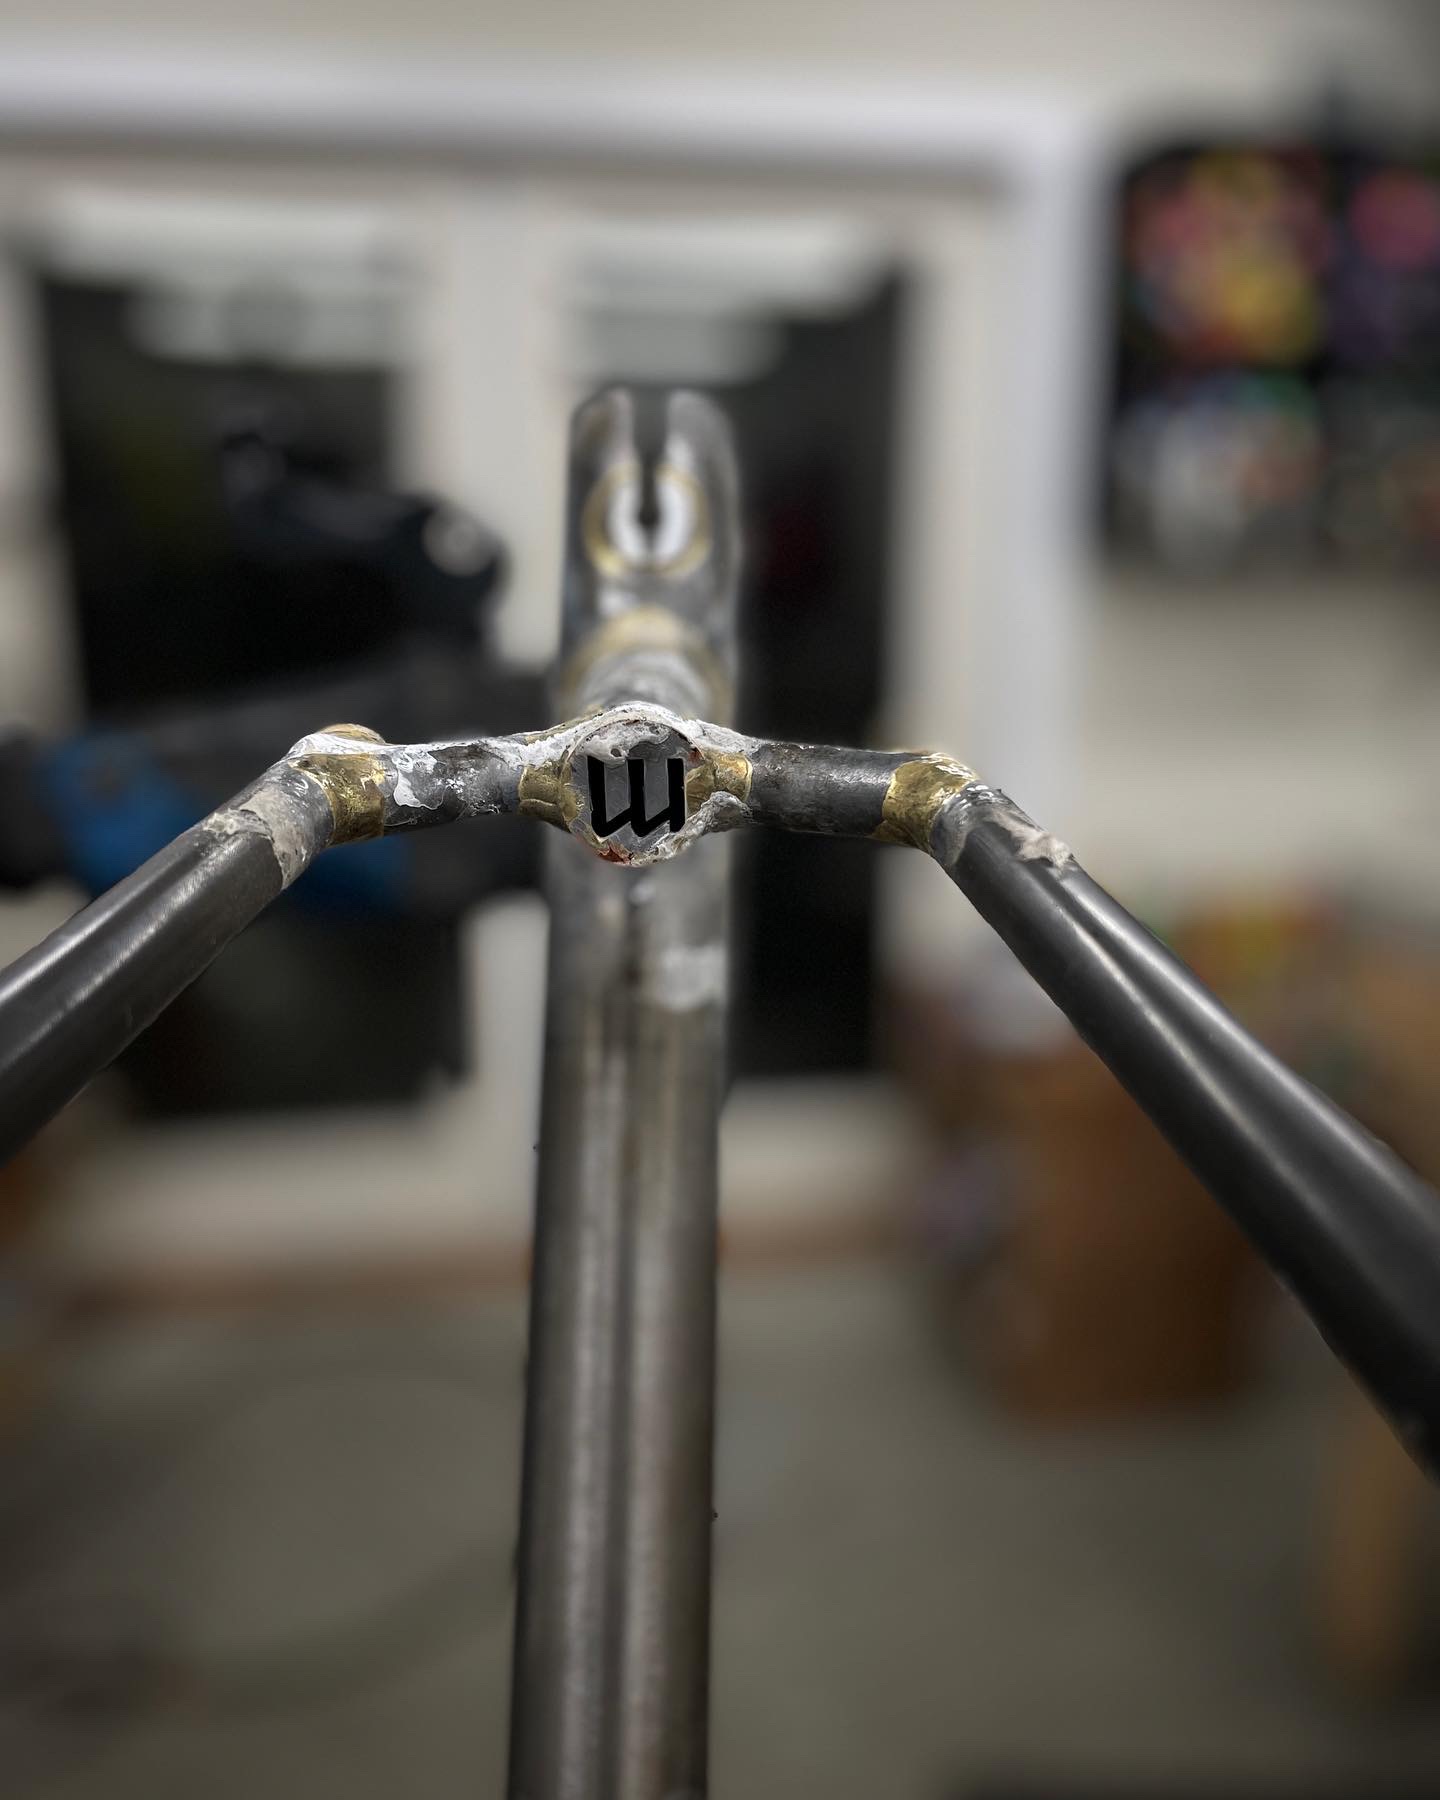
The example @Daniel_Y posted is done with a 3d print yoke piece. This made sense to me to control the desired bend radius and not waste a bunch of tubing to failed bends. It also was a great opportunity to add my “B” as a design element.

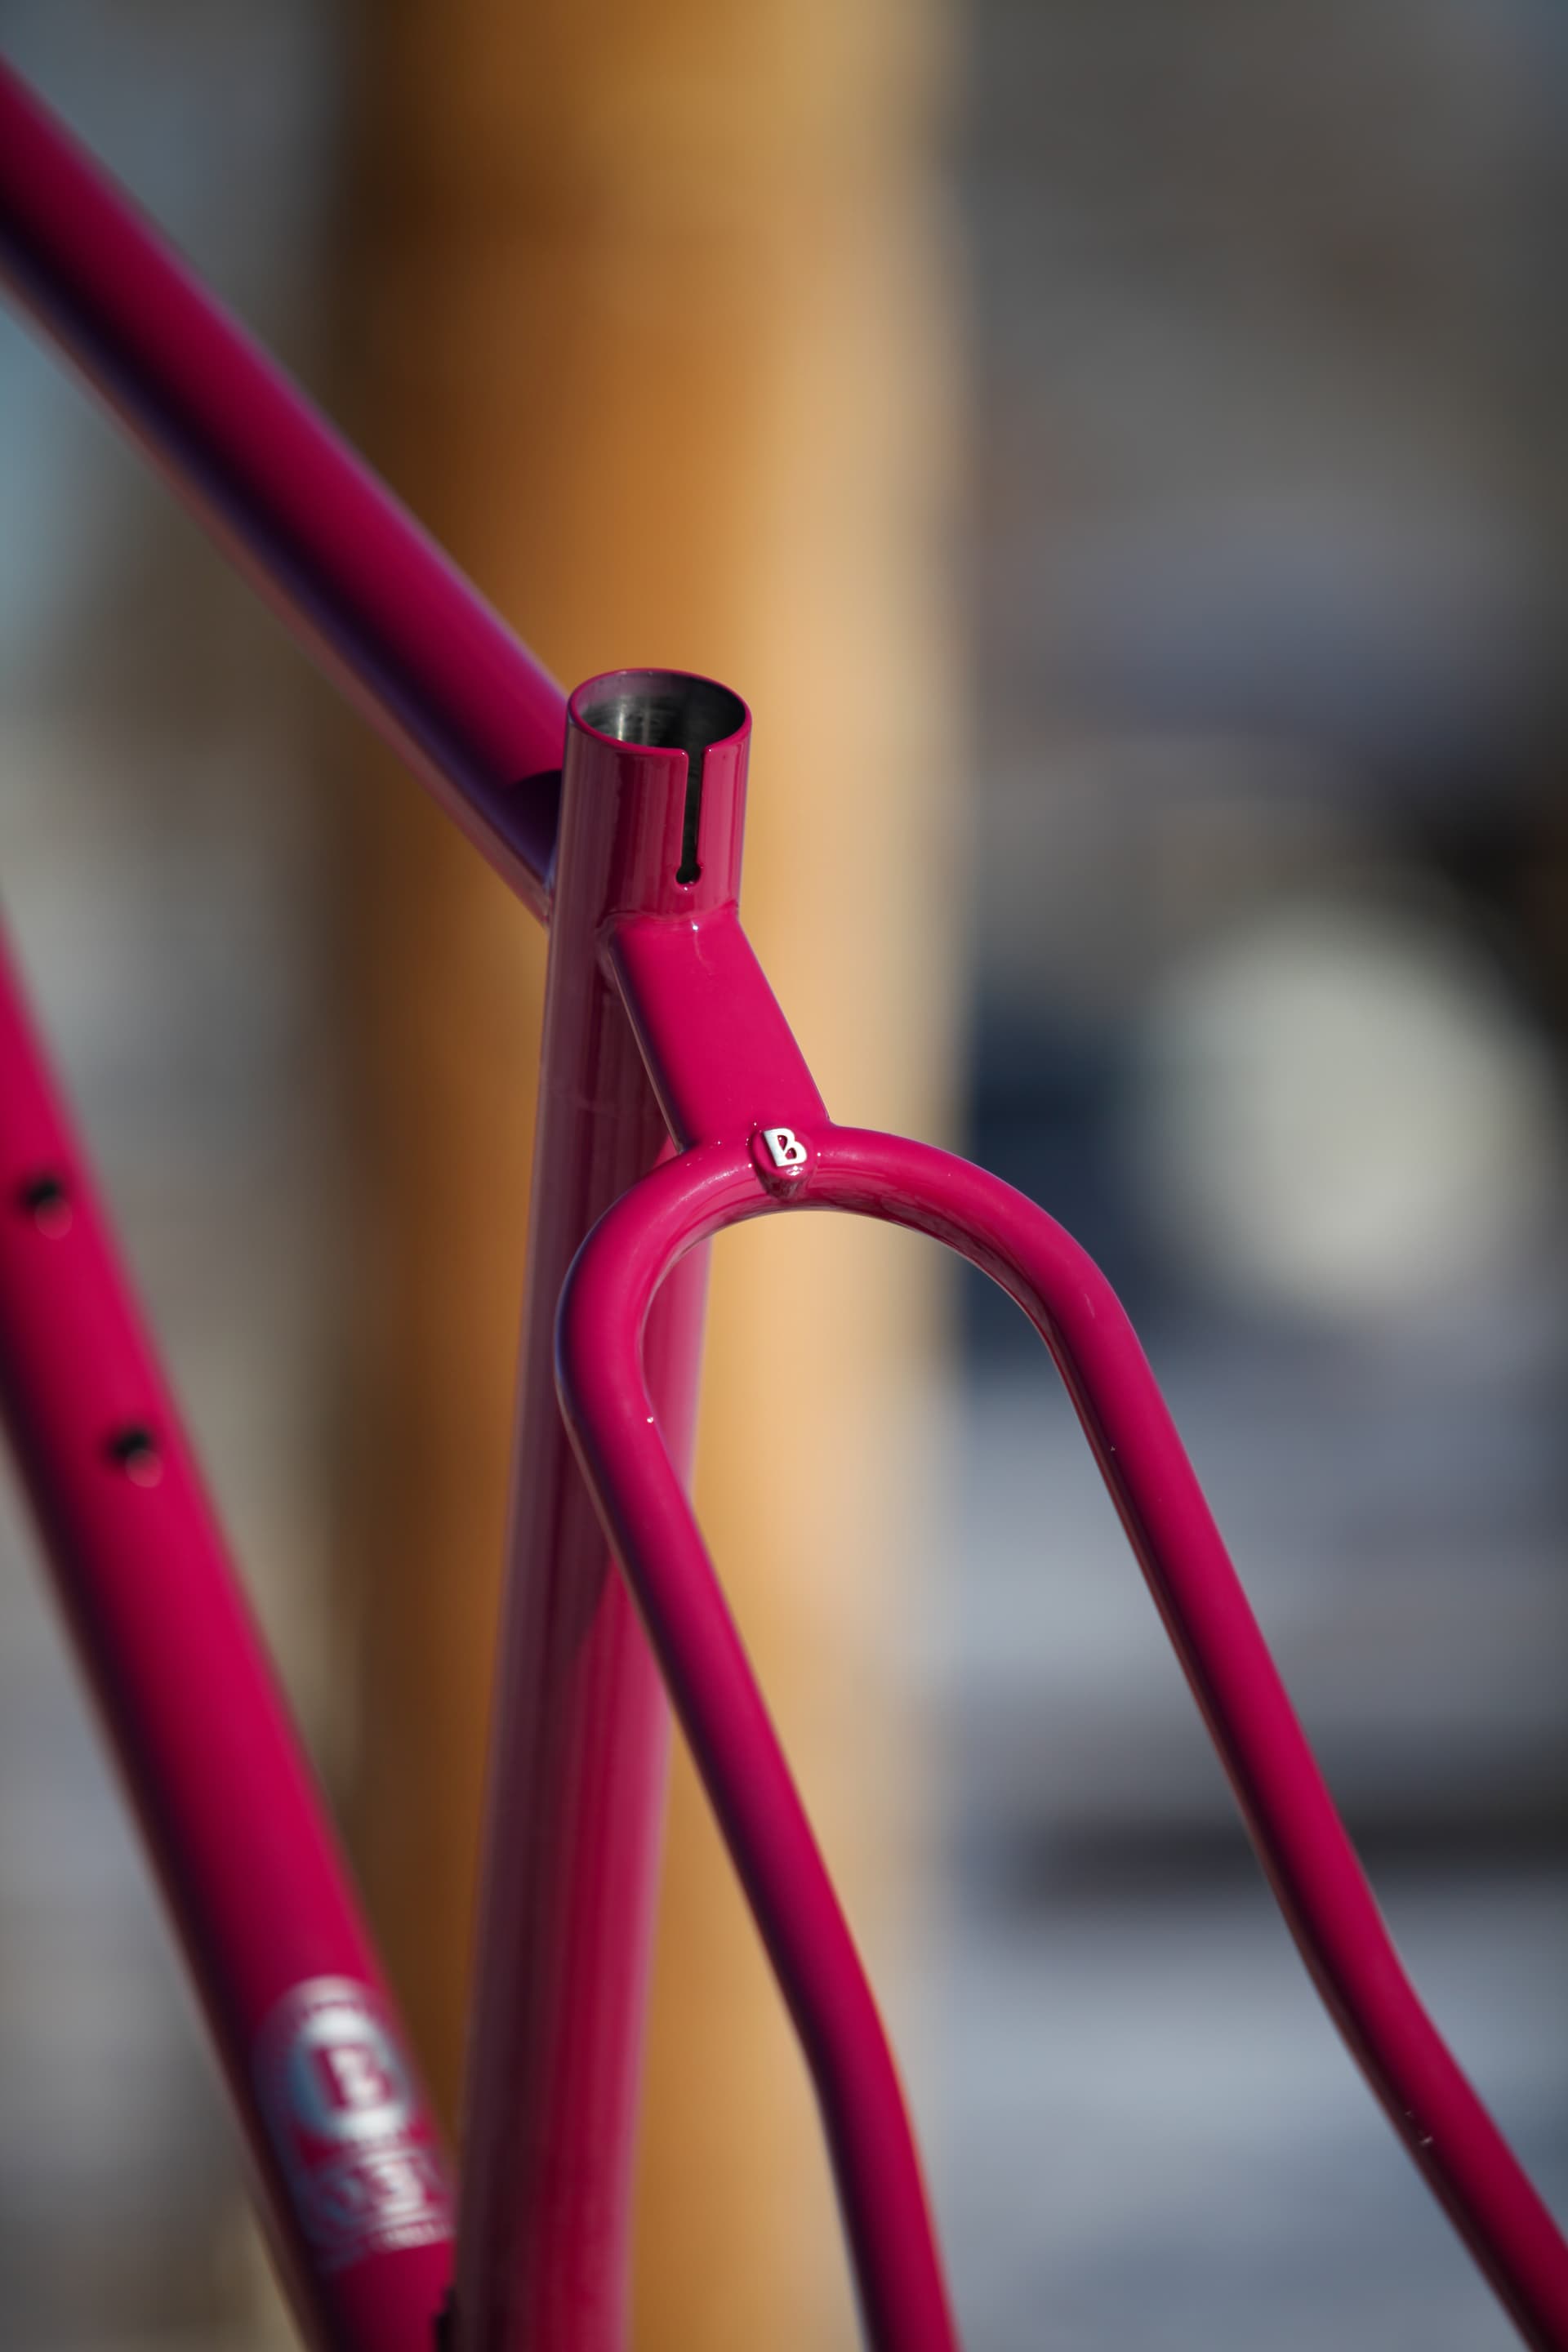
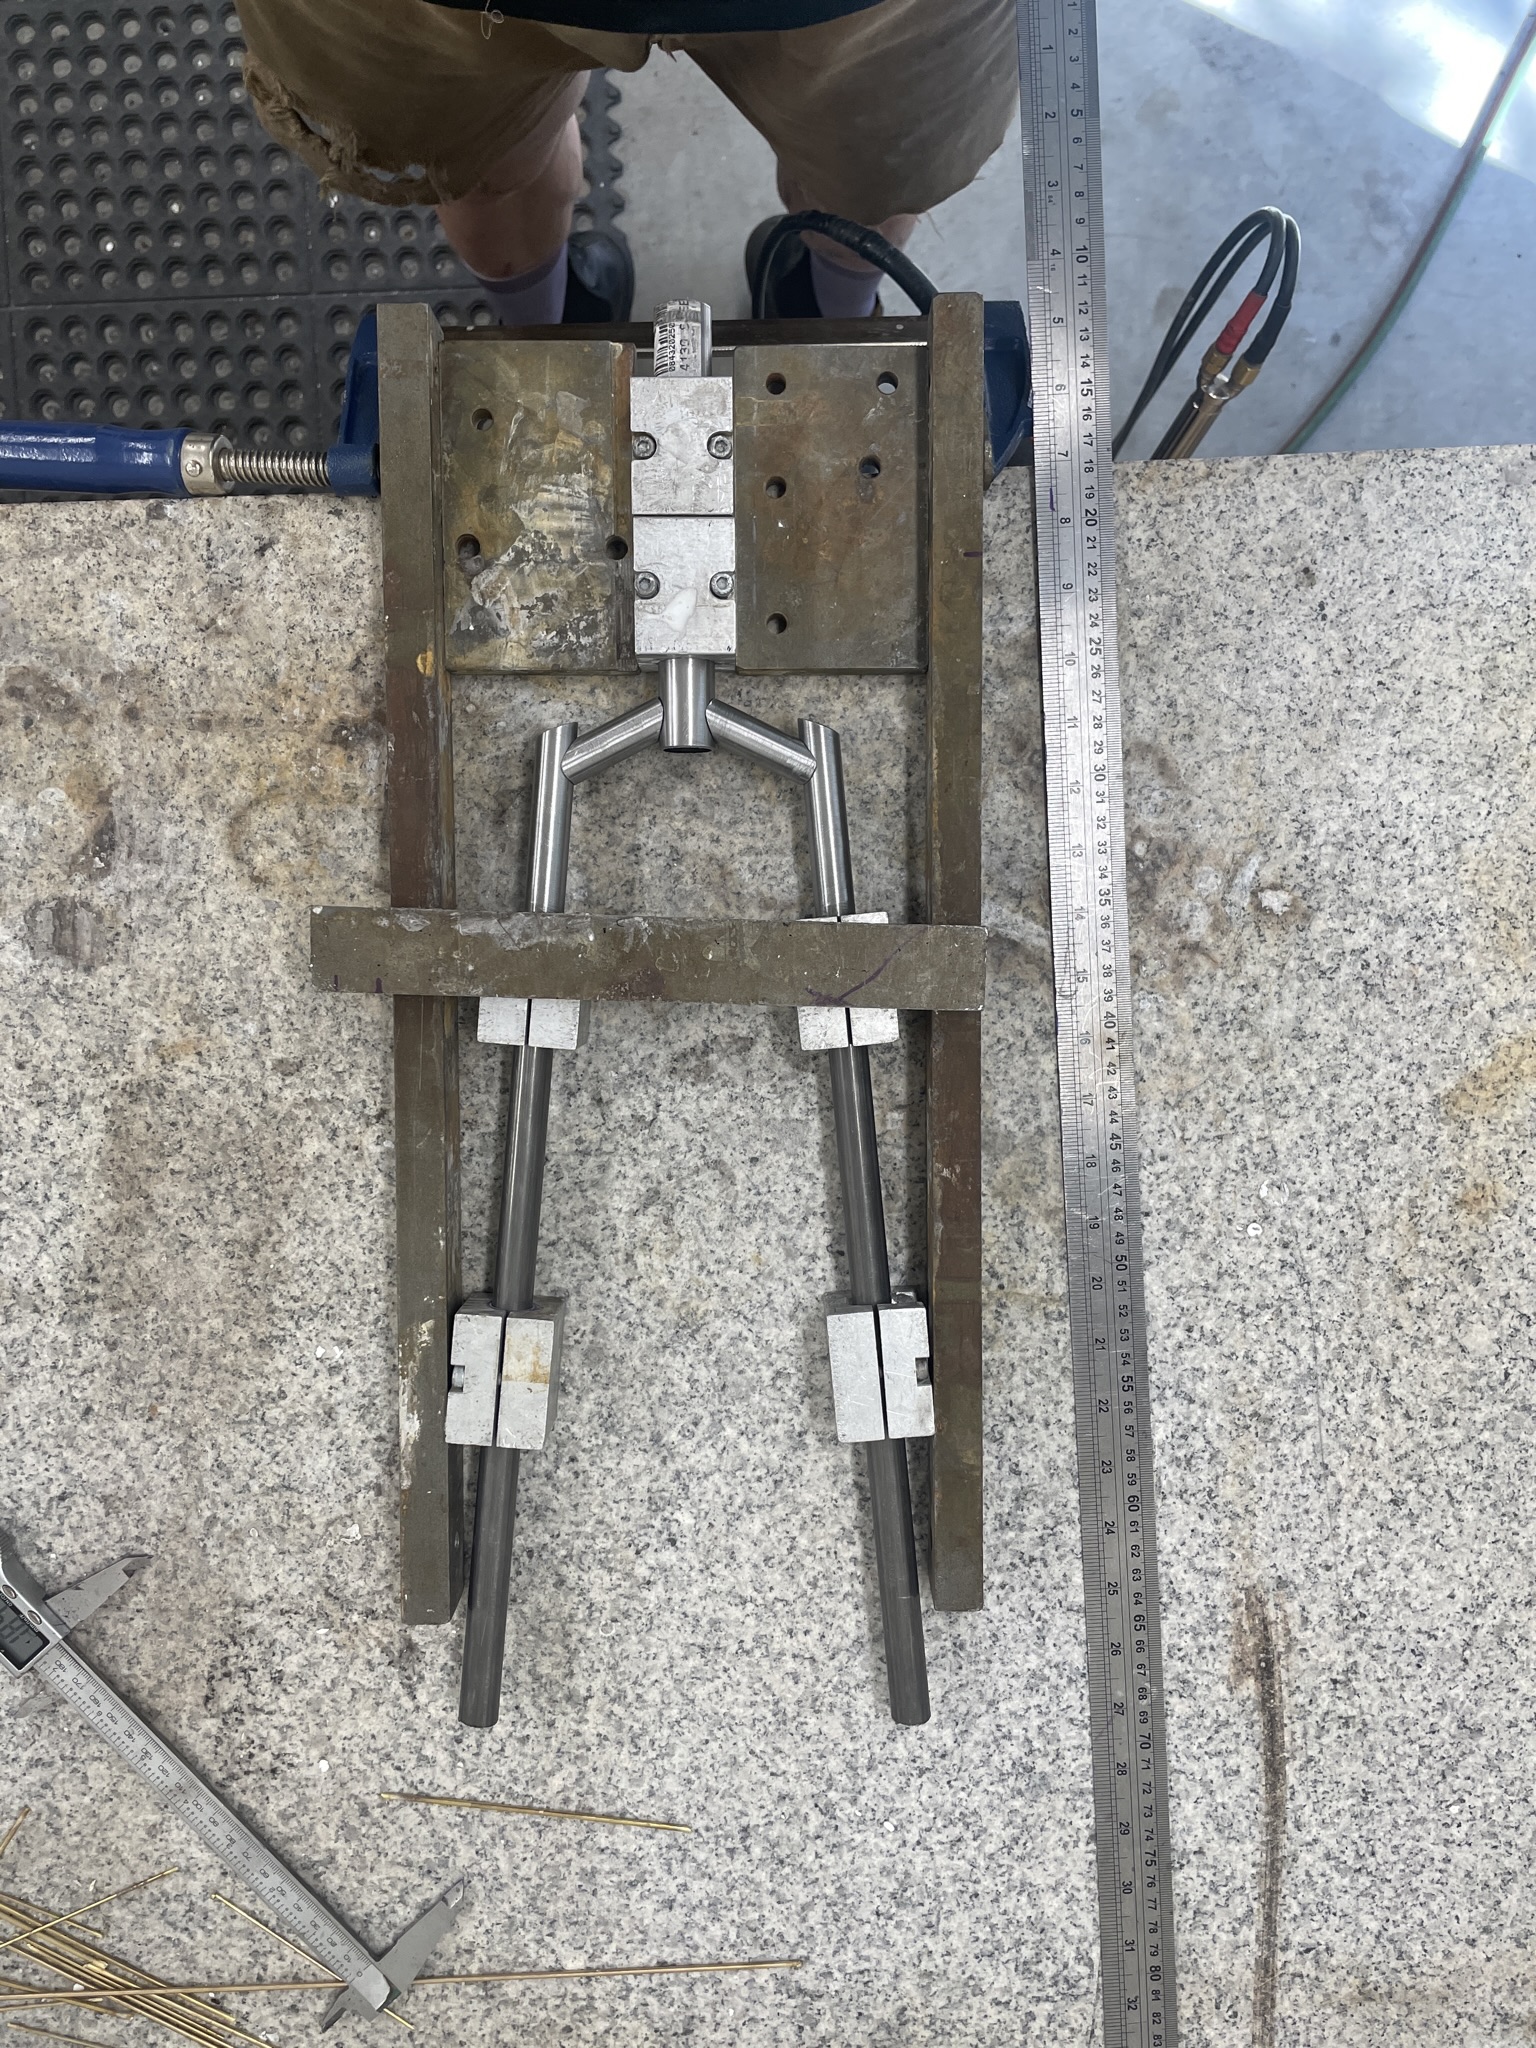
I recently made a new version that I printed the extension to the ST as well. That made the build process much easier.
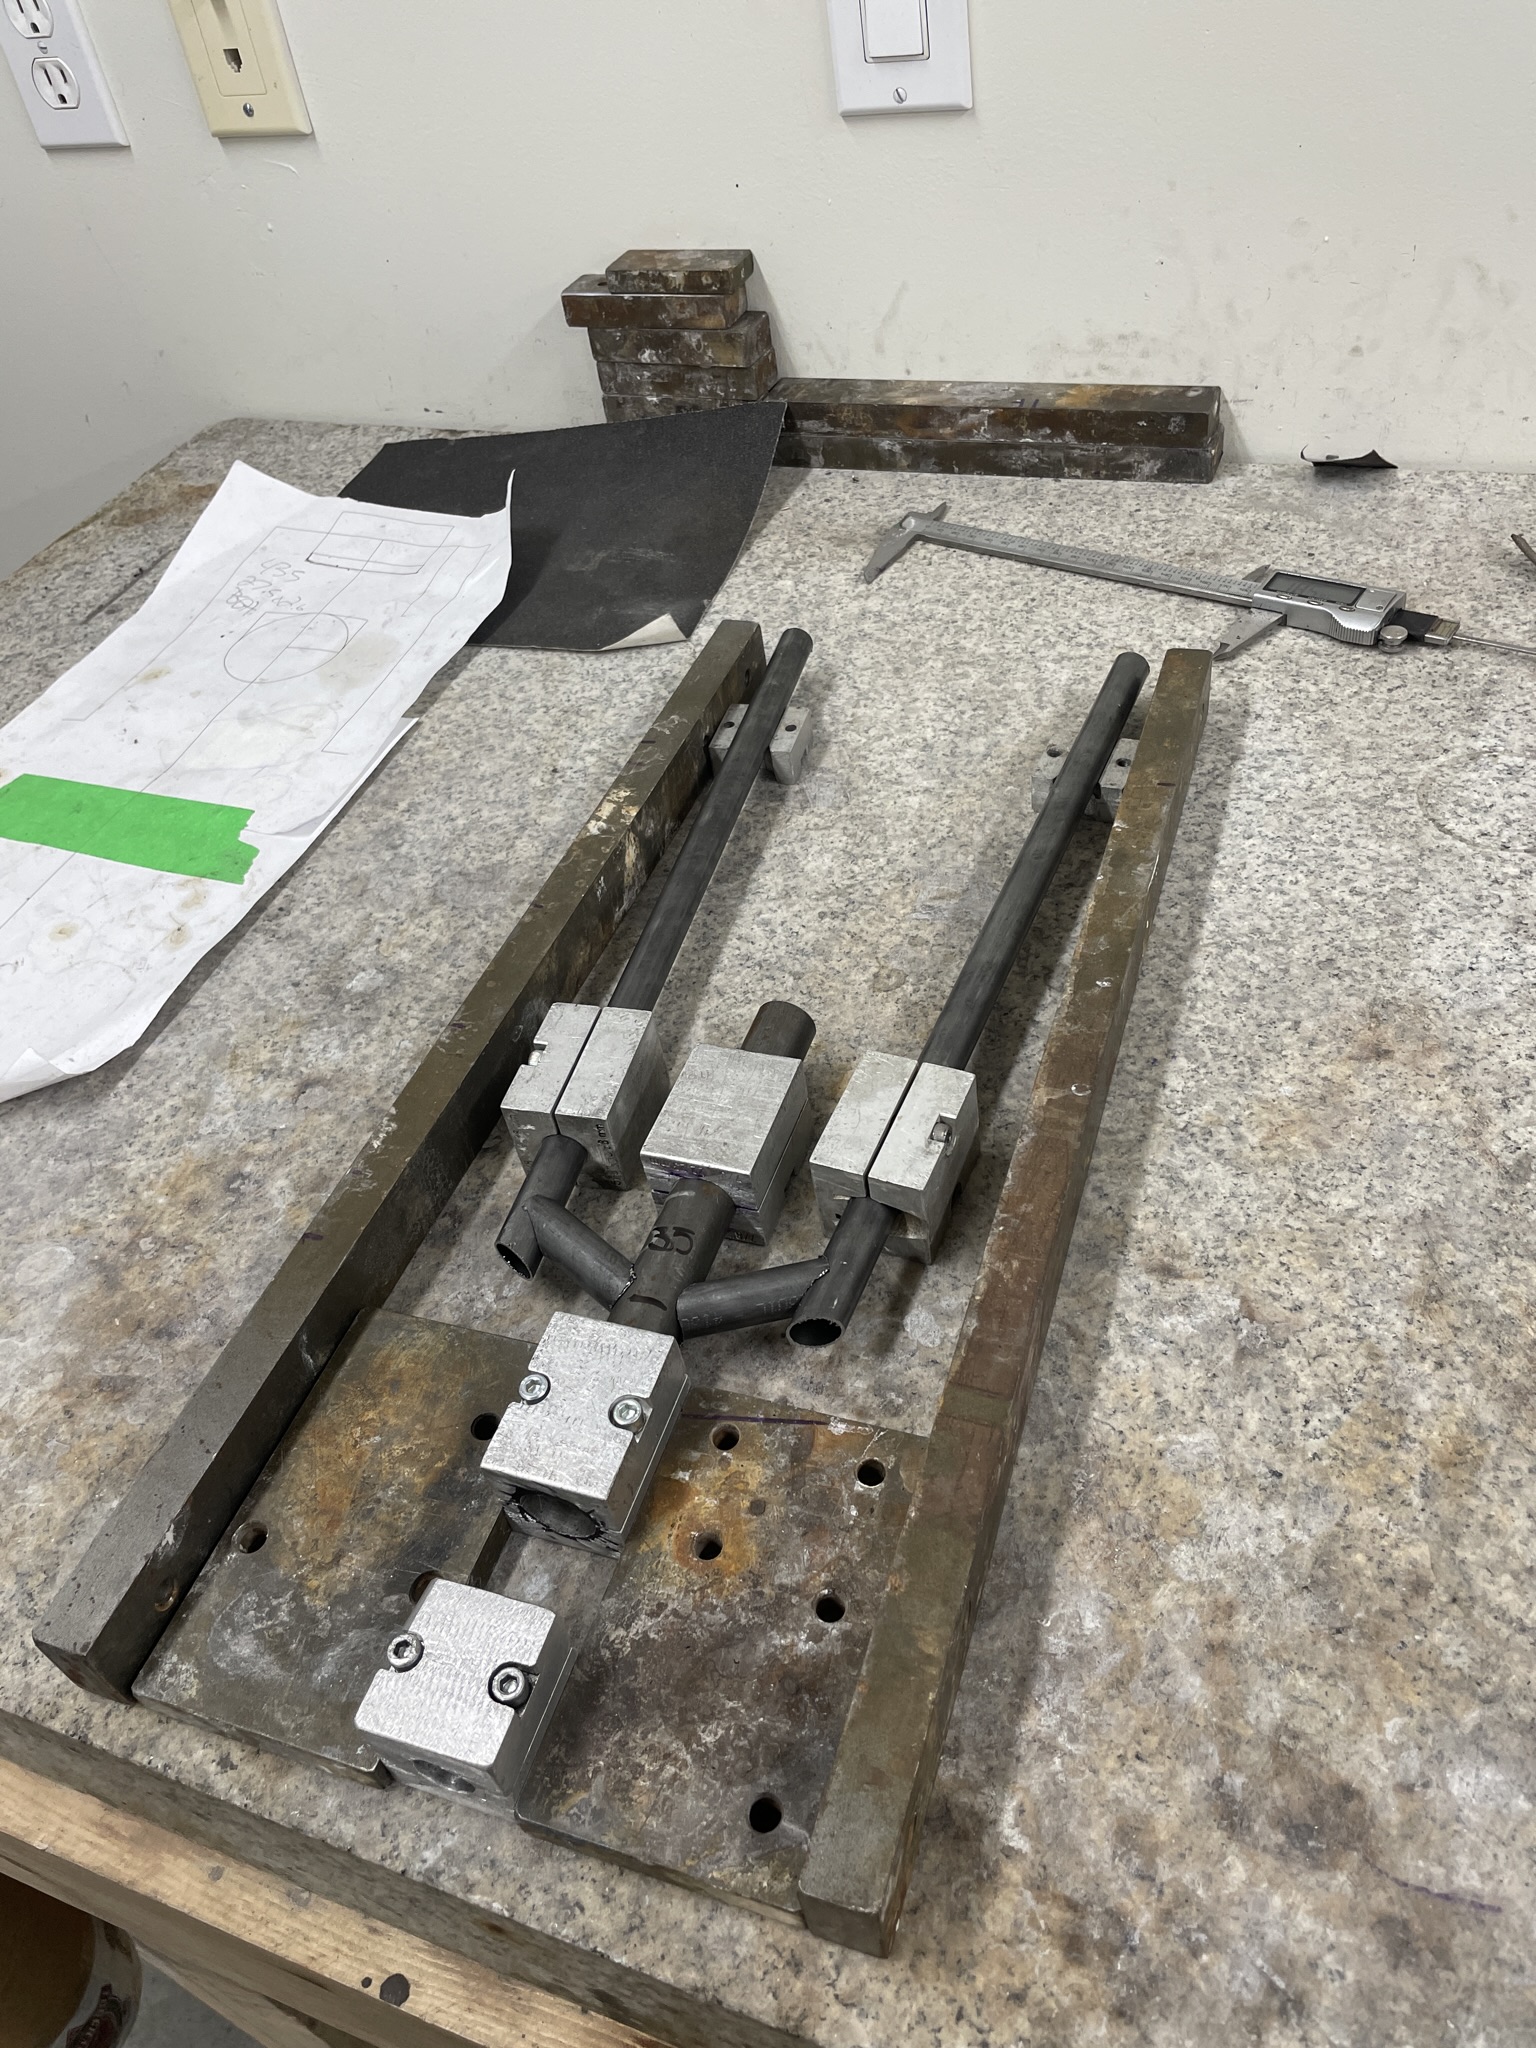
I build these as a subassembly, and have made a fixturing table to make it repeatable.
- Will
7 Likes
I’ve been pecking away at a 3d print model, yours looks totally awesome!
2 Likes
Do you heat the tube in any way? I wonder if some heat would make it easier to bend